In This Article
Our philosophy is the same for pretty much every tool or product in our pile of goodies. If we can’t find it, or if the choices on the market don’t meet our needs, we create it. If the choices available on the market meet our needs, but are too expensive, then we make it ourselves. If the available options meet our needs, and it would cost us more to make it ourselves, then we purchase it.
Our hydroponic system is a combination of three choices. Some of the components come from a hydroponic store and others we found at big-box stores for very little money, and we used tools that many people have to assemble it. Our skill level may be higher than most people, but we assure you that just about anyone could build a system like this — and it won’t cost you much.
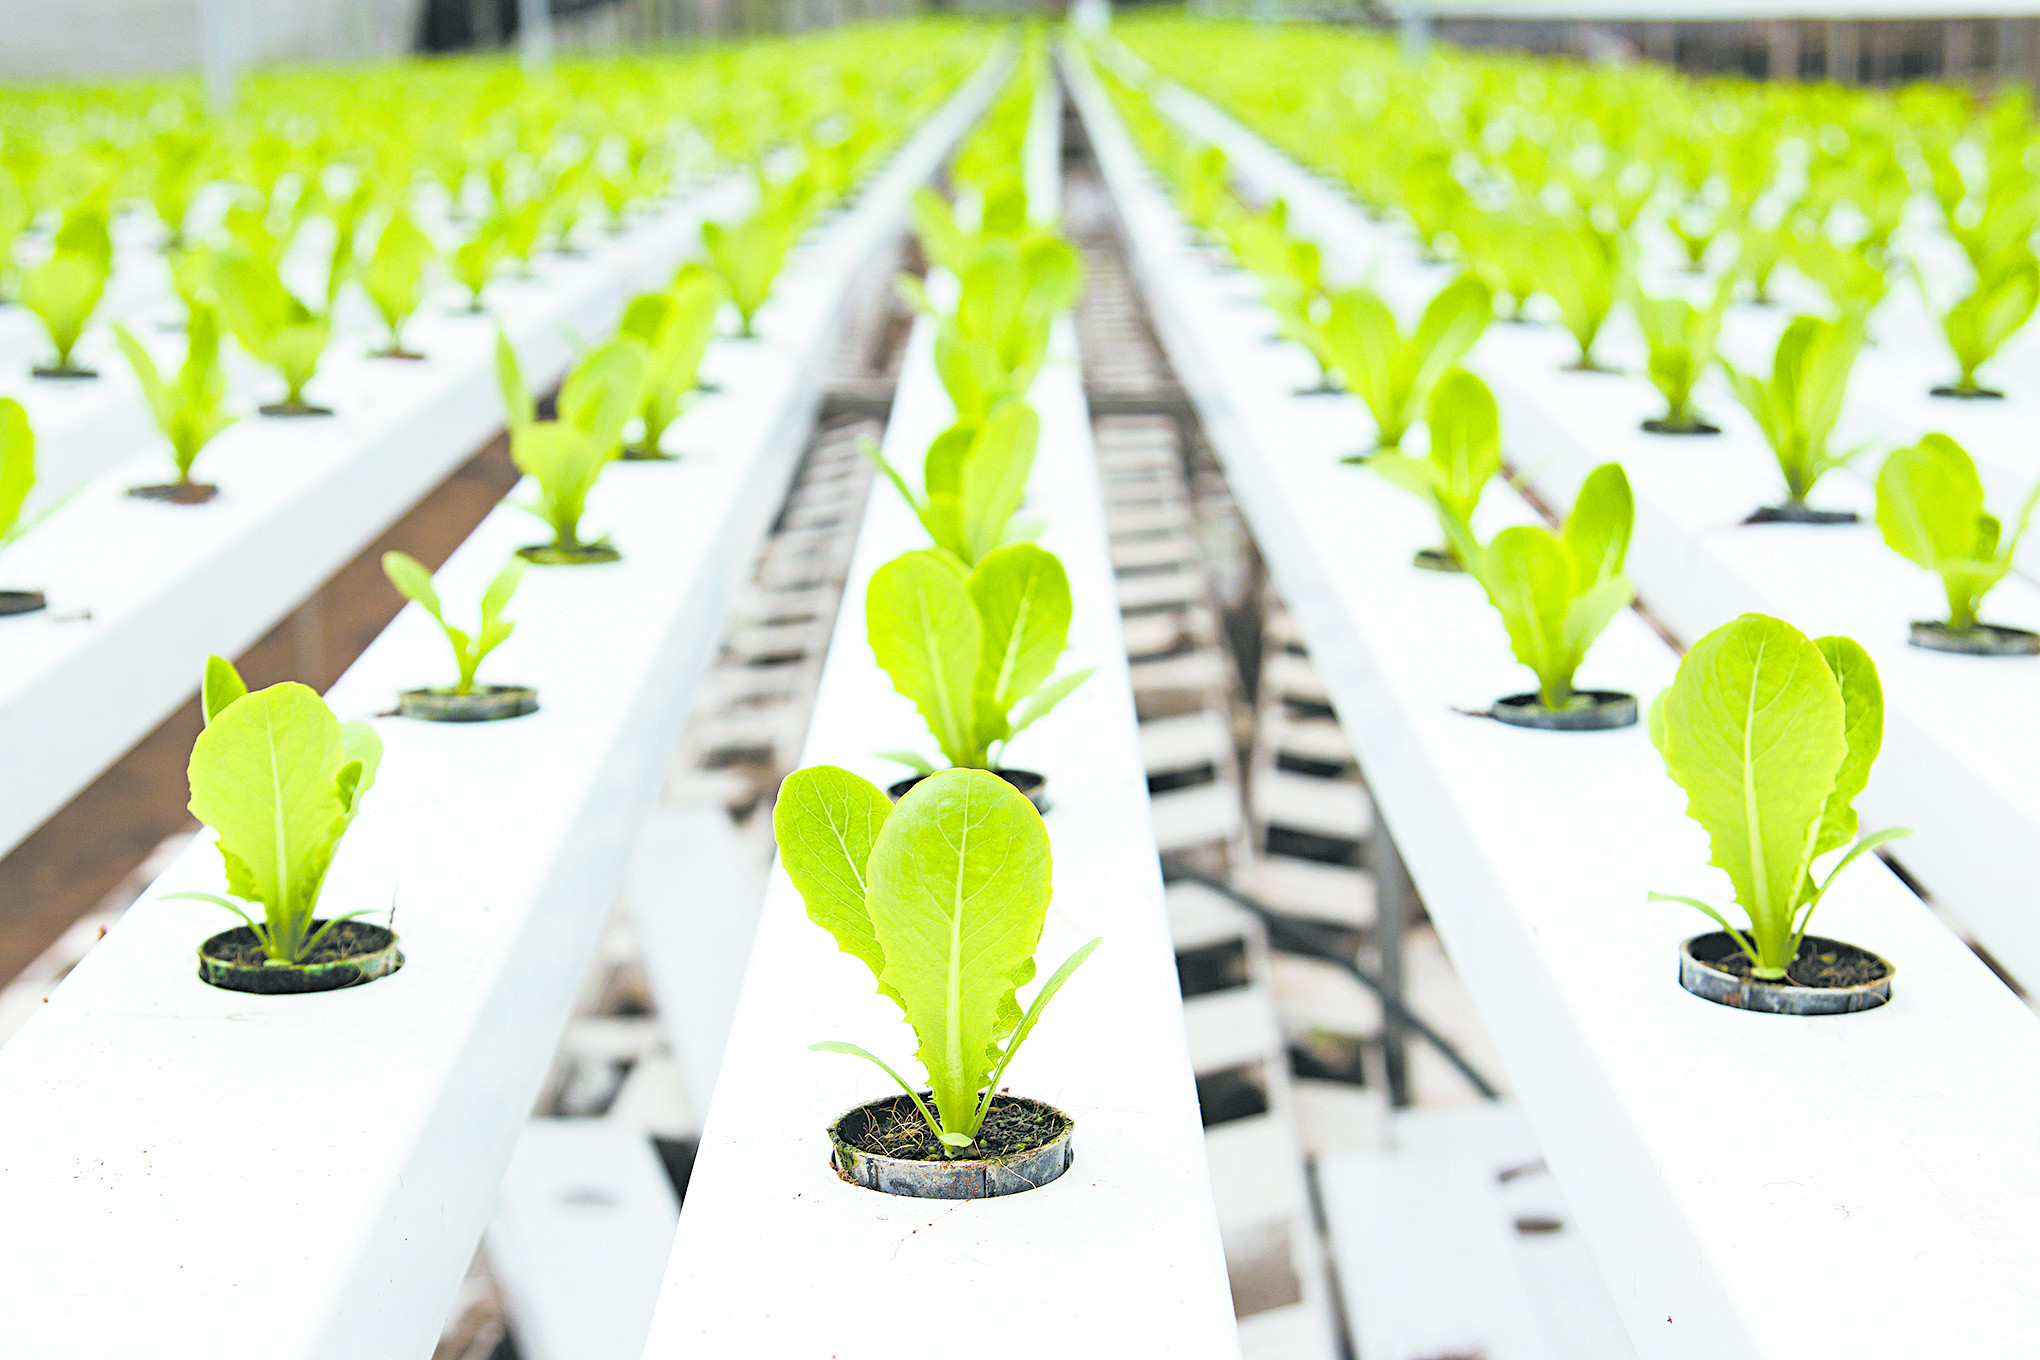
Hydroponics is a soil-less agricultural production. One key benefit, among many others, is the ability to produce edible plants all year long due to the controlled environment. Despite what you might infer from the name, hydroponic systems use 75 to 90 percent less water than traditional agricultural methods and still provide an average of 25 percent greater yield. Oftentimes the amount of time required to harvest can also be reduced by increasing the exposure to light. Long summer days can be replicated year-round with higher temperatures and longer light cycles. If nothing else, you avoid the life-ending frost when you grow indoors. If you’re a preparedness-minded individual, how could you not be interested in — or at least be intrigued by — hydroponics as a sustainable means of growing your own food?
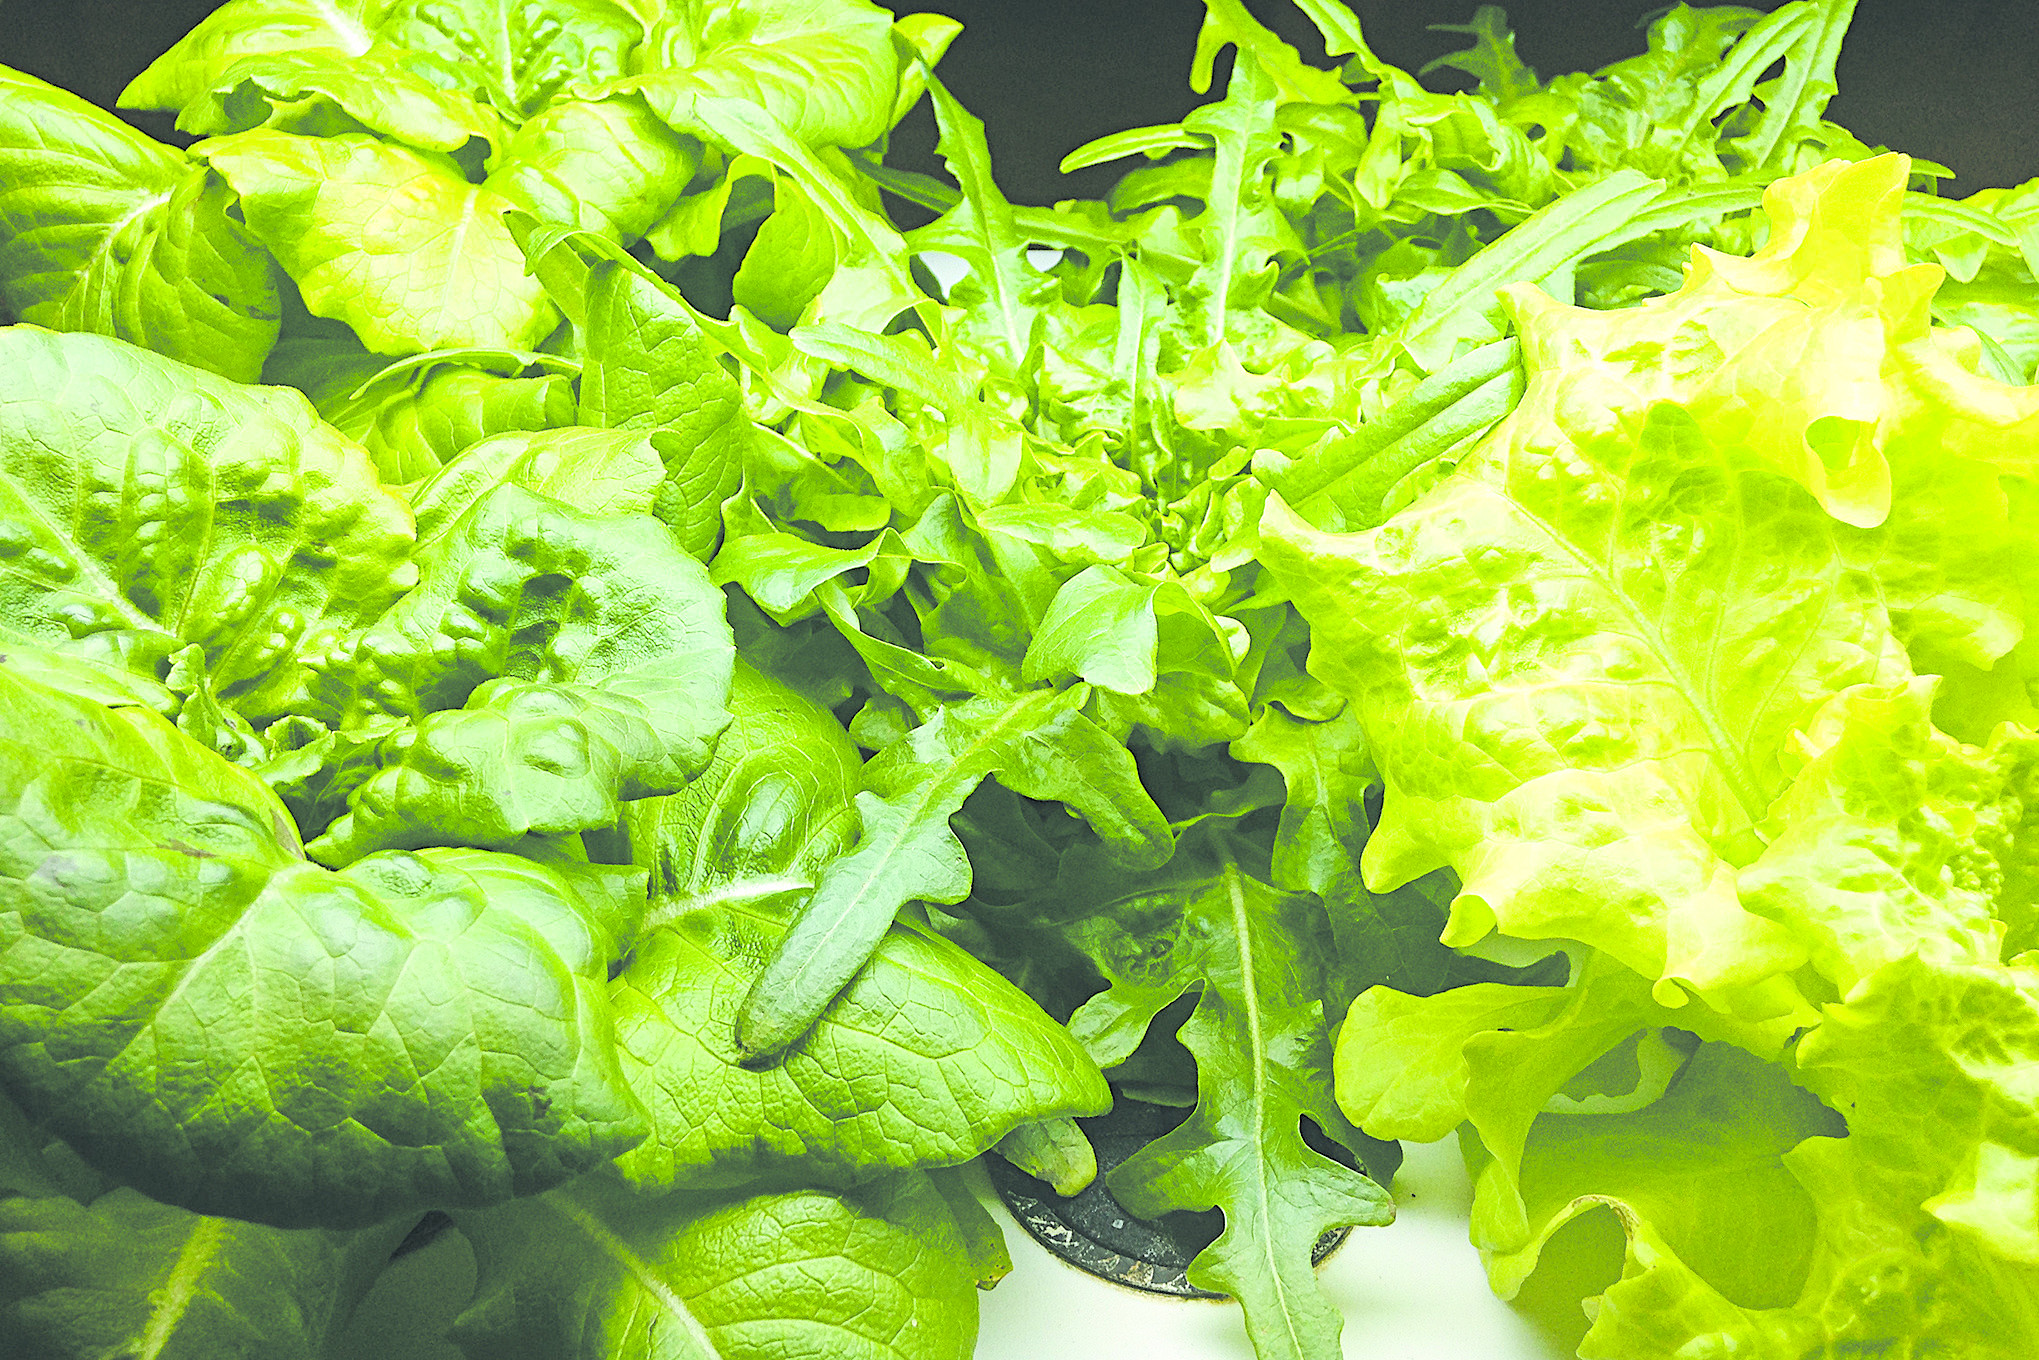
In a primitive-living scenario, the majority of people will not have the ability to live off of their crops the entire year unless they have a hydroponic growing system. Our system produces enough green, leafy produce to supplement a super high-protein diet of small game, while providing enough scraps to feed our chickens, too.
The Parts
There are some basic hydroponic system types and then many variations of each. The simplest form of hydroponic system to most complex are: wick system, water culture, ebb and flow (flood and drain), drip system (recovery/non-recovery), nutrient film technique (NFT), and aeroponic.
In our system, we use a hybrid version of the NFT, which is the most recognizable system and what most people refer to when they use the term “hydroponics.” Our NFT is a continuous nutrient solution flow system with a 50/50 combination of vermiculite and perlite growing medium in the individual grow cups or baskets. It’s set up to have a single large reservoir with one to four grow trays, depending on the demands of the system. Of course, we could increase the size of the reservoir to support a much larger system if desired.
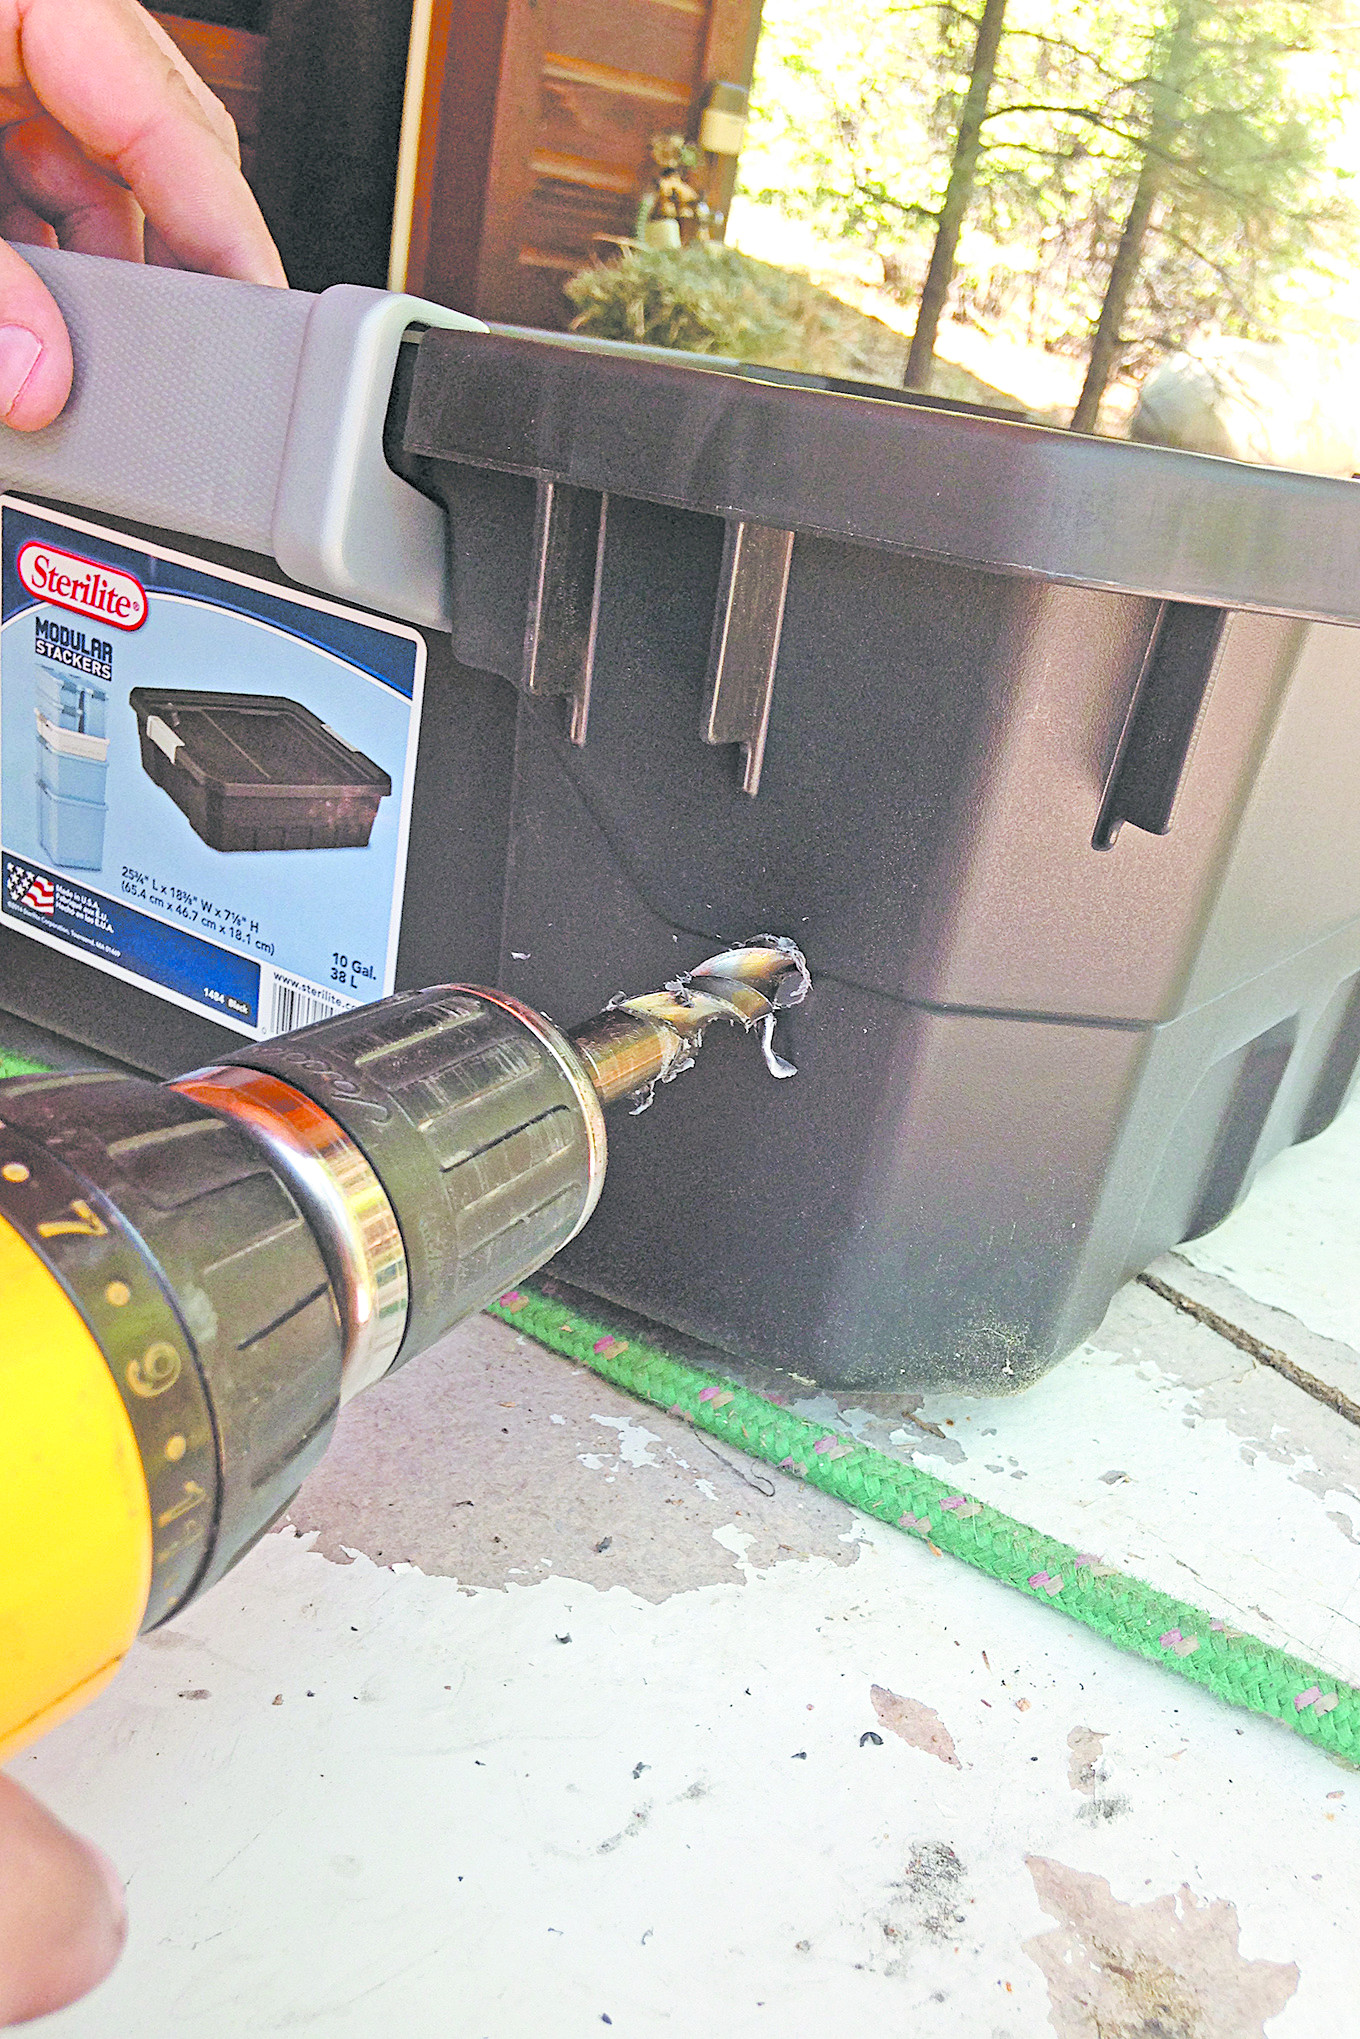
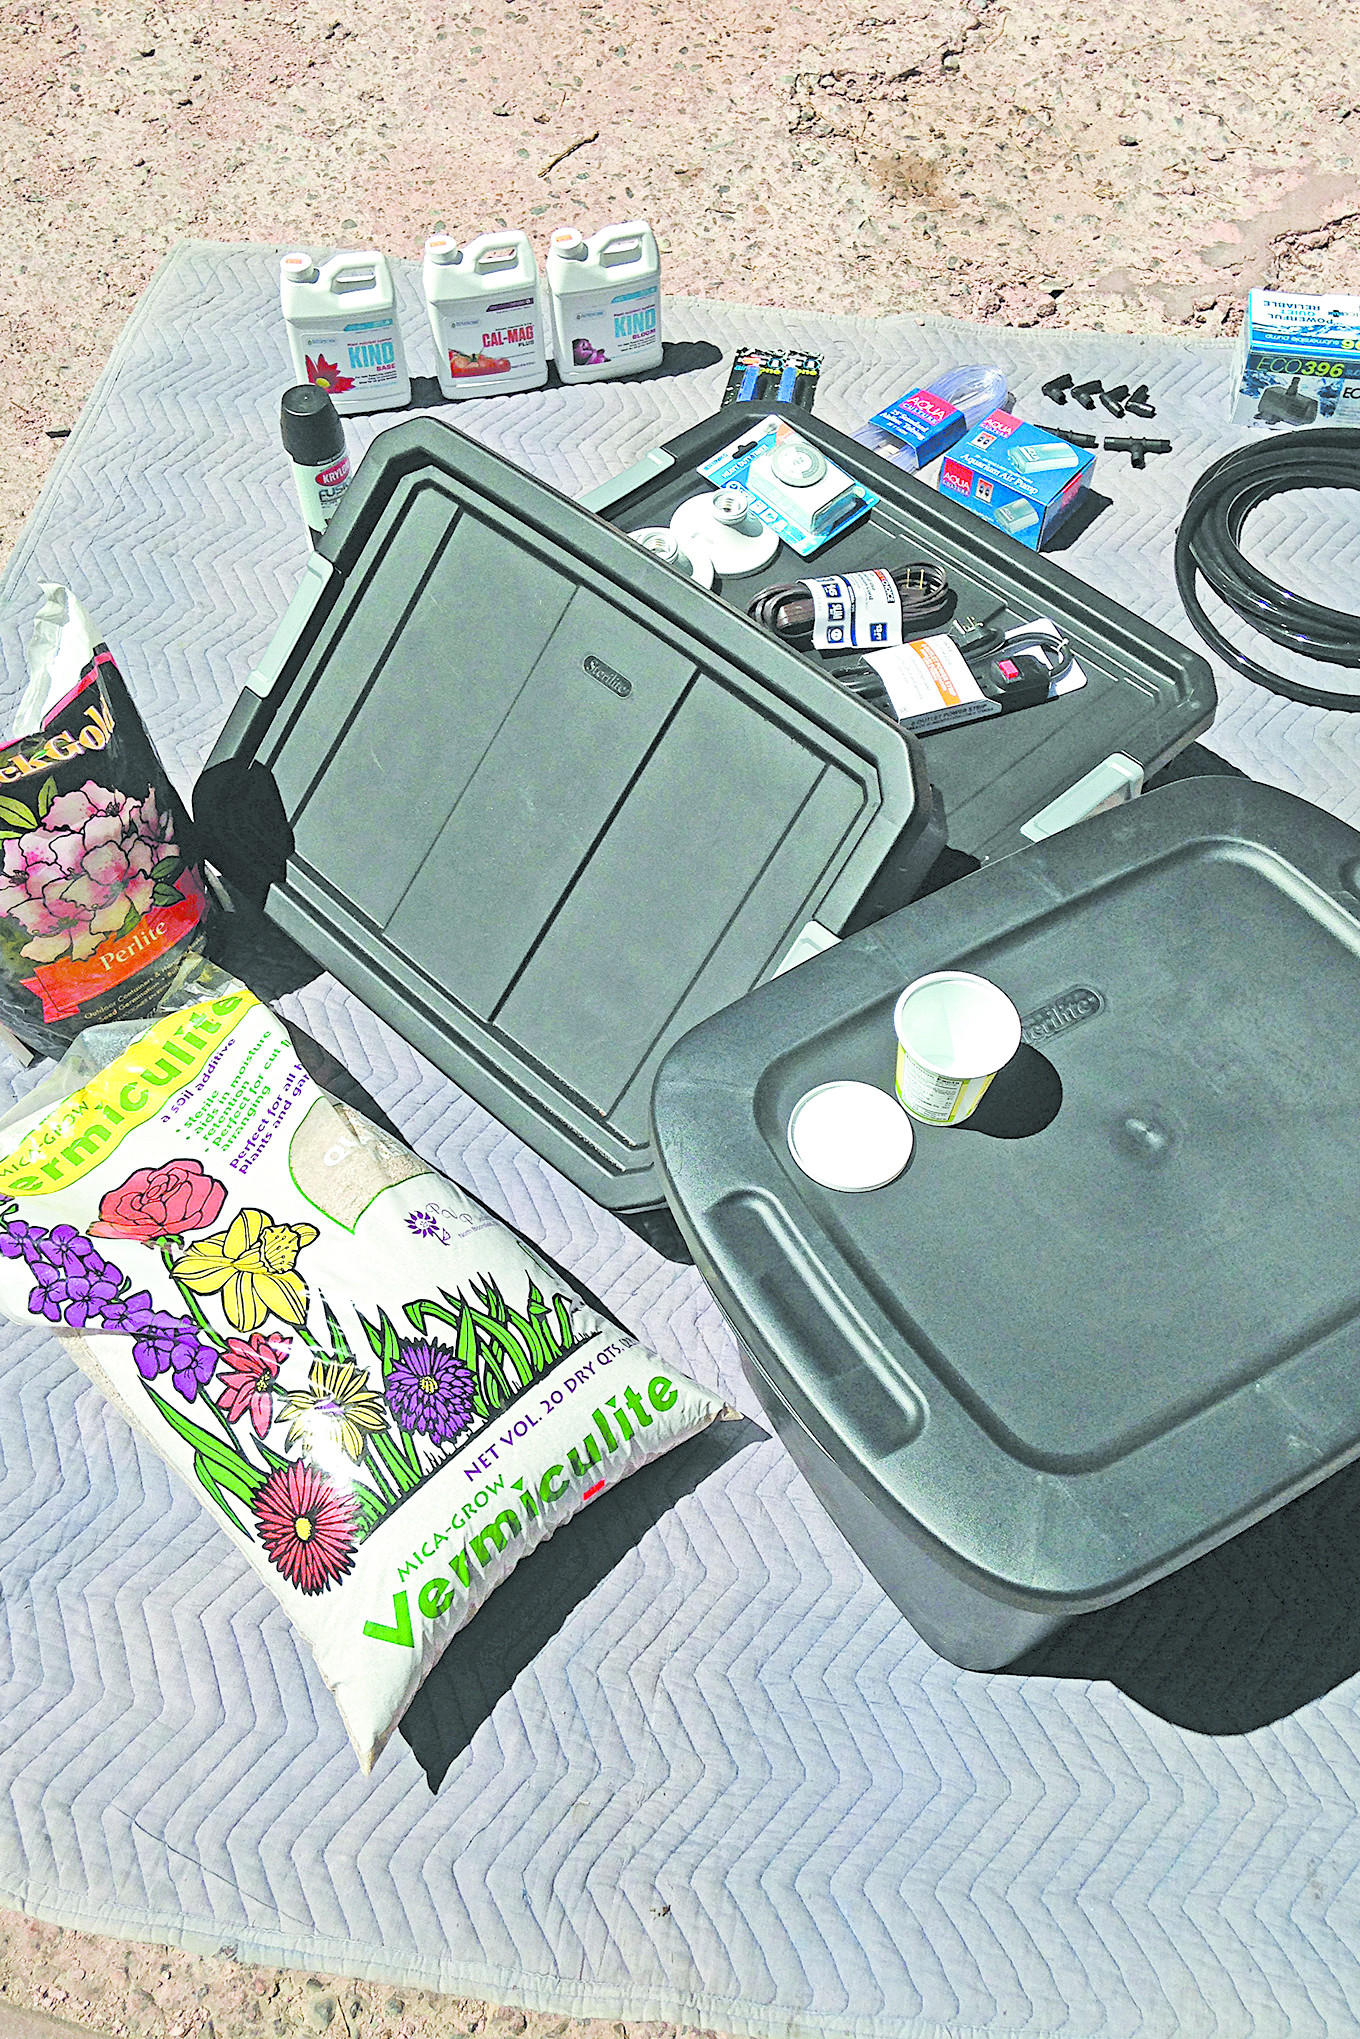
Due to our tight budget, we started our process at our local Wal-Mart to acquire as many of the necessary components as we could find. We purchased a Sterilite 18-gallon bin with lid for our reservoir and two 10-gallon bins with lids for our grow trays. They come in black, which is the color we want to reduce light transmission. There are commercially available grow baskets to put the plants in, but we will be using yogurt containers as a DIY option, saving the lids and painting them black with the plastic paint noted later. Then we selected a double-outlet aquarium air pump, heavy-duty indoor timer for a lamp, extension cord, and multi-plug.
We headed to Lowes and picked up a two 4×4-foot pieces of plywood, 12 ceramic light fixtures, six natural light and six soft white 23-watt CFL bulbs, and Krylon Fusion satin black spray paint that bonds to plastic. The paint is for the yogurt container lids that are used to fill unused holes in the grow tray system by putting them on an empty container. The black paint stops light from entering and moisture from exiting the grow tray.
Then we headed to a hydroponic supply store for the remaining items, including vermiculite, perlite, EcoPlus submersible water pump and air stones, tubing, fittings, pH meter, nutrient meter and Botanicare Cal-Mag Plus, Kind Base and Kind Bloom.
We had eyebolts and paracord on hand to create the suspension system enabling us to raise and lower the light board. I also had the tools we needed to put our system together, which included a cordless drill, drill bits, hole-saw, and soldering iron to create the holes in the yogurt containers.
The Setting
Does the climate in your region affect where you should grow your hydroponic system, and dictate if you should grow one at all? Climate is a relative term and is almost irrelevant to hydroponics. The reason being is that most hydroponic systems are set up indoors where the environment can be controlled and where certain parameters must be maintained, such as temperature, humidity, fresh air, light cycles, and solution nutrients.
We chose a closet in the garage, which is an area that is cool during summer months and is not in the way of daily activities. Our area consisted of a 48-inch shelf for our grow trays and a small area below it on the ground for our reservoir. Power was not available in the closet so we made our connection to power via an extension cord to a nearby outlet.
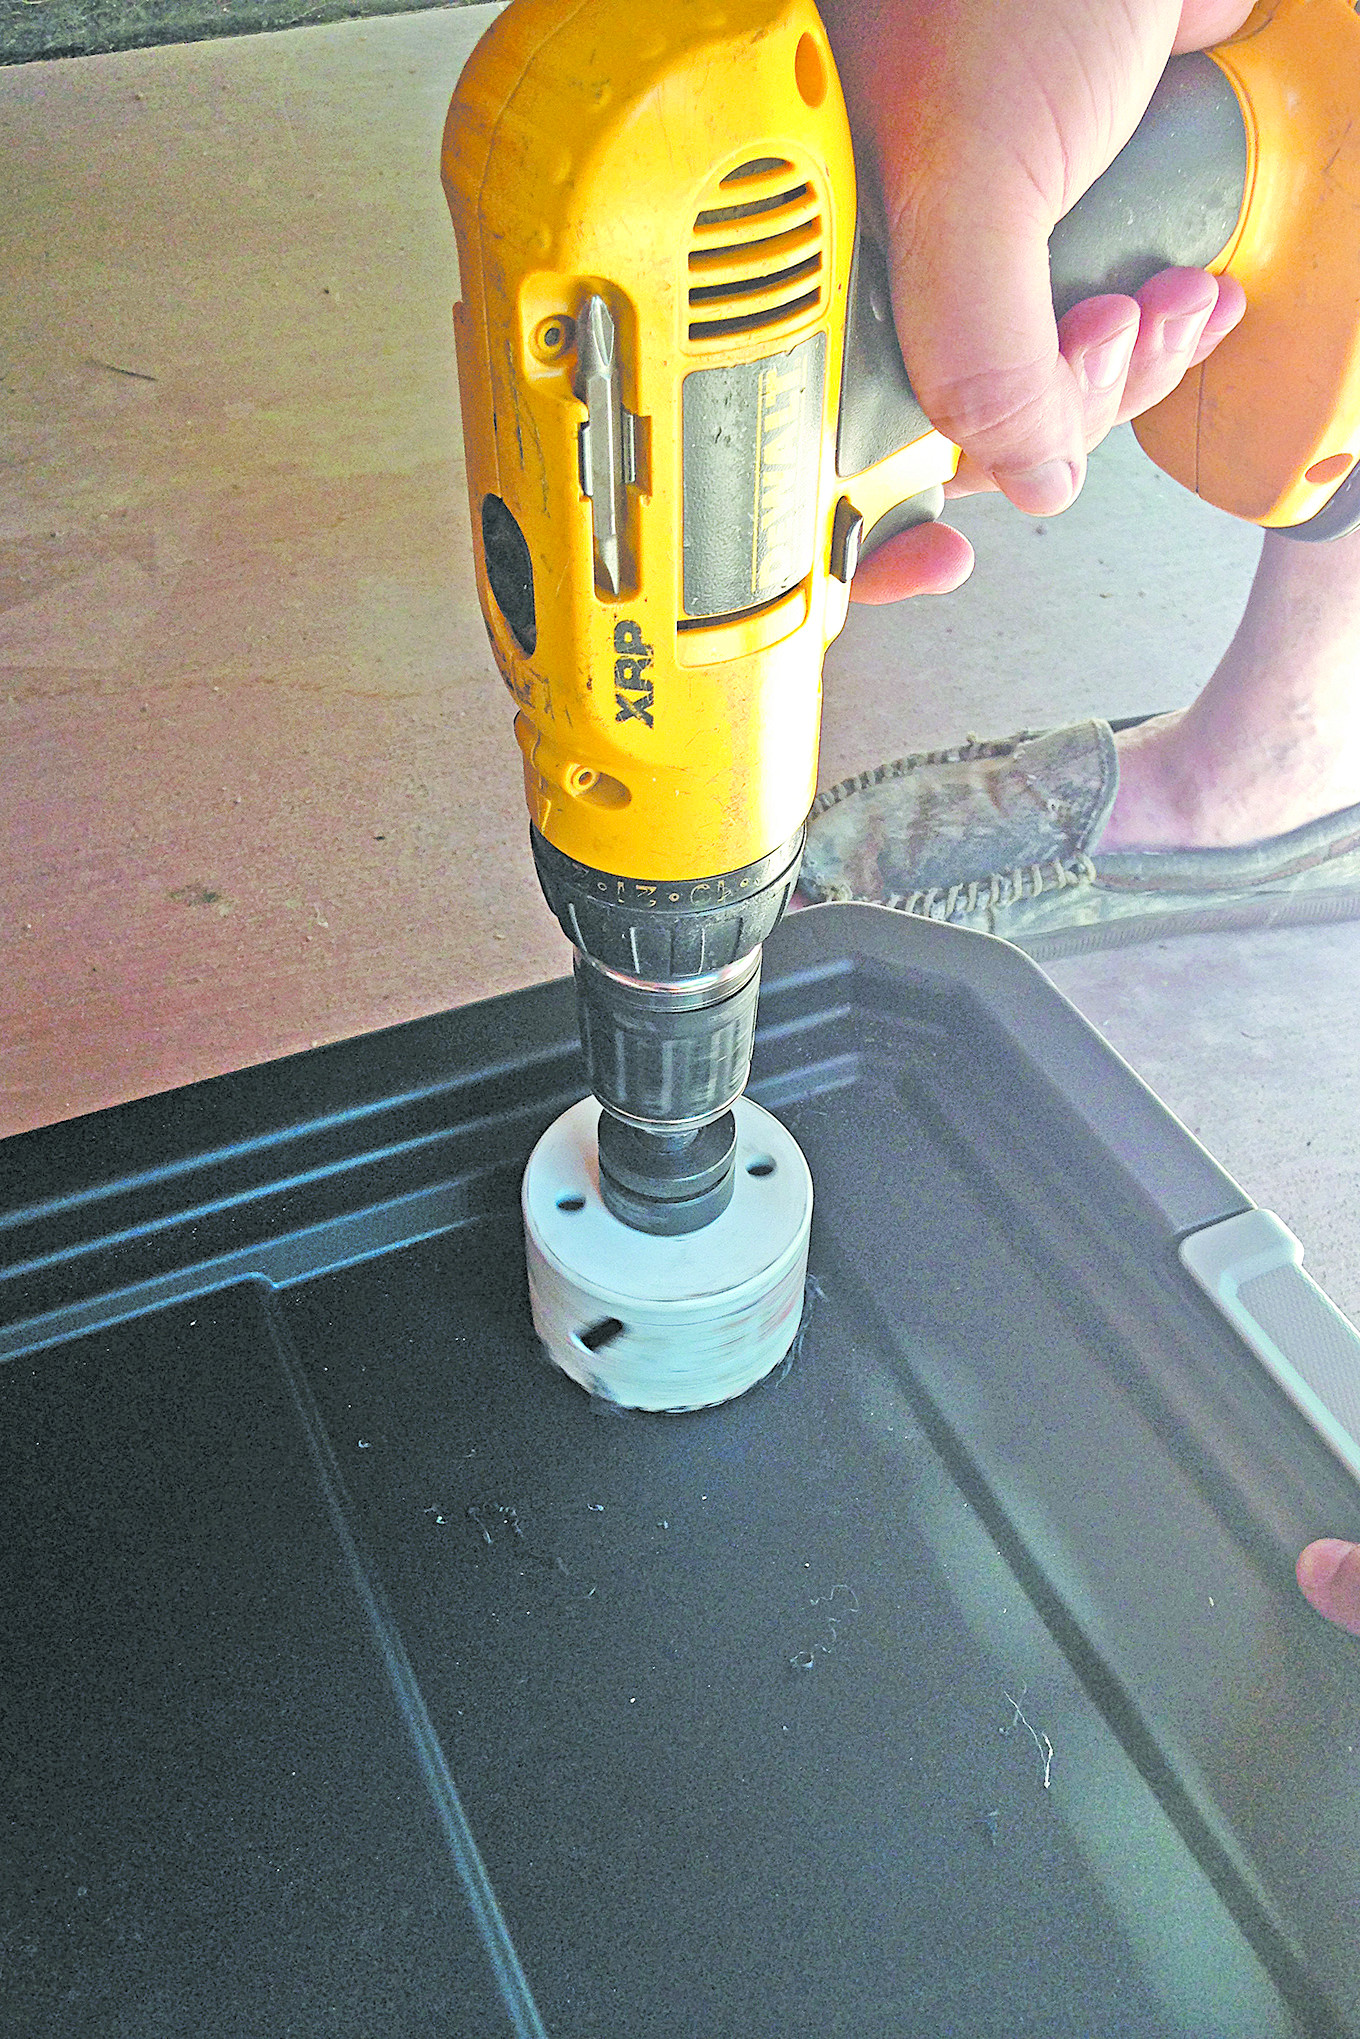
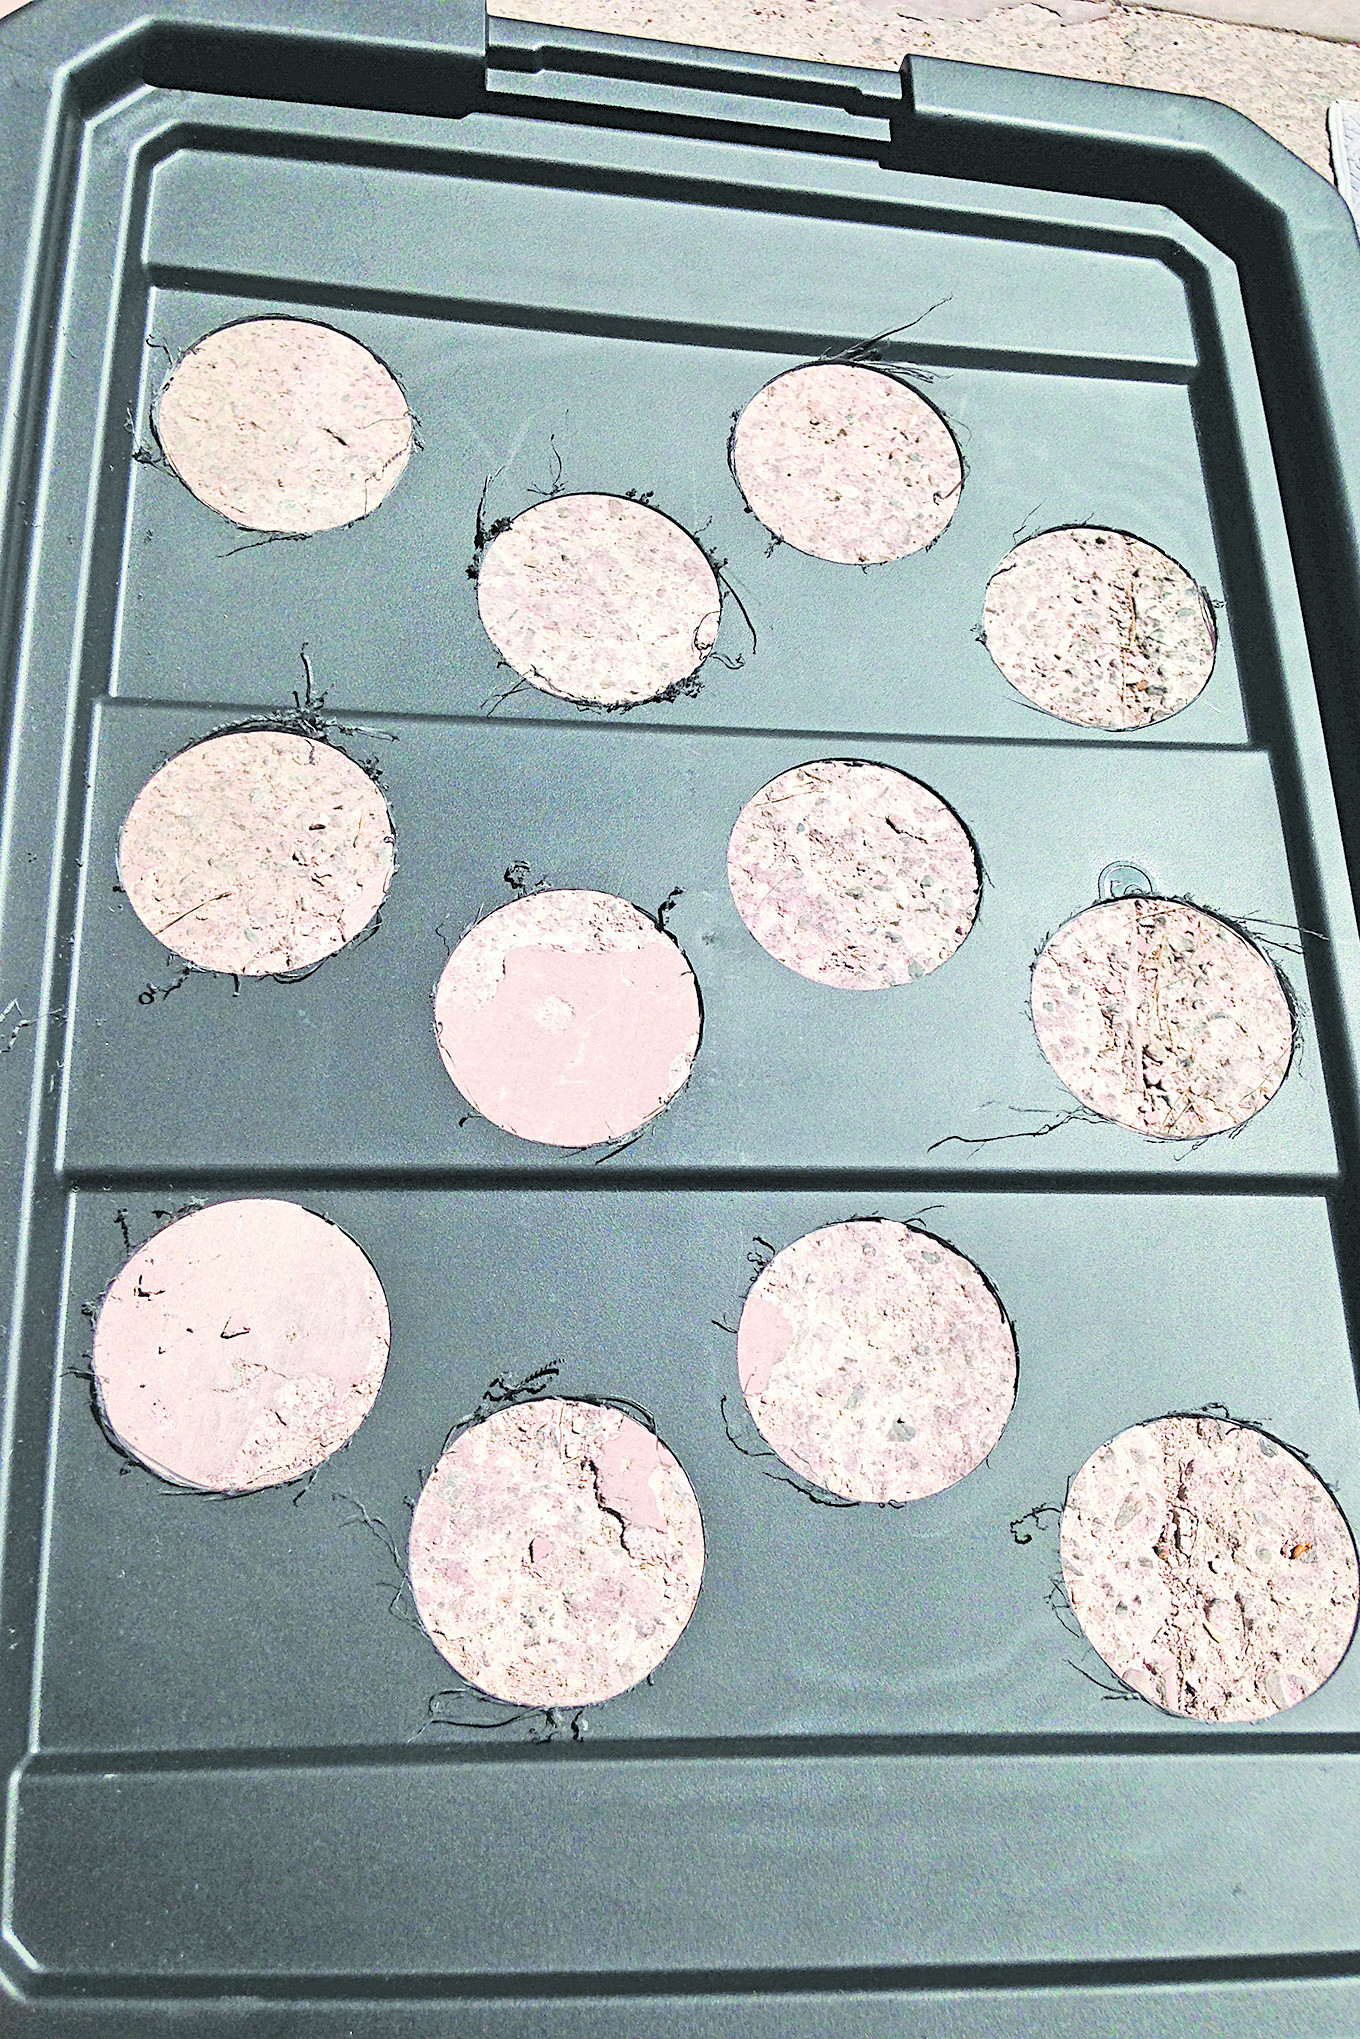
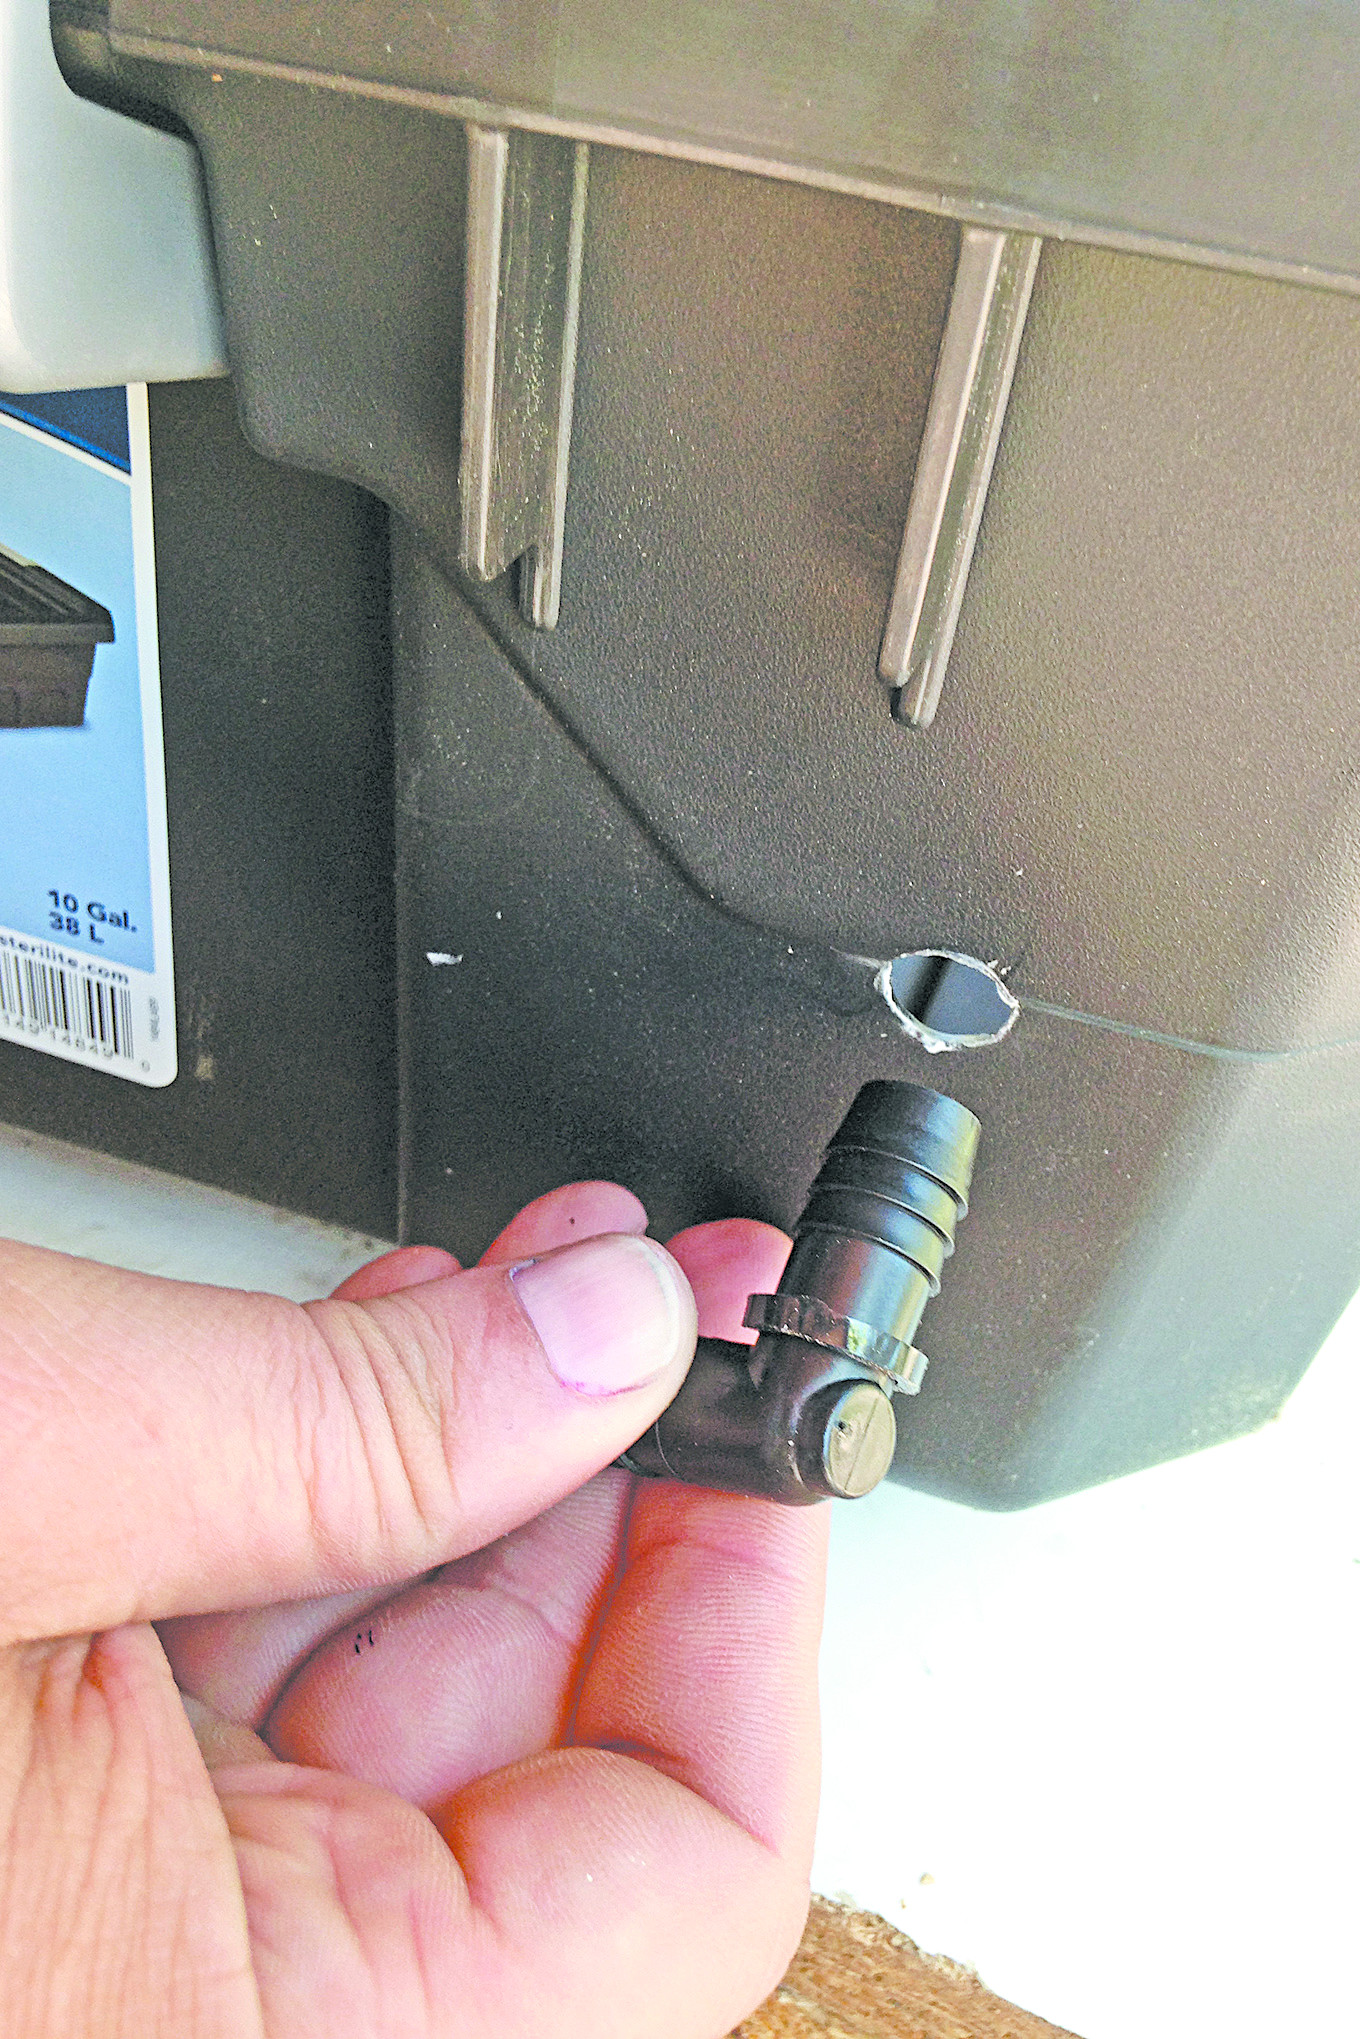
We started creating the system by making the large holes in the lid of the two grow trays with our cordless drill and a correctly sized hole-saw for the grow baskets, making sure that they seal tightly around the contact point of the basket and grow tray lid, blocking moisture from escaping and light from entering the grow tray. We offset the holes in alternating rows of three to leave as much structure in the lid as possible. Then we drilled two holes in the side of the container for the nutrient solution inlet and outlet. The inlet line (pumping from the reservoir) is near the center of the grow tray, while the return line (back to the reservoir) is closer to the top. This allows the solution to drain back to the reservoir when the level reaches the outlet. After we placed the fitting through the hole in the bin, we sliced off a small piece of tubing and placed one on each side of the fitting to help seal it. (If this process does not seal effectively, you can use silicone sealant as well.) Then we attach the tubing to the fittings and run them to the submersible pump.
One key step in the creation of the pump system is that we create a “T” in the pump line inside the reservoir with one tube going to the grow trays and the other back into the reservoir so the volume of fluid doesn’t exceed the flow rate of the tubing. Since we will be using only two grow trays, we will have excess volume that needs to be diverted back into the reservoir so the grow trays do not overflow. This way, if we decide to add another grow tray or two, we don’t need to add a pump or increase the capacity.
The next step is to create a hole in the side of the grow trays to accommodate the lines from the air stone in each grow tray from the double-outlet air pump.
We then start on our light board by removing the female end of the 15-foot extension cord and attach it to the first of the 12 ceramic light fixtures. That fixture is then attached to the light board approximately 2 inches from the edge. We measure over about 8 to 9 inches and get an idea of where our next figure will be placed. Once the distance between fixtures is established, we strip away the coating from the extension cord without cutting the wire itself. We attach each of the bare wires to their corresponding terminals providing continuity for the fixture.
This process is repeated for all 12 fixtures in three rows of four light fixtures per row. When complete, there should be approximately 3 feet of cord left with the male portion of the plug intact.
We added an inexpensive store-bought UPS (uninterruptable power supply) for backup power in the event of a power outage that should keep our plants safe. The UPS was designed for computers, and we attach all of our components — lights, nutrient pump, air pump, and gauges — to the UPS, which has a battery inside and automatically converts to battery power if the power to the UPS is interrupted.
The Gardening
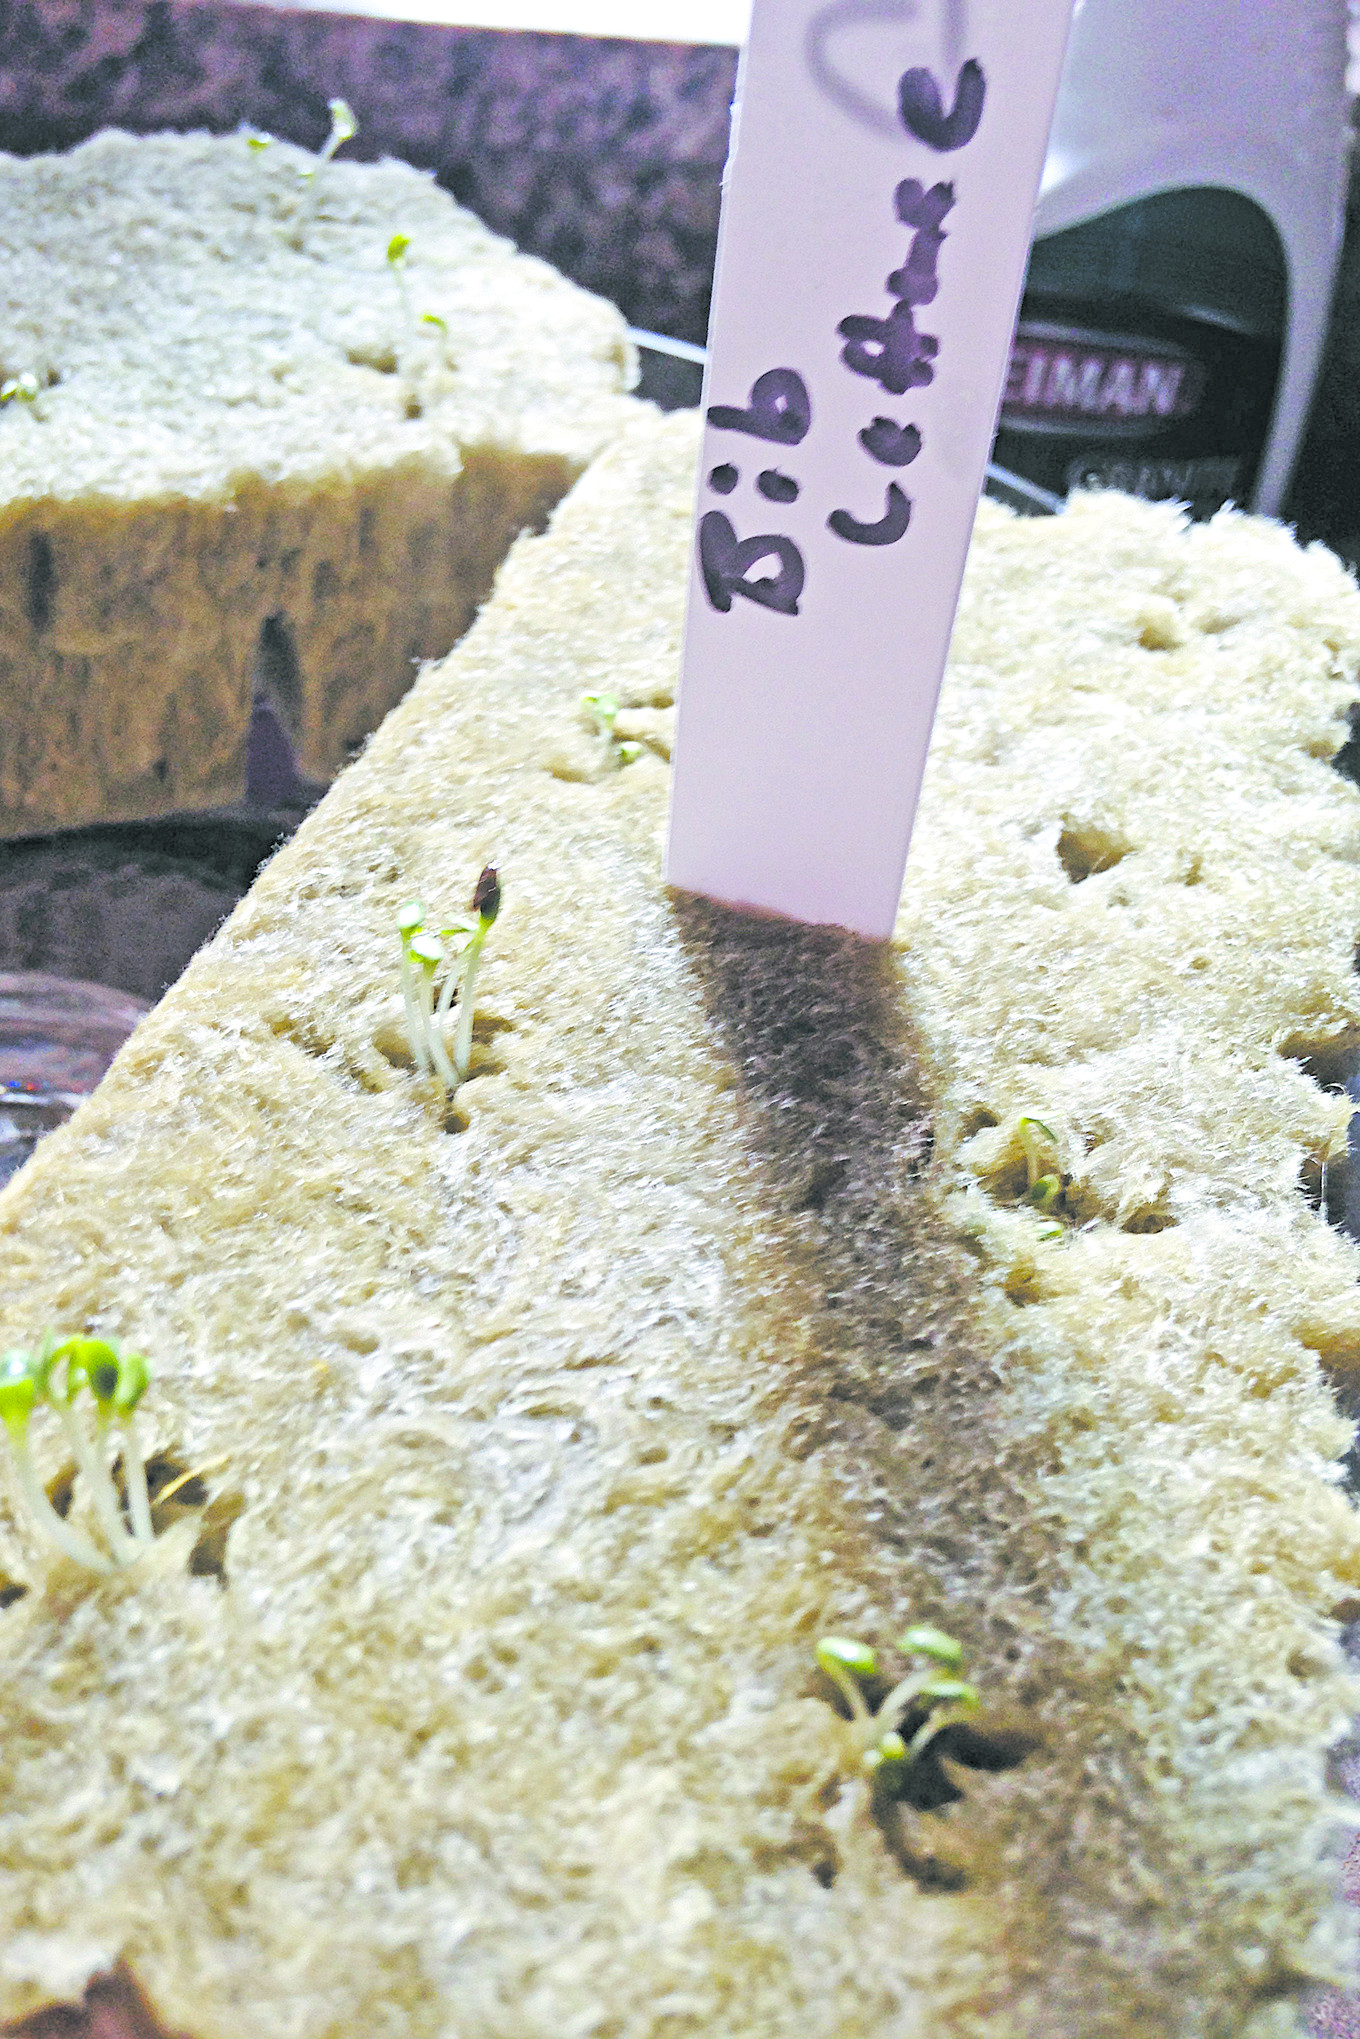
To start our seeds, we put paper towels in small plastic cups and add water to form a moist place to put our seeds. We place our seeds in the cups on top of the moist paper towels and put them in the windowsill to get some sun, making sure to keep the towels moist from day to day. Depending on the types of seeds, they should show signs of life within a few days. We take our soldering iron and get it hot and use it to make the holes in the yogurt containers, making our grow baskets. Of course, we could start the seeds in the grow baskets and leave them there for the entire process, but by starting them on the moist paper towels we can be sure they have roots before we put them in the baskets. We then take equal portion of the vermiculite and perlite medium and combine them so we get a 50/50 mixture for our grow baskets.
We then dilute our Botanicare Base, Bloom, and Cal Mag plus with the proper amount of water specified on the container for the individual need. Once the volume of the nutrient solution is established and combined in the reservoir, it’s time to grow some food.
Push a finger into the combined vermiculite and perlite medium inside the grow basket, creating a recess to place the seedling with roots. Gently place the germinated seed into the recess and push a little of the combined medium over it so it isn’t in direct light. Then scoop a little of the solution from the reservoir and pour a little of it into each of the grow baskets to make them moist. If there are any holes that are not being used, we can fill them by putting the covered yogurt containers with the black painted lids in the unused holes.
Once we have completed the above portion of the system, we attach an eyebolt into each corner of the light board. We then attach an eyebolt into the bottom of the shelf above our grow trays splitting the distance between the eyebolts of the light board. We then cut four equal pieces of paracord approximately 4 feet long and attach one of the ends to each eyebolt. We then route the two pieces of paracord from the left side eyebolts on the light board through the corresponding eyebolt above it and repeat this process for the right side as well. This way, you will be able raise or lower each corner of the light board as desired to get the light exactly where you want it for the individual plants growing in the system. We put two nails in each side of the shelf used to tie off the paracord at the desired height.
Keeping the lids from the grow trays containing the grow baskets aside, we power up the system verifying that nutrient solution is pumping from the reservoir into the grow trays and returning to the reservoir without leaking or overflowing.
Once we are confident that the system is performing as expected, we then place the lids on the grow trays containing our fledgling plants and lower the light board to the desired height. One of the benefits of the 12 CFL bulb lighting system is that we can put the lights where we want them and remove where we don’t. While the plants are very young, we set the timer for 12 hours of light and place the light board fairly close to the surface, about 6 inches above the plants.
As the plants grow, we can extend the light time to simulate summer and move the light board up so it doesn’t make contact with the plants.
In our experience, hydroponic gardening is not a perfect science, but science is definitely involved. It is very important to stay within the parameters with our nutrient solution by monitoring the pH meter and the nutrient meter. Optimum pH level ranges between 5.5 and 7.0. Of course, different species of plants or different varietals may like to be higher or lower in that range or even above or below it. But as a rule most plants will flourish in that range. The most effective way to manage pH levels is with commercially bought pH acids. There are home remedies used to adjust pH levels, but they require more volume and are not as precise. It’s a simple procedure to test the pH of the solution and adjust by adding either pH down if it is too high or pH up if it is too low.
It’s also important to know that the nutrient solution will need to be changed every 90 to 180 days, depending on the plants you’re growing. As always, it will take some trial and error to get it right, so don’t be too hard on yourself if it doesn’t go right the first time. Keep at it and have fun. Next thing you know, you’ll have a garden without soil and plenty of greens to supplement your family’s meals.
The Components
Here’s a list of items the author used to set up his hydroponics garden:
- 18-gallon Sterilite storage bin for the solution reservoir
- Two 10-gallon Sterilite stacker tote for grow trays (five cups in grow tray one and 12 cups in the other)
- Submersible water pump
- Aquarium air pump (with two air stones)
- Timer for lights
- Plywood for light system
- Six eye bolts
- 550 paracord
- Extension cord for light fixtures
- 12 light fixtures (six natural daylight 23-watt CFL bulbs and six soft white 23-watt CFL bulbs)
- Tubing, fixtures, couplers for pumps
- Vermiculite and Perlite grow medium
- Base solution (4N-0P-0K)
- Grow solution (2N-2P-2K)
- Bloom solution (0N-6P-6K)
Common Mistakes to Avoid
Most beginners tend to focus on certain topics more than others — this is especially true with pH levels. Oftentimes we will hear someone say that their pH level was perfect, but their plants still died. While pH is a critical piece of the puzzle, it’s still just one piece of the puzzle. There are many factors that need to be in balance for a successful system to provide the desired result.
The key components to a successful hydroponics system are:
- Correct Levels: Keep your grow solution of NPK [nitrogen (N), phosphorus (P), and potassium (K) at correct levels.
- Climate Balance: Keep your climate in check — not too hot, cold, dry, or humid.
- Air Apparent: Allow your plants to get fresh air.
- Change It Up: Change your solution after the grow cycle ends.
- Think Green: Most importantly, try to think like nature and not like a scientist.
- Chin Up: Lastly, don’t take it personally if you make a mistake. Keep trying, and you’ll grow with your garden.
Source
AB Growing Supplies & Hydroponics ≫ www.abgrowingsupplies.com
More From Issue 12
Don’t miss essential survival insights—sign up for Recoil Offgrid’s free newsletter today.
- A Bug Out Toyota Tacoma Fit For A U.S. Marine
- Insulated Gloves & Mittens Guide – [N]ICE And Warm
- Government Response to Disease Outbreaks – Outbreaking News
- What If An Outbreak of Weaponized Pneumonic Plague Hits Your City?
- Hydroponic Growing Systems – Hydro Planting
- How to Strengthen Your Defenses – The Master Key
- Lights Out: Chokehold Basics for Self-Defense
- Biggest Outbreaks in U.S. History
- Human Lie Detector
- Learn How To Start Fires In Cold Weather
- Disposable Vs. Rechargeable Batteries – In Charge
- How to Survive a Structural Collapse
- High-Lumen Flashlights
Read articles from the next issue of Recoil Offgrid: Issue 13
Read articles from the previous issue of Recoil Offgrid: Issue 11
Editor’s Note: This article has been modified from its original print version for the web.