Day 258: You just ate your furry little house pet. Yep, it came to that. Rather stringy and sour like turkey breast a few days south of the expiration date, Fufu wasn’t delicious by your standards, but she was delicious by your situation. Nobody knows when it will end, but until it does you’re a prisoner in your own house — at least until what’s outside destroys itself or finds a way in.
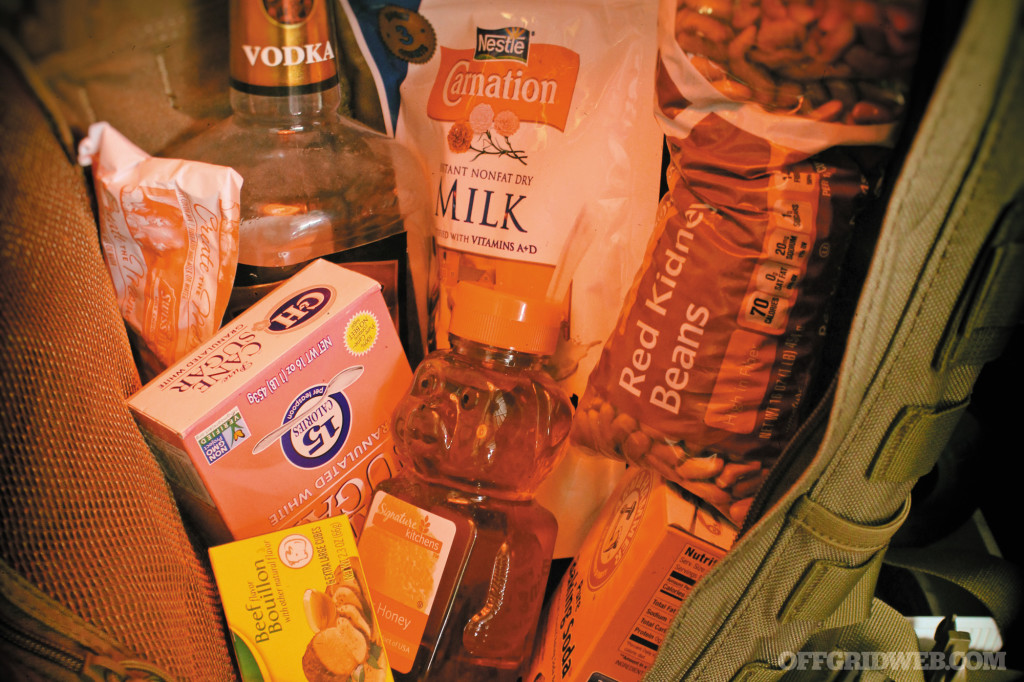
Rooting around in the corner of the basement under a pile of old towels, you discover a series of large boxes chock full of containers of food, all wrapped with newspaper dating from 1996. You bring it up to the living room, and your salivating family gathers around the box with wide eyes of hope.
Can you eat it? It’s been down there for 20 years. It can’t possibly still be good, can it? Yes, it can. These are forever foods, a small but distinct collection of food that — if properly stored — can be passed down through the generations.
Spoil Sports
There’s nothing magical about how food spoils. Simply put, something else eats it before you get the chance to, and that something are microbes in the form of yeasts, molds, and bacteria. Improper food storage is the leading cause of spoilage. A fridge kept above 40 degrees F for only a few hours allows for the growth of microorganisms.
Yeasts: There are many uses for the tiny, single-celled fungus called yeast, the main one being the metabolizing of sugar to produce alcohol and carbon dioxide gas (aka fermentation) or to be used as a leavening agent in baking. However, yeast in the Zygosaccharomyces family grows in food with a low pH and causes the unwanted fermentation of sugars in fruits or the mosslike growth on cheeses and meats.
Molds: Growing in filaments, this microorganism forms a tough blanket, which is visible as mold. Dry spores can then float through the air to find suitable conditions where they can start the growth cycle again. The main symptom from eating moldy food is nausea or vomiting (if you can make it past the bad taste and smell). Penicillium digitatum is a blue mold commonly found on oranges, for example, and Botrytis cinerea can be seen on rotting grapes and strawberries.
Bacteria: Round-, rod-, and spiral-shaped microorganisms, bacteria can grow under a wide variety of conditions. There are many types of bacteria that cause spoilage. They’re divided into spore- and non-spore-forming. Eating spoiled food caused by bacteria (such as Clostridium botulinum and Staphylococcus) can cause food poisoning.
Spoil Shields
Besides you, food is the most perishable item in your possession. Under the right circumstances, a loaf of bread can get moldy in only a few hours. On the contrary, the foods that can last indefinitely contain substances that prevent microorganisms from consuming them. Any foods high in salt, acidity, and natural toxicity provide inhospitable environments for microbes and will be able to last longer.
Salt: When you eat salt, you’re eating tiny little rocks, and like rocks, salt doesn’t go bad and can’t be eaten by microorganisms. Salt is a natural food preservative that has been used for thousands of years. It works by sucking the moisture out of food, and the kinds of bacteria that spoil food need moisture to survive.
Acidity: Microorganisms have a difficult time consuming products with a low pH. Acidity makes things very dry, which isn’t an ideal environment for bacteria.
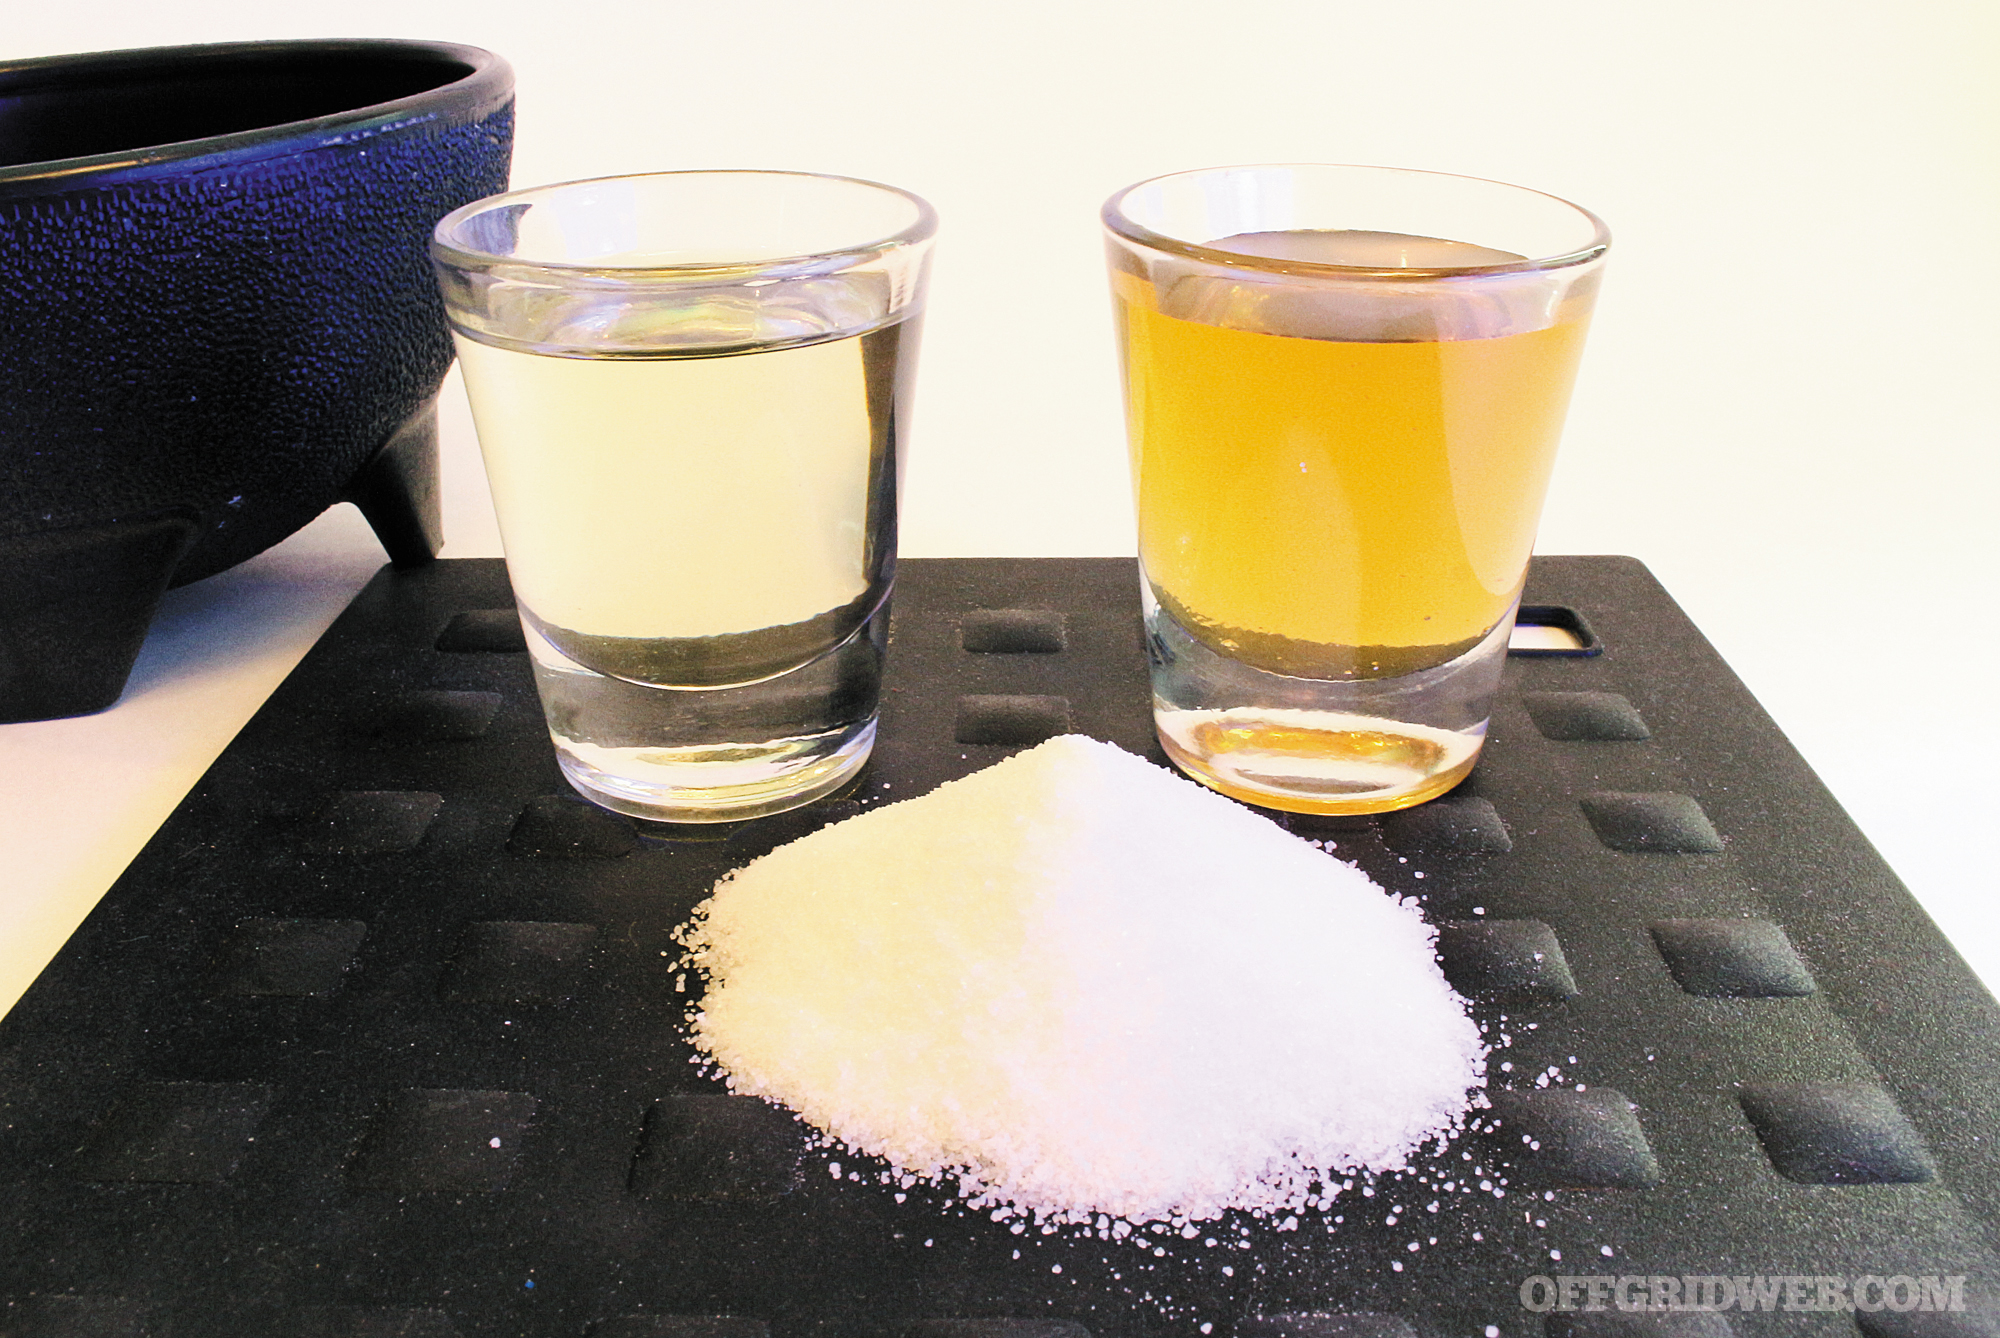
Toxicity: A poisonous environment isn’t very hospitable for bacteria, which is exactly what alcohol is: toxic. Its main ingredient is ethanol, which, even in small doses like what’s in hand sanitizer (60 percent) or rubbing alcohol (50 percent), can kill most all microorganisms (including the good ones that fight off invaders).
With this in mind, we take a look at 10 foods that do a great job of repelling spoilage.
Best If Used By
The longer a food is stored, the more likely the flavor, nutritional value, and health benefits decline. This is dependent partly on how it was packaged when it was originally stored and partly on how it spent its time wandering through the years. Freeze-dried, dehydrated, and vacuum-sealed foods are the best way to store foods for the long run, but temperature, oxygen, light, and moisture are primary factors as to how long it will last.
Temperature: Much like throwing a steak in the oven to cook it, heat will change the food on a molecular level, slowly leaching away its flavor and nutritional value. Proteins break down and vitamins lose their effectiveness. Keeping food stored around 60 degrees F is optimal.
Oxygen: Air and moisture go hand in hand. The reason foods are freeze-dried or vacuum-sealed is to remove as much air as possible. Air traps moisture in the form of humidity, and moisture is a breeding ground for bacteria.
Light: Fats, oils, proteins, and color react to the UV light from the sun and speed up deterioration and decay. Keeping foods in complete darkness will eliminate this.
Moisture: There’s nothing bacteria love more than a wet environment. Foods must remain as dry as possible to keep microorganisms from setting up shop.
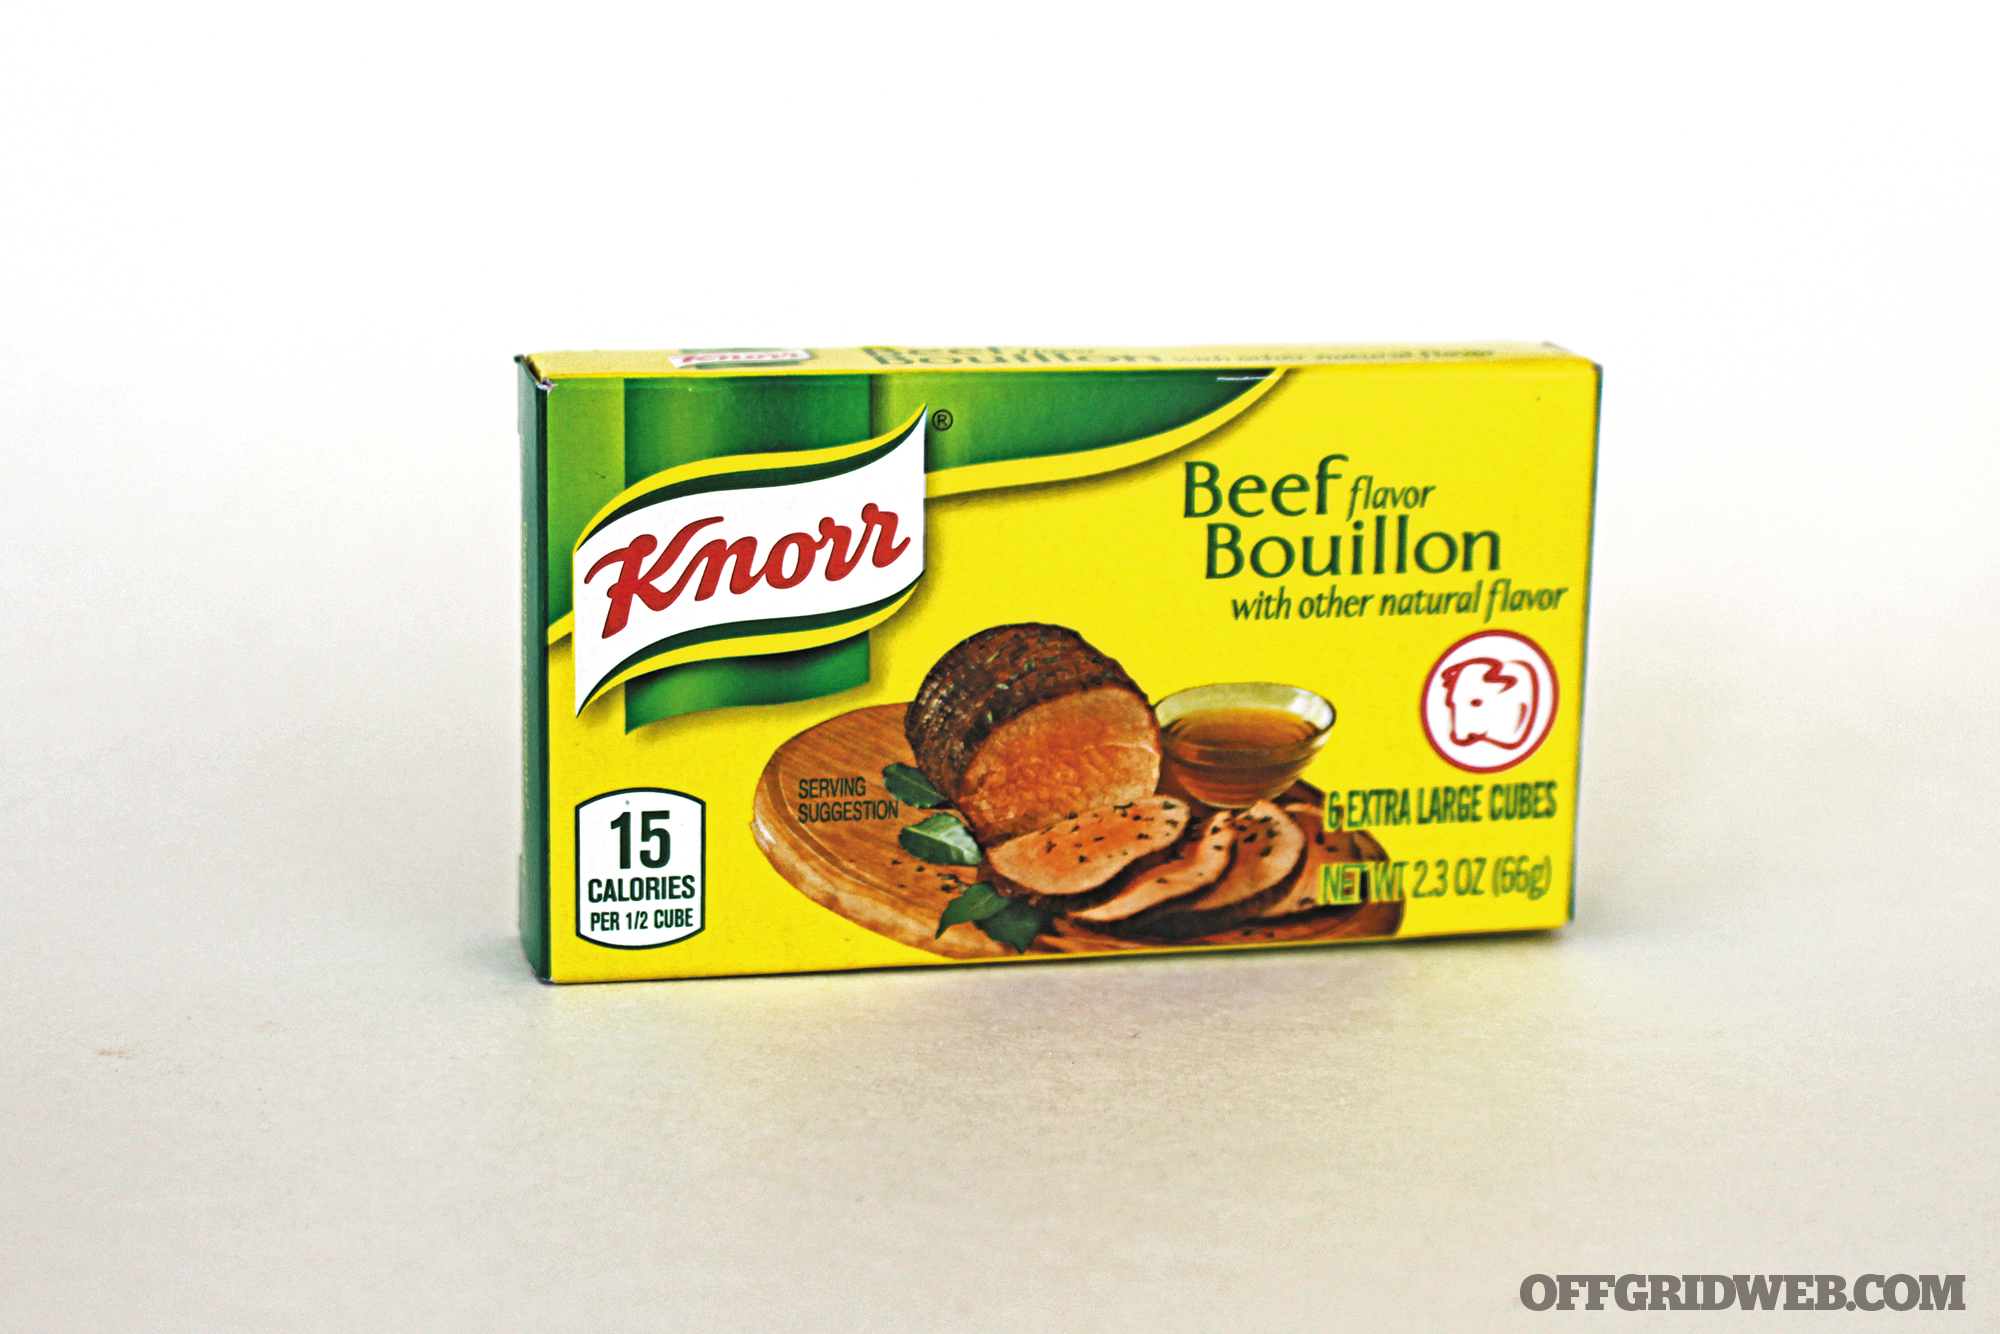
1. Bouillon Cubes

Bouillon cubes are tightly packed dehydrated cubes of meat stock, vegetables, fat, and seasonings. Because bouillon cubes have large amounts of salt — a single 12-gram cube can provide 92 percent of your daily sodium intake — they can last for ages. They’re small and easily portable, so a few should always be stashed in your go-bag, as they can quickly be turned into a broth or a soup. Though they don’t offer much in the way of calories, add one to any stew, pasta, rice, or pot of vegetables.
These will only last forever if they’re properly packed in vacuum-packed bags because any exposure to air will cause them to absorb moisture and begin to spoil.
However, a word of caution: Bouillon cubes contain a great deal of monosodium glutamate (it’s the third ingredient behind salt and palm oil). For those sensitive to MSG, side effects can include headaches and chest pains.
Beef Bouillon Rice
4 cups water
2 cups uncooked white rice
2 cubes beef bouillon
(chicken optional)
In a saucepan bring water to a boil. Add rice and bouillon and stir. Reduce heat, cover and simmer for 20 minutes. Mix well before serving.
2. Baking Soda
Used primarily as a leavening agent in baking, its prime ingredient is sodium bicarbonate, which is a technically a salt combined with a hydrogen carbonate ion. However, it can be used as a toothpaste, antacid, deodorant, dish soap additive, household cleaner, and even a fire extinguisher.
Like the box says, “hundreds of uses,” that is, as long as you properly store it (vacuum pack it). Any moisture that reaches the baking soda will send it down the road to spoilage. Though there’s an expiration date on the back of the box (ours says it’s good until the next decade), if properly sealed to keep out moisture, baking soda will stay potent for a lifetime. To test it, add one teaspoon of baking soda into three tablespoons of vinegar. If the mixture bubbles, your baking soda is still potent enough to use for baking.
Since baking soda absorbs flavors (like the one that’s been in the back of your mom’s fridge since you were 12), it’ll eventually go bad, even if it’s left in its box and unopened. It’s best to repackage it in a vacuum-sealed container.
Nausea Remedy
8 ounces water
½ teaspoon baking soda
1 teaspoon vinegar
Stir well the baking soda in the water. Add in the vinegar. Wait for the bubbles to die down and drink it all in about 10 seconds. If there’s no improvement in 15 minutes, drink another glass (with slightly more baking soda in it).
3. Hard Alcohol
No one will blame you if you want a stiff drink after witnessing a total apocalypse, but make sure to save some ethanol for the future. Because liquor is made from the fermentation of grains and fruits (and then distilled), it has a high ethanol content, making it completely uninhabitable for microorganisms. So, it’ll last forever (as long as you’re not a raging alcoholic).
Researchers exploring a 19th-century sunken vessel in the Baltic Sea found several cases of champagne, and when one of the corks popped off because of the change in pressure, they all enjoyed a very refreshing drink.
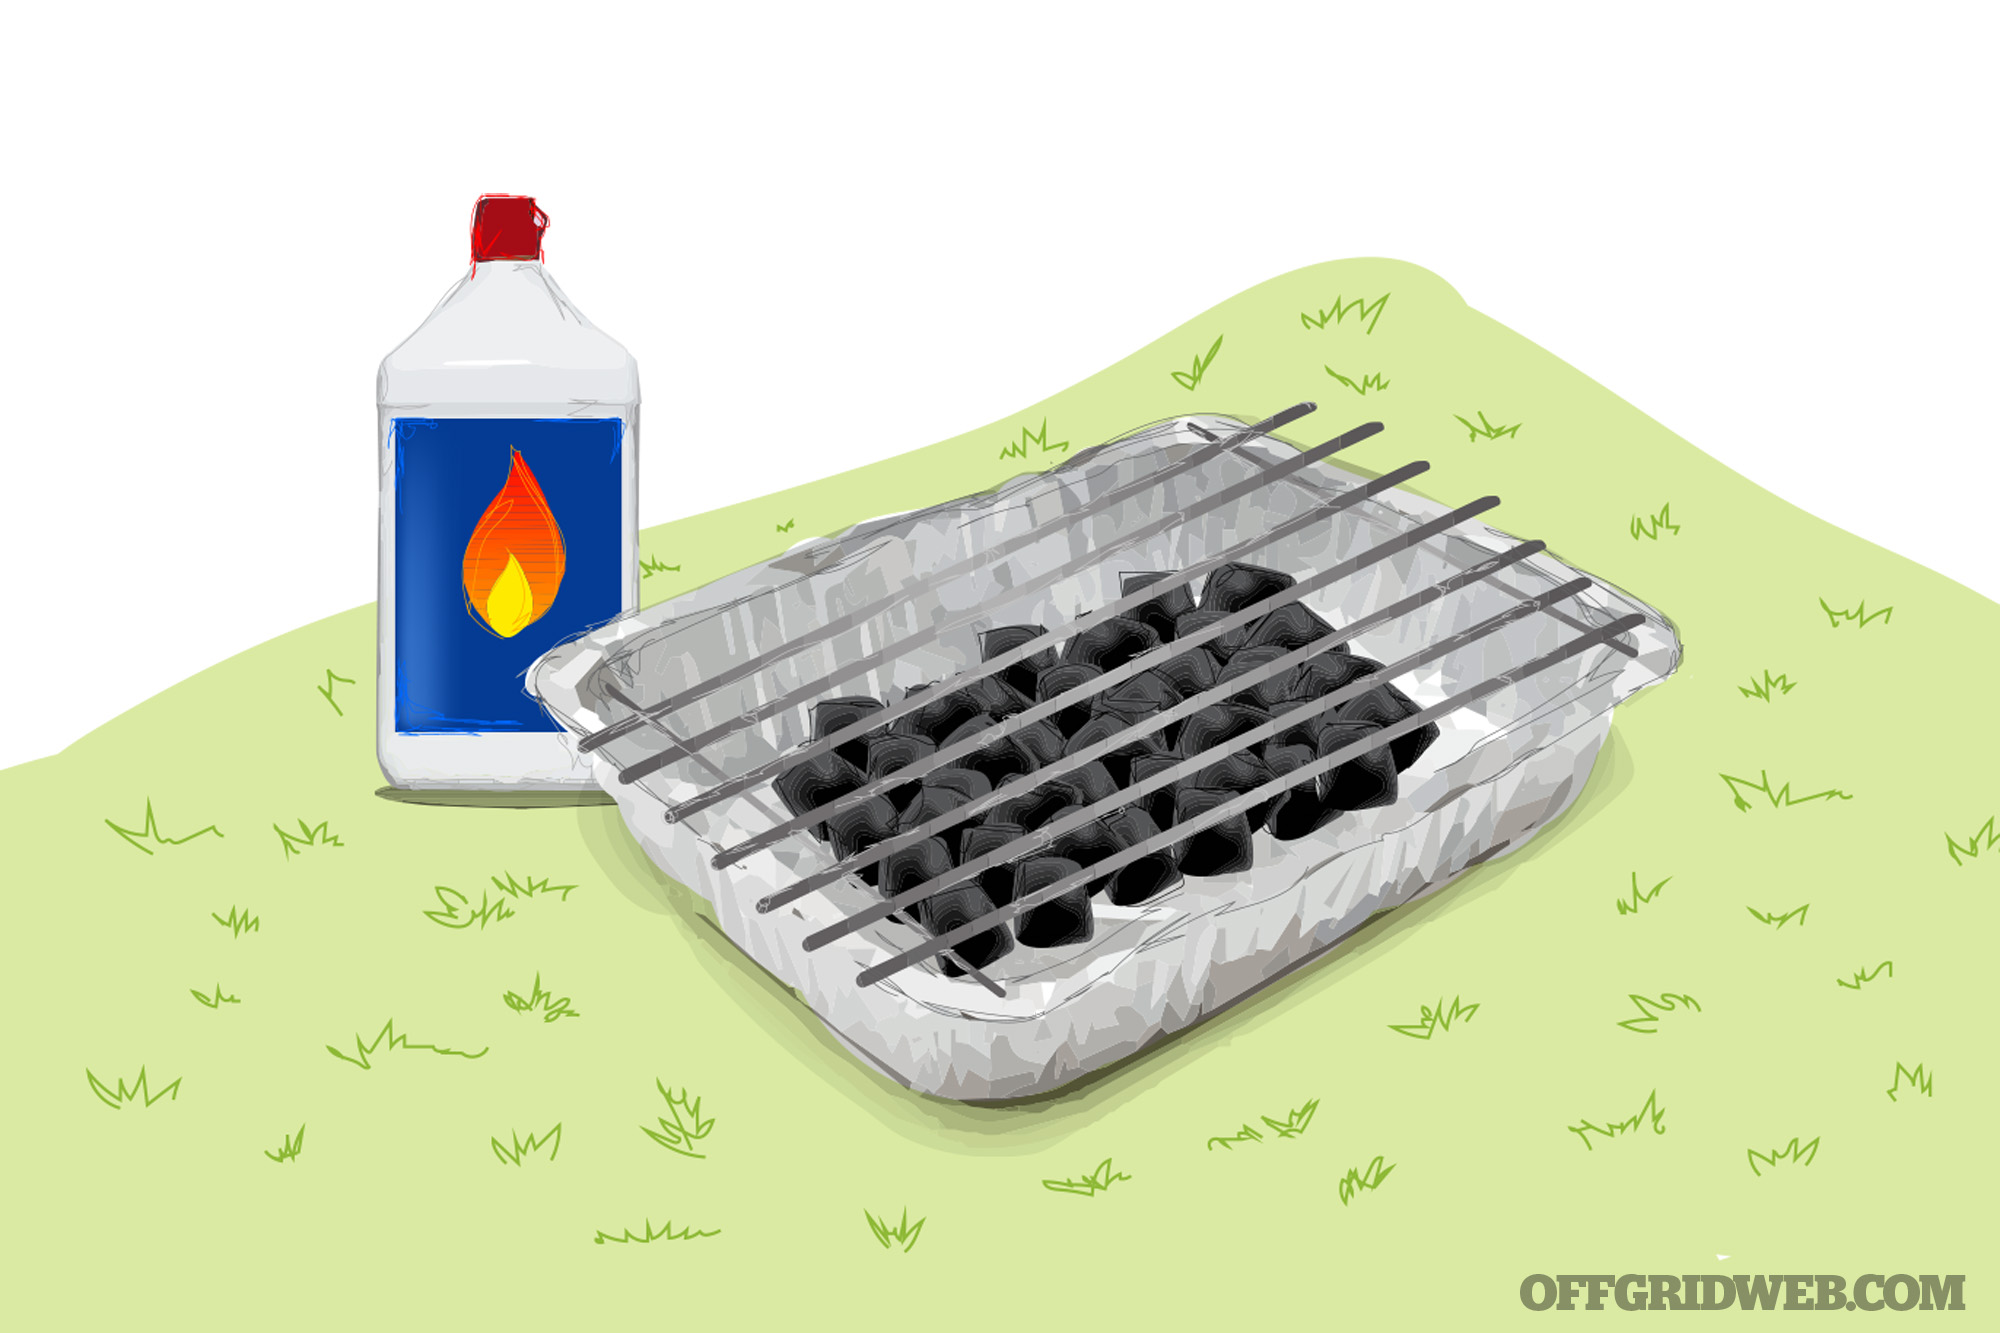
Grain alcohol has a multitude of uses and can never go bad (just keep the cap on it and keep it cool and in a dark place). Not only can it be used to barter for other stuff, but it can be used to start fires, as an antiseptic, to sterilize medical instruments, as a bug repellent, and even to clear the sinuses, among many other uses.
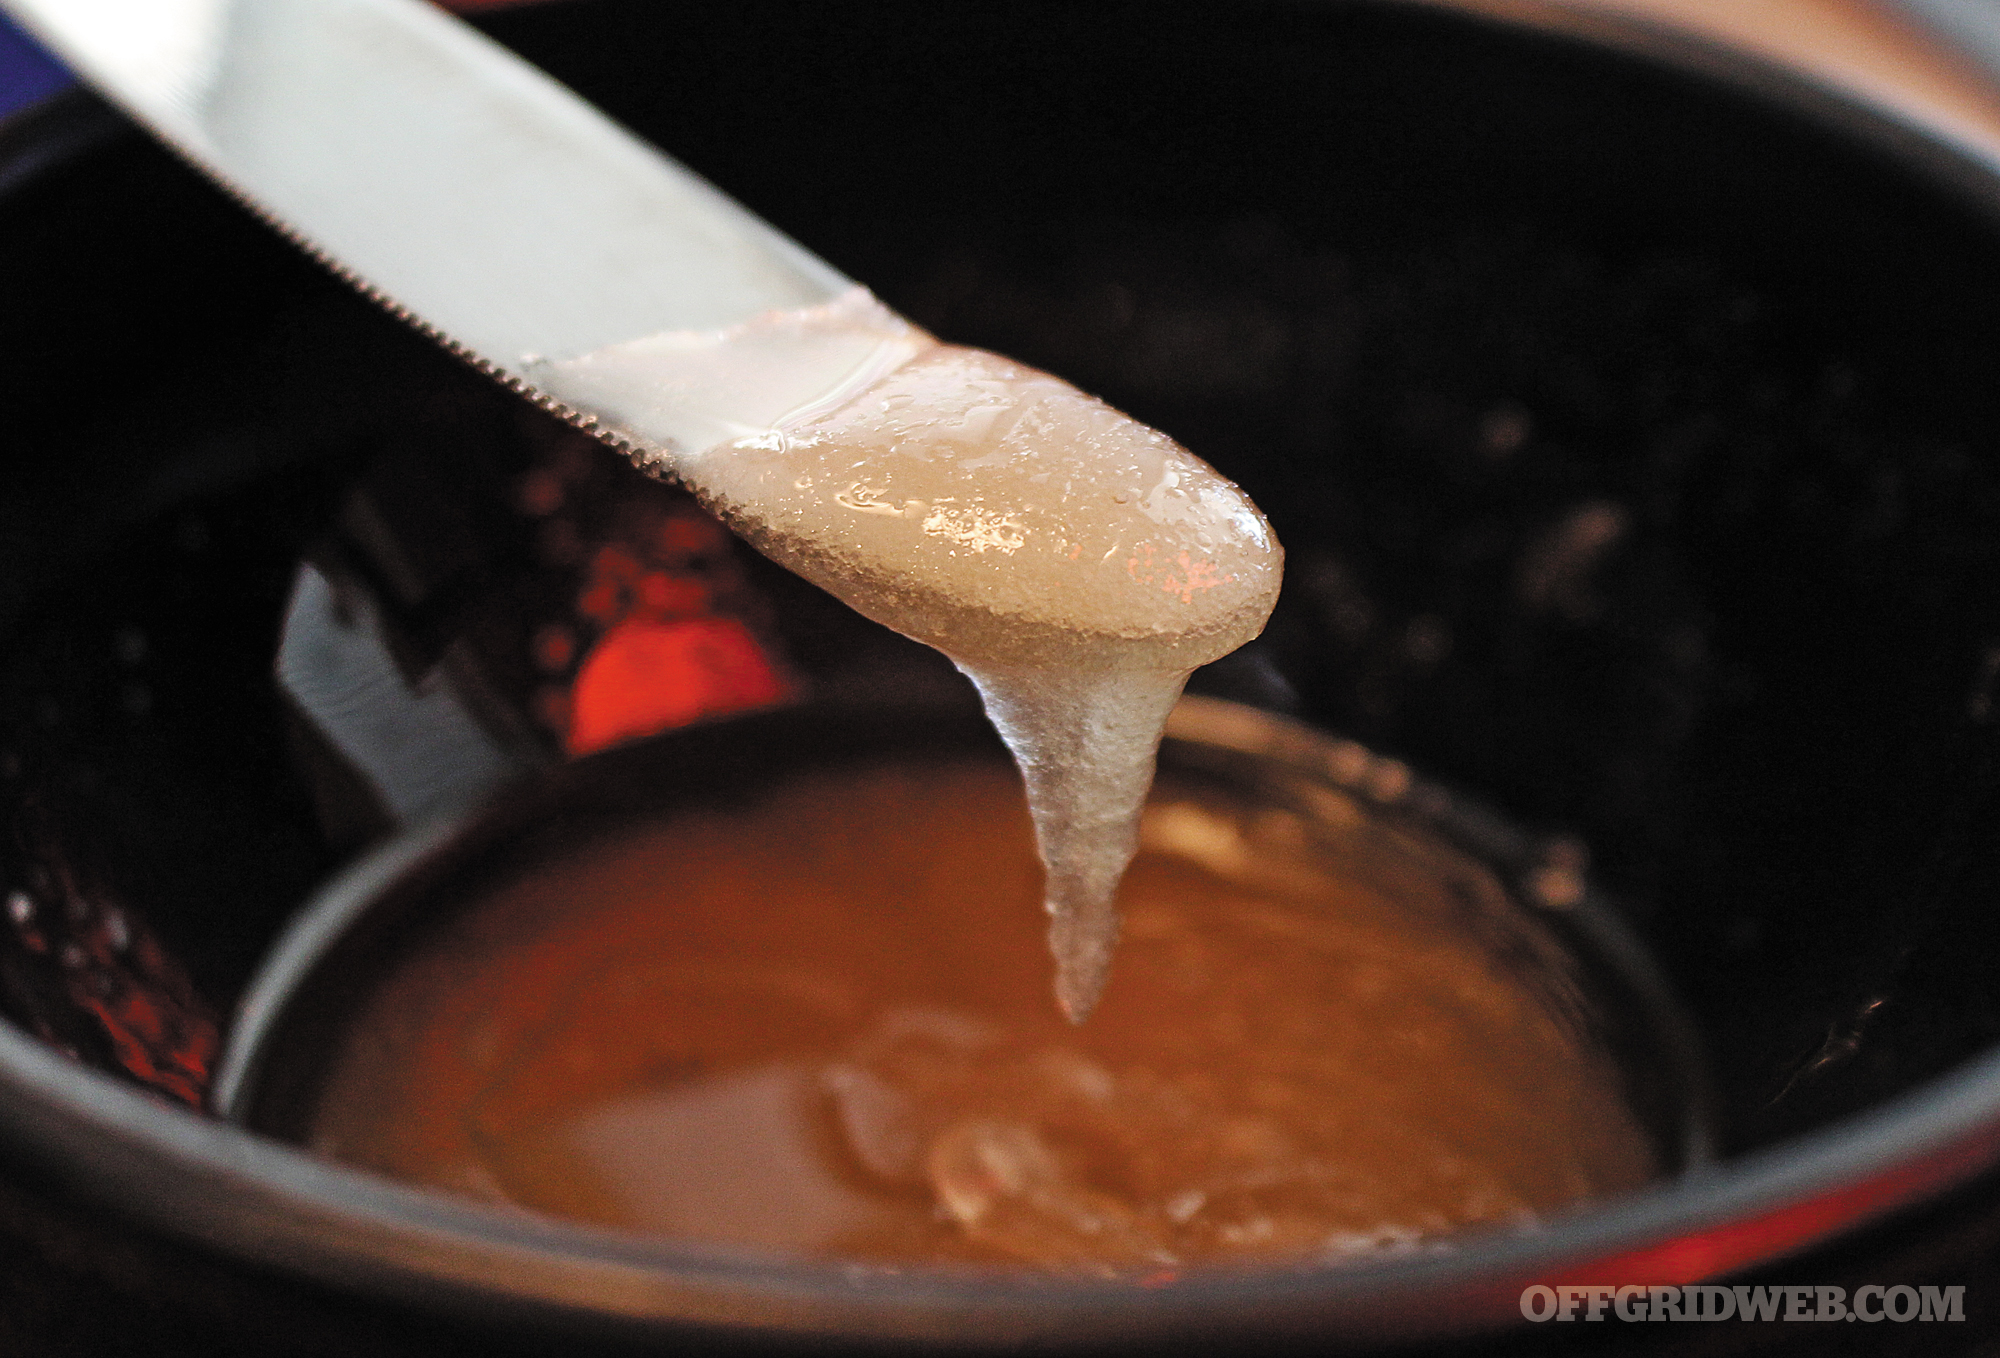
Whiskey Cough Syrup
1 cup brown sugar
1 cup vinegar
1 cup honey
1 pint of whiskey
Boil brown sugar, vinegar, and honey for about 25 minutes or until thick. Let cool to room temperature. Pour in the whiskey and use as needed. For a sore throat or a cough, take two tablespoons before bed.
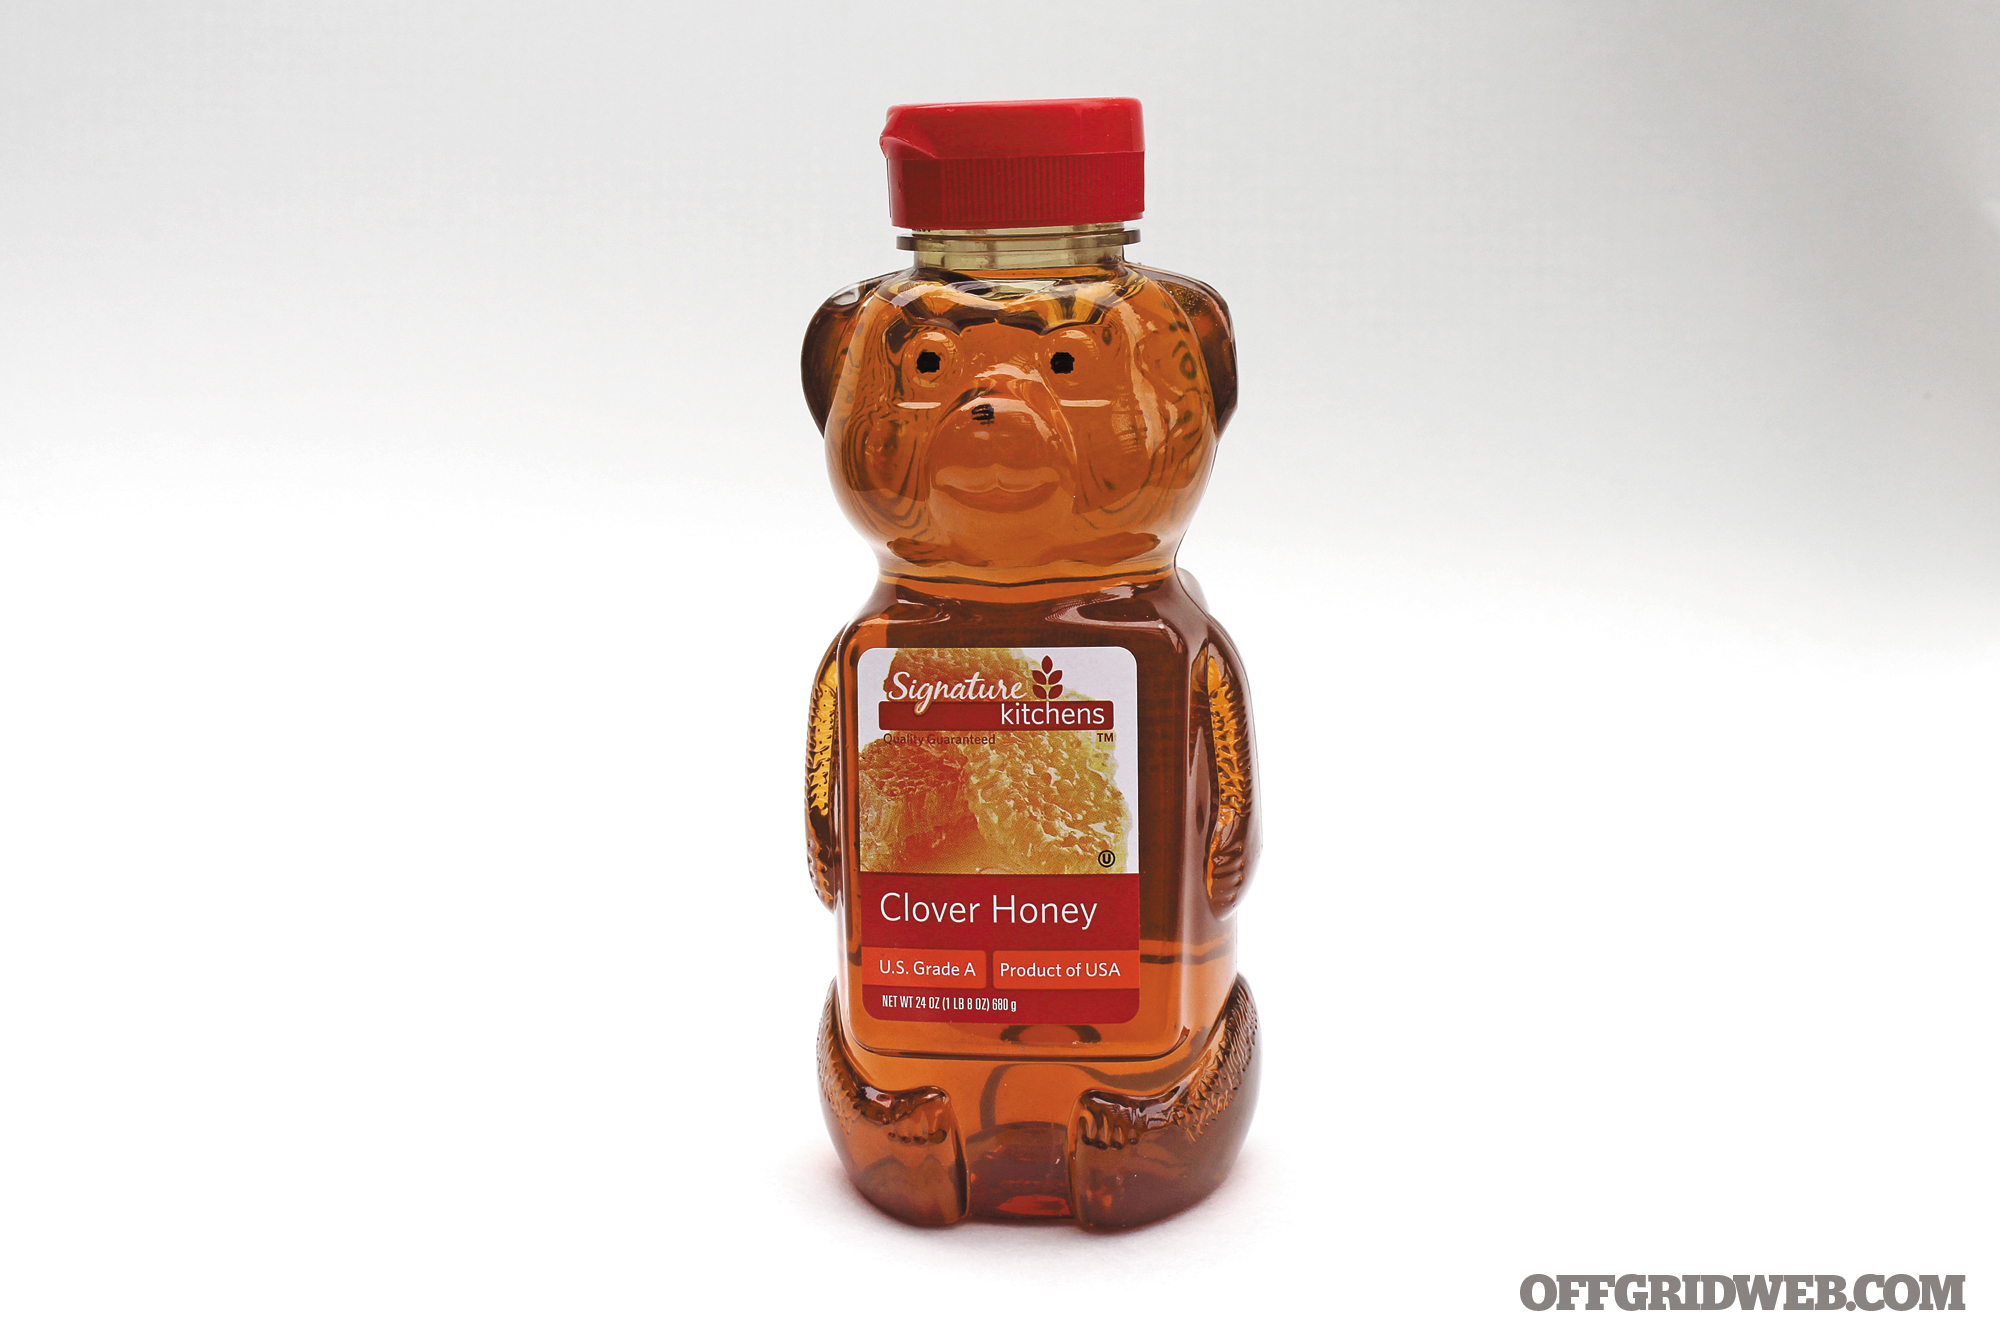
4. Honey
Despite being a thick liquid at room temperature, honey has an extremely low water content, making it hygroscopic, meaning it absorbs water very well because it’s so dry. Honey has been collected by man for thousands of years, as it’s probably one of the oldest known non-meat foods. A jar of honey was found in an Egyptian tomb, and it was completely edible (and delicious), and future archeologists will likely find little honey bear jars long after society crumbles.
Bees process pollen into honey (it’s bee vomit actually), which is 80-percent pure sugar. It contains protein, Vitamin B, various minerals (calcium, phosphorus, fluoride), and antioxidants, such as flavonoids, ascorbic acid, catalase, and selenium. Natural enzymes found in honey are saccharase, amylase, and glucose oxidase, which produce a natural antibacterial.
Honey has many uses besides adding sweetness to foods; it’s a preservative used in canned goods and a hangover cure (helping metabolize alcohol). It soothes bug bites and burns. It can be used to help relieve nausea (see No. 2). Taken regularly, it reportedly can boost the body’s natural immune system. Mostly unknown in modern times, honey can be used to treat wounds (see sidebar).
Honey is affected by light and temperature, but not permanently. Even though it might crystalize under certain adverse circumstances, it’s still completely edible.
Helpful Honey Milk Sleep Aid
6 ounces warm milk
1 drop vanilla extract
1 teaspoon honey
Gently stir in the honey and vanilla to the milk. Drink right before bed.
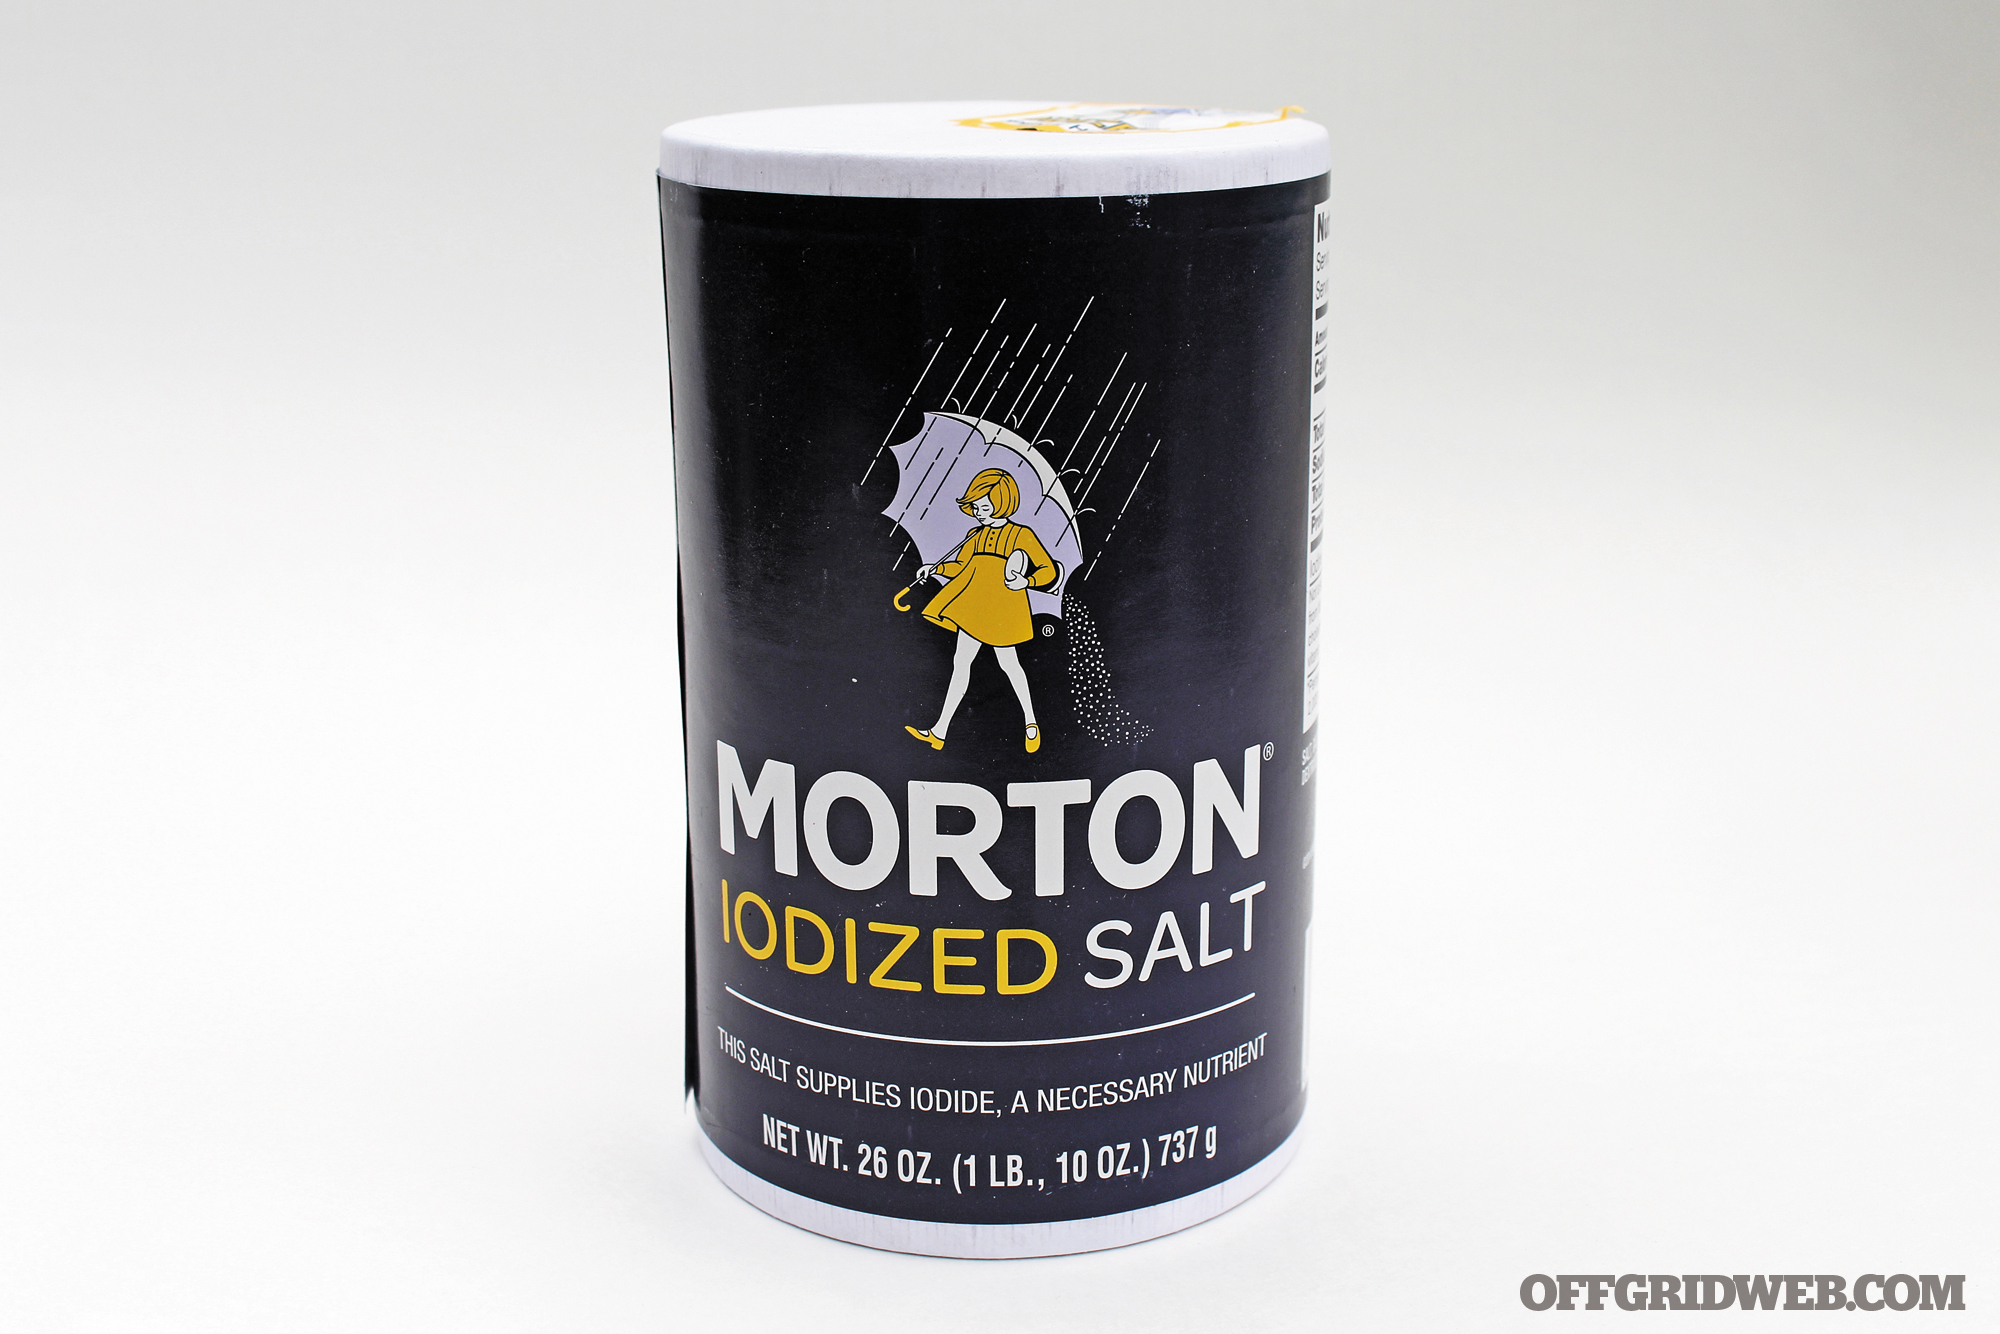
5. Salt
Salt can never go bad because it isn’t actually a food. It’s a mineral. Like your granite countertop, it’ll never spoil. It was used as a form of currency nearly 10,000 years ago (and can be again if society comes to a screeching halt), and has even caused a war or two — see the San Elizario Salt War.
A chemical compound of sodium and chlorine and essential for life on Earth, salt has been used as a food preservative and a seasoning since the dawn of recorded civilization. Only about 6 percent of salt is used in food. Most of the rest is used in manufacturing. However, it has many uses around the house. It can be used to remove rust, clean pots and pans, soothe sore throats, clean as a toothpaste, and melt ice on sidewalks.
Salted Pork
½ pound salt
¼ cup sugar
12 pounds pork
12 mason jars
Mix together the salt and brown sugar. Cut the meat into 4- to 6-inch slabs and coat the pieces with the salt/sugar mixture. Pack the meat into the sterilized jars. Keep at a temperature between 36 and 38 degrees F for one month.
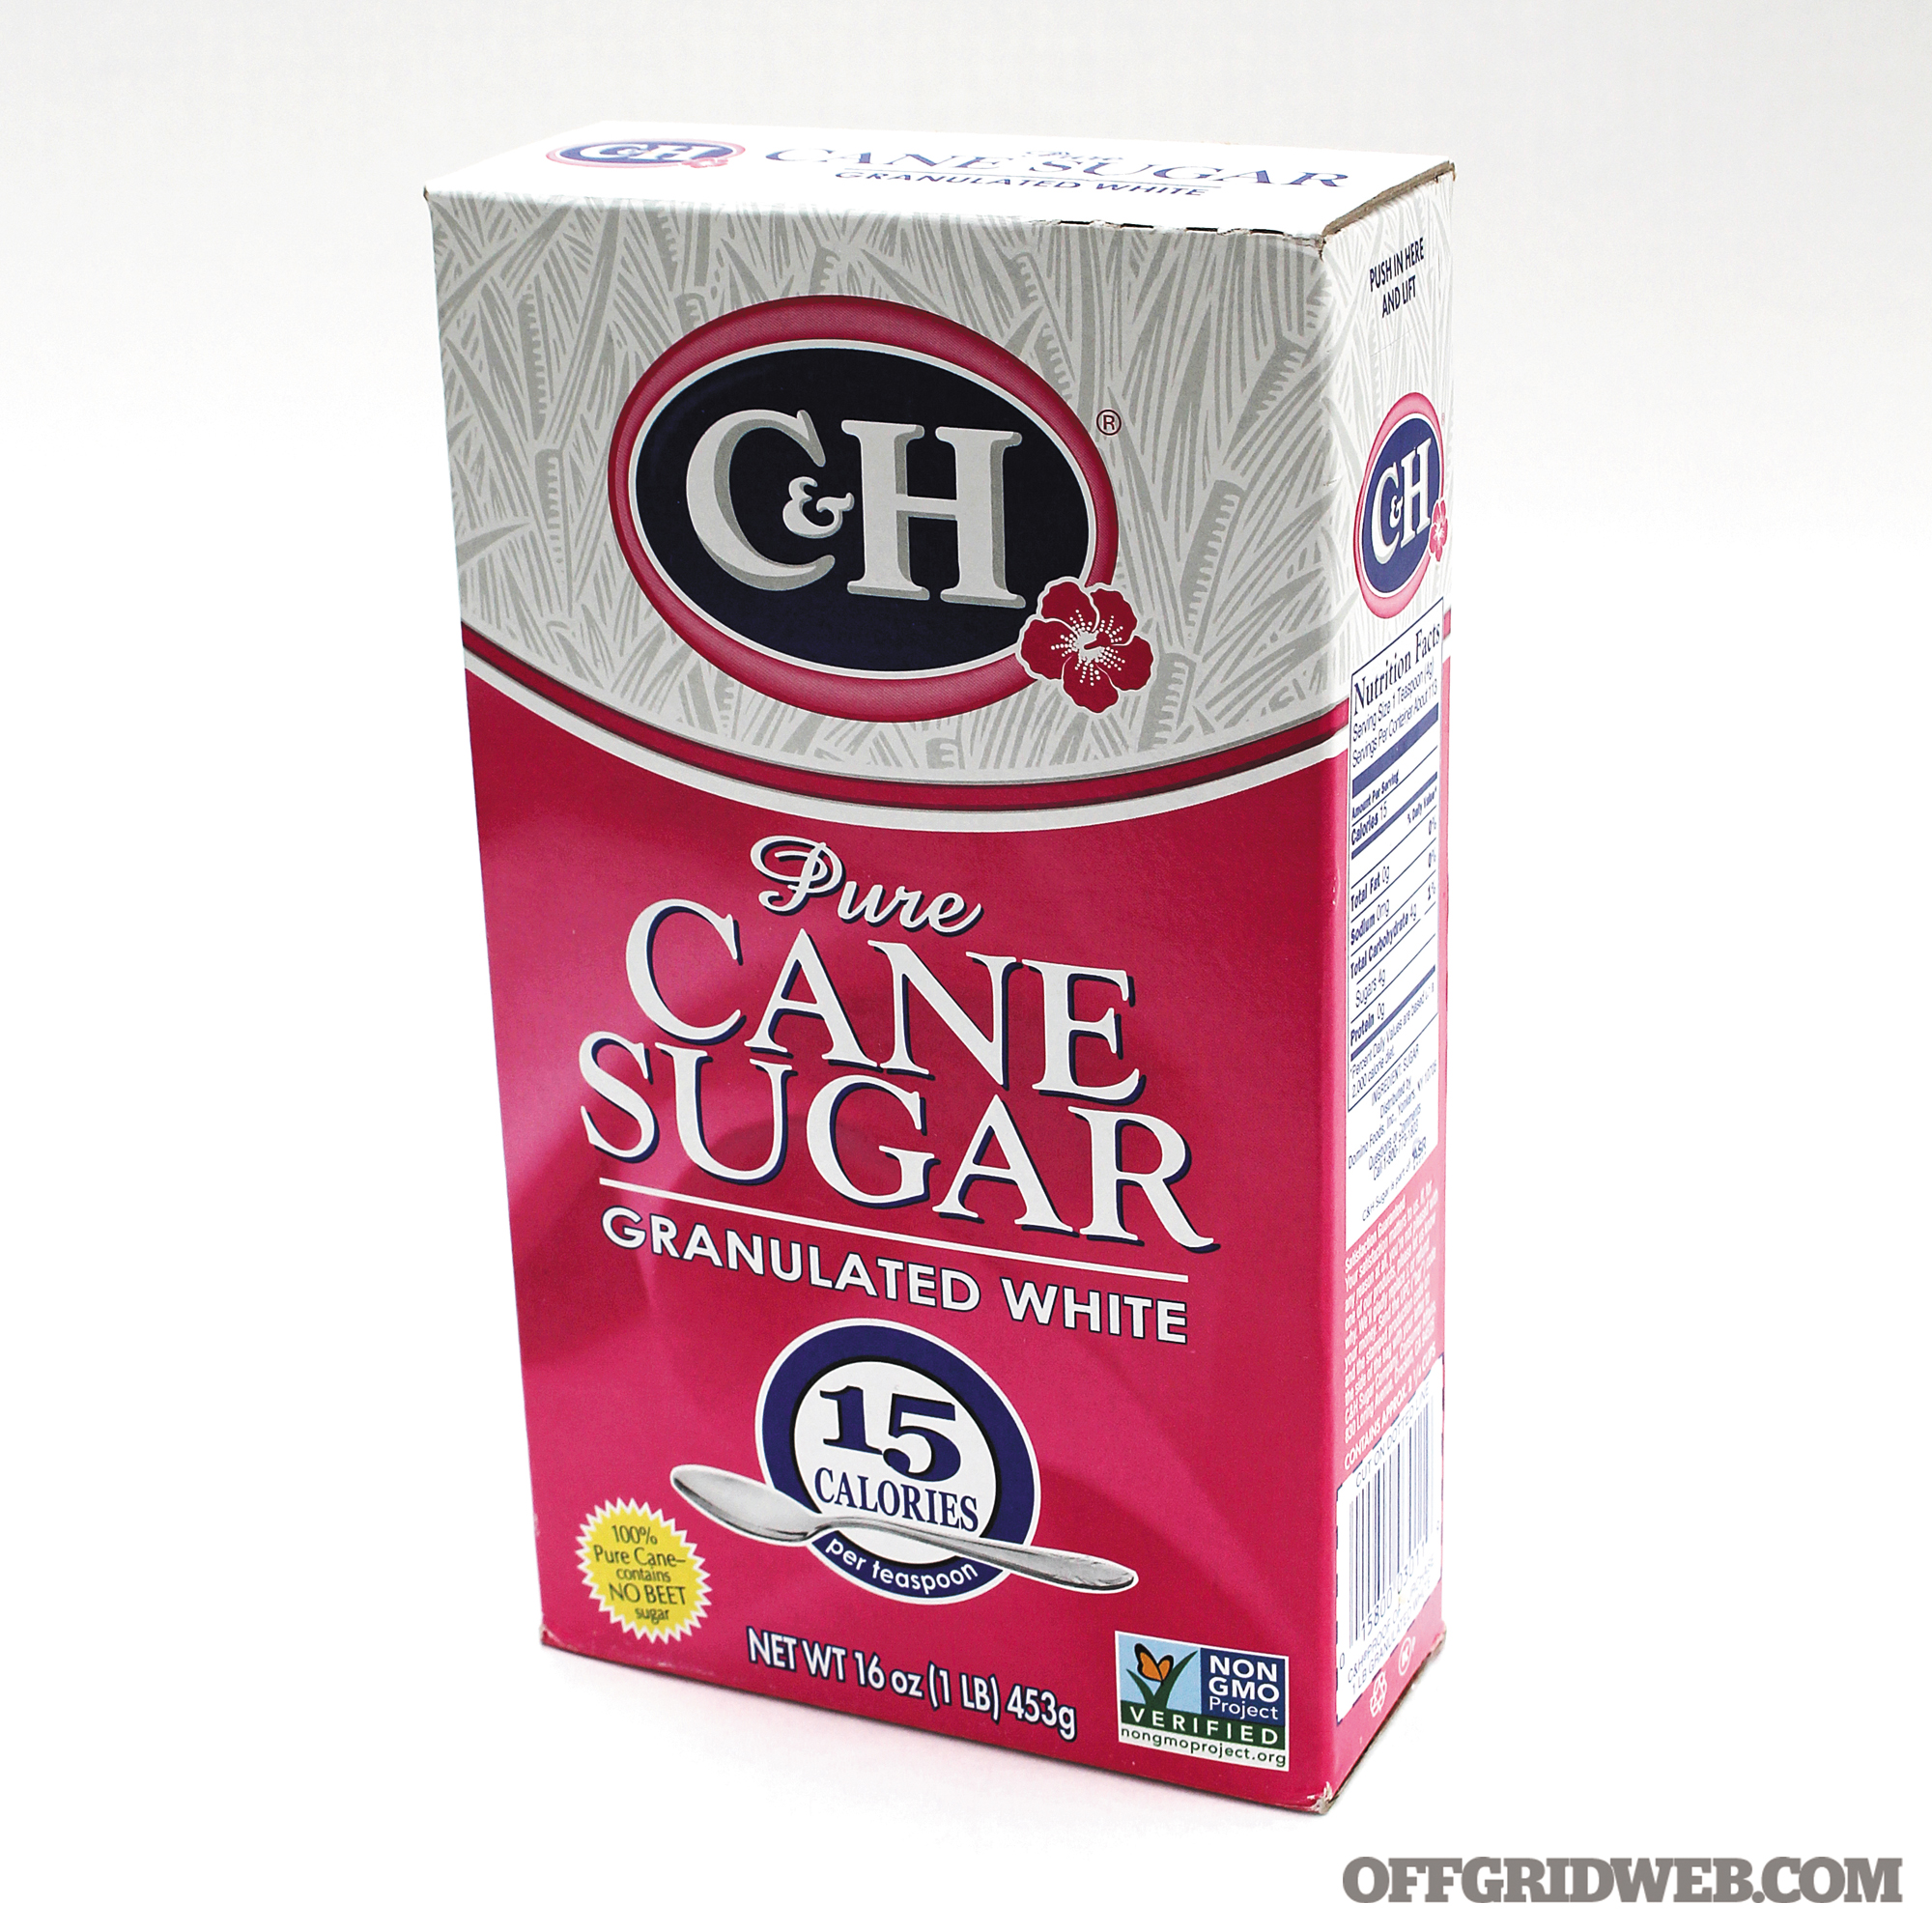
6. Sugar

Similar to honey, sugar, which includes most of its forms (powdered sugar and corn syrups), can last forever. Known by a wealth of names — glucose, dextrose, fructose, and galactose (monosaccharides), just to name a few — simple sugar is a short-chain, soluble carbohydrate composed of carbon, hydrogen, and oxygen. It’s commonly derived from sugarcane and sugar beets, which are cultivated in tropical climates around the world. It can then be converted into a variety of products from simple granulated table sugar to syrups and other powders.
There are certain methods to helping it through time. Don’t store it in its original packaging as moisture will quickly ruin it. Contrary to that, don’t vacuum seal all of the oxygen out of the package either as it’ll turn into one big rock (which will still be edible, though). Place it in airtight bags and store in a cool, dry place (off of concrete floors and away from anything that has a strong odor).
Remember that sugar isn’t a health food. It’ll provide you with a kick of energy and definitely makes flavorless foods easier to eat. It contains very little nutritional value besides calories (hence the energy). It can be a valuable asset to your cache for its tradability and as an ingredient found in many comfort foods.
Hard Candy
3¾ cups sugar
1½ light corn syrup
1 cup water
1 tablespoon flavored extract
Dissolve sugar in the corn syrup and water over high heat. Bring to a boil. Heat the mixture to 300 to 310 degrees F. Remove from the heat, stir in the flavored extract, and pour into a greased cookie sheet. Let cool. Break into pieces.
7. Rice

The only things that keep rice from becoming inedible are bugs that might get into it. Barring that, white, wild, Arborio, jasmine, and basmati rice will last indefinitely in an airtight container (or in its original bag, or whatever, really). Brown rice has a high oil content and will spoil over time, so avoid it. Regular white rice is a cereal grain that is the world’s most widely consumed food on a daily basis, as it provides one-fifth of human’s calorie intake.
Naturally gluten free, it’s a great source of calories and is cheap to hoard in large quantities. One pound of cooked rice contains 590 calories (200 per cup). It contains large quantities of vitamin B, manganese, phosphorus, and zinc.
Simple Rice Side
3 cups water
2 cups white rice
½ teaspoon salt
If you don’t own a rice cooker or if you’ve lost electricity, try this: Bring the salted water to a boil. Stir in rice and return to a boil. Cover and let simmer for about 15 minutes. Remove from heat and let stand (covered) for 5 minutes.
8. Instant Hot Cocoa/Coffee

Nothing boosts morale like a hot cup of coffee in the morning or a soothing mug of cocoa at night. Packets of individual instant coffee and hot cocoa are freeze-dried. The process of freeze-drying is where all liquids are vaporized from frozen coffee so it goes directly to a powder state. This sacrifices some of the original taste (but it’s supplemented before packaging). After that, as long as the packets aren’t punctured, it’ll last the ages.
Besides improving energy levels, coffee contains a host of nutrients — i.e. riboflavin, manganese, potassium, niacin, and magnesium — and massive amounts of antioxidants. As well, it has proven to fight depression and relieve stress (something every survival situation has in spades).
Cocoa contains over 700 known compounds, including antioxidants and polyphenols, such as anthocyanins and flavanols. These naturally occurring substances not only protect the cells of our bodies from premature destruction, but they also help to reduce the risk of killer diseases. Cocoa is rich in agents that enhance the production of various feel-good chemicals in the brain, notably serotonin and dopamine. This means that cocoa possesses anti-depressant, mood-elevating properties.
If the purity of your water is in doubt, boil it then make coffee or cocoa with it.
Swiss Mocha Beverage Mix
1 cup instant coffee
1 cup granulated sugar
2 cups powdered milk
4 tablespoons cocoa powder
Mix ingredients thoroughly and blend to a fine powder. To use, add approximately 2 rounded teaspoons per cup of boiling water (or to taste).
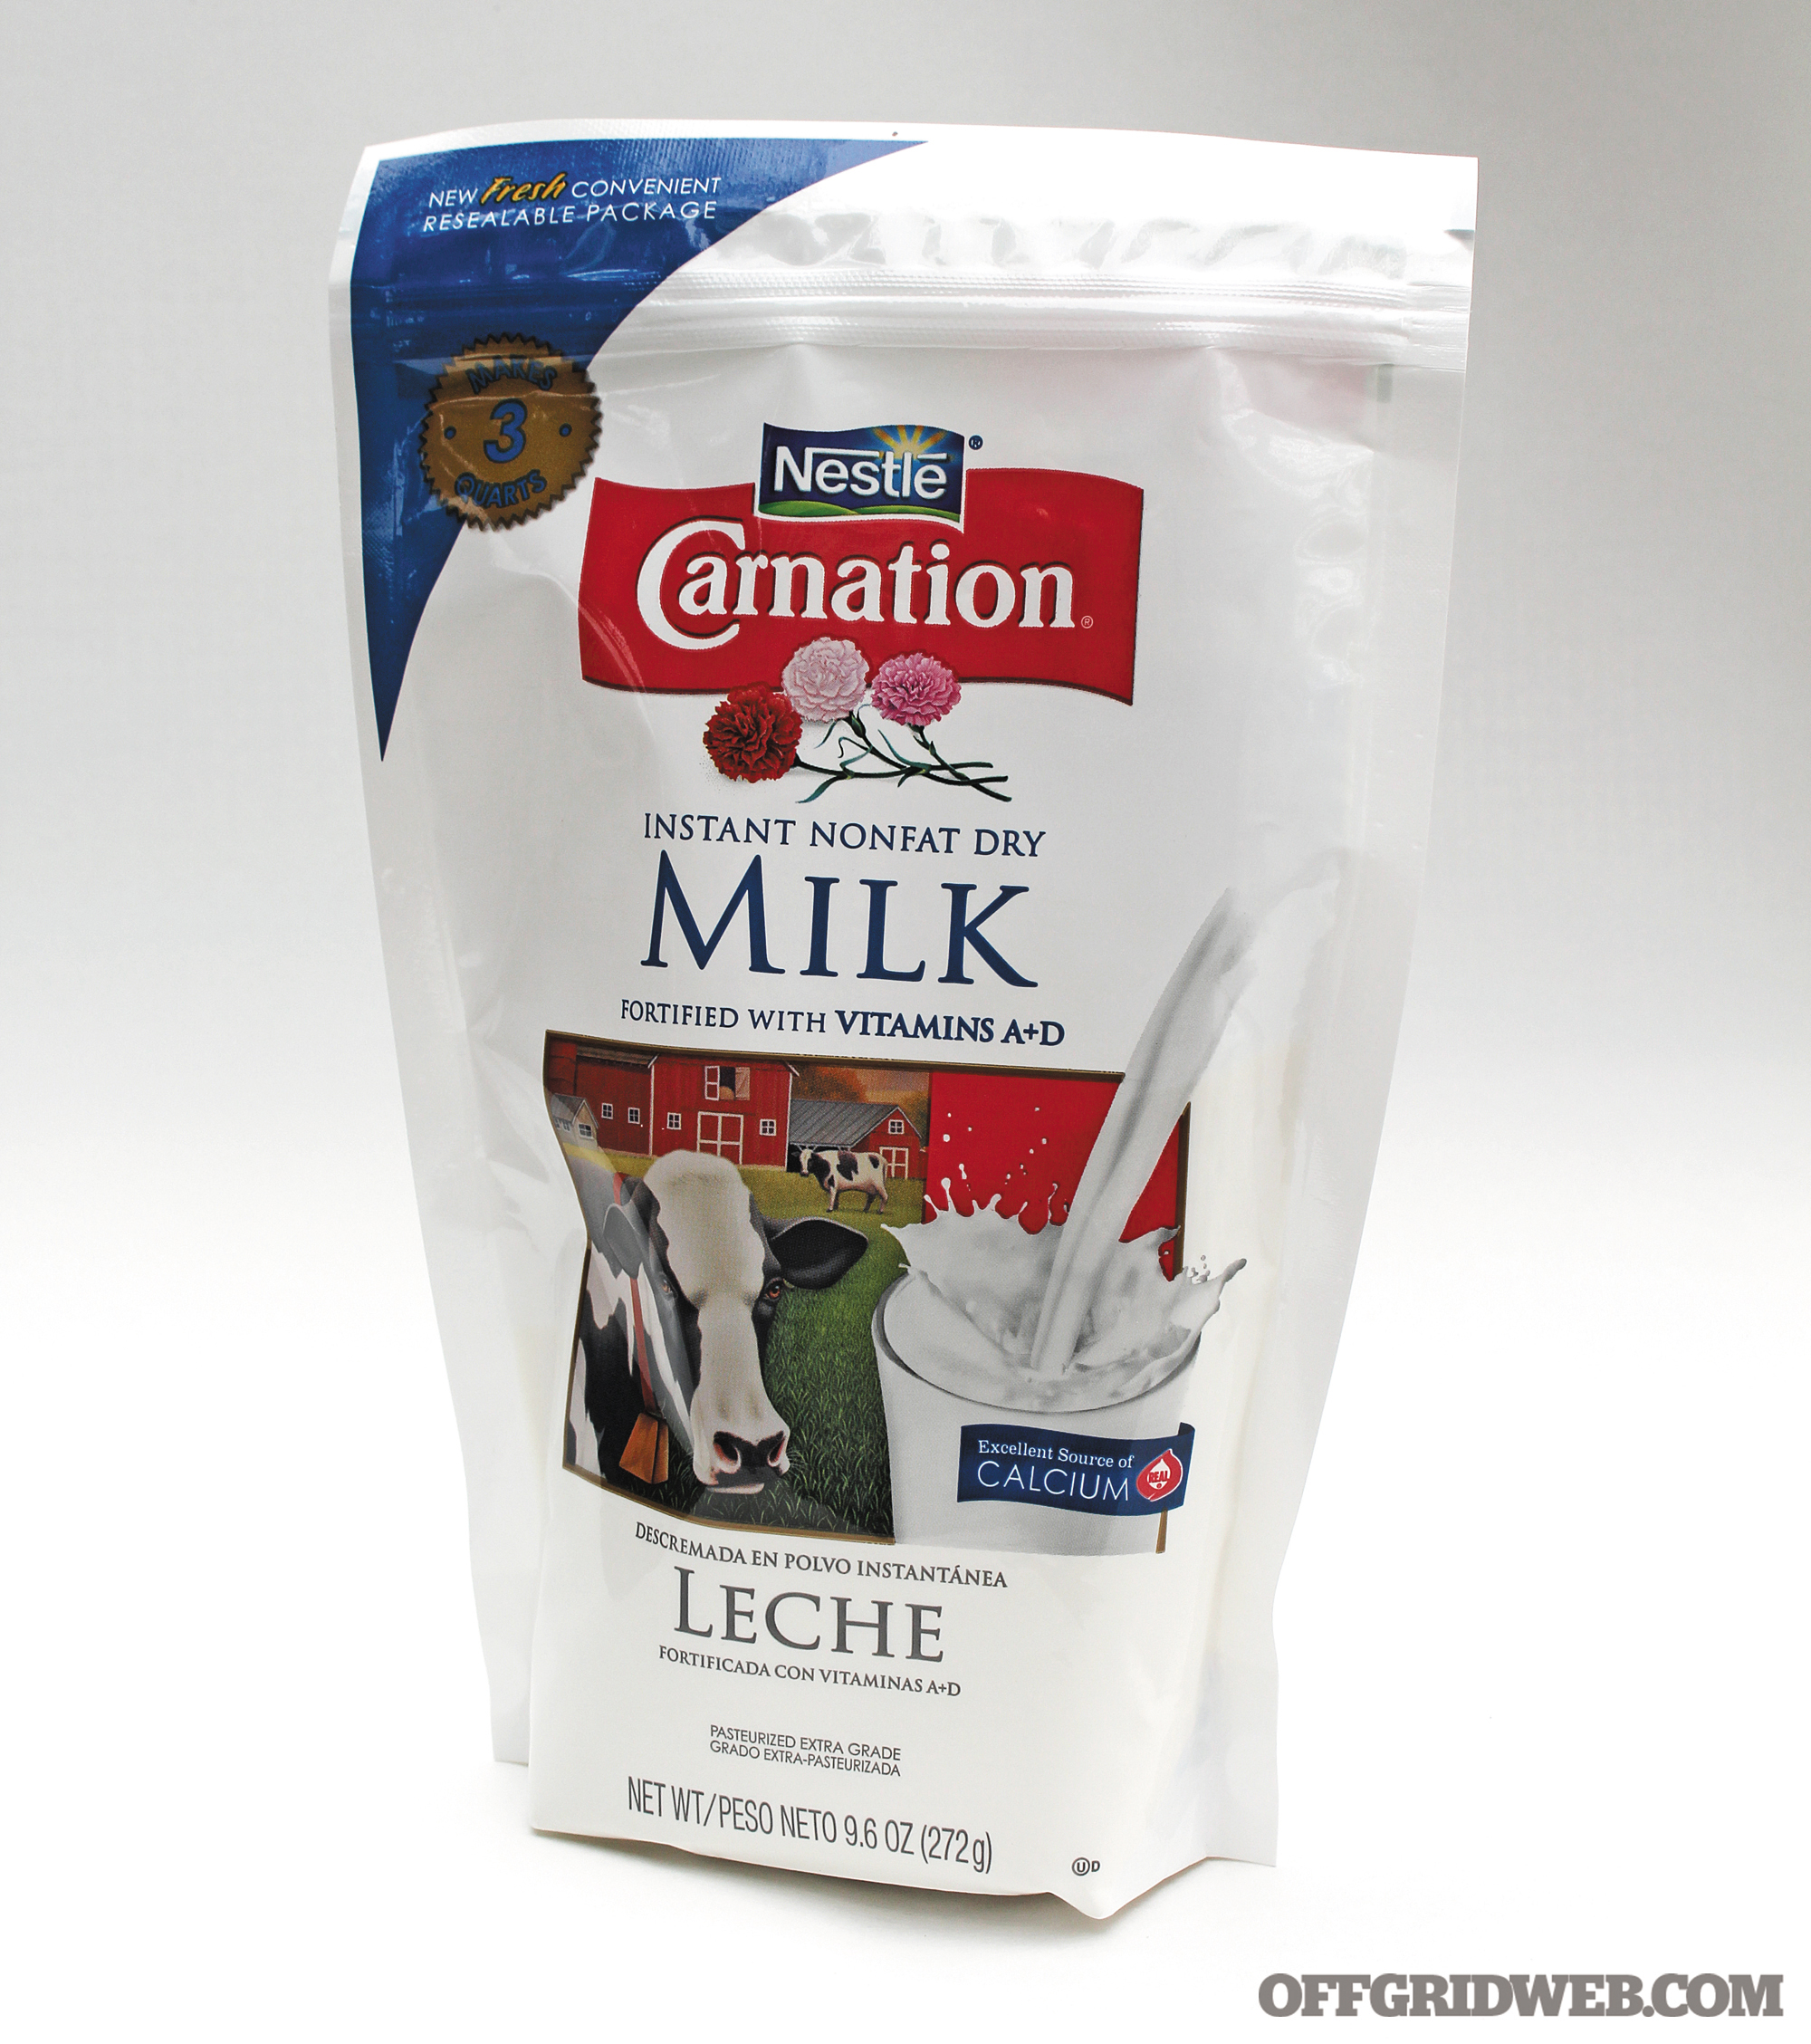
9. Powdered Milk

Powdered milk (aka dry milk) is normal milk that has been heated so the liquids evaporate, and once the liquids are removed from anything, it drastically increases the shelf life — in this case, indefinitely. This is especially true if kept in an airtight container in a cool, dry place. If freezing it, use a vacuum-sealed container to remove as much air as possible.
There are two kinds: dry milk and instant dry milk. Dry milk can be turned into yogurt, cream cheese, and sour cream, whereas instant dry milk cannot. Conversely, instant dry milk is readily available, but regular dry milk can be difficult to find.
Powdered milk contains a host of vitamins such as A, D, E, and K, but they’re added back into the powder. It contains a great deal of proteins, amino acids, and carbohydrates, such as lactose and glucose. Lactose also helps your body absorb calcium but, of course, poses a problem for people who are lactose intolerant.
Dry Chocolate Pudding Mix
1¾ cups sugar
2½ cups instant dry milk
1¼ cups flour
1 teaspoon salt
1 cup cocoa powder
Stir the ingredients together until well mixed. Store in a tightly covered container in a cool place. Makes enough mix for 24 servings.
10. Dried Beans

Beans are classified as legumes and aren’t technically a vegetable. Basically, they’re seeds — although, sometimes, the whole pod can be eaten, as in green beans. Because of their low-cost, low-fat, low-cholesterol, and low-maintenance attributes and their high-protein, high-fiber, high-vitamin, and high-versatility characteristics, beans are a great addition to a survivalist’s meal.
Stored in a cool, dry place, dried beans will last — you guessed it — forever. Make sure the container is airtight.
Although beans are one of the most difficult foods for your stomach to digest (hence all the farting), they help regulate blood sugar, lower cholesterol, and are high in iron and vitamin B. They have a balance of complex carbohydrates and protein, providing a slow, steady source of glucose instead of the sudden surge that can occur after eating simple carbohydrates (such as candy).
The downside for some people is that beans trigger migraines or headaches if eaten too frequently. As well, beans may cause gout to flare up because of its high purine content (which increases uric acid).
Simple Chili
1 pound ground beef or turkey
15 ounces diced tomatoes and chilies
15 ounces beans
2 tablespoons chili powder
Stirring frequently, brown the meat in a pan. Drain the excess grease. Add remaining ingredients and stir to combine. Bring to a boil, then reduce heat to medium-low, cover, and simmer for 15 minutes. Serve warm.
Bonus Tip: Sweet Salve
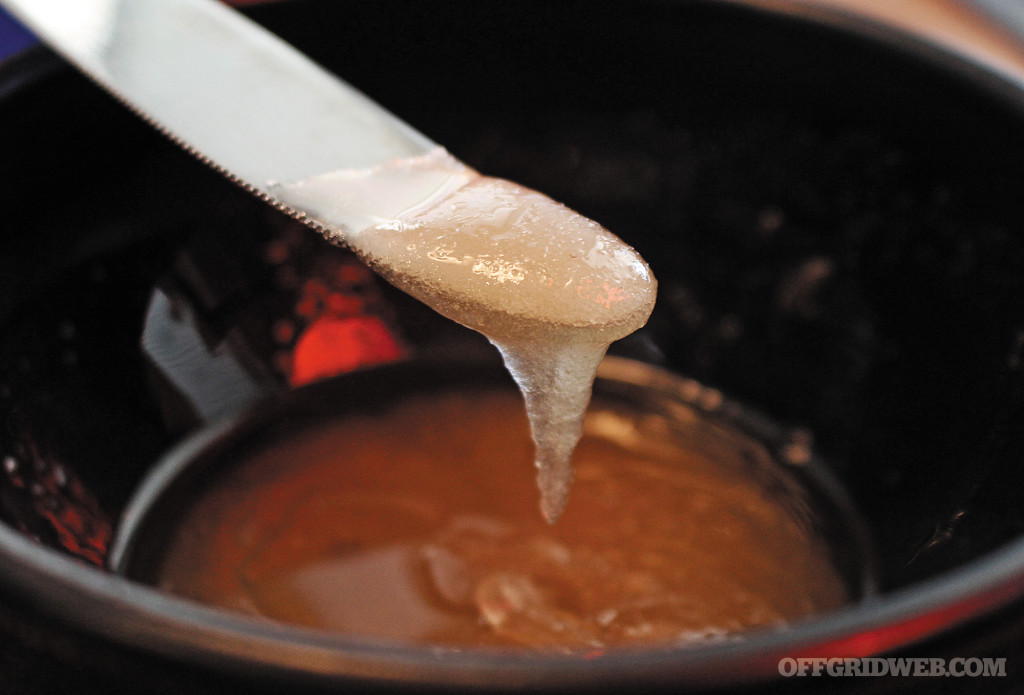
Long before anti-inflammatories and antibacterial medicines, honey and sugar were used effectively to treat wounds, heal burns, and stave off infections, in particular puncture wounds and battle injuries, where a loss of flesh led to prolonged open wounds that could not be easily closed. The use of sugar in treating an open wound is based on its high osmolality, or its ability to draw fluid out of the wound. Reducing water in the wound inhibits the growth of bacteria.
Making a Honey-Based Poultice
To be effective, the wound has to stop bleeding, otherwise the honey and sugar will merely wash away. Also, the wound needs to be clean of all foreign debris such as dirt. The Egyptians washed their injuries with beer, while the Greeks used wine, and the Romans, vinegar. Clean water or a saline solution will suffice.
The sugar and honey are hygroscopic, so they dehydrate all bacteria. Bacteria require moisture to survive and multiply, and a lack of water will result in their death. No bacteria, no infection. The oil, on the other hand, coats the walls of the bacteria cells, blocking their ability to import food and water and export waste. This helps kill bacterial cells as well.
Wound Treatment With Sugar and Honey

Step 1: Clean out the wound with clean water or a saline solution. Pat the area dry and remove all debris or foreign objects.
Step 2: If the wound is especially large, or sugar by itself won’t stay in place, use honey or combine it with sugar and oil to make a poultice.
- 2 tablespoons honey
- 2 tablespoons powdered sugar
- 1 tablespoon cooking oil
Step 3: A thick layer (¼ to ½ inch) is then applied directly inside the wound. Make sure to get the poultice as deep into the wound as possible.
Step 4: Cover with a clean bandage immediately. The bandage will prevent the honey and sugar from leaking out.
Step 5: Change the bandage, clean out the wound, and apply fresh sugar/honey once a day or when you notice the bandages are wet (from the removed fluid).
Conclusion
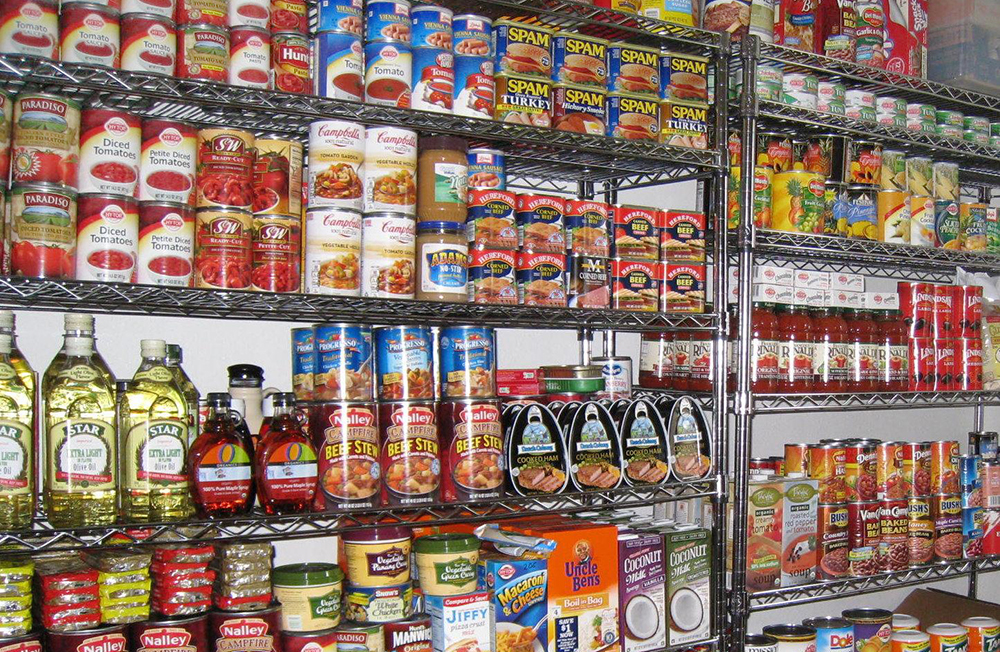
When the end of the world befalls us, there’s an excellent chance your local grocery store is going to be pillaged bare in a matter of hours. Most stores have only a three-day supply of goods on hand before they run dry, which means even in short-term disasters, inventory will be depleted quickly. In any sort of long-term survival situation, forget it. You’re on your own with what supplies you have on hand. Though you should always keep at least a six-month supply of food available, it never hurts to stock up on these foods that will outlast the march of time.
More on Survival Food and Preparation