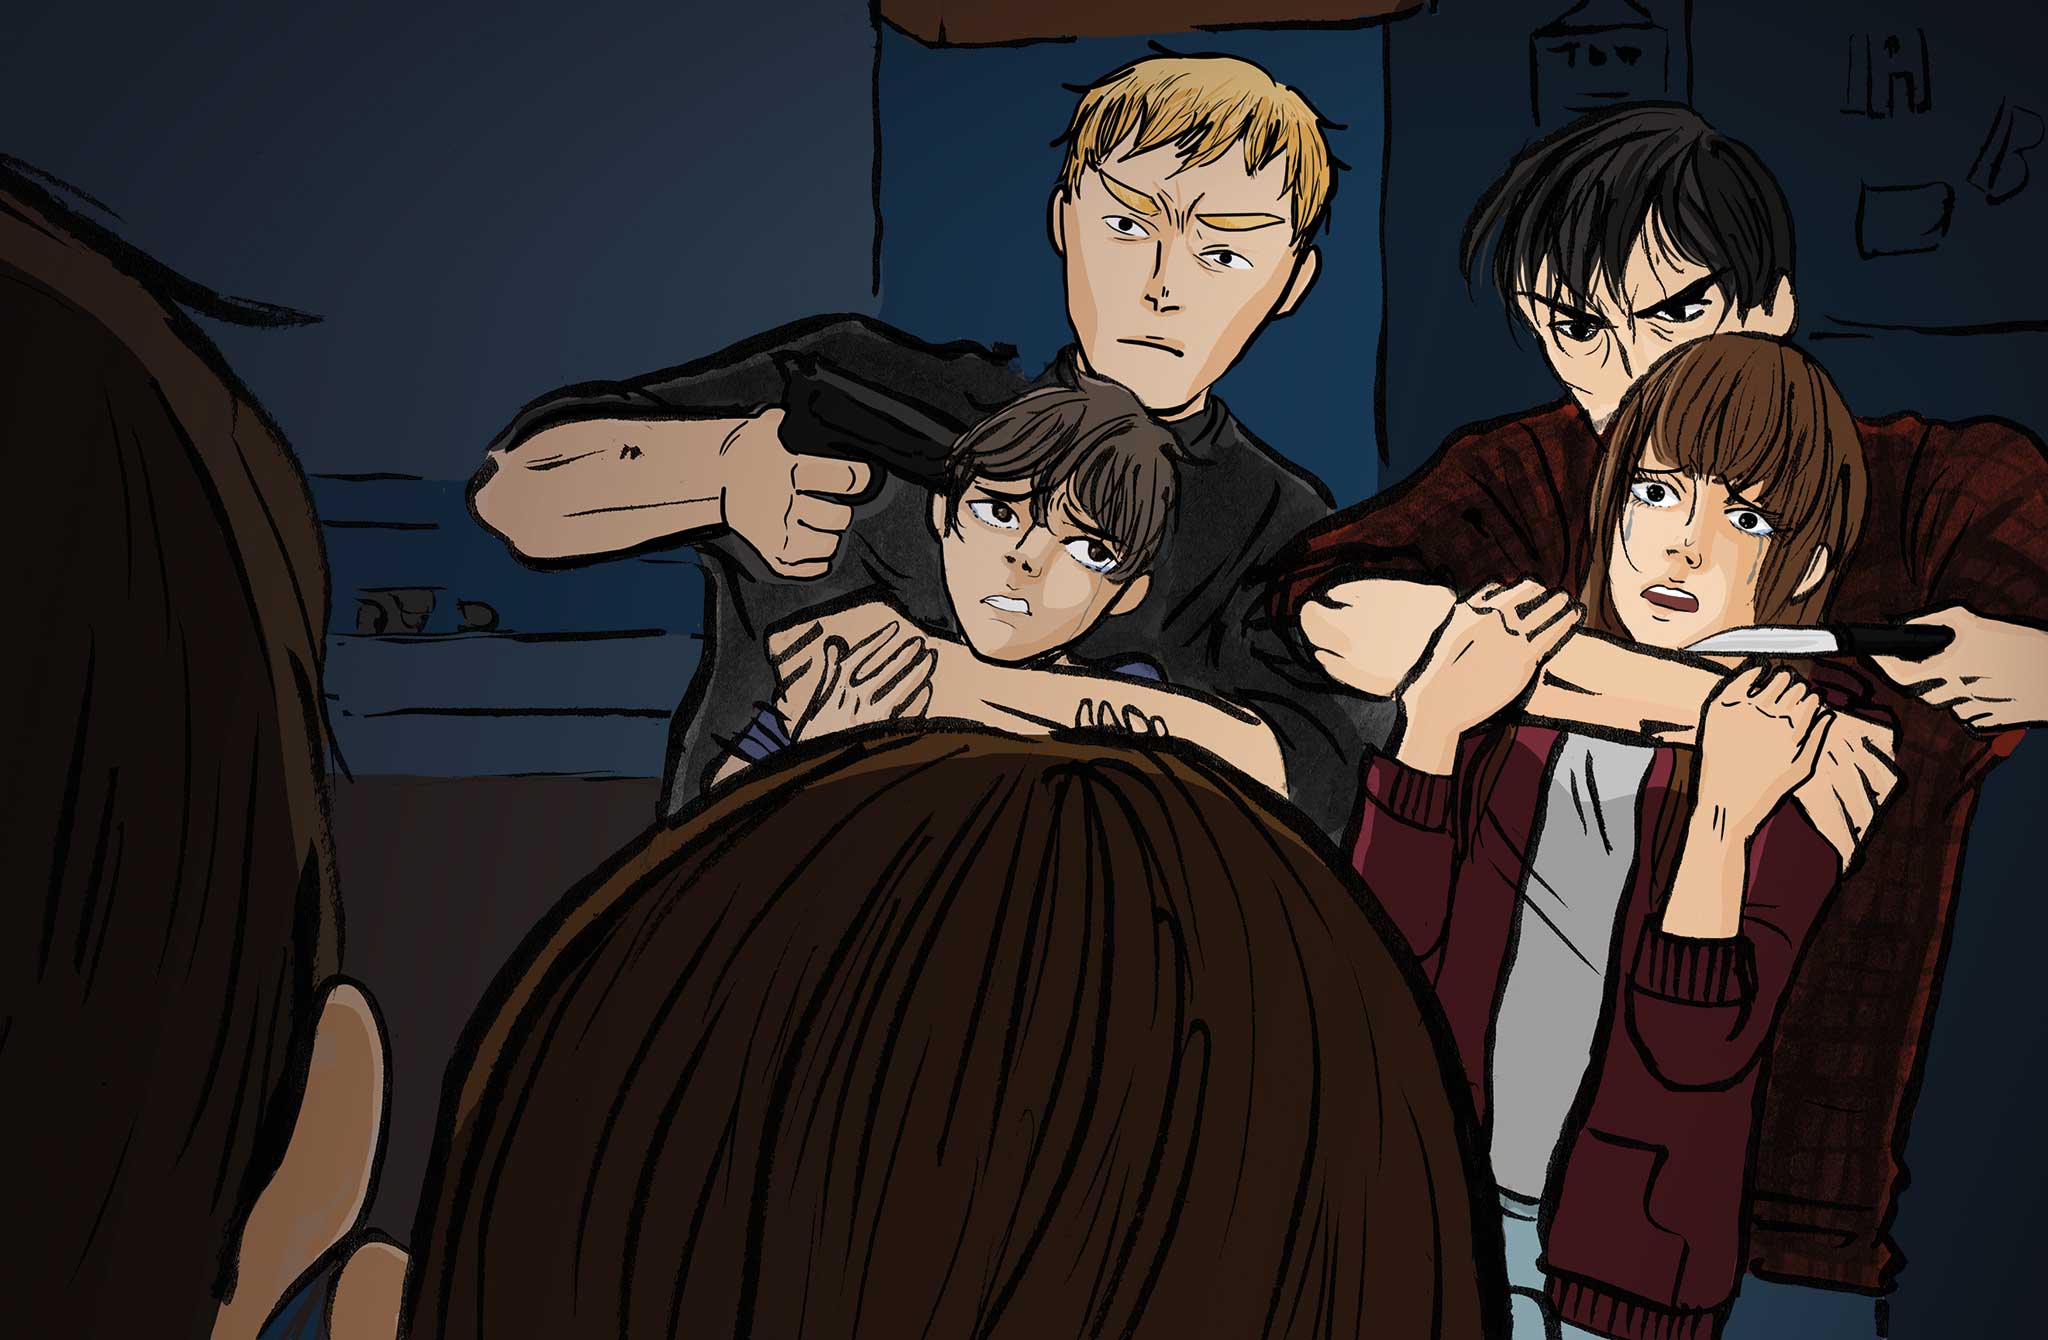
The filthy man had a knife at my daughter’s throat, and his ragged friend had a gun to my boy’s temple. “Give us what we want, and no one has to get hurt,” he said. But were the supplies all that they wanted? The way they were looking at my wife and daughter made me think they’d like to stay a while, that food wasn’t the only thing they wanted.
Suddenly, in an ill-timed burst of courage, my son started struggling with his captor and the man looked like he was ready to shoot. My boy screamed “Dad, do something!” but I was frozen in place down on my knees. He screamed again, “Daddy! Help me!” The gun fired — and I woke up.
My body was covered in a cold sweat, and all my muscles were as tense as steel cables. It was only a dream, but it seemed just as real as if those men had broken in again. As I lay there in the cold darkness, I realized that the waking world was not much friendlier than the world in the dream. We were still in danger. My family was at risk, every hour of the day. At any time, people could break into the house. Again. Maybe they’d kill my family this time. The situation was growing more desperate, and so were the criminals. Welcome to the end of the world as we know it, thanks to a total economic collapse.
In this edition of OFFGRID’s “What If?” feature, we step into a gloomy scenario where our beloved U.S. dollar is worthless and the American way of life has degenerated into a hand-to-mouth fight for survival.
To delve into this bleak and brutal future, OFFGRID asked three different writers for their approach to living through these dark times. With us is Patrick McCarthy, a freelance journalist, lifelong outdoor enthusiast, and frequent OFFGRID contributor. Next is Erik Lund, a federal law enforcement agent with a vast array of tactical and survival experience. And myself, I have been a survival instructor for the past 19 years and am the author of books on survival and wild food, Prepare for Anything and The Hunting and Gathering Survival Manual. Here are our three different visions of a United States without money, utilities, or much of a future.
The Scenario
Survival Situation
Long-term and widespread bedlam
Your Crew
Your wife, a 16-year-old daughter, and a 10-year-old son
Location
Boulder, Colorado
Season
Spring (averaging 35 degrees Fahrenheit)
Weather
Snowfall still possible
The Set-Up: The U.S. dollar collapsed after more than a decade of multiple wars, skyrocketing energy prices, a faltering economy, and widespread corruption. Protests led to mass rioting and looting. Businesses close or were burnt down. Schools were shuttered for the safety of the kids. Police and fire departments stopped receiving paychecks and essentially disbanded. It was only a matter of time before utilities started to sputter and then completely stopped. Eventually, the only form of government was the military (which only operated to protect itself and an elite few).
The First Act: It’s been two weeks after the massive rioting had stopped and given way to relative calm. Relative was the key term. Without reliable power and open businesses, you were running dangerously low on food, water, and supplies. You gathered with your neighbors and had a tentative bartering system established, hoping to survive until the National Guard arrives in three weeks to reestablish order…or so the rumor went. You didn’t know how widespread the economic collapse and rioting had been. Had it hit all the major regions of the country, or just the greater Denver area?
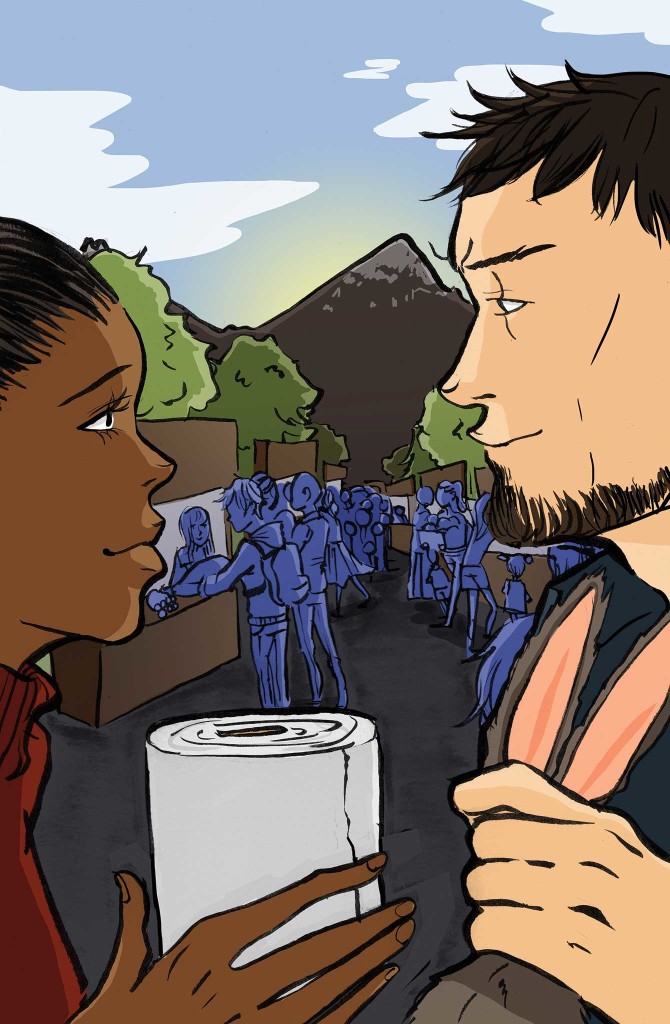
The Complication: Realizing you wouldn’t last long without new sources of food, water, and supplies, you ventured out of your trusted neighborhood to see who you could barter with safely. You trekked a few miles through the slush and mud and found a willing community. They seemed worse off than you, but they were open to a fair trade of toilet paper and toothpaste for some canned goods. But unbeknownst to you, you gave away too much information about yourself. A day later, gunmen burst through your front door. It was the same men you bartered with. They threatened to rape your wife and kill your son if you didn’t give them everything. You complied and kept everyone safe, but you lost the weeks’ worth of supplies you had been rationing.
The New Plan: What do you do now? How will you survive the freezing spring until the National Guard arrives in three weeks? Keep in mind you have only the following:
- Single-family home with attached garage and usual personal belongings
- Two cars with full tanks of gas
- Typical handtools in the garage
- No power or utilities
- No cash money
- Three mobile phones that work…if you can find a way to charge them
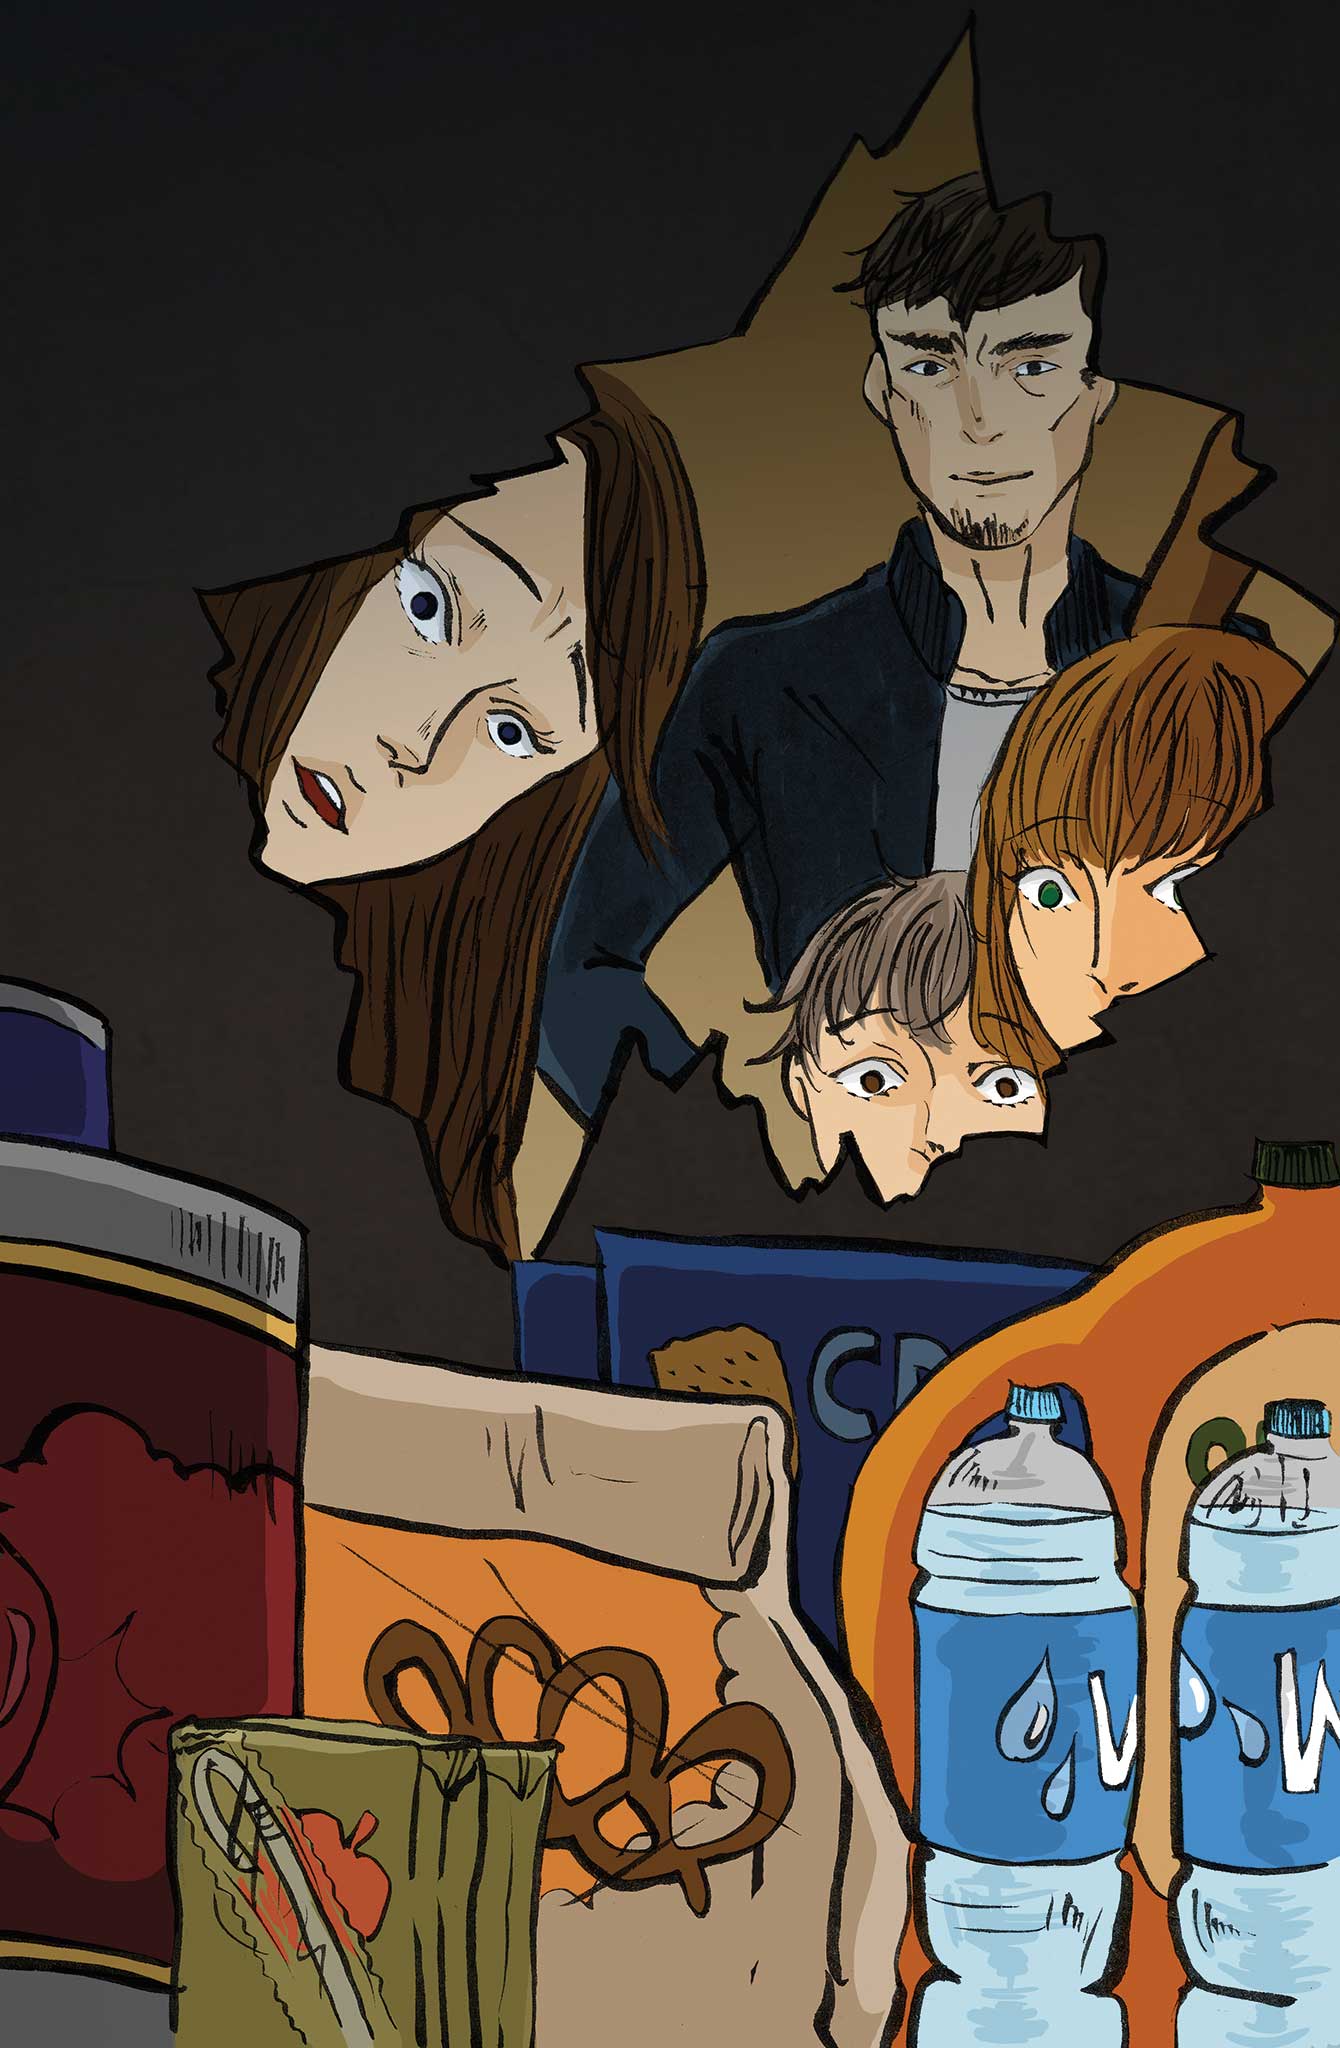
- One week’s worth of food and water (which could freeze over) for each of you (that you secretly stashed)
- One loaded semi-automatic handgun (that you secretly stashed) with no extra ammo
Average Joe: Patrick McCarthy’s Approach
The day had finally come. The worst-case economic scenario I had heard about so many times — and always rolled my eyes at — had become our reality. After seeing footage of crowds storming the banks on TV, I knew we were actually in trouble, but I had no idea it would spread so far and so fast. I also couldn’t have imagined the evil it would reveal in those around me. To think that I had actually tried to help those bastards who kicked in our door last night disgusts me. My foolish trust in strangers put my family at risk, and I refuse to be victimized like that again. Last night taught me that our safety is my responsibility, and when it really came down to it, we were on our own.
Speaking of which, we had all heard the rumors of the National Guard’s arrival in about three weeks. The idea of rescue seemed to be giving Laura and the kids hope, but I knew not to be too optimistic. We had to get out of here, and get away from those who might do us harm. Fortunately, our cars were still in the garage and had plenty of gas, so we decided to take what we could and head for my parents’ old cabin outside Granby. It was about 90 miles away, but the sizable plot of land, lack of nearby neighbors, and wood-burning stove would sure make life easier.
After scouring our house for supplies, I was able to find a few items the gunmen had overlooked. They barely checked the garage, so we still had the cases of canned food and bottled water I left in the closet out there — enough to last the four of us about a week, by my estimate. A few items from my toolbox could also come in handy, most importantly two utility knives, a claw hammer, nails, and some duct tape. Walking back inside, I grabbed the 9mm semi-auto I kept hidden upstairs — only 15 rounds. The rest of my supply walked out the door last night.
Finally, we had our cell phones, which I thought at first would be useless. Then I remembered that solar-powered battery charger Laura’s brother gave me for Christmas last year. It seemed like a gimmick back then. Now, not so much.
The four of us loaded half the supplies (plus some warm blankets and clothes) into Laura’s SUV, and the other half into my car. I figured since we had two cars, we’d be better off taking both. It might make us a slightly more noticeable target, but at least we wouldn’t be stranded and helpless if one vehicle became disabled. Laura, Janine, and Johnny would take my car, while I would drive just ahead in the sturdier SUV. If we encountered a roadblock, the SUV’s heavier weight might help clear it so the car could get by. Before we headed out, I handed Laura my gun, and reminded her not to stop for anything or anyone. If, God forbid, something happened to me, at least she could defend herself and the kids.
We left Boulder around midday. It was eerie seeing the streets so empty — no traffic lights, no cars, no pedestrians. I guess most people listened to the final TV broadcasts saying to remain in your homes until help arrives. I had hooked my cell phone up to the solar charger and set it on the dash before we left, and it wasn’t long before it had enough juice to read “no signal.” I hoped that we’d find a working cell tower at some point on the trip, so I could try checking the news or calling my dad. Unlikely, but at least worth a try.
I couldn’t help but nervously check my rear-view mirror repeatedly, despite knowing Laura and the kids were right there behind me.
Though I had anticipated the highway to be a giant parking lot of abandoned cars, the roads leading up to the interstate were pretty clear, so I decided to check it out. After all, it was the faster way to get to the cabin. Other than a few dead cars on the shoulder, the highway remained surprisingly empty as we headed into the mountains.
The miles started to pass faster. About 30 miles in, we spotted a lone convenience store with no cars out front, so I motioned to Laura that we should stop. With the power out, the gas pumps wouldn’t be working, but we could look for other supplies inside. Walking up to the front door, I noticed that it was locked, but the security shutters hadn’t been drawn. I guess whoever worked here left in a hurry.
Desperate times called for desperate measures, so I wrapped my arm in a sheet for protection, shielded my face, and swung the hammer full-force at the door. Chunks of glass crunched under our feet as we stepped into the dark store. We needed to move fast, so each of us had a different objective — I picked through the limited medical supplies, Laura grabbed cigarettes and liquor for bartering currency, Janine looked for food that might provide some nutritional value, and Johnny started collecting water jugs. On our way out the door, I also picked up some magazines and playing cards — if we’re going to be stuck in a cabin for weeks, we might as well enjoy it. Within 20 minutes, we were rolling again.
As the miles ticked away, I flipped through the radio channels — still nothing but static. It was 2:45 when we got to the cabin. No one had been here for months, and we wanted to keep that appearance, so we parked the cars around back. Dad had the keys, so I had to smash a window and awkwardly climb inside, but a little duct tape, nails, and wood scraps made for a solid patch against the elements. We also boarded up the other windows from the inside, just in case we’re targeted again. With the supplies inside, we bolted the door and settled in for the long haul.
The first few days passed slowly. We stayed inside to keep a low profile, and only fired up the stove at night so the smoke wouldn’t draw attention. Eventually, I decided to take my pistol and walk the property, and this soon became a daily occurrence. I also started collecting water from the stream to boil each night, firewood for the stove, and even tried fishing a few times (with limited success). After a week, I felt confident we were alone out here, so Laura and the kids started helping out. It was tough spinning this as a family adventure, especially to a teenager, but we made it work.
I still charged my cell phone and checked it periodically, more out of habit than anything. What did I expect, a stern email from my boss? Laughable. But, one day, there it was — signal. Almost refusing to believe it, I dialed my parents in San Diego. It rang and rang as my stomach sank. After two days of repeated calling, someone answered. “Dad?” I could hardly believe it.
Amazingly, he and mom were OK, and he told me things weren’t so bad out there in California. Apparently the large Navy and Marine Corps presence there kept things in check, despite the federal government’s near total collapse. There was still no word on the radio about the National Guard showing up in Boulder, or anywhere in Colorado for that matter, so we decided Laura and I should head for San Diego with the kids. It was going to be a difficult journey, but at least one thing had changed — the end was now in sight.

Federal Agent: Erik Lund’s Approach
Life is tough. It’s tougher if you’re stupid, and you’re one stupid bastard. I stared into the man’s eyes and concluded he was right. I wiped the trickle of blood away from my forehead and looked deeper into the eyes of the man in the bathroom mirror. The swelling from the pistol strike to my forehead wasn’t too bad, but it definitely left a mark. Washing the blood from my fingers, I gazed back into the mirror. Do not let this happen ever again! I promised myself.
A gentle knock on the bathroom door broke the silence. I opened the door to see my concerned wife waiting for me. “I’ll be alright,” I said. “Get the kids. Family meeting time.”
The situation was not good. We only had enough food and water for a week. Worse yet, the marauders from the other community could return at any time looking for more scraps. My initial primary concern was security. The threat of having my wife raped and my children killed in front of me would never happen again. I will never again feel that powerless and helpless. I remember my concealed-carry course instructor telling our class, “If you look like food, you will be eaten.” At the time I didn’t understand the reference, but now it’s very clear. The strong will prey on the weak. It’s time to harden up and face reality. People are starting to get desperate, and that desperation is justification enough to do terrible things to their fellow man.
I pulled the beat-up-looking SIG SAUER P226 9mm from its hidden location. Years ago a friend said a local gun store had several police trade-in P226s that looked rough, but were probably shot very few times. On his advice, I purchased the pistol, but it only came with one magazine. At the time it didn’t matter to me, as I would purchase more magazines later; but later never seemed to happen. One pistol and one magazine of ammunition — it would have to do. I loaded the pistol, and put it in my waistband; never did find time to buy that holster either.
“OK, here’s our situation,” I started. It was a sobering conversation. We needed a long-term plan to survive until the situation changes. Our priorities were security, shelter, water, and food. Shelter wasn’t an issue, and I already had plans to improve our security. Even though the power had gone out, we had plenty of firewood to burn to keep the house heated, to boil water for purification, and to cook our food on the wood-burning stove. The immediate concern was that all of the firewood was stacked in back of the house. It would have to be moved indoors immediately to be protected from thieves. We had enough holiday and decorative candles to last us for several months should we need light at night, and those could be supplemented with several flashlights that were available.
Fortunately, having solar-powered chargers for a few of our batteries and electronics proved one of our most valuable resources. We could turn on the phones and computers once a day to see if the cellular and Internet networks were on line, and the chargers provided all the recharging power we needed at the moment.
I asked my wife and daughter to bring every plastic bin and tote they could find down to the living room while my son and I started moving the firewood into the house. In short order, all of the firewood was secured inside. Stacked in the corner were around 15 plastic bins of various sizes and shapes. My plan was to cut all the rain gutters around the house and to place a bin underneath each drain to catch whatever rain water, snow, or morning dew that accumulated. We would collect up the bins at night to secure them and use the three bathtubs in the house as a place to store the water. If water ran critically short, I would drive to a running stream about 2 miles from the house and fill up the bins to bring back home.
I still needed to secure the ground floor of our home, but I had another task for my wife and daughter. “The neighbors need to know what happened to us and we need their help,” I said. My wife wasn’t thrilled with the idea of going outside, but we needed to warn the neighbors about the marauders and to see if any of them could spare some food. She finally agreed, and she and my daughter set out to warn the neighbors. “Hey, make a mental note of those homes who do help us, OK?” I asked. “We need to repay their generosity when we are able.” My wife nodded in agreement and left. I looked down at my boy as I closed the door, “C’mon son, we got work to do.”
Long ago I had built storage shelves in the garage; now I needed that wood for another purpose. After disassembling the shelves, everything was moved into the house. I was just about finished with the security preparations when my wife and daughter returned home. I was expecting some vigorous protests from my wife after she had seen how I had boarded up every first-floor window inside the home with sections of 2×4 wood bars. If anyone was going to force themselves into my home again, they would be funneled through the front or back door, making it easier to deal with them as a threat. Looking around, my wife quietly walked up and kissed me on the cheek with an approving look. I smiled and went back to work.
I mounted metal brackets into the frames around the front and rear doors. The brackets were just wide enough to lay two sections of wood flat into each bracket at the top and bottom of each door. The sections could easily be removed to allow the door to open. Nobody was getting through these doors without smashing down the entire facade of the house. Satisfied with my security preparations, I walked into the kitchen to check on my wife.
“Everyone I spoke with was grateful to know about the attack, and a few homes gave us some food. We now have enough food to get us through the next two weeks, maybe three if we ration it.” While the news was good and it lifted my spirits some, I was still concerned. This is a short-term fix, I thought to myself. I need better options. Later that night, I discussed my plan with my wife. She was concerned, but understood and agreed with me.
Early the next morning, I grabbed my gear bag and backpack in the garage. I pulled out my hunting equipment and my compound bow. I hadn’t been hunting in years, never seemed to have the time anymore, but now it wasn’t for enjoyment. It was for survival. I gave the P226 to the wife. “Bar the door and shoot anyone trying to break in,” I said. She nodded and was quite capable of doing it. “I’ll be back tonight or sooner if I can find us some food.”
I put my gear in the car and pulled out of the neighborhood. It was a short drive out of town to the mountains. Finding a secluded spot, I backed the car into some trees, doing my best to conceal it from view. I pulled out the dusty, old Club from the trunk and locked it onto the steering wheel. Yeah, it’s lame, but it’s better than nothing, I thought. Being the provider for my family had never taken on such a literal meaning, until now. I started walking into the woods — time to go shopping for dinner.

Survival Expert: Tim MacWelch’s Approach
Another frigid night had passed, and my family began to stir as the light came through the windows. It was too cold and too dangerous to sleep in separate rooms, so we all slept in a smaller upstairs bedroom. My wife and I had the little bed, and the kids slept on cots. We had discovered by chance that our guest room faced south and warmed up nicely in the sunlight each day, so this was where we spent much of our time.
The robbery yesterday still had the entire family rattled. My daughter was taking it the worst. Normally a chatty and upbeat girl, she was silent and slow moving, distracted, and depressed.
It was time to give the whole family a little bit of hope, to reveal what I had hidden: I led my wife and kids to the master bathroom. “Remember when we had that water leak, and I repaired the drywall myself?” My wife was quick to reply that she thought of oatmeal covered with copy paper every time she looked at my lumpy Harry Homeowner repair job. I smiled, and Johnny chuckled. It was good to hear that sound again. “Well, if the wall’s so bad, I’ll tear it down,” I responded. A quick jab to the drywall and my arm was buried wrist-deep in the wall. My wife gasped and then stood shocked as I started ripping away chunks of the plasterboard. “Help me with this, Johnny” I asked. He was quick to oblige.
My son tore at the brittle sheetrock, shouting, “There’s something in here!” Suddenly, my crazy idea to stash some food and supplies in the wall didn’t seem so crazy anymore. “Oh my God,” Janine said. I told them that there was one week’s food for the four of us, bottled water, and a loaded handgun.
After being showered with kisses, even from the boy, I set us up with the first good meal we’d had in a while. The fuel tabs and folding stove I had stashed in the wall were handy for heating up some water, which quickly rehydrated our freeze-dried camping meals. Food in a pouch had never tasted so good. “We have to hide all of this, even hide the trash,” I said. We didn’t know if those men would be back, or if they told others about us. We decided to hide the trash back in the wall, and hide the food in the bottom of the Halloween decorations box in the attic. “Who’d ever think to look in there,” we agreed. Now it was time to build a plan.
No one was going to work anymore. The kids weren’t going to school either. I knew our food would be gone in a week. We had to find ways to get more, without exposing ourselves to so many risks. We had to restore some semblance of normalcy. And most of all, we had to be able to defend ourselves from another possible attack.
Since the power and water went out, life had drifted into a weird routine. In the morning, our family would collect snow in pots and pans, then bring it into the house and place it in the sunnier windows to melt. Our “bathroom” situation was a bucket for pee and a rectangular bin for the other business. The “shower” was a soapy washcloth wipe-down in the bathtub. Before the attack, when we weren’t messing with water procurement, we spent the rest of the time sitting around bored. But that time was over. It was time to take our survival into our own hands.
We needed heat, water, food, and defense. The heat was tricky to come by, as so many people had scavenged all the deadfall sticks and wood around the neighborhood to burn in their fireplaces and stoves. But we did make a deal with a neighbor to help him split and carry firewood from a nearby strip of forest, in exchange for some of it. He had a chainsaw and the fuel, we had a splitting axe and labor to offer. Soon, we were able to burn wood for heat, cook by the fireplace, and melt our snow quickly and easily for drinking water. For food, we started making traps, like the ones they taught Johnny in Boy Scouts. We used all kinds of wire from the house and garage, and made some box traps too. Soon we were catching wild neighborhood rabbits in snares, and small birds in box traps. These became tolerable tasting soups and stews, allowing us to stretch our one-week supply of food into several weeks’ worth.
The defense part was still the most pressing issue on my mind. We never went anywhere without all family members going together and the handgun tucked into my concealed holster. We boarded up the first-floor windows to make it harder for anyone to break in. We also made brackets behind the doors and set them up with 2×4 pieces to bar the doors from the inside. We finally felt a little safer in our own home.
Our self-reliant activity seemed to be catchy, as the neighborhood trade network was soon booming. Every afternoon, people met in the neighborhood playground and set out their trade goods on blankets, cardboard pieces, fold-out tables. We traded some of our skinned rabbits for candles and ammo. We also helped several neighbors fortify their houses in exchange for some precious canned goods. People traded goods, labor, security-guard services, and the like. And anyone who brought out paper money was generally laughed at, or occasionally run off. After a few weeks of trading, we finally had enough rounds of ammunition to feel like we could hold our own. Spring was coming to an end.
If the National Guard didn’t show up soon, we planned to trade for seeds, use the tools in the garage to dig a garden, and grow some of our own food as soon as the danger of frost had passed. Maybe we could make it until the peace and utilities were established again, if our neighborhood could keep working together and fend off any possible robbers.
Conclusion
This type of scenario is a dismal one, with no easy exit strategy. We wouldn’t wish this type of future on anyone, not even our worst enemy. And the scariest part is that this scenario has happened in recent years.
The economic collapse in Argentina left people without money, without utilities, and at the mercy of the rising tide of criminals between 1998 and 2002. People died from injuries during robberies, they died from dysentery due to a lack of clean water and basic sanitation, and they died from an inability to pay for the limited, overpriced medical care. If it can happen in a large, modernized country like Argentina, it can happen almost anywhere.
If this kind of scenario bothers you, then make some strides to be prepared for it. Stock up on some long-lived shelf-stable foods, water disinfection equipment, and tools for self-defense. You don’t have to bury them in your walls, but it’s a good idea to keep them in a secure, hidden location. And let’s pray this bit of fiction never becomes reality.
How would you react to the same scenario as played out by our panel? Share your plan with us on our Facebook page: www.facebook.com/OFFGRIDmag.