In This Article
CANCON Arizona 2025 is in the books and it proved to be an action packed weekend for shooting, tactical, and preparedness enthusiasts This year featured hundreds of firearms, more shooting lanes than ever before, high-end gear vendors, an amazing VIP experience, and the unveiling of the brand new OFFGRID Basecamp experience!
The OFFGRID Basecamp Experience
OFFGRID Basecamp was designed to enhance the CANCON experience by bringing hands on training across a variety of preparedness topics including emergency medical care, proper use of professional and emergency CBRN masks, enhancing situational awareness, tactical carbine operations and more! In addition to providing essential practical preparedness skills, the OFFGRID team also curated some of top gear vendors so attendees could get their hands on some of the best purpose built gear survival gear on the market! We may be slightly biased, but we think the Basecamp tied the whole event together.

Above: OFFGRID Senior Editor and host of the OFFGRID Podcast, Patrick Diedrich, greets the crowd at the OFFGRID Basecamp.
The Classes
No Basecamp is complete without some subject matter experts to equip travelers with much needed wisdom. This year we had four companies who went above and beyond to share their insights extensively with our VIPs, and with the public audience as well:
American Reconstruction Concepts (ARC): Tactical Carbine Challenge
One of the standout moments from the weekend was a fast-paced 10-round drill designed to test both speed and precision under pressure. Participants were challenged to fire accurately and efficiently while maintaining solid fundamentals—stance, grip, trigger discipline, and visual tracking—all in rapid succession. The class focused on how well you could hold form when your heart rate was up and the clock was ticking.
The drill was led by Michael Caughran, a former USAF SERE Specialist and the founder of ARC. With a background in personnel recovery and advanced combat training, Caughran brought a level of instruction that merged military precision with a civilian-applicable mindset. In addition to helping students learn how to get rounds downrange, he also focused on sharpening the kind of technique that holds up when everything’s on the line.

Above: ARC instructor Michael Caughran walks VIPs through a tactical carbine rapid fire drill.
AVON Protection: Tactical Gas Masks 101
In a hands-on course presented by AVON Protection, attendees got a practical crash course in respiratory readiness. The class broke down how to select, fit, and maintain tactical gas masks built for real-world use. Beyond the basic donning and doffing, students learned how to spot filter incompatibilities, avoid common gear failures, and make sure their masks would hold up when lives depend on it.
Instructor Jeffery DeSocio brought a unique perspective to the session. With a background in broadcast journalism and a current role as Content Marketing Specialist for AVON Protection, he was able to blend deep industry insight with a communicator’s clarity. His passion for preparedness and tactical training came through as he guided the group through the essentials of respiratory protection, reinforcing the idea that good gear only matters if you know how to use it when it counts.

Above: Don’t take clean air for granted. Knowing how to properly select and wear the right PPE is life-saving knowledge.
Greenside Training: Weaponize the Senses
Presented by the only Native American owned and operated tracking school in the U.S., this course gave participants a solid foundation in the art and science of tracking. From identifying subtle footprints to interpreting disturbances in the terrain, students learned how to determine direction of travel, read environmental clues, and build a clearer picture of human or animal movement. In addition to reading what could be detected on the ground, the class also emphasized the importance of tuning in to everything around you. The skills gained here had clear value for search and rescue, personal security, and anyone who wants to be less blind to what’s happening in their surroundings.
The course was led by Freddy Osuna, founder of Greenside Training and one of the foremost voices in visual tracking today. A former Marine and combat tracking instructor, Osuna combines Native American fieldcraft with modern tactical thinking. His approach is rooted not only observation, but understanding. Training the brain to notice what others miss. His passion for the craft and deep knowledge made this course one of the most eye-opening (pun intended) sessions of the event.

Gorilla Medical: F*** I Got Shot! Now What?!
Hosted by Gorilla Medical, this crash course in trauma response cut straight to what matters most: keeping someone alive after they’ve been shot. Attendees were put through the essentials of bleeding control, chest wound treatment, and tourniquet application with zero fluff and all intensity. The goal was to make sure every student could take fast, effective action when time is short and pressure is high.
Instructors Kristopher Hasenauer and Mandy Espinal brought decades of battlefield and clinical experience to the table. Kris, a board-certified physician assistant and former 18D Special Forces medic, has spent his career balancing front-line care with big-picture medical planning inside U.S. Special Operations Command. Mandy, a retired Army Combat Medic, brought a grounded, no-BS perspective shaped by both military service and her work supporting veterans in the nonprofit world. Together, they delivered a course that gave students the confidence to respond when lives are on the line.

Above: Proper application of a tourniquet is a skill for people of all ages.
The Vendors
In addition to the incredible brands who put together classes, we also had some excellent vendors that helped make our Basecamp a resounding success:
PNWBushcraft: PNWBushcraft made a big impression at the Basecamp, traveling all the way from the far reaches of the Pacific Northwest to share their handmade waxed canvas gear. This family-run company started over a decade ago with a mission to create rugged, heirloom-quality gear built to handle the region’s unforgiving elements. Inspired by vintage outdoor equipment and old-school adventures, their products combine classic design with serious durability. It was great having them on-site, showing off the craftsmanship and legacy that’s earned them respect across the survival and bushcraft community.

- Stroup Knives: This veteran-owned family business has been turning out high-quality survival and combat knives since 2017, with every blade designed to handle hard use without breaking the bank. Stroup Knives makes everything from EDC to field-ready tactical tools, and their lineup reflects a commitment to durability and real-world function. It was great having the Stroup family make the trip and share their work with a crowd that appreciates gear built with purpose.
- Jack Wolf Knives: Jack Wolf Knives brought a unique blend of nostalgia, precision, and craftsmanship to the Basecamp. Local Arizonian Benjamin Belkin showcased his line of heirloom-quality knives—each one designed in-house and inspired by 80s and 90s culture, knife collecting, and childhood memories of his grandfather’s slip joint. Every knife is a piece of functional art, blending modern materials with timeless style. It was a treat having him there in person, connecting with fellow knife enthusiasts and sharing the story behind his brand.
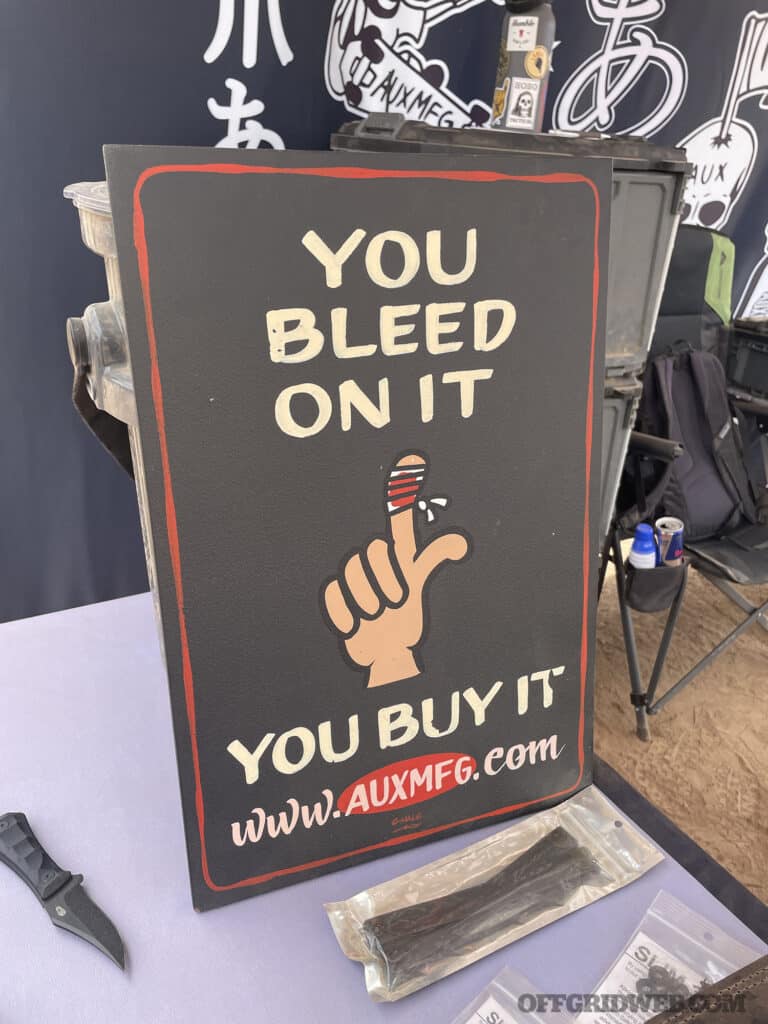
- Auxiliary Manufacturing: Auxiliary Manufacturing showed up strong, bringing their no-nonsense approach to blade design and field-ready tools. Known for crafting knives that blend hard-use functionality with a distinct visual style, their lineup is built for people who actually use their gear. Every blade reflects a commitment to performance, with designs that balance utility and aggression. It was great having them make the trip to be part of the event and connect directly with folks who put their tools to the test.
- OTIS Technology: Otis Technology made their mark at Offgrid Basecamp, traveling in to showcase what Smart Gun Care really looks like. Founded in the mud—literally—when a failed deer hunt sparked a better way to clean a rifle, Otis has spent decades rethinking firearm maintenance from the ground up. Their American-made products are designed to make gun care faster, easier, and more effective without cutting corners. It was great having them on site, connecting with attendees who value precision, longevity, and the kind of innovation that only comes from real-world experience.

The VIP Treatment
This year, our VIP Ticket holders got the experience of a lifetime including a full day of VIP only shooting, special training courses at the OFFGRID Basecamp, and a VIP Bag loaded with some of the best gear out there!
VIP Range Day
The VIP Range Day at CANCON Arizona 2025 kicked off the event with exclusive early access on Thursday, April 10th, at the Ben Avery Shooting Facility. VIP ticket holders enjoyed a catered industry dinner at the range and received a swag bag filled with premium gear from top manufacturers. The day offered a unfettered access to experience a wide array of fully suppressed firearms, including lever-actions, bolt-actions, pistols, rifles, full-auto machine guns, and our personal favorite: a fully suppressed mini-gun!
OFFGRID Basecamp VIP Instruction
The VIP Range Day at CANCON Arizona 2025 kicked things off with more than just trigger time—it gave attendees exclusive, hands-on instruction from the expert cadre behind Offgrid Basecamp. Not only did VIPs have the entire range to themselves, they also leveled up their survival skills. Instructors who would go on to teach full classes over the weekend offered in-depth guidance on firearm fundamentals, tactical movement, gear setup, and mindset. It was a rare chance to train in small groups, ask questions, and sharpen skills alongside some of the best in the business before the crowds rolled in.

Above: Attendees and vendors alike were able to strike a pose on the cover of their very own issue of Recoil OFFGRID (photo courtesy of Heather Salisbury)
VIP Bag
One of the best parts of the VIP ticket is the inclusion of a bag packed with goodies. No two VIP bags are the same, which ensures that, even if you were lucky enough to snag a VIP ticket last time, you’ll still get some something unique the next time around. At this year’s CANCON Arizona, 75 tickets were offered and sold out in minutes. Although the contents are kept top secret before the event, people who went for it and came away empty handed often wonder what that $1300 ticket would have gotten them. This year, the VIP bag cache had a value well over $3400, and much higher depending on where you applied the included product discounts. Here is a breakdown:
- 5.11 Tactical: Lvc18 2.0 backpack
- Anechoic: Anechox 223 silencer
- EAA: Girsan Disruptor 9mm handgun
- Silencer Central: Banish 9K silencer
- Kershaw Knives: Flyby knife
- Osight: Osight S
- Mission First Tactical: Custom CANCON 5.56 30rd Magazine
- Hogue: Rubber Gun Mat
- Infinite Defense: Squirrel Plinker target
- B5 Systems: Stocks & Grips
- Battlbox: Custom CANCON Battlbox full of survival gear.
- Aimpoint: 25% Discount any optic purchase
- TiON: 30% Discount any suppressor
- Nine Line Apparel: 2 x even shirts, 3/4 branded zip shirt, patches, coffee mug, tumbler, branded baseball cap

Above: This years VIP bag was loaded with goodies!
A Fully Suppressed Weekend
We pulled out all the stops this year — adding more lanes, more firearms, and the latest innovations in suppressor technology to provide the record breaking number of attendees ample opportunity to shoot suppressed pistols, carbines, rifles, and even sprinkled in a few vehicle mounted belt fed miniguns! The Pros vs Joes competition afforded another opportunity to win a firearm if you could best a Recoil shooter.

Going to a range where every firearm has a silencer on the end, ready to shoot for the cost of the admission ticket, is already a fun experience. It’s the perfect opportunity to take different models for a test drive before deciding to buy, and a great chance to learn about firearms and firearm safety. Add in food trucks, vendors, and a place to learn useful skills, and it quickly becomes an event that is a class of its own.
If you were there, thank you for attending and we hope you had a great weekend of firearms and training! If you didn’t attend and wish you did, don’t worry we will be back in November for CANCON South Carolina! Check out the official CANCON website to stay up-to-date on ticket availability!
Get More CANCON Here!
Don’t miss essential survival insights—sign up for Recoil Offgrid’s free newsletter today!
- Inside the World’s Largest Suppressed Range Day!
- Merrill’s Best Suppressors of CANCON Arizona 2025
- Luke’s Best Suppressors of CANCON!
- Iain Harrison’s Favorite Cans from CANCON Arizona 2025
- Springfield Armory KUNA
Check out our other publications on the web: Recoil | Gun Digest | Blade | RecoilTV | RECOILtv (YouTube)