Editor’s Note: This interview is from Issue 49 of our print magazine, which will be published on April 12th, 2022. Due to its relevance to current events involving Belarus, Russia, and Ukraine, we’re publishing the entire article here before it hits newsstands. History tends to repeat itself, so read on and consider what you can learn from Greg’s accounts of how his family and community survived the collapse of the Soviet Union and the Chernobyl disaster.
I first met Greg Mihovich while training at Deep Woods Ranch, home to former SEAL and firearms trainer Rich Graham — owner of both Deep Woods Ranch and his training company, Full Spectrum Warrior. Greg and Rich are coauthors of some of FSW’s training material, including their unique Combat Mobility Program, which we’ll showcase in more depth in an upcoming issue.
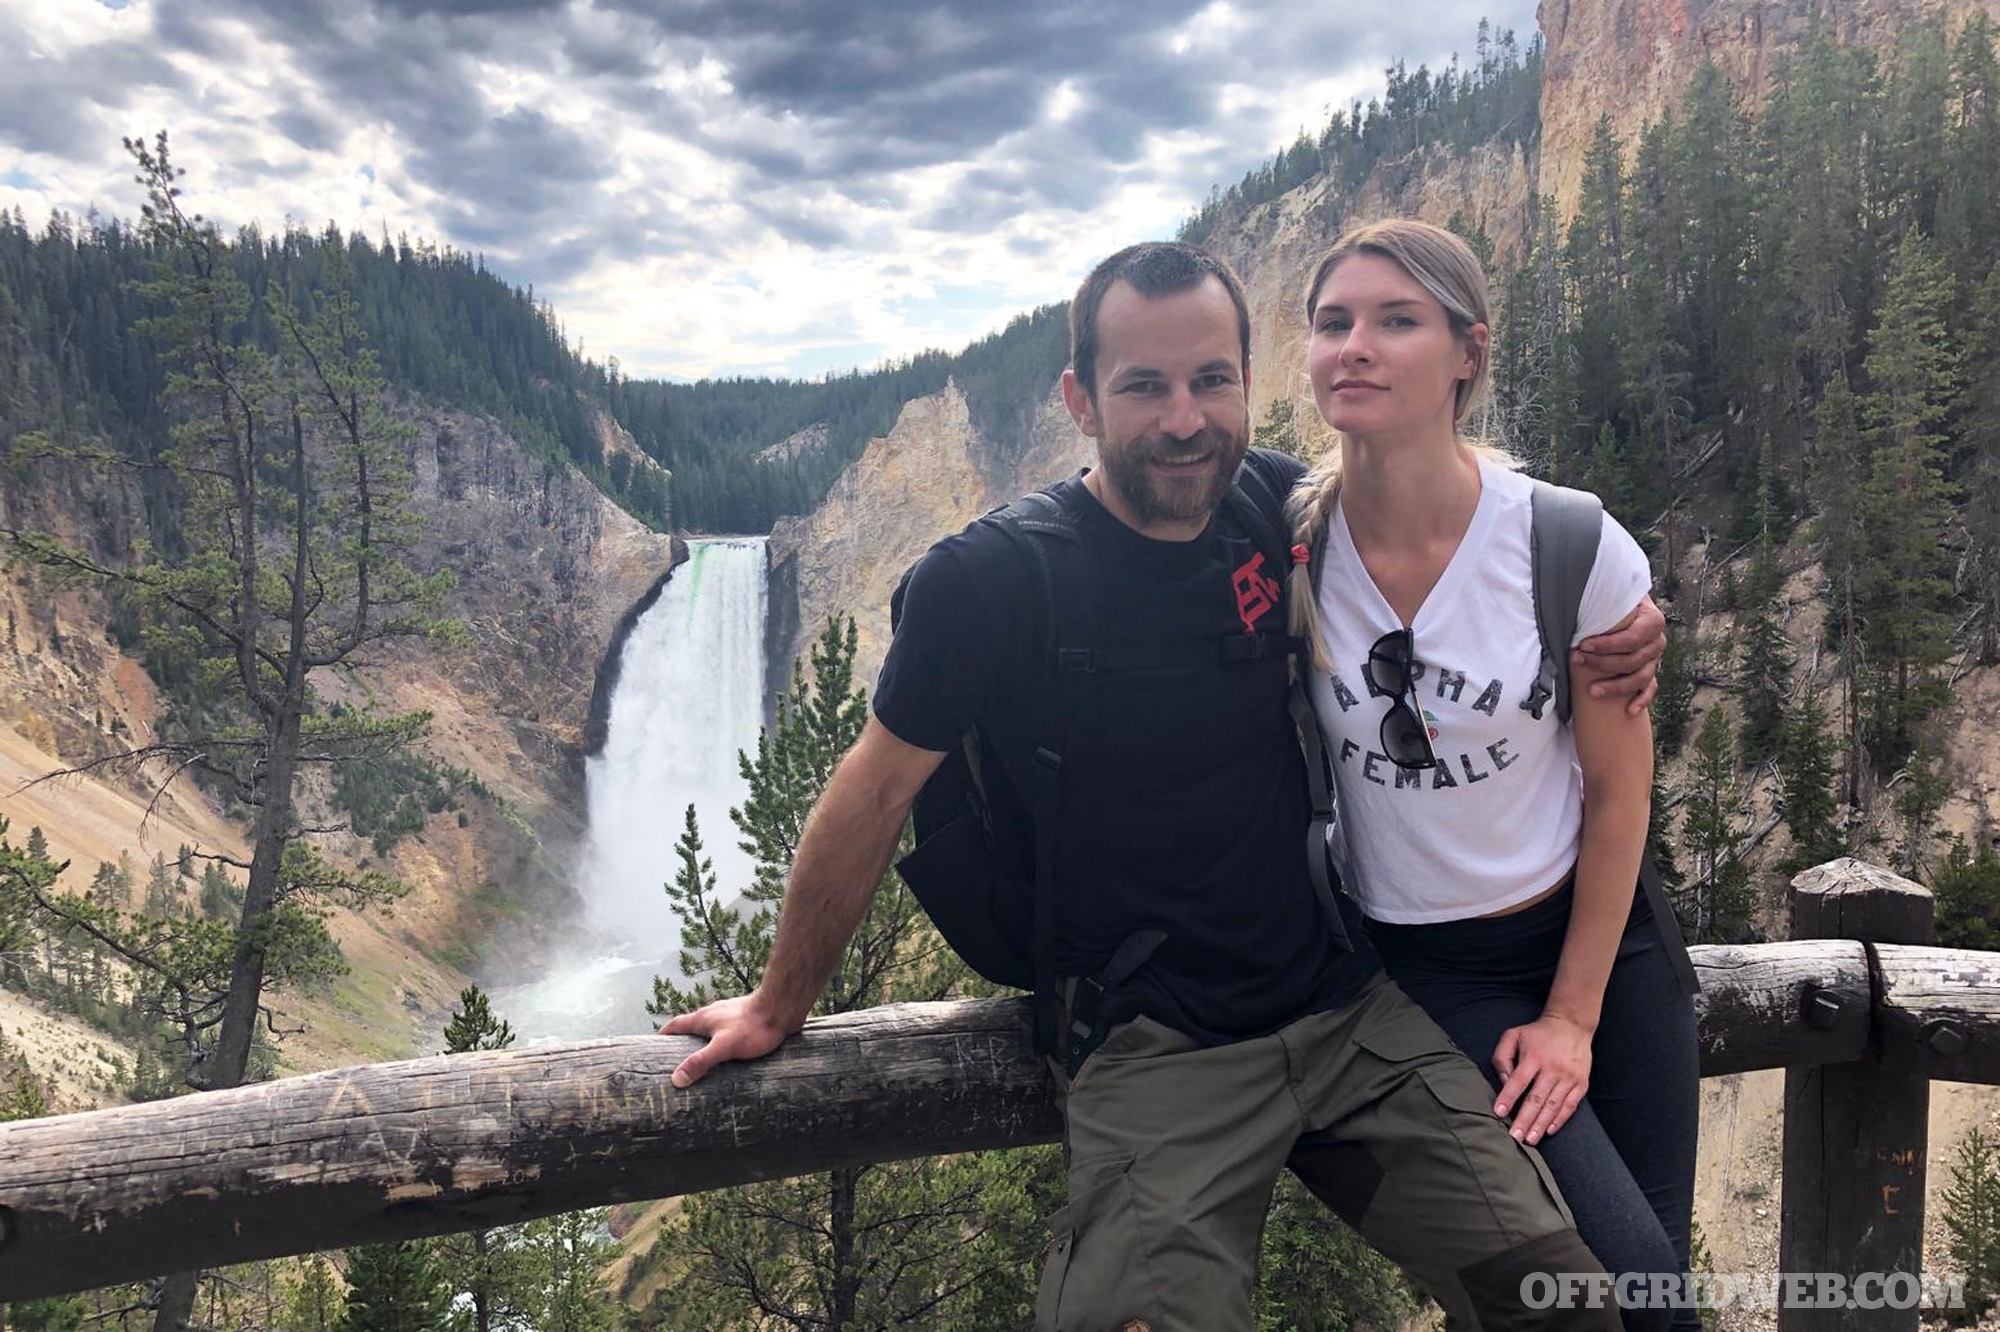
Photos by Cal Coulthard
During my time at the ranch, I had an opportunity to sit down with Greg and discuss his background and the experiences that brought him to partnering up with Full Spectrum Warrior. I was quite surprised to learn about the landmark disasters that had tested this soft-spoken man with a calmly commanding presence. His story is not only a Cinderella-slipper fit for the guiding principles of this brand but is also chock full of the realest of real-life lessons about living preparedness as a lifestyle and the risks of complacency.
Growing Up in the Soviet Union
RECOIL OFFGRID: Tell us a little bit about your background and childhood growing up in the USSR.
Greg Mihovich: I was an early ’80s child, born in Minsk — the capital of Belarus. My parents split early, and I was raised by my mother, stepdad, and grandparents on my mom’s side.
My mother was the creator and director of the Center for Esthetic Development, a project she built in 1984. The CED focused on preschool education in speech development, motor learning development, music, drawing, and other age-specific topics. It successfully operated about 12 schools with 400 kids each, aged 4 to 6.
My stepdad was a police officer with 10 years spent in narcotics, 10 years in homicide, and the last five years of his career as a dean of the five-year police university program. Many of the city’s cops were his alumni.
My granddad was a World War II distinguished veteran with four combat crests. Among many other feats, he helped liberate the Auschwitz concentration camp and participated in capturing Berlin. During my childhood, he was retired from the military and worked in the city’s council.
I lived right in the middle of the city and had a great childhood with lots of awesome adventures and a healthy dose of mischief. Thankfully, my generation never knew about cell phones and computers when we were kids. We had lots of places to play and explore — the apartment building playground with tons of climbing and obstacle course equipment; massive parks with plenty of trees and trails; many amazing libraries, exhibits and museums; a huge circus with new world-class shows every eight weeks right across the street; vast underground networks of basements, catacombs, bomb shelters, and subway tunnels; the roofs of the high-rise buildings, and many other things that made my childhood so memorable. There was almost no violent crime. I could just hop on any public transport by myself, go anywhere I wanted, and get back home with no problems.
I went to a specialized language school — most schools at the time were specialized (math, chemistry, sports, physics). My school’s specialty was languages, with 20 academic hours of languages a week — English, German, Russian, and Belarusian. The last two years of high school counted for the first two years of college due to the accelerated nature of the school’s program, so we could go right to the third year of a linguistic university once we were out.
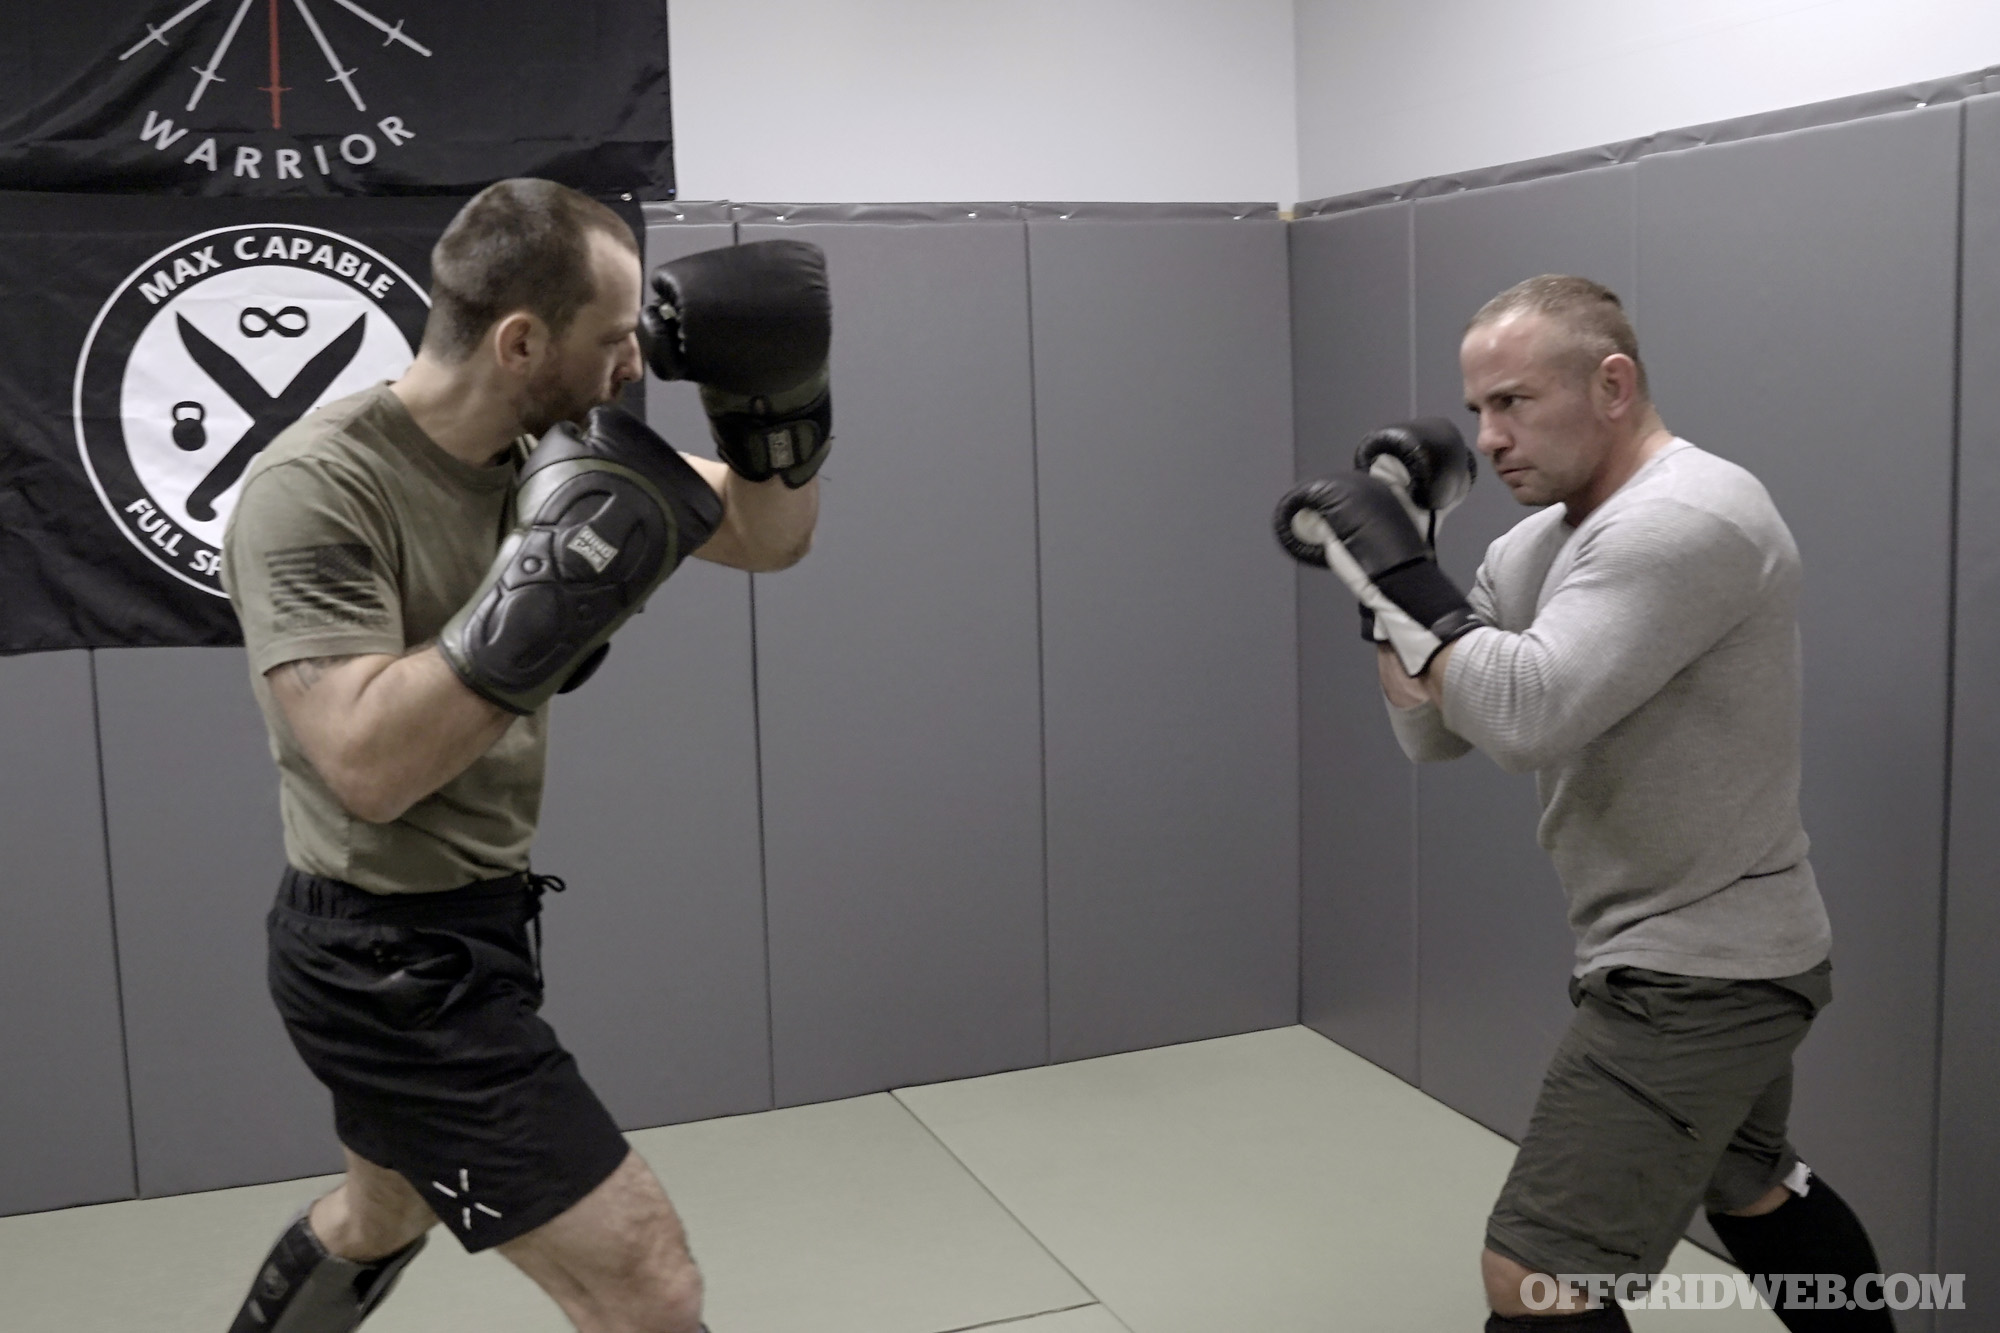
Above: With a keen understanding of both weapons manipulation and unarmed fighting, Greg’s approach to self defense is holistic in nature.
Our school had a vast shooting range in the basement. From fourth to ninth grade, twice a week we had shooting classes where we shot .22 rifles up to 50 meters, ran around in gas masks doing pullovers on monkey bars, and were timed to see how fast we could take apart AK-47s. My school’s shooting team, with me as team captain, won multiple cities’ school championships.
Cross-country skiing and biathlon were very popular, and we would spend days on skis in the field shooting targets. We also made our own DIY pneumatic and muzzle-loader rifles from pipes, and DIY wooden stocks, as well as sheet metal ninja stars, climbing hooks, and other gear. Plus, there was an abundance of artifacts from WWII to dig up all over — from munitions, helmets, and weapons to tanks and bunkers.
The boys’ culture was centered around manhood, and the ability to fight was always valued in the area. Naturally, I took up martial arts and physical training, and fell in love with the training process. Sambo, wrestling, boxing, and Muay Thai were hugely popular and many of my classmates and friends were into fight training and conditioning. Every school break, we would arm wrestle and many disputes would be solved with a fistfight. So, martial arts and physical training was sort of like a matter of fact for me early on.
There’s a huge culture of preparedness in the U.S. Was it similar for you growing up in Belarus? Did people take steps to be prepared for uncertainty, and how was this perceived by the public?
GM: Belarus has been going through lots of hardships historically for a very long time. Just some of the relatively recent examples are the First World War, the 1917 Revolution, Second World War, Chernobyl catastrophe, breakup of the Soviet Union, many financial and currency crashes, and so on.
During World War II, every third person native to that area was killed via Nazi ethnic cleansing. Most of Belarus during that time was a theater of ferocious guerrilla warfare that made the Nazis’ life hell, even on supposedly captured territories, and severely disrupted their supply chains.
Additionally, the summers are short, and winters are pretty severe. These and other challenges had shaped a certain national mindset of survival to overcome all odds.
So, naturally, most people are preppers by default — most have gardens, lots have some livestock and/or chickens. The harvest is consumed and canned or preserved by other means as food prep and kept in a cellar or a basement. Food is seldom wasted. All the seasonal winter cold gear is squared away.
Above: Greg is a passionate educator and teaches regularly through both his own gym and partnerships with other instructors.
Many of these gardens have a stone or log dwelling with a massive fire stove and lots of firewood prepped to survive the winter. Everyone has many canisters to store and transport gasoline. The buildings are heavily reinforced against the harsh climate.
Most importantly, people have basic survival skills, can DIY pretty much anything, and are very robust. People hunt, camp, and backpack regularly. Before the Chernobyl catastrophe, mushroom and berry gathering was immense and very abundant.
Most Americans are not well-educated about what daily life was like behind the former Iron Curtain, but we hear things in schools about bread lines and intermittent availability of basic goods and services. Can you speak a little about what your experience was, and if supply shortages were a common occurrence?
GM: The supply chain disruptions were very real during the ’80s and early ’90s. My family always had plenty of food, plus the grandparents had their garden that had a vast abundance of every berry and vegetable that could possibly grow either outside or in a greenhouse. But the options in the stores for many items were limited and — although I’ve never seen bread lines — there would definitely be long lines to get some high-demand and short-supplied items like electronics, clothes, medicine, and some food items. However, like everywhere else in life, focused and determined people can find better options for themselves. My parents were go-getters, so I had plenty as a child, thanks to them. That was not easy for them, but they are people made of steel.
We had lots of hot water service disruptions due to the central nature of water lines in the city and the constant need to maintain the pipes. In the early ’90s, there was lots of looting of electrical wire and other scrap-metal-rich equipment, so periodic disruptions of certain electrical services would arise from time to time, as the wiring would be stripped bare.
Fallout from the Chernobyl Disaster
You mentioned that you were a child when the Chernobyl nuclear accident happened. What do you remember about it, and how did it affect daily life for people in the region?
GM: The Chernobyl catastrophe was a huge hit to Belarus, as the radiation cloud primarily went over that territory. It was a huge tragedy where half a million people heroically died as first responders attempting to shut down the fourth reactor and to isolate it from the world in a protective dome. The uncounted toll on the health of the entire region in the aftermath of the event was also immense, with many people getting cancer or other types of diseases.
When it happened, I was 6 years old. There was a Labor Day celebration parade, and the authorities were saying “everything is fine and under control” and telling people to remain calm and stay on the streets. My parents felt that something was very wrong and pulled me off the street right as the clouds turned black as far as you could see, and radioactive fallout started raining from the sky. I vividly remember being washed in the bathtub repeatedly and all my clothing being thrown away. That day changed our daily life for a long time.
Everyone carried Geiger counters on them from then on — we called them dosimeters — and they became the norm. You would measure food before buying it and walk away if the radiation was off the charts. You would measure your clothing and wash it very frequently, especially pillows, which had to be changed almost daily as they absorb a ton of radiation.
Wild mushroom and berry picking, which was so abundant before, stopped completely. I remember my family and I bringing back from a forest a dozen 5-gallon buckets of berries and mushrooms regularly in pre-Chernobyl days. You had to be very careful about sourcing your food and double check the radiation levels on everything.
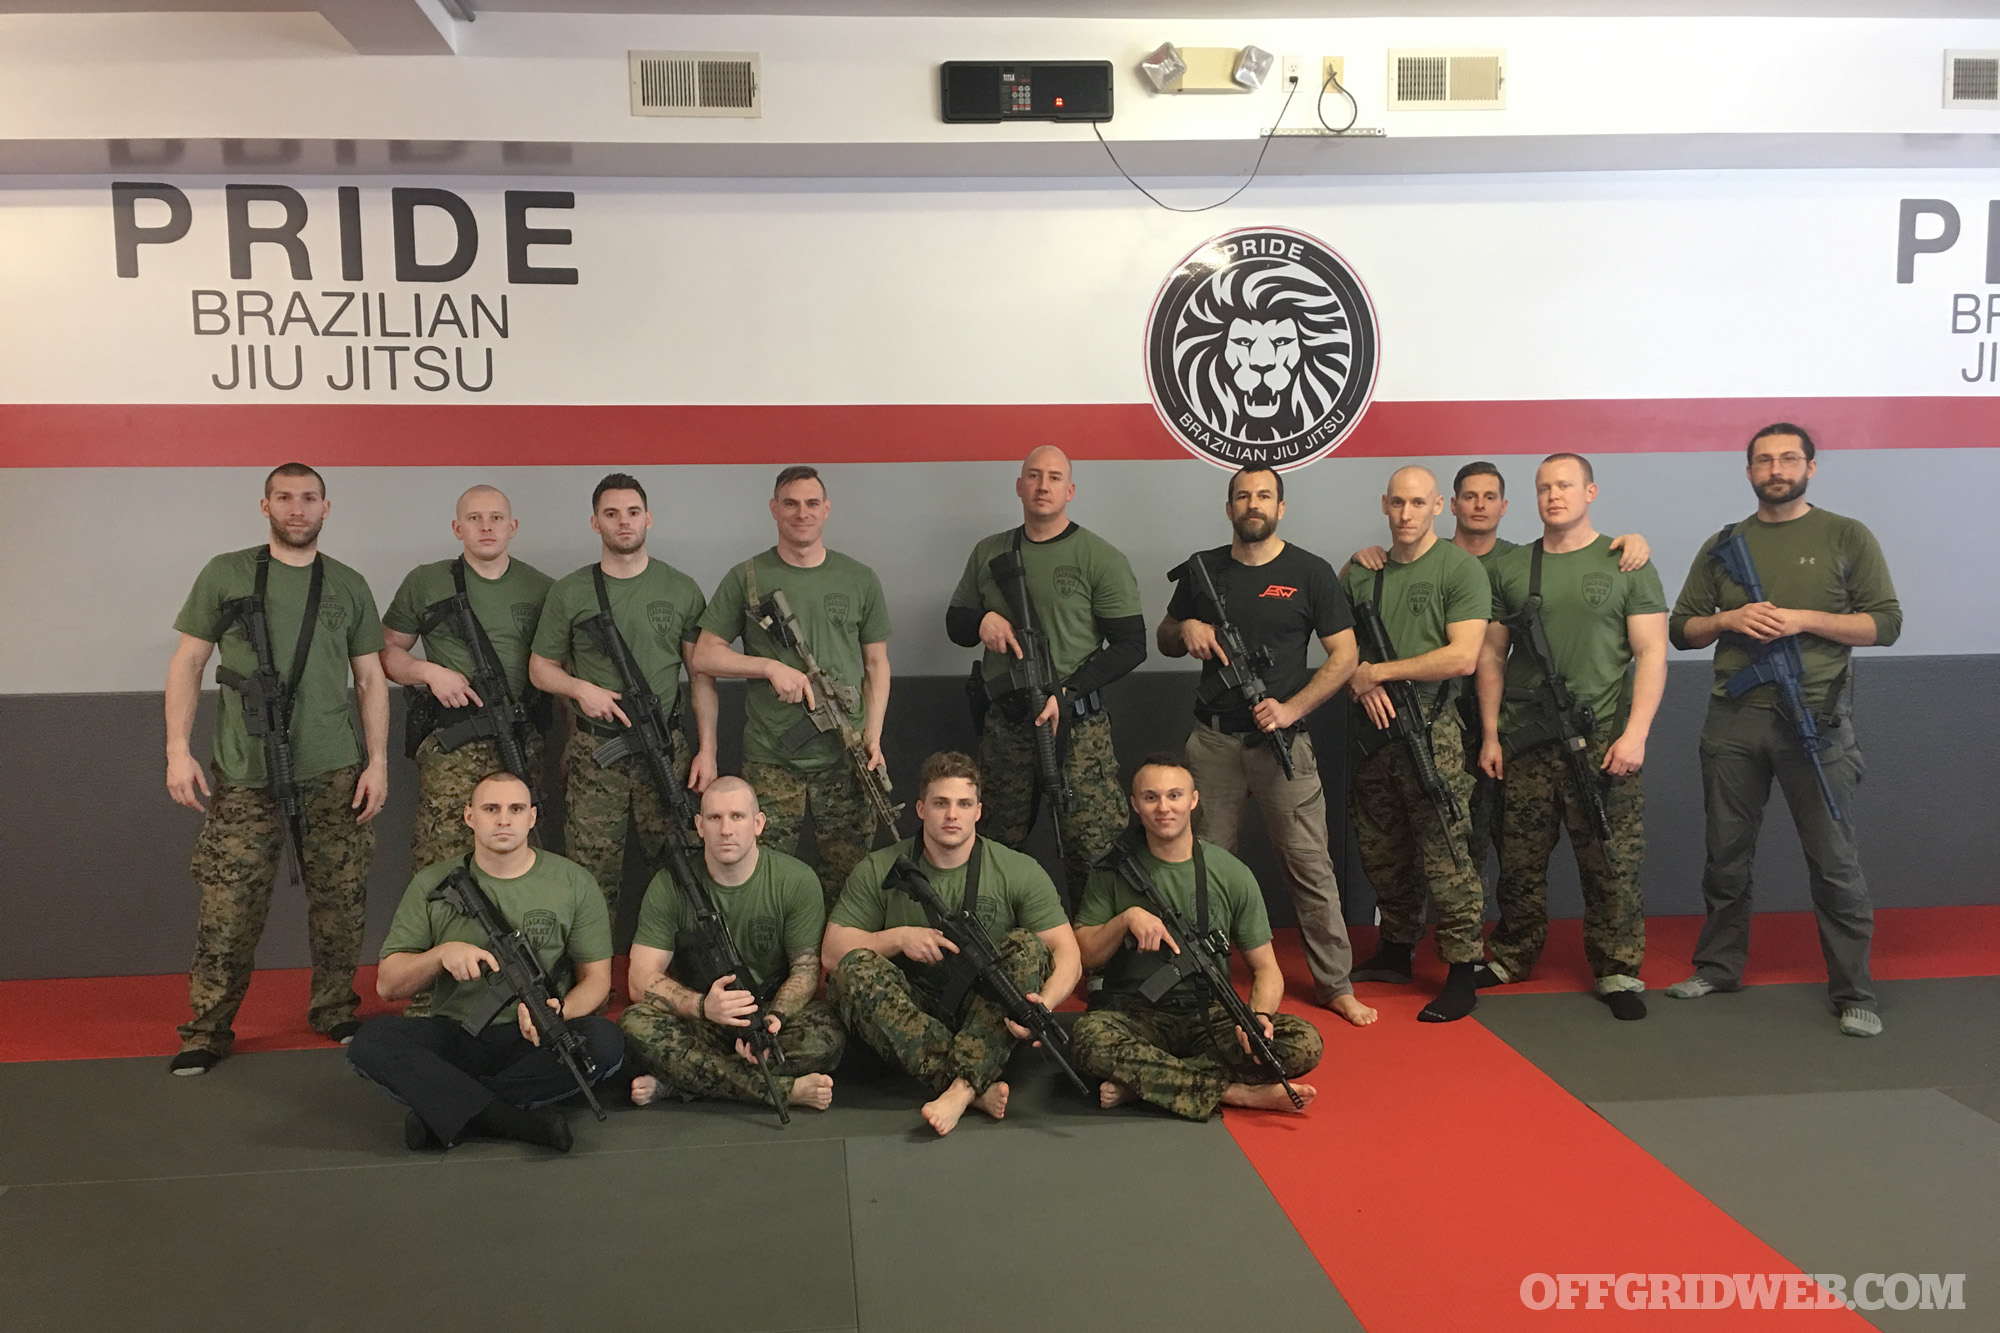
Above: Greg with a group of students at Pride Brazilian Jiu Jitsu.
What lessons from this disaster do you still carry with you today?
GM: Many lessons of that catastrophe became monumental in forming my current preparedness process. I’ve seen firsthand what life-ending and life-altering consequences are caused by lack of awareness and preparation, so I spend significant time researching and fine-tuning my nuclear disaster safety protocols when moving into new area. Being trained in many aspects of it as a child makes many of these things second nature.
In most disasters, the authorities will downplay the risk in order to keep people from panicking, covering up their tracks and possibly thinking that it will just blow over. So, have a plan of your own and be ready to make your own decisions to move off the X, stay sheltered in place if appropriate, or evacuate as the situation unfolds.
You need to know the location of the local nuclear reactors in your area (within at least 300 miles), what lines of wind — and therefore most likely fallout avenues — are expected there, what kind of refuge drift lines will be natural to that area and how it will affect your location. Does your location have a proper amount of cover in place and an ability to filter air to act as a fallout shelter, or is there a shelter like that nearby? Do you have access to it? What is your emergency communication plan with your family and mutual assistance group in case the cell phones are down?
Have the proper radiation detection equipment on hand, charged up, and ready to use and know how to use it. There are plenty of early warning devices that are small and can go in your EDC and be staged in your vehicle, house, and work locations. Have some Potassium Iodate tablets on hand and ready to go to fill up your thyroid. Have your PPE and decontamination equipment ready to deploy nearby and know and practice your decontamination protocols. If you can limit or eliminate your skin exposure and avoid inhaling radioactive materials by protecting your airways, that is huge. It’s good to have pressurized water equipment cable of working even in off-the-grid conditions in order to wash off the gear and body for decontamination.
Understand the basic concept of civil defense as it comes to radiation and what you can do to limit your exposure. Get to your designated proper shelter as early as possible, be it your house or another predesignated location. Have some supplies ready on hand to sustain your basic necessities and sanitation needs, as well as emergency communication methods to stay informed and connected with your networks.
If you are going to need to leave, you will need to leave quickly and leave most stuff behind. Most likely, you will never be able to come back to it, or at least for a very long time. The perimeters of the affected areas will be cordoned-off, secured, and quarantined. Your stuff will become contaminated and possibly destroyed later in the decontamination process. So, have your bug-out bags ready to go and your personal documents in hard and electronic copies ready to go. Have a rehearsed rally-up protocol with your family at a predetermined location so you can get together at any time of the day.
Know where you are going and plan it through and through. Yes, it’s best to stay in your location where you have the majority of your supplies and connections instead of becoming a refugee in most cases. However, a nuclear disaster can be very different, depending on your proximity to the event and whether your living structure can serve as a proper fallout shelter. If it’s time to move, do it now and don’t wait! Plan your routes, have your vehicles fueled up and ready to go, know the backroads and have your printed maps on hand. Above all, keep your head on a swivel and be aware of what’s happening.
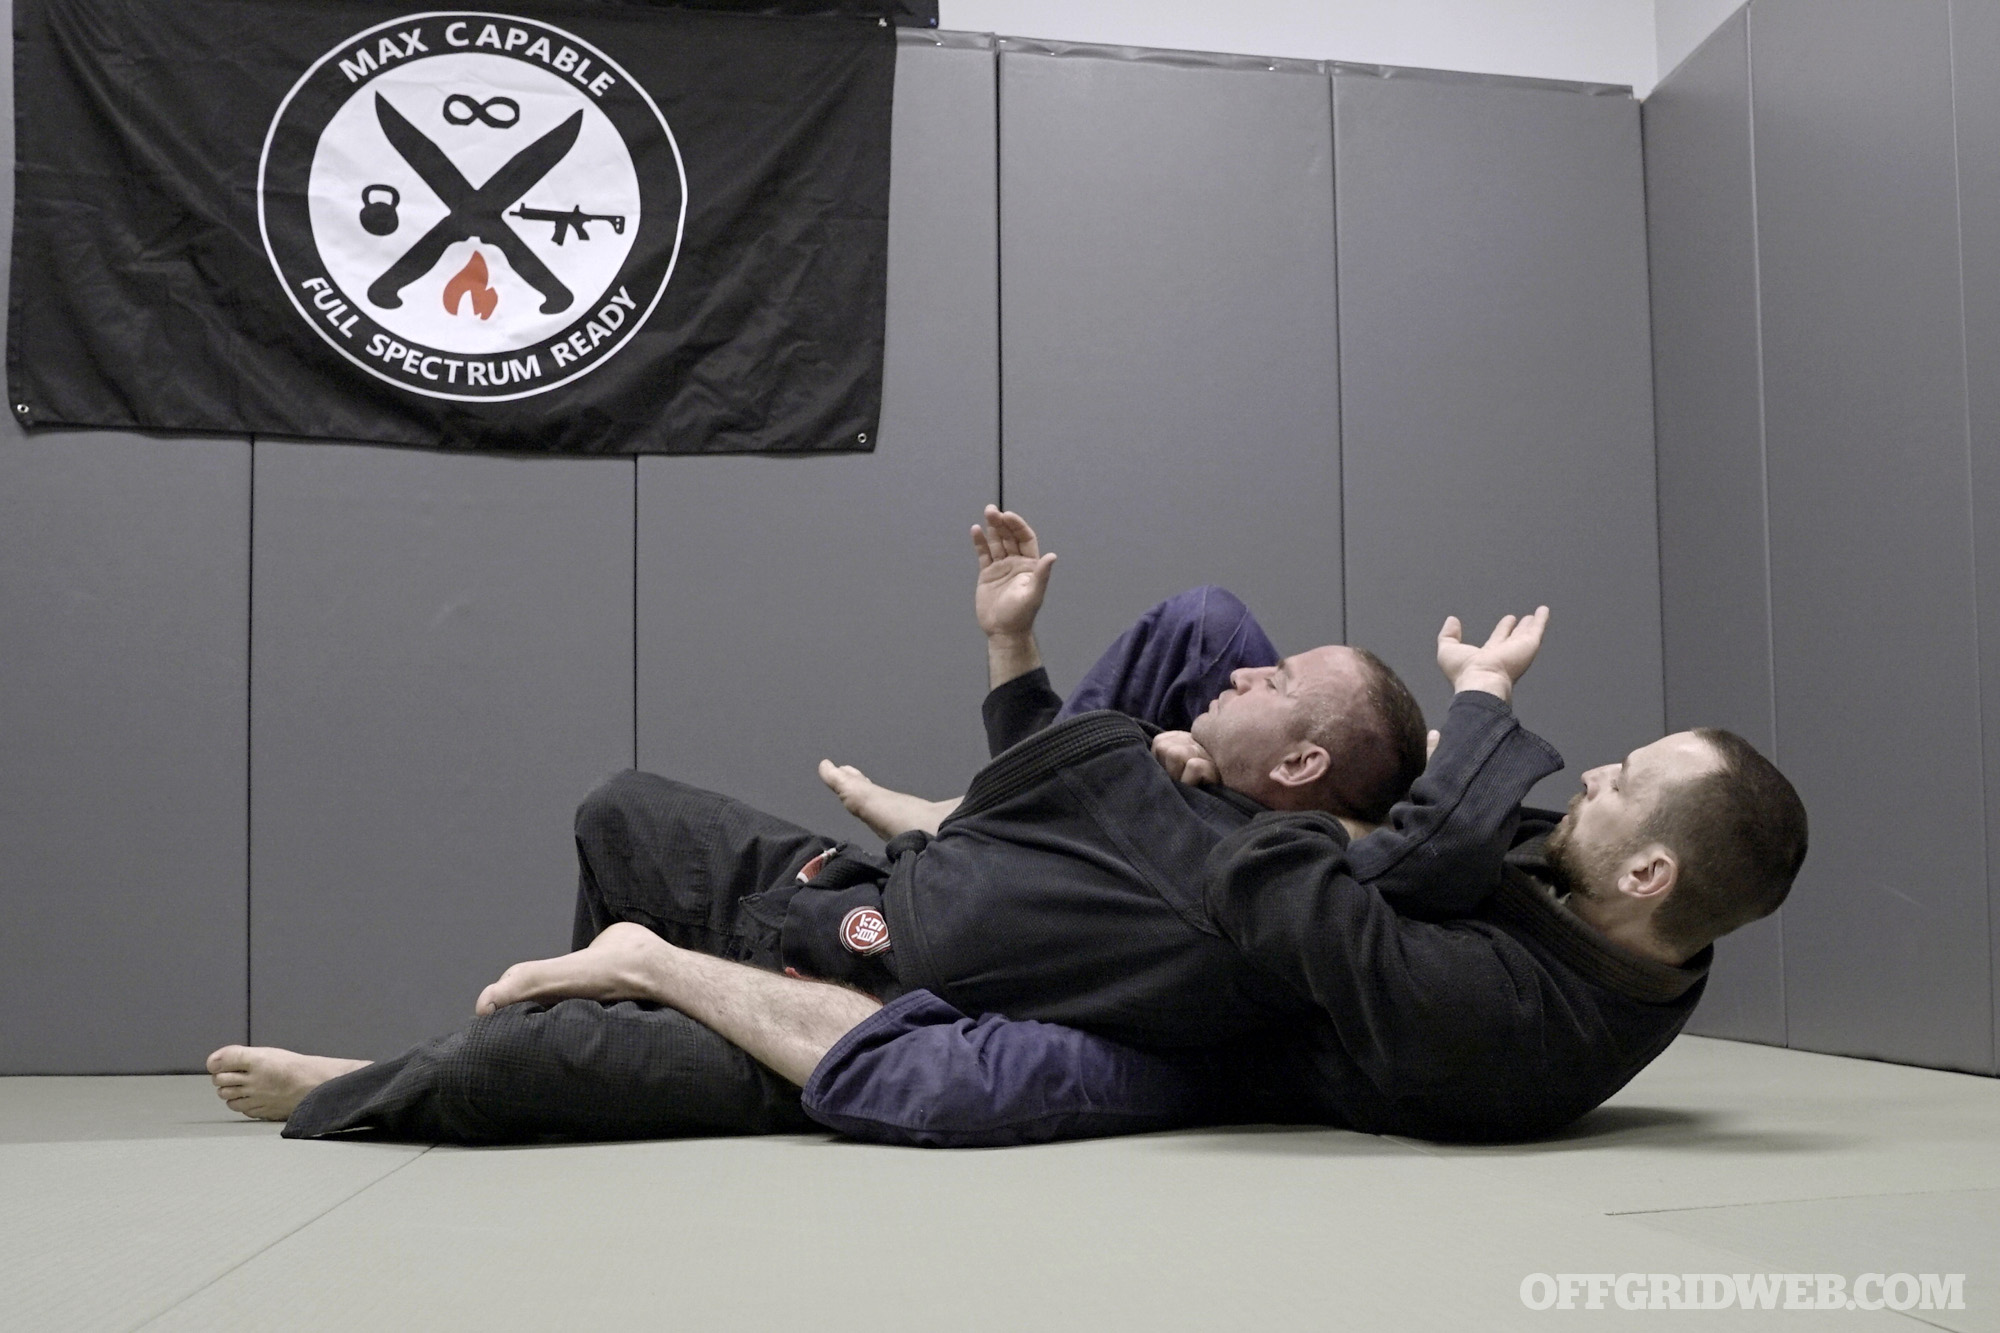
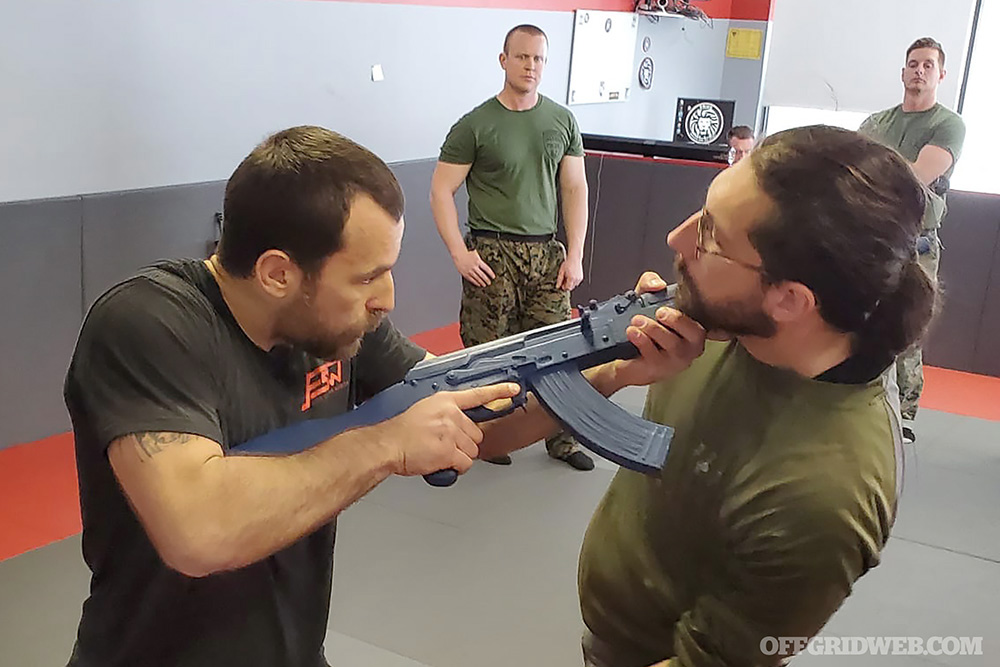
Above: Technical grappling or ground work is a fundamental building block to full-spectrum combatives training.
After the Iron Curtain Collapsed
The other major event you lived through was the fall of the Berlin Wall and subsequent collapse of the Soviet Union. What kinds of obstacles did this create for you and your family?
GM: The Soviet collapse on the ground resulted in a turbulent period of time filled with high uncertainty about the future, huge inflation that destroyed many people’s savings and pensions, many economic troubles, supply chain issues, diminished or vanished social services, erosion of youth culture, and increased crime rate.
Security measures went from almost open doors to double metal doors with cameras and a quick-reaction police force with AKs on a standby. In many areas, ruthless violent gangs competed for territories and resources that they would “protect” from other gangs, although Belarus was relatively quiet in that regard.
Inflation was crazy and many folks’ savings and pensions became nothing, sometimes in a matter of days. People kept gold, foreign currencies, real estate, cars, and goods for barter as ways to negate that. As a result, there was a vast black market for all kinds of things, from medicine to currencies.
My family was resourceful and witty, had jobs, a garden, and various businesses and was able to secure a fairly stable situation throughout the entire transition, although with plenty of bumps along the way.
I was very entrepreneurial early on as well and was always running some sort of business since I was 12 years old, selling books to bookstores around the city, getting gasoline shipments for gas stations when it was not freely available, doing some in-demand imports from countries nearby, and so I was making some good money even by adult standards as a teenager.
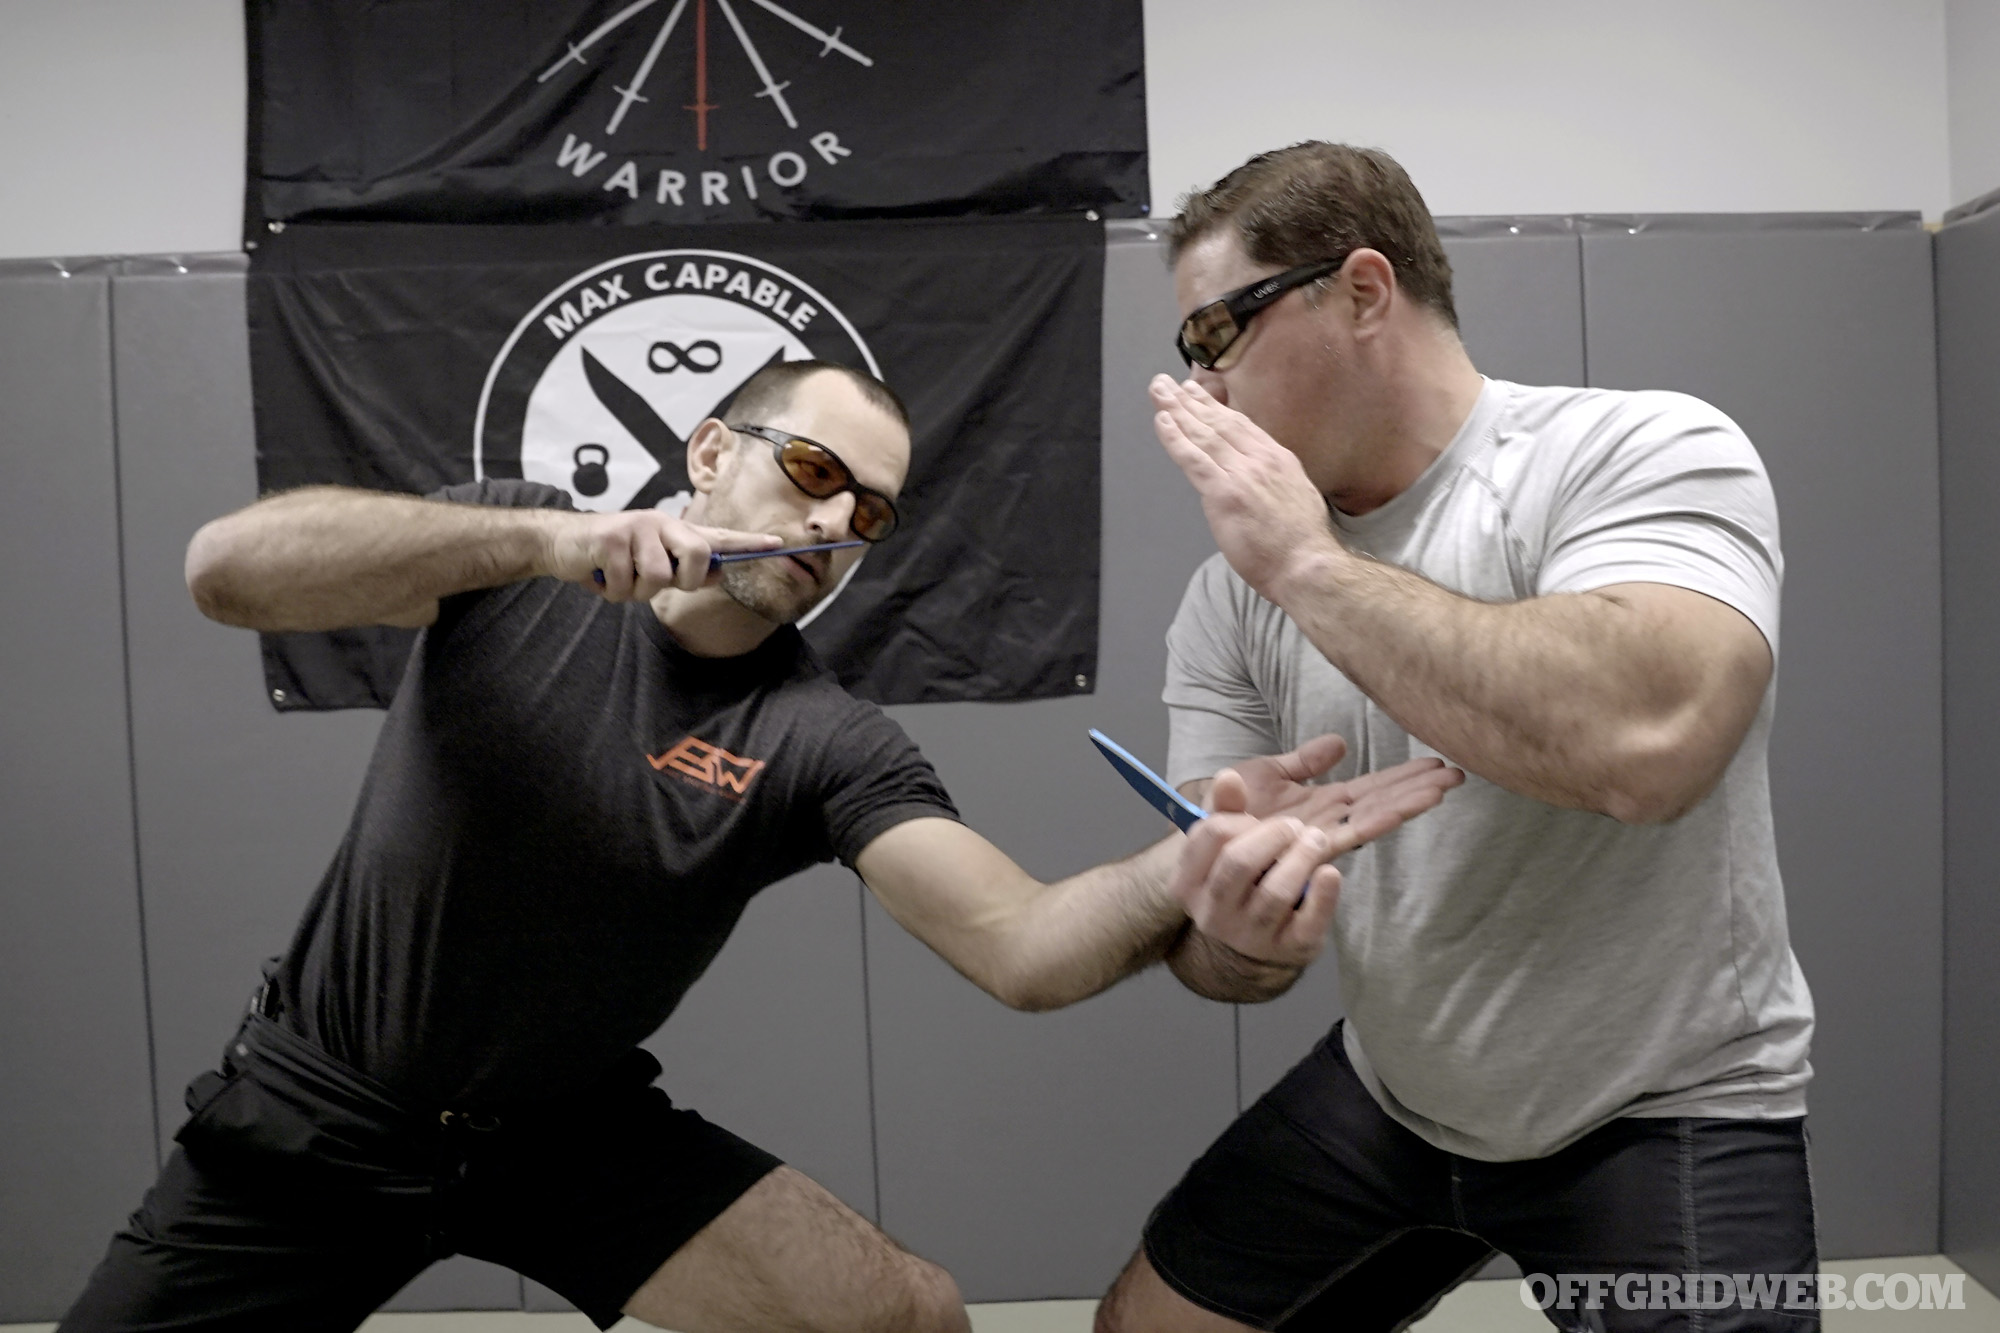
Above: Greg is able to progress his students from hand-to-hand to weapons-based tactics.
Were there any preparedness steps you saw people take beforehand, or immediately after, that helped them get through the difficulty of post-Soviet transition?
GM: Like I said before, people are very rugged and most have been in the culture of preparedness for a long time there. Things had been escalating and ramping up for some time, so only the willfully blind did not see that troubled times were coming. Unfortunately, some people still stayed in denial of what was happening for a long time and didn’t react quickly enough to adjust to the new situation. So gardening, communities, hard work, and perseverance got people through. I’d put the community as number one and the ability to produce your own food as number two.
What were the biggest cultural shifts you remember as the Soviet Union was approaching its collapse?
GM: Less and less people worked productively in the collective economy and colossal bureaucracy. It was enough to just make some motions, making it look like you were working and shifting responsibility on the “next guy.”
The collapse was set up by a very small group of corrupt politicians, and it was sudden and shocking for the vast majority of people. Once it happened and people were looking to adjust to the new reality, many really believed for a while that good will and peace would prevail and there would be no more conflict. The song “Wind of Change” by Scorpions was very symbolic of that era. The ex-Soviets believed that now that they had let go of communism they would be integrated into the rest of the world. Unfortunately, fate had other plans.
Communism & Capitalism
There are some Americans who believe that capitalism is oppressive, and argue that a communist/socialist system is the solution. What would you say to those who support those types of systems taking root in the U.S. or anywhere else?
GM: The free market system is superior to a centrally run one, and it makes for a much happier place. People have a natural drive to excel and thrive when a free choice is present. People need to be able to make their own decisions regarding personal health choices, what they want to do, and what they want to believe. We need to be left alone without bother.
Socialism is a slippery slope that might seem good on paper, but historically has failed again and again. The reality is, however, that some things here are already socialistic in nature, like medical mandates and property taxes, for example. Do you own your body and your land or are you effectively leasing from the state for the time being?
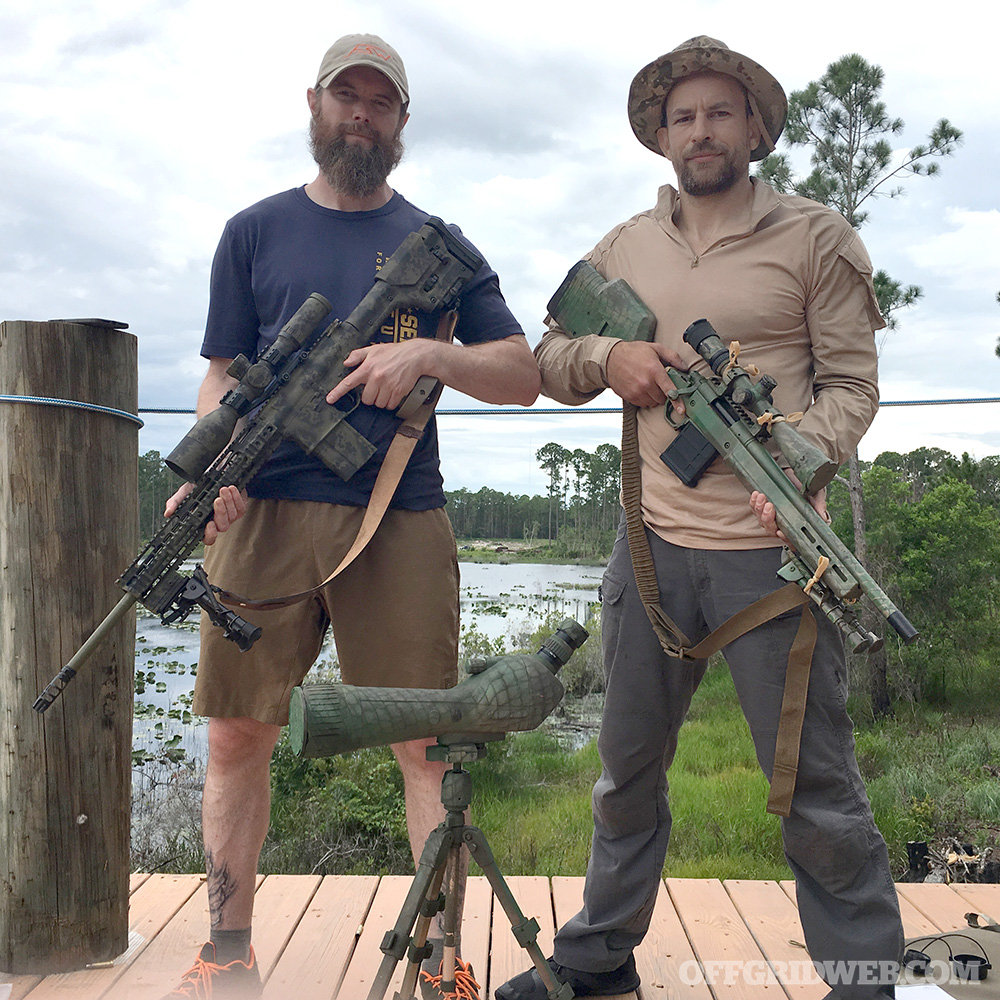
Above: Greg with business partner Rich Graham of Full Spectrum Warrior at Deep Woods Ranch in Florida.
Why do you think these kinds of movements gain momentum with certain people, and where do you think that influence is coming from?
GM: I think most young people are idealistic and romantic due to their age’s dynamics, but often don’t have enough hard life experience. They can fall easily into socialistic ideology due to these ideas often masquerading as humanistic ideas. That is fueled by lack of proper education and, as a matter of fact, the prevalence of socialistic way of thinking in the educational system, mass media, academia, and the entertainment industry. The better educated people are, and the more responsibility and initiative they are willing to take upon themselves, the more they lean toward traditional free market values.
What do you feel can be done to bridge the gap between the idealized view of a communist utopia and the harsh realities you experienced?
GM: I think people need to travel to centrally controlled socialistic countries and see for themselves. Nothing replaces real-life experience.
Coming to America
At what point did you decide to emigrate to the U.S.? What was that experience like for you?
GM: When I was going through college I wanted to travel and to find my own way as a man. Initially, I came to the U.S. in 1999 to study and work and fell in love with the idea of the Constitution, First and Second Amendments, as well as how easy it was to set up a private enterprise and start doing what you love to do. So eventually, via a lengthy emigration process, I first got my green card then became a citizen a few years later. The experience has been great so far, I have met many amazing people who have helped me along the way.
What’s your favorite experience you only had after coming to America? What’s one thing you miss from your home country?
GM: At the time I came to the U.S., it would have been very difficult for me to fulfill my dream of working as a fitness and martial arts coach professionally in Belarus while making enough income to maintain good living conditions. I know with my drive I would have acquired a good living, but I would’ve ended up working in a different field. In the U.S., I was able to focus full-time on what I enjoyed doing the most — training myself and others in getting healthier, moving better, practicing martial arts, and using firearms while making a good living for my family.
I miss my immediate family and original Muay Thai coach Dimitri Piasetsky the most, but I see them regularly on annual trips to Belarus.
Self-Defense Training
What made you get into fitness and training as a profession?
GM: My granddad was the first person to get me into training, then later I had many influences that motivated me to become a pro in that field. Like I said earlier, the culture of manhood, strength, and fistfighting growing up was strong, so training in martial arts was natural. Living across the street from the circus and seeing some incredible displays of human abilities was a huge factor as well.
My first martial art was Sambo at 11 years old, but it was Muay Thai, which I started at 16 years old, that I consider to be my first love in martial arts. That’s when I knew that I would be doing this forever. I always liked working on the technical aspect and enjoyed the process.
Initially, I started training professionally in 2001, teaching kettlebell and bodyweight strength and conditioning methods, along with Muay Thai at a local gym and Renzo Gracie’s affiliate MMA school. Over the years, I’ve kept adding skill sets, such as jiujitsu, boxing, submission grappling, catch, judo, Systema, Kali, Panantukan, and firearms. I opened my own facility, Underground Gym, in 2003 and have been doing training full-time ever since.
I sold the gym in 2018 and began another project, Max Capable, where I teach people how to move better, be strong, to be able to fight in all ranges, and to survive against all odds, utilizing my integrated system of mobility and strength development, martial arts, firearm, and survival training.
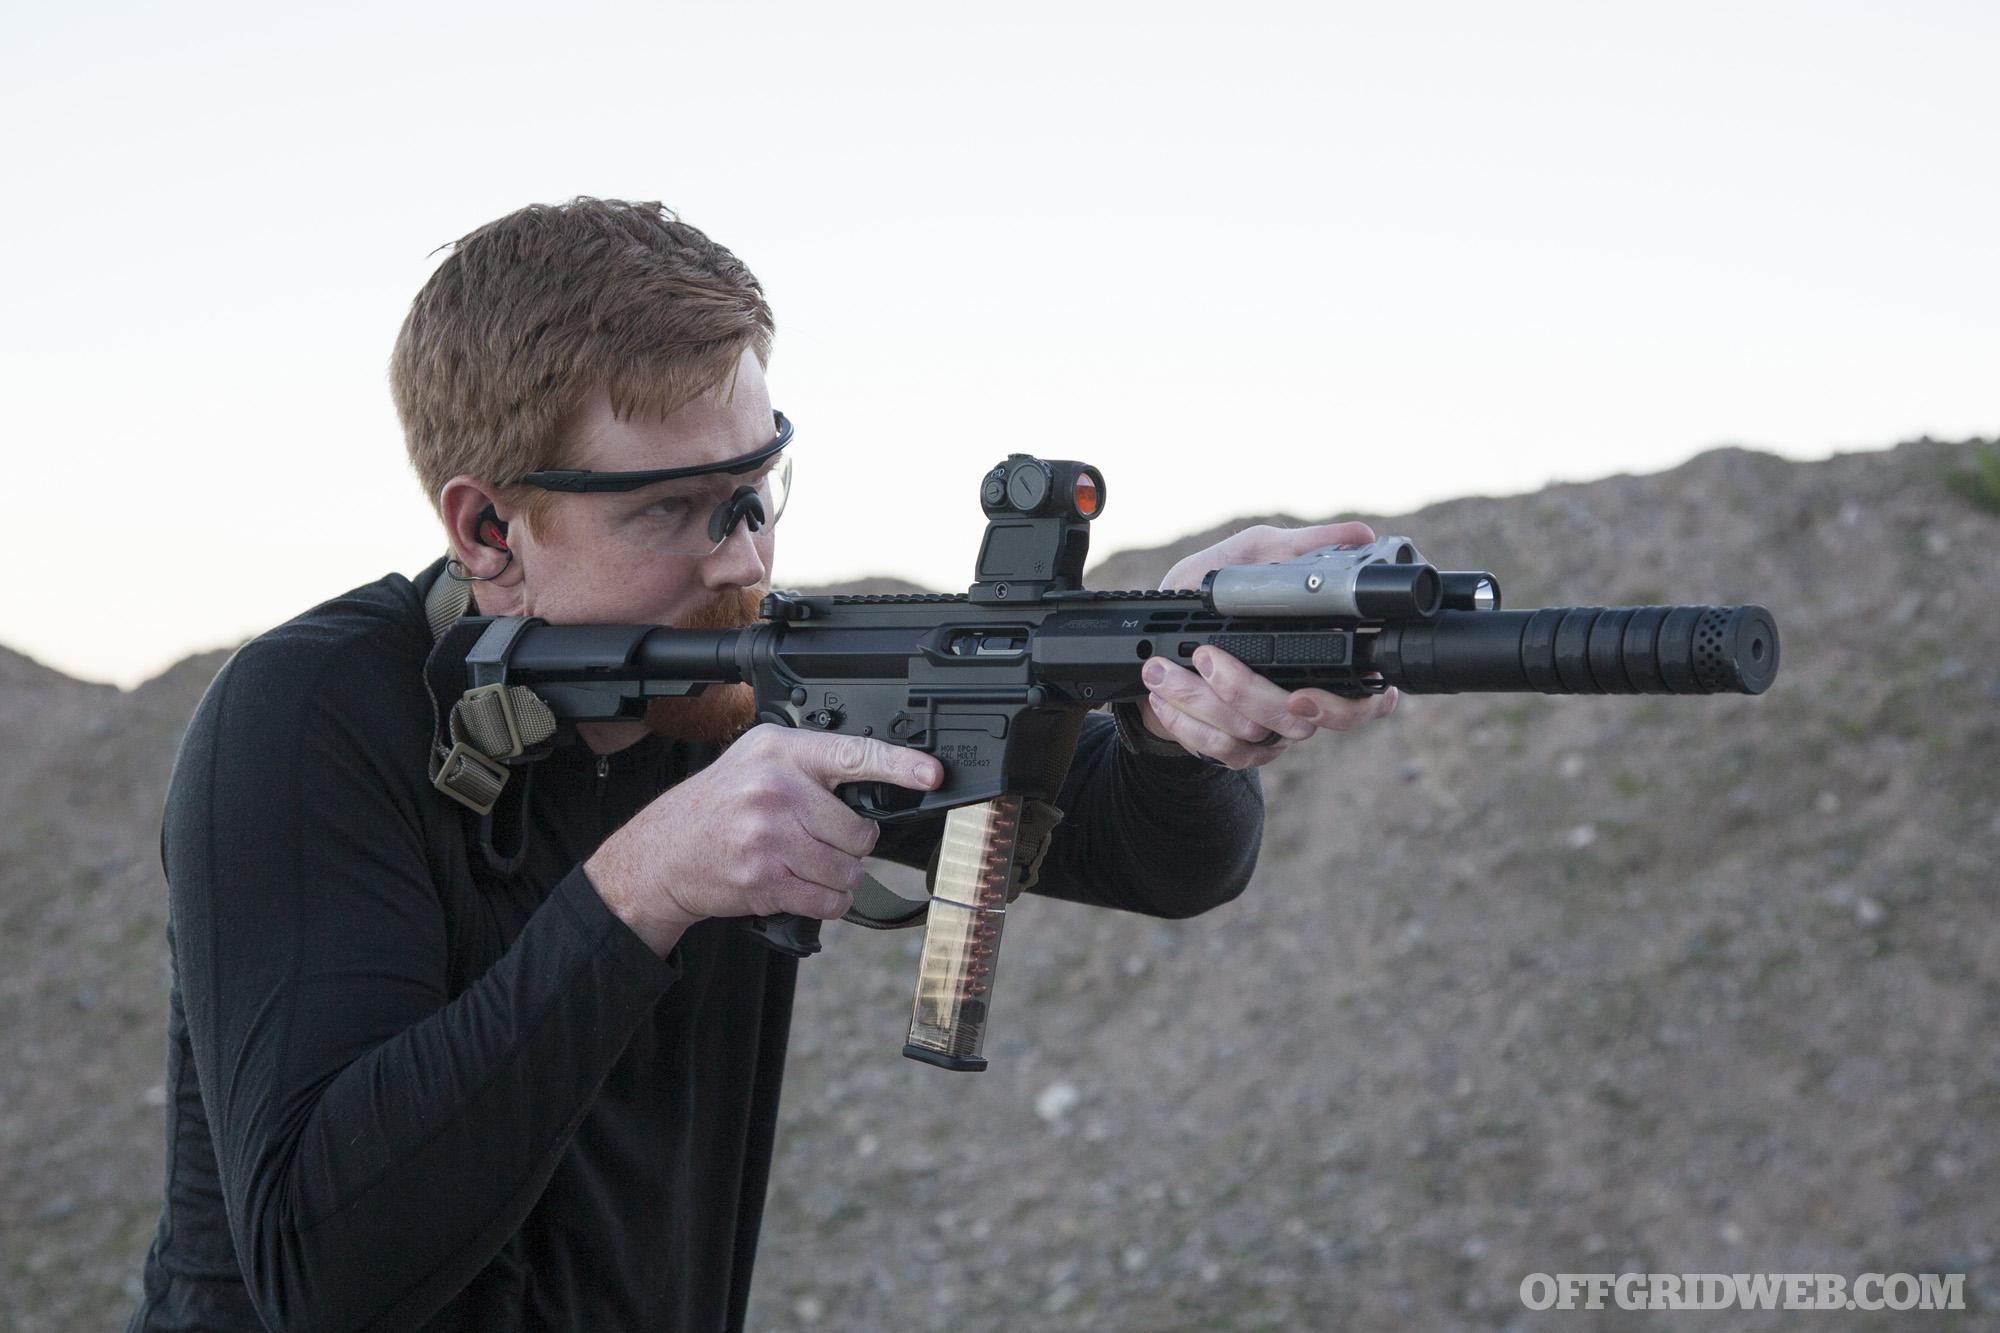
We know you work a lot with Full Spectrum Warrior, where you assist in firearms and tactical training as well. What was your journey like to become proficient in these particular skillsets?
GM: Yes, I’m proud to be a part of the Full Spectrum Warrior project. I met Rich Graham, the FSW founder, in a Muay Thai training camp in New Jersey way back in 1999, and we have been training and hanging out together ever since. Later, he left for the Navy and became a SEAL, was medically retired after seven years of service, came back, and started a tactical training company.
We reconnected, cross-trained a lot, and helped each other as much as we could to get as strong and capable as we could in each other’s areas of expertise. I’ve taken many of his training courses and have learned a lot over the years. Rich is an excellent instructor who always pushes you just outside of your comfort zone and helps you to see the big picture.

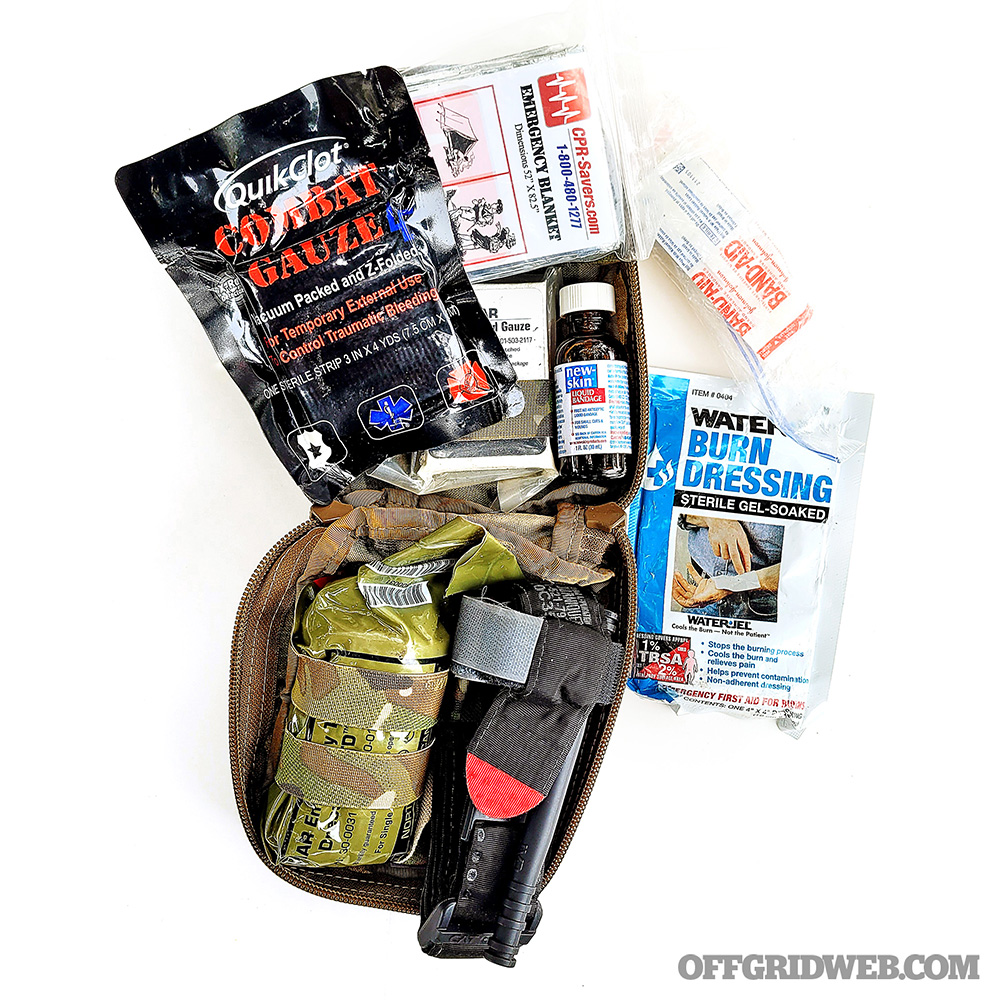
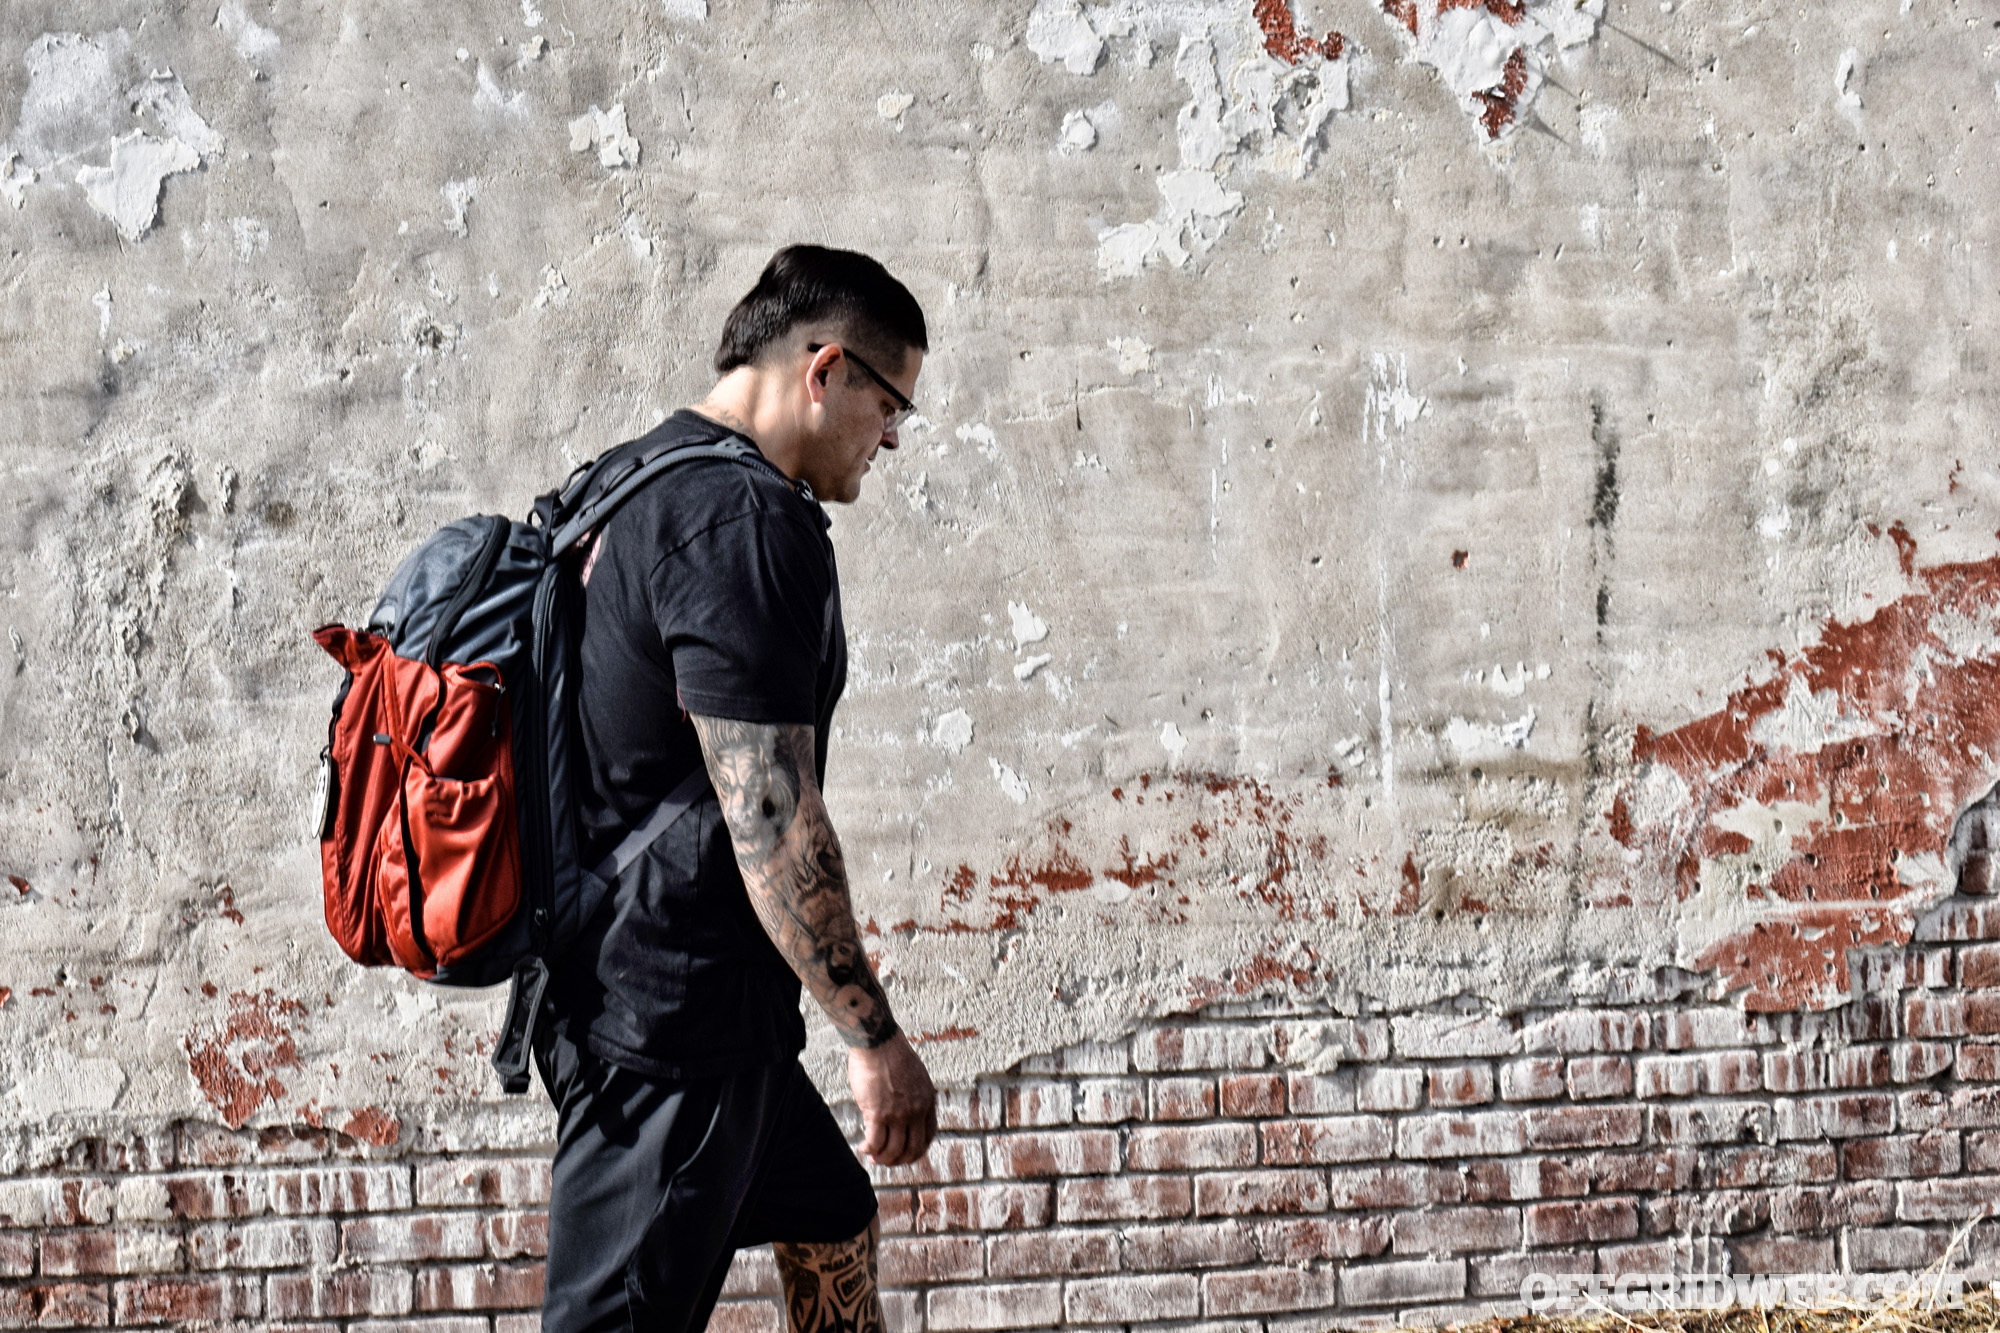
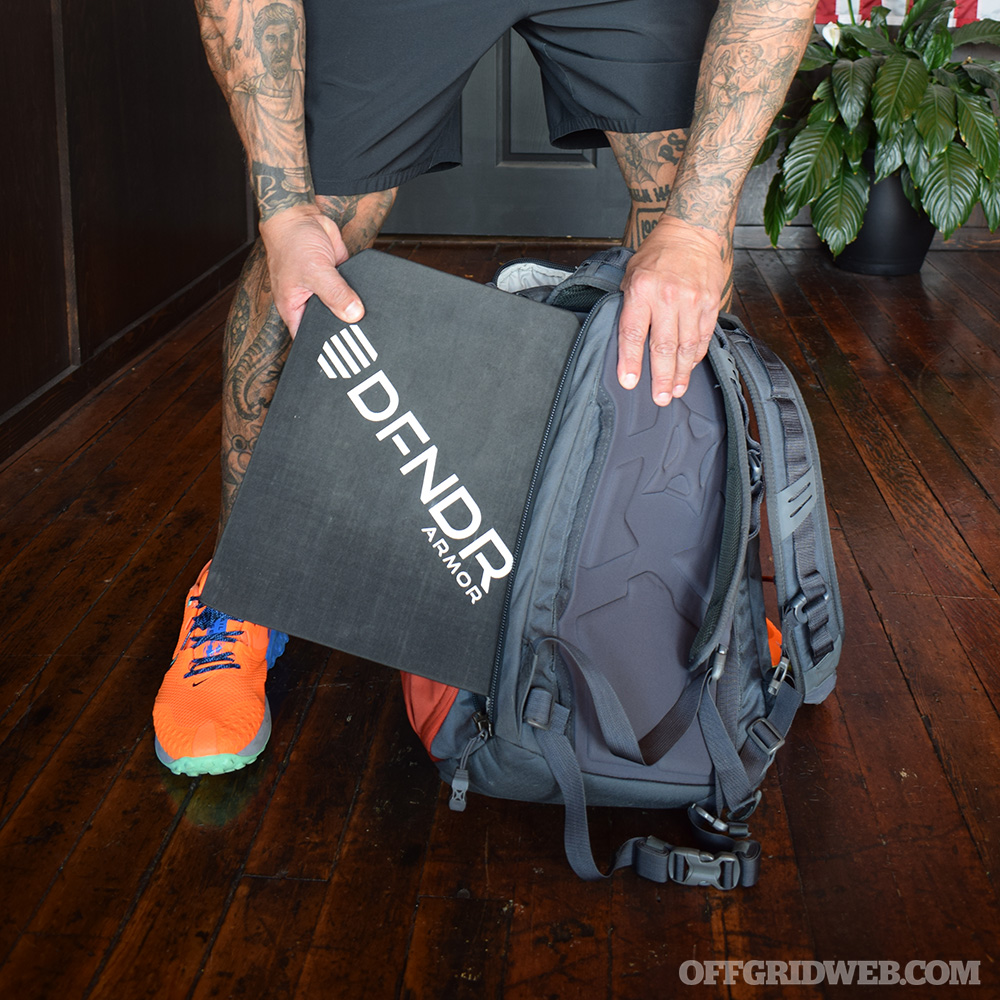
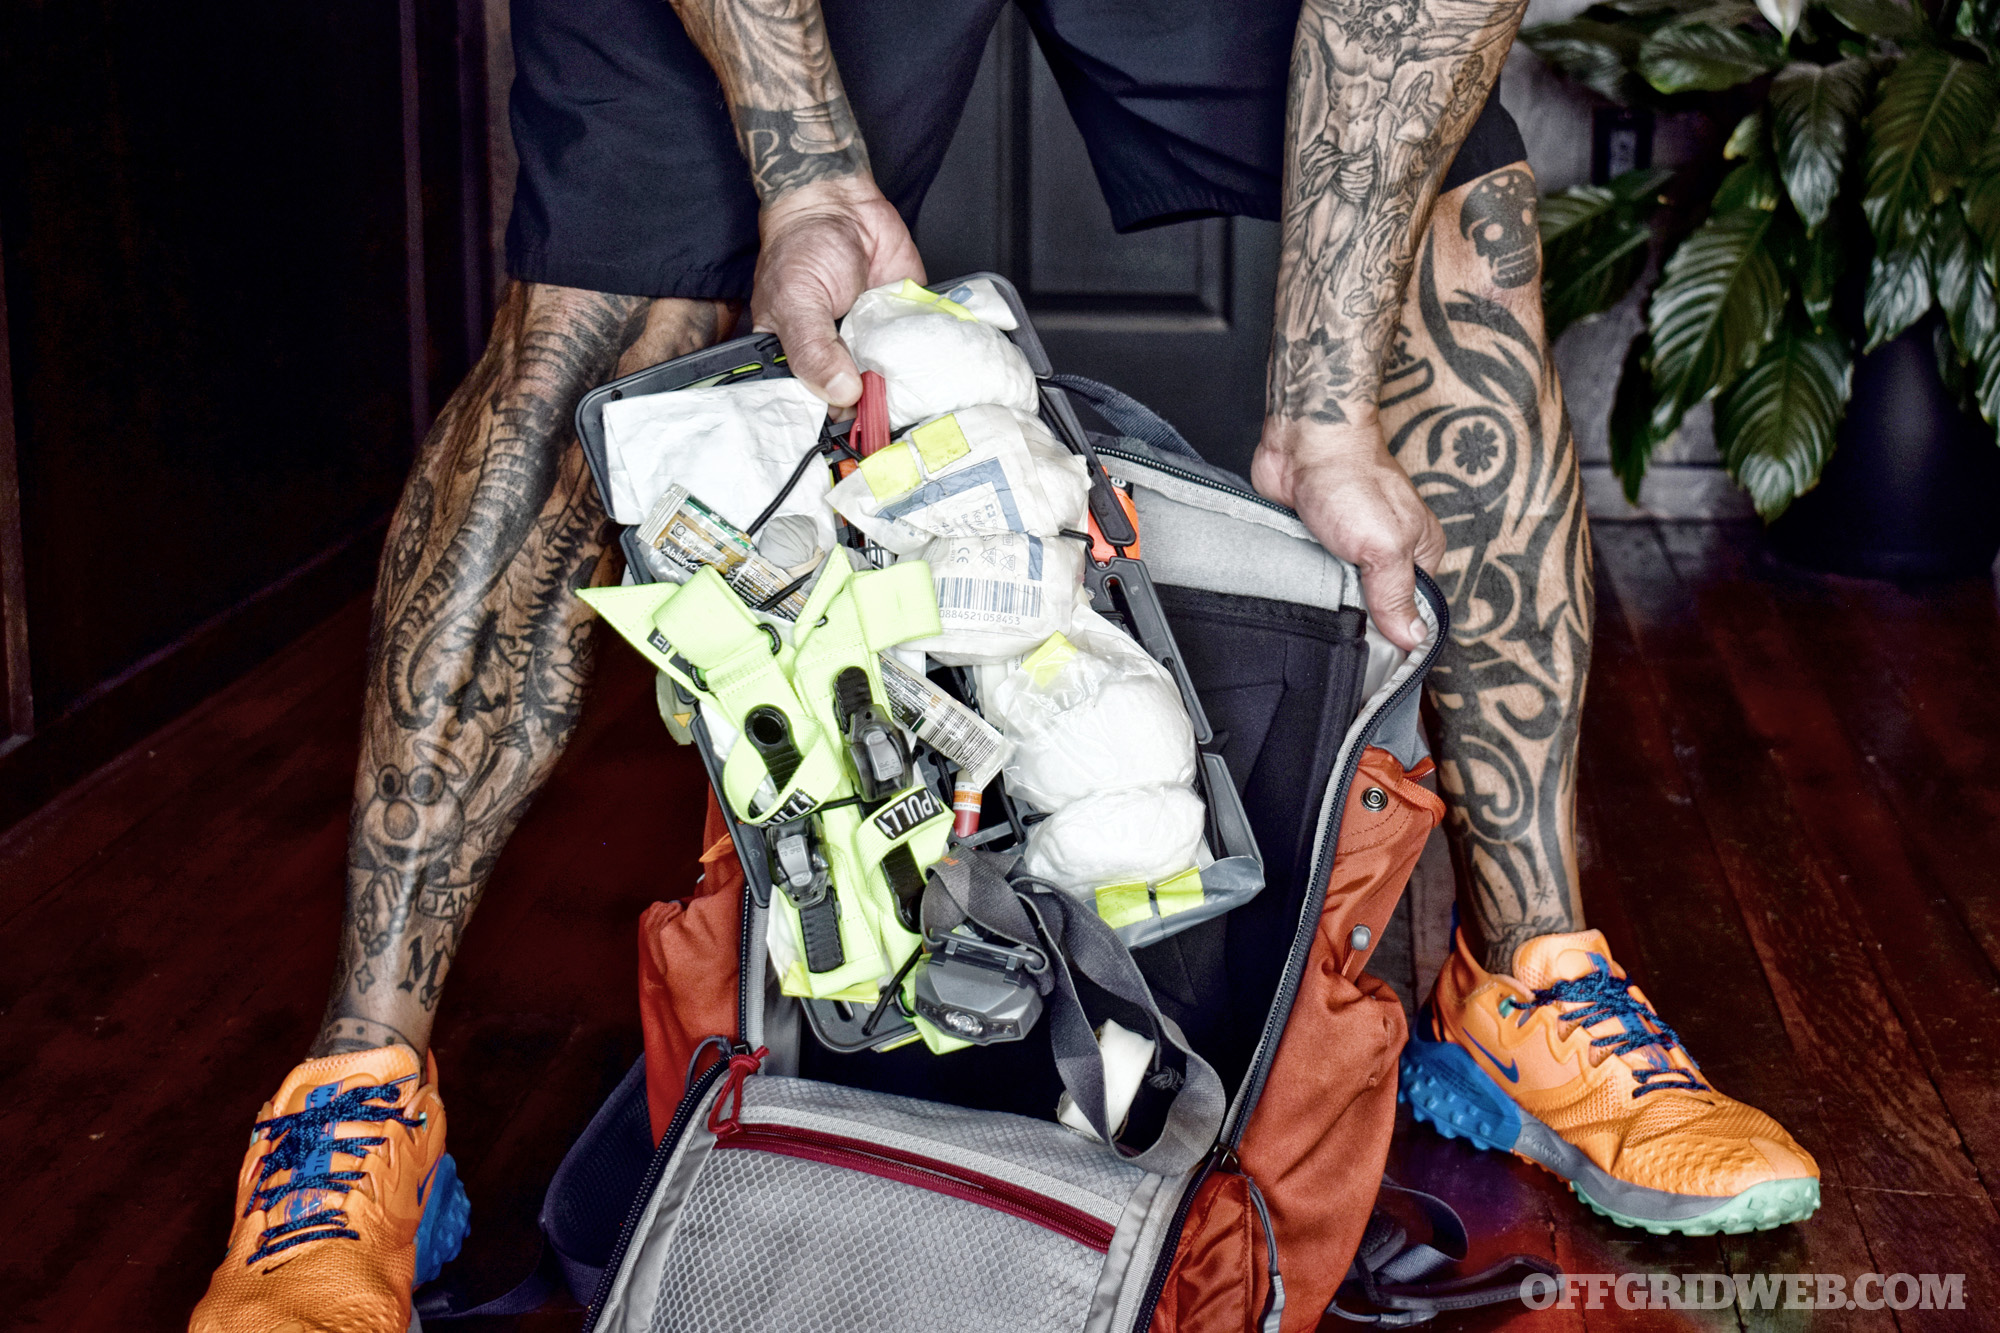
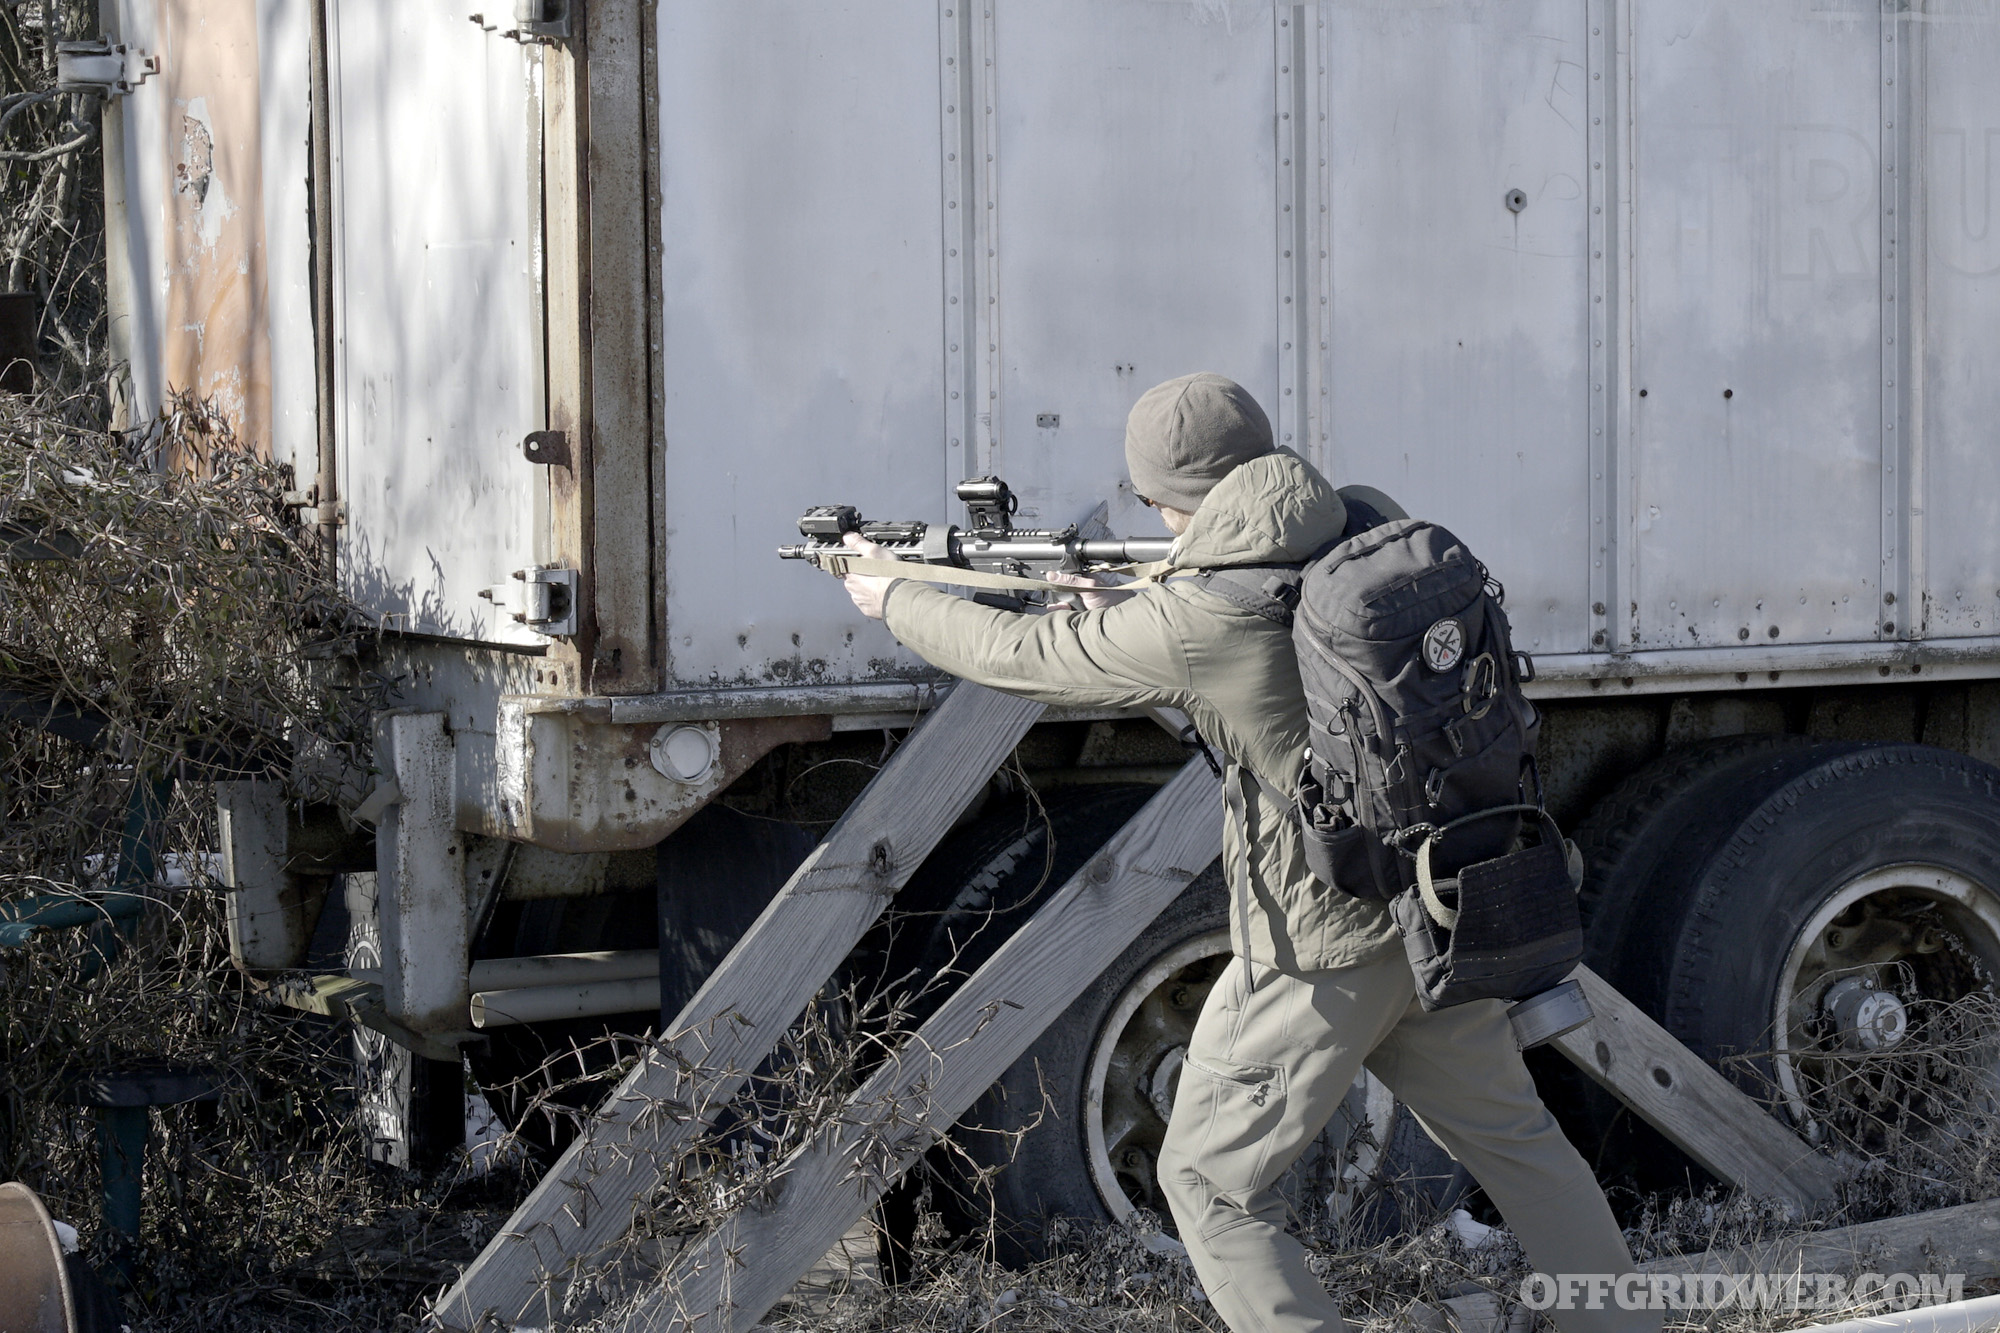
Above: Preparedness is a lifestyle, not an end-state. Incorporating medical, sustainment, and self-defense capabilities into your daily use bags could pay invaluable dividends.
Through his training, I got connected to many interesting people in the industry, was blessed to train alongside some outstanding professionals, and have taken many of their courses. I also went to some really interesting schools, as well as practiced a lot on my own and with my students.
Eventually, I started assisting Rich with his courses — first just setting up the range and helping out logistically, and then eventually teaching my side of the range. In 2016, we came up with a Combat Mobility System collaboration project that breaks down efficient movement with firearms.
I appreciate the patience he and many of my other teachers had with me over the years. I try to learn every time I step on the range just like I do on the mats — I’m forever a student, and constantly working to improve my skills as a shooter and as an instructor.
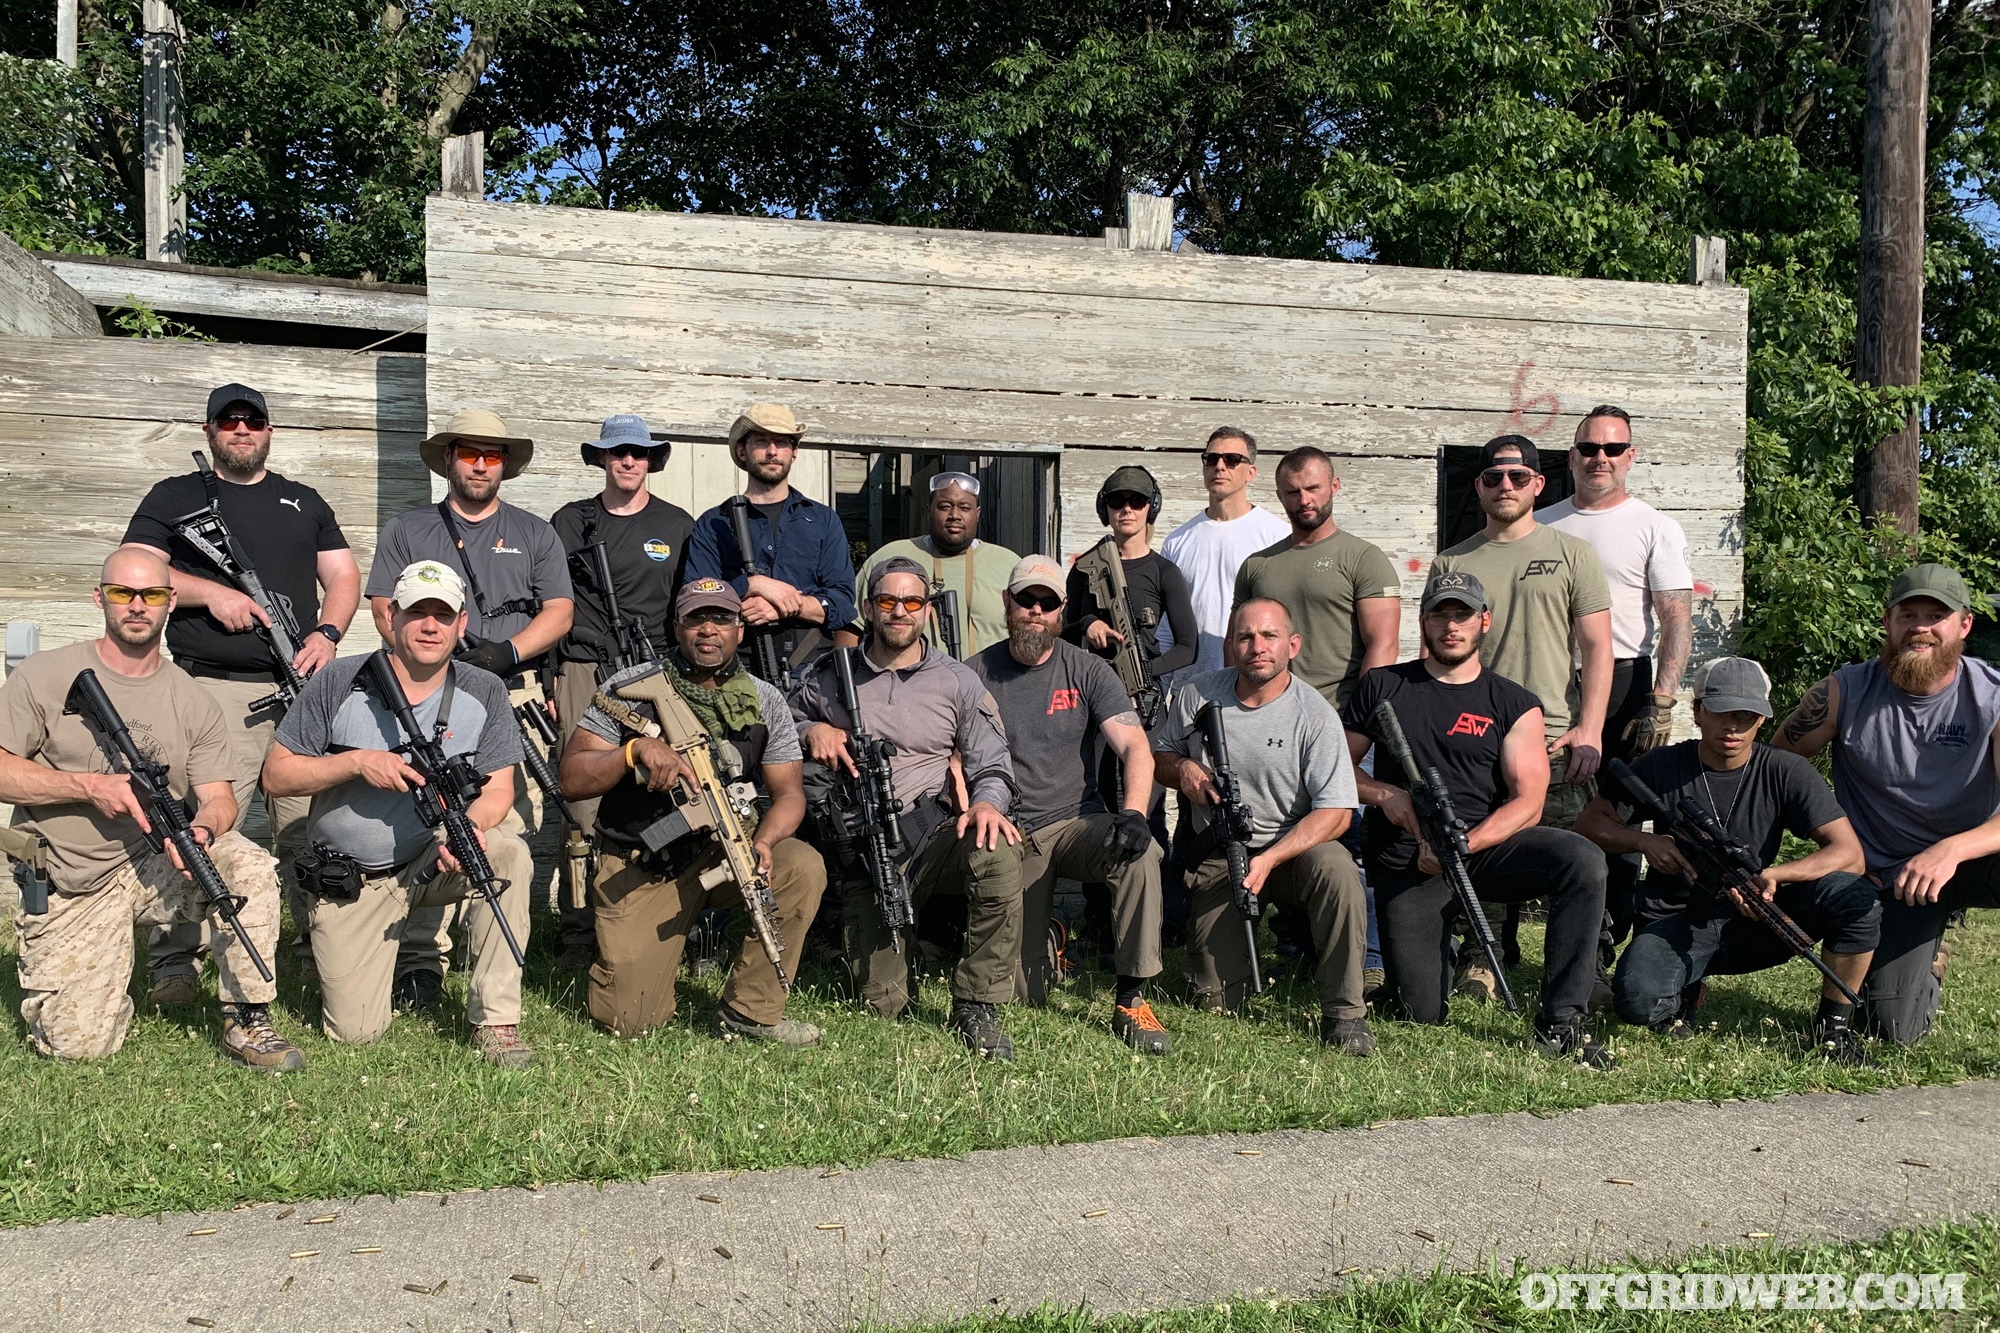
Currently, I run some training courses for Full Spectrum Warrior, teach out of my academy in Tinton Falls, New Jersey, and instruct some firearms courses for Condition Gray in the Northeast. I’ve been fortunate to work with hundreds of everyday citizens, as well as many police departments locally and across different states.
How does the American perspective on firearms and the Second Amendment differ from your experience in Belarus? Were civilians able to own firearms for hunting or recreation there?
GM: Civilians can still own limited-capacity hunting rifles and shotguns in Belarus, but the conditions are nuts, and you have to be ready for your weapon to be inspected for proper storage requirements anytime, day or night.
The Second Amendment is huge to me, as I enjoy shooting a lot, but it’s so much more than just that. To me, it is an extension of my martial arts and makes the modern mixed martial arts regimen complete. I see it as a fundamental right that cannot be infringed upon.
Advice for the Future
What advice do you have for our readers about preparedness based on your childhood experiences?
GM: Know the area you are in, identify your primary threats, and prepare accordingly. Build a strong and capable community. Be ready to adapt to any circumstances and always keep learning.
There has been a lot of talk in the last several years about increasing government control over people’s daily lives, some coinciding with the COVID-19 crisis. What are your thoughts on this compared to your experiences growing up in an authoritarian Soviet state?
GM: It’s funny that modern Belarus never went into a lockdown and has been mandate-free from wearing masks and/or medical interventions this entire time. Their mortality numbers are the same as almost everyone else’s.
I don’t like increased censorship and control, even if it’s “for our health and safety.” A medically induced dictatorship is still a dictatorship. People need to be able to make their own decisions and risk assessments based on their individual health and other circumstances.
About Greg Mihovich

Age
42
Current Hometown
Shrewsbury, NJ
Favorite Quote
“What cannot kill me makes me stronger”
Favorite Food
Bison or elk steaks with wild rice
Recommended reading list:
- Nuclear War Survival Skills by Cresson Kearny
- The Secure Home by Andrew L. Skousen & Joel M. Skousen
- Mastering Jujitsu by Renzo Gracie & John Danaher
- How to Eat, Move and Be Healthy by Paul Chek
- The Oxygen Advantage by Patrick McKeown
- Why We Sleep by Matthew Walker
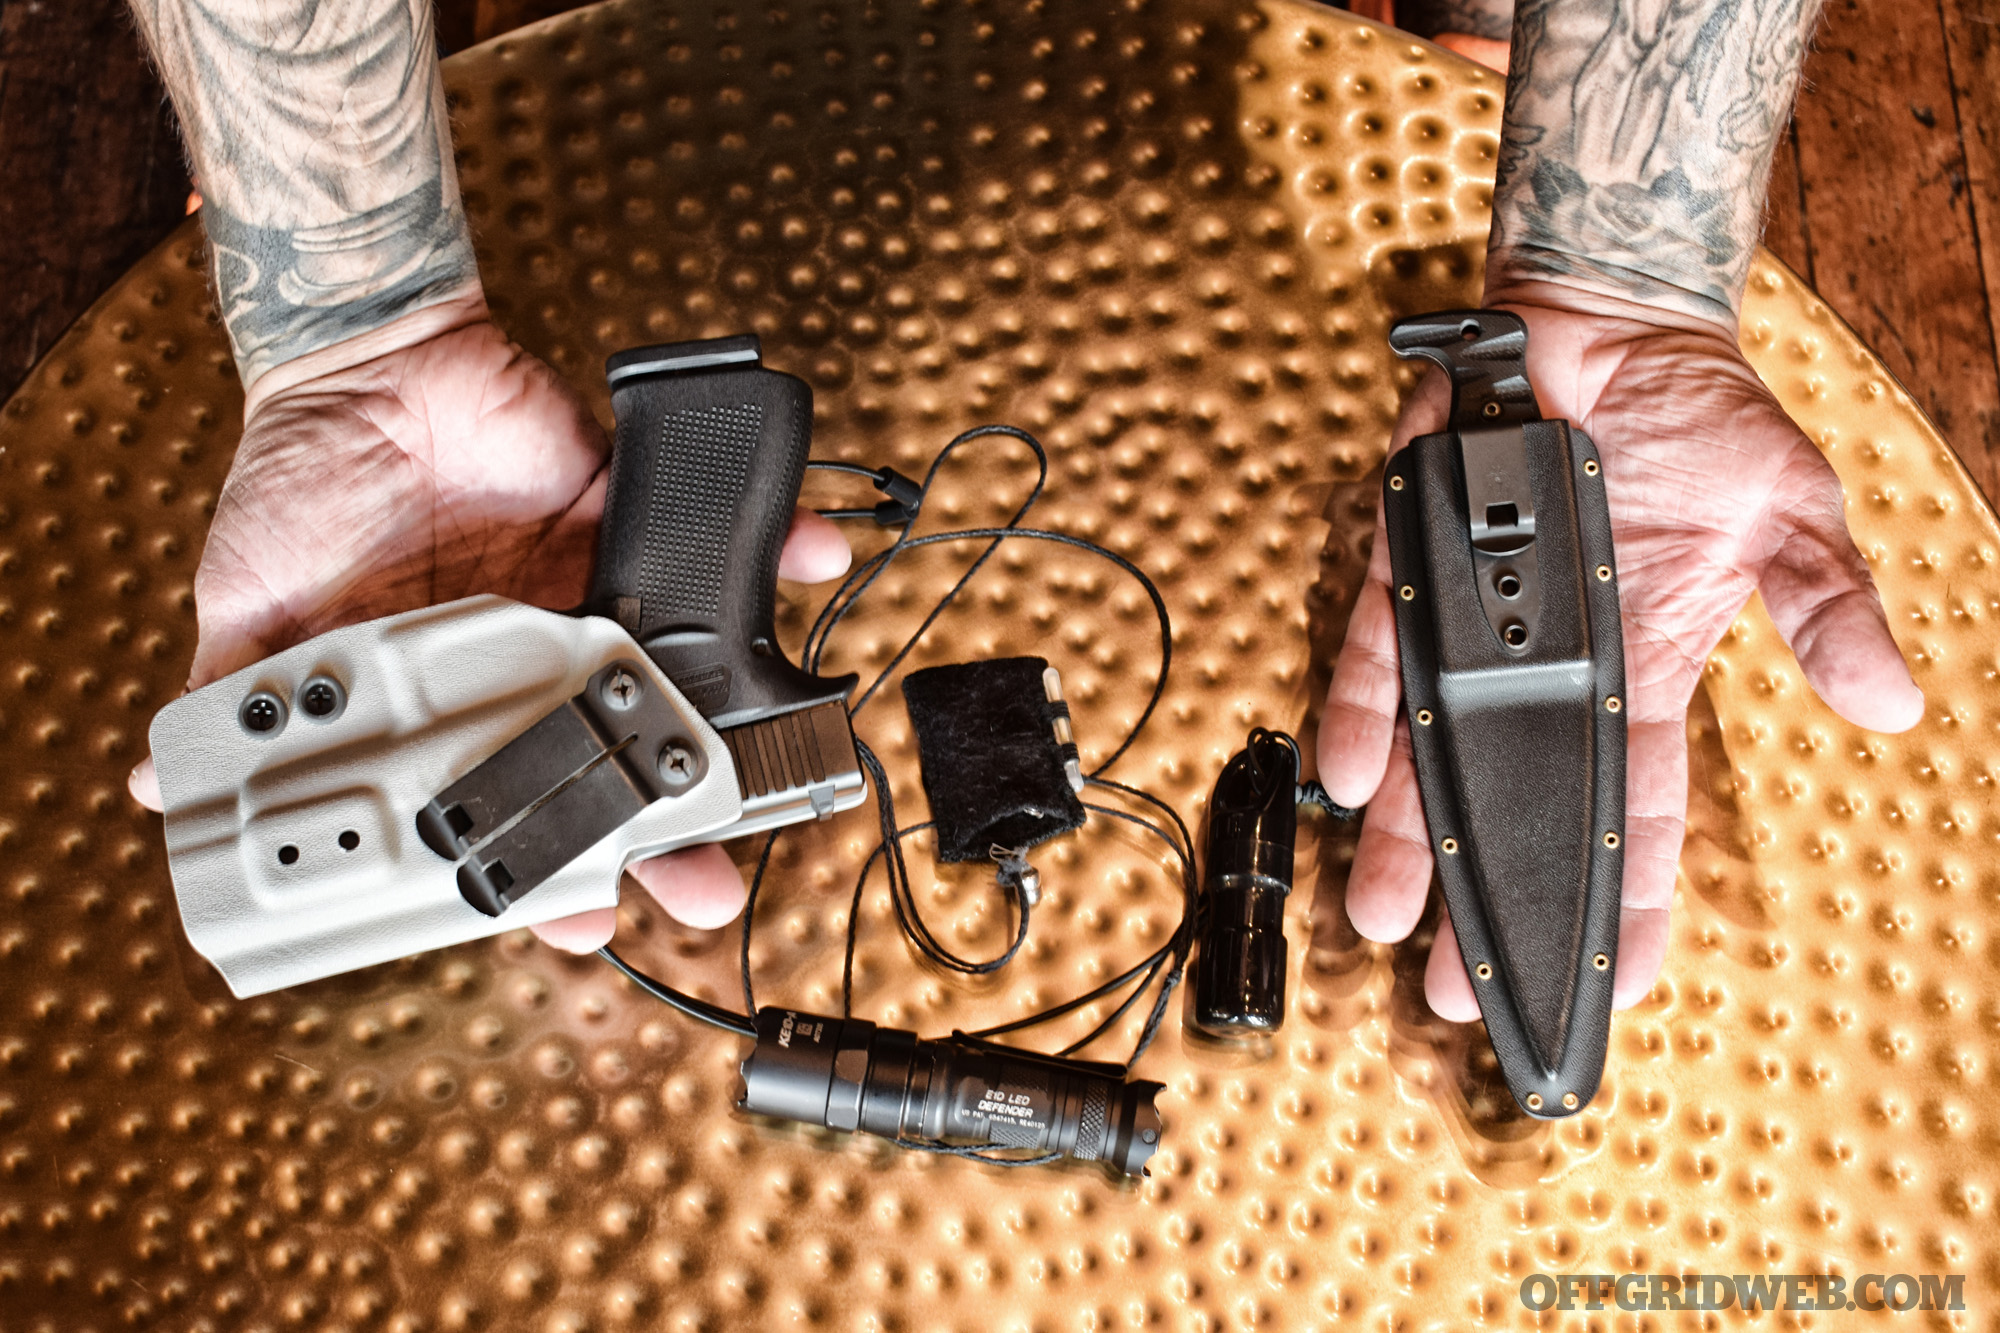
Greg’s EDC Gear
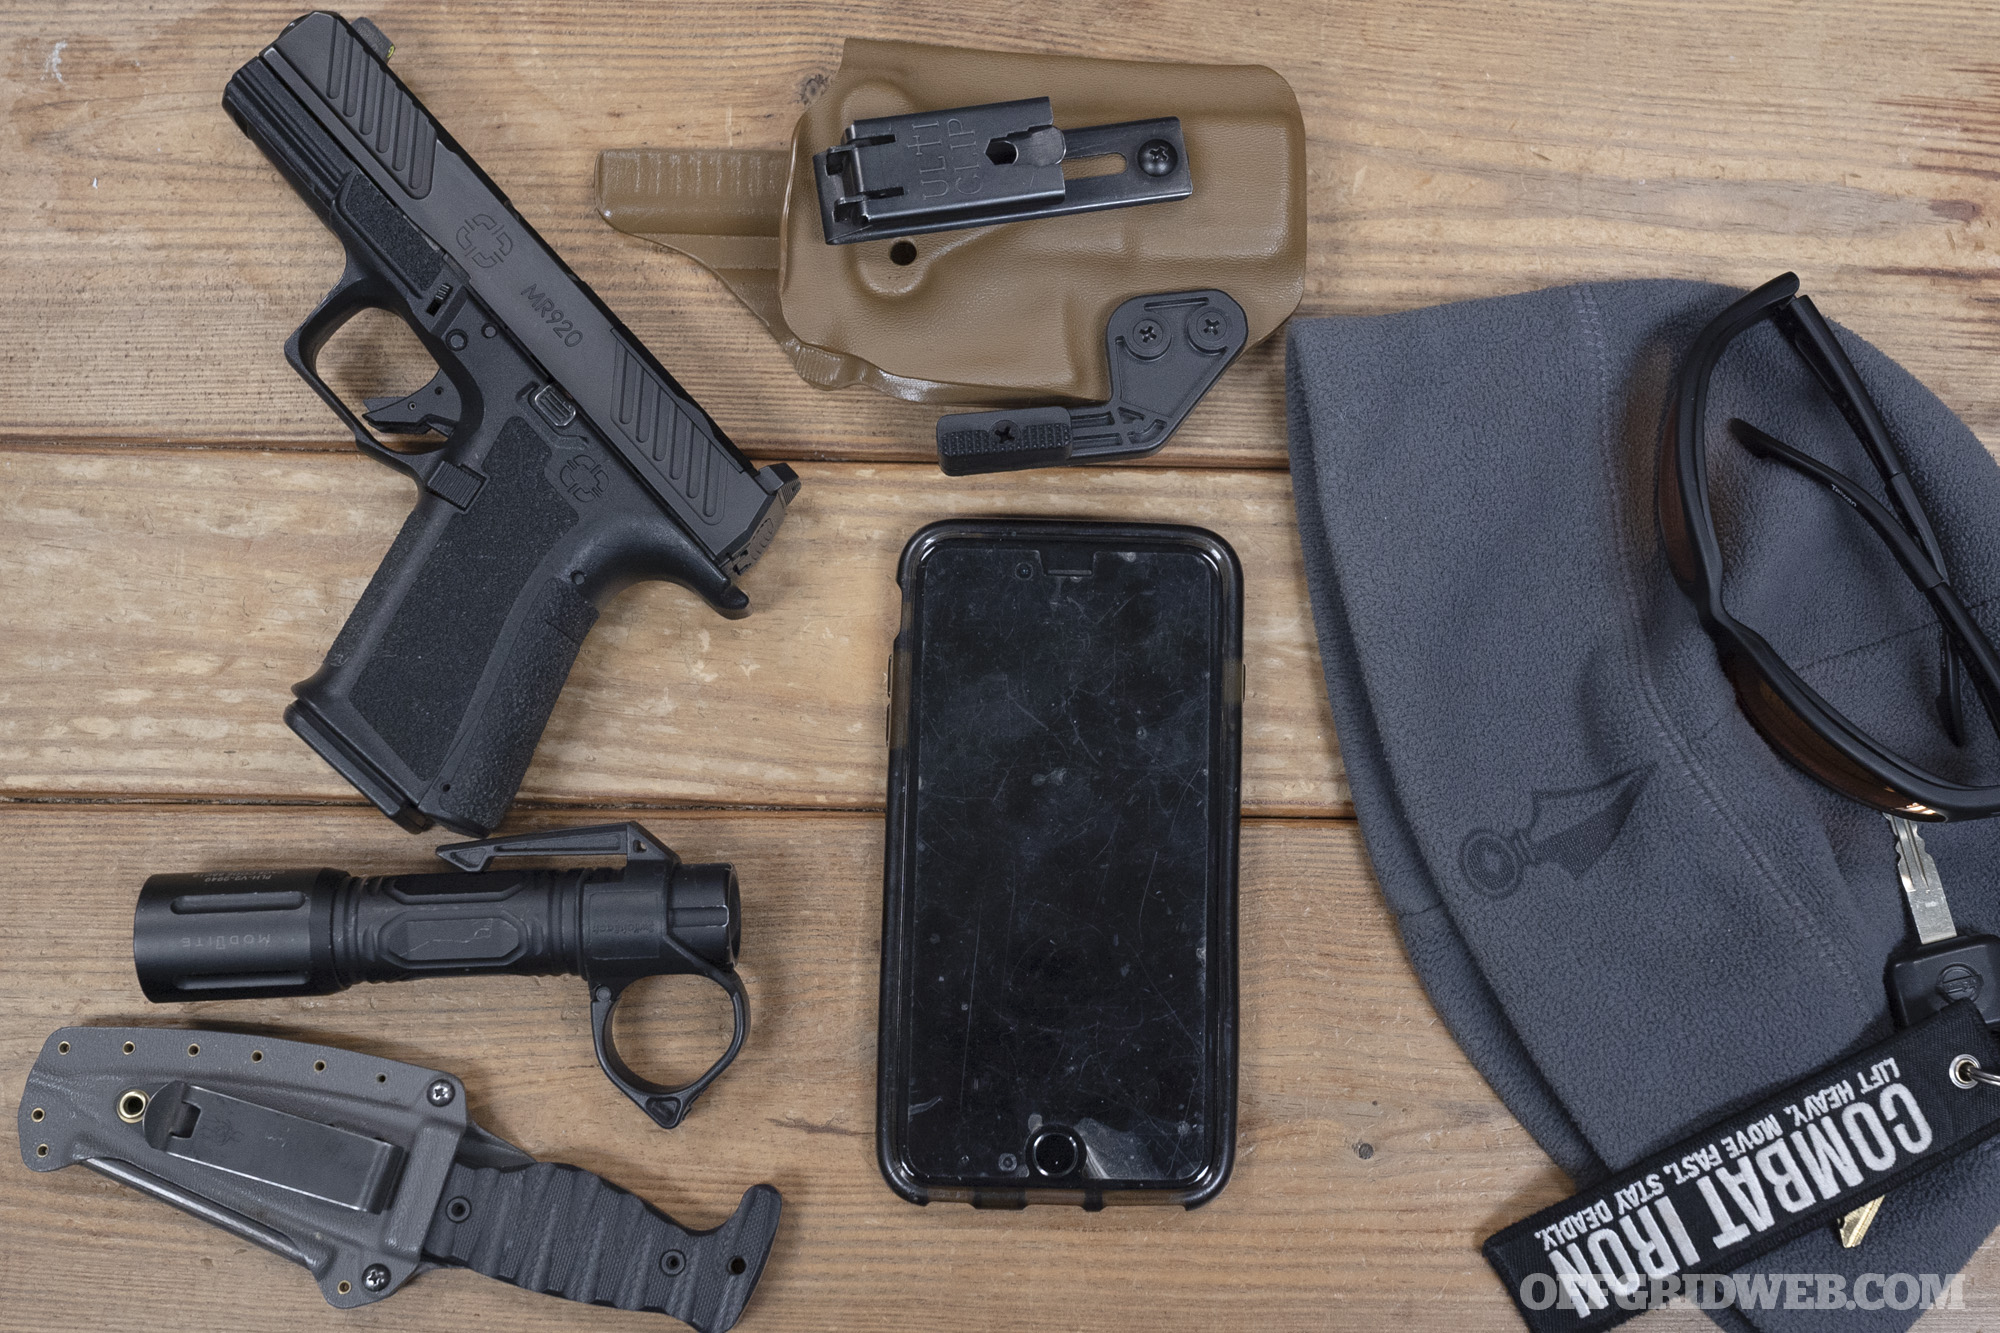
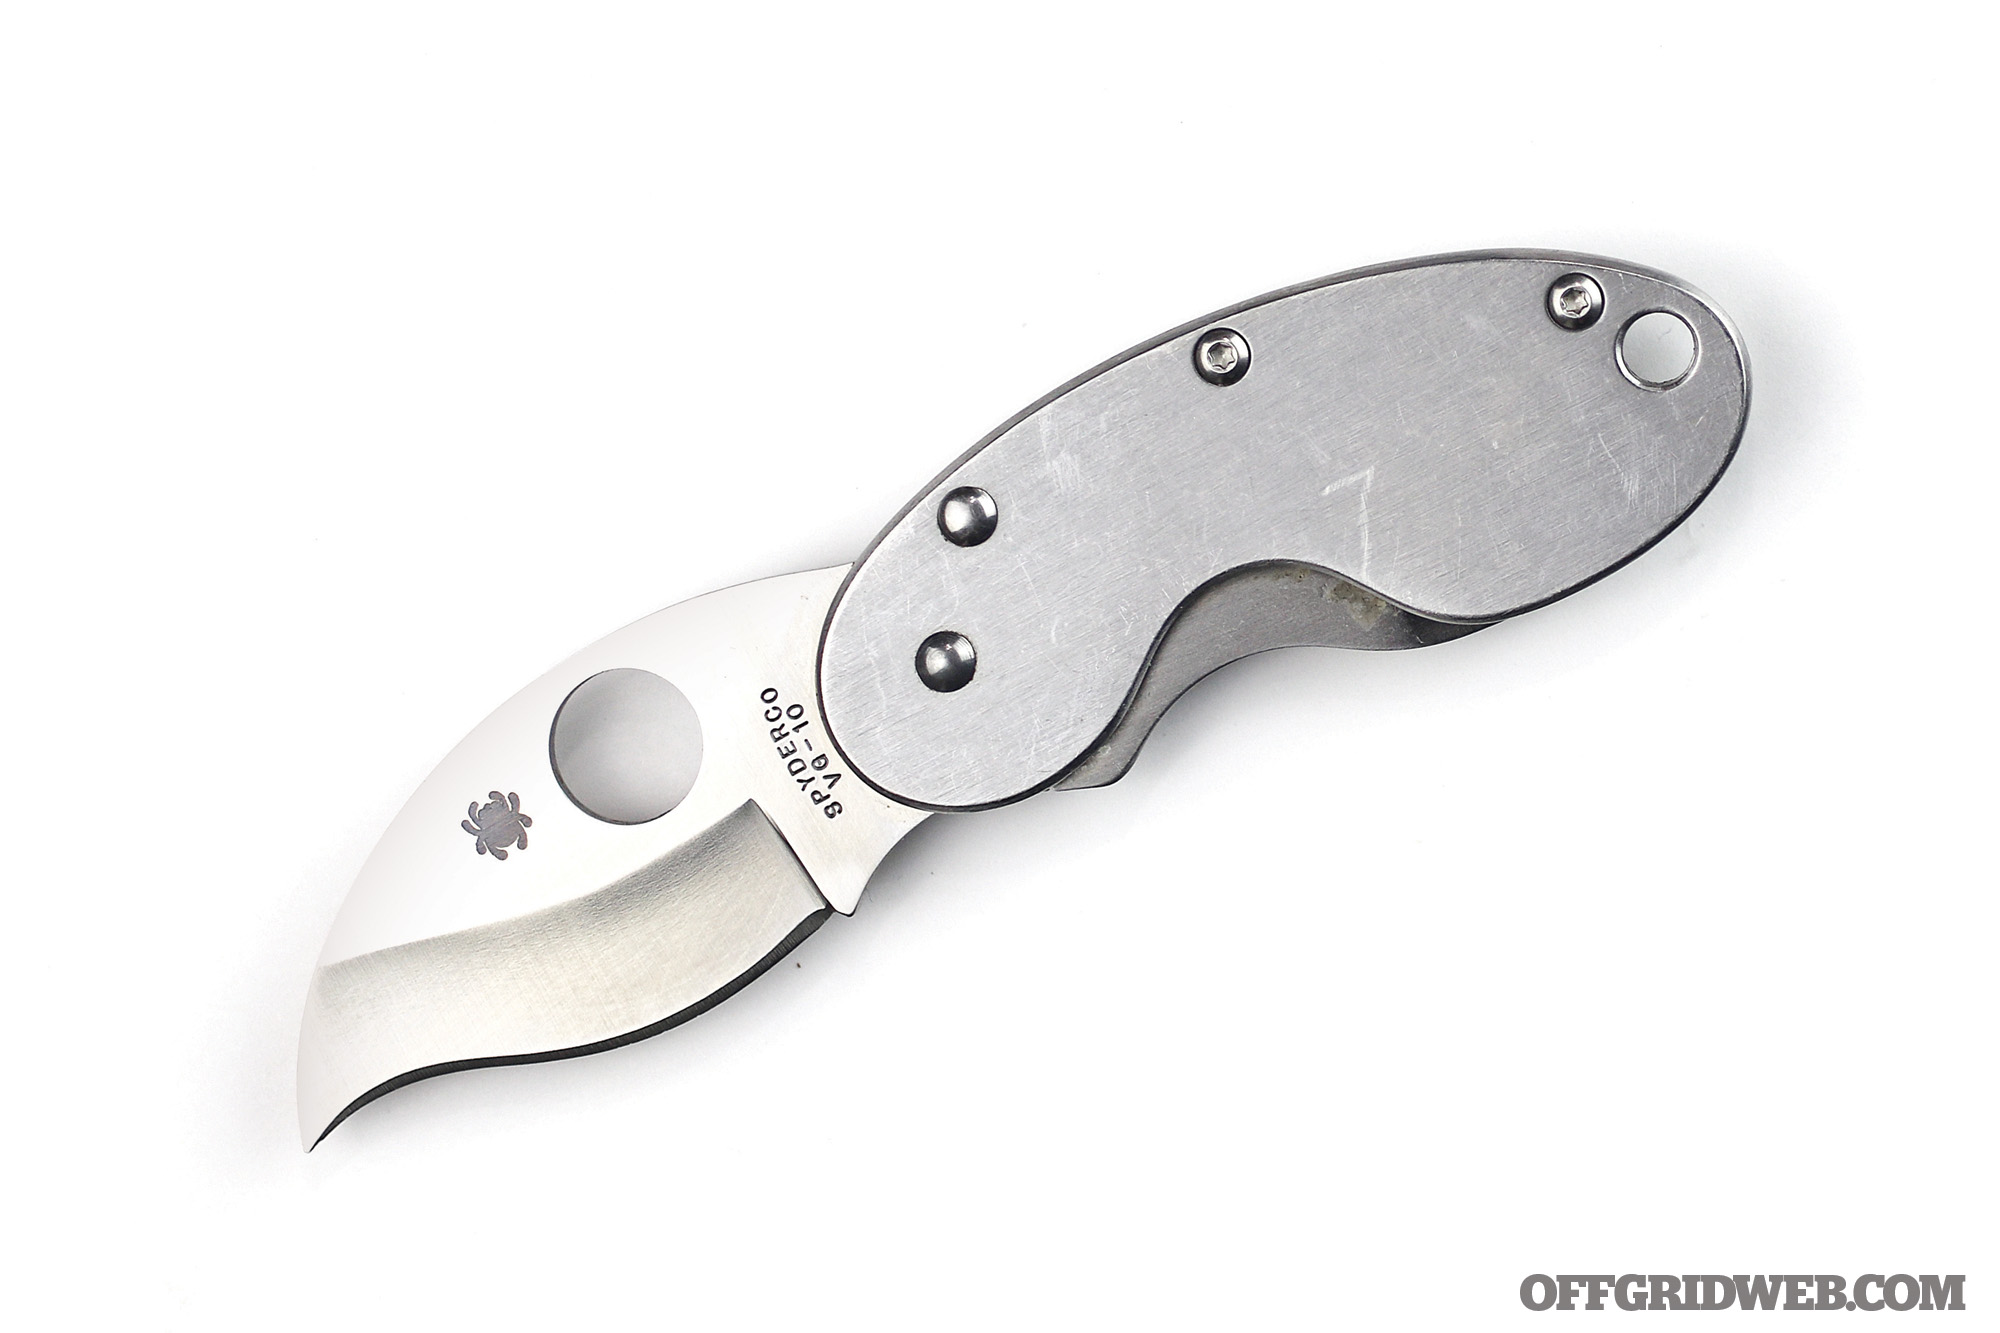
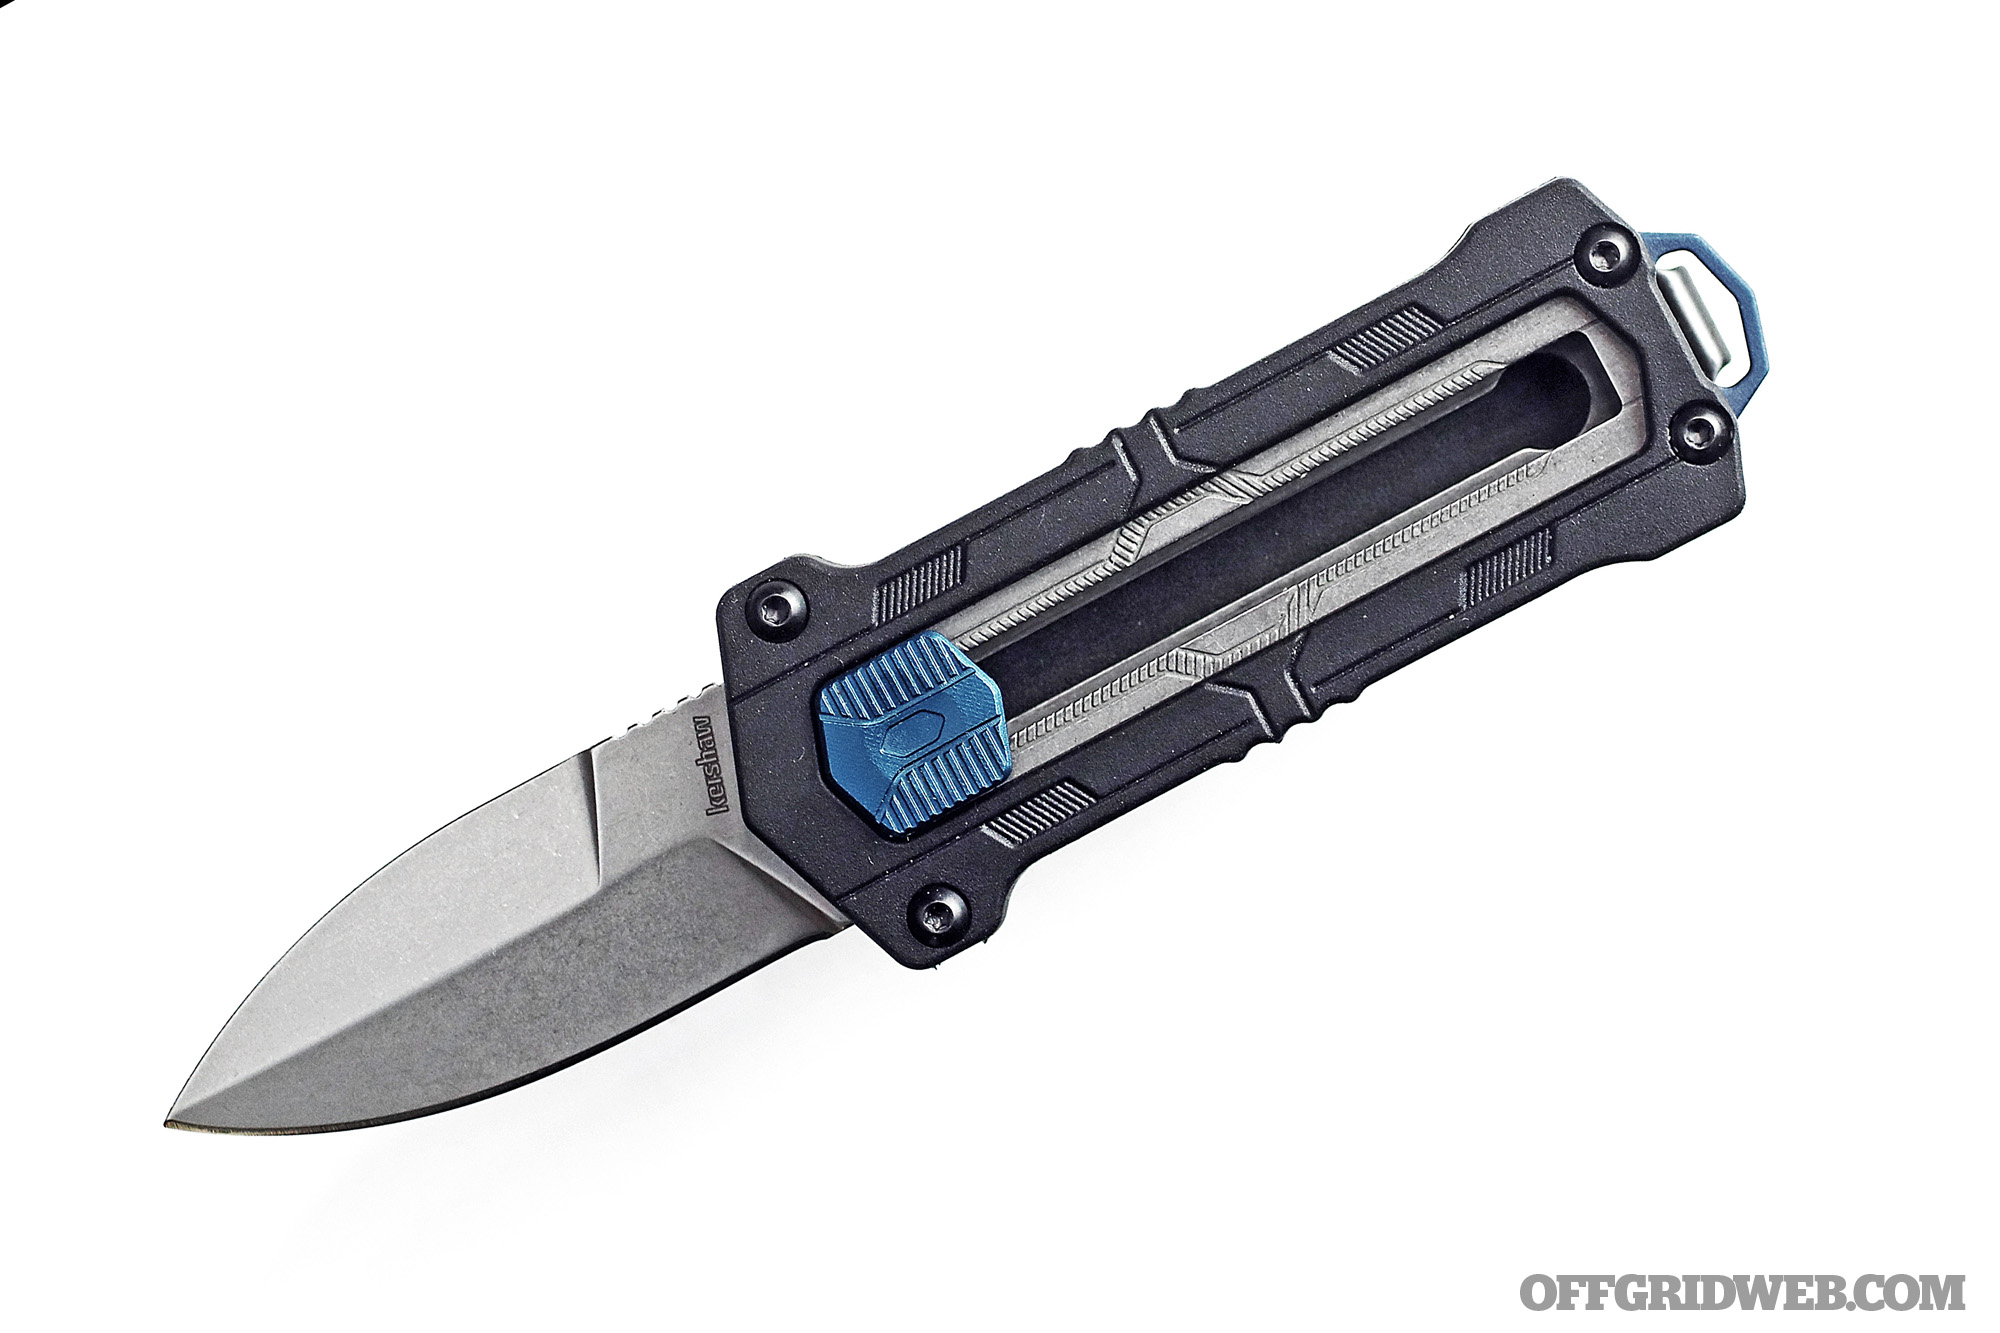
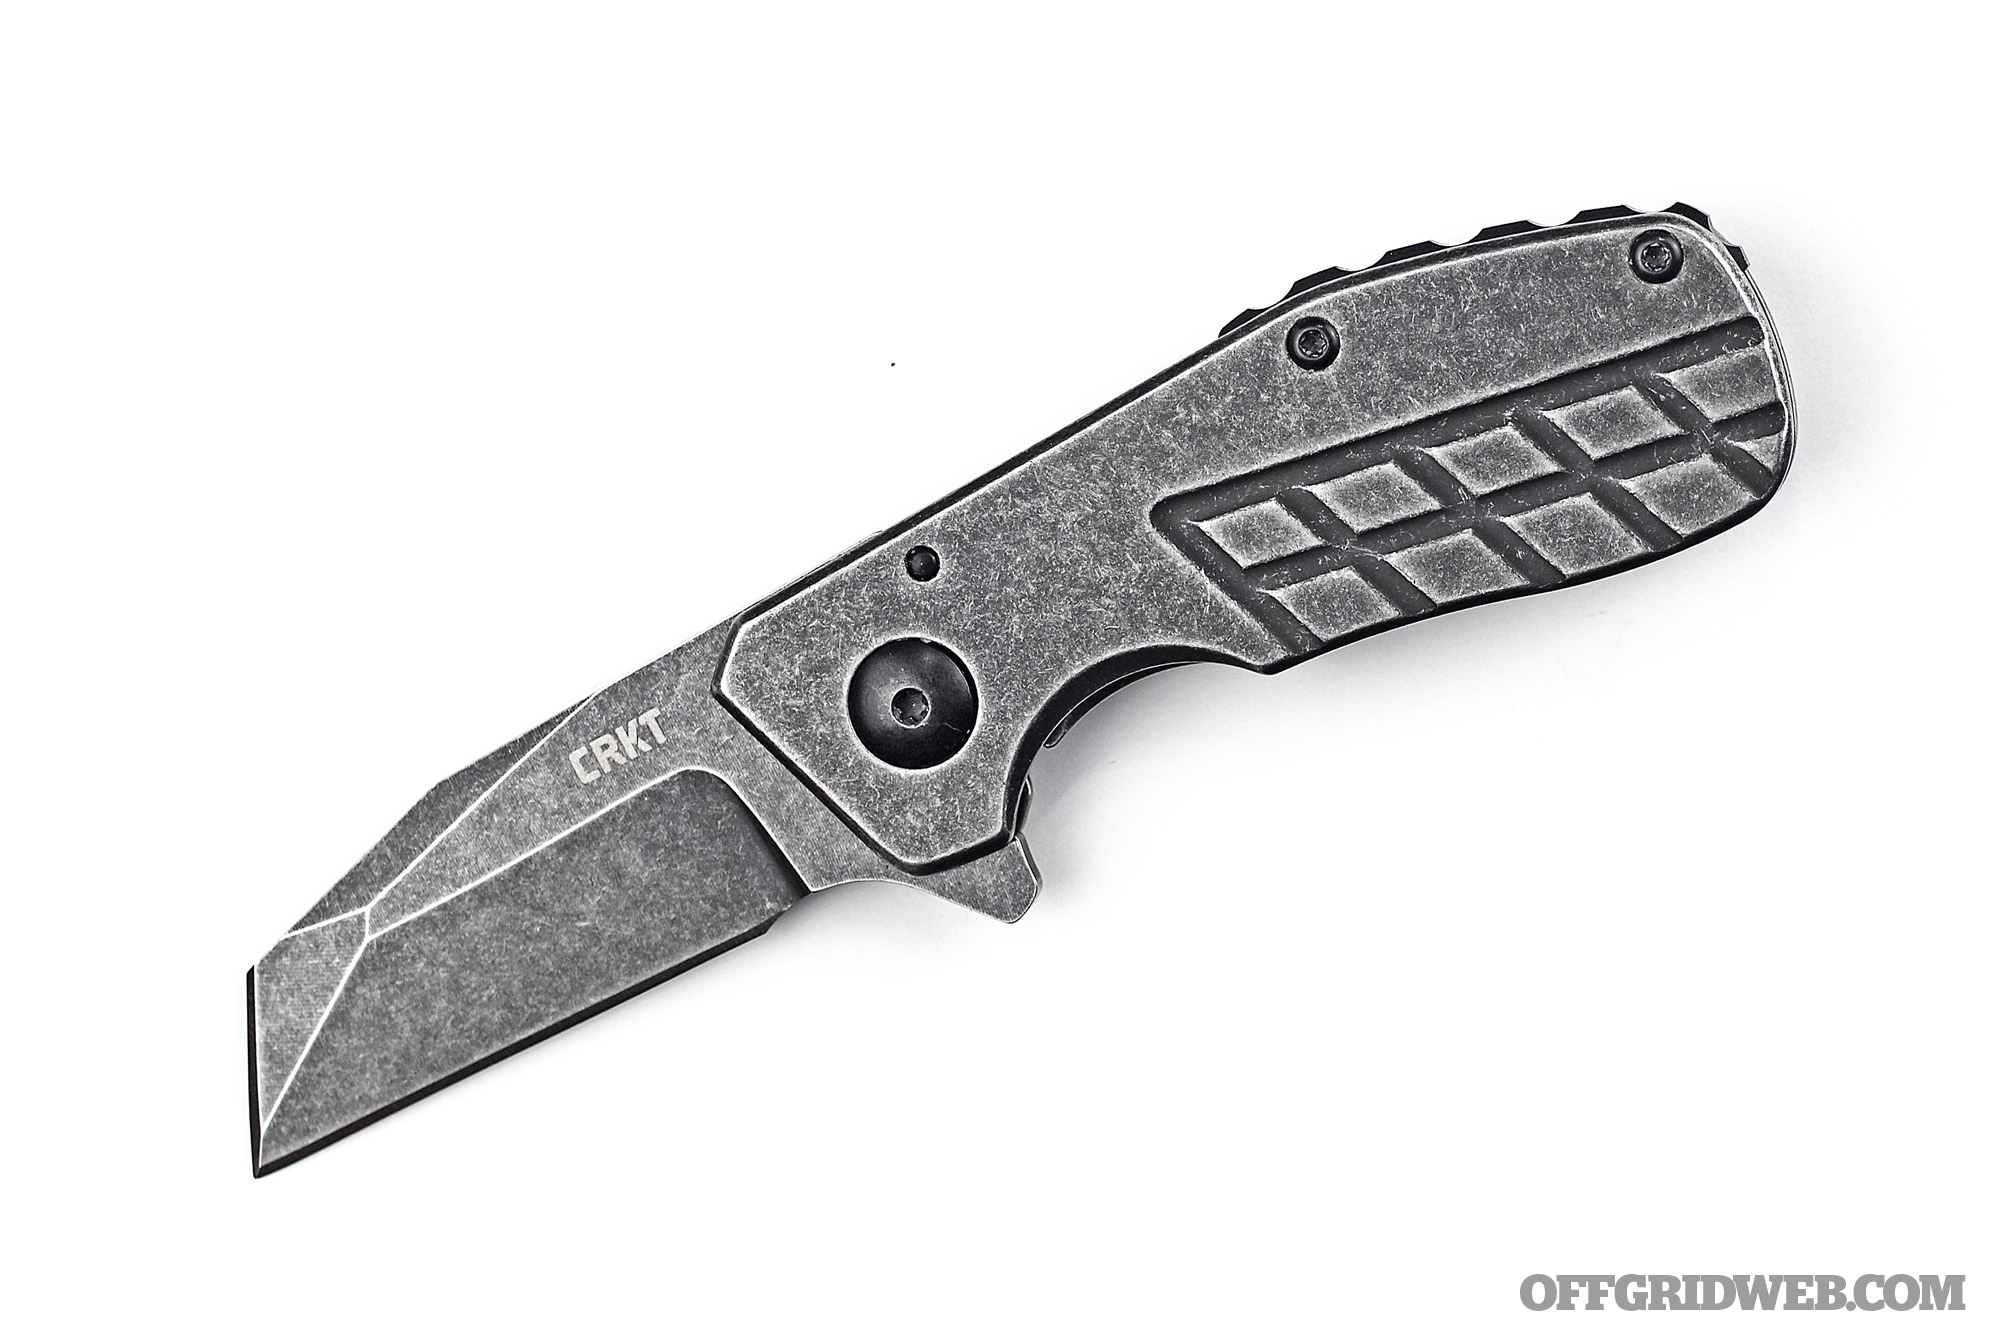
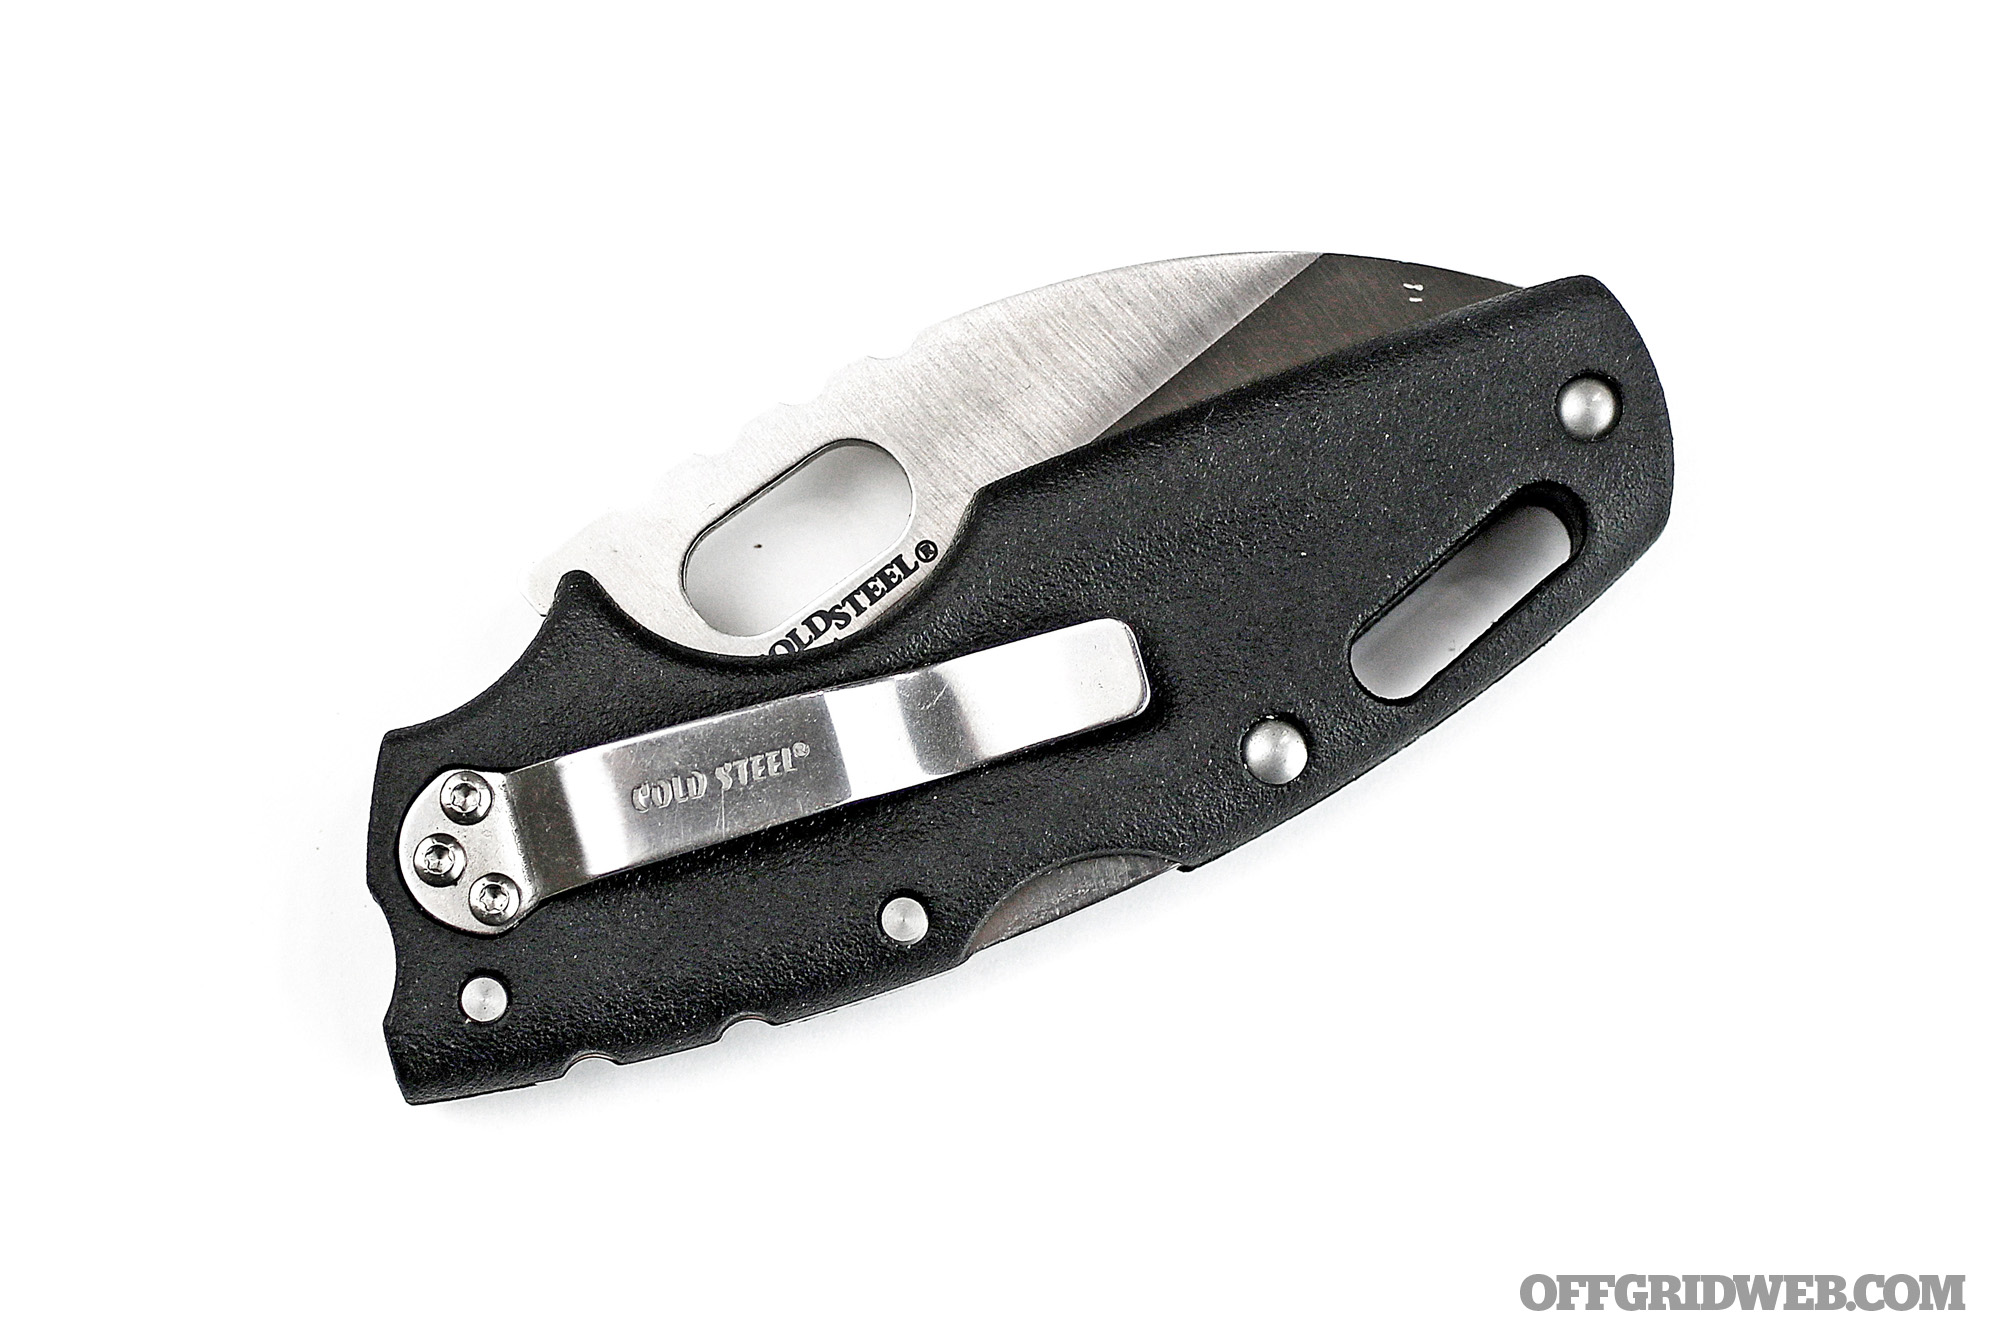
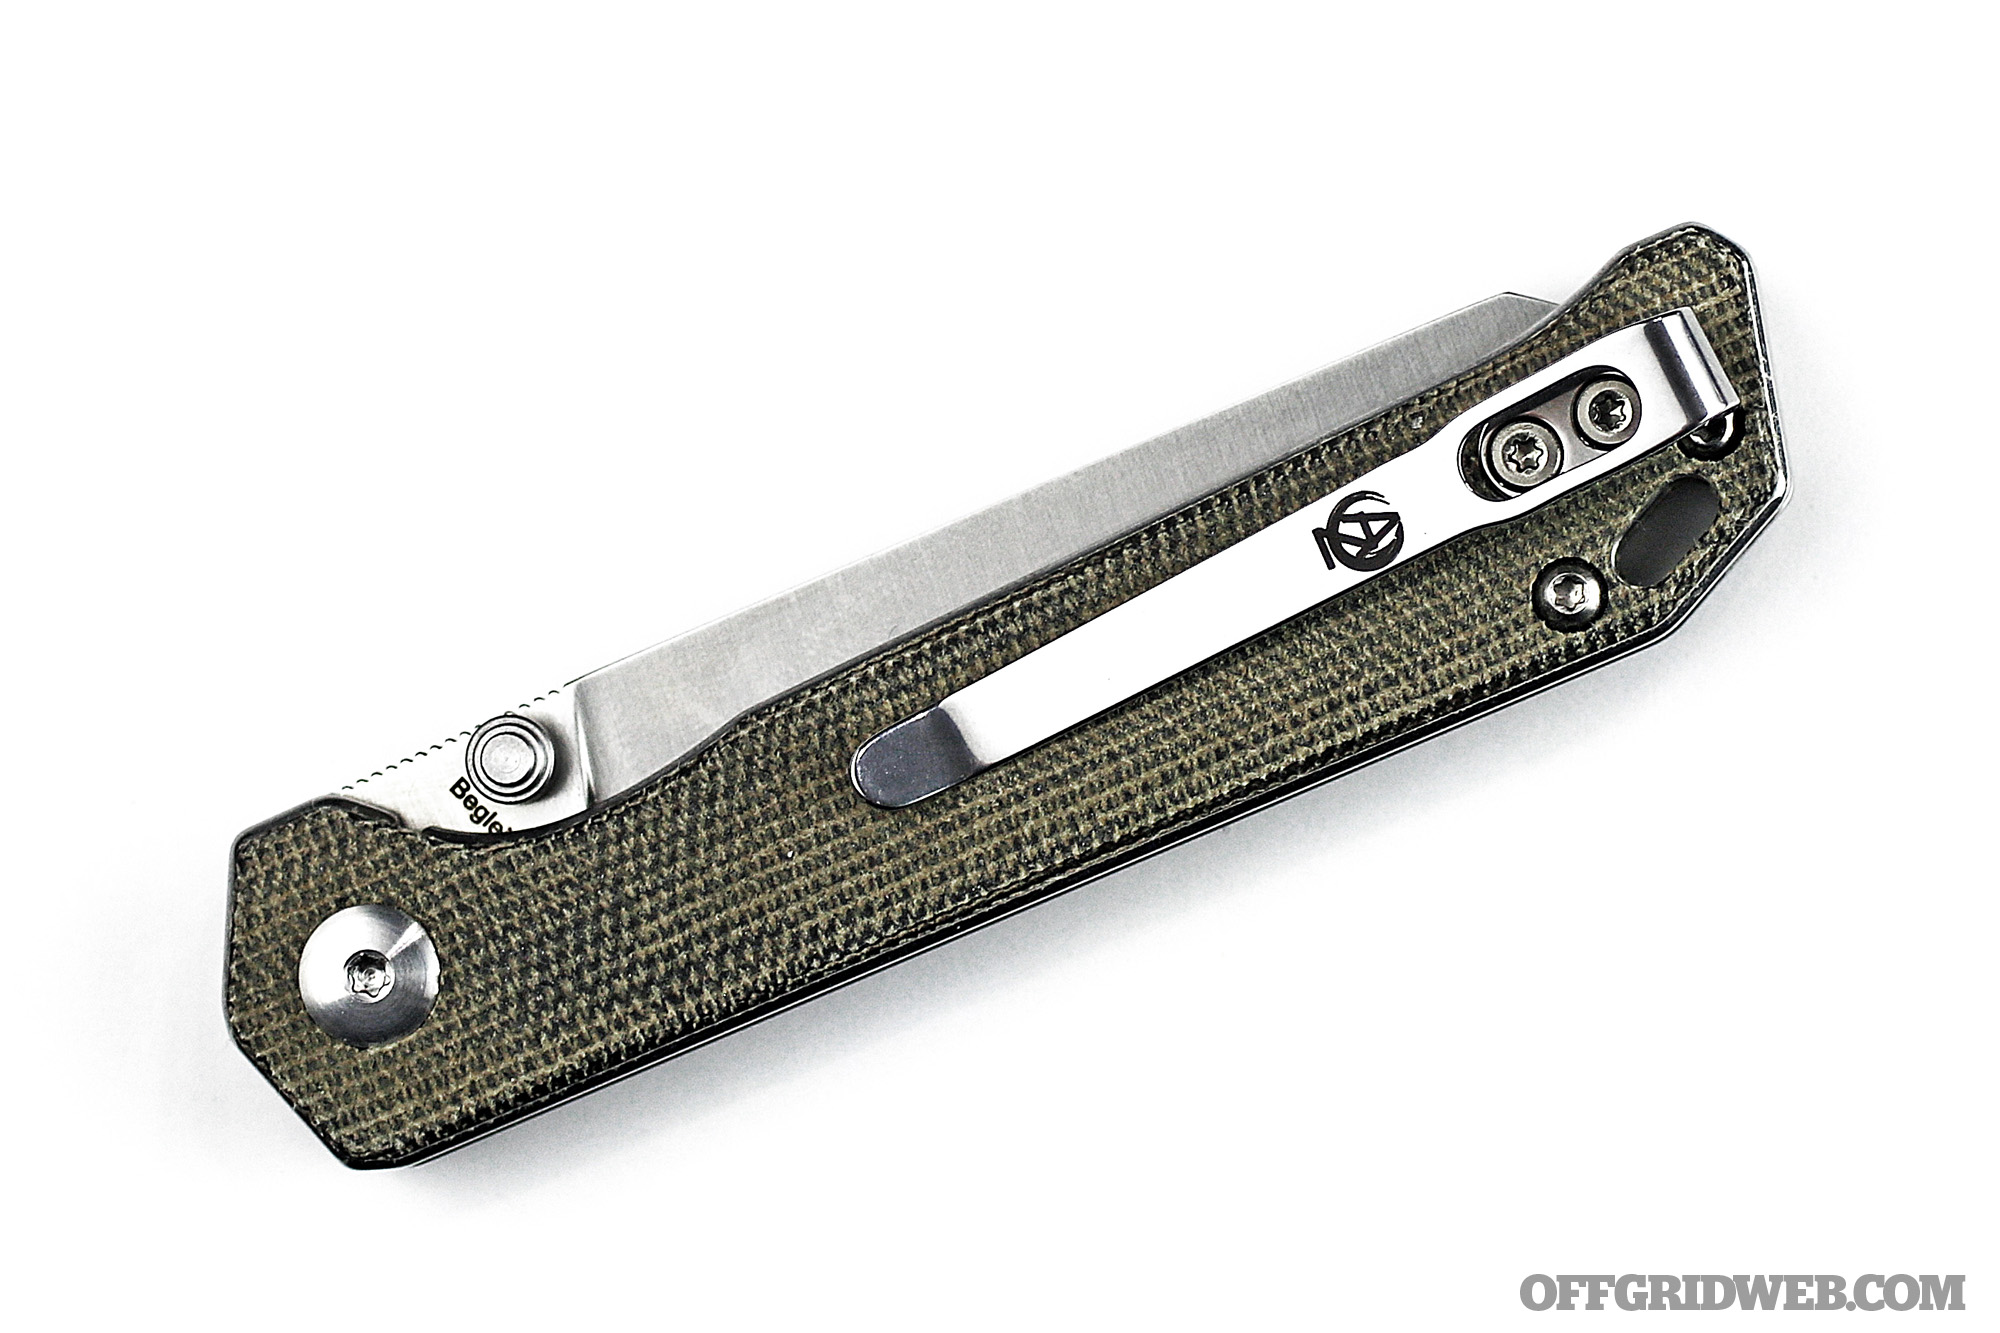
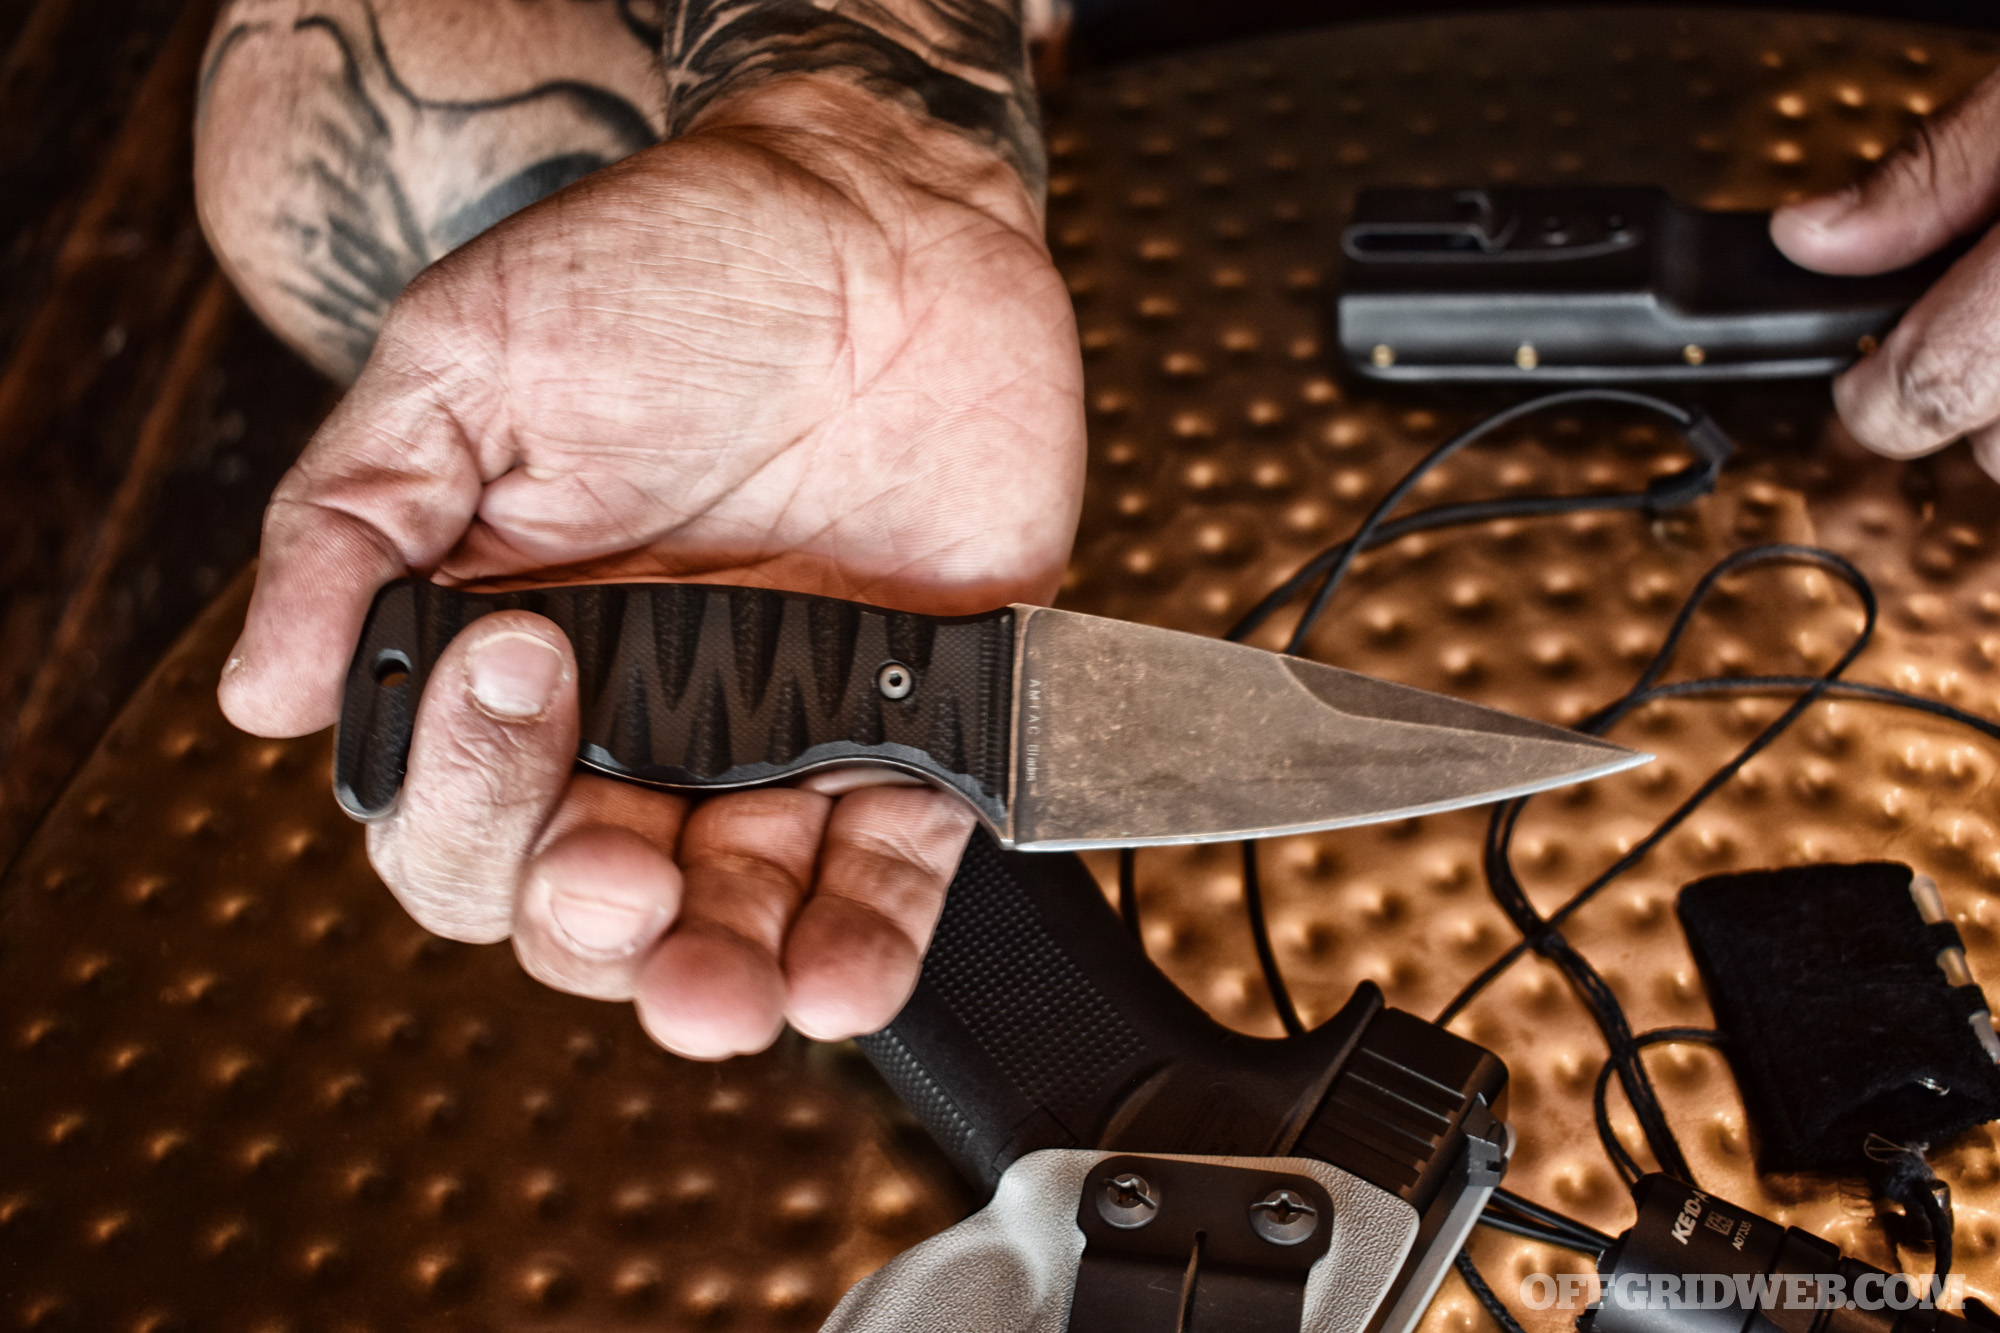
- AMTAC Northman blade
- Shadow Systems MR920 Combat pistol
- Modlite PLH V2
- Keys
- Cell phone
- Polarized safety glasses
What do you want on your tombstone?
My name and a picture for starters, with “lived to the fullest of his potential with integrity and respect” written below.
URL
MaxCapable.com