In This Article
The following article was originally published in Issue 8 of our magazine.
It goes without saying that we should all be proficient in basic bushcraft skills to ensure a certain level of self-reliance. Knowing how to build a fire, provide clean water, and hunt and defend yourself is crucial to surviving and thriving. But you don’t have to do it all alone. If you’ve read Jim Cobb’s “It Takes a Village” feature in Issue 7, you know one of the advantages of joining or forming a survival group is teaming up with others whose skills complement your own. Within those groups, various individuals will have specific skills and/or products that will contribute to the greater good. Essentially, that’s the way civilizations have functioned long before there was a grid to go off of.
Looking back on thousands of years of history there’s one skilled individual who has always been as essential as the hunter or the healer. One person who appears to be as integral to the fabric of society as a clean water source. That person is the guy (or gal) who knows how to…wait for it…make beer!
The role of beer in society goes far beyond grabbing a cold one and watching ’Bama football. It’s one of the oldest beverages created by humans. It goes even further back than the classic European monastic breweries founded after the Romans stopped sending Christians to the lions. In fact, archaeologists have found 4,000-year-old clay tablets that described beer recipes in great detail.
So maybe we’re waxing a little too poetic about “cold gold.” Nonetheless, within certain survival groups, your brewing skills could be almost as good as gold (did we mention that beer was used as currency at one time). The really good news is that — unlike learning medicine or gunsmithing — brewing is a skill easily acquired and practiced in the comfort of your own living room and/or kitchen. Whether you’re prepping for TEOTWAWKI where all bars have shuttered or you just want the extreme satisfaction of drinking an ale you gave birth to, having your own do-it-yourself brewery could be more of an asset than you think.
Setting Up Shop
If ancient cultures with no running water and poor hygiene were able to make beer, there’s no excuse should we fail to make a quality brewski with the resources we have today. It’s a pretty simple process, and the equipment is easy to find and store. And if you’re emotionally attached to your homemade tap, the buckets can be used to carry other things while you’re bugging out.
It’s easy to get started because you don’t need expensive gear. In fact, the process you’ll use will be basically the same even if we get thrown back to a 19th-century lifestyle after a massive solar flare or electromagnetic pulse attack. You don’t need any exotic cooking kettles, fermentation tanks, or bottling systems. Everything can be found at and/or made from stuff at your local home-improvement store. That being said, there’s no need to run out to The Big Orange Box and start playing MacGyver. Online supply houses like The Home Brewery are inexpensive resources for even the most basic ingredients. Plus, the folks there will have more expertise than you’ll find in this article. They will get you up and running, even if you only want to set yourself up for SHTF brewing.
Get the basic setup and you’re good to go; upgrade it and you’ll find the process a little easier and your end product a little better. Even with the much recommended upgraded kit, there’s no high-tech equipment. Below are the items you’ll want to gather.
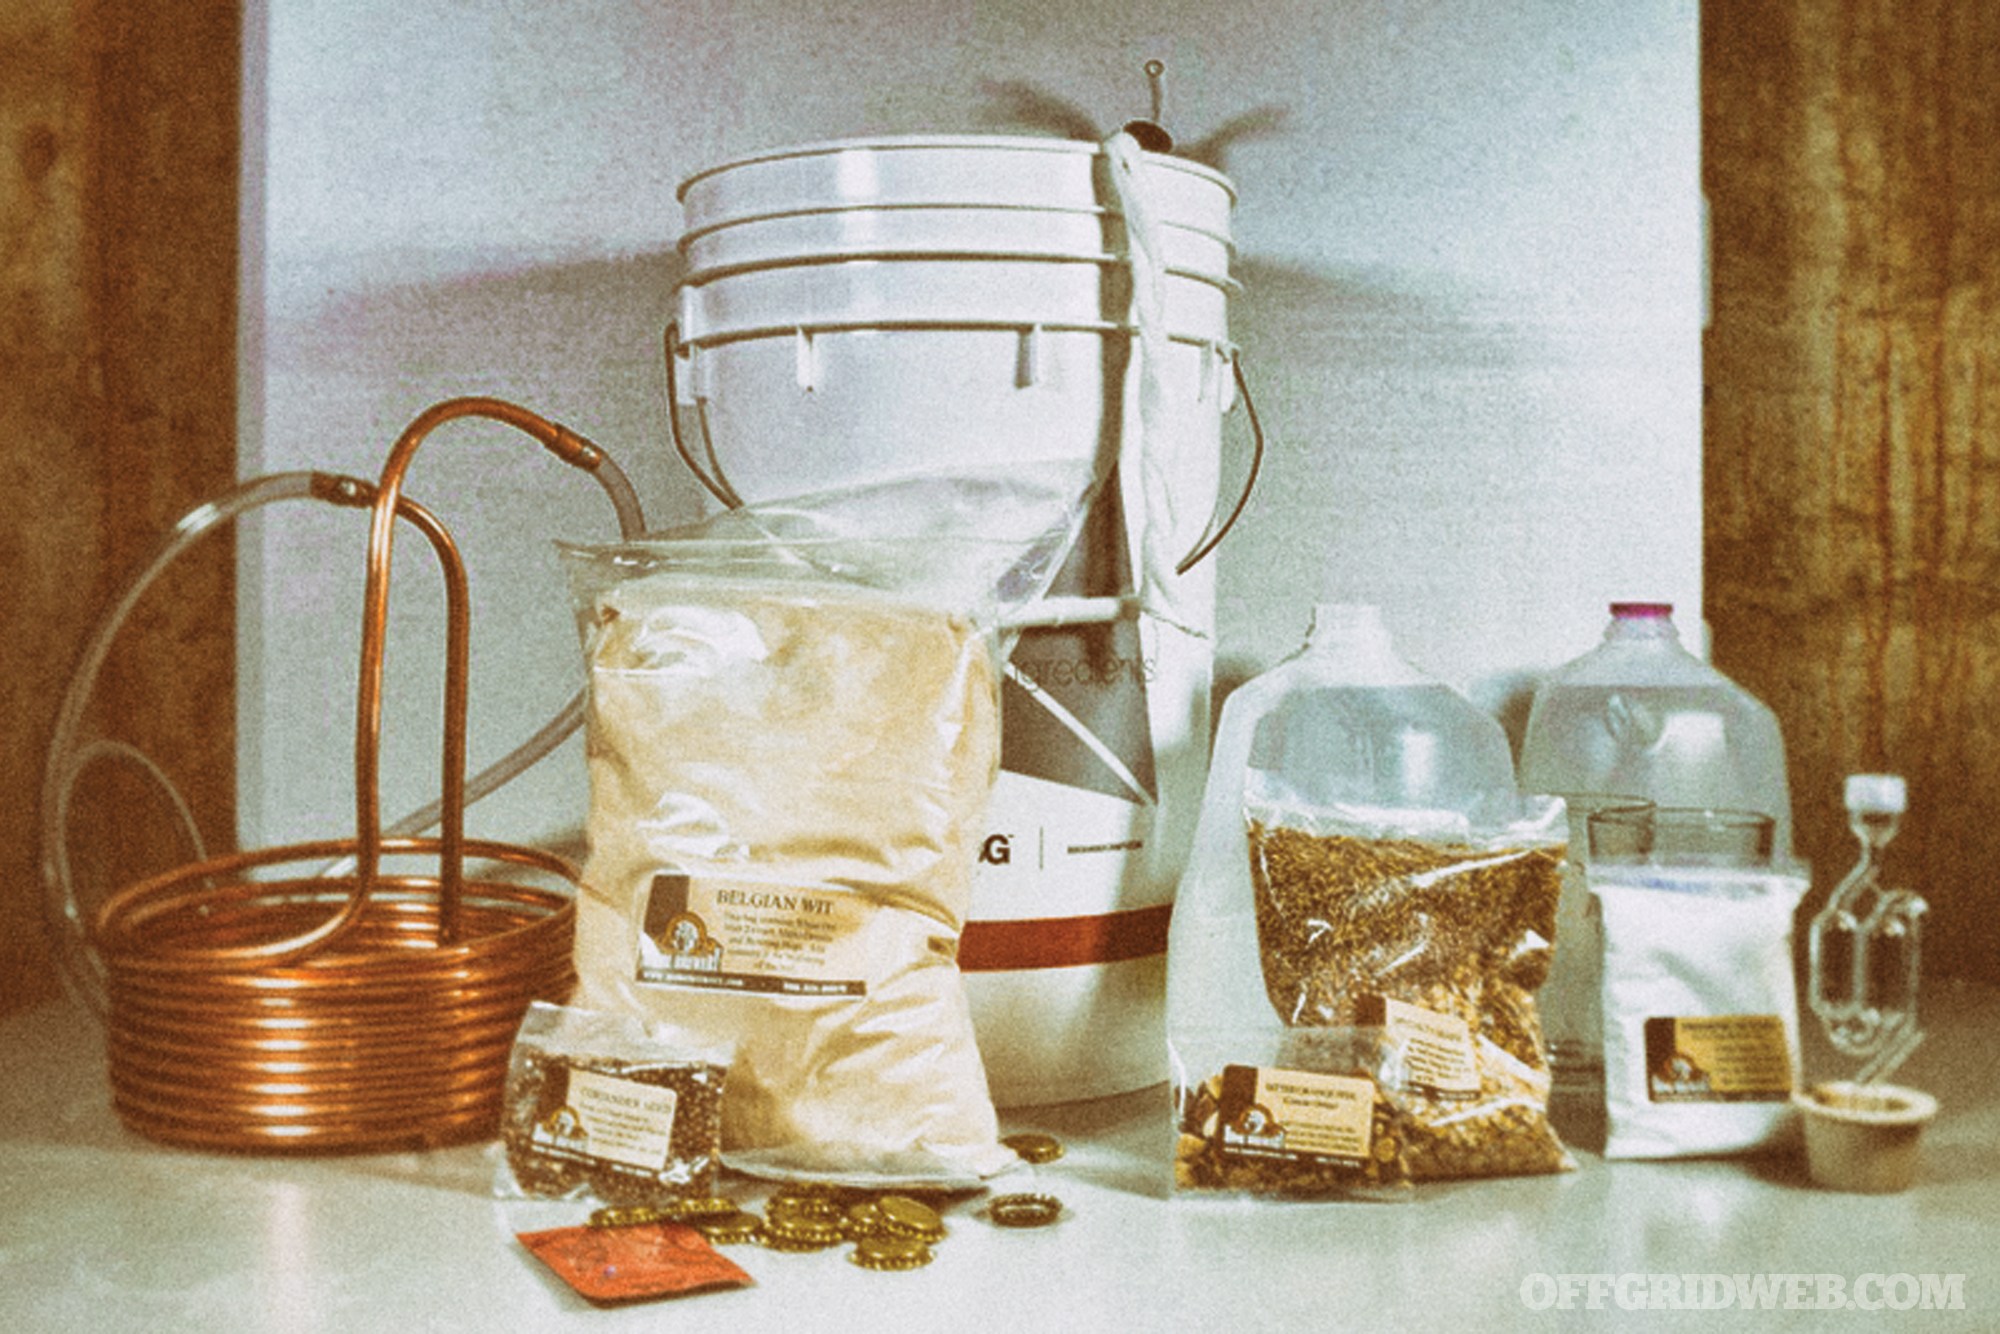
The Gear:
- A stainless steel brew pot big enough to hold 3 gallons of water
- Thermometer
- Large stirring spoon
- Straining bags
- Fermenting bucket (clean unused 6.5-gallon bucket) with an airtight lid
- Bottling bucket (a 6.5-gallon bucket with a spigot)
- Bottles and corks or caps (actually growlers with lock tops work great since they’re reusable and you don’t need a supply of caps and a capper)
- Transfer tubing
- Hydrometer to measure the alcohol content as an indicator of when to stop the process
The essential upgrades are a 6.5-gallon glass secondary fermenting bottle (called a carboy), as well as a coil of copper tubing used in cooling the pre-beer mixture so you can add the yeast that turns boiled grains and malt into beer.
You’ll also need a reliable means of rendering all your equipment germ and bacteria free. If there’s one unbreakable rule in brewing: sanitize and sanitize again! You can stock up on sanitizing mix at online sources like The Home Brewery.
Now that you have the equipment, you’ll need ingredients. Every beer has the same basic ingredients. They are also the same staple ingredients you’ll need on hand to make bread, feed poultry, and season other foods. To start you’ll need to get your hands on the following items.
The Ingredients:
- Yeast
- Water
- Spices
- Grain (oats, barley, or wheat)
- Sugar (cane sugar, honey, corn sugar, or milk sugar)
- Hops (different strains yield different tastes)
- Malted barley extract (if SHTF, you’ll need to make your own, which is a more detailed process than we have room for here. But commercial extracts are available for you to use until you need to make your own.)
Keep in mind: You don’t have to worry about sourcing all this at first. You can pick your favorite style of beer and purchase a kit that will have everything you need to cook up the recipe.

Beer Pioneer?
Who made the very first mug of beer? Was it made out of a survival need or through serendipity? No one knows for sure. There’s a theory that says that cerveza was discovered because someone accidentally left soggy bread out to ferment and decided to give the run-off a swig. If you believe the ancient Egyptians, divine inspiration gifted an elder with the knowledge of taking a combination of water, grains, and wild yeast, and letting it age to create a drink that helped ease the stress of building pyramids — or at least one that would give the pharaoh a buzz. Beer was held in such high regard in Egypt that beer historians say if a gentleman gave a lady a sip of his beer they were engaged (yikes!).
The mystery as to how ale materialized might never be solved. But it’s certain that beer is so cross-cultural and enduring because the ingredients are easy to grow and are the same items used in bread making. Or perhaps it’s because beer can be a bacteria-free alternative to less reliable water. Any way you look at it, beer has been produced by virtually every civilization on earth for millennia, and it’ll surely be around for many more.
Two Types
There are two main classifications of beer: ales and lagers. They’re determined by the type of yeast used in the fermenting process.
- Ale is a top fermenting beer, meaning the type of yeast used rises to the top during the process. These include pale ale, India pale ale, and Belgian ales.
- Lager, conversely, is a bottom fermenting beer. The type of yeast used falls to the bottom during the process. These include bocks, dark lagers, light lagers, and pilsners.
Let’s Cook
So you’ve got your equipment and your ingredients kit — now what? Let’s get to brewing. As we mentioned, the prime rule in brewing is sanitizing. Anything that isn’t in boiled in the kettle needs to be sanitized thoroughly. Nothing ruins a brew quicker than errant bacteria. After that, in a nutshell, beer-making is simply taking the ingredients through a four-step process: boiling, fermentation, priming, and bottling. The timing and order in which to add the ingredients will determine whether your lager is worthy of a Super Bowl ad or if it’s a sad waste of water and liquid bread.
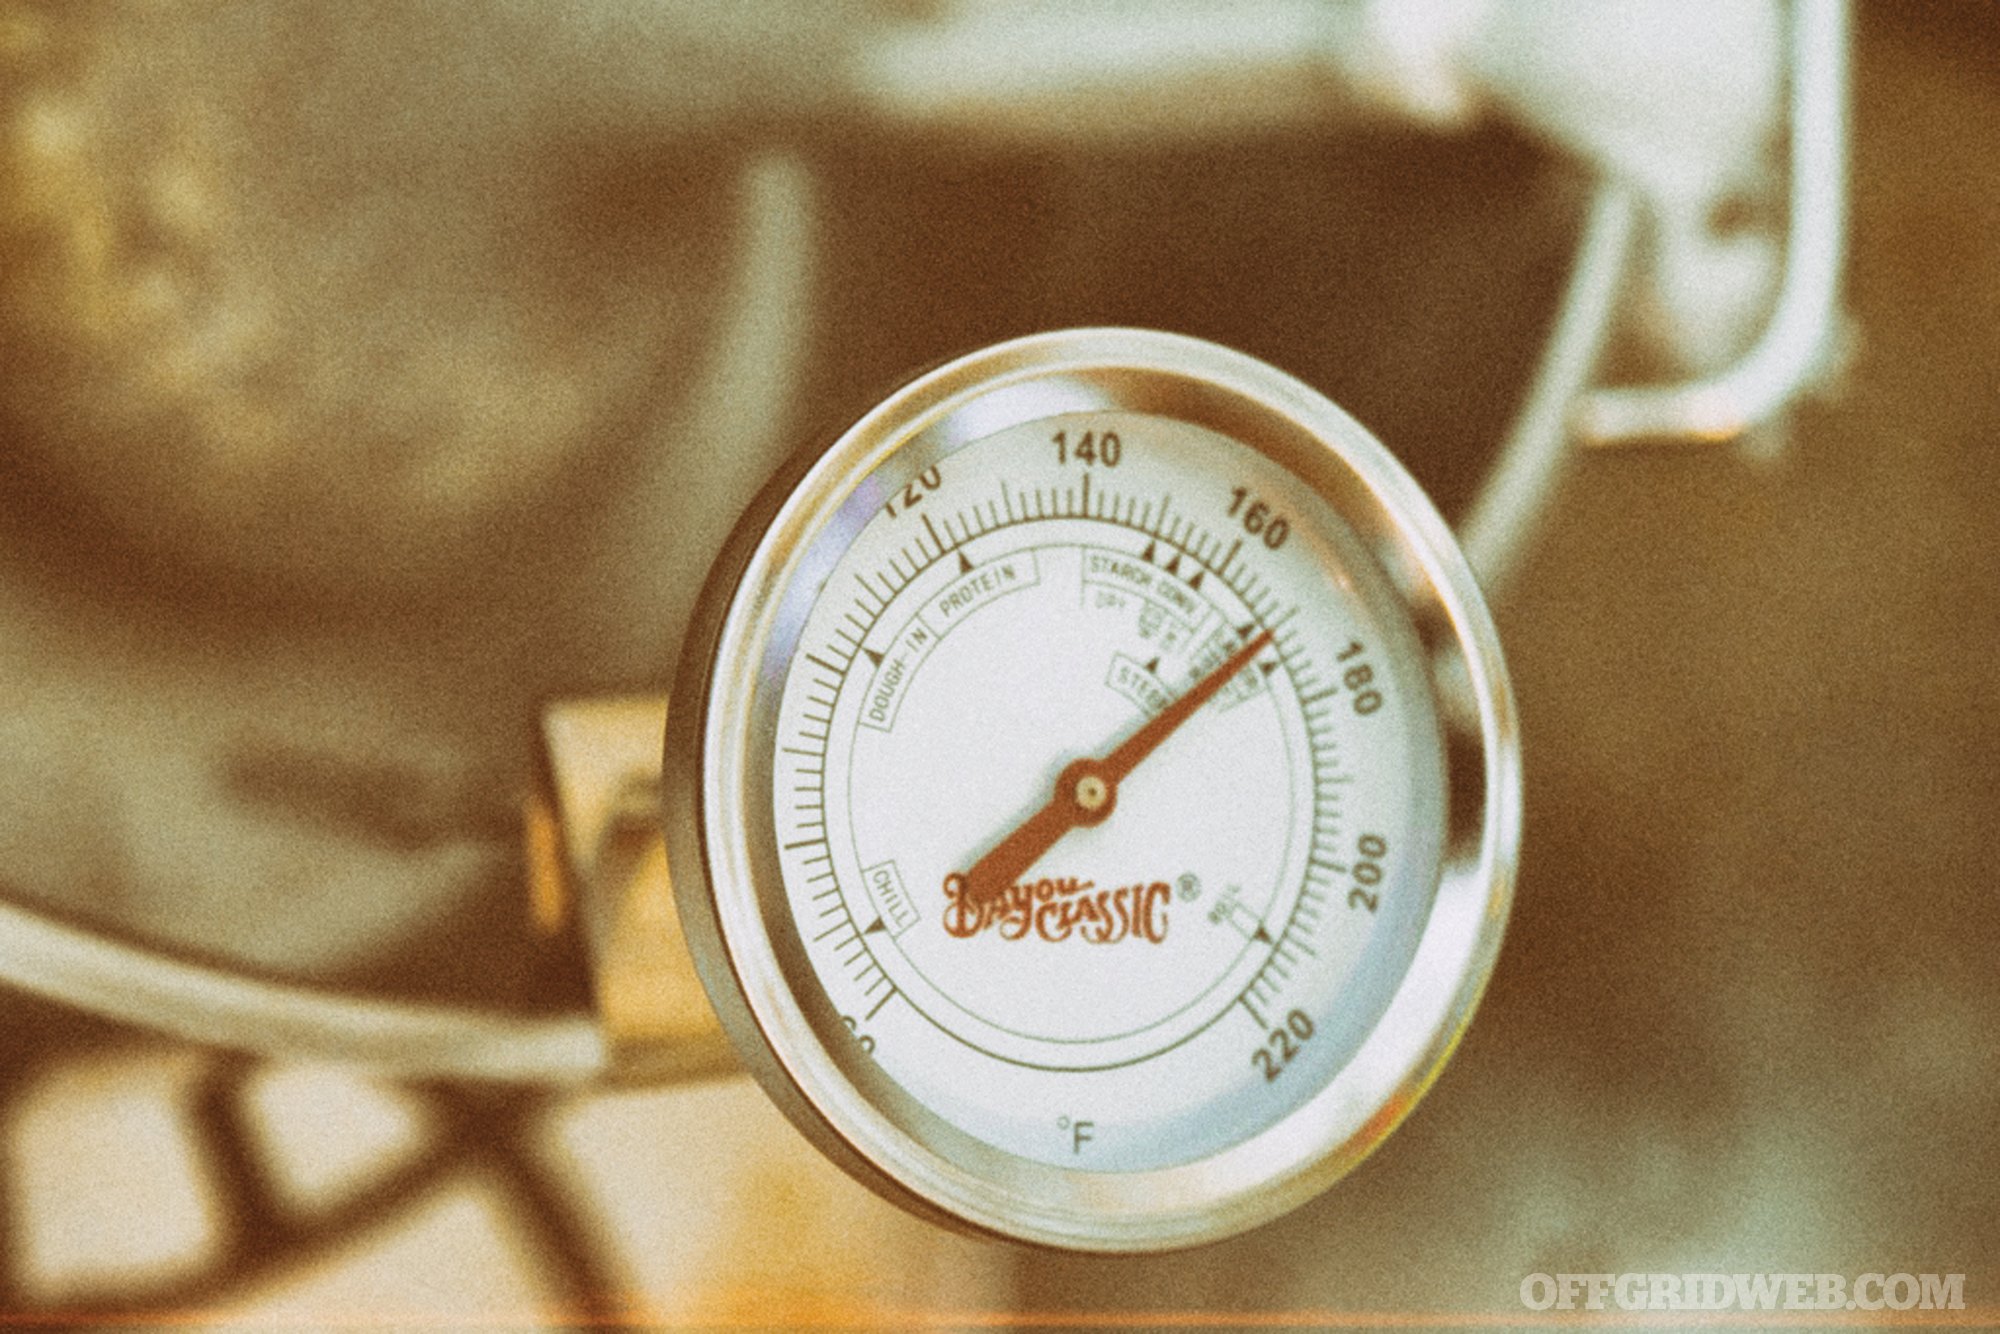
Step 1: Boiling
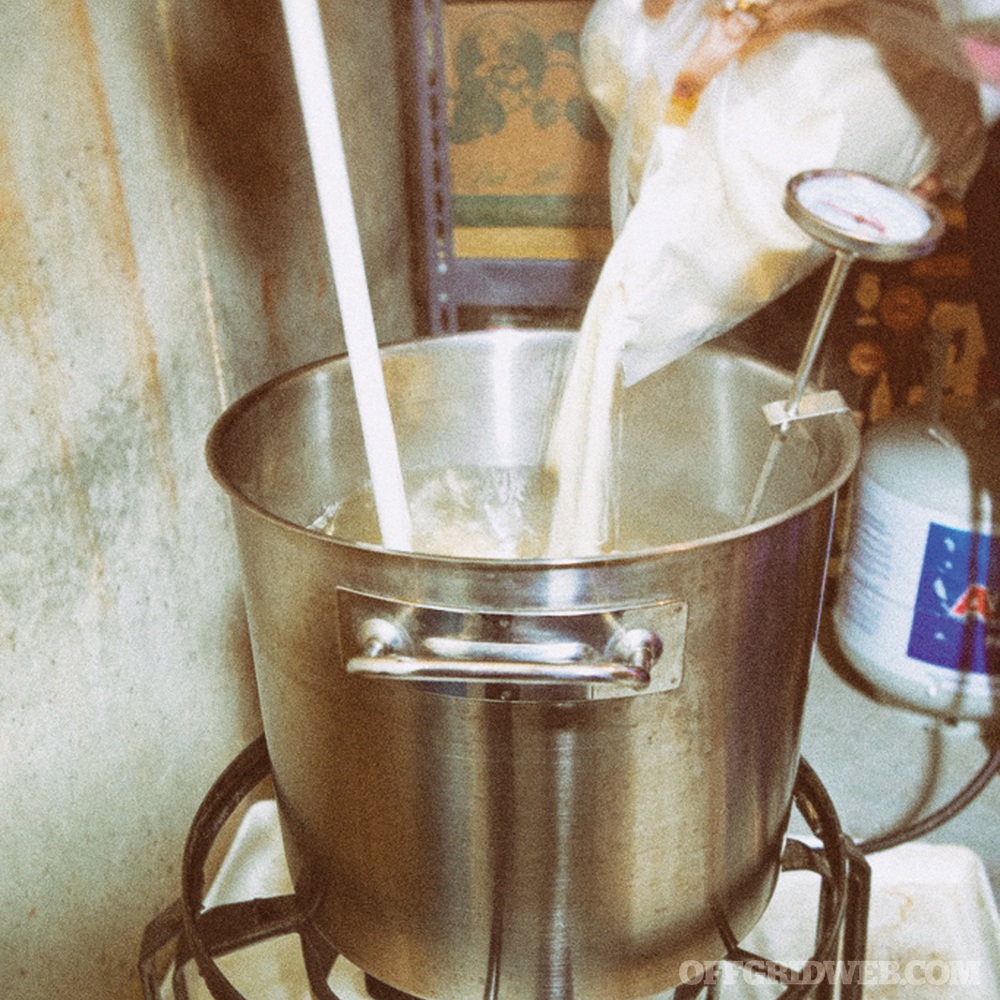
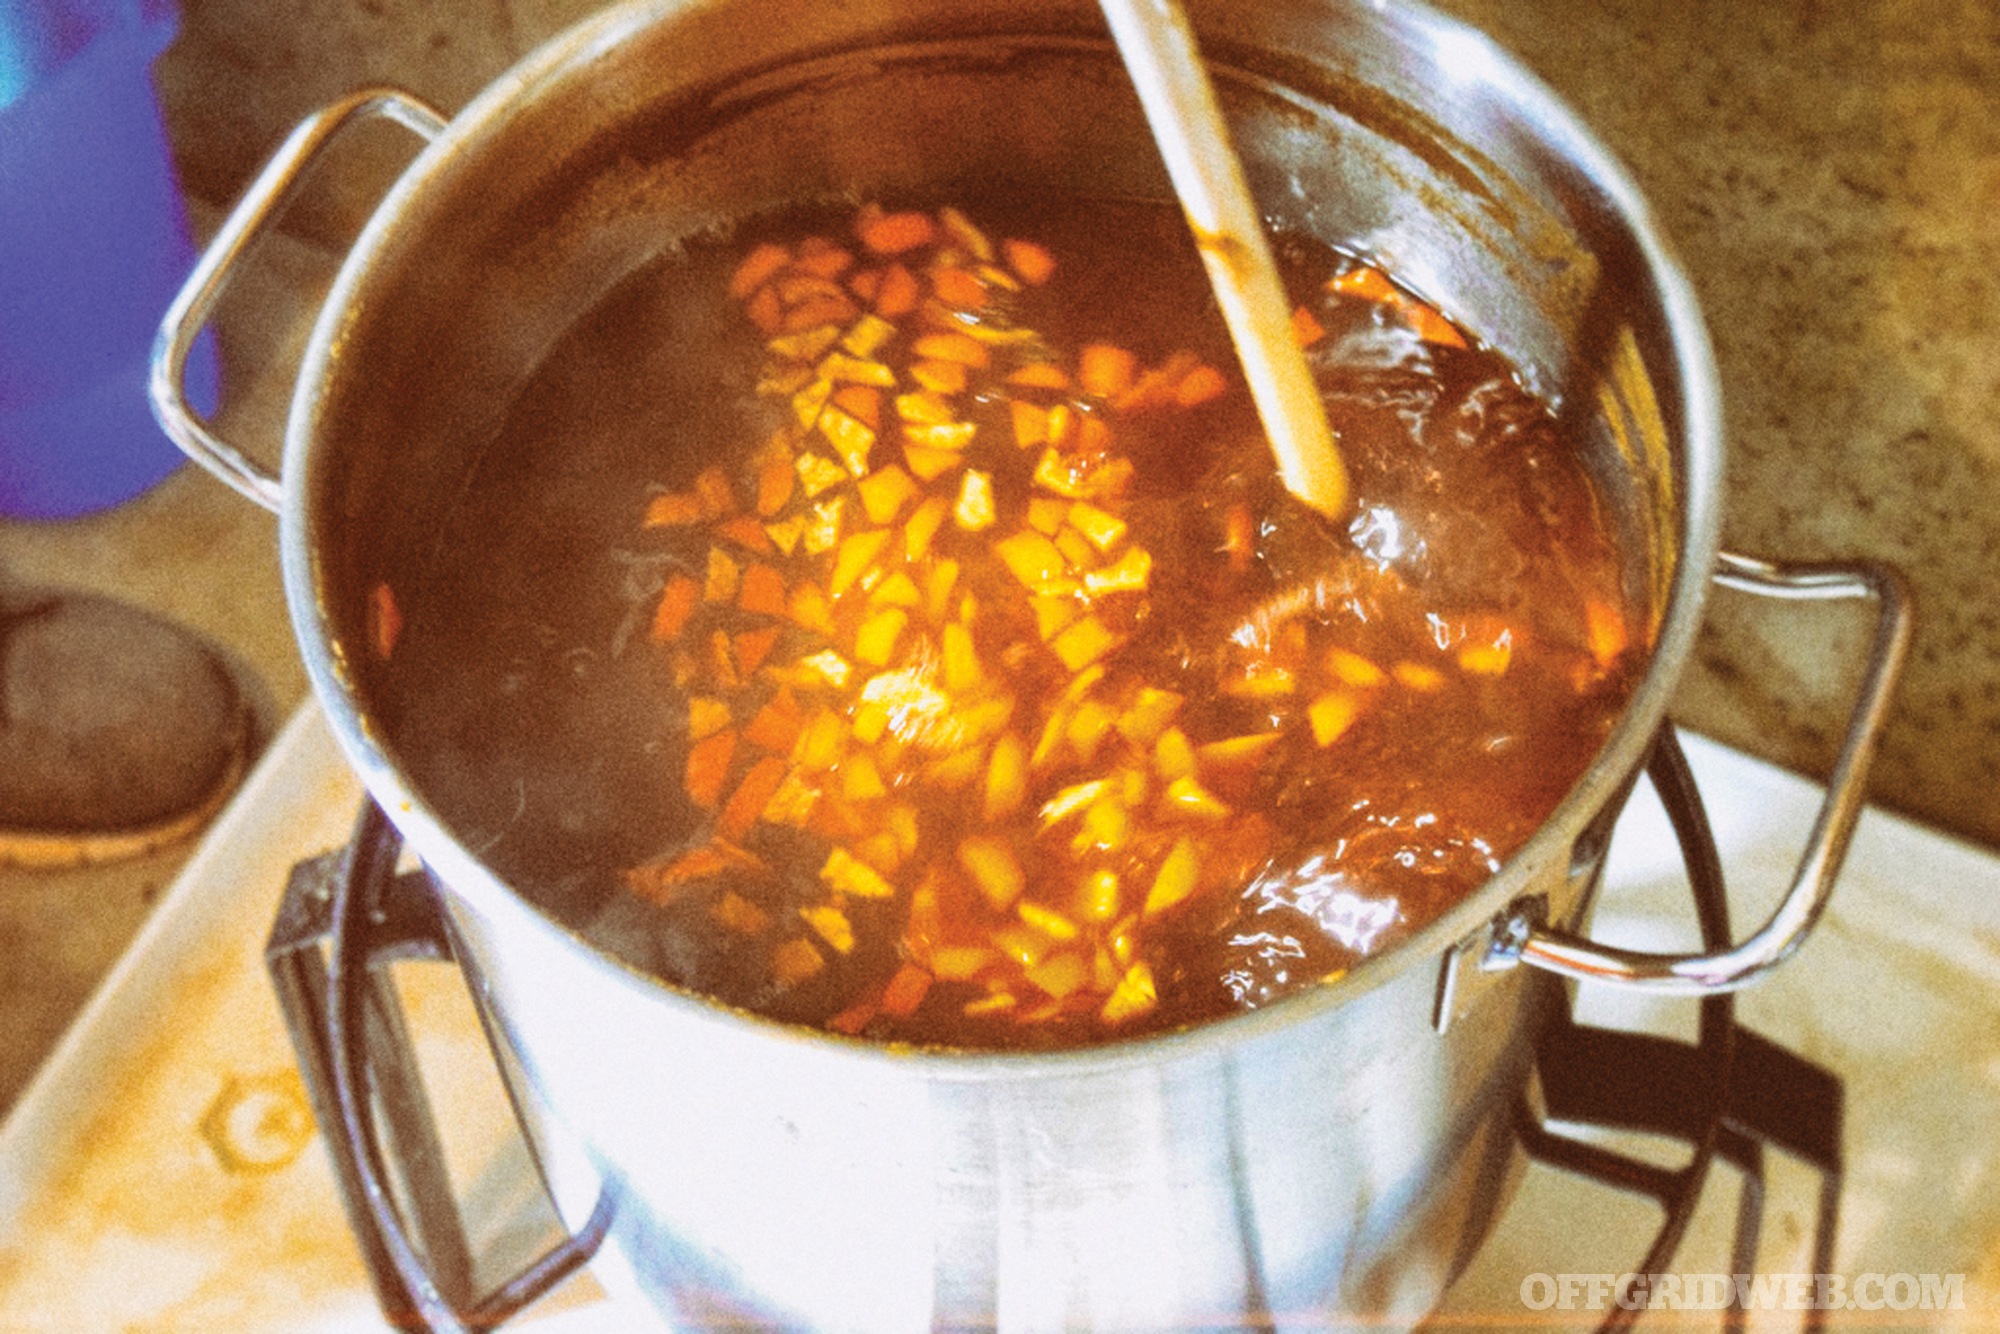
Beer making starts off a lot like making a good cup of tea. You’ll bring 3 to 4 gallons of water up to a pre-boil temperature of 170 degrees F. At that point you’ll fill a straining bag full of various grains and steep it like you would a tea bag. The types of grains you use will render specific tastes. When the grains have steeped, you bring your concoction to a boil. At a rolling boil, you’ll mix in your malt and hops. This mixture is called the wort and it starts to smell like beer. You’ll be boiling the wort for a good 60 minutes. Now is the time to sanitize the fermentation bucket, the lid, and the airlock if you haven’t already.
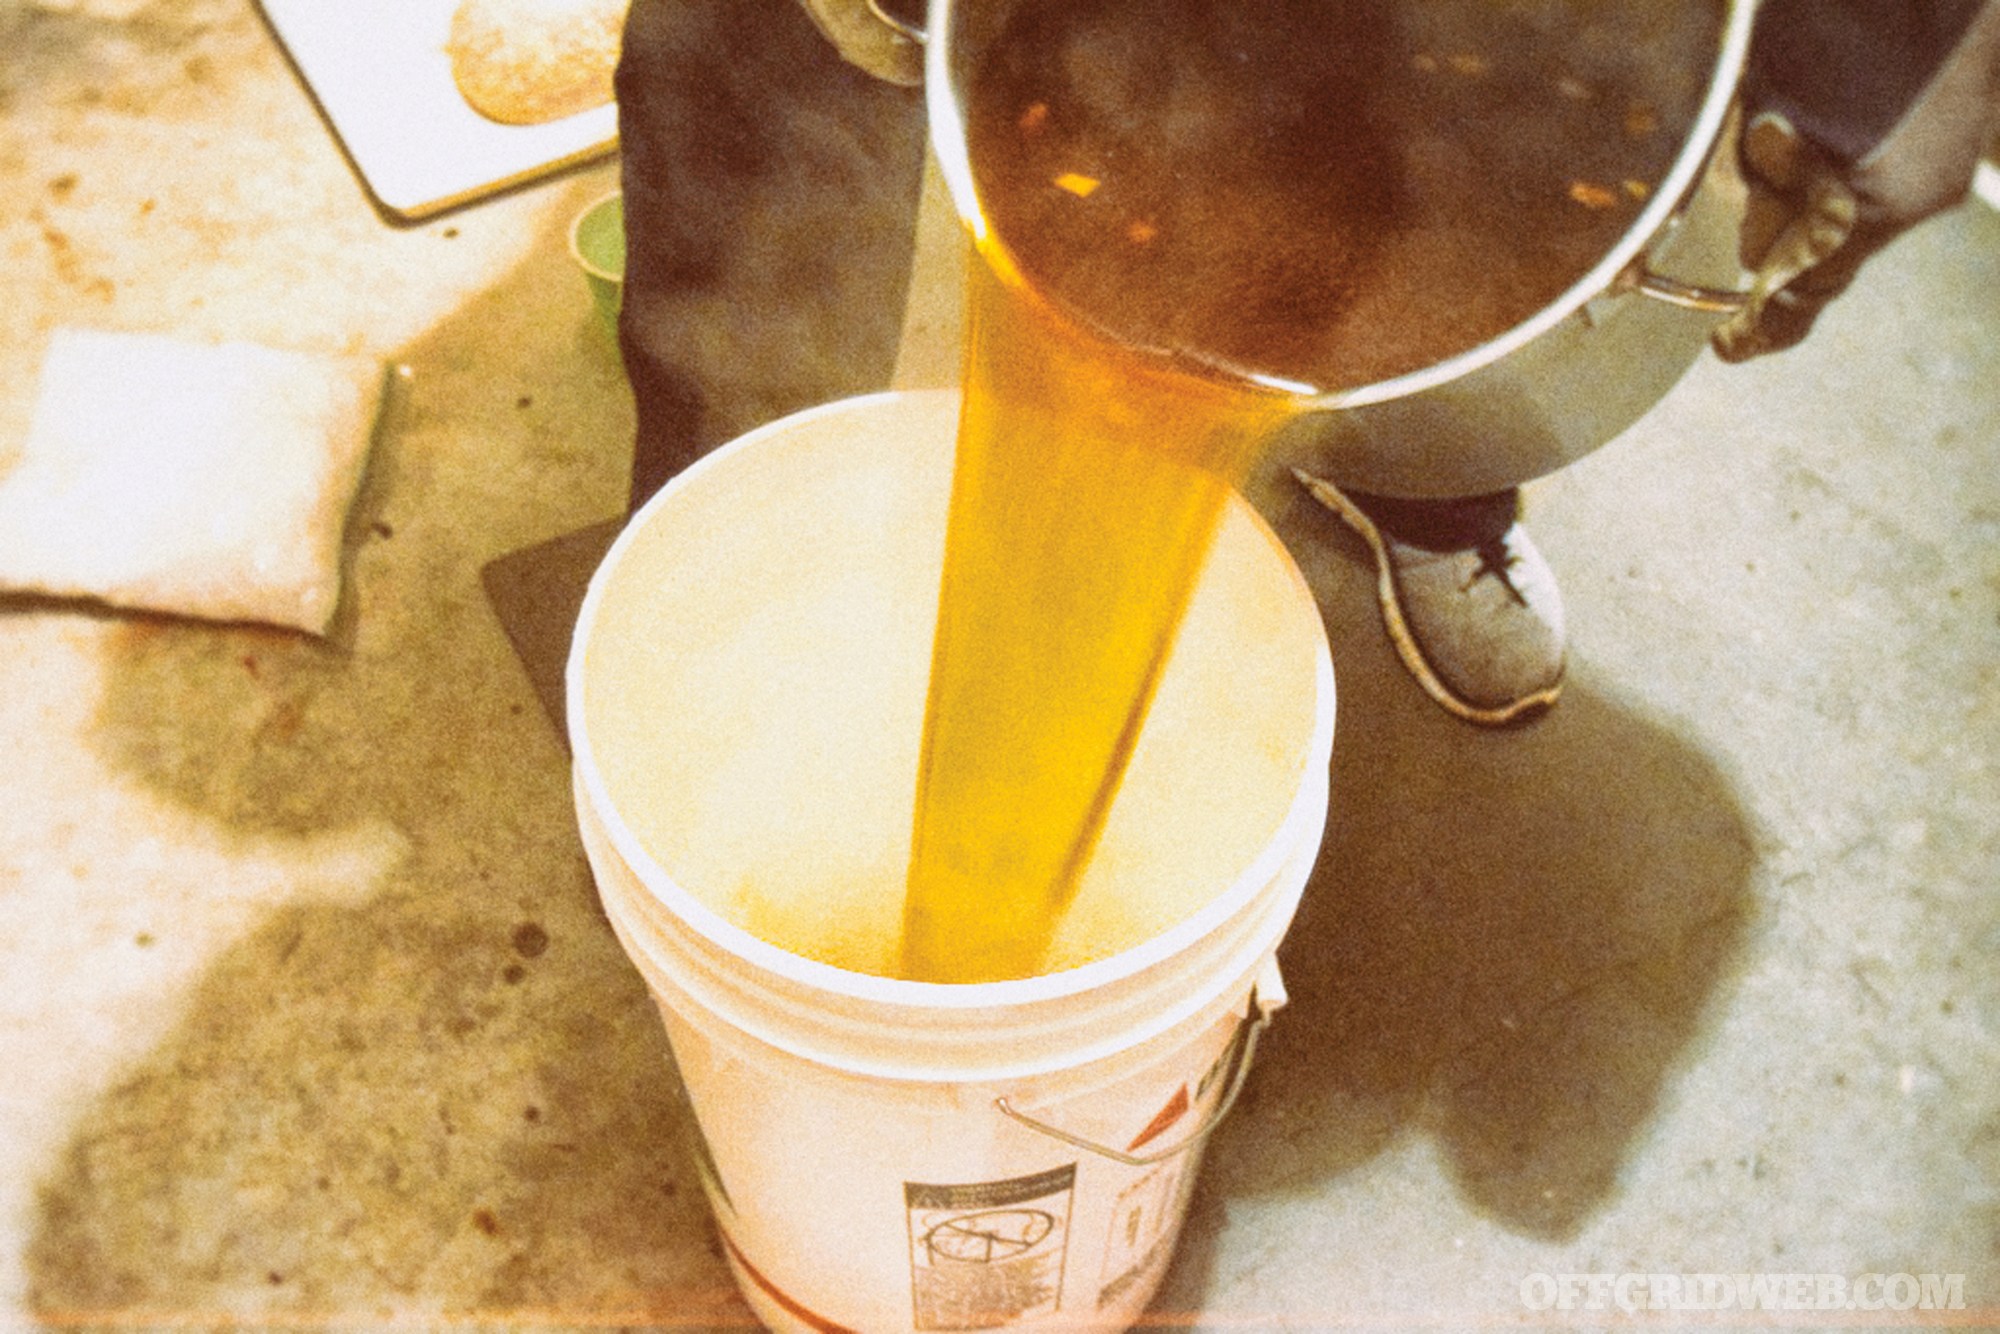
Step 2: Fermentation
If any part of the brewing process is frustrating, it’s cooling the wort after the boil. Remember: we’re brewing 5 gallons, but only boiling 3. Add the hot mixture to your sanitized fermenting bucket, then add 2 more gallons of cold spring water. You’re trying to get the mixture down to 75 to 80 degrees F so you can add the yeast. Any hotter than that and you’ll kill the yeast — meaning no alcohol will be produced.
The cooling process is expedited with a wort chiller, a coil of copper tubing that connects to a faucet. Put the sanitized chiller in the wort mixture and run cold water through it. This takes roughly 20 to 30 minutes off the chilling time.
Now that everything has cooled down, it’s time to add the yeast. Just like making bread, yeast is the key ingredient in the process. If the yeast isn’t active, then kiss a good batch goodbye. Different types of yeasts are required for different types of beer.
After you pitched your yeast and sealed the bucket with the sanitized lid, the waiting game begins. The lid will have an airlock on it that allows the fermenting gases to escape without letting unwanted bacteria in. So now the waiting begins…for about two weeks. You’ll see the airlock bubbling — that’s how you’ll know your sweet barley pop is on its way.
Step 3: Priming
When your brew has stopped fermenting, it’s time to prime. This is the stage in which you add a measured amount of sugar or malt extract right before bottling. This fuels the yeast and creates a new fermentation process in the bottle and, more importantly, CO2. The gases produced in the next step carbonates the beer. (Refer to the experts in our source box or other qualified breweries for information on fermentation times, amounts of sugar, and other exact details.)
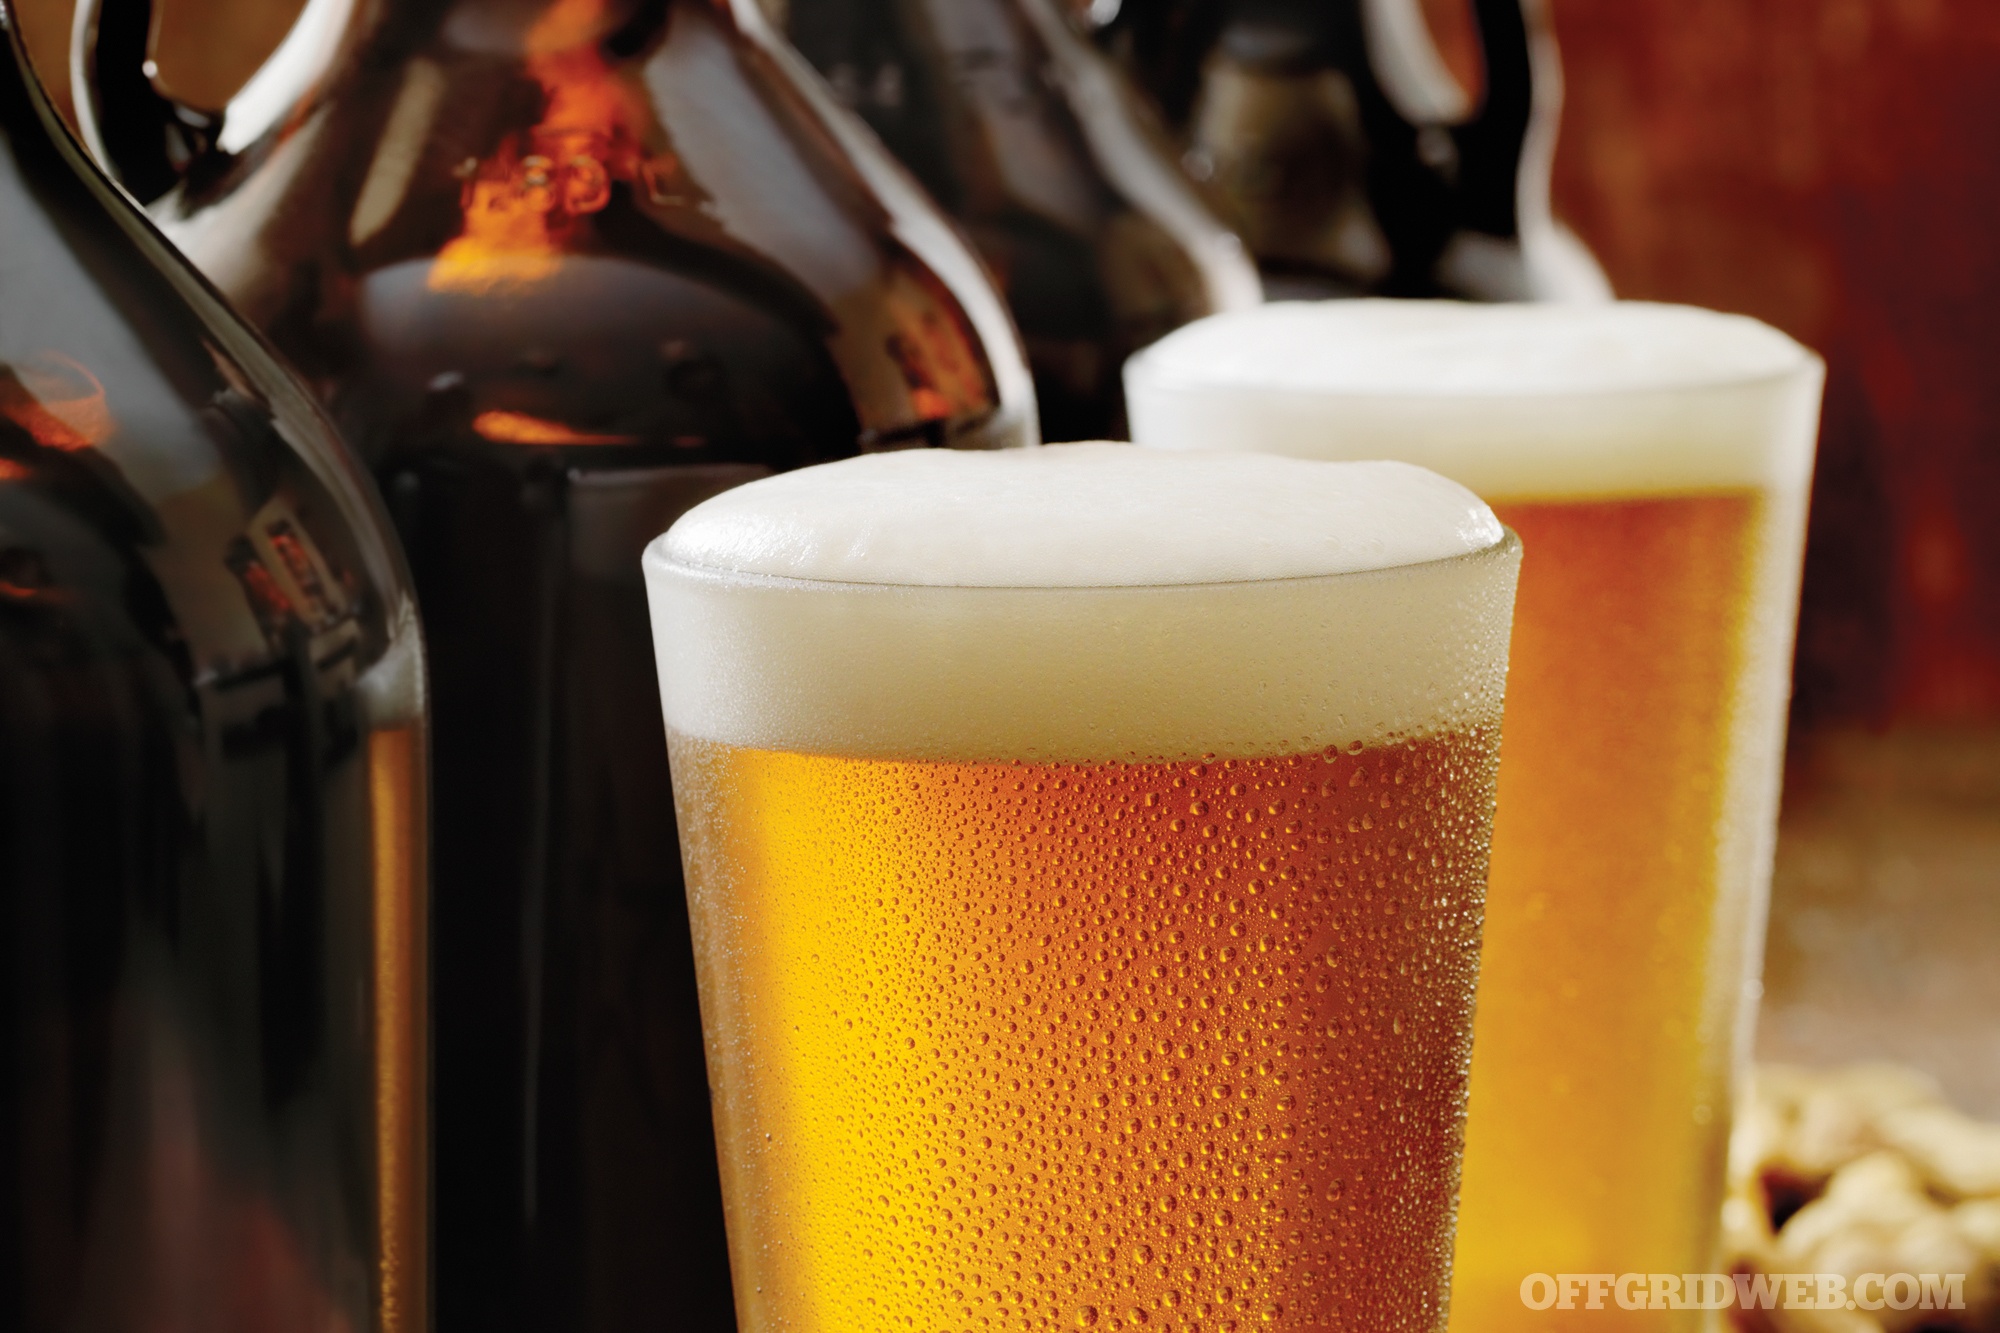
Step 4: Bottling
The last stage is to bottle your brewski in sanitized bottles. Bottles that require you to press on a cap are good for the casual brewer. In an off-grid scenario, however, bottle caps will be scarce; that’s why it good to start using snap lid growlers. After you’ve bottled your suds, wait for another week or two and it’s ready to drink.
That’s it. All in all, an easy process — unless you’re super impatient. The great thing is that when it’s TEOTWAWKI you can learn to recycle the yeast to make another batch of beer. The grains you use are good for bread and animal feed. Hops are easy to grow and can also be used for feed. In addition, the soggy grains and hops left over from the process can be used as fertilizer. So, as the brewmeister, you’ll be not only lifting the morale of your loved ones and producing a valuable bartering commodity, you’ll also contribute to your survival group’s overall well-being in several ways. And that’s something we can all drink to. Cheers!
Sources
- The Home Brewery > www.homebrewery.com
- Home Beermaking by William Moore > www.amazon.com
