In This Article
The following article was originally published in Issue 8 of our magazine.
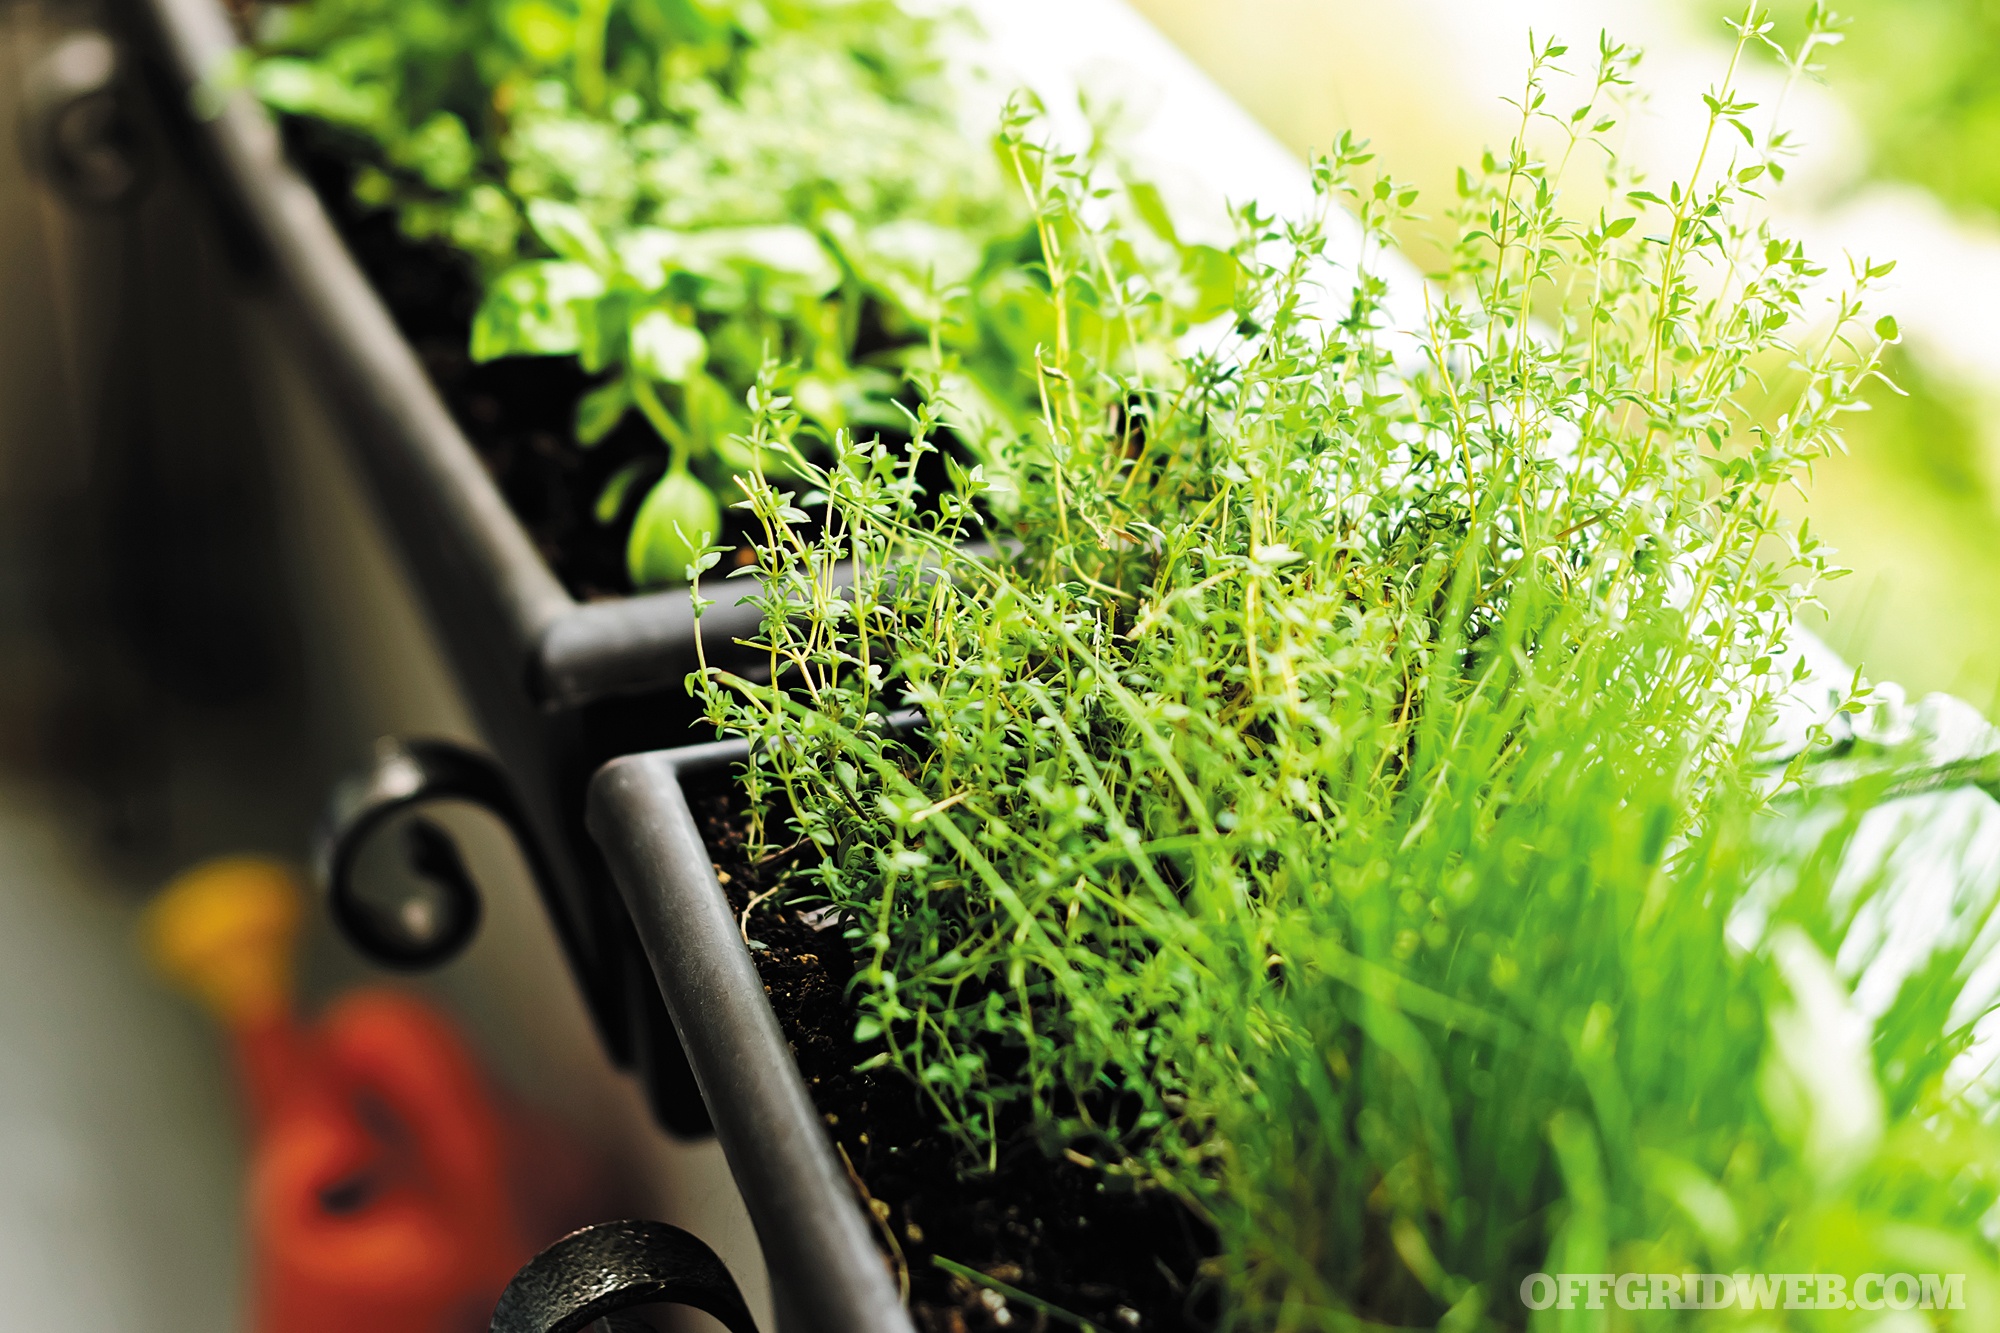
When’s the last time you got your hands dirty? Really dirty? Like, stuck-them-in-the-dirt-on-purpose dirty? It’s OK if the answer is never. You can still grow your own food, with very little in the way of experience or materials. And this home gardening can happen if your home has a backyard, or just a balcony, or even just a sunny window. You just have to pay attention to the details in gardening.
There are lots of reasons to take up this skill set, beside the taste and enjoyment of growing your own food. A significant crisis could cut off our current food supply, and a widespread grid-down scenario could mean that food would be at a premium. Even a job loss could be the culprit behind your hunger.
One of the best ways to inoculate yourself against starvation regardless of the cause is to have your own sustainable garden. But how can a city dweller get started?
So many of our ancestors were once gardeners, farmers, foragers, and capable agrarian types. They had to be. The food-packed grocery store is a luxury that is only a few decades old. Our hardy progenitors successfully built and maintained sustainable gardens that weren’t dependent on modern conveniences. They did it because they had to.
But waiting until you “have to” is not the right approach for the modern, would-be gardener. There’s a learning curve you can’t afford in a contemporary crisis scenario. Get started now, before trouble arises. You eat every day — why not tend some plants every day (within the growing season)?
5 Critical Things
If you want to succeed, you’ll need to pay attention to five vital areas: light, soil, water, plant selection, and damage control. When these five issues are in balance, plants can thrive. When even one of these areas has a problem, your plants have a problem.
Light: The area where you grow your vegetables will need at least eight hours of direct and uninterrupted sunlight each day. Less than eight hours of direct light means that their growth will be severely stunted, and interrupted light signals to the plants that night is coming, which also disturbs their growth. In a standalone house, duplex, or townhome, try to find a south-facing patch of yard where no trees, structures, or buildings block the sun. For apartments or condos, the south side of the building may offer you all the light you need. You may be able to set up on your balcony or fire escape. Better yet, get permission to place containers on the roof. Failing that, purchase a few sturdy window boxes to hang on sunny windows. Finding light is often the biggest hurdle for backyard and urban gardeners.
Soil: Unless you’re working on a hydroponic system, you’ll need some dirt. Potting soil can be purchased as your soil medium, and it is usually weed-free. Bagged topsoil is cheaper, but may be full of weed seeds. In a yard, just use the dirt that’s already there.
Water: If your plants are in the ground, in a backyard for example, they can draw some of their own water from the soil. Container plants, however, are very dependent on your regular and thorough watering. If using tap water, fill a bucket (or several) and let the chlorine evaporate away for two to three days before watering the plants. A better way to water is by collecting as much rain water as possible for your plants (if it’s legal in your area).
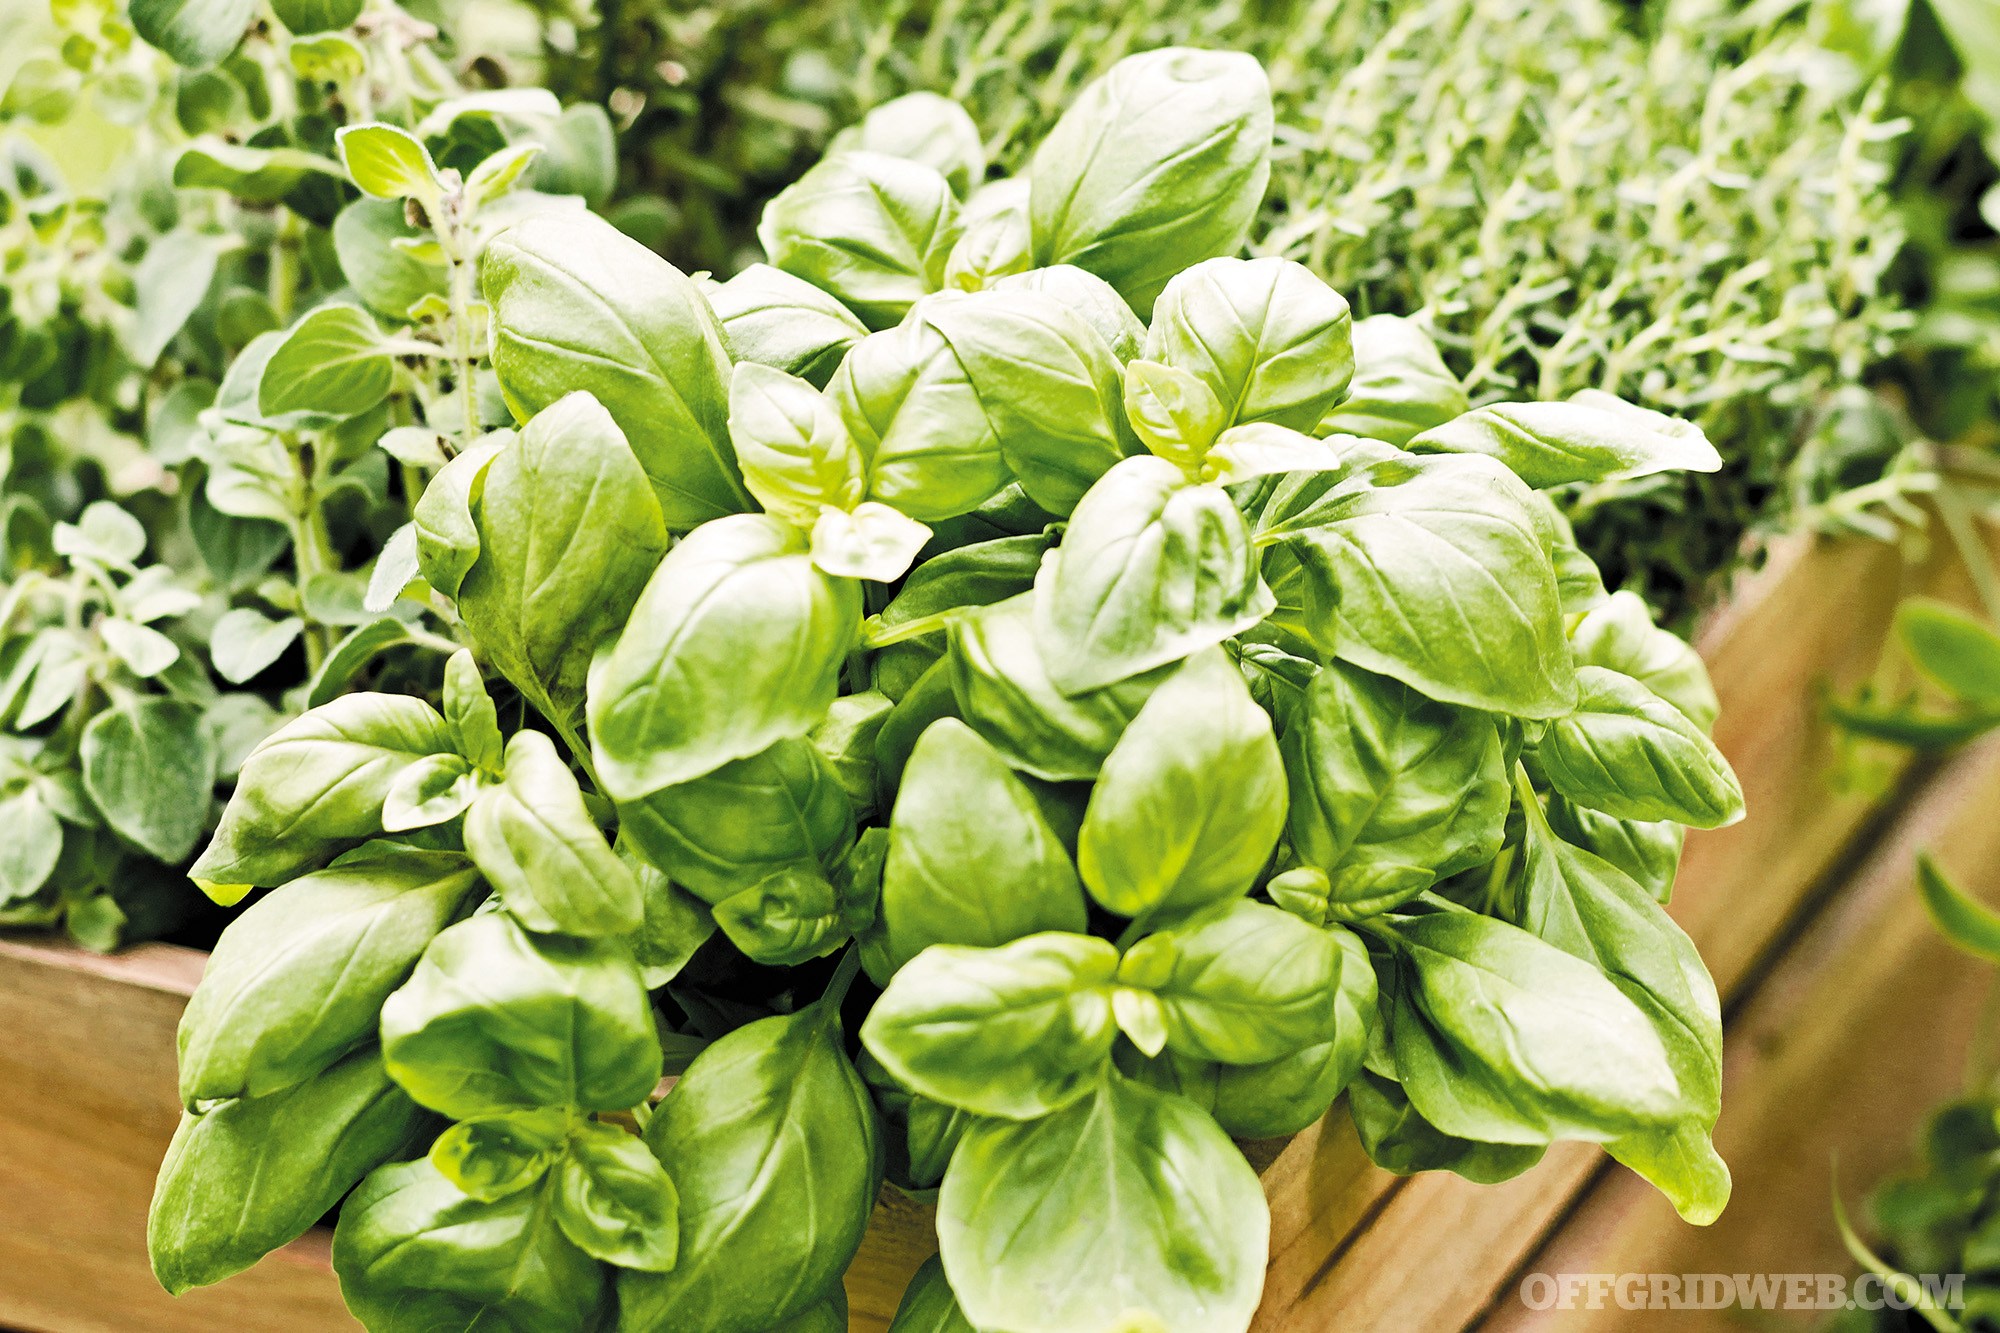
Plant Selection: Each species of vegetable plant usually has several “varieties” for you to choose from. For plants in containers, it’s best to select plants that are meant to stay small. Look for words like “patio” or “miniature” in the description. These don’t need as much space to grow, or such a big container of soil. Also pay attention to the calories the veggie would provide. A post-apocalyptic salad might be nice, but salad leaves are painfully low in calories. Focus on higher calorie vegetables (see sidebar below).
Damage Control: You aren’t the only thing that wants to eat your vegetables. Insects smell the plants you are growing and come to wreak havoc on your unsuspecting crops. Diseases can also affect your plants. Many vegetables are susceptible to viral and fungal ailments, which could kill them quickly. Be vigilant for signs of pests and disease to maintain the health of your plants. Frost will also damage or kill plants. Find out the date of the last expected frost in your area. Don’t plant frost-susceptible plants till the danger of frost has passed for the season.
High-Calorie Crops
Calories are the whole point behind a survival garden. Sure, salad plants look nice and grow fast, but you couldn’t eat enough lettuce to sustain you. Leafy greens like lettuce can have as few as 10 calories per cup. It’s a smarter path to focus on high-calorie crops. Here are some survival garden veggies to consider, and their calories per 8-ounce cup (seeds and beans counted dried, roots and fruits counted cooked
- Peanuts (a massive calorie payout at 1,200 calories per cup)
- Sunflower seeds (800 calories)
- Soybeans (775 calories)
- Chickpeas, kidney, lima, and fava beans (about 600 calories)
- Sweet potato (180 calories)
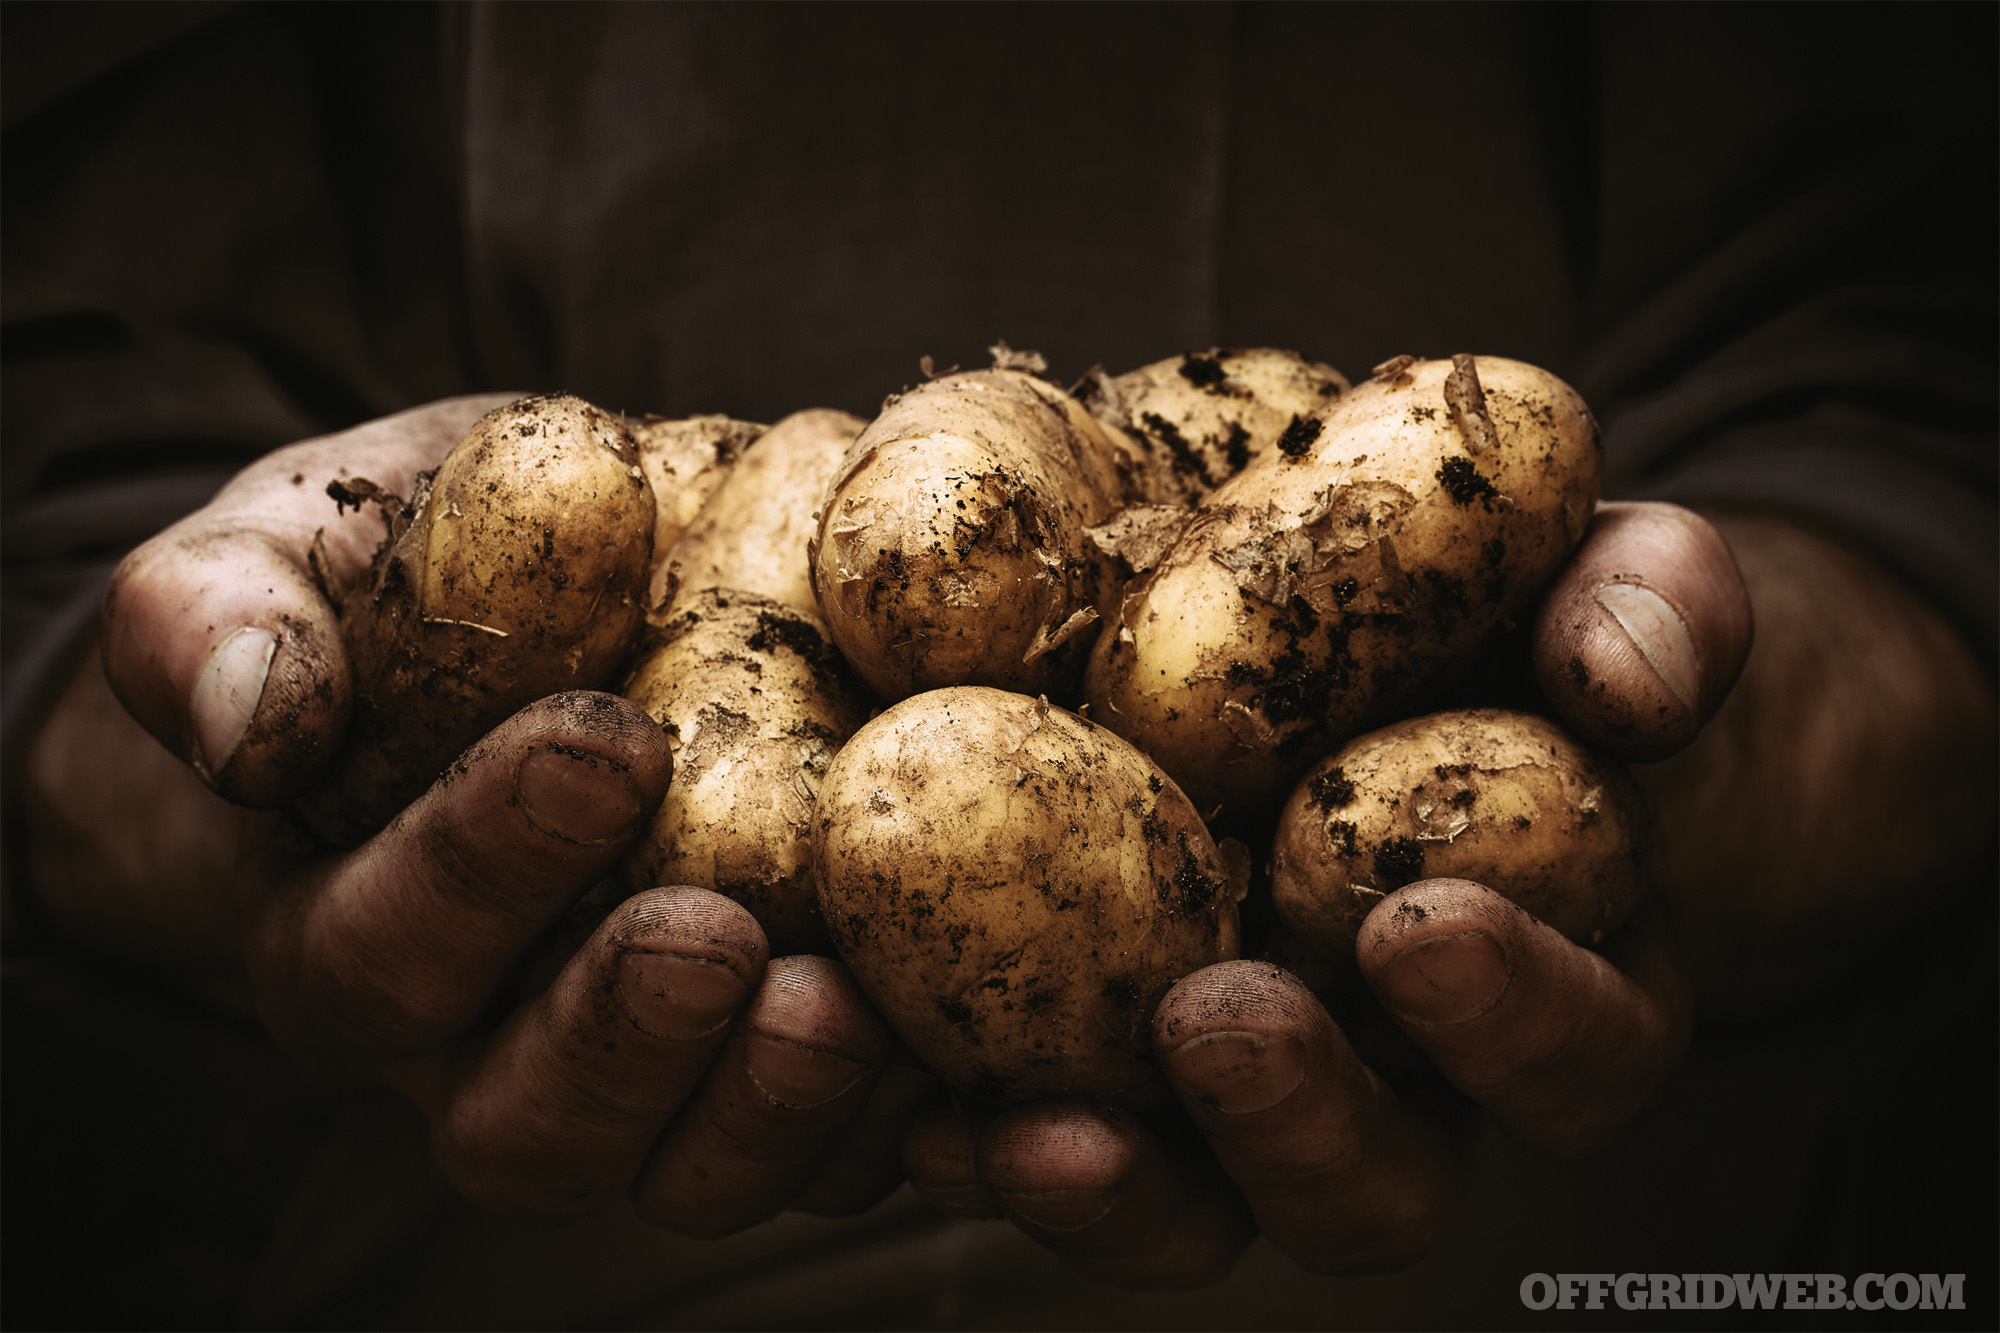
- Potatoes (140 calories)
- Carrots (80 calories)
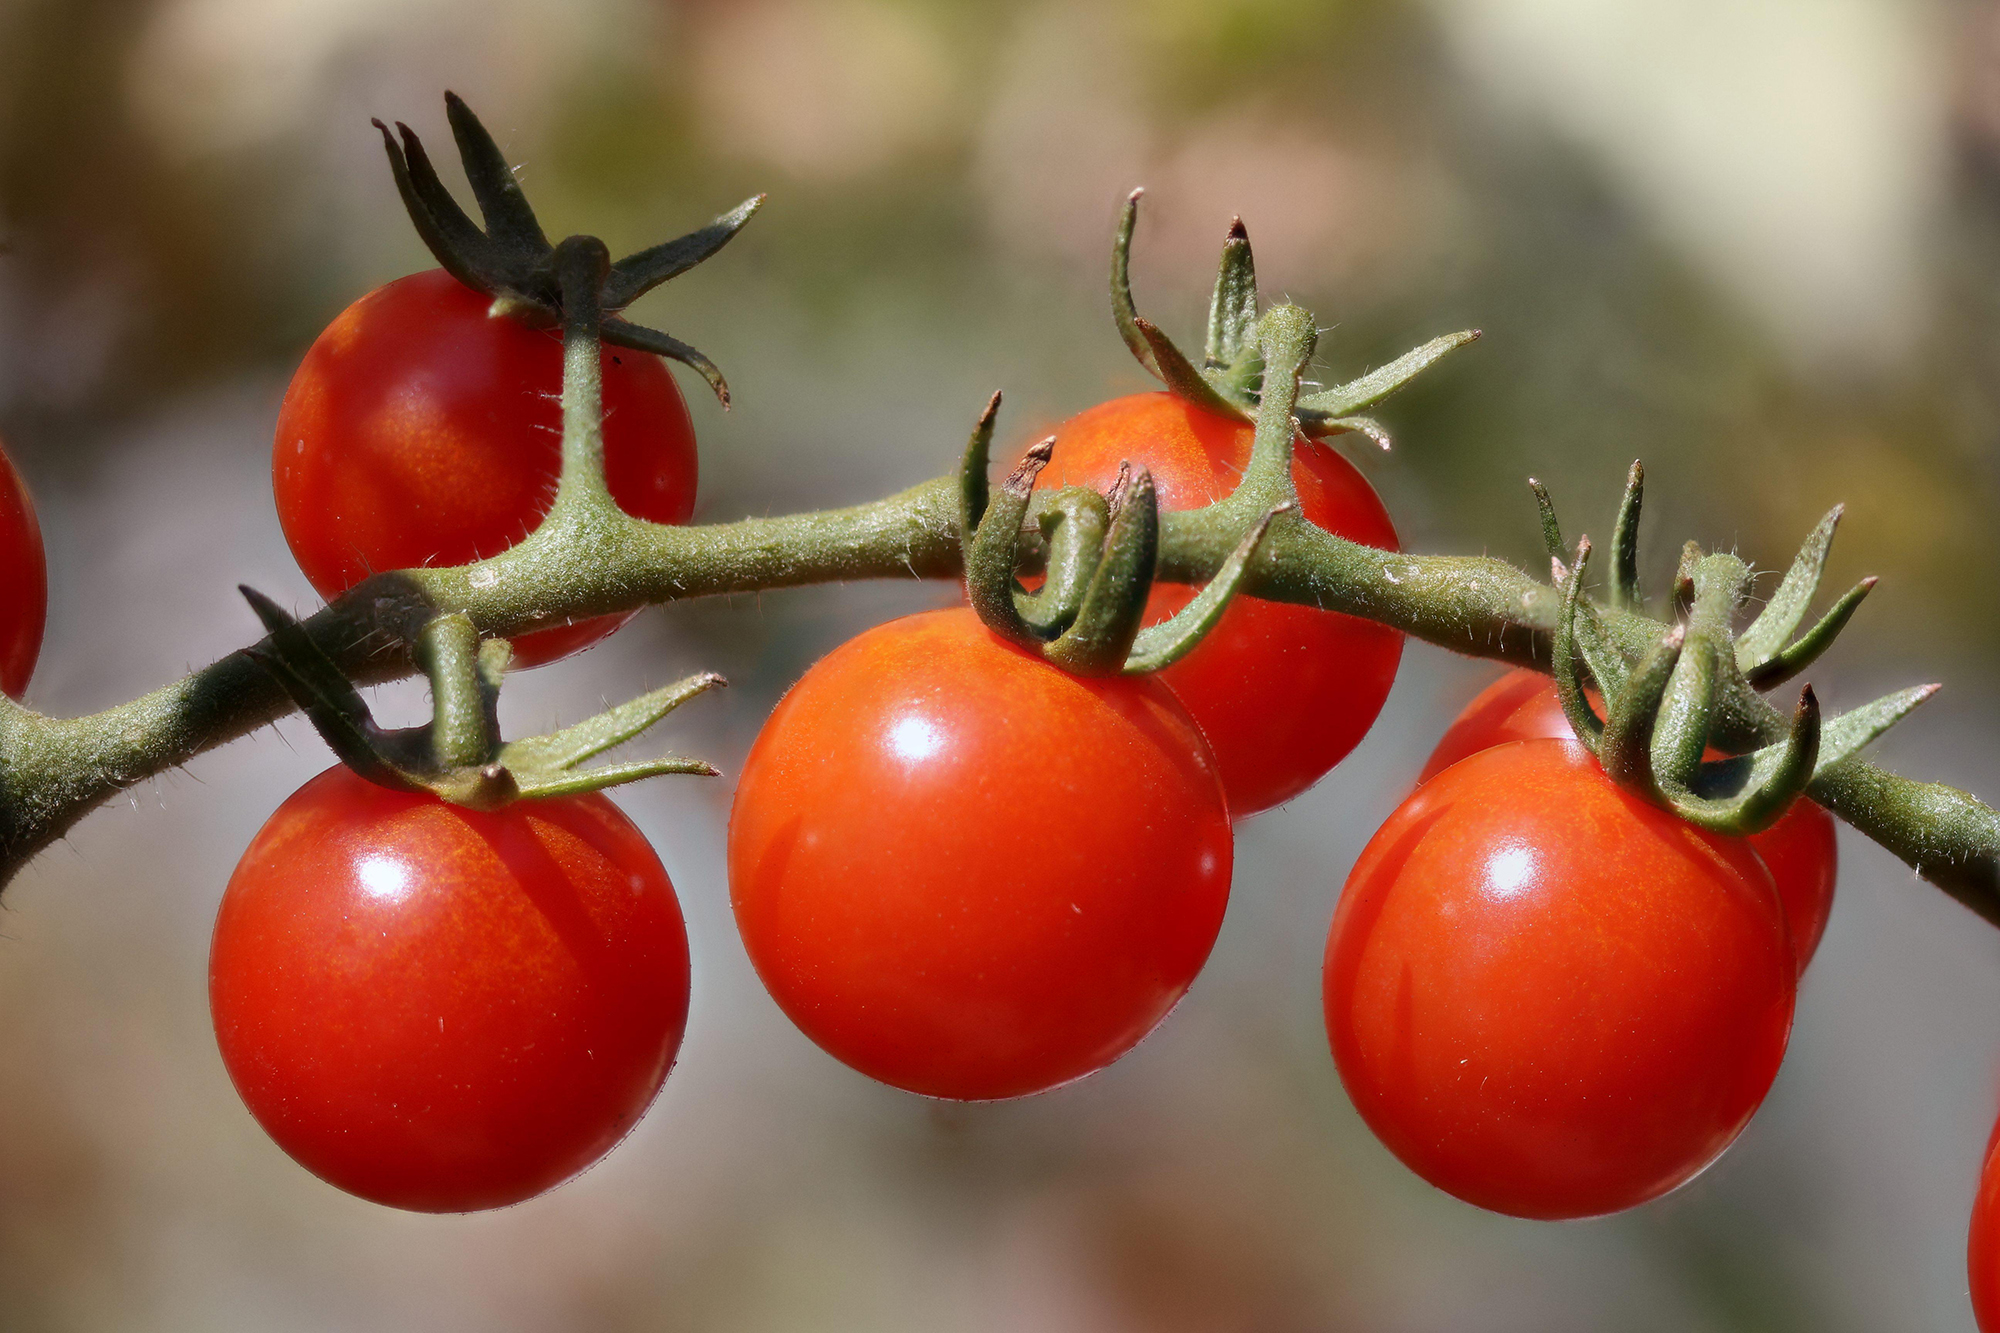
- Tomatoes (50 calories)
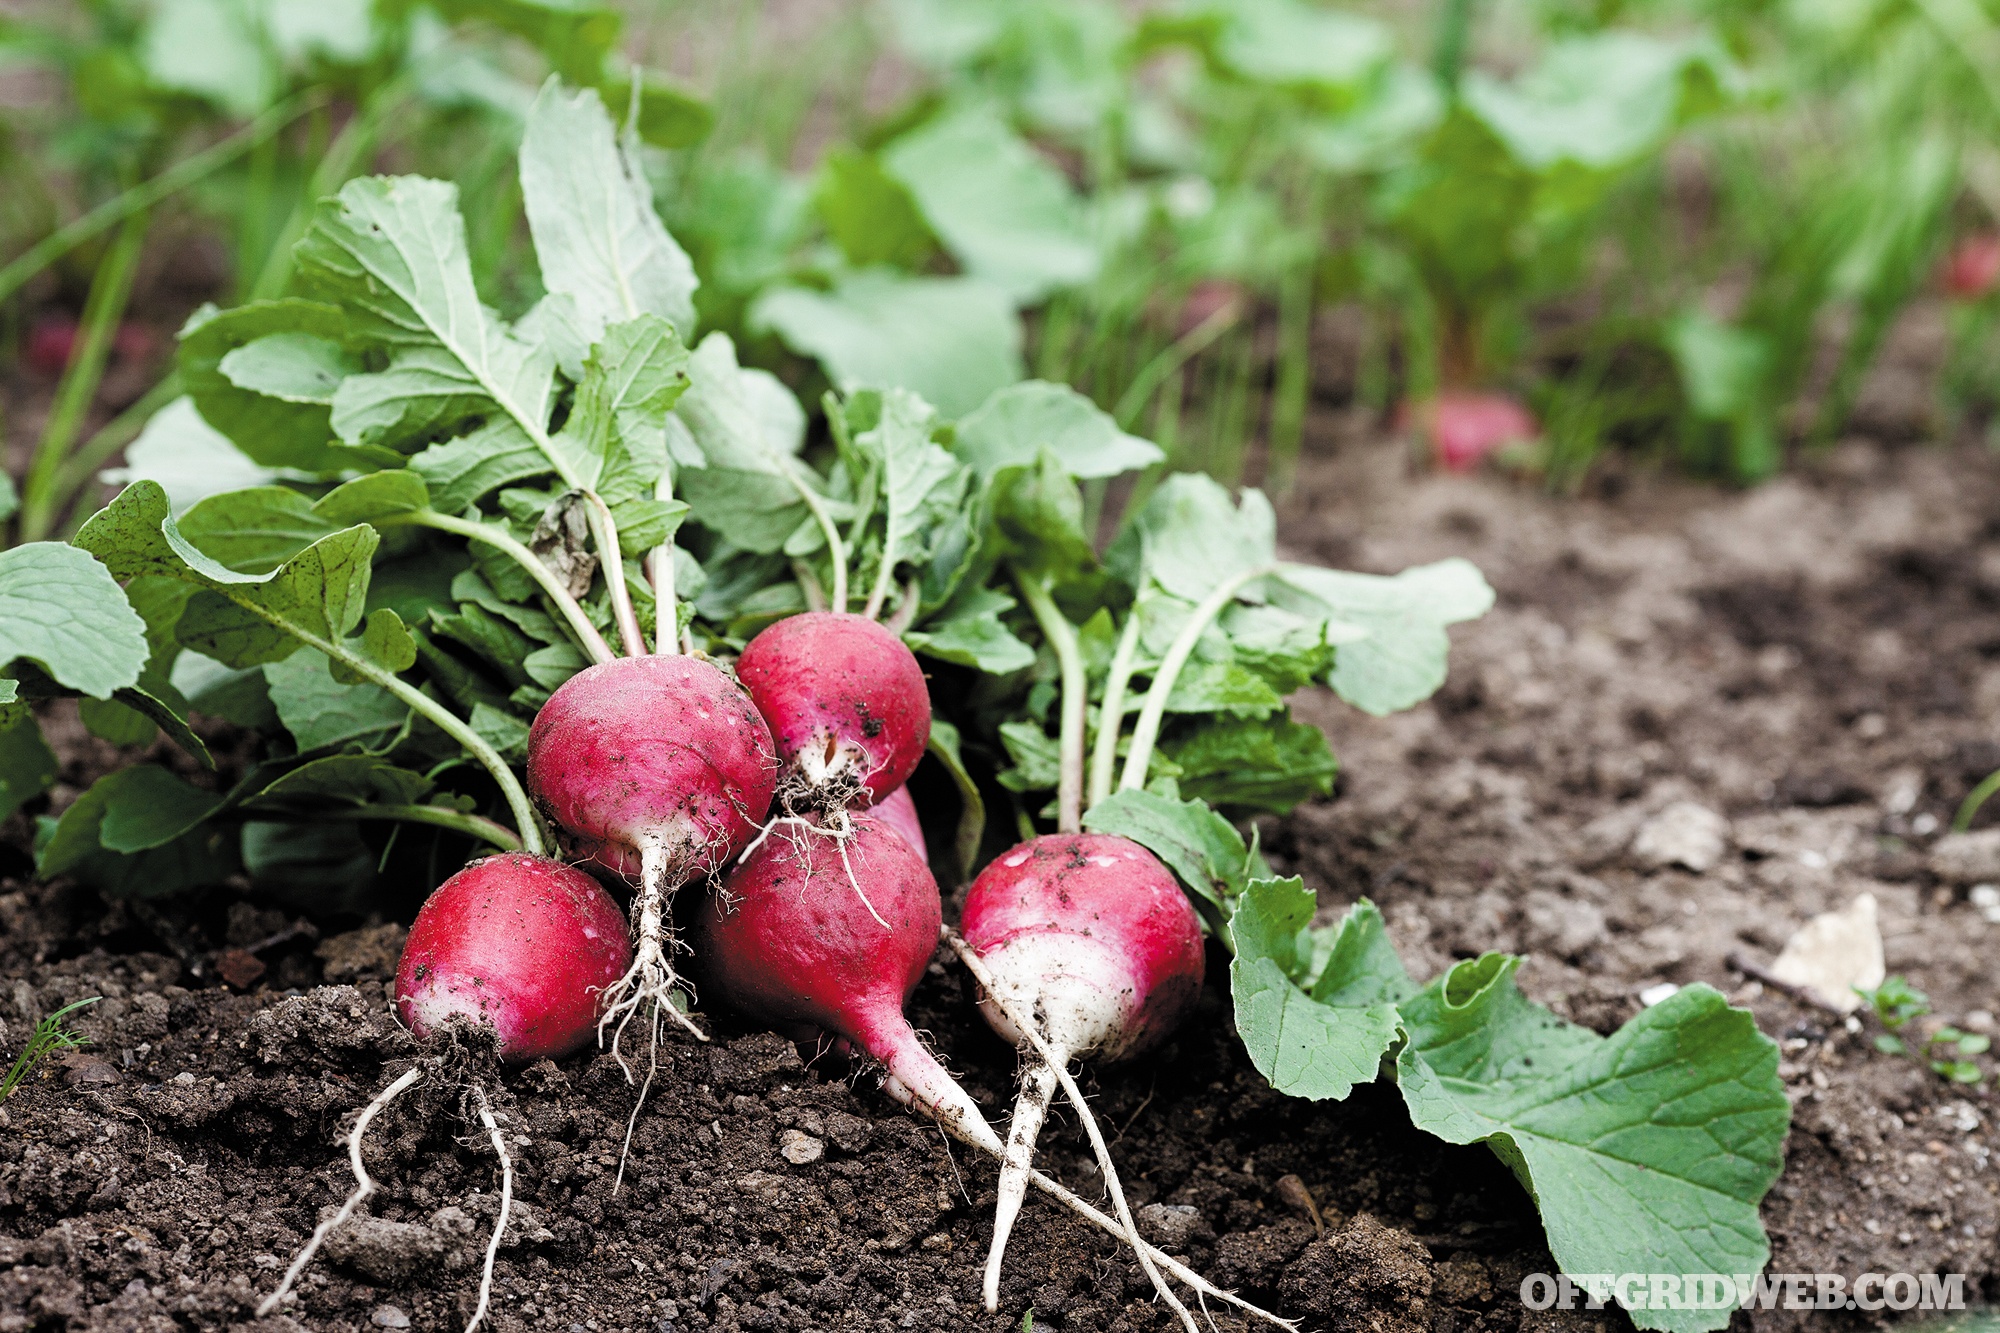
- Turnips (35 calories)
As soon as you have your game plan in mind, it’s time to get busy. Follow these steps to vegetable glory.
Step 1: Go Shopping
Once you’ve found your sunny spot, it’s time to buy some basic supplies. For backyard gardens, you’ll need:
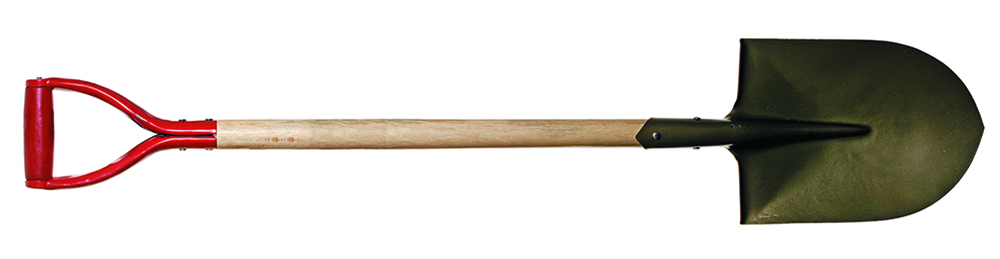
Shovel: A round-point full-length shovel, to dig your garden bed and harvest root crops like potatoes and carrots.
Fertilizer: There is a dizzying number of fertilizer types and numbers on the bags. Those numbers are the NPK numbers. This stands for nitrogen, phosphorus, and potassium. It’s always in that order. Nitrogen is needed for leaves, stems, and green growth. Phosphorus helps flowers and fruit. Potassium is needed for root growth. The average organic fertilizer has about a 3-3-3 rating and a good conventional fertilizer has a 10-10-10 rating. Follow the instructions for application rates.
Plants or seeds: If you have time to wait for seeds to sprout, this is a cheaper way to get your veggies. If time (or patience) is short, buy seedling plants that are already several inches tall and growing strong.
For container gardens, you’ll need:
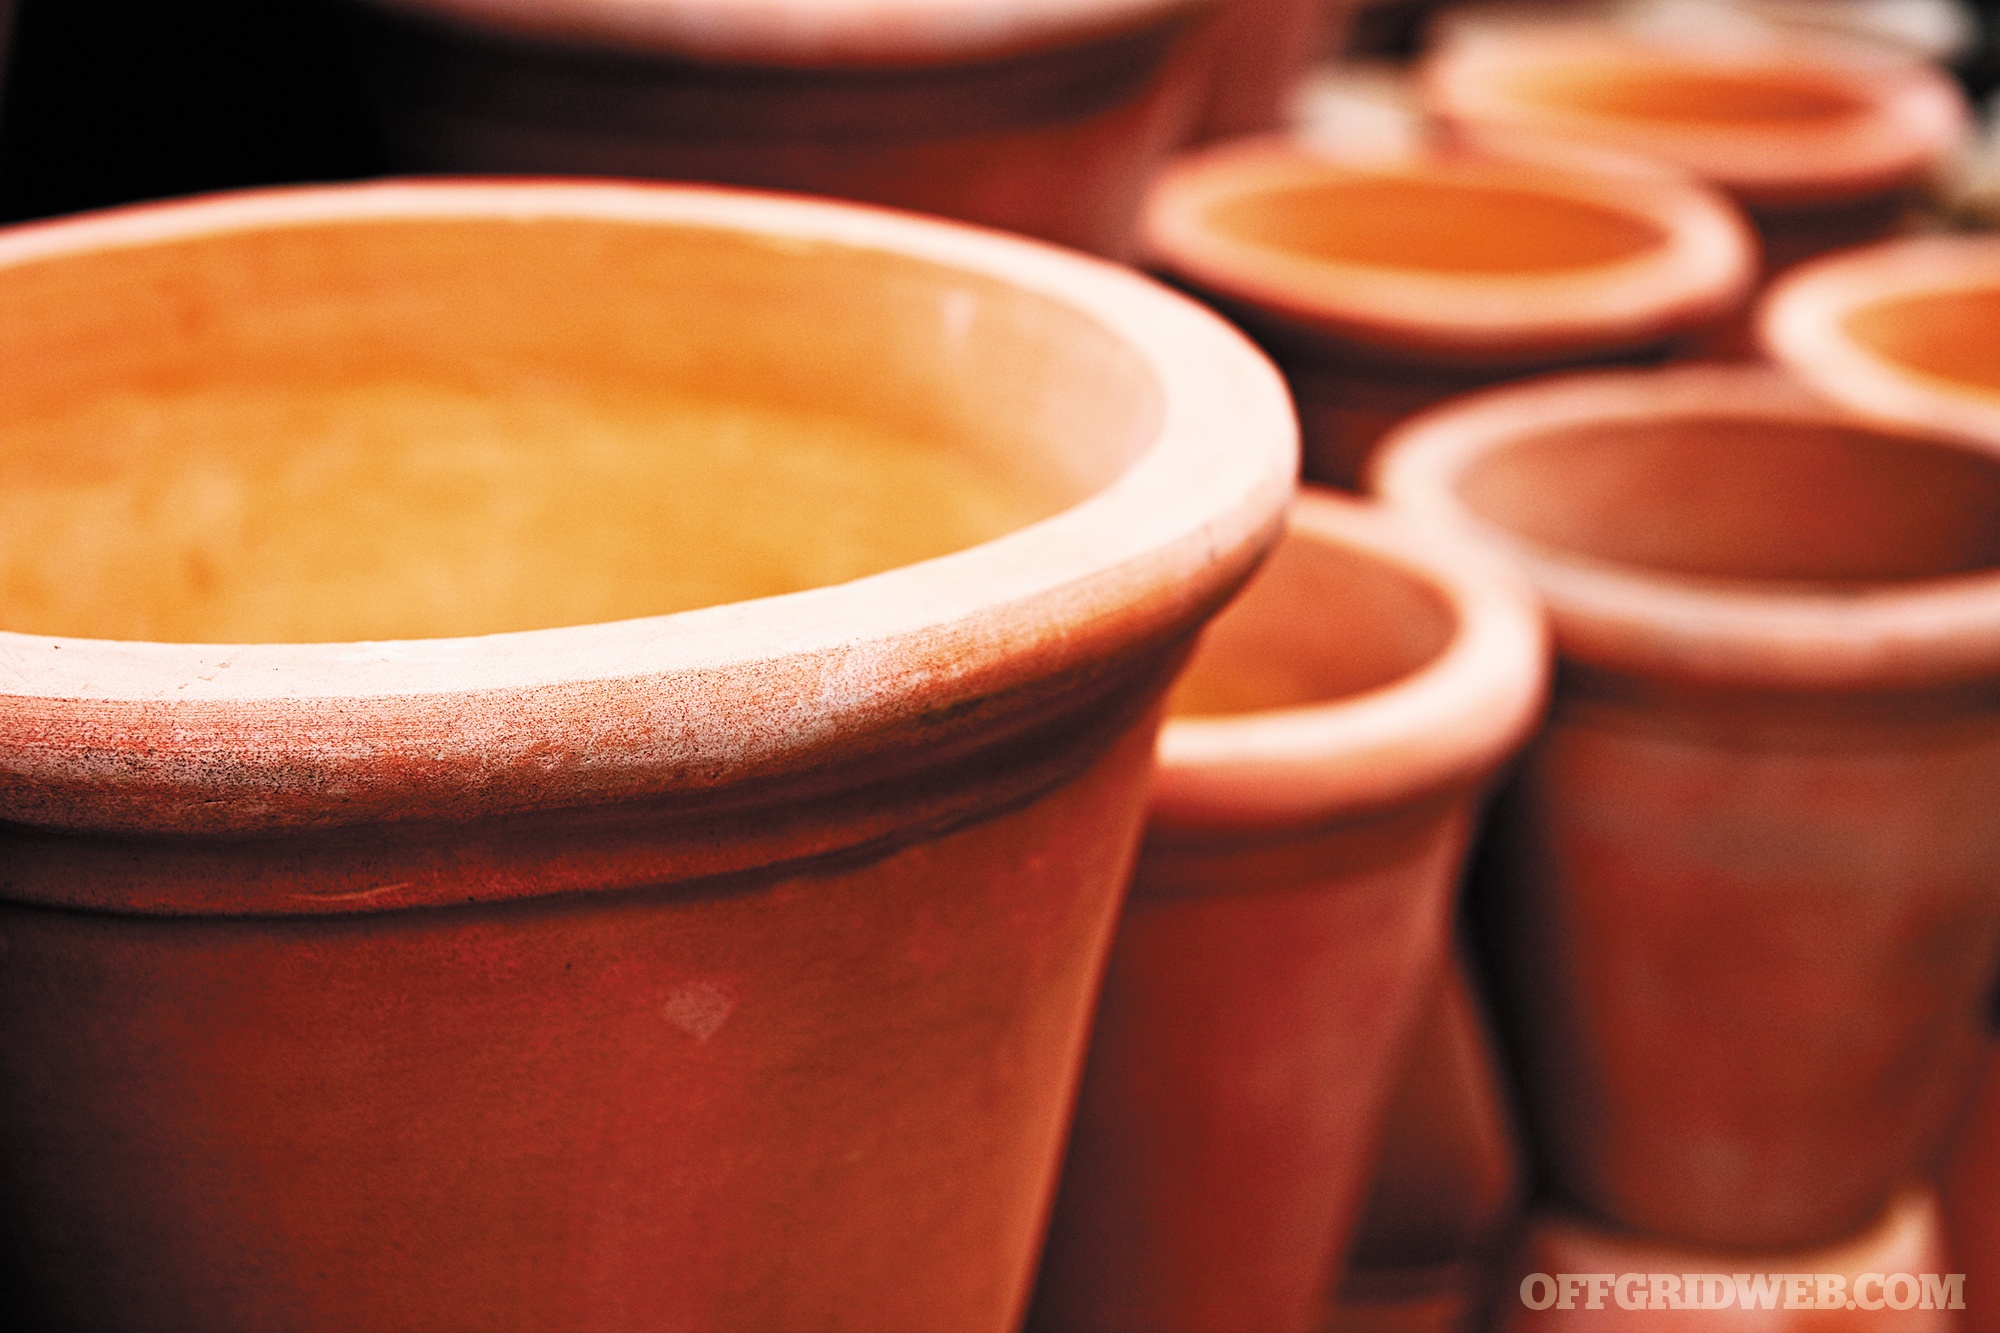
Containers: These can be pots, buckets, even small garbage cans. If there are no holes for water drainage, you’ll need to punch some in the bottom. You may also purchase (or build) self-watering containers. These are filled up with water every few days, and they water the plants slowly and automatically. Window boxes are also an option if you truly have no space to use.
Soil: Potting soil is a great choice, and it can be purchased with fertilizer already included.
Fertilizer: If not included in the soil mix.
Step 2: Prep Your Soil
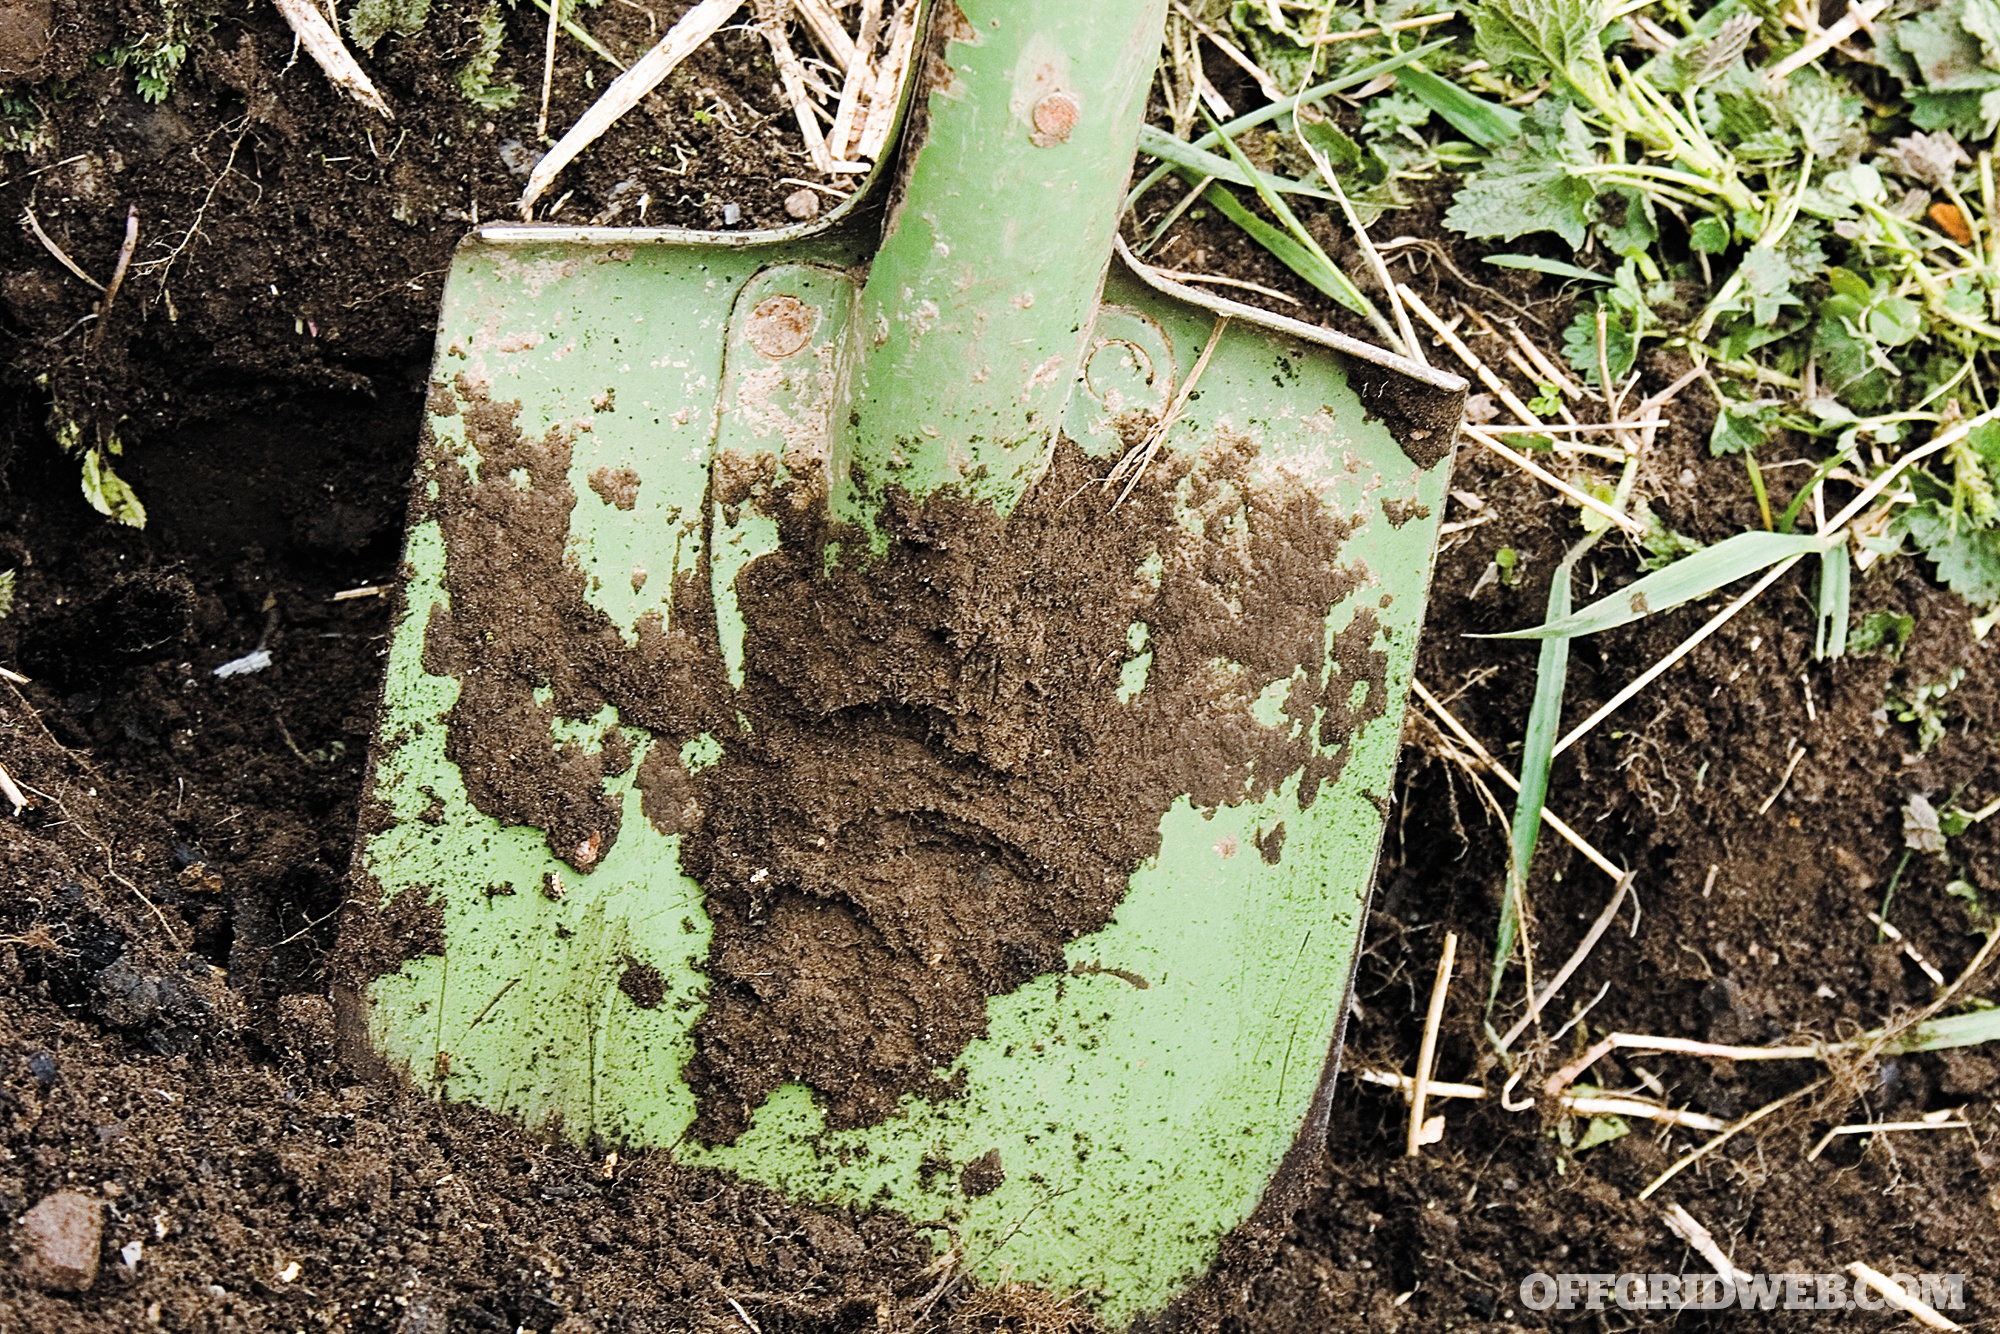
You can’t just throw out some seeds and hope for the best. Contemporary vegetables are not as hardy as their wild edible forebears. To perform well, your plants will need loose, rich soil and no other plant competition. Get out your shovel and dig up the grass sod from new backyard garden spots. Then dig deeply and chop the dirt clods with the shovel until they are loose soil. Dig down at least 1 foot if you can, but 2-feet deep is even more productive.
While this is backbreaking work for most people, it’s worth the effort. Deeply prepared soil allows deep root growth, more nutrient and water uptake, and happier earthworms and other beneficial organisms. For container gardens, the work is much easier. Open a bag of potting soil, fill the container, and move to step three. Although potting soil lacks many nutrients and helpful soil creatures, it’s easy to work with and reusable for several years.
Step 3: Plant Your Veggies
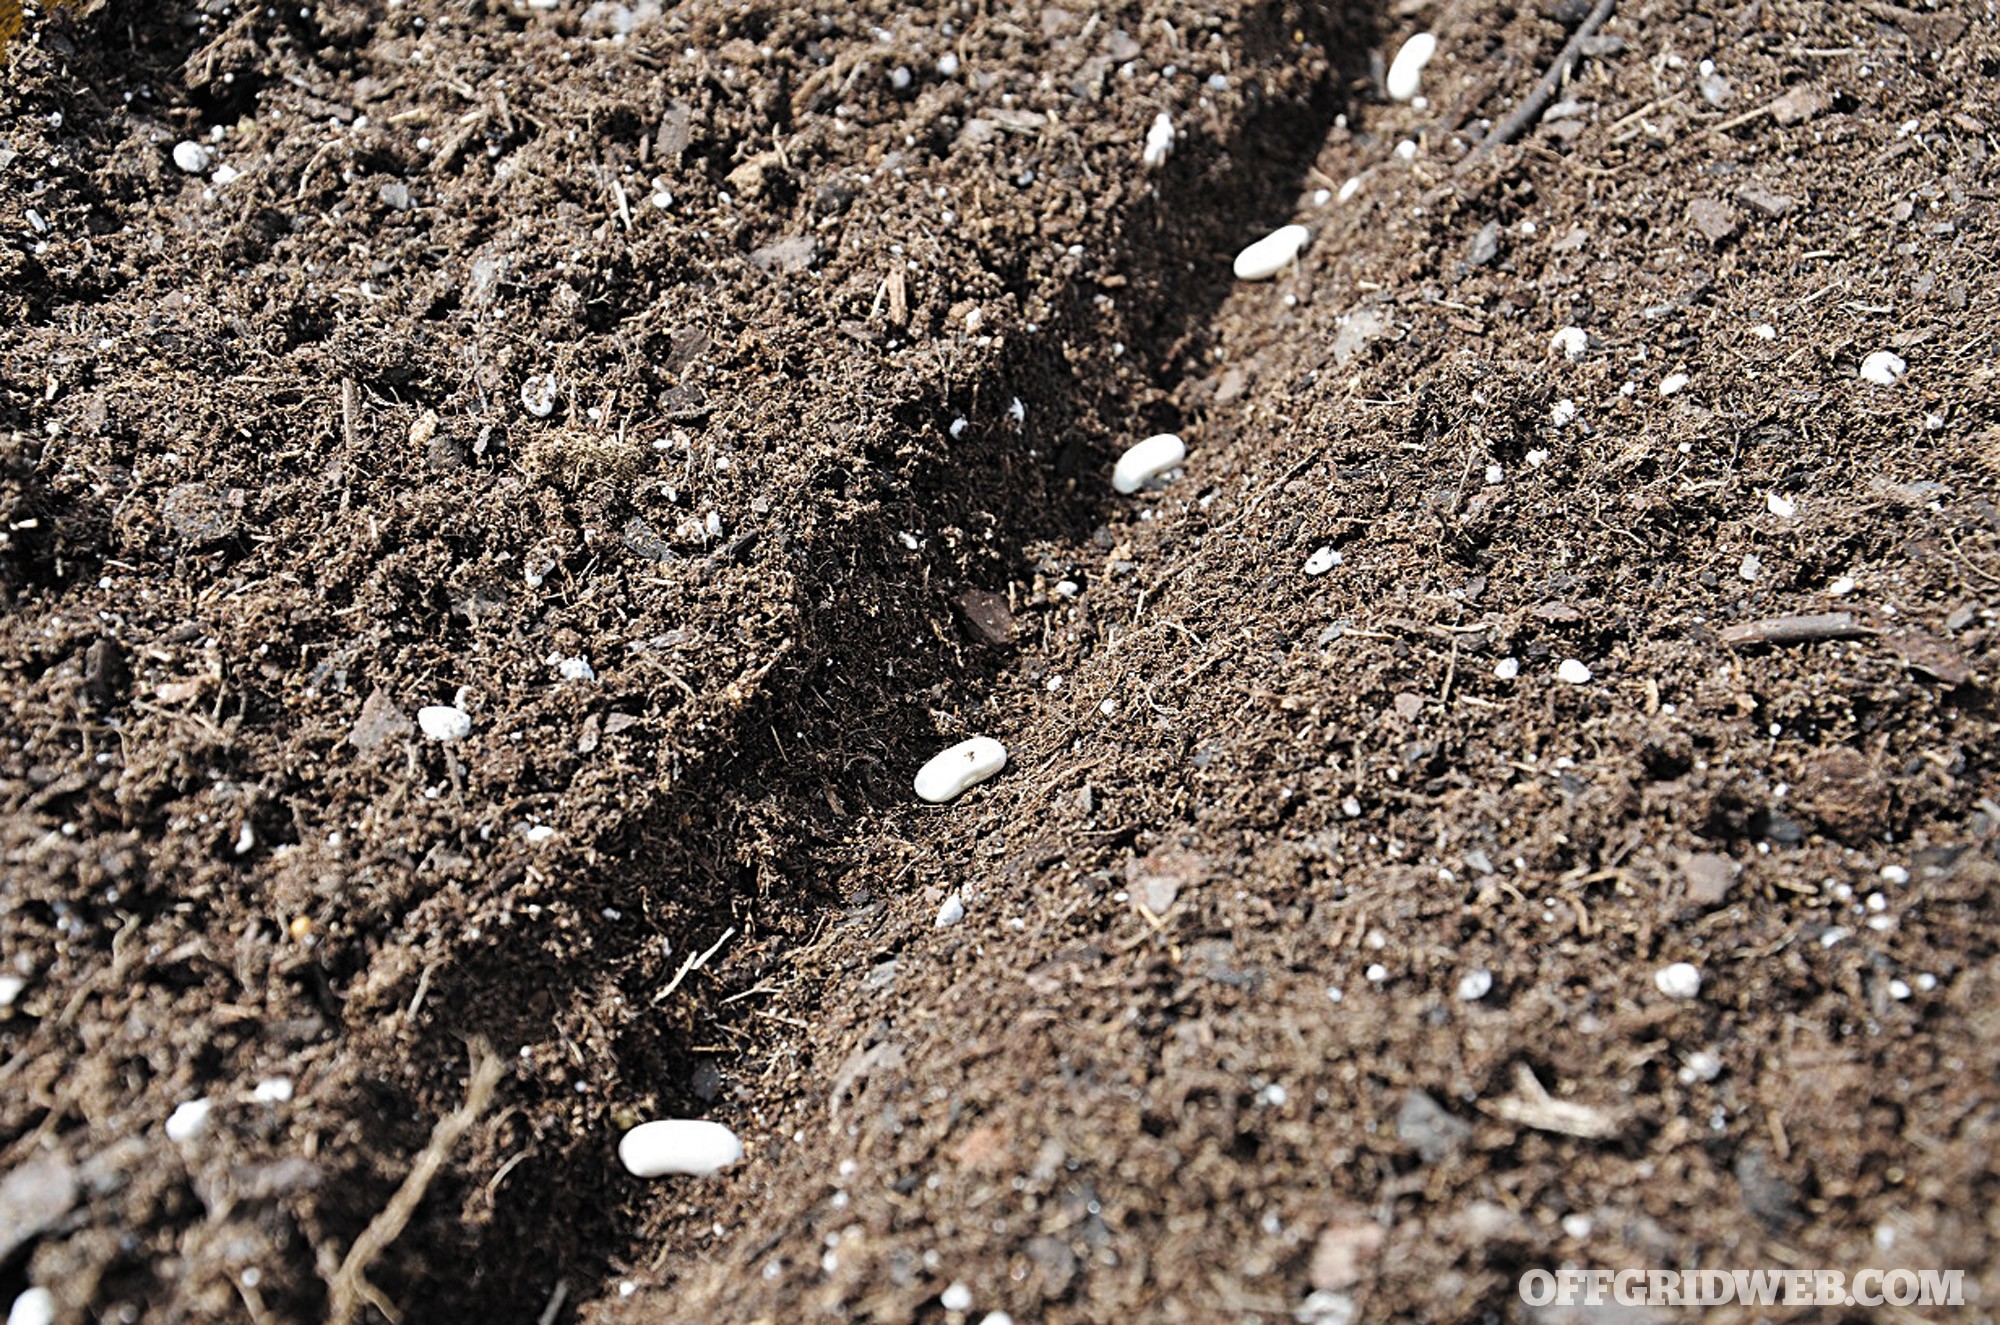
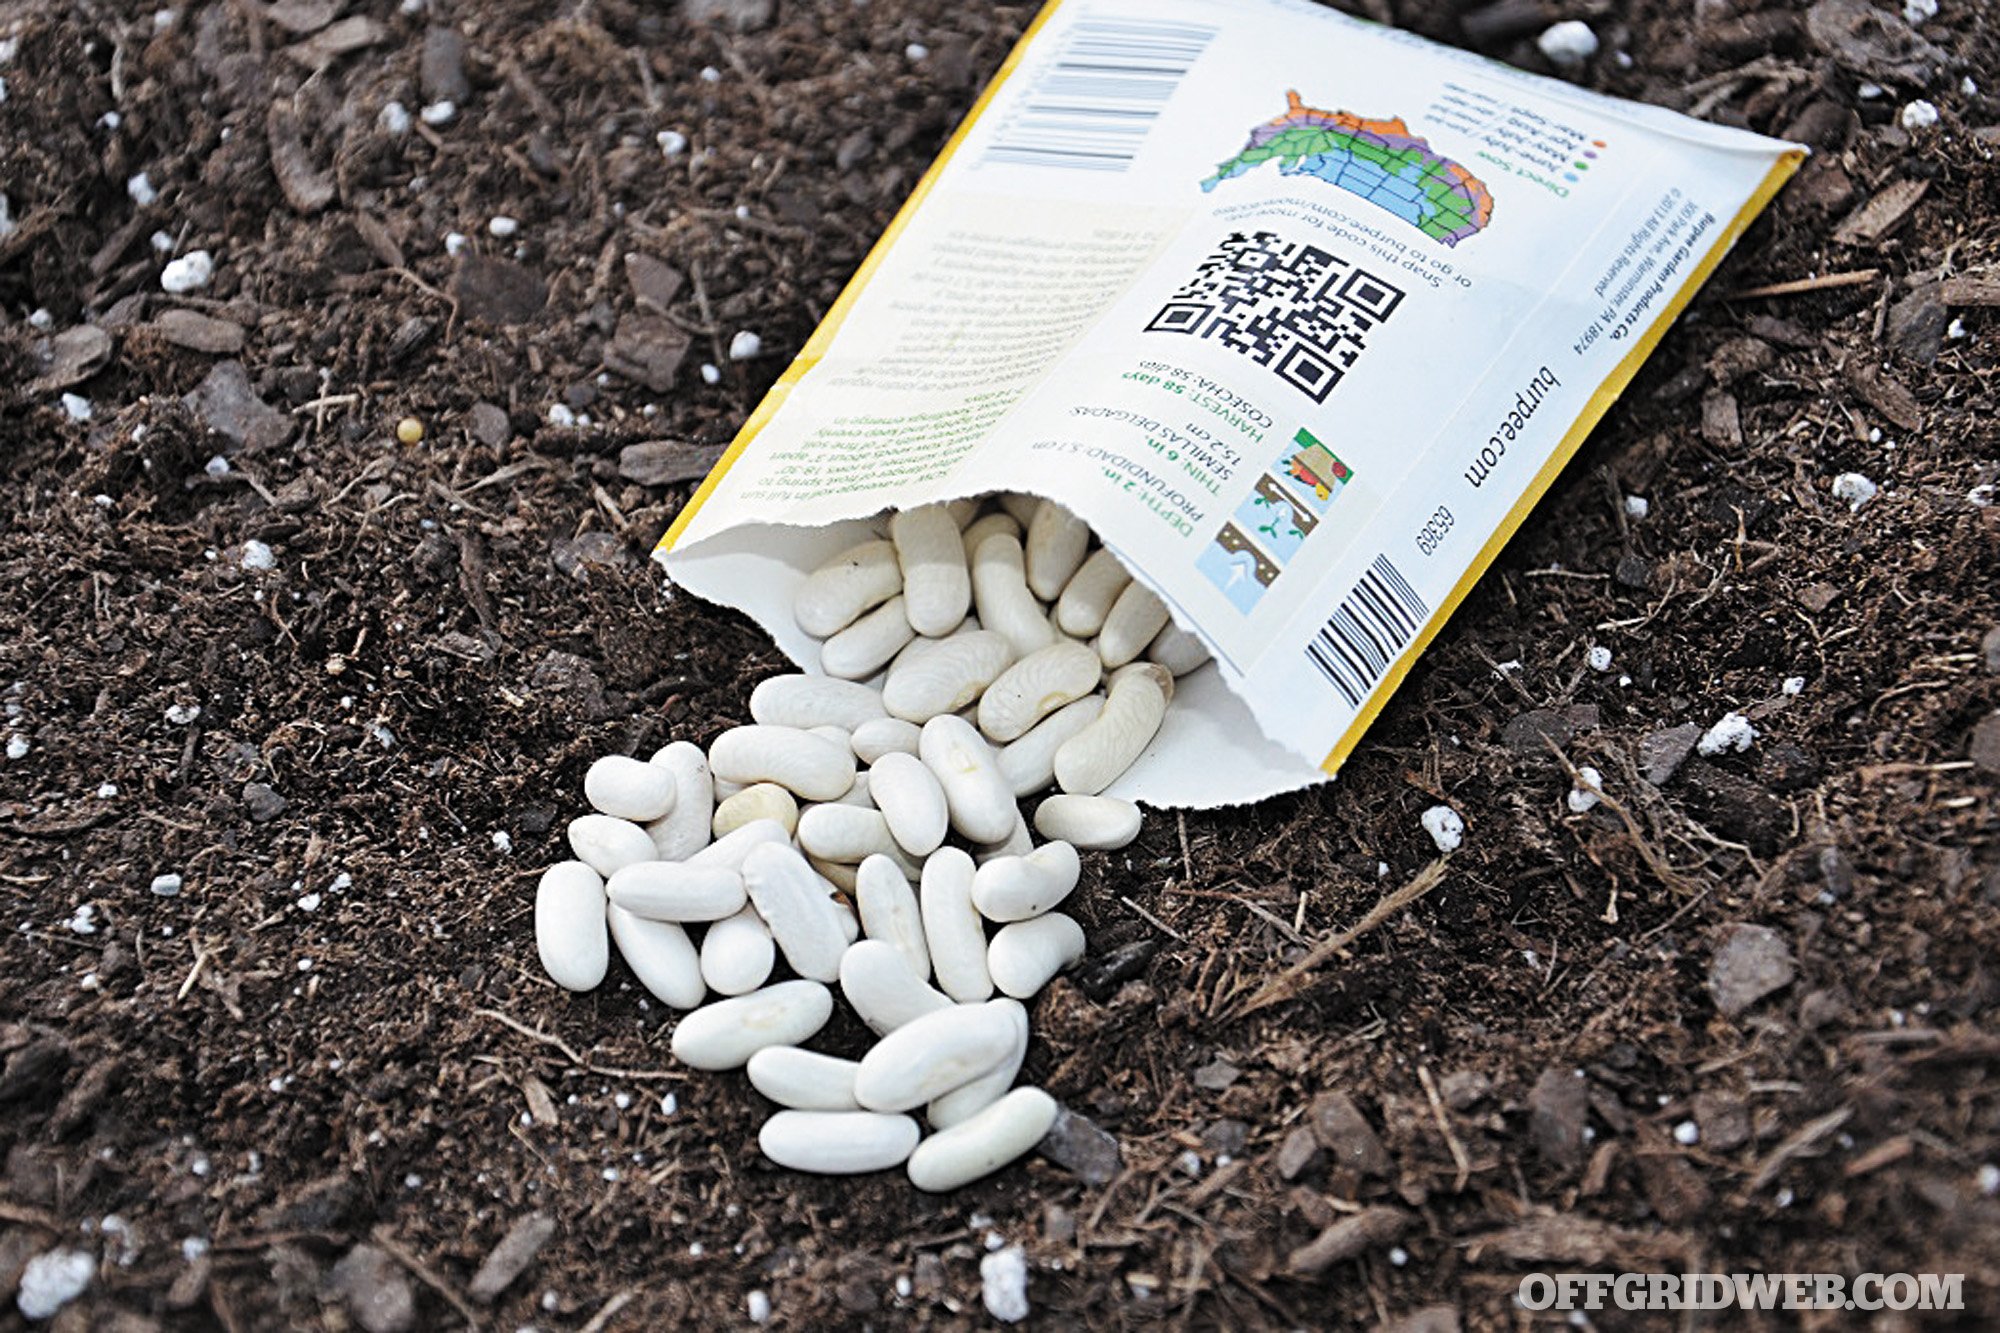
If you’re sowing seeds, study the package info on the depth and spacing requirements for each plant. You can use your fingers to poke holes in the loose dirt, and a tape measure or ruler to get the spacing right. Cover the seeds with soil, unless the package says differently. Water the soil gently and wait for the seedlings to emerge. Large seeds grow quickly, since they contain more fuel for growth. Expect beans and squash to pop up in days.
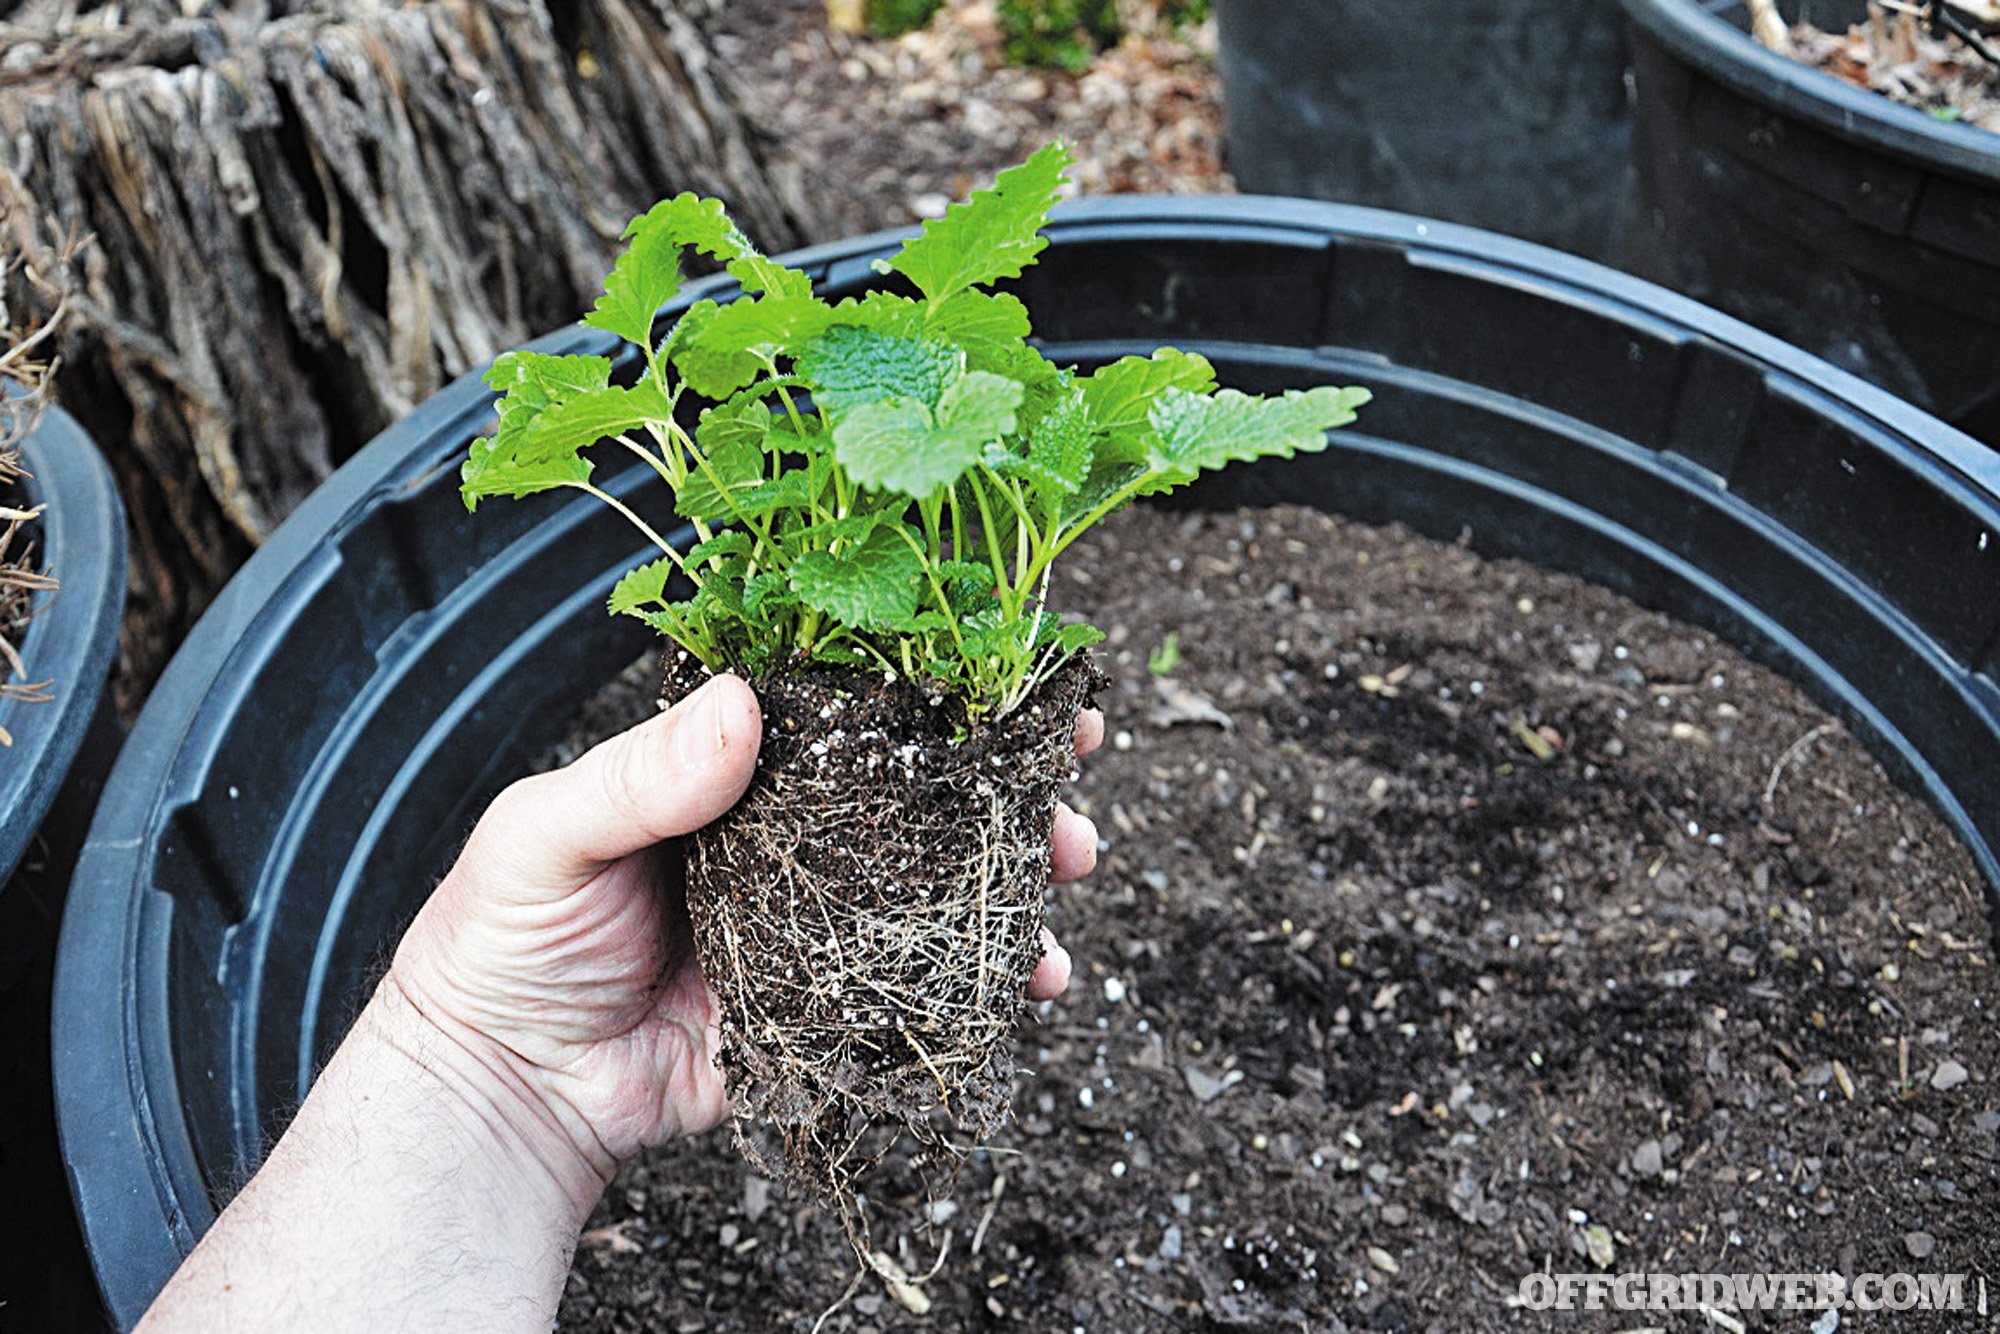
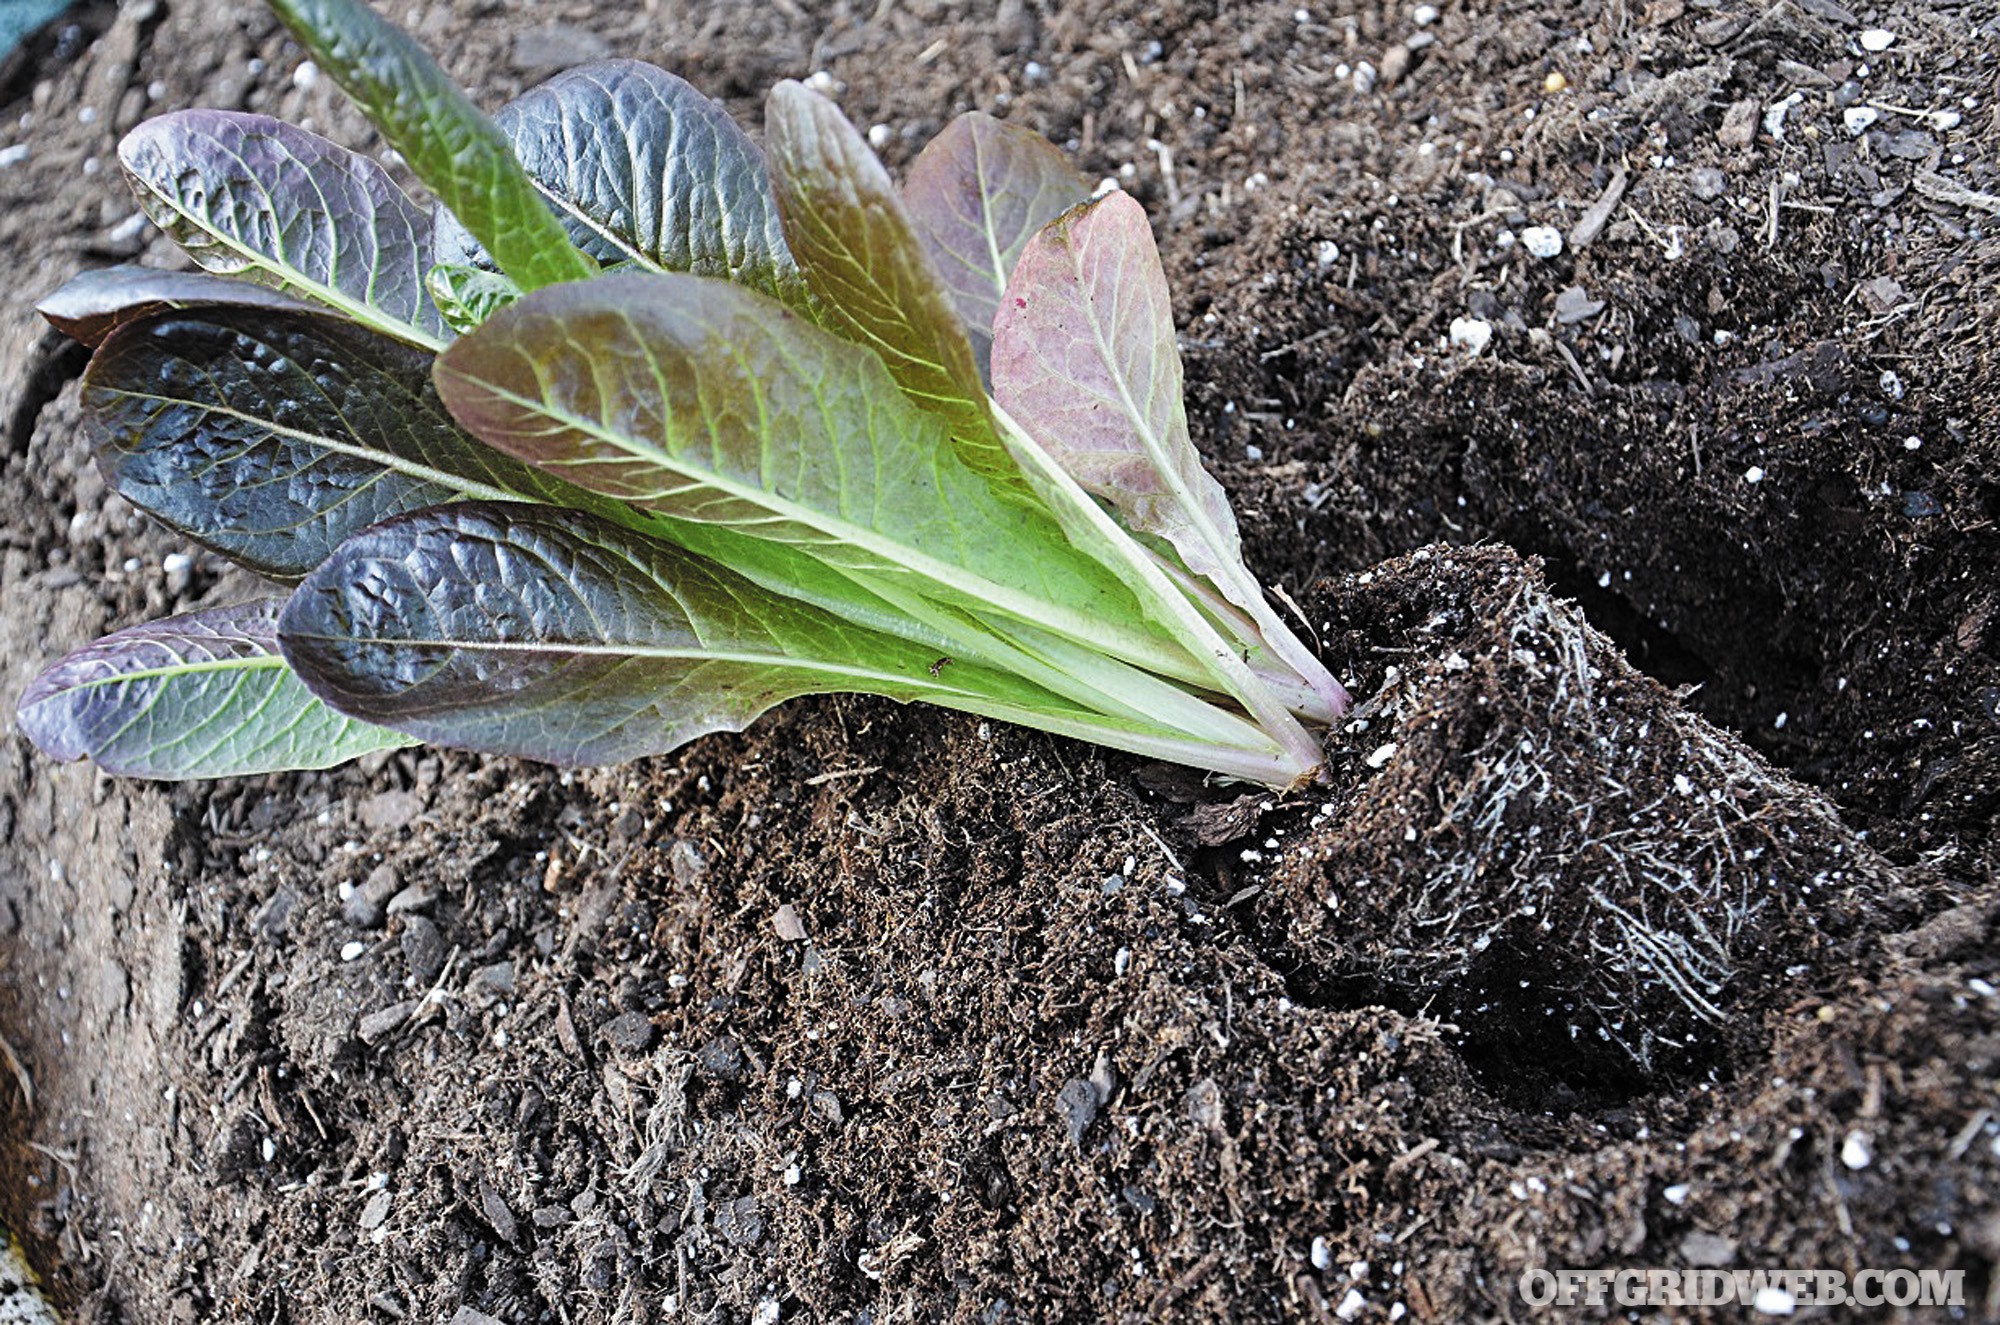
Small seeds are generally slow to sprout, tomatoes taking several weeks to rise from the soil, while peppers and eggplants take more than a month to emerge. Live seedling plants give you a major head start. Bury each root ball in your prepared soil and water deeply. Again, pay attention to spacing. Overcrowding stunts all of the plants that are in competition with each other. As a final option, you could plant living shoots. Cut sprouting white potatoes and sweet potatoes into chunks. Plant each one a few inches deep, and 1 foot apart.
Step 4: Maintain Your Garden
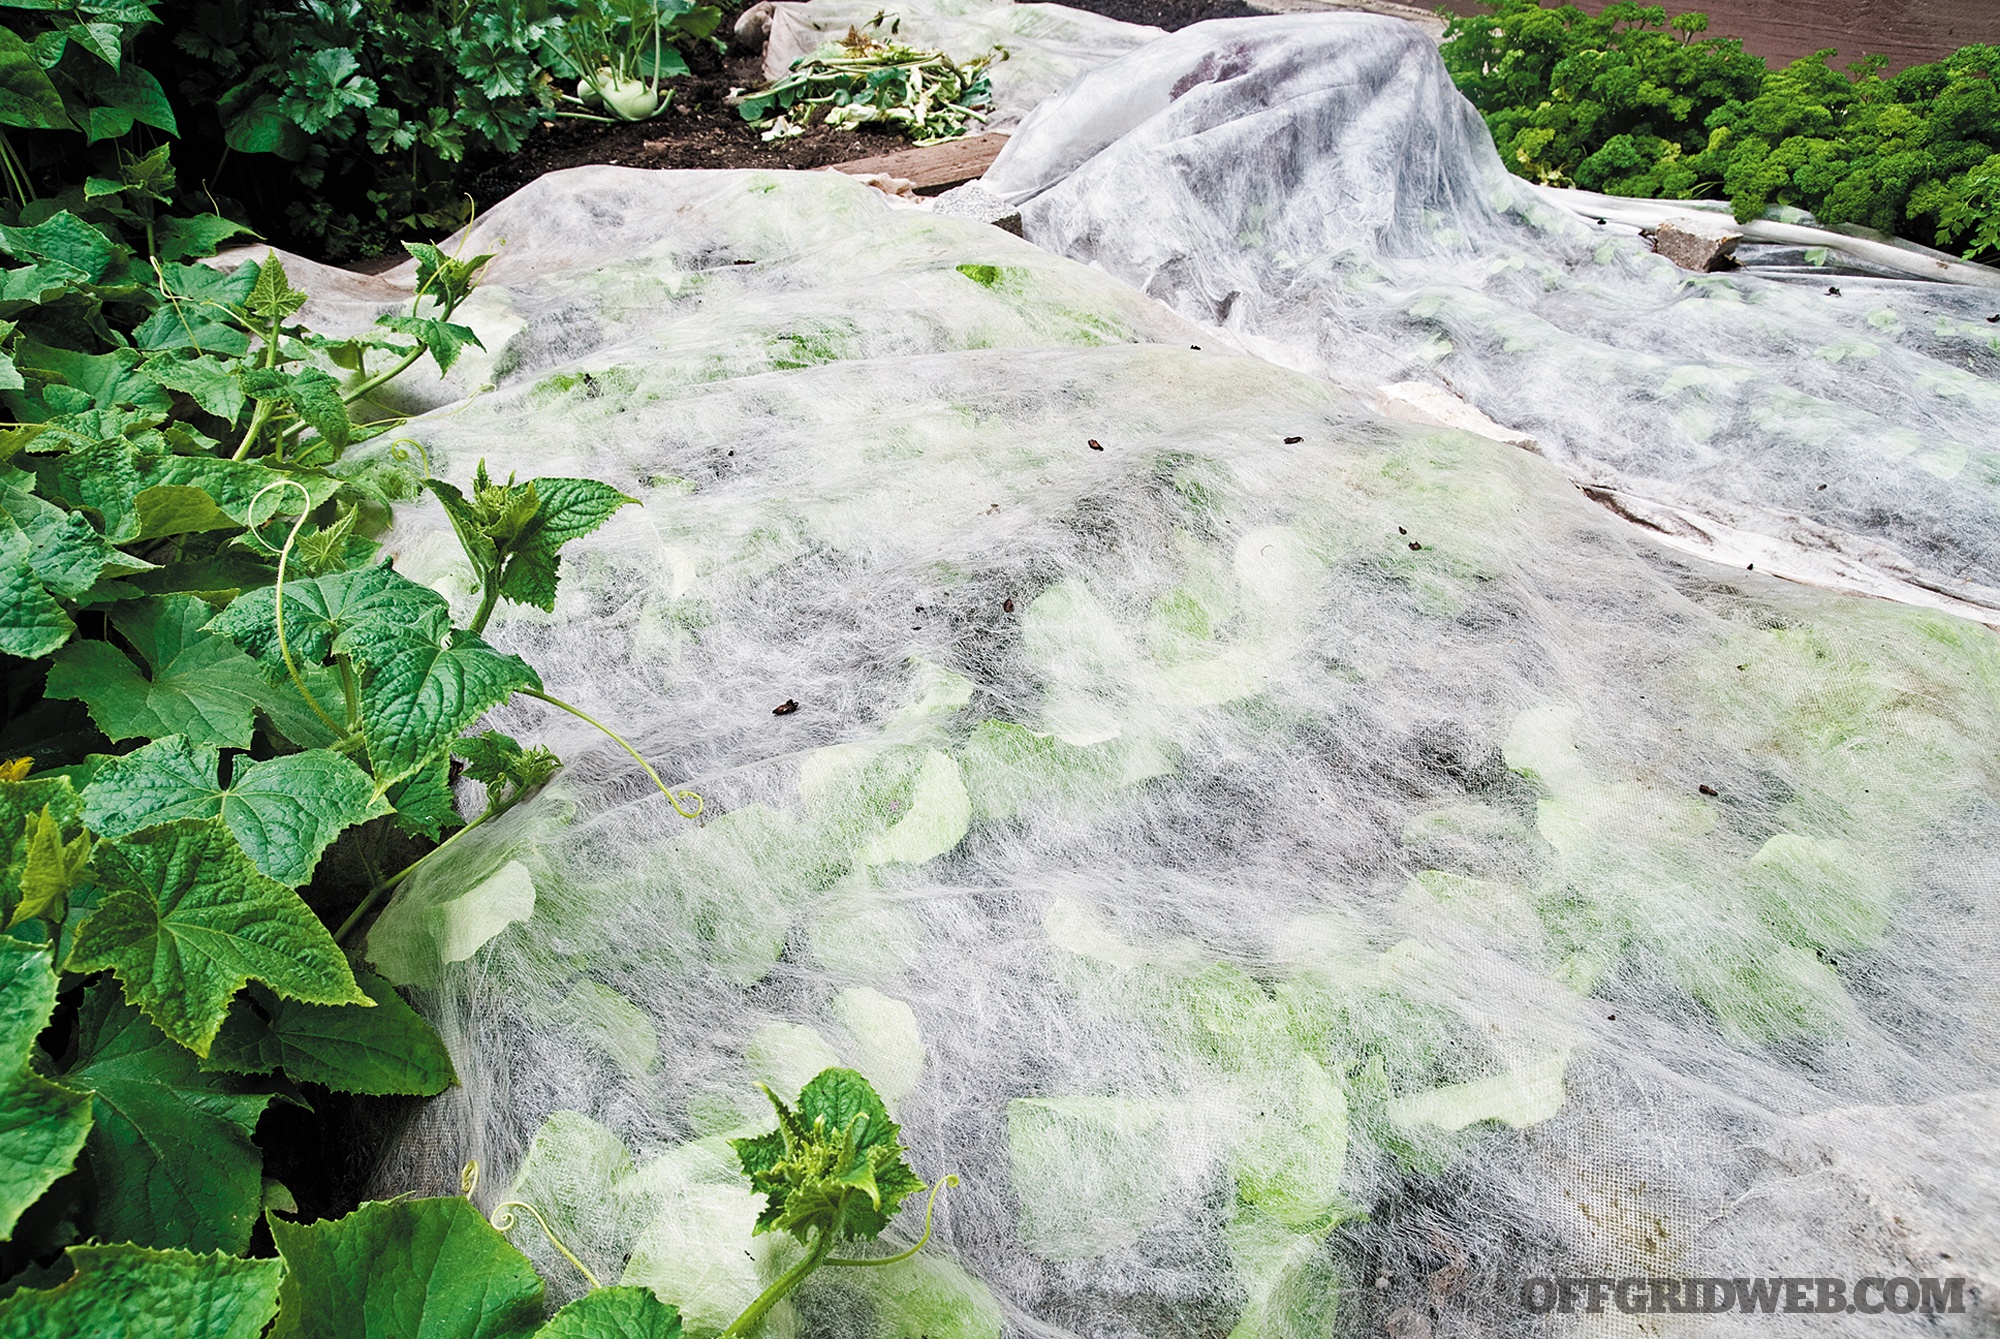
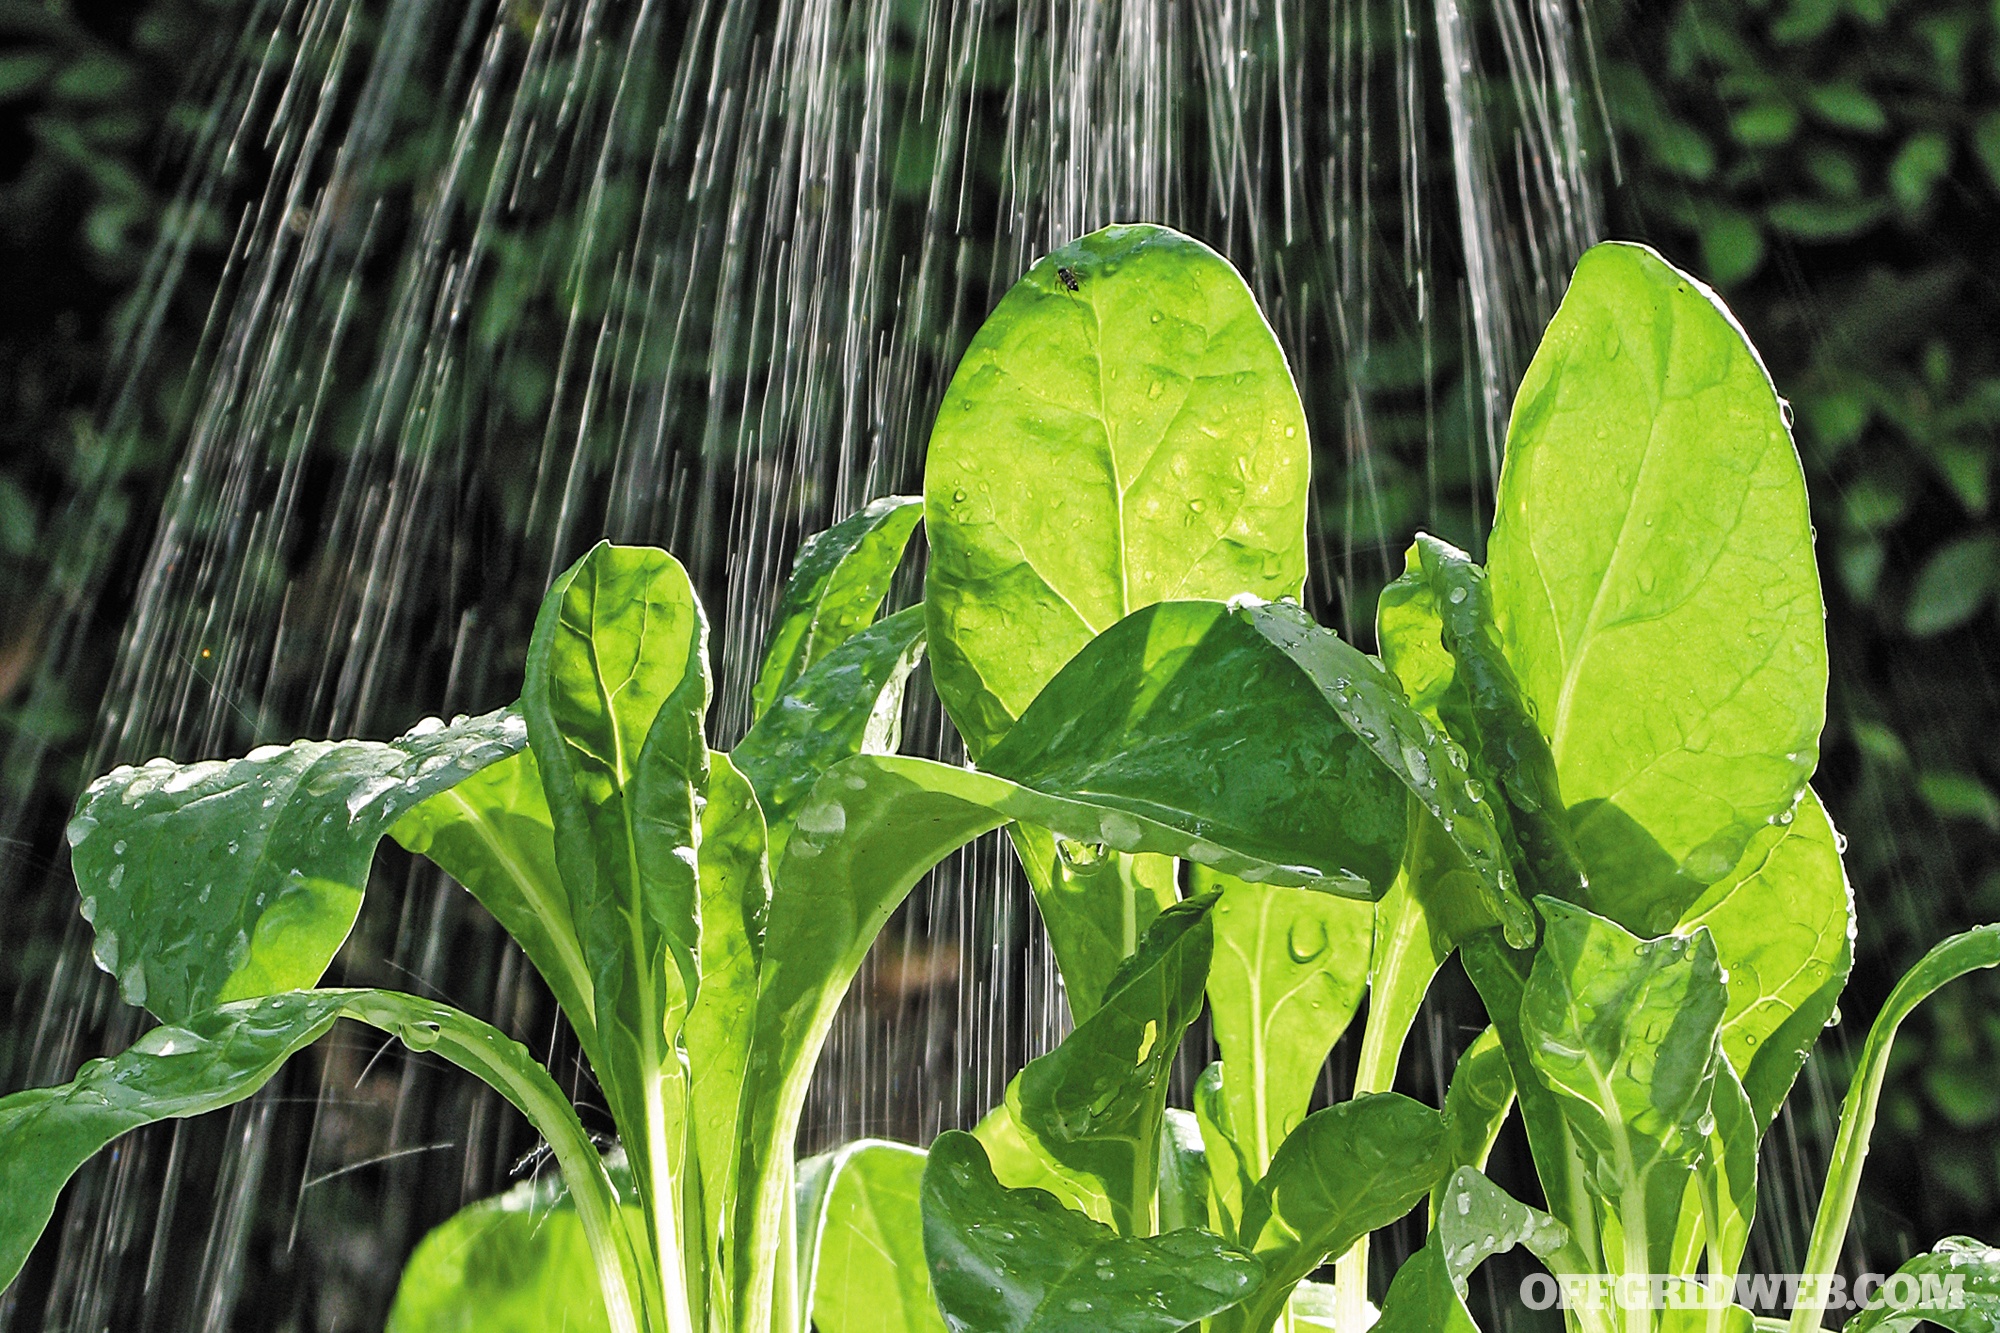
Once the seeds or seedlings are in, water them gently each morning until they are established. You may be able to back off to watering every other day once their roots are deep and the plants are healthy. You may also want to mulch the bed or container to maintain moisture in dry climates. In the beginning of the growing season, you’ll still need to be alert to frost and freeze warnings in your area. Cover plants with a light plastic or bed sheet, and anchor it in place if frost is expected. Remove the plastic as soon as the sun rises to prevent the combination of light and condensation from burning the leaves.
With container plants, if frost or freeze is predicted, just bring the whole container inside. Not all plants are this sensitive to the cold, just plants of tropical descent like tomatoes, peppers, eggplants, and a few others. Later in the season, heat can also be an issue. For urban gardeners, be careful that summer sun and heat aren’t reflected off walls, fences, and other structures. This extra heat can actually cook them. If plants are well watered, but still become “droopy” in mid-afternoon, move them to a cooler spot.
Step 5: Be Patient Till Harvest Time
Gardening isn’t like the push-button activities of the modern world. Plants grow at their own pace. Some are faster than others, but they are never fast enough to suit an impatient person. Consider the length of time until harvest as you plan your vegetable selection. Radishes offer you the quickest turnaround, growing from seed to harvestable root in about one month. The bad news is that they only have 19 calories per cup. High-calorie plants like peanuts can take four months or more for the edible part to reach maturity. Be patient and be realistic, as you wait for your food to reach maturity and ripen; and be watchful for pests and disease.
Common Mistakes to Avoid
There are a few areas where new gardeners often screw things up. Avoid these likely pitfalls and blunders, and your plants will thank you for it — by feeding you.
Using Too Much Water: The western ideal that “if some is good, more is better” doesn’t apply to watering. Overwatering can cause the soil to remain too damp for too long, leading to fungal diseases which can kill otherwise healthy plants. Too little water is a mistake also, leaving the soil dry and stunting plant growth. Water deeply and regularly, preferably in the morning. Nighttime watering can breed fungus as well.
Ignoring Pests: You never know when an insect invasion will arrive. Frequently inspect the plants for bugs and bug eggs (underneath the leaves). A few bugs are helpful, like pollinators, but the rest are enemy combatants. Crush them with extreme prejudice.
Using Too Much Fertilizer: You may be head over heels for your new vegetable plants and want them to do well. But don’t overdo it on fertilizer. The overuse of conventional fertilizer can cause harm to your plants. Follow the package instructions for directions on the use of the product.
Foregoing Regular Checkups: Plants can pick up diseases from insects, fungal spores on the wind, and even from you! If you smoke around your tomatoes, for example, they can pick up a nasty virus from the tobacco. At the first signs of sickly leaves or messed up vegetables, prowl the Internet or good gardening books to find out the cause. Many diseases can be remedied — if caught early.
How to Cultivate Your Own Seeds
It’s surprisingly easy to save seeds from year to year, and continue your own gardening traditions (and genetics). This isn’t legal when dealing with modern protected plant varieties. Heirlooms, on the other hand, still exist because of home gardeners saving their seeds. Here’s how you can carry on the heritage of seed saving in your own family.
Plan ahead for seed saving by growing single varieties of each vegetable species. This will help you avoid unpredictable results from cross-pollination and mutant vegetables next year. Let the fruiting part of your plants mature fully. This will mean mushy tomatoes, dry crusty bean pods, and rock-hard squash. This also means that the seeds are fully formed.
Next, cut or tear open the fruiting body and pick out the seeds. Large seeds are easy to pick from the flesh, smaller ones take a little time. Place them on newspaper to dry in the shade. Once they are thoroughly dry, pick off any dried flesh and place the seeds in a jar with a small desiccant pack. Store these seeds in a cool, dry, dark place until next spring. A few odd seeds require a fermentation process or scratching with sandpaper for best results, but generally, it’s that easy.
Conclusion
Like all living things, plants want to grow. Their roots dig deep, and their leaves reach toward the sun. If we provide the right plants with the light, fertile soil, water, and protection mentioned throughout this article, chances are that you will have some success. But like most endeavors, there’ll be some missteps too. Learn from your mistakes, do some research and find out what went wrong. Use that information the next time, and your results should speak for themselves. There’s no such thing as a green thumb, just dirty thumbs with calluses.
