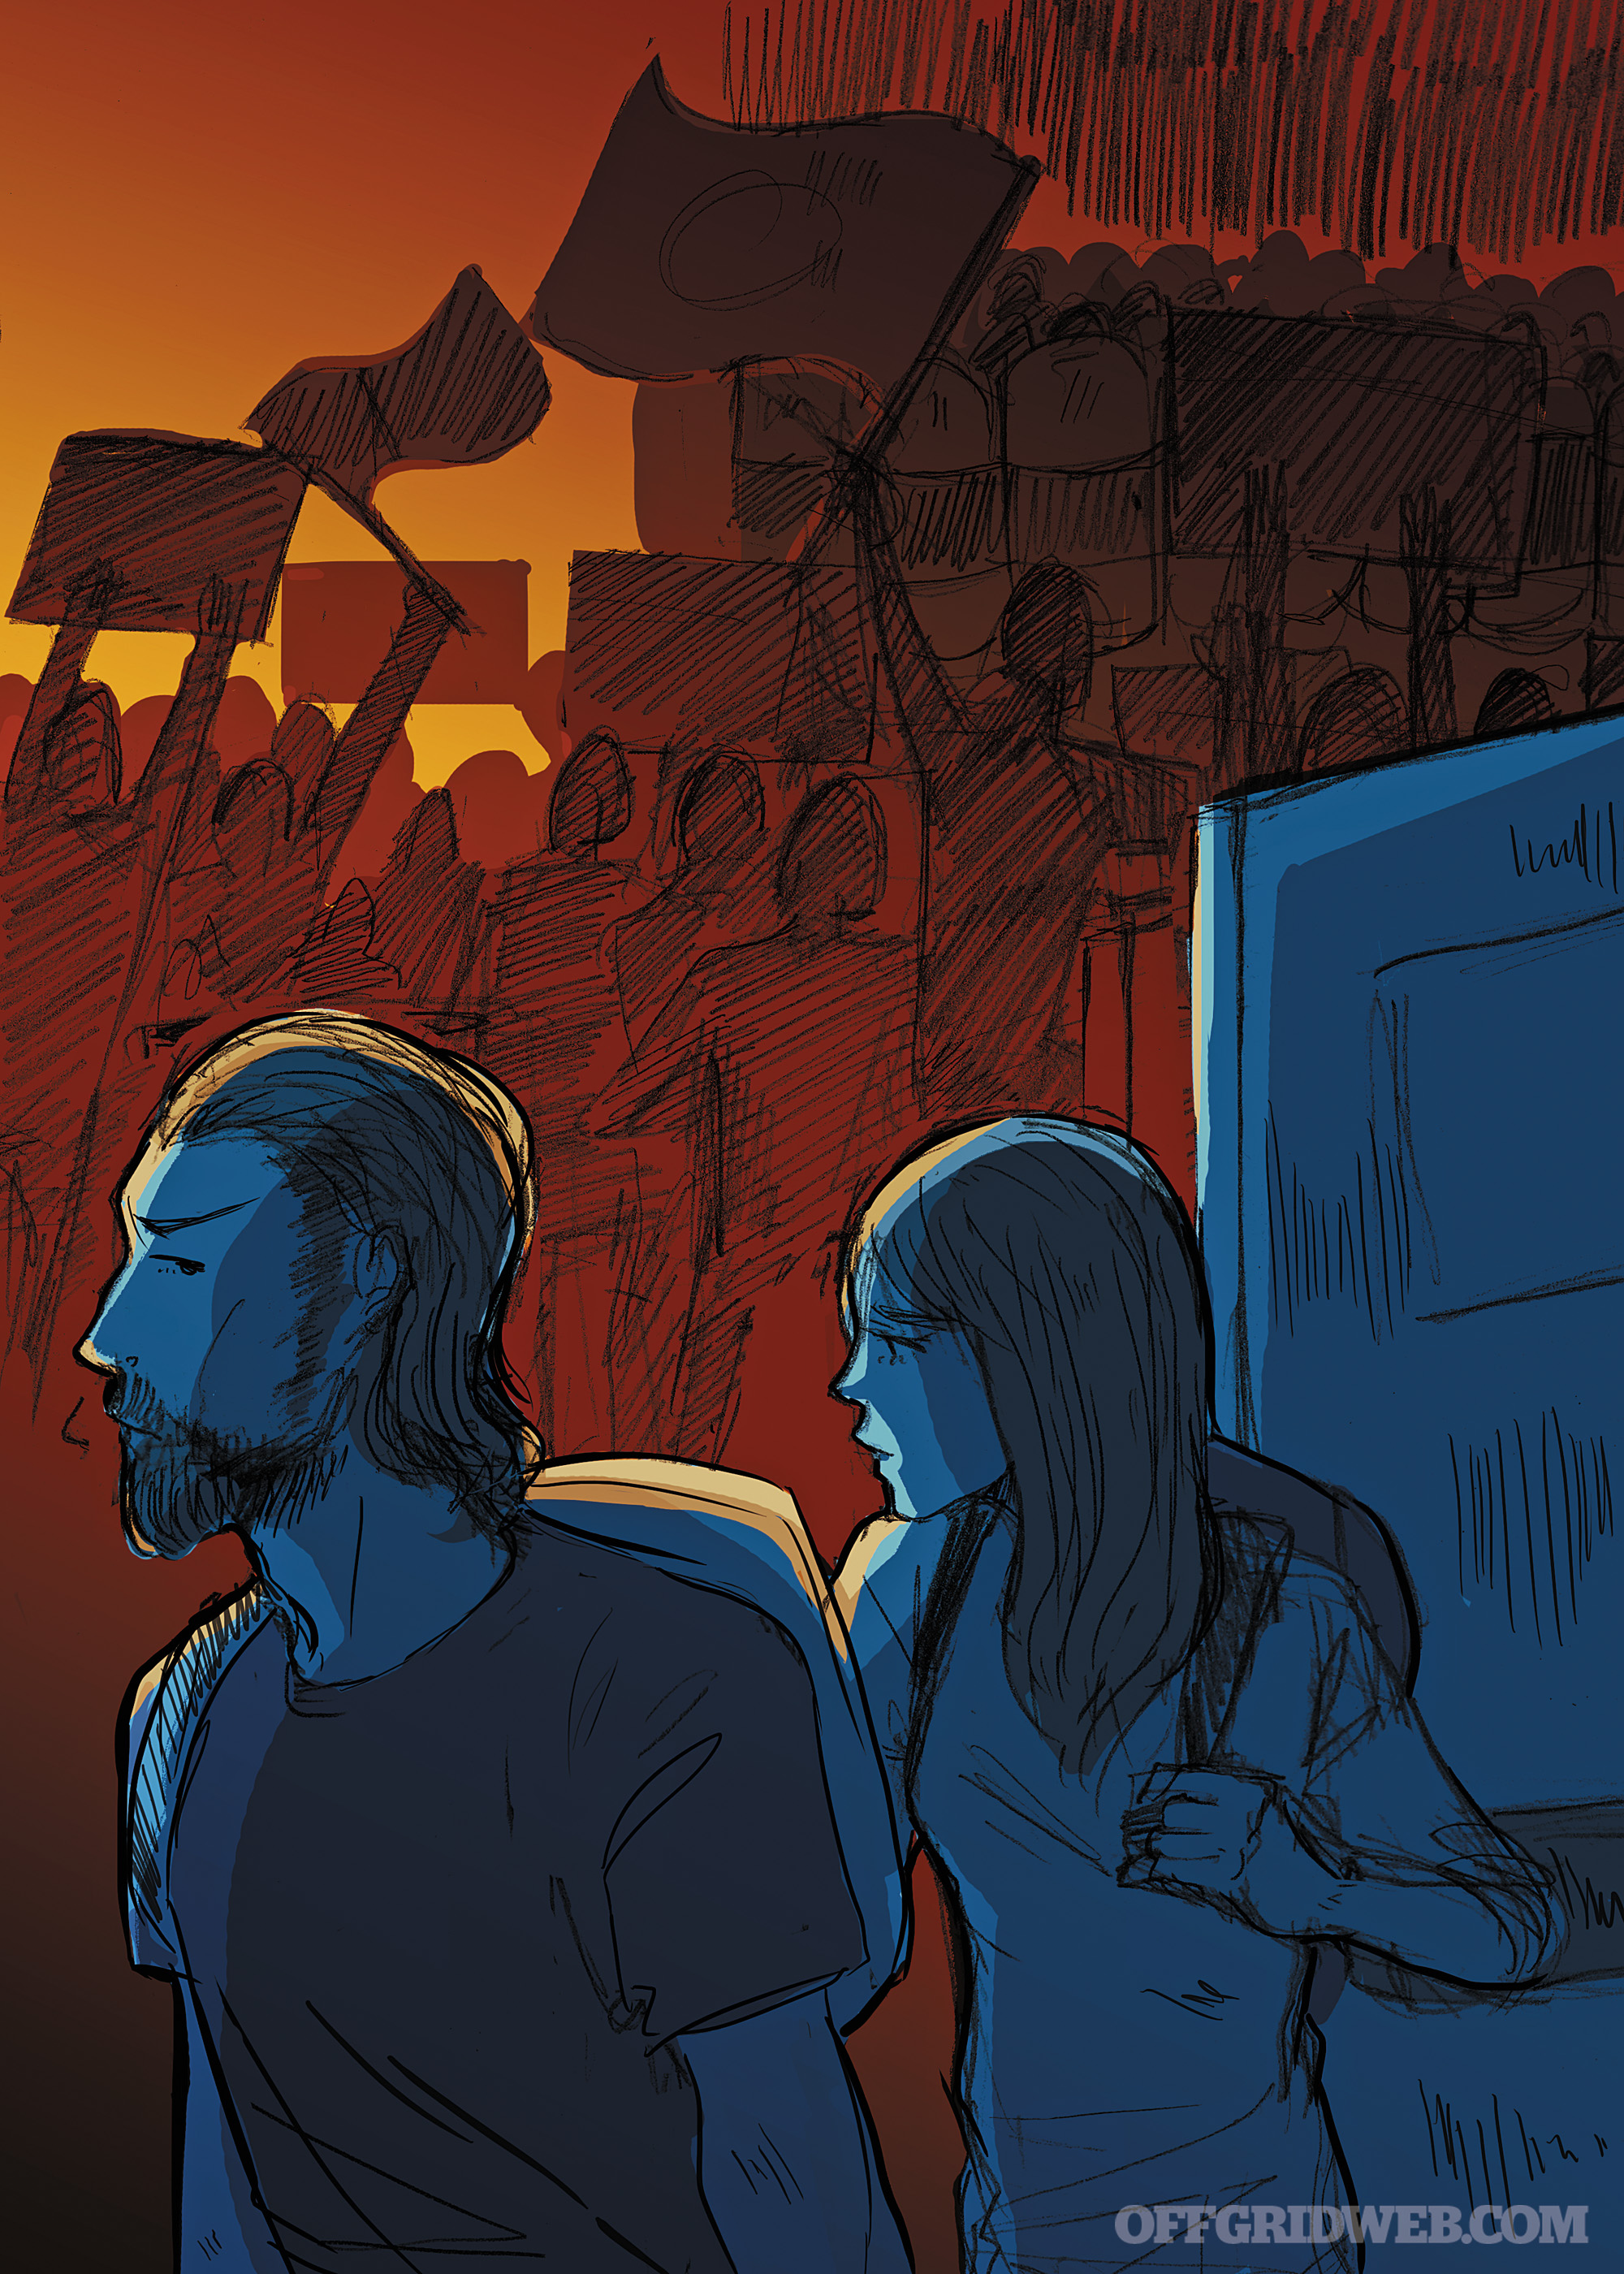
Illustrations by Sarah Watanabe-Rocco
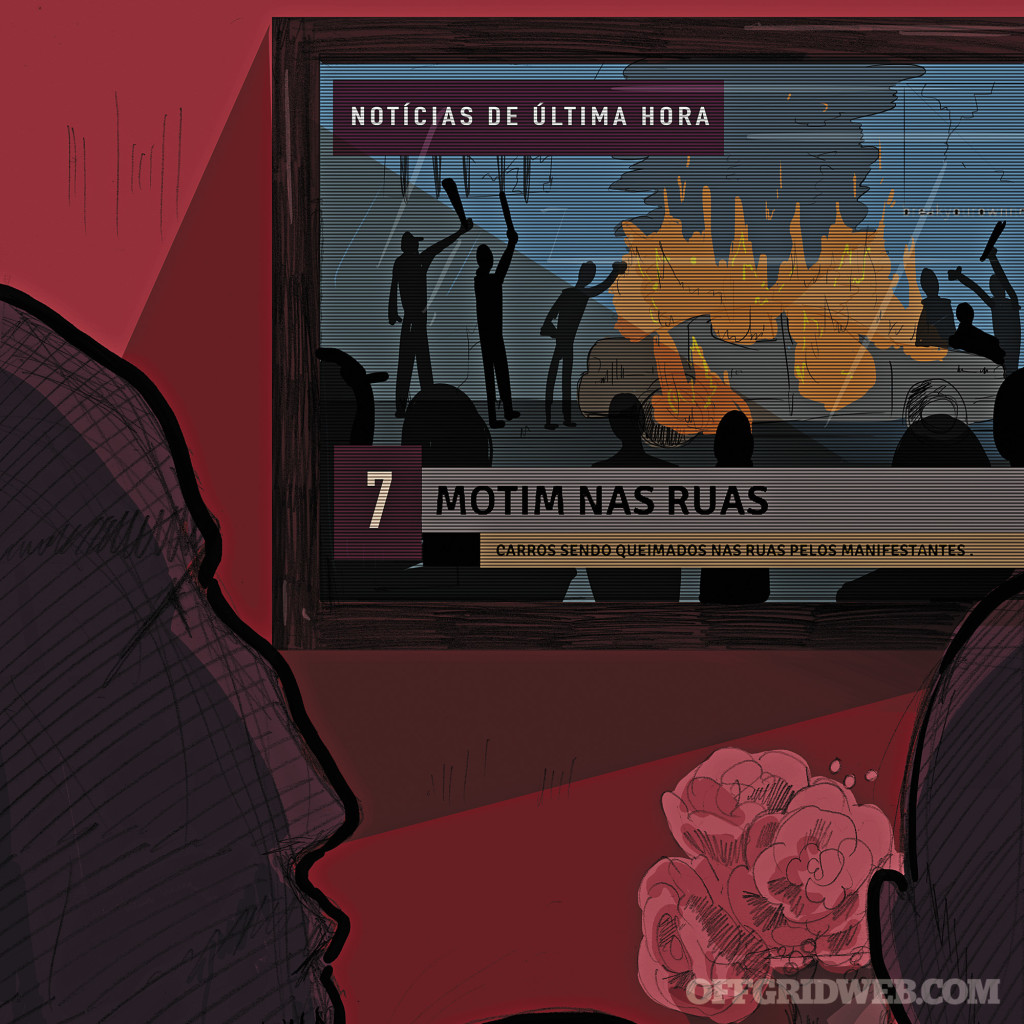
There it was on the huge HD television at the bar. I could see it happening as clearly as if I were there myself. The news footage showed the beautiful statue, just down the street, being pushed over by a huge mob of angry people. The blood drained from my wife’s face as she watched, and she gripped my arm. I quietly said to her, “This isn’t good” — the understatement of the century.
As we looked at each other, I realized that the lack of color in my wife’s complexion made her stand out even more from the tan, bronze, and copper-skinned locals all around us — some of whom were shooting dirty looks in our direction. “I want to go home,” my wife said plaintively, her voice cracking with emotion. “Me too,” I said. But I had to be honest at that moment, I wasn’t sure that we still could.
What happens when political frustration reaches a breaking point? The correct answer is, almost anything!
This edition of What If? poses the question: What if you’re on vacation overseas when a coup breaks out? And to embrace the almost limitless directions that an event like this can take, we asked three different survival writers to fight their way back to friendly soil — or die trying.
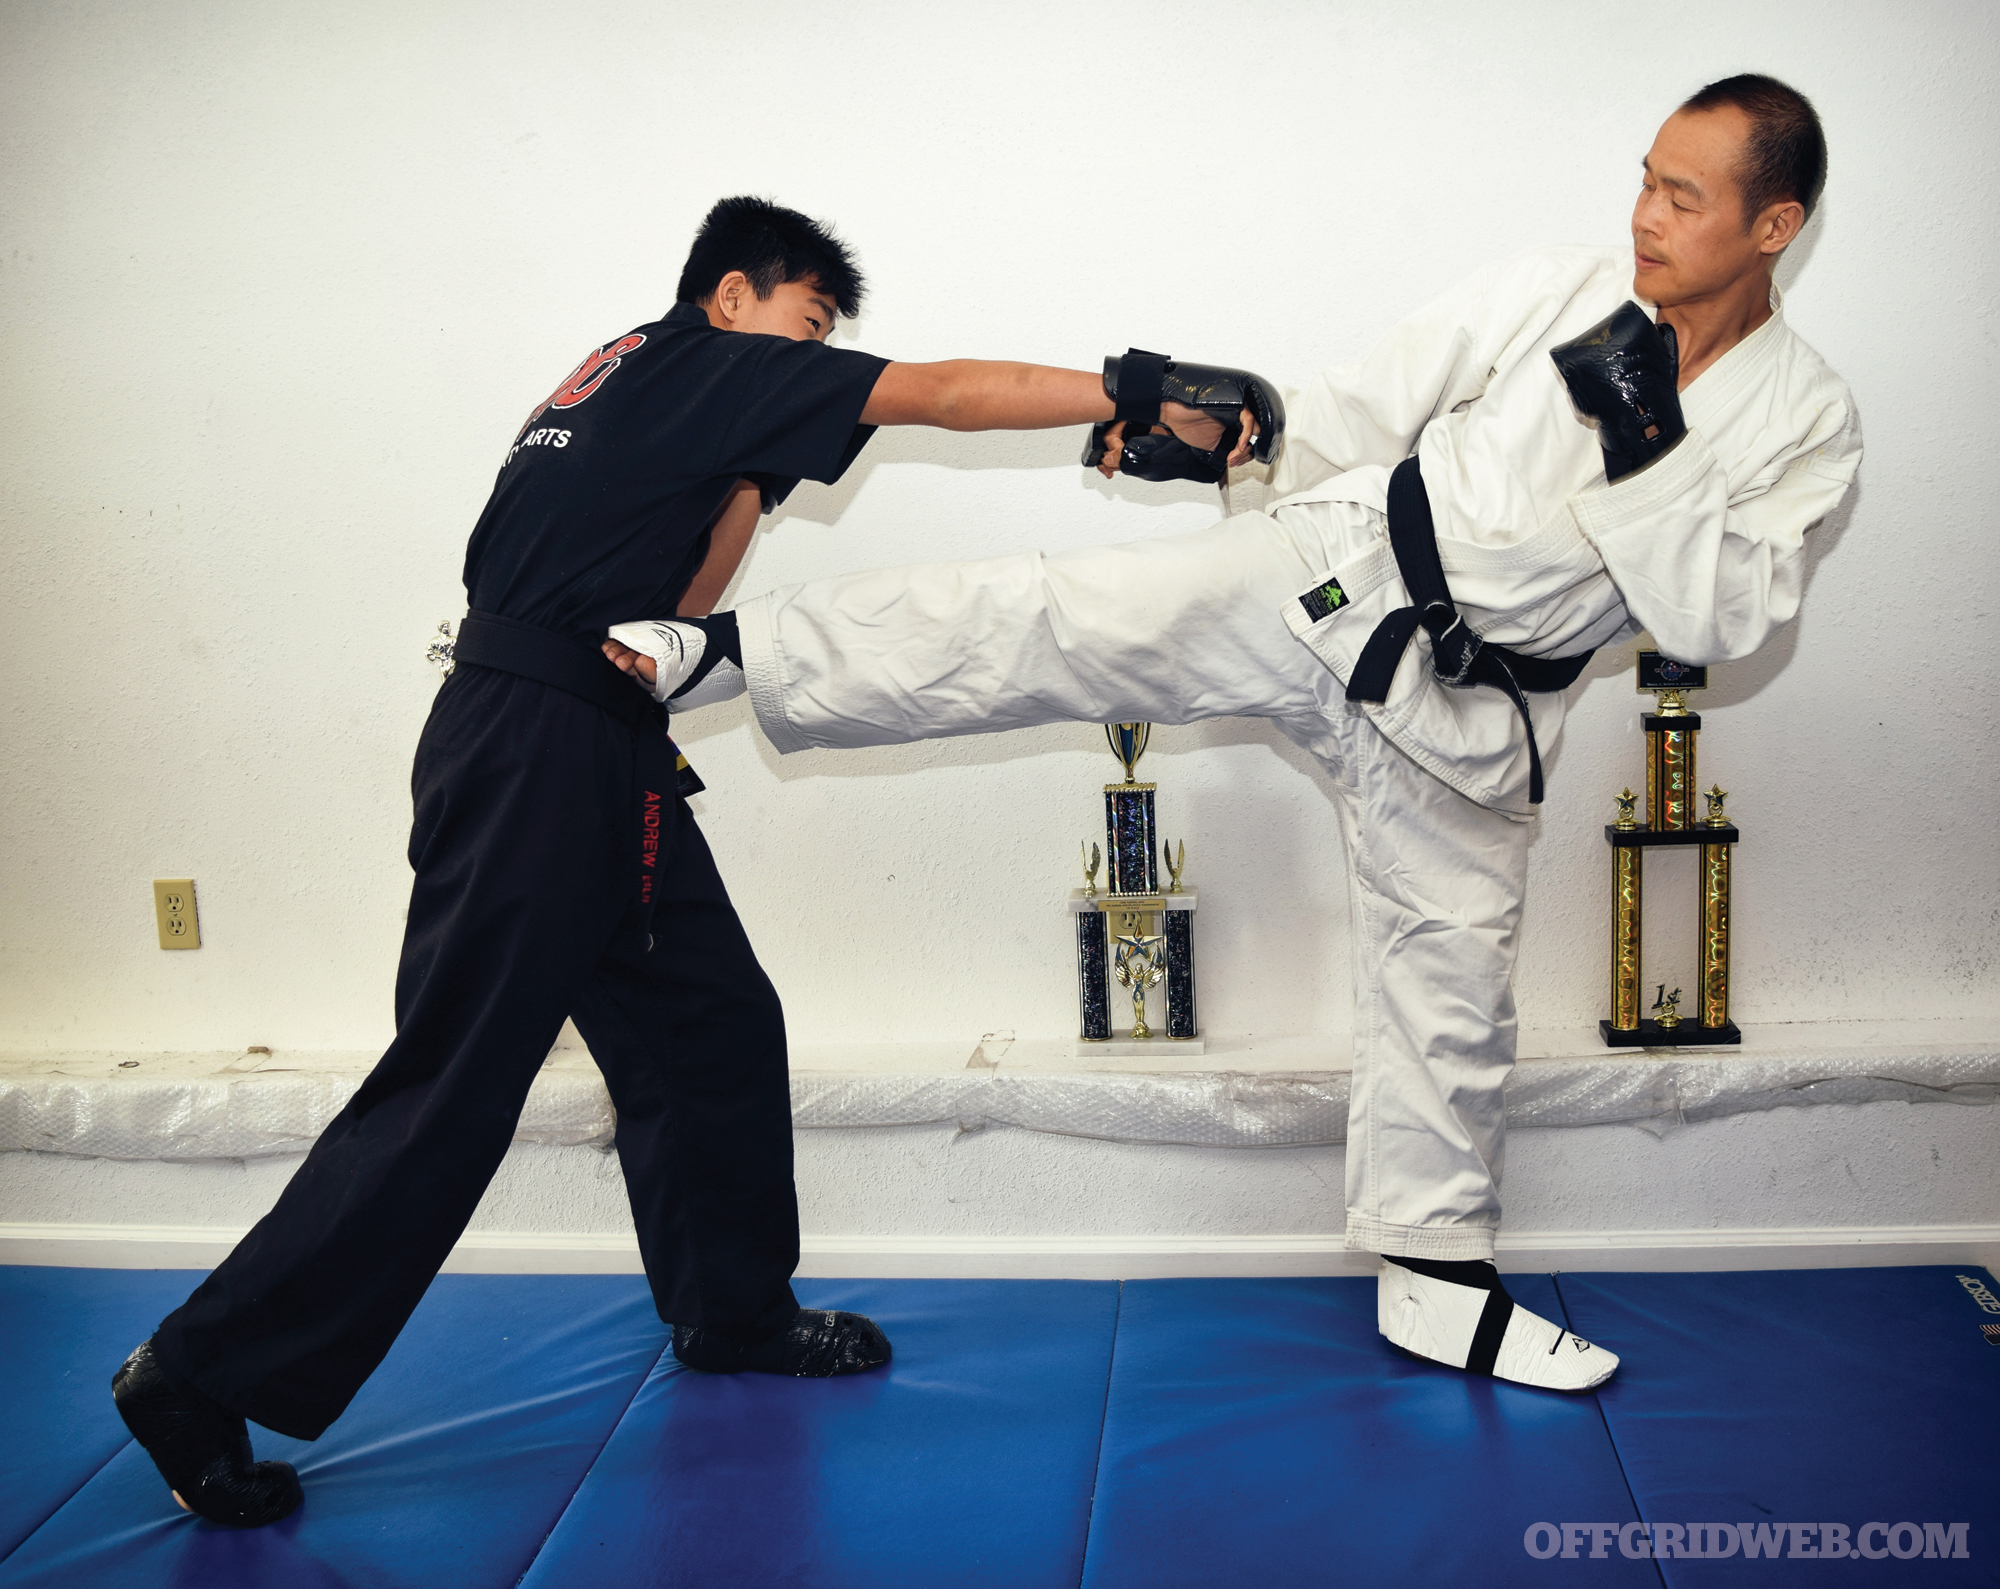
For this installment, we have Ryan Lee Price, a freelance journalist and outdoors enthusiast who has contributed to the SHTF column in our sister publication, RECOIL. Next we have Rudy Reyes, a martial arts instructor, former member of the U.S. Marine Corp’s 1st Reconnaissance Battalion, and actor. And for lucky number three, OG asked me to tell a fictional, but realistic tale as well. I’ve been teaching people how to survive for over 20 years, and have been blessed with the opportunity to share stories in many What If? features and write multiple bestselling survival manuals.
Much like Issue 12’s What If?, there will be no fictional characters. OG asked us each of us what we’d do personally if placed in the aforementioned precarious position. Here are our takes.
The Scenario
Situation Type
Coup D’état
Your Crew
You and your loved one
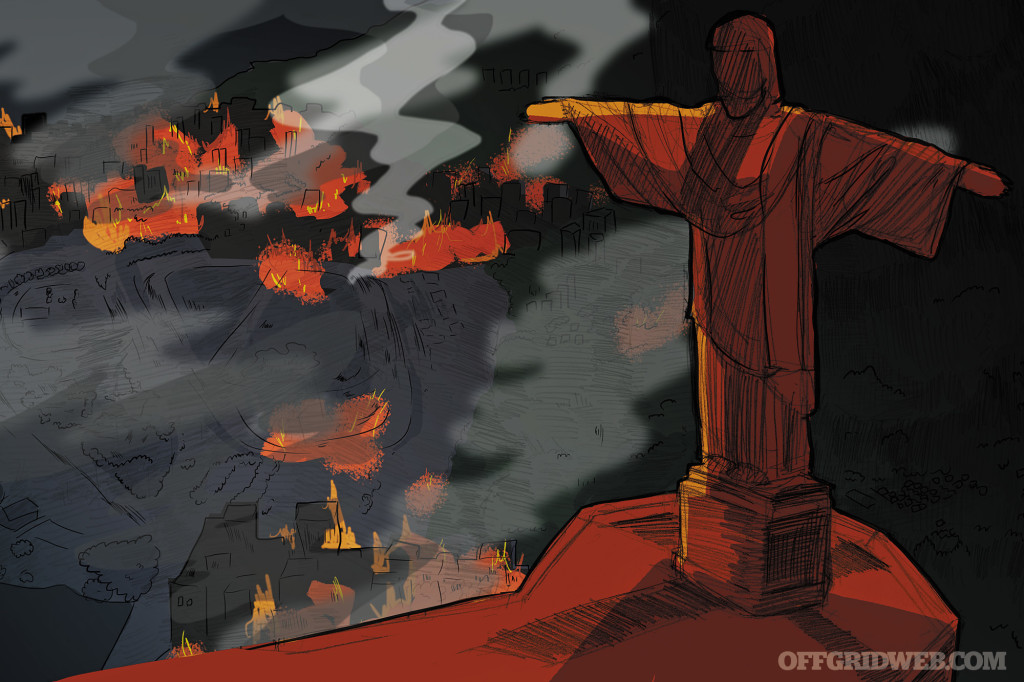
Location
Rio de Janeiro, Brazil
Season
Southern Hemisphere’s Winter (late June)
Weather
Sunny, 75 degrees F
The Setup: It may be winter in the Southern Hemisphere, but you can’t tell. It’s mild T-shirt weather here in Rio. You’re here for work — a large U.S. corporation connected to the Summer Olympics has hired you as a consultant to come to Brazil to teach a course as part of its annual company retreat for executives. It’s a chance for upper management to build leadership skills through outside-the-box activities. You make it a working vacation by buying a ticket for your lady and having her room with you.
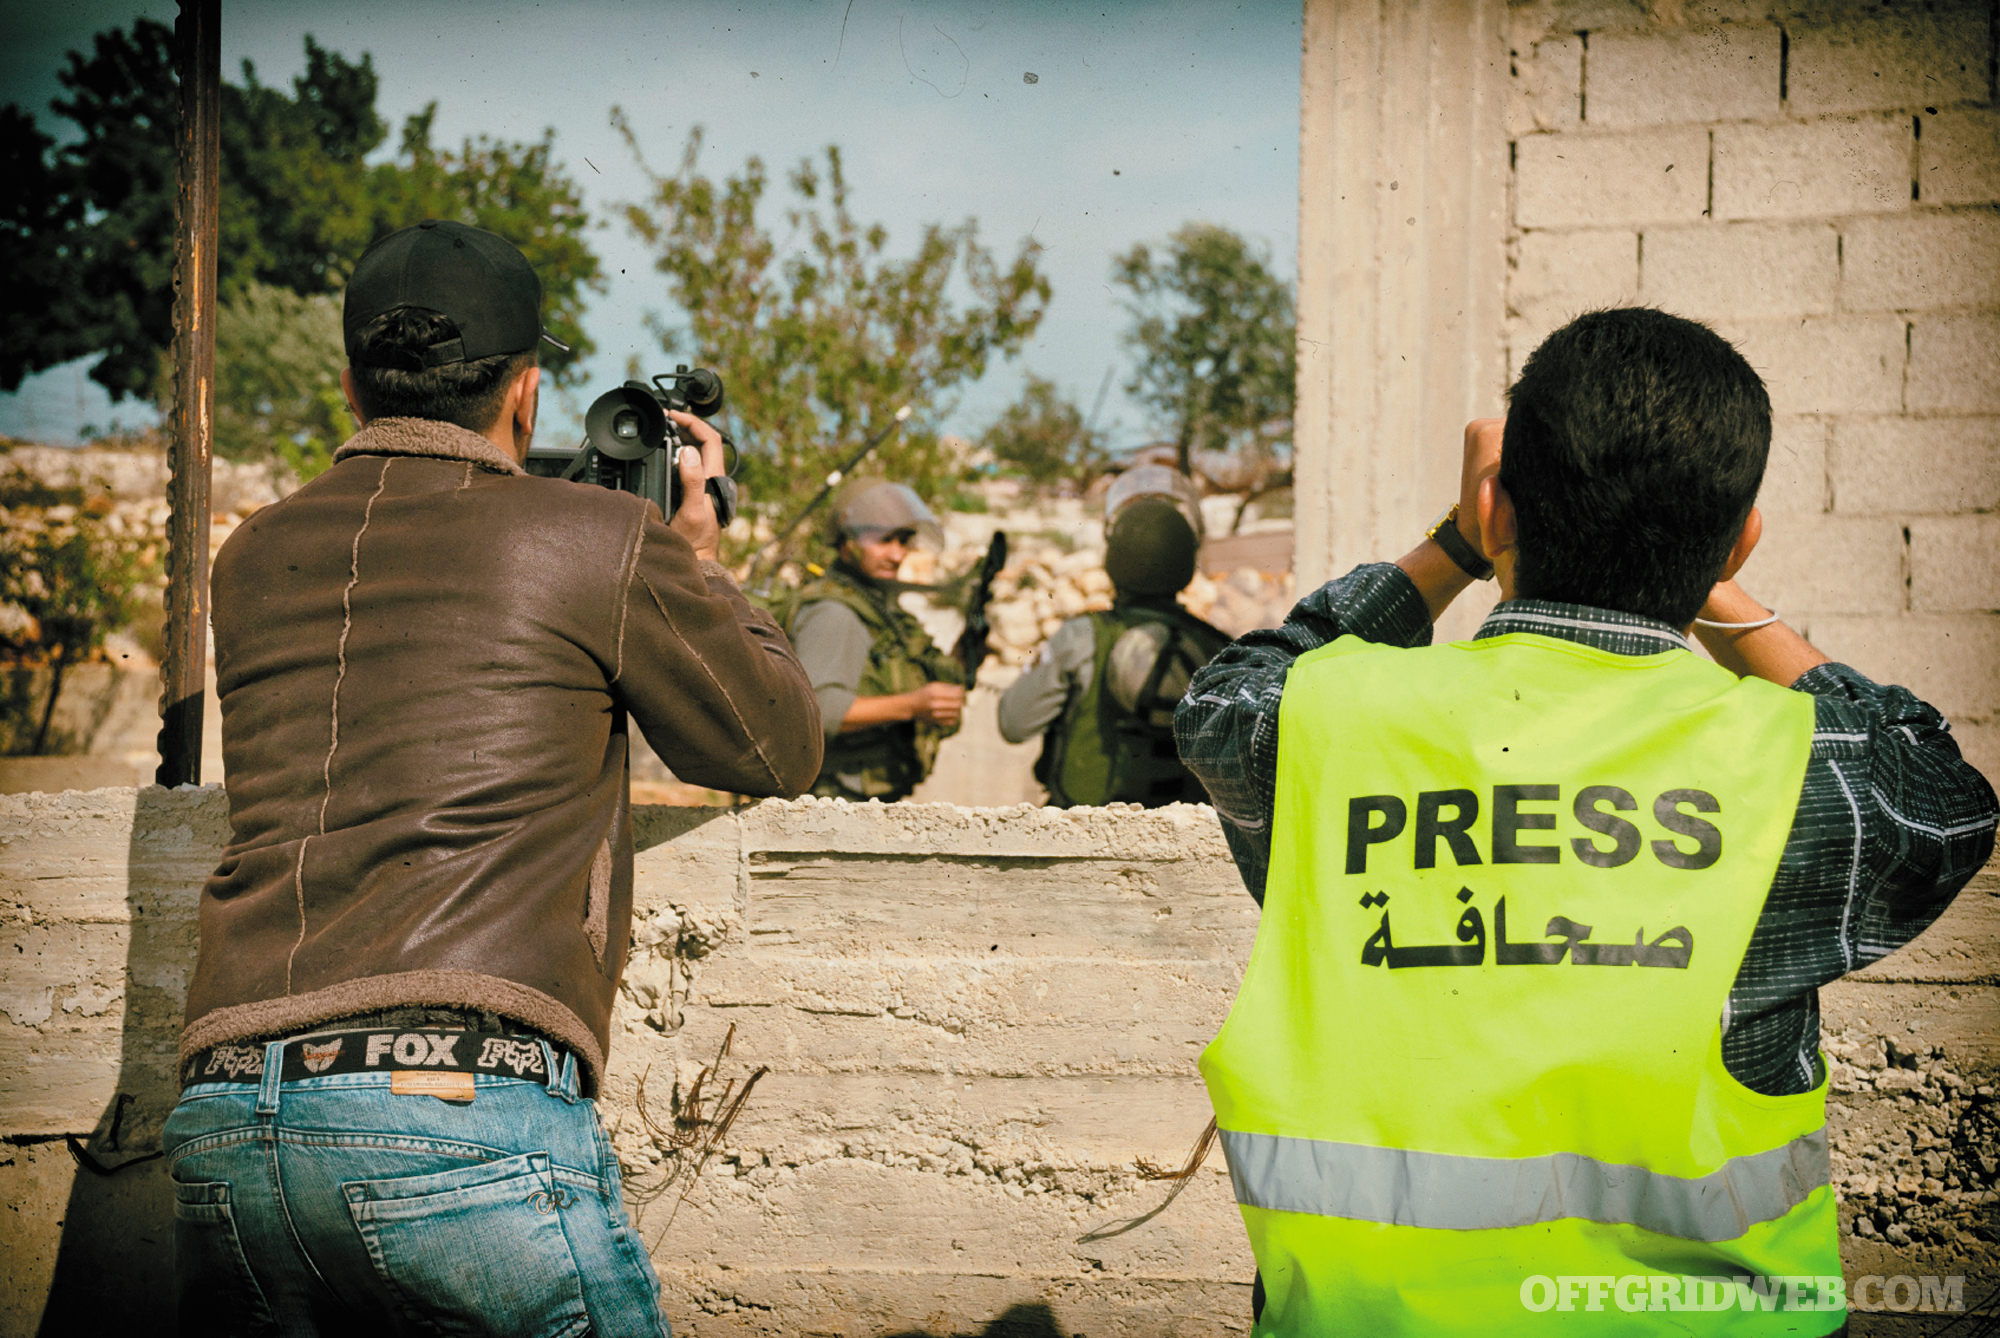
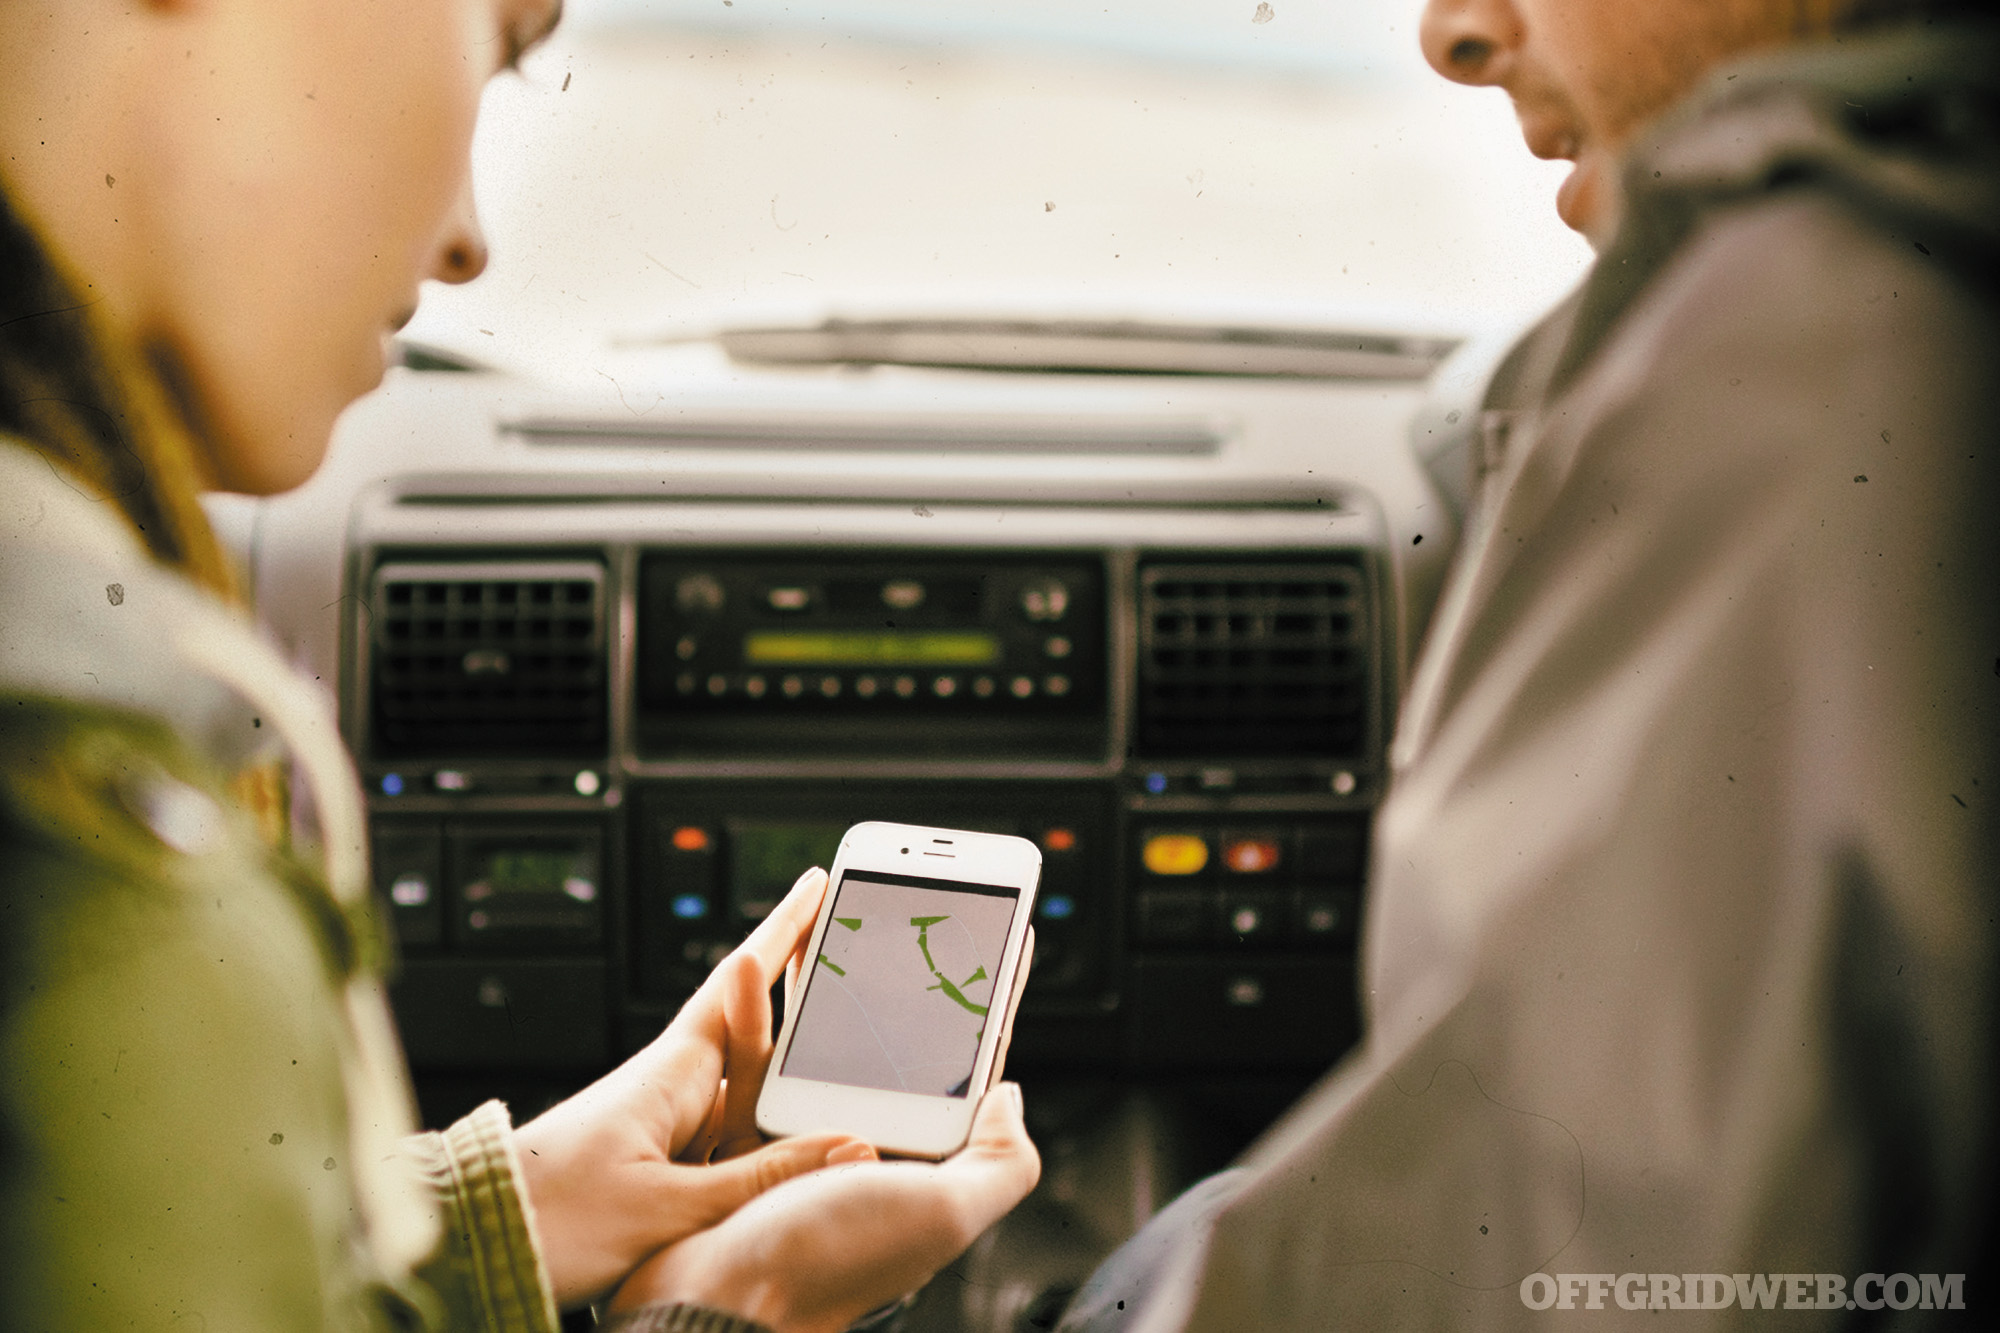
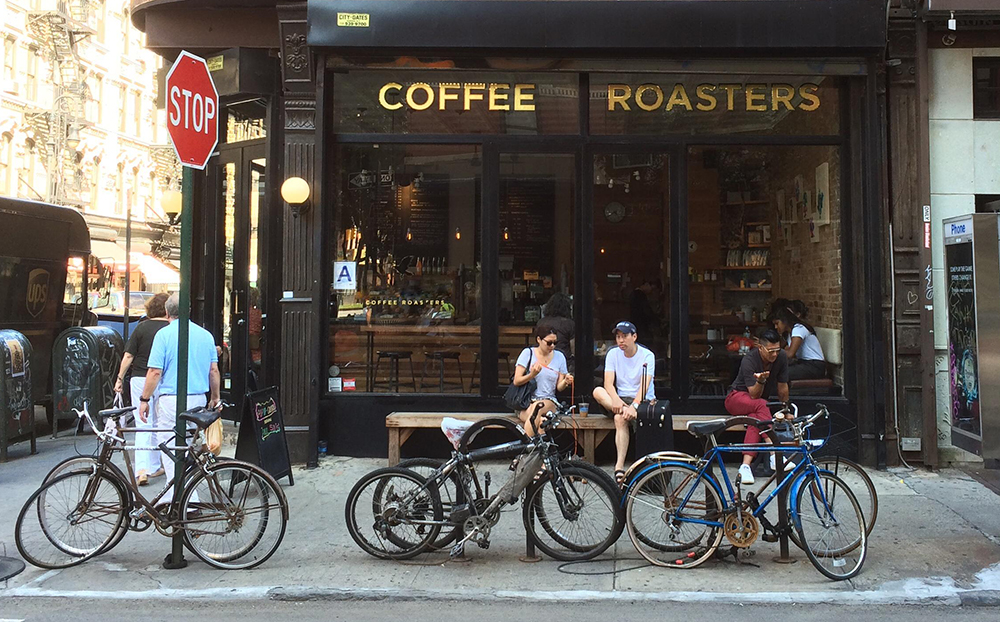
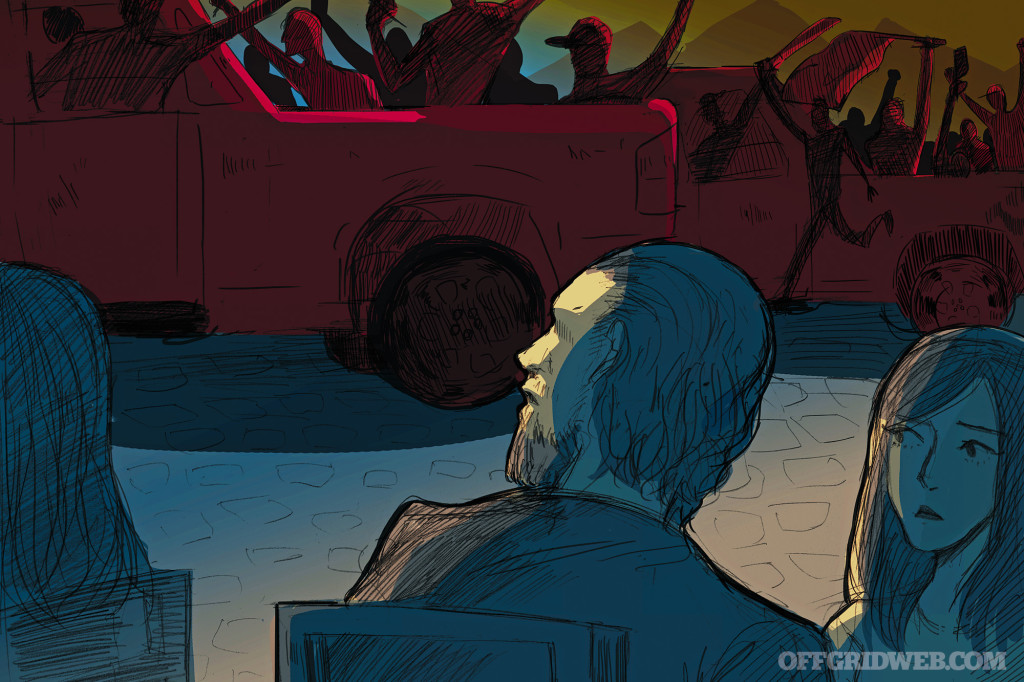
The Complication: You’ve wrapped up a successful course and had planned to spend the next few days sightseeing with your wife. You know things have been tense since hearing from your client that police just killed four protestors, including a 10-year-old boy, in a nearby favela during a protest against the U.S.-backed government. But on this morning, while at an outdoor cafe, you notice an unusual level of street activity. Cars pass by carrying men with shirts tied over their faces. You decide it’s time to change your flight, but the Internet is down and your cell phone doesn’t want to work.
You go inside to find the staff glued to the TV. News reports show widespread chaos. Rioters burning U.S. and Brazilian flags, storefronts smashed, and armed confrontations. The manager tells you the news says the president, many of his cabinet, and the police have disappeared after protestors, backed by members of the armed opposition, stormed the capitol grounds this morning. Now government paramilitary forces are fighting their way to the capitol. The battle is only a few blocks north and coming this way.
The New Plan: You realize that you have to move before you’re caught in the crossfire. What do you do? Head to the airport? The U.S. embassy? And how do you do it when there’s fighting in the streets and you can’t even speak the language?
Average Joe: Ryan Lee Price’s Approach
The beaches and landscapes of the Marvelous City are the best on the planet. The soulful music, nightlife, and people are all part of a woven tapestry of a rich and beautiful culture. Two weeks to celebrate our 18th anniversary couldn’t have come sooner, and Rio just before the Olympics was a city of constant movement.
For the first few days of our vacation, it was funny not to be able to speak Portuguese. My wife Kara and I made a game of trying, but the waiters and cab drivers would just laugh or offer some grammar advice. Posso tomar uma cerveja? Leve-nos para o mercado. My Google translation app worked wonders (but I never carried my phone outside the hotel), and nobody seemed to mind too much; we came across as clueless American tourists with too much money to spend. And we were welcomed for that, it seemed.
By the fifth evening, however, not being able to speak the language became terrifying. Hushed rumors, small groups of hotel staff gathered in sober huddles, whispering. The sudden emptiness of the city was deafening. The Copacabana beach, desolate. Taxi cabs, gone. El Glaetoo Bar, the Amir, the Bacara do Lido around the corner, all deserted. When Kara and I went down to the lobby, Francesca Lins, the Porto Bay’s guest relations manager, was wringing her hands, obviously fraught with despair.
She was little help in telling us what was happening, except to explain through strained English that something — she wasn’t clear about what though — had suddenly changed. President Rousseff was facing impeachment, and the manager advised us to get out of the country, that America was again to blame for tampering in Brazil’s government. Again? There were flag burnings, effigies of our president hanging from the lampposts, houses and hotels being searched, people rounded up. Most of the Americans staying at the Porto Bay, she said, had made their way to the airport.
On the Atlântica, outside the lobby doors, several pickup trucks raced by filled with men bristling with rifles. They were shouting “golpe!” as they sped past.
Up in our room, I tried to use my phone to change our flights, but the Internet was down. My phone was a brick. We decided to head there and take the next flight out, regardless of the cost.
The news on TV was not too helpful, since we didn’t understand any of it. Some in the Brazilian Democratic Movement Party and many politicians were being indicted in a multibillion-dollar kickback scheme with the state-run oil company, Petrobras. It showed clips of military units rolling down major streets in Fortaleza and Natal in the north and Sao Paulo to the south. Chaos, bloodshed, violence.
I heard the word, “coup.” It was time to leave.
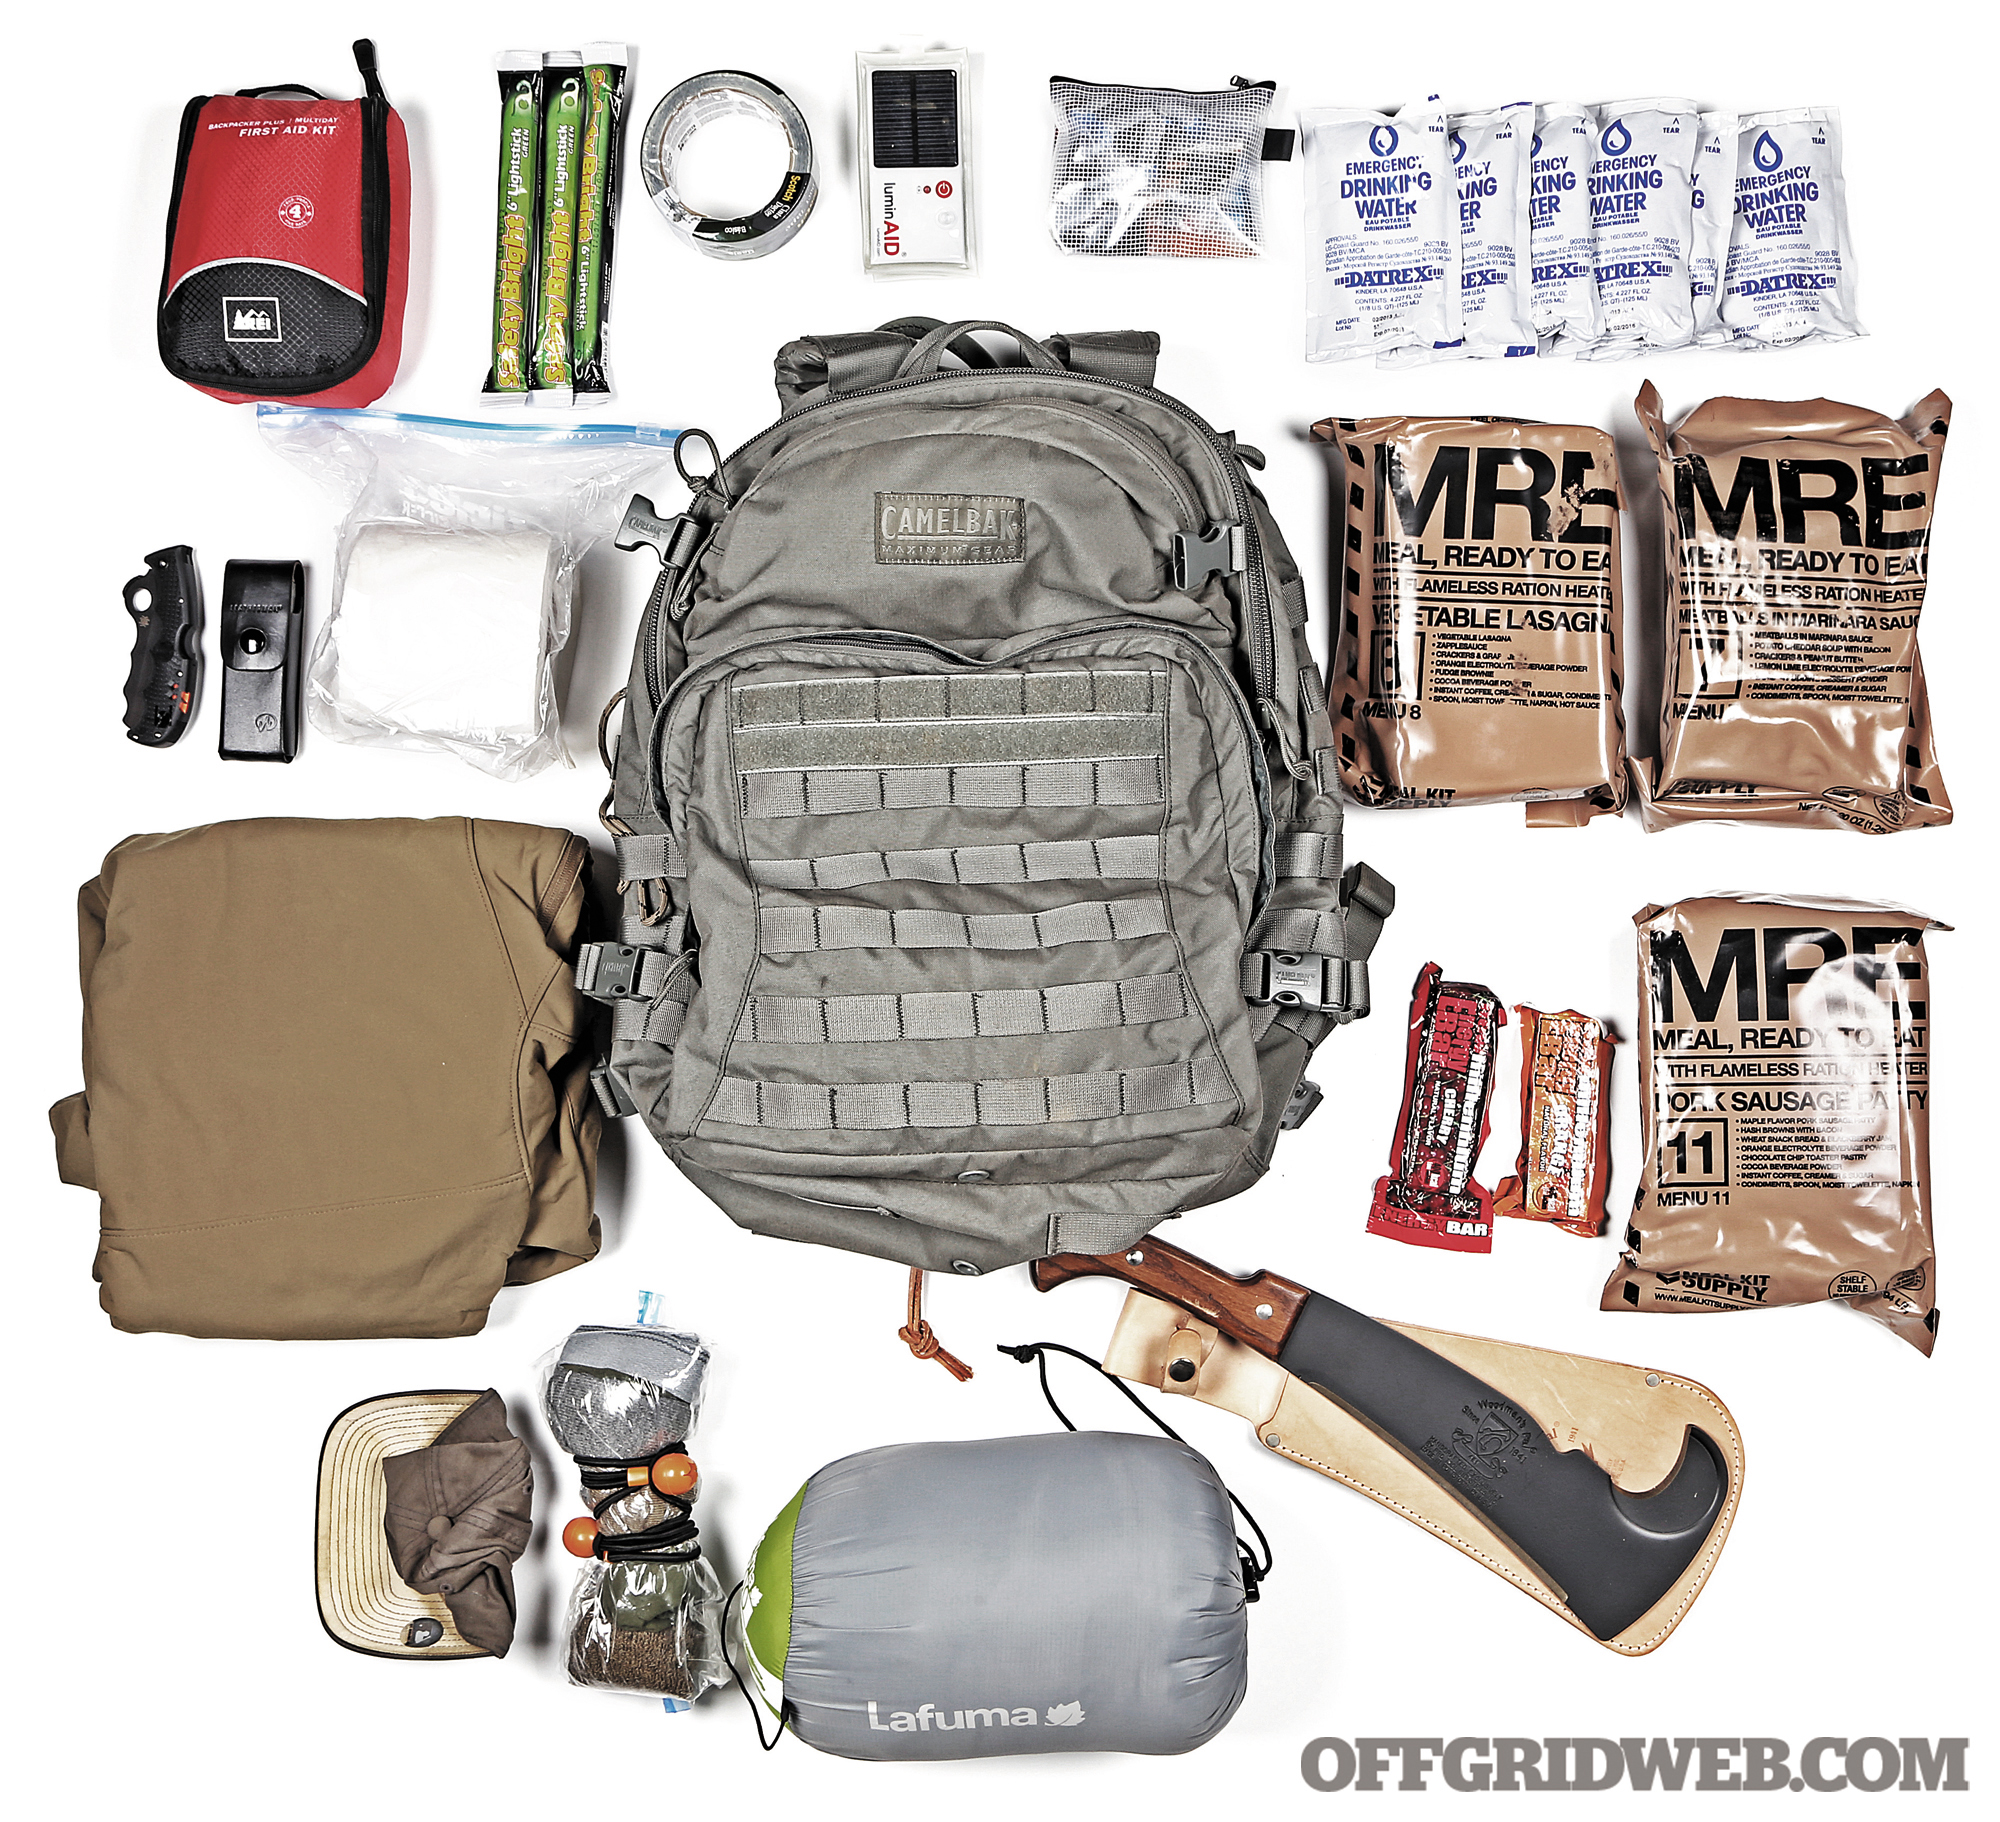
Forget the luggage. Forget the clothes. Forget the souvenirs. We put on some jeans and tennis shoes, a worn hat, and drab shirts. We felt we might have to blend in; at least my wife’s Argentinian heritage gave her darker features, but I was European white. We took off our wedding rings and tied them to the laces of our shoes, and we stuffed our driver’s licenses and credit cards in our socks, so we would walk on them in our shoes. Cash was stashed in the other sock, and I tucked our passports into the waistband of my underwear.
We gathered some things together in a small bag — toiletries, water from the mini bar, a hand towel, tissue, anything we might need. I created a “dummy” wallet with $40 U.S., some colorful bills of Brazil’s real, my library card, and our room keys to act as a decoy if we were mugged or stopped. We did the same thing with Kara’s purse. Nothing of value could be taken from us without a detailed search. We put our phones and other jewelry in our luggage and left it in the room with my business card on top, hoping that the hotel might ship it to us if we got home.
Down in the lobby, there were a dozen other tourists waiting in a panic by the front doors. I grabbed a paper map from the front desk. A small bus pulled up, and we were herded on by Lins; Kara and I headed to the very back by the emergency exit. Out of the window by the side of the hotel were three bodies and a burning car. Sirens, gunfire, and explosions crackled through the air, and everything smelled like cordite and flames.
The bus made a quick left from Duvivier onto Atlântica and sped east on the wrong side of the road. Burning cars, barricades, and mobs of militant young men with faces covered spilled from the side streets. They shouted “Golpe! Golpe! Golpe!” and fired weapons in the air. The bus turned onto Princesa Isabel, dodging cars and still on the wrong side of the road, headed toward the Túnel Engenheiro Coelho Cintra that led underneath the mountains toward the airport. This seemed like a very bad idea.
Before we even got 100 feet into the pitch blackness of the tunnel, we were stopped by a pile of cars, stacked up to block the tunnel entrance. Men with guns stood tall in the bus’ headlights, hands outstretched for us to stop, weapons at the ready. The bus’s doors were pried open and several men came up the steps. One of them shouted something at the driver, but all I could make out was “Americanos.” Seconds later, a shot rang out, and the driver slumped over the steering wheel. The bus erupted in a panic. More shots were fired.
I threw open the emergency door, and Kara and I jumped out the back along with two other men sitting near us. We headed toward the fading light at the end of the tunnel and ducked down an alley next to the Real Residence Hotel.
The alley ended with a small fence, and beyond that was the confusion of a favela, the scattered shanties, the winding streets snaking into the mountains. People were strewn about in all manner of escape. Cars were being packed, bicycles loaded up. We turned left on Dona Alexandrina and headed up over the hill. At the crest, a Volkswagen bus stood idling, its driver staring at us as we approached. “Americanos?” he called out, motioning us to come closer. We had no idea what he was saying, but I heard “entre” and that sounded like “enter.” He slid open the VW’s door.
This could either be a good Samaritan or a fatal trap. My wife and I looked at each other, trying to decide what to do. But the sound of approaching gunfire decided for us. We jumped in, and he circled the bus around and down the hill. The cargo area of the bus was filled with various things; obviously he was leaving town.
“Aeroporto,” I said, one of the few words I had picked up while in Rio. “Can you take us to the aeroporto?” He shook his head and barked something in Portugese. He lurched and jerked his VW through the bumpy twisting roads of the favela. It was dark by the time we got down the hill and out on the main roads. Fires lit the night, and chanting mobs shooting guns and rioting spilled all manner of debris into the streets.
We followed Praia do Flamengo past the University, farther into the Guanabara Bay, and north toward the airport, when suddenly, the driver stopped in the middle of the street. He turned quickly to us with a pistol in his hand and growled at us in Portuguese as he motioned to my pockets. I didn’t understand what he said, but I knew what he wanted. I handed him my dummy wallet stuffed with loose cash that he didn’t immediately count, and he jerked the gun toward the VW’s door.
Seconds later, we were standing on the streets of Rio in the confusion of a governmental coup, pilgrims in an unholy hand.
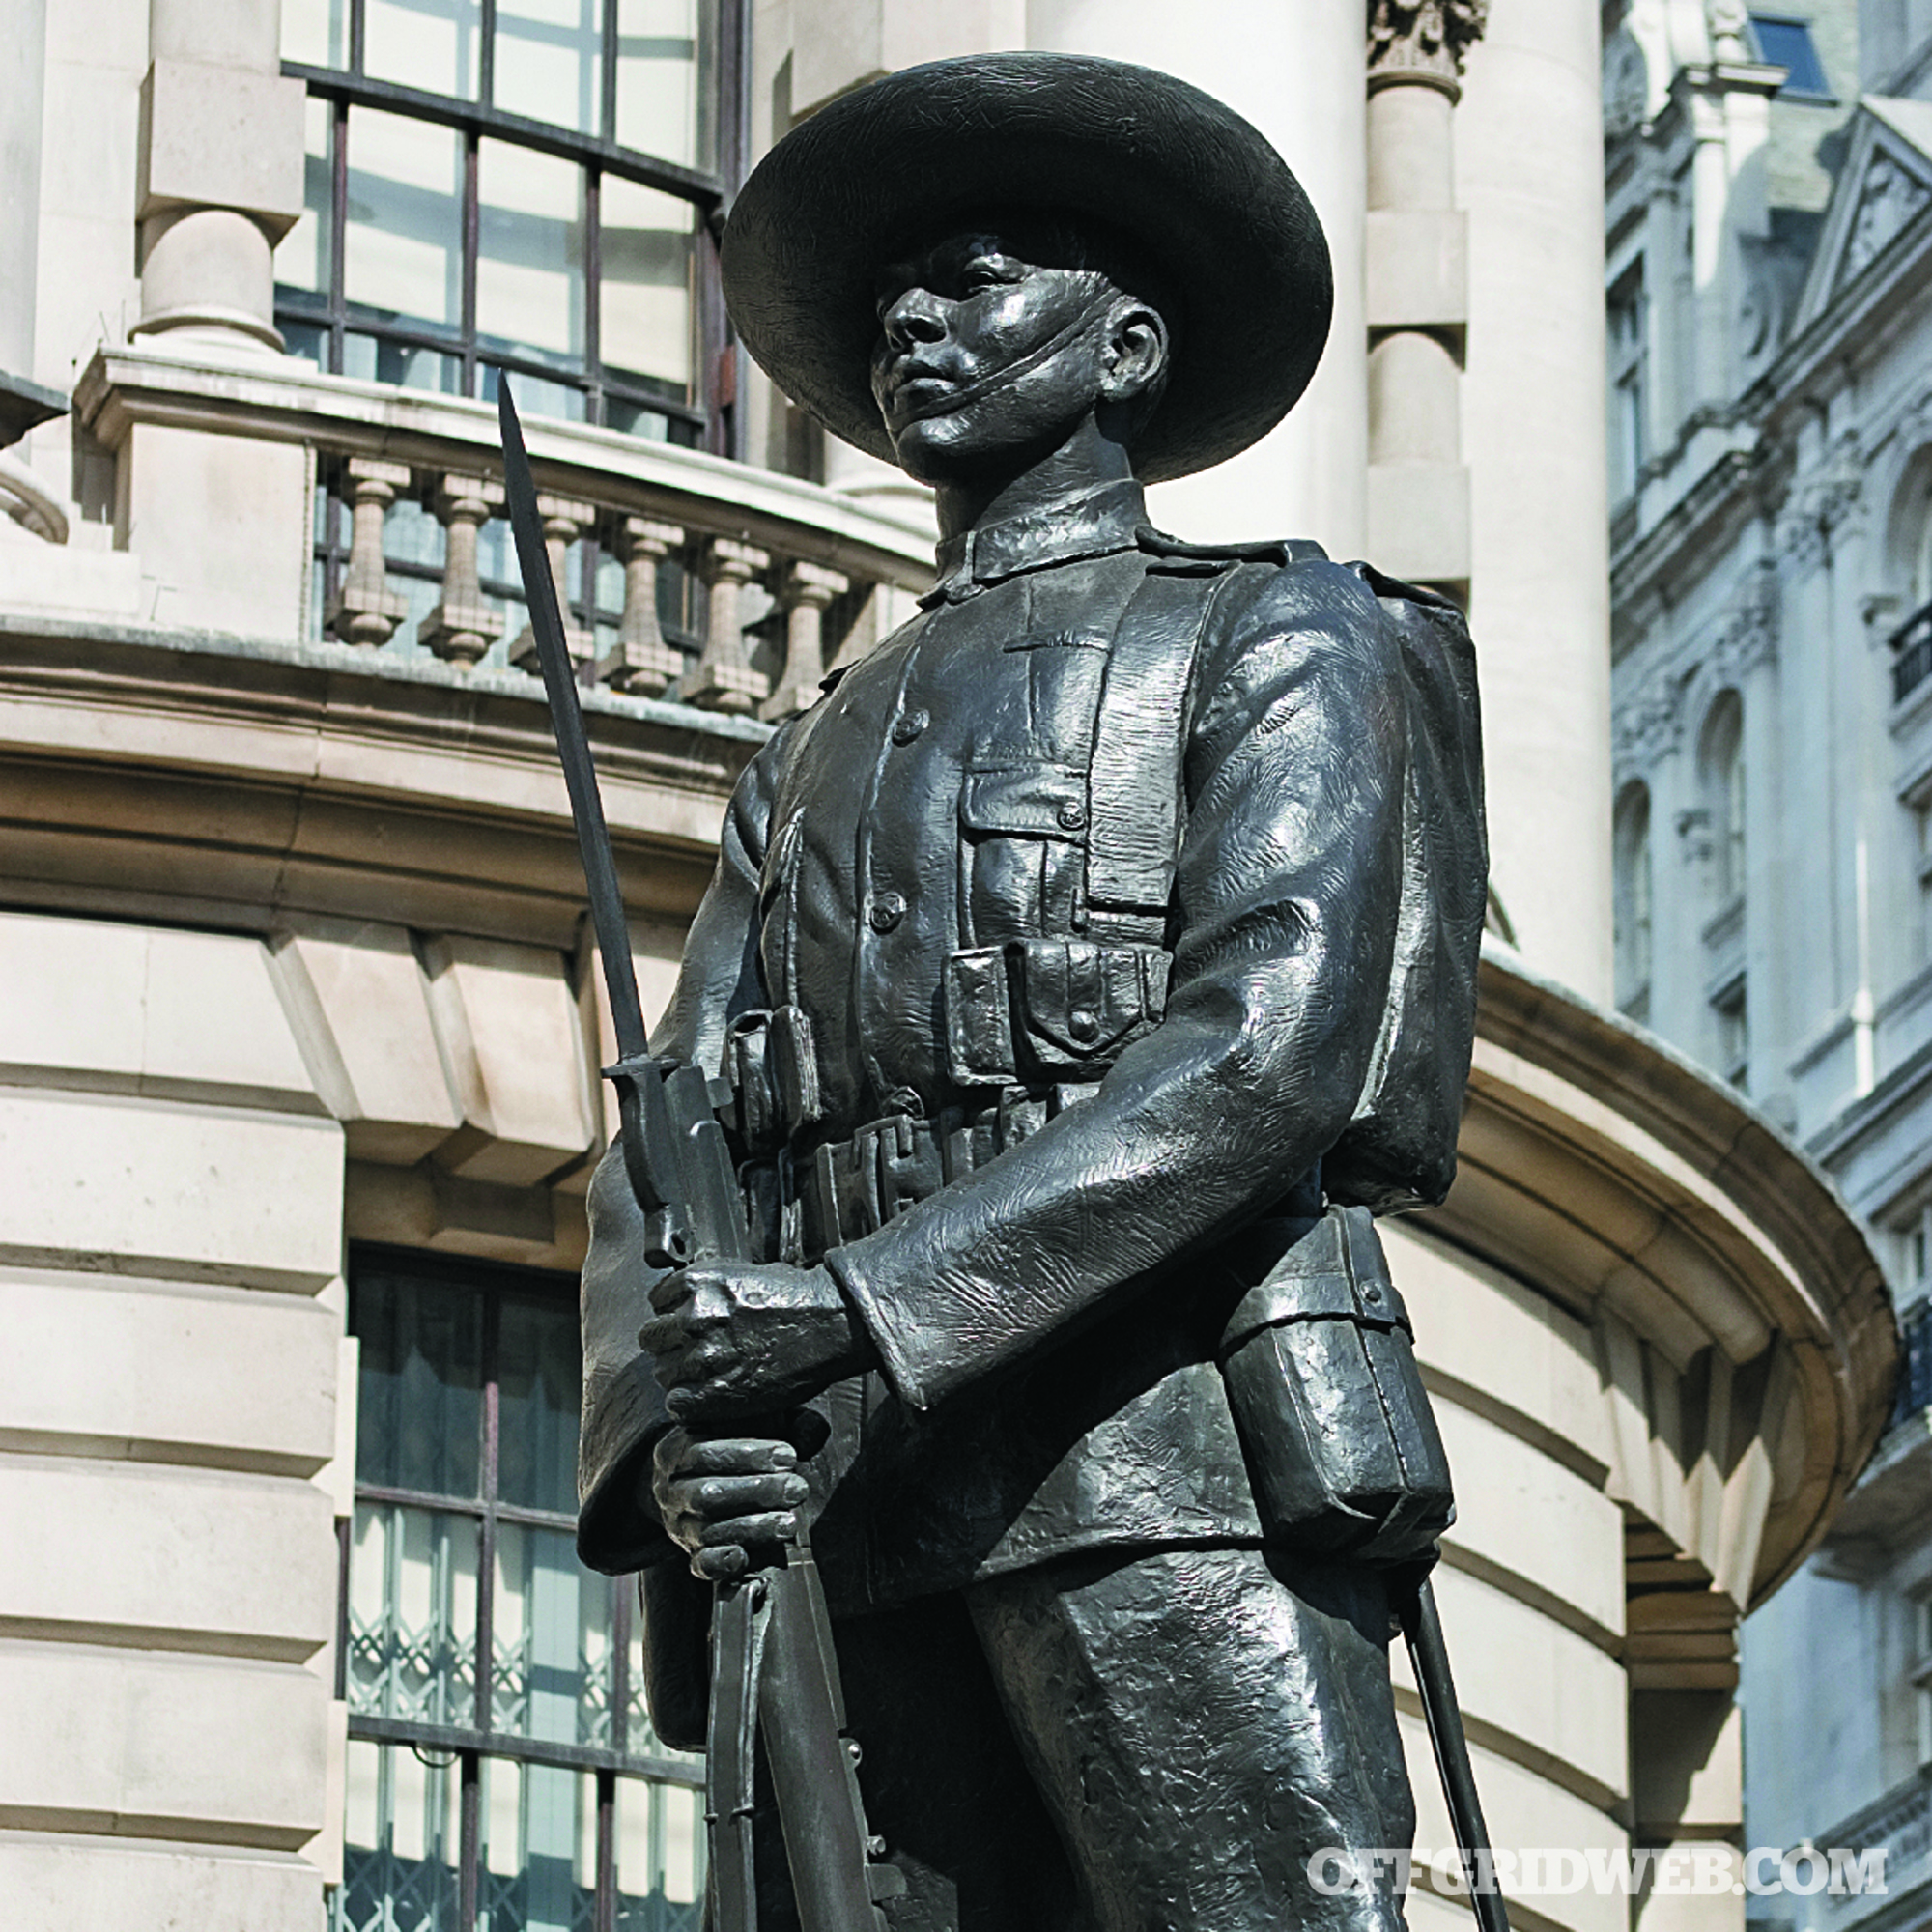
Our best bet for survival now was the U.S. consulate, which, according to the map from the front desk of the hotel, was only a couple of kilometers away. Up ahead was the World War II tomb of the unknown soldier, where an extremely large crowd had gathered. They were shouting “Golpe! Golpe! Golpe!” It was going to be a long couple of kilometers.
Former U.S. Force Recon Marine: Rudy Reyes’ Approach
I had just completed a weeklong consulting project for a U.S. corporation in Rio, helping their security team ramp up for the Olympic Games, and finally had a few days of R&R with my girlfriend, Alicia. The tensions in the city and nation escalated dramatically since police killed several protestors including a young boy. It hadn’t been too safe for sightseeing alone, so Alicia was poolside all week and getting a little stir-crazy, yet she was almost unrecognizable due to a savagely dark tan.
After a day of exploring, we decided to relax and enjoy some late afternoon caipirinhas at a little café not too far from the hotel. The sweet lime drinks hit the spot, but our tranquility was interrupted by gunfire.
I stood up to look down the street to get an idea of where it was coming from when several cars raced by; the passengers were all masked with AKs and MAC-10s sticking out the windows. I ran back to the table, chugged a pitcher of water to dilute the alcohol, and walked into the bar where a crowd was gathering around the TV. The bartenders were translating the news reports to the crowd of foreigners, and the reports weren’t good. There was a full-fledged coup underway and the Brazilian elite, along with Americans, were the targets of the mass rage. I noticed the staff at the café started slipping out the back door. It was time to go.
I grabbed Alicia and told her we needed to run to the hotel, grab some of our things, including my Iridium phone, and get to safety. She asked where safety was, and I told her that I was working on that. As a Recon Marine, I knew it was time to incorporate my SERE training: survive, evade, resist, escape.
As we left the bar, the air was filled with layers of noise, screams, cheers, sirens, and automatic weapons. After a couple of blocks, I noticed the shops were desolate, and we needed to peer around every corner to see if the street was safe. I caught my reflection in a store window and knew the button-down shirt and Recon cap reeked of tourist. I poked my head into an abandoned shop and grabbed a Brazilian flag T-shirt and matching cap. In a situation like this, blending in was key to survival.
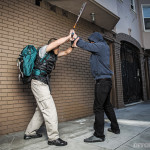
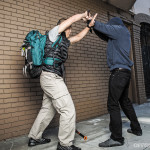
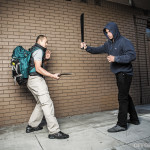
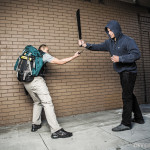
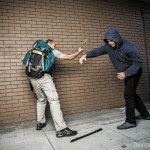
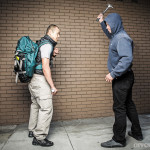
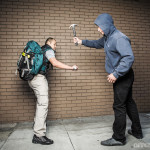
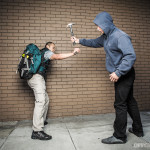
We had a few blocks left to reach Ipanema Beach hotel when a nearby car screeched to a halt. We quickly took cover behind the wheels of a van. I carefully peered around the van and saw two rebels get out to chase a bunch of fleeing tourists. Near my foot was a glass Coke bottle — I grabbed it and whispered to my girl to stay put and cover her ears.
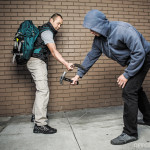
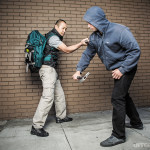
The driver was smoking a cigarette and looking in the other direction. I threw the bottle over his car, and it smashed against the sidewalk. As the driver got out to look, I took advantage of the 21-foot principle and bolted toward him. He was barely able to move his rifle in my direction when I crushed him against the side of his car. His AK hit the ground as I drove his head into the side of the car several times. He was out of the fight. I picked up the weapon, racked a round, and disengaged the safety. The two other gunmen were firing on the scattering tourists. Using cover along the way, I moved toward the other two rebels. With a couple of tight bursts from the AK, the threats were neutralized. I called to Alicia as I returned to the car and told her to get in.
Moments later we pulled up to the hotel; the lobby was filled with anxious guests, and the staff was gone. We took the stairs up to our room. I grabbed my satellite phone, knife, some clothing, and a few bottles of water. I told her to only grab a few items of clothing and grab all the water from the mini fridge. I went out on the balcony and saw smoke rising across the city.
Within minutes we were running down the stairs back to the main floor, when gunfire and screams filled the lobby. We waited for a few minutes in the stairwell. I heard movement coming toward me when the door swung open. Three armed men came rushing in, and one after the other fell as my AK barked several more times. I grabbed a magazine from the chest rig of one of the rebels, reloaded, and then filled my pockets with five additional mags. I popped my head out to look around. There were bodies everywhere, but the other gunmen fanned out throughout the hotel. I told Alicia to grab my belt and run with me.
As we exited the hotel, I took out two men standing out front who were firing at people on the street. We made a move toward the car, but more gunfire told me the rebels were too close, and we would never make it. We needed to hide.
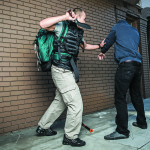
We went back into the hotel and quietly made our way to the basement. It was clear that the workers and rebels were looting rooms and killing guests. I found a dark area near the laundry room and was about to tuck in when we were spotted by two hotel employees, a male and a female, who turned the corner about 10 feet away. I held my hands out as a gesture of good will when the man began to run and yell — “Americanos!” I easily caught him and tackled him, not wanting to smoke the poor guy. A USMC choke applies pressure to the carotid artery, resulting in loss of consciousness in less than 10 seconds. He was out in five. As I stood up and turned around, the woman with him began to scream so my girl hit her with broomstick. To cover our tracks, we dragged them into a closet, sliced several towels, and bound and gagged them.
Once the threats were hidden away, we found a secure nook in the basement and tucked in for a while. I told her to get some rest. We were going to wait until 0300 to venture out. “Where are we going to go?” she asked. “The U.S. consulate?”
I told her that any U.S. embassy or consulate would be a target, and we wouldn’t be safe there or near there. I figured we had two options. We could move inland and try to make our way to Paraguay, or get to the marina only three clicks away and steal a boat. The latter was the better choice. I tried my sat phone, but the basement was too fortified for a signal.
At 0300, I woke Alicia and we made our way out of the hotel through a side entrance. The city was in flames, the power was out, and the sounds of gunfire still echoed through the streets. We ran, hugging the foliage near the beach, and moved quickly to the marina. As we approached, I spotted a few rebels standing guard at the entrance. I moved to an area where I could recon the area and saw the boat I wanted to take. It was a modern 50-foot sailboat with an engine. I could easily man her myself, and I knew she would have radar and comms.
We made our way back to the gate area and secured cover behind a Jersey barrier. I moved the selector switch to semi-automatic fire and picked off the two guards standing outside the gate. The third guard had a bead on my position and returned fire, but sprayed rounds wildly. After he emptied two mags, he came out to look around since I didn’t return fire. The second he cleared the gate, I released a round, hitting him center mass, followed by a single shot that struck him in the side of the head.
We now had a clear path to our escape. I directed Alicia to run to the boat at slip 25, as I entered the harbor gatehouse and saw keys on the wall with corresponding numbers.
I ran to the slip, finished untying the boat, and started her up. A long two minutes later, we were moving. Once we cleared the mouth of the harbor, I called one of my Department of Defense contacts on the Iridium sat phone. He told me that the U.S. Navy was en route, and called back with coordinates to sail to for a rendezvous.
Well, at least we would have a couple days on the water as a vacation.
Survival Expert: Tim MacWelch’s Approach
I threw a few Brazilian real (dollars) on our table as we hurried out of the café. We had to get back to the hotel, but we didn’t have much to work with. I had my wallet with some U.S. dollars and some real. My wife had a small purse with a mix of cash and credit cards as well. We each had a phone and our passport. Our route to the hotel was only a few blocks long, but it crossed the reported path of the rioters.
“If we’re lucky, we’ll get to the intersection ahead of them,” I mentioned to my wife, as we walked briskly hand in hand. We both had every interest in running the distance, but I convinced her that walking would draw less attention.
As we strode, I tried my mobile phone again, desperately hoping to reach my contact. Before leaving the USA, I had a long talk with my friend, Paul, who works for the State Department. He had given me many travel tips and had a contact in the U.S. Consulate General Rio de Janeiro. He had given me her name and number, just in case, neither of us knowing what would later erupt.
While walking, and continuing to try the number, it finally rang. We stopped and stepped into a doorway. My feelings of hope were dashed when my contact’s voicemail kicked on. “Hello, you’ve reached Stacy Wells with the United States Consulate General Rio de Janeiro. I’m sorry I can’t take your call …” I left her a brief message, including my mobile number, my wife’s number, the hotel information, and I begged her to call us back. We continued our trek, heads down and trying to stay off the radar. People rushed in every direction, and each time they ran toward us, I stiffened, unsure if I would have to defend the both of us. Thankfully, they were running past us to join the fray.
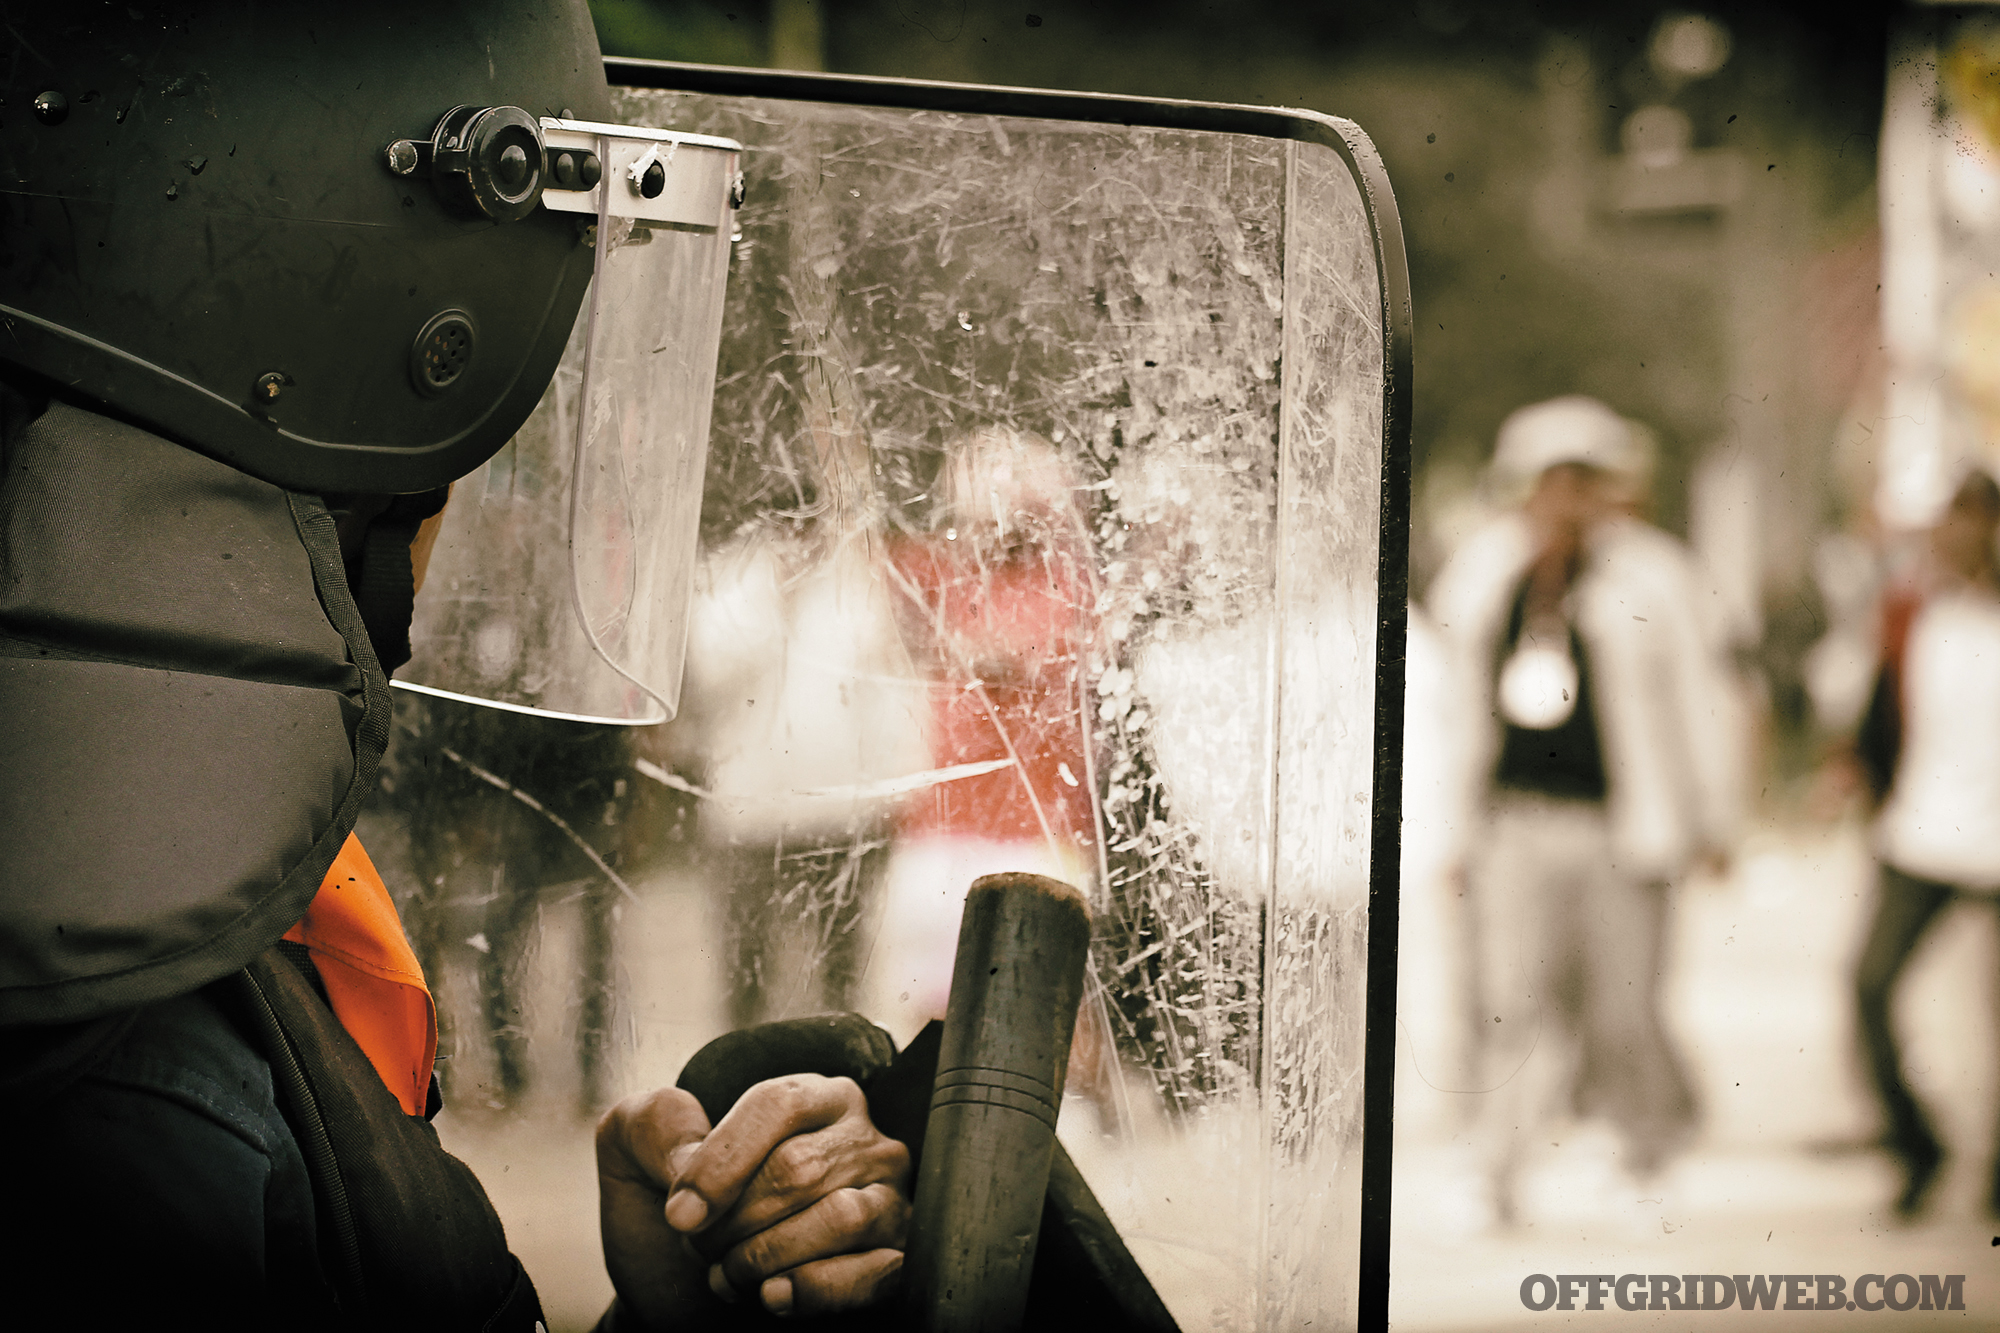
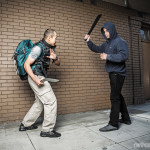
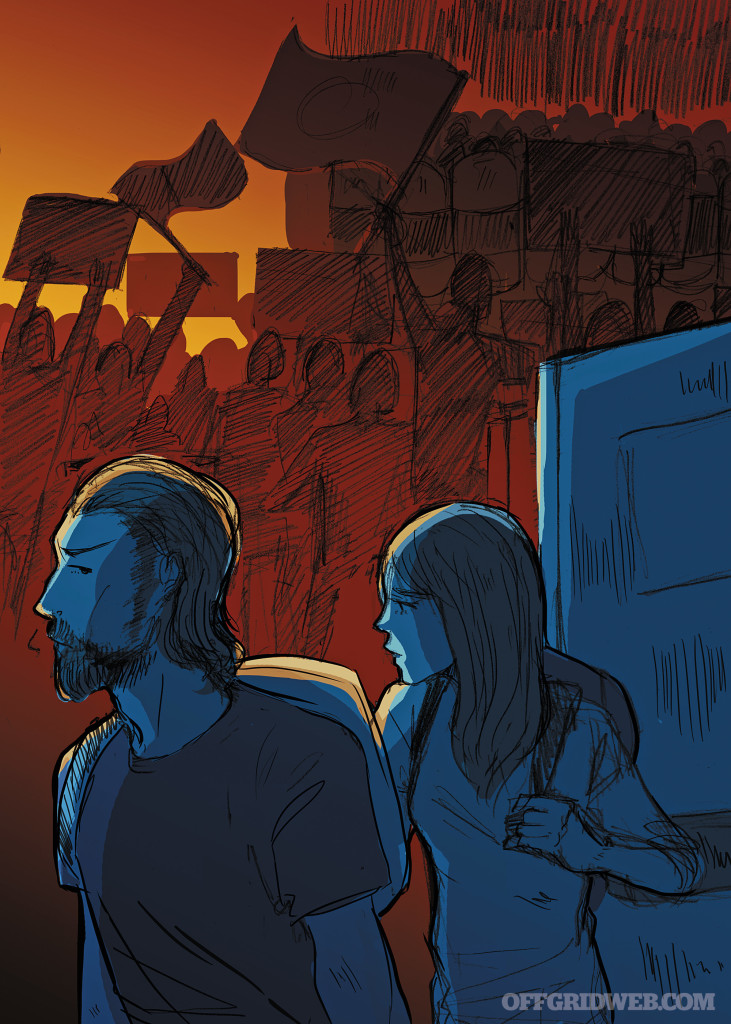
There was one more intersection to cross, and we’d be at the hotel. But things took a dark turn. As we reached the street corner, a mob of people dressed in black clothing with black cloth over their faces marched toward the crossing from a side street. With guns in hand and wearing mismatched pseudo-uniforms, these thugs must have been the militia force. As the front lines reached the open intersection, a teen rushed out and began yelling at them. We’ll never know what he said in Portuguese, or why he confronted the armed group, but we would never forget the sight we beheld. Several of the militia’s frontrunners opened fire on the teen, riddling his young frame with bullet wounds and blowing a large hole in the back of his skull. It only took a second, but the young man slumped into a grotesque folded position — face down in the middle of the intersection.
It took a few seconds to snap out of the paralysis I was in. I’d never seen anyone murdered before, and it was only a few yards away. “Change of plan,” I said aloud. Grabbing my wife, who was still in a mild form of shock, we started trotting in the opposite direction from the militia. My stomach sank as I realized that our path away from the militia was also leading us away from the hotel.
The next block down, traffic was moving slowly. My wife spotted a cab that was available, and we made our way toward it. I had planned to get to the hotel, use the landline phone to call our family back home, the U.S. embassy, and half a dozen other places. But right now, I just wanted to get us on a plane. I told her that we weren’t going back for our luggage, and she looked strangely glad to hear it. My wife and I both felt a strong wave of relief after getting inside the cab. Our breathing became slower and deeper, and I told the driver “aeroporto,” one of the few words of Portuguese I had picked up during our trip. We saw the back of his balding head nodding and he said, “OK, sir” in English.
The traffic was stop and go, with many cars shooting forward quickly — only to jerk to an unwelcomed halt. It was during one of these halts that three men stepped in front of the cab with handguns raised. Clearly rioters, their faces were covered and the thin façade of our safety was ripped away. They shouted something at us or at the driver. We didn’t speak Portuguese, but we could understand the tone. Words full of hate and accusation were spouted in our direction. The driver didn’t lower the window, even though the man tapped the muzzle of his handgun on the grimy glass. The gunman nearest to the driver spat a few words that ended in “inglês.”
I knew enough Spanish to know that he said something about English. The gunman aimed the sidearm at the driver’s head. Then my senses were bombarded by three things at once: the air pressure inside the cab jumped sharply, my ears hurt from the deafening boom, and my face was pelted with sharp cubes of glass and something wet, which turned out to be some of the driver’s blood and brains. I pushed on the door handle on the opposite side of the shooter, but the driver had locked the doors from his controls. We couldn’t escape. My wife started to cry, and I was sure this was the end. But as our hearing returned, I could make out the sound of a whistle blowing repeatedly.
The shooter locked eyes with me for a second, with a look of pure and malevolent animosity, then he ran to catch up with his retreating companions.
In seconds, the police had surrounded our car. All traffic had been stopped. Two of them tried to open our locked doors, and one officer reached through the shot-out window to hit the door-lock release. They half helped and half pulled us out of the cab, saying things we couldn’t understand and motioning for us to sit on the curb. When I said “thank you,” the nearest officer said, “American?” When I nodded yes, he raised his weapon to my head. It was in that moment of shock that I looked past the threatening officer and saw the cab driver’s door. There was a little hand-painted phrase near the top of the door: “I speak English.”
He’d been killed just because he spoke my language. As I sat on the dirty curb, I pondered whether these would be my last few seconds of life, and I silently cursed myself that I’d ever come here — or talked my wife into coming. Do I attack the officer? As I was processing the thought, I was startled by the phone ringing in my shirt pocket.
With the officer’s handgun still aimed my way, I slowly pulled the phone from my pocket and swiped the icon to answer. It was Stacy from the consulate. The officer was speaking to us in slow and hateful tones, but the only words I really heard were Stacy’s. She asked what was happening, and I told her that a police officer was about to shoot us. After that, she began screaming over the phone in Portuguese. I switched it to speaker mode. The officer hesitated, lowered the weapon a bit, and looked at the phone. I very slowly handed it to him, and he listened to the ranting woman for a moment. He said a few words to Stacy, and she screamed at him some more. He then lowered the sidearm completely and handed me the phone. “Stacy?” I asked. “Thank God!” she replied. “He thought you had killed someone.”
She went on to explain that she told the officer that we were important diplomats and he would be personally responsible for an international incident if he didn’t release you to the consulate right away. She asked where we were, and told us to stay put for one of the State Department guys to come get us. Stacy said it wouldn’t be long; he wasn’t far away.
My wife held me tightly as we sat on the curb until a tall man with a soldier’s bearing approached us. “Mr. and Mrs. MacWelch?” he asked. “I’m here to help you get home.”
Conclusion
There are two basic reactions that people have always had toward “foreigners.” The first is positive. We’re curious about them and make friendly contact. Our ears seem to enjoy hearing new accents, and we want to find out about their world. This reaction has allowed trade and the exchange of information for centuries.
The other reaction that people have is not so gracious. The “you’re not from around here” mentality keeps strangers at arm’s length. Suspicion and mistrust lead to hostility and hate.
“Stranger danger” is certainly not a new reaction. And it’s certainly not a nice reaction when you’re the stranger receiving this negative attention. This is why it’s so important to take some precautions when you’re traveling to a place where you could be viewed as an outsider. Do your research. A lot of it. Learn as much of the language as you can, especially the phrases that can help you travel and negotiate. Learn the lay of the land, and discreetly carry a map of the city or town you are visiting. Adopt the local dress as well. The last thing you want to do is wear out-of-place clothing and stand on a street corner peering at a big map. This is a dead giveaway that you aren’t a local, and it opens the door for trouble.
And if trouble starts of its own accord, your best bet is to discreetly tuck tail and get out of Dodge. Travel with several forms of ID and a high-spending-limit credit card (or two) because last-minute plane tickets cost a fortune.
[meetourpanel]
More From Issue 14
Don’t miss essential survival insights—sign up for Recoil Offgrid’s free newsletter today.
Read articles from the next issue of Recoil Offgrid: Issue 15
Read articles from the previous issue of Recoil Offgrid: Issue 13
Editor’s Note: This article has been modified from its original print version for the web.