WARNING: This is a brief overview on the topic of being stranded overnight and not meant to be a detailed guide. You should do your research on each aspect of overnight survival, train with a reputable instructor, and practice often.
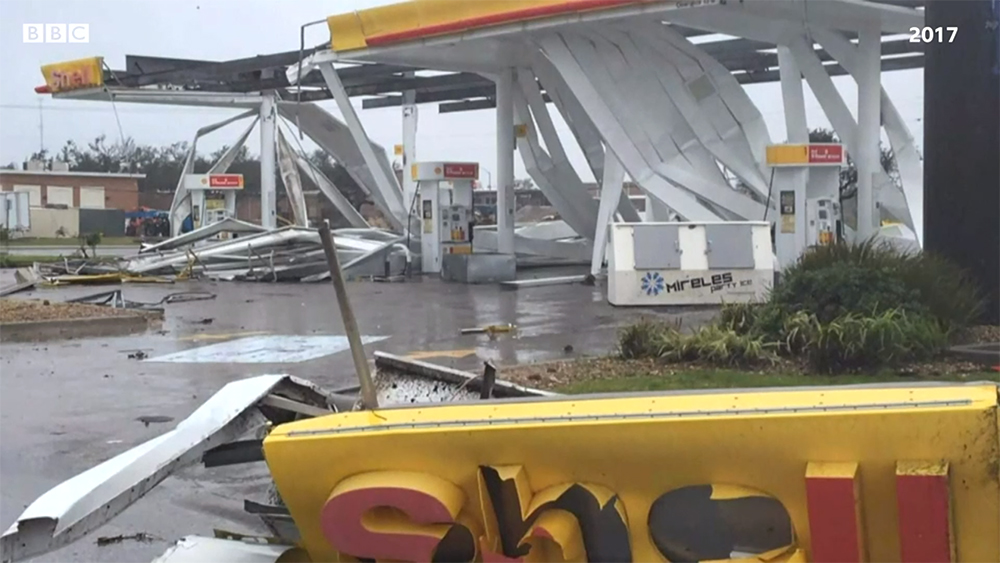
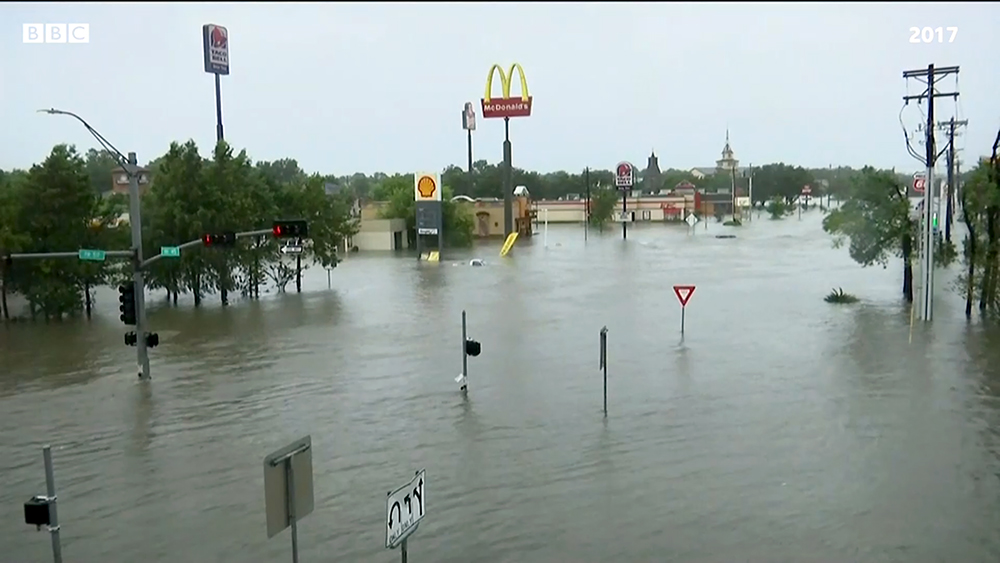
It’s 3 p.m. and you’re not out of the woods yet. You only have a few hours left before sunset, and you have a decision to make; make preparations to spend the night or carry on. Everyone knows that in winter the days are short and nights are long, but being stranded overnight is dangerous any time of year. The temperatures at night are drastically different than those during the day, and survival demands more planning and grunt work from the survivor to survive the night.
In warmer weather, mistakes and lack of effort are more forgivable with less concern for hypothermia, but the threat is never completely gone. You may be lost, separated from your group, poorly equipped, injured, or stranded with a broken vehicle. It’s easy to forfeit, submit to the elements, ball up, and die. The true survivor will dig deep, harness the will to live, hustle to procure the necessary supplies, and make it through the night. The goal isn’t getting the required eight hours of sleep, but rather living to see the sunrise.
So, we’re tackling techniques and concepts for surviving the night by focusing on the gear, the training, and (perhaps most importantly) the mindset you need to succeed. If you’re stranded, there’s no doubt it’ll suck. But follow these steps, and you’ll make it to the morning. Here’s how.
Mindset
The first step in dealing with a problem is recognizing there is one. With fading daylight, a person’s work capacity is limited. It becomes harder to see, the temperatures drop, and anxiety builds. The body starts to sweat and a chill sets in. Staying active will keep you warm. As stress builds, the possibility for making mistakes does as well. The thought of an emergency bivouac may not register amid the changing conditions surrounding you. It’s time to decide and time to act.
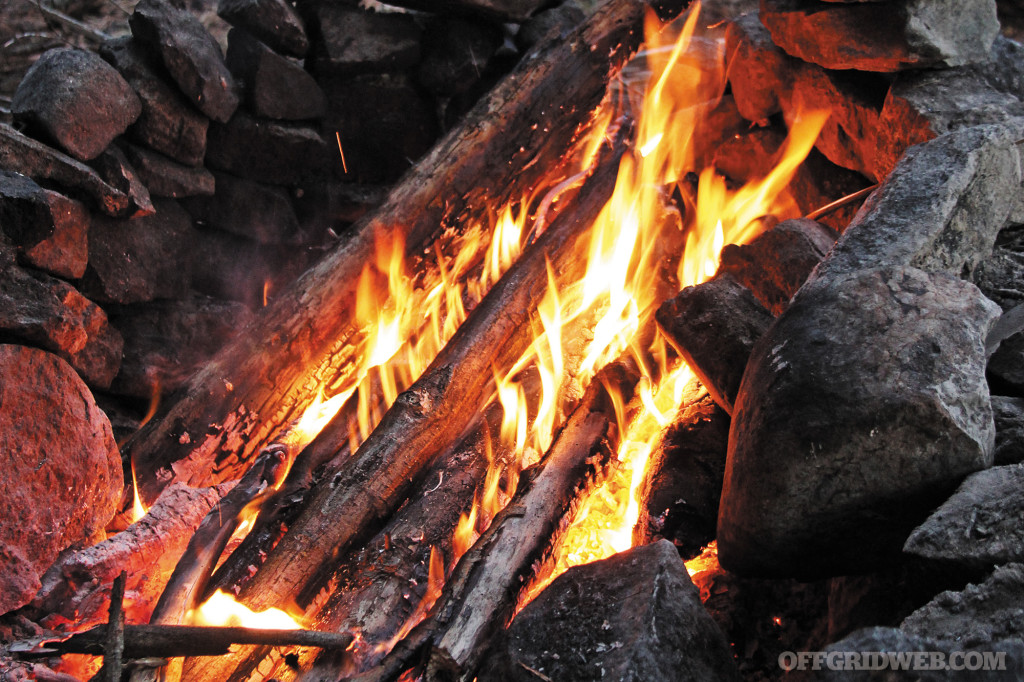
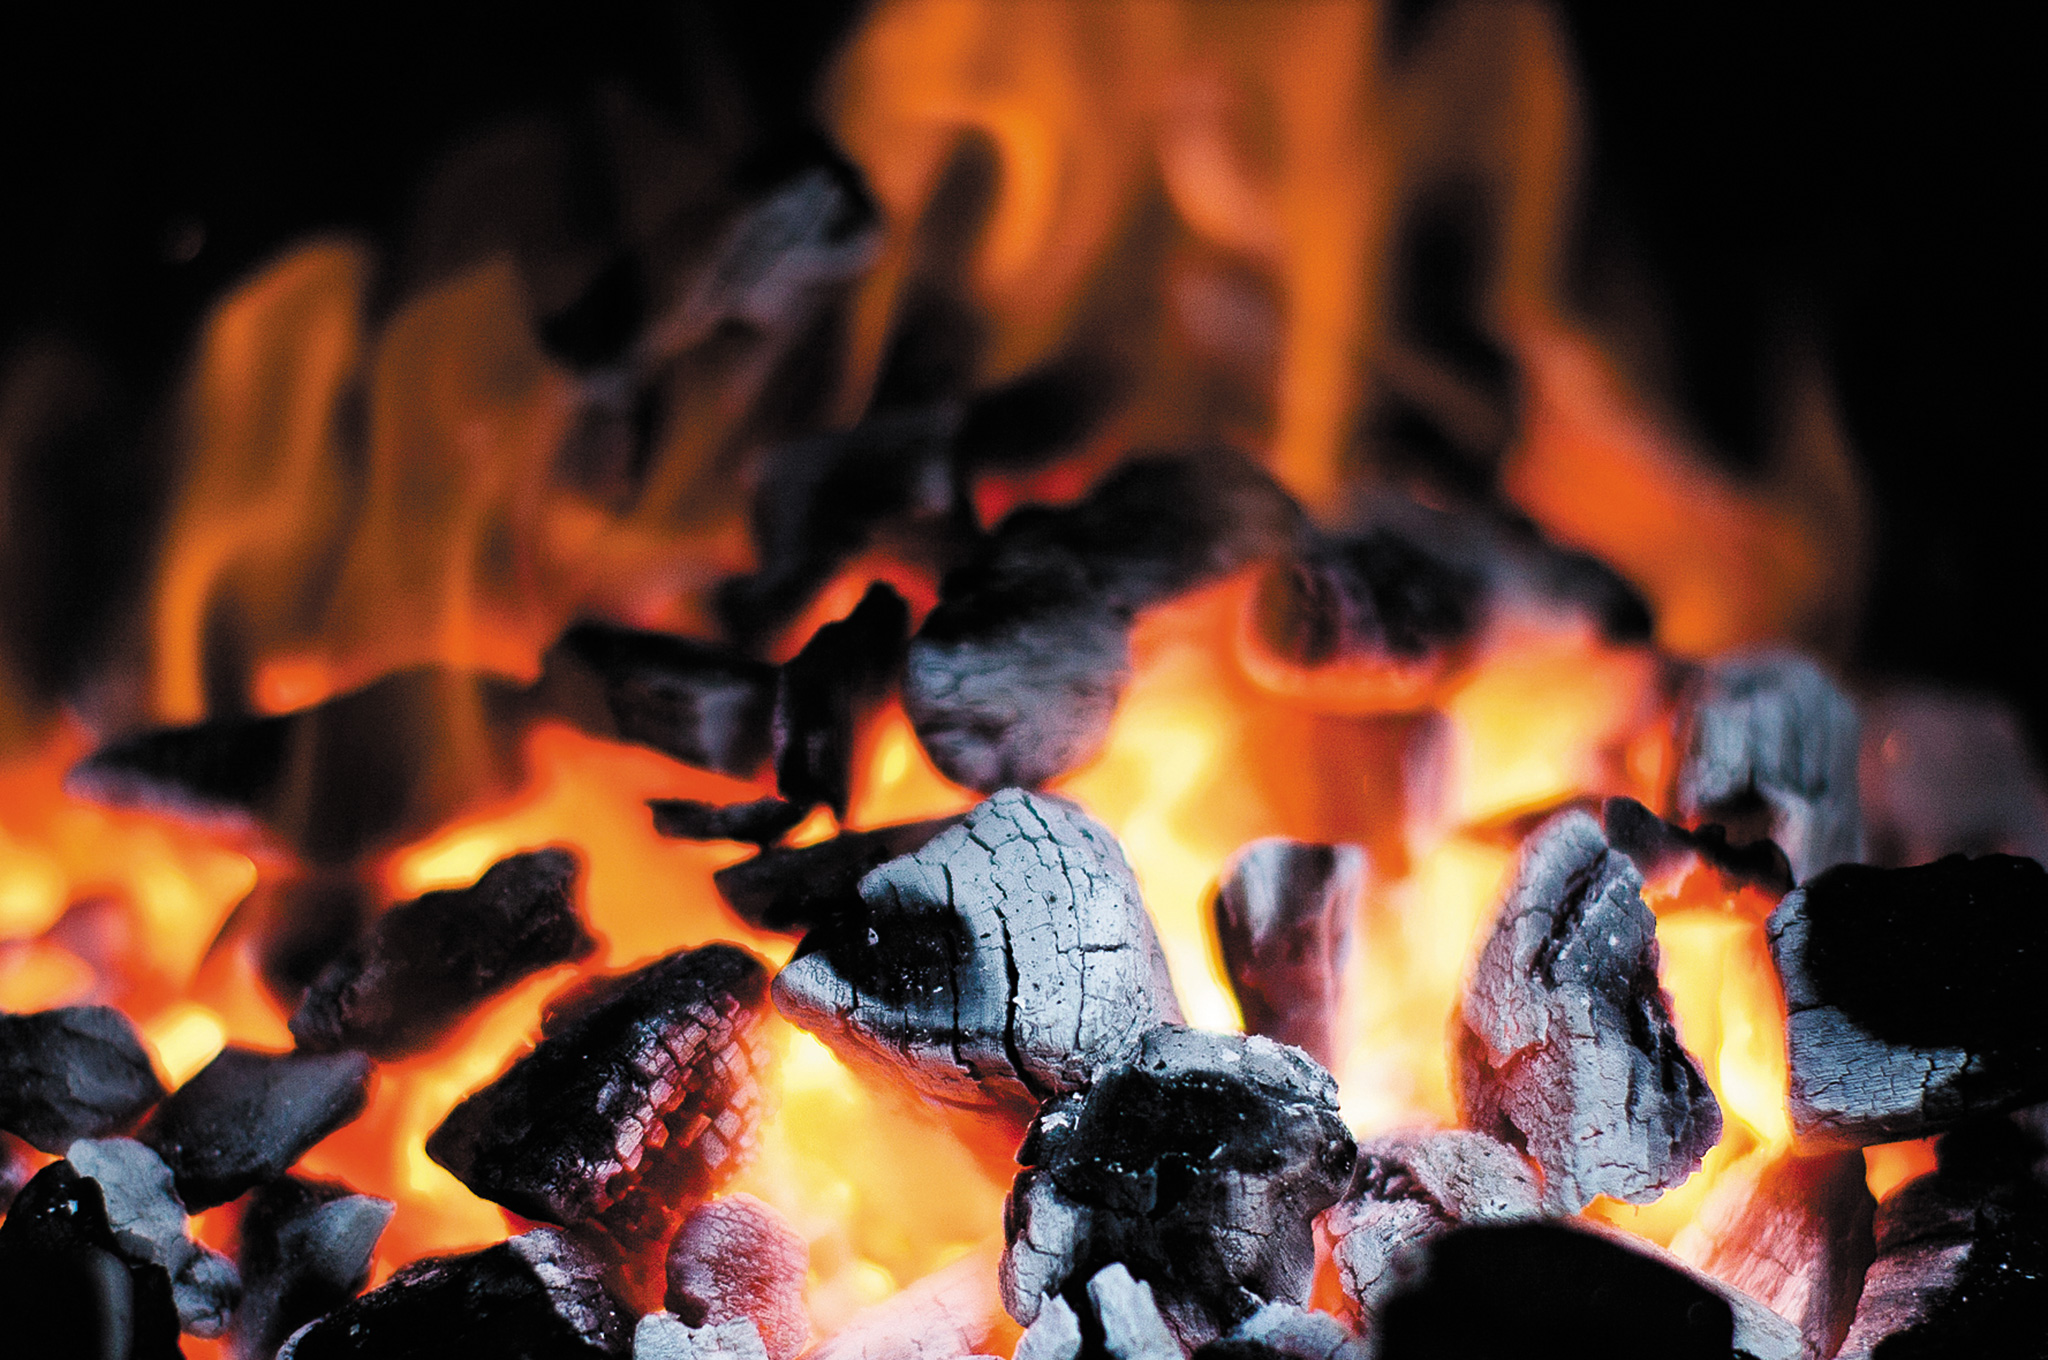
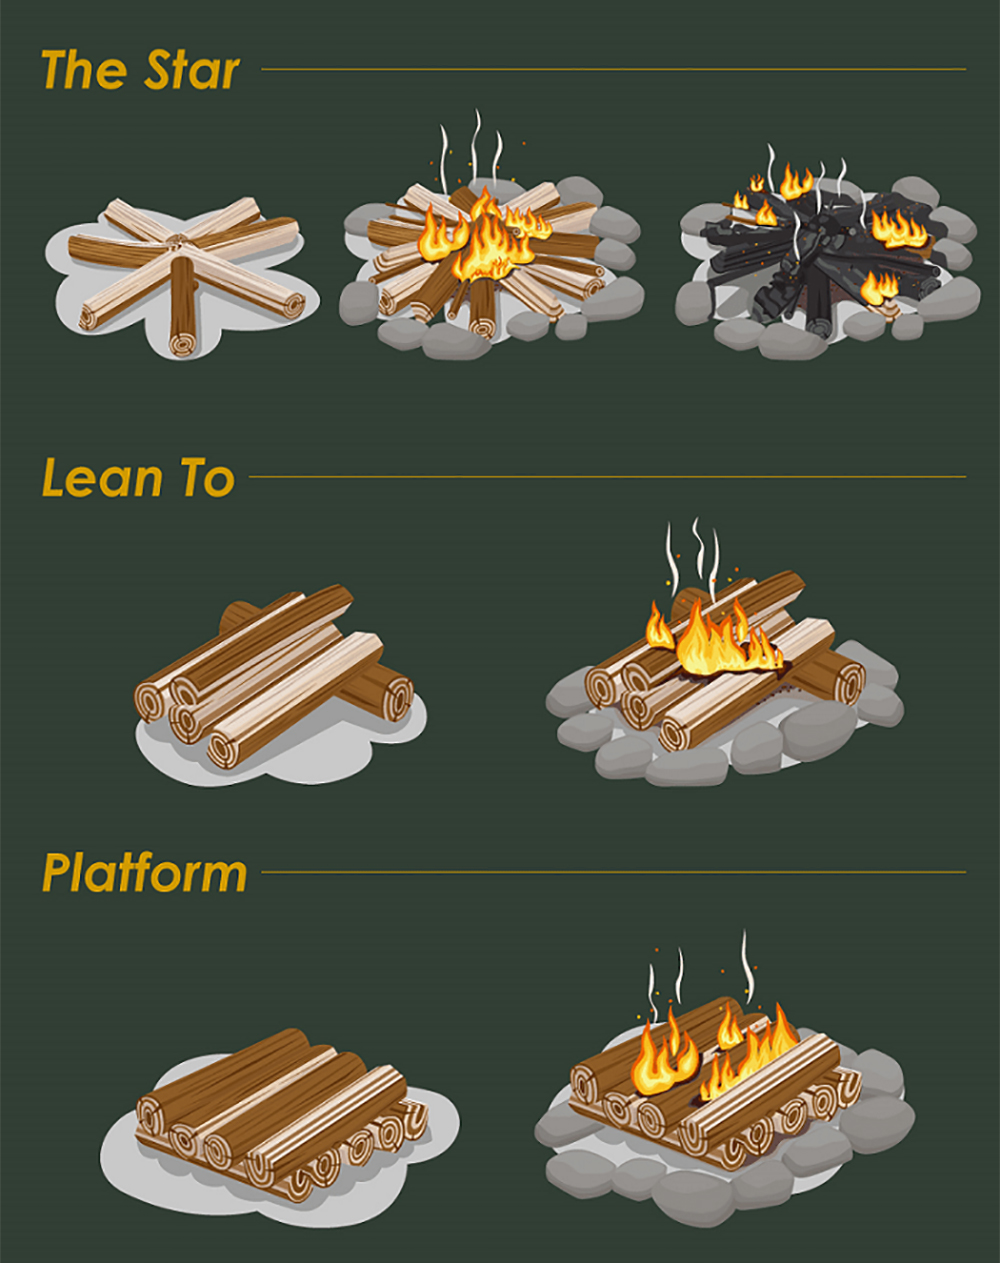
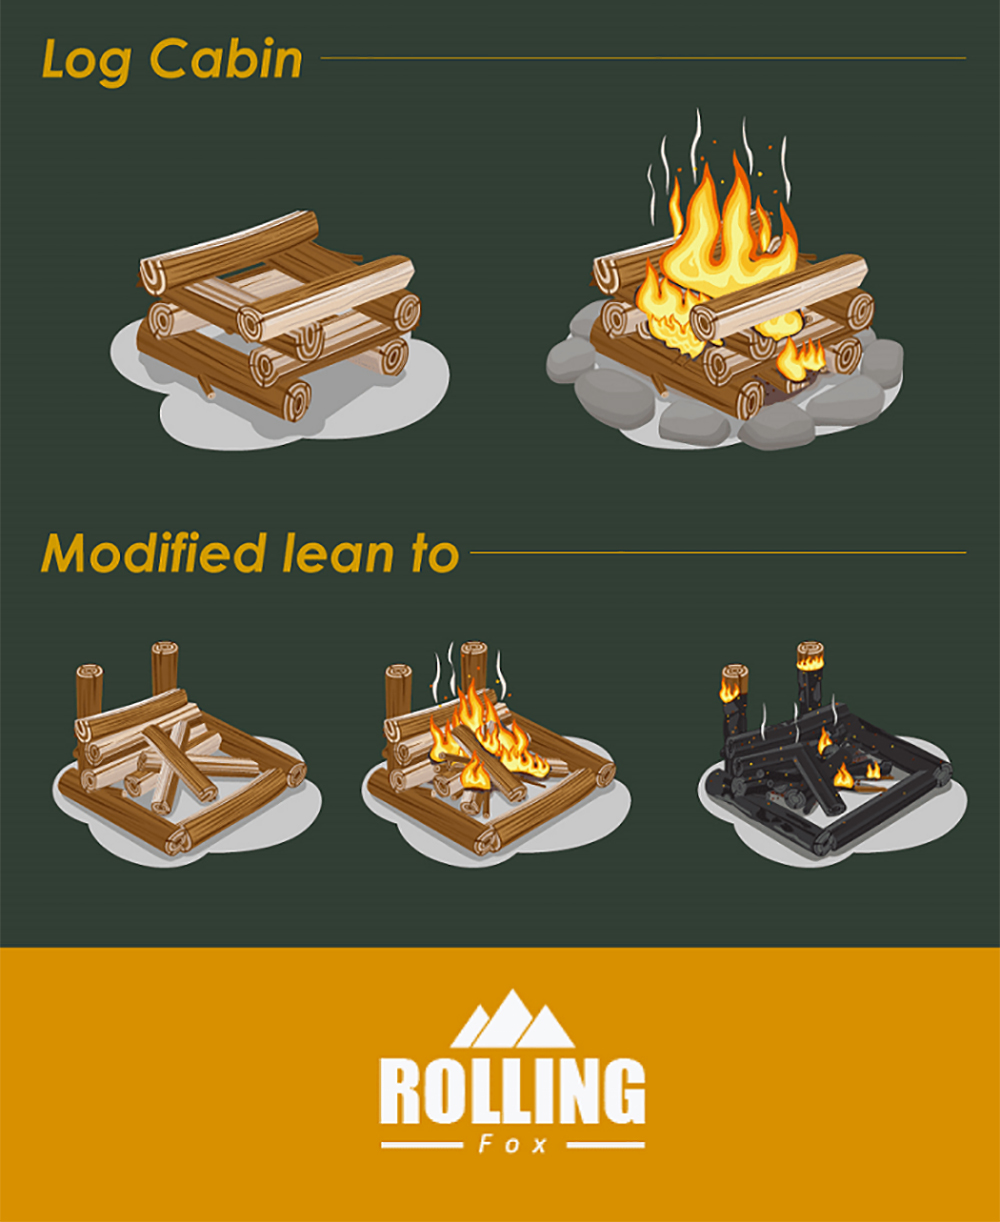
Above: When you think you have enough wood, get more. Fire is life and the psychological and physical effects of losing fire during the night can be devastating.
However, if the idea of an emergency night out is taken seriously, you’ll always leave home prepared for an unscheduled bivouac.
When you’ve determined that creating a bivouac (temporary shelter) is inevitable, you can let emotions control you, or you can control your emotions. Fear in this time-sensitive situation is natural — as is stress. How fear is used will determine survivability. Instead of viewing the predicament pessimistically, you can reframe it optimistically as a challenge previously accomplished. You can use fear to motivate you. With prior training and preparation, you can treat this situation as routine and simply a repeat of past experiences. By testing oneself, the fear of the unknown is taken out of the equation. You have to fall back on your confidence and collective experiences. You’ve done this before — time to roll.
The initial mindset is important in a survival situation, but equally as important is maintaining positive mental attitude. Little victories like acquiring water, creating artificial light, finding something to eat — all of these register on the morale meter. On the flip side, there are little defeats that, left unchecked, can aggregate and become a significant blow to self-esteem.
Determination is a trait impossible to purchase or acquire easily. It’s found through understanding worth, remembering your place in the normal world, understanding the importance of returning to normalcy post-emergency, and assuming those roles left vacant by this predicament. Mindset will carry you through seemingly impossible odds.
Preparedness
Recognition is the first stage of readiness; the next is preparedness. This includes being ready to spend the night out with nothing more than the clothing worn on your back. Each day, countless numbers of people leave their home prepared only for their workday in front of them. Should a situation arise, they’ll lack the first line of shelter defense from the elements.
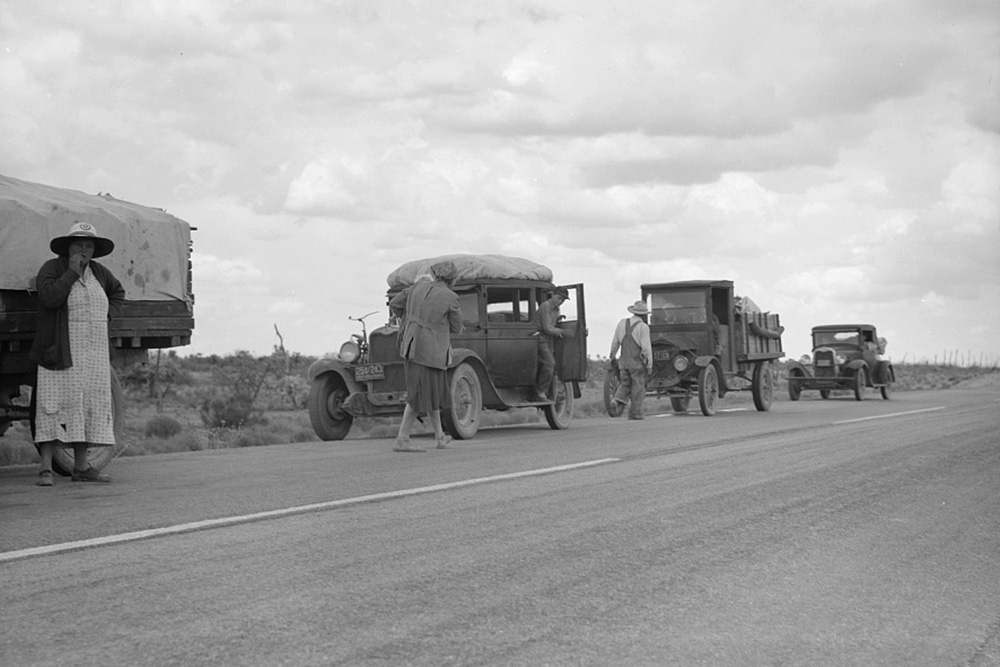
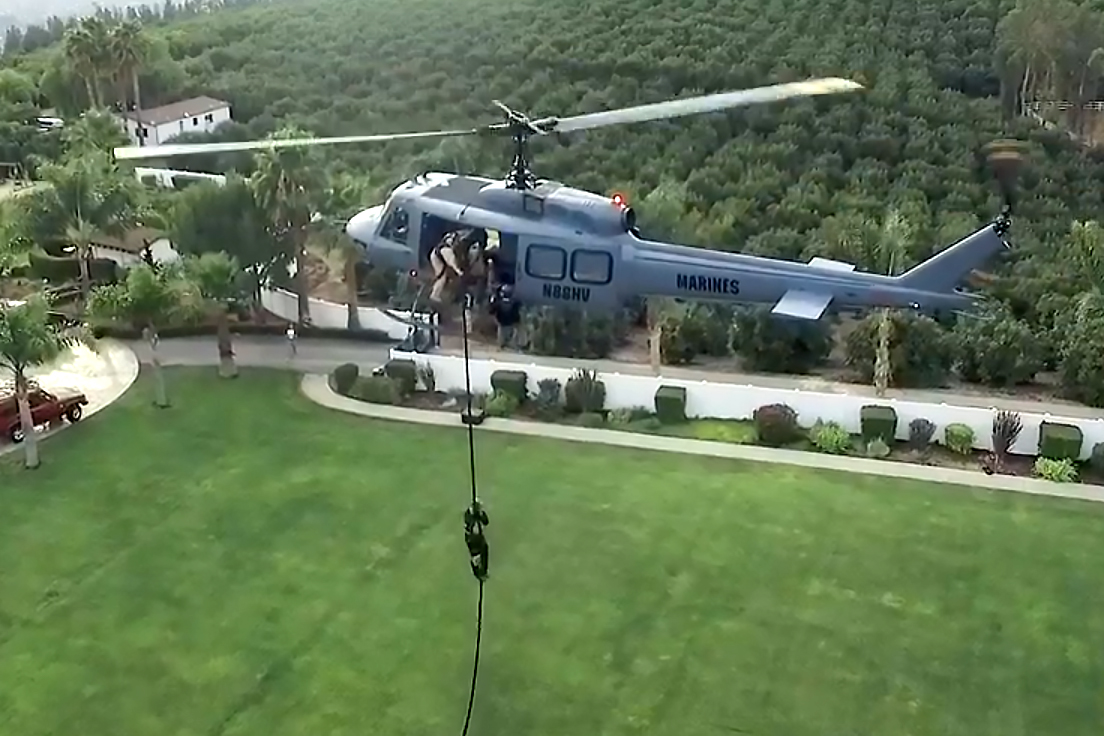
In November 2006, James Kim and his family became stranded in their vehicle in Oregon while driving home to San Francisco. After burning all four tires of the car and rationing supplies, Kim started what would become a 10-mile-plus walk to safety. He never found it and ultimately died of hypothermia. Luckily, his wife and daughters didn’t suffer the same fate when they started to walk to safety days later and were spotted by a helicopter pilot.
The rule of three applies to an emergency bivouac. Since a person, on average, can survive three hours exposed to the elements, one should take steps to extend this time with the right gear. Prior to leaving the house, one should check forecasts for the overnight weather and temperature. This takes a matter of minutes, if that, online or while watching the morning news. It’s a minor habit, but it’ll allow you to plan accordingly.
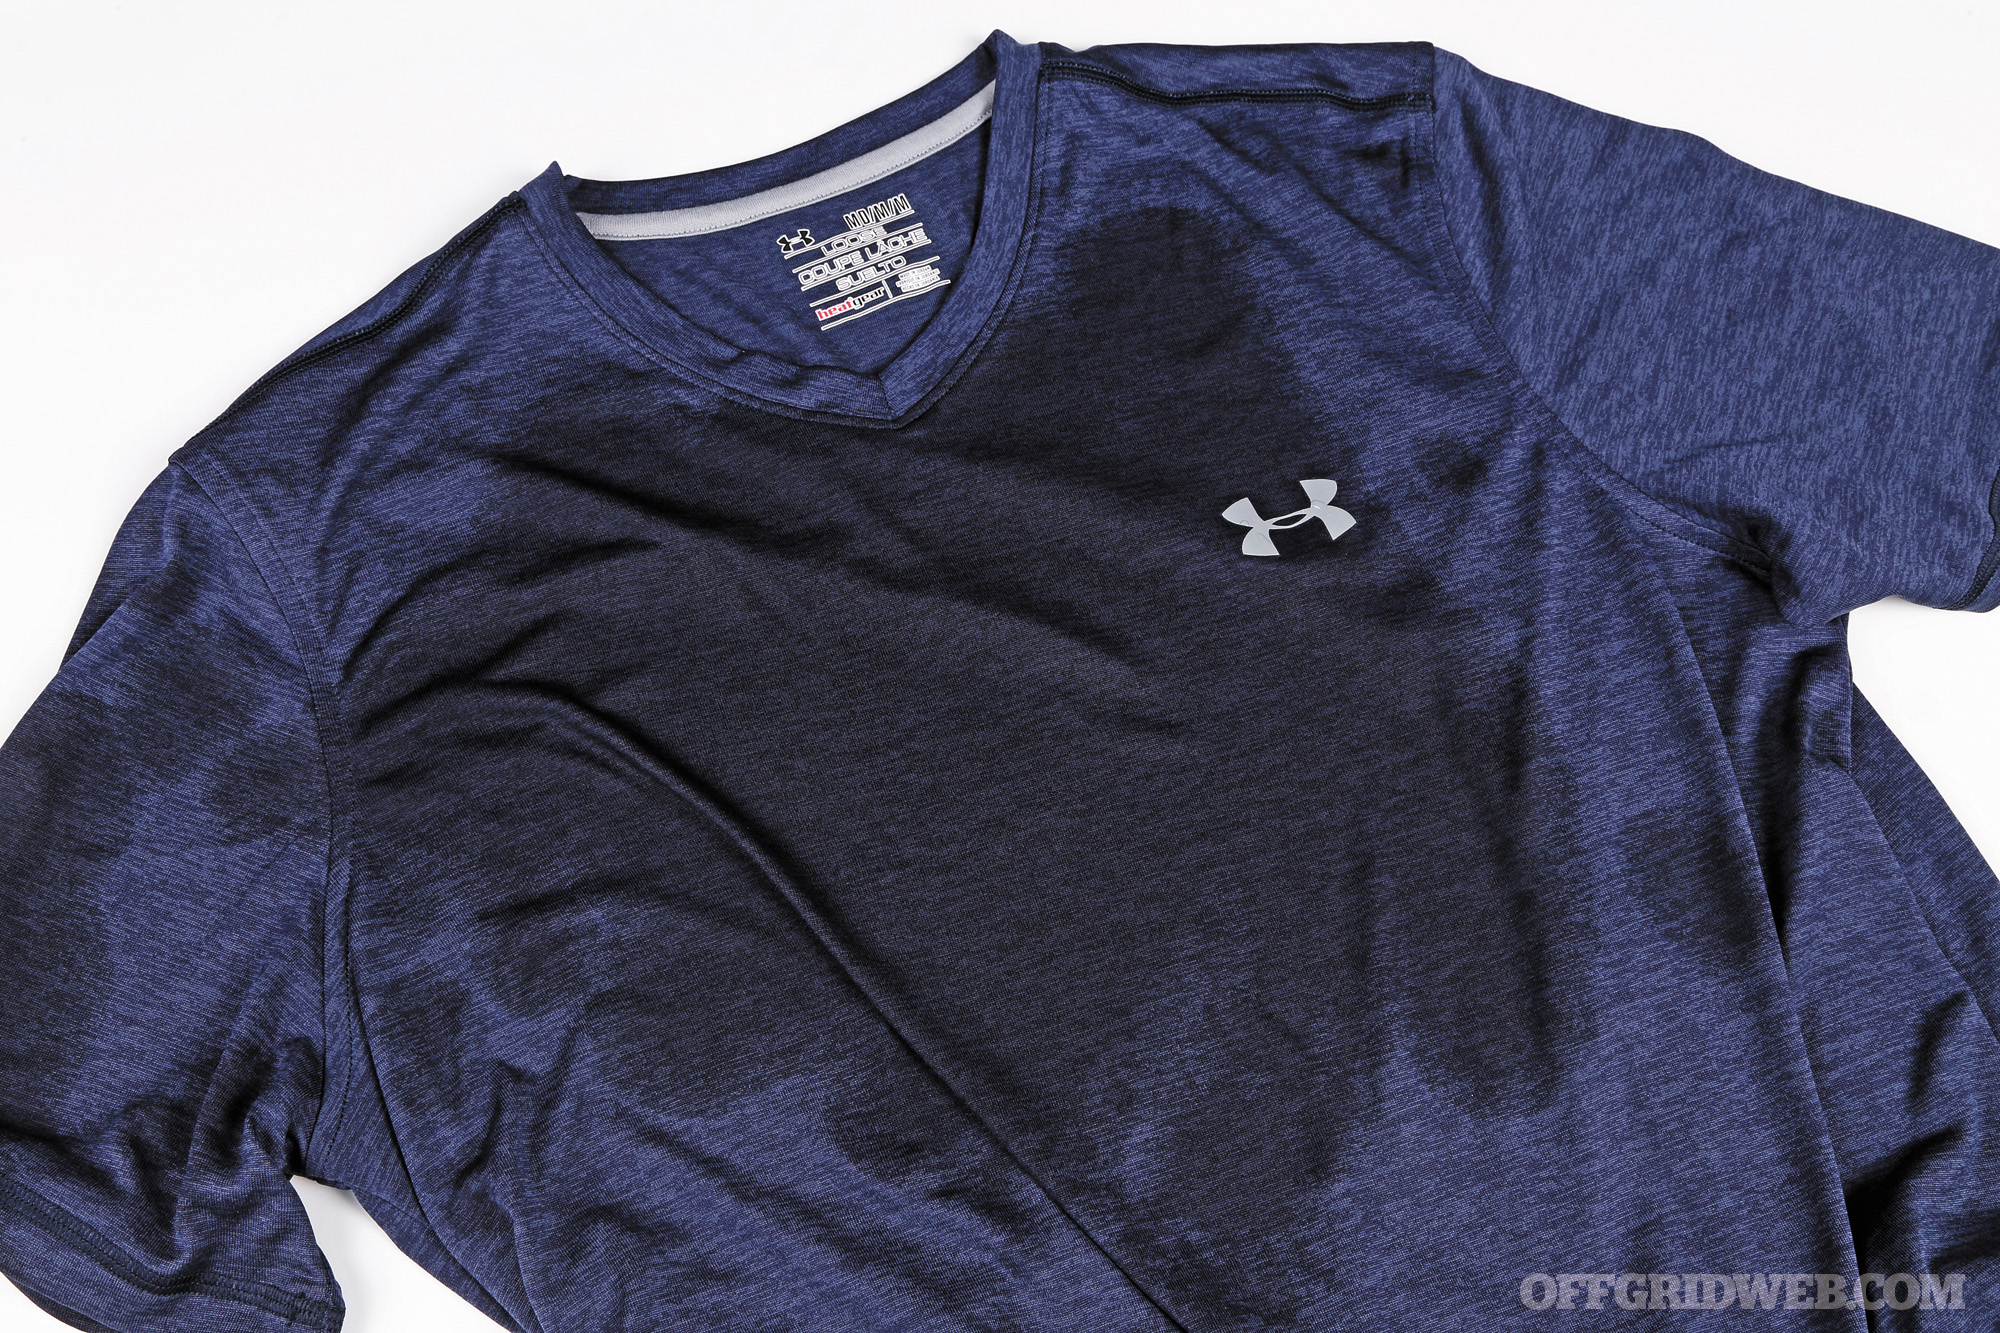
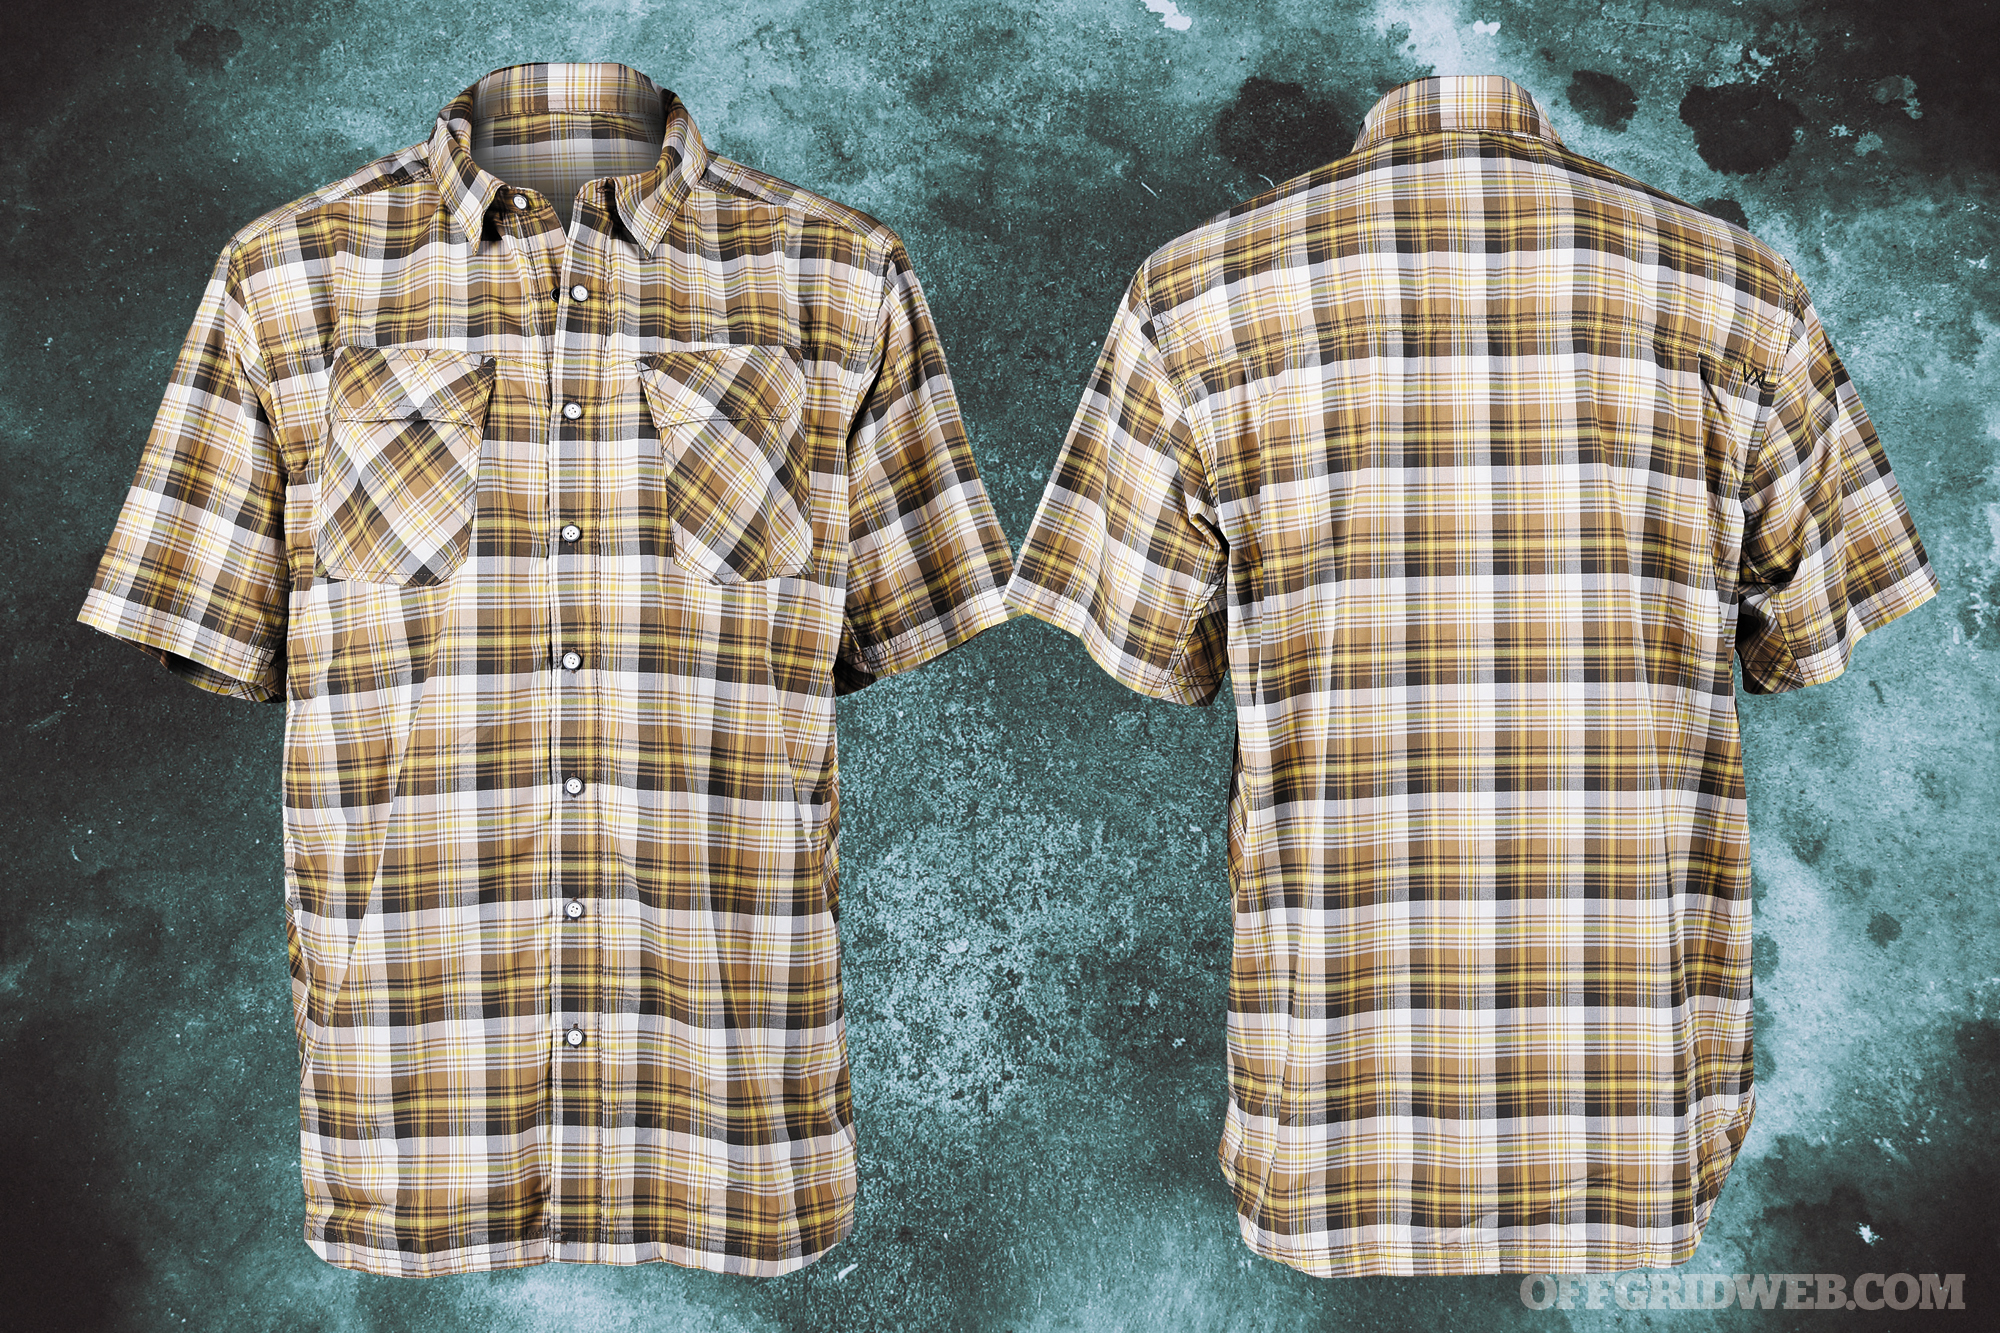
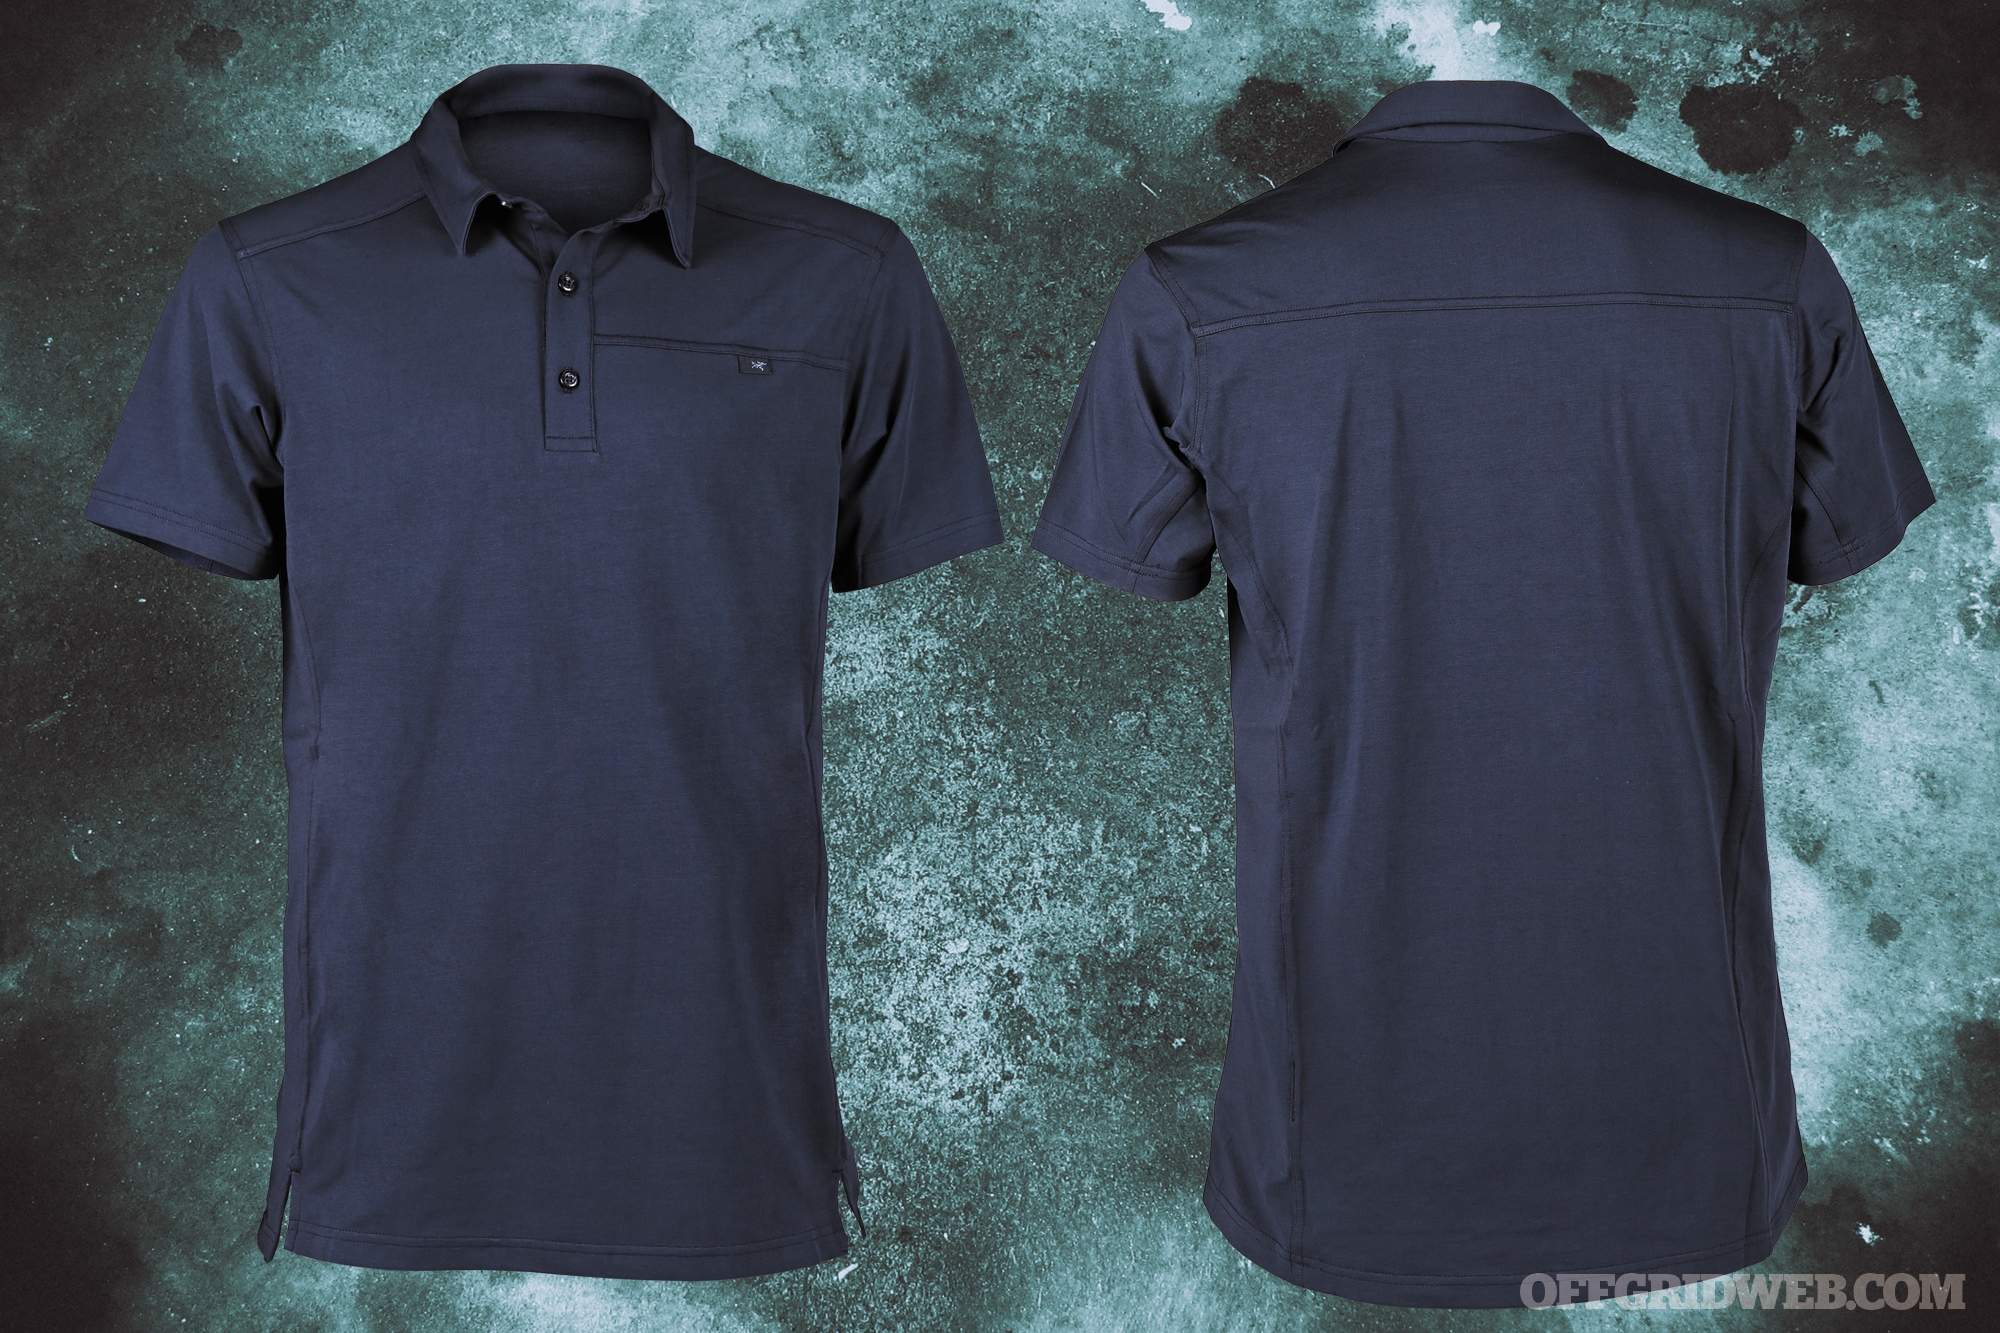
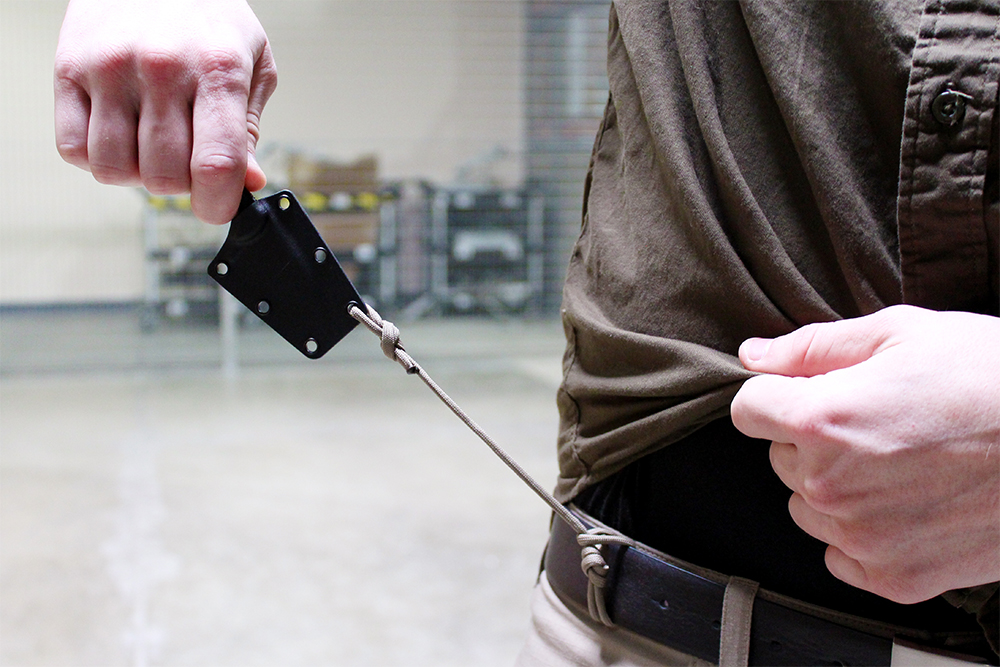
Clothing: At the very minimum, an exterior layer should be worn or carried. This protective layer can be worn on its own, or additional insulation material can be stuffed between it and your body. The exterior layer should also include a head cover. Also, this cover can provide some protection for vulnerable exposed skin.
Depending on the time of year, these layers will vary based on the amount of insulation necessary to stay warm. The style of clothing worn should blend in with normal attire if you want to adhere to basic gray-man principles. In other words, wearing Mil-spec parkas in a sea of business suits may cause additional eyes on you when a large wool overcoat will work equally well.
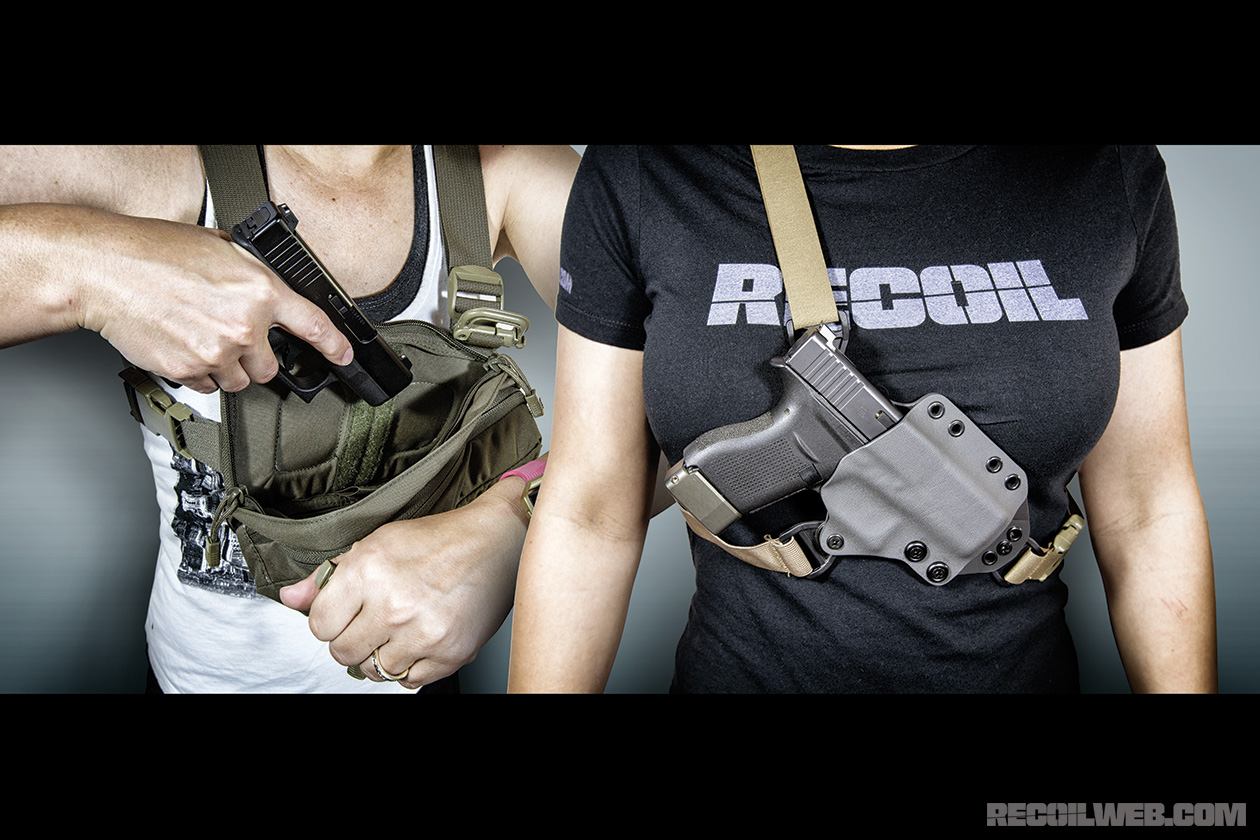
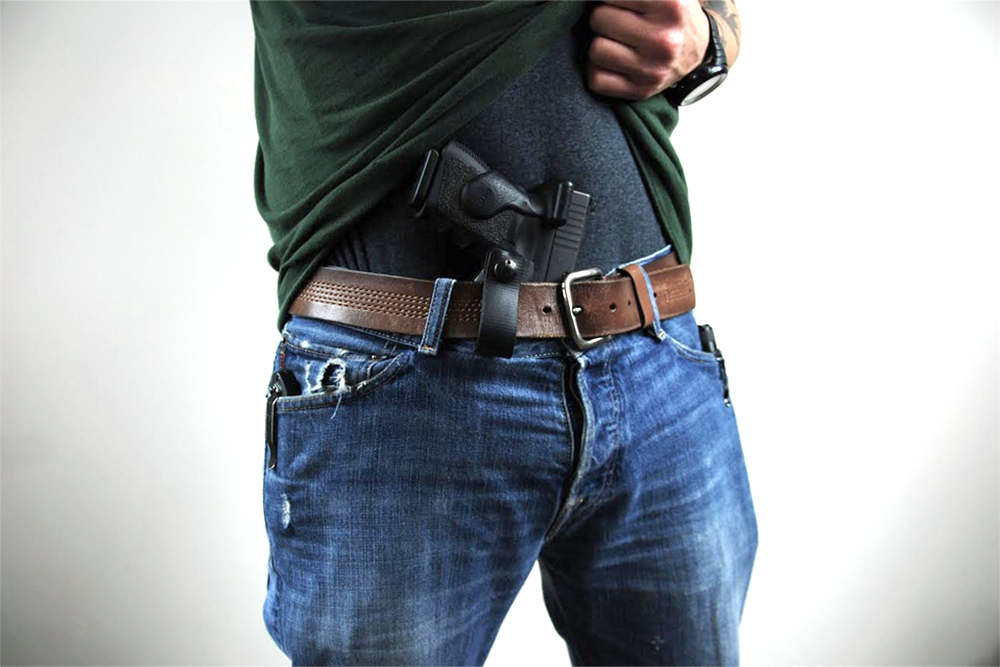
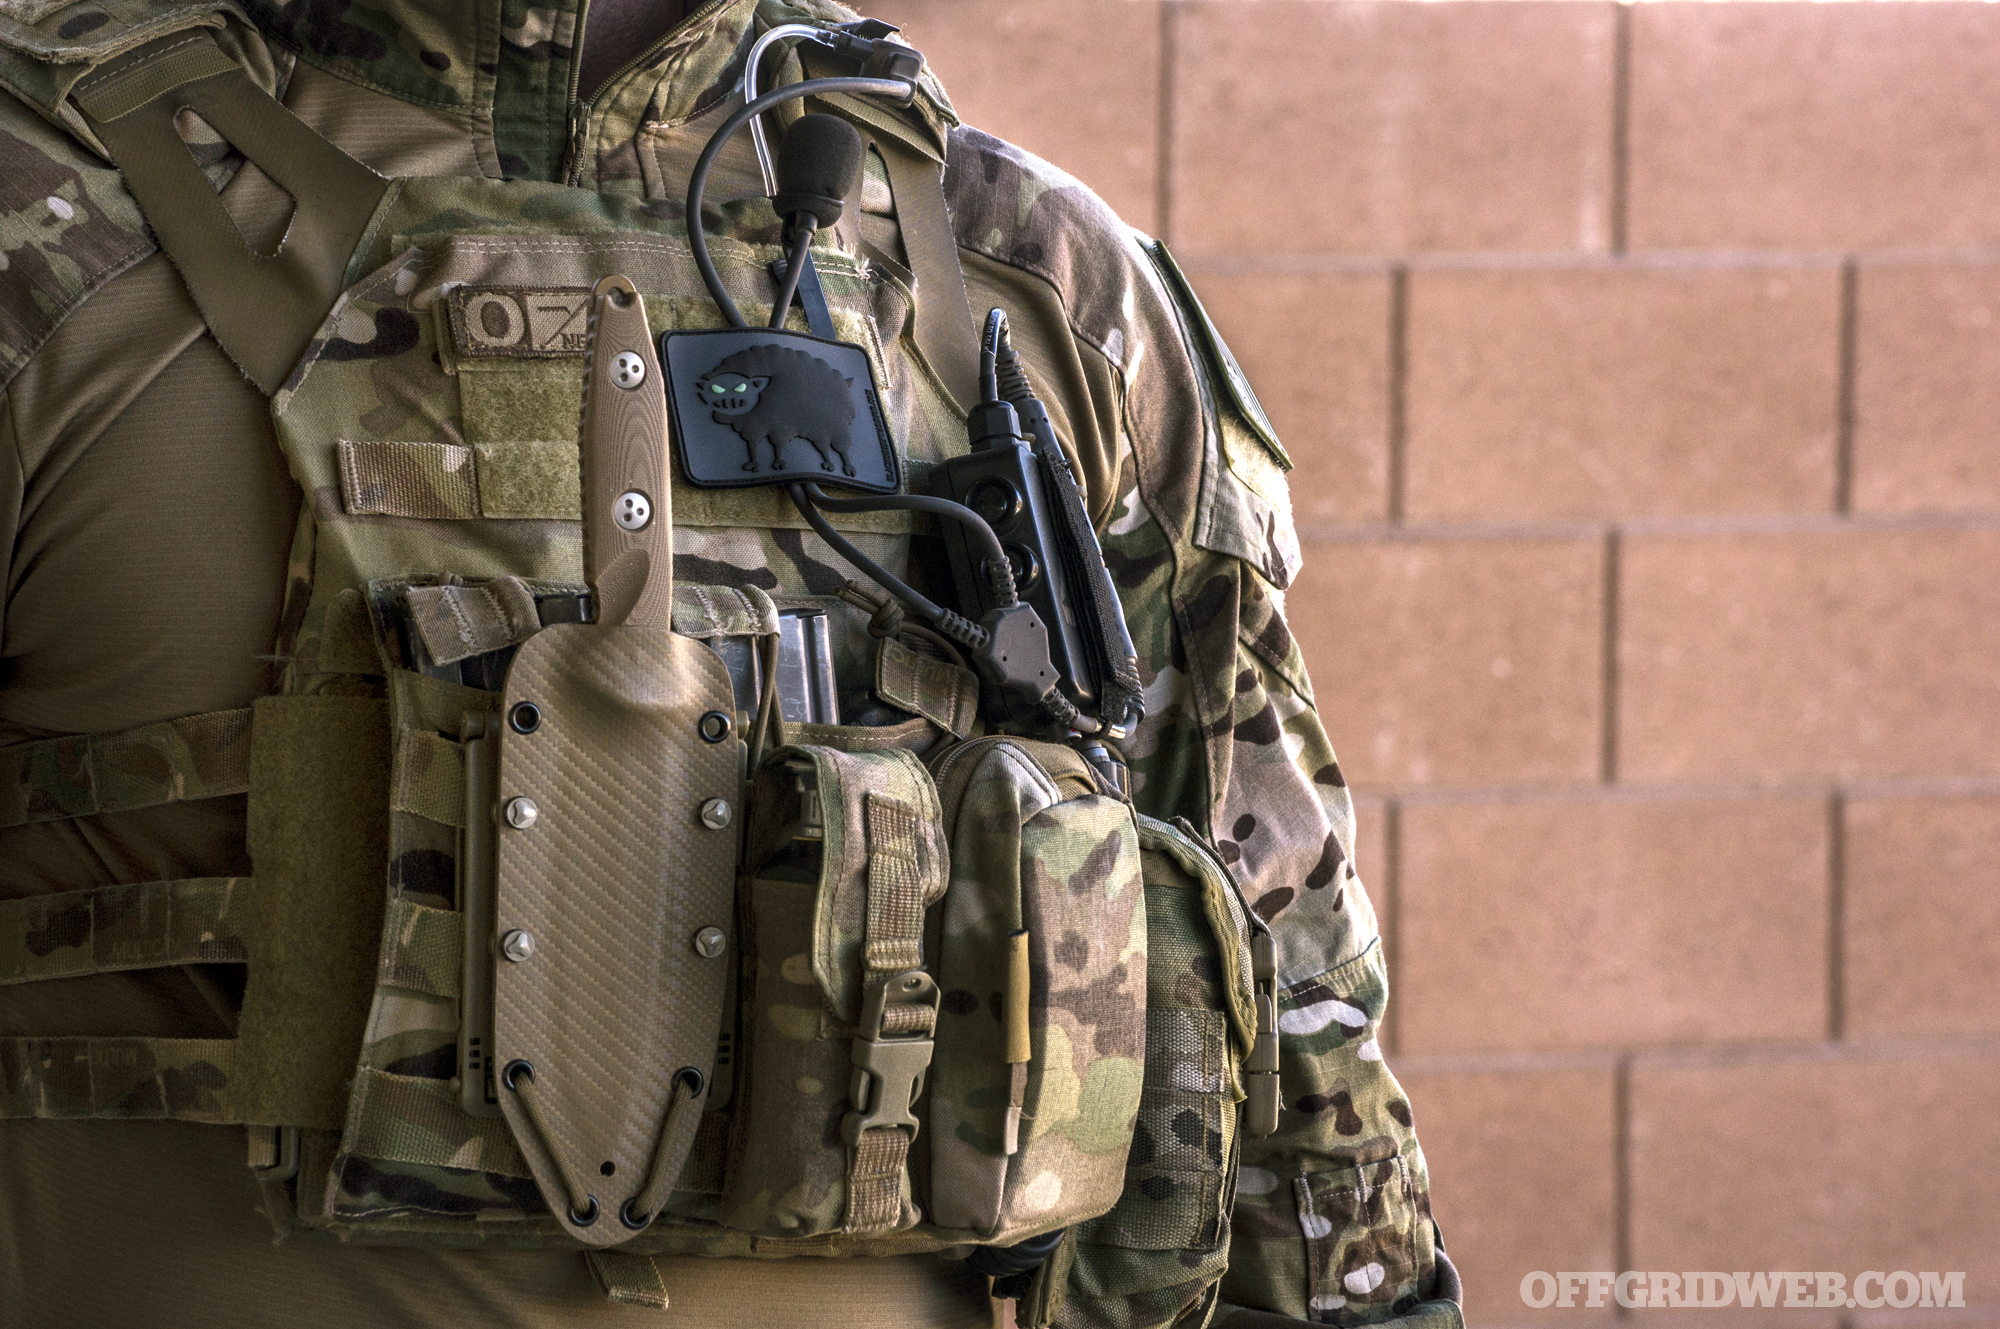
Fight Night: As you’re trying to survive, wild animals in the woods or the criminal element in the city are looking for prey to eat, rob, or maim. It’s never a bad idea to be ready for a fight.
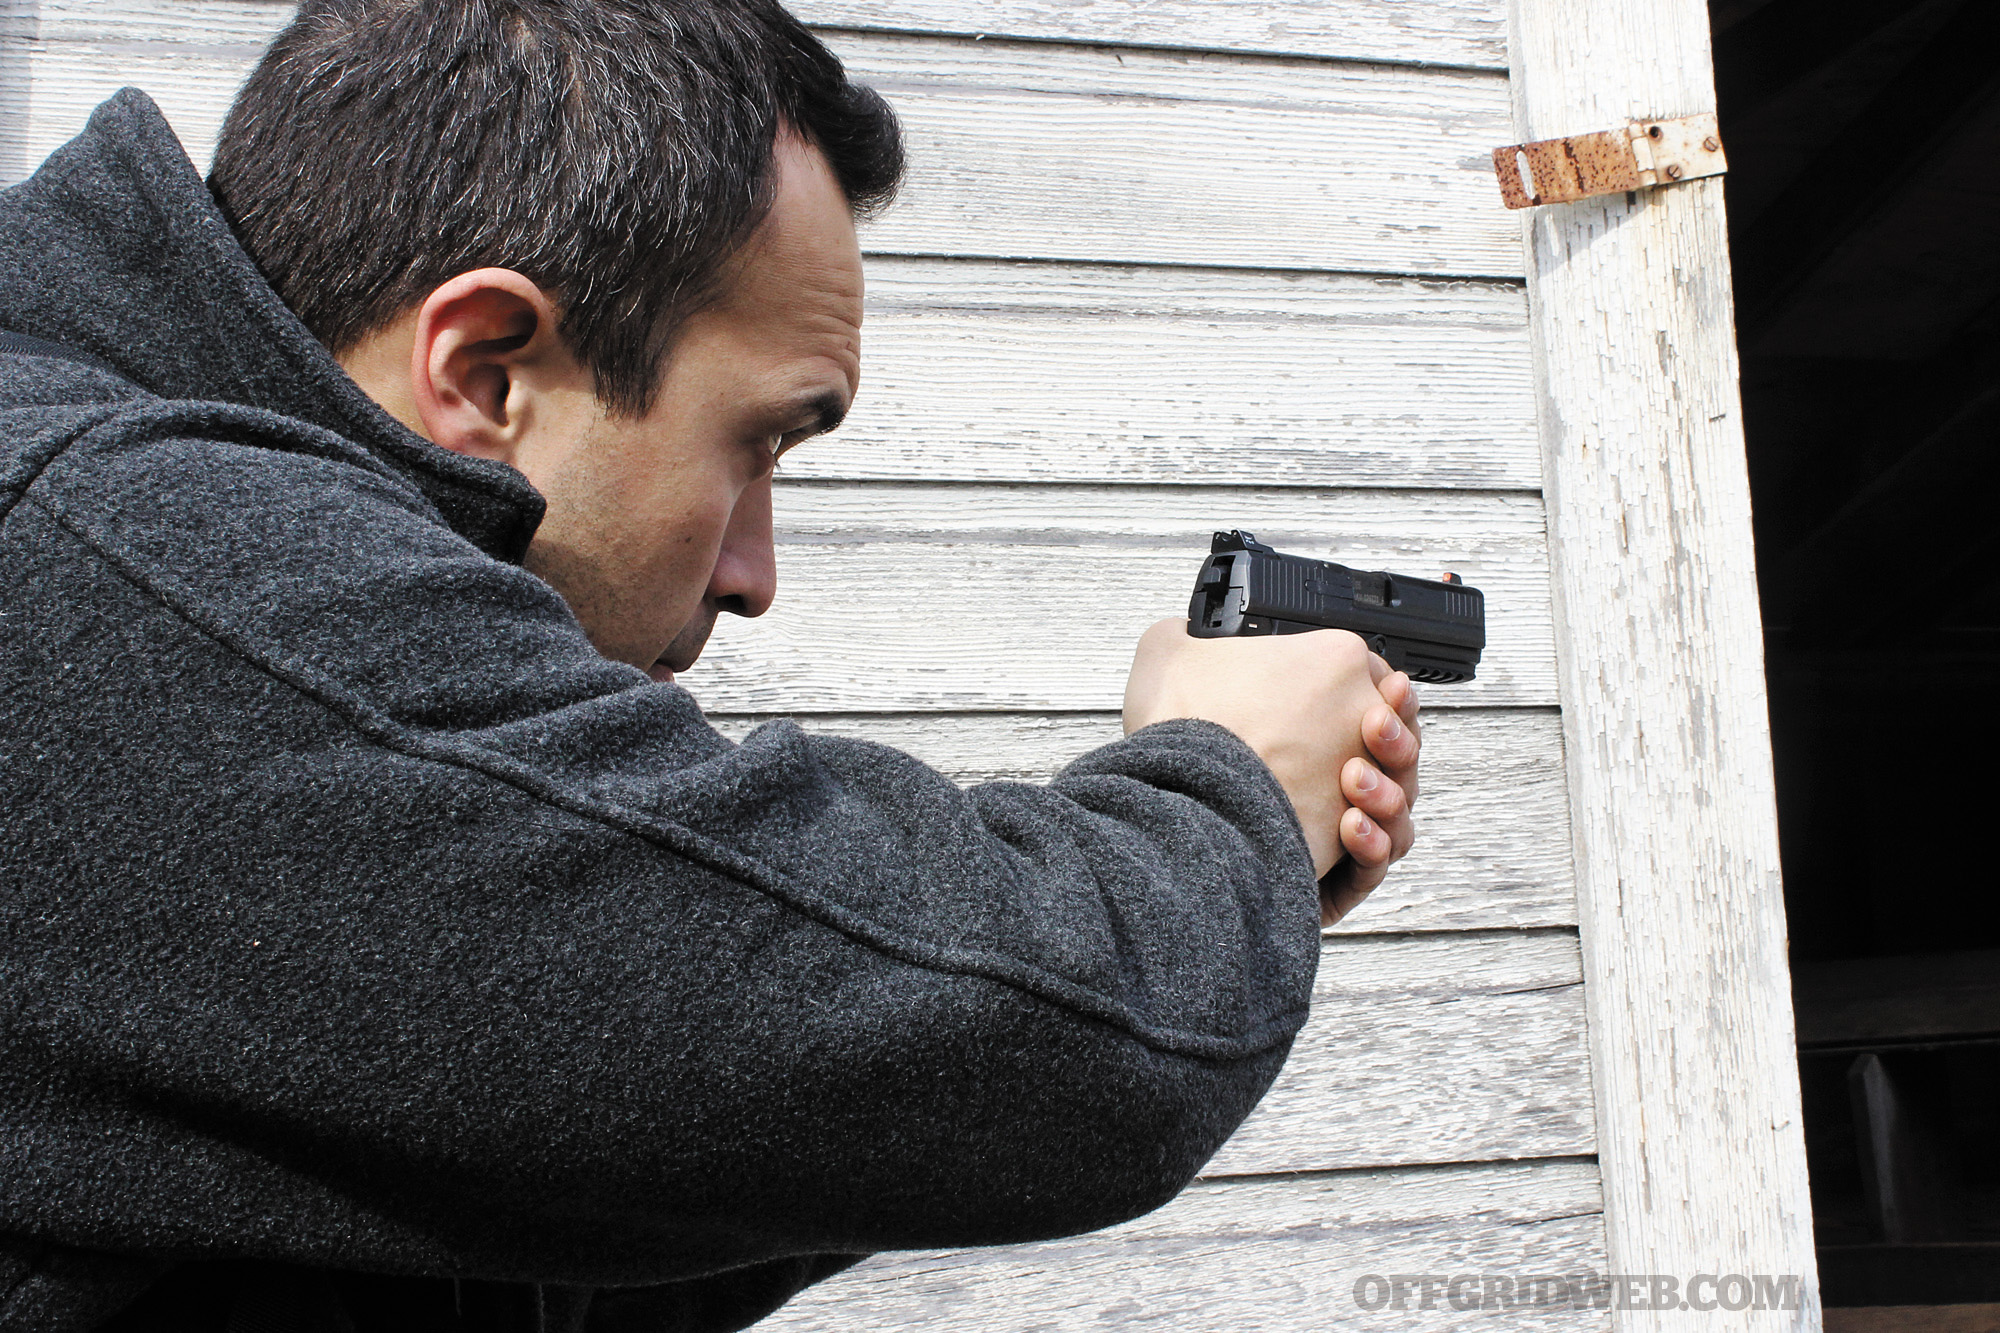
For this reason, a pistol with night sights will help you acquire them in low-light conditions. They alone won’t help you see better, which is why you should have a good weapon light and/or hand-held flashlight. Should you be without a firearm, you can always use your blade to fashion a thrusting, striking, or throwing tool from the woods or materials usually found discarded.
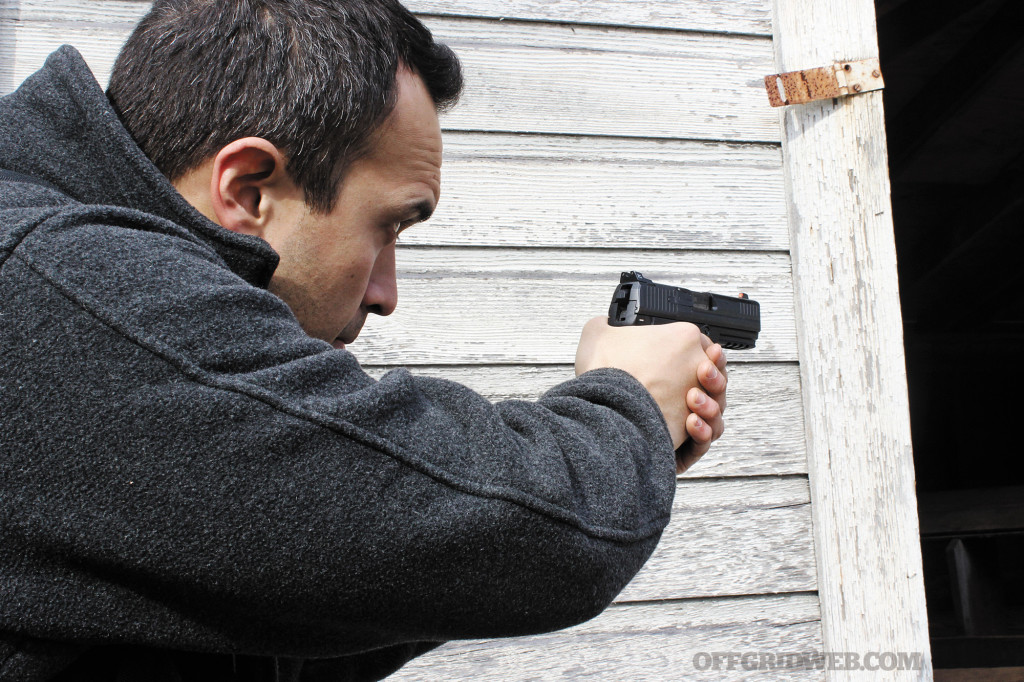
Above: Have a handgun? When low-light conditions set in, you’ll be better prepared with night sights, such as these Trijicon HD Night Sights, to acquire your target faster. A flashlight is also a must. Should you seek shelter in an abandoned building, you may not be the only one to consider the structure home.
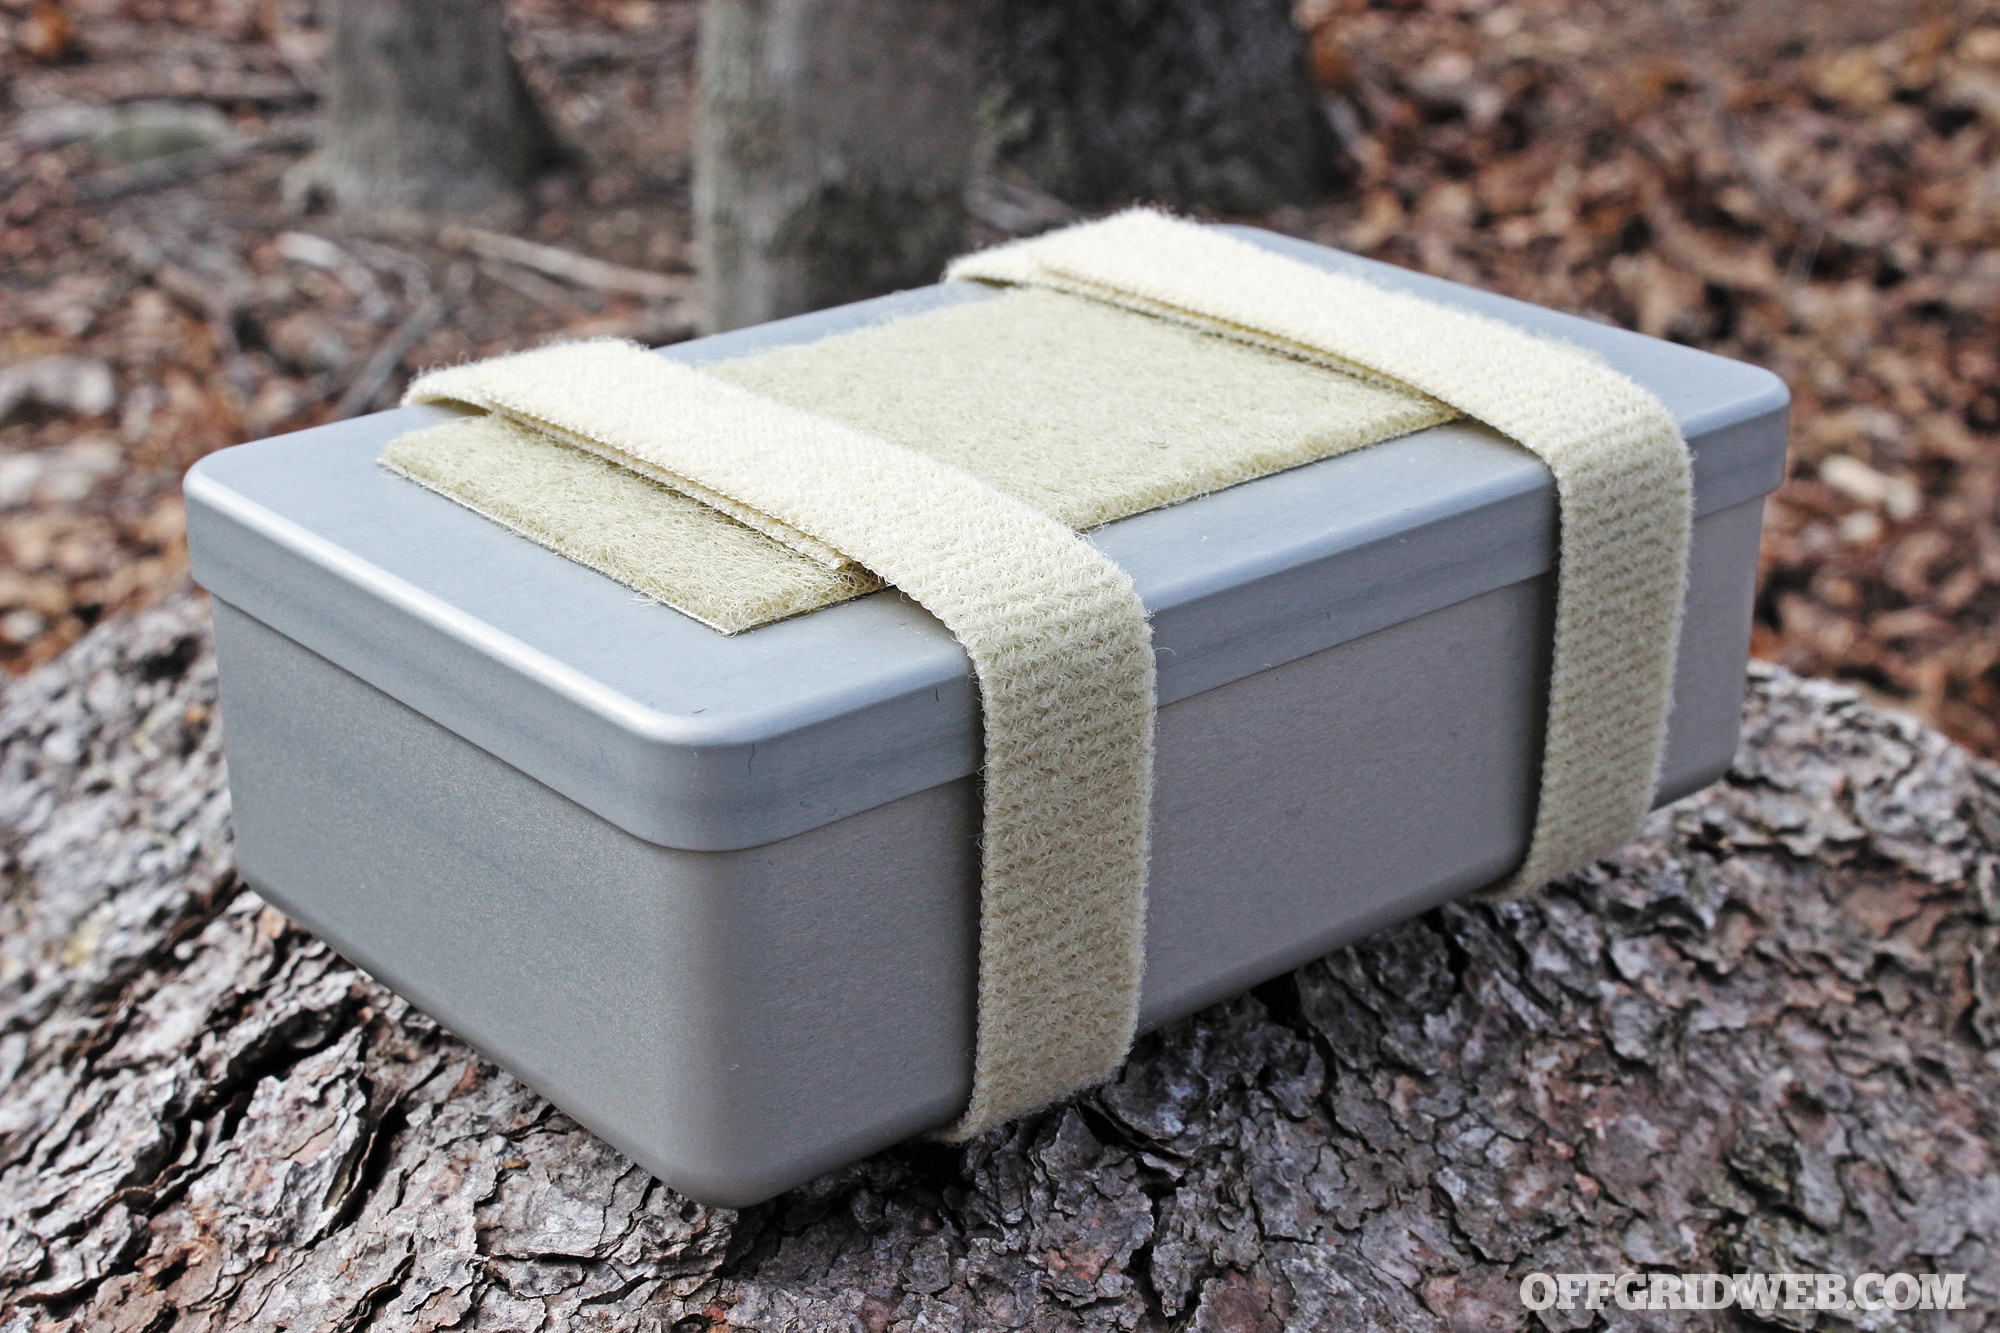
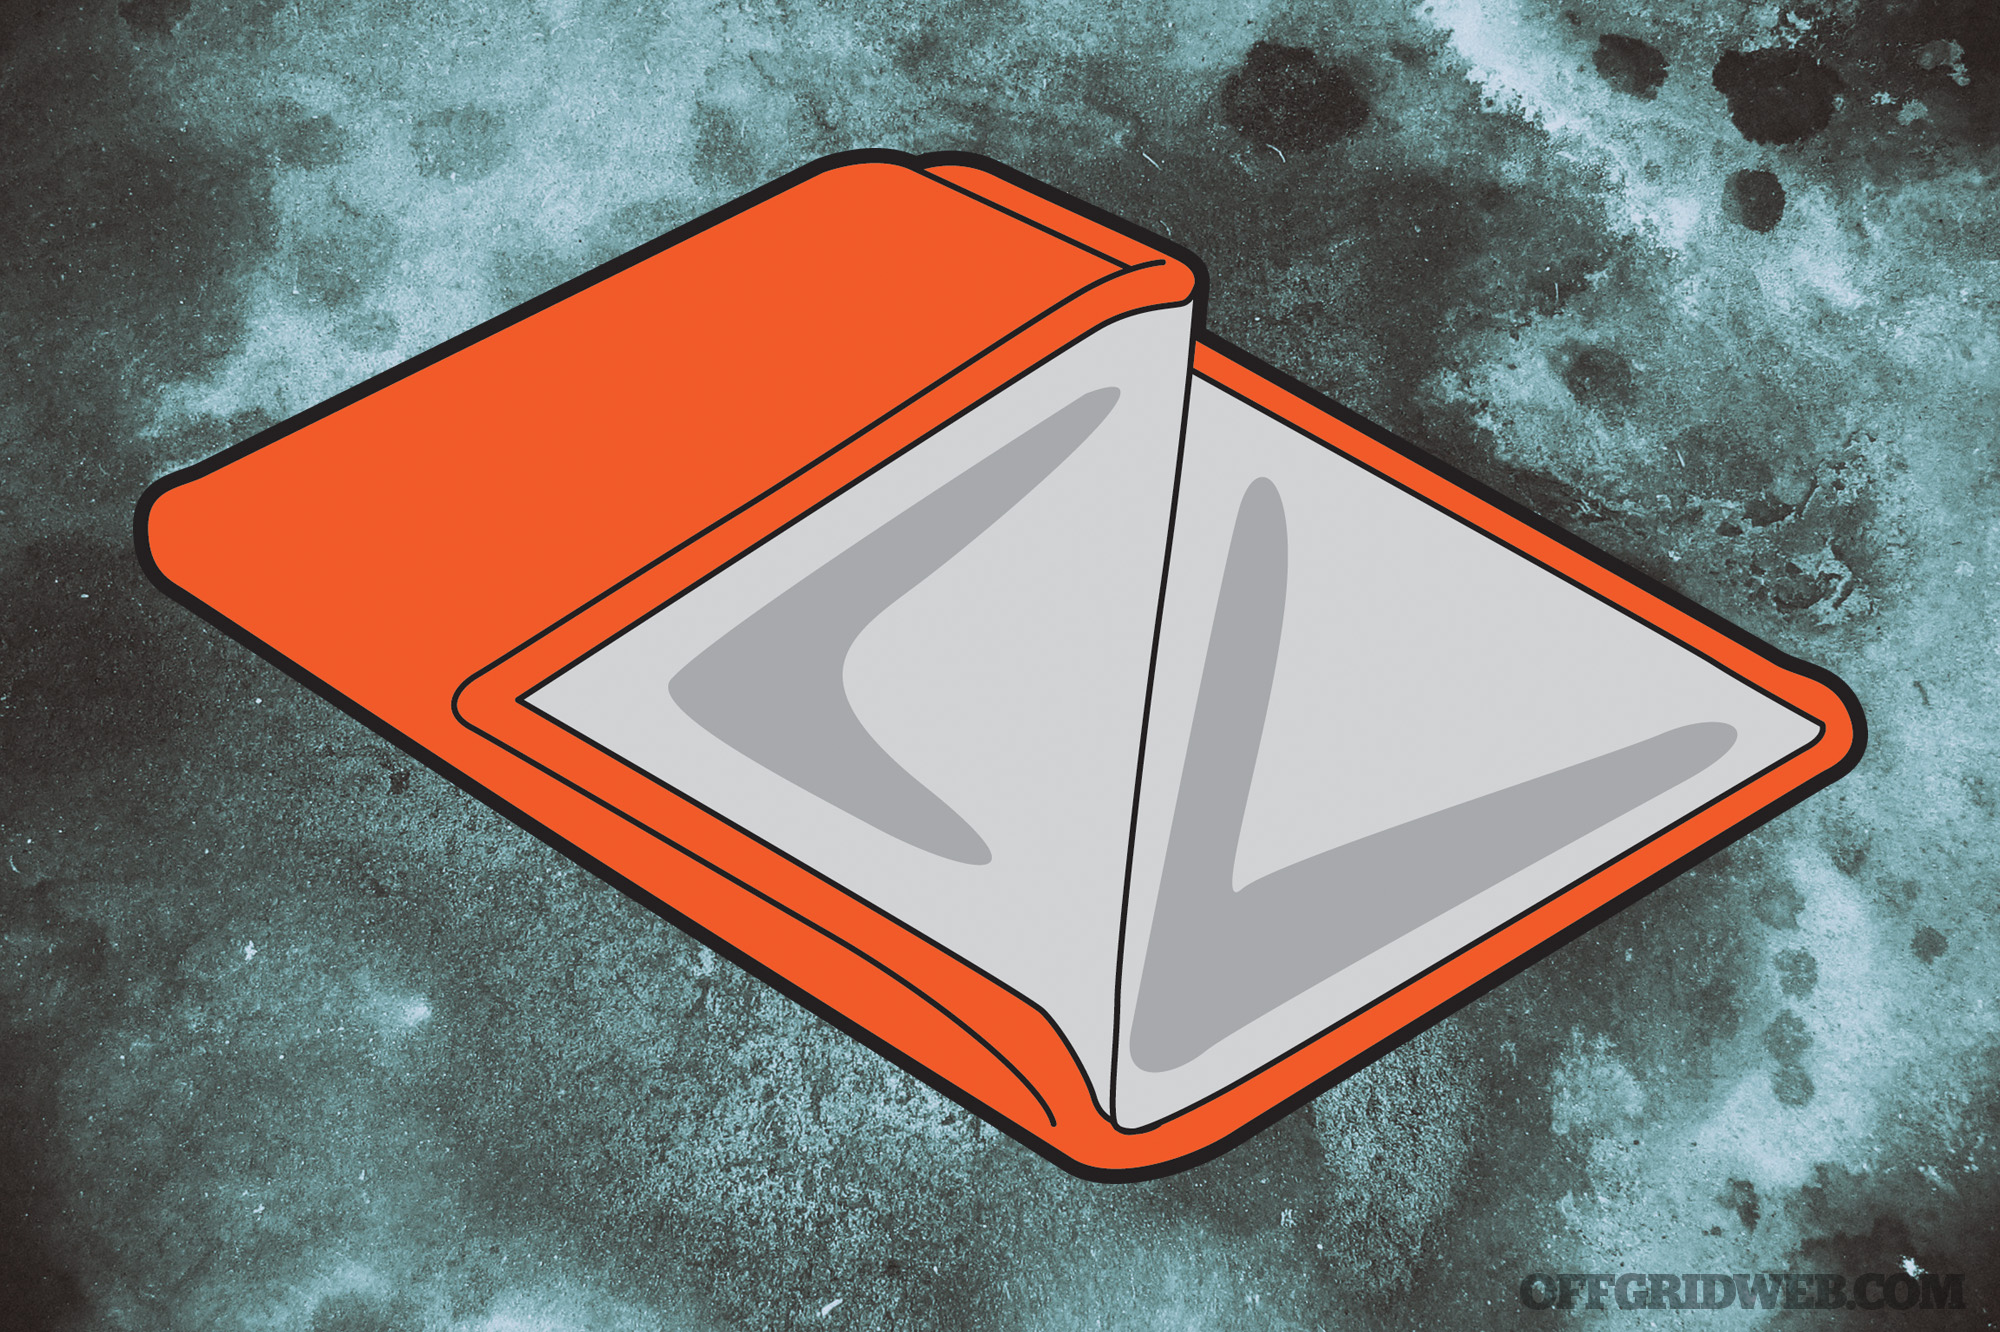
Two is One: Once an emergency kit is assembled based on realistic needs, it should be carried religiously. A second kit should then be created identical to the first, which should be practiced with. Whenever a kit is assembled such as this, the prepackaged emergency items (such as emergency blankets and ponchos) are generally unable to be taken out, used, and refolded or packed to the same size as the original dimensions. Also, some items shouldn’t be consumed for practice if they’re meant for single-emergency use only, such as candles. By having a second kit, the inclination to avoid using essential gear is taken away. Testing out the limits of the secondary kit will determine if the primary requires upgrading and adjusting.

Above: One of the best emergency kit containers available is the SUMA Container from SOLKOA Survival Systems. Emergency kits can be purchased pre-made, but they should always be customized to the individual.
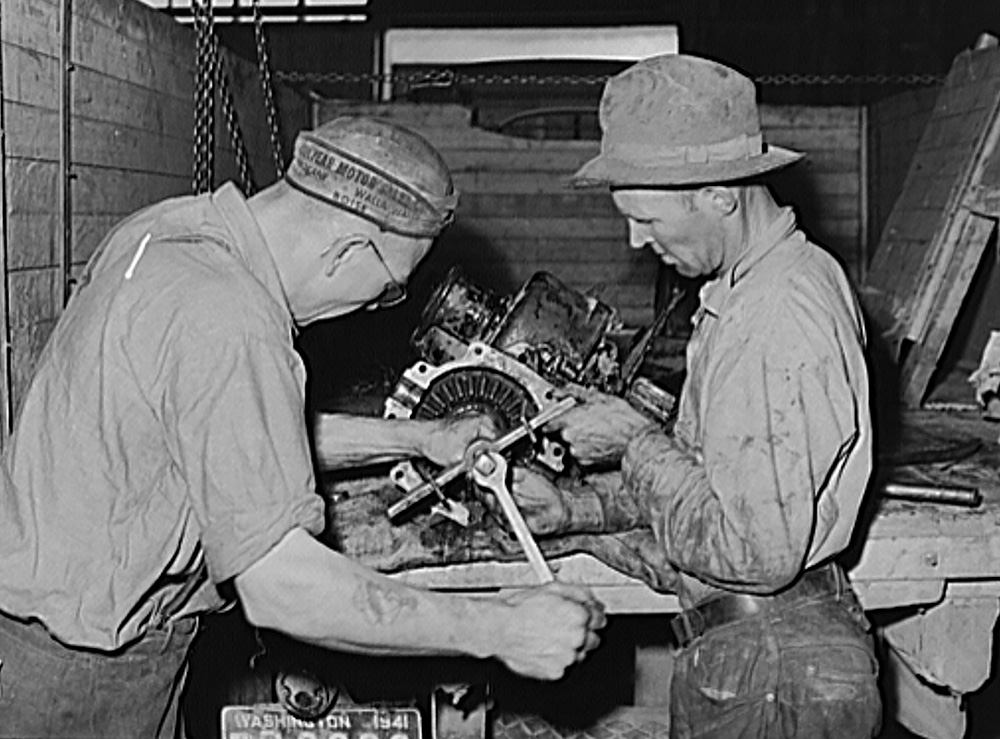
Prep Your Car: If a vehicle is driven on a daily basis, it should be prepared with the same intent. A vehicle should always be equipped with the means to process firewood and get a fire started. A fire alone can warm the body directly, with rocks heated, covered in a protective layer of cloth, and tucked under the arms or placed by the kidneys. Ideally, a sleeping bag and pad should be carried as well. But carrying gear means nothing though if the survivor isn’t prepared or trained to use it.
Training
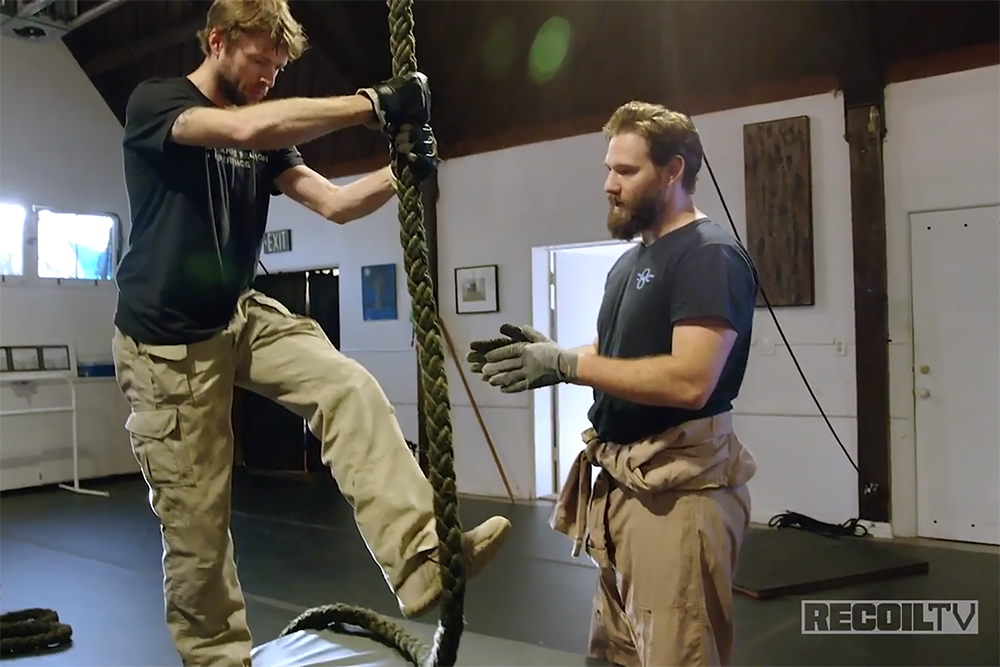
Surviving the night requires skill, and skills come from training. Before an emergency, it’s wise to train in controlled conditions. This starts in a known setting like your backyard or a public space. While it’s impossible to duplicate the actual conditions of an emergency, training should be considered real. By working in a controlled setting, you can push the envelope of stress and difficulty while having the ability to “tap out” and move to safety. The more you’re willing to work outside your comfort zone, the easier it’ll be when the reality of an emergency sets in. Train hard now so the fight of your life will be easier later.
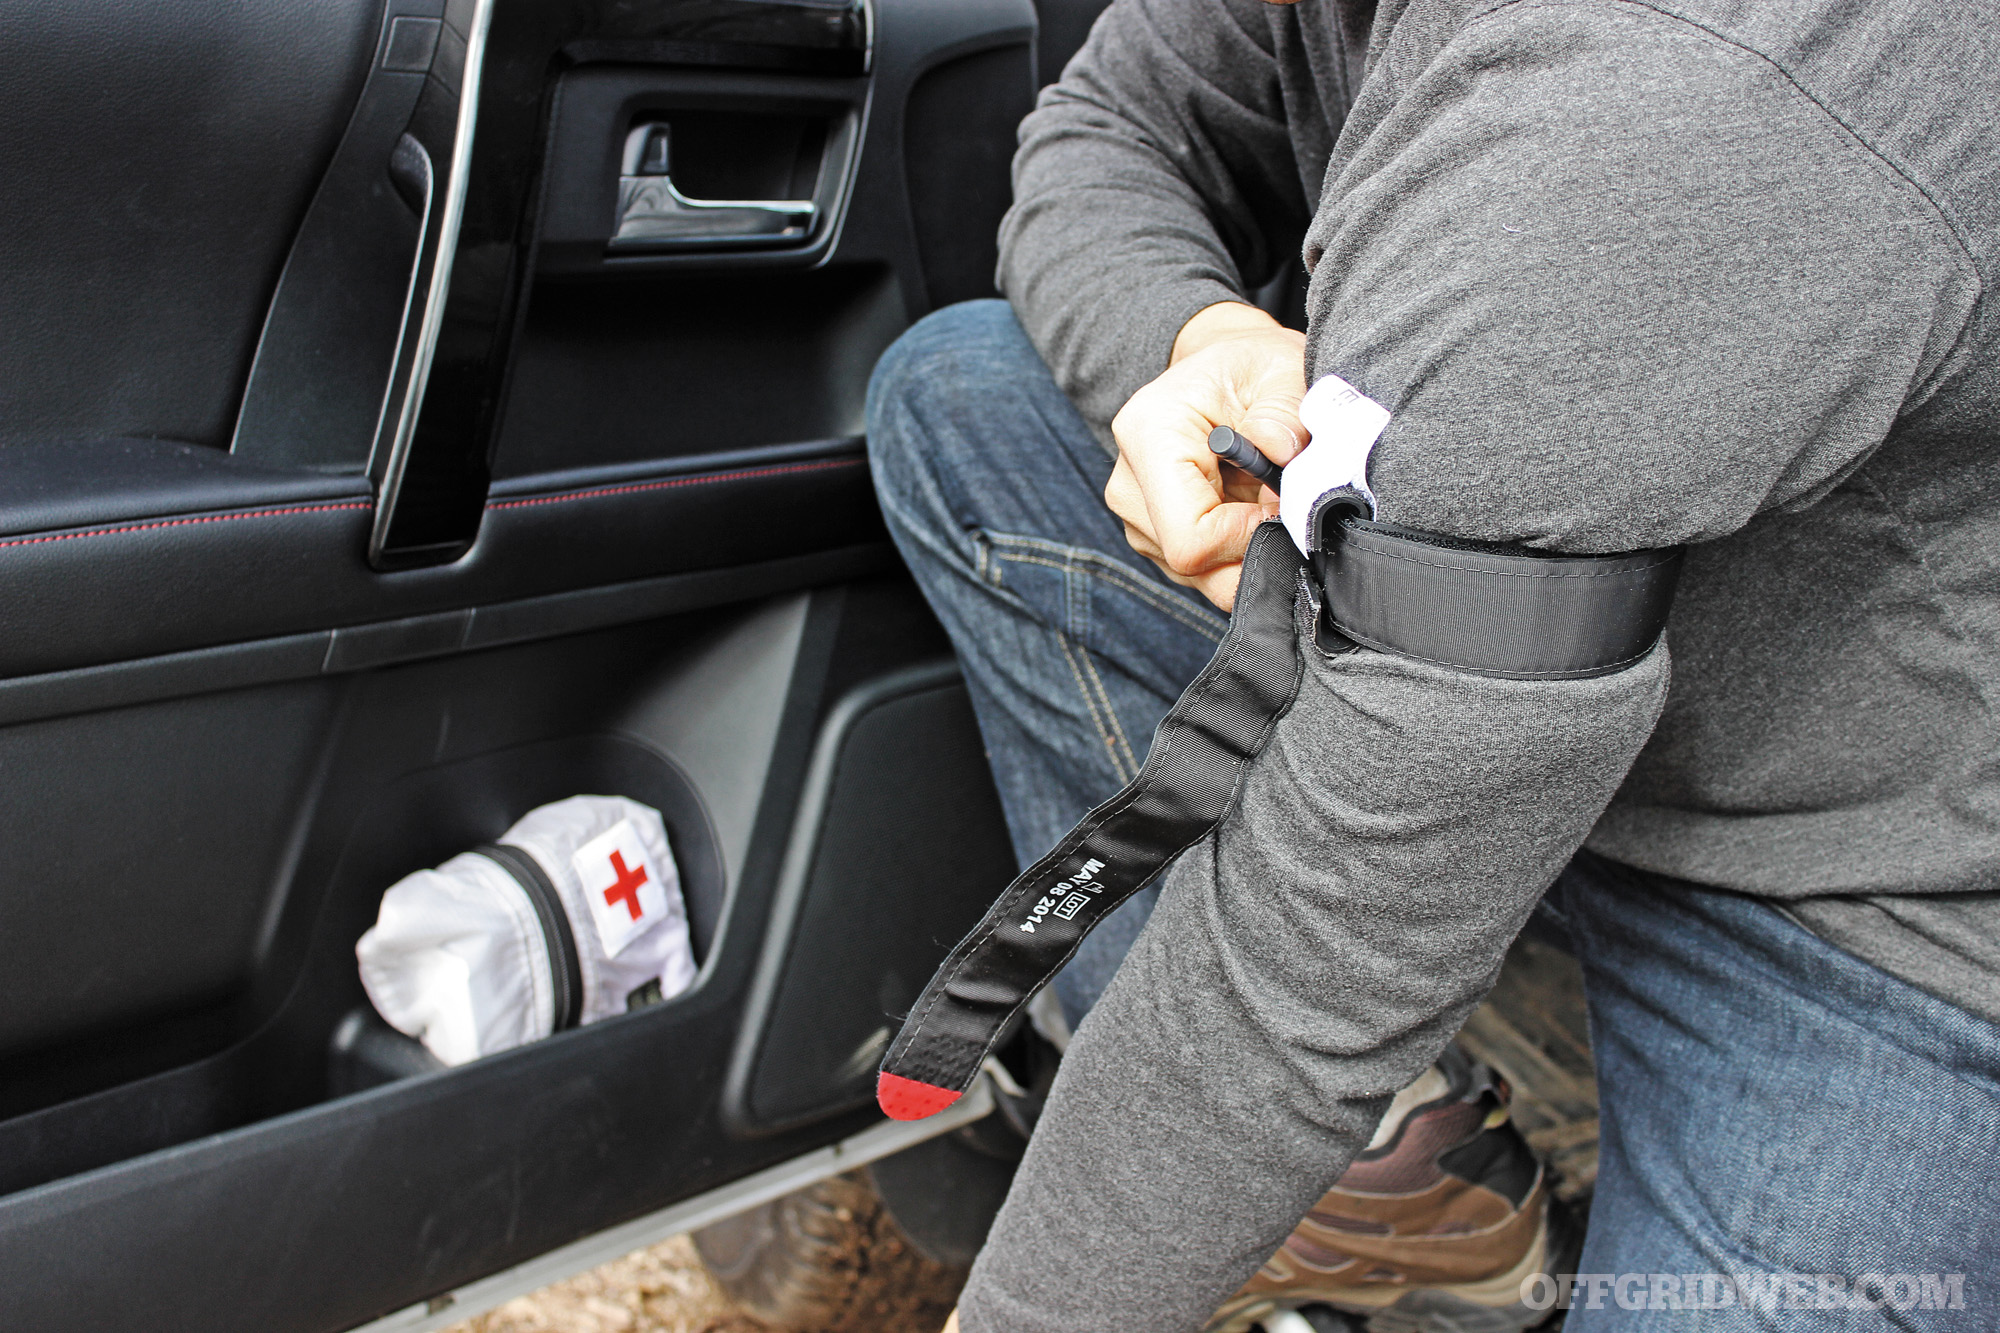
First Aid: Since many bivouac situations stem from medically induced emergencies, it’s important to train in first-aid and trauma techniques. Administering self-aid is critical, and an often-overlooked skill is self-administration with only one working arm. Assuming you’re in the driver seat of a vehicle that goes off road and crashes, it’s difficult to avoid bracing against the steering wheel. Hand and arm injuries are likely. Can you apply a tourniquet with your strong hand? Your other strong hand? Learn to take care of your health as it may be the first survival need you address in an emergency bivouac.
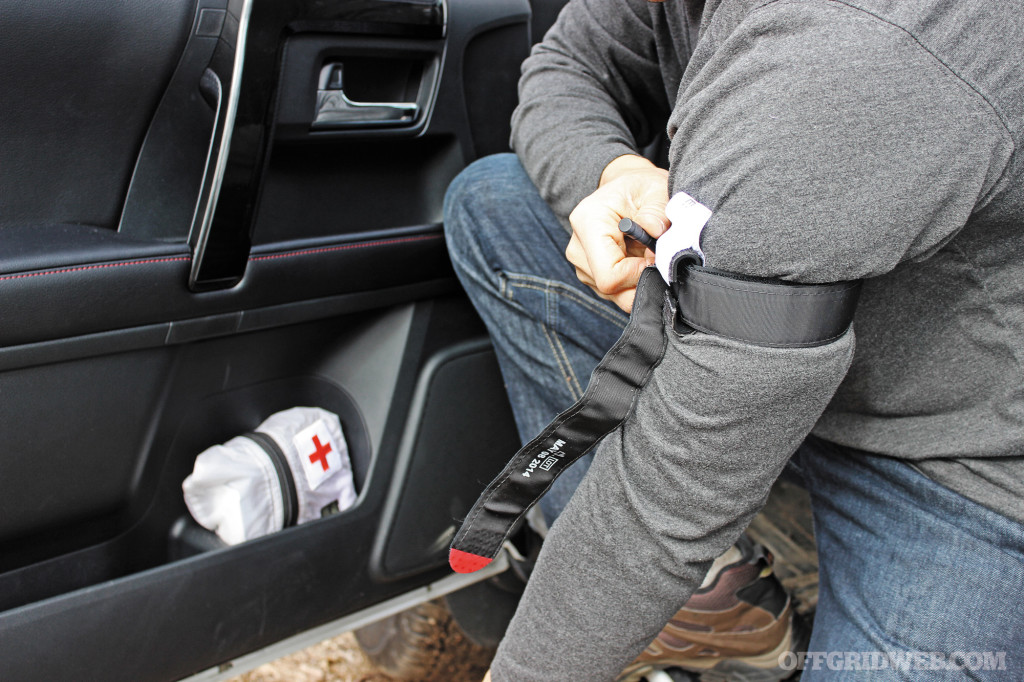
Above: You have first-aid training? Great. How about self-administered first aid?
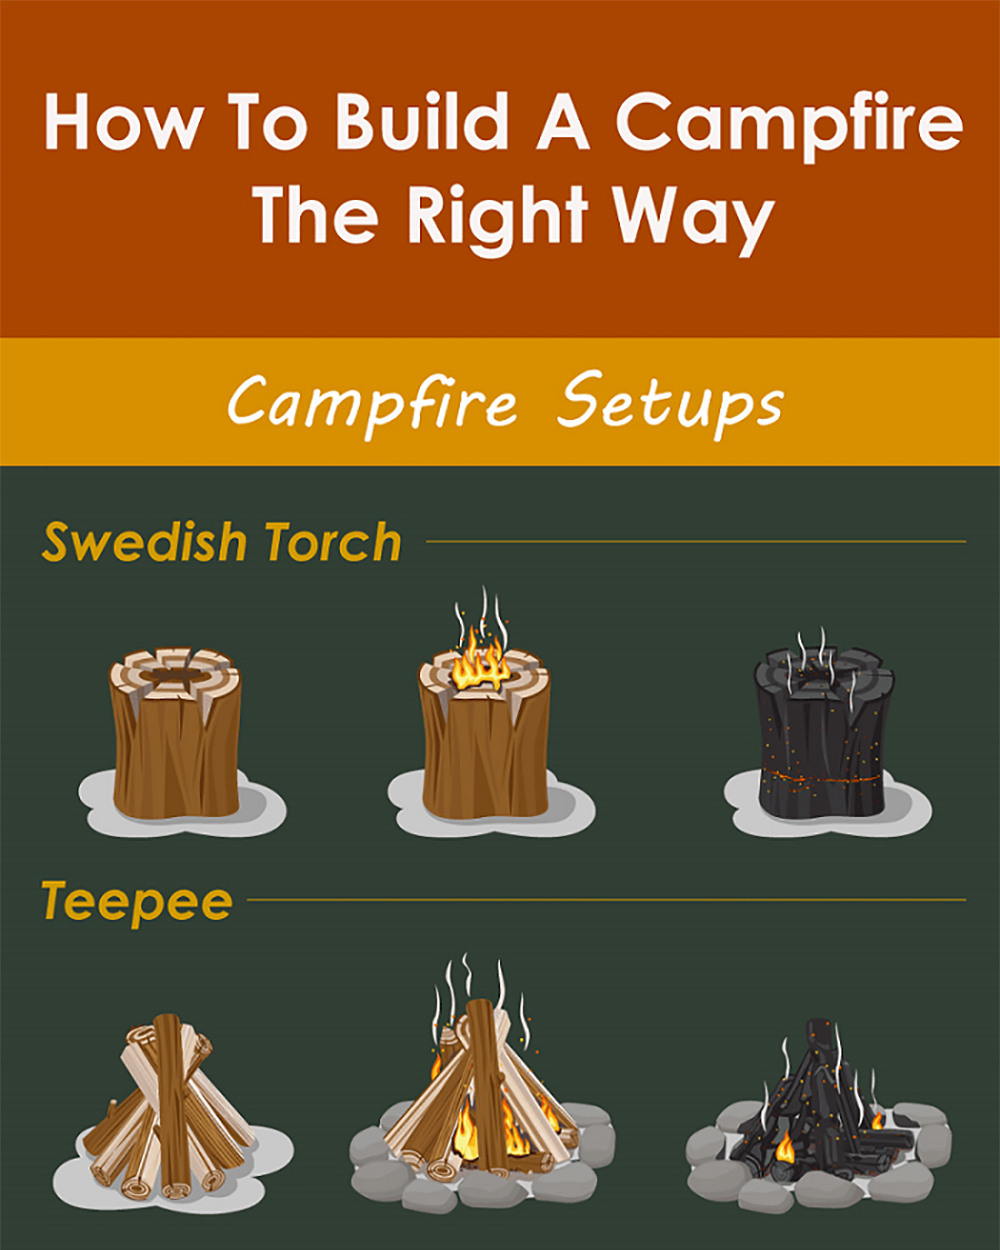
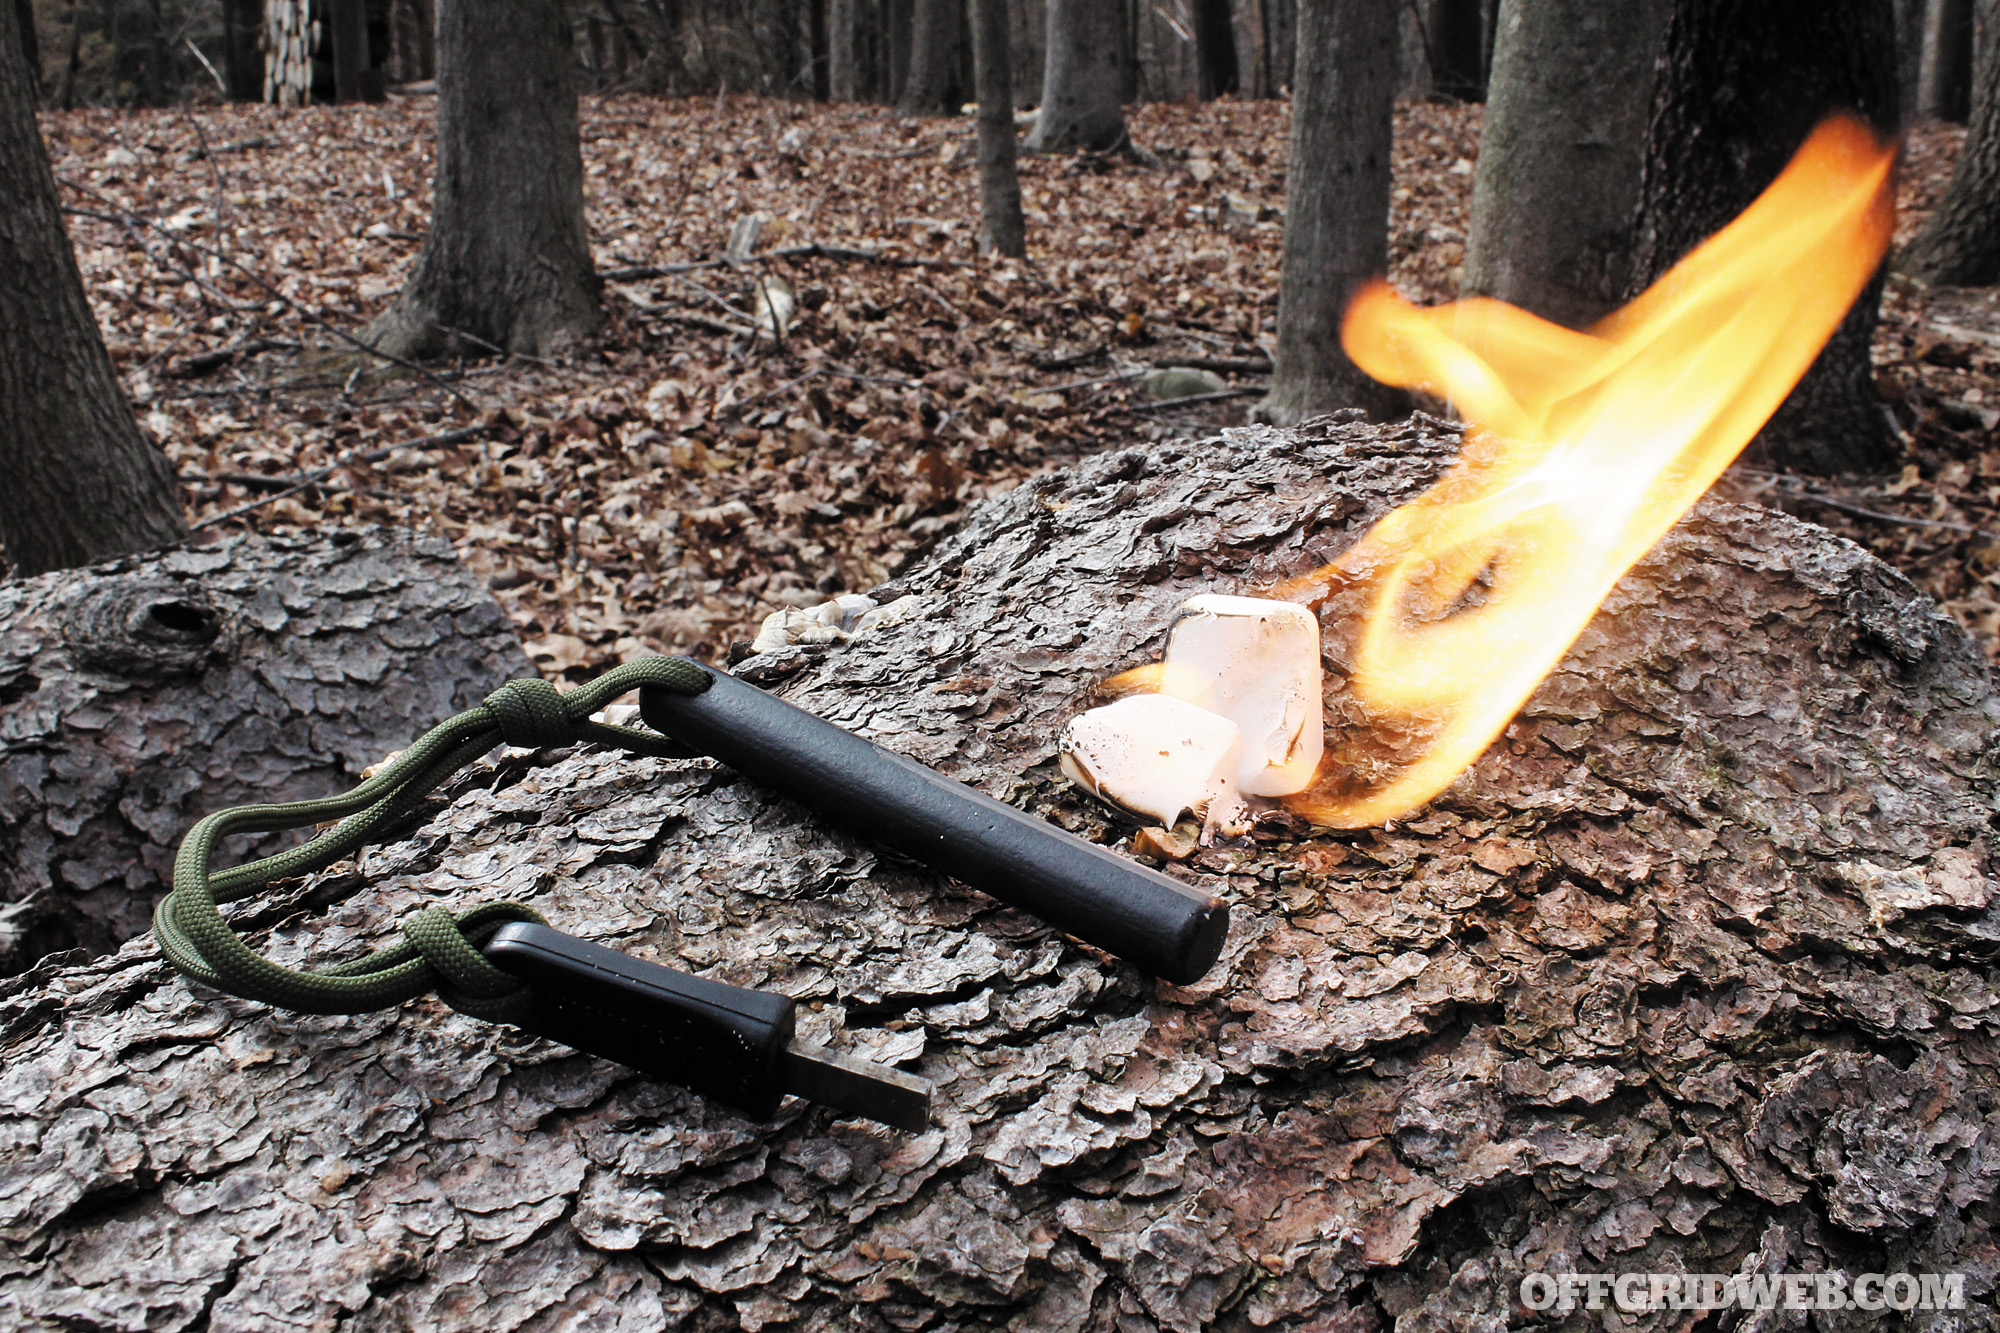
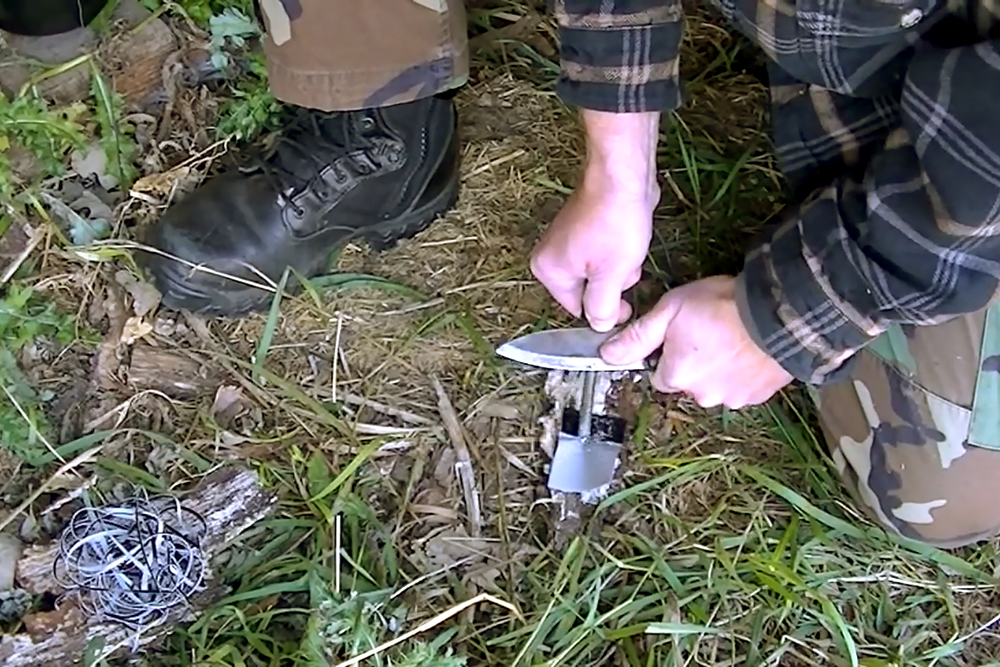
Fire Starting: Fire starting in normal conditions is easy. The right combination of fuel, heat, and oxygen will yield what you’re looking for. To prepare for the emergency bivouac, try using alternative means of starting and maintaining your fire. Can you ignite a fire with your cigarette lighter? Jumper cables and oiled rag? What happens if you can’t have a fire outside of your car? How can you safely light a candle inside your car to bring up the cabin air temperature? All of the answers from these questions come from training.

Above: A quality fire kit is a lifesaver. A fire-kit should contain at least one spark-based fire-starter (like SOLKOA Survival Systems’ Faststrike Maxx) as well as quality tinder.
Surviving in Your Vehicle: Shelter training takes on a different approach than traditional outdoor survival skills. Your vehicle is your first line of shelter and learning to maintain the integrity of the sealed environment must be part of your training. In a vehicle-based emergency, a broken window can lead to a dangerous body-chilling draft. In a controlled setting, you can practice sealing the window, preventing unnecessary heat loss with what you have in your vehicle. While you’re at it, you can practice partitioning off the compartment you’re surviving in with a spare emergency poncho or space blanket. This will conserve the heat necessary to warm the reduced space instead of heating the entire compartment.
Remember, your vehicle is a conductive metal coffin that will hold the cold and work against your body’s natural furnace if you don’t take steps to prevent this. Should you have to leave your vehicle because it’s unsafe, what can you grab to erect a shelter and insulate from the ground? When is it better to be inside your vehicle? Outside? Again, these answers and the understanding of how to survive come from training.

Above: Prepare to spend the night in a vehicle by closing off part of the passenger compartment with an emergency blanket. This reduces the volume of airspace, making it easier to raise and maintain the temperature.
Hydrating: Aside from the basic need of shelter, how have you made yourself ready to deal with the ongoing demand of hydration? If you warm your vehicle intermittently by running the engine, are you maximizing productivity by melting water from the heat of the engine too? What containers do you have in your vehicle to collect water? A water generator can be constructed with only a few sections of cloth and a tripod lashing. You can use your emergency candle that prevents condensation inside your car to also melt snow. Make sure to put a small amount of water in your metal container before attempting to melt snow to prevent burning your pot. To offset the lack of flavor, powdered drink mixes or natural harvested teas such as wintergreen, pine needle and willow tea can be utilized.
Food Supply: Just because starvation is not a concern in a short-term situation doesn’t mean you should leave food out of your emergency bivouac plan. Just like flavored drinks, good food boosts morale. Plus, it provides energy. Your body will metabolize the carbohydrates, fats, and proteins warming your internal furnace. Your training should include testing foods that are unaffected by the cold and those with the highest concentration of fat, as they are most calorie dense. At the very least, it’s good practice to never leave your home without energy bars at the very least. In an emergency, you can always ration portions and keep your mind off the idea of not eating food.
Distress Signal: Signaling skills extend beyond calling for help with your smartphone. While we’ve addressed this topic last, it’s no less important, as knowing how to signal may actually shorten your emergency so that you won’t have to spend the night. Depending on where you are, knowing how to utilize a whistle, mirror, surveyor’s tape, or any of the reflective or noise-making devices around you could mean the difference between life and death.
It’s easy to practice building a smoke generator anytime you build a fire. Experiment with different vegetation to see which produces the thickest plumes of smoke. Green leaves work well, as do green grass and wet hemlock boughs. Signaling is an important skill to learn not only for you, but for those awaiting you at your destination. Part of signaling is developing a travel plan someone reliable knows about. If you can’t signal, but someone reliable can, they will initiate the search by calling the authorities who will ultimately save your ass.
Conclusion
As you can see, while mindset might be the most important factor in surviving an overnight emergency situation, gear prep and training take up a significant amount of investment — of both time and money. While we didn’t have the space to list every brand of kit to buy or explain every step of each aspect of training, it’s important to understand that you need to do the research and find a reputable instructor or an experienced friend to train with.
Then, once you’ve become prepared and put in the training time for a bivouac, all that’s left is the willingness to test your skills. Test yourself on your terms before Mother Nature does on hers. Learn to survive the night or you will not.
The Morning After
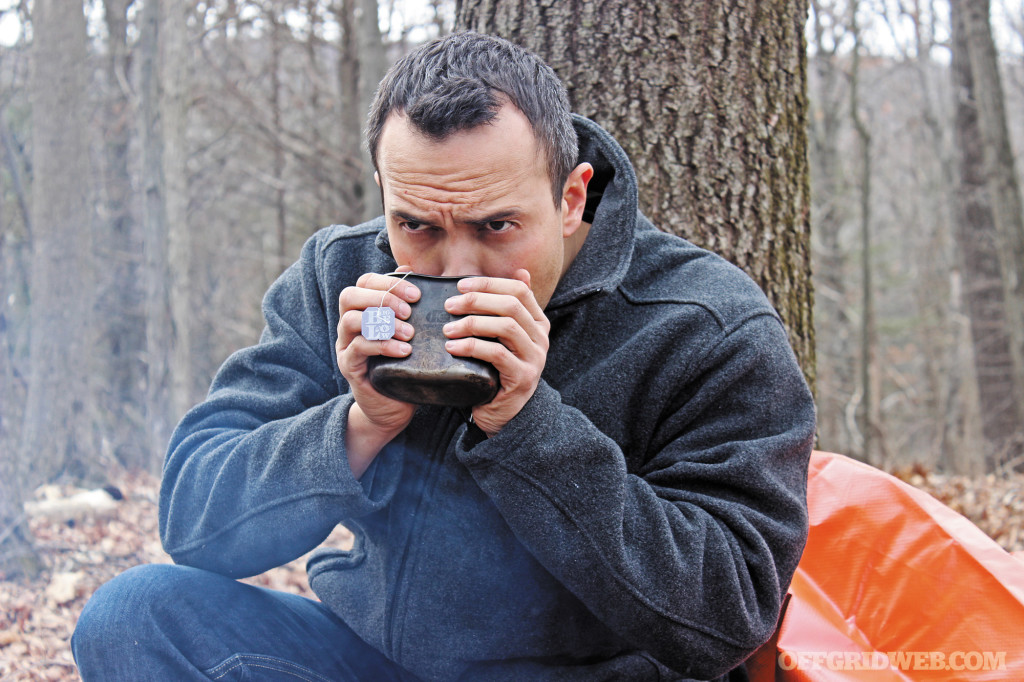
Above: Tea isn’t just for stiff-upper lipped Brits named Iain. During an emergency bivouac, improving the flavor of water can boost morale and, indirectly, your chances of survival. Teas can be packed or provided by the land. Pine needle, St. John’s Wort, and Wintergreen all improve the flavor of purified (boiled) water.
The sun has risen, and you’ve just successfully spent the night out. The initial reaction to daylight is to get moving, but you should have a plan. Some say, “any plan is a good plan.” What if your plan is to wander around in fear? A better plan is to collect yourself, find your bearings, size up your situation, and logically determine what’s needed to prevent spending a second night out.
Depending on your situation, think about what caused you to spend the night out. Do you have the means to address that issue? If not, should you plan to stay a second night waiting for assistance or move to a new location?
These are all questions to ask yourself in determining your plan. What supplies do you have leftover? What’s running out? Your level of preparedness will also factor into your plan. Since most emergencies are resolved in 72 hours, how much of your reserve supplies did you use up in this overnight period? During the morning after, rather than rushing and potentially making a mistake, take your time to solve your situation. Keep a level head and you’ll find a way.
Don’t-Leave-Home-Without-it Gear
There are some things you should never leave behind when walking out your front door:

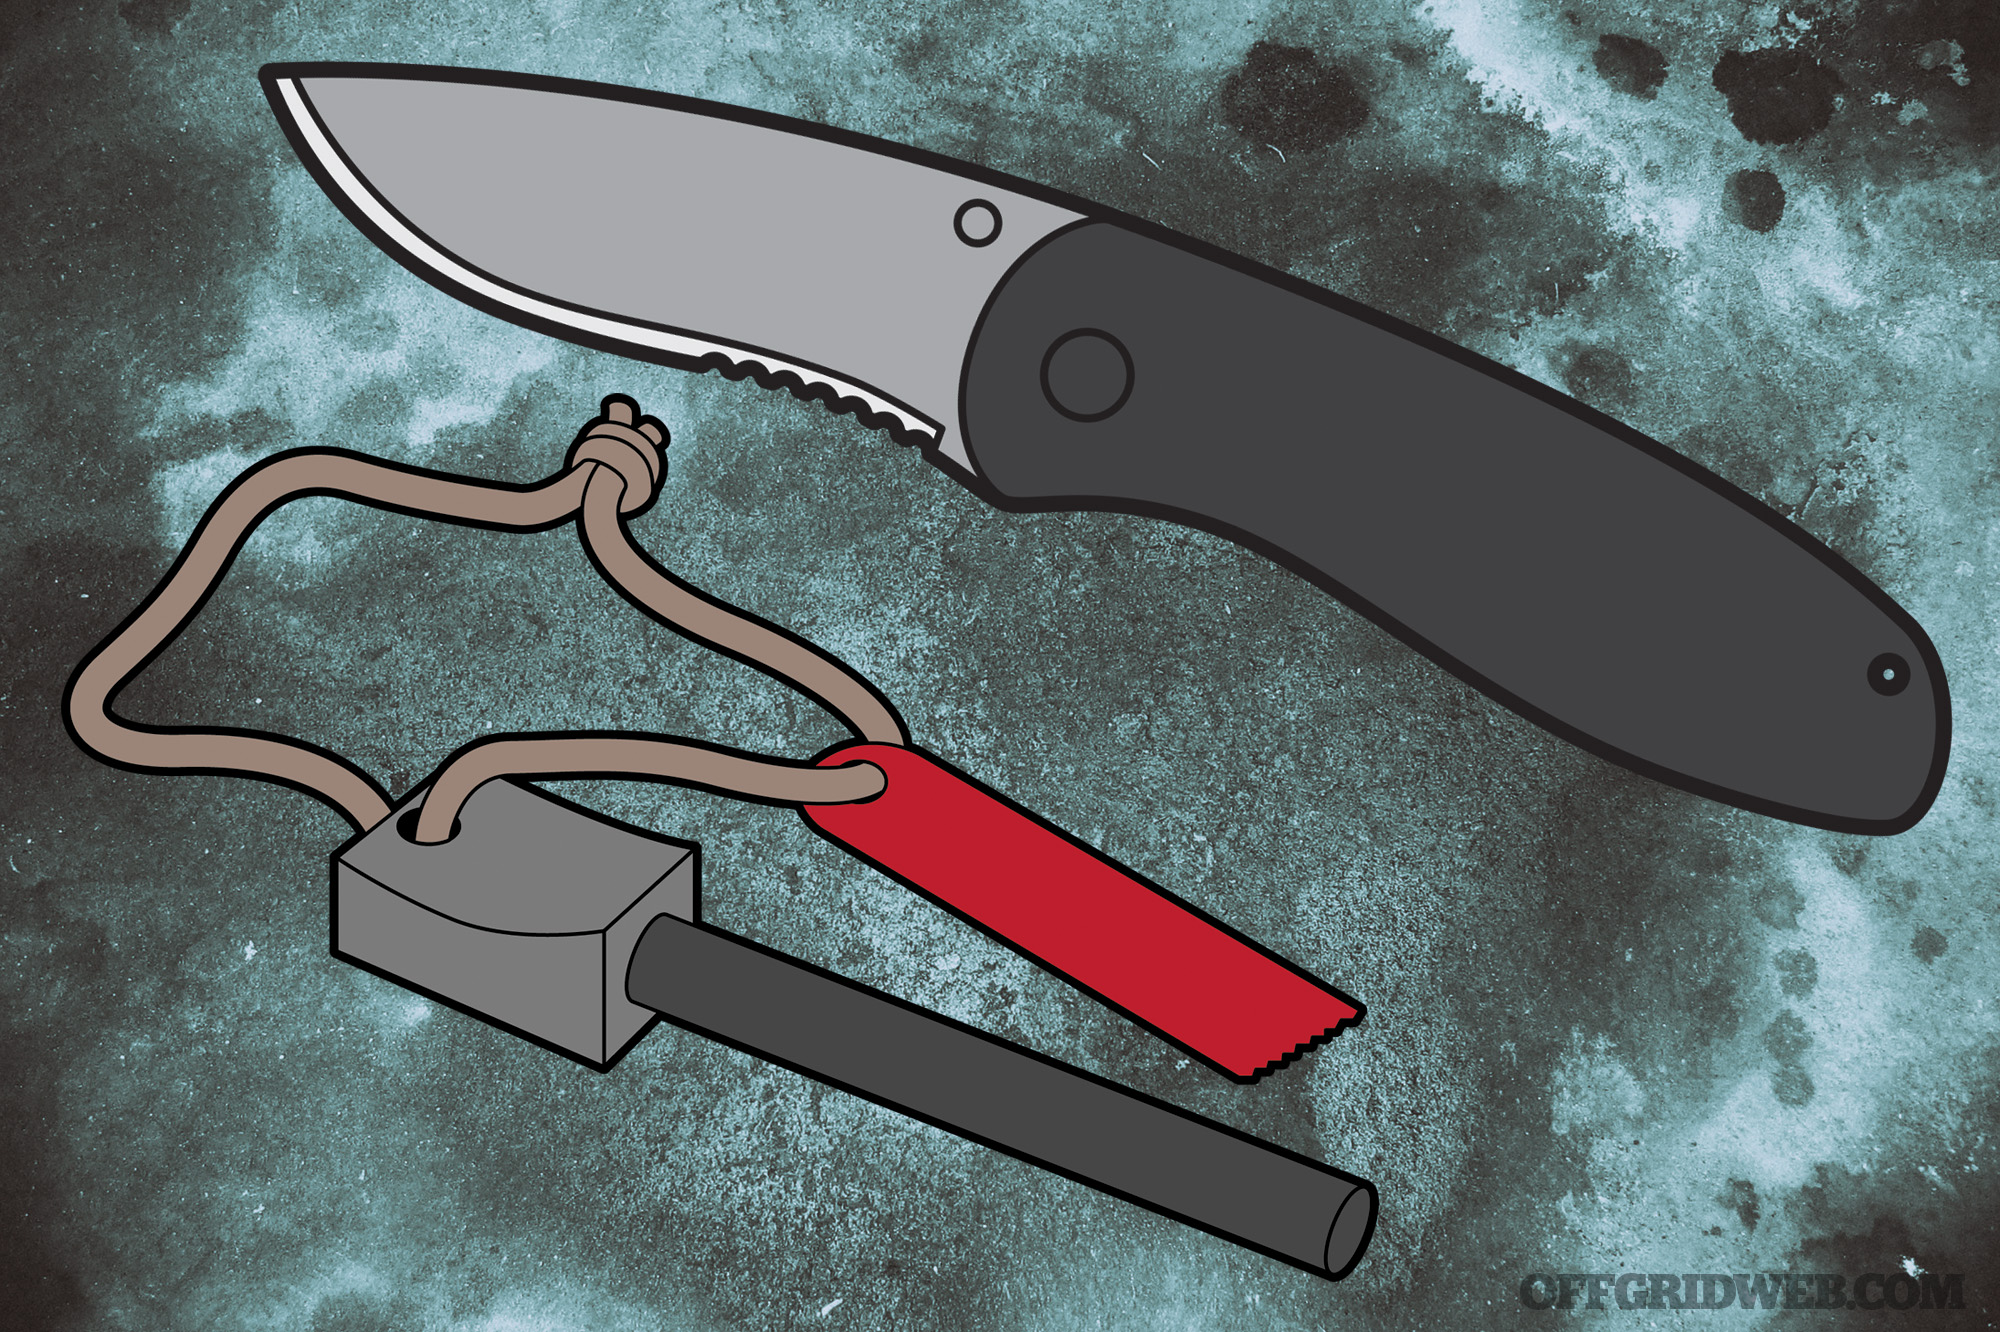
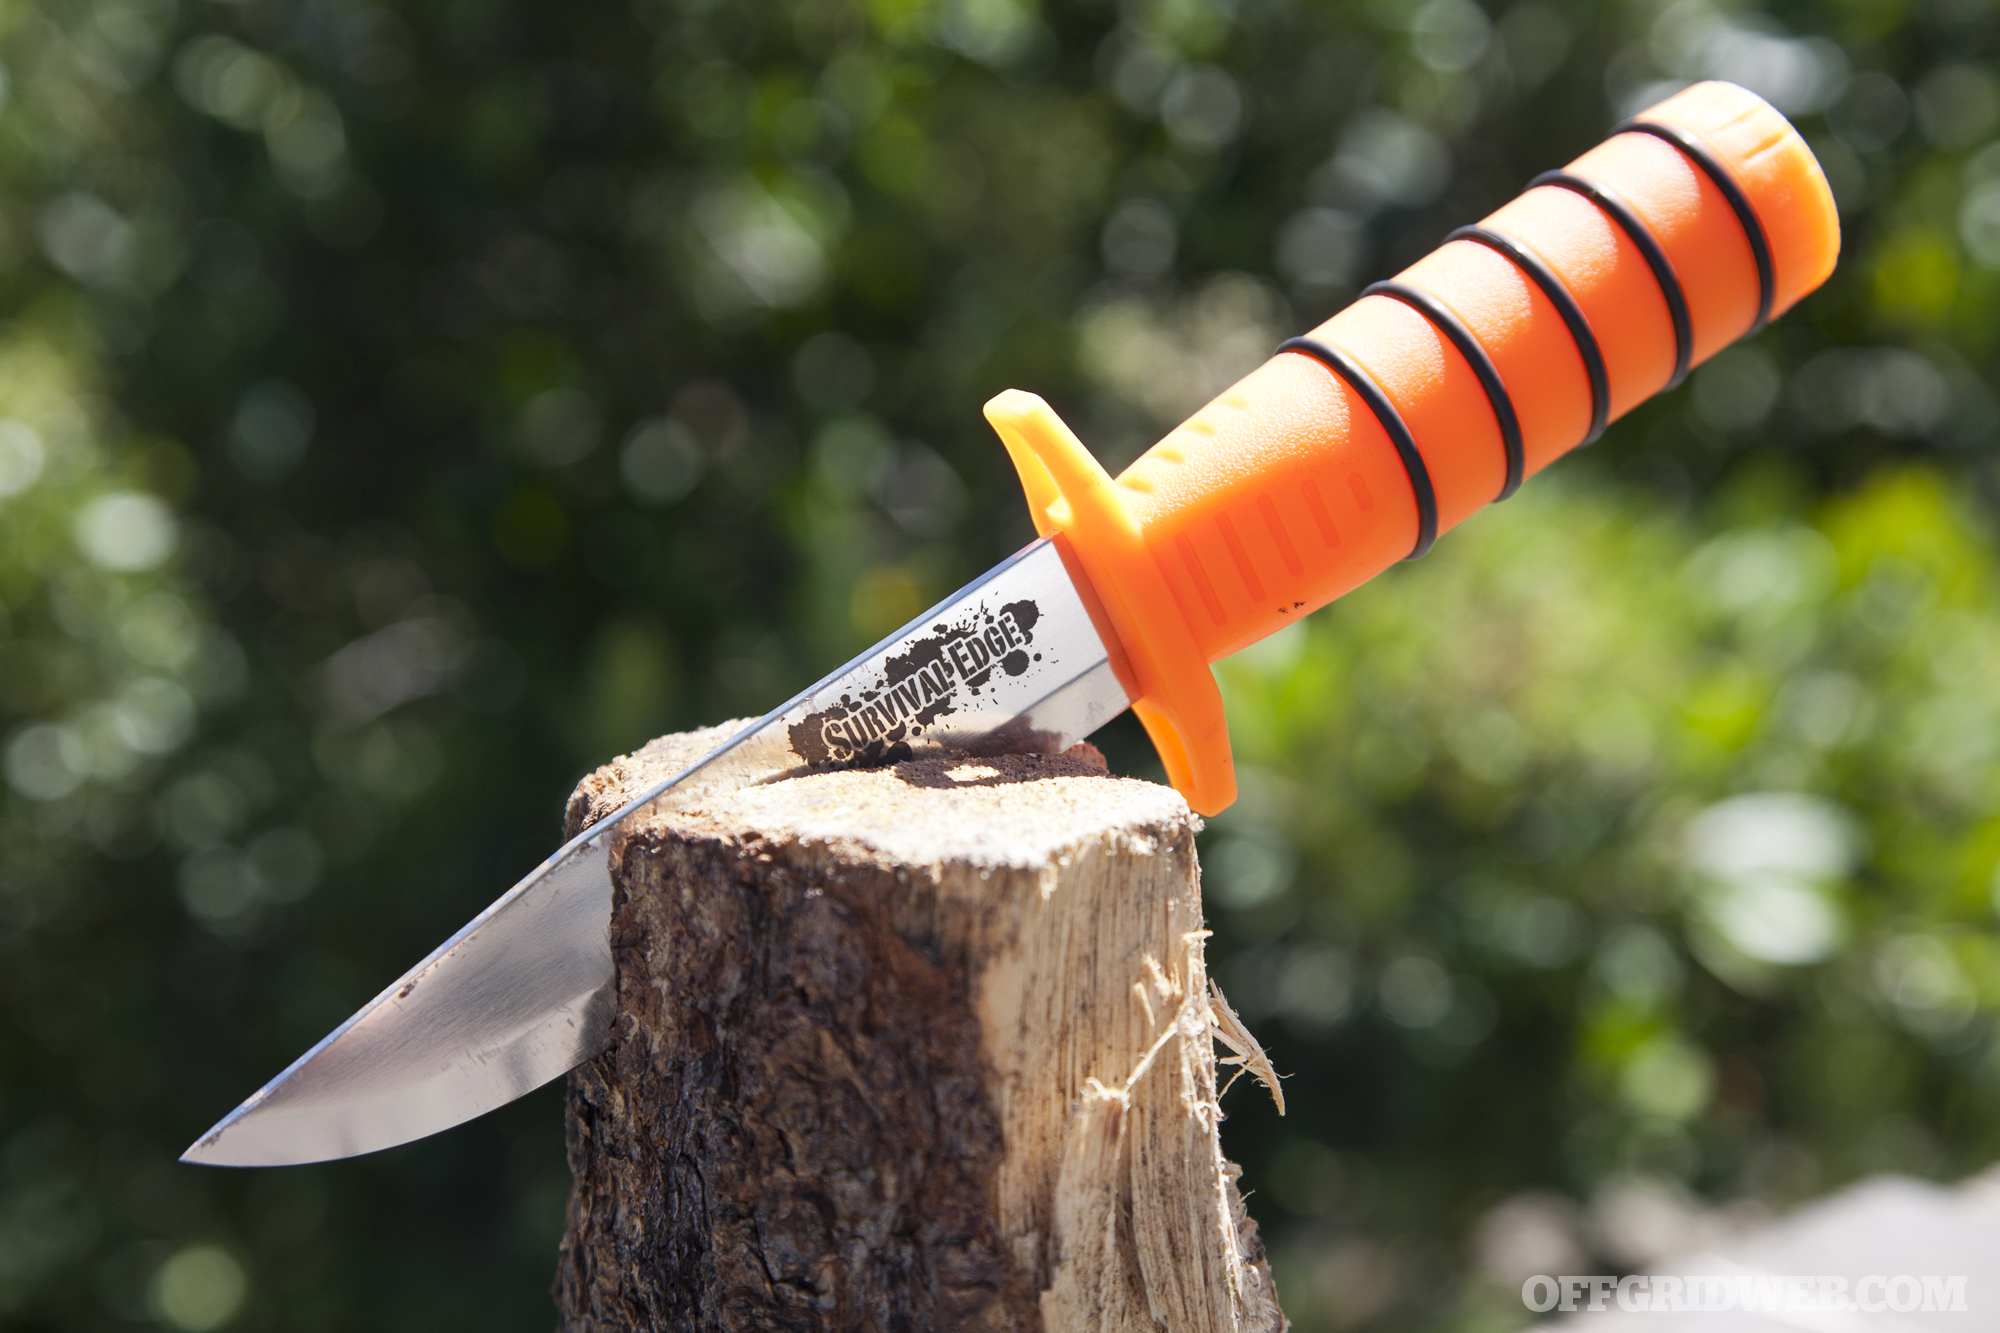
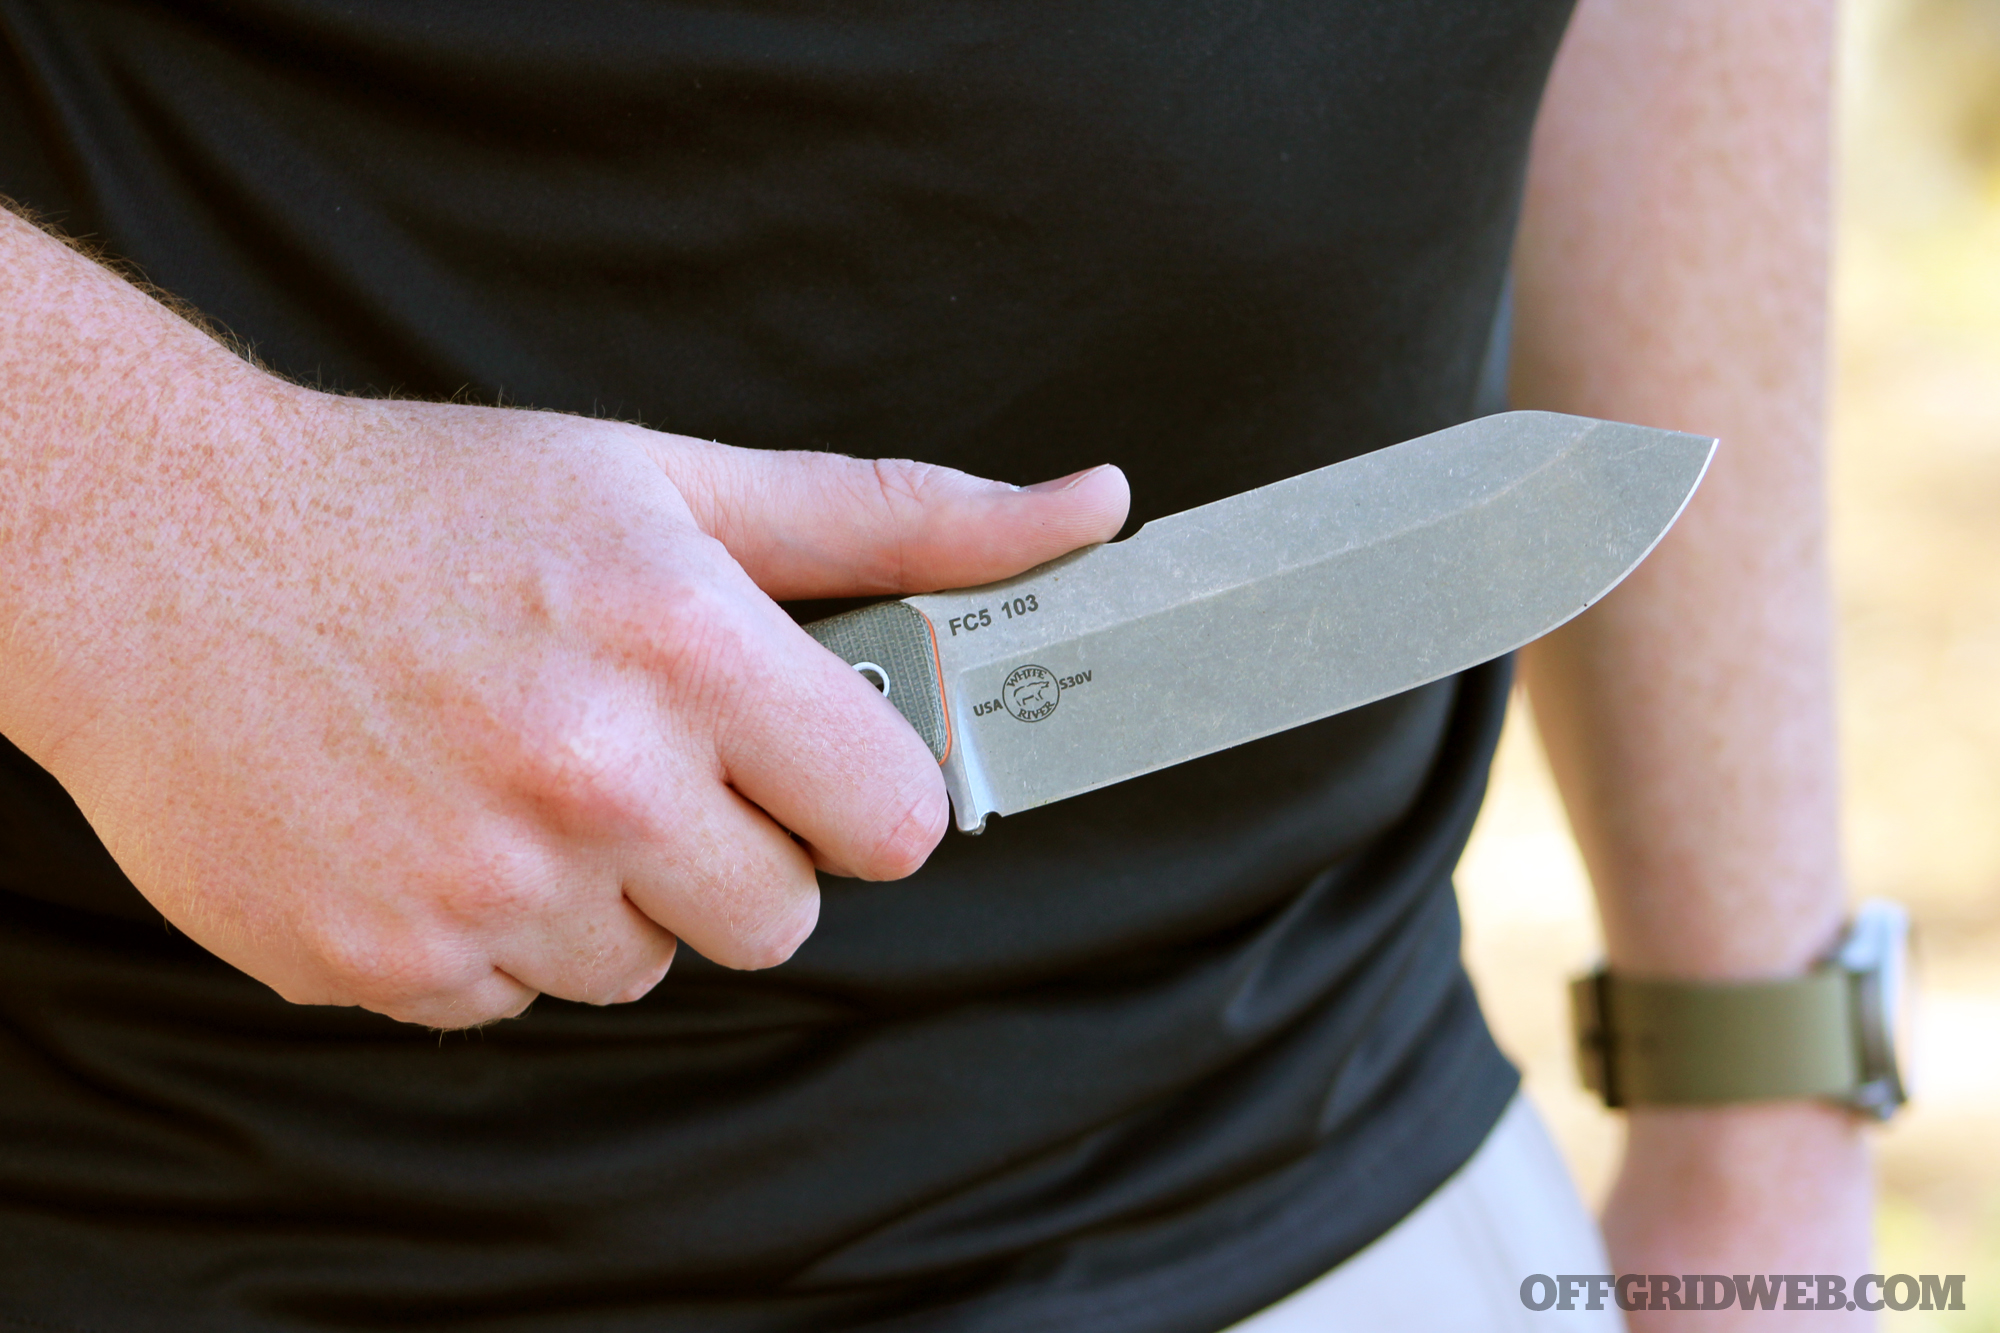
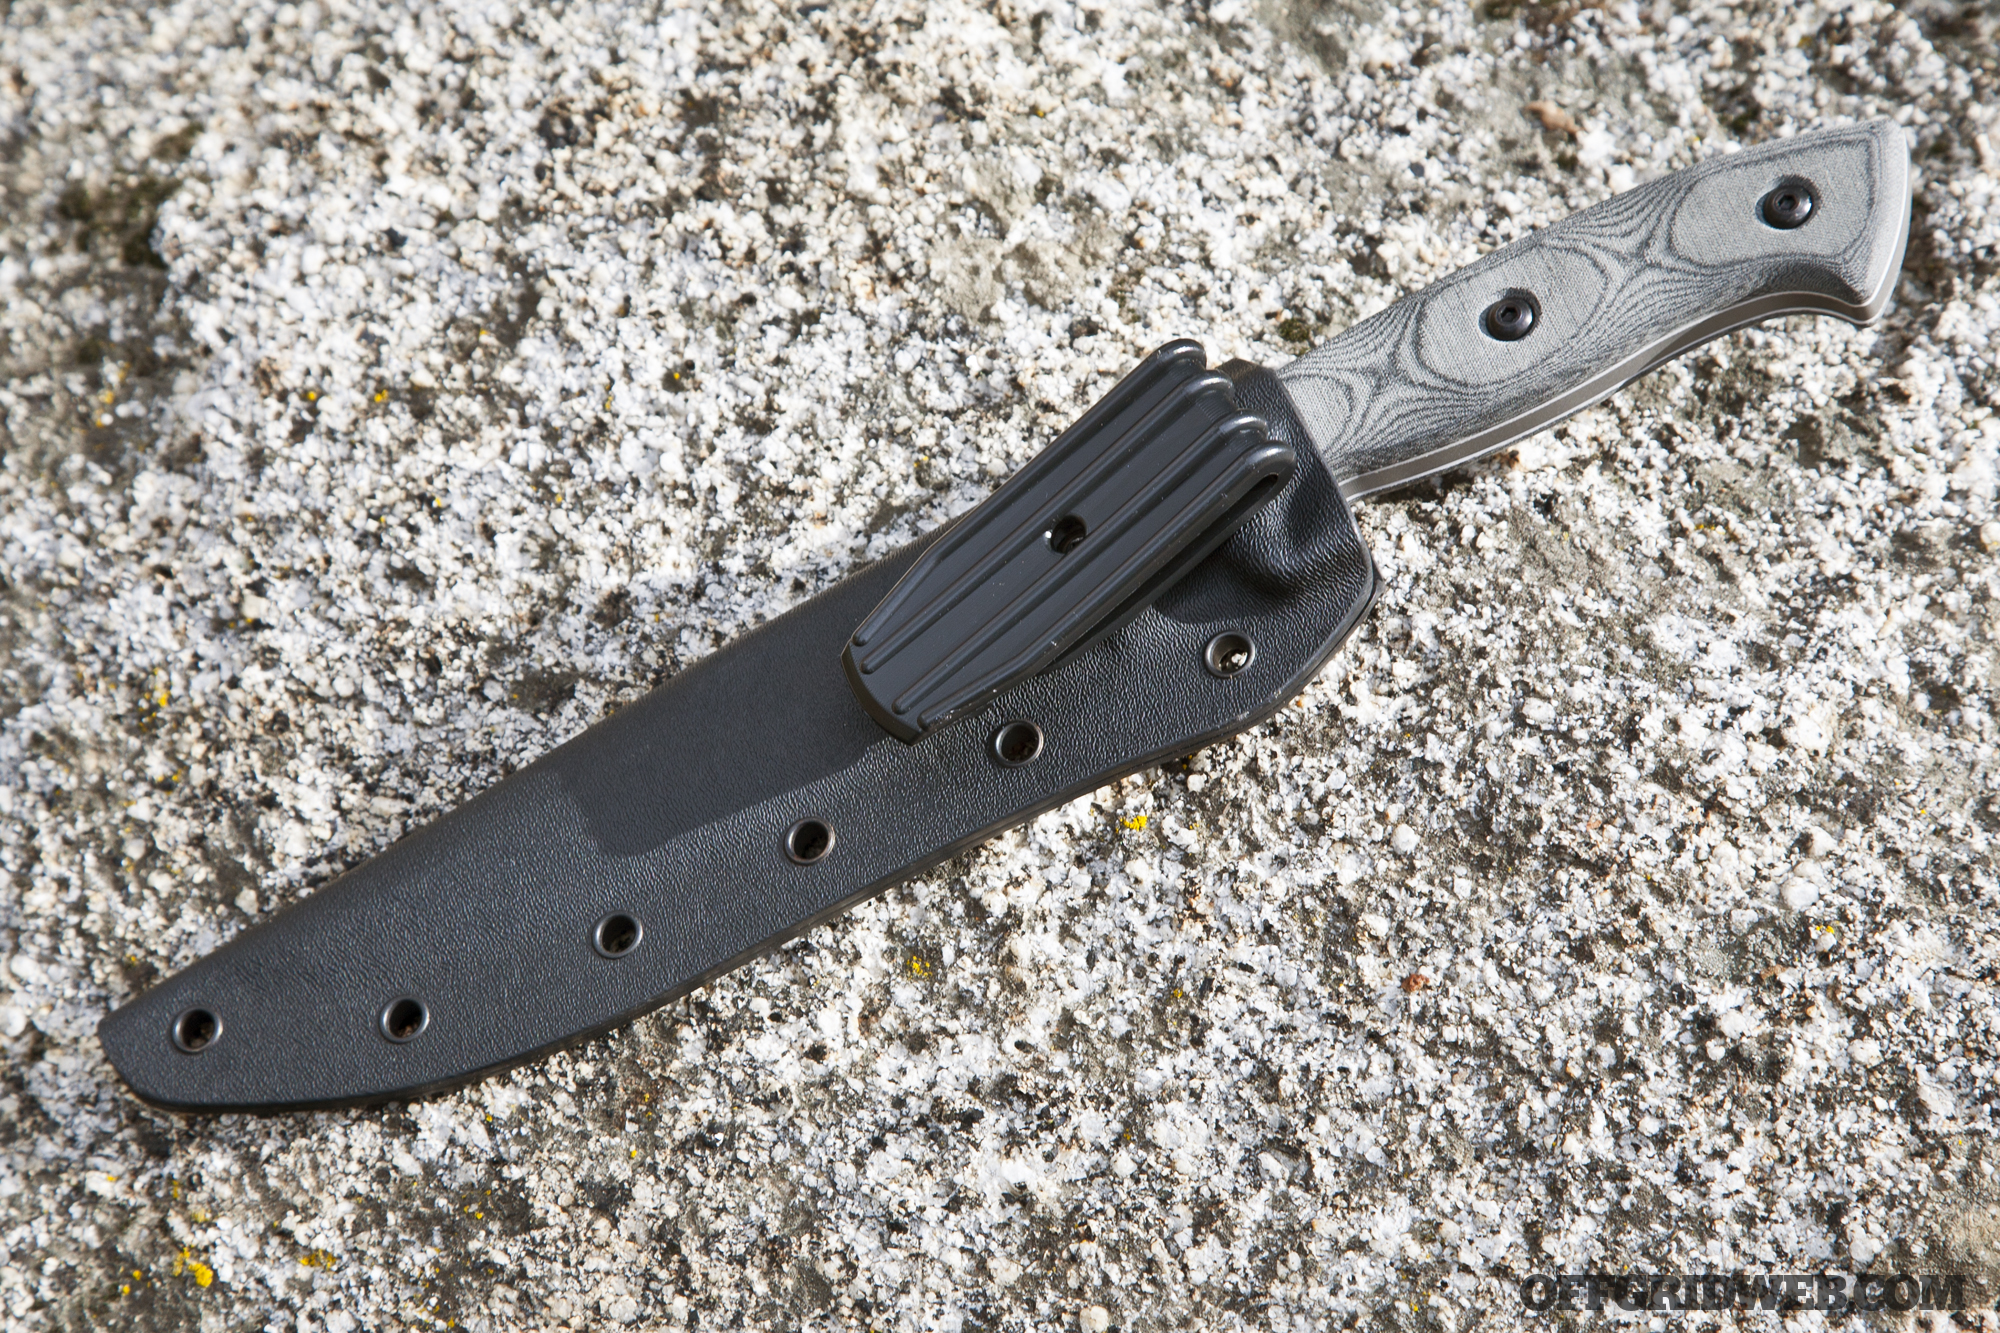
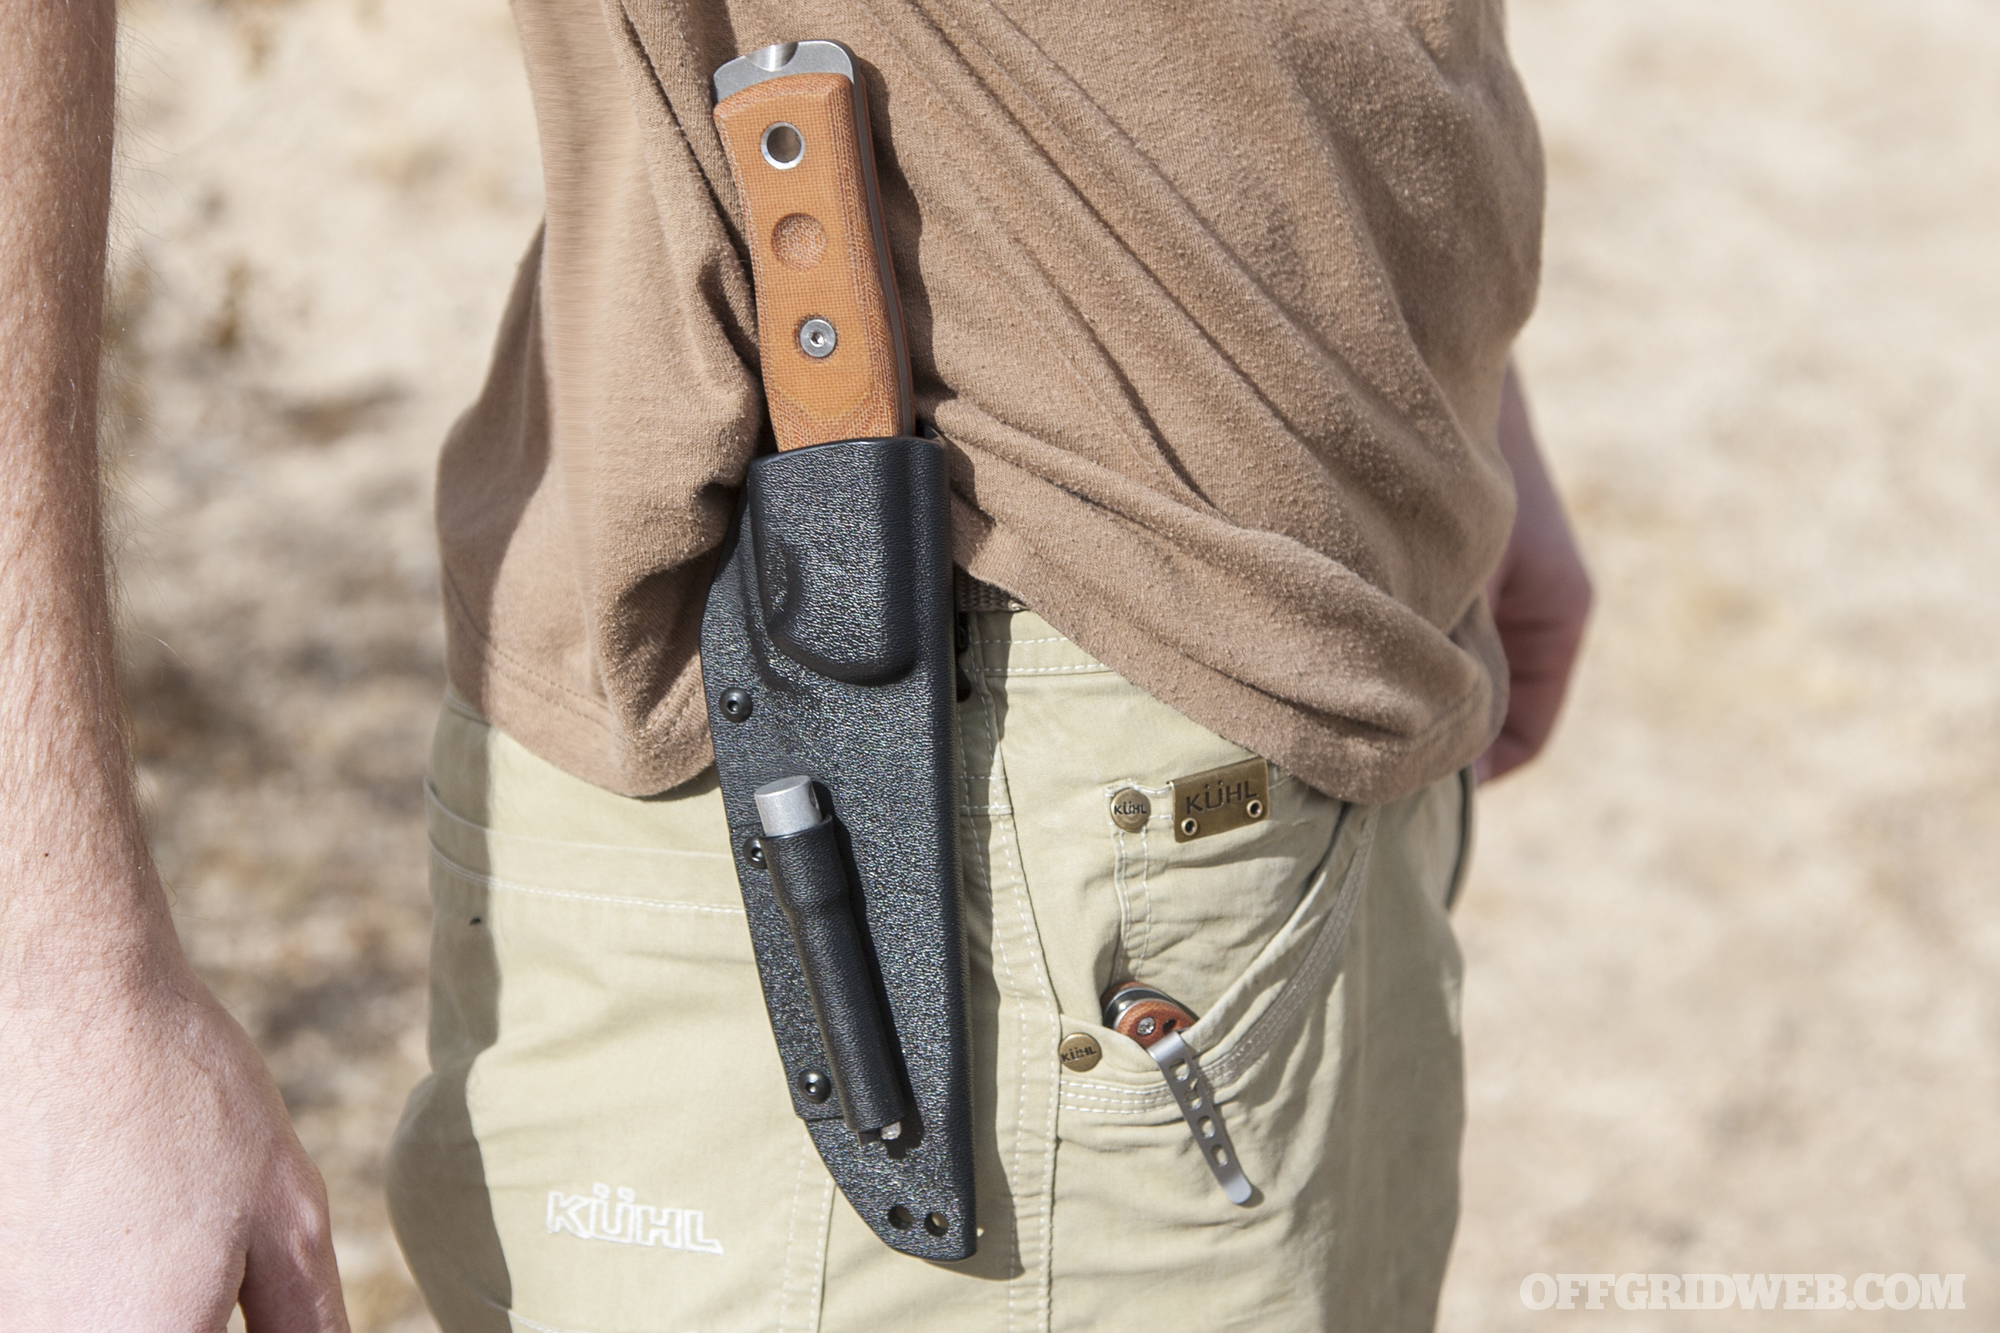
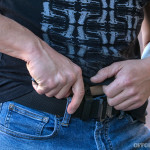
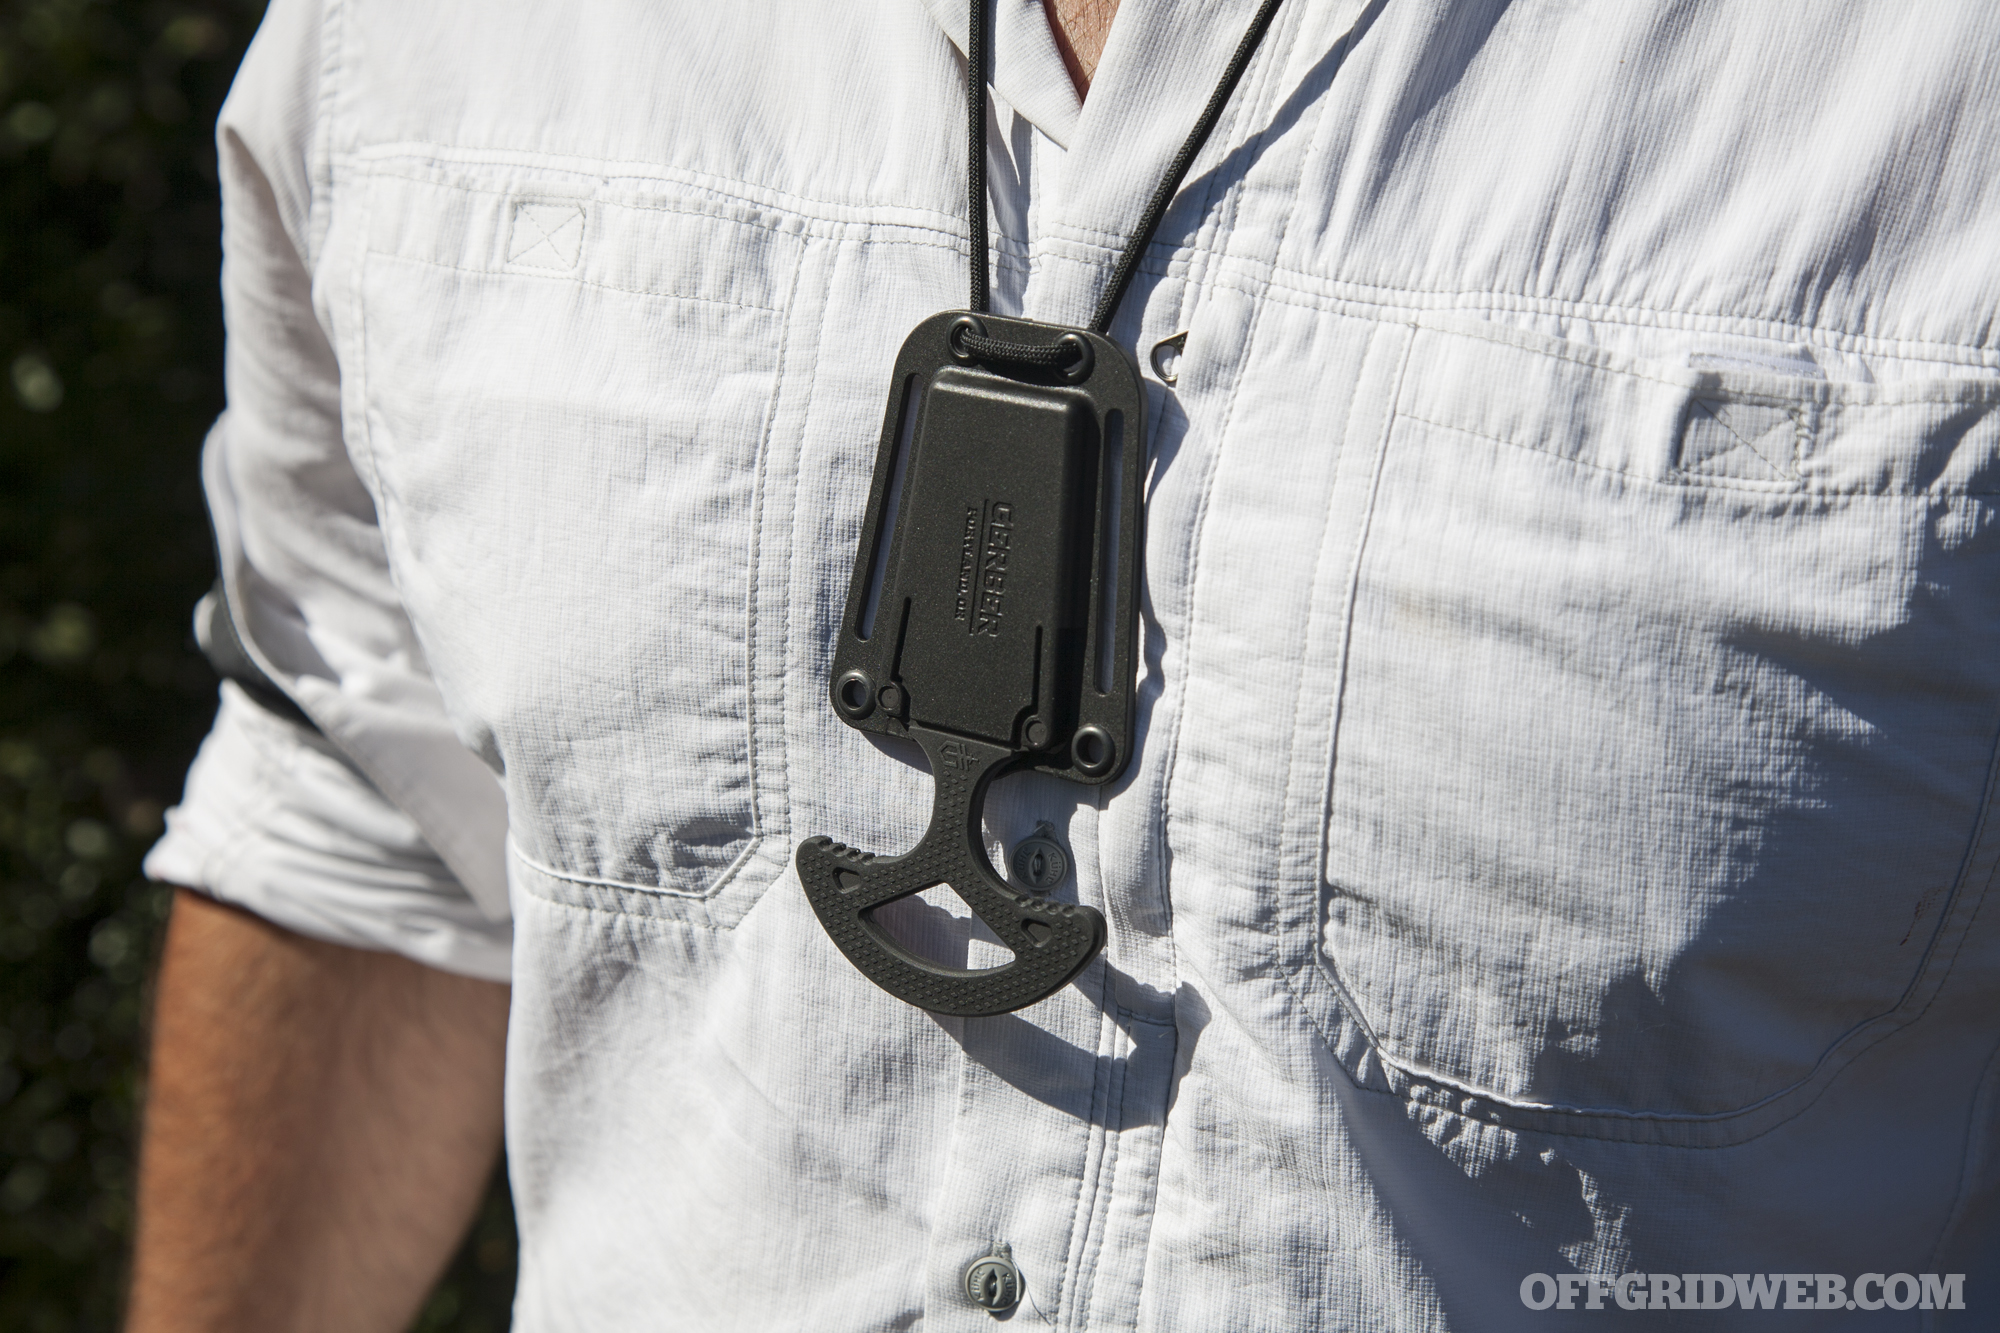
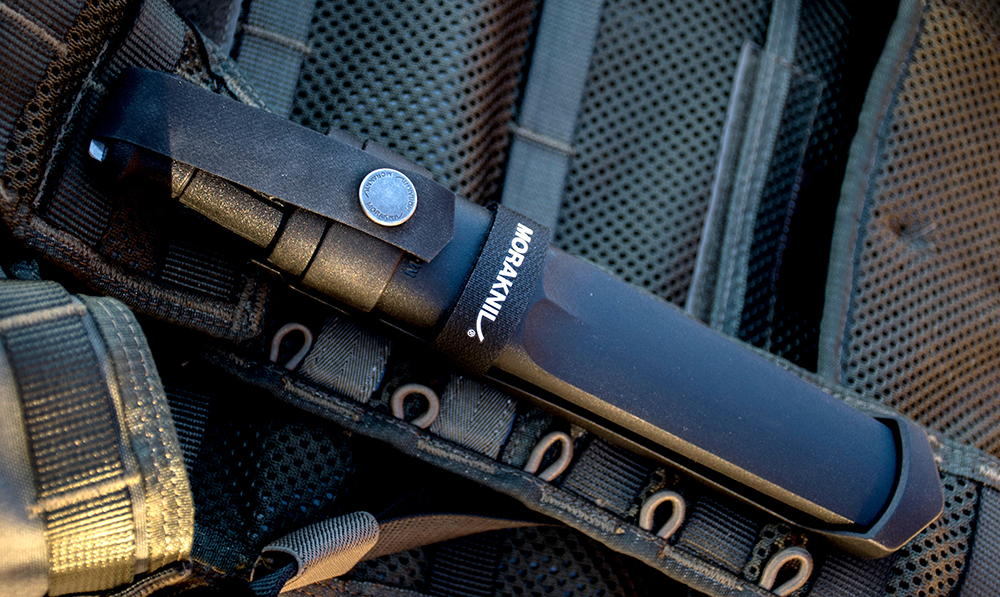
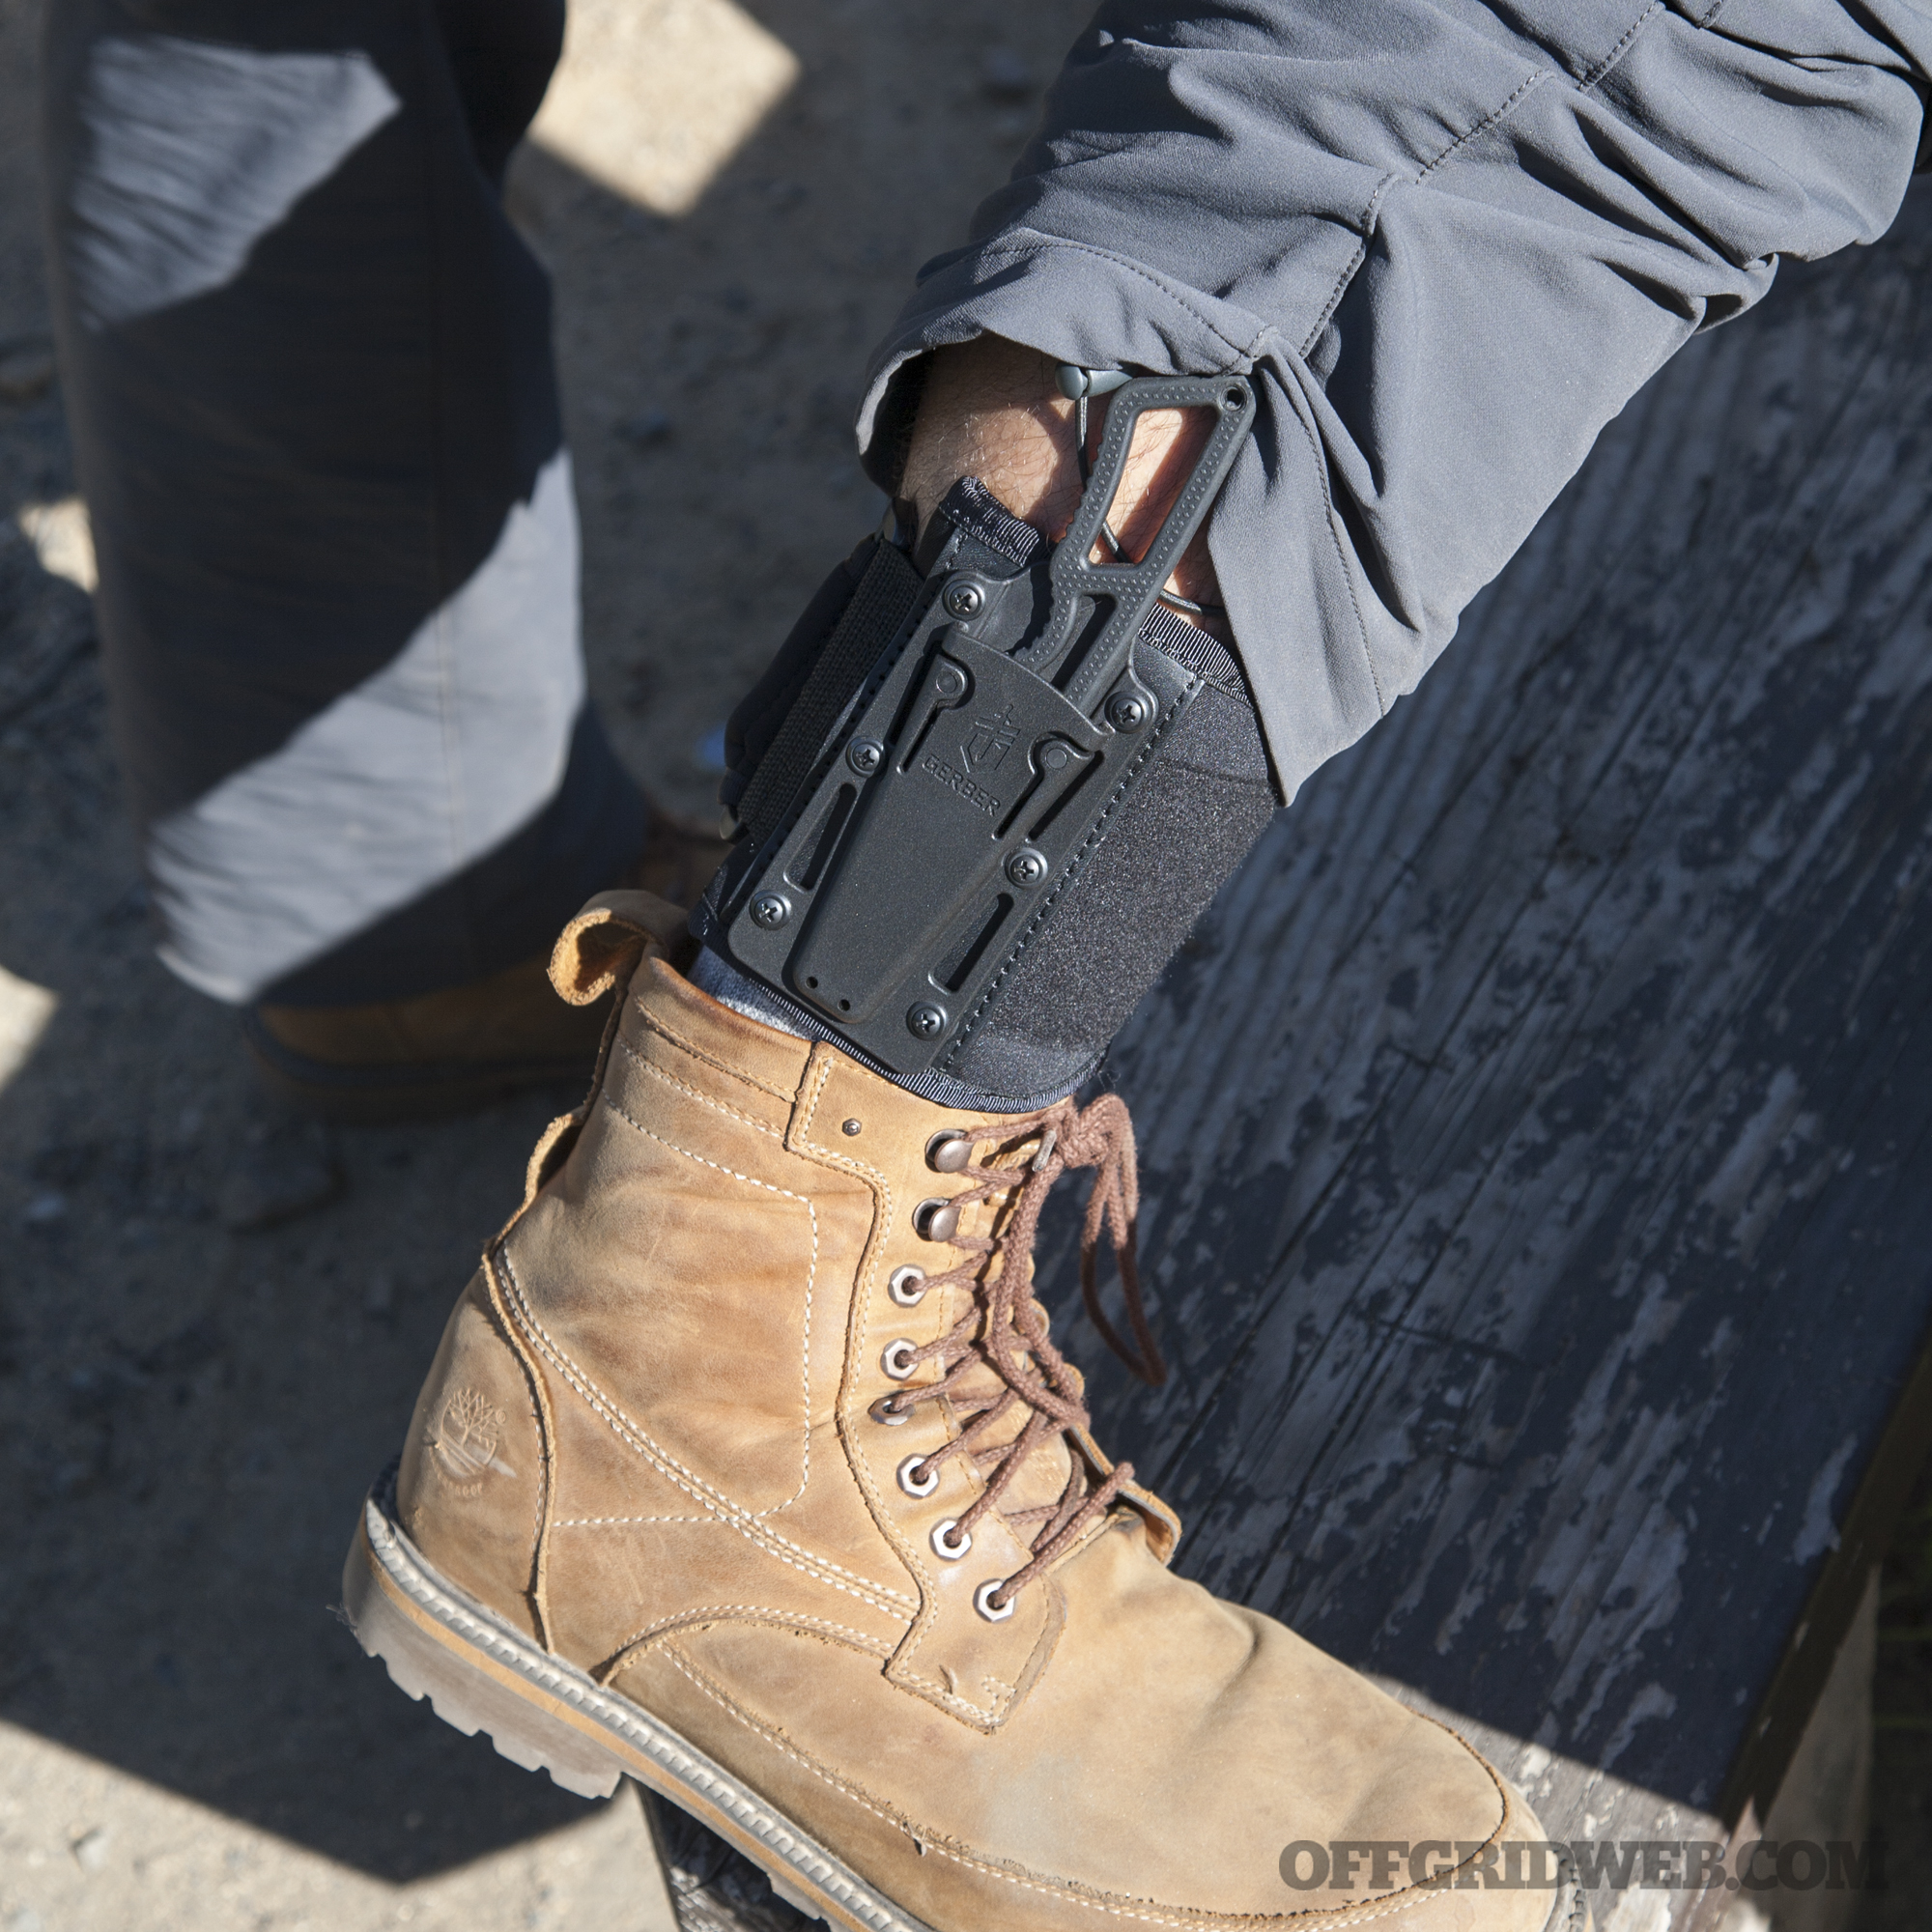
Knife and Fire-Starter: The most basic emergency bivouac kit should include a blade and a fire-starter. Even in an urban area, a politically correct knife like a Swiss Army Knife and a BIC lighter or key-chain sized firesteel should always be carried.
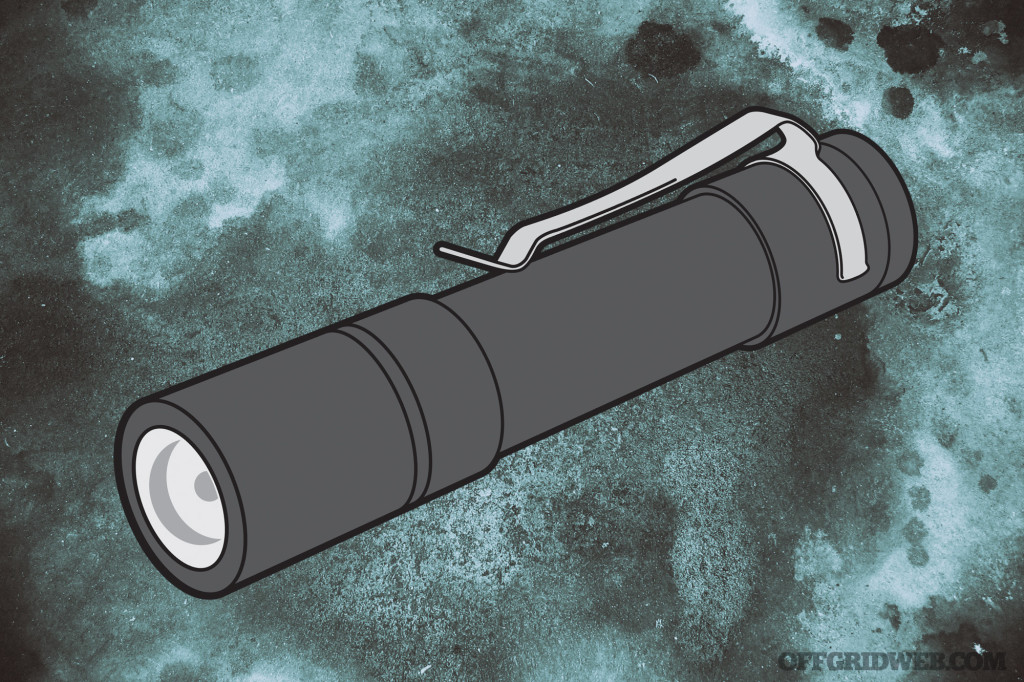
Light Source: Since a bivouac will likely take place in darkness, a small AAA-sized light should be carried to help see in the dark and illuminate your surroundings.

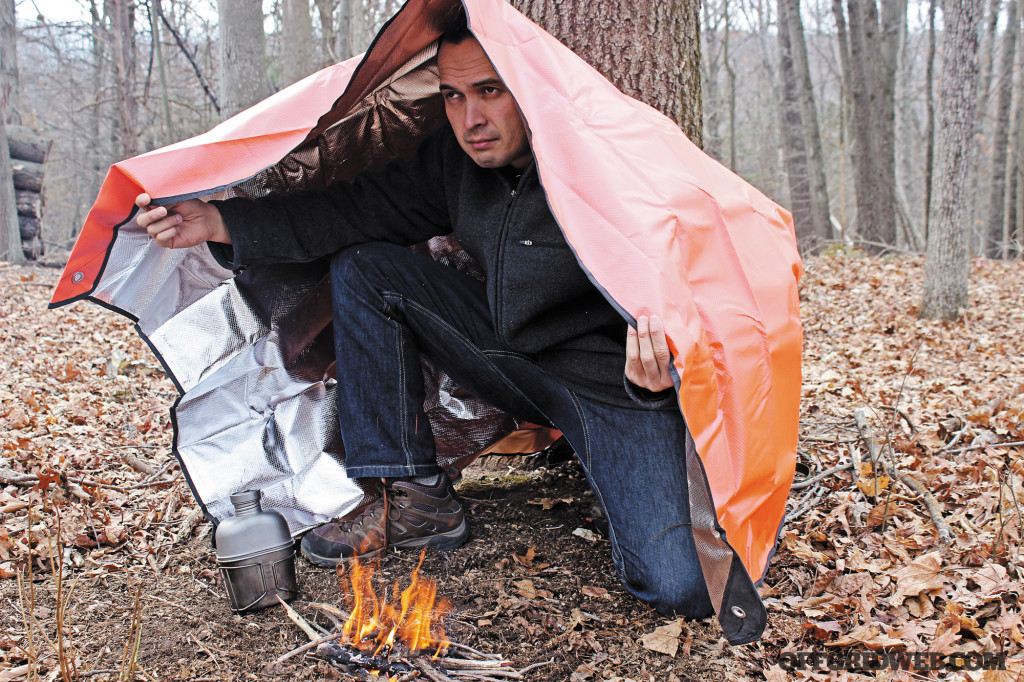
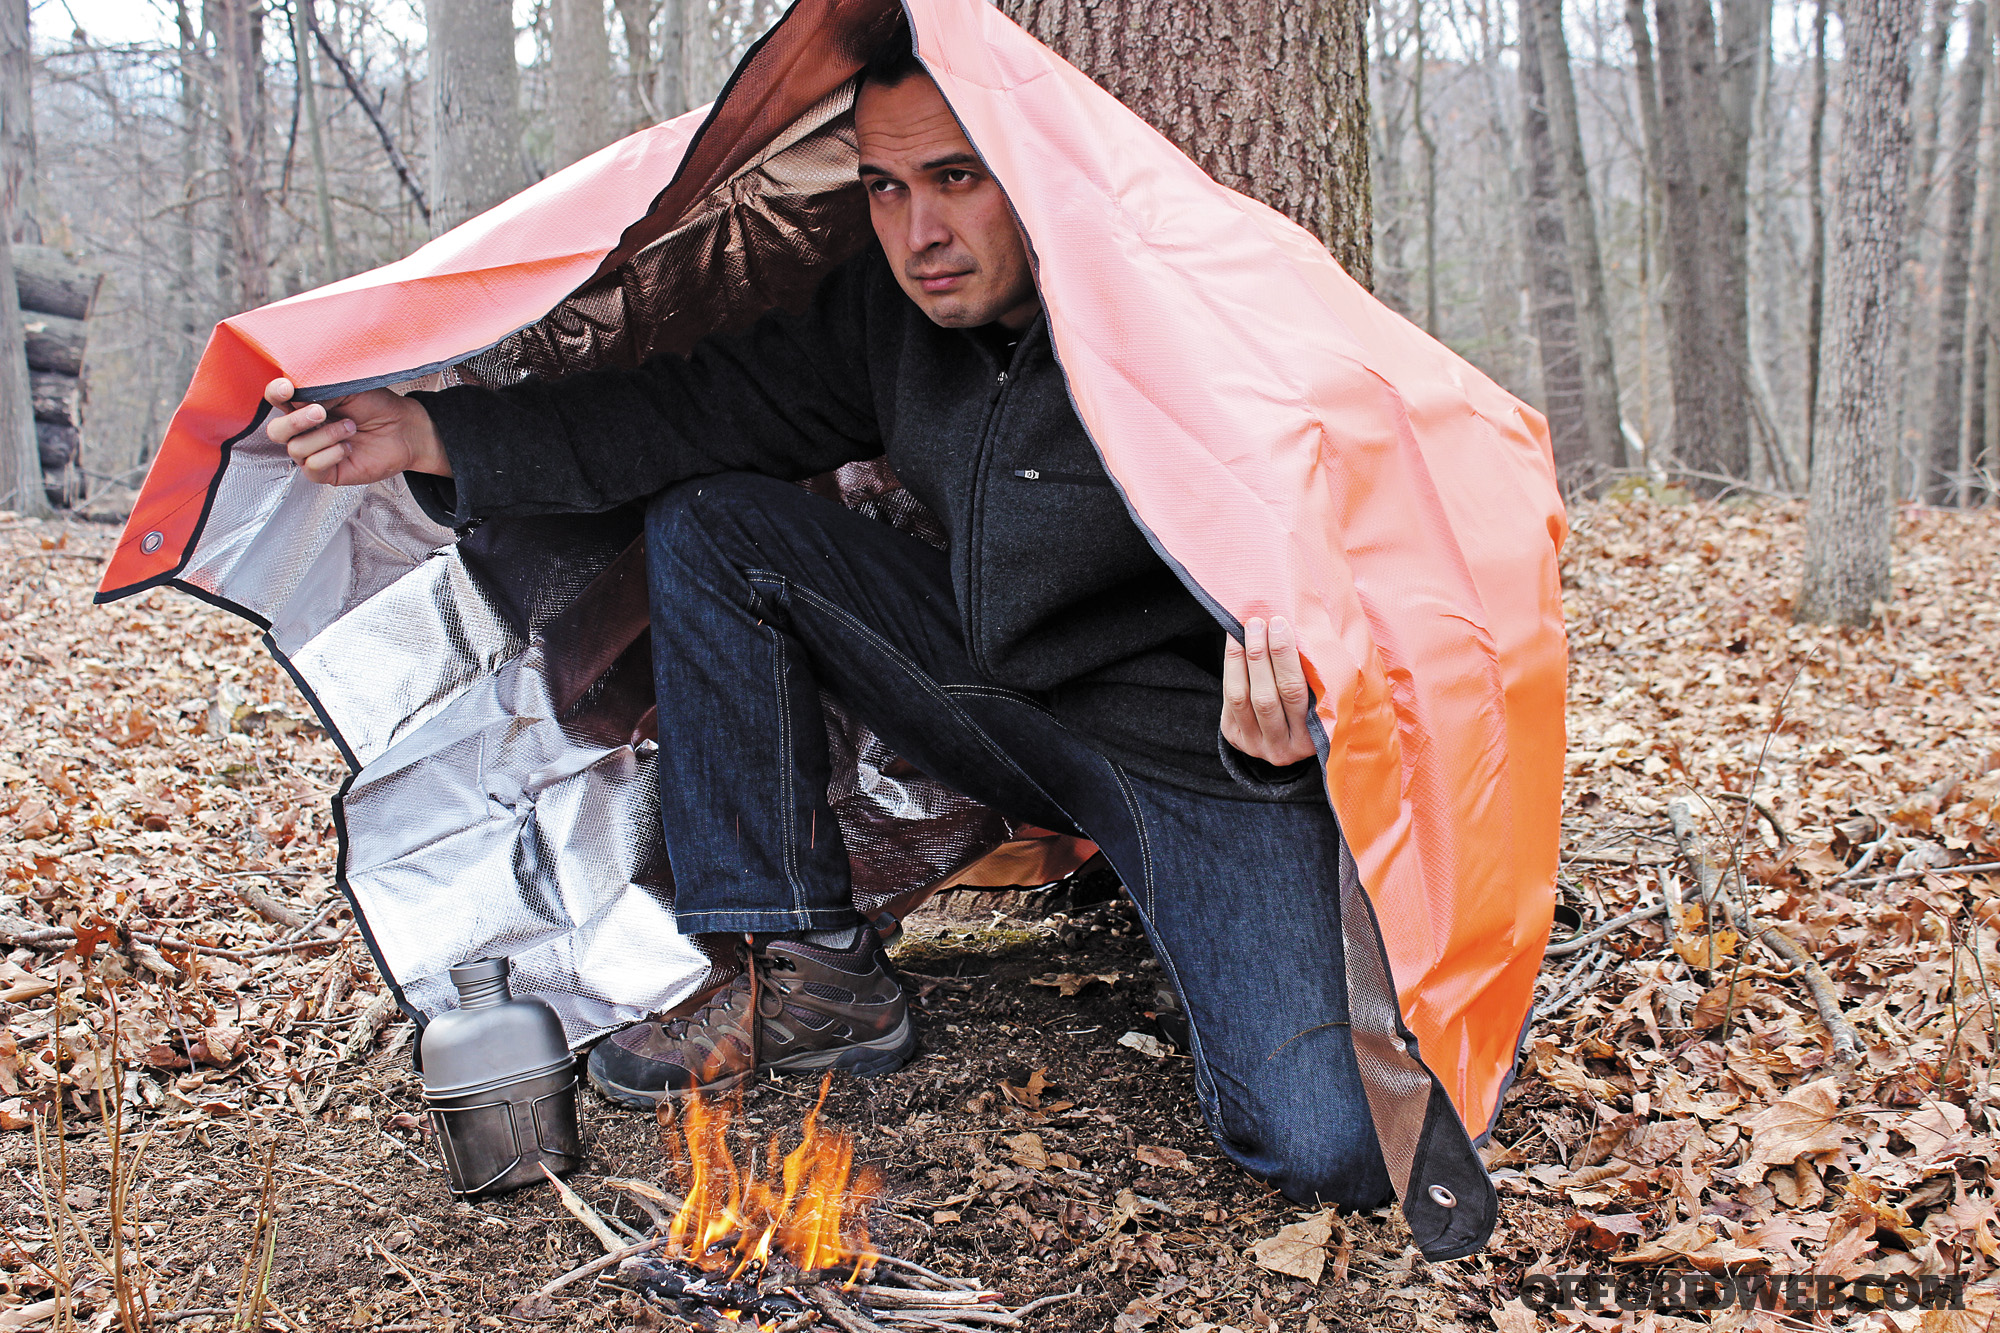
Emergency Blanket: A quality emergency blanket along with a long-lasting candle will ensure the ability to block the wind and raise the ambient air temperature inside a makeshift shelter. When paired with proper clothing, this protective barrier will create a water-resistant and artificial climate to survive in.
The purpose of this kit is to survive, not thrive. Space is saved by separating items meant for long-term survival. These luxury items may help in the short term, but will likely have limited use. The emergency bivouac kit need not be carried all in one place, but rather it can be spread out on the body or EDC bag to eliminate the need for a single pouch to hold everything. The multiple pockets in a jacket or cargo pants can help distribute the load out to make it more bearable.
About the Author
Kevin Estela is the owner/head instructor of Estela Wilderness Education. He’s the former lead survival instructor at the Wilderness Learning Center in Chateaugay, New York, prior to its closing, and one of the only certified instructors under survival authority Marty Simon. He’s an accomplished bushcrafter, martial artist, and freelance writer. Estela spent many summers guiding and instructing canoeing/kayaking in Connecticut and years working in outdoor sports retail. He’s a trustee of the Environmental Learning Center of Connecticut and a full-time high school history teacher. www.kevinestela.com
More From Issue 14
Don’t miss essential survival insights—sign up for Recoil Offgrid’s free newsletter today.
Read articles from the next issue of Recoil Offgrid: Issue 15
Read articles from the previous issue of Recoil Offgrid: Issue 13
Editor’s Note: This article has been modified from its original print version for the web.


