MREs and emergency ration bars are fine examples of modern survival foods. These bug-out-friendly items can be stored for long periods and provide sustaining nutrition, two key requirements for survival food. And while there are many emergency meals and snacks on the market currently, today’s products aren’t the first foods of their kind. Look back into history, and you’ll see many hearty foods that our ancestors used for traveling food or emergency sustenance.
Sure, today’s survival chow is ruggedly packaged and capable of lasting for years, but you can’t make your own MREs in a cave. When the last meal has been gobbled up, you’ll need to be able to make your own “survival food” to replenish your stores. Thankfully, our forebears did plenty of subsistence food experimentation, and they left us with the recipes that worked. They discovered how to make foods with nutrition and longevity, using simple ingredients, and they were even able to prepare them in the absence of electricity. During tough times, you’ll need tough foods; these are some of the most rugged recipes that history has to offer.
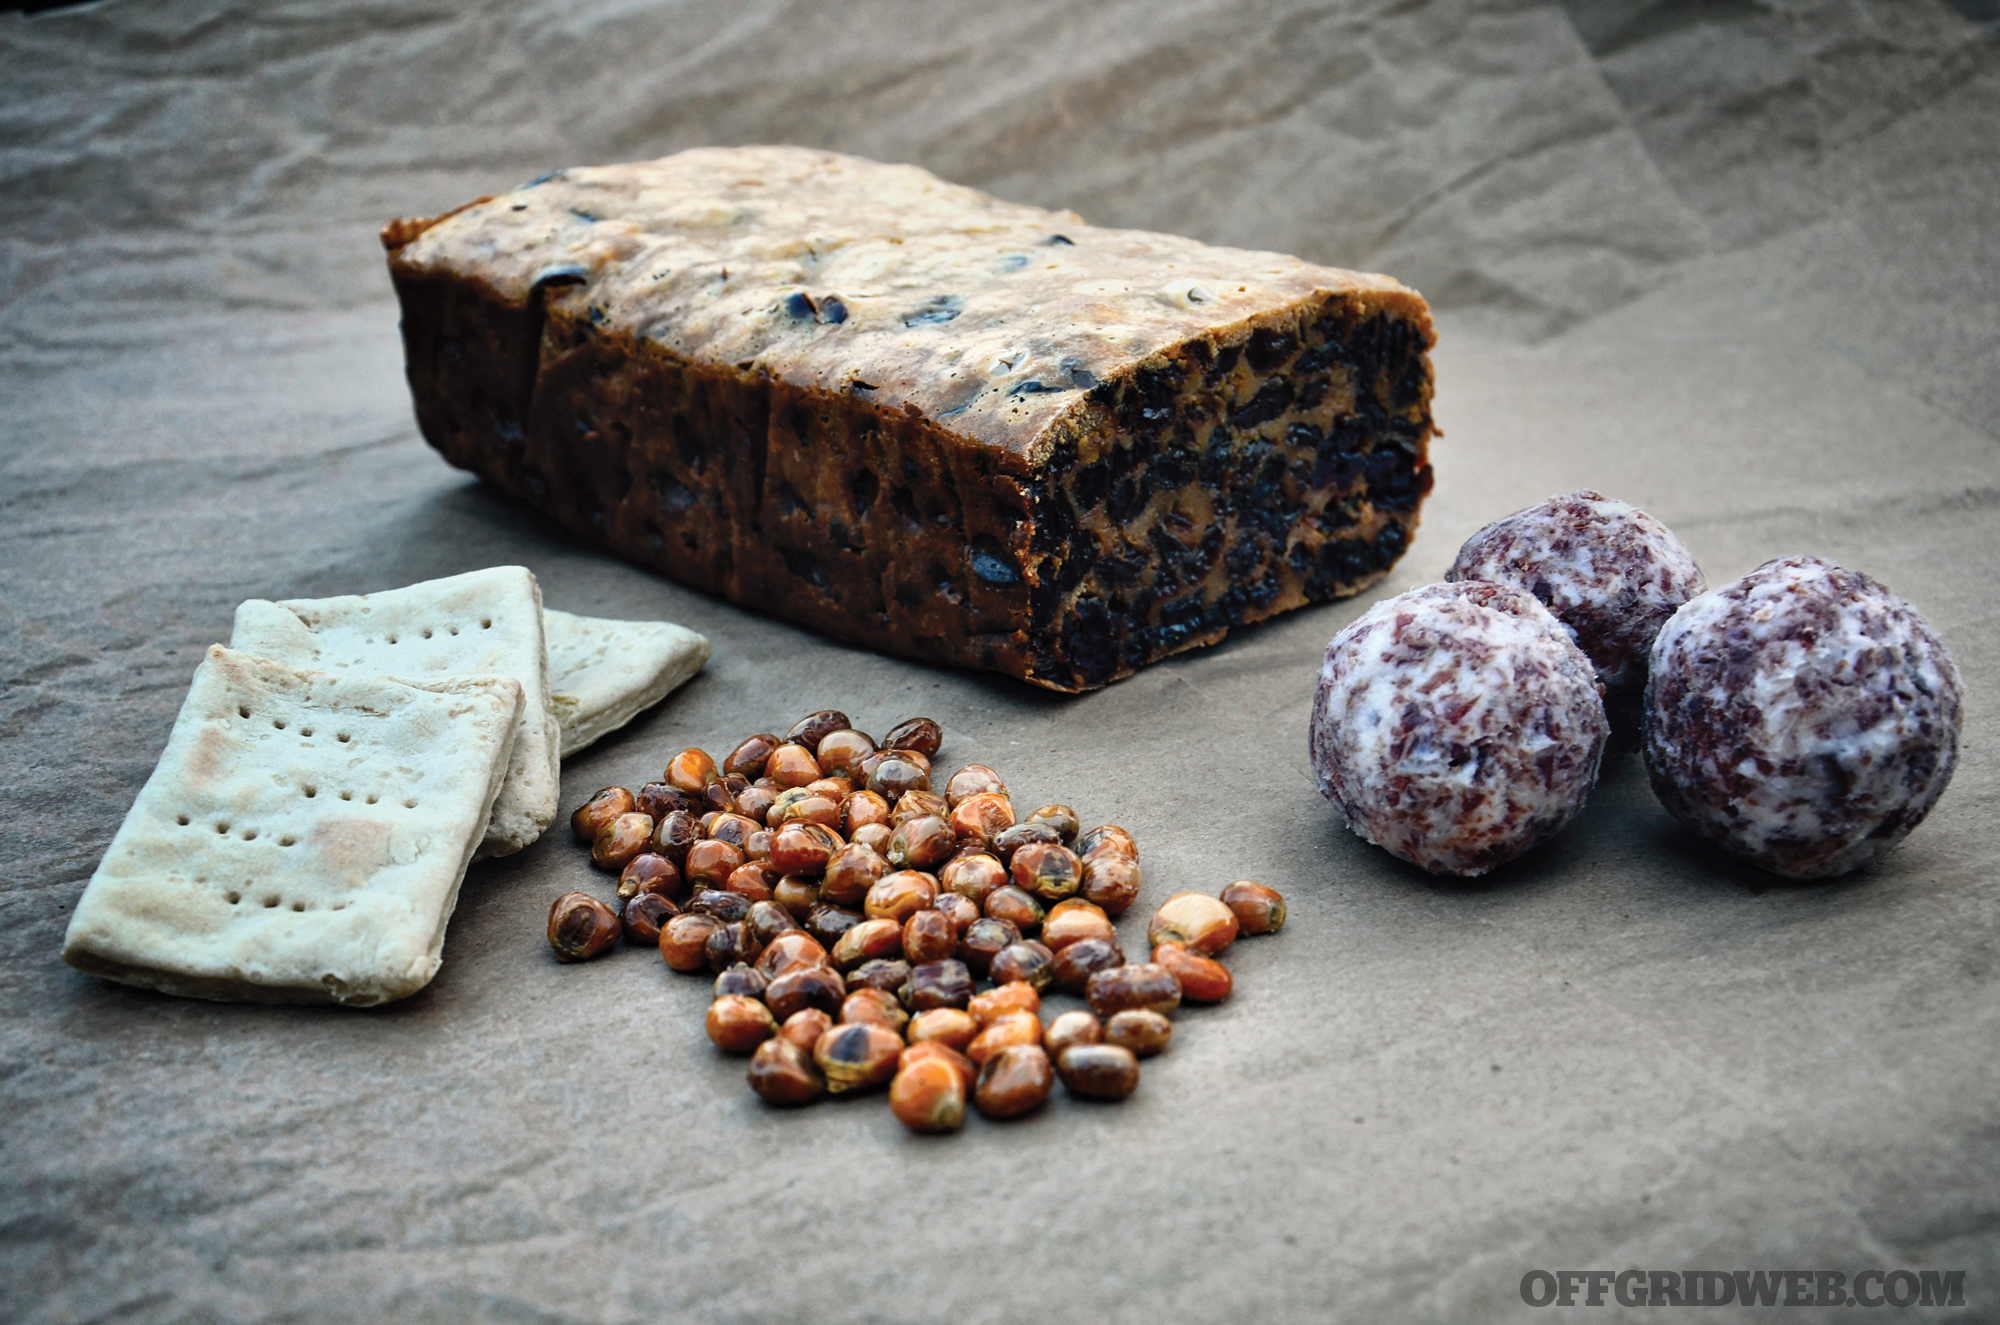
Hardtack
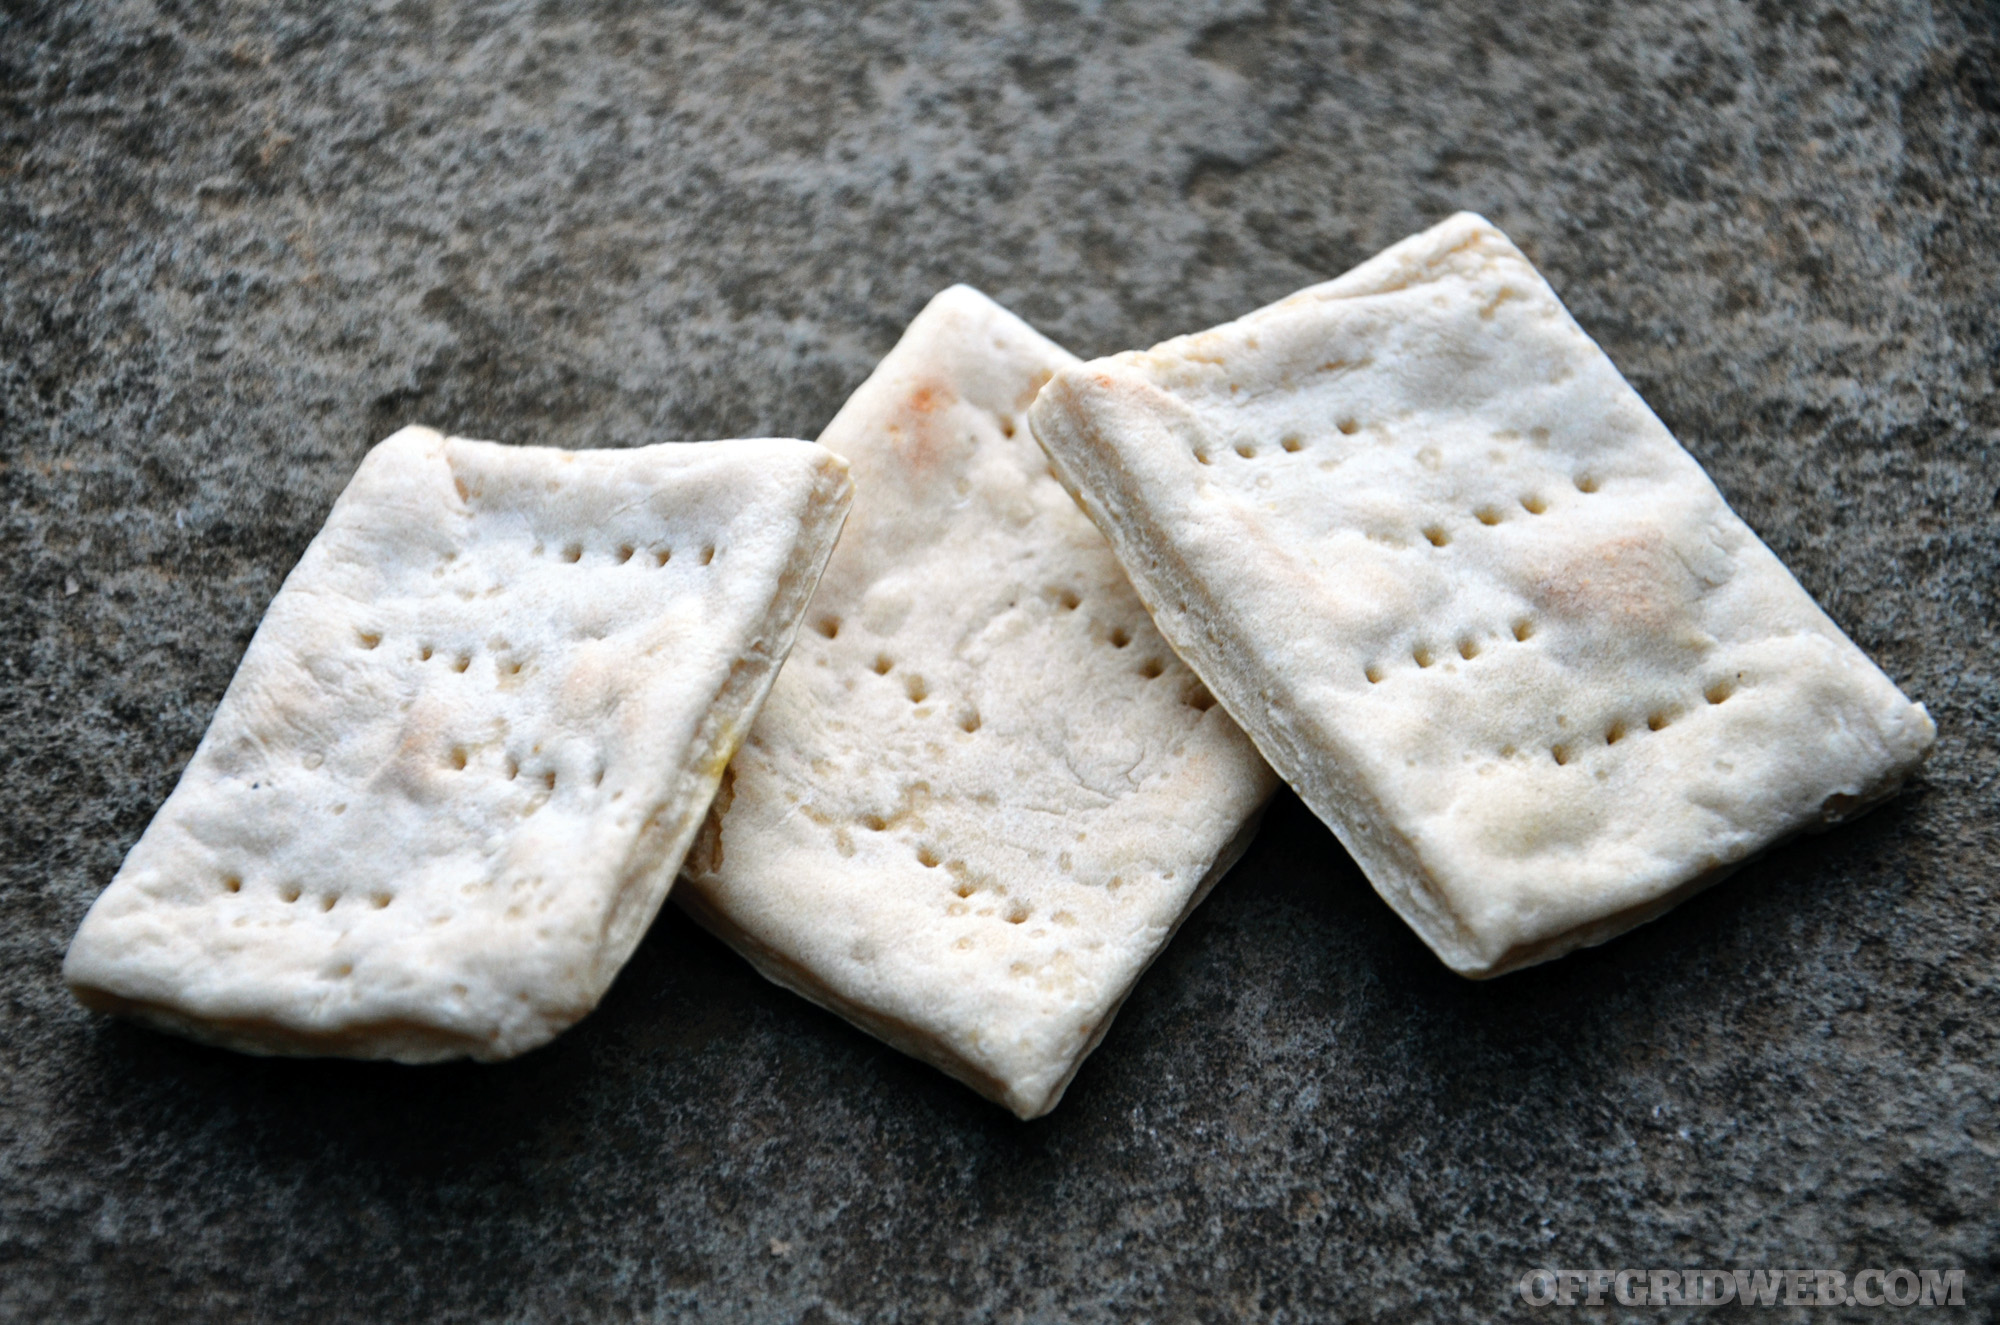
Above: While probably the most bland of the recipes here, hardtack is a resilient food that packs a good deal of nutrition.
The origin of this brick-like cracker dates back to ancient Egypt, but the form we know today has its closest resemblance to a food item made during the American Civil War. Baked several months beforehand, these soldier’s rations were rock hard right out of the oven, and even worse when they finally got to the troops. To make their meal chewable (especially with bad Civil War-era teeth), soldiers soaked their hardtack in water or coffee. As an added bonus, the dunking would cause any insect larvae in the hardtack to float to the top of the liquid for easy recognition and removal. Dinner and a show!
Ingredients
The hardtack recipe is very simple. You could add other ingredients, but if you do that, you’ll drift away from hardtack and be making bread.
- 5 cups (600 g) of wheat flour (all-purpose flour is a good choice)
- 2 cups of water
- 3 teaspoons of salt
Recipe
Blend your wet and dry ingredients together in a large bowl. Once the flour, salt, and water have created dry bread dough, use a fat stick (or rolling pin) to roll it out flat, or you could pat it out by hand. Sprinkle on extra flour if the dough has any sticky spots. Create a ½-inch-thick sheet of dough, cut it into 3×3-inch squares, and poke holes in both sides of each dough square. Place them on an ungreased cookie sheet, and bake for 30 minutes per side at 375 degrees F (190 C) for a total of one hour baking time.
Storage
As with most foods, store your hardtack (and the rest of the foods in this article) in a cool, dry, dark spot out of the reach of pests, if you have such a place.
Benefits
Once it’s dried thoroughly, hardtack will keep for years, provided it stays dry and away from pests. Just soak it in the liquid of your choice to eat it. Since it’s completely dehydrated “bread,” hardtack is lightweight and travel tough. It’s a lot of nutrition in a small package!
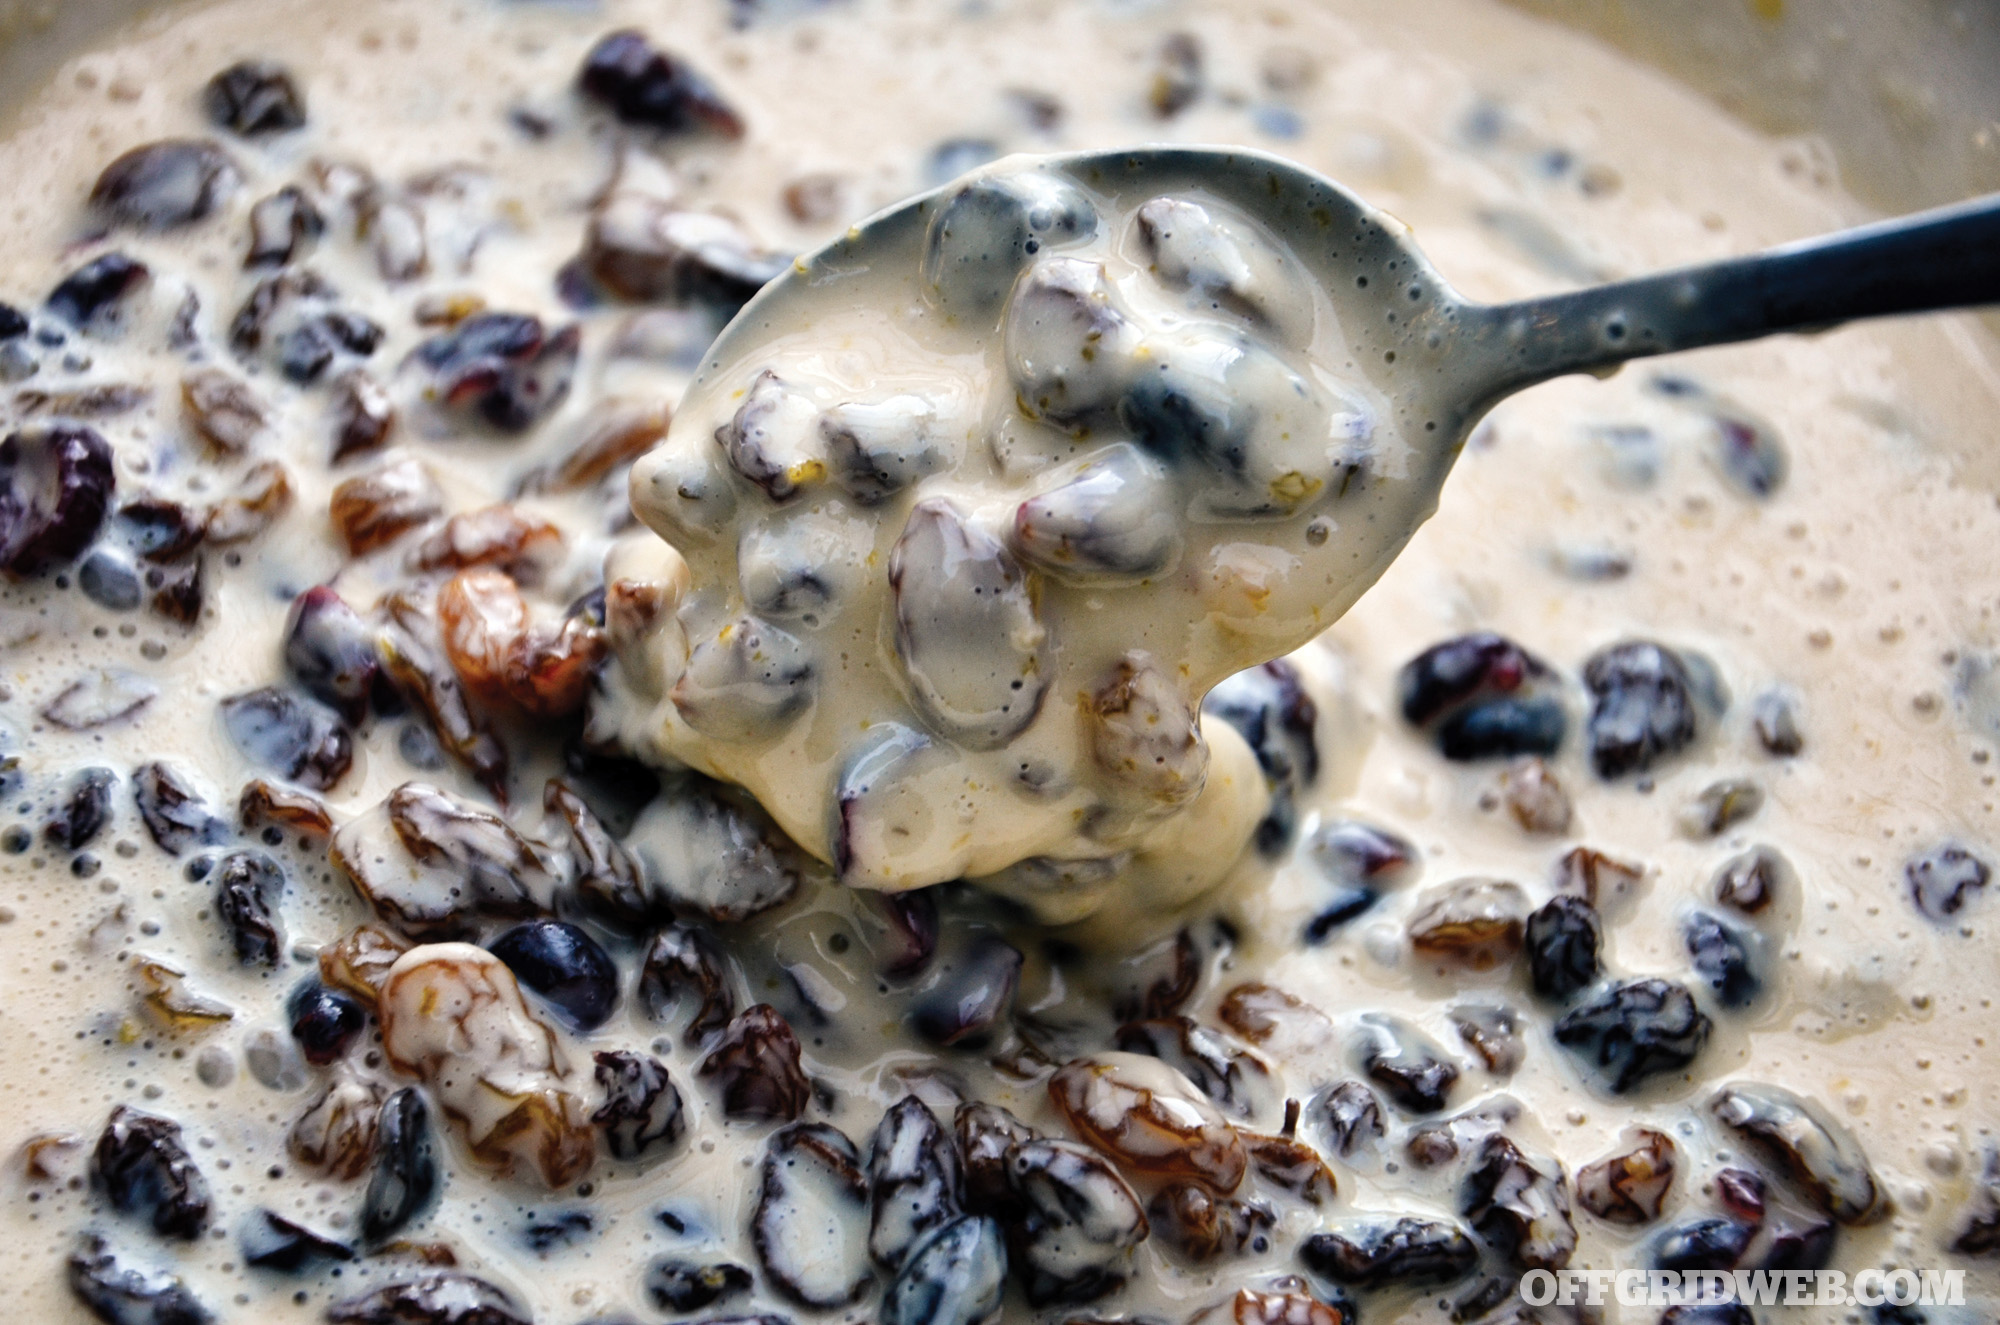
Pemmican
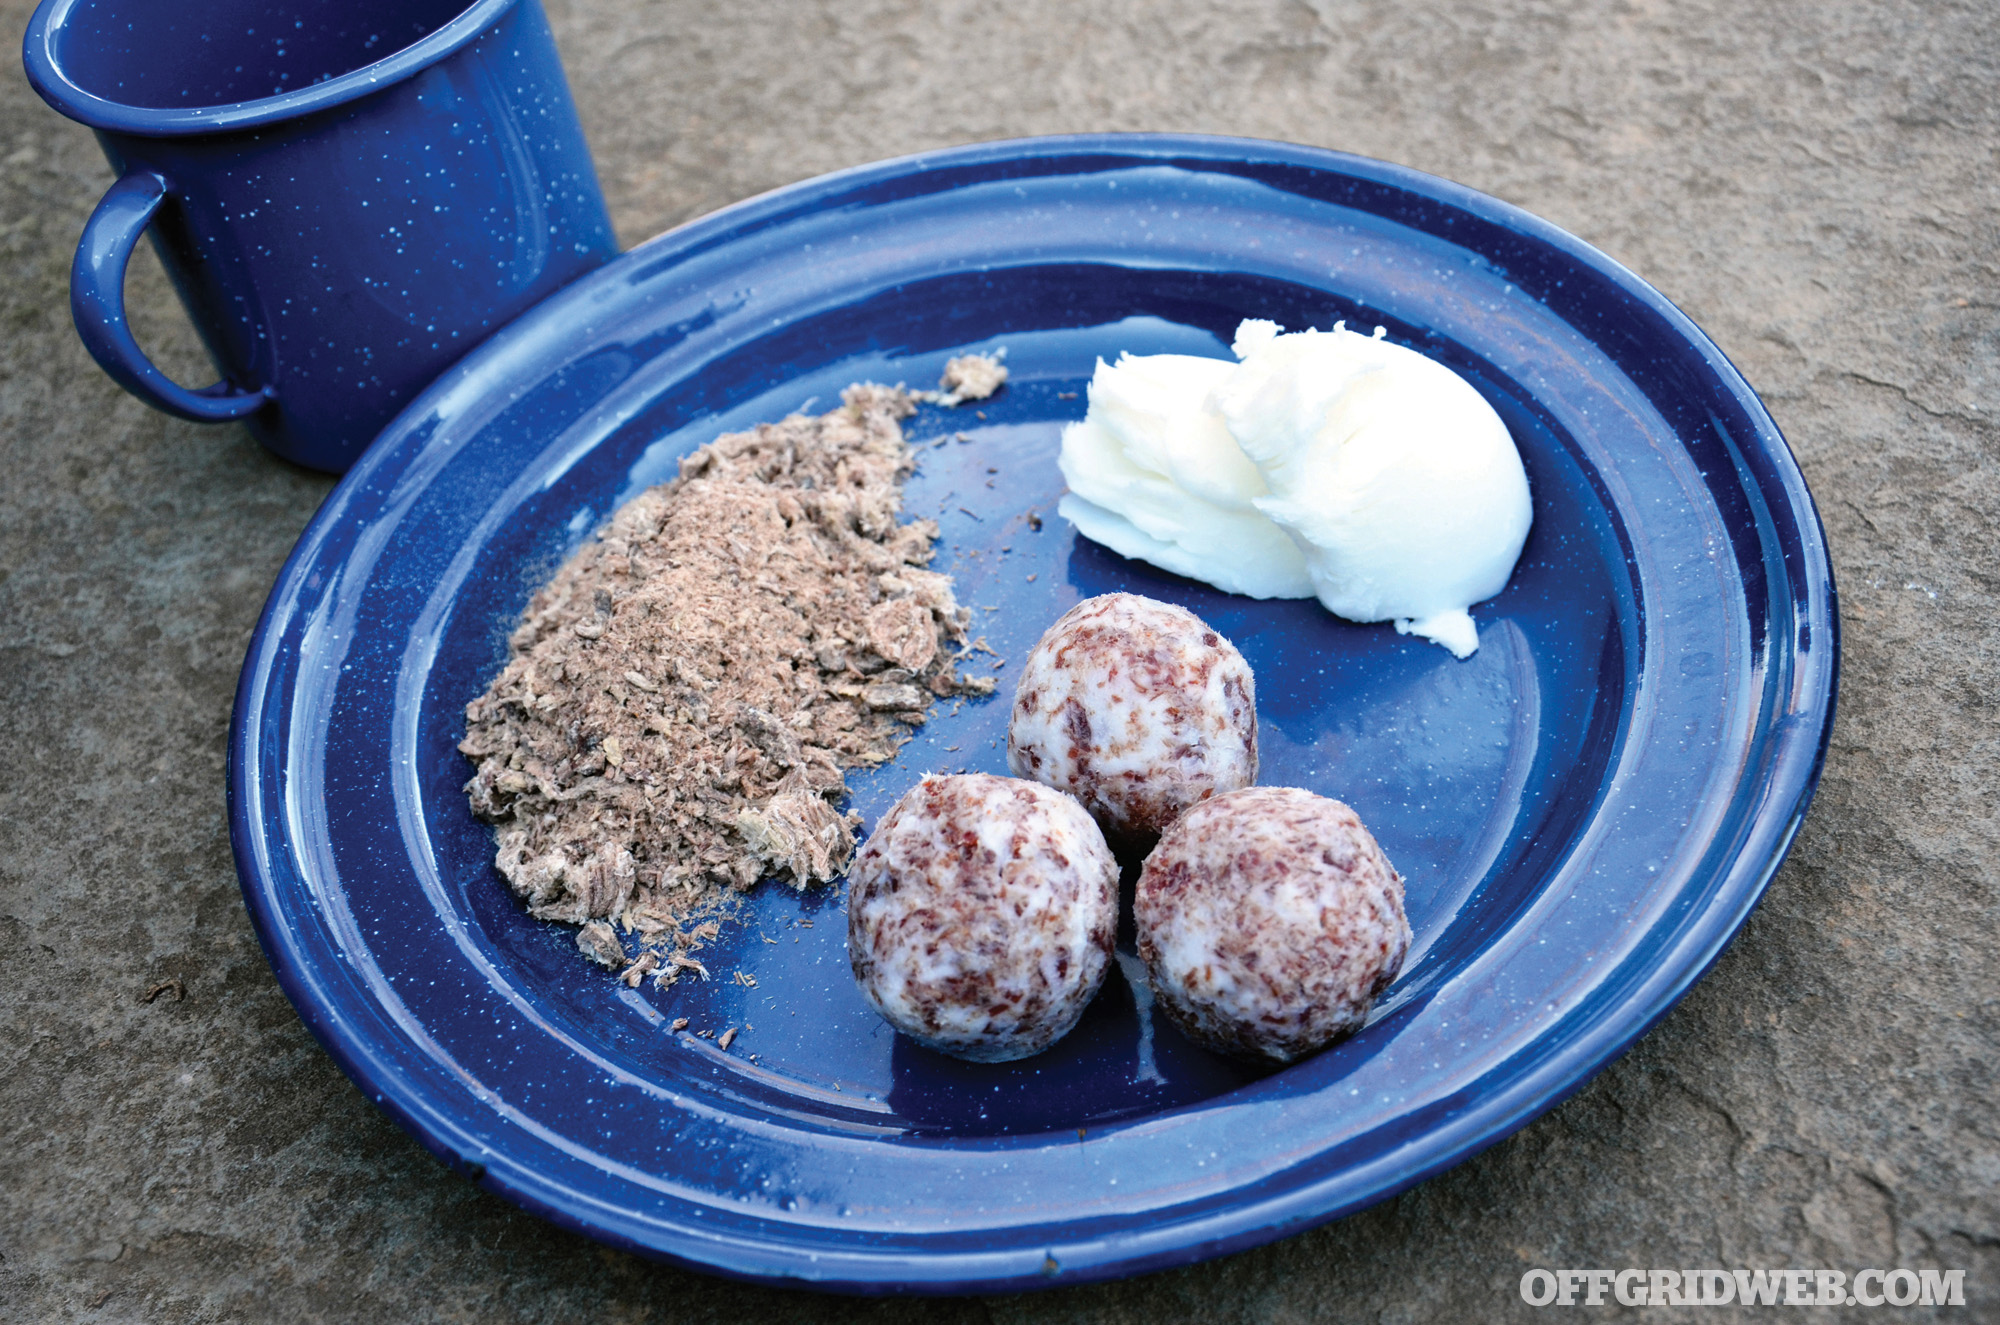
Above: See Issue 11 on how to make your own jerky, which you can use in your pemmican recipe.
This odd “survival” food can be best described as the strangest meatball you’ve ever eaten. Made from dried meat and rendered fat, among other ingredients, pemmican is an ancient forerunner to modern survival rations. While different cultures around the globe have made versions of this calorie-packed concoction, it’s the Native Americans who really put this food on the map.
Traditionally rolled into serving-size balls, pemmican can also be pressed into other shapes. Even though it can be a standalone food, some cultures have also used it as greasy “bouillon cube” to create a base for soups and stews.
Ingredients
The time-honored pemmican recipe is a mixture of two or three main ingredients. The first is dried jerky that has been pounded into dust or slivers. This provides protein and bulk to the finished product. This jerky can be salted meat or meat that has been dried with little or no salt. Just keep in mind that salted meat will allow the pemmican to last longer.
The second ingredient is rendered animal fat, which provides the high calories for this food. The fat also acts as the glue that holds everything together. An optional third ingredient is dried fruit or berries, as a supplemental source of carbohydrates, vitamins, and fiber. You could grab these ingredients at your local grocery store to make a test batch at home, or you could whip up a batch in the field from game meat you’ve dried and fat you’ve rendered. It’s all up to you. Here’s a sample ingredient list:
- 8 ounces of lard
- 8 ounce packed cup of powdered jerky (pounded with rocks or chopped in a blender)
- 8 ounces of dried fruit (this could be any dried fruit, but berries are ideal)
Recipe
The recipe is super easy. The only tricky part comes when you’re actually blending the pemmican ingredients. You’ll have to pay careful attention to temperatures. If your animal fat is cold, it won’t blend easily with your other ingredients. And if you heat up the fat too much, the hot melted lard will cook your raw ingredients, which need to stay raw in order to prevent spoilage.
In a pot, warm the lard to a soft pasty texture (below 100 degrees F) while stirring it. Add your “dry ingredients” to the softened fat and stir until thoroughly blended (about two minutes of stirring). Some intrepid explorers have added small amounts of flour or other starch sources for extra carbohydrates, or added spices for more flavor. With or without additions, scoop the pemmican out by hand and compress it into round balls or flat cakes. Allow it to cool before storage.
Storage
You can wrap the pemmican pieces in wax paper (not too tight), in lieu of the rawhide containers of old. If the weather or your storage area is cold, this food can last for months. But when the weather turns warmer, eat it before the fat starts to take on a rancid smell.
Benefits
Ounce for ounce, pemmican is the highest calorie food in this article. One little 2-ounce ball of pemmican has 336 calories (mostly from fat), 57 mg of cholesterol, 17 grams of protein, 770 mg of sodium, and 20 percent of your daily requirement of iron.
Parched Corn
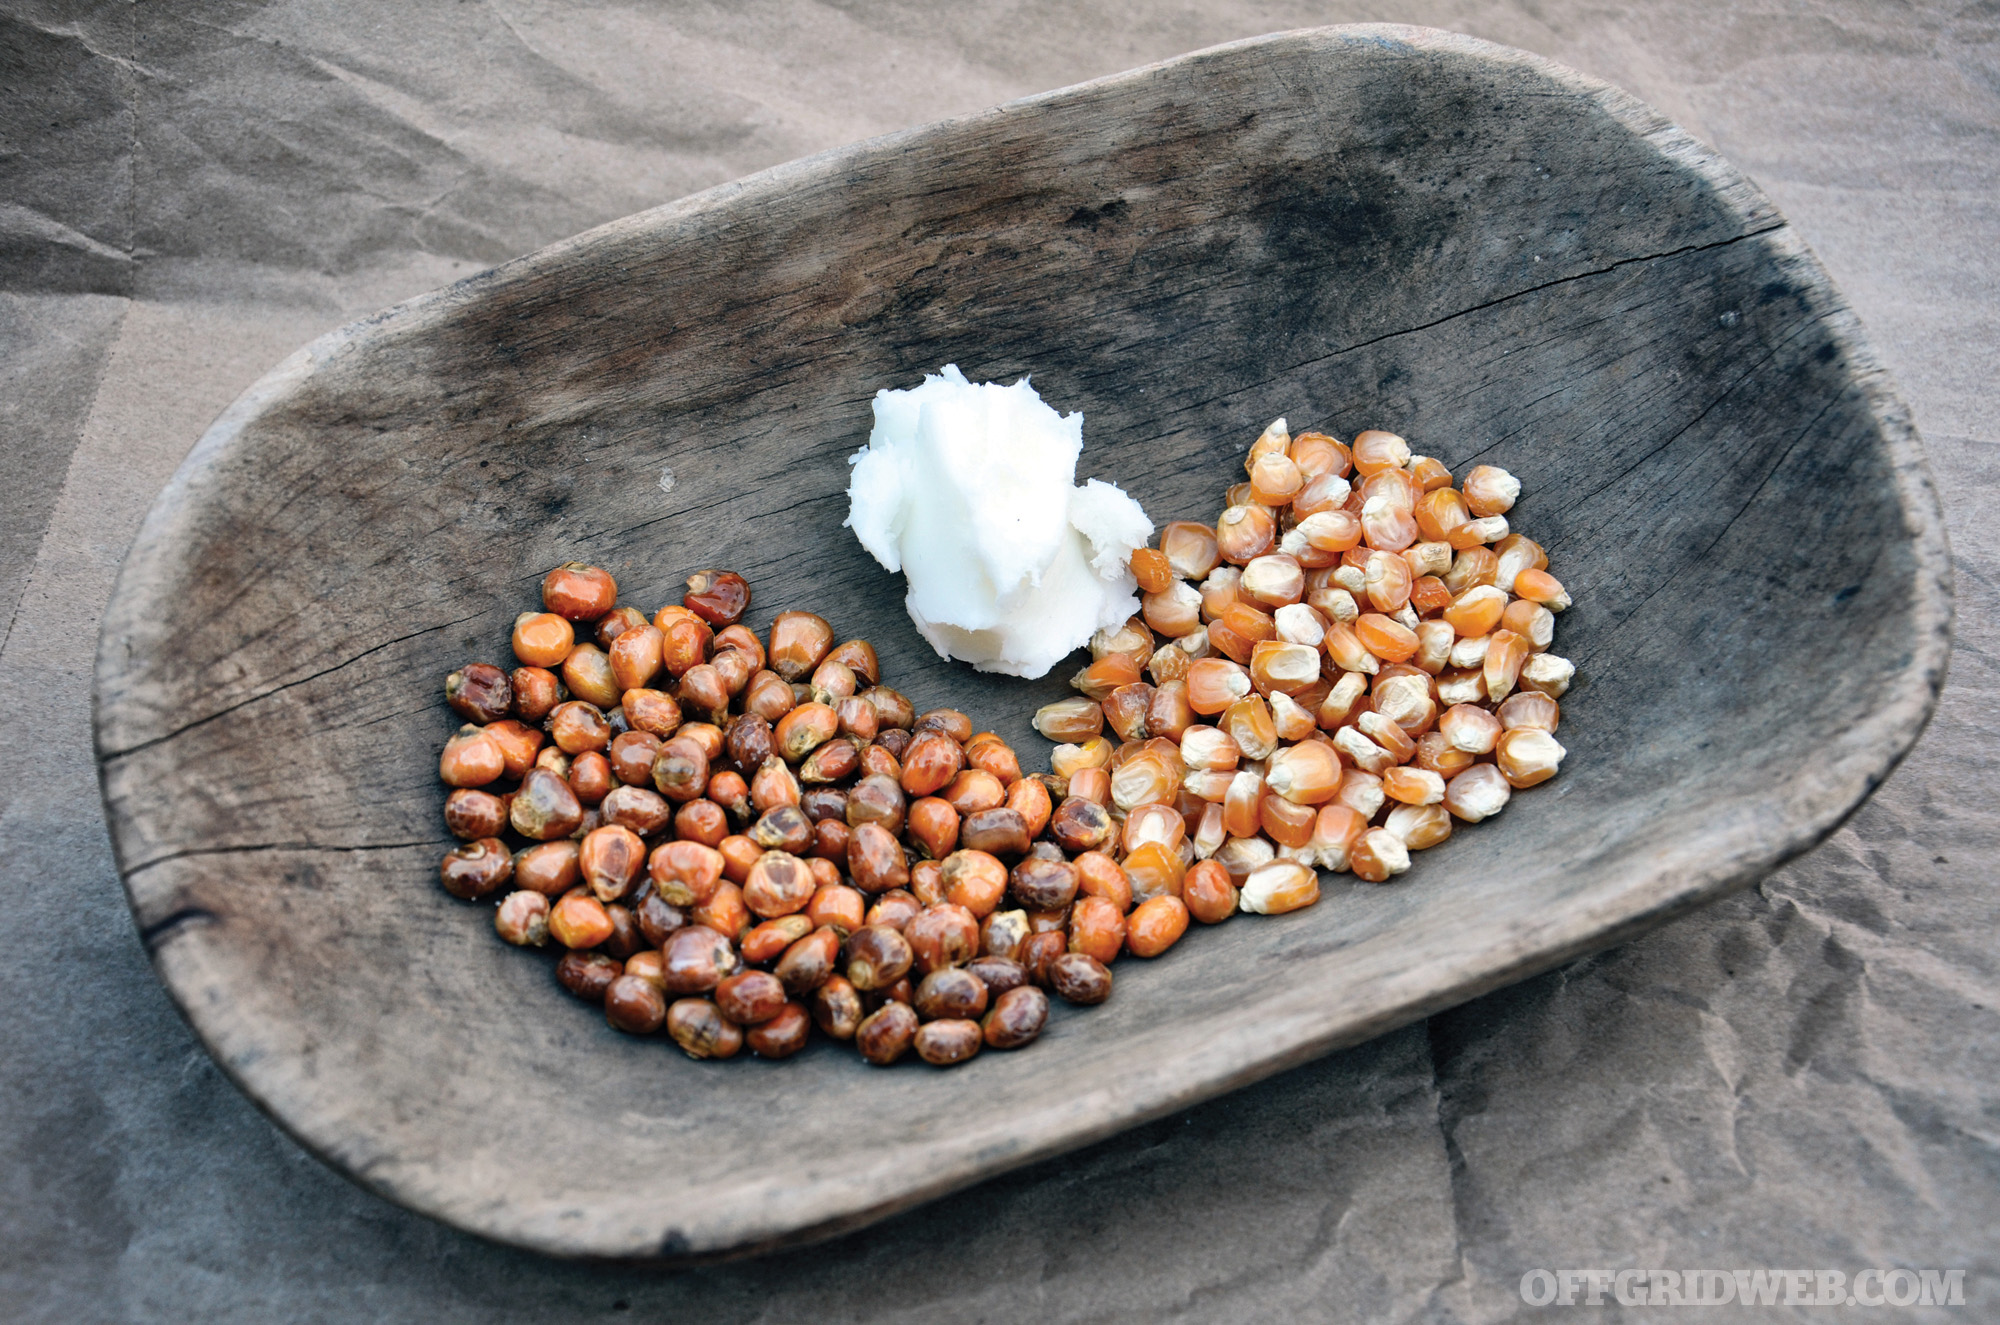
Above: The idea is to roast the corn kernels for longevity, not to make popcorn.
Parched corn is a unique Native American cuisine, essentially a rough form of popcorn. Like pemmican, parched corn was once a common food among Native Americans. Colonists, trappers, hunters, and pioneers soon adopted this food for a snack and as a lightweight trail food. Parched corn can also be ground into coarse meal and simmered in water to make a corn soup.
Ingredients
This food can be made in small batches or large ones, and it’s easy. You’ll need some fat to coat the bottom of a skillet or pan. Bacon fat is great, but any edible oil will work. You’ll also need some dried sweet corn. Other types of corn will work, but sweet corn is the best choice. If you can’t find it, you can buy frozen sweet corn and dehydrate it thoroughly. Your final ingredient is a little salt or sugar for seasoning. Salt makes it taste like popcorn, while sugar makes it taste more like kettle corn.
Above: Fresh, canned, or frozen corn will work, but all varieties need to be dehydrated before use.
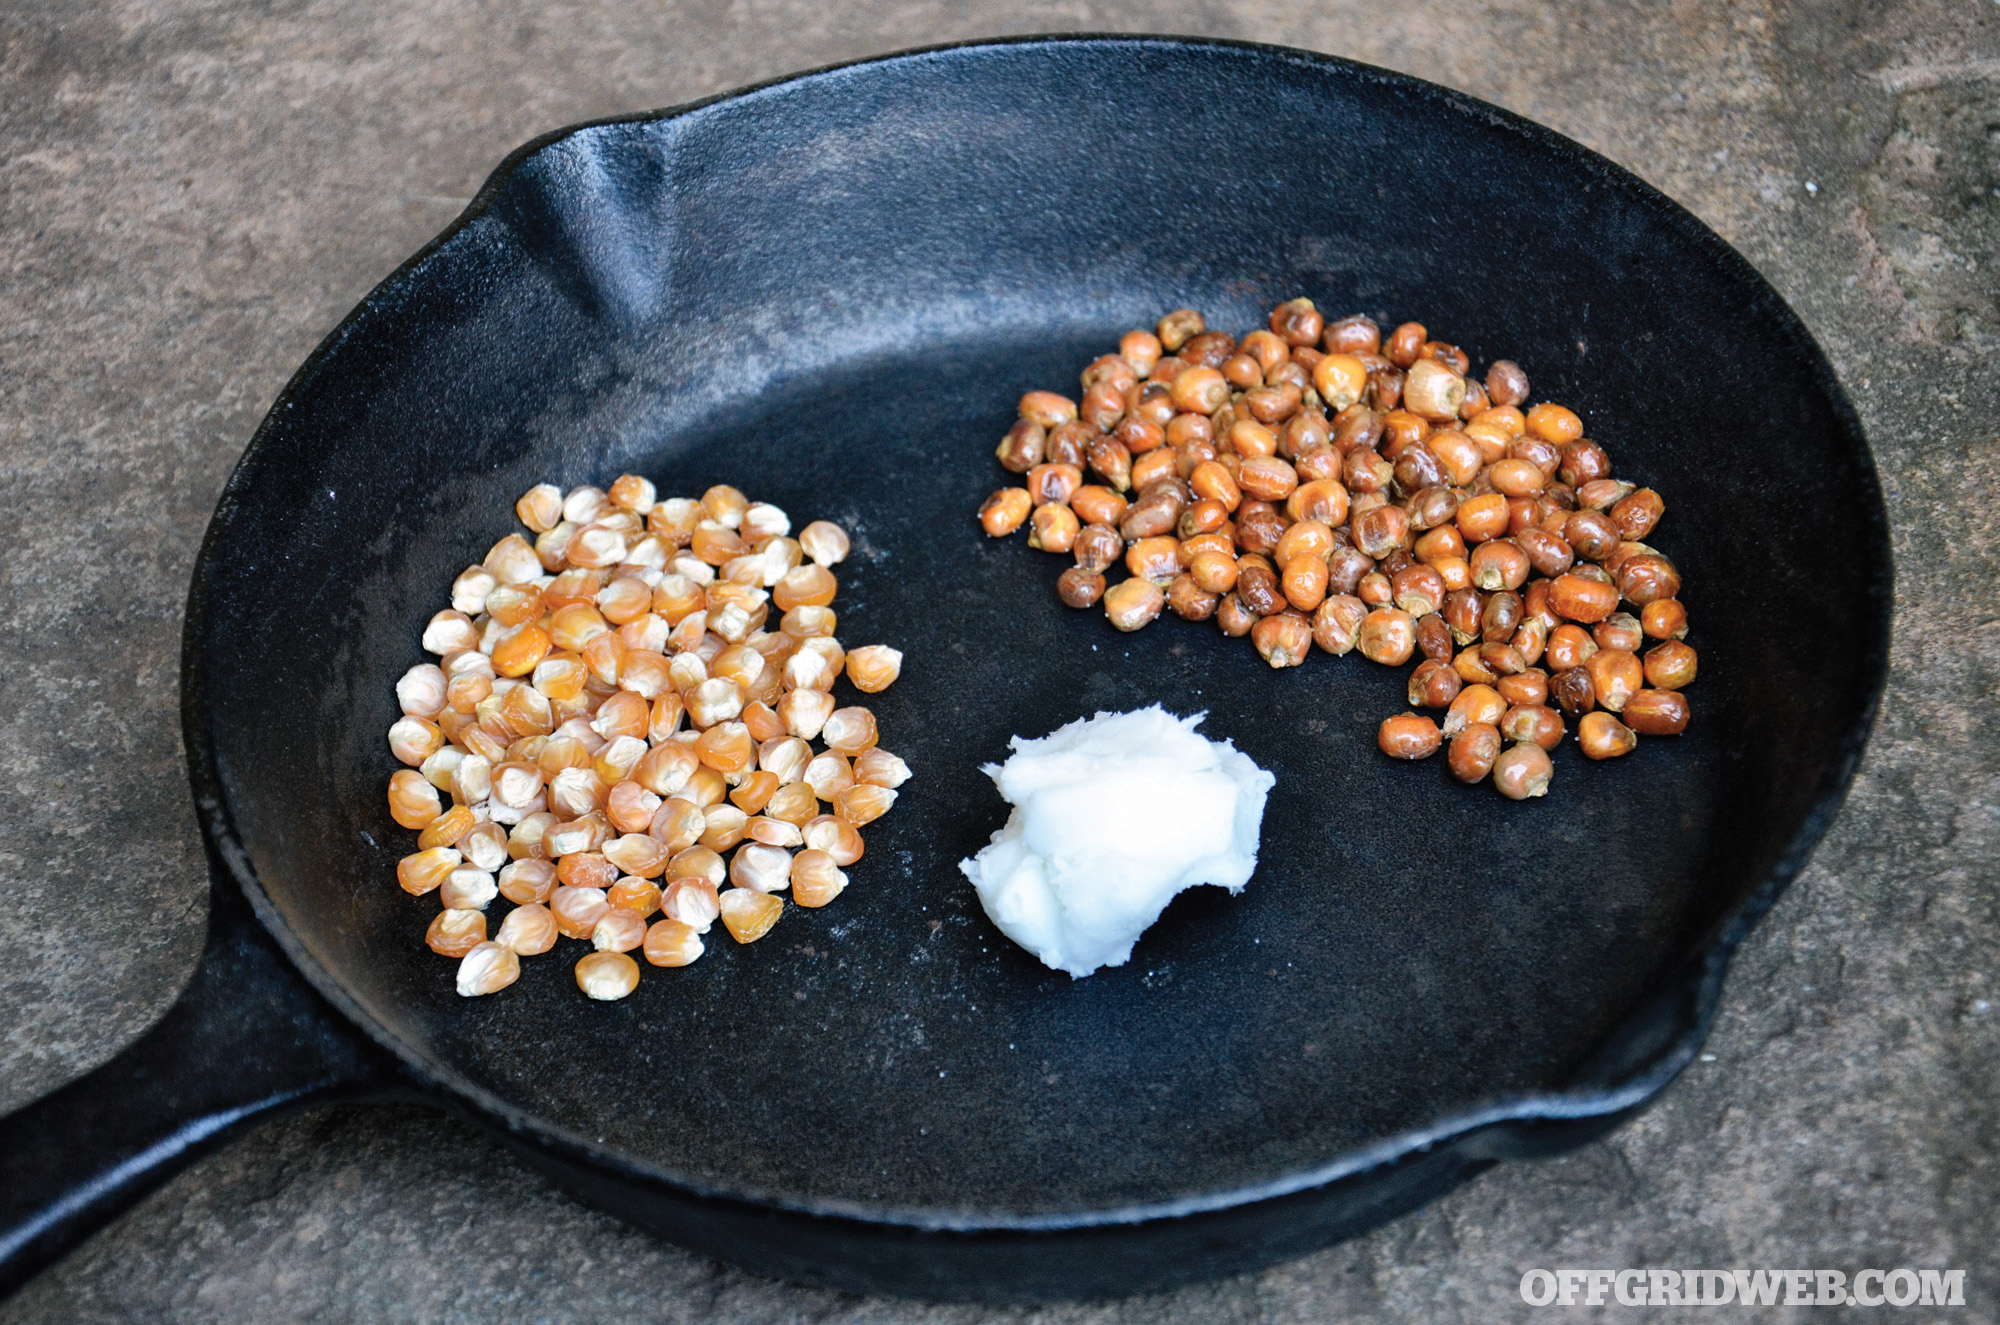
Recipe
Grease your pan with oil and bring it up to a medium heat (on the stove or over a fire). Add a handful of your dried corn, and start stirring. You’ll only want enough corn to cover the bottom of the pan, not a pan full of corn. After a few minutes, the corn will begin to swell and start to pop. Keep stirring until all of the kernels are browned. Pour it out of the pan, and add salt or other seasonings while it’s still hot. Drain the excess oil, and enjoy it!
Storage
Parched corn should be stored in a breathable container. Historically, cloth bags and leather pouches were used, as these prevented the corn from sweating. In the event of wet weather, temporarily place the bag of parched corn in a jar, metal tin, or plastic bag to block moisture absorption from the air. Take it out of the waterproof covering when conditions dry out.
Benefits
If kept dry and cool, parched corn can last for months (until the fat goes rancid). Just 1 ounce of this popcorn predecessor has 120 calories, 46 mg of sodium, 5 grams of fat, 120 mg of potassium, 20 grams of carbohydrates, 2 grams of fiber, and 3 grams of protein.
Trench Cake

Above: Trench cake packs an amazing amount of calories using a bare minimum of ingredients.
While the name and concept of a “fruitcake” dates back to the Middle Ages, baked goods like this actually reach back to Roman times. From old-world hunters to soldiers in the Crusades, people have carried sustaining cakes made of flour, honey, spices, and fruit for centuries. In the late 1800s, fruitcake became extremely popular throughout the British Empire. Later, during World War I, English families sent fruitcakes that were nicknamed “trench cakes” to their brave relatives fighting in the trenches of mainland Europe.
Ingredients
- 4 cups mixed dried fruit (2 to 3 cups should be golden raisins for the classic taste)
- 1 cup self-rising flour
- 1 (400 g) tin sweetened condensed milk
- ½ cup water
- 1 egg
- 1 dash rum or brandy (optional)
Recipe
Place the fruit and water in a pot, and bring to a boil. Simmer uncovered for two minutes. Cover and cool to room temperature. While the fruit cools, line a deep square or round baking tin with parchment paper (made for baking), bringing the paper ½ inch above the edge of the tin. Preheat the oven to 300 degrees F (150 degrees C). To the pot of fruit, stir in the condensed milk, egg, and then the flour (and liquor, if using). Thoroughly mix the batter. Spoon it into the prepared tin and bake for two hours (or until a toothpick comes out clean after being inserted into the cake).
Storage
There’s only one way to store fruitcake correctly, and that’s wrapped in a cloth that’s been soaked in liquor. To keep the cloth from drying out, the fruit cake can then be shrouded in plastic wrap, or more historically correct, in a metal tin. When embalmed this way, fruitcake can last for many months in a cool location, maybe as much as a year.
Benefits
If you happen to like fruitcake, then this might be the tastiest survival food on our list. And even if you don’t like these bricks of fruit bread, they provide many necessary nutrients. A 4-ounce slab of the average fruitcake contains 369 calories, 20 grams of fat, 46 grams of carbohydrates, 4.3 grams of protein, 68 mg of cholesterol, and 102 mg sodium.
DIY Food Fails
Whether you’re making your survival food over a campfire or in your home kitchen, there are some common food fails that you’ll want to avoid.
Inaccurate Measurements: This common mistake will alter the chemistry of the food you’re cooking, resulting in unpredictable results and weird textures. Make sure to use measuring cups meant for food, and use dry measures for dry ingredients; wet for wet.
Sloppy Storage: As mentioned throughout, you’ll want to keep your food in a cool, dry, dark place — free from insect and rodent pests. If you don’t, spoiled or contaminated food will be your outcome.
Impatient Preparation: Follow the recipe when it comes to cook times and temperatures. Baking your food at a higher temp doesn’t mean it’ll cook faster — it just means you’ll burn it.
Don’t Be Scared of Fat: Forget about your diet! If you’re in a survival situation, calories equal continued life, and nothing has more calories than fat. If a recipe calls for fat, to hell with your Weight Watchers points. Don’t cut back on the fatty ingredients. The food won’t taste right, and it won’t provide you with as much energy. Leave it in there!
Conclusion
While some heritage foods have stayed around because they were tasty, other recipes have lingered because they have proven themselves to be a good way of storing nutrients. Just remember that old doesn’t always equate to outdated or obsolete! We hope that one or more of these historic survival foods will inspire you to try something new, and we hope you end up making these just to try them — not because you had to.
More From Issue 30
Don’t miss essential survival insights—sign up for Recoil Offgrid’s free newsletter today!
- Pocket Preps: Knife Sharpener
- Gear Up Issue 30
- Parental Preps Issue 30
- What If You Awaken to a Kidnapping, Abduction, or Worse?
- Rugged Recipes: How to Make 4 Historic Survival Foods
- Out of the Darkness: Taking Control After Sexual Violence
- Survivalist Spotlight: Rudy Reyes
- 6 Trap Triggers for Survival
- All Washed Up: How to Make Soap from Scratch
- Review: Klim Arsenal Vest
- Young Hunters: Tips for Teaching Kids to Hunt
- Household Ingenuity: 13 Specialized Tools for Survival
- Battle of the Boomsticks: Kel-Tec KSG vs. SRM 1216
- Book Review: “Waste Land” by David T. Hanson
- Traumatic Shock Treatment & Survival
Read articles from the next issue of Recoil Offgrid: Issue 31
Read articles from the previous issue of Recoil Offgrid: Issue 29
Check out our other publications on the web: Recoil | Gun Digest | Blade | RecoilTV | RECOILtv (YouTube)
Editor’s Note: This article has been modified from its original version for the web.
