In This Article
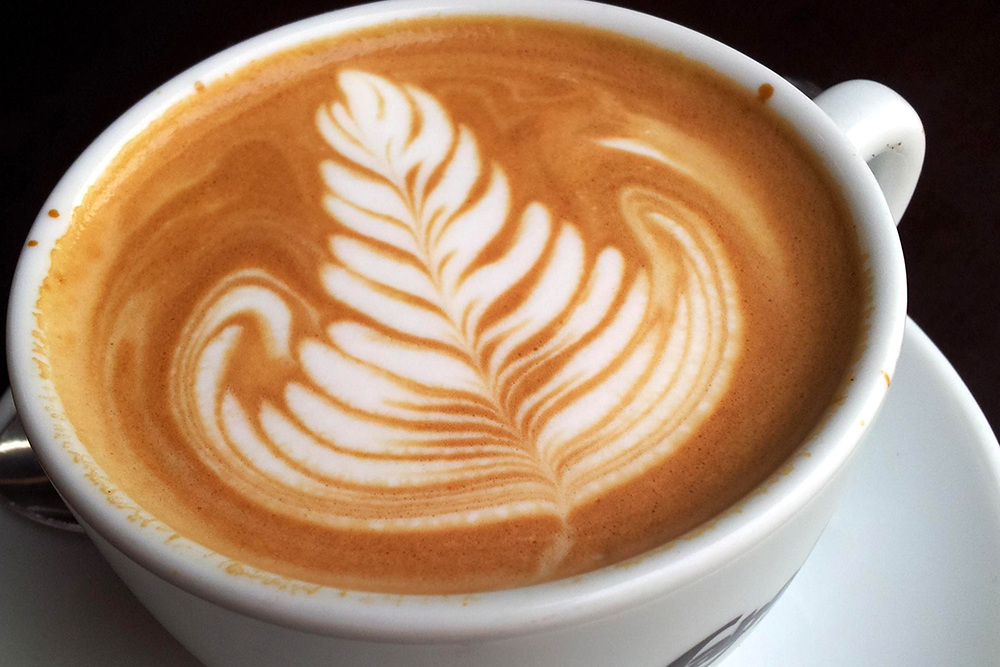
There’s something revitalizing about a strong, steaming-hot cup of coffee. It warms you up, provides an instant energy boost, helps you stay alert, and improves morale… unless you’re one of those heathens who prefers tea (just kidding, we like tea too). However, a good cup of coffee isn’t easy to conjure out of thin air — if it were, you wouldn’t see Starbucks and Dunkin’ Donuts on just about every corner. Brewing a great cup of coffee is practically an art form, especially when you’re in the backcountry with limited gear.
If you’re at home, making coffee is usually as easy as pouring some grounds and water into a drip machine and pressing a button. But that’s not happening if you’re carrying all your gear in a backpack. So, what’s the best way to make coffee in the great outdoors? There are many techniques to consider, so we’ll discuss a few and go over the pros and cons of each.
Instant Coffee
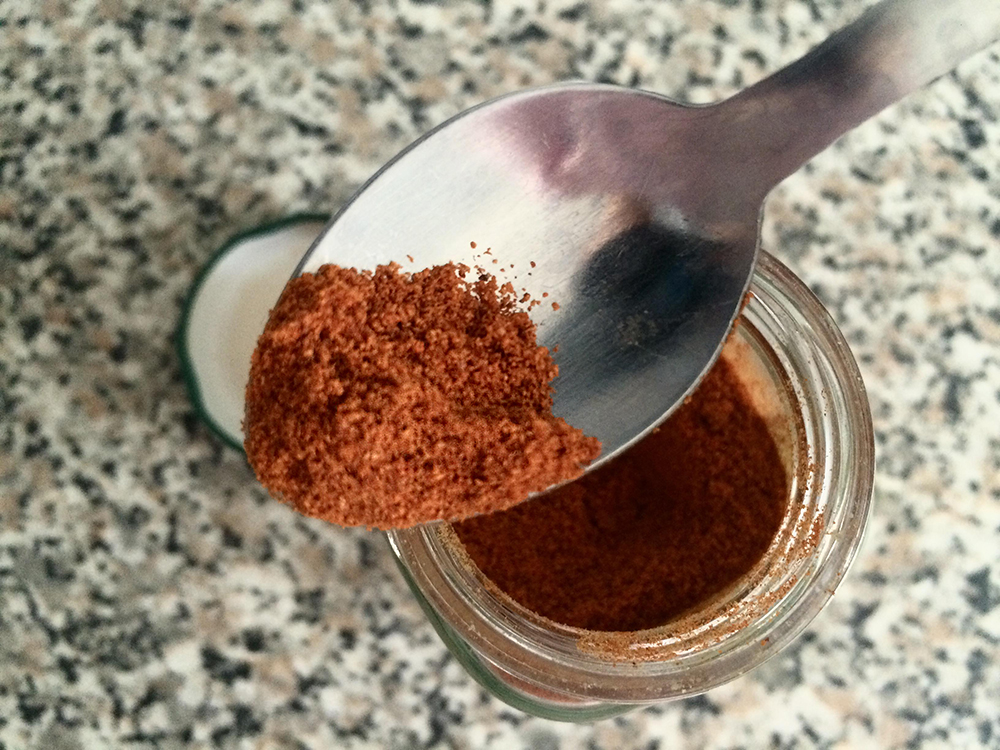
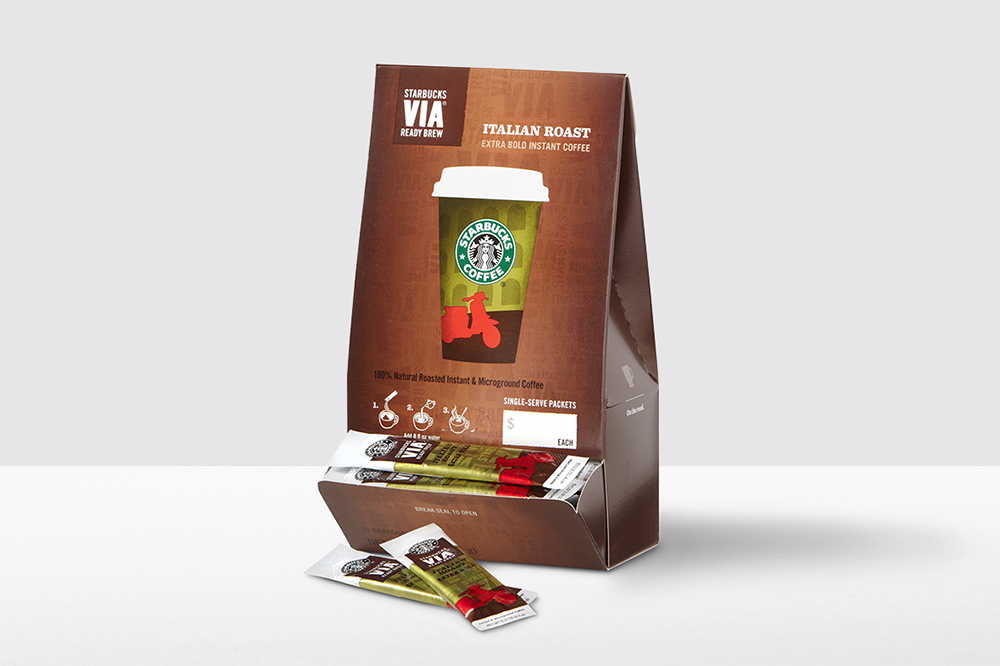
If you’re heading out on a short trip but don’t want to bother with additional gear or grounds, instant coffee is a viable option. These freeze-dried coffee crystals often come in single-serving pouches, have a long shelf life, and can be simply stirred into hot water. However, if you’re a purist, you’ll immediately know it’s not the real deal.
Pros:
- The easiest way to make a cup of coffee
- Works just as well with cold water
- No additional tools required
Cons:
- Can be expensive if bought in travel-ready packaging
- Doesn’t taste like real coffee
Cowboy Coffee
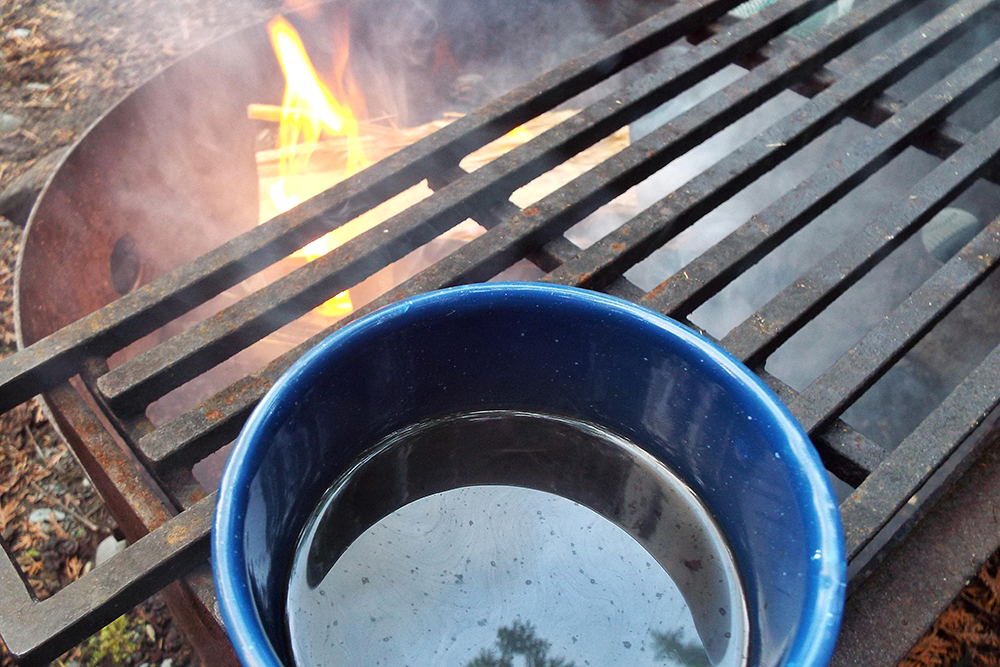
This is about as simple as real coffee gets, but can be a little off-putting if you’re not a die-hard mountain man.
All you do is heat some water, toss in some grounds, and wait a few minutes for the flavor to disperse. If you’re really hardcore, you can drink straight from the pot and strain out the grounds with your teeth. Otherwise, we’d recommend pouring off the top layer into a mug, and disposing of the wet grounds at the bottom of your pot.
Pros:
- Quick and easy
- No additional tools required
- You can think of the grounds floating in your cup as “flavor bits”
Cons:
- Difficult to achieve consistent results
- Loose coffee grounds stick in your teeth and can be unappealing
Steepable Coffee Bags
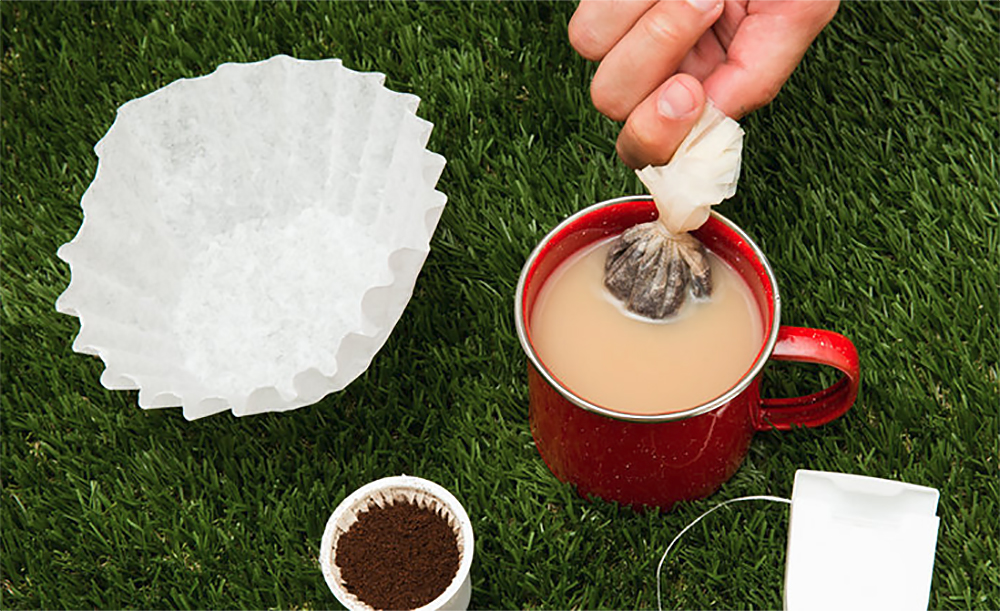
This method is one you can try at home. Just take a small scoop of coffee grounds, and pour it into a filter like you normally would. Then take some string or a strand from gutted 550 cord and tie off the opening of the filter, forming a coffee bag that you can steep in hot water like a tea bag. The amount of coffee and steeping time can be adjusted for water quantity and brew strength. Check out this tutorial from Thrillist for a step-by-step guide.
You may also be able to find single-use coffee bags at the grocery store. For example, Folgers Coffee Singles and Maxwell House Single-Serve bags.
Pros:
- Convenient — just pull it out of your pack and drop it into a cup
- Pre-measuring grounds can produce consistent strength
- Lightweight
Cons:
- You’ll need one bag each time you brew coffee. This requires prep work before your trip.
- Steeping time will require fine-tuning
- Unless sealed in a plastic bag, the grounds can go stale over time
Drop-In Filters
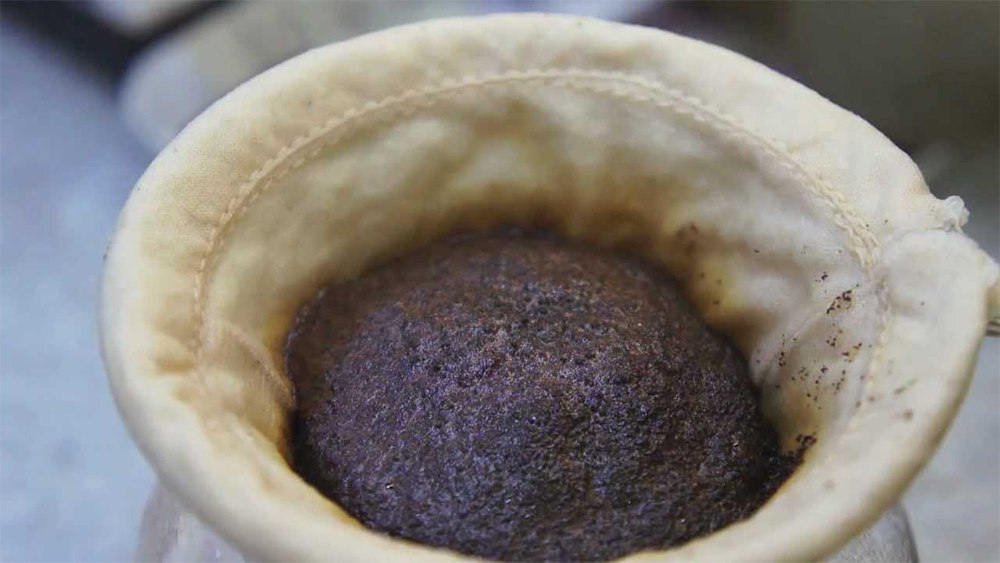
Another lightweight option is a drop-in filter. This setup submerges a filter and grounds in your cup, and lets you steep the mixture before removing the filter.
Some drop-in filters are rigid plastic, such as the MSR MugMate, and can be used for either coffee or loose tea. You can also go with a simple washable cloth filter, which costs only a few dollars and weighs next to nothing. Either way, once cleaned, these filters can be re-used.

Pros:
- Inexpensive minimalist tool
- Reusable — no need to carry multiple replacement filters
- Lightweight
Cons:
- Best for single-serving cups, rather than making a large pot
- Must be cleaned between uses
- Cloth filters can be difficult to clean thoroughly, and may pose a risk for mold growth if put away damp
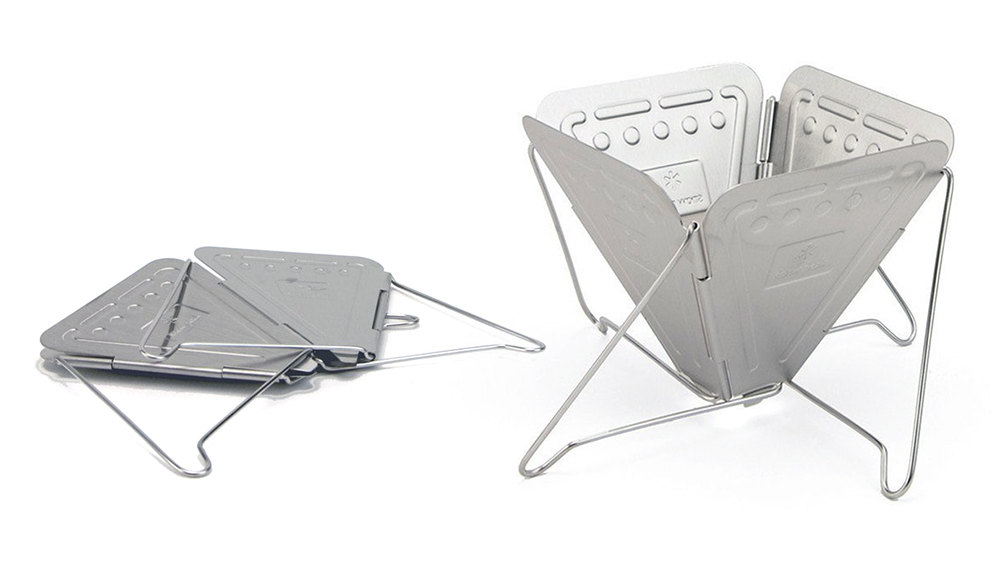
Pour-Over
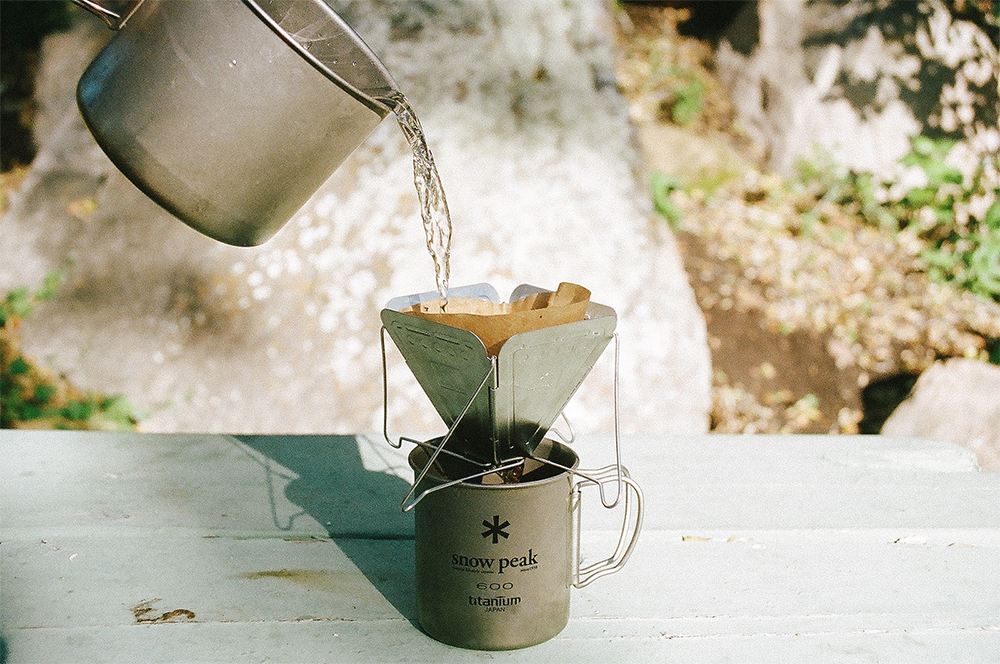
Now we’re starting to get into the more complex systems, but this added complexity can bring added flavor. You also get to feel like a coffee hipster, since this technique has gained popularity in the home market thanks to systems like the Chemex.
Pour-over coffee involves a device which sits above your cup or pot, holds a filter, and channels water down through a small drip opening. By controlling the flow rate of the water into your cup, you’ll get a much smoother and more consistent brew. For best results, pour-over requires a kettle or pot with a spout, so a steady stream of water can be poured onto the grounds — sloshing hot water onto your grounds isn’t ideal.
Pros:
- Water flows through the grounds in a controlled manner, producing great flavor and consistent strength
- With proper technique, should taste identical to home-brewed coffee
- Still relatively lightweight and inexpensive
Cons:
- Requires separate filters (disposable paper or reusable cloth)
- Requires more set-up time and patience than previous methods
- For best results, water should be boiled in a kettle with a pour spout
Presses
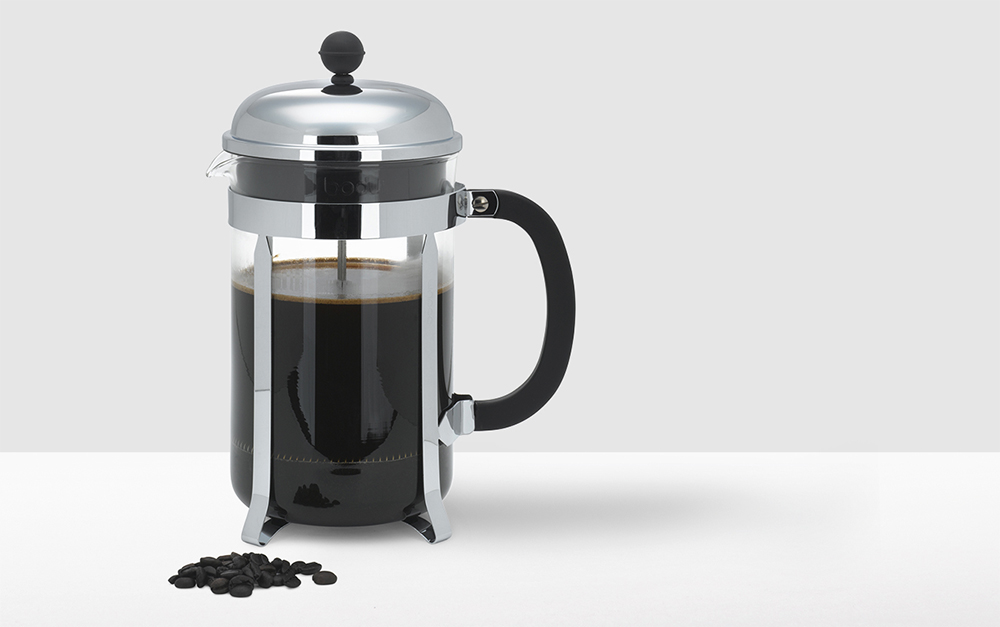
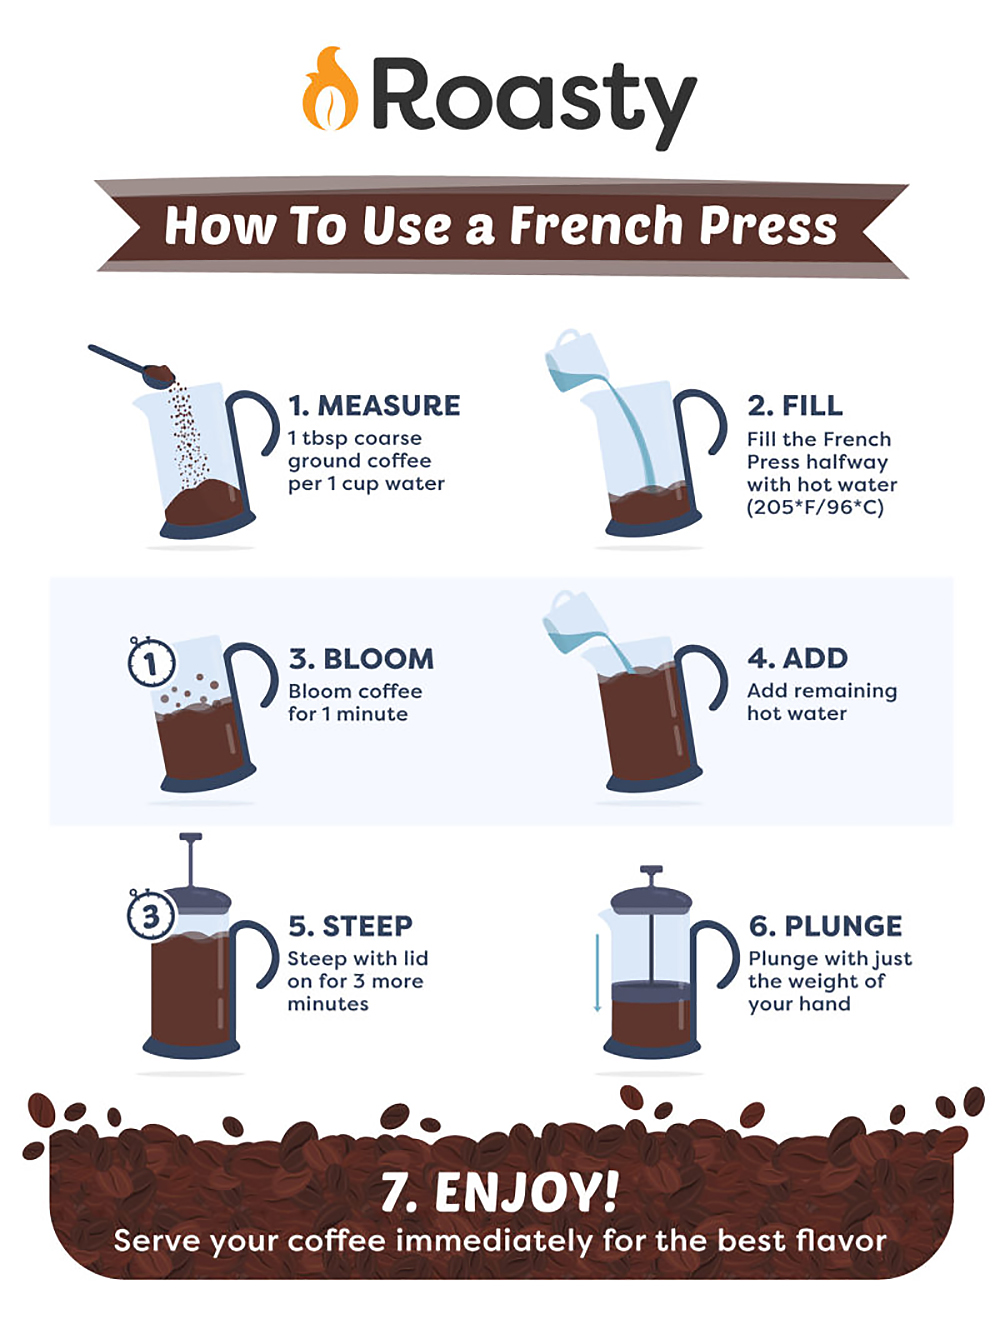
The most traditional press is a French press, which is a pitcher-style device with a central plunger. Brewing with a French press starts out like cowboy coffee, with grounds and hot water blended inside the pitcher, but the plunger forces the grounds to the bottom and strains your coffee for a much cleaner finish. Check out the infographic below from RoastyCoffee.com to understand the steps.
There’s also the AeroPress, which which uses manual pressure to extract more flavor from your coffee grounds, and can be used to produce espresso-style coffee or ordinary coffee. Here’s a video that demonstrates the AeroPress for those who haven’t seen one in action:
While the debate between French press and AeroPress rages on among die-hard coffee enthusiasts, both share many of the same strengths and weaknesses.
Pros:
- Excellent flavor and strength consistency
- All-in-one device, most require no consumable filters (AeroPress requires small paper filters but can be fitted with a reusable metal filter)
- Available in compact travel-size varieties
Cons:
- Tougher to clean thoroughly than pour-over devices or simple filters
- Heavier, bulkier, and more prone to breakage than previous methods
Percolators
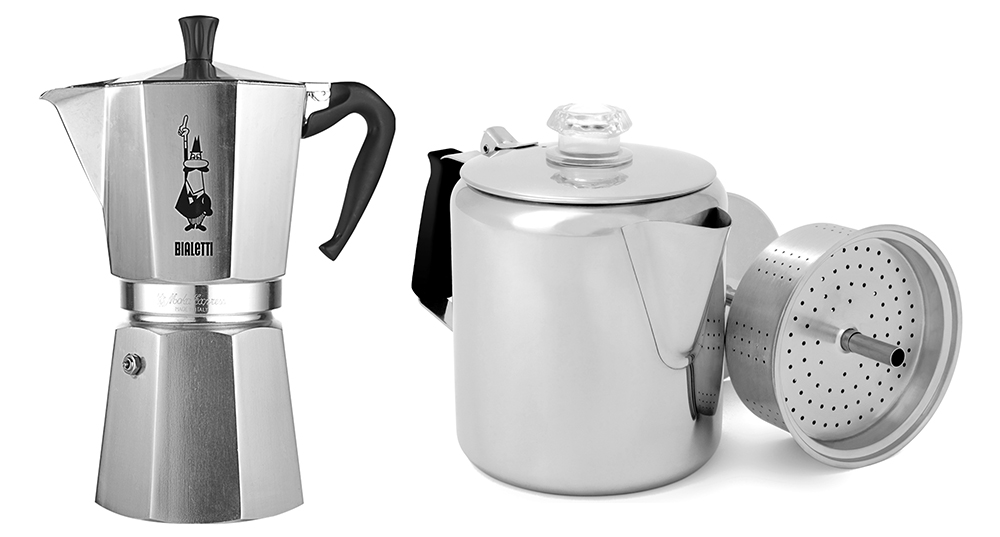
A percolator is a specialized pitcher which continually directs water up a central tube and spreads it across a layer of grounds, allowing it to drip back down to the bottom. Up until the development of the electronic drip coffee maker, most homes used these devices to make coffee.
Small and relatively-lightweight percolators are available, such as the Bialetti Moka Express, a design which has remained virtually unchanged for 80 years. Backpacking gear companies have also produced outdoor-oriented percolators, such as the GSI Outdoors Glacier Perc.
Pros:
- Simple, time-tested design
- Great for producing larger quantities of coffee
- Can also be used as a vessel for boiling and purifying water over a campfire
Cons:
- Relatively bulky and heavy
- Requires a significant amount of heat and fuel to percolate
- Cyclical flow can lead to over-extracted and bitter coffee if left over the fire too long
Poll: Which Method Do You Use?

So, what’s your preferred method of brewing coffee in the backwoods? Let us know in the poll below.
