In This Article
Hygiene is an important part of any survival scenario, especially the long-term situations. Without the ability to clean your hands and body, skin infections and the transmission of bacteria and pathogens are increased. As a survival-minded individual, you’ll probably have a knee-jerk reaction to the realization that cleanliness is a survival priority; and that reaction is probably to go buy a case of soap. There’s nothing wrong with that.
Soap can last for decades, if you store it out of the reach of rodents (yes, mice and rats love to eat it). But there’s more to self-reliance than just storing the goods that someone else made. The truly independent will learn how to make things for themselves as well. In the event that you don’t have access to off-the-shelf soap, you can take a page out of the pioneer playbook and make your own.
Let’s start with a little history and a bit of chemistry. We get the word “soap” from the Latin word “sapo,” though the invention of this slippery substance predates the Roman Empire. The oldest known soap formula was scribed on a clay tablet in Babylon over 4,000 years ago, and it was a simple mixture of water, alkali, and cassia oil. Over the centuries, cultures around the globe discovered that most oils and fats make an effective soap base, and that many different alkaline substances can turn that fat into soap. We’re still performing this minor alchemy today, when we mix up our own soap.
During the process of saponification, the fat is raised to the right temperature (for that type of oil), and mixed with the right amount of alkaline fluid. As it’s stirred, the soap will thicken and hydrolyze into “salts of fatty acids,” with a few other things present. Once it cools, hardens, and ages a bit, your soap is ready to perform its job, namely mixing with water to remove dirt and oils from our bodies and possessions.
It must’ve seemed like some kind of magic to our ancestors. Fat doesn’t mix with water, but soap does, and soap is made from fat. Soap also has an almost magnetic pull on dirt and oil. There are many different kinds of soaps you can make. By using olive oil, you can make Castile soap, renowned for its mildness. You could make an abrasive soap by mixing a little sand or powdered pumice with your batch. Or you can make granny’s lard and lye soap — a slightly stinky soap with mighty cleansing powers. Here’s what you’ll need to make your own homemade soap from animal fat and lye.
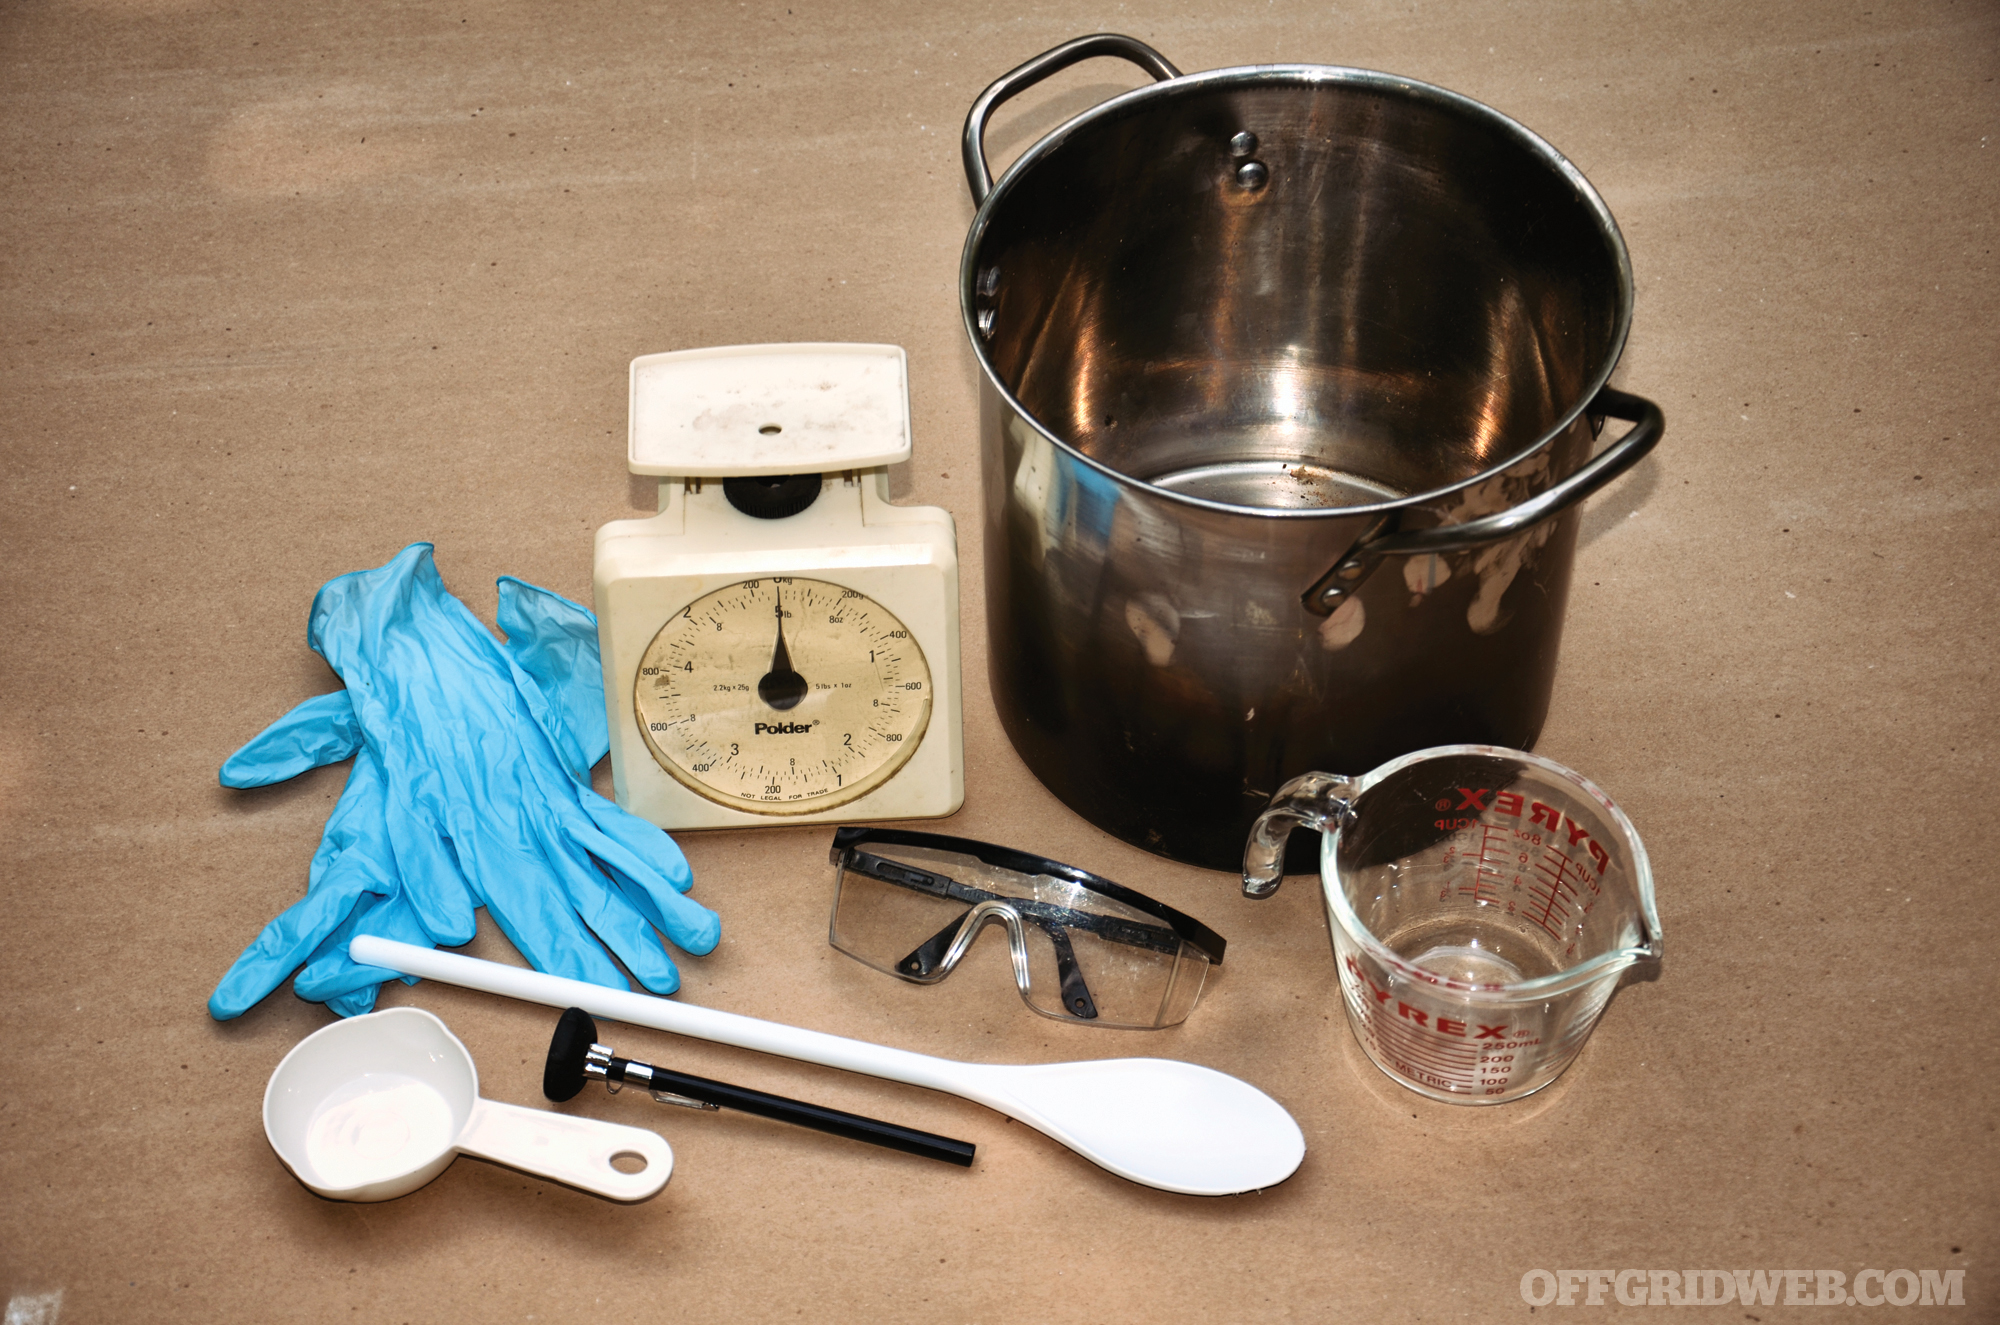
Above: Be sure you keep soap making supplies separate from any items used for cooking. They should not be used interchangeably.
Safety First!
Go back and watch Fight Club again. Not for fun, but for educational purposes this time. Pay close attention to the scene where lye is eating away at the protagonist’s hand. Commit that to memory, as well as these handy safety tips!
- Wear disposable gloves and safety goggles while working with your soap, particularly when working with lye crystals and lye water.
- Keep an open bottle of vinegar close at hand in case of lye spills. This acidic liquid will help to neutralize the alkaline lye.
- Keep children and pets out of your soap-making area (they should never be underfoot, especially when the lye water is sitting there cooling).
- Never mix hot water with your lye crystals. It may splatter lye on you!
- Only mix your lye water in a glass container that can handle heat (a Pyrex measuring cup is best, as it can handle high heat and has a pour spout).
- Don’t mix lye water in metal containers, especially aluminum.
- If you refused to wear your safety goggles and got lye water or soap slurry in your eyes, flush them with copious amounts of water and call 911. Don’t rinse the eyes with vinegar.
- Make sure that everything you use in making lye soap is labeled and never used for food purposes again.
Assemble Your Supplies
Safety should always be your top concern in the quest for soap, so never forget that you are working with some very caustic materials and residue. If you’re even thinking about soap making, you’ll want to get some gear that serves no other purpose. Don’t use your good measuring cups or the family soup pot for soap. Get some gear exclusively for soap making, label it, and store it together (not scattered through your kitchen).
The Hardware: You’ll need a stainless steel cooking pot (stainless doesn’t react with lye), a large spoon, a Pyrex measuring cup (because it can handle high heat), gloves, goggles, a scale that can register down to 1/10th of an ounce, a thermometer (a meat thermometer works well), plus something to pour your soap into that’ll act as a mold to shape the soap. This could be a non-stick baking sheet, if you want to cut the soap into flat bars. Or it could be round plastic cups, for disk-shaped bars. You could also buy soap molds, in virtually any shape you can imagine.
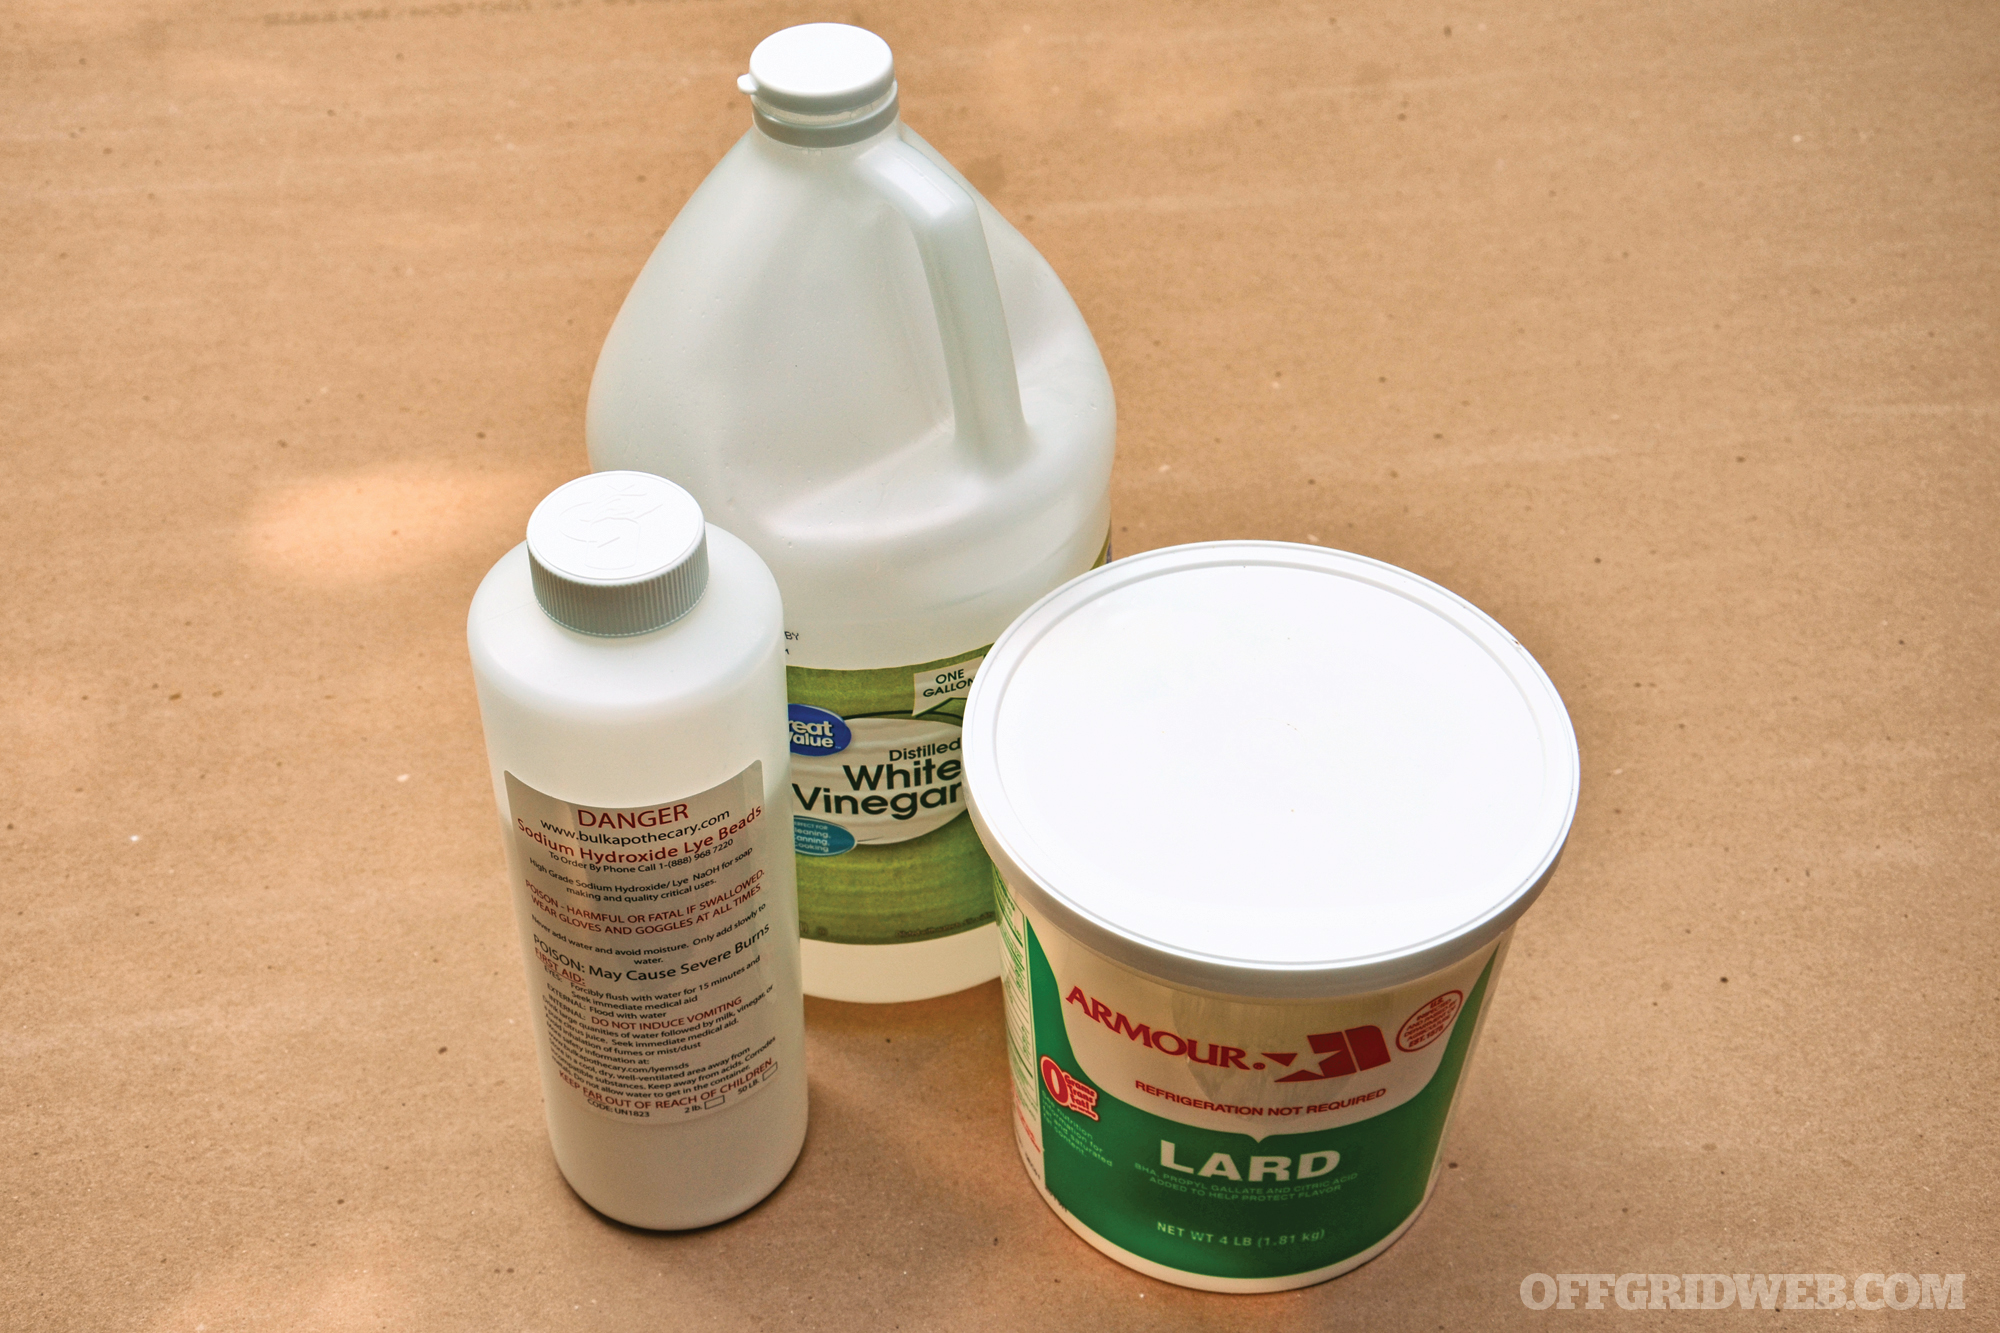
The Ingredients: For the recipe enclosed here, you’ll need rendered animal fat (this is lard; never use chunks of raw fat right off the animal). You’ll also need a container of pure lye crystals (sodium hydroxide). This is found at hardware stores and some craft suppliers (such as www.bulkapothecary.com). Finally, you’ll need some clean water and some vinegar. The vinegar will not be used in the recipe. It’s simply kept nearby with the lid open as a counteragent to the caustic lye (it’s like a fire extinguisher for alkaline burns); it can be any kind of vinegar (distilled, apple cider, etc.).
Get To Work!
Since the Industrial Revolution, soap went from a rough and ugly homemade cleanser made of wood ashes and leftover grease to a sweet-scented store-bought grocery item — and why wouldn’t it? Buying affordably priced soap from a merchant saved our great-great-great-grandparents a lot of time. Soap making stopped in many families, and soon this homespun knowhow was lost. But thanks to a resurgence of interest in homemade products, the modern DIY movement has resurrected this arcane process and brought it back from oblivion.
Set Up For Safety: Soap is made by mixing together an emulsion of lye water and fat, creating the chemical reaction known as saponification. It’s important to note that strong lye is very caustic and capable of burning the skin and blinding you (think acid burns, but on the other end of the pH spectrum. Ever seen Fight Club?). Before you start making soap, the first thing you should get out is a jug of vinegar and take the lid off. Keep this on standby to pour over your skin, in the event that you spill any lye water on yourself or anyone else. You’ll also want to organize all of your containers and materials, then put on your gloves and goggles.
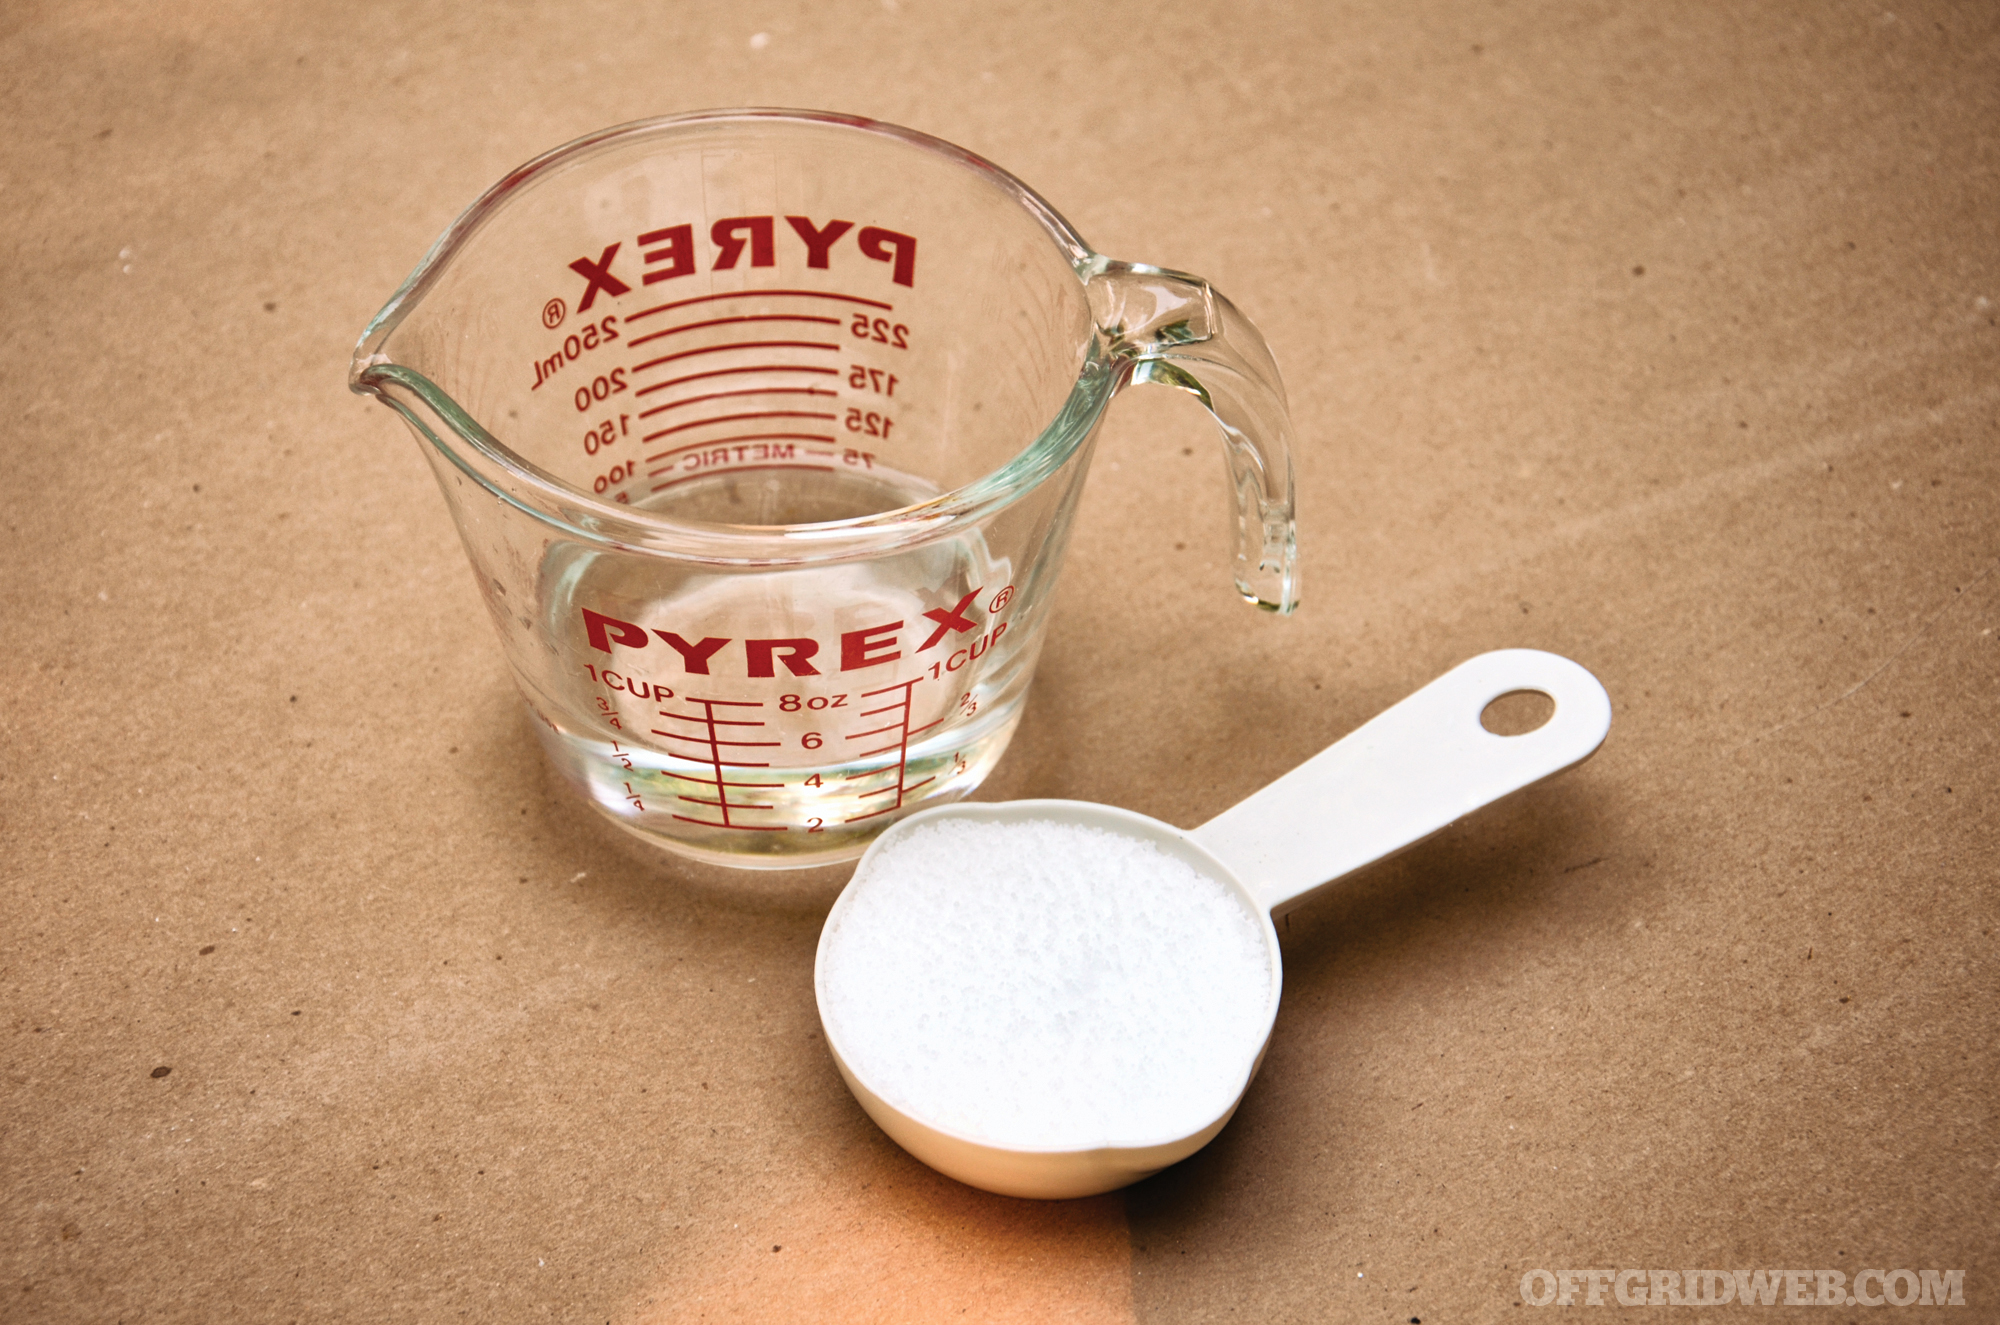
Measure Precisely: In the days of yore, people would pour rainwater through wood ashes to leach out the lye that naturally occurs in ash. This can still be done, of course, but how will you know how strong the lye will be? You won’t. So for more controlled results in soap making, visit your local hardware or craft store and purchase some lye crystals to add to your preparedness stockpile. It’s a good drain cleaner, and an even better soap maker. You’ll need exactly 2.2 ounces of commercial lye for our recipe.
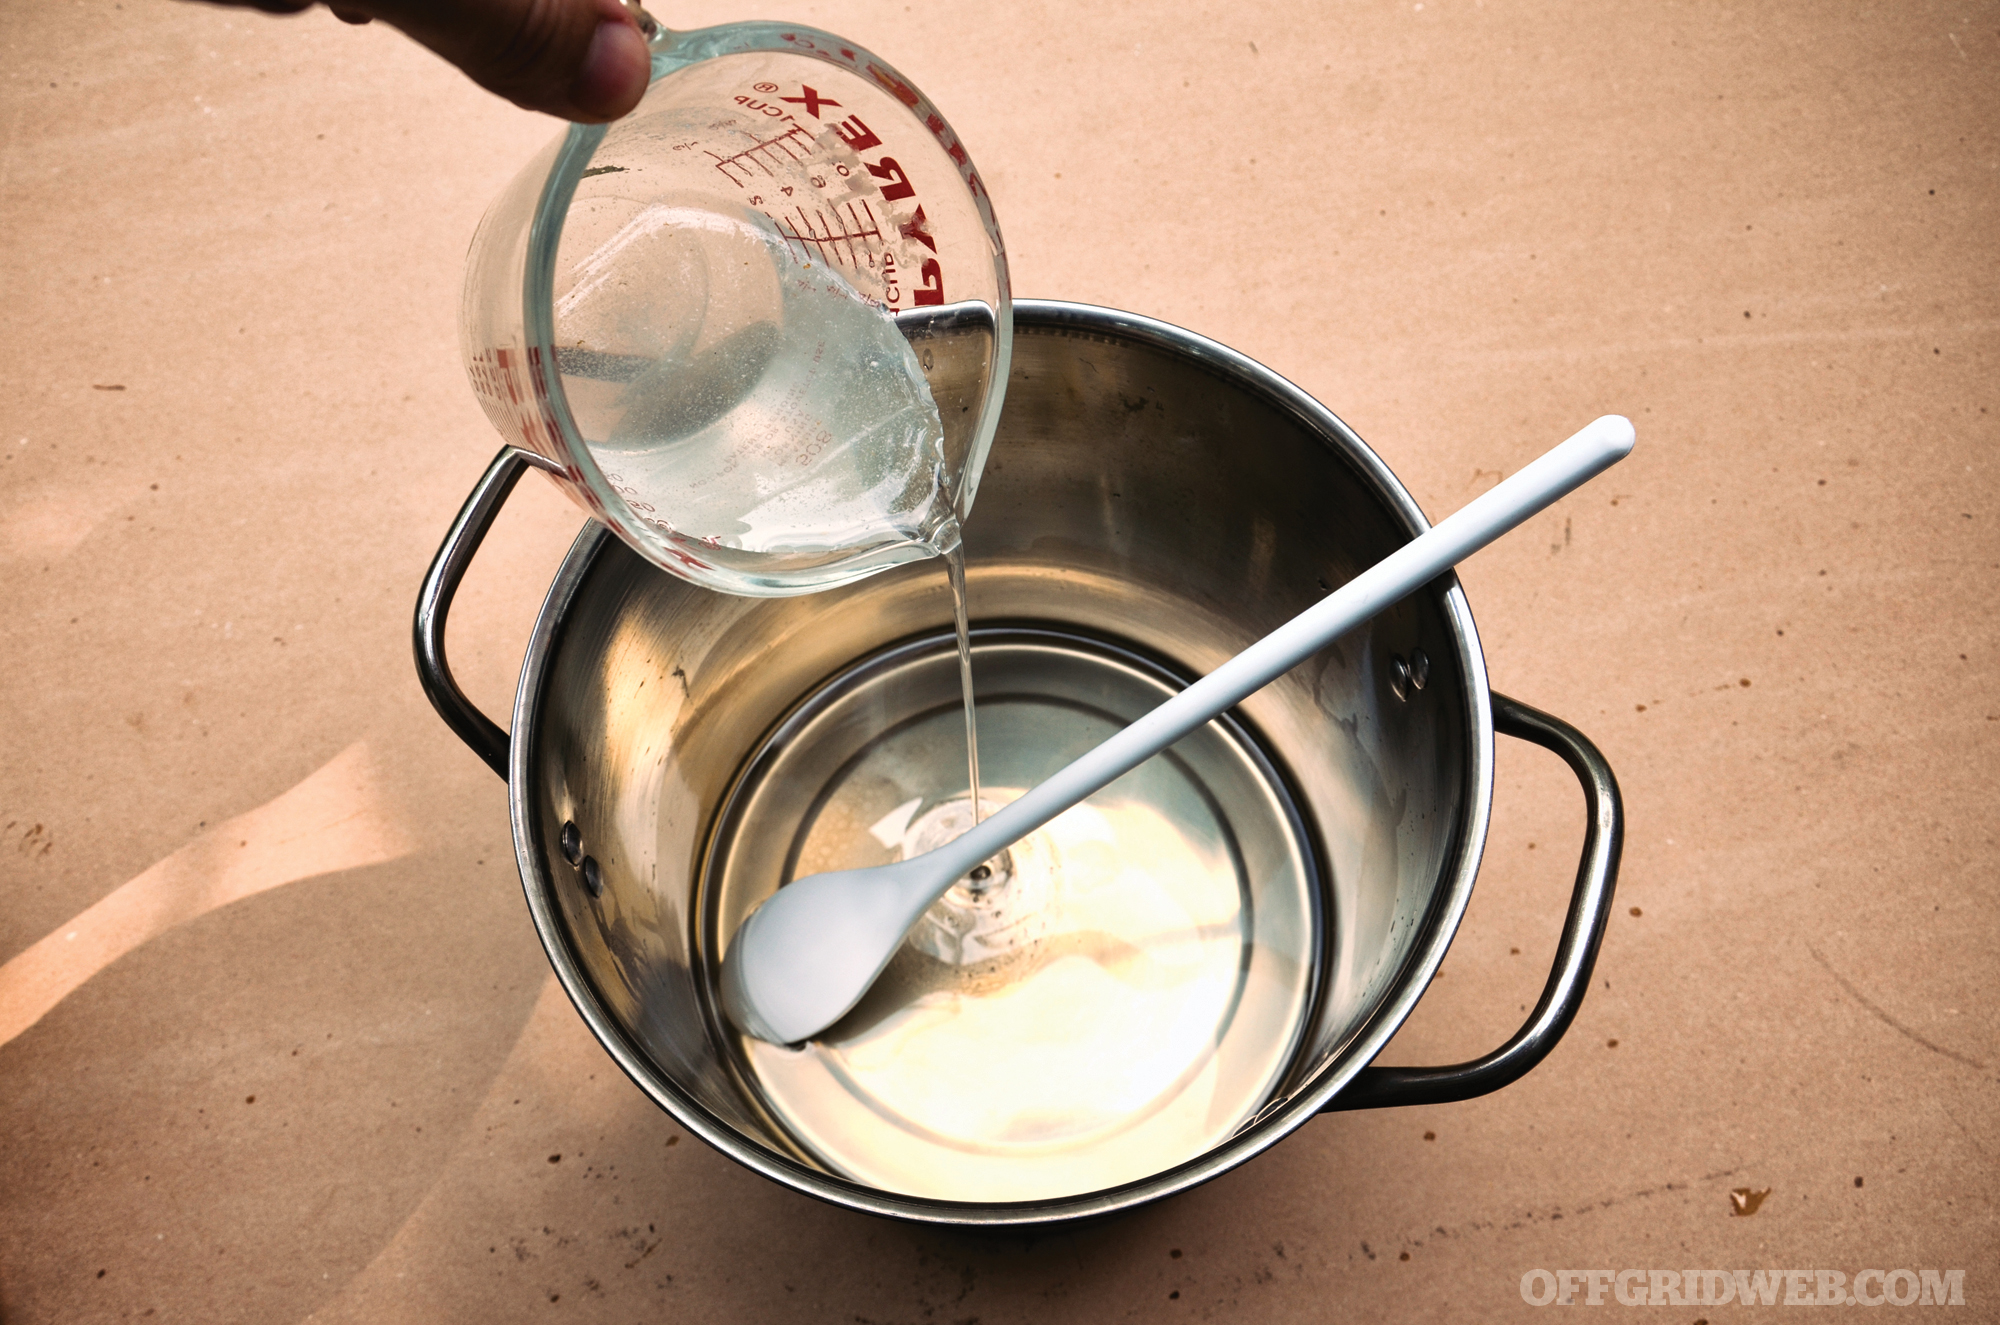
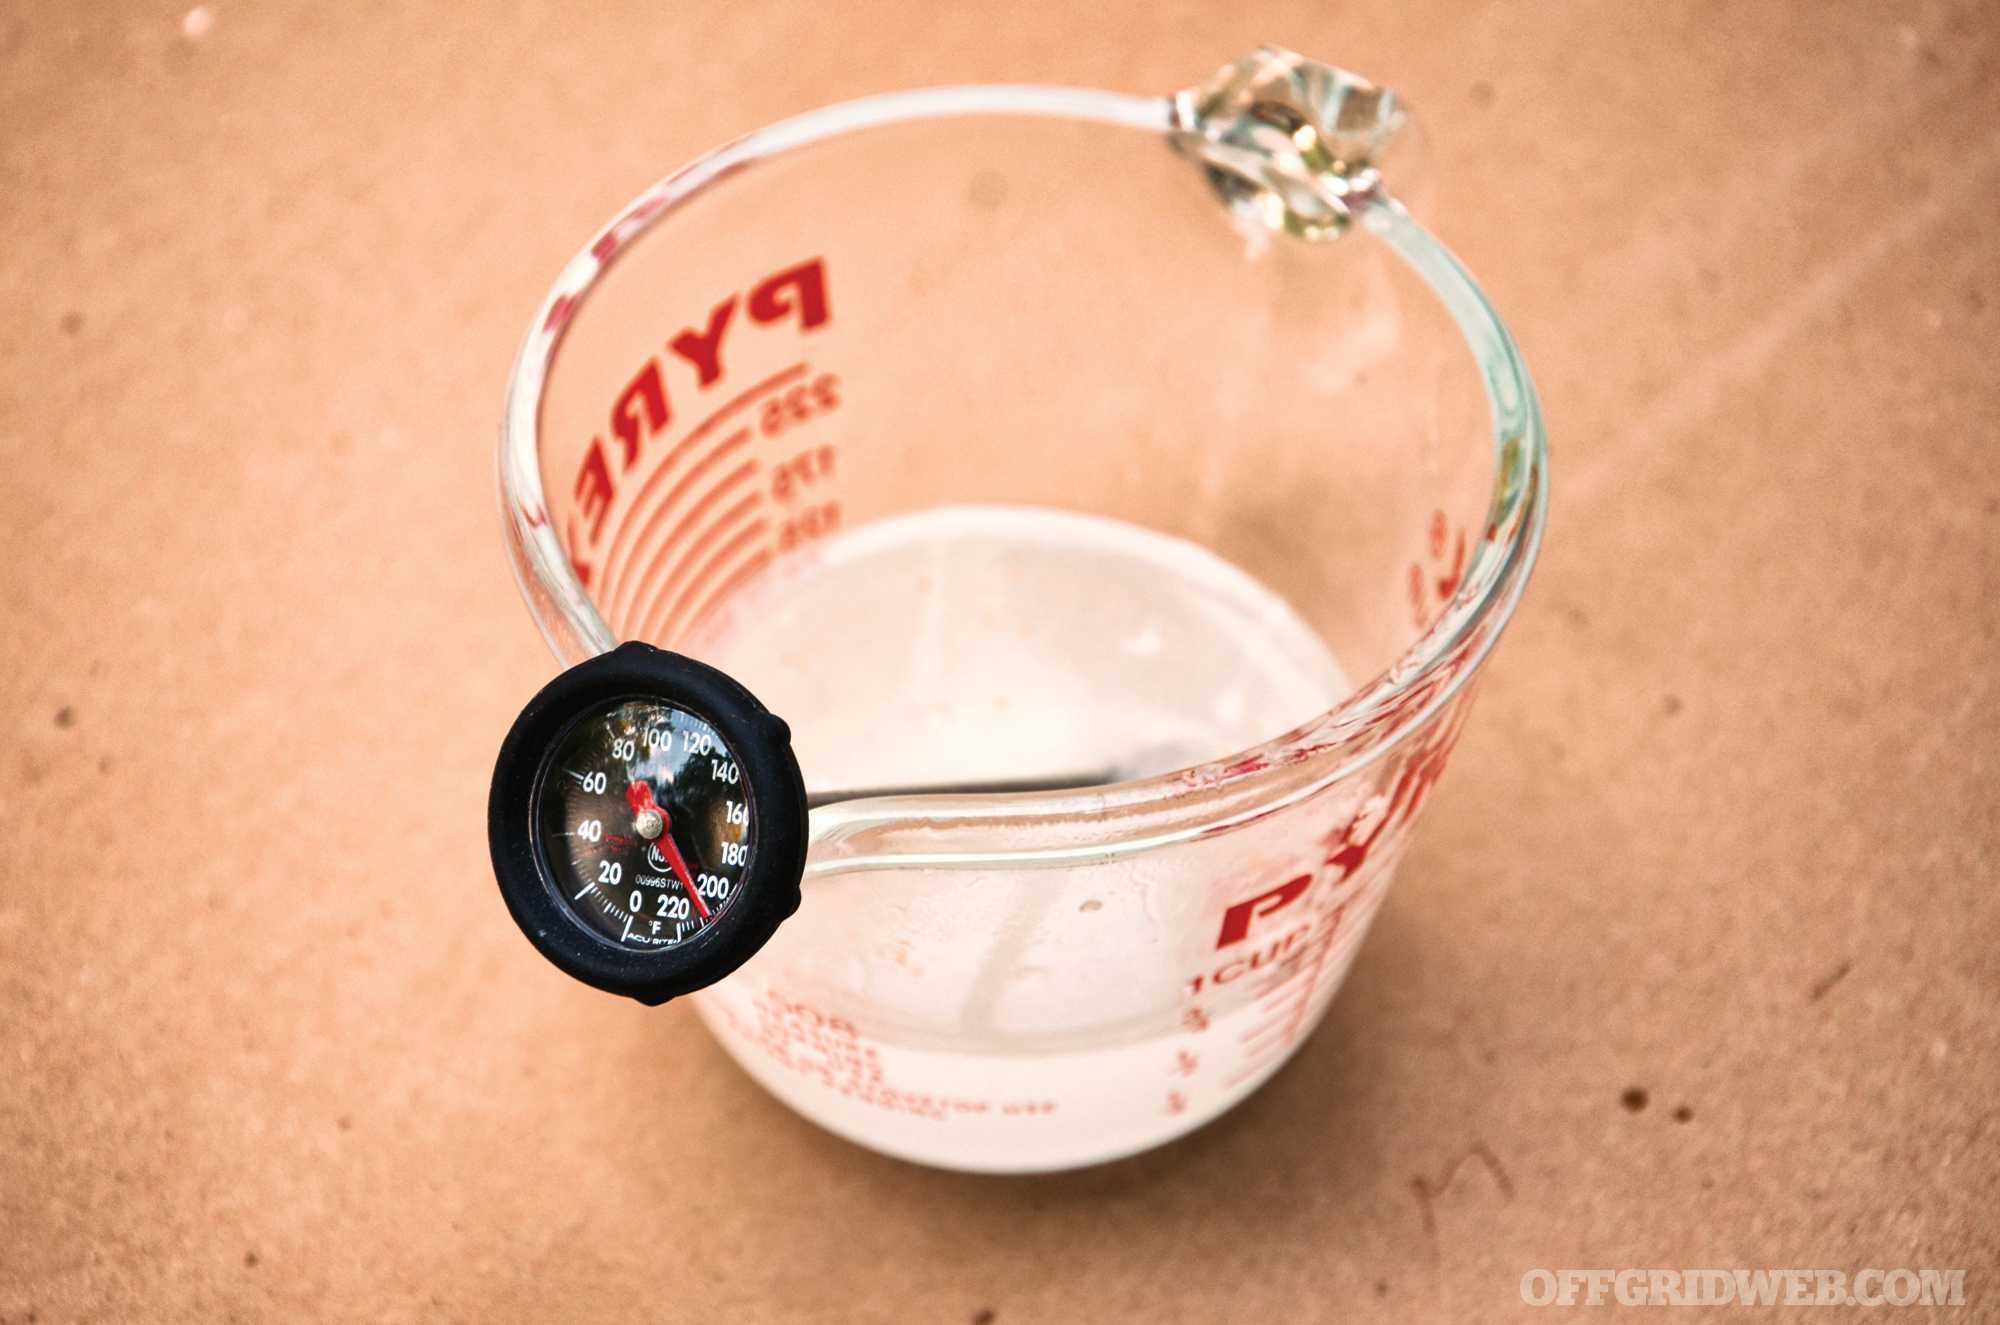
With gloves and goggles donned, dissolve the lye crystals into 3.5 ounces of cold water in your heat-resistant Pyrex measuring cup. Set the cup on a surface that’s not harmed by heat. As the lye mixes with water, it’ll have a strong exothermic reaction (releasing heat). You should mix these in a well-ventilated space and let the lye water cool on its own. The lye and water mixture will become cloudy and make the container very hot to the touch. While the lye is heating up and then cooling down, you’ll also want to measure out exactly 1 pound of rendered lard (from the creature of your choice).
Start Cooking: About 45 minutes after mixing the lye crystals and water, place your lard in the pot and begin to melt it over a low heat. Most fats work well enough when heated to 120 degrees F (see our list for specific fats). Allow the lye water to cool down to about 85 degrees F before proceeding (this will be about an hour after mixing).
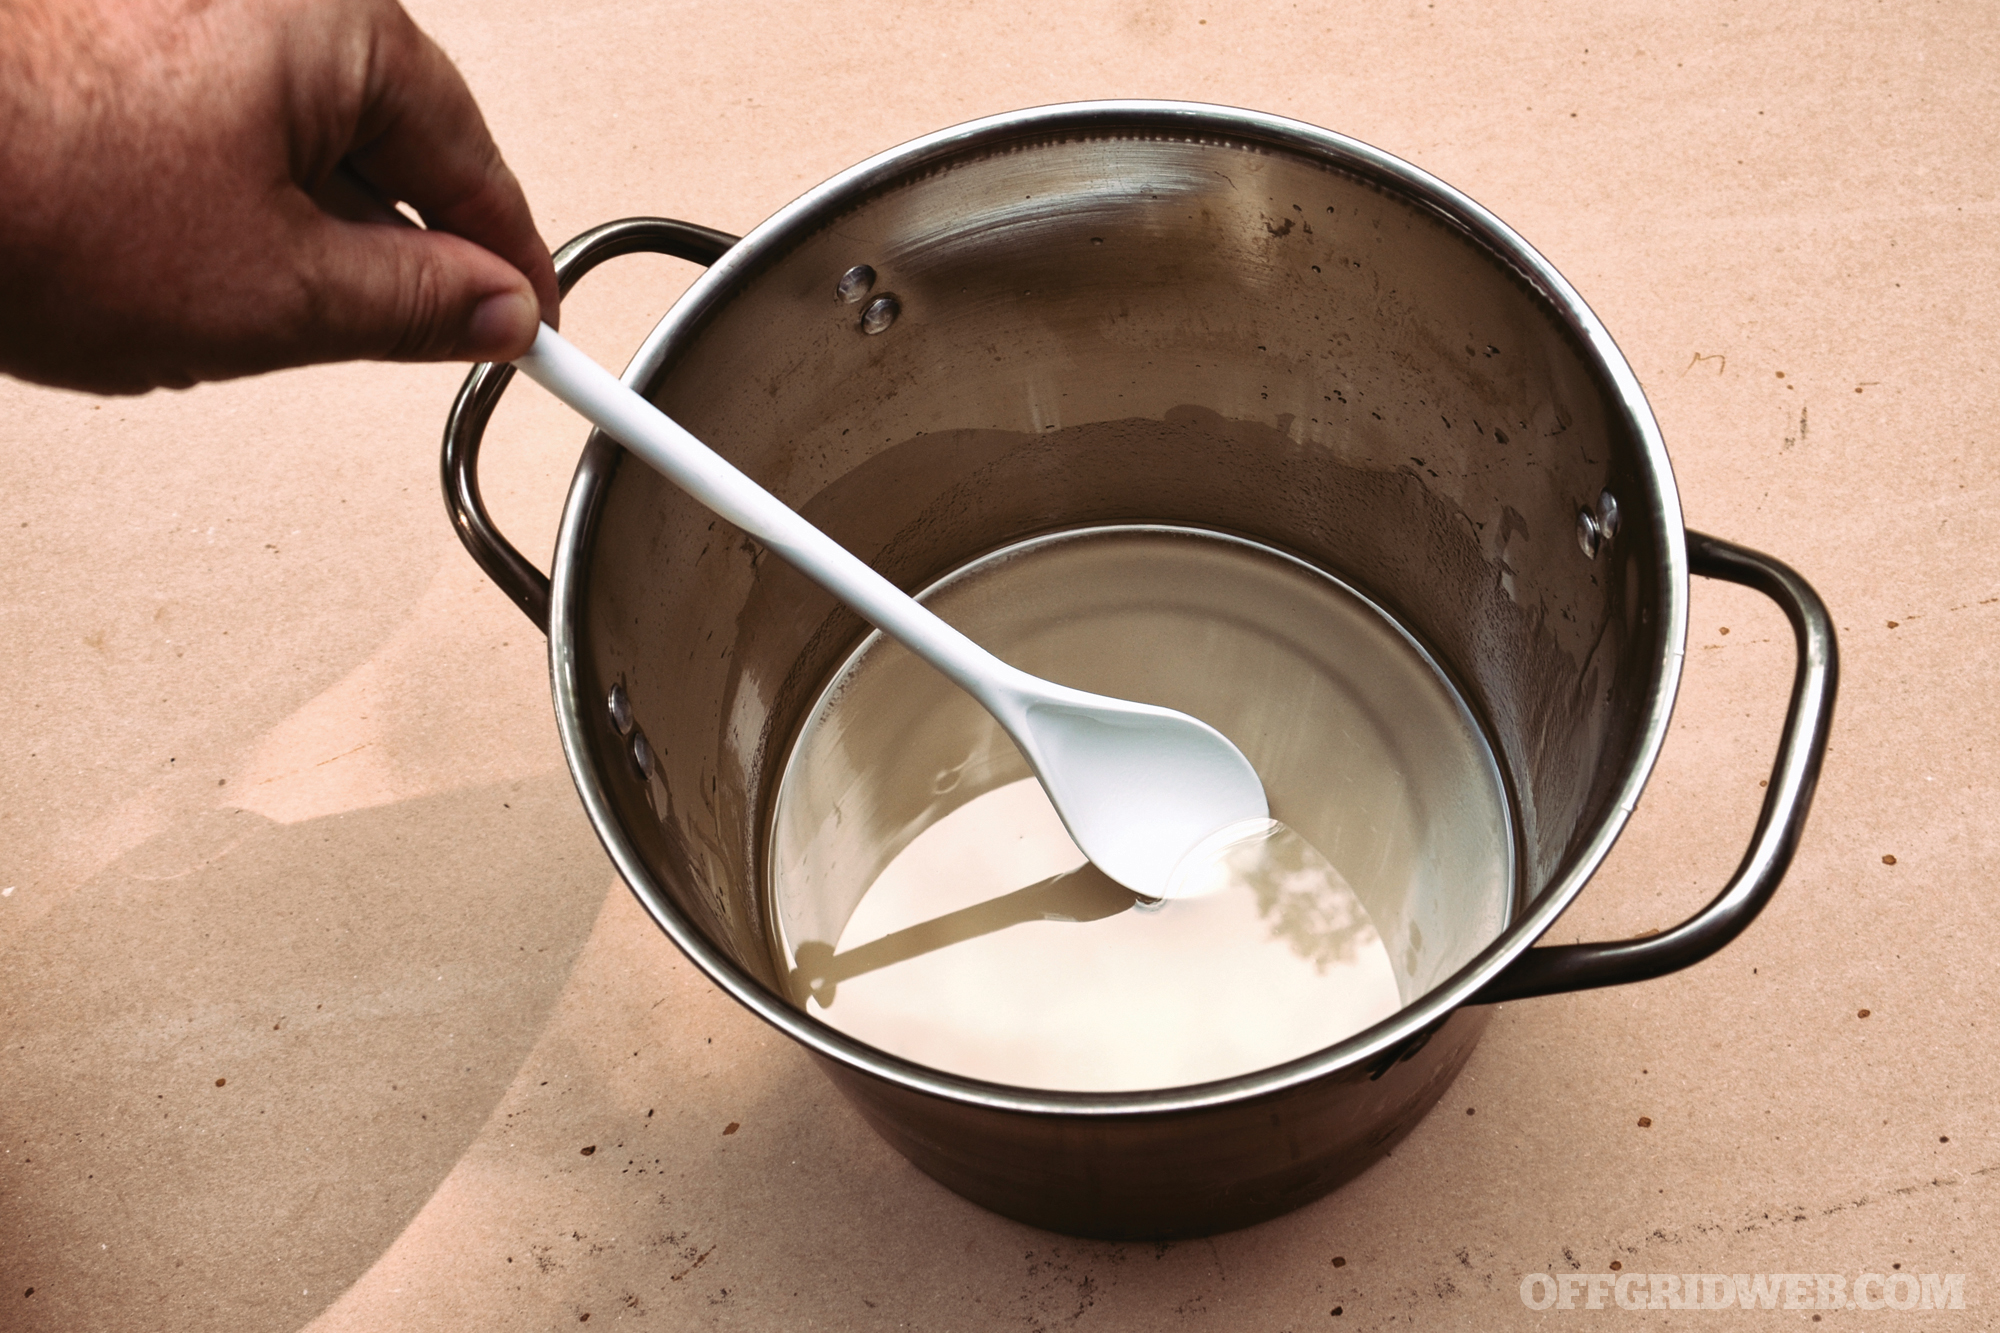
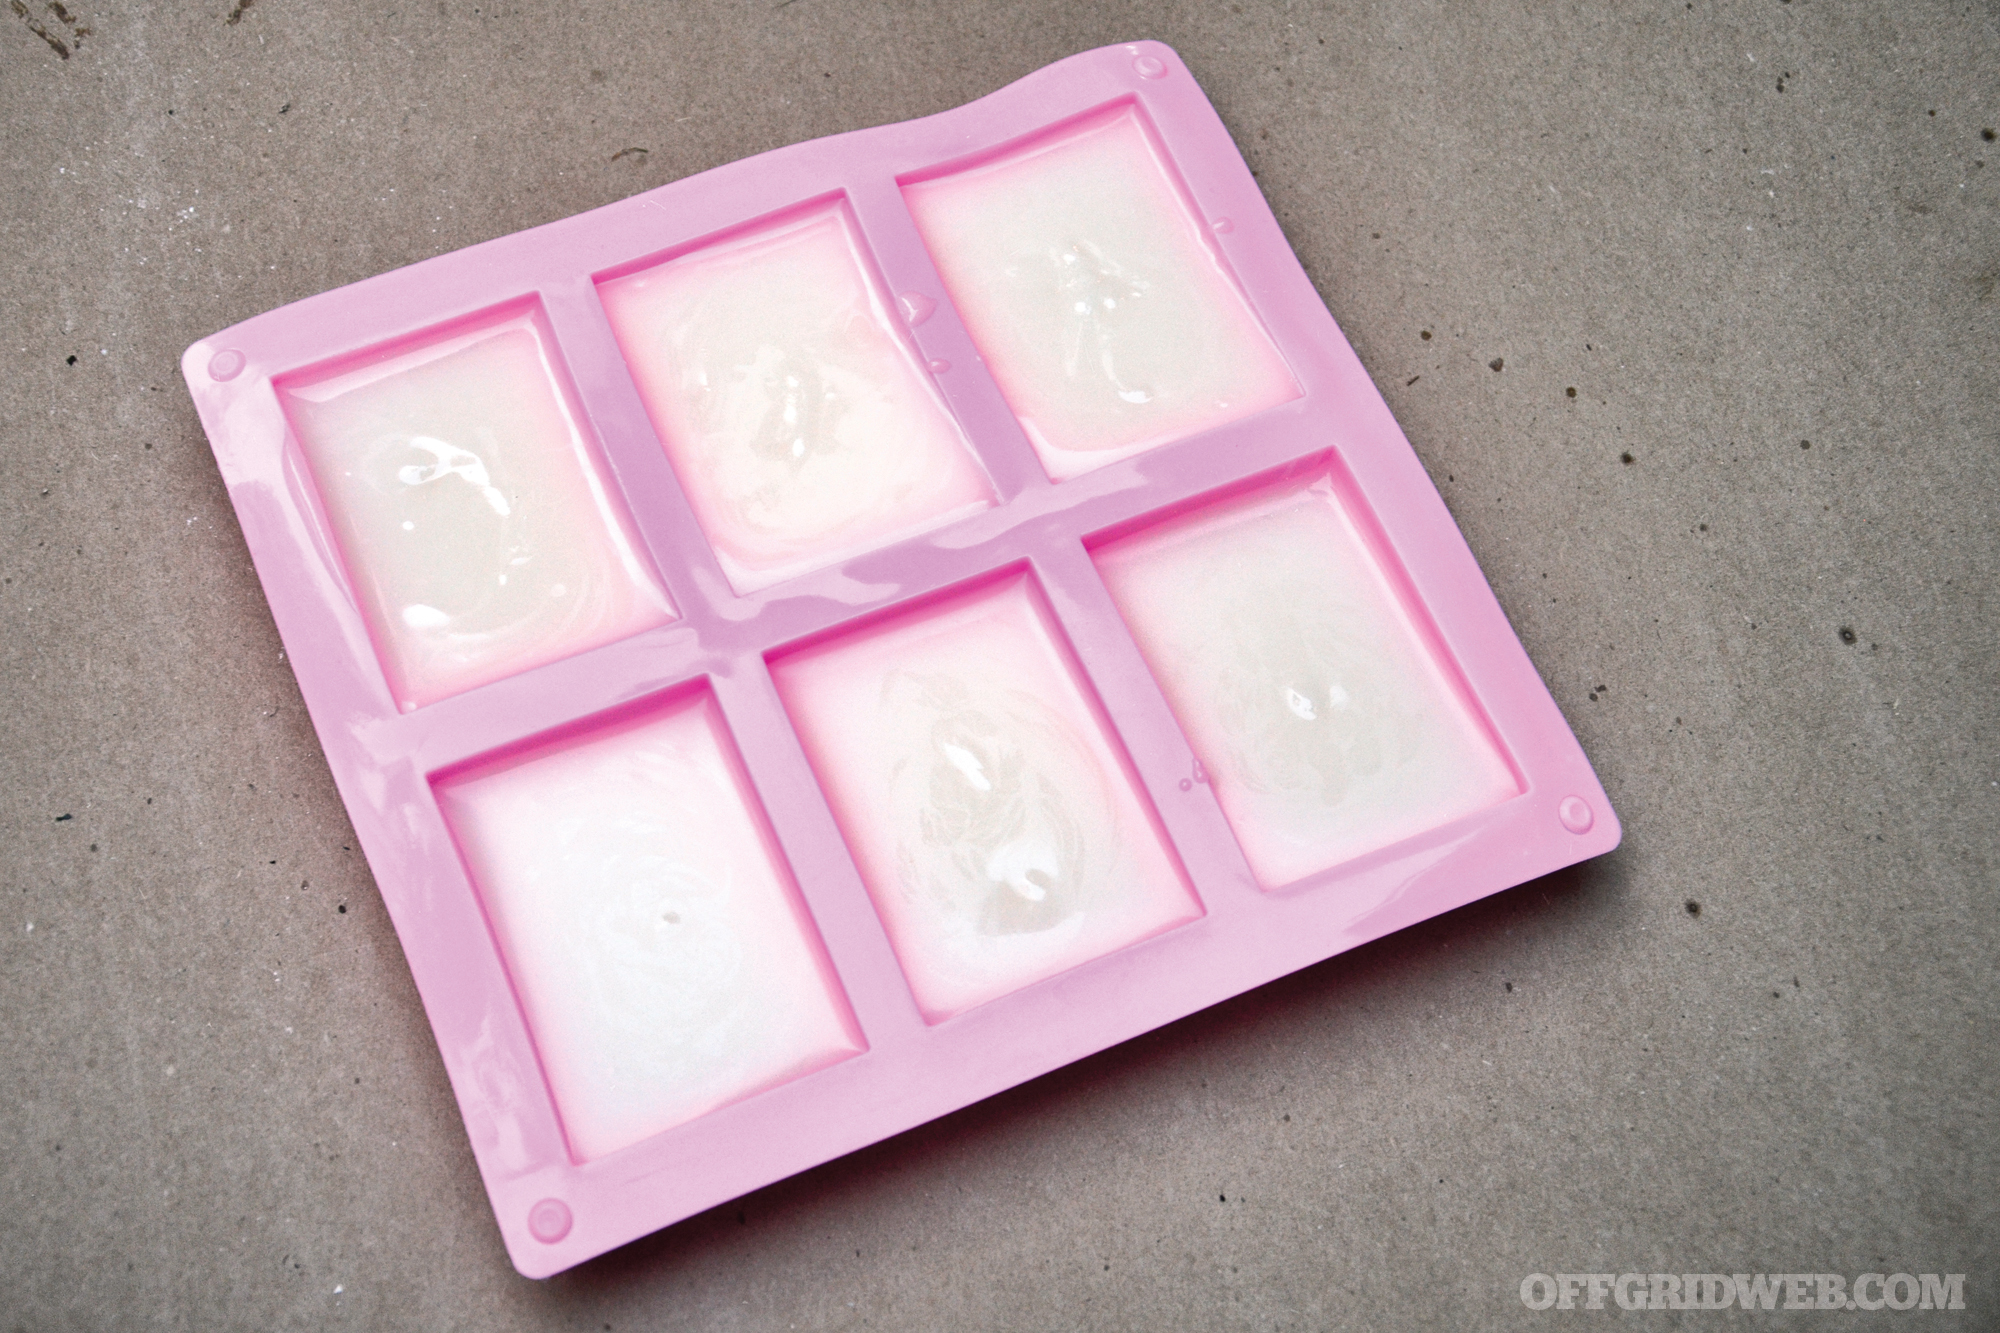
Mix Things Up: Once the lard has reached 120 degrees F and the lye water has cooled to 85 degrees F, slowly stir the lye water into the warm melted lard using a large plastic or wooden spoon. Keep stirring (in the same direction) until you have a thick, milkshake-looking slurry. This change of texture can happen in minutes or it can take longer, depending on the fats, lards, and oils used. Whatever happens, keep stirring until your fat has had a texture change. This motion is need for saponification. When you’re satisfied that it’s well mixed and has transformed into a new substance, pour the soap slurry into molds or onto a pan to cool. For optimal results, insulate the soap slurry so that it cools very slowly. For example, you could wrap a dry towel around your molds.

Above: Anything from ice trays to muffin tins can be used as soap molds. It’s up to you what size and shape you’d like to create.
Add Some Age: The soap will harden as it cools (unless you really messed it up), but it’s not ready to use right away. After a few days of hardening and drying, it should still be soft enough to cut a “loaf” or pan of soap into flat bars (don’t wait weeks to cut it; the soap will become very hard). There’s one final step in this type of soap making. You still have to age the soap. Let it sit in a cool dry place for a few weeks to cure. Try washing your hands with a bar after one month. If your skin feels slimy or tingly, rinse your skin with vinegar to neutralize the soap, and age the soap a few more weeks. Then enjoy it!
Saponification Temperatures
Soap is made by blending the right amount of alkali solution into a compatible quantity and type of fat. When there’s too much fat in the mix, the soap is greasy and ineffective. And when there’s too much alkali solution, the soap is too harsh. Getting the correct ratio of these two substances is critical, and so is the temperature at which they are blended. You’ll need to heat your oils so that they are clear, not cloudy (but don’t overheat them, either). Instead of using our general temperature guideline of 120 degrees F for all types of lard and oil, bring these particular fats to these specific temperatures for the best results.
- Olive oil: 100º F
- Vegetable oil: 110º F
- Goose fat: 115º F
- Bear fat: 115º F
- Pork lard: 120º F
- Sheep fat: 125º F
- Beef lard: 130º F
- Deer fat: 130º F
Conclusion
If you go back into history, many families were self-reliant out of necessity, rather than choice. And in that time, they combined spare fat (when you had enough fat to spare) and lye made from rainwater that had run through wood ashes. The elders who had been making soap for a lifetime could tell the strength the lye by the speed at which the ashy liquid ate away at a feather or how high a potato would float in the solution.
They could also tell the heat of the fat by sticking a finger in it, and whether the slurry had changed to soap by tasting it! (Don’t try those last two.) These folks knew how to stretch their supplies and make what they needed — a powerful role model for preppers. Today, making soap can be a fun home hobby, and it can even be a gateway into prepping for people who aren’t sure about stockpiling beans and bullets. With what you know now, a little fat, some lye, and a bit of elbow grease, you’ll never run out of soap again.
About the Author
Tim MacWelch has been a survival instructor for more than 20 years, training people from all walks of life, including members from all branches of U.S. Armed Forces, the State Department, DOD and DOJ personnel. He’s a frequent public speaker for preparedness groups and events. He’s also the author of three New York Times-bestselling survival books, and the new Ultimate Bushcraft Survival Manual. When he’s not teaching survival or writing about it, MacWelch lives a self-reliant lifestyle with his family in Virginia. Check out his wide range of hands-on training courses open
to the public.
More From Issue 30
Don’t miss essential survival insights—sign up for Recoil Offgrid’s free newsletter today!
- Pocket Preps: Knife Sharpener
- Gear Up Issue 30
- Parental Preps Issue 30
- What If You Awaken to a Kidnapping, Abduction, or Worse?
- Rugged Recipes: How to Make 4 Historic Survival Foods
- Out of the Darkness: Taking Control After Sexual Violence
- Survivalist Spotlight: Rudy Reyes
- 6 Trap Triggers for Survival
- All Washed Up: How to Make Soap from Scratch
- Review: Klim Arsenal Vest
- Young Hunters: Tips for Teaching Kids to Hunt
- Household Ingenuity: 13 Specialized Tools for Survival
- Battle of the Boomsticks: Kel-Tec KSG vs. SRM 1216
- Book Review: “Waste Land” by David T. Hanson
- Traumatic Shock Treatment & Survival
Read articles from the next issue of Recoil Offgrid: Issue 31
Read articles from the previous issue of Recoil Offgrid: Issue 29
Check out our other publications on the web: Recoil | Gun Digest | Blade | RecoilTV | RECOILtv (YouTube)
Editor’s Note: This article has been modified from its original version for the web.
