Illustrations by Cassandra Dale
The baby was sleeping quietly and your spouse was catching a much-needed nap on the couch. Your daughter was trying hard to stifle her giggles as she watched her favorite cartoon on television. If Norman Rockwell were still alive to paint scenes of modern domestic tranquility, your household could be the model.
As you settled down into your favorite chair and the dog curled up at your feet, the mood of the day was contentment. Without realizing it, your eyes had closed for a moment. Sleep was starting to take hold of you, until something caused you to stir. It felt like the rumbling of a truck, until you realized that it wasn’t a vehicle. The shaking intensified. The baby started crying, and the dog began to whimper. The flat-screen TV fell off the wall and crashed onto the floor. Your daughter screamed, and you were barely able to stand as the earth shook violently.
Remembering the “triangle of life,” you scooped up your children and pushed your family into the corner of the room. The ceiling drywall began to crack and virtually every object that could fall over ended up on the floor. The children wailed in fear, and just as suddenly as it began — everything stopped, including the illumination from your light fixtures.
For this installment of RECOIL OFFGRID’s What If? column, the editors have asked for our preparations and reactions to a severe earthquake that knocks out all your utilities. In this scenario, we’re not tucked away in the countryside at some self-sufficient cabin — no, that would be too easy. We’re smack in the middle of a large city (just like many of you) and are now without power, gas, phone lines, and water. You have no idea how long this cavalcade of outages will last.
How do you provide for your family’s basic needs after suddenly being thrust back into the dark ages? How do you keep your family warm with winter approaching? What’s your strategy to deal with looters and marauders? Pay close attention, there’s nothing that any of us can do to prevent Mother Earth from shaking like a wet dog, but there’s a lot we can do to be ready for the utility outages that follow.
The Scenario
Situation Type
At home
Your Crew
You, your wife, and two young children.
Location
Tulsa, Oklahoma
Season
Late Autumn
Weather
Rainy; high 58 degrees F, low 38 degrees
The Setup: You’re at home with your spouse, your 2-month-old baby son, and your 9-year-old daughter, and pet German Shepherd, enjoying a leisurely Saturday when there’s a 7.3 earthquake 67 miles northwest of your location. Structural damage has been moderate to severe in the areas closest to the epicenter. Although your home has only had minimal damage, a byproduct of the earthquake is that utilities have been knocked out within a 150-mile radius of your location.
The power grid is disabled indefinitely, local cell towers are inoperable, and landline phones are also down. Natural gas and water pressure have dropped to zero. Winter is approaching, and it’ll begin snowing soon. A situation like this can not only cause fatalities for those who suffer from cold, dehydration, food shortages, overwhelmed hospitals, and other collateral effects of the outage, but desperation in the form of looting may quickly take hold.
The Complication: Since you have no electricity and conventional communication has been wiped out, your ability to get media updates on the restoration of utilities is limited. Without water, your ability to remain hydrated, bathe, have proper sanitation, and cook is extremely limited. The possibility of looting is high, and you’re in a major city. Winter is coming and without gas and electricity, the cold may wreak havoc. What steps can you take to endure this long-term utility outage, feed and protect your family, and endure without modern conveniences? Realizing that these outages may extend to an indefinite radius and road blockages may be everywhere, rather than attempt to leave the area in search of another place to hole up, you decide to bug in and rely on the supplies you’ve stockpiled. The grid is down and, just like hurricane-ravaged Puerto Rico, may not be up again for months.
Former U.S. Army Psy-Op Sergeant: Hakim Isler’s Approach
Prep
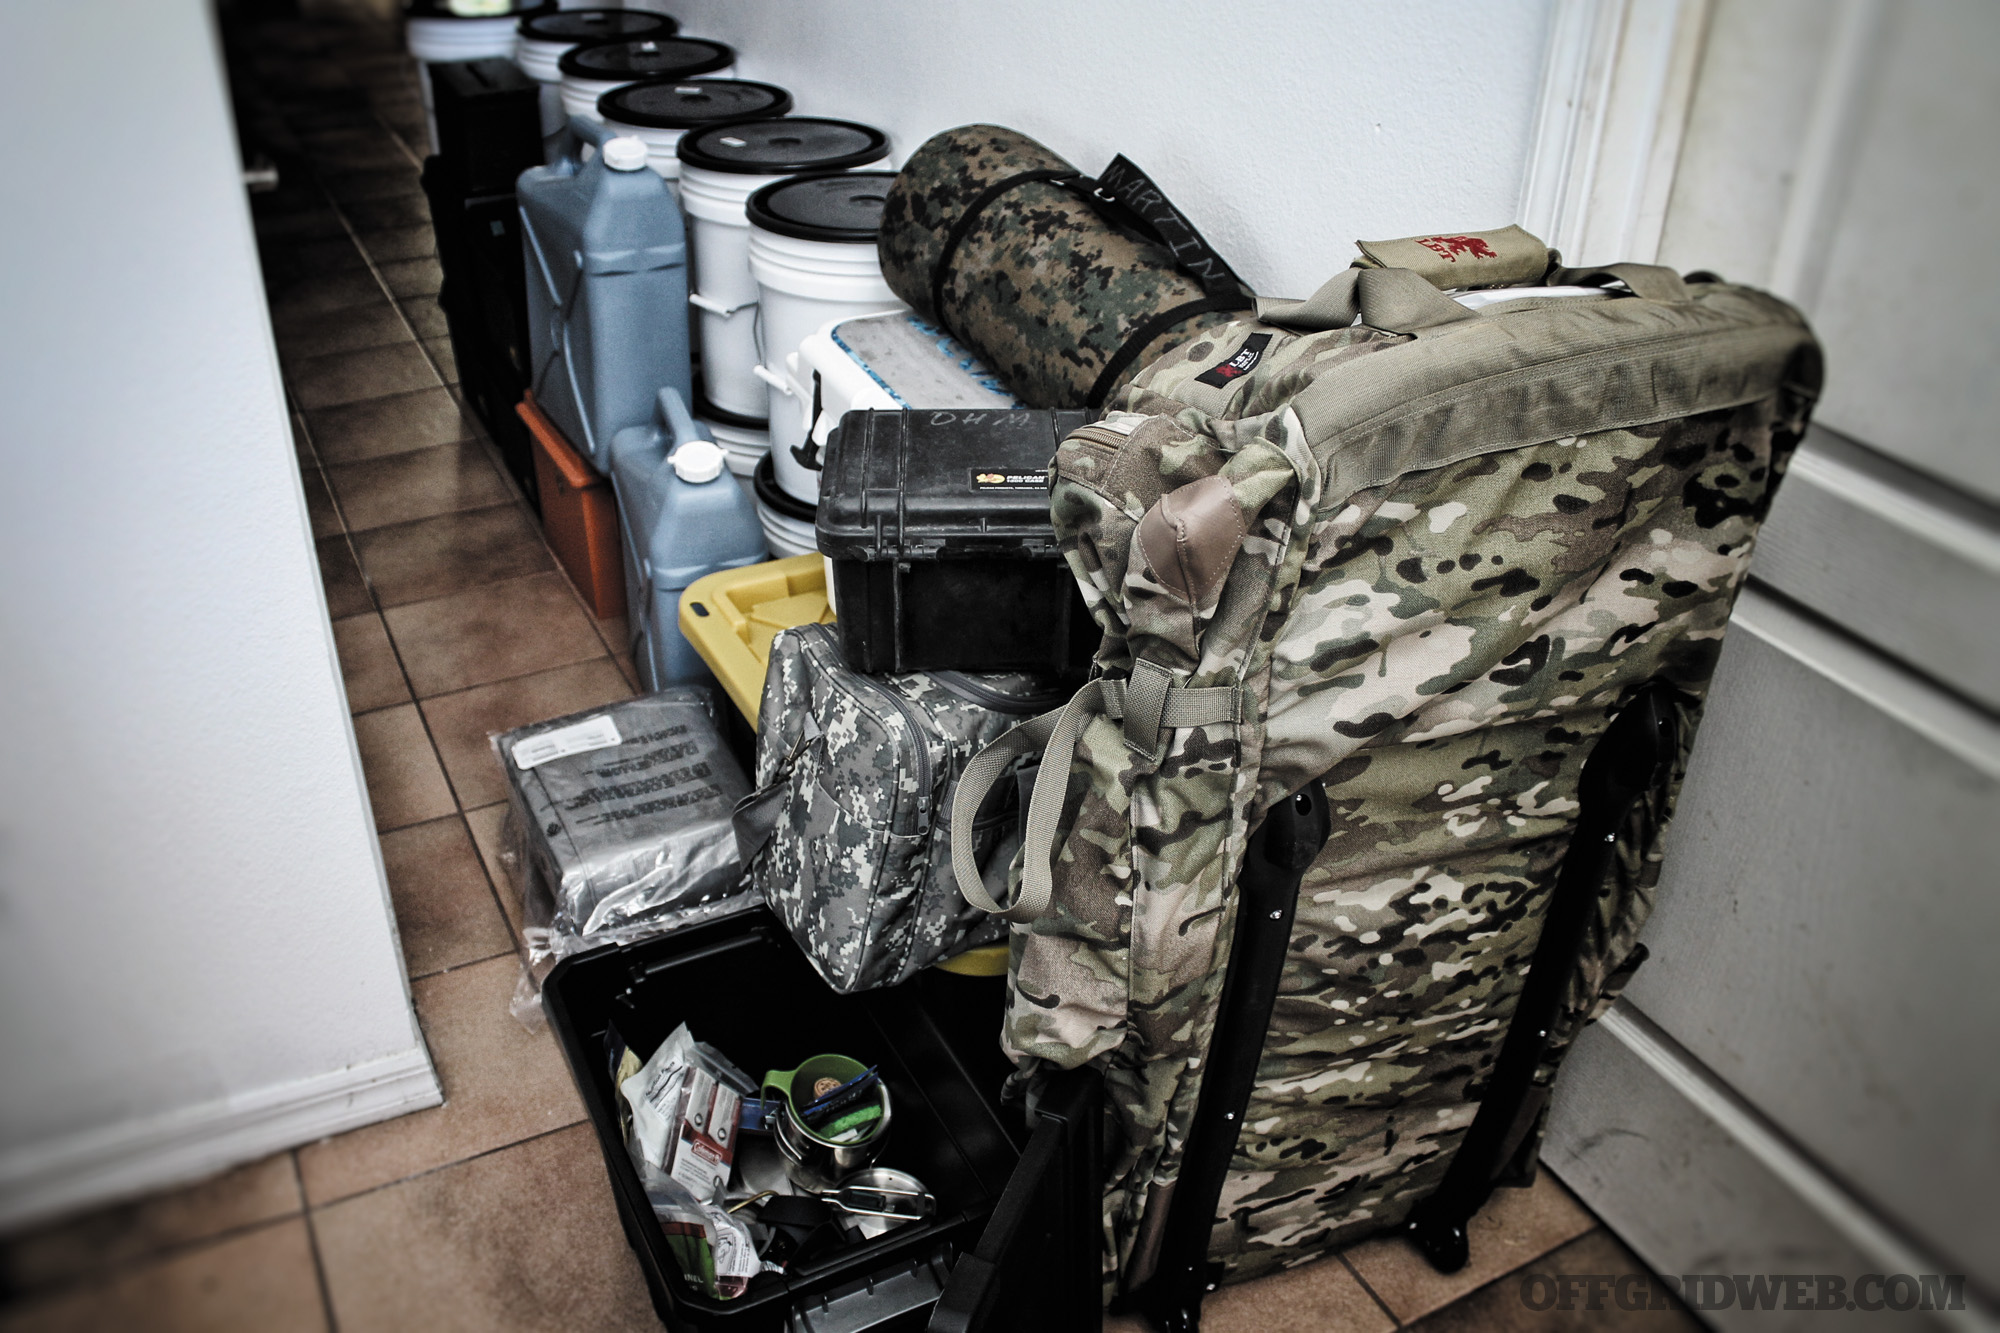
Because I live by the “not if it will happen, but when” motto, my family and I have been preparing for long-term disasters for many years. When my wife and I decided to put money toward stocking up on supplies, we knew that purchasing a large quantity in one fell swoop is cost prohibitive. On average, we go shopping every two weeks, so we started purchasing small essentials during our shopping trips to gradually increase our emergency supply cache.
Over the last two years we’ve set aside $125 per month plus half of any remaining discretionary funds to help pay for items that we’d need for a disaster. Every two months we buy a bucket of freeze-dried food. Our biweekly shopping trips also lead to the acquisition of bottled water, protein bars, hygiene products like antibacterial soap, medical supplies, and vitamins.
Some of the larger items that would be useful in an event like this are a gas generator with four months’ worth of fuel to power it, a small solar generator, 20 small propane tanks, eight months’ worth of drinking water, 16 months’ worth of freeze-dried food, and four months’ worth of pet food. A CB radio and hand-crank radio would also enable us to have another way of receiving information if power is out. Having paid attention to how much firewood we consumed during an average winter, I’d also make sure we had at least a winter’s worth of fuel for the fireplace. In an emergency situation where gas and electricity are off, it’d make sense to have even more than that amount as we’d be using it to do more than just keep warm.
Speaking of power and light, how many batteries do you consume in a month? Television remotes, game console controllers, flashlights, electric turkey carving knives … whatever. Have you ever added it all up to see what your monthly battery budget is? Knowing this could help you keep some critical capabilities up and running during a time like this. Having candles and lighters would also be something to keep enough of in case the battery supply began to diminish. We store most of our supplies along with our food and water in our basement since the temperature stays cool and dry all year, even without artificial temperature control. Some freeze-dried food can last up to 25 years, but unfortunately we can’t say the same for our 2-month-old son’s baby food.
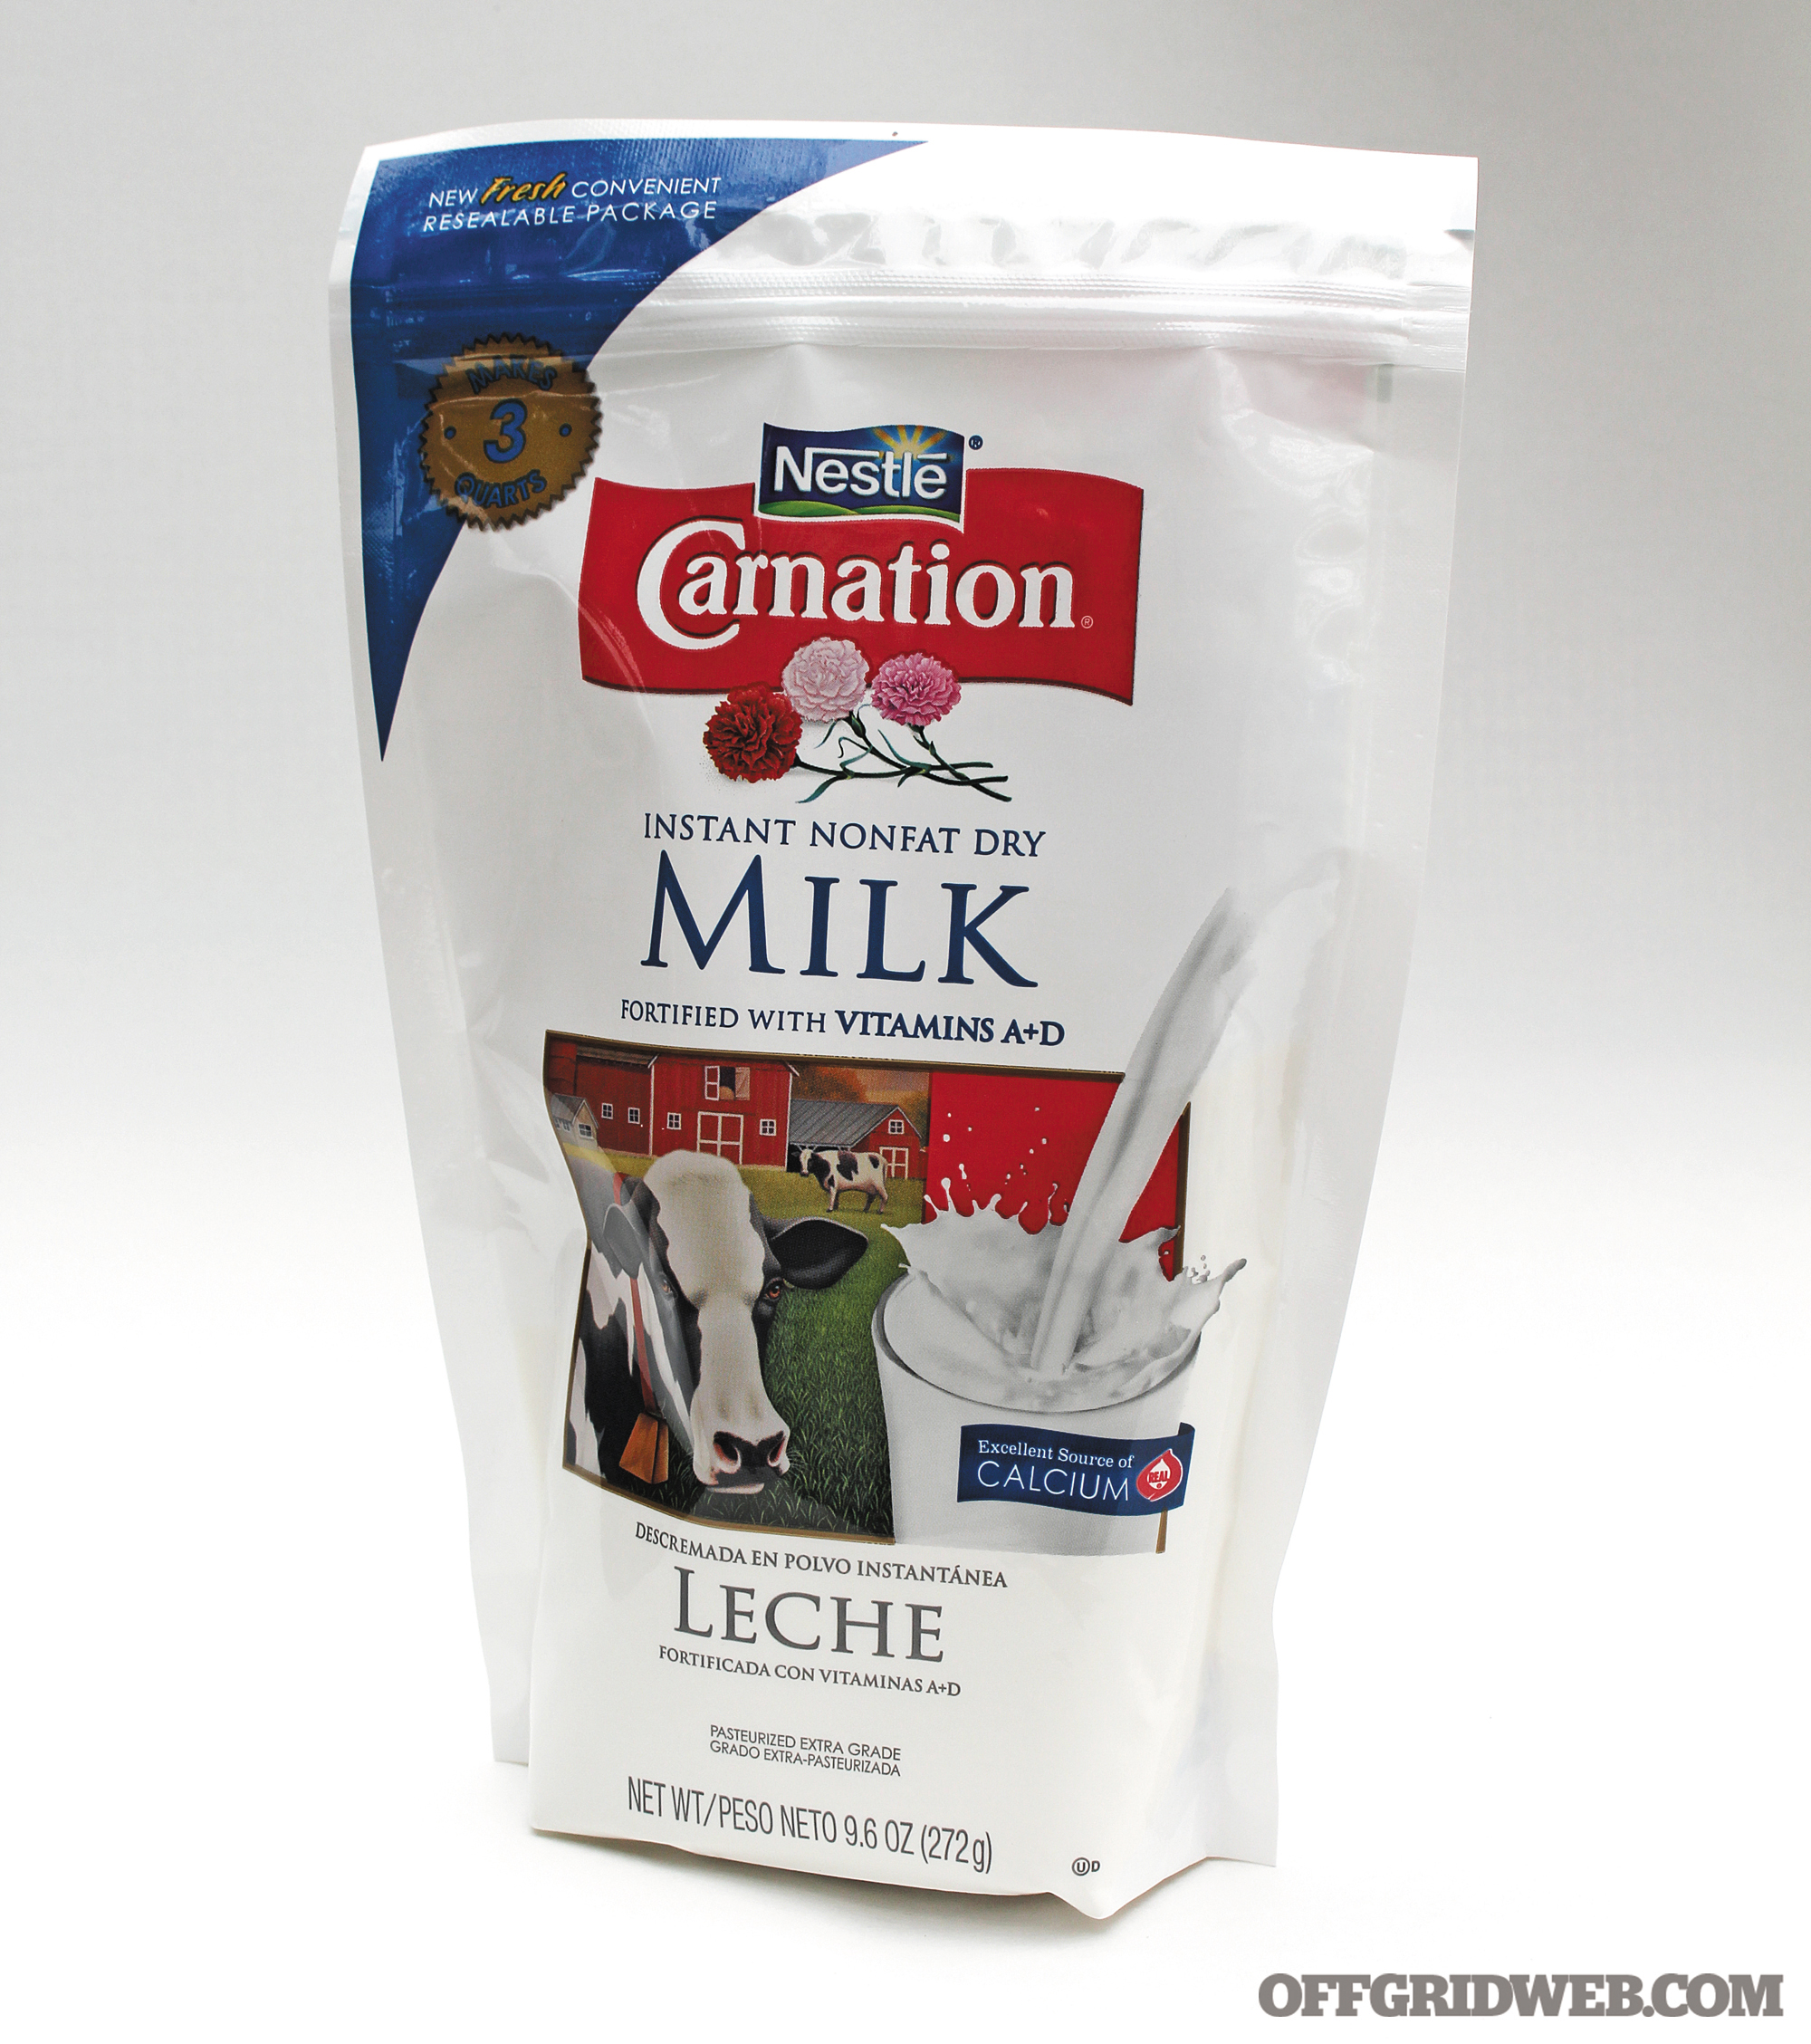
To account for little ones, consider stocking up on a year’s worth of powdered milk and baby food. Since breastfeeding would be our baby’s initial food source, it’d be important to keep my wife (and thus the baby) well-hydrated and -nourished in a situation like this. My wife could exclusively breast feed him for 6 to 8 months, then start providing him with a combination of breast milk and baby food. The shelf life of baby food is about 24 months as long as it’s unopened and stored appropriately.
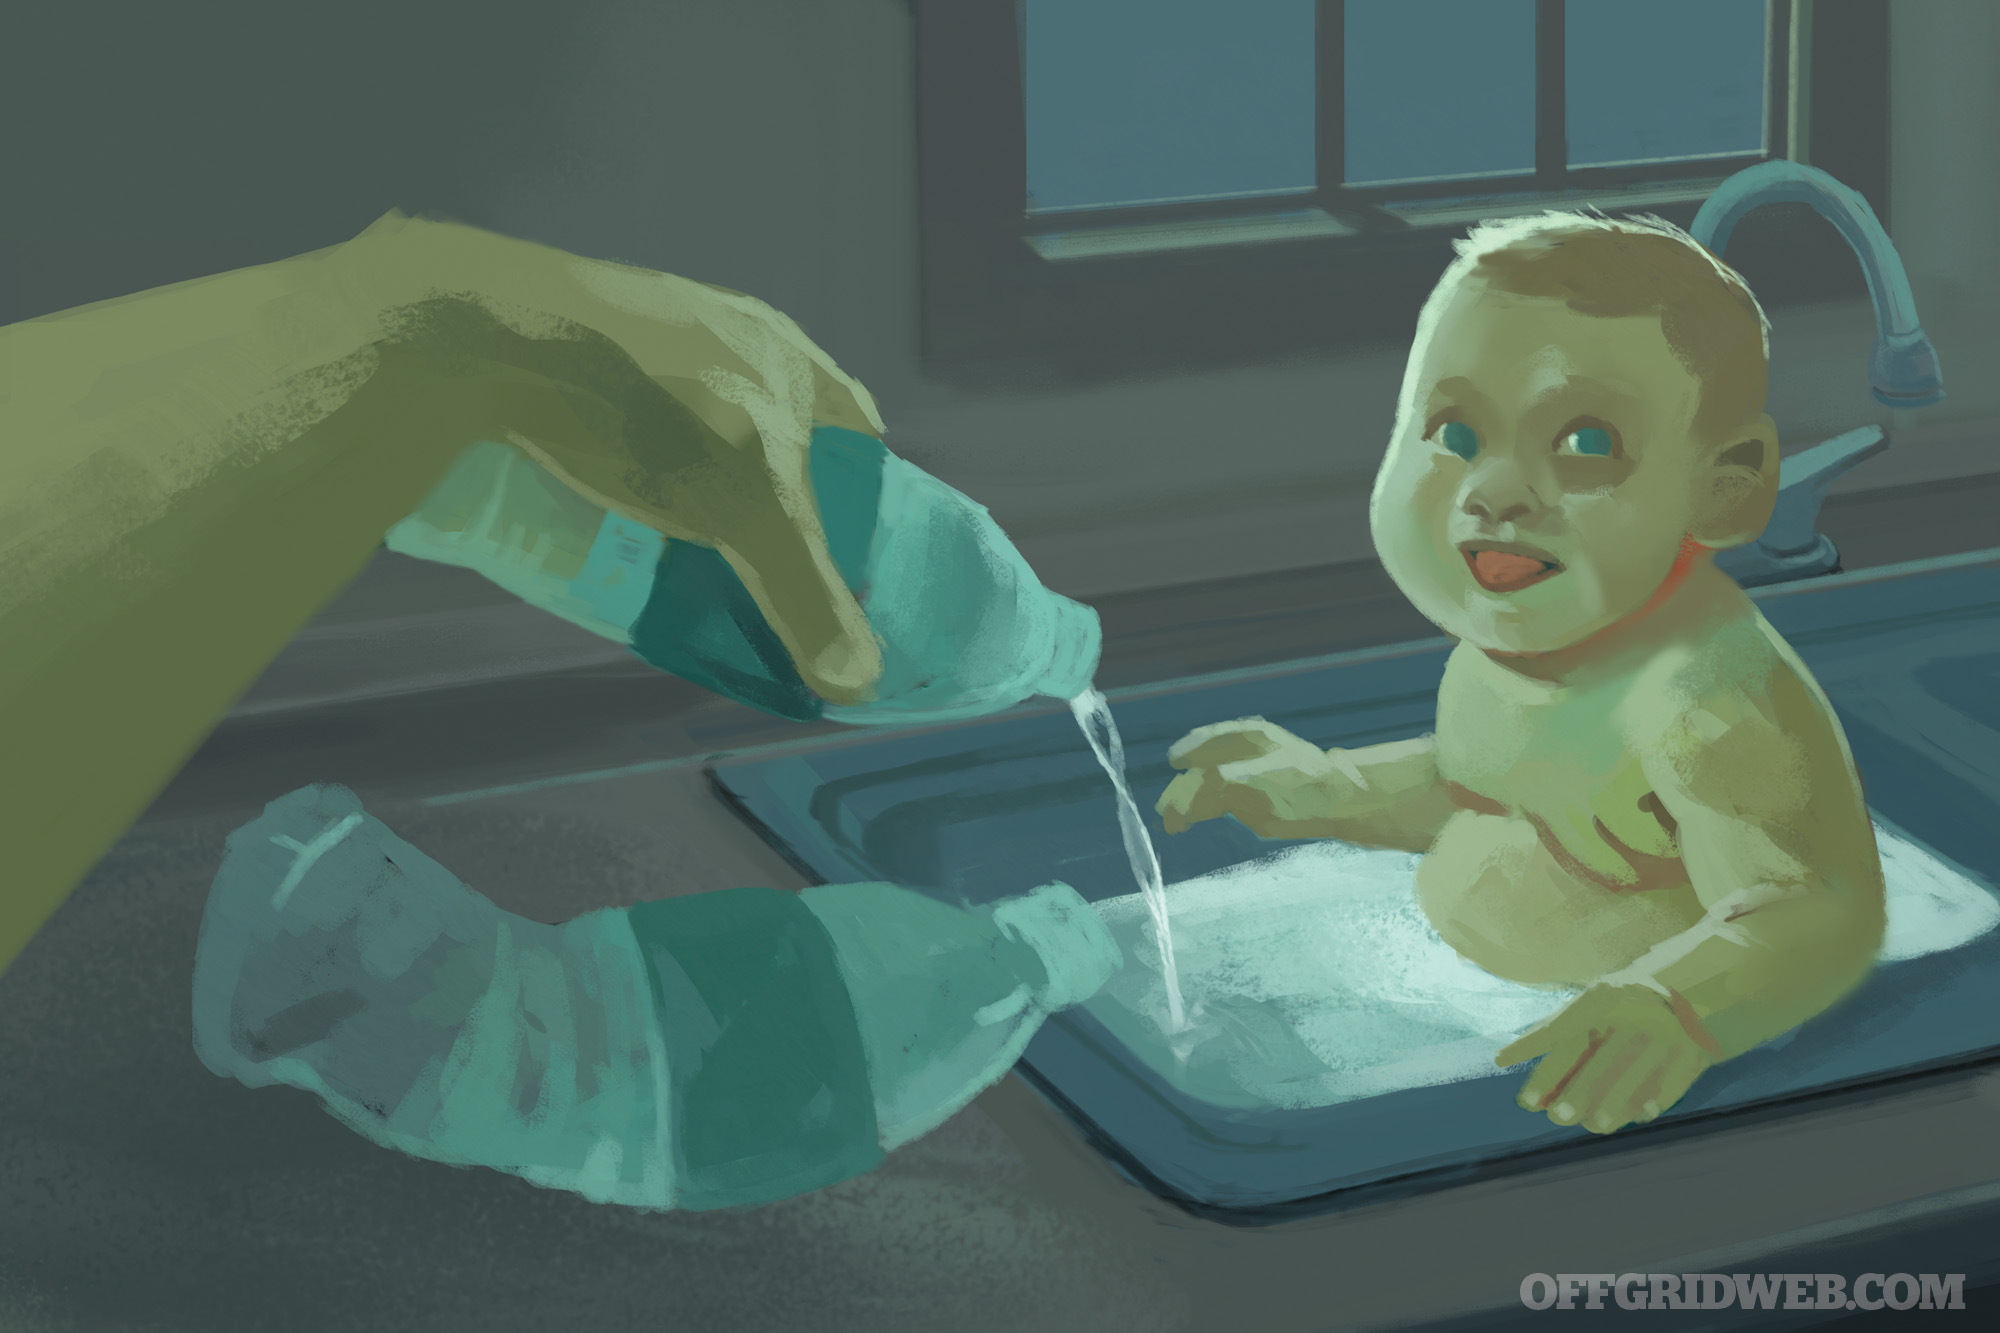
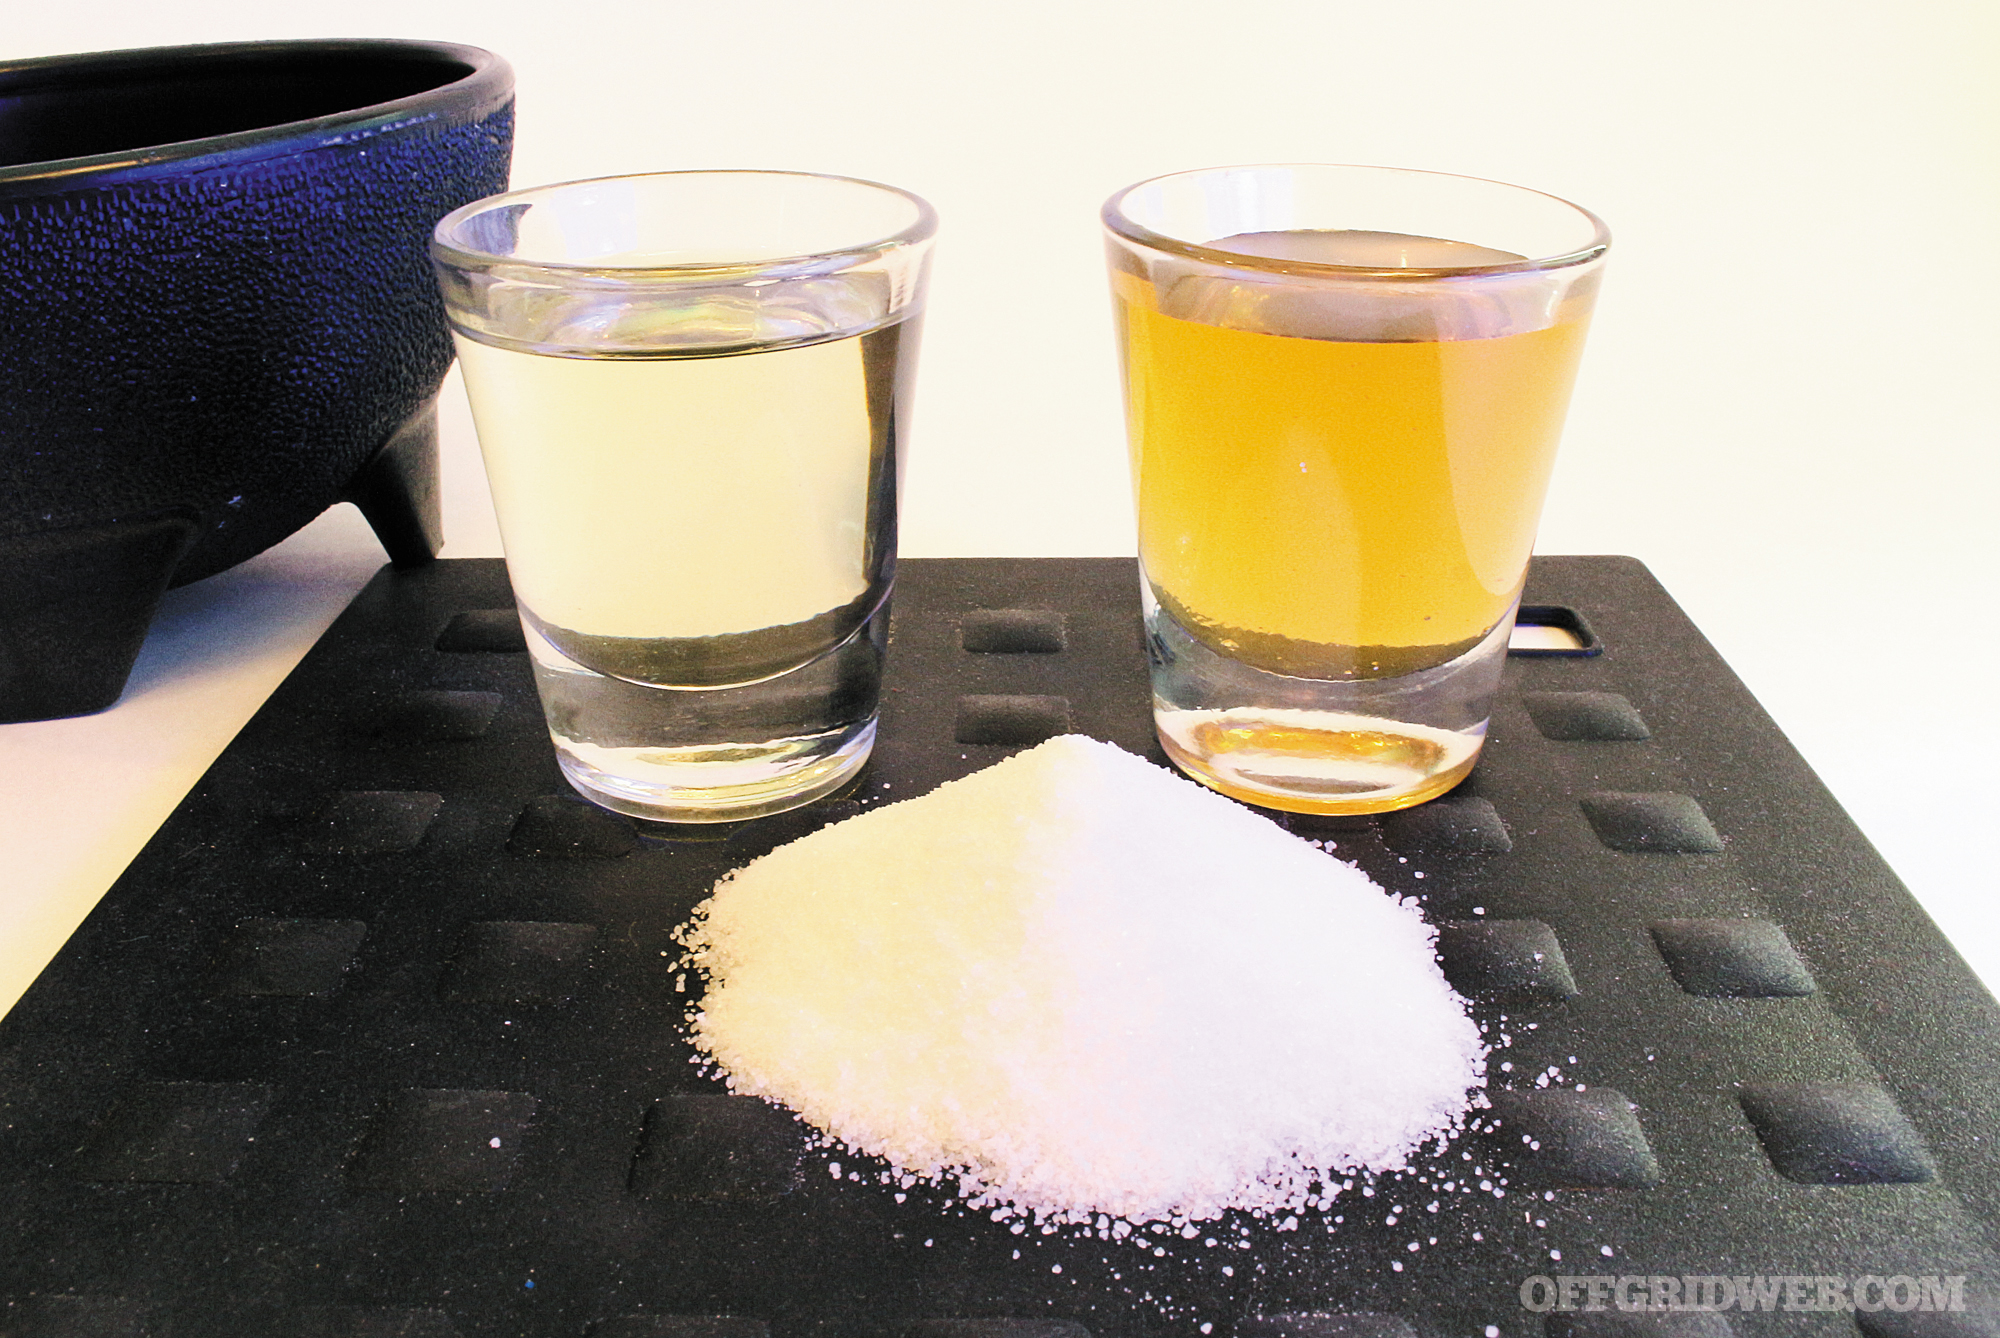
An additional preparation is harvesting rainwater for tasks like showering and sanitation, instead of using our stored bottled water. The bottled water may be used as a last resort for bathing if sanitary water, especially for bathing our baby, was in short supply. We could potentially reuse bottled water numerous times for cooking. Another item worth storing is several gallons of Clorox bleach. This should be rotated regularly since it has a shelf life of one year before it starts to break down. Mixing 1 tablespoon of bleach with 1 gallon of rainwater can be used as a cleaning solution. Having four people and a dog living in a home during a disaster can get pretty messy and unsanitary. Being able to clean surfaces is especially important to help reduce the potential for illness, especially for children with weaker immune systems.
We collect our rainwater in barrels connected to our gutter down spouts on the side of our house. We can also use the rainwater to irrigate any food we’re growing. An above-ground kiddie pool could be emptied, filtered, and consumed if the situation were desperate, but it could also serve as a receptacle for snow and rainwater. Using empty water bottles to collect rainwater could also be practical so we’d hang onto as many as we could make room for. Our rainwater barrels have a screen filter over them, however, when we collect the water we’d still run it through a LifeStraw pump system for increased filtration.
With the understanding that good people can become desperate in bad situations, my wife and I have spent years training with firearms and taking self-defense classes with our daughter. We have a shotgun and two pistols ready at all times. We keep a minimum of 1,000 rounds of ammo in stock for the pistols and 50 rounds for the shotgun. We routinely run drills to practice how to respond if someone tries to break into the house. This type of training became even more important to us after the birth of our son, who is too small to escape or defend himself.
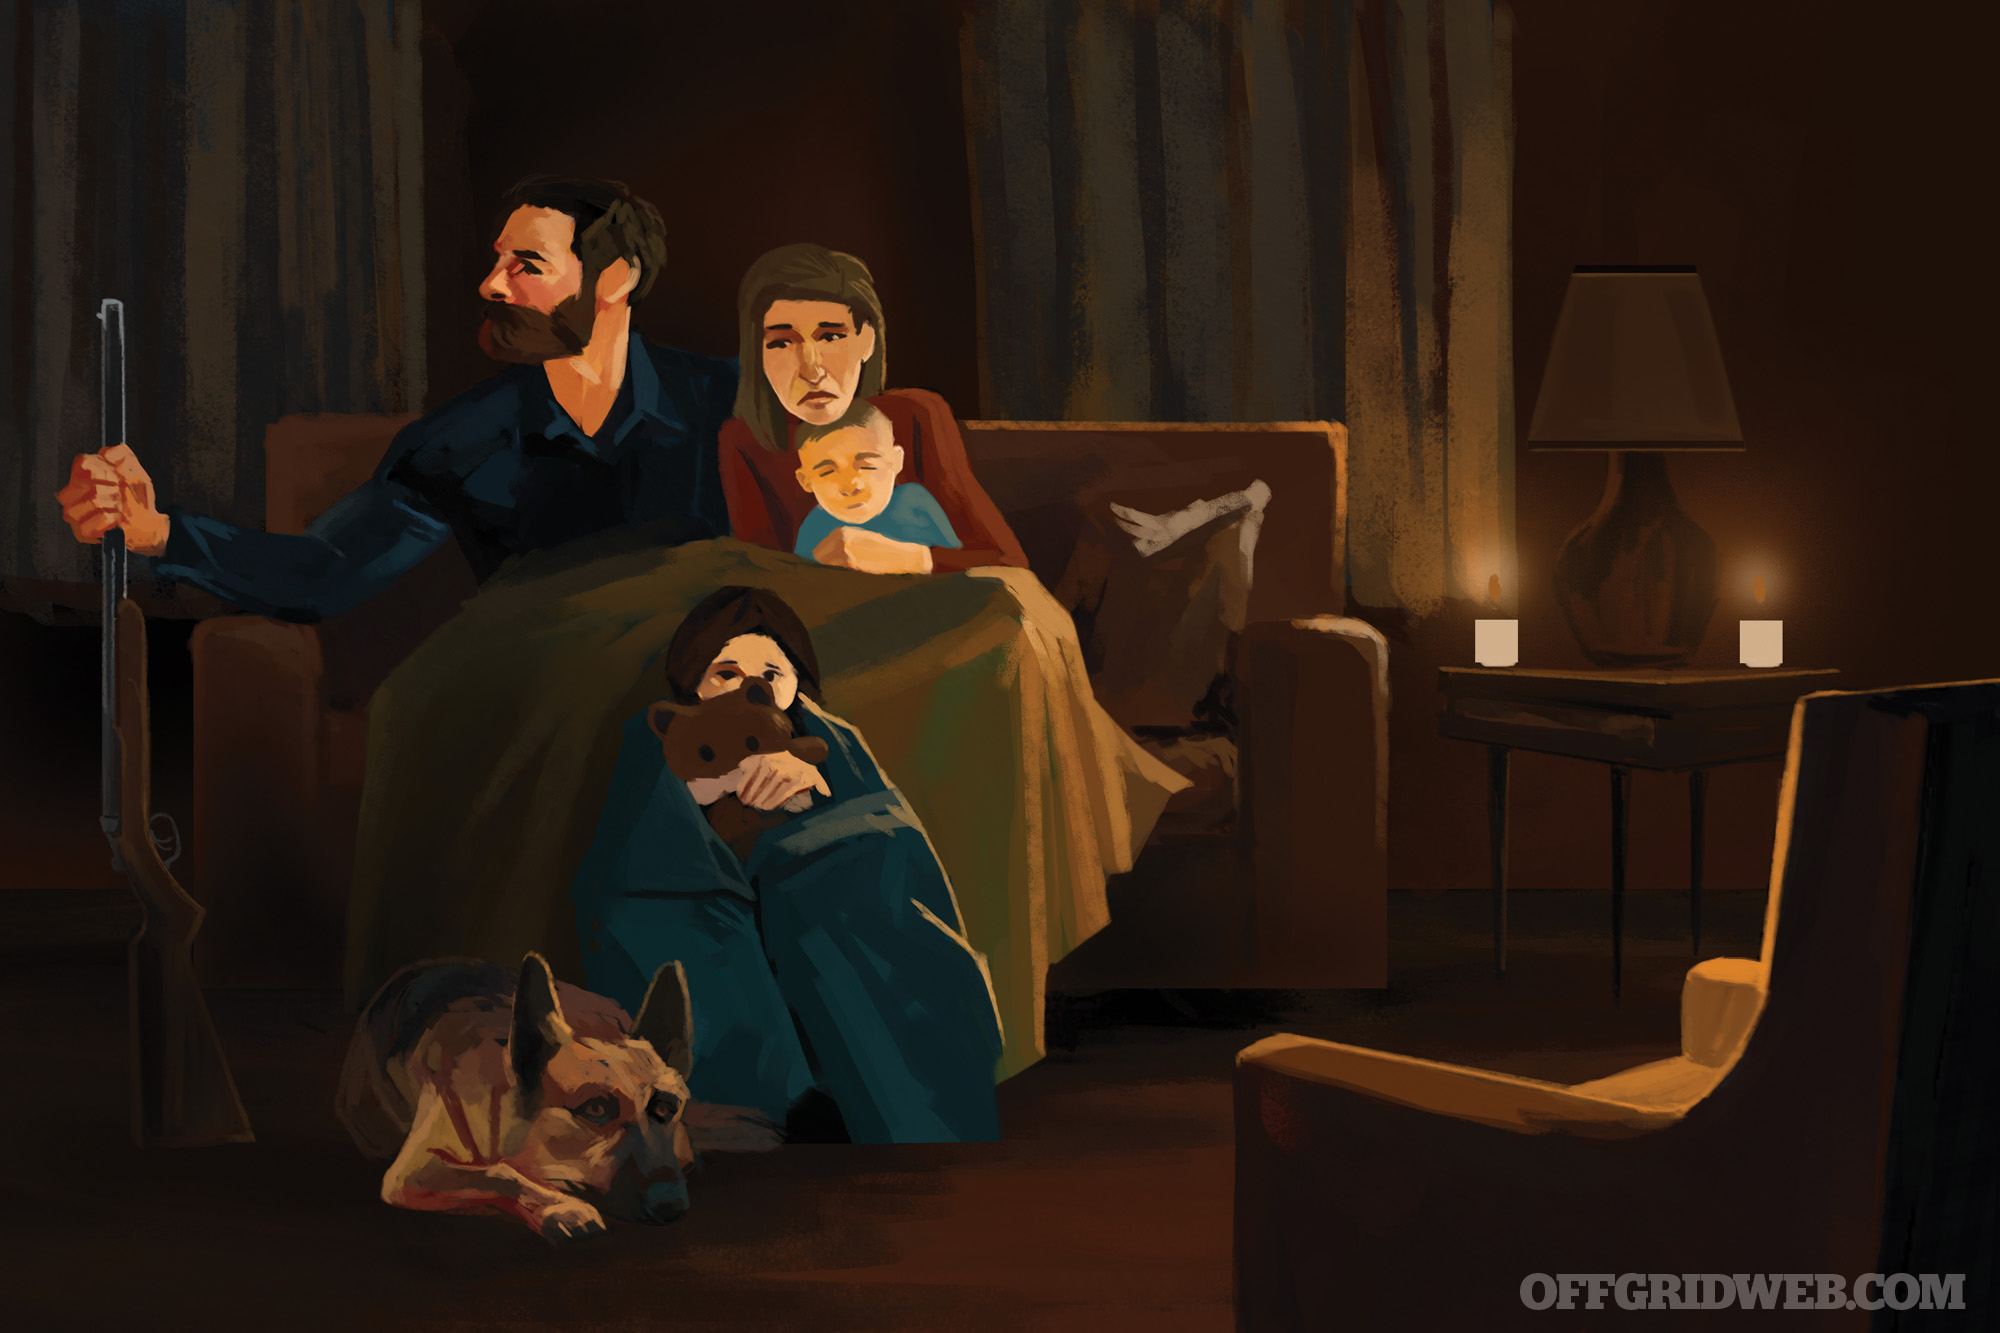
As an additional security measure, we put our German Shepherd through Schutzhund training so he’s able to carry out protection commands against any assailants. It’s been a long-standing rule in our house that during a power outage we all move to the living room close to the fireplace and stay there to know each other’s whereabouts. This also helps us easily identify any intruders, and keeps us close to what may ultimately be the only source of heat in the house.
Even with all these preps, safety comes in numbers and we created an emergency survival group with our neighbors. To ensure easy contact among our neighbors we use GoTenna — a device that allows us to create our own wireless network in the absence of an established cellular grid. We all have small solar chargers for our phones to ensure they stay working if cell service is restored. Running training drills together every so often will make sure survival skills remain fresh and organized so there’s no confusion about responsibilities during adrenaline-filled emergencies.
On Site
After the disaster happened, we’d immediately turn on our radio to see the extent of the damage, paying particular attention to anything related to infrastructure conditions (municipal buildings, hospitals, surrounding homes, and nearby road damage). Simultaneously, we’d use the GoTenna to ensure the neighbors are all OK and find out where they’re located. This could help lift some of the fog of chaos. We’d set a time to meet at my house that night to go over what to do and see if anyone needed any immediate help. With the loss of infrastructure there may be no waste management and no immediate medical or law enforcement support. A neighborhood or family group would need to discuss how to implement an interim plan to deal with the lack of resources.
To avoid unsanitary conditions developing inside the house, I’d suggest converting any sheds into outhouses and improvised bathing units with passive solar water heating systems for the hotter months (during the colder months, we could heat the water over a fire). I’d also build a compost site behind my house that we can use for food and human waste, and we can build additional ones if necessary to handle the waste generated by our neighborhood.
For collective defense, if you’re able to organize to that degree, consider blocking off the street with a couple cars to make it harder for potential looters to access the neighborhood. I’d also suggest making a nighttime security rotation — one family would watch over the street each night for a four-hour shift to communicate anything suspicious. Lastly, we’d put each house on rotation for daily cleanup duty for the outhouses — it’s nasty, but with no municipal refuse system or sewage everyone would have to pitch in so it doesn’t become a health hazard.
Crisis
With all our combined preparations, and with the support system of our neighbors, I estimate being in good shape for at least a year without help and supplies. When grid-down situations switch from short term to long term, though, food supplies will eventually run out. The unprepared who’ve already run out of food will be searching for it. When enough people join together in desperation, there’s a chance of being overwhelmed by a force you can’t withstand.
In the event that hordes of desperate looters start heading your way, I’d suggest also preparing a separate bug-out location well in advance. Several years ago, my wife and I bought 60 acres of land. The land has a water source and is very secluded. We built a small shelter there with hidden supplies and have solar power on the property. The ability to hunt deer, turkey, rabbits, plant crops, and harvest wood for fires and other makeshift construction purposes makes it a good long-term location to hold up. The impracticality of bringing other people with us poses a challenge. To discreetly keep movement away from our neighborhood, we chose three routes to the property that are in wooded areas away from the city and any commonly-used roads.
It’s important to remember the old saying, “accept the things you can’t change and change the things you can.” The most primitive things every human needs to survive are heat, water, food, security, and adaptability. Prepping for these things by gradually acquiring supplies and training betters your odds. Know what natural disasters may occur in your area and get to know the people around you to build a strong support system in advance of any calamities.
Survival Expert: Tim MacWelch’s Approach
Prep
This scenario is a great example of the concept of “prepare for one disaster very well, and you’re well prepared for most disasters.” As far as our family is concerned, an earthquake taking down our utilities isn’t much different from several other crisis situations knocking out those things. Sure, there’s probably more damage with a quake and it will take longer to repair than a cyber attack, for example, but we prepare for long-term utility outages (that may result in civil unrest) just like most other disasters.
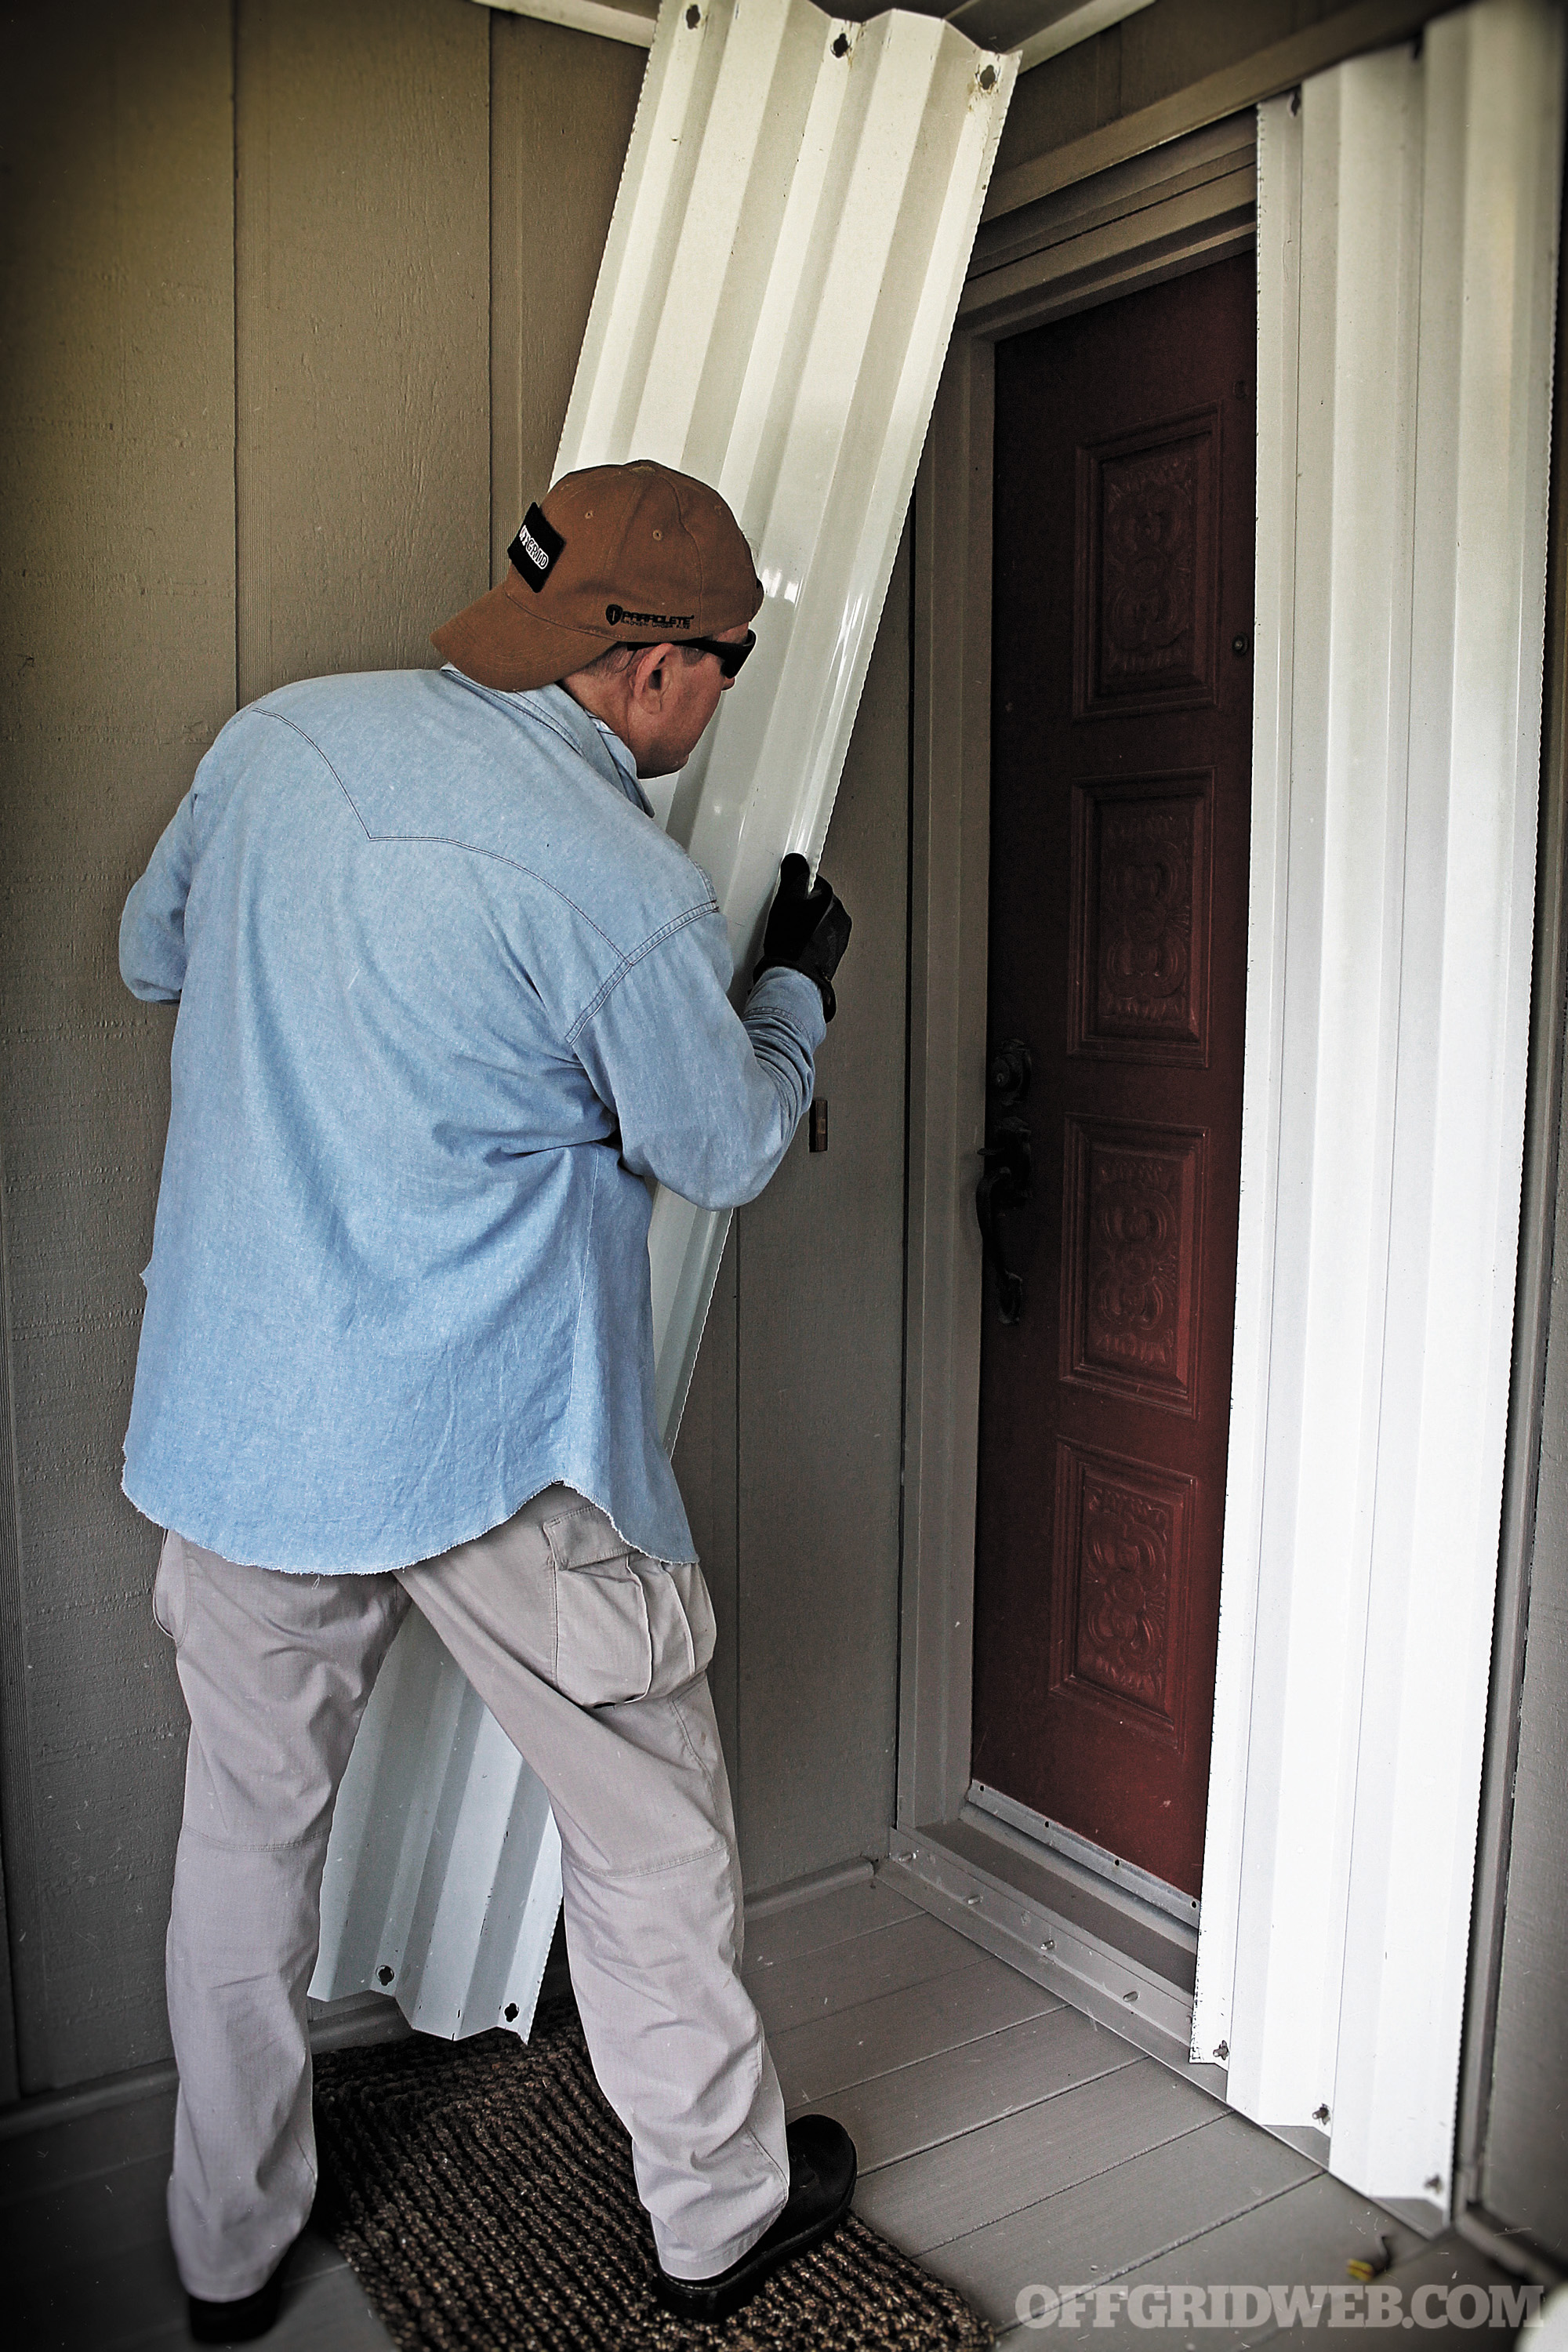
Immediate Priorities: There are plenty of supplies that you could buy in advance that’d help in this situation. In the city, I’d want to have a utility shutoff tool, available at most hardware stores. This can shut off municipal water and gas, both of which should be shut off right after a quake for many good reasons. A top-shelf first-aid kit is high on my list too, since injury is likely in disasters. Water is my next priority. We bought a large-capacity home water heater for extra storage, which can be drained as needed for drinking water for washing.
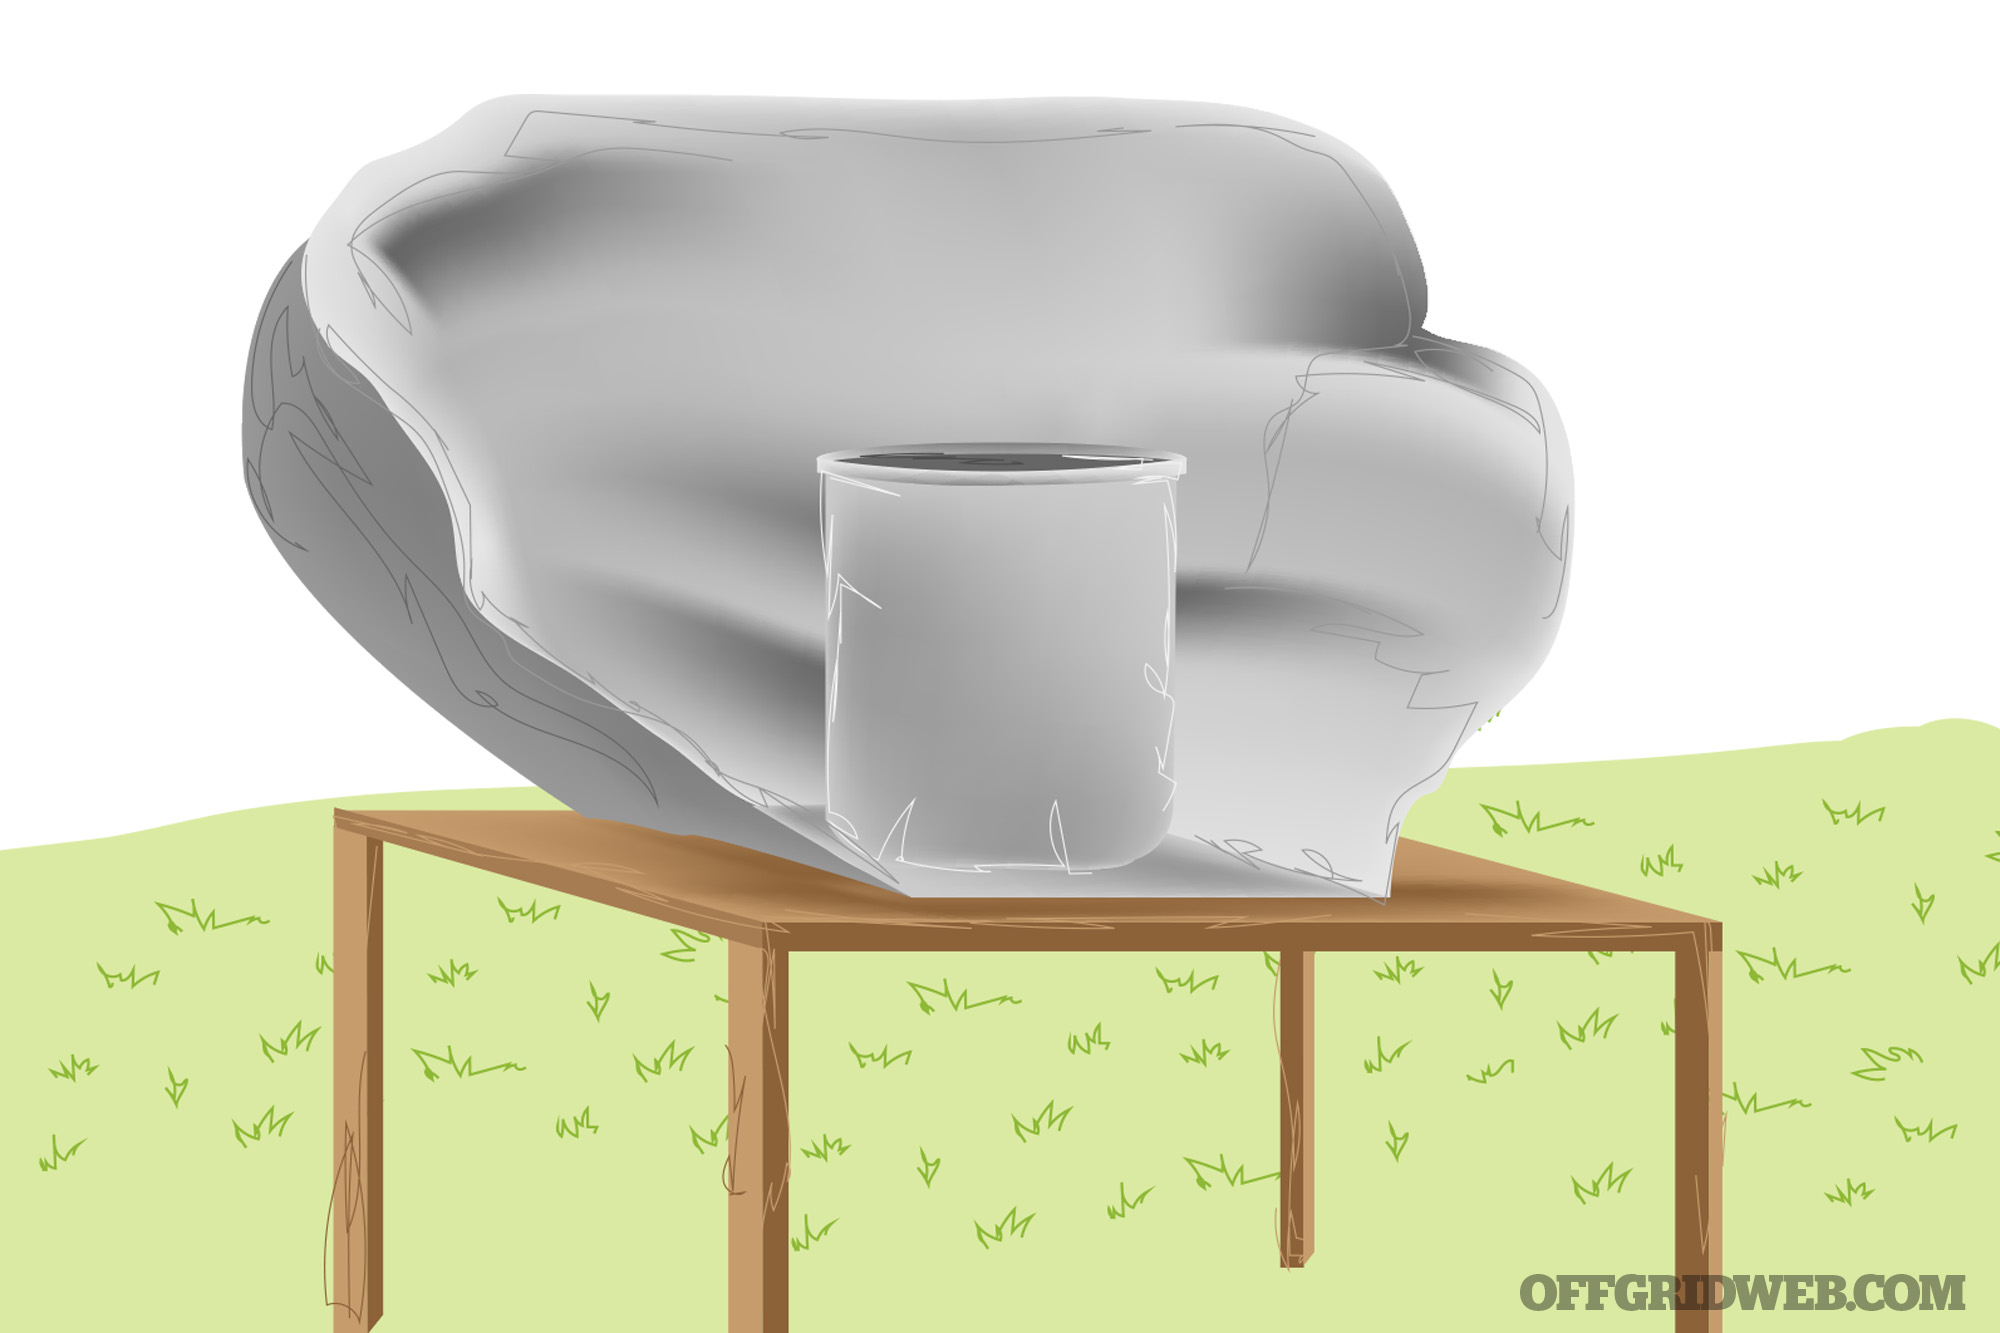
I also maintain numerous 5-gallon water cooler jugs of water for easy access of ready-to-drink water. I keep multiple disinfection tools, like water filters and disinfection tablets, as well. I prefer two products from Katadyn and one from Berkey for water disinfection. Katadyn MicroPur tablets are great for disinfecting water on the go. They take longer to work than iodine, but taste better (a key factor for keeping kids hydrated). Katadyn also makes a pump filter called the Pocket Filter, which even deals with tiny viral pathogens. For the household, we also have a Big Berkey filter. This gravity-fed filter is very effective and easy to use. Dump your raw water into the top and it filters down into a reservoir below. Even kids can use it with no problems.
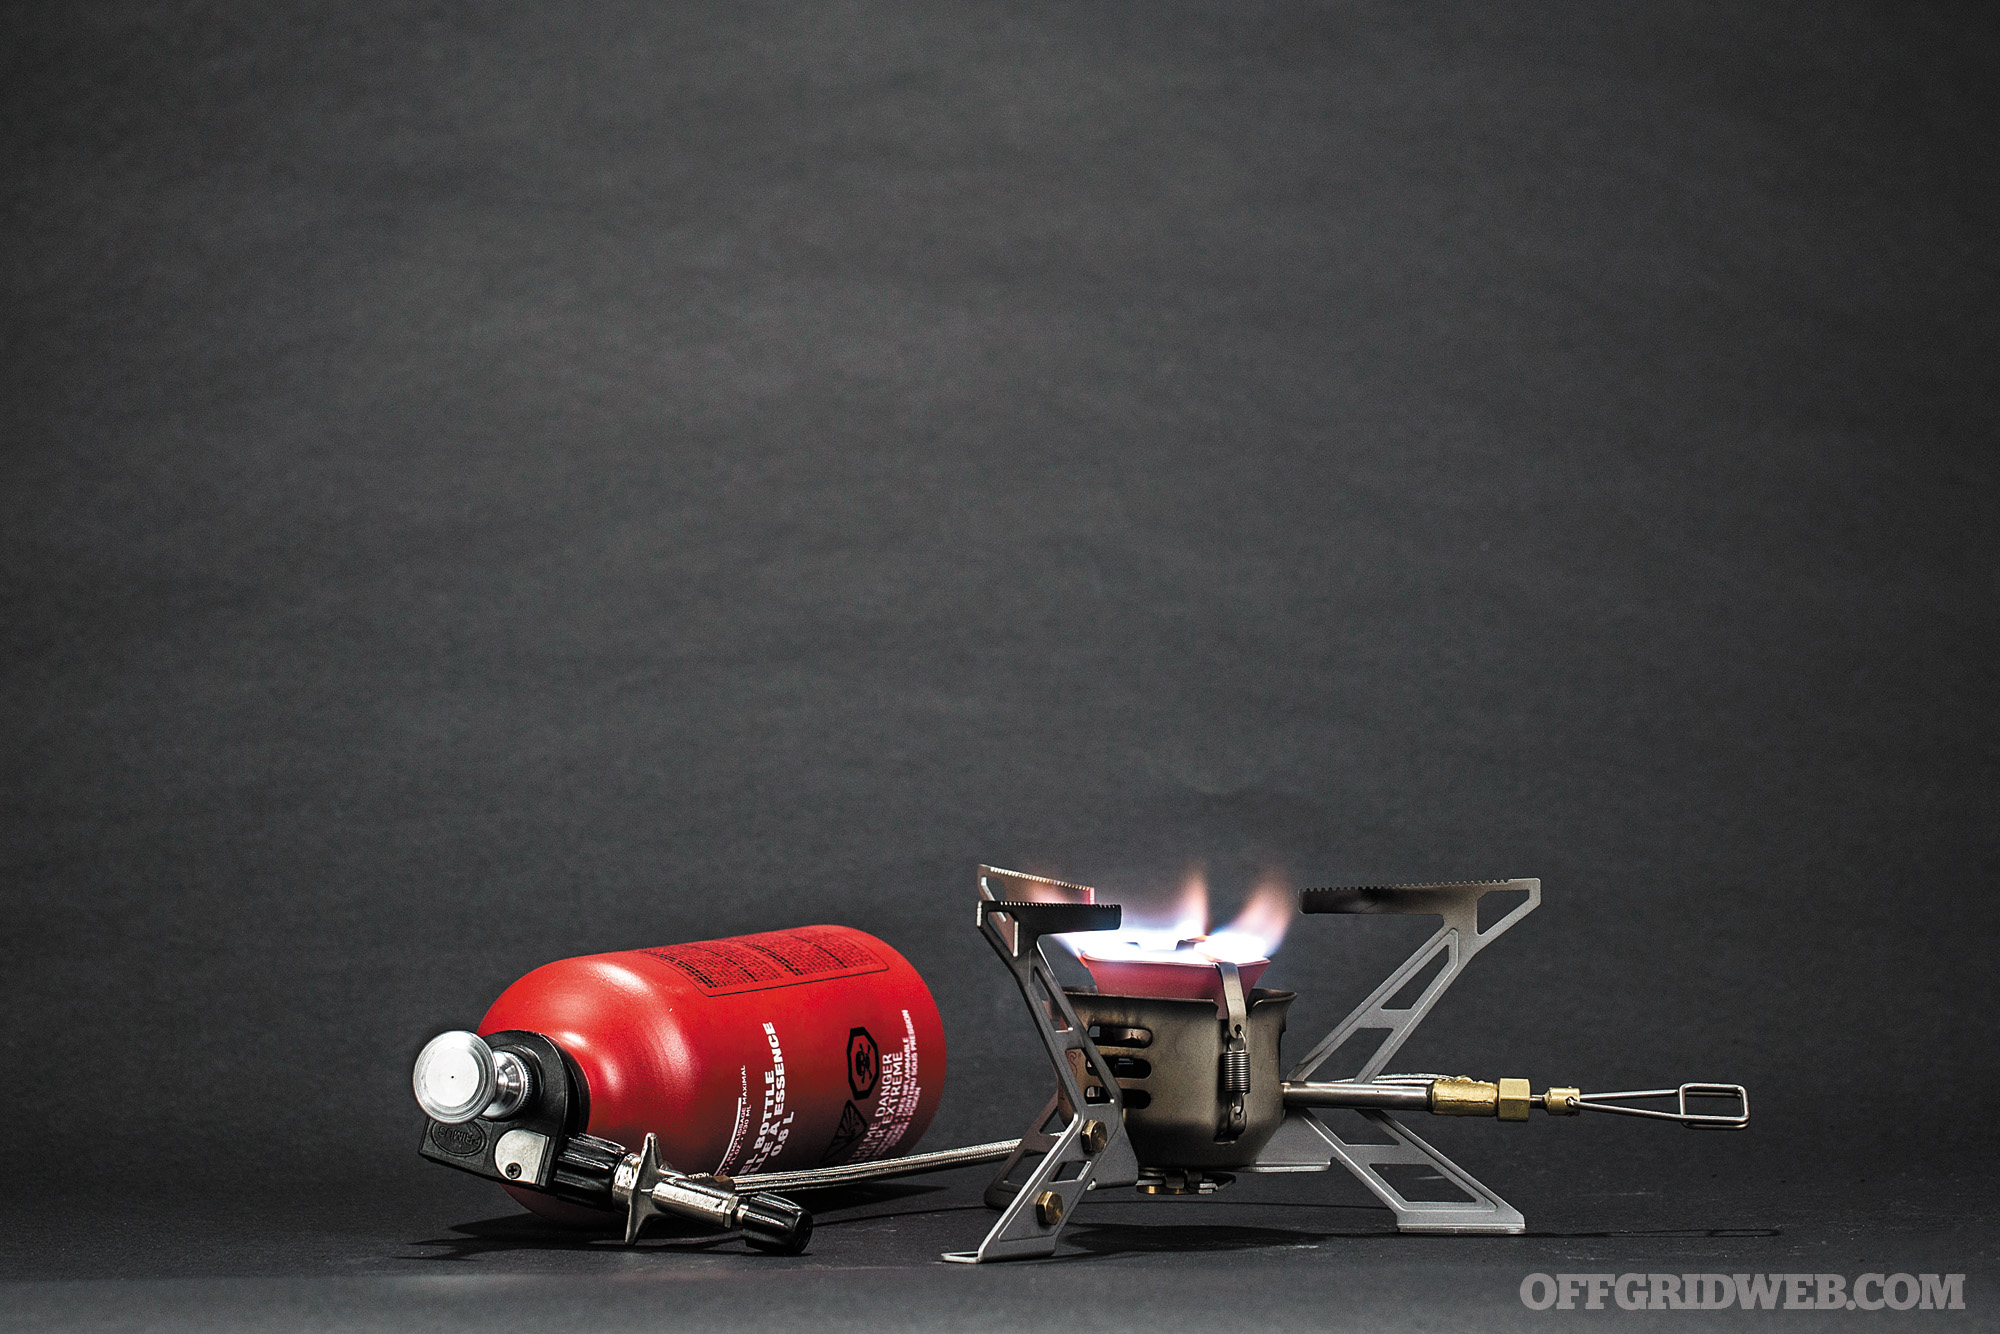
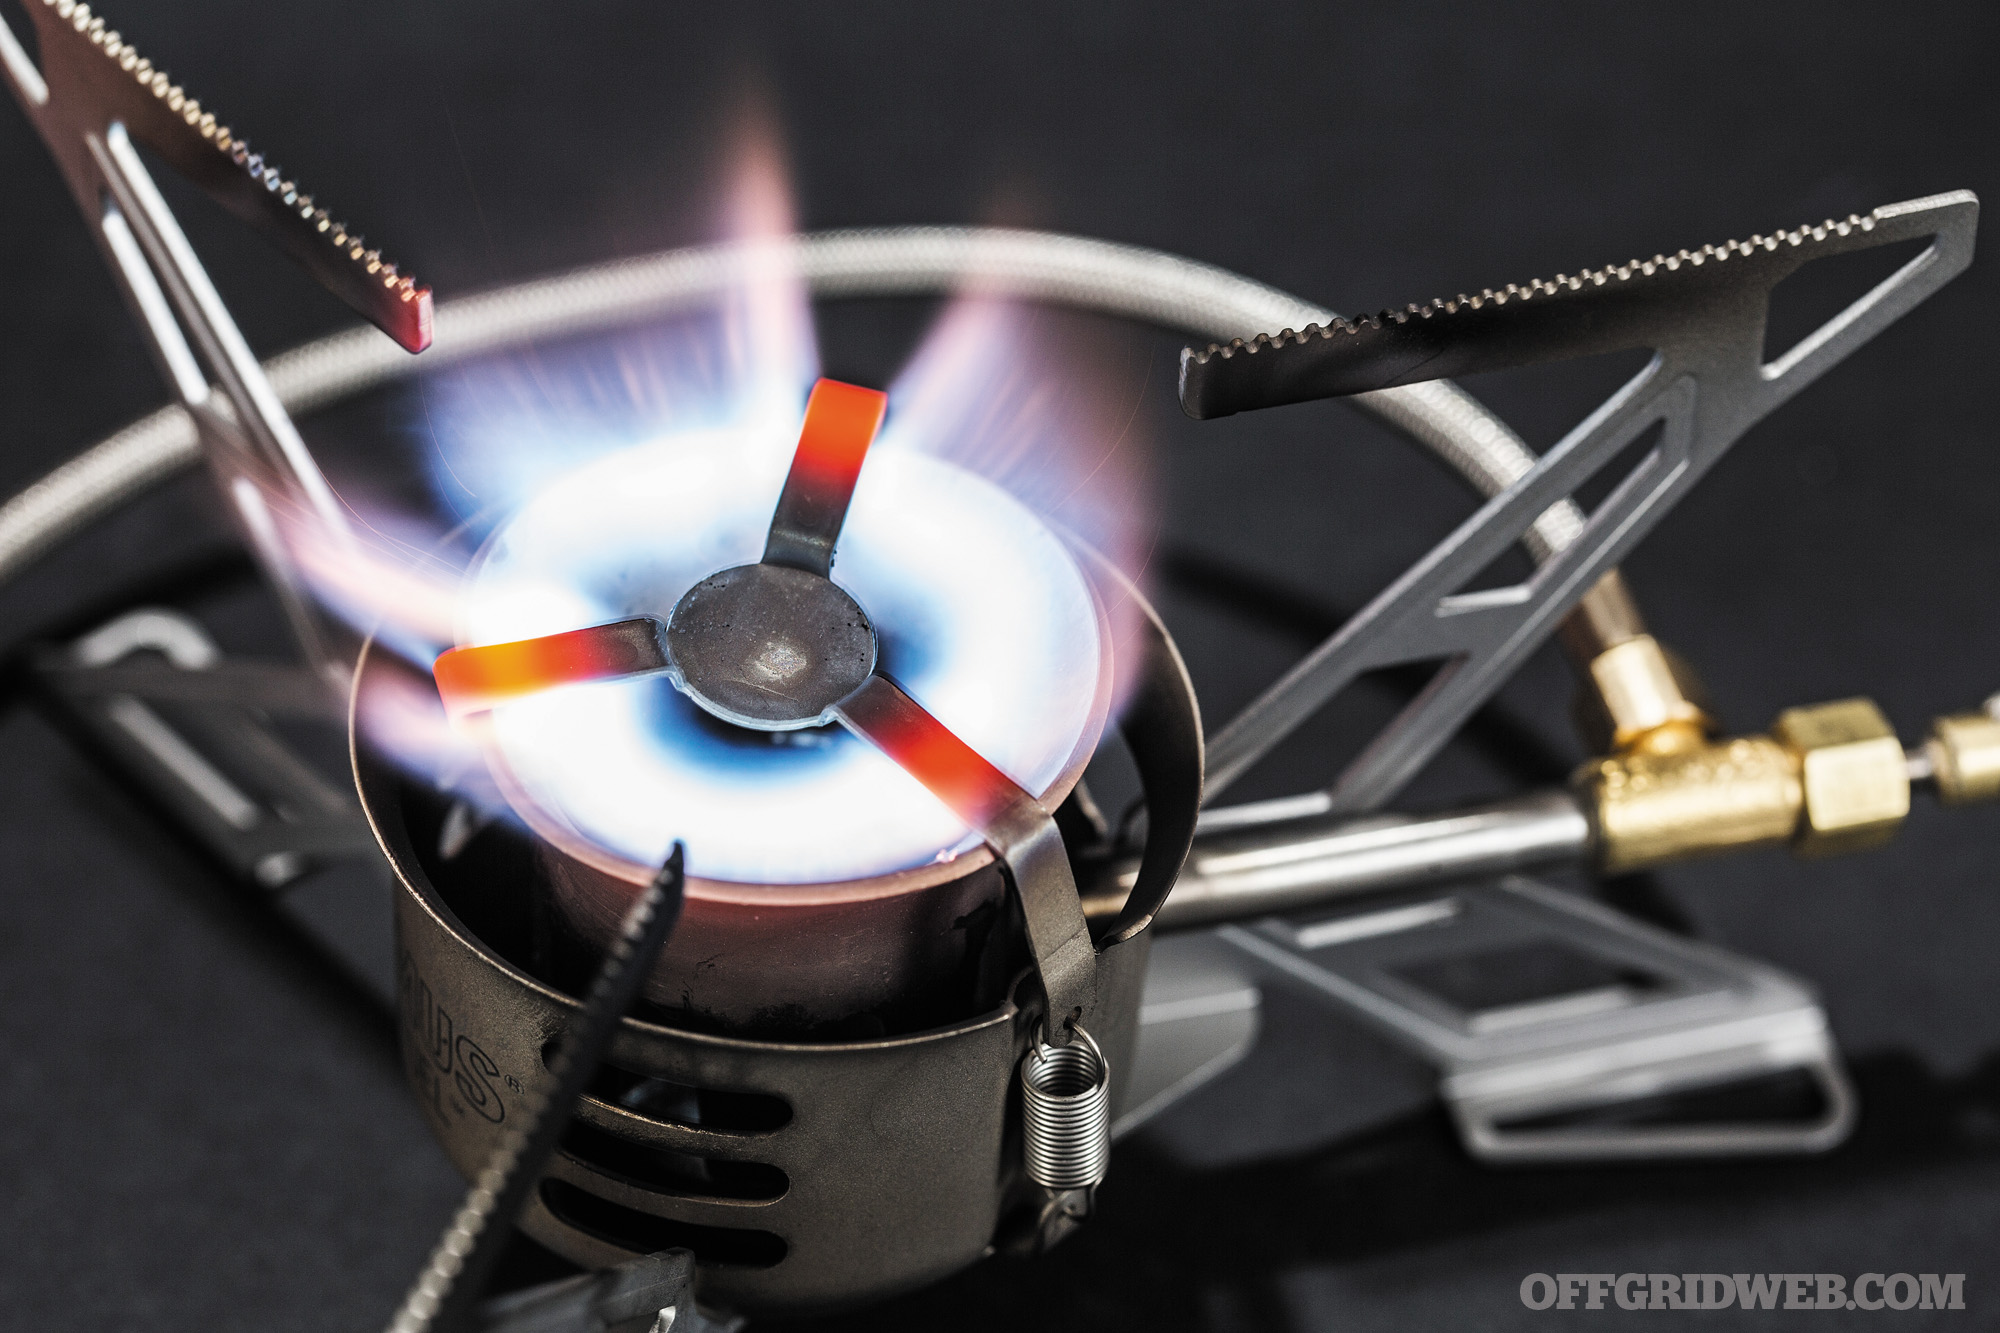
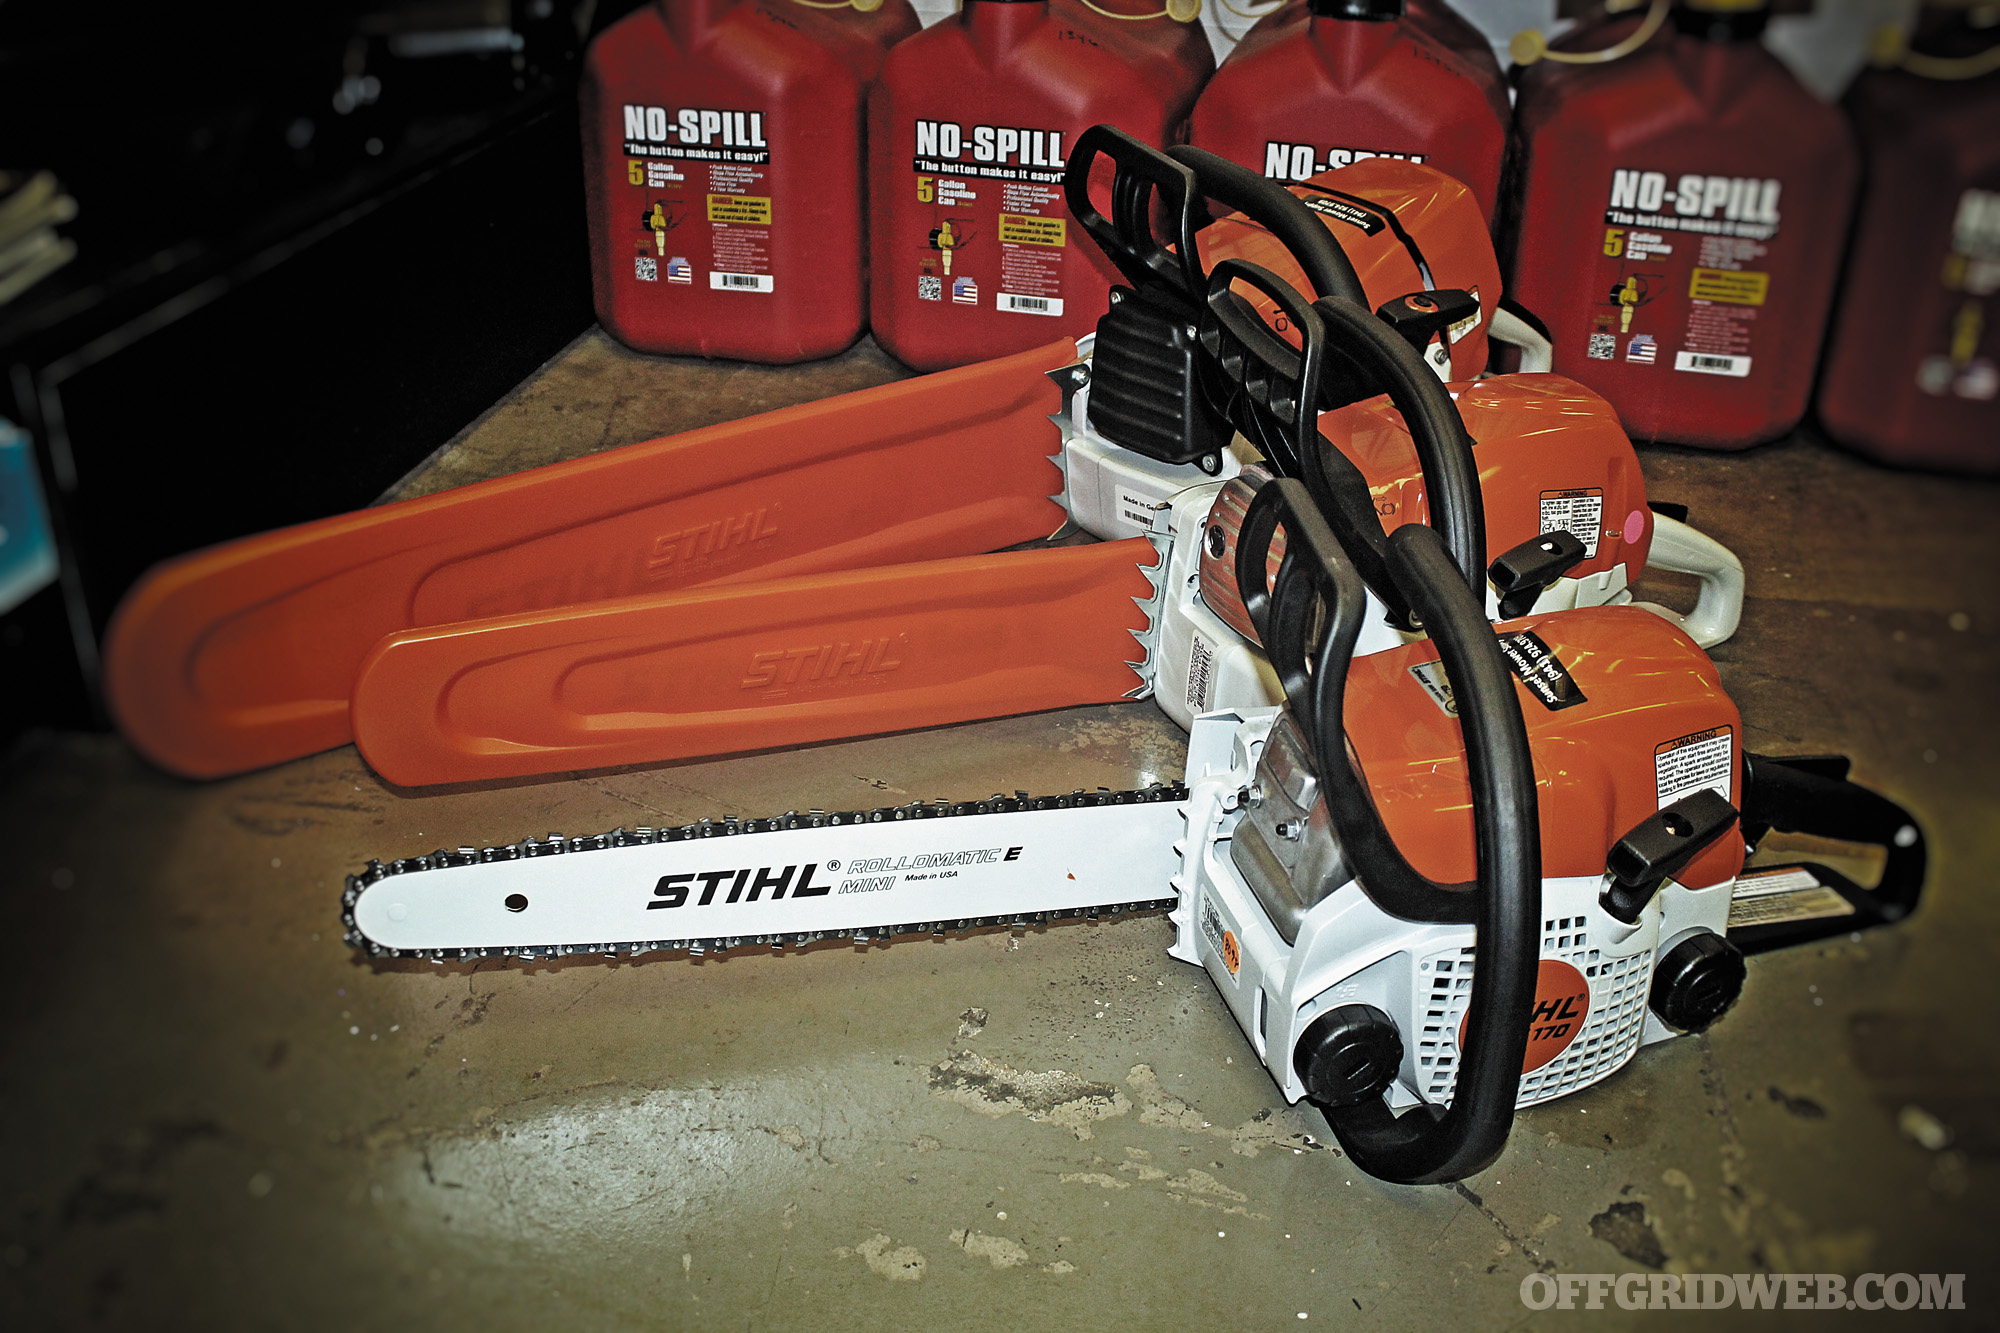
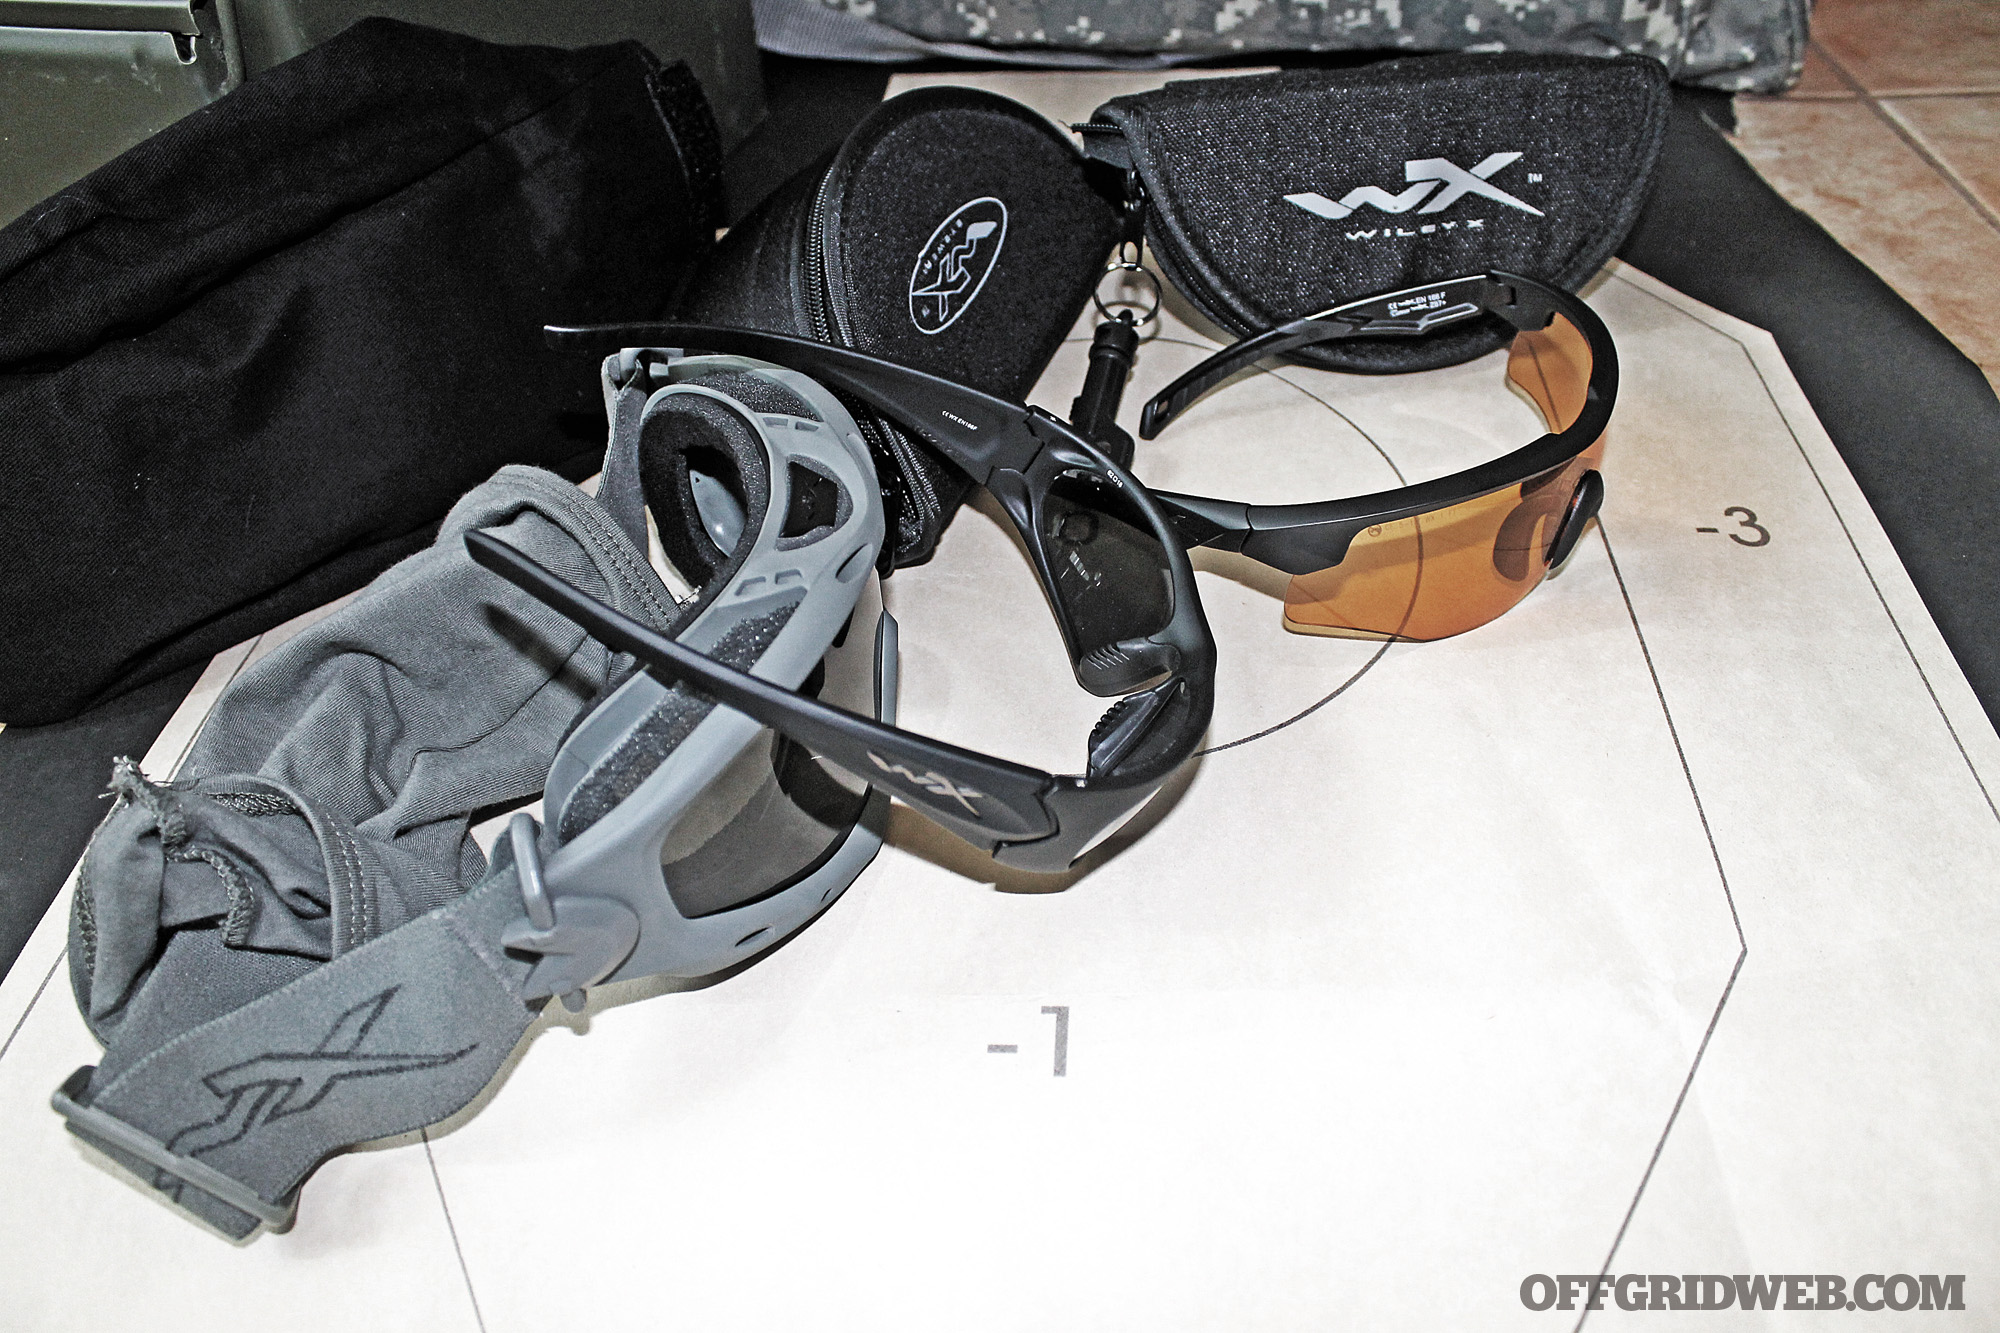
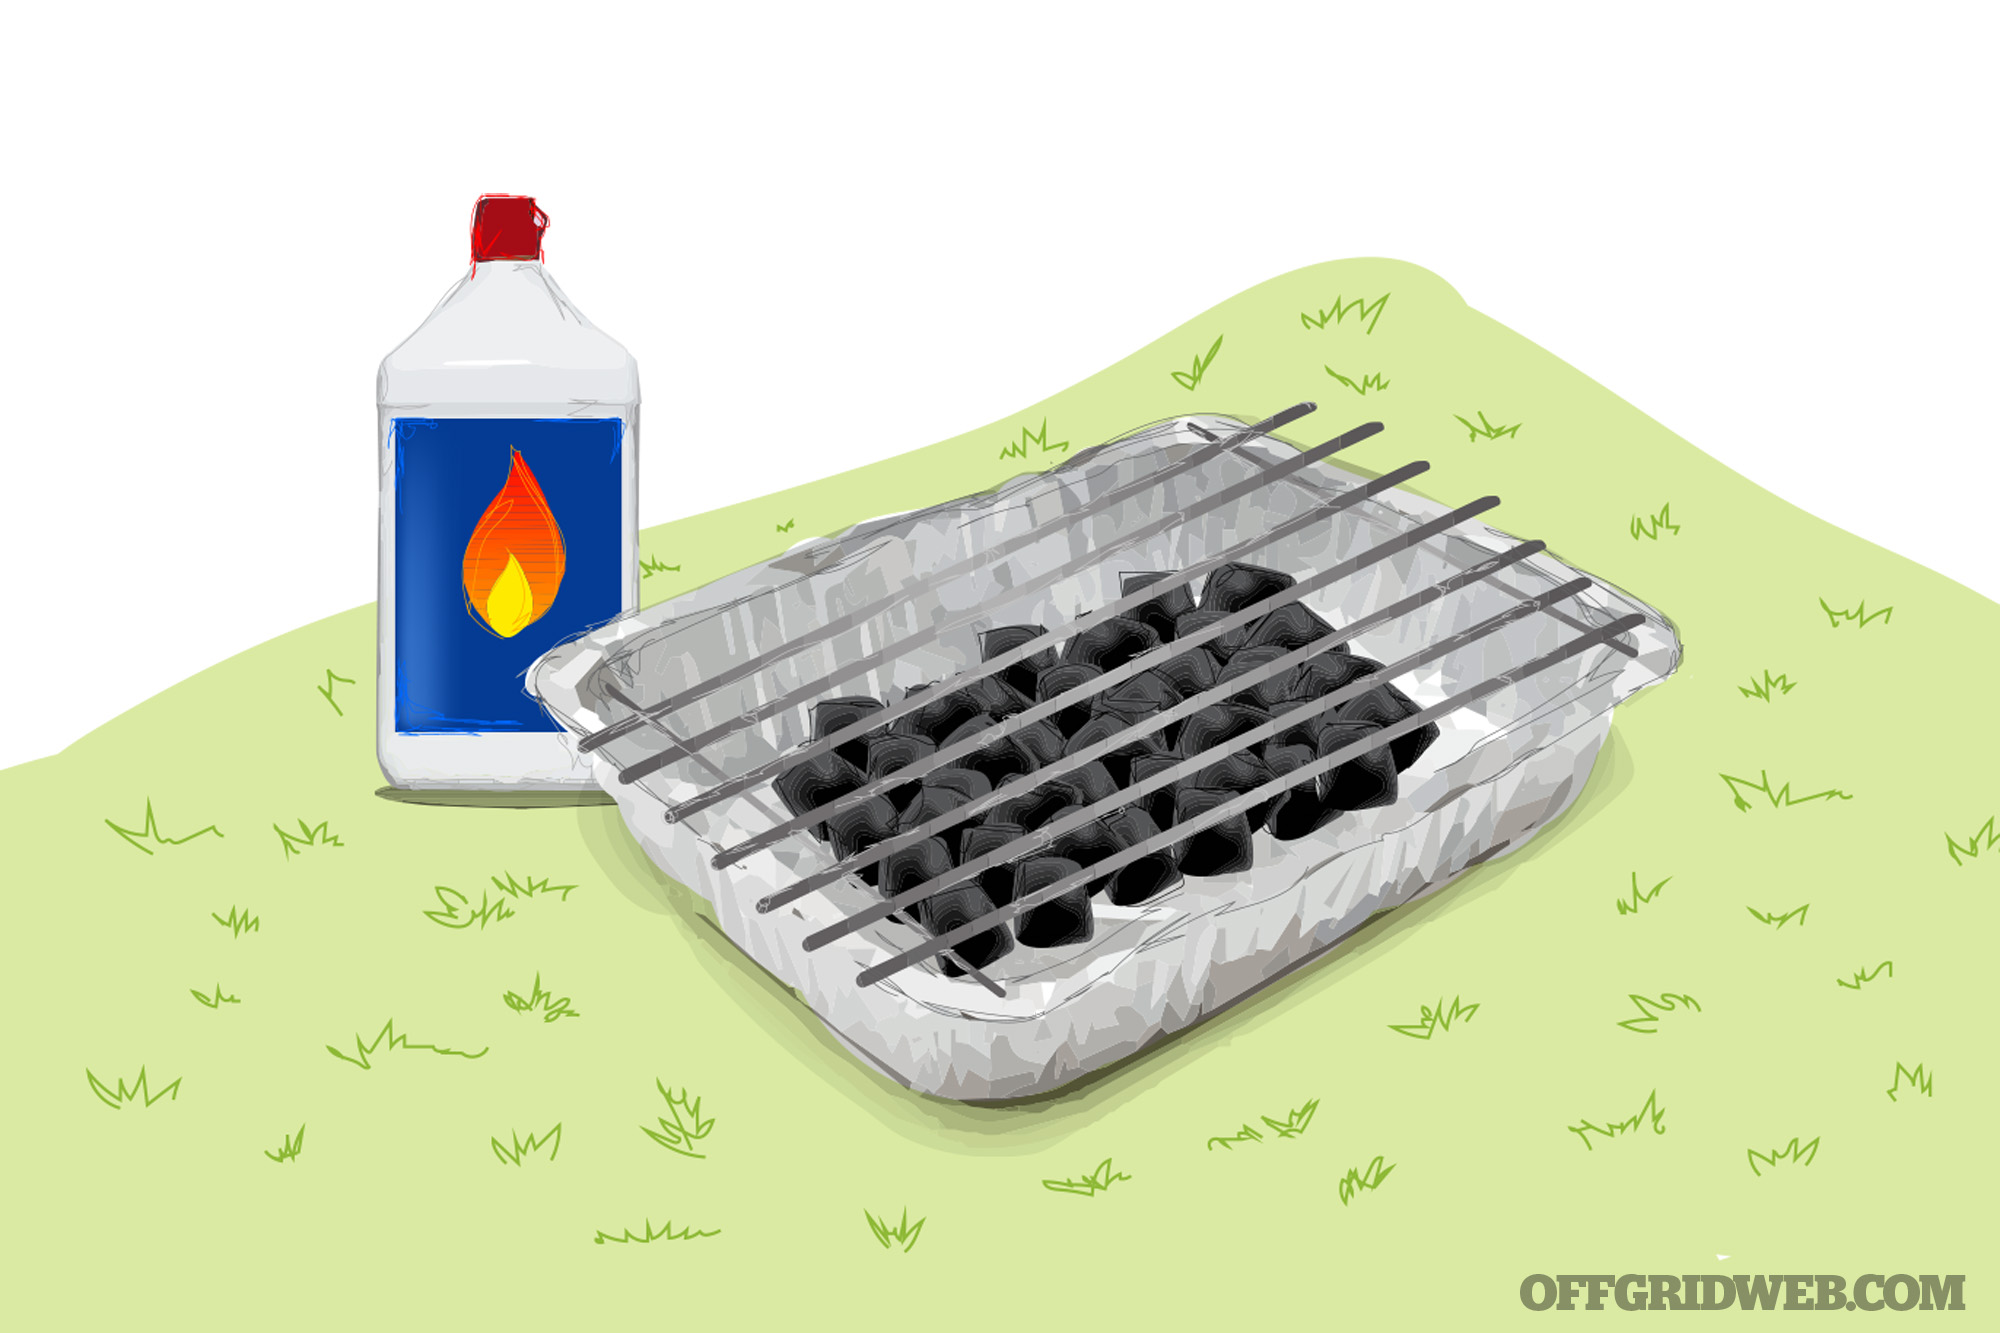
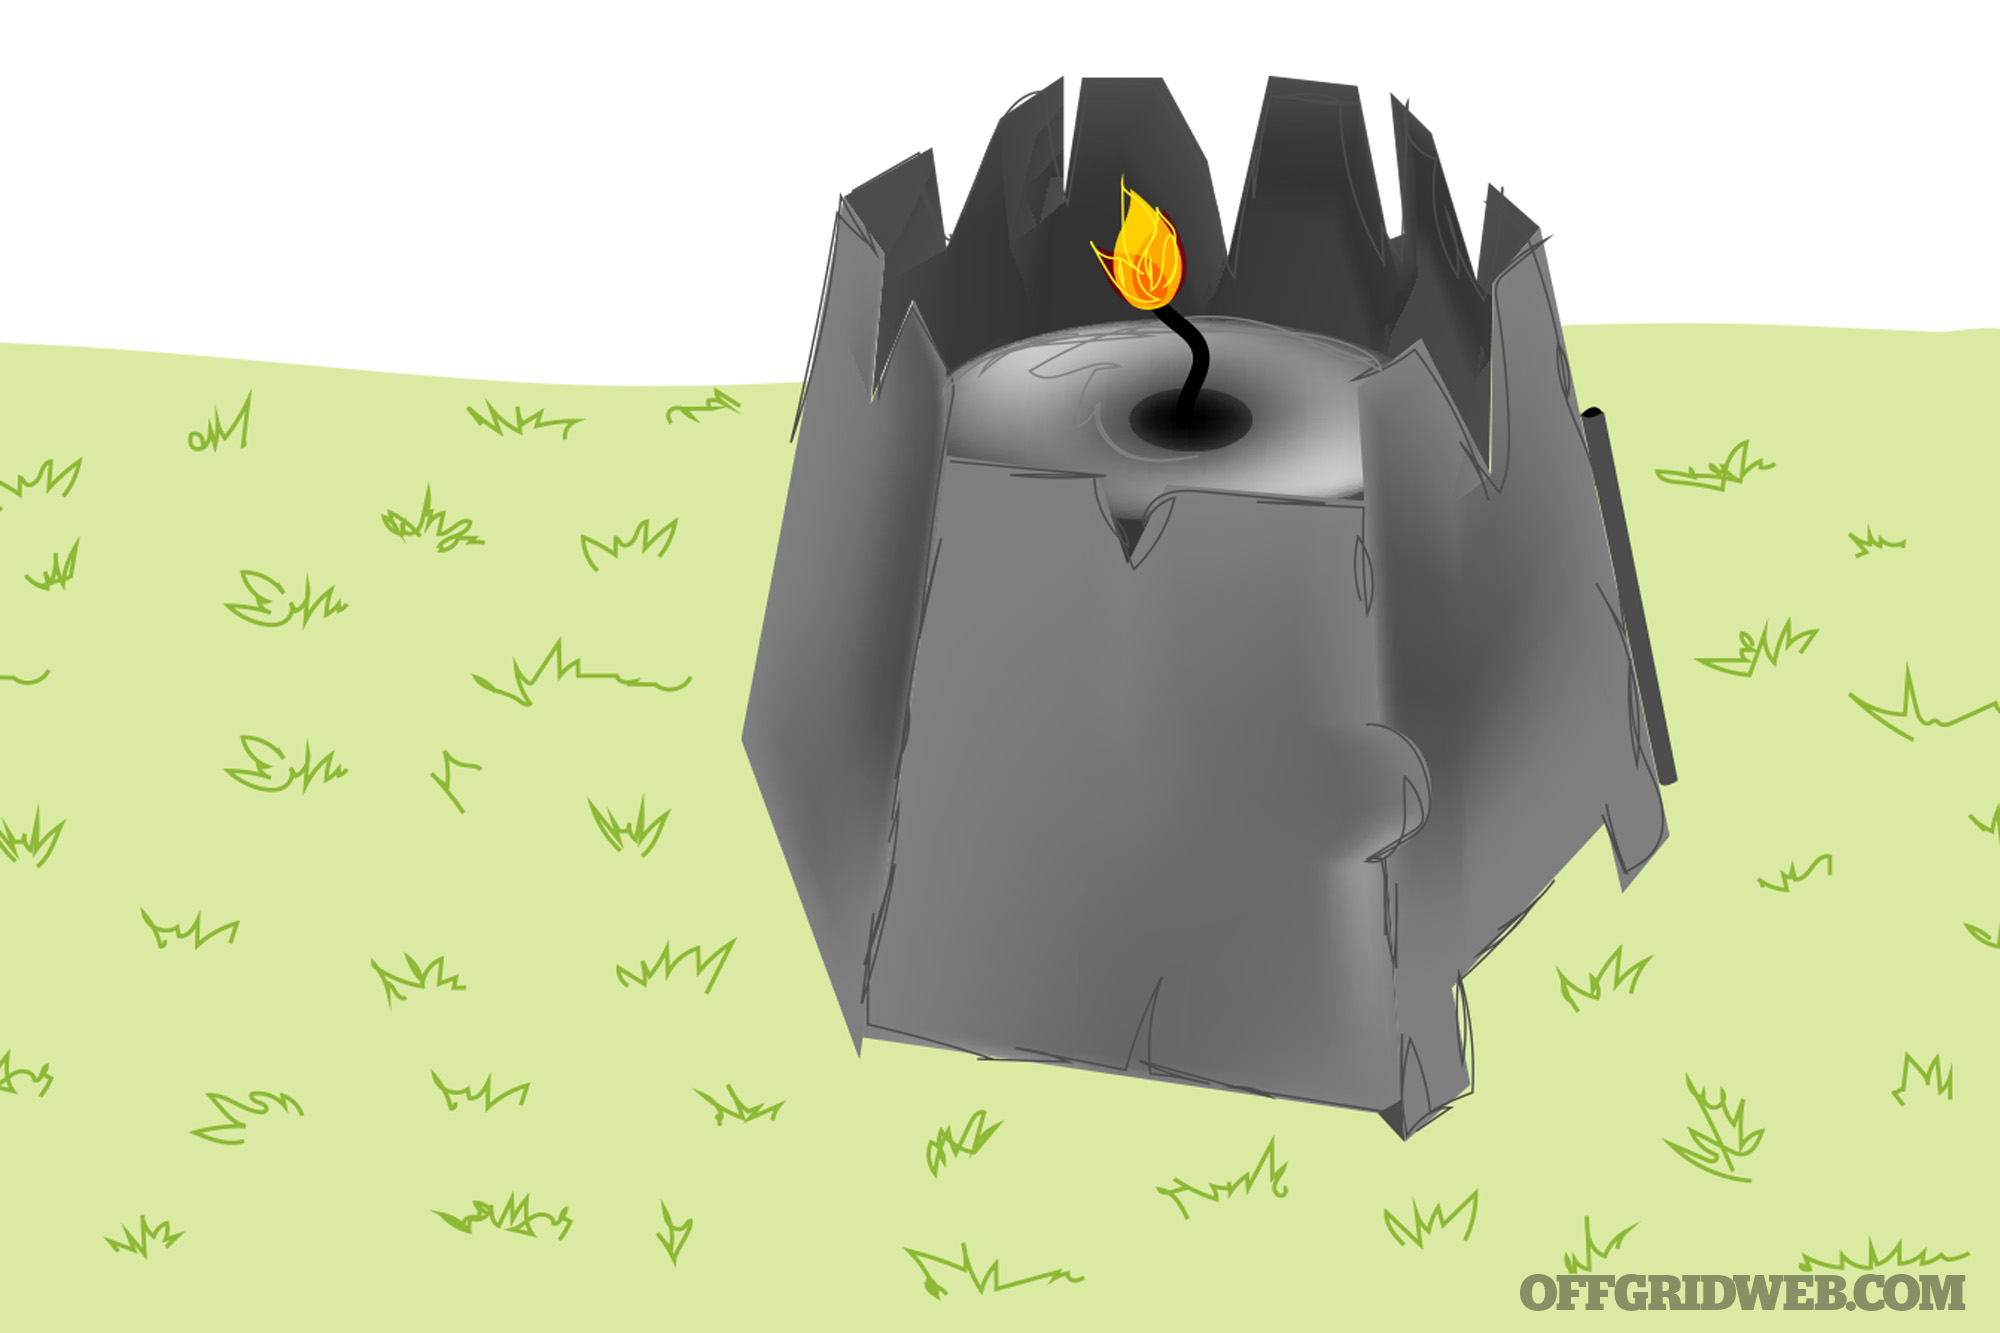
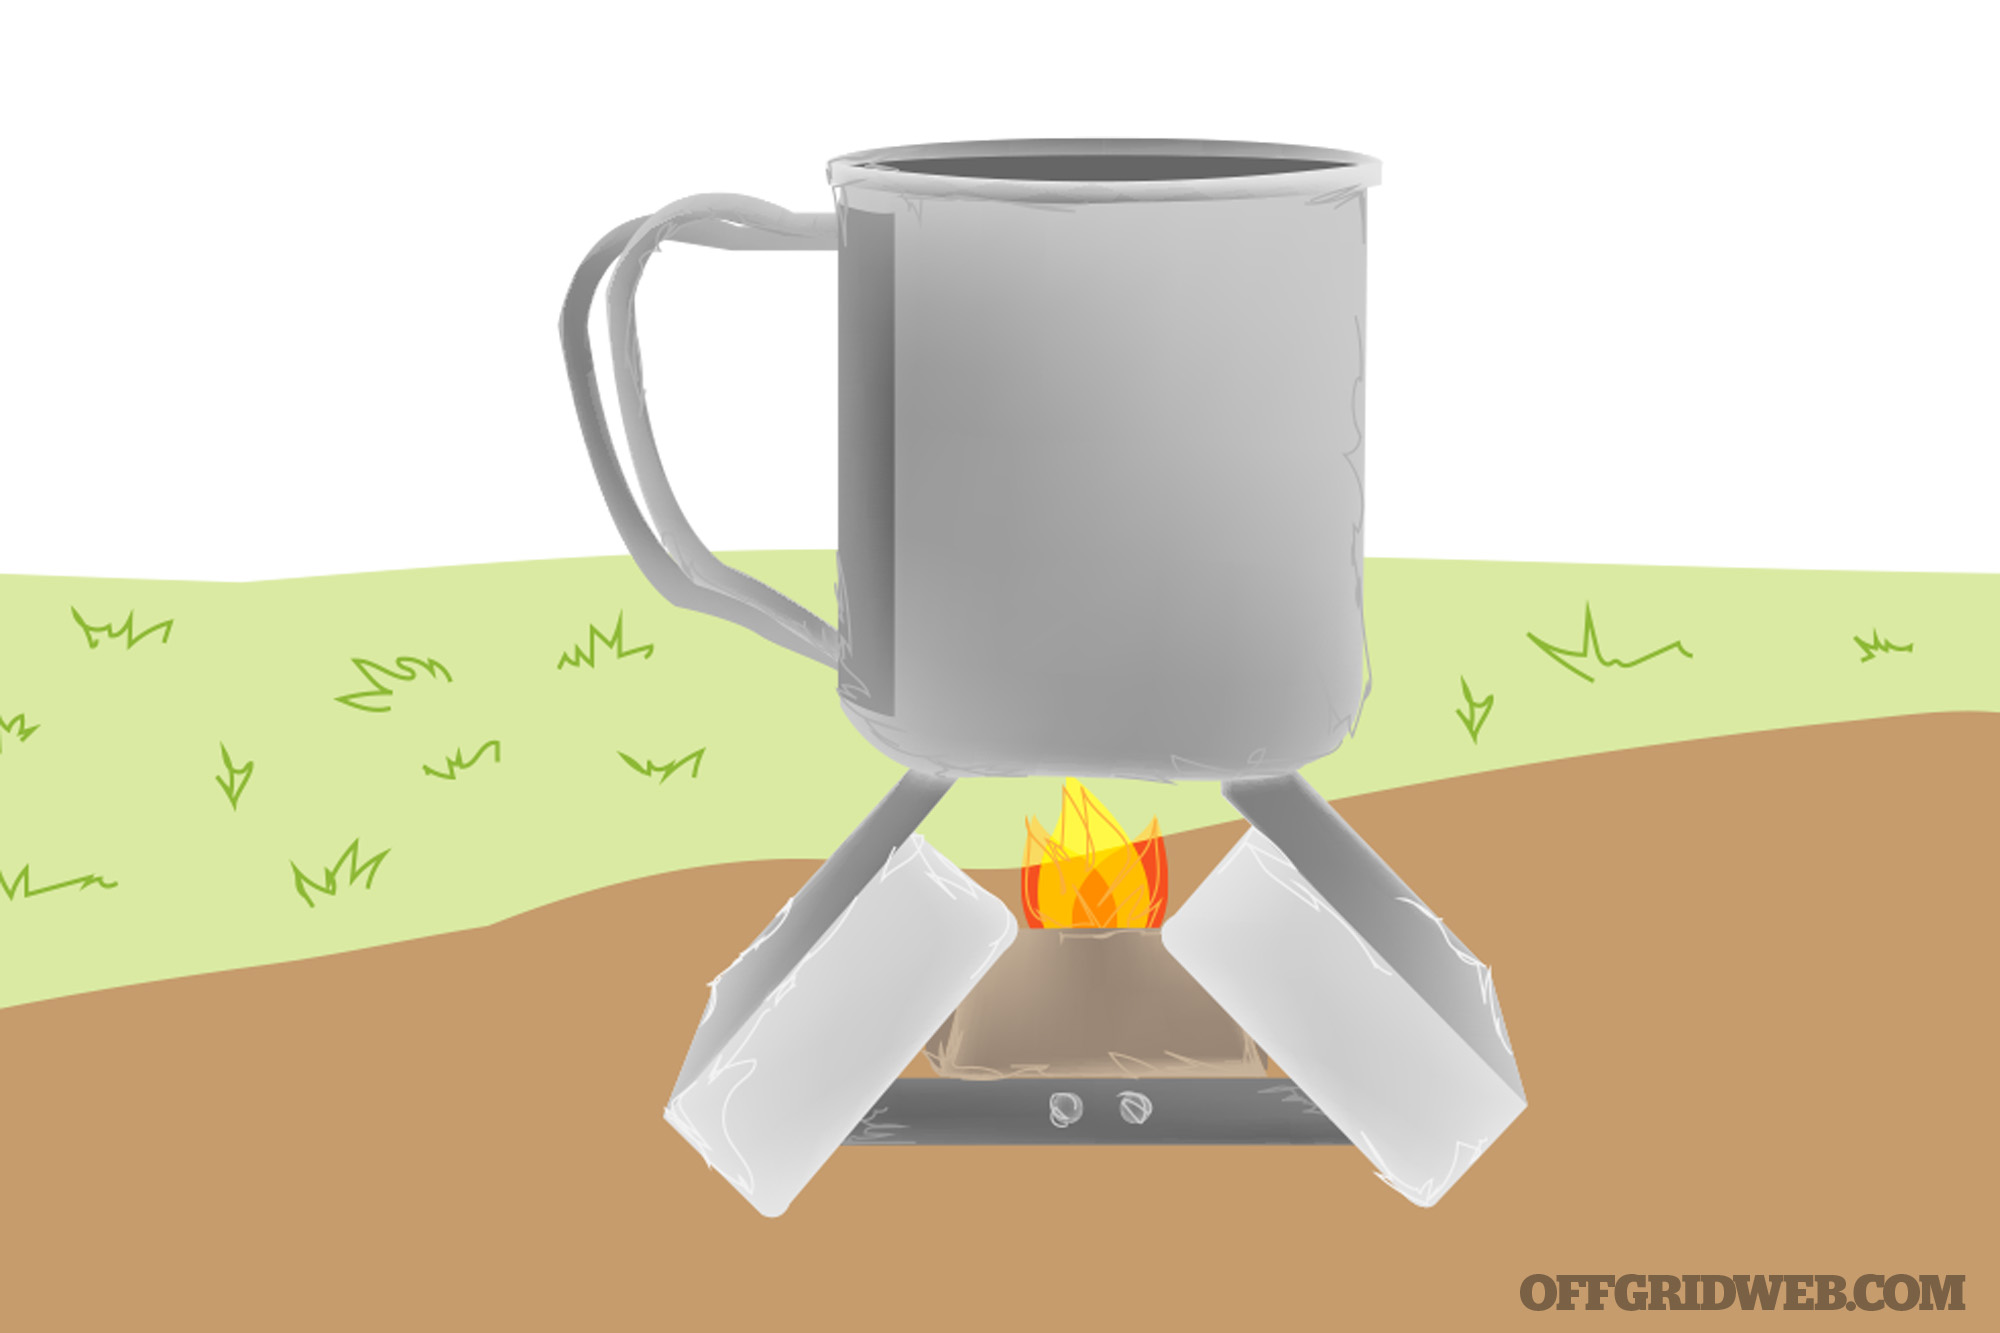
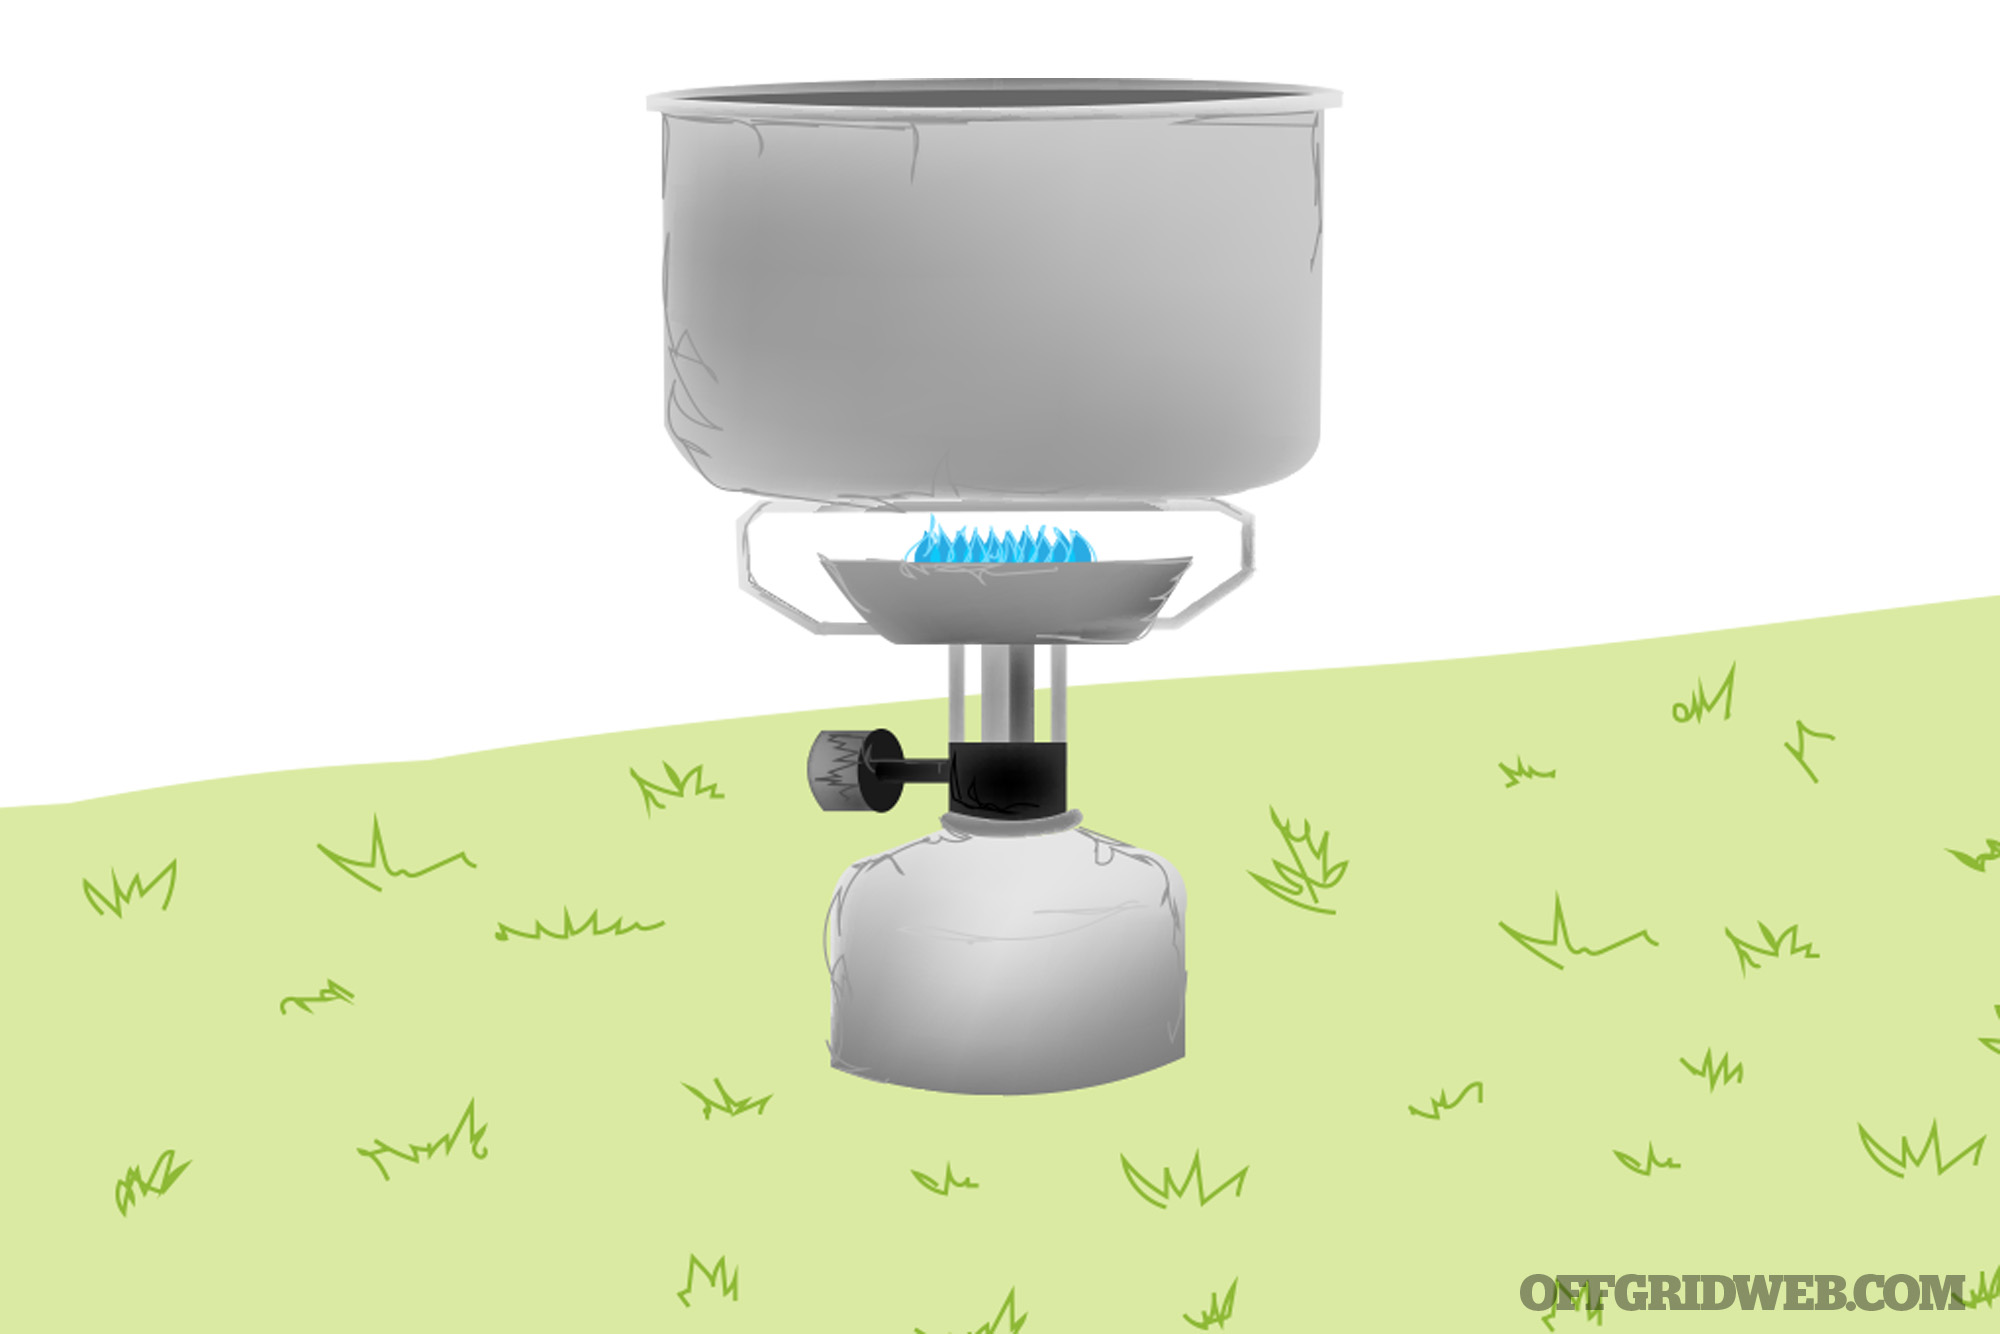
Prep For The Long Game: Safety measures, first-aid, and water are needed right away, but soon enough we’d need to fall back on our supplies for the “long game.” Defense, warmth, food, communication, transportation, and hygiene are the next orders of business. Researching weapons and home-hardening should happen well in advance of a scenario like this where civil unrest may soon follow. Have a plan for emergency warmth and cooking, too. We keep extra propane tanks for the outdoor grill, but never bring it inside for warmth, as the carbon monoxide it produces will kill. Keep an indoor heater on hand and numerous camping stoves with extra fuel for cooking.
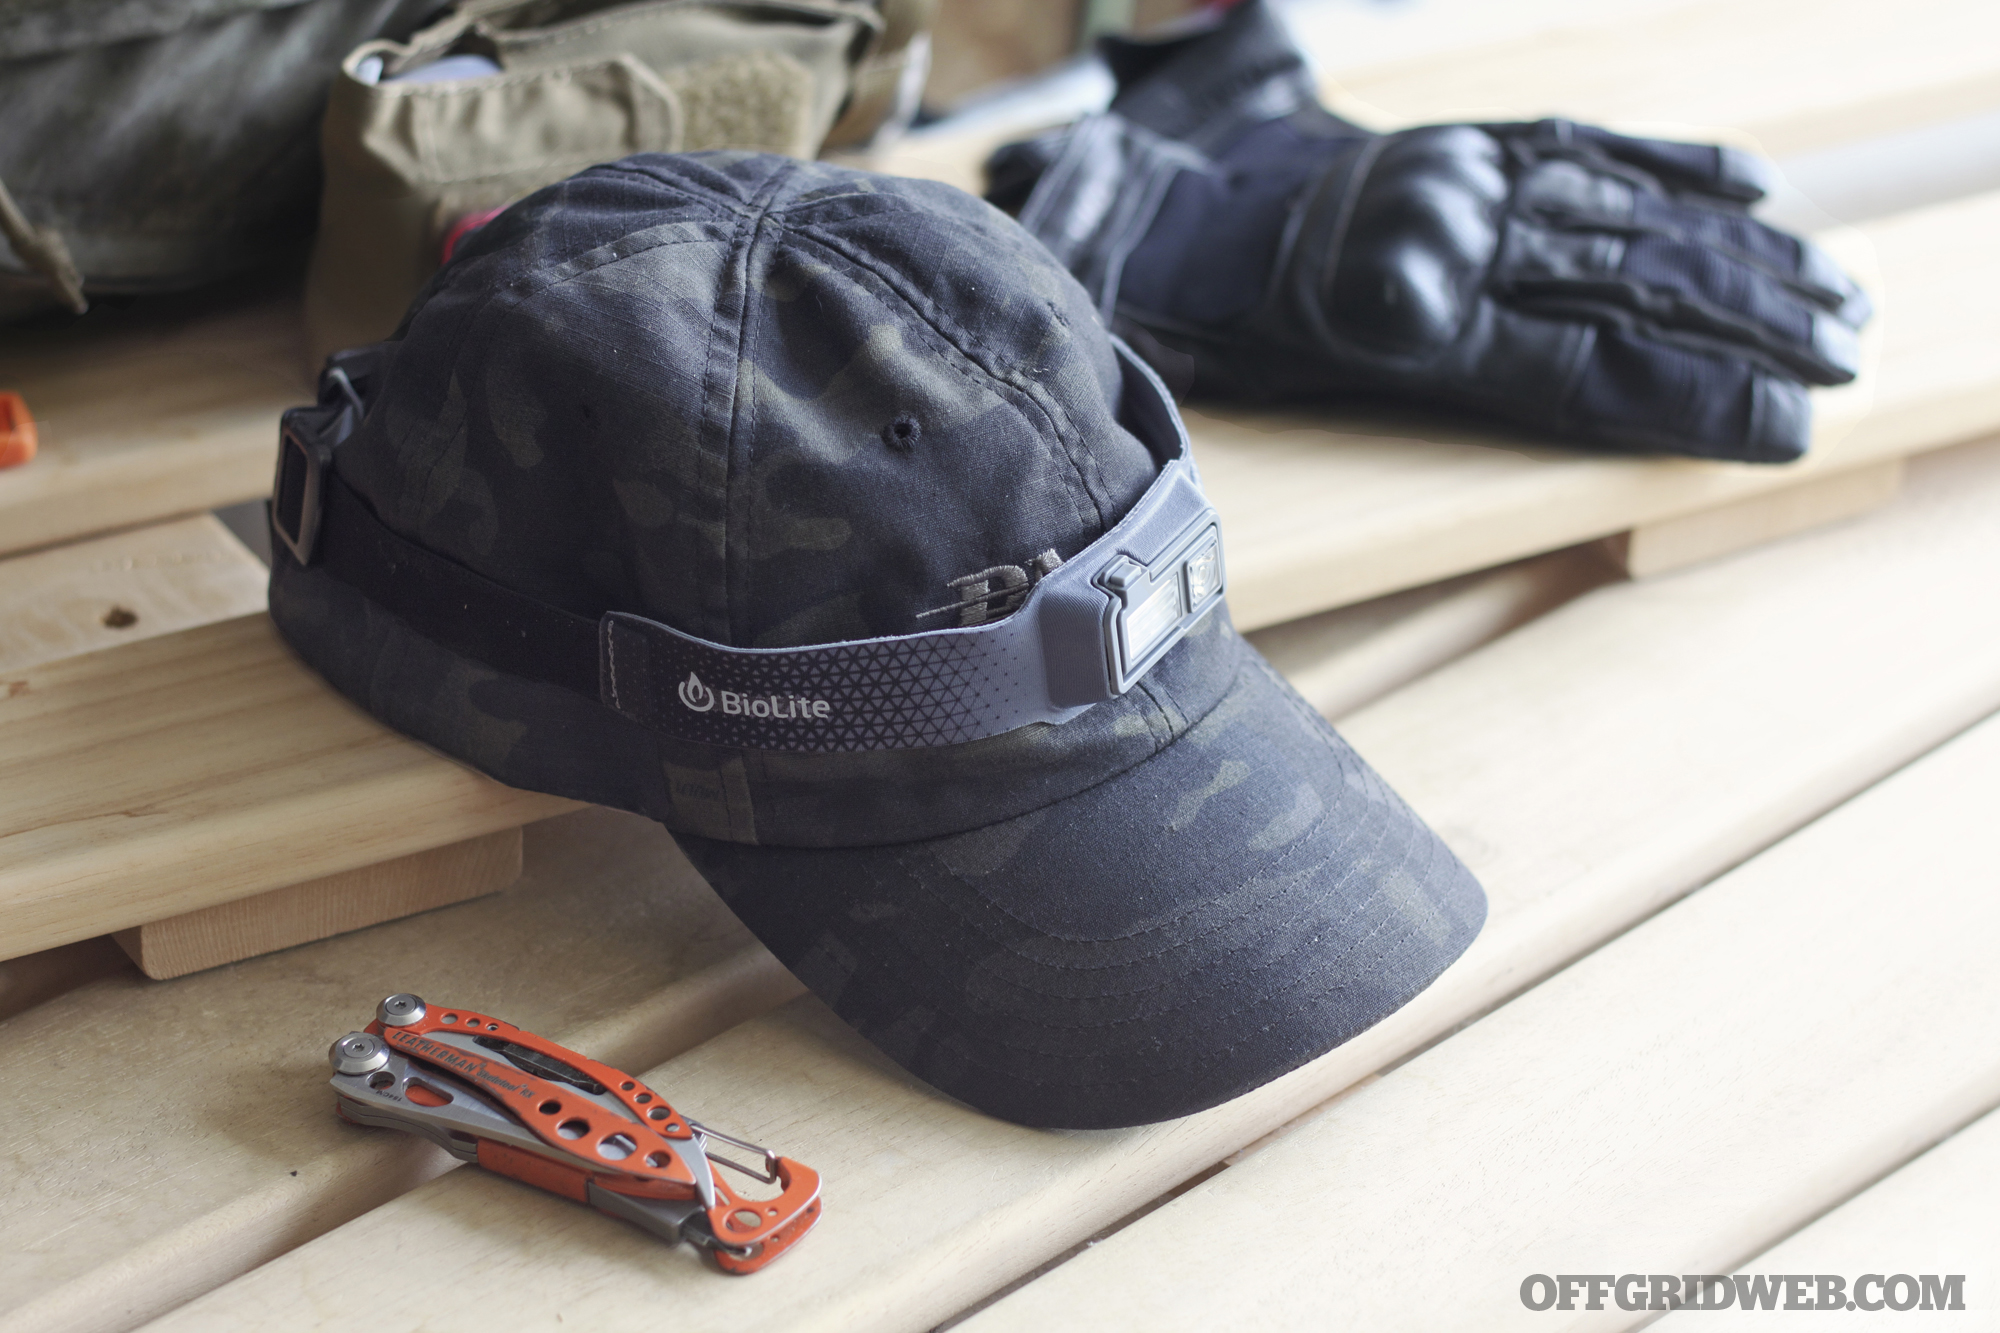
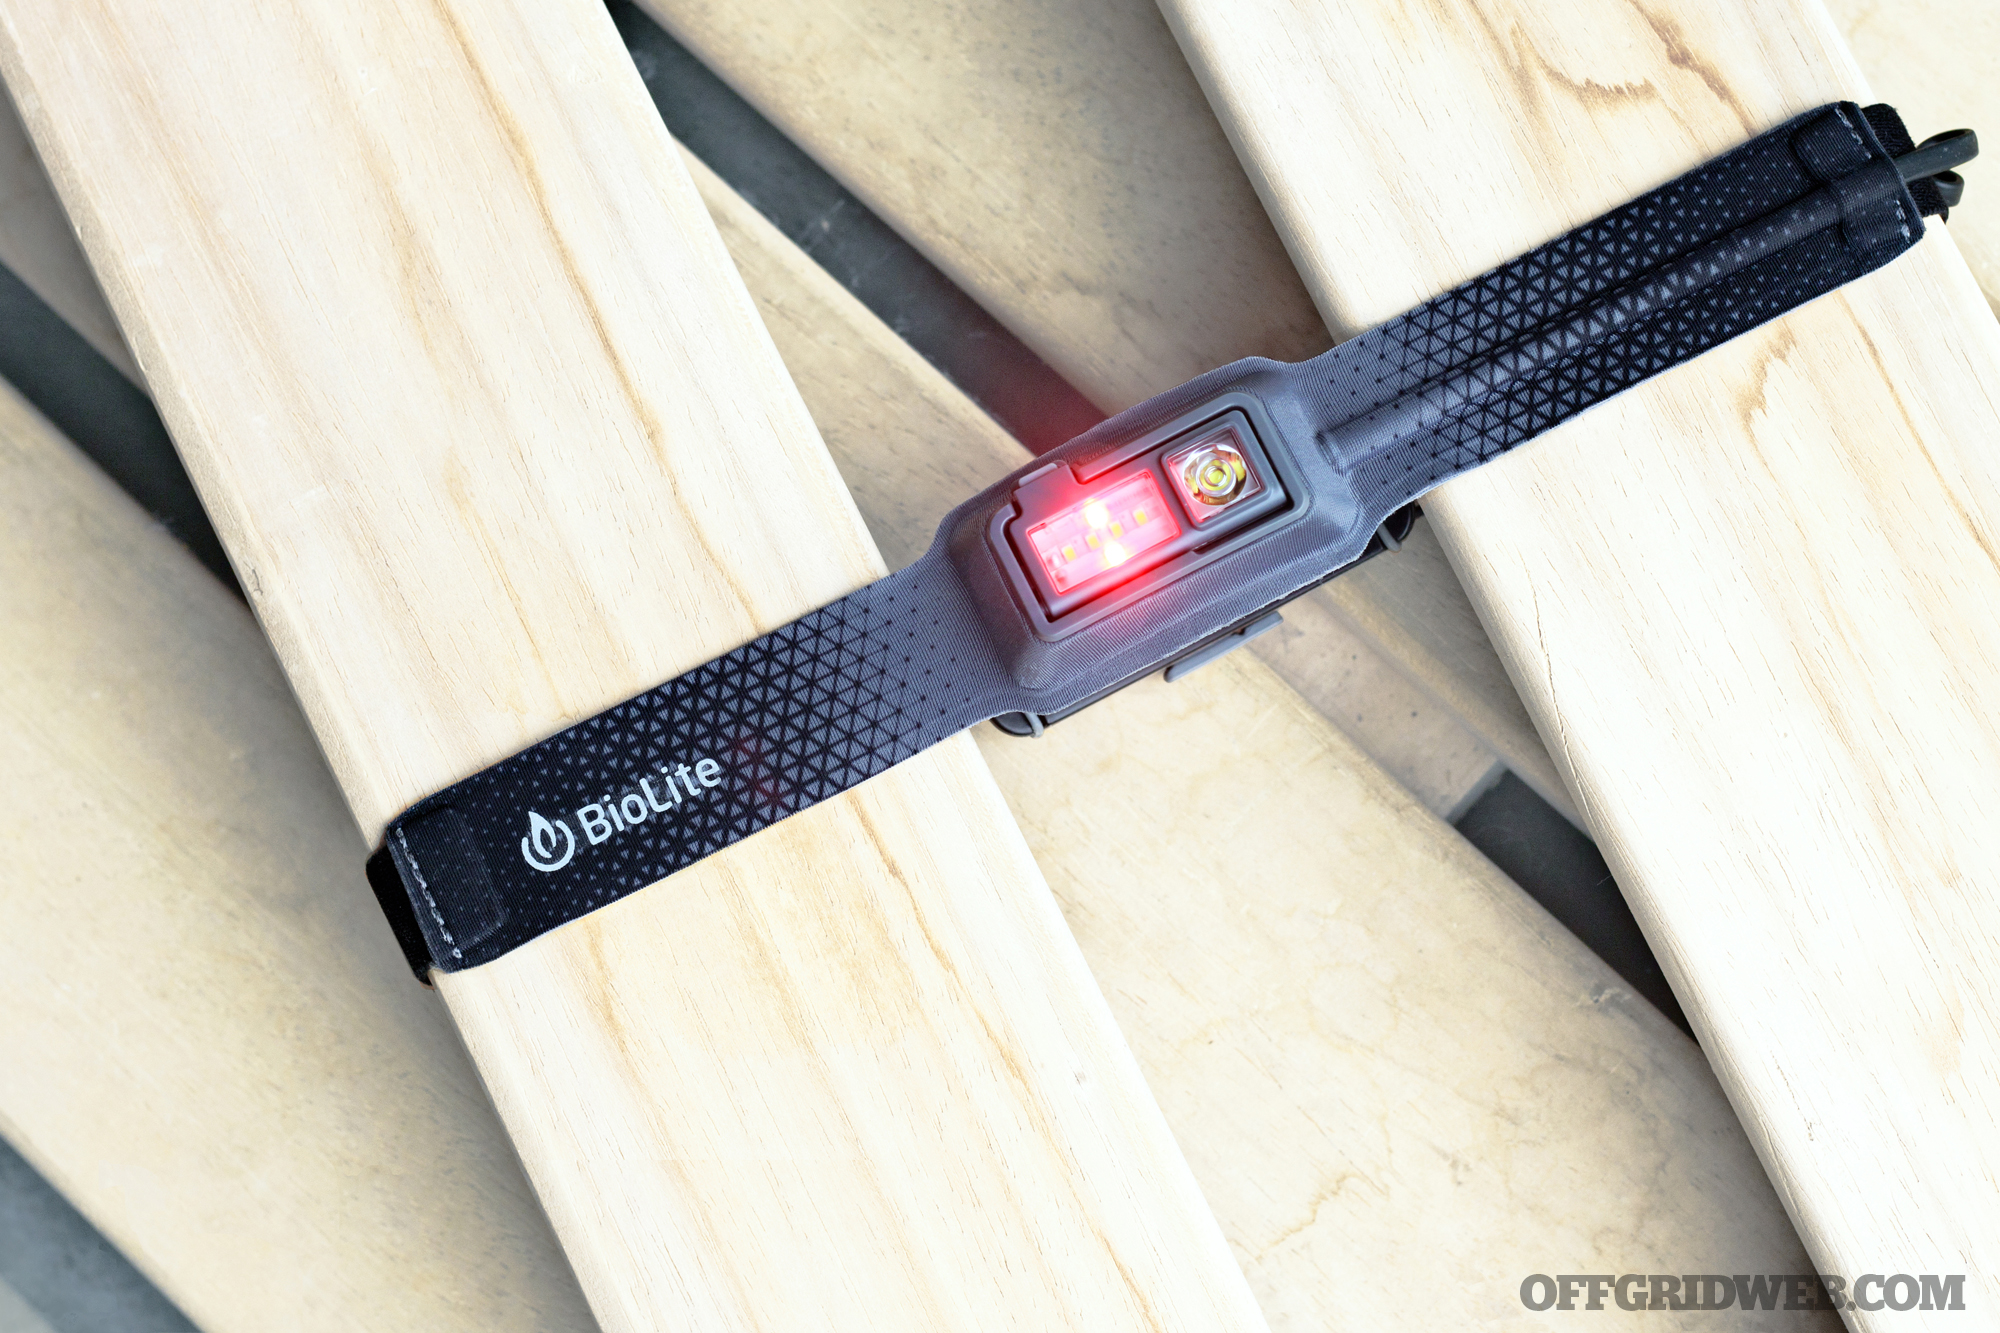
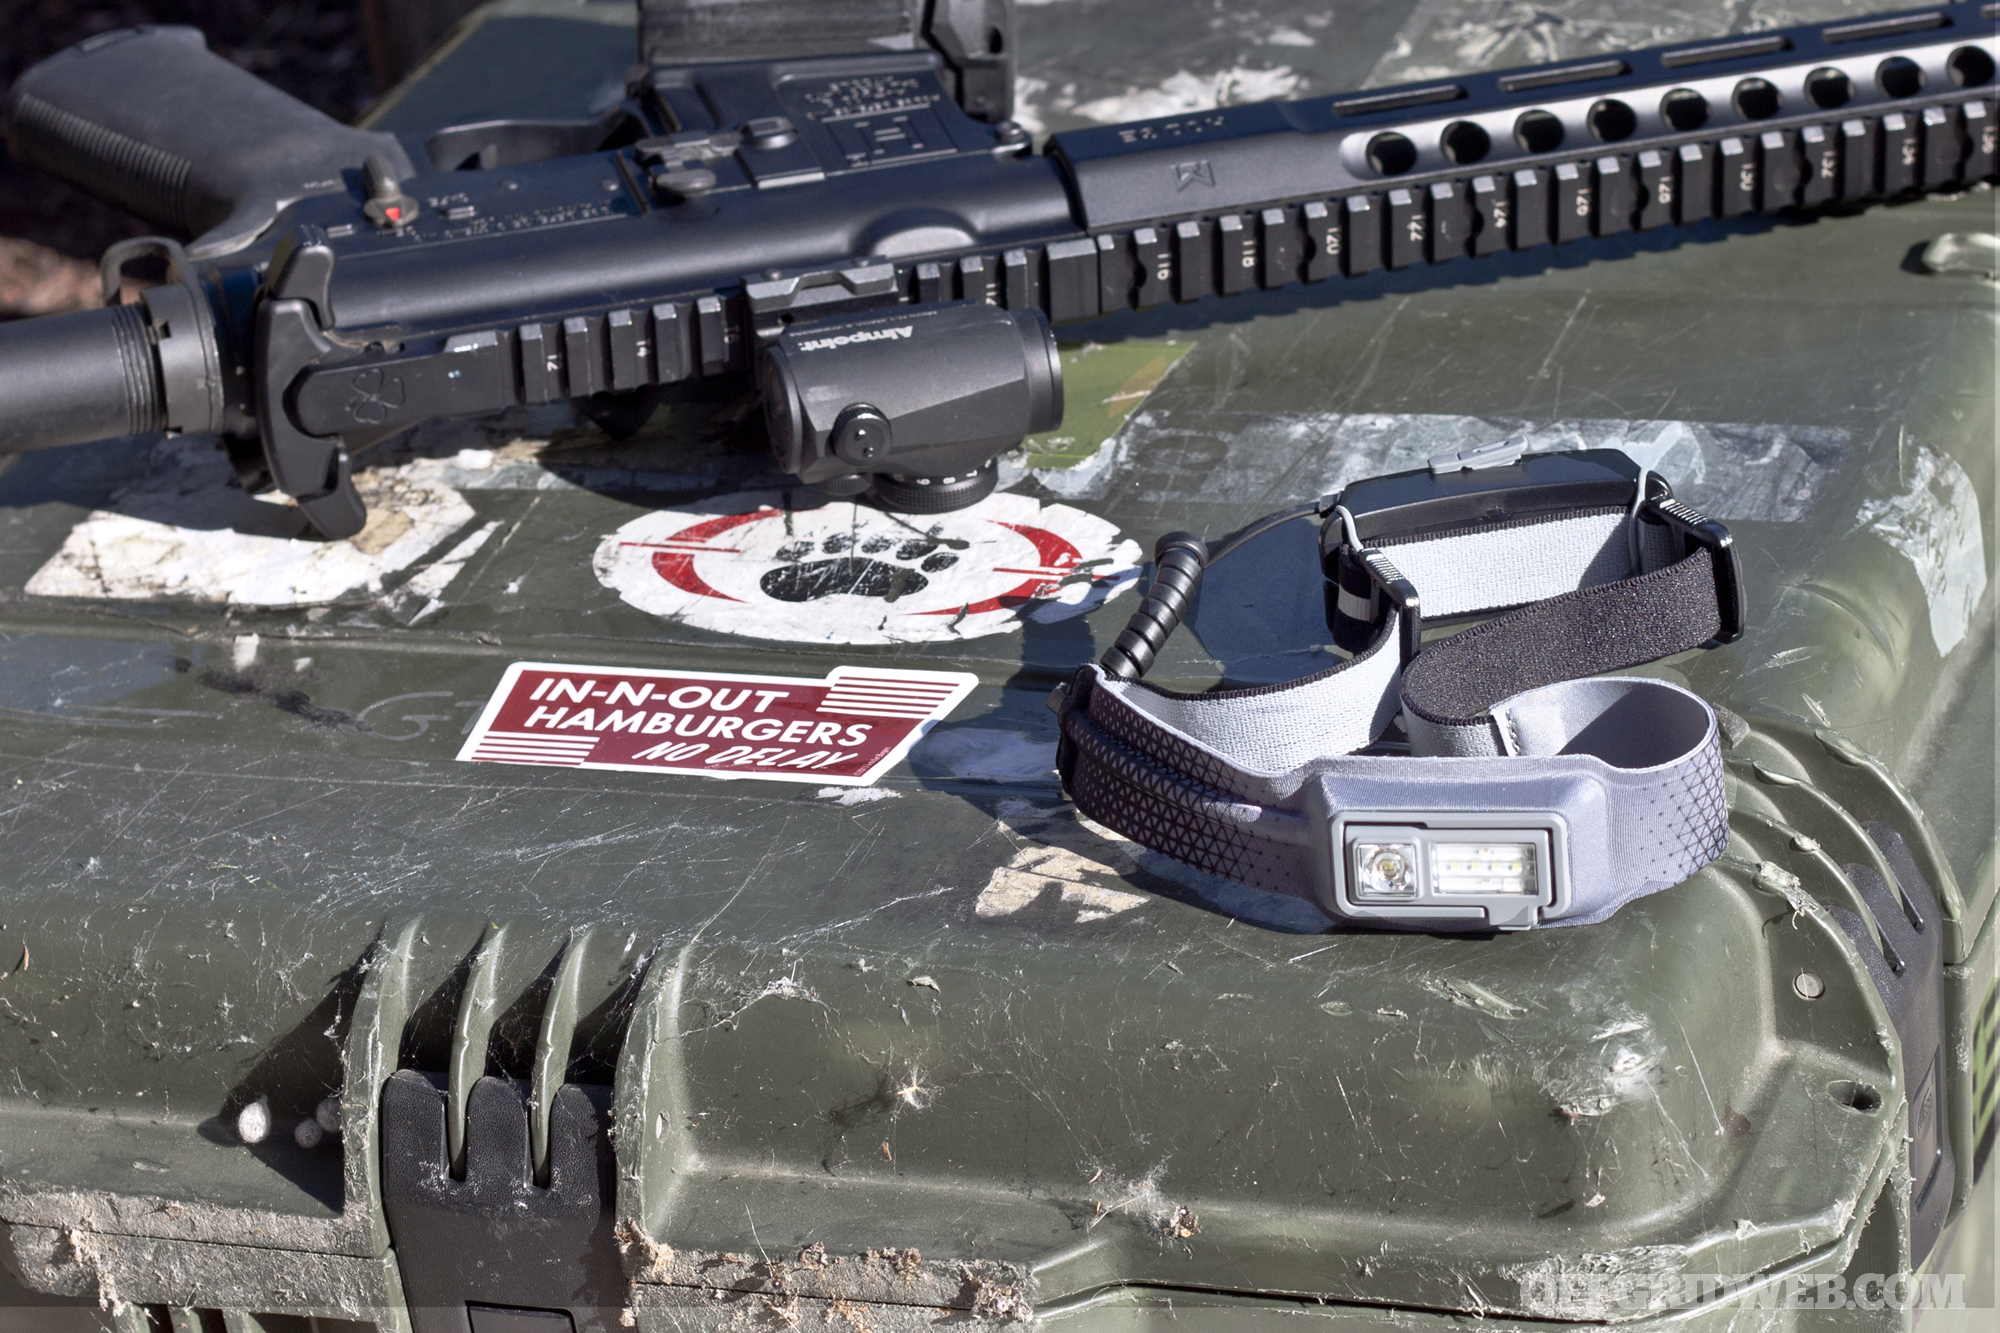
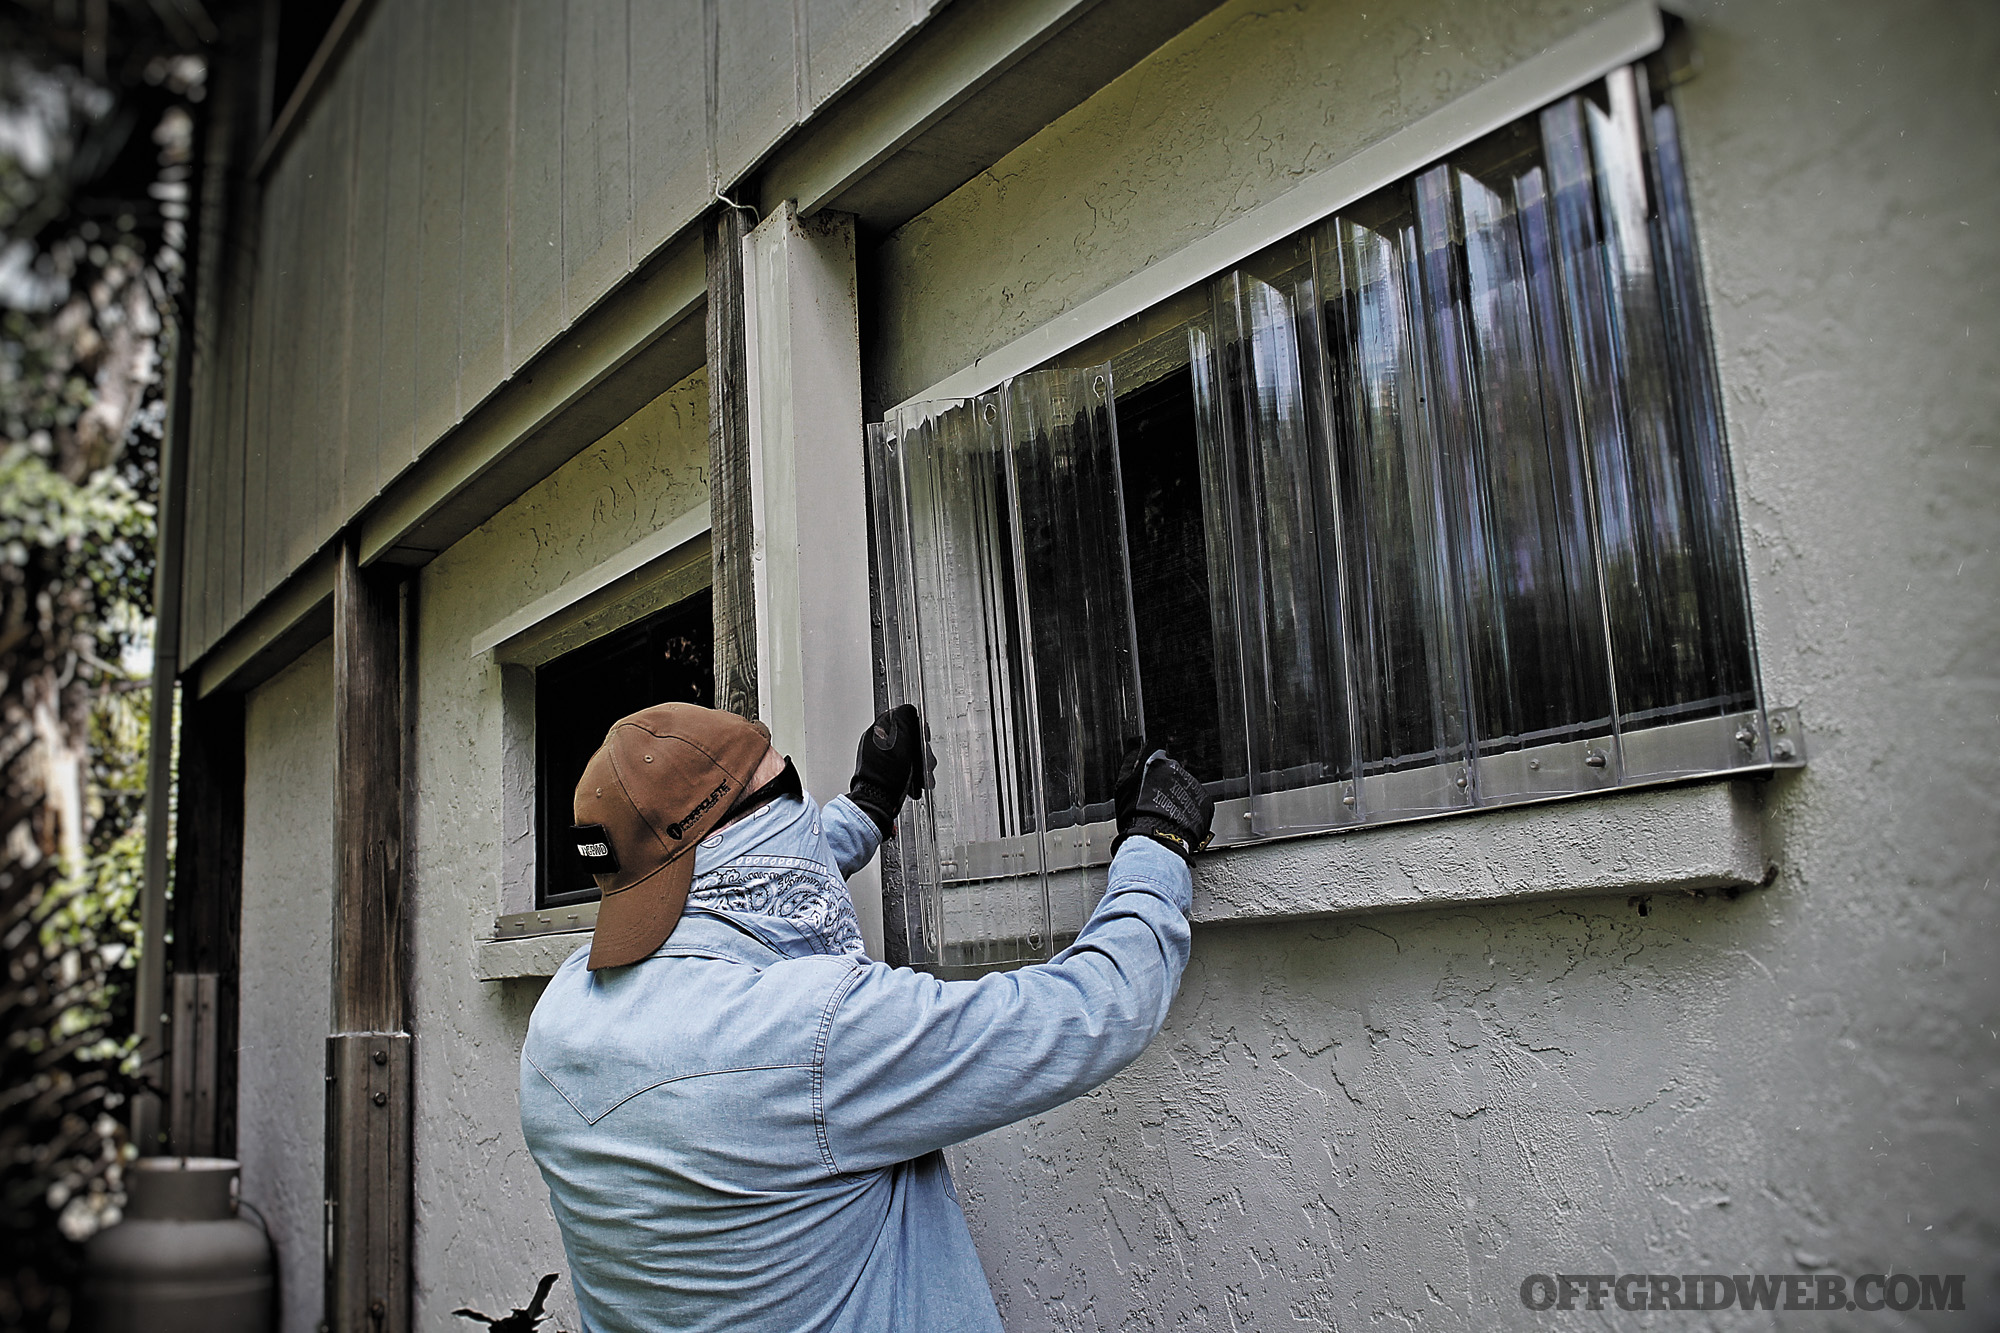
When the budget will allow, I recommend home improvements that save or provide energy. Insulated or double-pane windows, blown insulation in the attic, solar heating and electric systems, wind power, and many other resources could be a Godsend in a crisis like this. As far as traditional supplies go, we stock plenty of batteries for flashlights, radios, and other equipment.
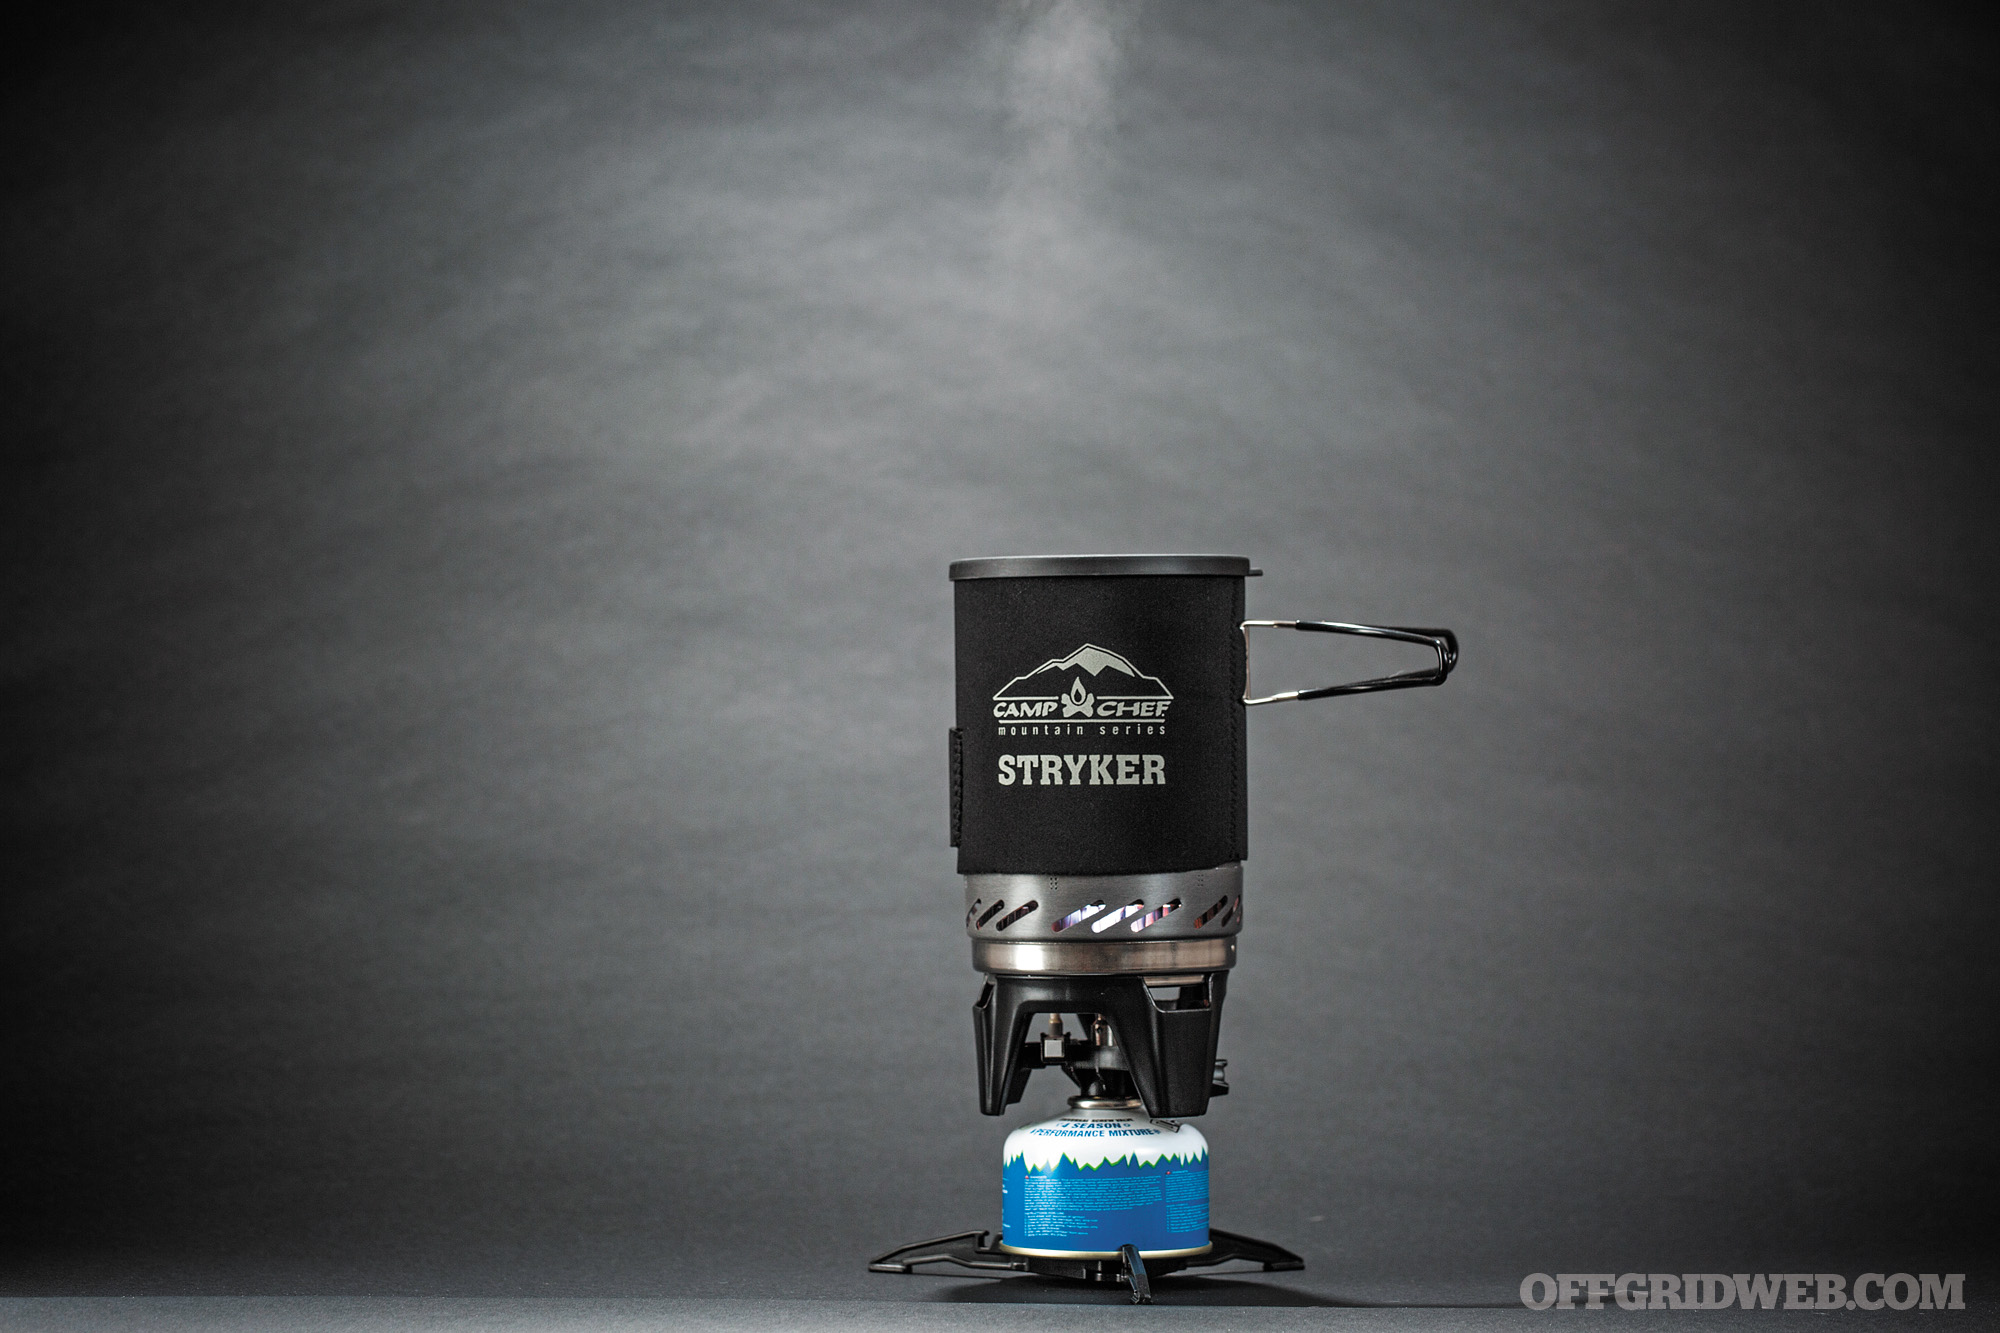
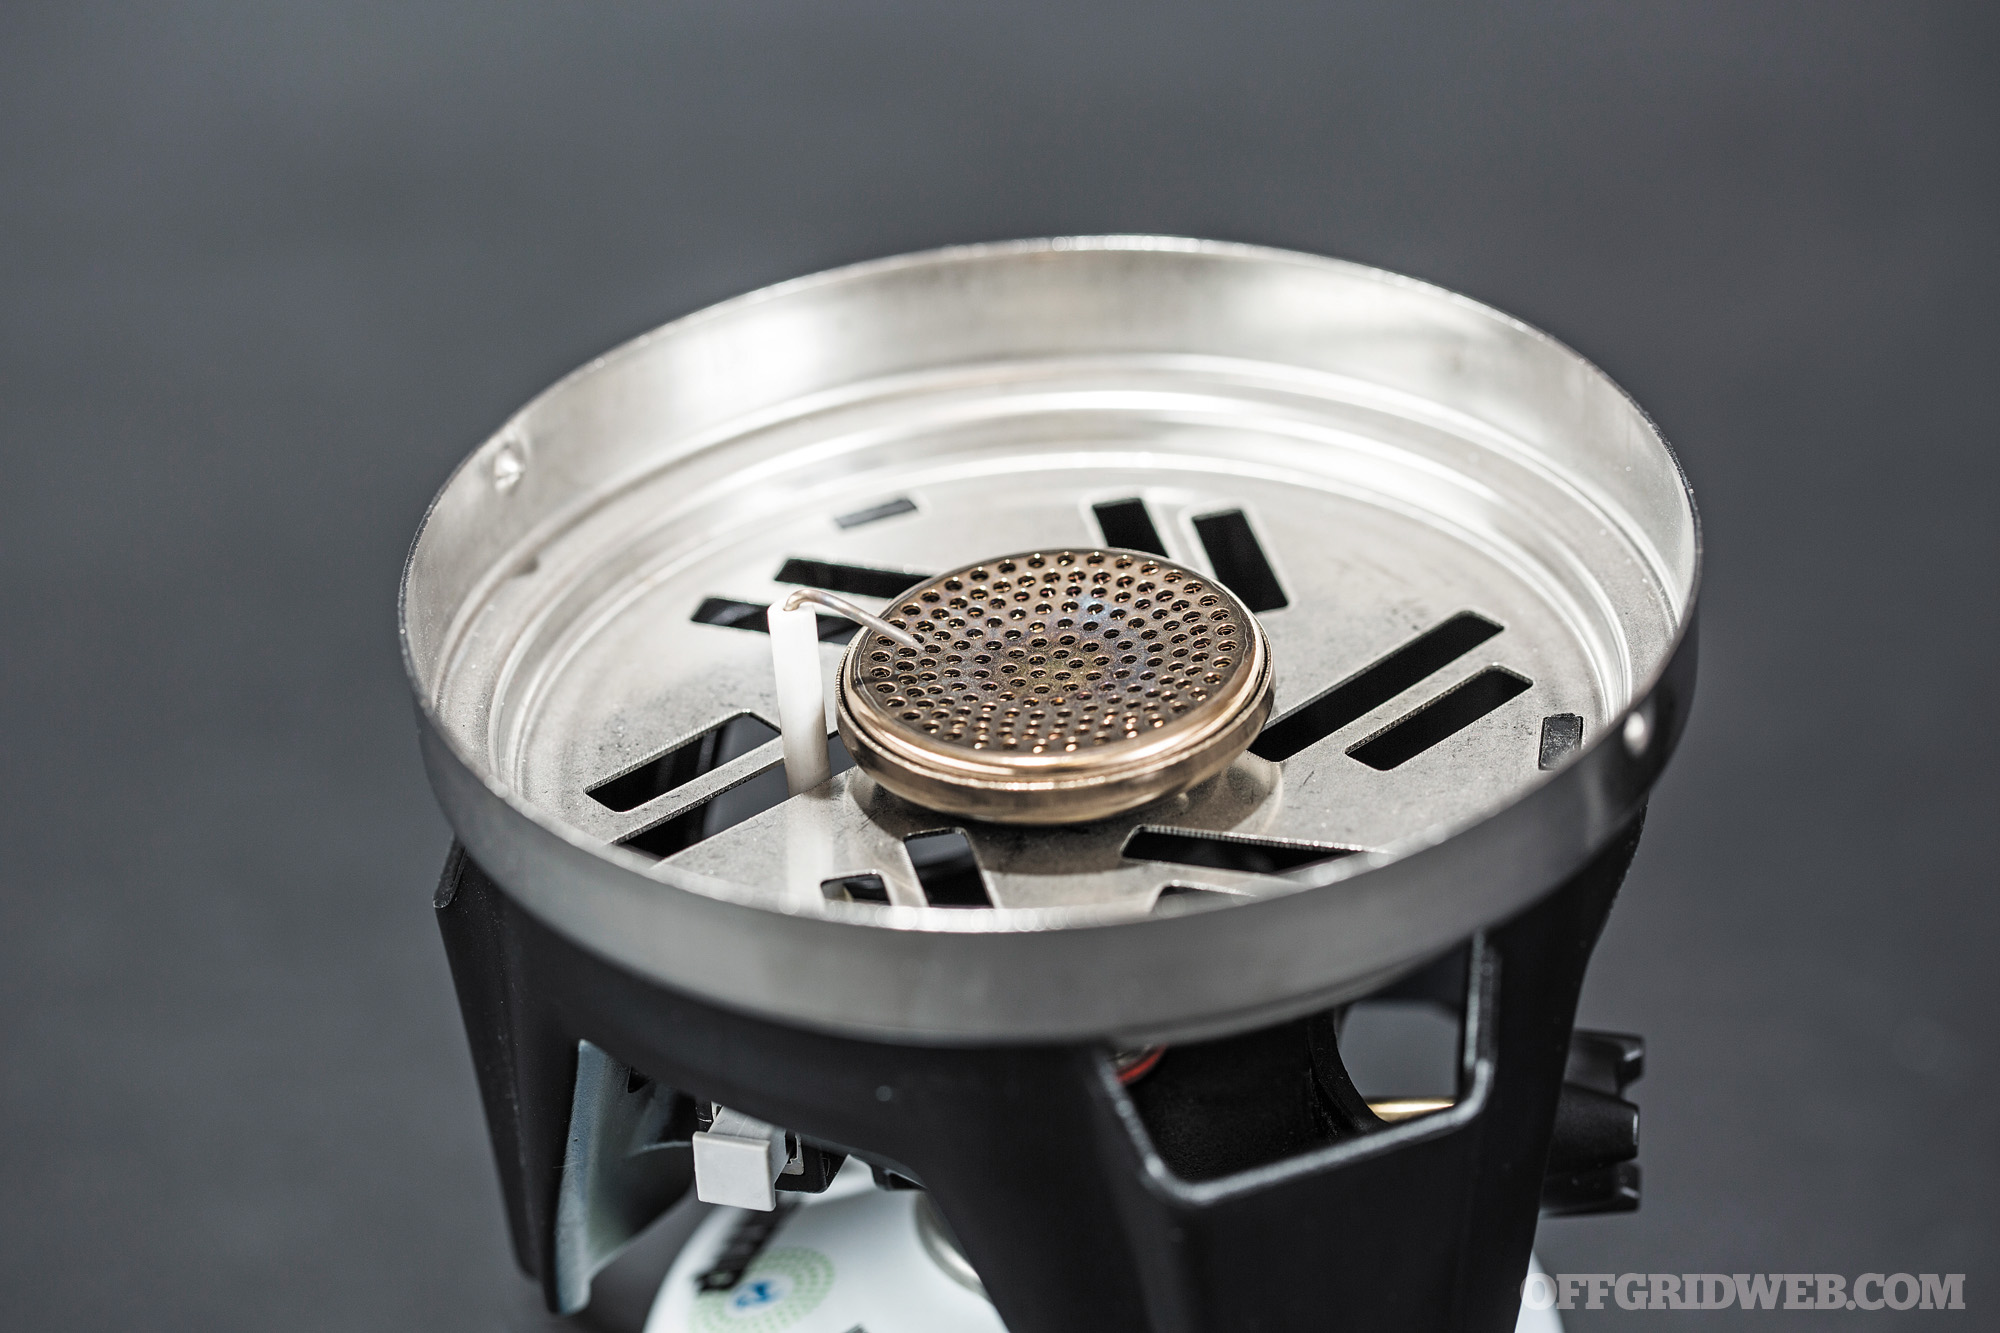
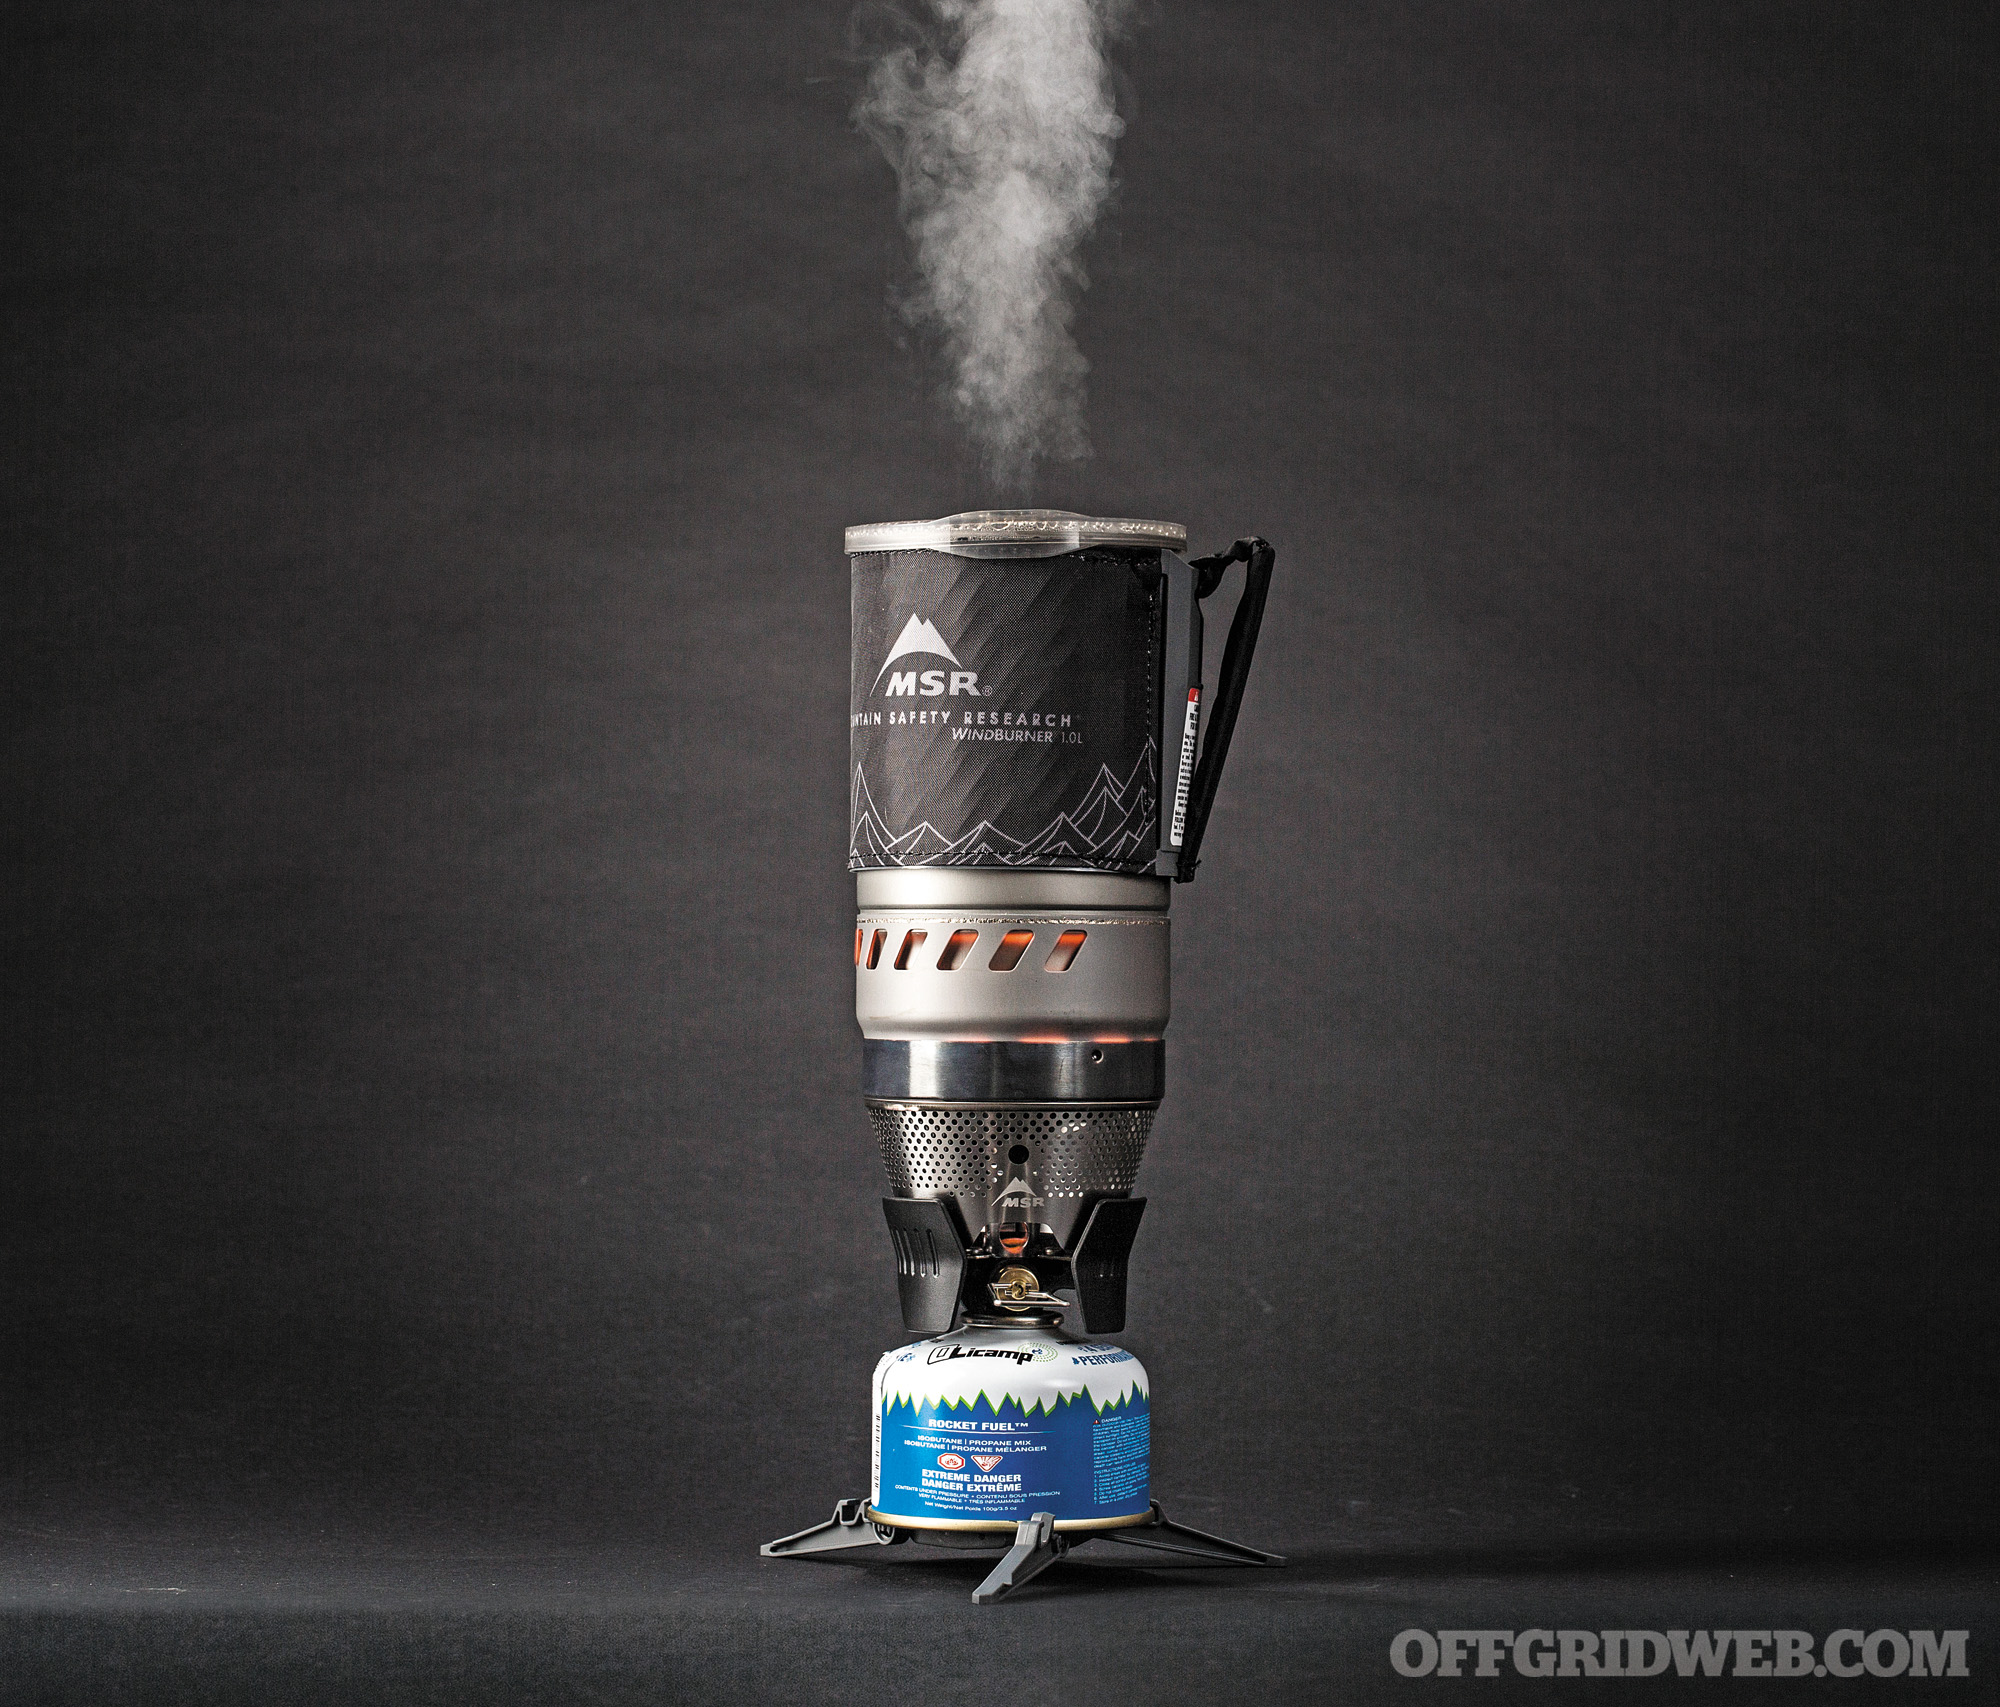
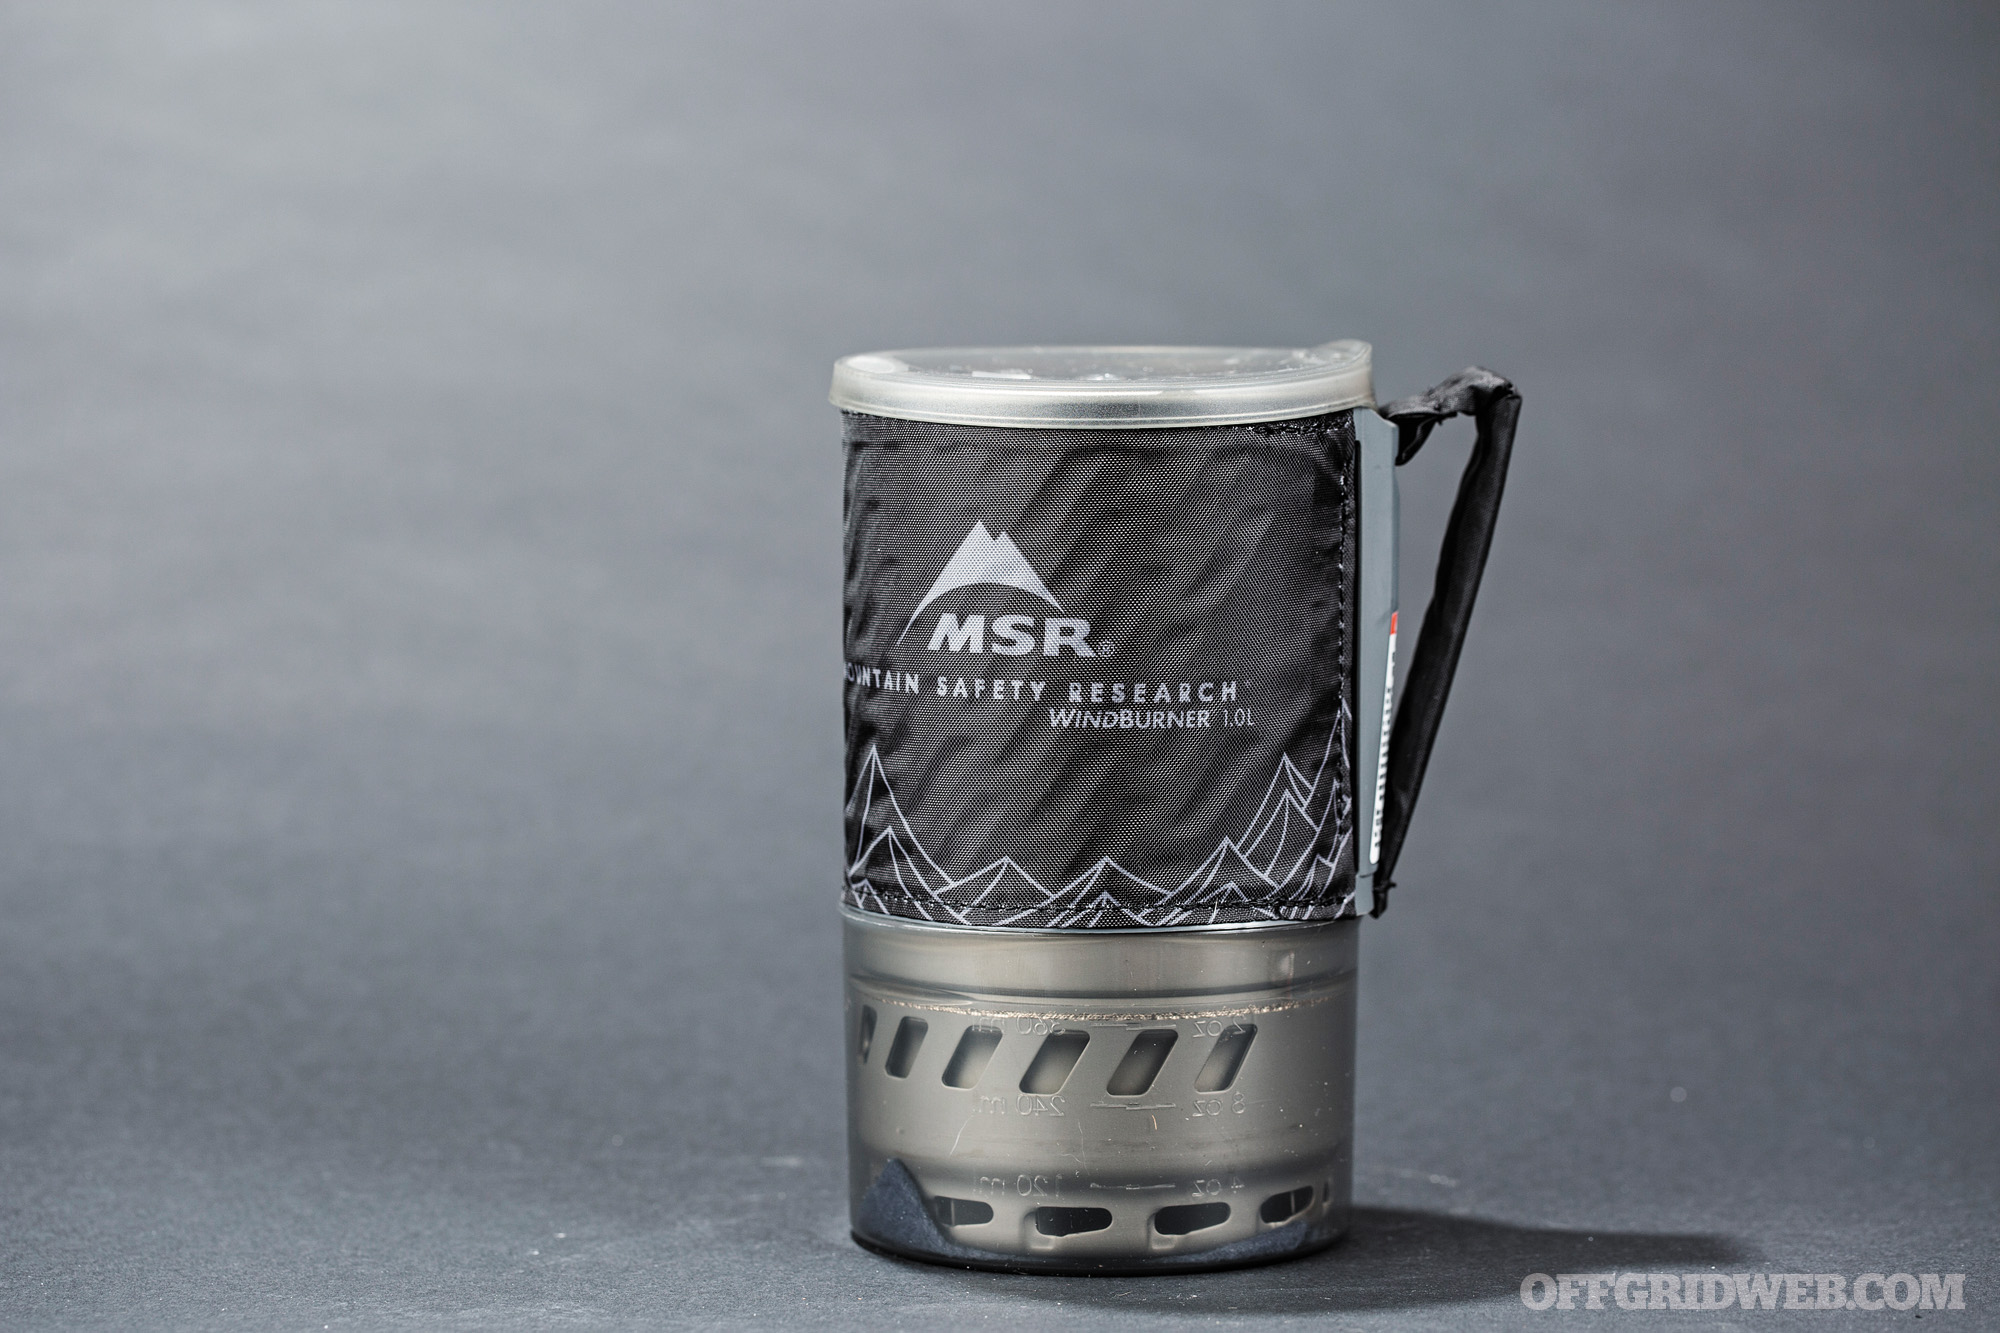
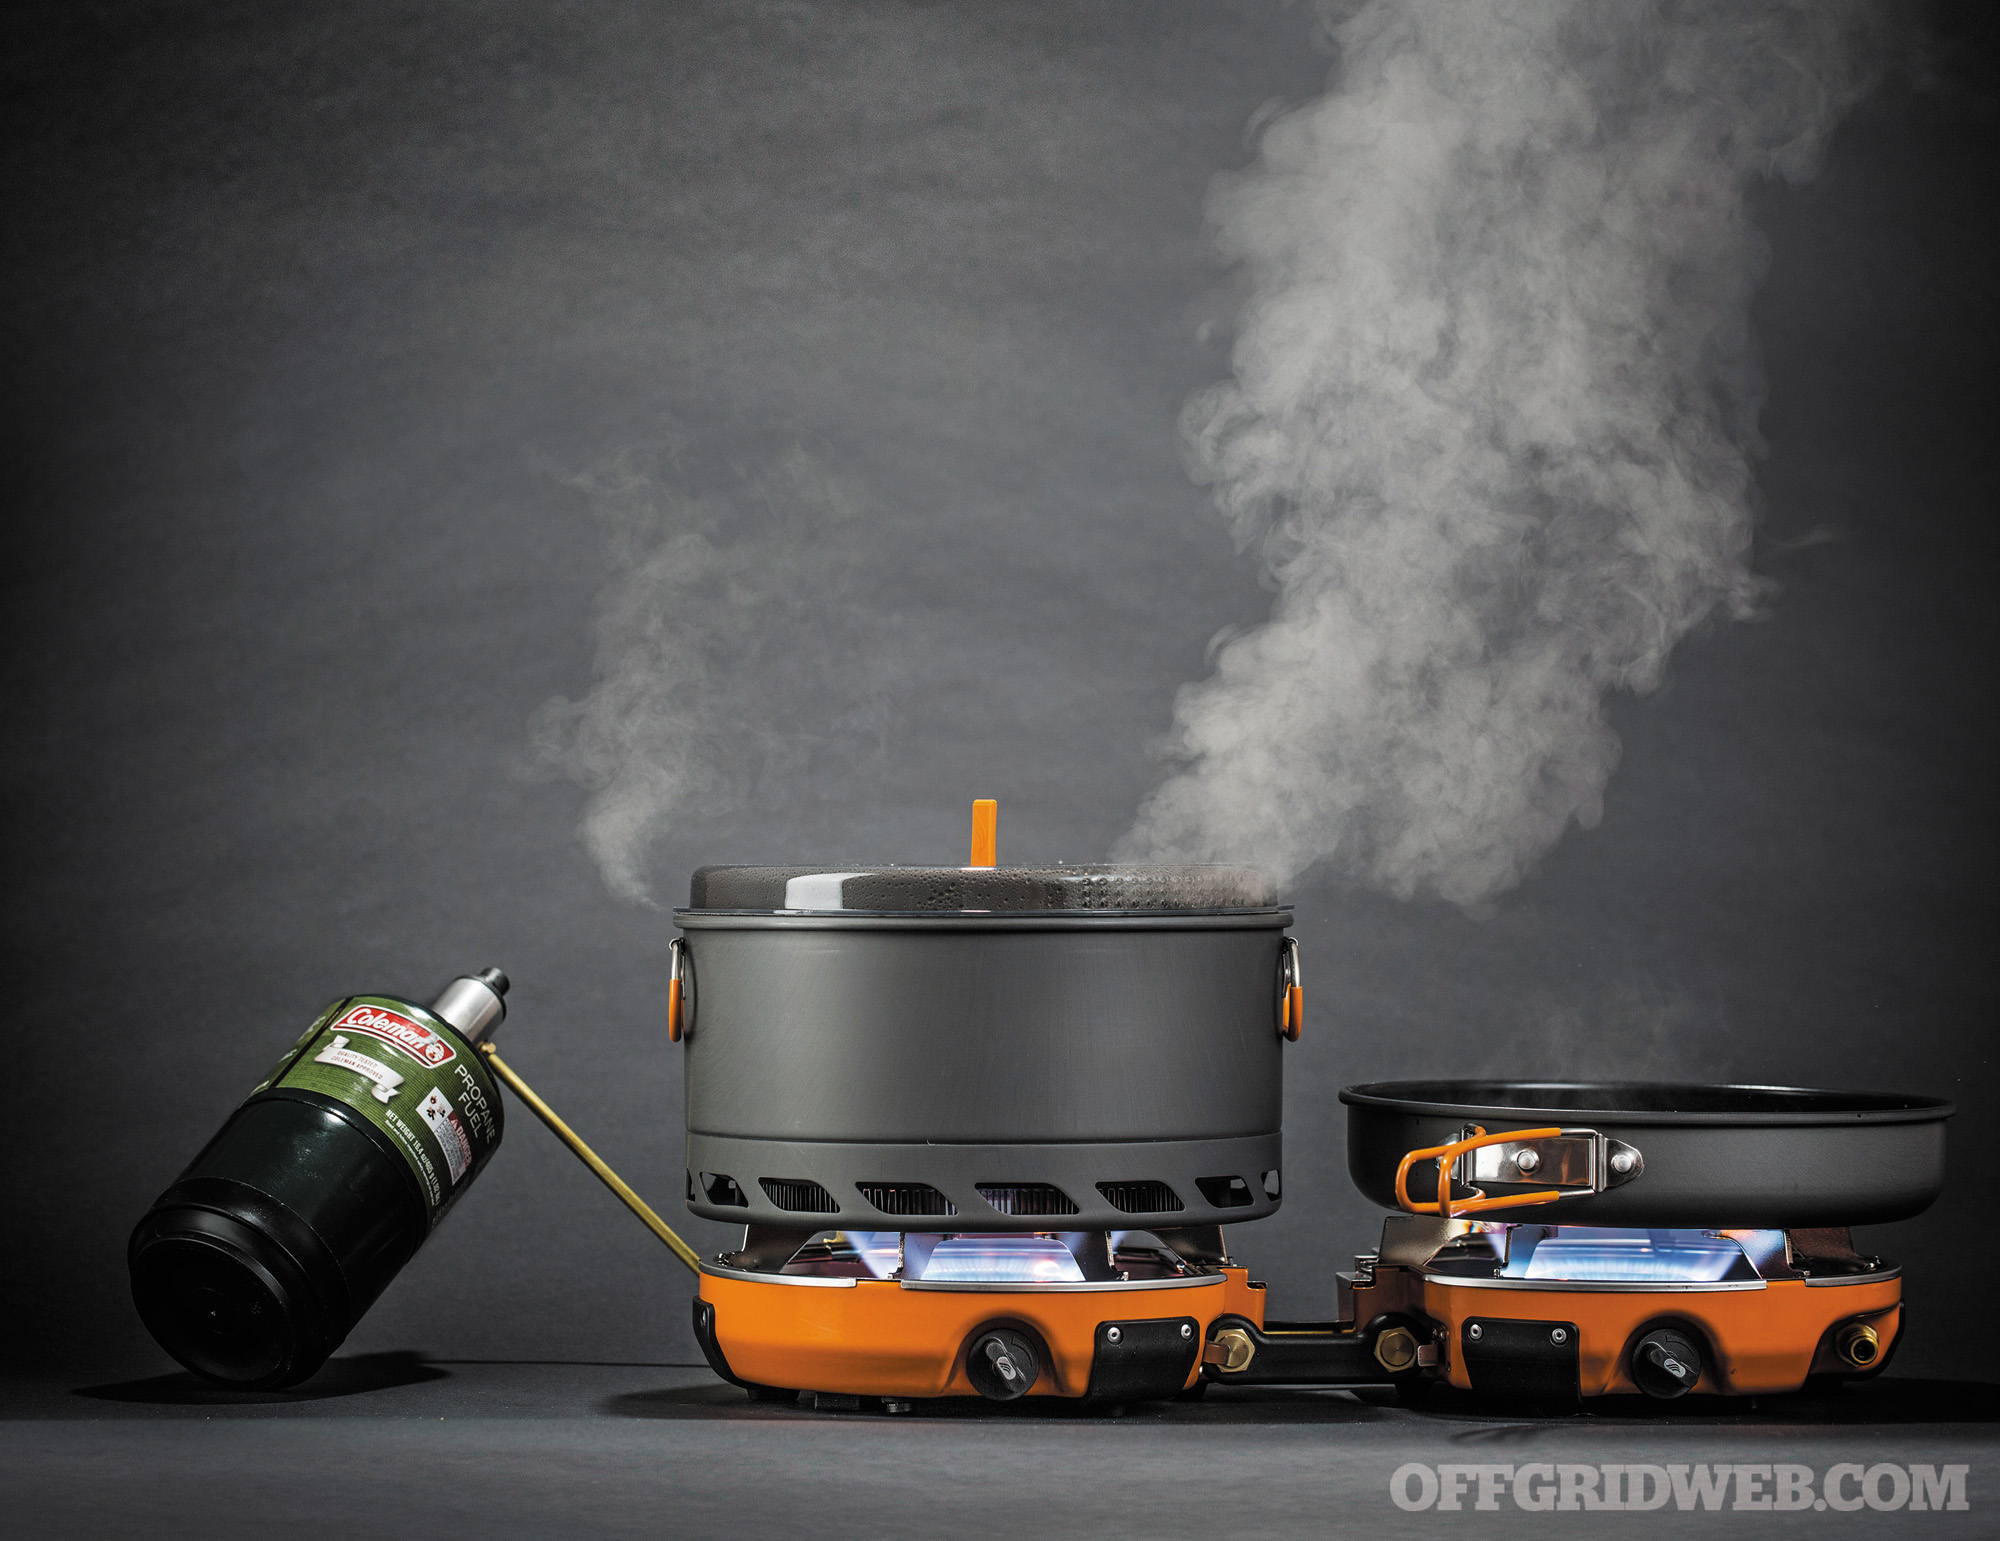
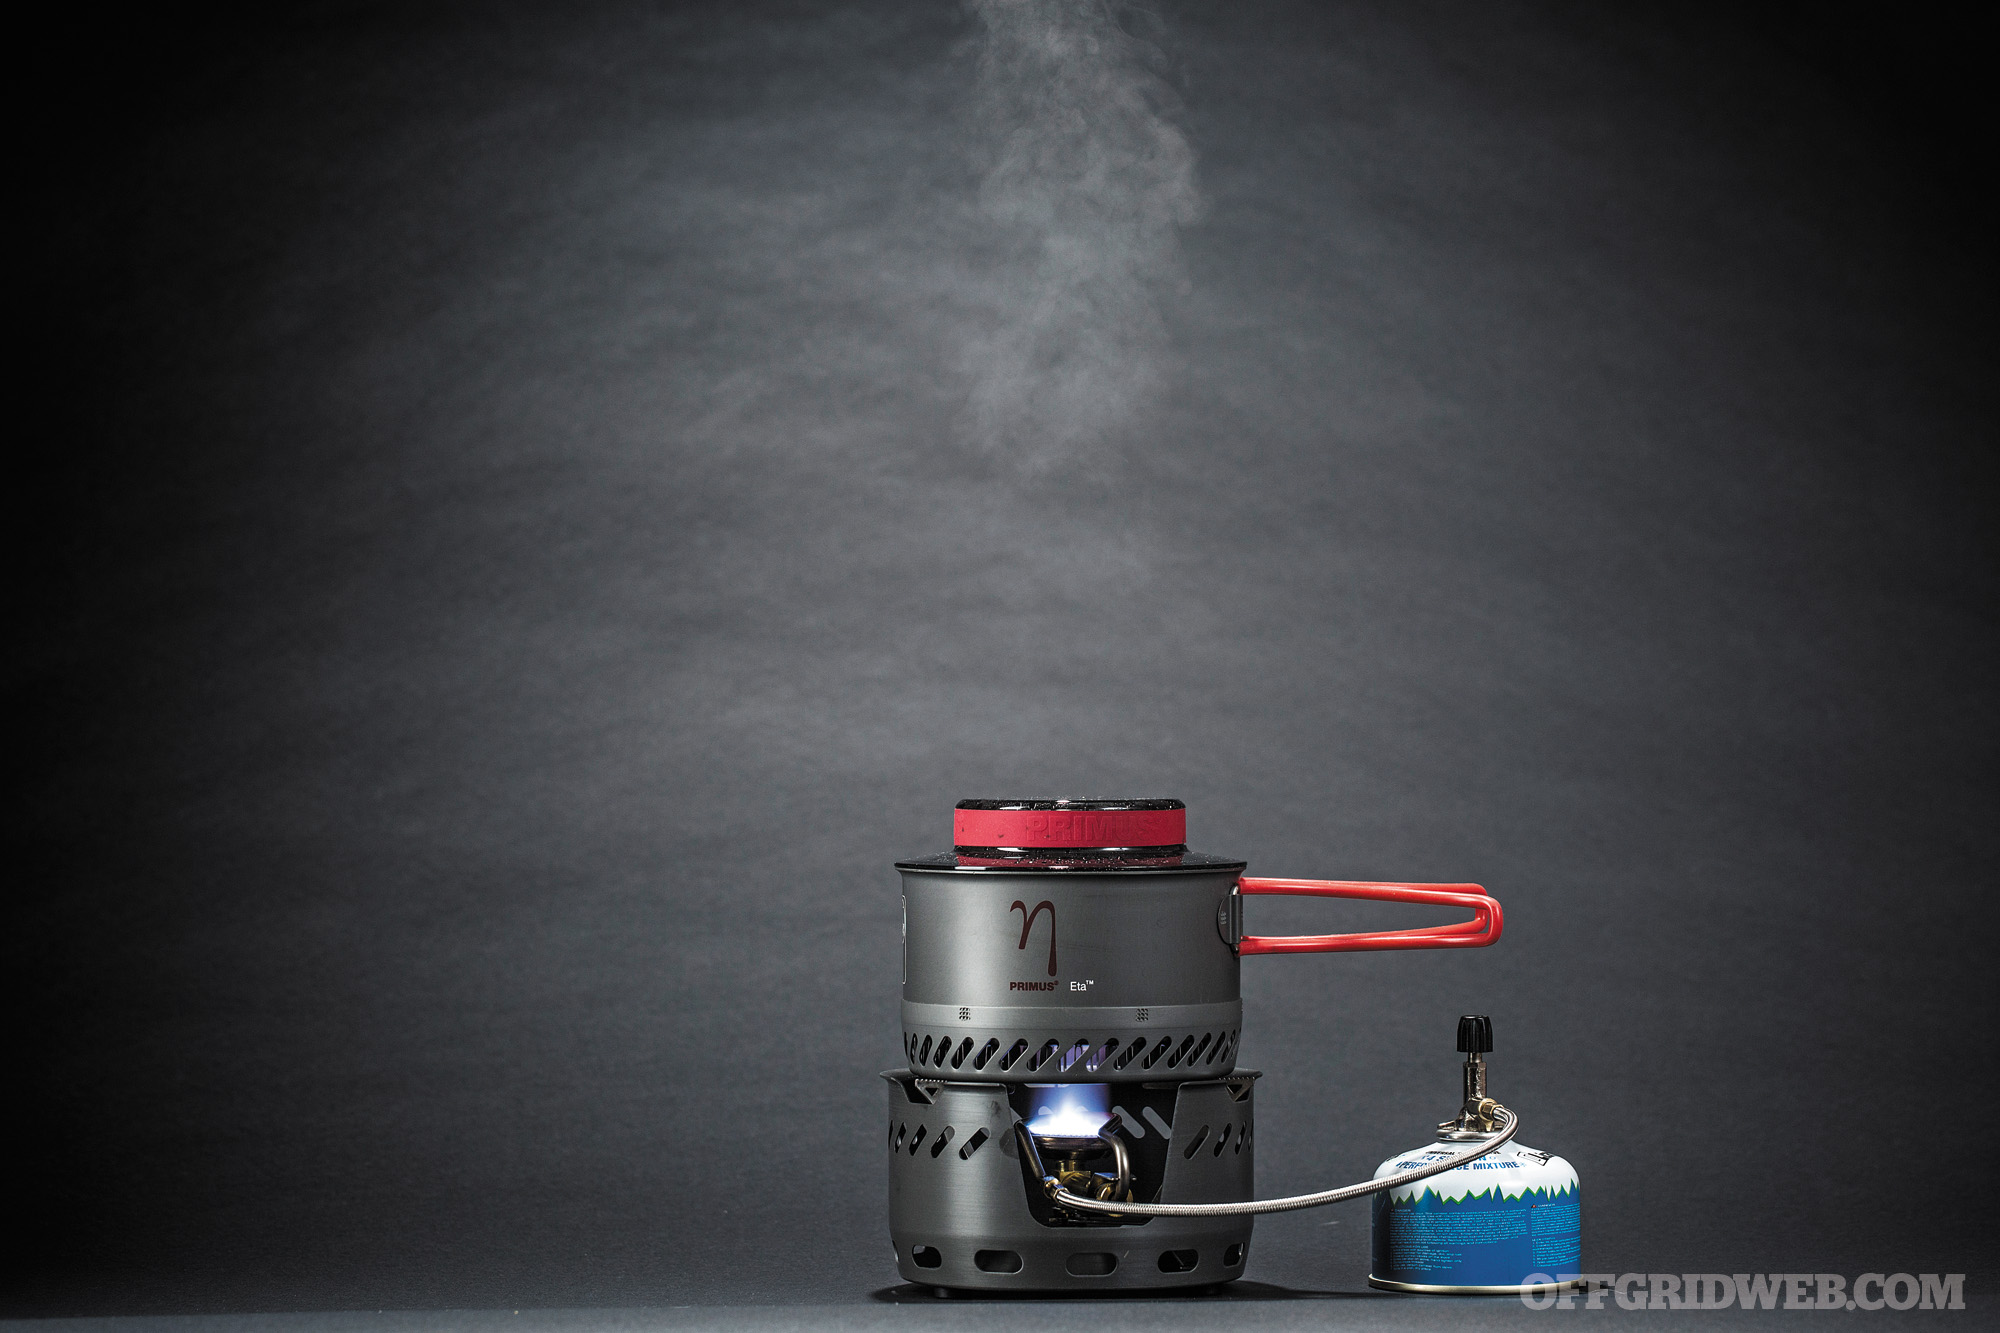
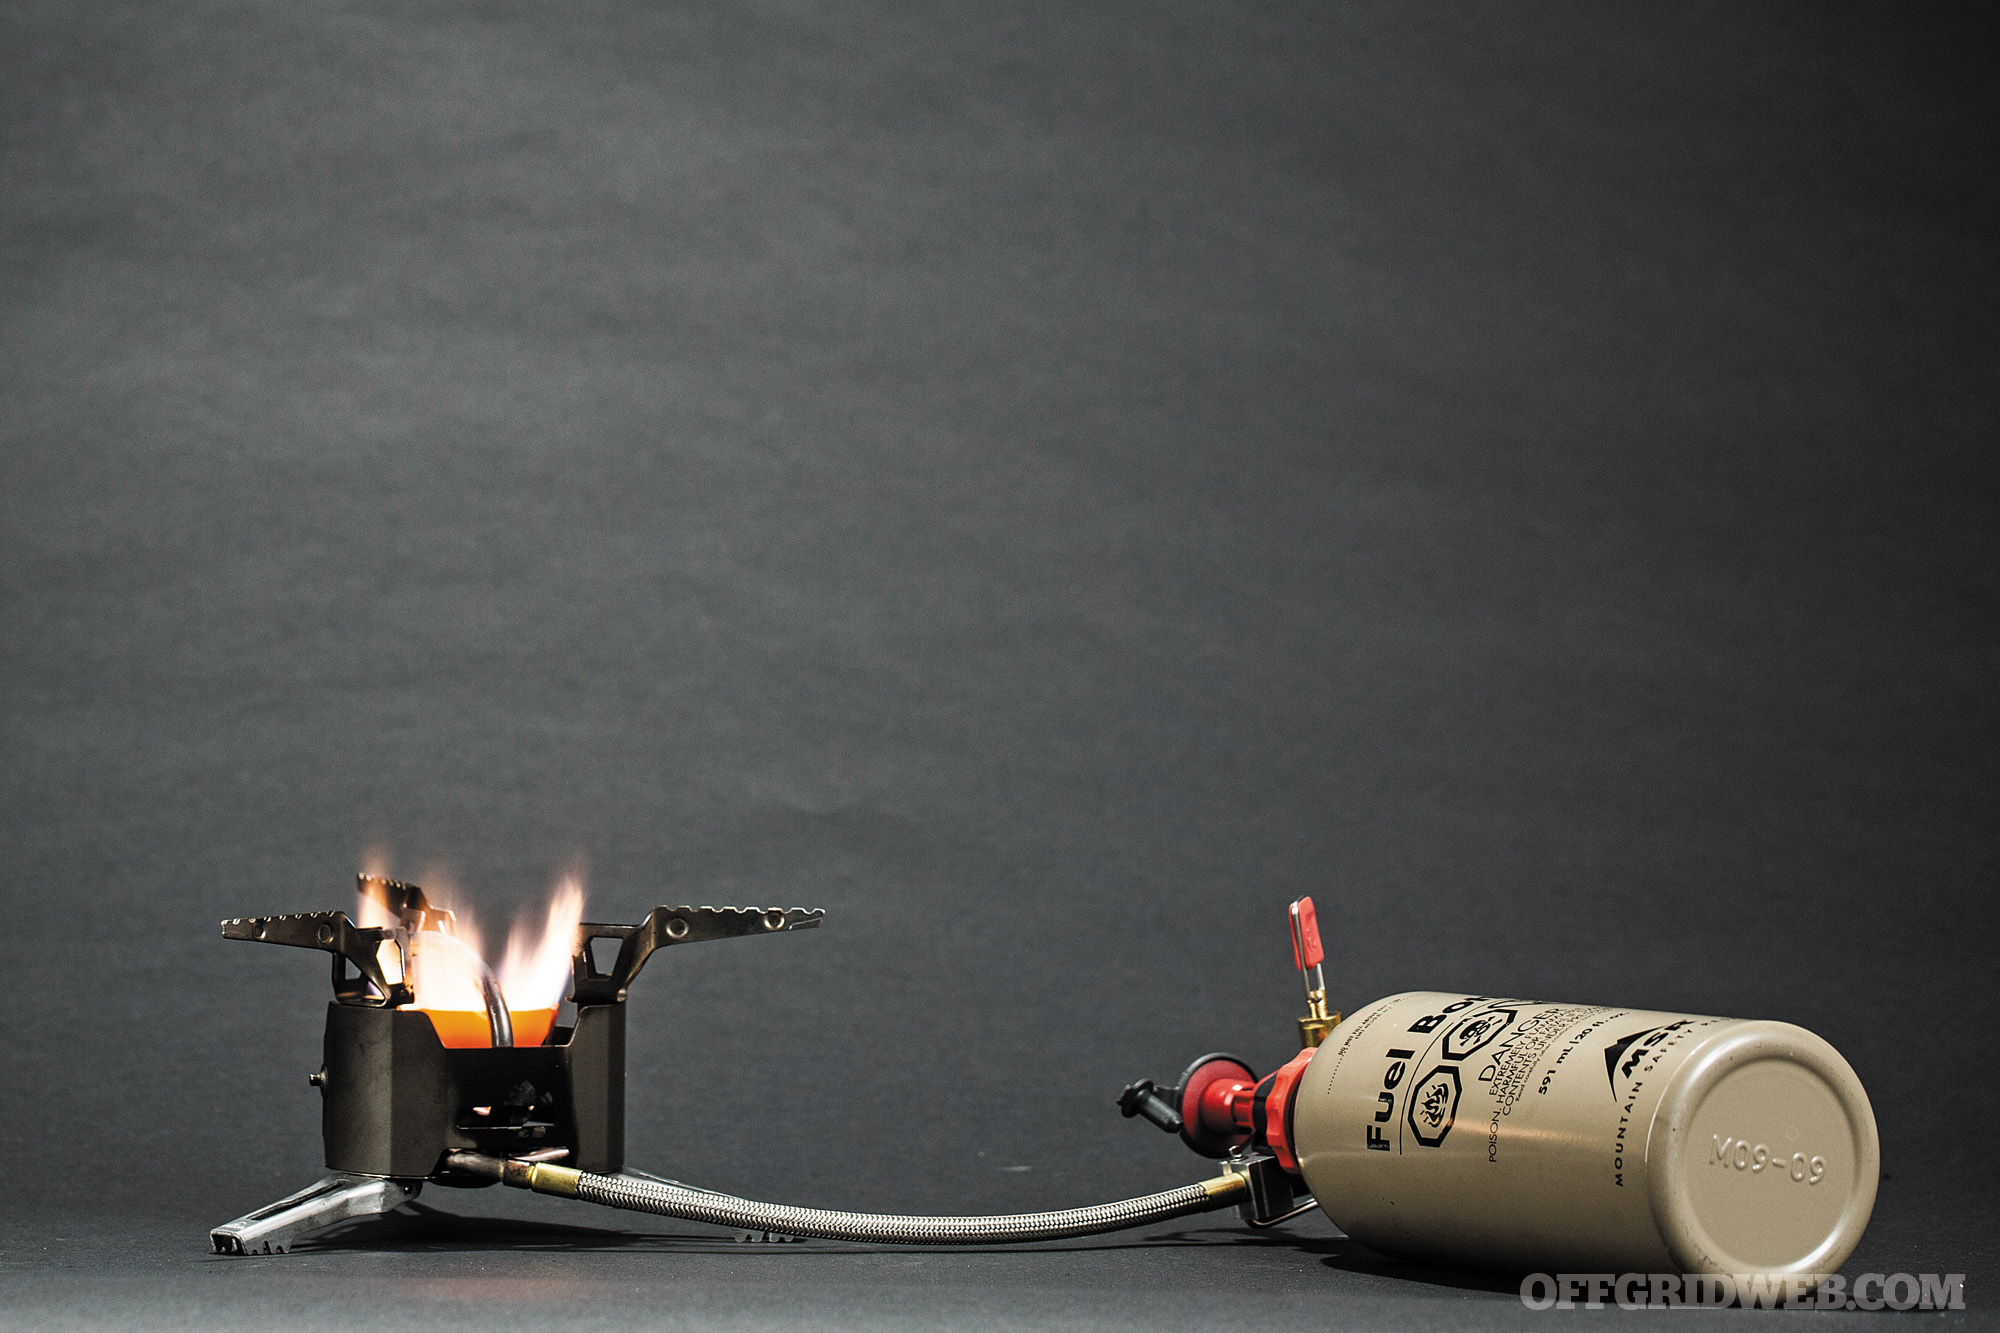
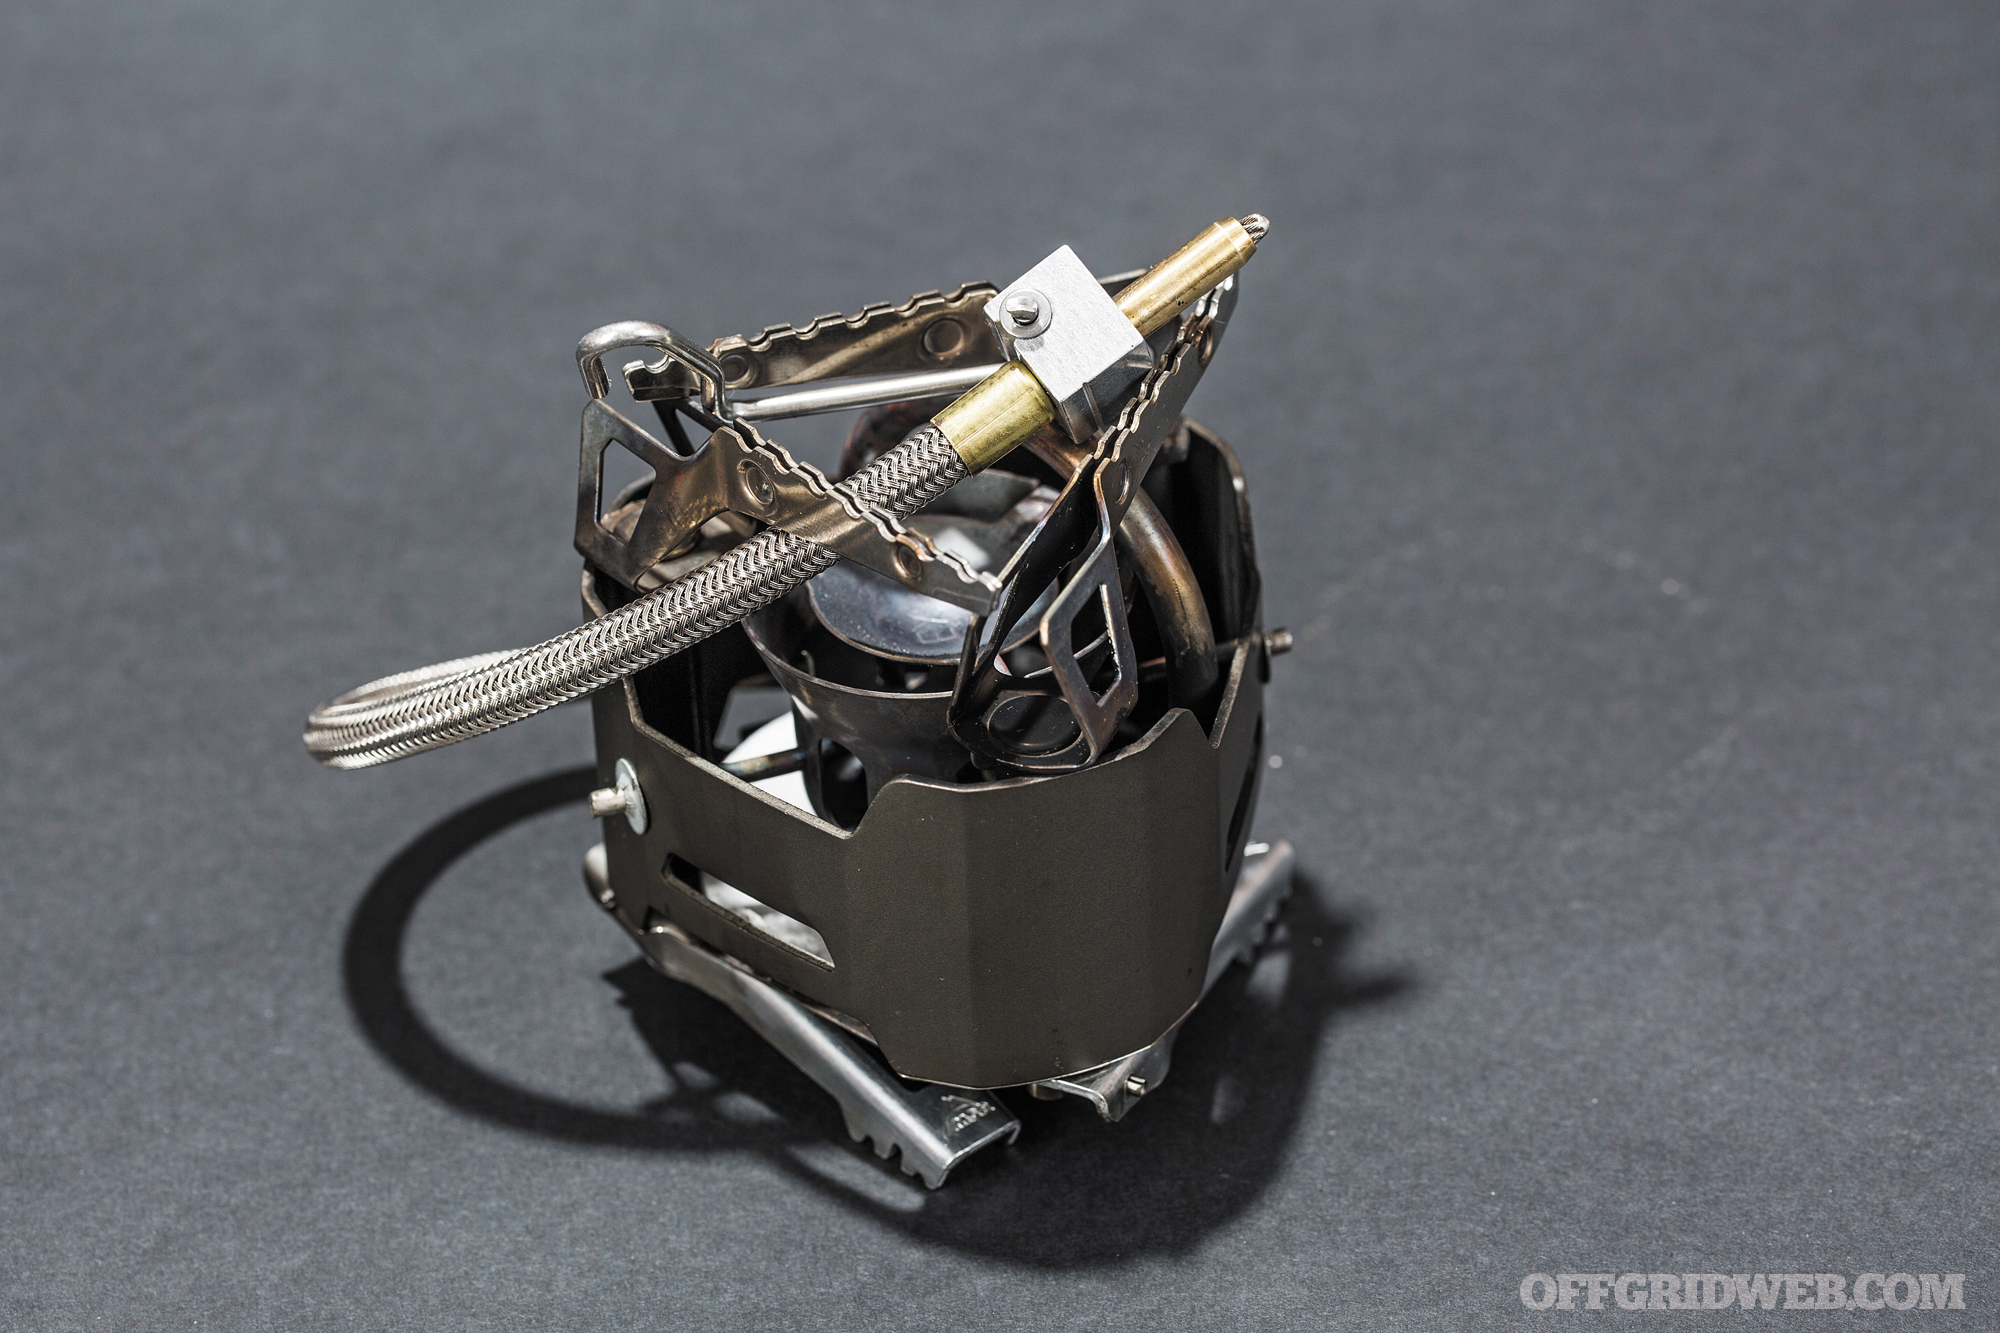
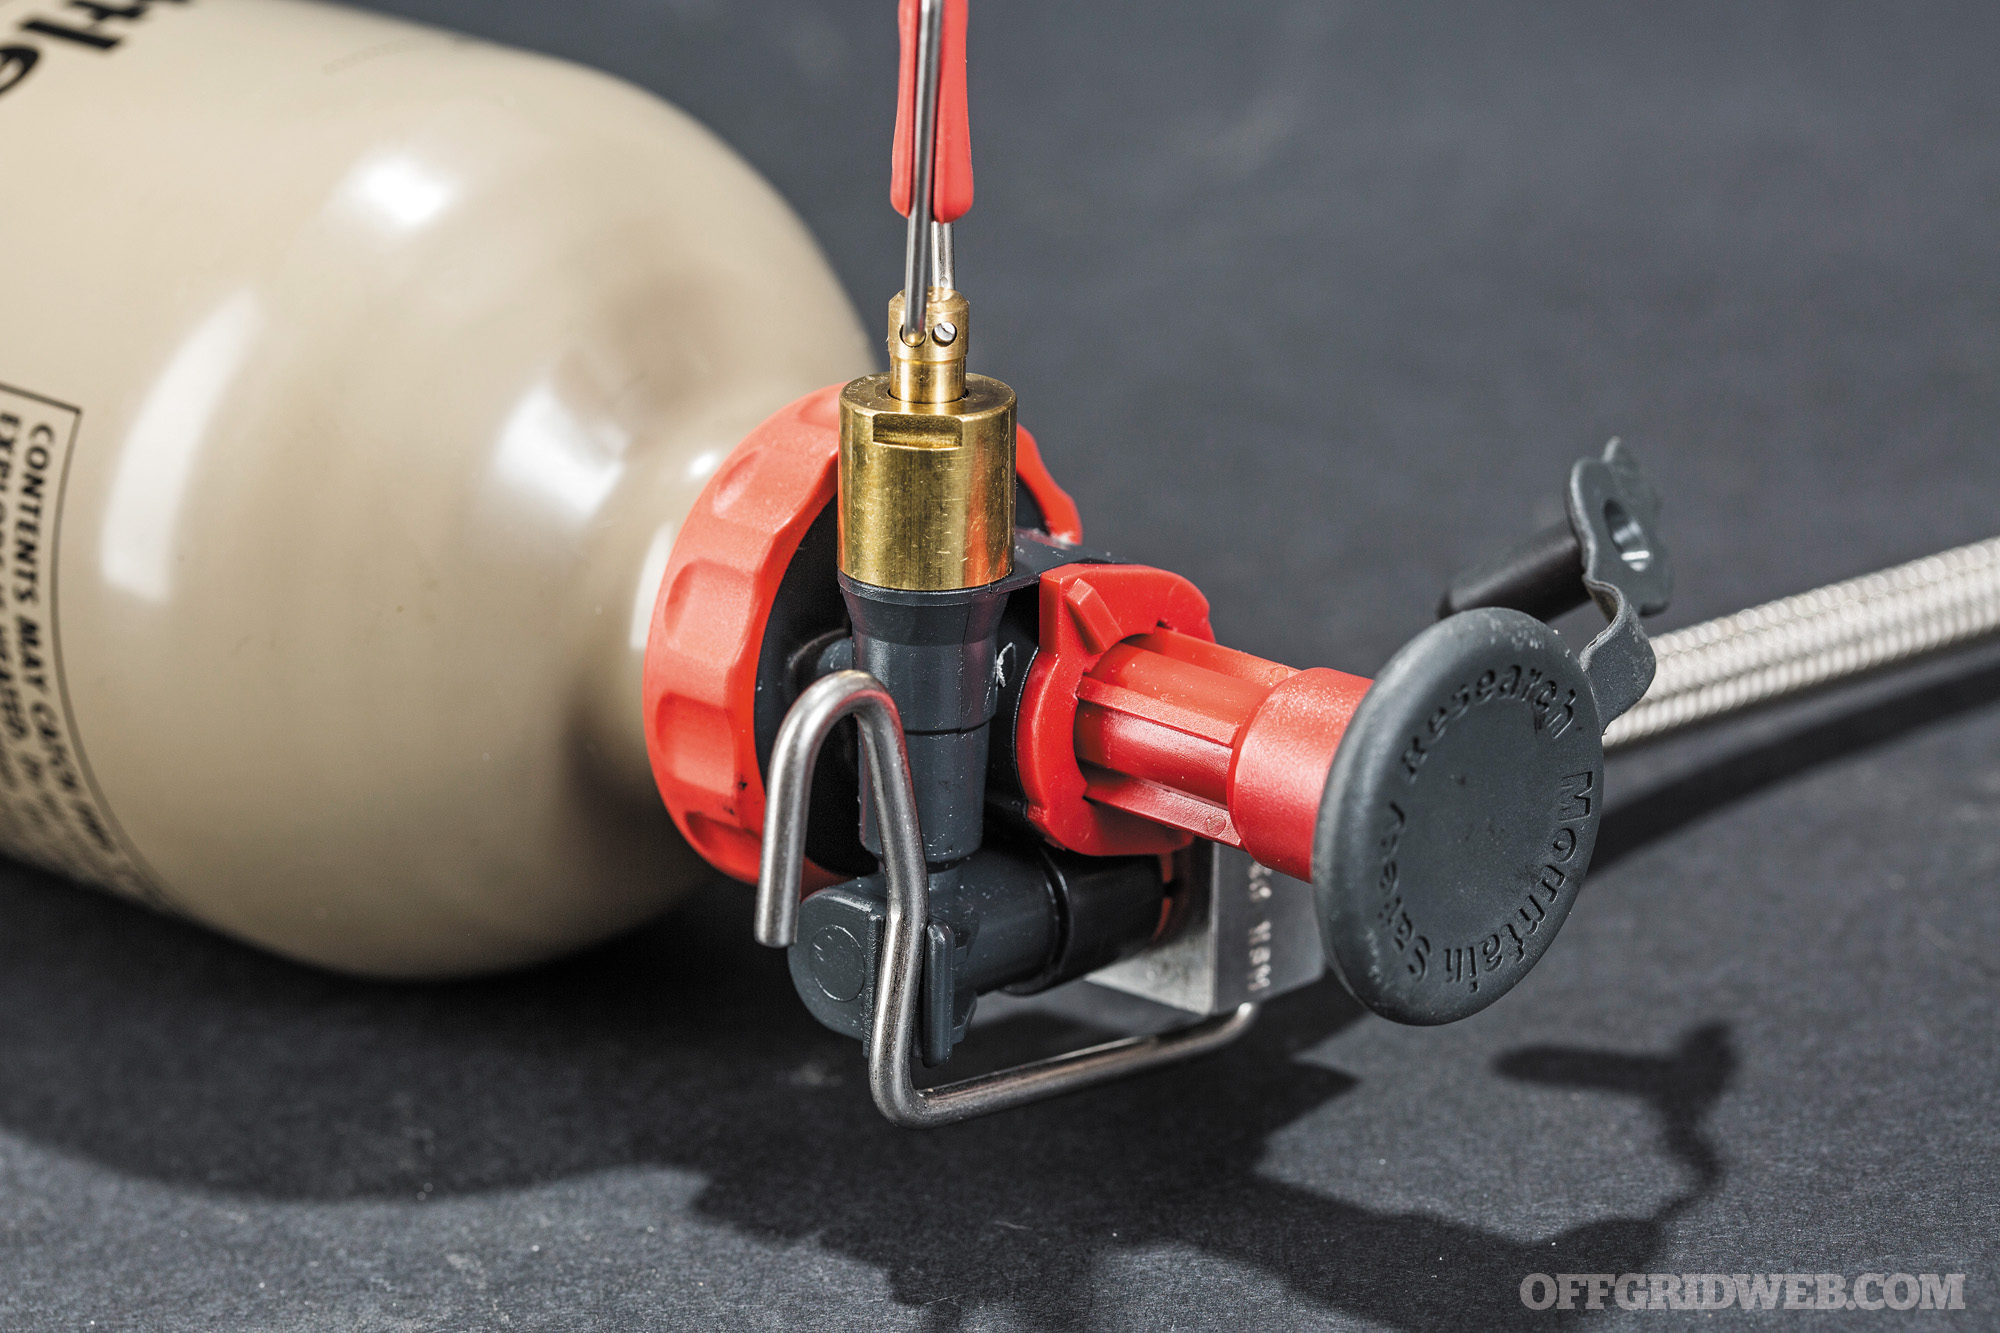
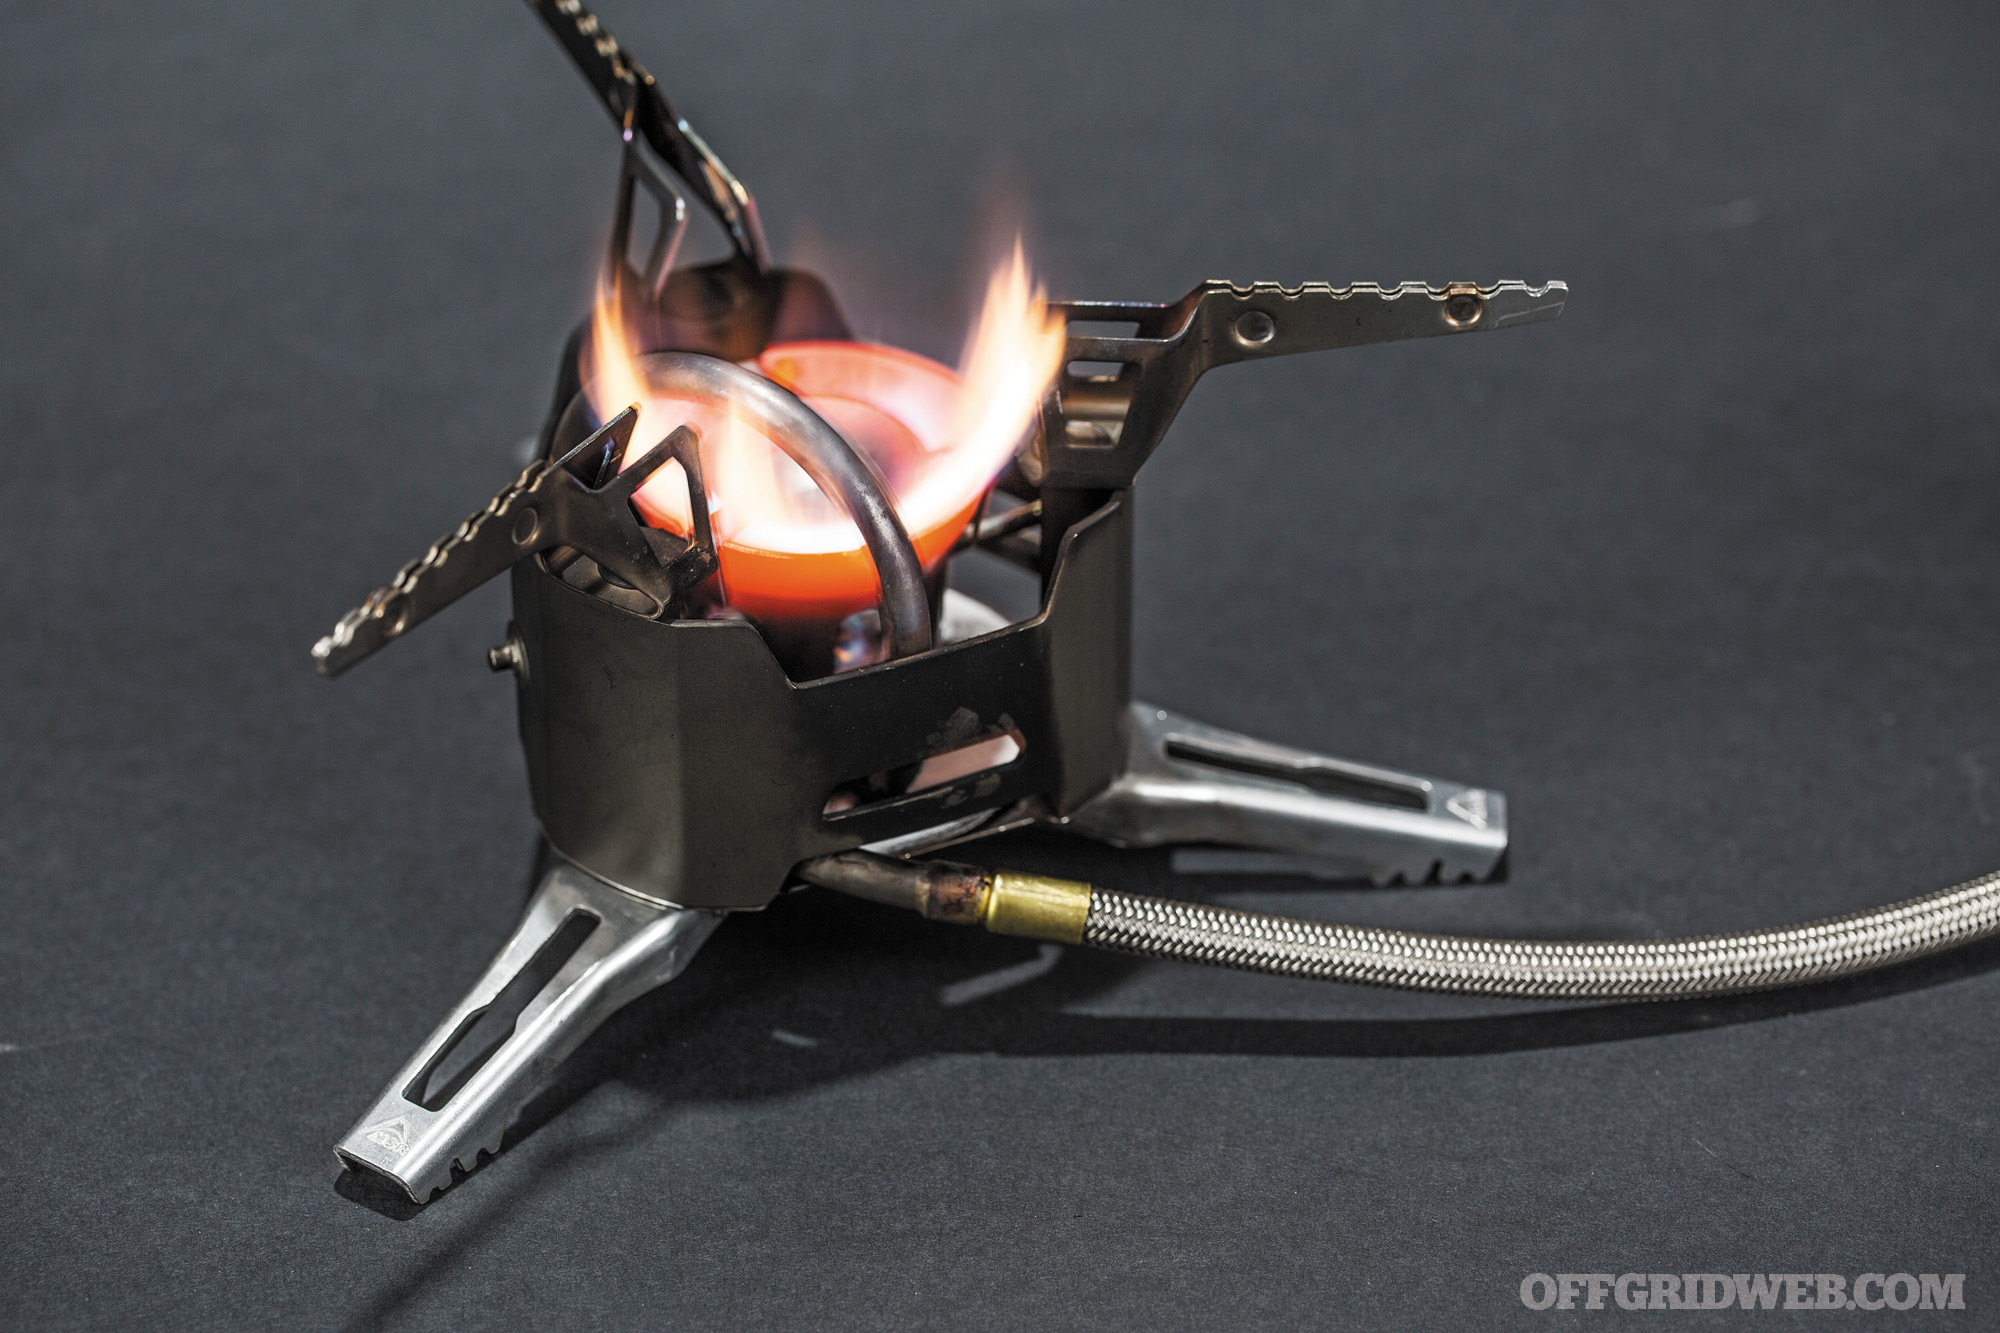
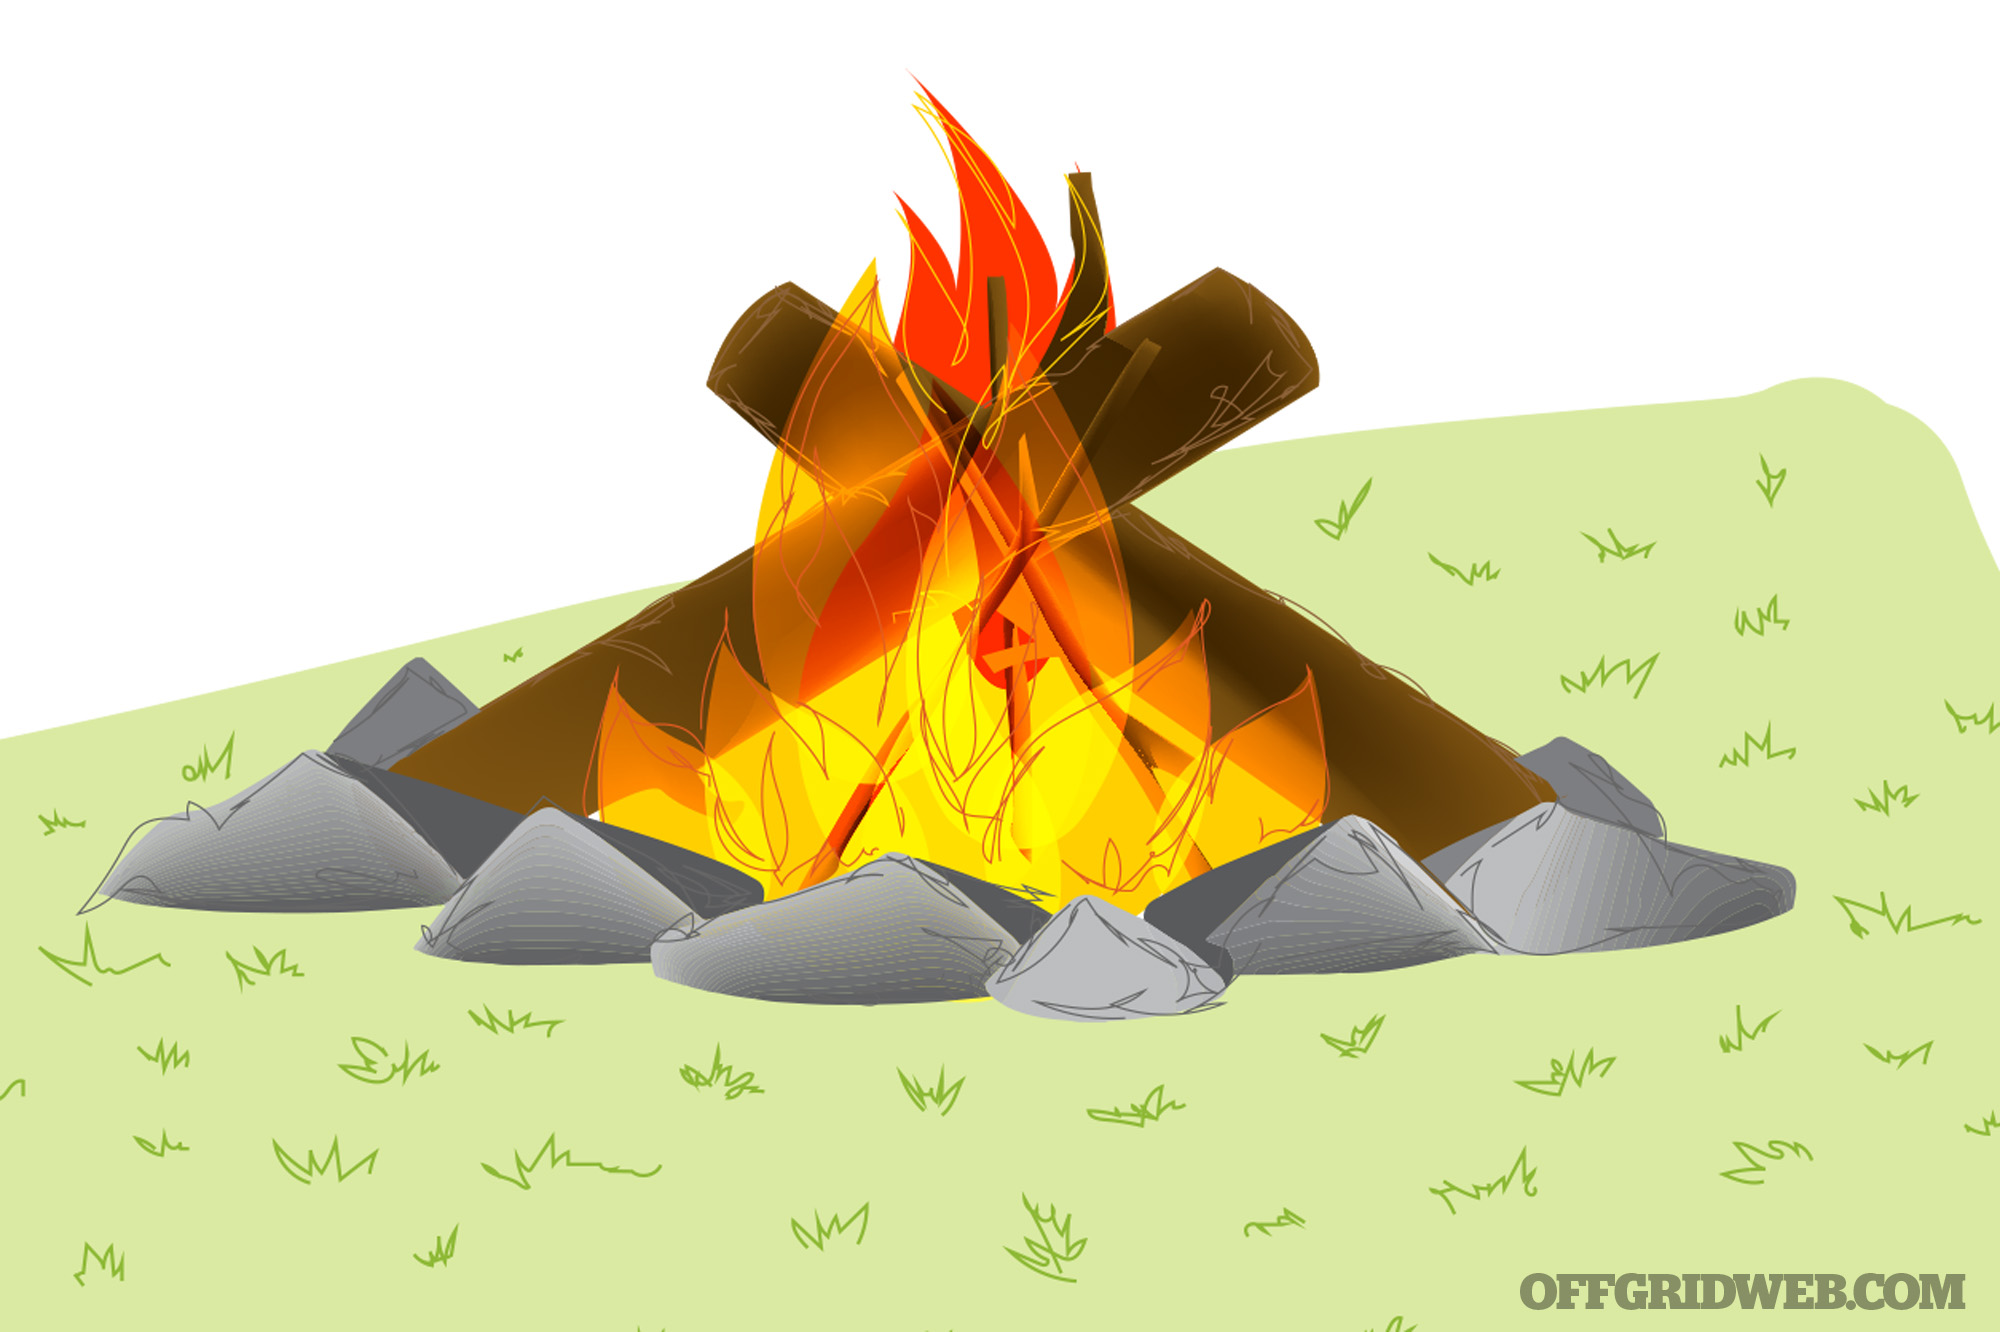
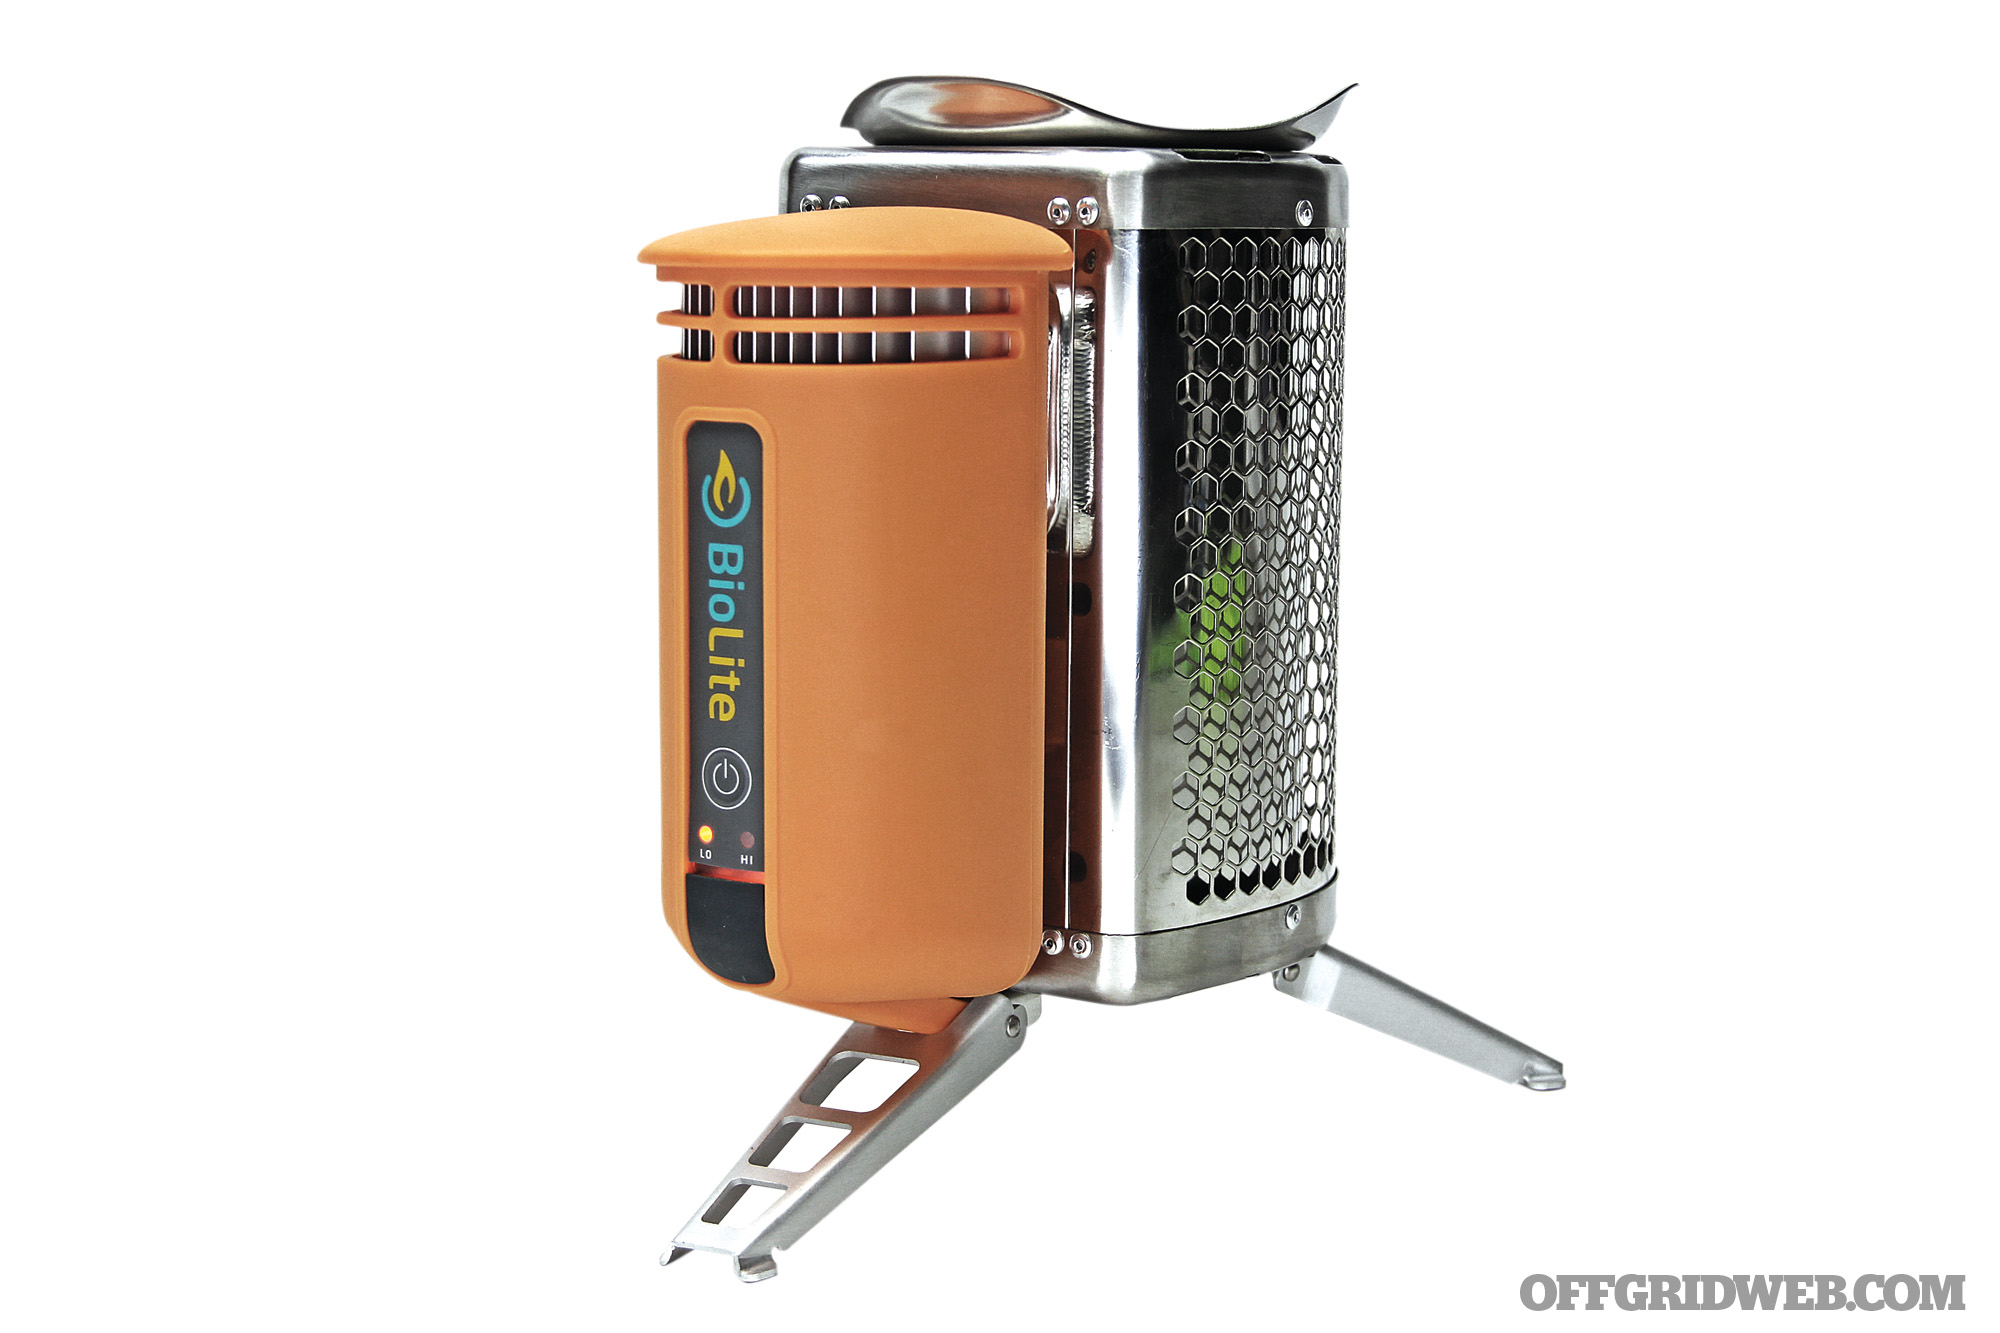
The bulkiest part of our stash is the food. We stock several months’ worth of food, much of it in easy-to-cook staples like pasta and rice. Freeze-dried meals are even easier to cook. I like to keep Mountain House meals, a Jetboil stove, and plenty of fuel canisters on hand. With these, we can cook indoors by simply bringing the water to a quick boil. This way, we’re not out in the yard cooking over a fire as much, which may advertise our preparedness to those who are becoming desperate.
We haven’t forgotten about our pets. Dry cat food will feed both cats and dogs, and it can be stored in Mylar-lined buckets with oxygen absorbers. Store items sensitive to heat and sunlight in a cool, dark, dry place. Consider a satellite phone to communicate with people in areas unaffected by the crisis at hand.
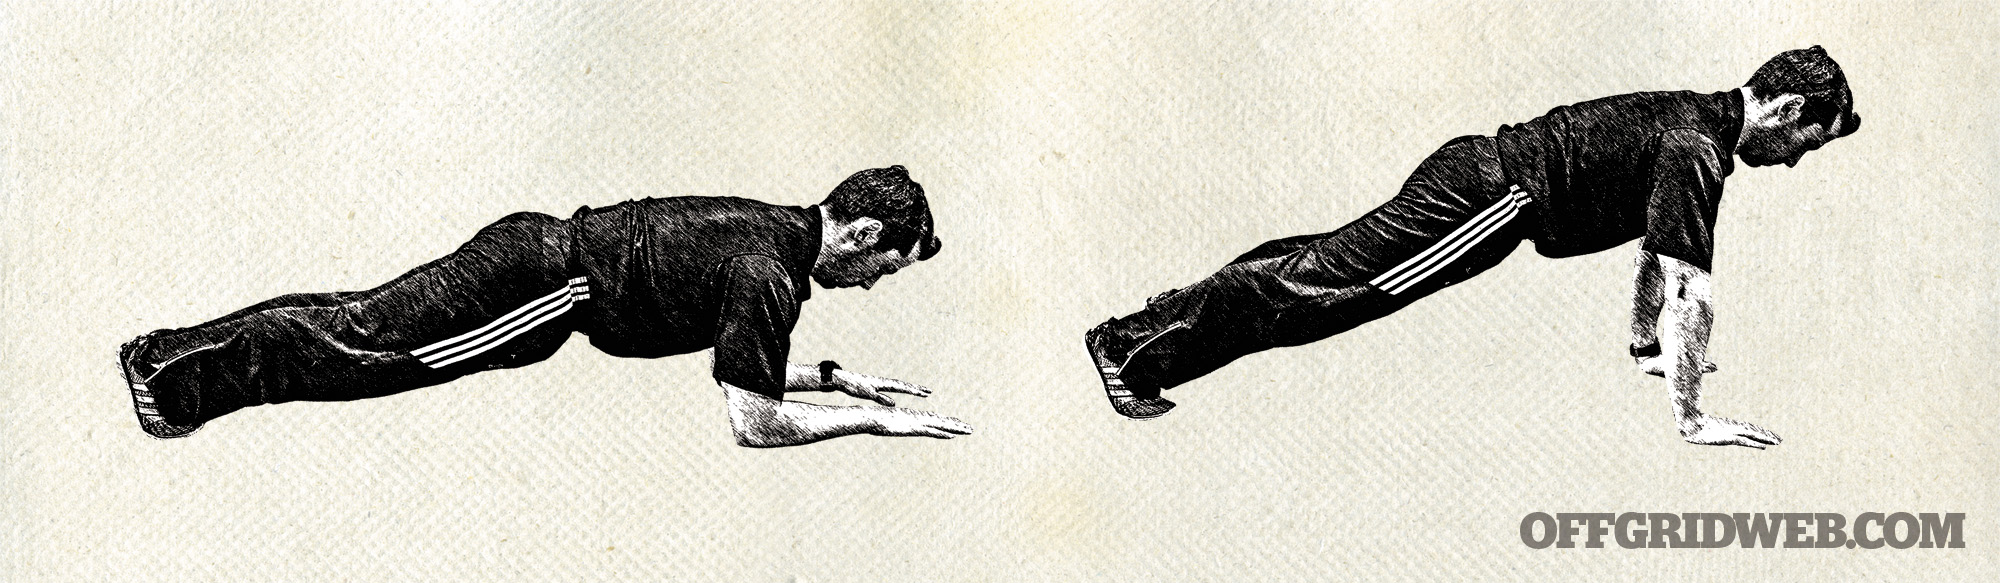
One final issue is to make sure your kids are prepared for the earthquake itself. Teach them about the “triangle of life” and explain to them that their instinct to hide under a bed is dead wrong. When ceilings collapse on beds, the bed acts like a huge deadfall trap — crushing anyone hiding underneath. A safer, yet less intuitive, strategy is to lie beside the bed. So in the event that you are awoken in the night by an earthquake, roll off the bed and stay beside it. Don’t crawl underneath!
On Site
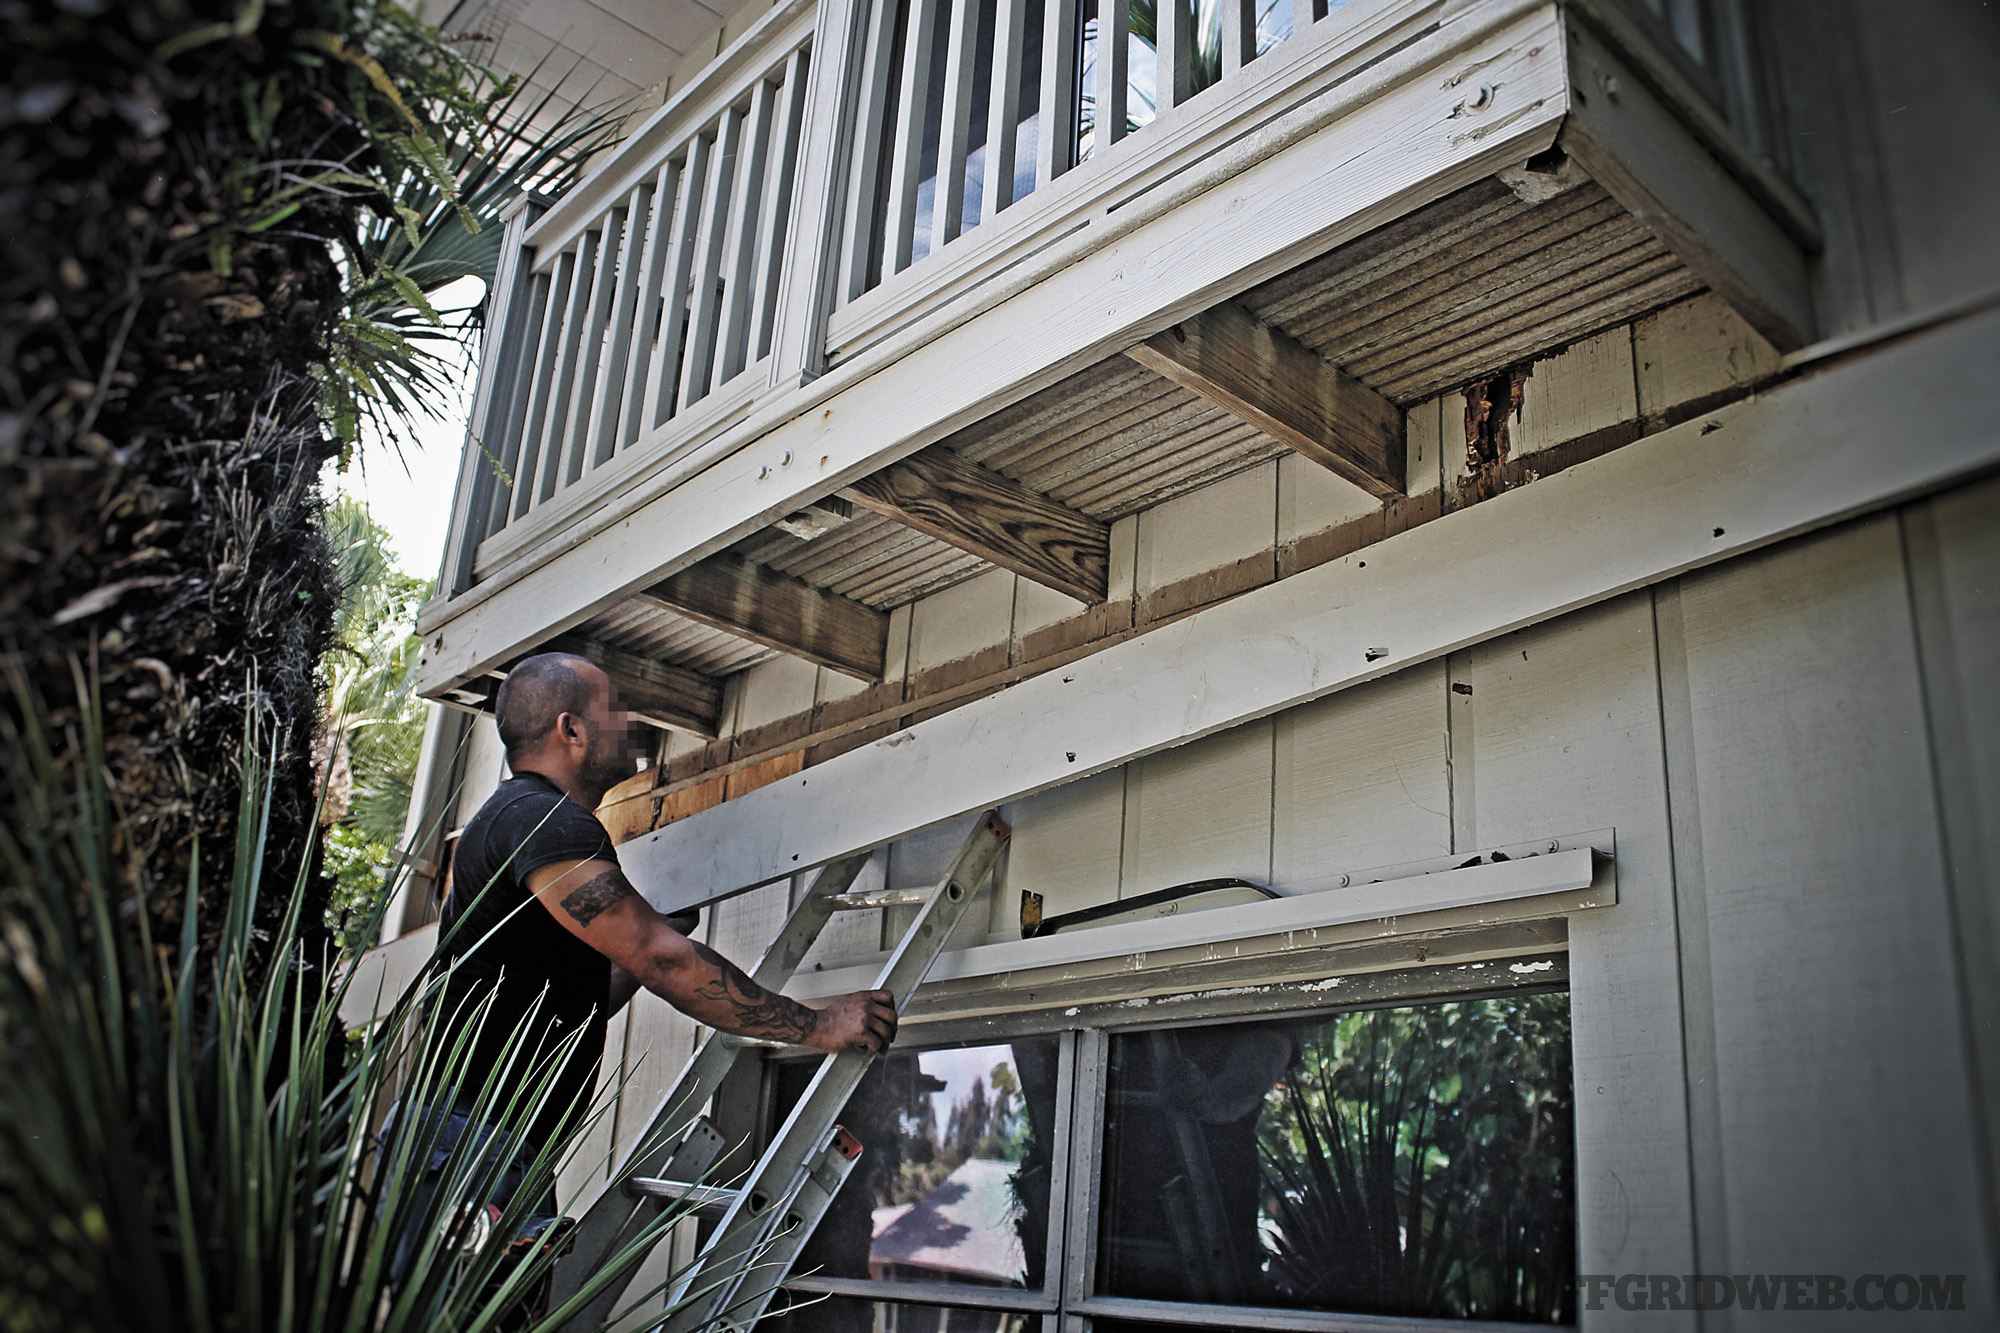
Structural damage and dangerous leaks would be my biggest concerns in the initial aftermath of the earthquake and the beginning of the utility outage. If I were in a single-family home or townhouse, I’d look in the attic to see if there were any broken trusses. I’d also take a look through the basement, checking for damaged floor joists. If I weren’t familiar with modern home construction, I’d try to find a neighbor who knew something and ask them to take a look. I’d also turn off all utilities. With a non-sparking wrench, I’d turn off the gas. I’d also turn off the water at the street (the same tool often does both jobs). I’d turn off the main breaker in the home’s electrical panel as well.
If I, or any of my neighbors, have gas as a utility, there are some common practices that I’ll want to avoid right after the quake. I’d limit (or better yet, avoid) all open flames until I’m certain that there are no gas leaks in and around the home and neighborhood. Lighting a cigar or firing up the propane grill could easily spark a natural gas or LP gas explosion. I wouldn’t use candles for lighting, either.
So how can one get information in lieu of the Internet? The first thing I’d check is AM and FM radio signals and the NOAA weather bands. I could use one of our emergency radios (we keep two in our home) or hop in a vehicle and flip through the radio frequencies. There may be a station that could reach us, yet was unaffected by the quake or power outage. A CB radio may also provide contact with the outside world, if it was powered by a vehicle, or we had a backup power source to run it. What am I trying to discover? I’d want to know the size of the impacted area, the extent of the damage, highway and road blockages, and the nearest area that still has power — just for starters.
The Crisis
Once the earthquake is over and we’ve put out the fires (literally and figuratively), it’s time to rely on our preparations and get to work.
If a disaster knocked out the utilities for several hundred square miles, and you even suspected the outage might last a dangerously long time, get your spouse and kids the hell out of there. Leave as soon as you can. And in the event that you couldn’t leave (for one or more very good reasons), then you’ll have to defend and endure.
A scenario of this kind would undoubtedly inspire aid to flood into the area from the rest of the country, but the problem with that is standing in line to get supplies and possibly leaving your family undefended to do so. With your own food storage in place and the ability to disinfect water you collect near your home, you can focus on the protection of your property, family, and possessions. Collecting safe drinking water would be a frequent task in the grid-down setting, and collecting extra water for hygiene is important too.
Collect the rain and find small local waterways, as needed. In the city, we could turn a plastic bucket into a toilet. We could also use a separate bucket of soapy water to hand-wash clothing. We could even take sponge baths and wash our dishes too. Preventing illness begins with adequate hygiene, and this can be just as important as any of your other skills. And when the food runs out completely, you’re going to have to get creative. Learn to forage for edible plants in urban and suburban environments. Learn to hunt and trap quietly in these same locales, though it’s likely that there’d be nothing left after a few weeks, once every other family gets the same idea.
Conclusion
Natural disasters have been our natural enemy since the dawn of time. They try to lash us with wind, drown us with water, and shake our homes down to the ground. They’re powerful and deadly to be sure, but there’s one limiting factor that these mighty forces can’t overcome. That factor is size. This is a big planet, and the average natural disaster can only affect a small part of it.
Catastrophes like earthquakes can strike localities and regions, but they’re not going to damage large nations or entire continents. And since the impact area is relatively small, this means that a mobile family, group, or individual may be able to escape the stricken area.
Ideally, you could load up your go-bags and drive to “greener pastures.” Damaged roads and highways may prevent an exodus by vehicle, but unless there are great fissures in the earth, you may still be able to walk away from the affected area. And when bugging out isn’t an option for your group, then you’d better be prepared. Stored food, water, and other supplies can get you through a crisis (if you’re able to hide or defend these precious resources).
Web Extra
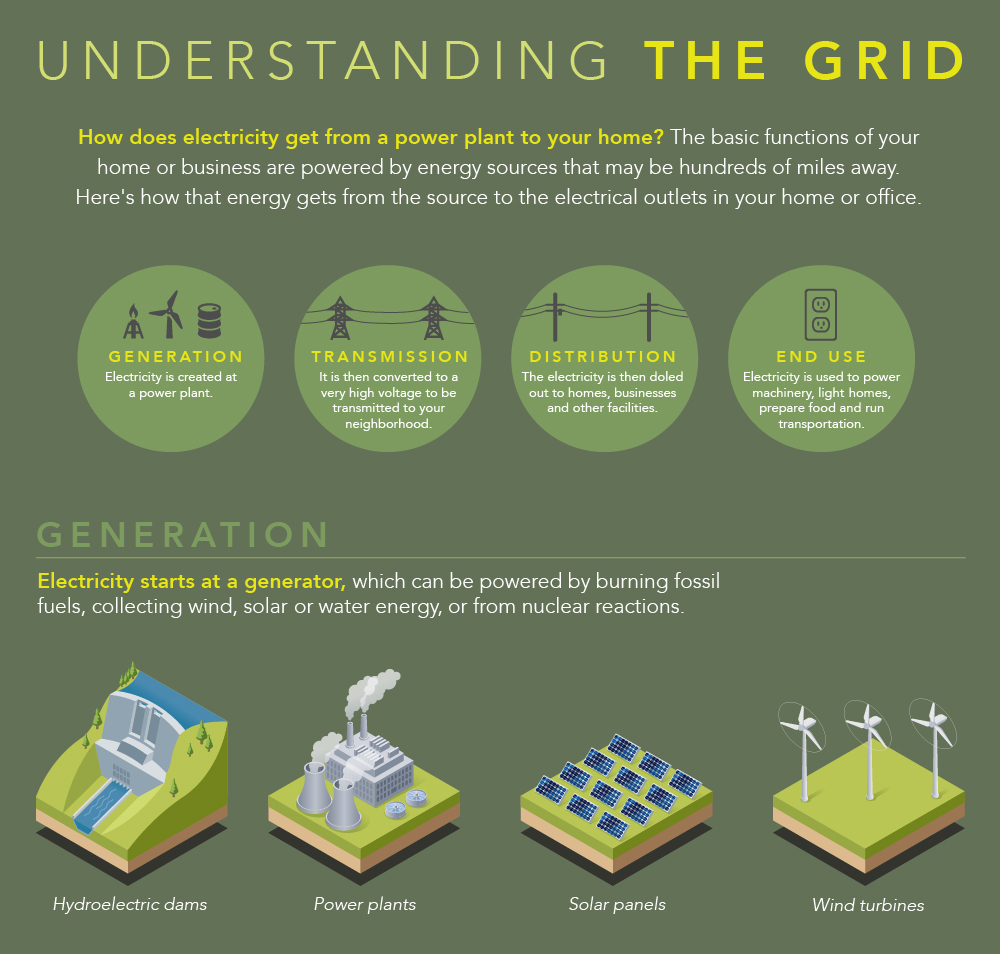
Have you ever considered the path electricity takes to get to your wall socket? An infographic created by the U.S. Department of Energy gives an overview of the four stages of our power grid: generation, transmission, distribution, and use. Check out the graphic here.
[meetourpanel]