WARNING: The exercises and content expressed in this column are for illustrative purposes only. Consult a medical professional before trying any physical activity or nutritional plan.
You’re bound to suffer an injury. It’s more a “when” than an “if.” Especially in a fight for your life, you can’t play it safe. But, you can’t let an injury stop you from getting in shape and staying that way. After all, your physical ability may be the deciding factor in your survival. Catastrophes and crises don’t call timeouts, and neither should you. You need to learn how to safely train through injuries if at all possible. Here’s how.
Injured? Keep Sweating
So, you hurt yourself. It sucks, but it doesn’t mean you need to quit all physical activity. Especially with uncertainty ahead, you can’t afford to cease training. When you think about it, many injuries you may get don’t involve your entire body. Take, for instance, an injured knee. You still have upper body, core, and even some single-leg exercises you can do on the non-injured side (we’ll go more into this later). It’s not the end of the world (or perhaps it is). We’ll just discuss a different way of looking at it.
To continue training safely, consider what types of exercises you’ll have to avoid. Continuing the knee analogy since it’s a common injury, we’ll avoid all exercises that involve or stress the knee joint on that leg. Be aware that this may also involve positions that stress the leg, such as kneeling.
Next, you’ll pick exercises that don’t involve those areas, such as a dumbbell bench press, chin-up, single-leg squat on the uninjured leg, or hanging knee raise. With this plan of exercises, visualize yourself in each position for each exercise, taking note of what parts of the body the exercise is stressing, the position your body is in, and what the injured area is doing relative to the exercise. You can also do this physically depending on the exercise and what is required to do it.
A decent whole-body workout should include an upper-body push, an upper-body pull, a two-leg exercise, a single-leg exercise, and a core exercise. Now, given that you could have injured any number of joints or areas, we can’t possibly cover every scenario. That being said, your goal in training is to address as many of these five categories as possible, letting pain be your guide. Because this is somewhat subjective, we define pain as anything you wouldn’t answer “no” to if someone asked if it hurt. When you’re designing your program or workout, keep that in mind.
This last part is somewhat controversial, but training the uninjured limb (depending on the injury) is a good way to build or maintain strength in the injured limb and remain at a decent training level. It’s common in the physical therapy and sports medicine fields to rest both the injured and uninjured limbs to make sure there’s no more than a 20-percent difference in strength between the two limbs. This is a poor choice, in my opinion. Not only does neglecting a perfectly healthy limb not make sense, but you can actually improve strength of the injured limb. It’s called Cross Transfer, and it works.
Area-Specific Programming
Now that we have some of the conceptual stuff out of the way, let’s take a look at some specific areas that are commonly injured and how we can train around them and still improve.
Shoulder Injury

You have two legs and an arm that are perfectly healthy, making essentially 75 percent of your body safe to train. For lower-body exercises, we want to include anything that doesn’t put the shoulder in jeopardy, such as the traditional back squat. In this exercise, holding the bar on your back puts your shoulder in a less than desirable position and may aggravate an injury. So, we could include exercises like dumbbell forward lunges, step-ups, front squats (if pain free), and barbell deadlifts. These all include safe arm positions, either at the sides or in front of the shoulders.
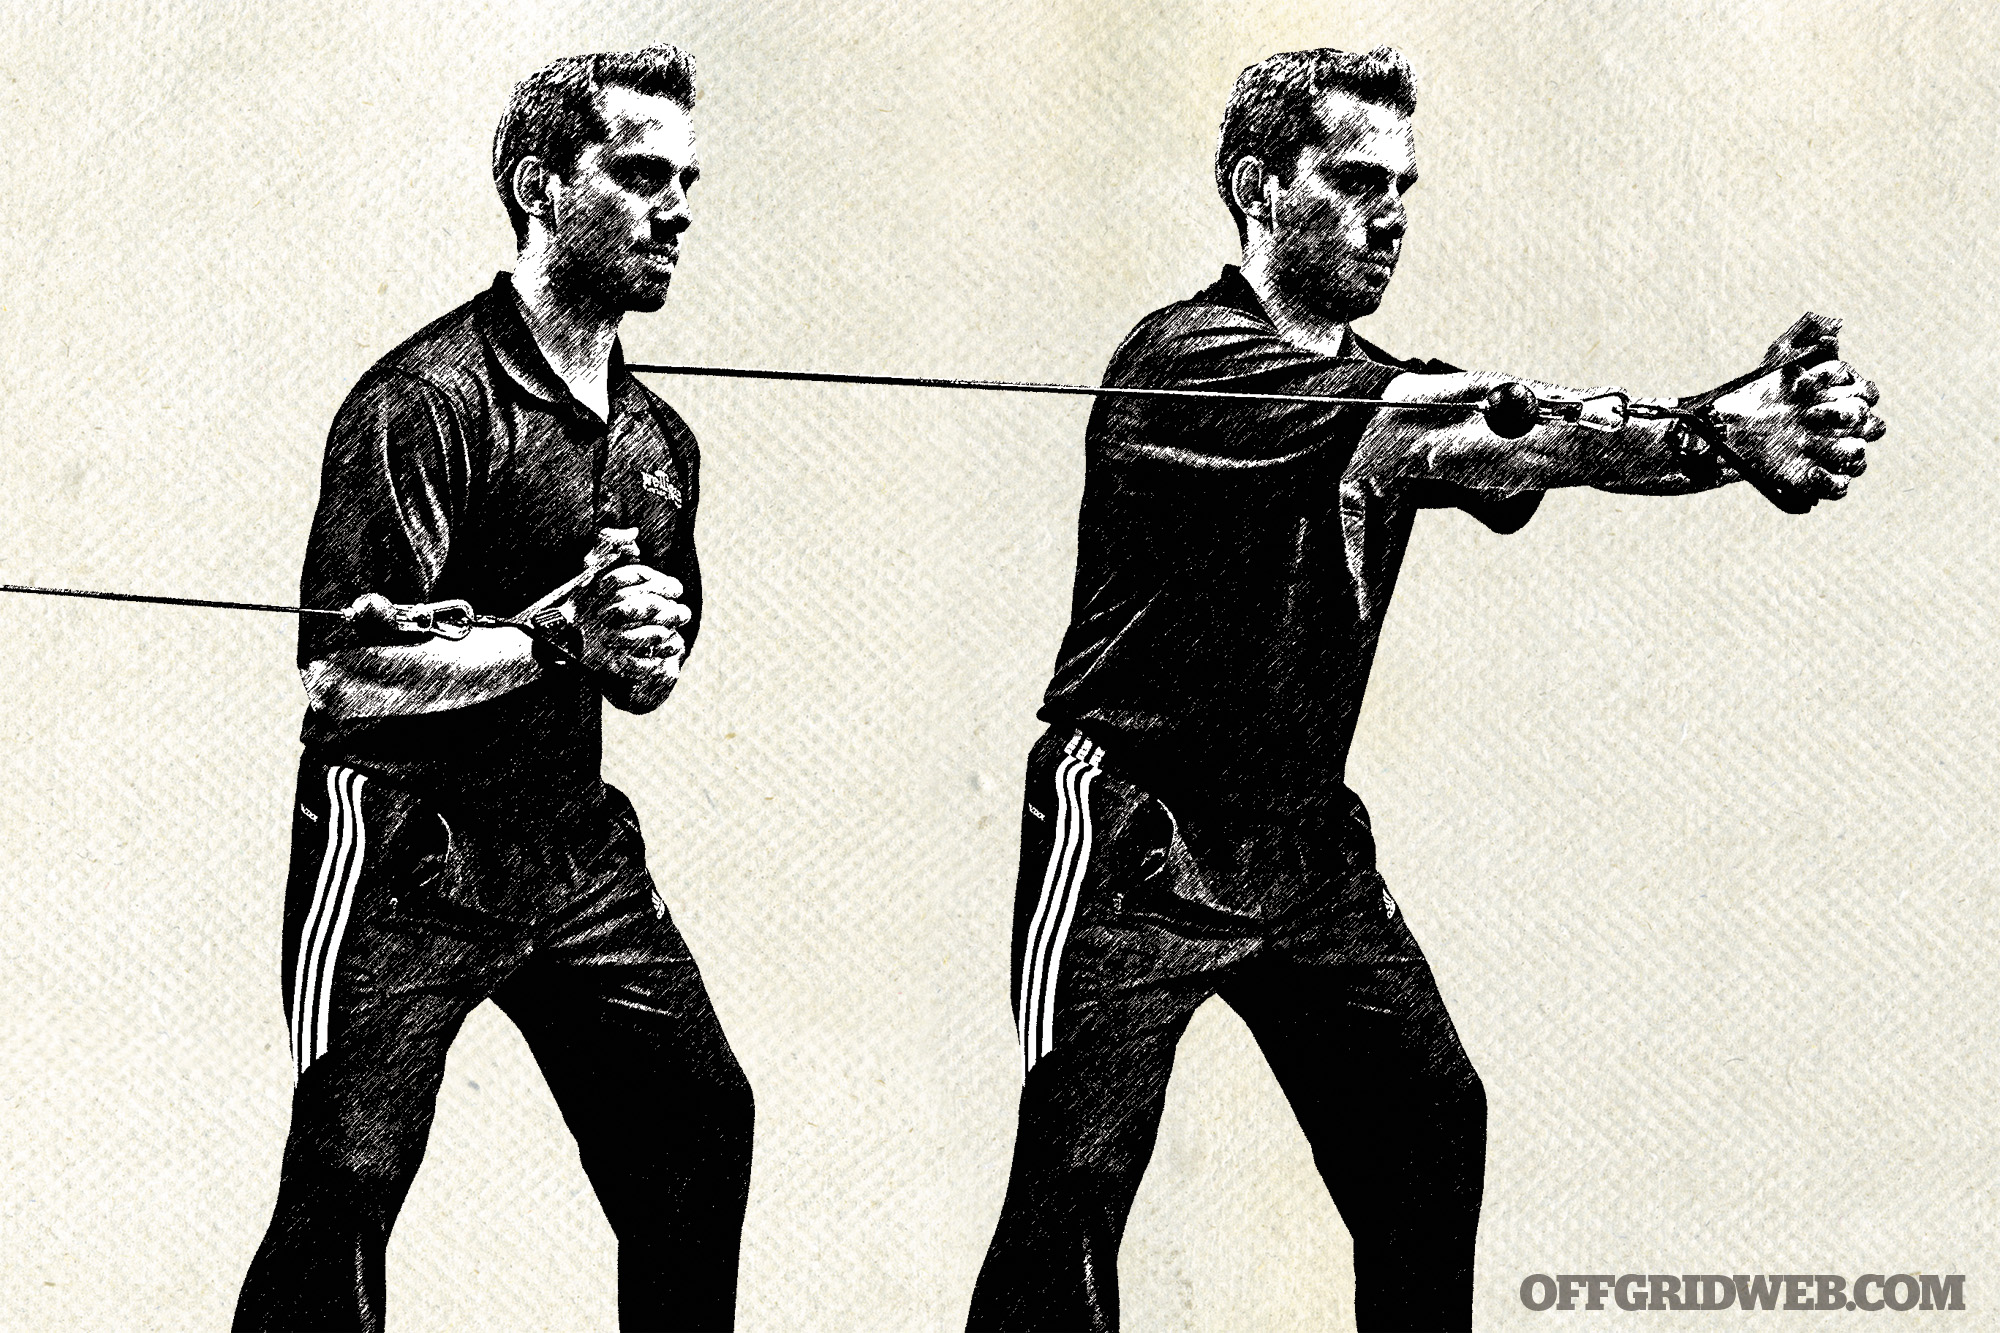
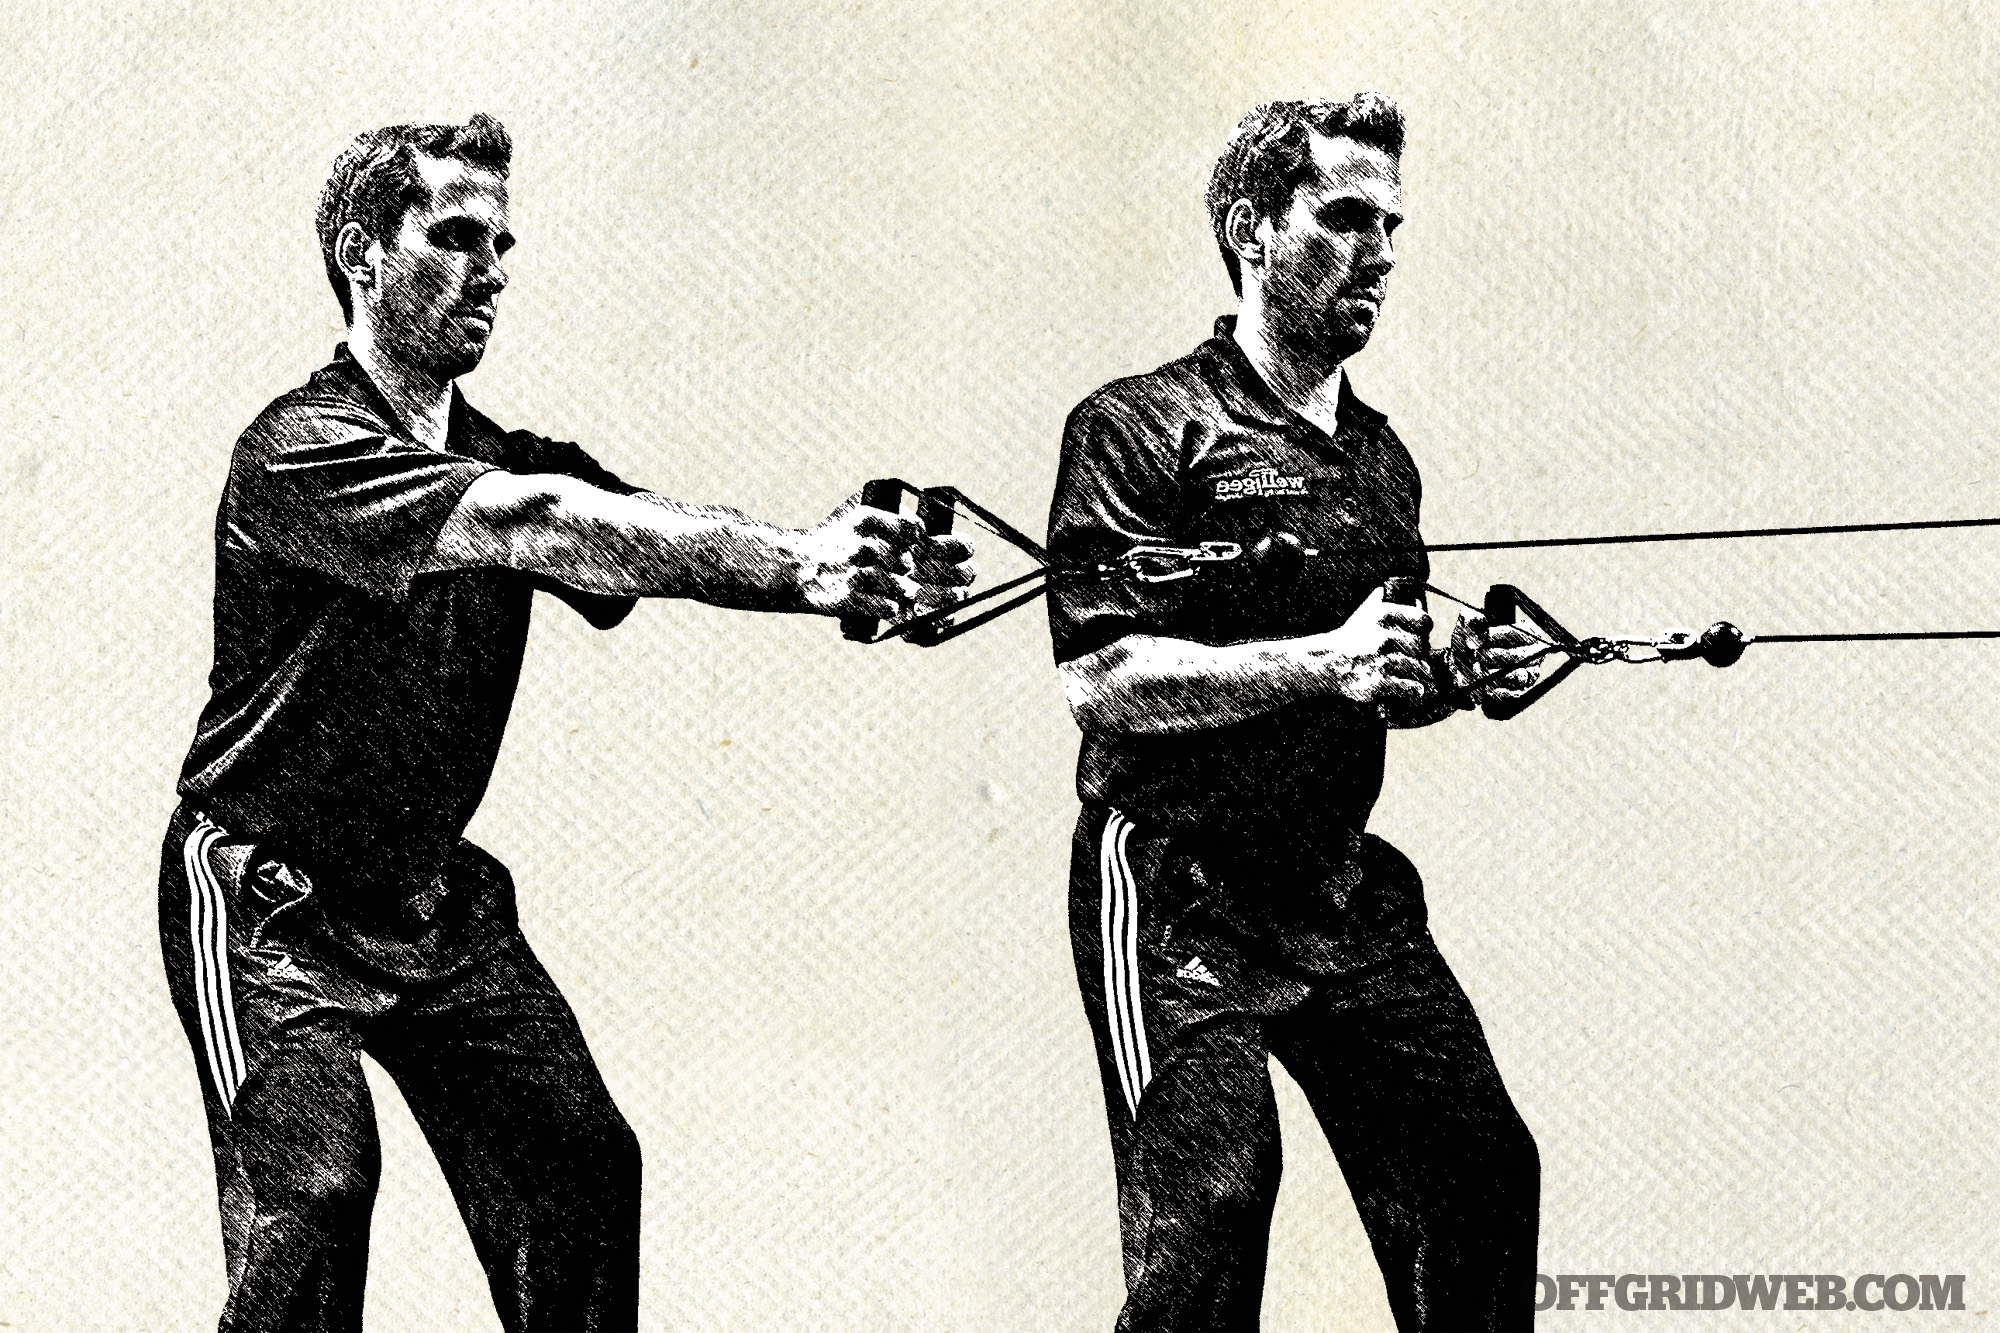
In terms of upper-body exercises, one-arm exercises will do. For two-arm exercises, safe ones include low elbow rows, low elbow chest presses, and occasionally pull-downs if it’s more of a 45-degree pull instead of vertical. This all depends on pain levels though, so if there’s pain in pushing and pulling, just train the uninjured side.
Core training is safe as long as you’re not hanging or putting undue pressure on the shoulder. Safe examples include dead bugs or planks (assuming this isn’t painful). Steer clear of things like hanging knee raises or side planks.
Lower-Back Injury

Just about everyone has back pain at one point or another in his or her lifetime, so if it hasn’t affected you yet, it probably will. It’s good to be acquainted with these strategies to keep improving even if you do get some issues down the line. Before moving forward, make sure to use common sense here. If your back injury is so severe it hurts to move, exercising is not what you need. Back injuries can vary greatly in severity, so use your best judgment and always avoid painful movements.

From a training standpoint, the general rule of thumb for back injuries and pain is to stay as upright as possible during training. Movements that involve bending over, unless supported, can be very problematic and uncomfortable. Adding weight to these movements or postures is even worse.
First things first, let’s discuss what we want to avoid. Most types of deadlifts, barbell back squatting, good mornings, and bent-over rowing should be taken out right away. These put the most stress on your lower back. While occasionally there are variations that don’t hurt as much, such as a sumo deadlift, if you don’t have much training experience, it’s best to avoid these altogether until you feel better.
Next, we’ll cover some of what we can do. Think of some exercises where you’re very upright. Lunges, step-ups, cable rows, and front squats are all good choices. Core exercises that don’t involve motion such as anti-rotation presses or planks are great to provide core work without motion at the spine. These are all fairly safe when done properly. When in doubt, exercises that generally require the weights to be at your sides or in front of your body at roughly shoulder-level are safe.
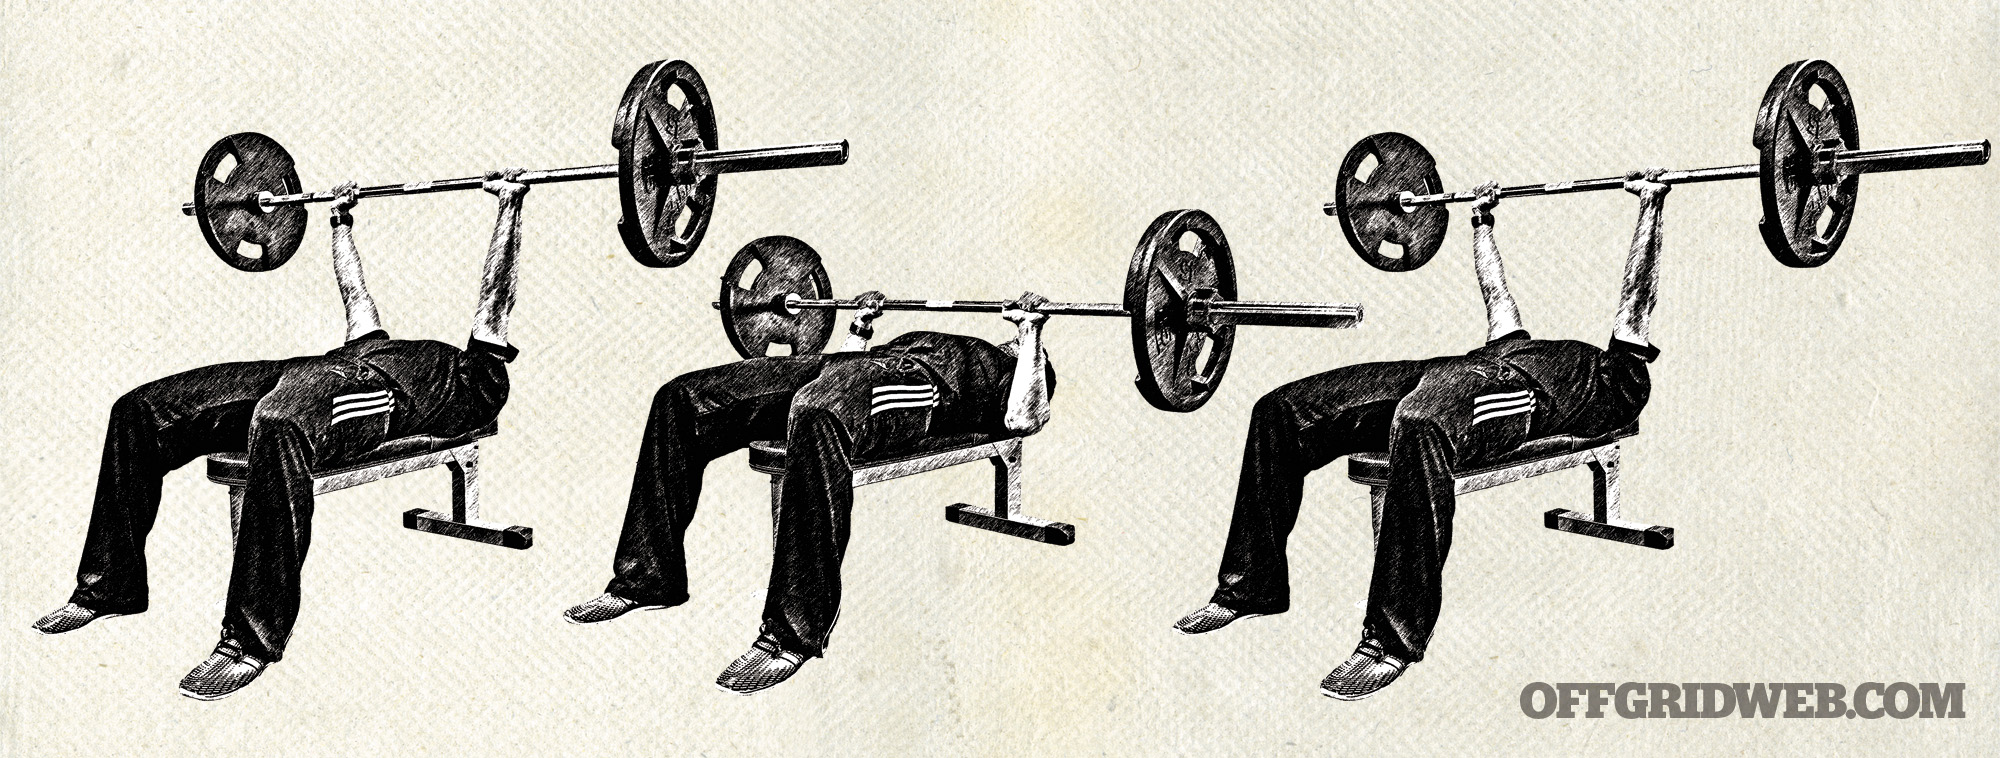
Aside from staying upright, we can also include anything where you’re supported like bench pressing, chest-supported dumbbell rows, or bench-supported one-arm dumbbell rows.
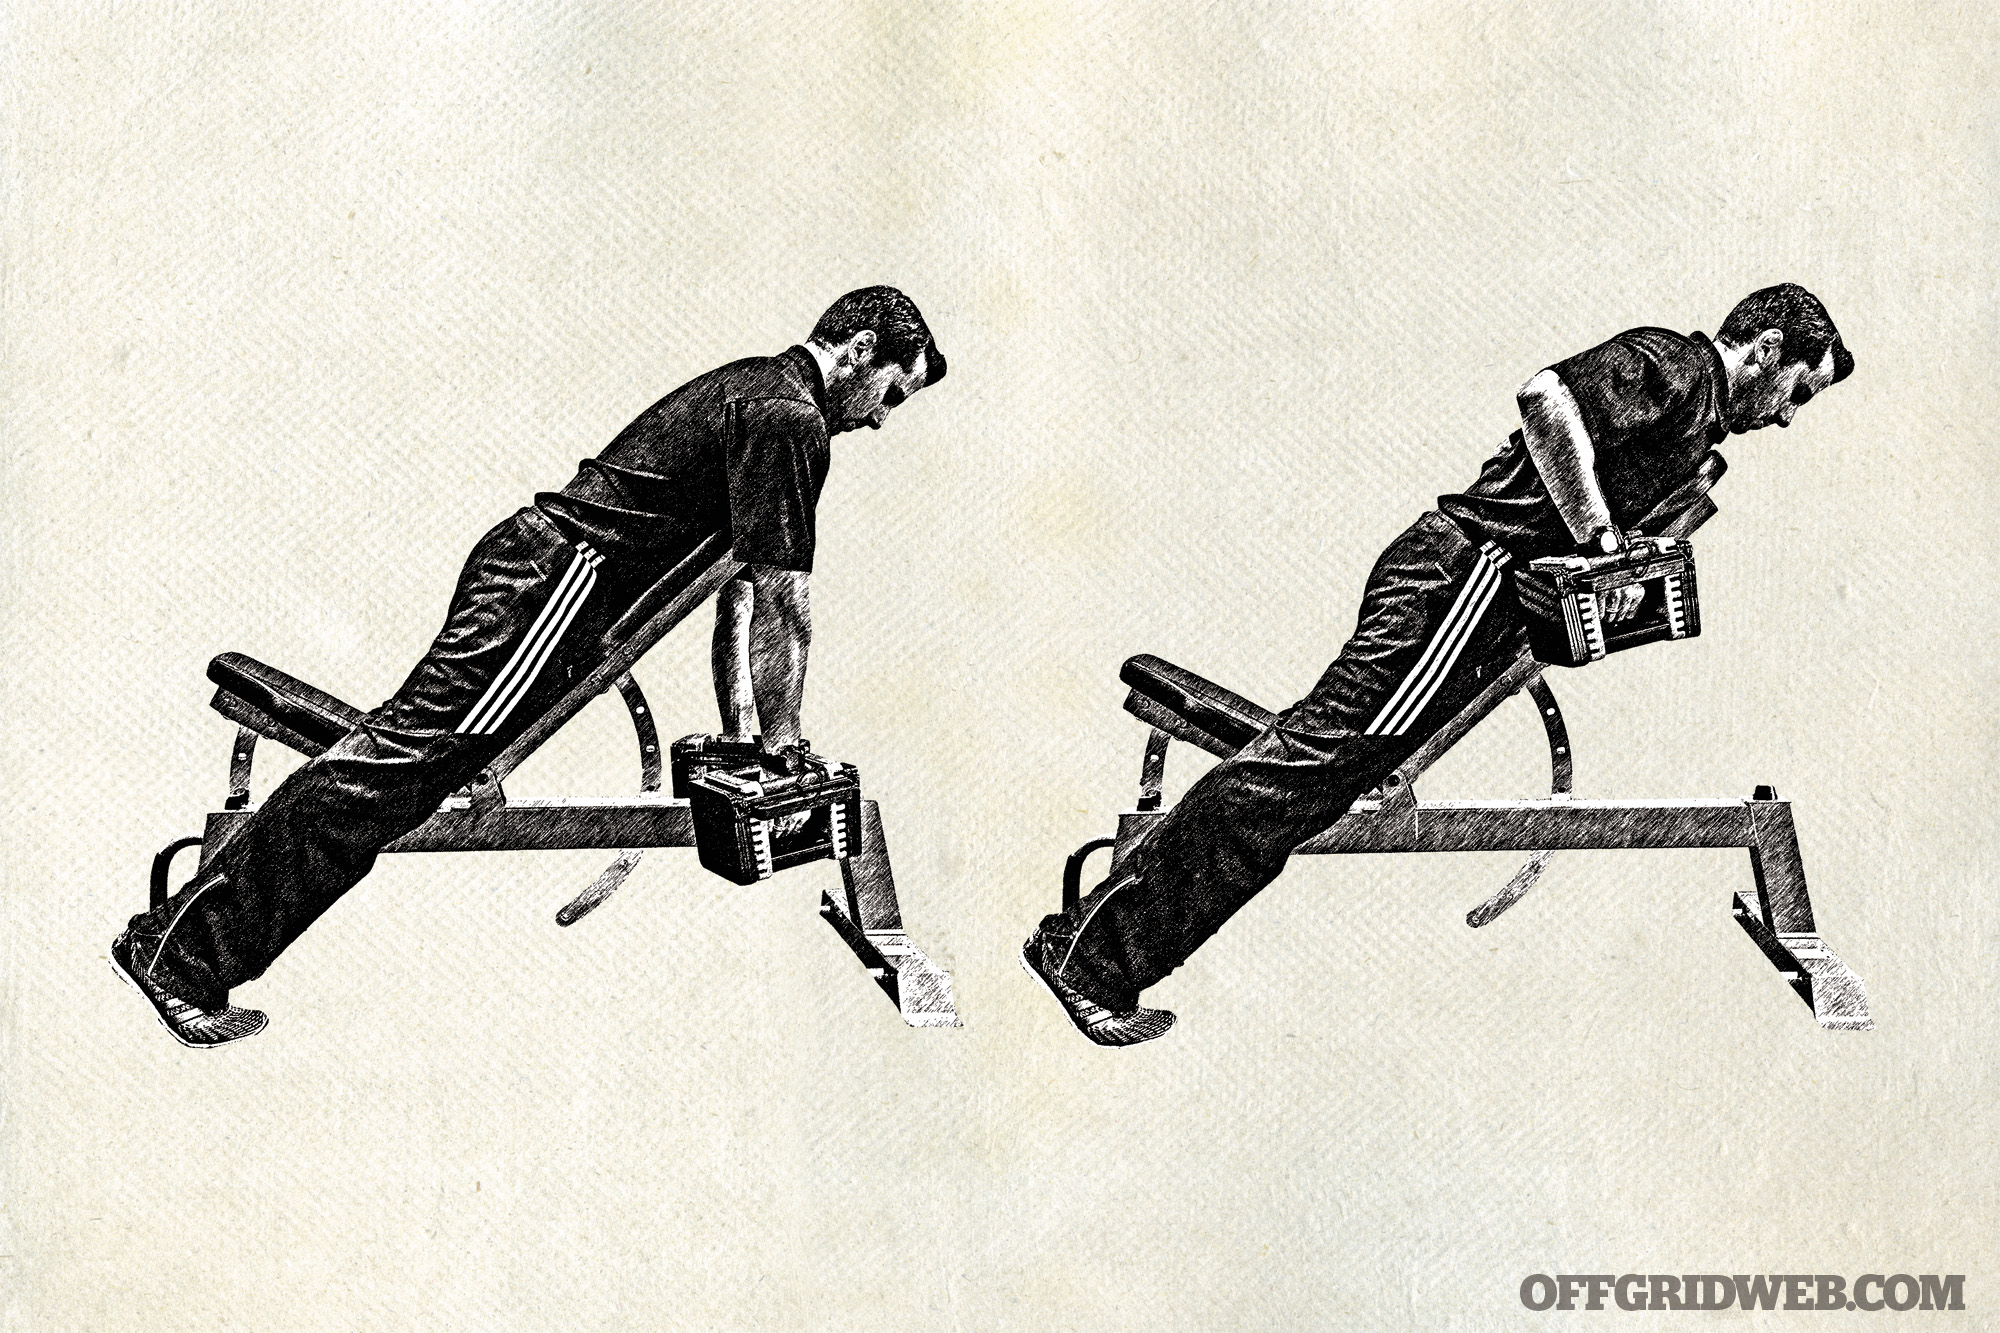
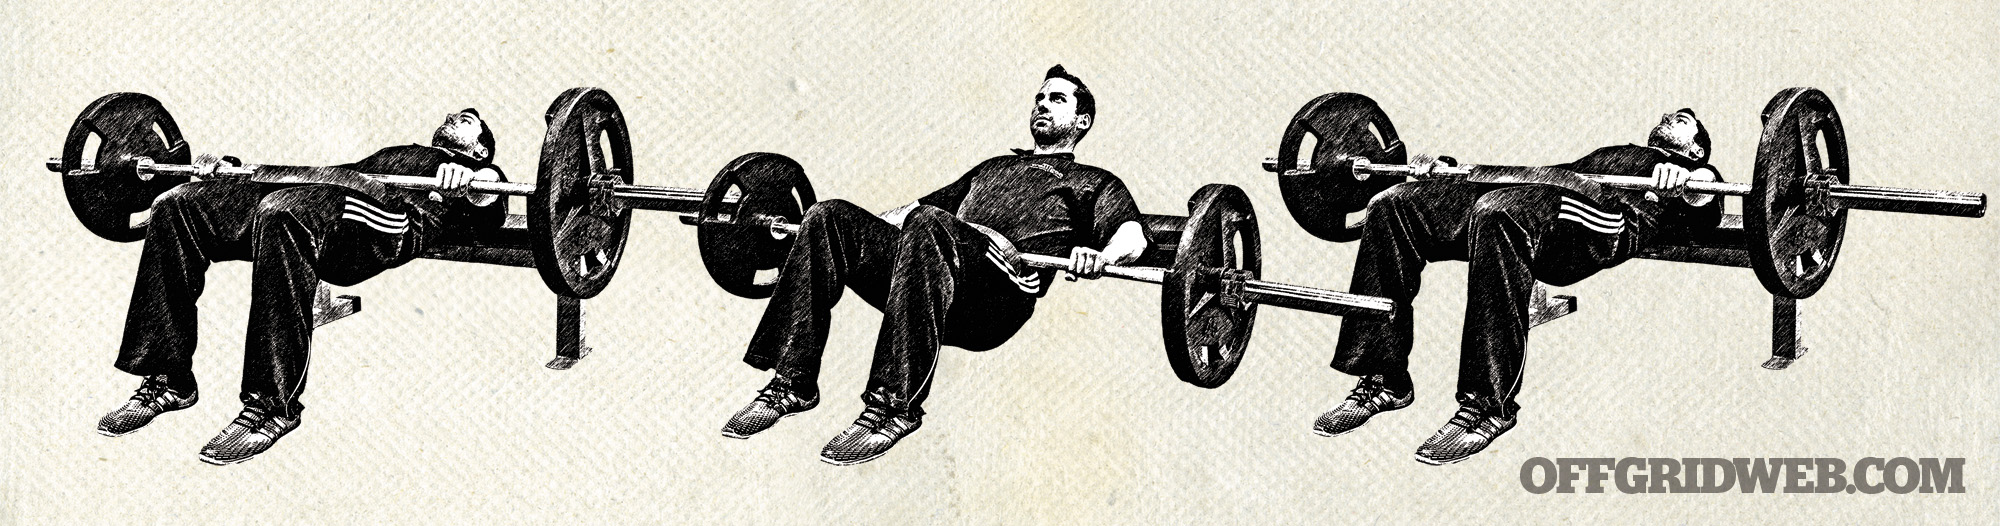
The other exercise that bears mentioning is more of an unconventional one, but it’s a great way to still work your backside without risking further pain or injury. The exercise is a hip thrust, and it can be done with no weight, heavy weight, bands, on one leg, or two legs. Because the pull of gravity (therefore, the weight) is from front to back, this won’t bother your back. Just make sure you’re doing it correctly. Here’s how to do the double-leg hip thrust:
- Begin with your shoulders across a bench. The edge of the bench should be just below your shoulder blades.
- Position your feet below your knees, about 3 to 5 inches further forward.
- If using a weight, place it right on the lower part of your stomach or in front of your hips. You should use a pad for comfort.
- Drive your heels through the floor, exhale forcefully, and squeeze your butt at the top.
- Hold for a two-second count, and slowly return to the starting position.
- If you feel this in your back, you’re arching it to move the weight up. Emphasize exhaling and you press, and make sure you’re pushing through your heels.
Knee Injury
Knee injuries should be handled in an opposite way compared to back injuries. Avoid lower-body movements that keep you very upright because that will put more stress on your knee joint. The same exercises discussed previously in the back pain section that we should incorporate are the ones we should avoid with knee injuries. We want to include movements that require our hips to move backward (with a flat lower back) because now we’re making a tradeoff — less stress on the knees and more stress on the hips.
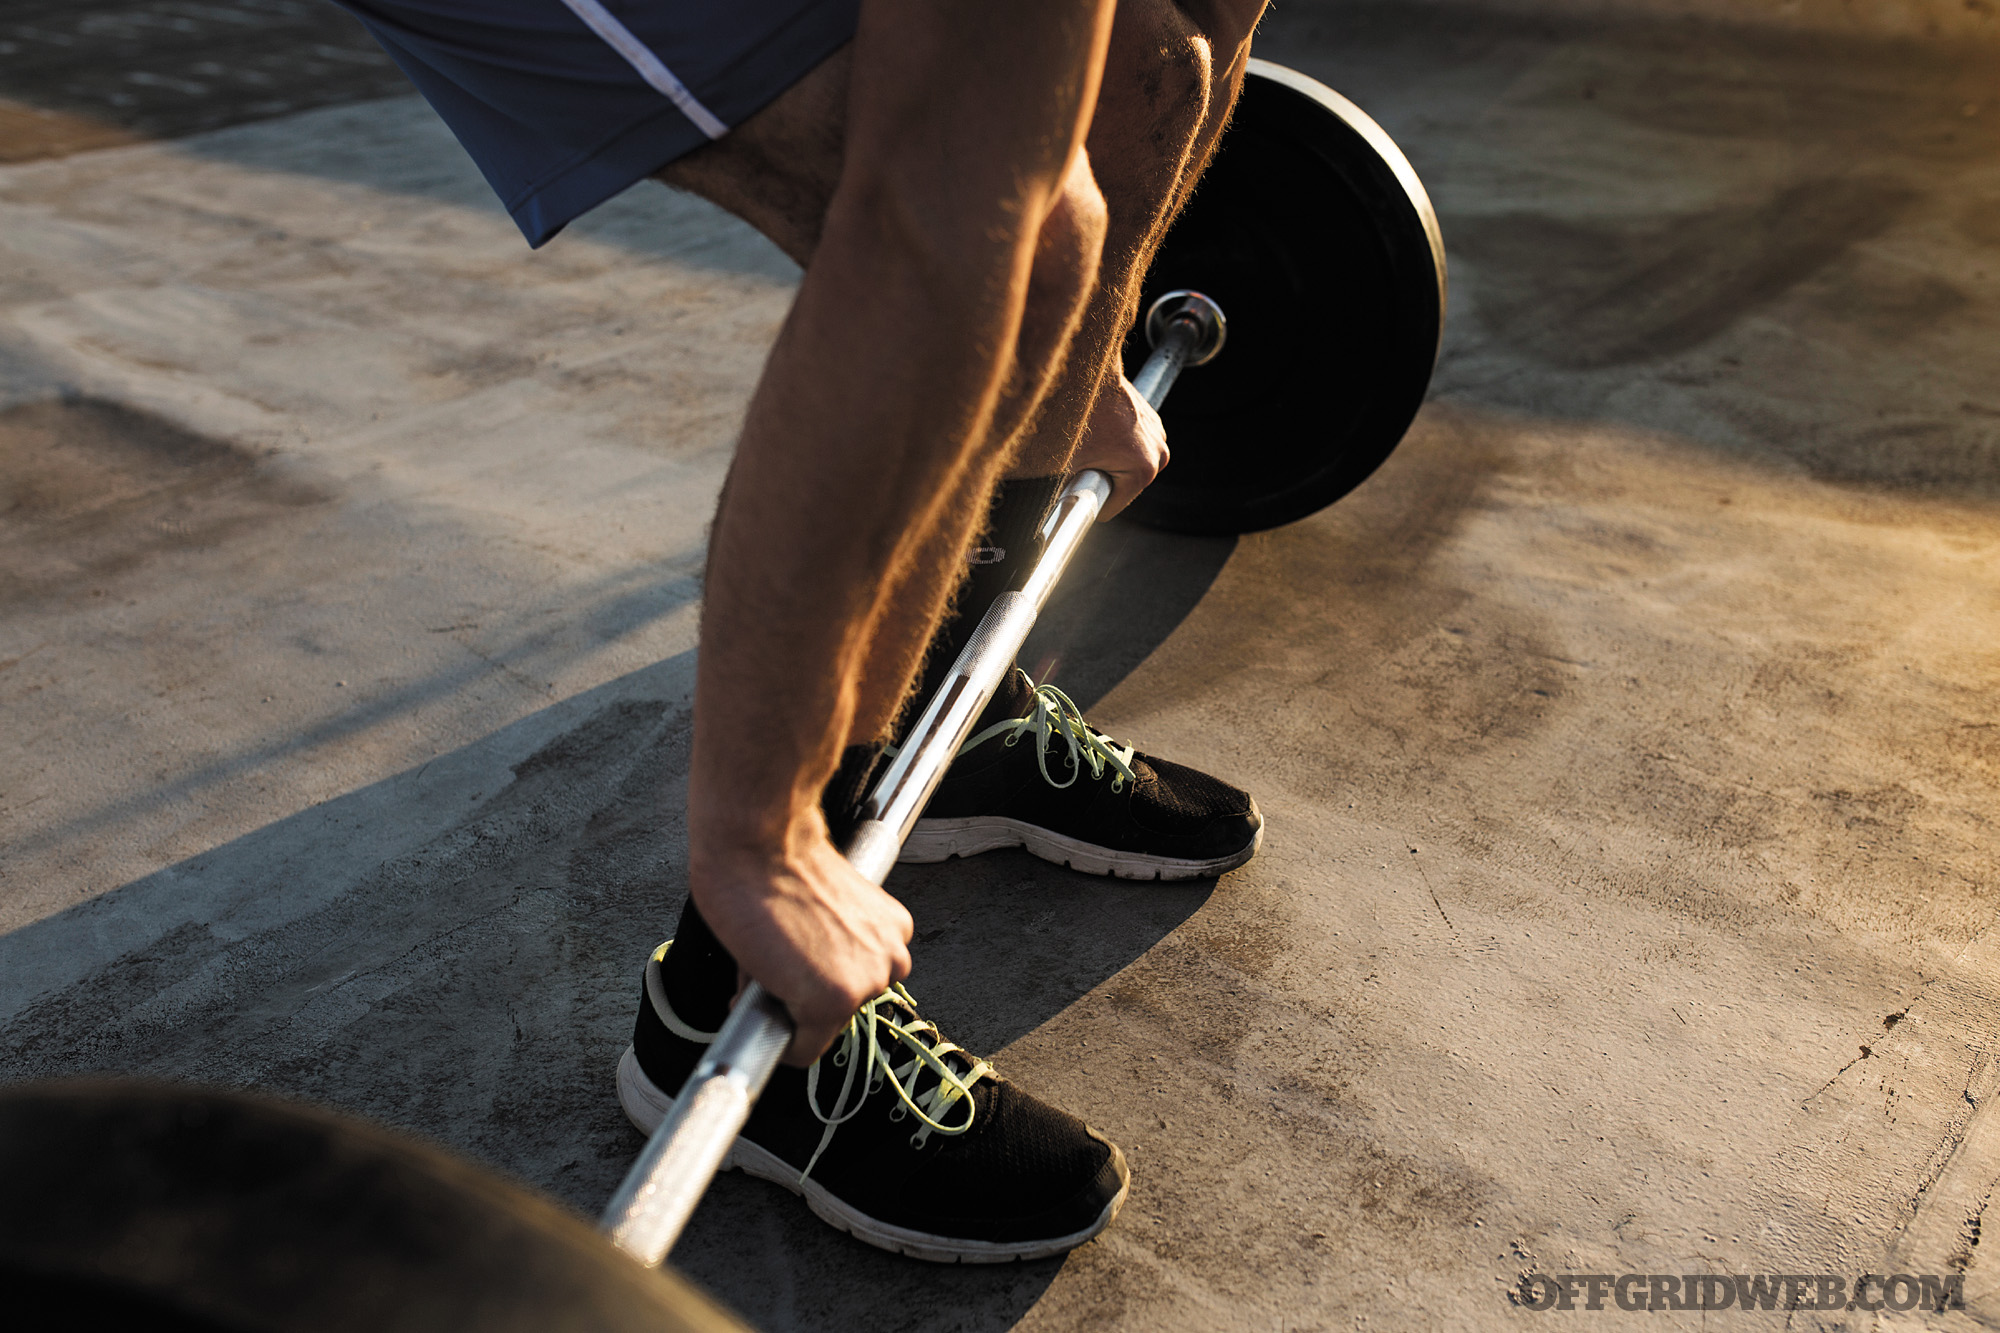
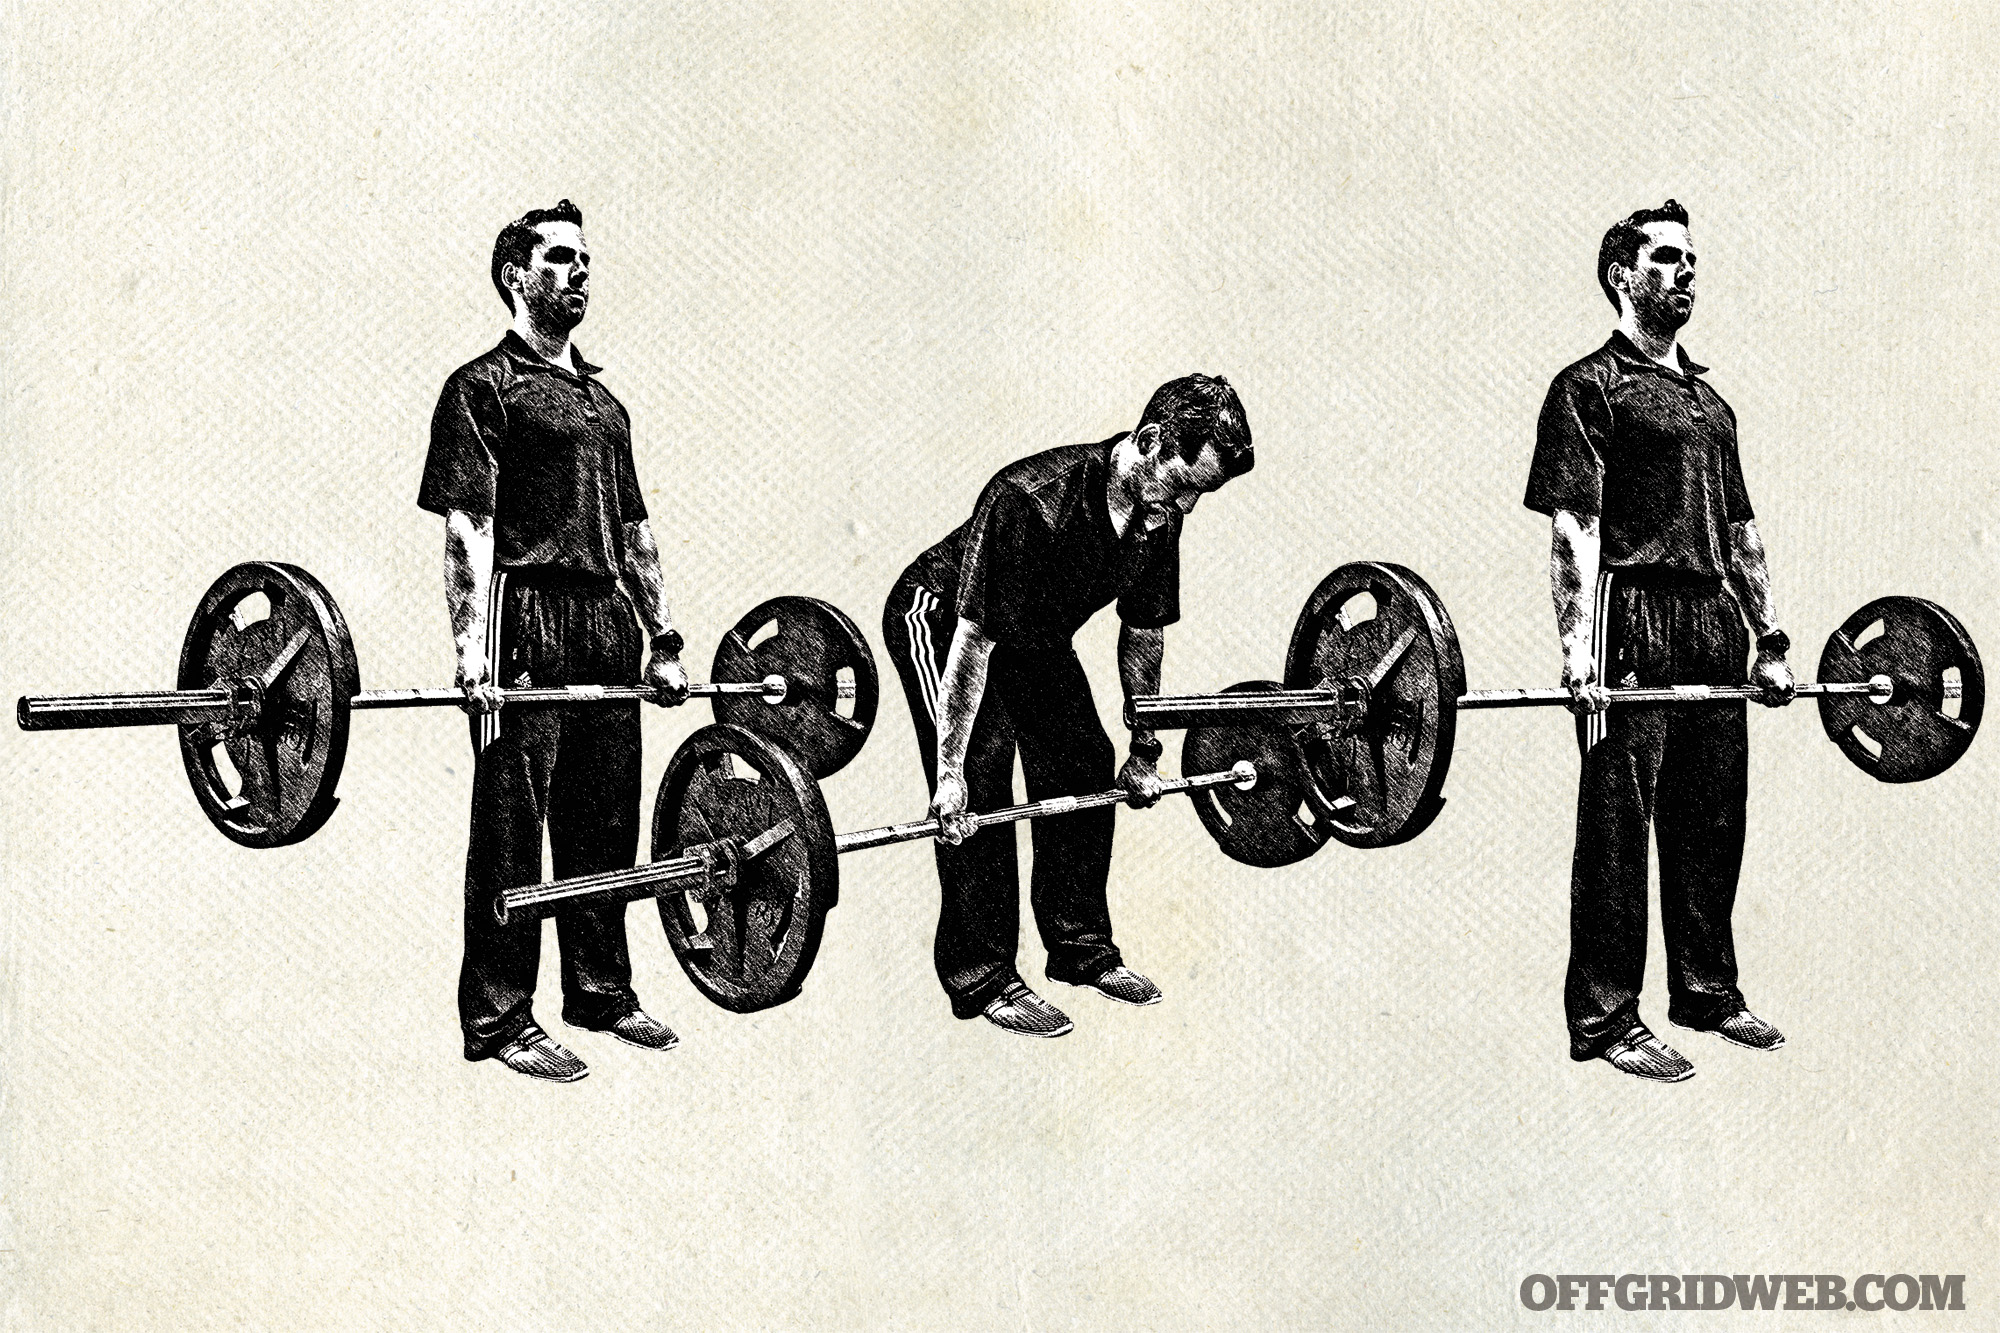
Generally speaking, exercises where the weight is on your back or in front of you below waist-level are safer. Some great lower-body exercise options for knee injuries include the deadlifting variations (particularly the Romanian Deadlift), hip thrusts, and reverse lunges (when done properly).
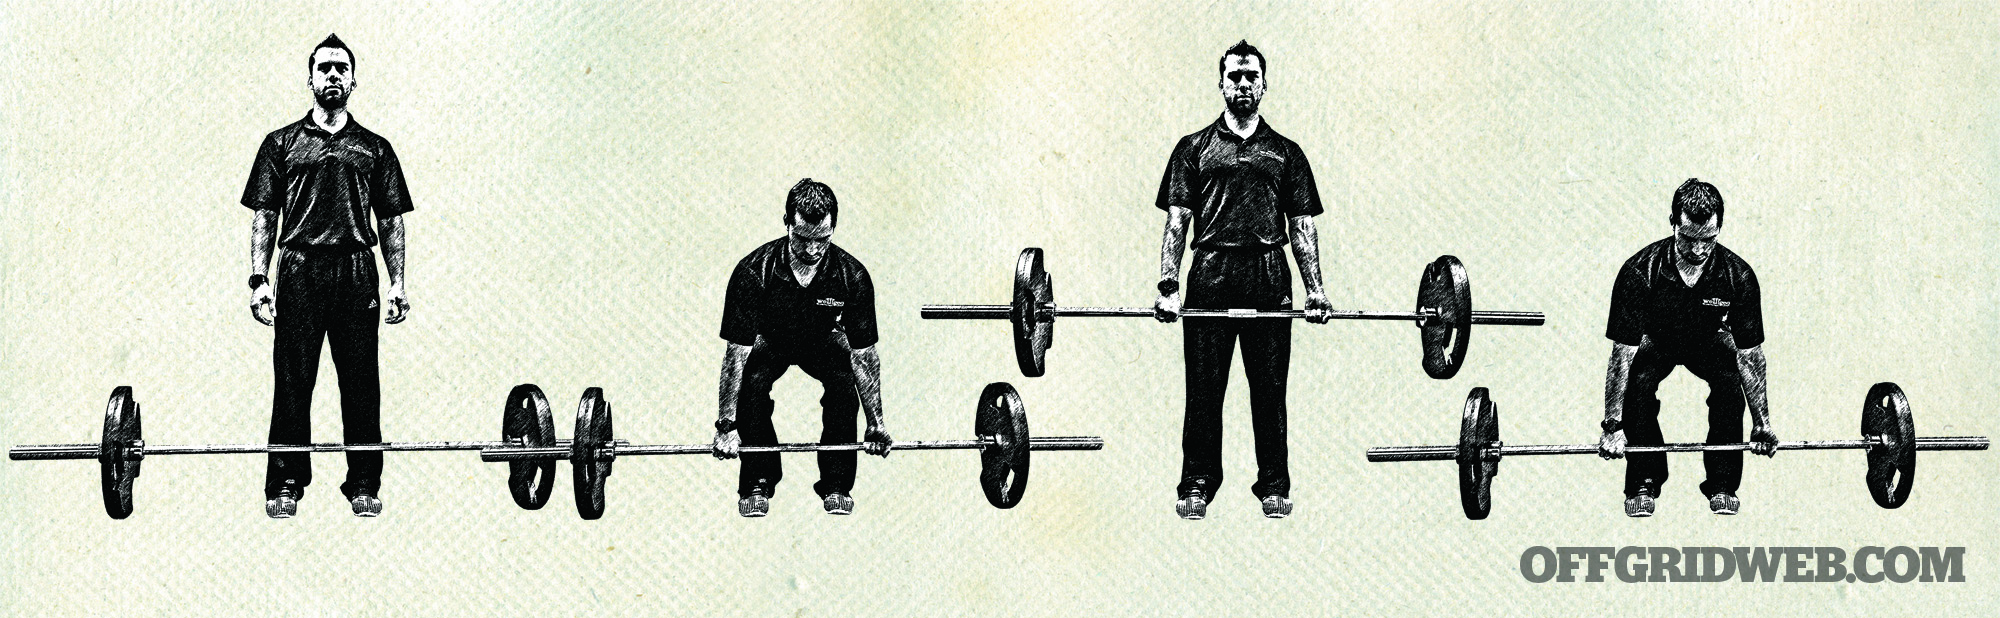
Here’s how to properly perform the Romanian Deadlift:
- Begin with dumbbells or a bar in front of your thighs at arms’ length. If using a bar, your hands should be just outside your thighs.
- Soften your knees and drive your hips straight backward keeping your lower back flat.
- Lower until you feel a decent stretch in your hamstrings, or until the bar is just below your knees.
- Forcefully push your feet through the floor and squeeze your butt to stand up. Stand tall at the top.
Remember, too, we also have a perfectly healthy leg to train. Don’t neglect it.
Sample Programming For Common Injuries
Let’s put everything together, and see what a program would look like for each area.
Shoulder Injury Program
| EXERCISE | SETS | REPS | REST |
|---|---|---|---|
| A1. Barbell Deadlift | 4-5 | 3-5 | 60-90 Seconds |
| A2. Standing Low Cable Row | 4 | 8 | 60 Seconds |
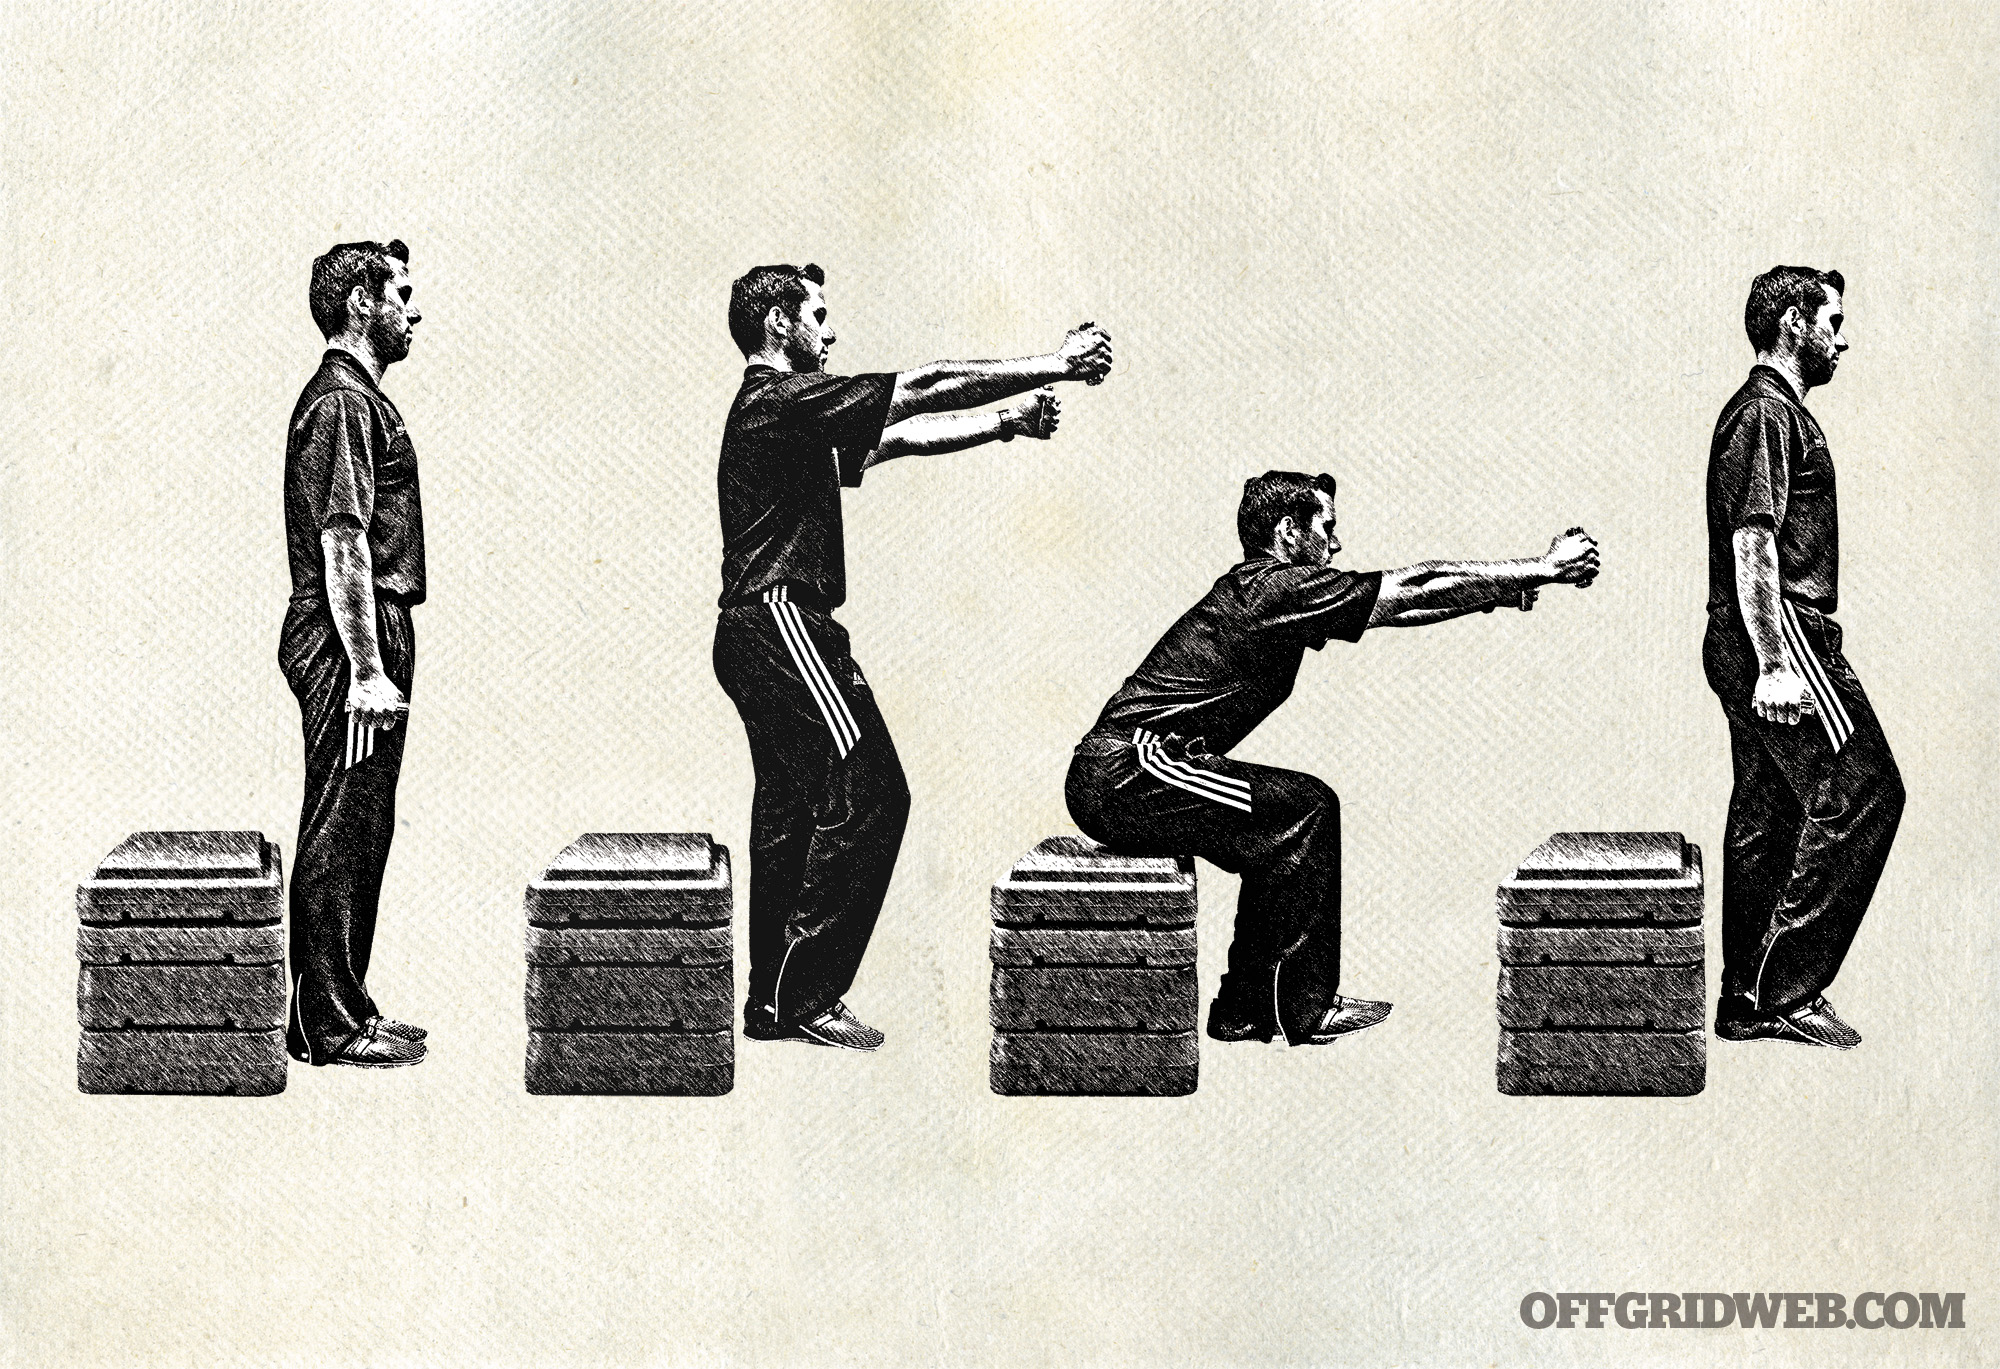
| B1. Dumbbell Step-Up | 3 | 8 Each | 45-60 Seconds |
| B2. Standing Low Cable Chest Press | 3 | 10 | 45 Seconds |
| B3. Dead Bug | 3 | 5 Each | 30 Seconds |
Lower Back Injury Program
| EXERCISE | SETS | REPS | REST |
|---|---|---|---|
| A1. Barbell Bench Press | 4-5 | 4 | 60-90 Seconds |
| A2. Double-Leg Hip Thrust | 4 | 8 | 60 Seconds |
| B1. Chest-Supported Dumbbell Row | 3 | 8 | 45-60 Seconds |
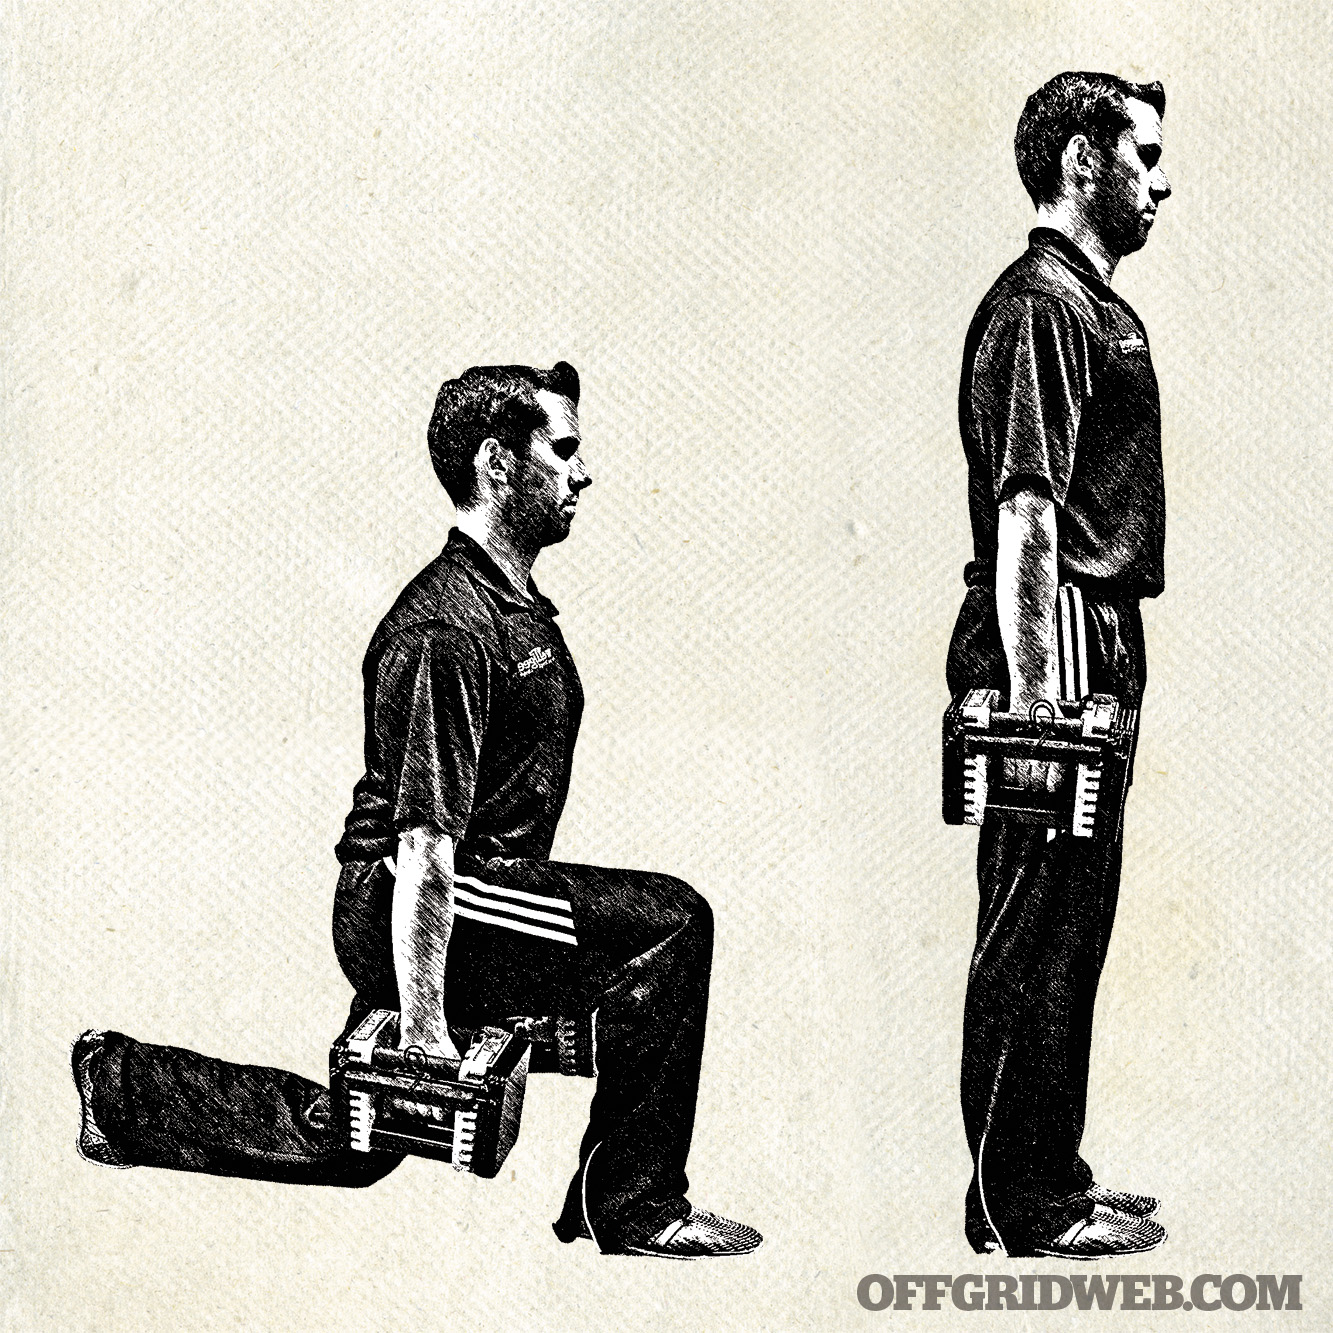
| B2. Dumbbell Reverse Lunge | 3 | 8 Each | 45 Seconds |
| B3. Standing Anti-Rotation Press | 3 | 10 Each | 30 Seconds |
Knee Injury Program
| EXERCISE | SETS | REPS | REST |
|---|---|---|---|
| A1. Barbell Romanian Deadlift | 4 | 6 | 60 Seconds |
| A2. Chin-Up | 3 | 6 | 60 Seconds |
| B1. Single-Leg Hip Thrust | 3 | 8-10 Each | 45-60 Seconds |
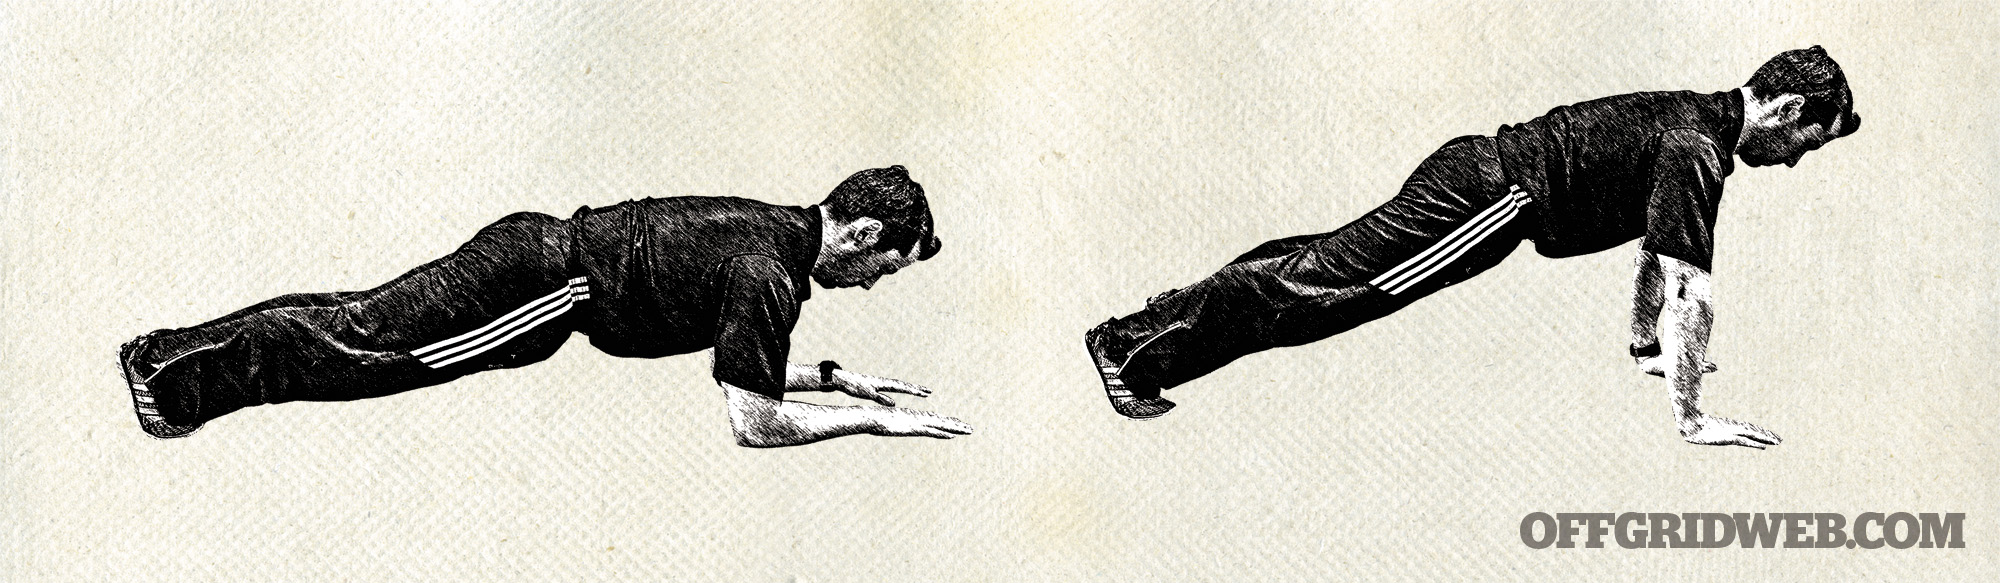
| B2. Push-Up | 3 | 10-12 | 45 Seconds |
| B3. Plank | 3 | 35 Seconds | 30 Seconds |
Tips to Accelerate Recovery
During the early stage of injury when inflammation is present, consume healthy, anti-inflammatory fats, such as:
- Avocados
- Nuts
- Fatty fish or fish oil
- Seeds like flax
Once the inflammation has subsided, shift the focus to recovery and repair by eating more of these:
- Calories in general, with extra protein
- Vitamins A and C
- Zinc
In general, make sure you’re getting at least eight hours of sleep.
Conclusion
When it’s all said and done, training when injured isn’t all that difficult, is it? Some common sense mixed with an intelligent plan is all you need. When in doubt, use the “does this hurt?” test, which is quite simple. If it hurts, don’t do it. Other than that, be careful, and use this article as a reference to keep making progress, both in your fitness level and injury recovery.
About The Author
Ryne Gioviano is the owner of Achieve Personal Training & Lifestyle Design. He holds a master’s degree in exercise physiology and is a certified personal trainer through the National Strength and Conditioning Association. For more information, visit www.achieve-personaltraining.com. You can find Ryne on Twitter and Instagram at @RGioviano.
More From Issue 14
Don’t miss essential survival insights—sign up for Recoil Offgrid’s free newsletter today.
- Grid-Down Chef: 6 Outdoor Cooking Methods
- Pain-Free Programming: Safely Train Through Injuries
- From Dusk Till Dawn: The Basics of Surviving the Night
- Wet T-Shirt Contest: Moisture-Wicking Shirt Guide
- Tips for Efficiently Packing Your Bug-Out Bag
- Wrong Place, Wrong Time: Surviving a Coup D’état
- What If a Coup Occurs During Your Vacation Abroad?
- Kukri Buyer’s Guide – Ahead of the Curve
- Making the Cut: Kukri History & Practical Use
- High-Visibility Flashlights
Read articles from the next issue of Recoil Offgrid: Issue 15
Read articles from the previous issue of Recoil Offgrid: Issue 13
Editor’s Note: This article has been modified from its original print version for the web.
