Abduction scenarios can originate in a myriad of ways. It’s not always about guys in ski masks jumping out of a panel van and putting you in zip-ties. Many of the students who’ve been through the training that I’ve provided over the years dealing with counter-custody have actually faced situations of irregular custody. This may involve being restrained illegally within the confines of their own community by people they actually know, or during home-invasion situations. So, don’t close yourself off to the possibilities of this being a threat in your environment. It’s not something you only need to think about or prepare for if you travel outside of your hometown or country.
The Feathered Snake Eating its Tail

For our intents and purposes, we’re going to be focusing on abduction and kidnapping for ransom, being used as a political hostage, for retribution, or as access to someone else’s monetary means. Although each of these situations have a different purpose behind them, they usually have the same planning and action process or cycle.
Selection and Surveillance
The first part of the cycle is selection. Criminal groups will select an individual out of the many or out of a specific group that holds a known value to them, be it because of their economic means, the means of the company they represent, their social circle, nationality, religion, or just because he or she is in possession of something they want.

Selection happens in many ways, but one of the most current trends is exploiting openly accessible online social media — especially the social media of the victim’s families and associates — to gather information pertaining to the victim. This typically includes his or her day-to-day patterns, family ties that could be exploited psychologically later on, any sign of financial means, and possible future scheduling opportunities for criminals to make a move on a potential mark. It’s not all just standing outside of an airport scanning a crowd nowadays. Things have gone digital, even in the most low-tech environments. Most people already have the most effective information-gathering device on the planet in their hands: a smartphone.
One common thing criminals look at when it comes to selecting a potential victim are patterns of behavior and predictability of movement — that is, the ability to predict where and when the individual being targeted will go. So, anything related to your mode of transportation, your arrival times, the hotel rooms you’re staying in, possible dinner plans, business meetings you may need to attend, or the locations of offices during a business trip, for example, have to be kept on a need-to-know basis. This is even necessary with the people closest to you or those you’re traveling with.
Simple things like keeping all of your information in written format on a piece of paper to hand over to a hotel clerk means he or she doesn’t have to say your name or room number out loud. This keeps people from acquiring that information if they’re casually listening to you at the check-in desk. There’s nothing wrong with being unpredictable. It’s about being harder to catch than the person next to you. Hindsight is 20/20.

Above: It can take less than a minute to get you out of a vehicle and into a trunk. Bound and en route to a second location is one of the worst situations to be in. In a kidnapping attempt, time is life.
One thing I always hear people recounting when I debrief after these events are situations or events around them that seemed suspicious, like people staring at them for a bit too long, or making phone calls around them, or the presence of various kids in sandals carrying smartphones getting on the phone every time they moved out of the hotel. Anything that’s the least bit suspicious must be documented. Take pictures or video immediately and use one of many secure apps like Signal to send to various people who you’ve complete confidence in. This will assist in creating a trail. Be as obvious as you want to about this — again, you want people to be aware you’re not going to be an easy target.

Game Plan
The second part of the process involves the formulation or creation of a plan and/or manufacture of a situation where you’re completely vulnerable to a direct abduction attempt or, as we liked to call it, a snatch or initial contact. This takes place after a surveillance cycle that may have started long before you got onto the plane or stepped out of your house. Surveillance could be mobile or static and, depending on who is doing it, might be very obvious to anyone with a trained eye. That’s why I always try to push the mindset of thinking like the bad guy, or as my friends from the contingency group say, “adversarial thinking.” (Editor’s Note: See our previous article “The Crimson Perception” in Issue 35 for more information on developing an adversarial mindset.)
If you want to make the best counter-ambush group on the planet, you teach them to be the best ambushers in the world. The same needs to apply to preparing people who might face this kind of threat. You want them to be able to prepare something like this for themselves. That’s why I do certain exercises in some of the training that I provide where students plan and try to pull off an abduction in a controlled training space. It’s a mental exercise that gives you lessons you’ll always carry with you. When you feel like you’re the subject of a surveillance attempt of any kind, your paranoia will be educated, and you can focus on the anomalies. Most places have a baseline, a set pattern of normality. If you pay attention, you can see these anomalies before they turn into a threat.
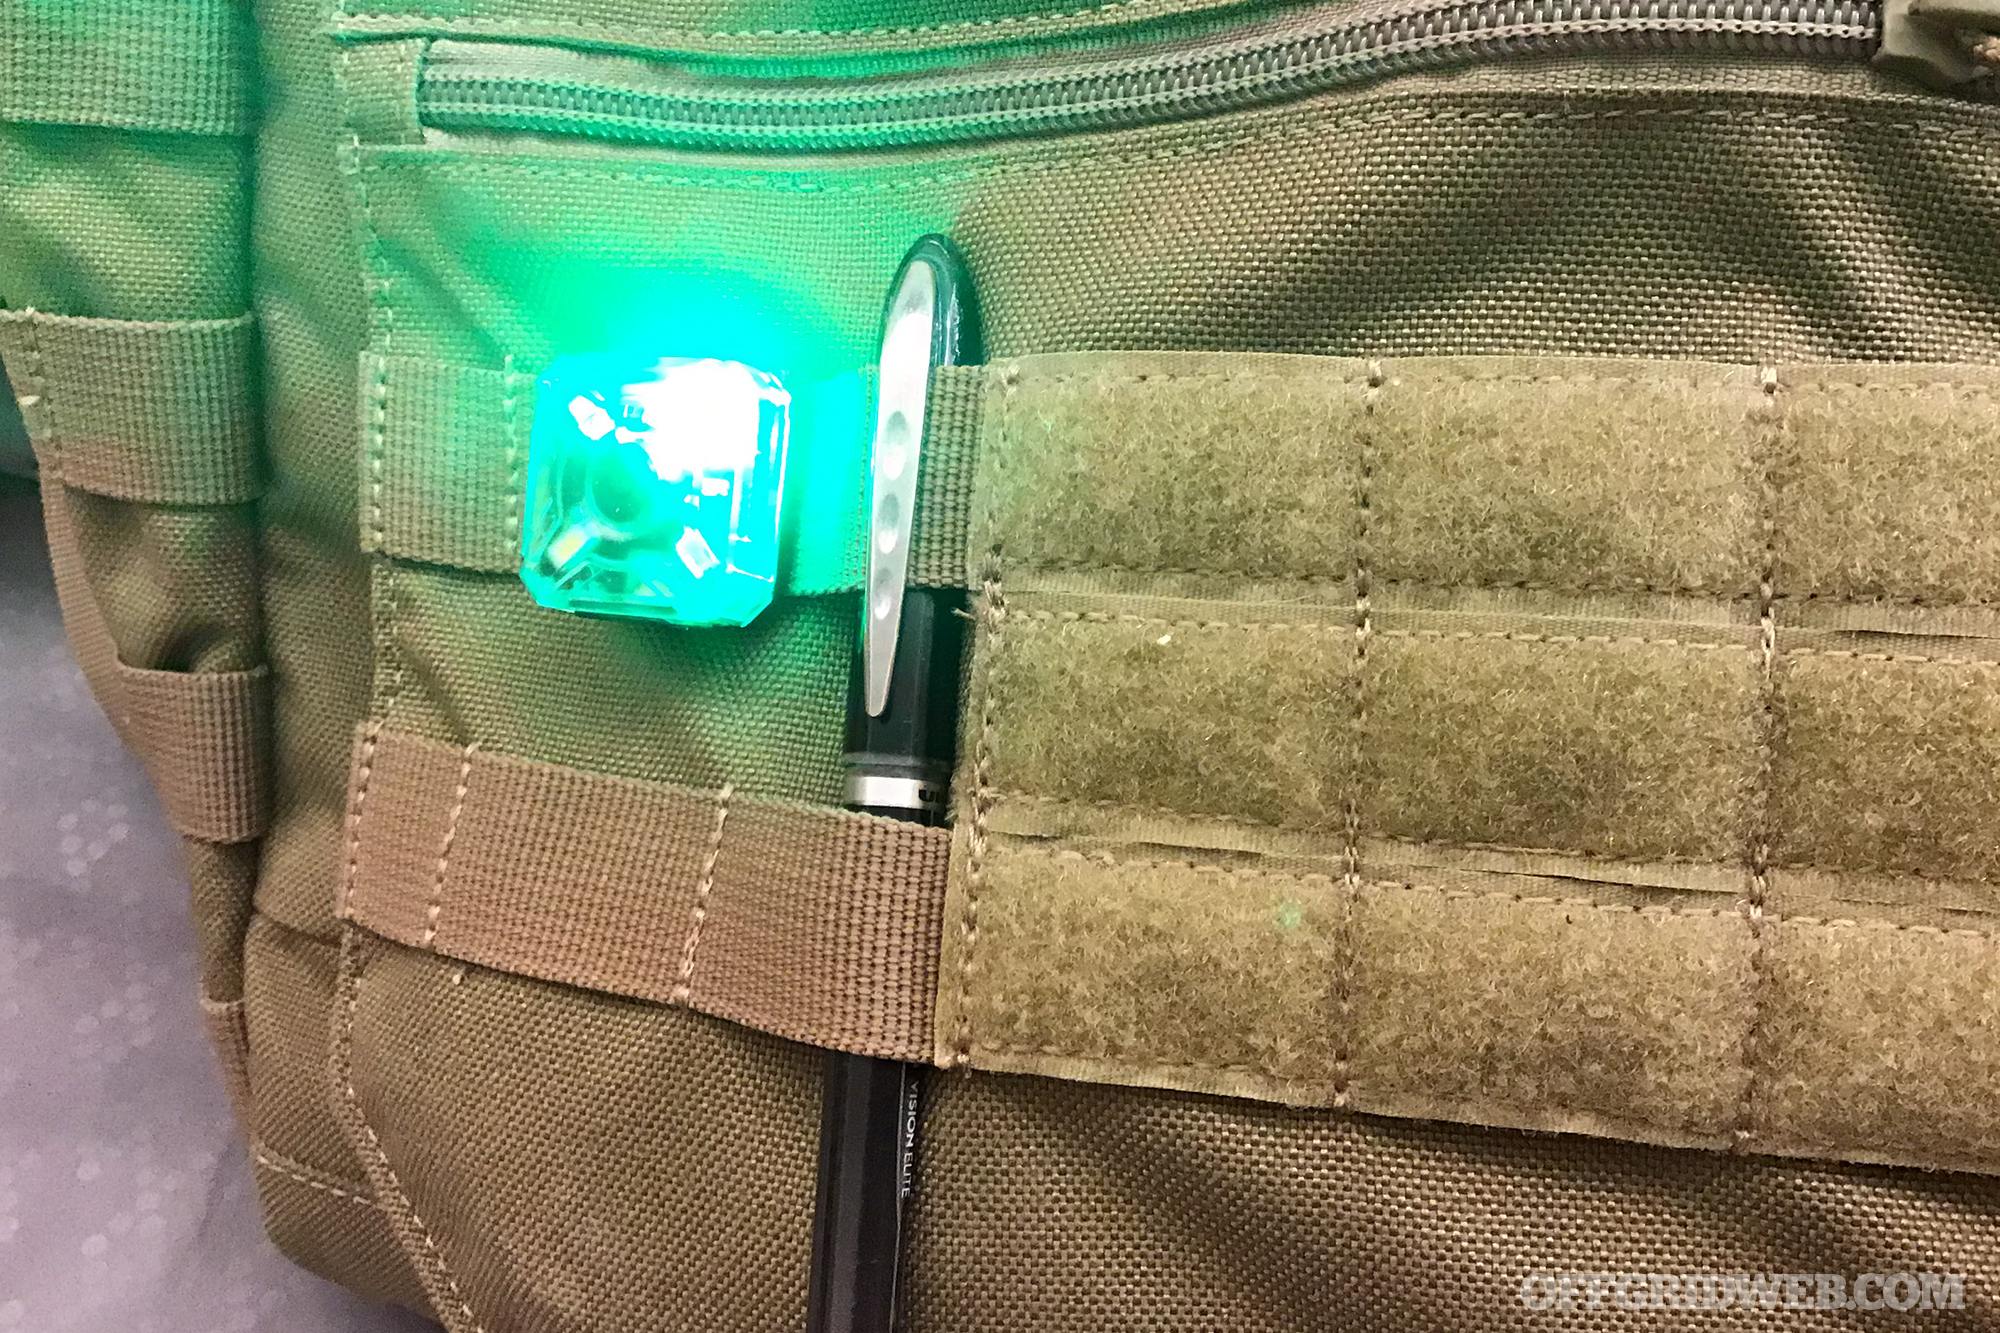
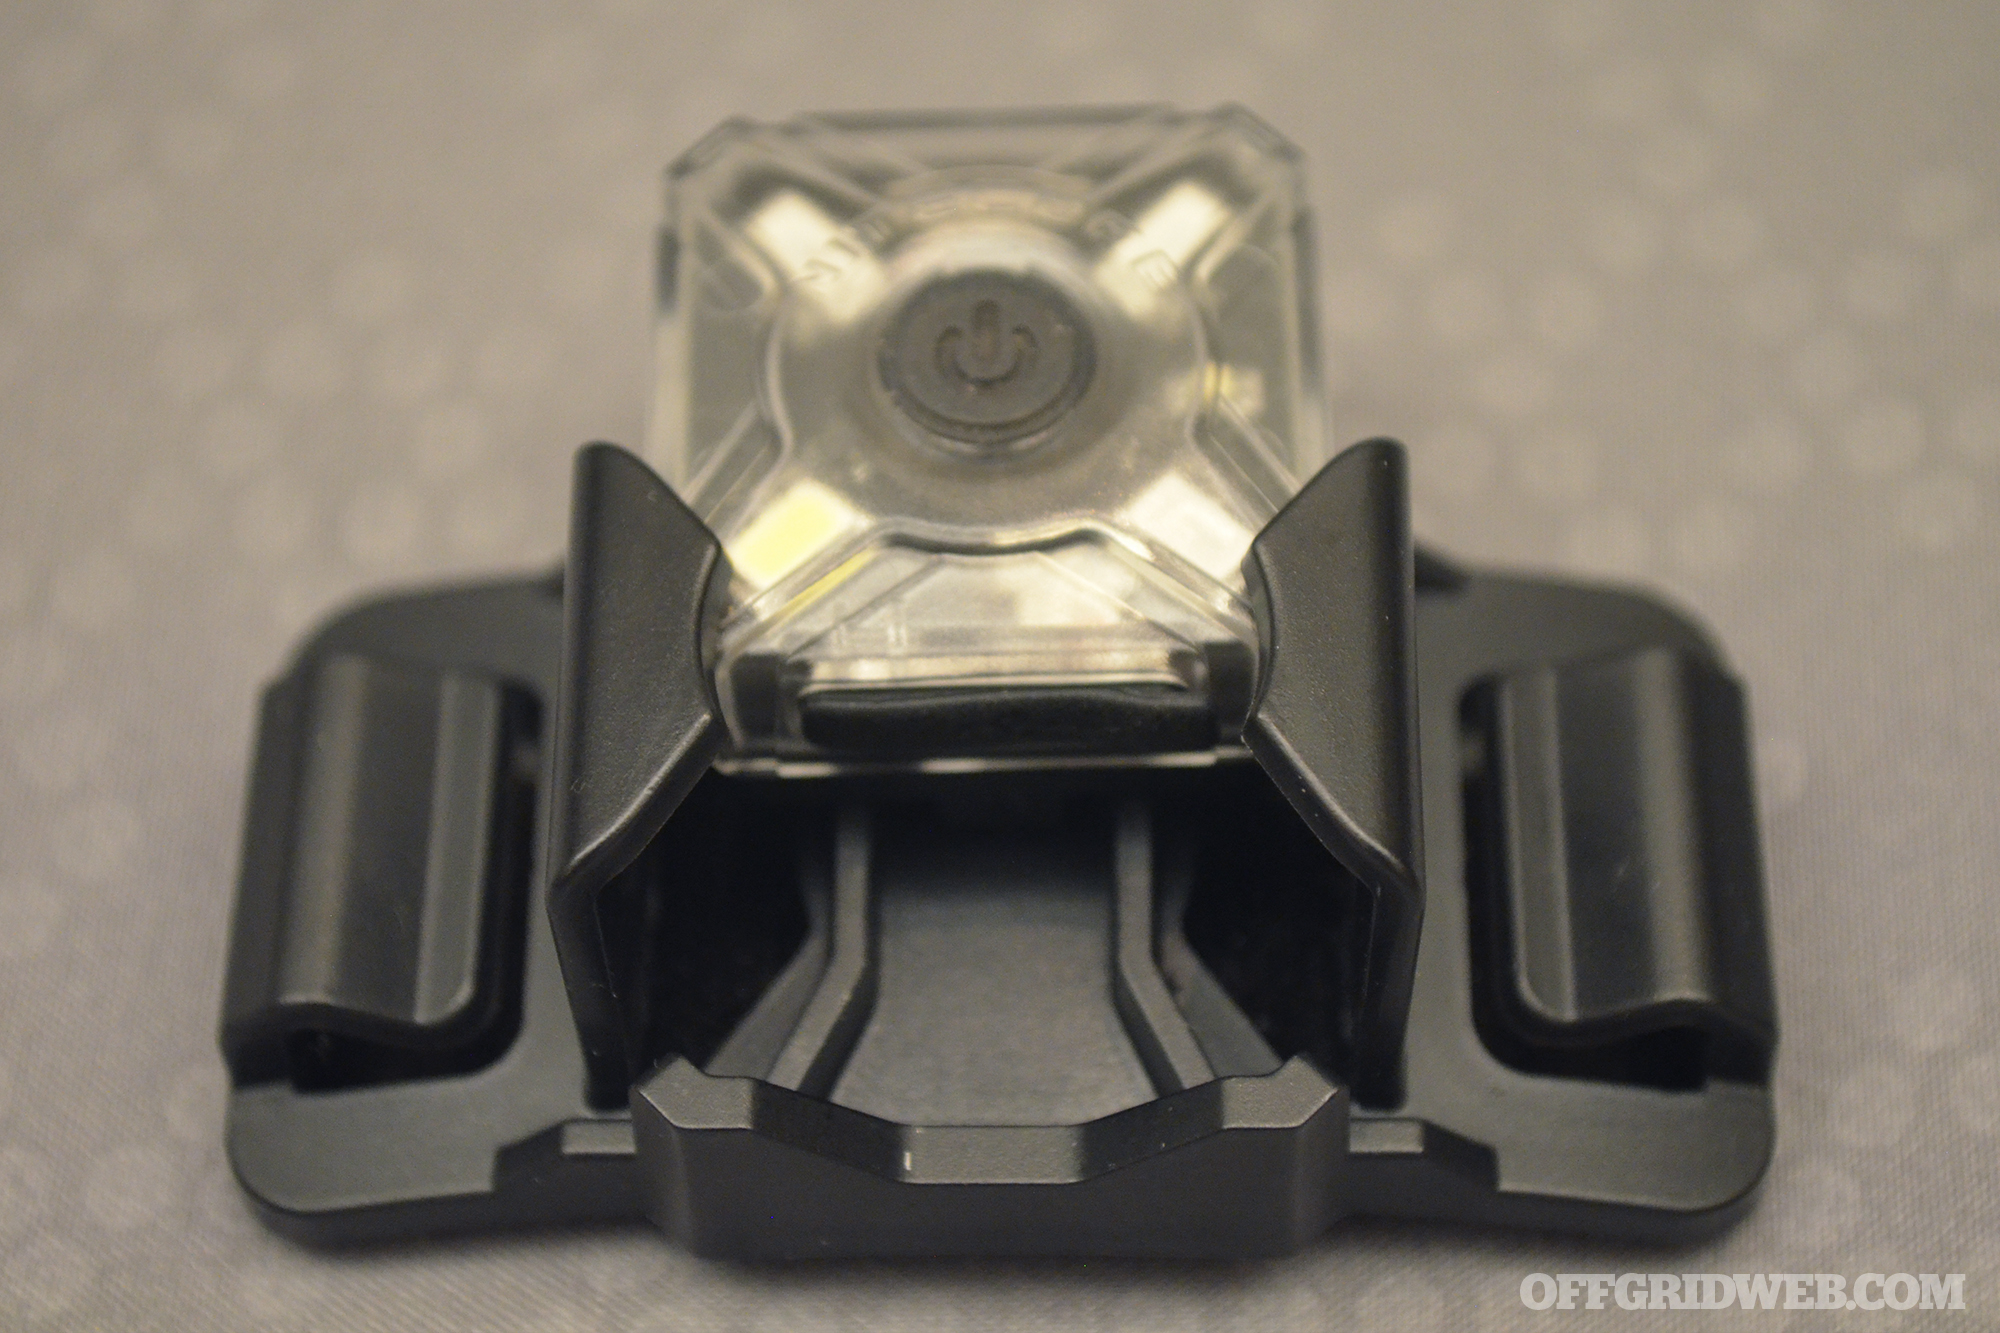
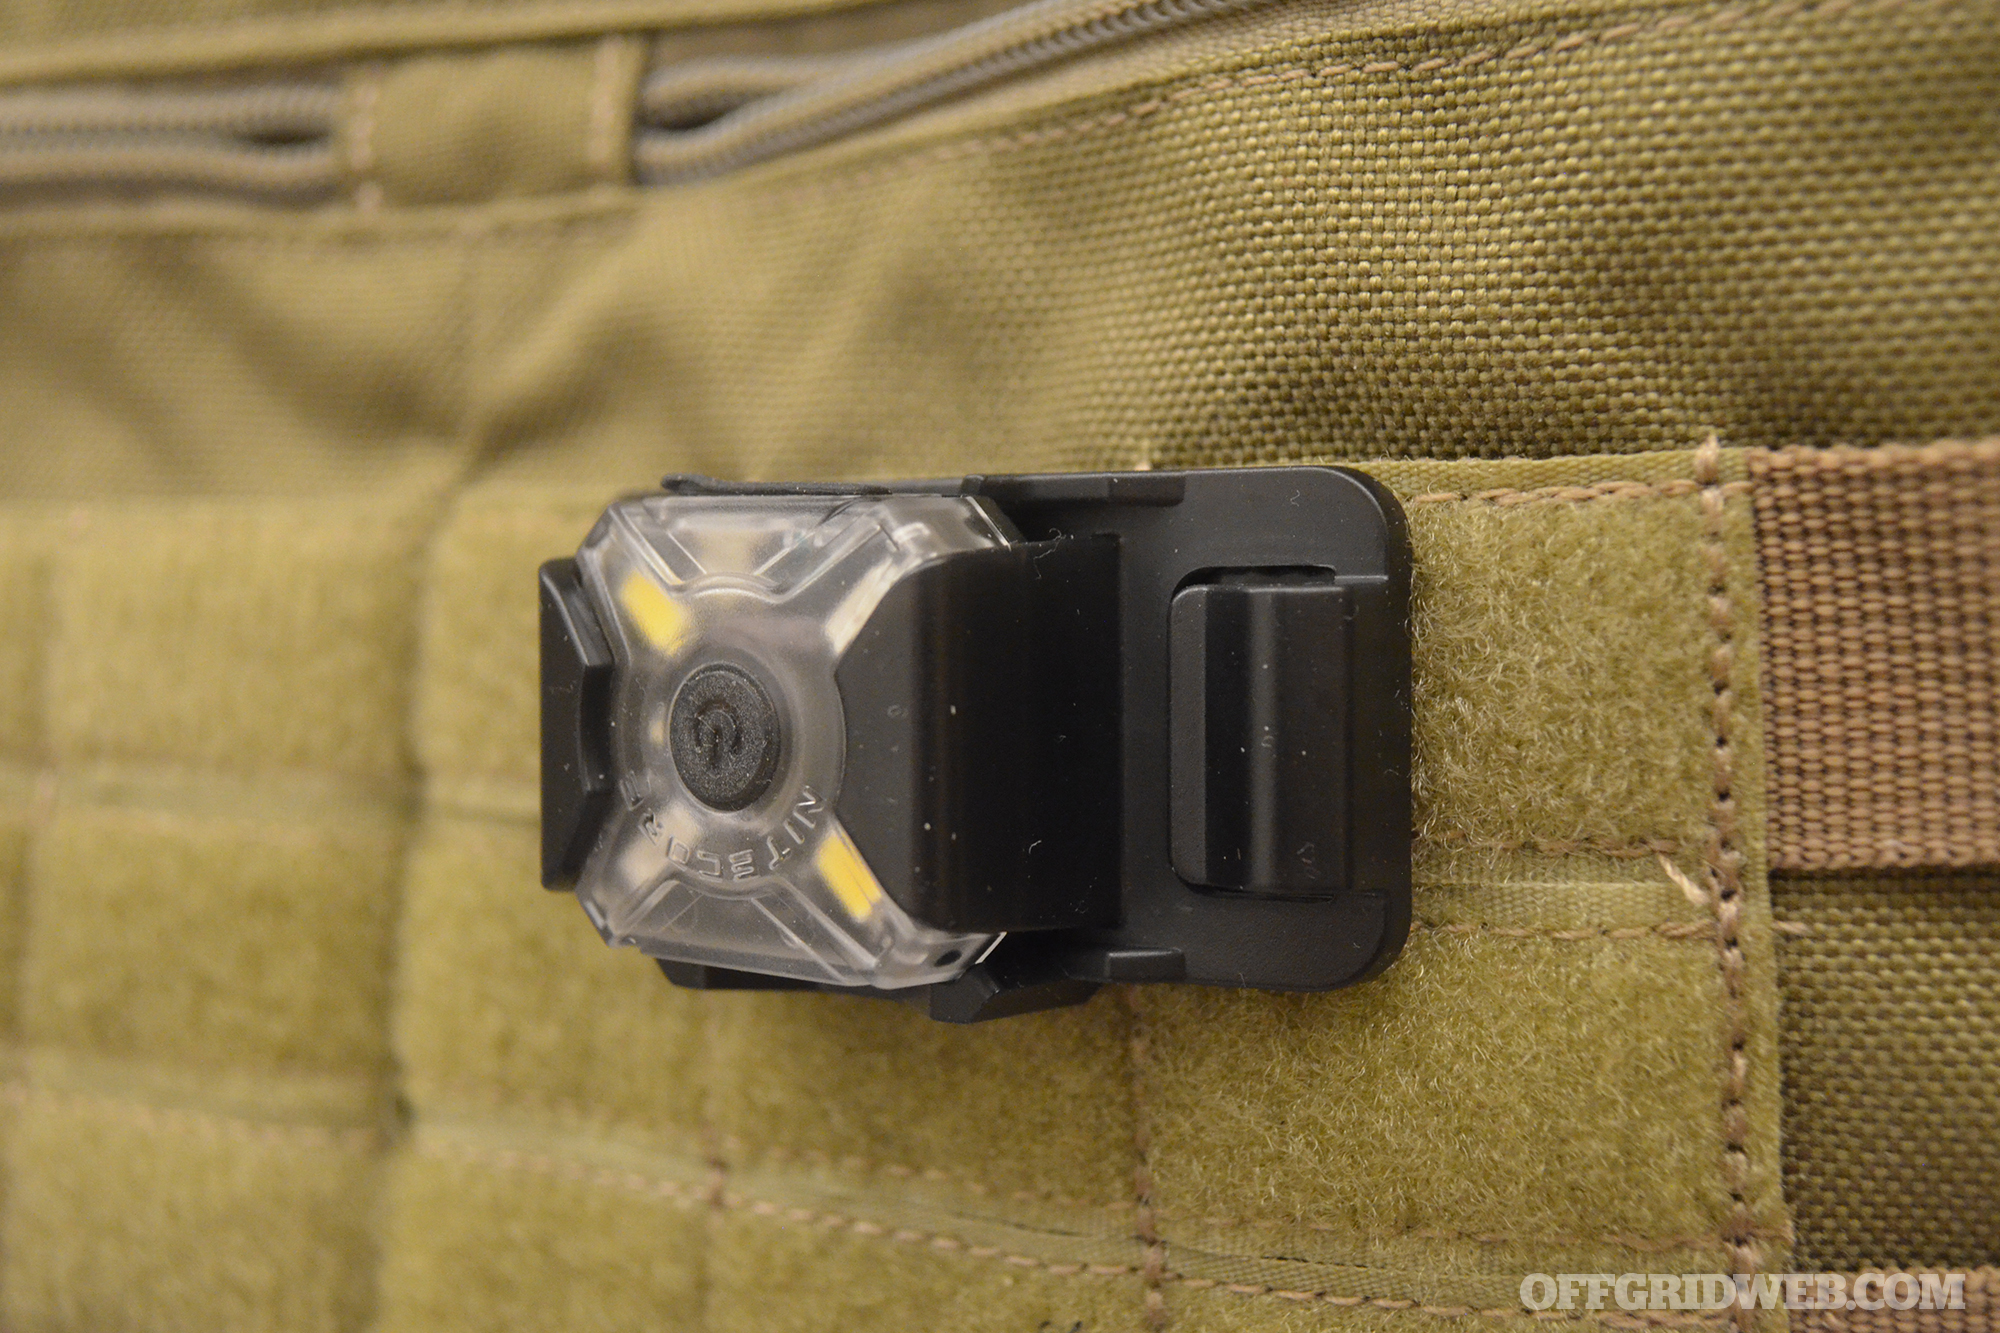
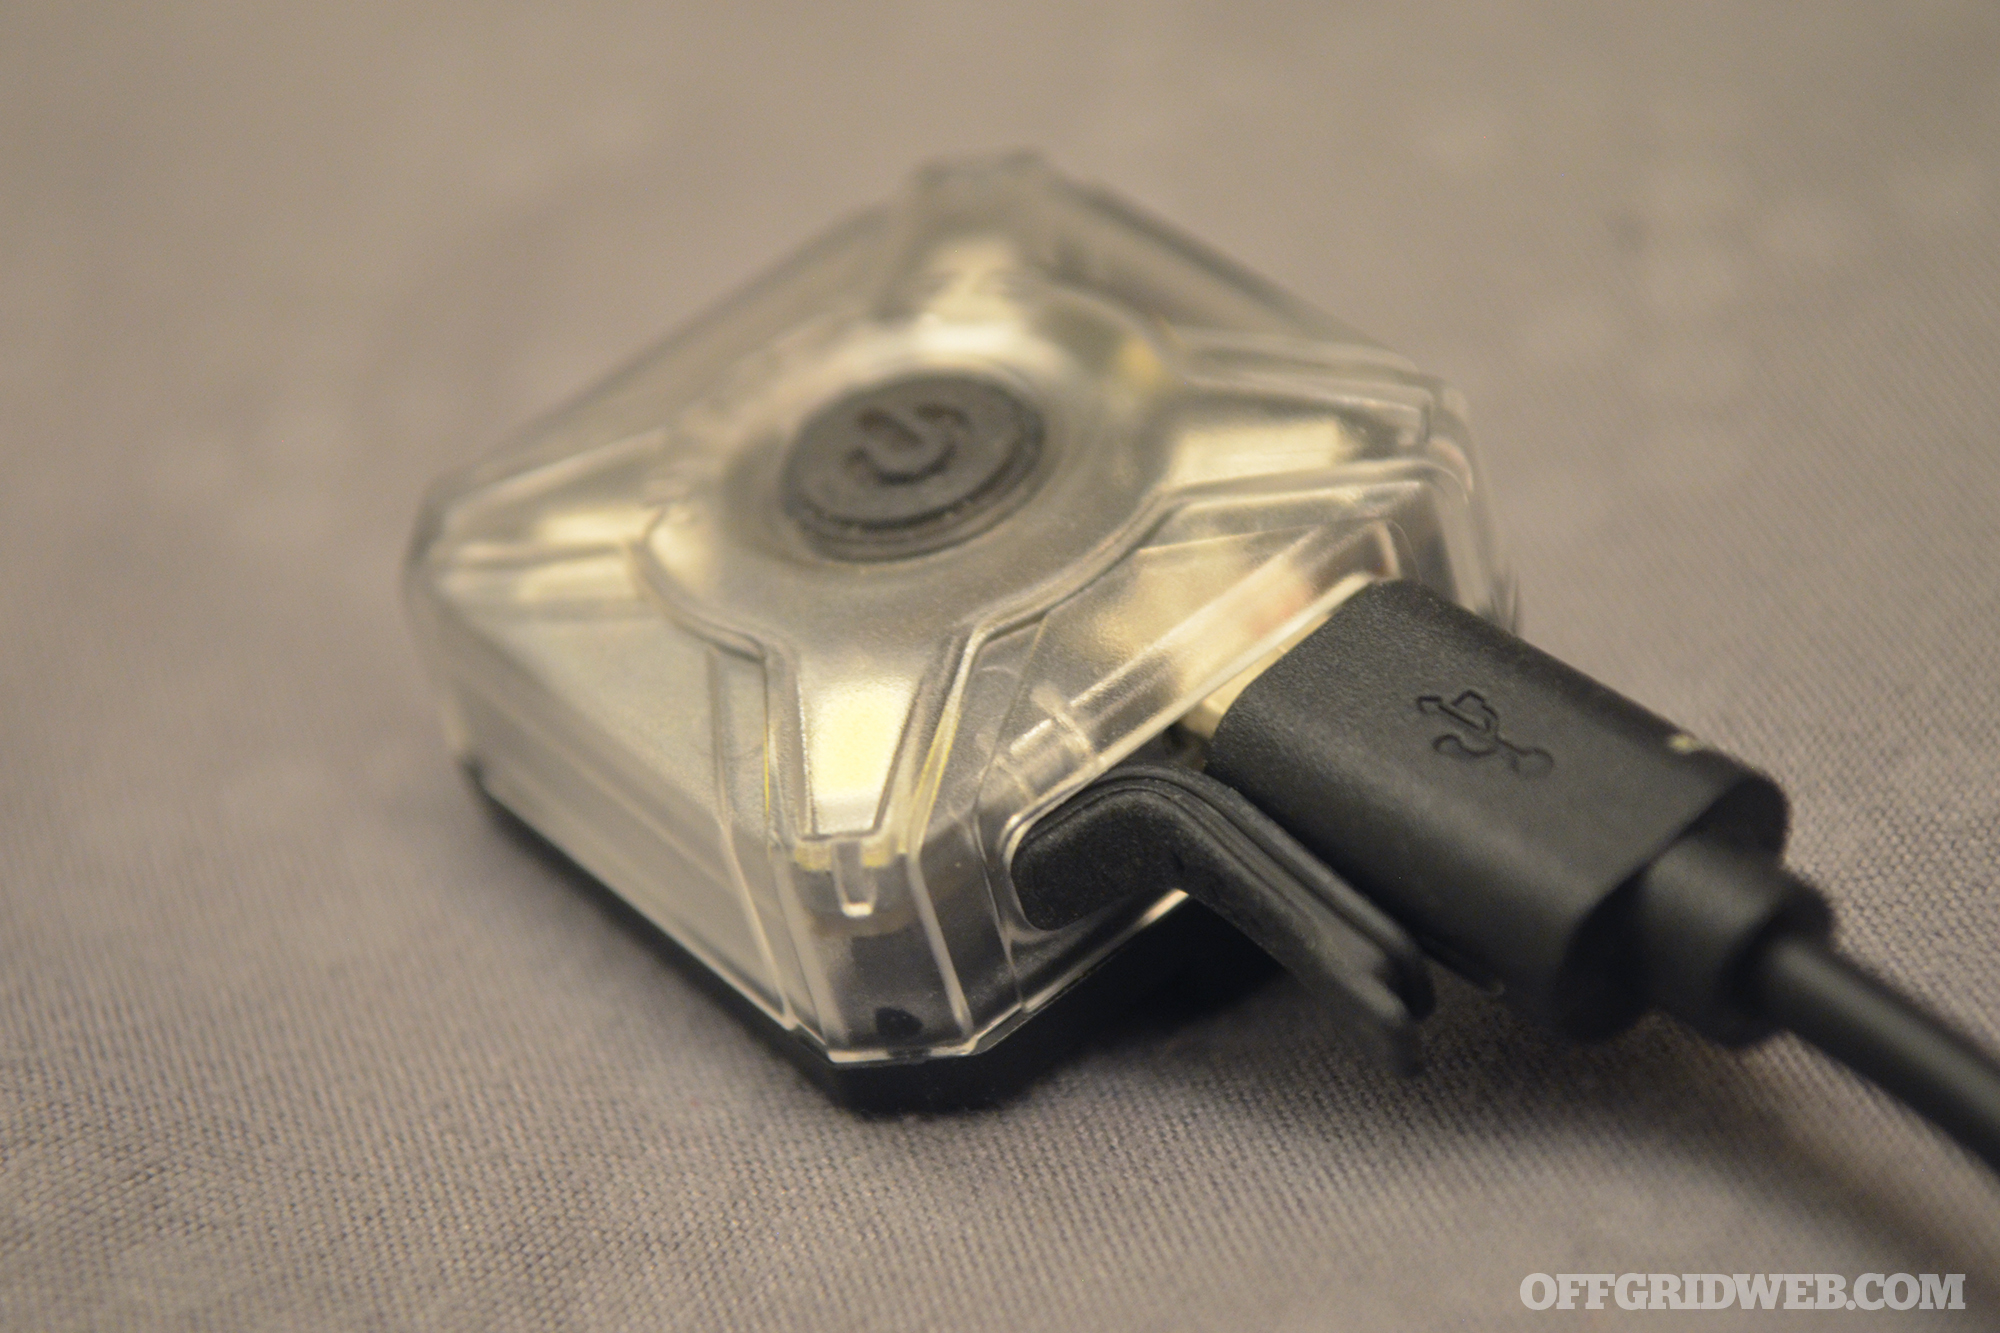
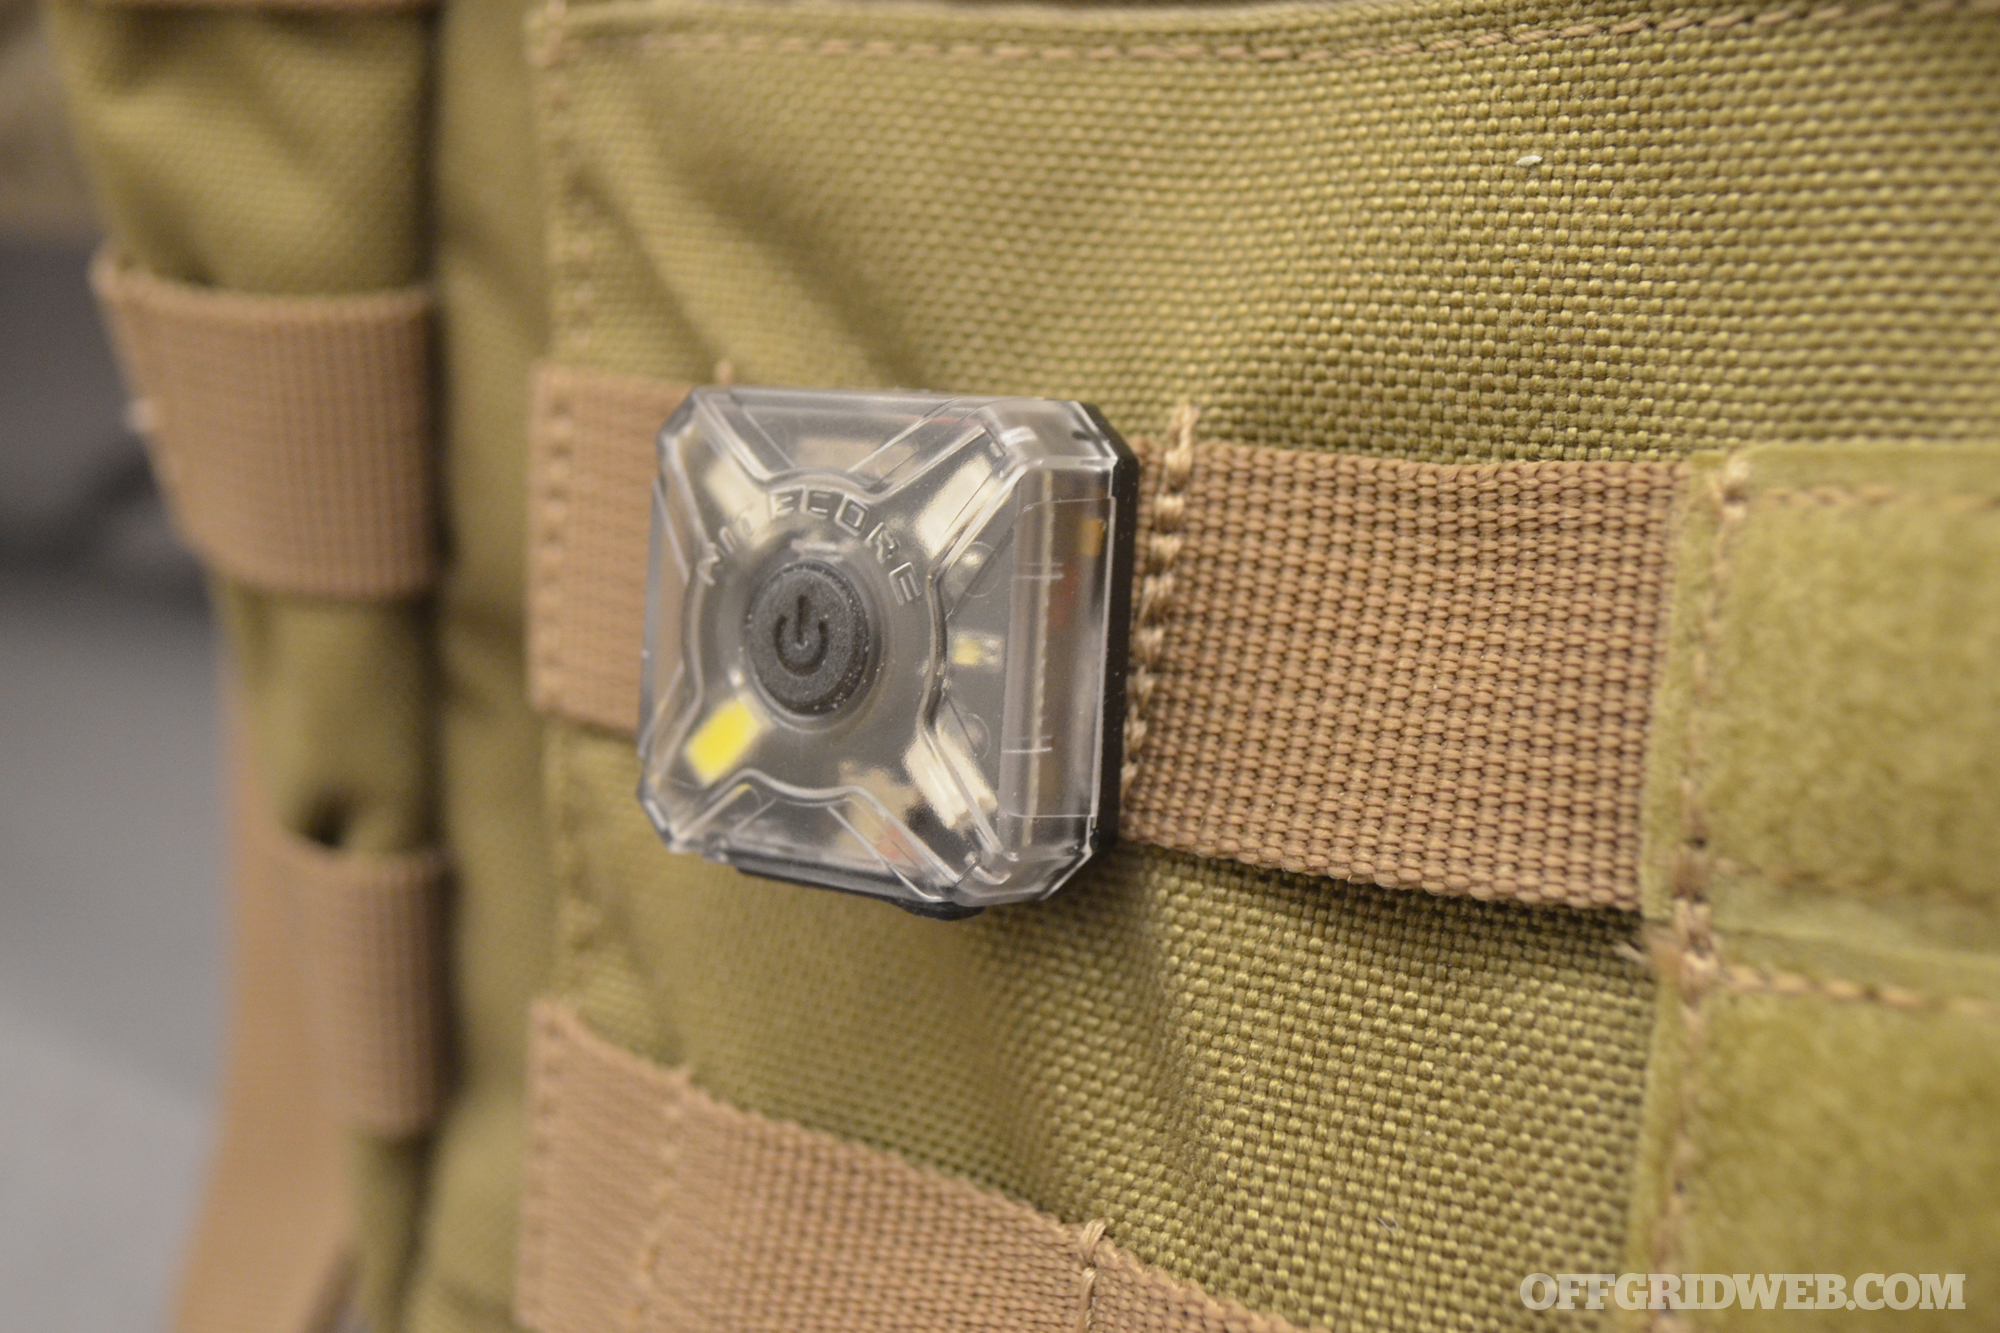
Personal Locator Beacon:
The shift from criminal planning to actual direct action against the victim could take as long as a few weeks or as quick as a few minutes if they have the willingness and opportunity. Don’t assume anything about anybody. Criminals could be targeting you for a quick ride to the ATM and then let you go after an hour (an express kidnapping). They could be trying to put you in a cage for a few months to see if they can get a large payout because the company you work for has a great abduction policy. Or lastly, it could be the true-believer type of enemy who sees everything he hates in you. All of these potential threats follow the same pattern: victim selection, surveillance, and a planning stage.
Vary your routes, don’t be predictable, keep yours and your family’s sh*t offline, get your family on the same game plan, and be aware. If something feels off, document it and send it back to the people you trust. And if all else fails, have a contingency plan.
The Attempt
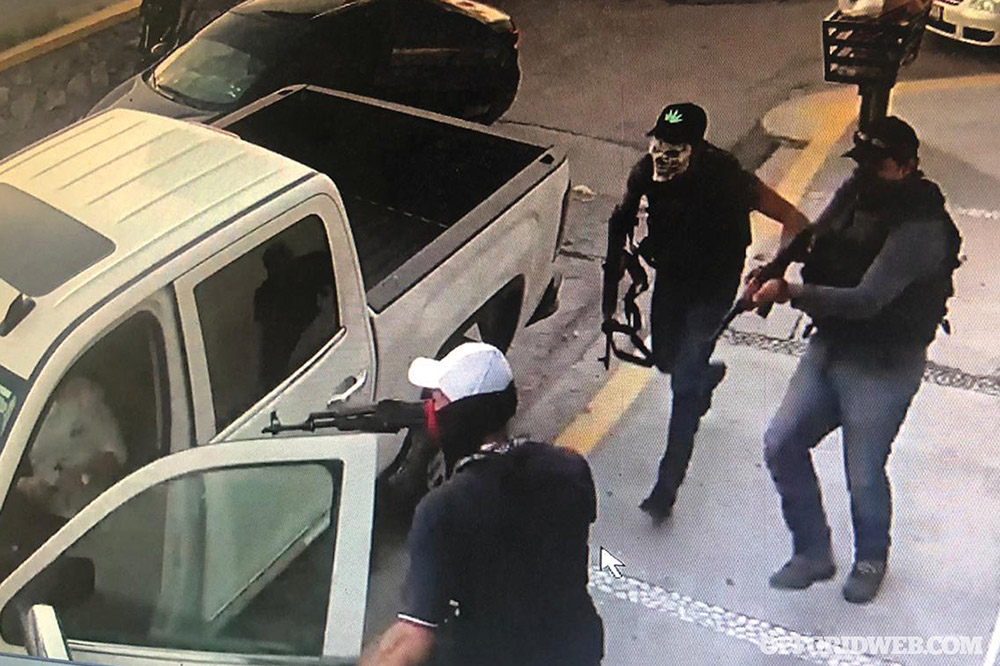
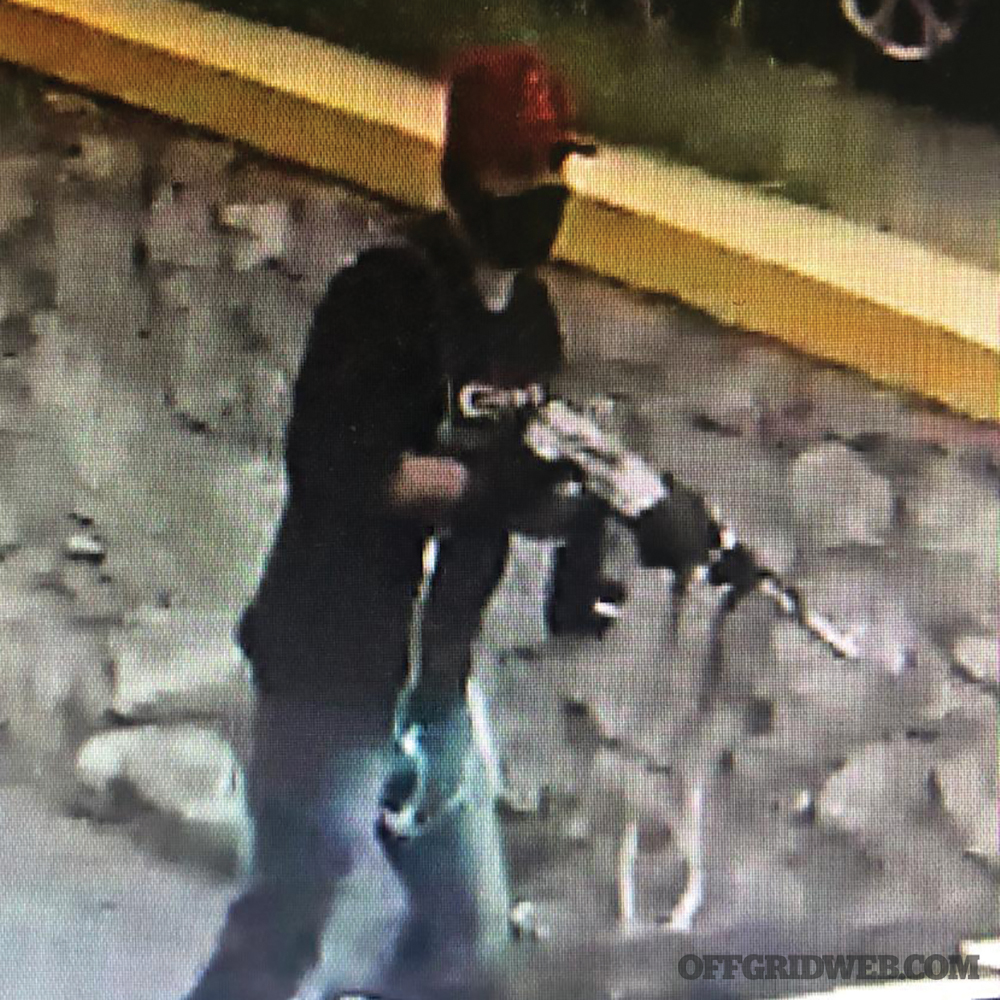
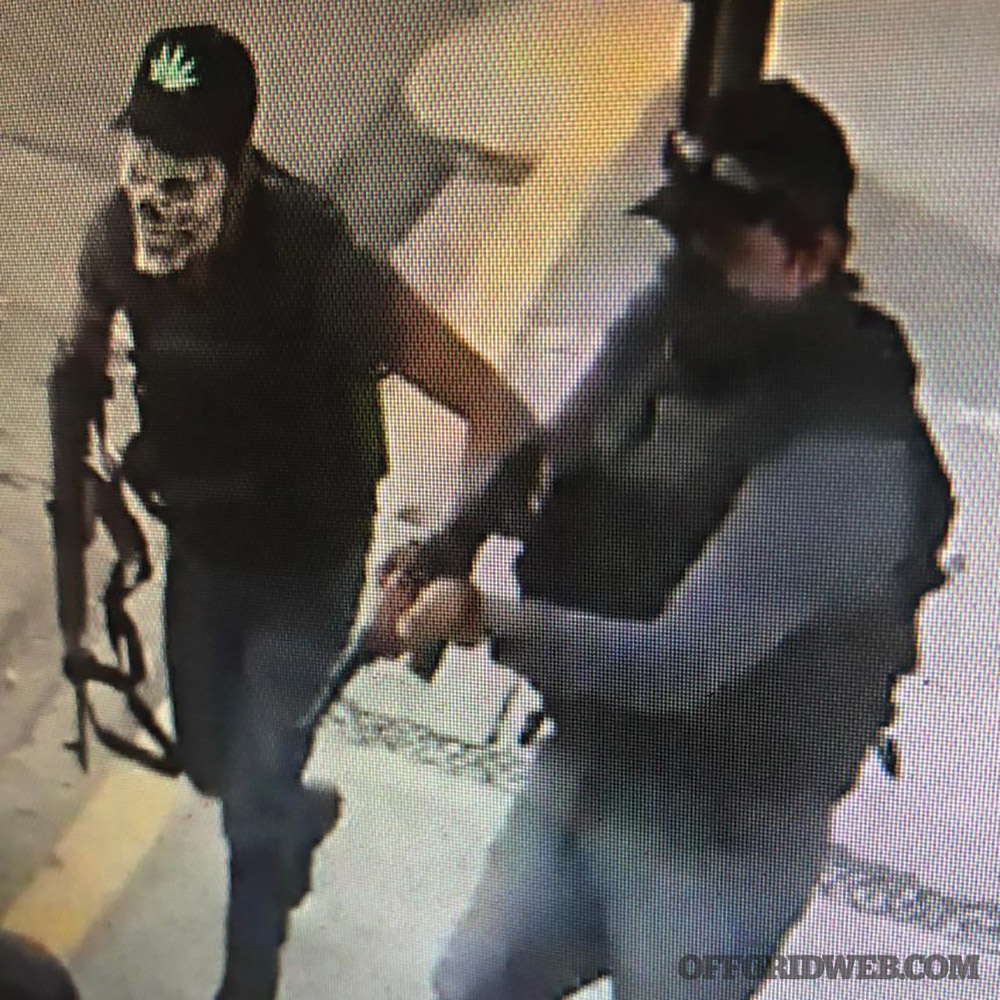
Above: These screenshots were taken from surveillance footage of an actual kidnapping in Northern Mexico. Note the use of rifles, tactical vests, and a multi-man snatch team.
Current trends and the areas I operate in usually deal with groups of between four and six people being part of the direct-action snatch team. During an attempt, know they’ll take advantage of their prior research on you. They’ll take note of the people around you and their capabilities, in some cases. The numbers they use will be based on their capabilities as a group and whether you’re seen as easy or difficult to manage.
If you have a mark on you, the people around you might have a mark on them too. Remember that in these types of situations, if you didn’t pay attention, they now have all the advantages. The first and foremost is the ability to pick the time and the place. There’s no one-size-fits-all solution in a situation like this because there are a lot of variables.

Usually these criminal groups will look for a space and time when they’re sure you’ll be present and nobody will interfere.
If it’s a highly trafficked area, usually you’ll get a sign or a reaction from people around you who have more experience or are more educated about the environment. I usually call these people “active eyes.” By this I mean that the locals know all the ins and outs of the area and have a clear understanding of what baseline normality is there. If they see a guy dressed in a fake police uniform with an AK-47, they know that’s out of the ordinary and will react to it even if you don’t. So, it’s a pretty good idea to be aware of people like that in your environment. If the guy in the newspaper stand across the street is ducking behind his counter, it’s probably a good idea for you to duck behind your Uber, if you know what I mean.
The Snatch
Criminal groups plan for complete and overwhelming domination over their victim. Depending on the region, sometimes the intimidation tool could be a handgun or a rifle, but don’t be surprised if the weapon is just a cell phone with the desperate voice of a family member on the other end of it. In the latter case, you might decide to walk into the van willingly. This isn’t uncommon. Also, realize that some scenarios will originate in chemical restraints. For example, you might be drugged at a bar or another place where you felt secure — these scenarios aren’t unheard of.
One of the first things you’ll see in a classic abduction situation is people brandishing their firearms or weapons in a threatening manner toward you. However, some of the same weapons may also be pointed away from you, outwardly guarding the surrounding area from potential police presence or security elements that they might not have taken into account. Be aware of gaps in their awareness and in their ability to contain you. Your ability to act, or even whether you can act, is completely dependent on you. In my experience, awareness and cardio have been the best escape-and-evasion tools I’ve ever seen next to a smile, cash, and an AK-47.

There’s usually a process of purging that happens between the initial contact, subjugation of the victim, and moving the mark from the abduction area to an initial holding site or “wait and see” spot. Current trends in some of the abduction groups that I’ve had to work against have led me to realize that most of them are aware of all of the SOS technology out there. Expect them to discard anything with a battery in it. Belts, shoes, jackets, hats, wallets, watches, backpacks, or anything else that isn’t directly on your person will be discarded or taken to look through later. Don’t count on having anything with a battery in it left on you if you’re taken. This should dictate where you hide things for counter-custody applications. If you could lose elements of clothing in a full-contact sporting event, those are probably not good places to hide a handcuff key or a razor blade. That’s just my two cents.
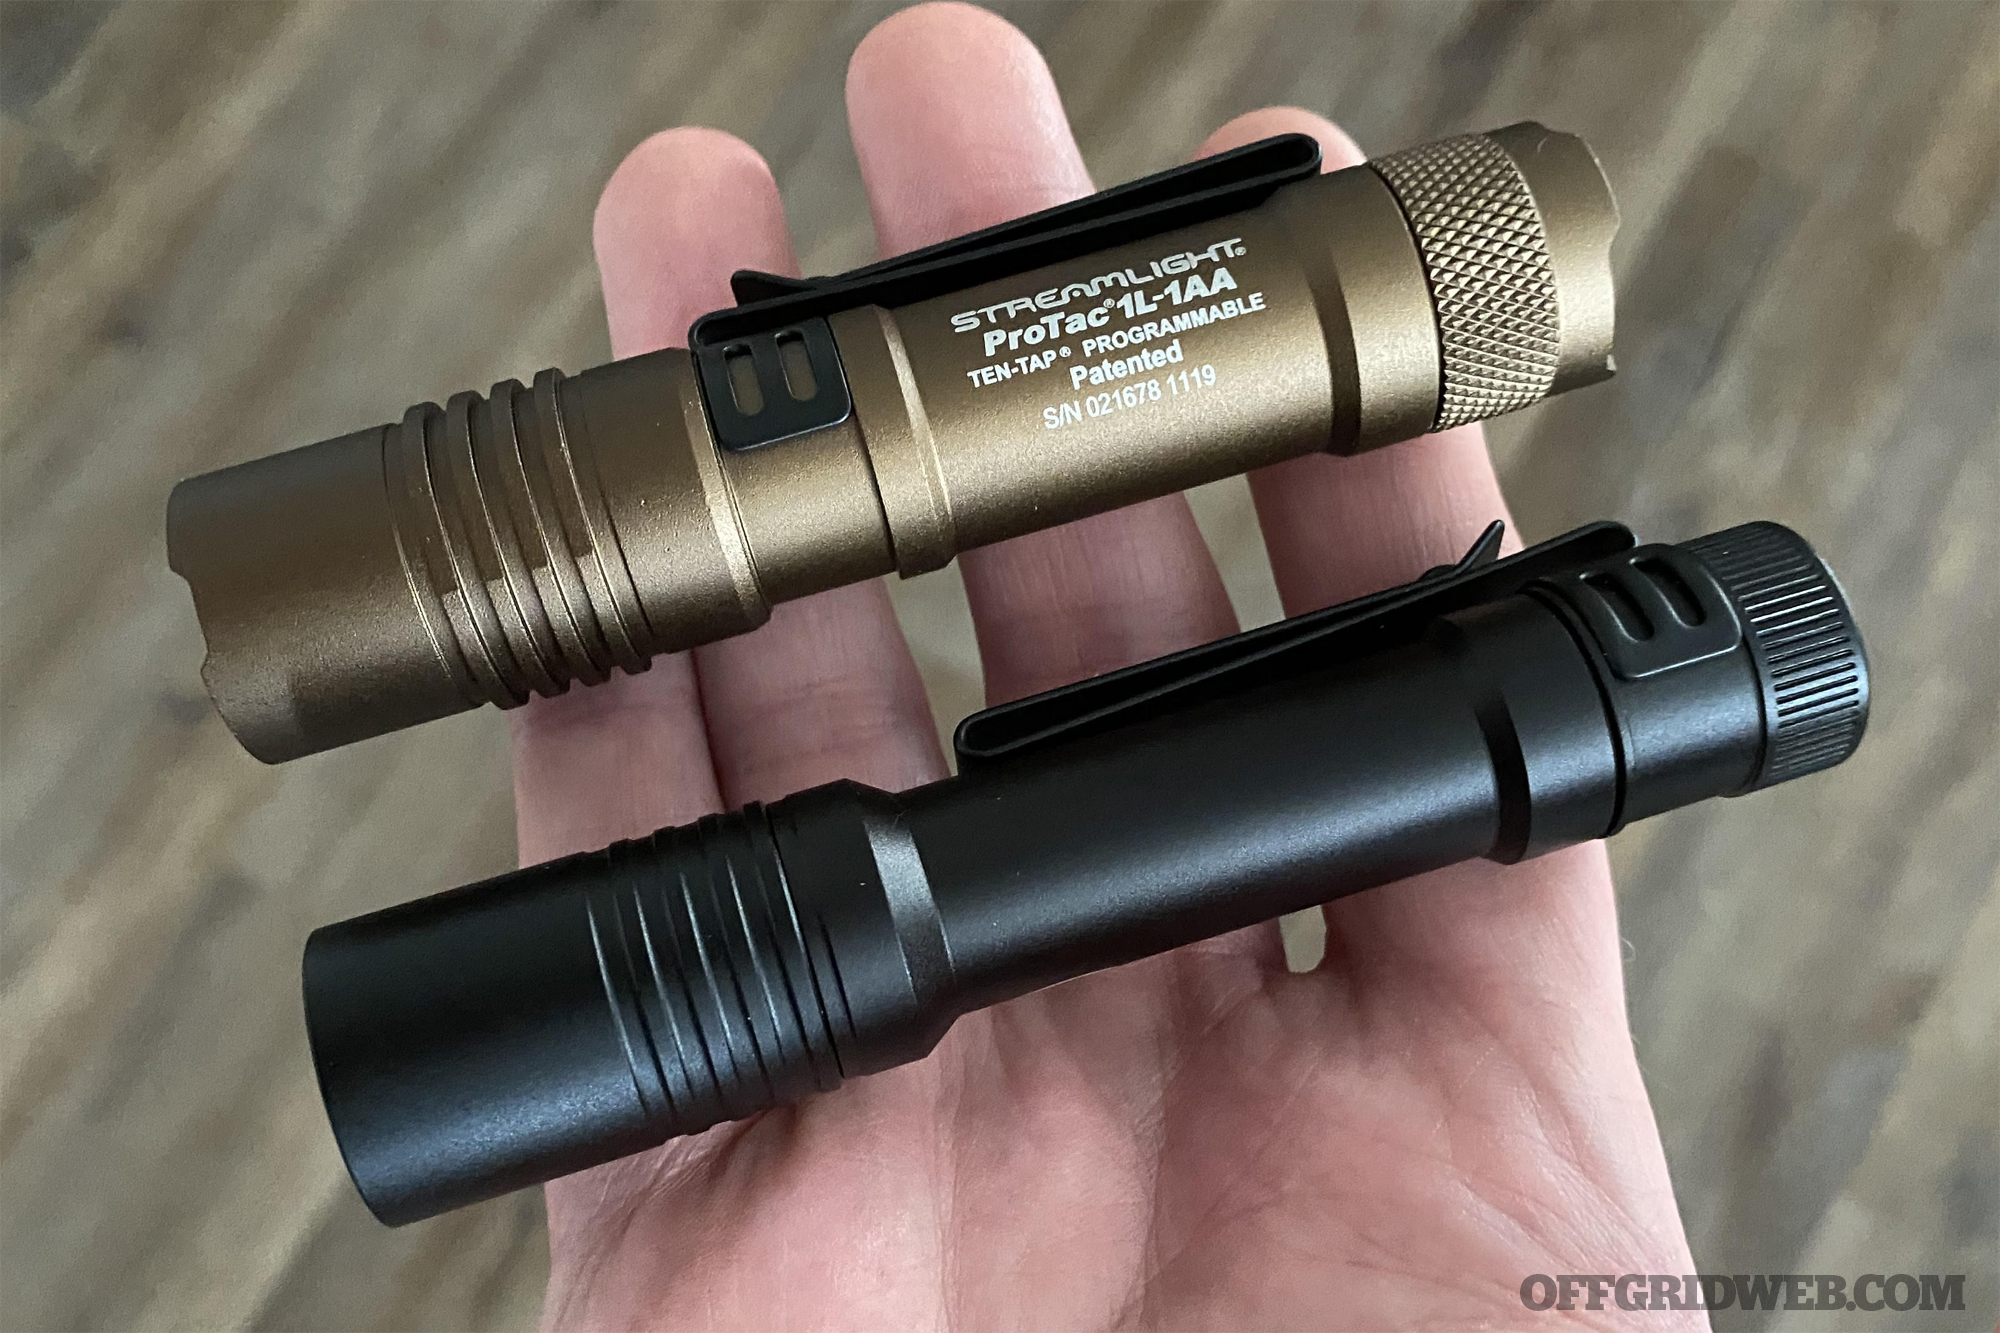
Pepper Spray on Steroids:
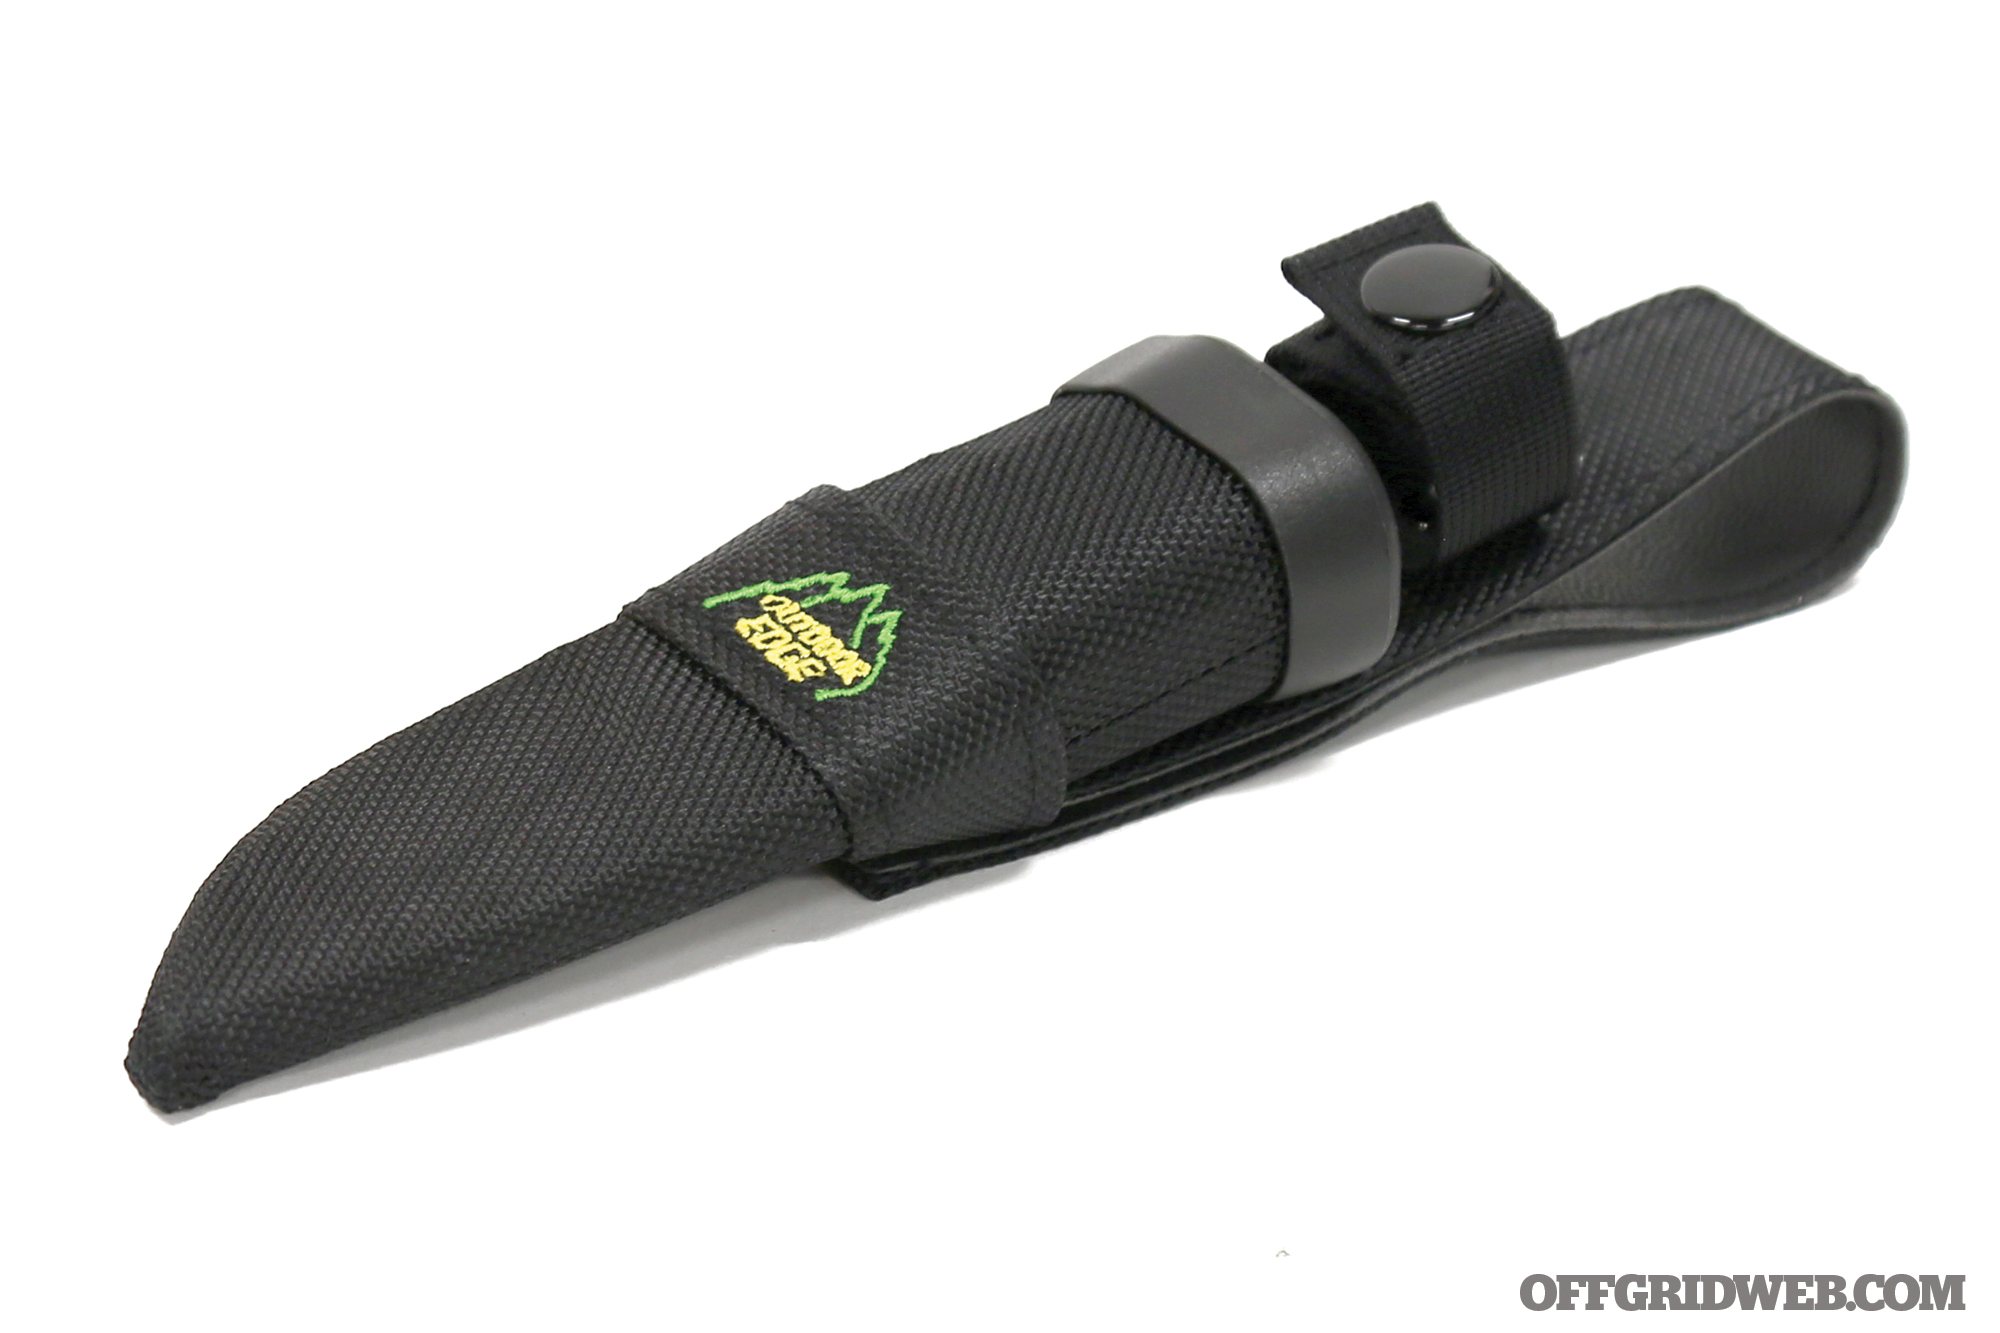
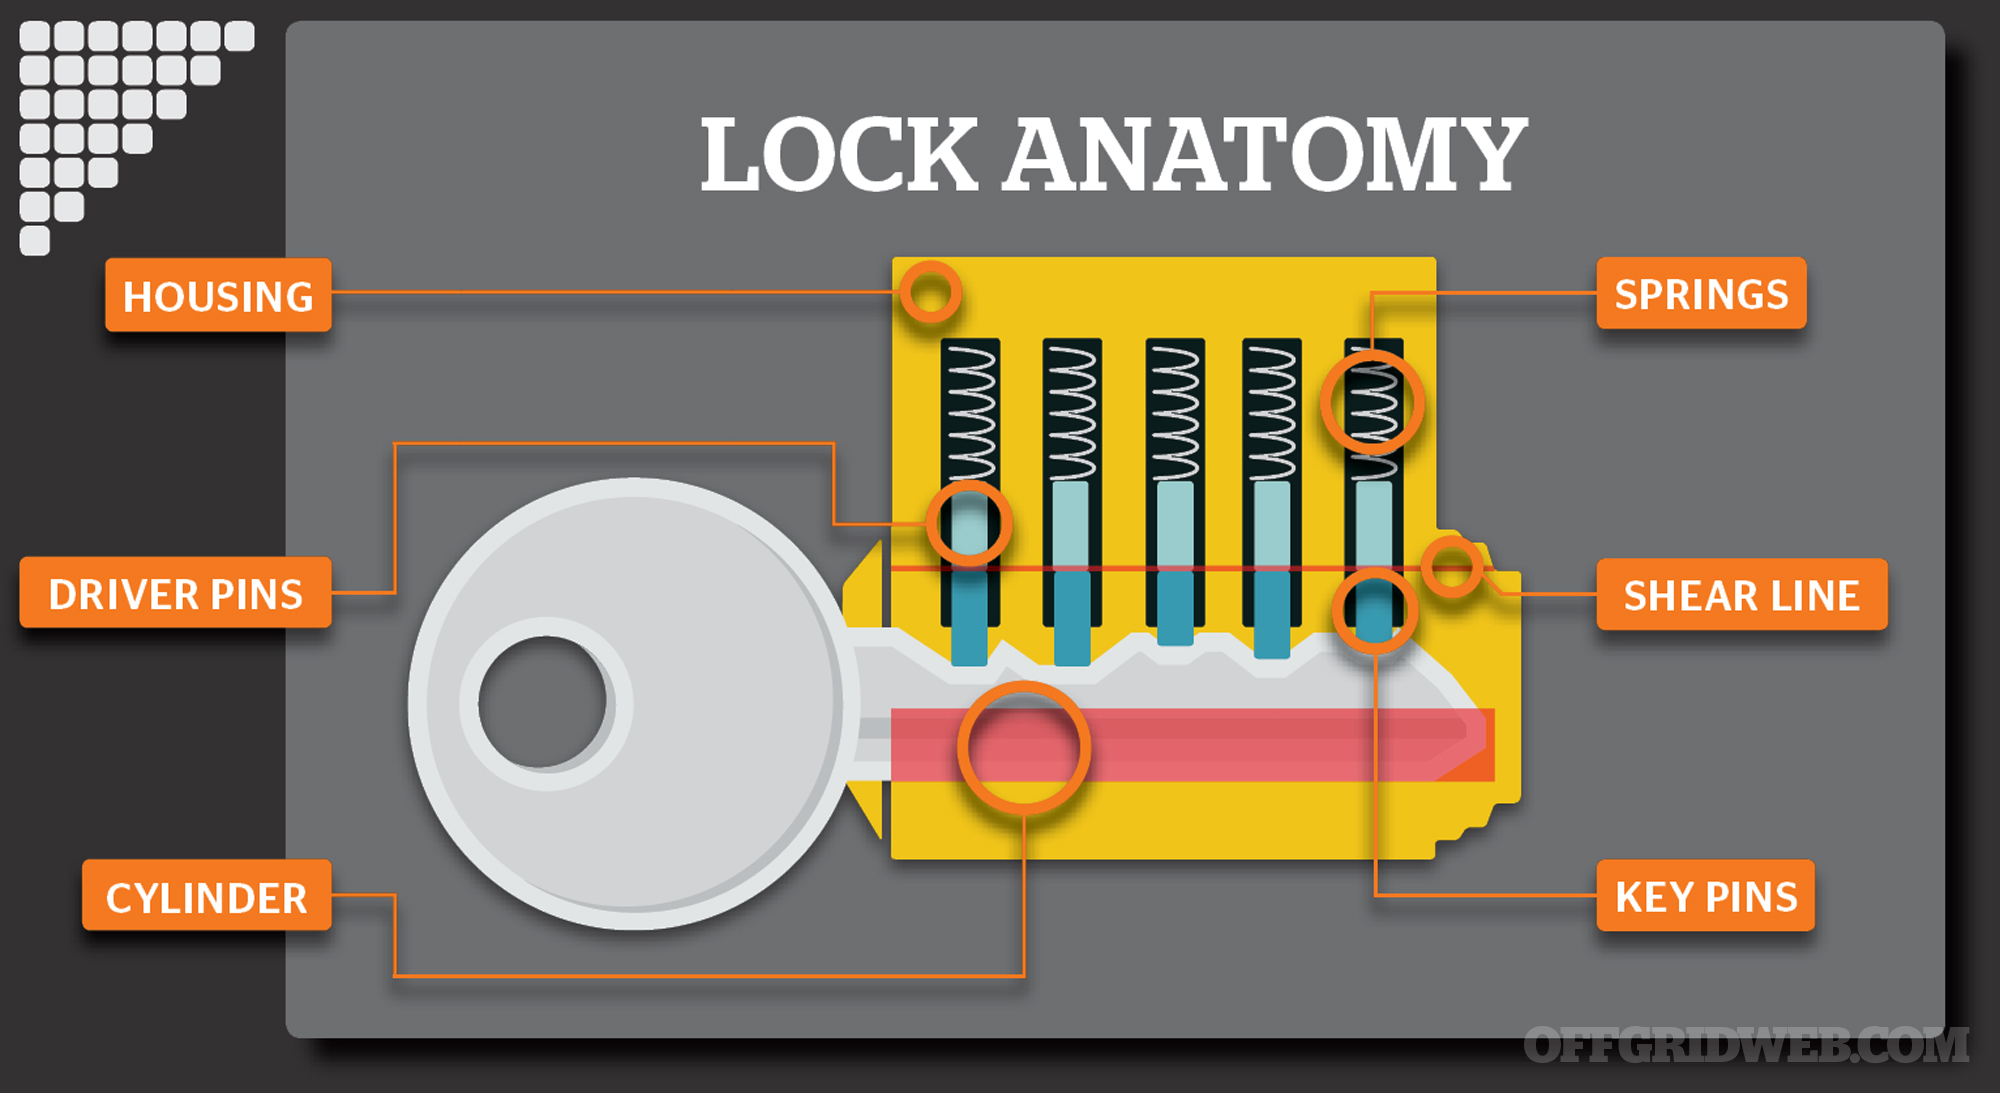
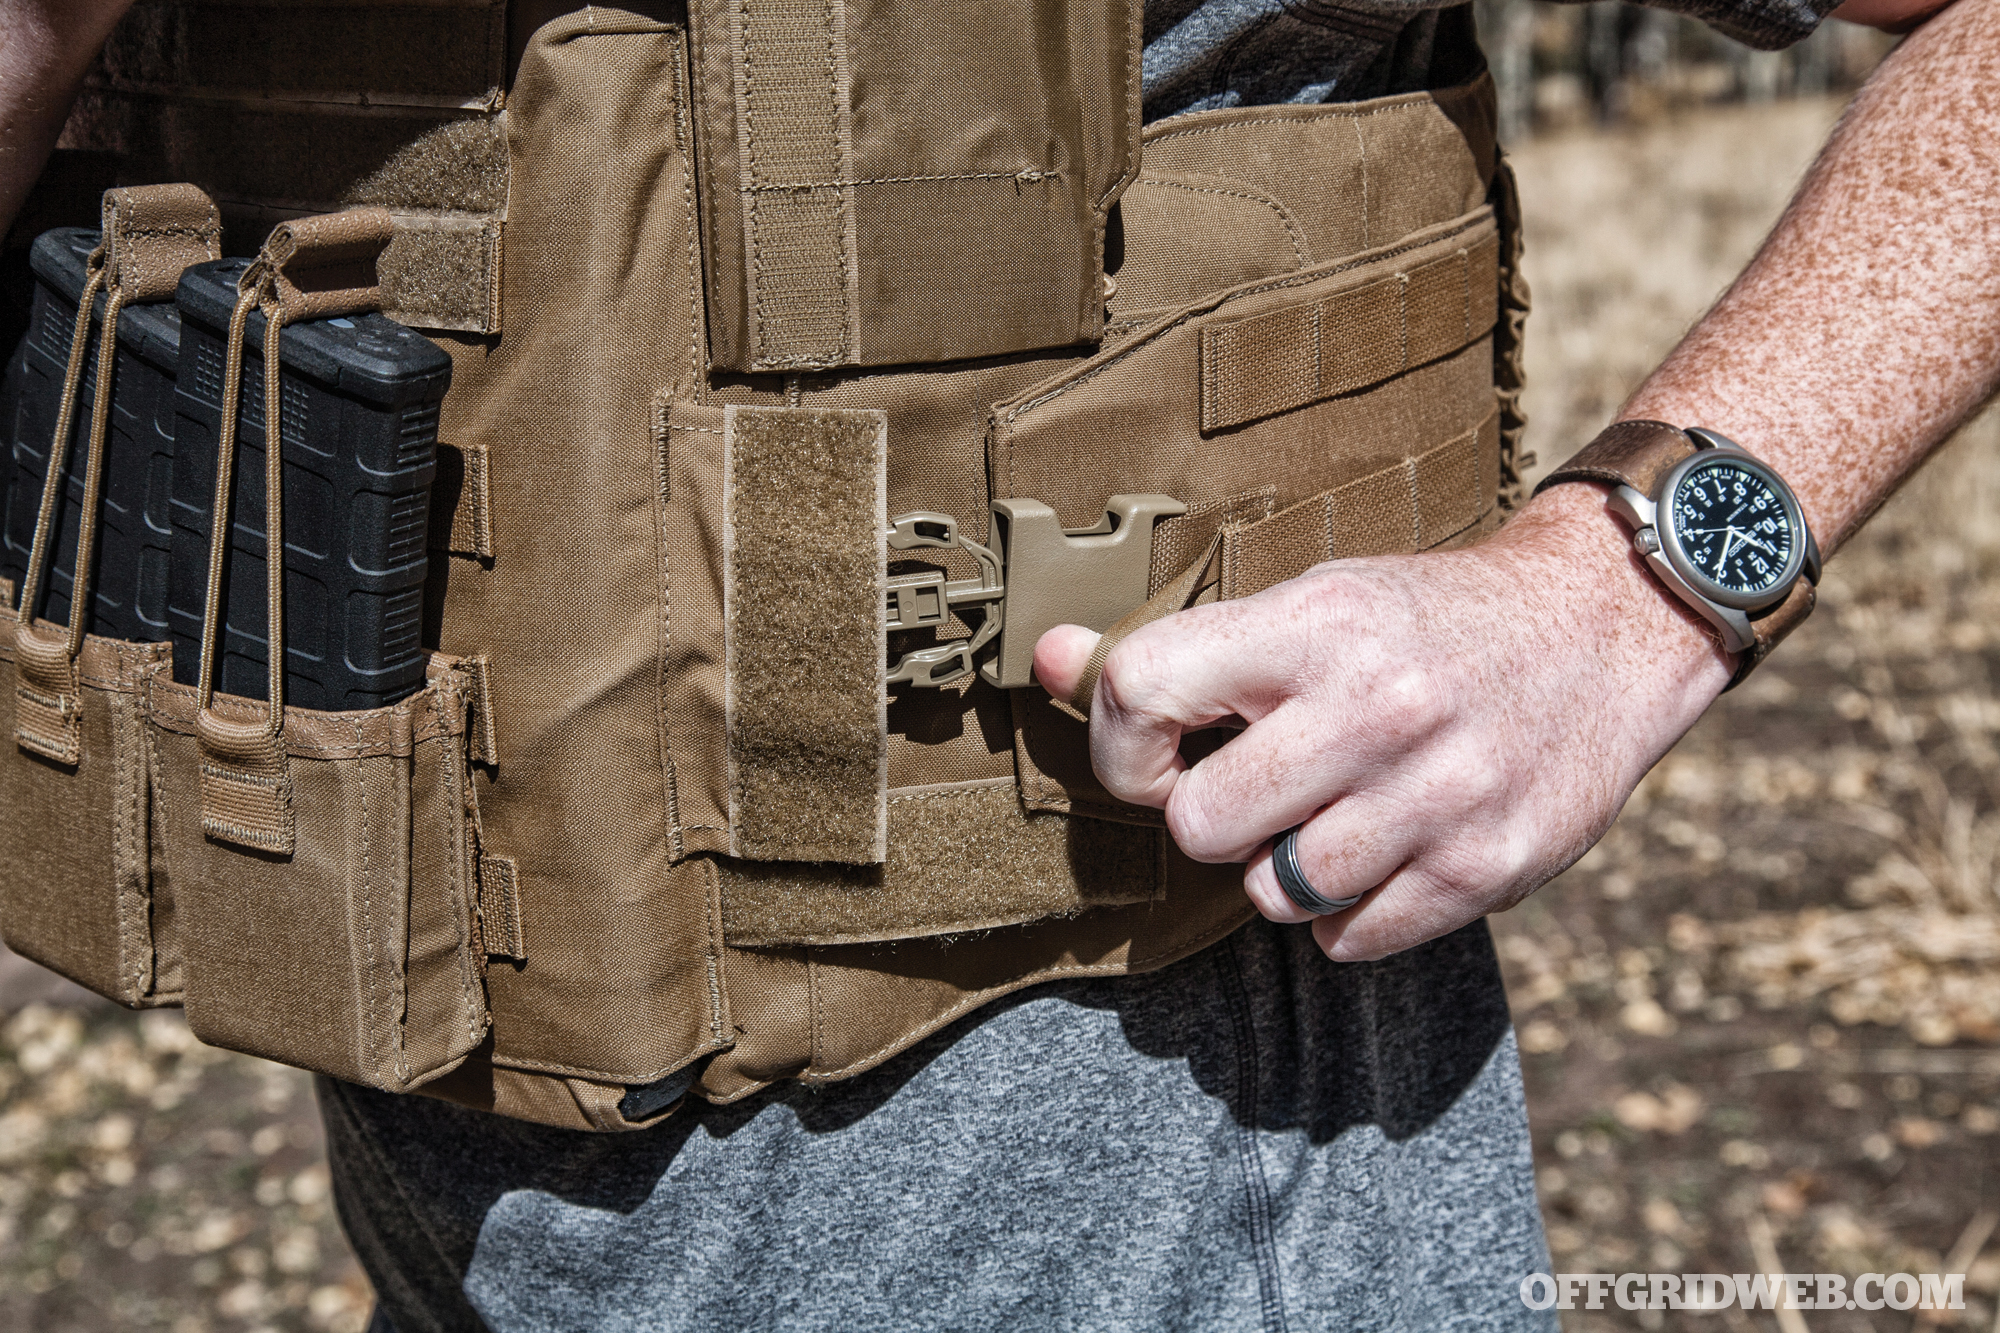
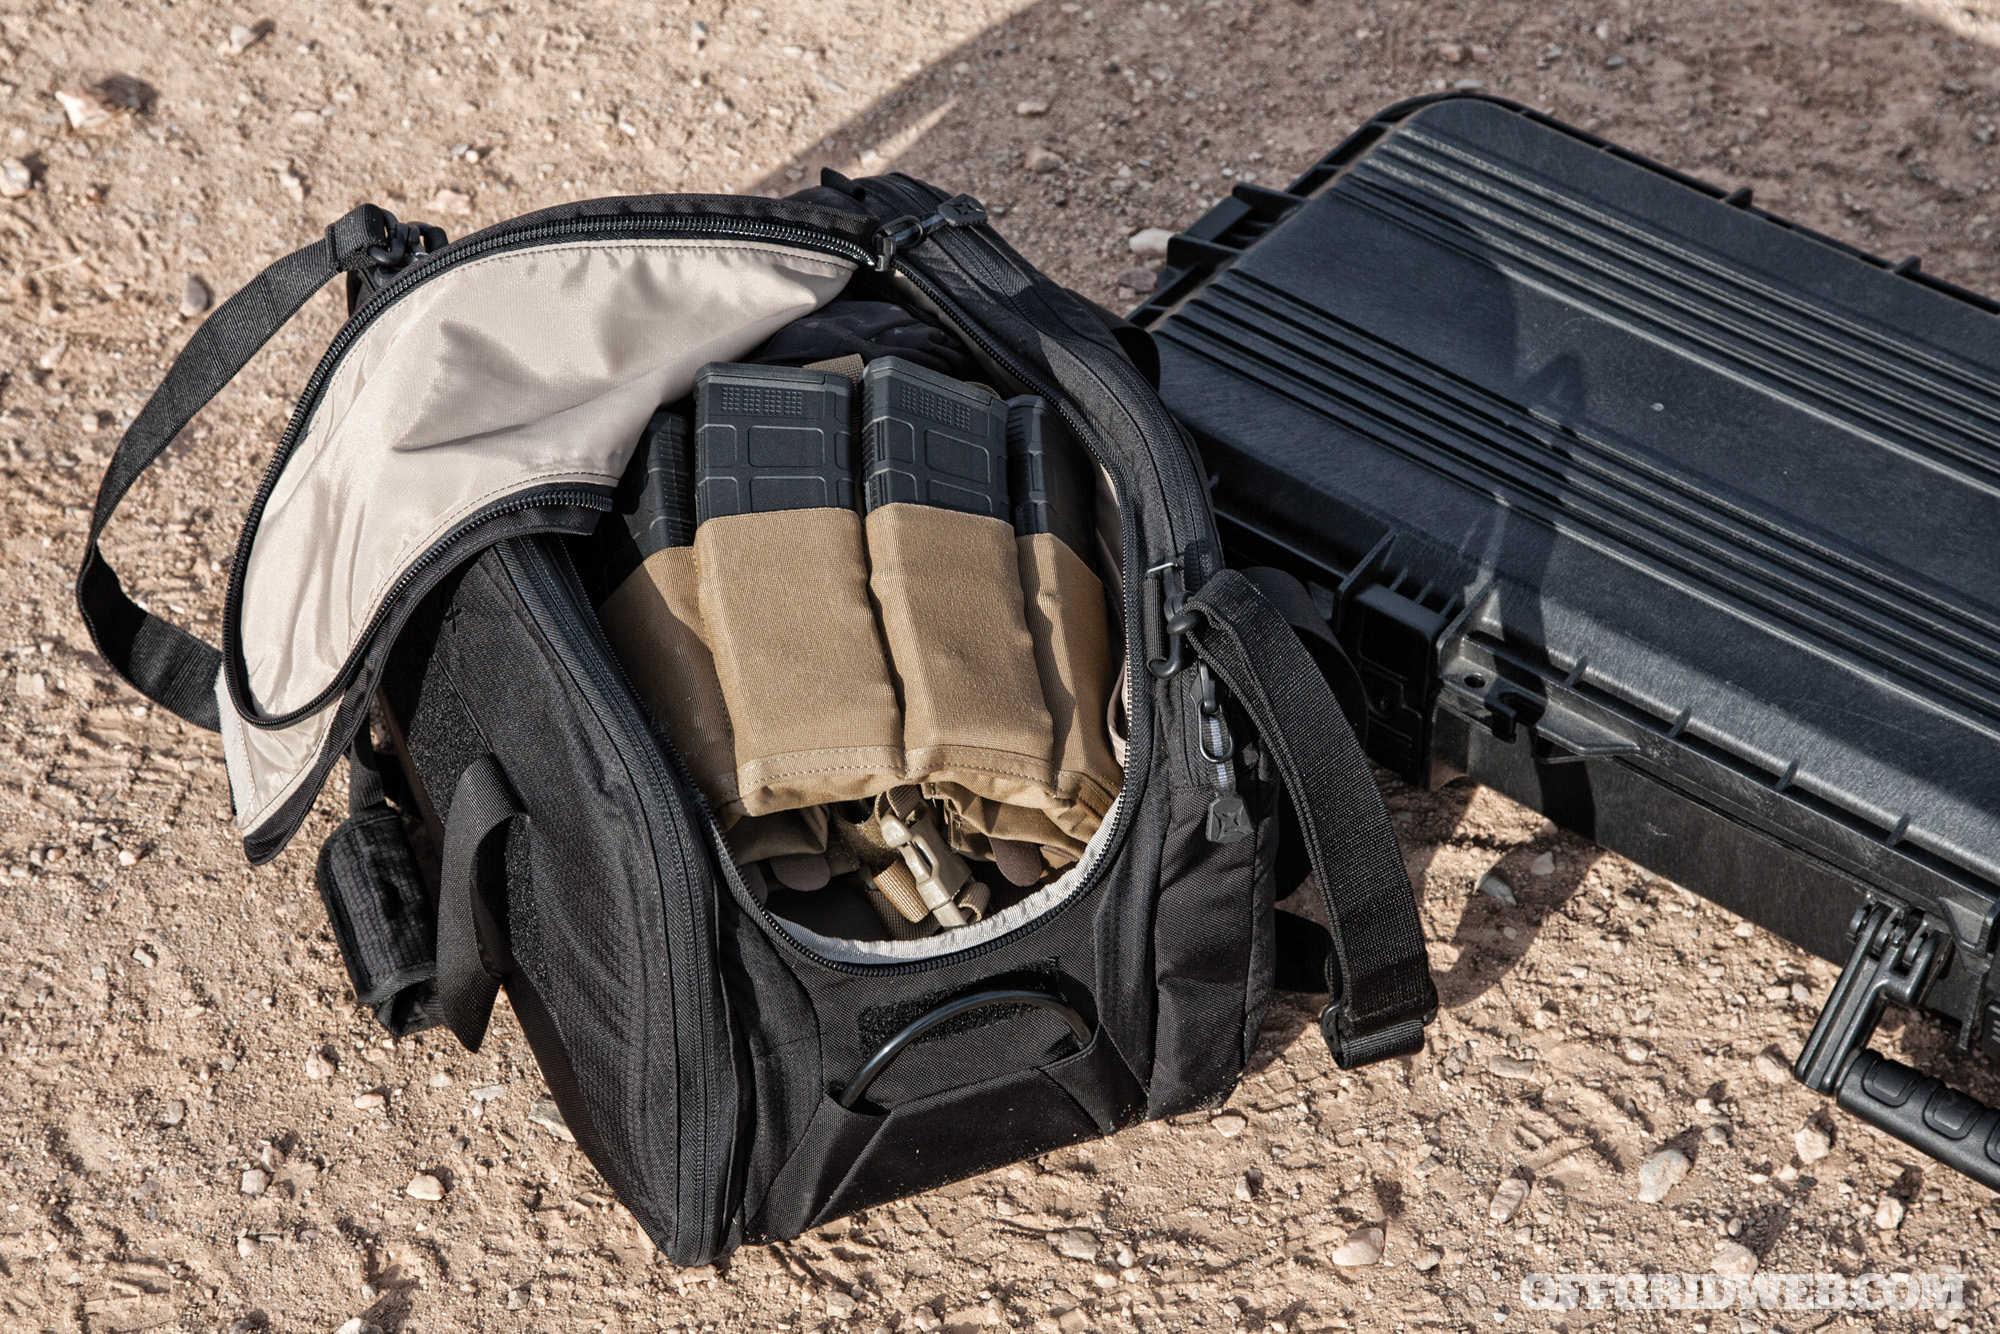
At this point in the scenario, restraints start being pulled out to be put on the mark. The North American trifecta of restraints are handcuffs, zip-ties, and duct tape, though we’re now seeing a lot more chain- and padlock-type restraints being put on people in a long-term captivity setting. These are the specific restraints you need to worry about most in the environments in and around North America. Again, these will dictate the tools you carry and how you train specifically for the environment you’re moving into.

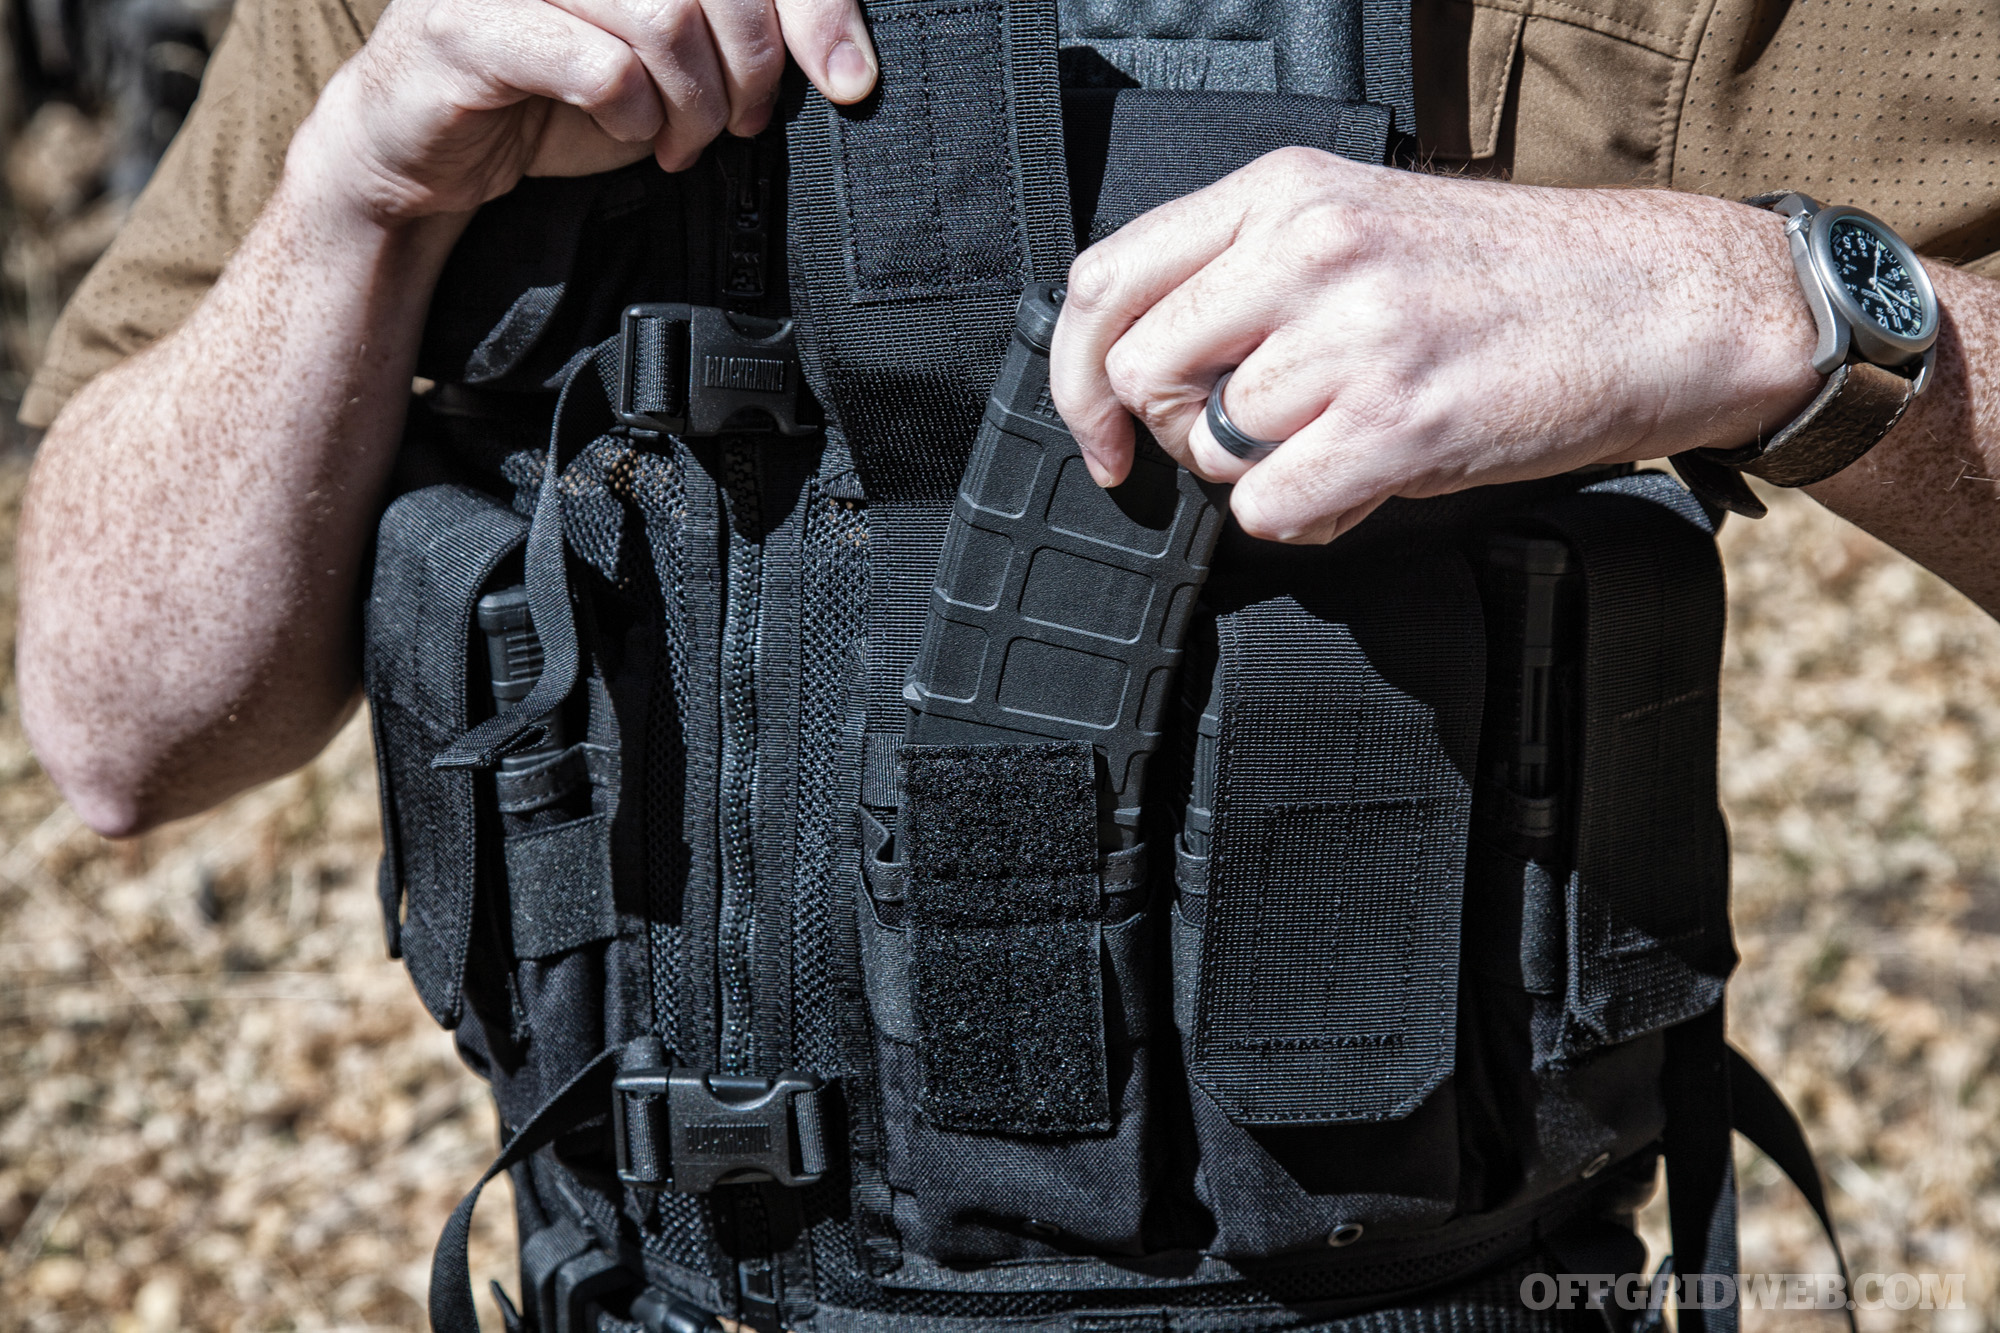
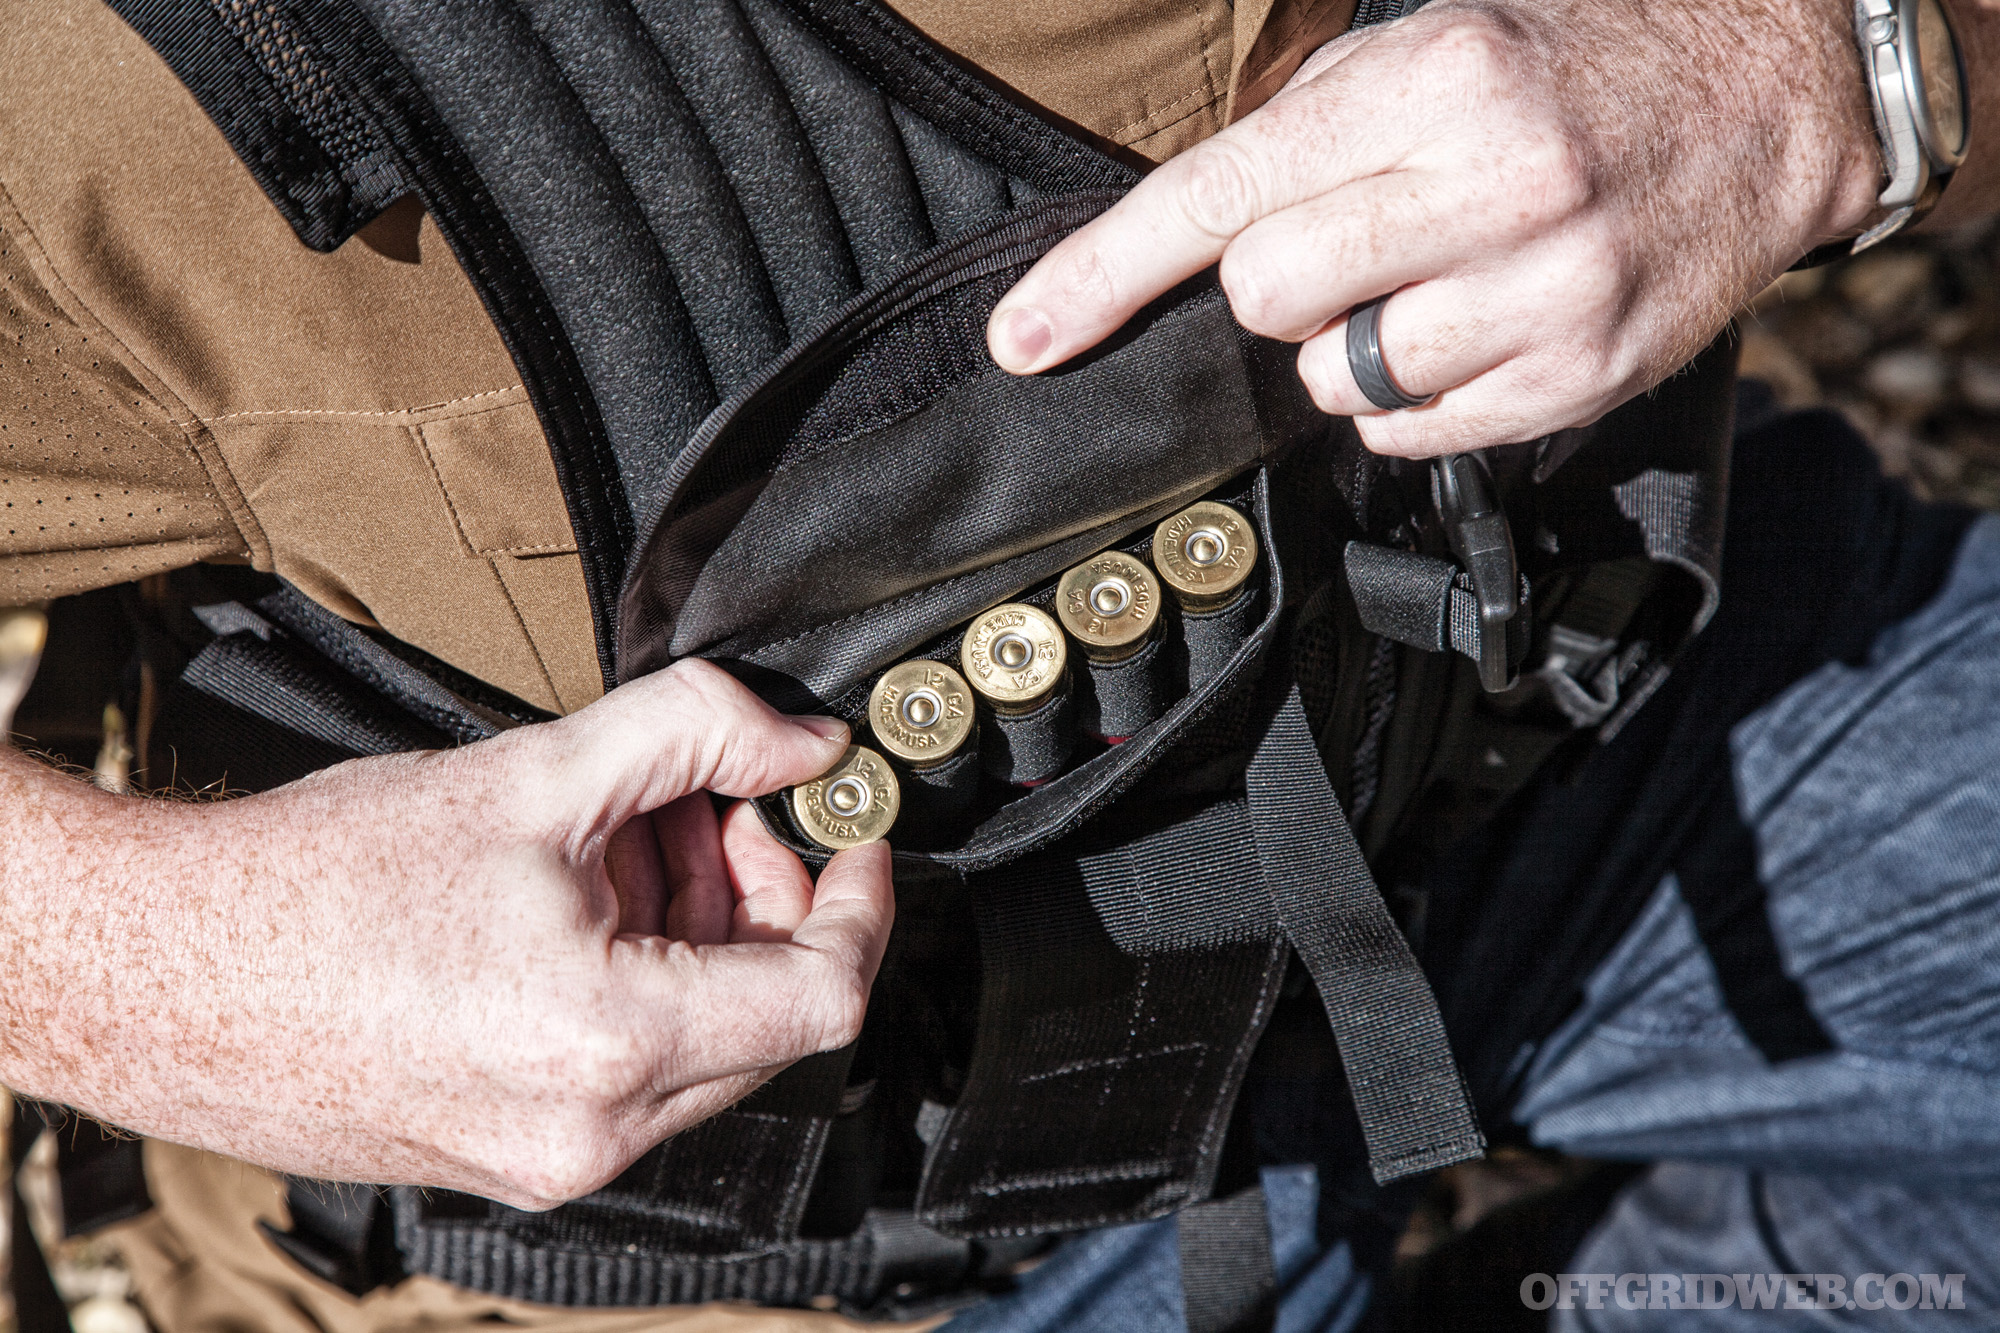
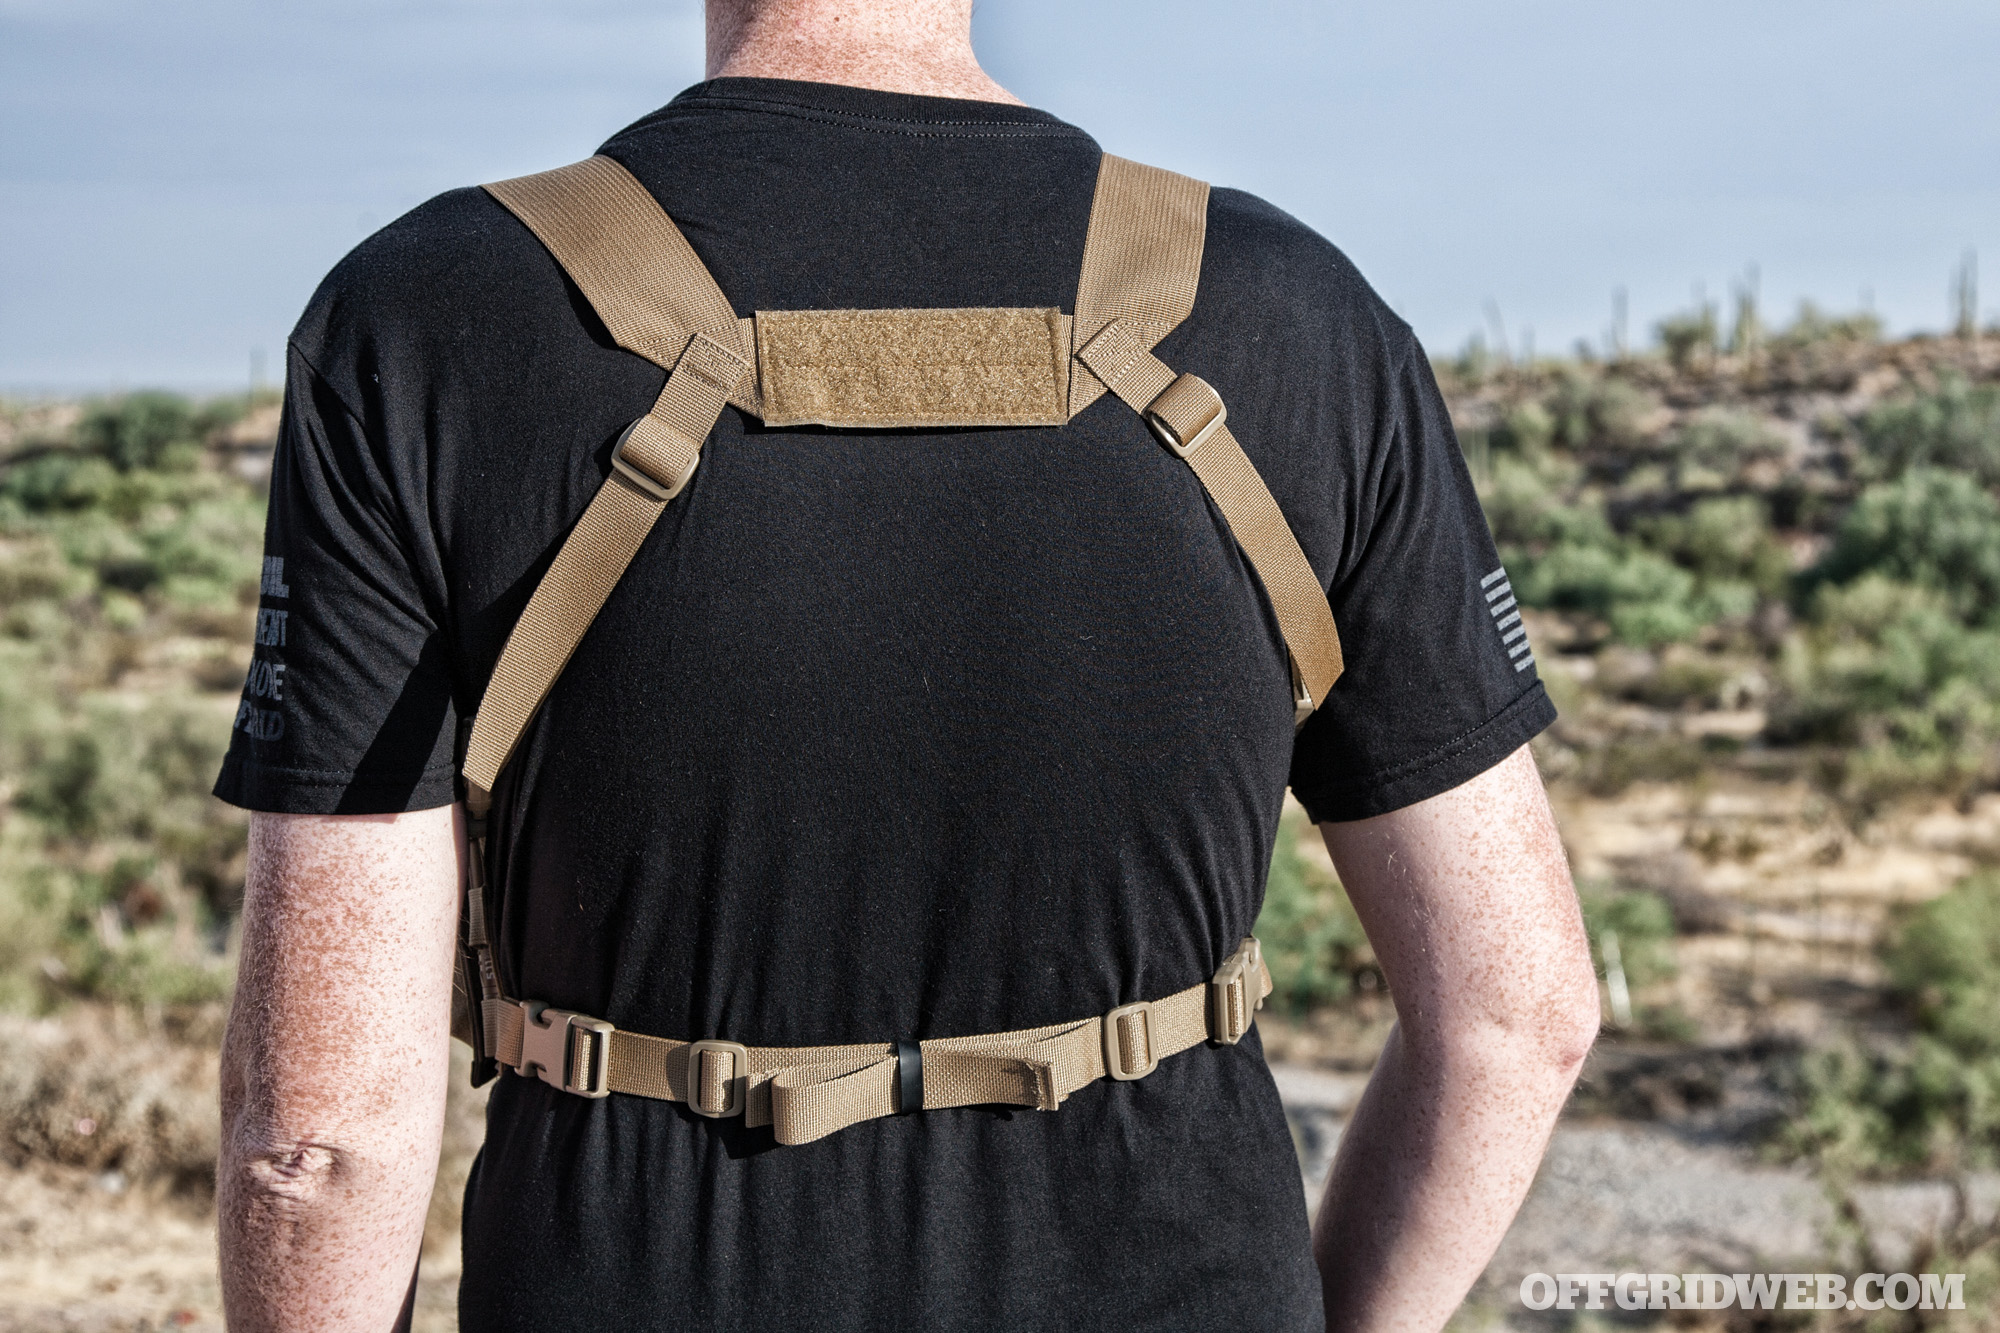
Above: When you configure your EDC or E&E kit on your body, do you include redundancy to account for the multiple ways you may be restrained or positioned? Could you reach your escape tools with your hands behind your back and your face against the wall?
Prepare for the possible — if the improbable happens, you’re already halfway to a solution. During initial contact, you’ll be put into one form of physical restraint or another. It may be just them holding your head down and keeping a gun on you, or being put in between two large individuals. Basically, they want to convince you that you’re hopelessly trapped, and they’ve the means to do you physical harm and maybe even life-ending damage. They also want to place restraints on you to limit your ability to move around. During this first ride, the first part of the purge happens — this is where things start being taken away from you.
Wait and See
If it’s a professional abduction team, they’ll probably take you to an initial holding site. This will be somewhere close, but not too close to where they’ll be holding you for the long term. It’s a “wait-and-see” space. They want to know if they’re being followed, if they were made, if you have some sort of tracking element on you, and so on. Once they’re sure that the coast is clear, you’ll be moved to a long-term holding spot if that’s what they’re looking to do with you as a victim. It’s the same all over — this is a very common tactic even in the Middle East, according both the SOF community guys who I’ve had the privilege of exchanging information with, and the sex-trafficking groups that I’ve helped in the past.
Once you reach that long-term holding site, the slow burn happens. They can now take their time with you; they’re secure, safe, and in control, and the interrogation and exploitation of the victim commences. Look for a sh*t bucket in the room where they’re holding you and empty water bottles on the ground — that’s usually a sign of a long-term holding site, and it’s not a good place to be. Most of your opportunities for escape occur between the initial contact and the transport to the wait-and-see site. After that, your window of opportunity becomes smaller and smaller. But you must always be ready and, if opportunity knocks, be prepared to answer. The decision to act is completely up to you. Some people will advise you not to do anything and wait for the negotiators (if you have any) or the State Department to do their thing (if it’s one of those types of situations). I’d recommend to have the knowhow, training, tools, and experience using them in a controlled training environment. These “just in case” options might lead to your salvation.

Above: This looks bad, but reality is worse. Being stripped naked and fleeced of all the escape tools you keep in your pockets and wallets should be expected. Keep your wits about you and look for the earliest opportunity to escape.
Ed’s Field Notes
In a recent case in Northern Mexico, a young businessman was targeted by a small armed cell of criminals. He was picked up outside of his house as he was parked in his truck, talking on his cell phone. The target selection and surveillance cycle took only a few minutes, according to the investigation notes I saw about the case. There were two vehicles involved in the snatch. Four individuals got out of a single sedan as the other one sat on the roadside to cover the abduction team.
Covert Wallet Knife:
They didn’t put any restraints on him, and pushed him into a vehicle while threatening him with AK-47s. The abductors made a point of taking his cell phone from the car, and left it on the curbside. They took him and his truck away with nobody around to do anything about it. It’s interesting to note that there was a lone guy in the background providing security for the abduction team. The victim was later let go. It turns out that they were only after his truck — a valuable commodity right now in northern Mexico, because they can be turned into “technicals” for the ongoing narcotics insurgency raging in the country. It’s an interesting case study with a lot of parallels to situations like this in other parts of the world, including the U.S.
All restraints are temporary, but it’s better to be able to choose when you want to get out of them.
About the Author
For over a decade, Ed Calderon worked in the fields of counter-narcotics, organized crime investigation, and public safety in the northern-border region of Mexico. Learn more about his survival courses at edsmanifesto.com.
For More:
- Shanks and Sharp Edges from Ed Calderon’s Weaponology course.
- Improvised Weapons and DIY shivs.
- Ed Calderon and Ernest Emerson team up to teach Surviving Inside the Killzone.