Knife fighting, or edged weapons defense, has always been a weak spot for me. Coming from a background where firearms were the default mode of combat, sharp and pointy implements always seemed to be relegated to shop duty. Cutting open MREs or prying lids off crates of ammo were probably the most common tasks I used my knives for overseas. But as a civilian, the likelihood of using a knife in a self-defense scenario is probably higher than it was in Iraq or Afghanistan. I’ve known and worked with people who are lifelong students of the blade, who’ve literally travelled the world just to learn different ways of fighting with knives and swords. Most of those folks have a style they prefer, or have synthesized their own over the years. At Ed Calderon’s Weaponology, we were about to dive into his own style.
Once, when asked what my preferred knife-fighting style was, I said, “Imagine an orangutan, high on PCP, in a prison rec yard with a screwdriver.” The bottom line is I had no prepackaged answer. I’ve dabbled in various styles over the years, never found one I liked, and still don’t have a methodology or system that I’m comfortable with. But now I know that’s OK and am much more confident in my abilities behind a blade than I’ve ever been.
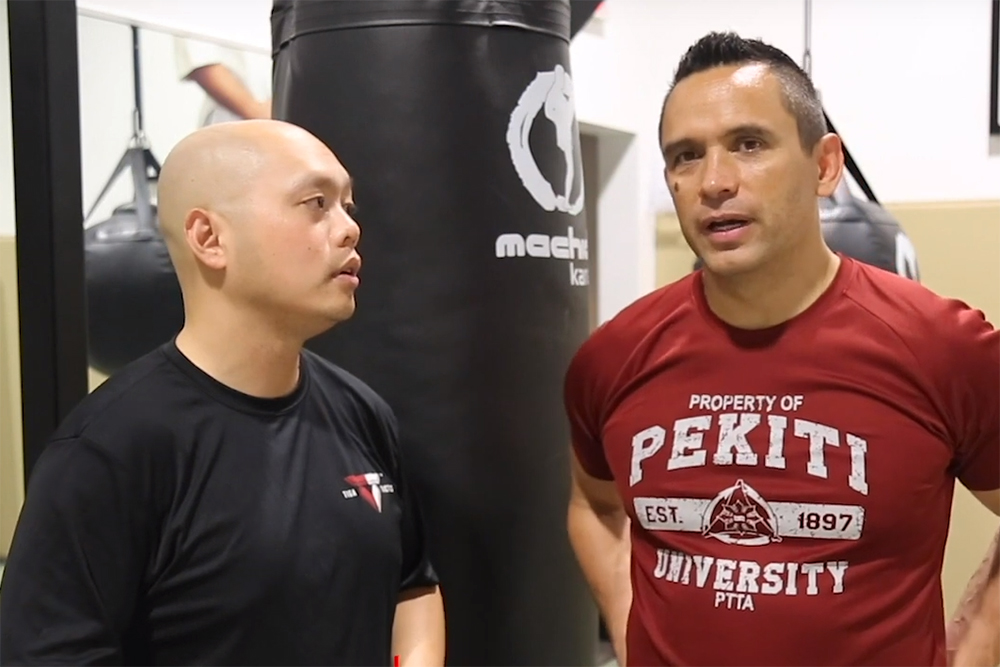
The difference is two blocks of instruction put on by RECOIL OFFGRID alumni Ed Calderon: Weaponology and Organic Medium Entry. Perhaps best known for his Counter-Custody curriculum — as seen in our article “Vanishing Act” in Issue 29 — Ed’s knowledge of knife fighting is gritty, practical, and not for the faint of stomach. He doesn’t teach a system. You can’t earn a black belt. There’s not even a course certificate. What you do get is a ruggedly simple mindset and series of lessons that have been learned at the expense of people’s lives. Here are a few of those lessons that have stuck with me in the weeks and months since taking these courses.
The Way to a Man’s Heart
If you’re fortunate enough to take an Ed Calderon Weaponology class, you may want to consider a light breakfast that morning, because the ugly truth is you’re going to watch a lot of people get murdered. Ed’s introduction to knife fighting has nothing to do with the cultural history of ancient sword-swinging warriors and everything to do with exactly how modern human beings hurt each other with edged or pointed weapons. He illustrates his points with a grim highlight reel of videos taken from crime scenes around the world. Some of these clips are sure to make you gasp, cringe, cover your eyes, or feel guilty for watching. But this grim exposure is a necessary part of the learning process, and one we understand wholly.
The takeaway from this block of playback and talk-through is two-fold. One is to serve as a powerful and nearly instantaneous de-programming of any preconceived notions. Fortunately for most of us, the closest we’ll ever come to a knife fight is watching one on TV. Hollywood has turned the mano-a-mano knife duel into a quirky plot device — with opponents circling each other for minutes on end while delivering monologues or punchy one-liners. Blades clang and sparks fly, and there’s an occasional cut on the forearm or cheek for dramatic effect before the hero rallies his will and delivers a flurry of slashes and pokes that save the day with little serious injury inflicted. Spoiler alert: You won’t see any of that in the Weaponology movie medley.
The other major learning point is that many of the key components in a street-level knife attack are universal. These videos come from multiple countries with multiple cultures, showing a wide range of age, physical strength, and skill level of both victim and attacker. Most of them don’t have sound, allowing an intense focus on body language and movement flow. None of the attackers are professional martial artists or military special operators. They’re not carrying $400 custom combat daggers. They don’t talk or slash the air around them before pouncing. Attacks last seconds, not minutes.
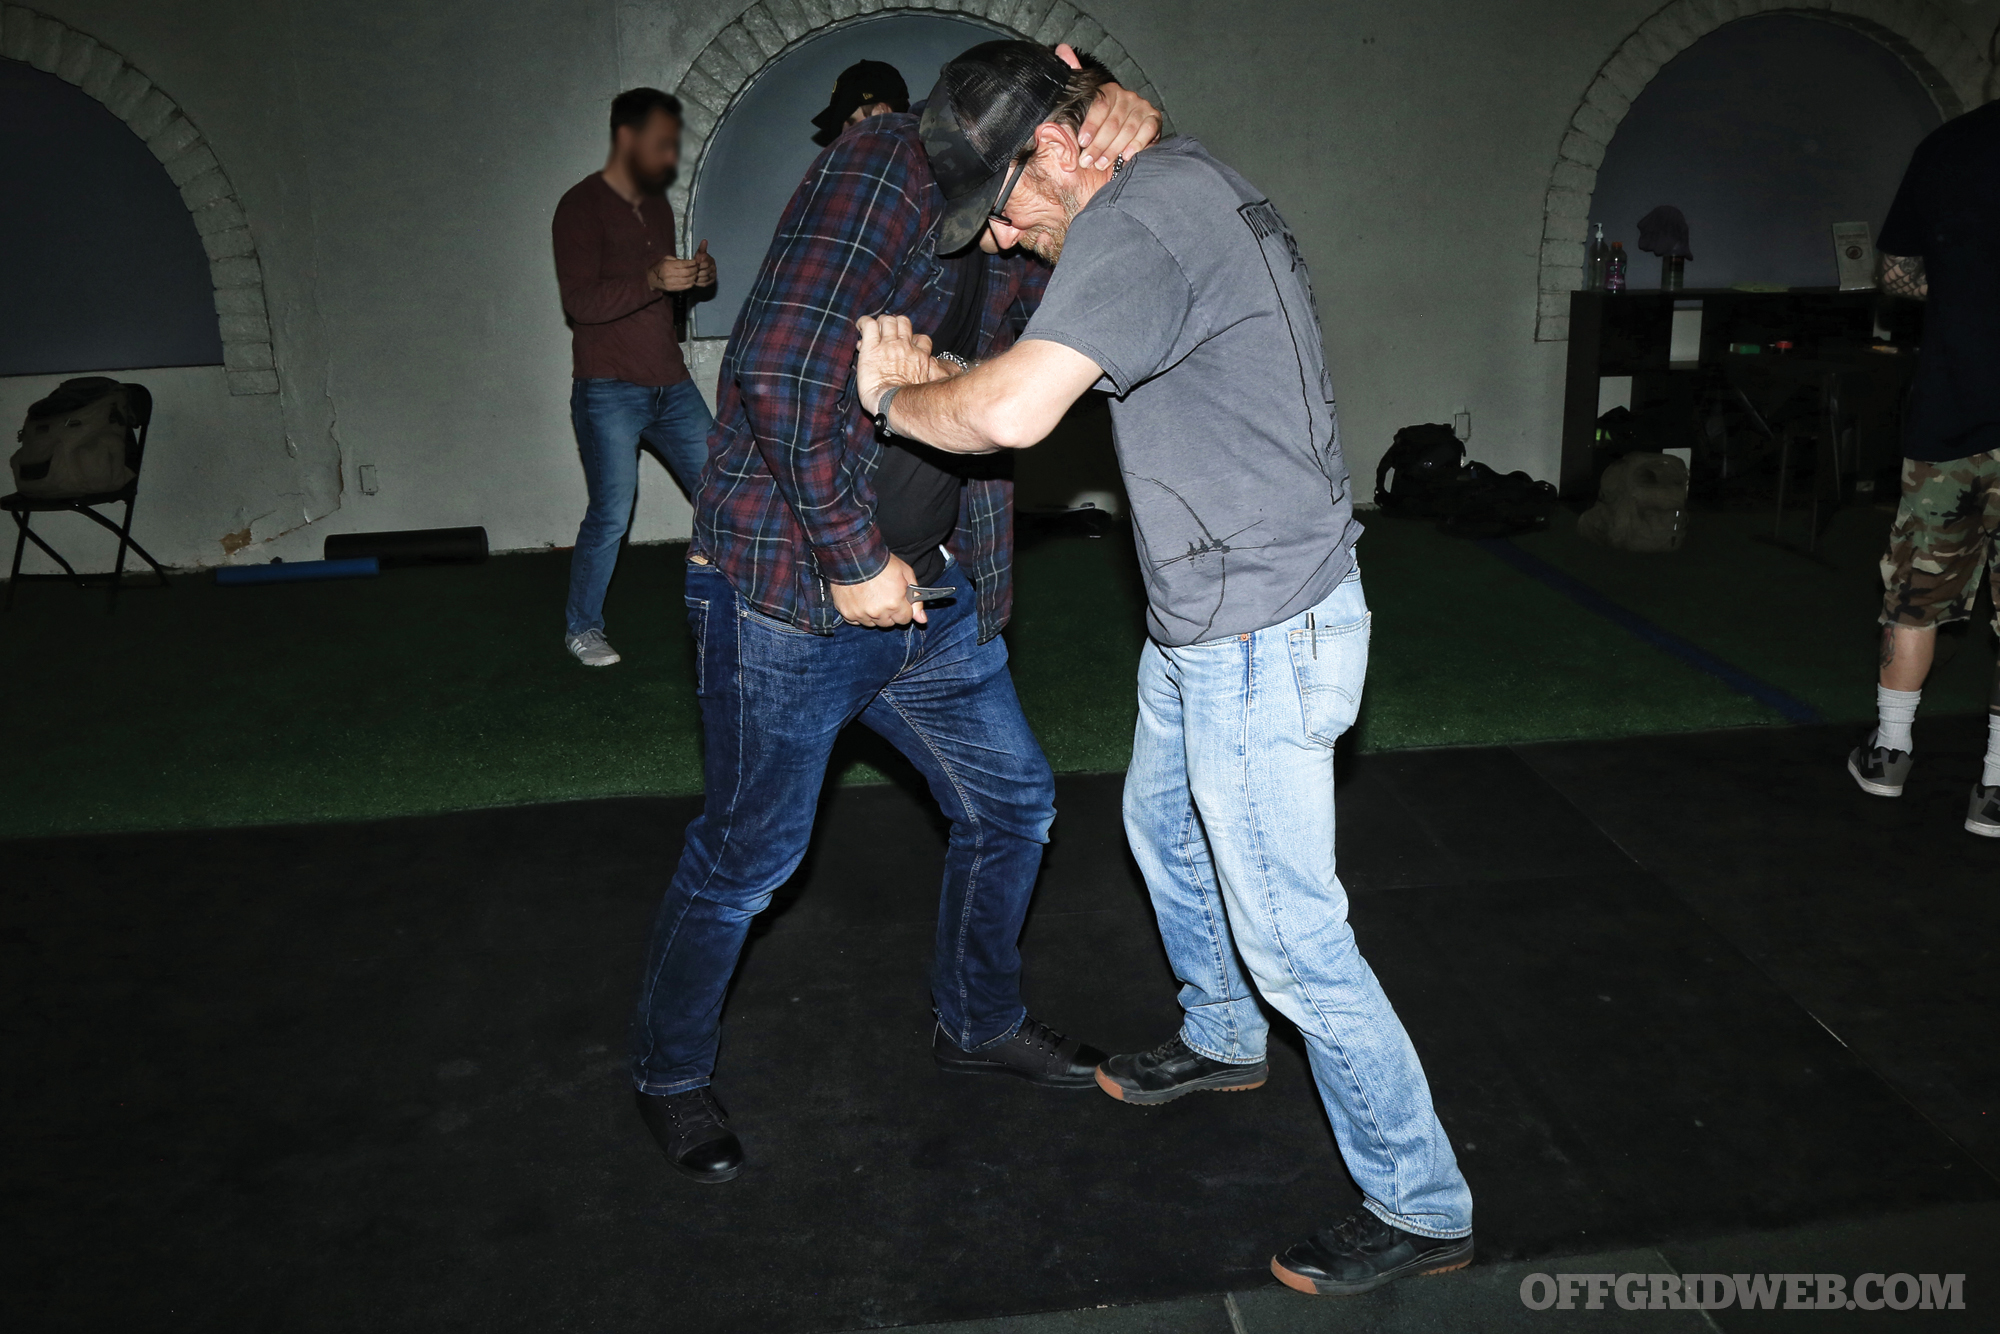
 Above: Attack angle #1: tip-down stab from the top to reach the subclavian artery
In every single one, the attack consisted of a brief but frenzied flurry of stabs to the upper portion of the torso. In every single one, the attacker held their knife in a “reverse-edge ice pick” grip — point down, blade facing inward. In the small number of cases where an attacker did slash, it was still with this grip. Slashes were delivered in a plunging, ripping fashion as opposed to the long arc, baseball bat-style swings you see in silver screen knife fights. Many times, the weapon wasn’t a blade or knife of any kind, so the attack was delivered exclusively through stabs into the upper chest.
Above: Attack angle #2: tip-down stab from the side into the aorta.
Through this systematic analysis, Weaponology focuses primarily on targeting the heart with a stabbing blow. Ed teaches only three angles of attack — greatly simplified from the nine-angle diagram we’d been exposed to in previous edged weapons classes. Angle one is from the top down, angle two from the side, and angle three from underneath. The first two are meant for that point-down ice pick grip. The last is for a point-up grip. That’s it.
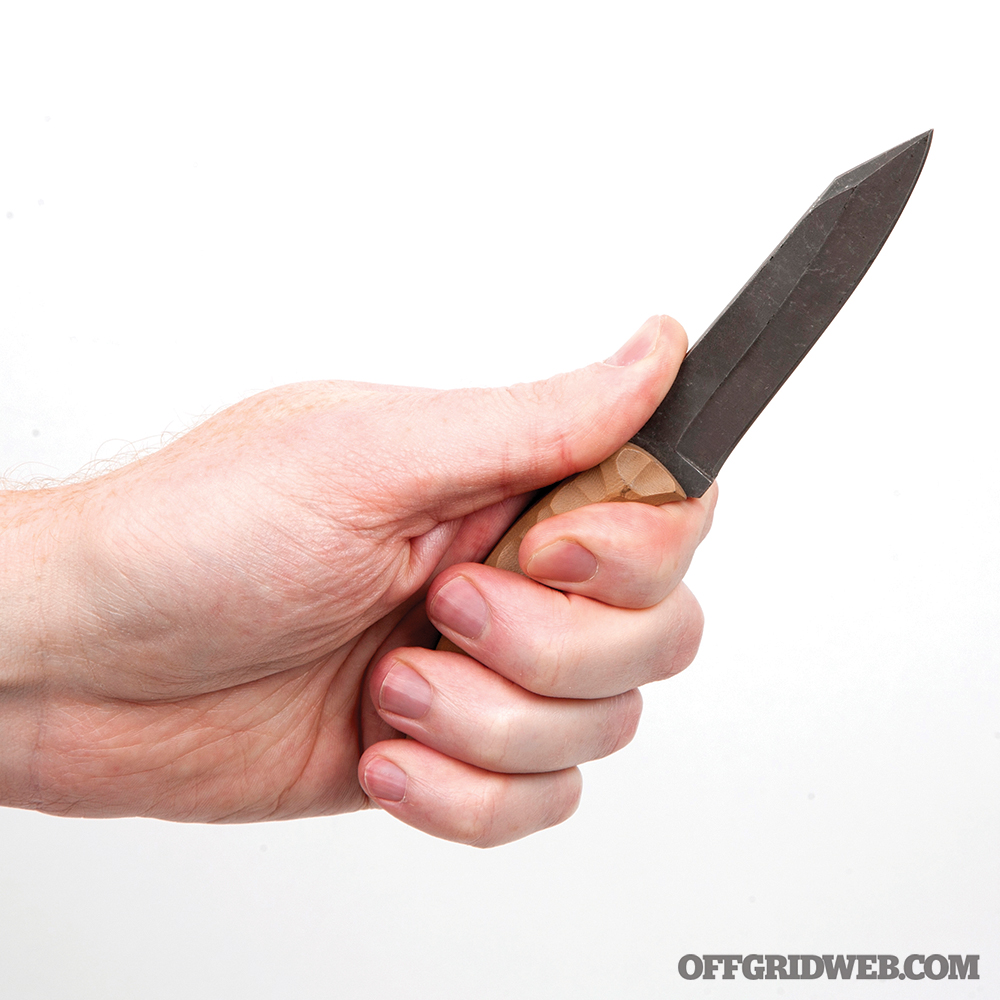
Above: Attack angle #3: tip-up stab into the chest with a “saber” grip.
A Good Offense
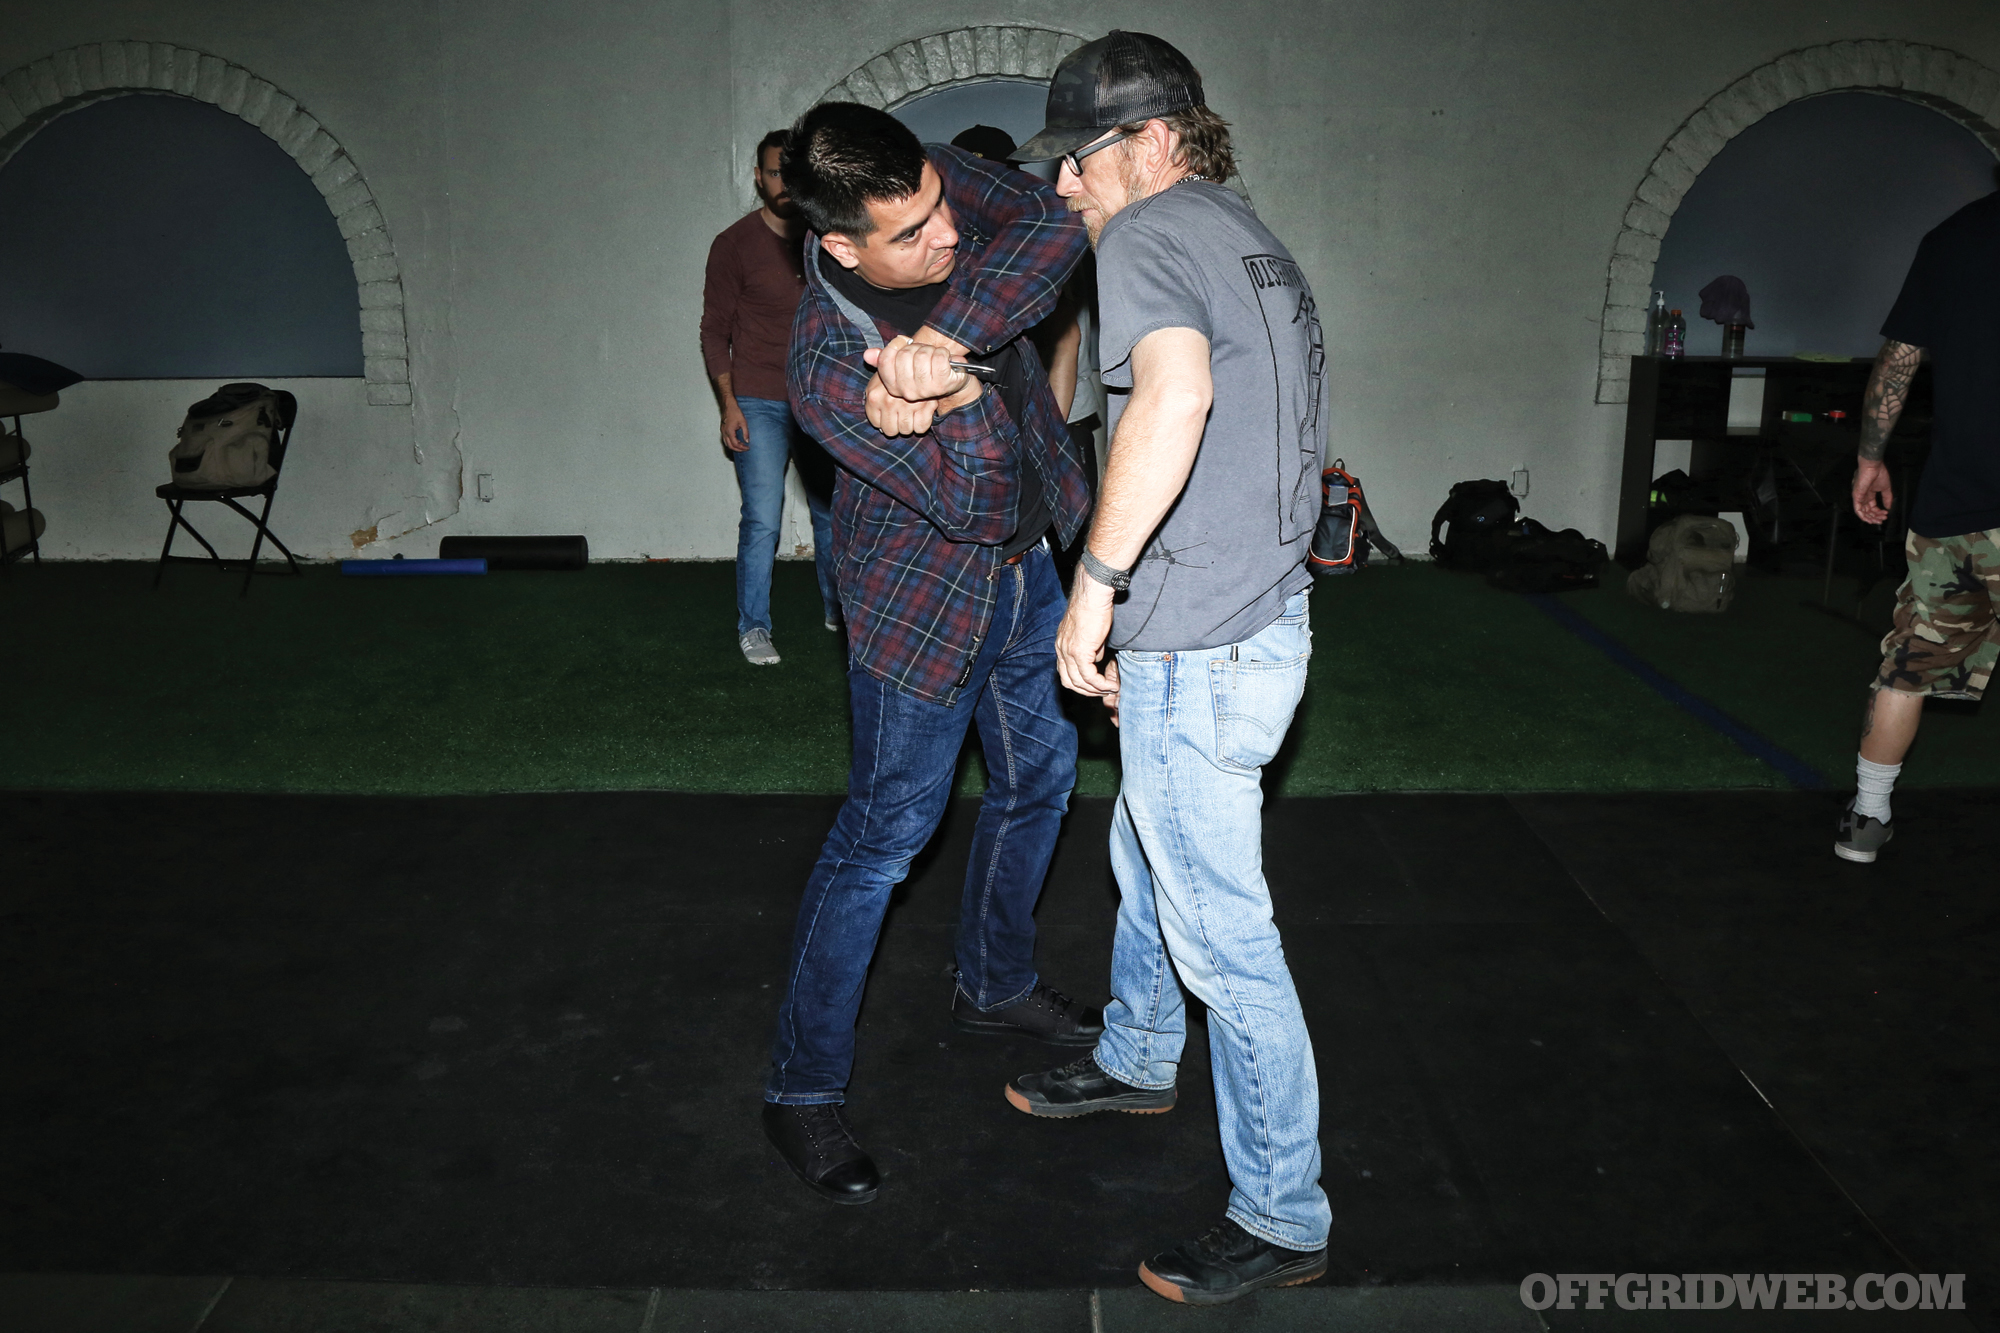
Most of the rest of day one was spent rehearsing these three strikes with sparring partners, from various angles of approach and with various tricks and force multipliers built in. One of my favorite tricks was the foot trap. As the name implies, this technique involves simply stepping on one of your opponent’s feet and giving them a shove. The idea is that, once thrown off balance by the shove, your opponent stumbles back but can’t take a full step due to the foot trap. So they wind up in a very wide, bladed stance. If you can’t reach the chest cavity with your blade, this exposes the inside thigh of the trapped leg for a strike to the femoral artery.
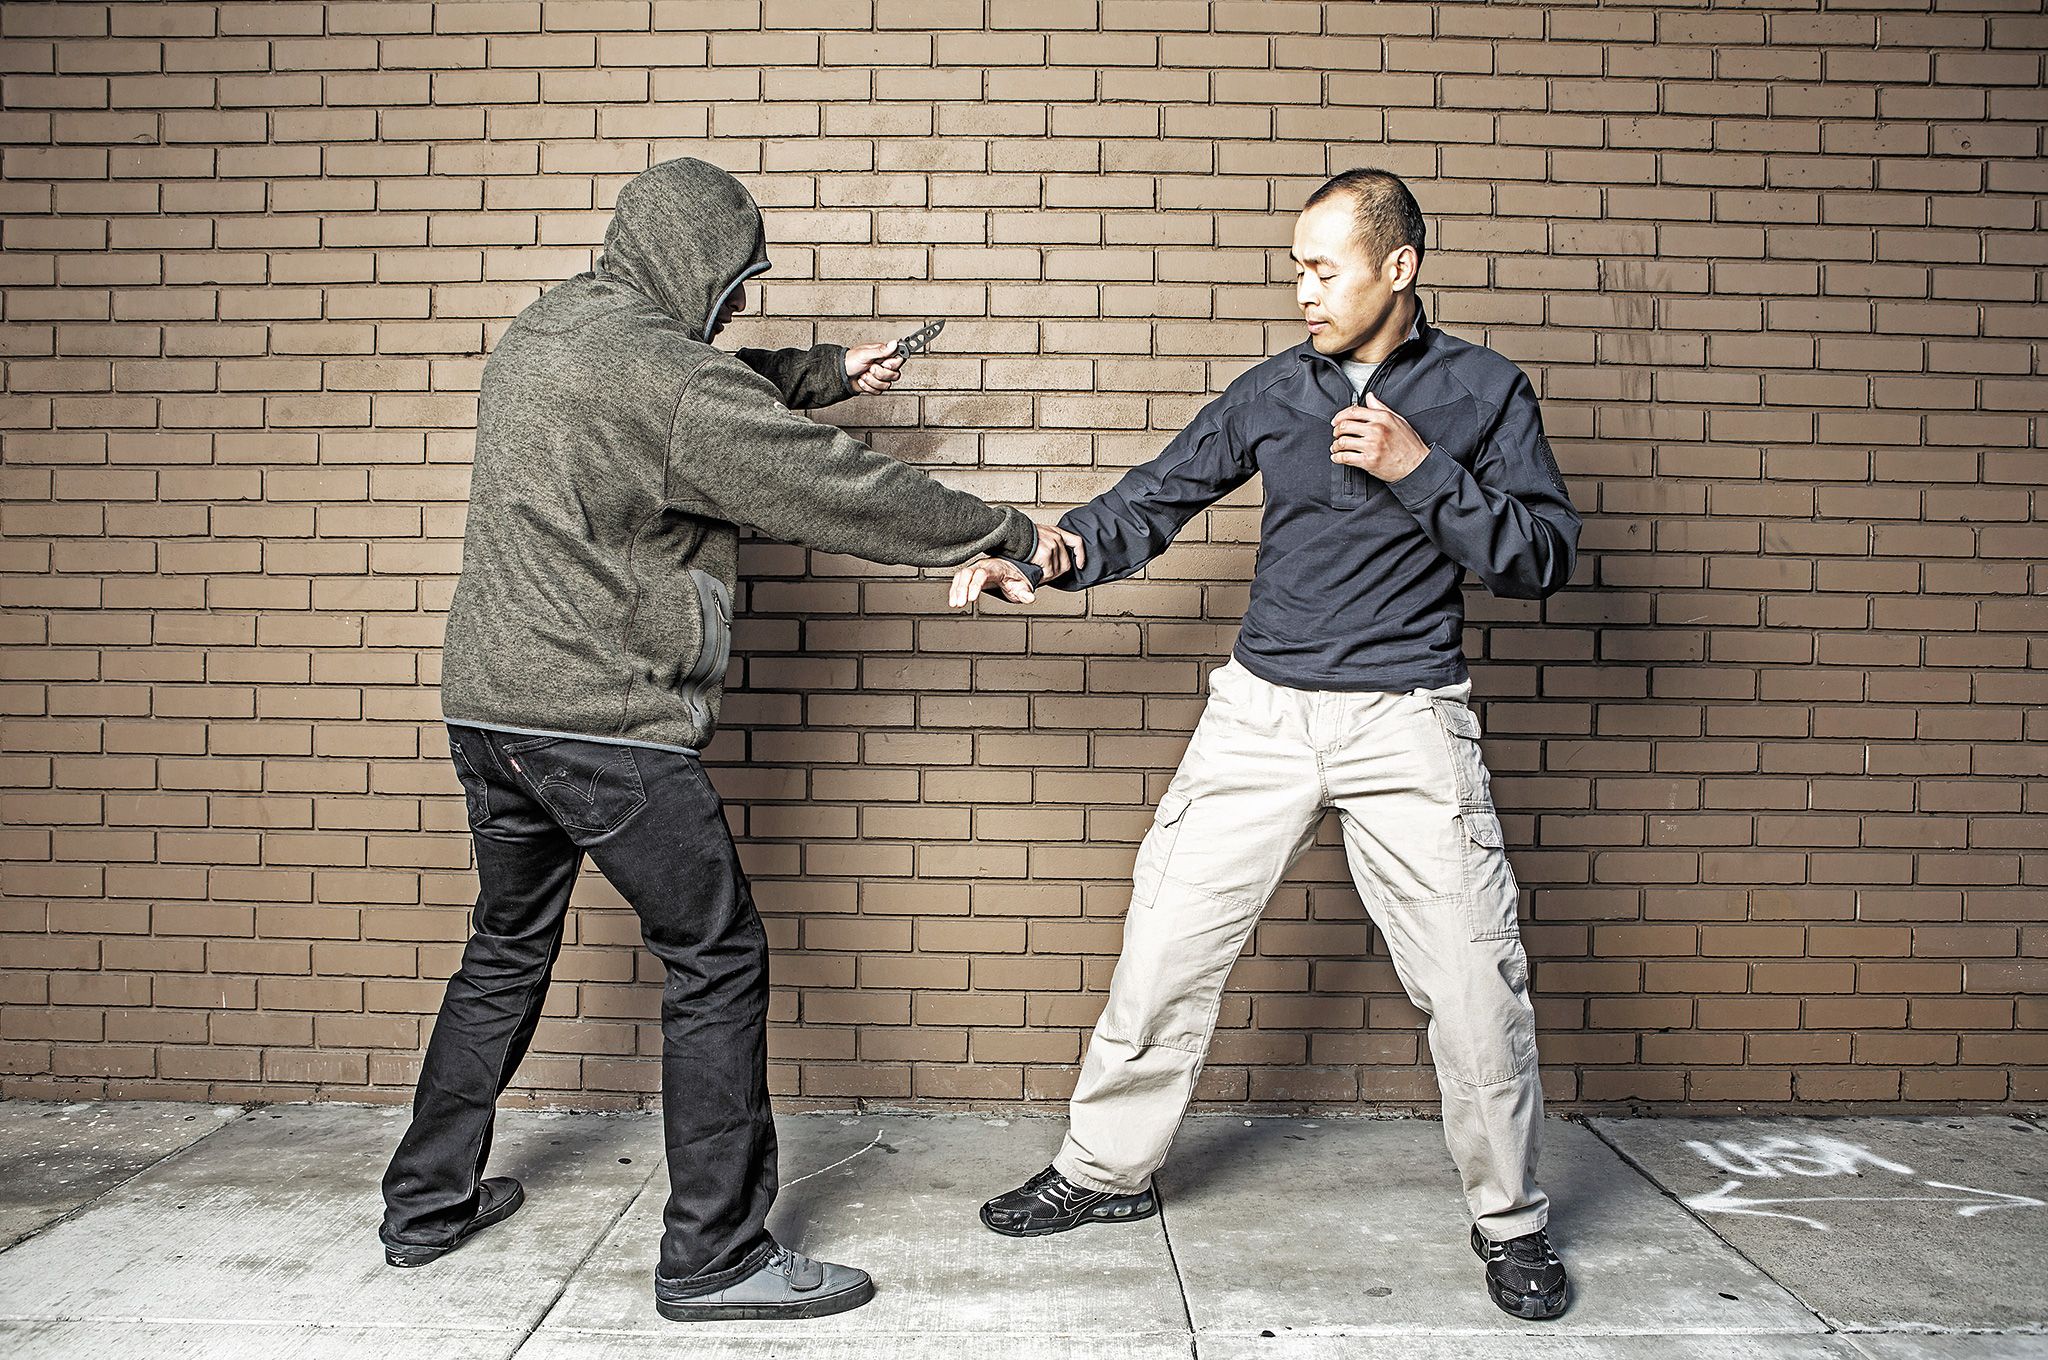
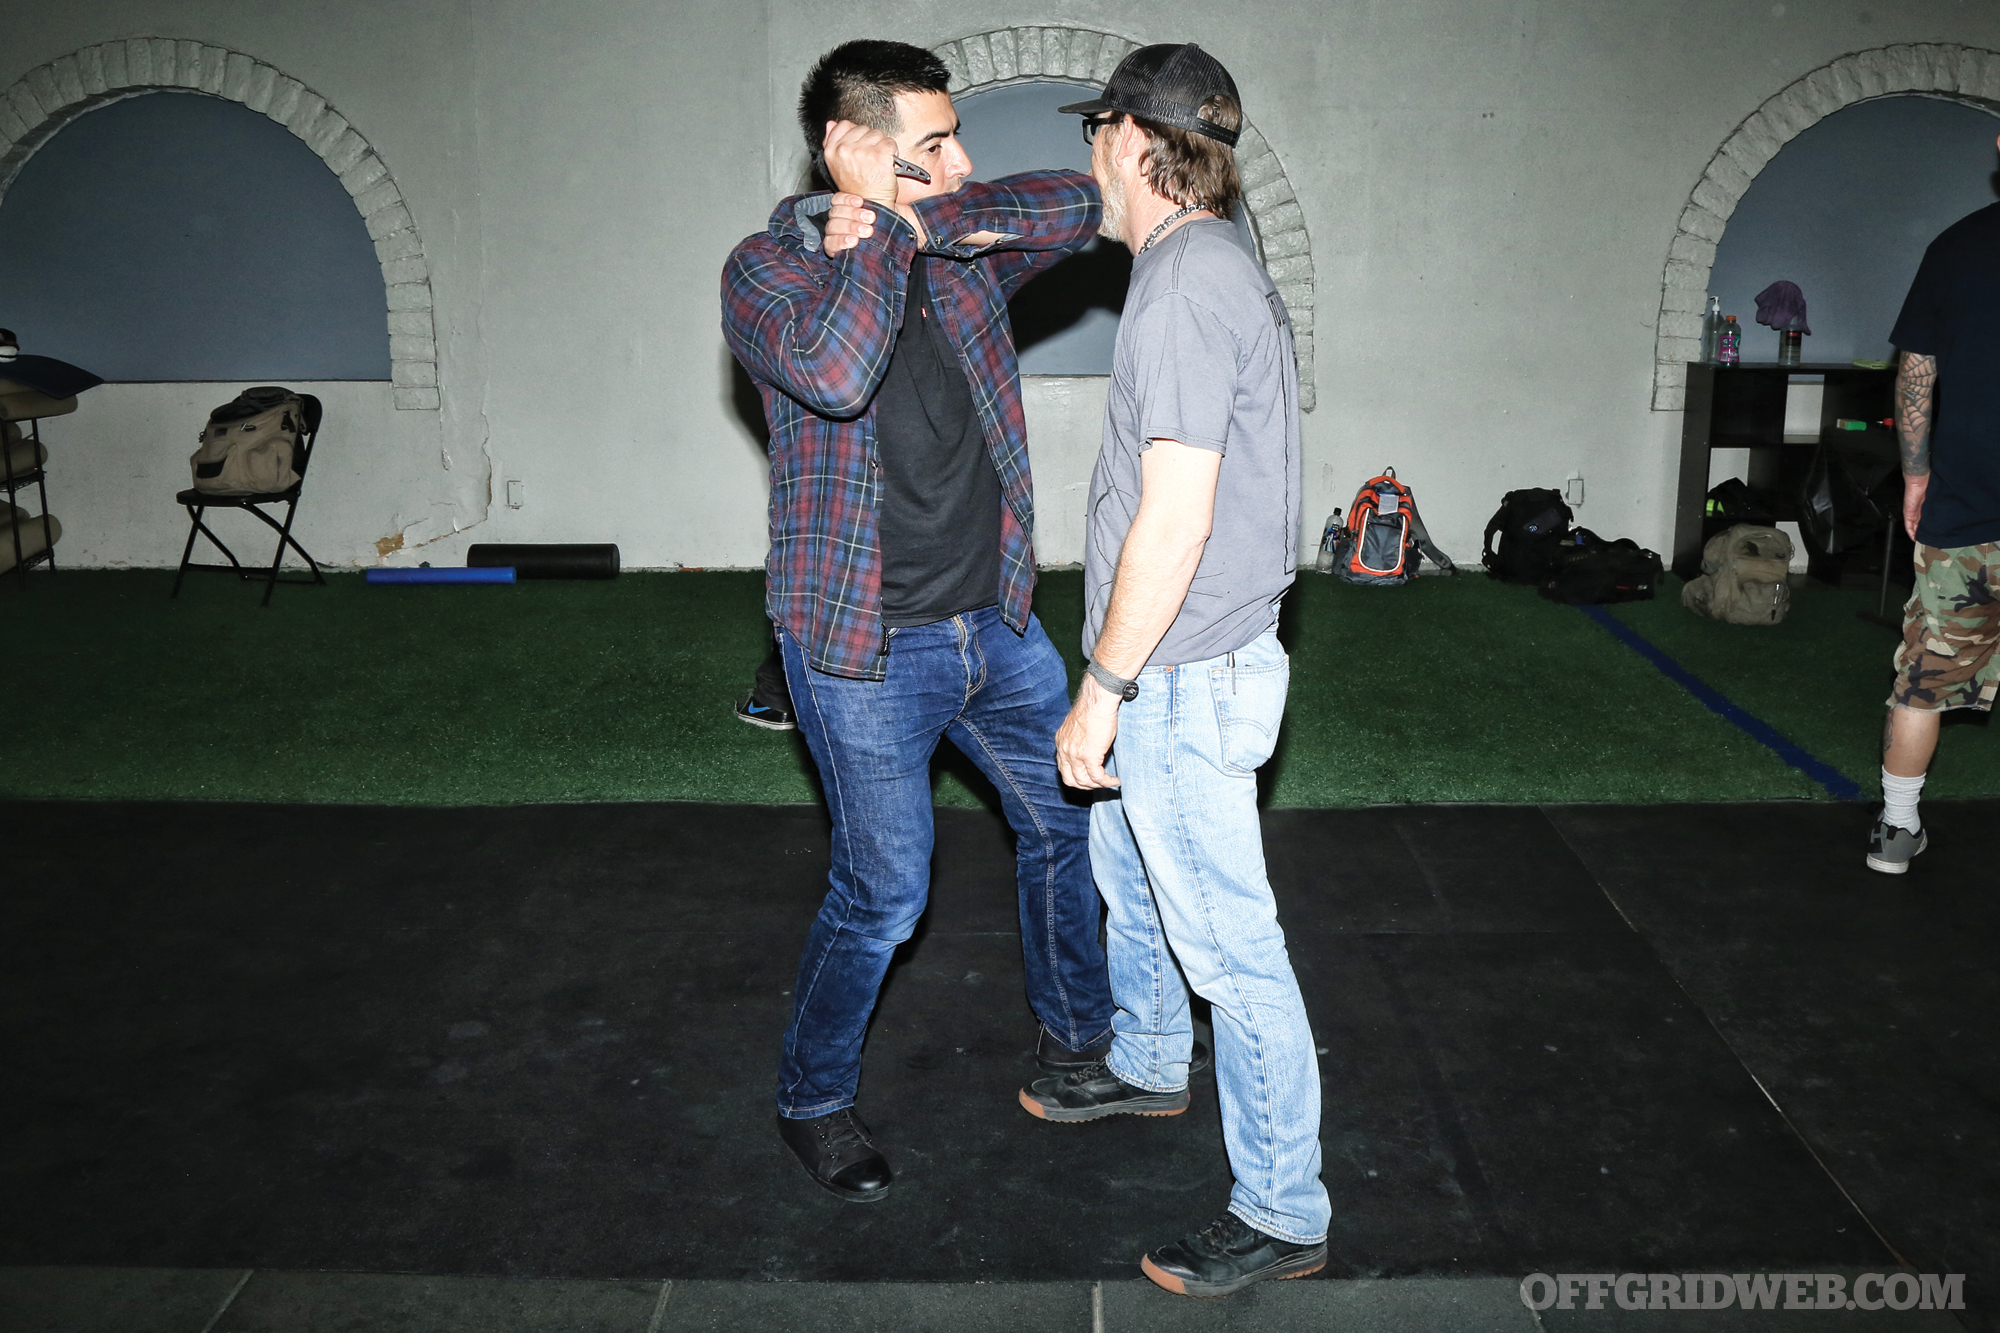
Another dirty knife trick, which may come off as blasphemy for traditional practitioners of edged-weapons martial arts, is passing the blade. If you make an attempt at a stab, and your opponent grabs the knife wrist with one or both hands (even better for you if they block you with both hands), simply reach your hand between their two arms and pass the blade. This bucks much of the conventional wisdom we’ve learned from edged-weapons experts over the years. To those of us with combative firearms backgrounds, who place weapons retention at a premium, said conventional wisdom makes a lot of sense. But when you watch surveillance camera footage of a teenager, with no military or martial arts training whatsoever, executing multiple successful hand changes while the victim is literally fighting for their life … well, it’s hard to argue with results, as it were.
This is perhaps a good time to talk about mindset. Many of the other edged-weapons classes we’ve been exposed to go out of their way to market themselves as defensive systems. They’re often more focused on blocking and countering than they are on striking. This may be a matter of personal philosophy, or perceived liability on the part of the instructors. Either way, the Ed’s Manifesto method of edge work is grounded in the belief that the best defense is a counter-offense.
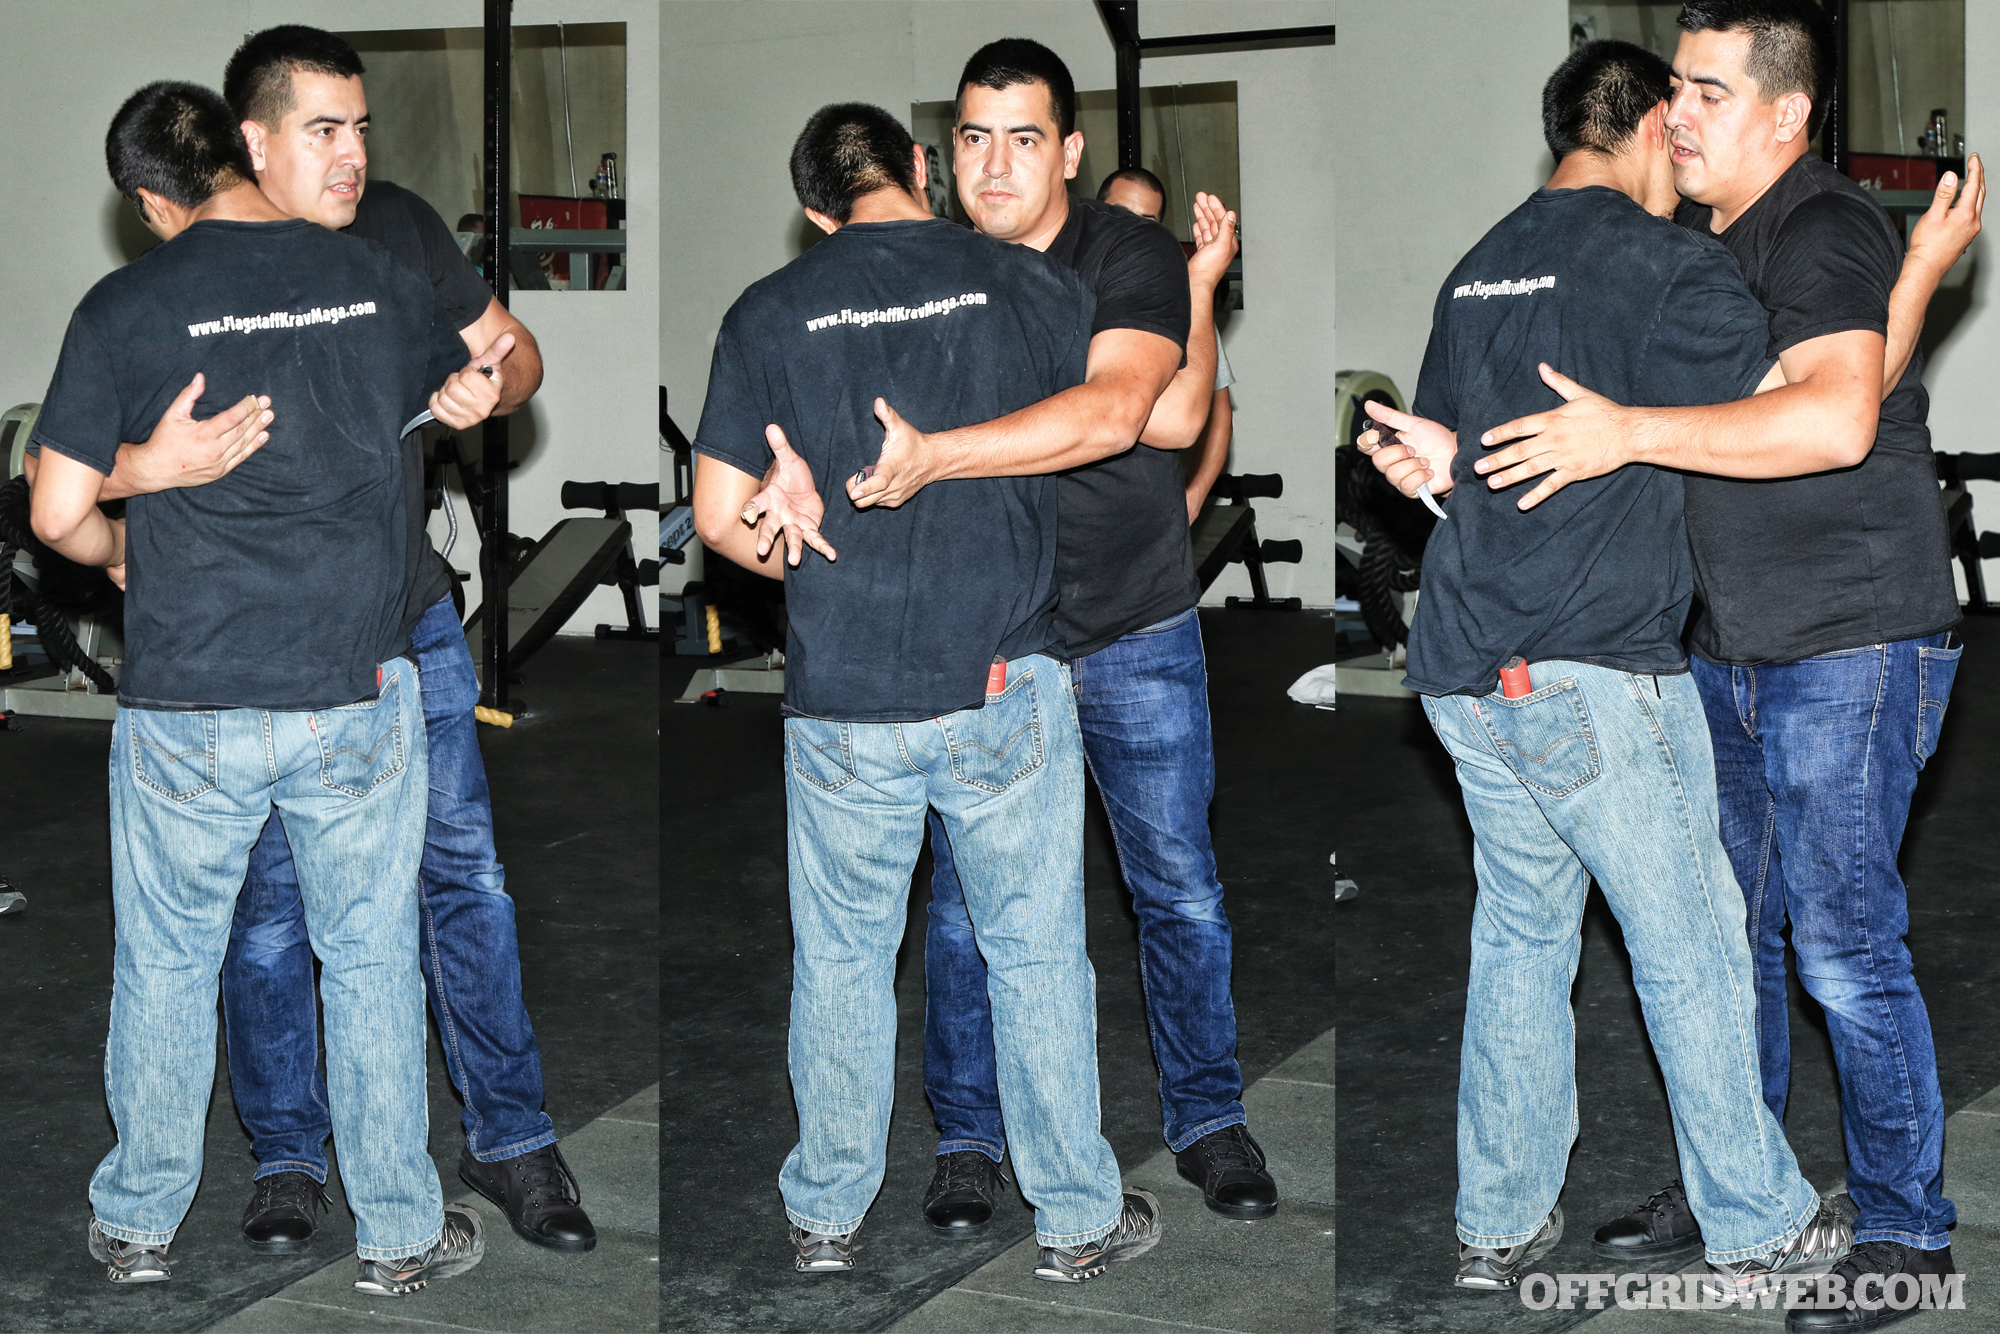
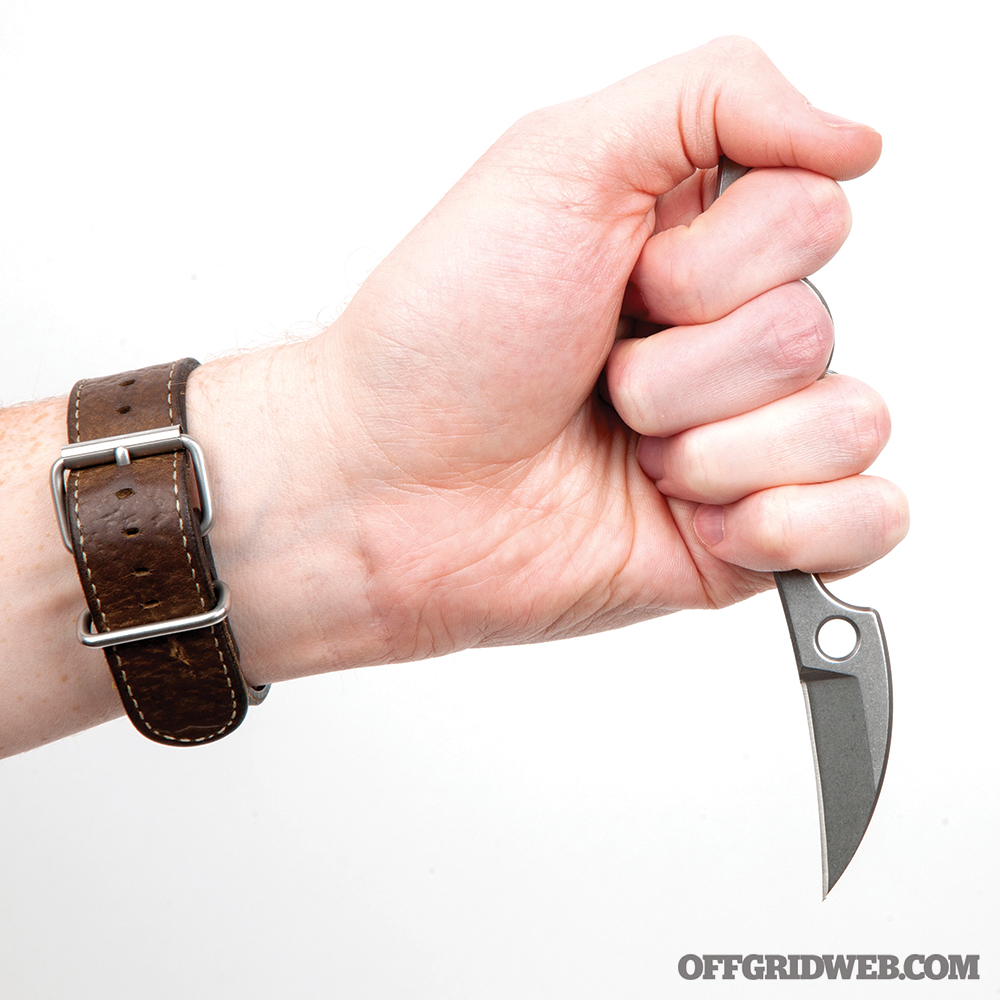
Above: Letting go of your blade to switch hands is disparaged in many formalized edged weapon systems, but Ed was able to execute it repeatedly and consistently under pressure from an attacker.
What’s made brutally plain by the video case studies is that knife-wielding assailants are full of hate and free of mercy. More so than hand-to-hand combat, or even maybe gunfights, knife attacks are executed with a level of primal brutality that’s likely to shock the psyche of most well-adjusted members of society. But it’s possible to circumvent the psycho-emotional overload that comes with the panic and surprise of a sudden onset, life-or-death encounter.
In the military, it’s sometimes referred to as stress inoculation. An appropriate term, since just like with a medical inoculation, participants are dosed with “weakened” (non-lethal) versions of the actual scenarios they’re likely to encounter. The result is that when they are faced with a full-strength street fight, their body and mind have some resistance to shock through programmed familiarity. This is why things like viewing and talking through photo or video case studies is so important. On the surface, such immersion may be dismissed as hedonistic “gore porn,” but we strongly assert that there’s a real, sound, well-grounded logic to it.
Dress Rehearsals
Watching, listening, and discussing incident playback is an excellent tool, but it’s one tool. Practice or rehearsal is the next step, and a vital one in the progression of preparation for worst-case survival scenarios. In the Weaponology/Organic Medium course, Ed builds in two very effective types of rehearsal.
The first one occurred toward the end of day one. After several hours of rehearsing a couple of simple moves one-on-one with a sparring partner, students were broken into groups of three. Once divided, each group of three was placed inside a boxing ring, complete with ropes. Ed designated one student as the defender and his two cohorts as attackers. The defender was given a foam training knife. No rules or restrictions were placed on the participants, other than to stay inside the ring. What resulted looked very much like that hypothetical drugged-out orangutan in a prison brawl. Fast footwork, managing space and unbridled aggression reigned supreme for both the attackers and defenders.
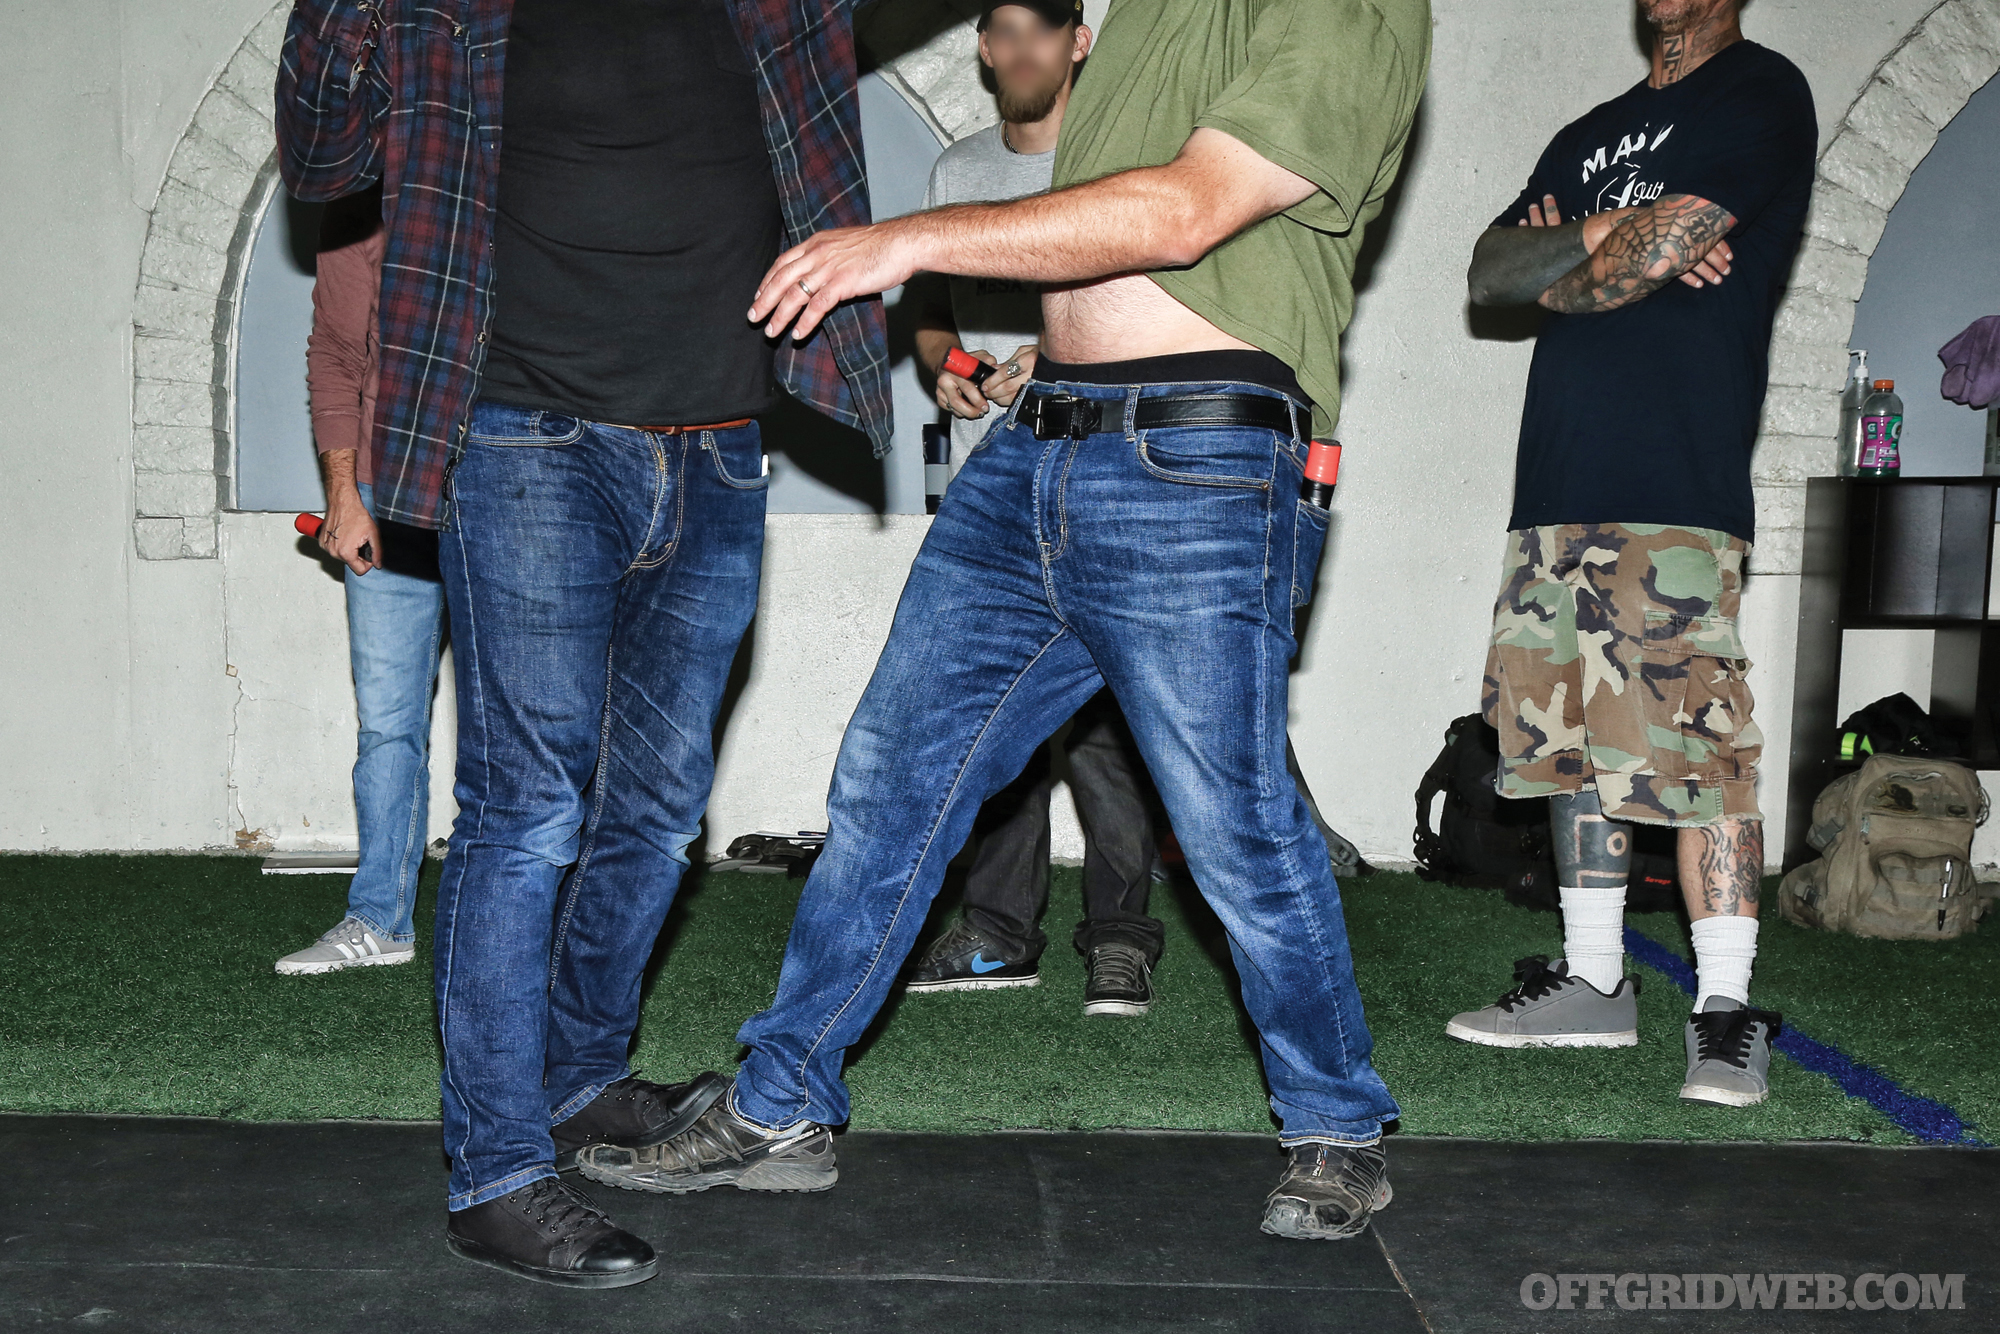
Above: Stepping onto an opponent’s foot and giving them a shove can throw them off-balance.
Every so often, Ed would step in, pluck the training knife out of a student’s hand, and hand it to one of his partners — often without uttering a word. Schoolyard rules were quite clear that he (or she) with the knife was to be the target of all frustrations. While several students reported taking edged-weapons training in the past (myself included), all notions of “proper technique” evaporated almost immediately.
Survival seemed to boil down to three simple principles: 1) Keep moving; 2) Try to stack your attackers in a line, so that they don’t flank you; and 3) Don’t stop fighting. Striking angles, blade orientation, and which hand you gripped with were all subject to change on a moment-to-moment to basis. Hit whatever vital targets you could hit however you could reach them. I was surprised to find that, even under the pressure of two opponents who each outweighed me by at least 50 pounds, I was able to switch my training blade between hands as necessary without losing it once.
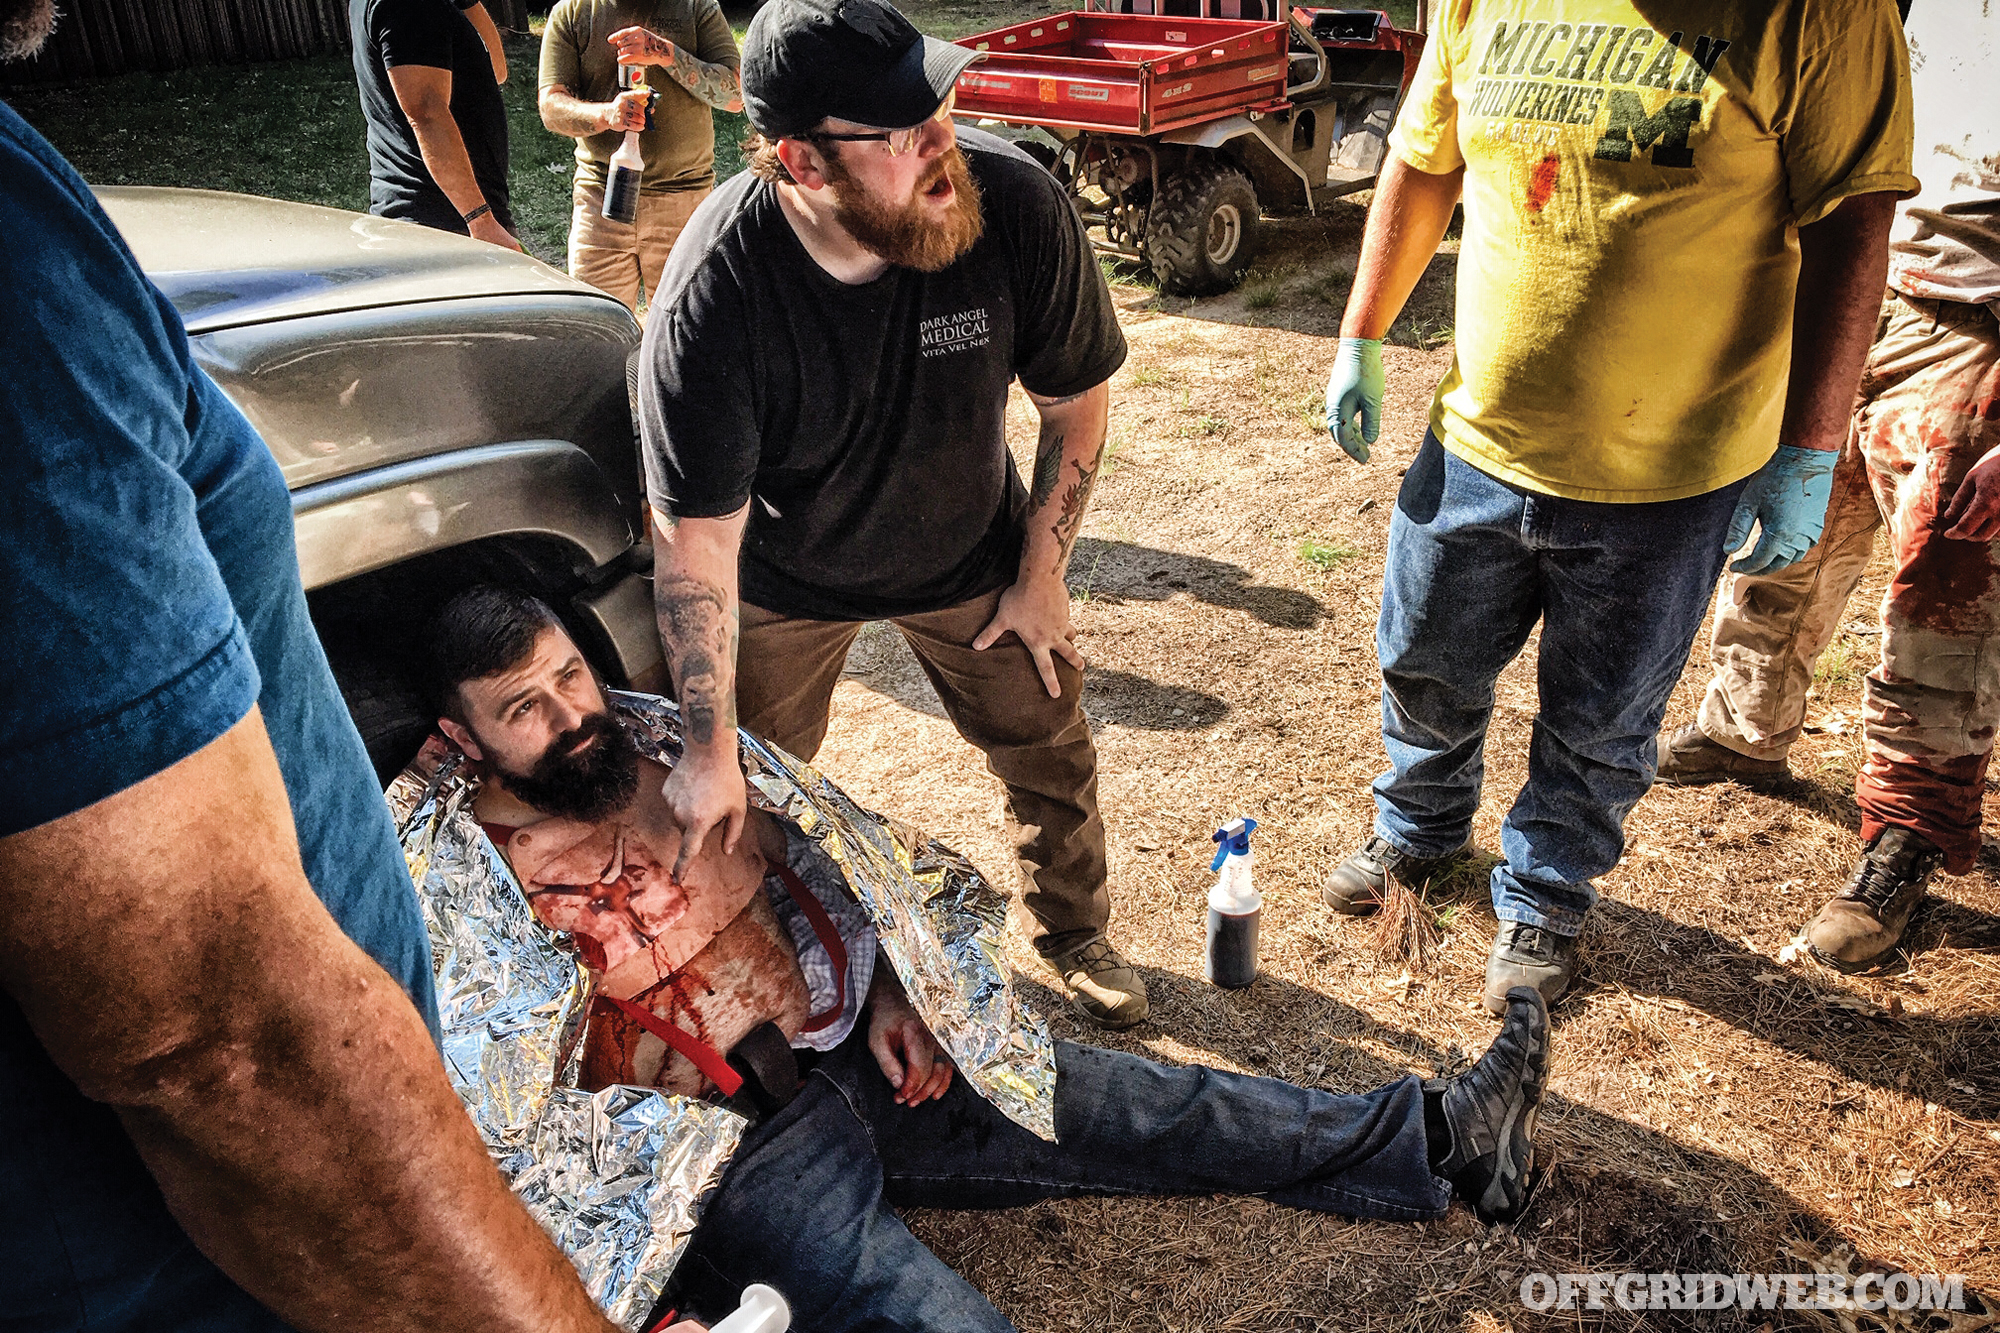
The other highly effective rehearsal technique came on day two, through the Organic Medium Entry module. As opposed to Weaponology, the Organic Medium class had essentially no formal instruction. Instead, it’s set up as a trial-and-error learning lab. The primary goal is to allow students to experience, first hand, the experience of putting a knife or pointed weapon to flesh and bone. In case you haven’t seen it on social media, Ed accomplishes this by procuring a whole pig carcass for students to practice on — internal organs are removed to minimize cleanup, but all meat and bone are still intact including skull and eyeballs, which do get used.
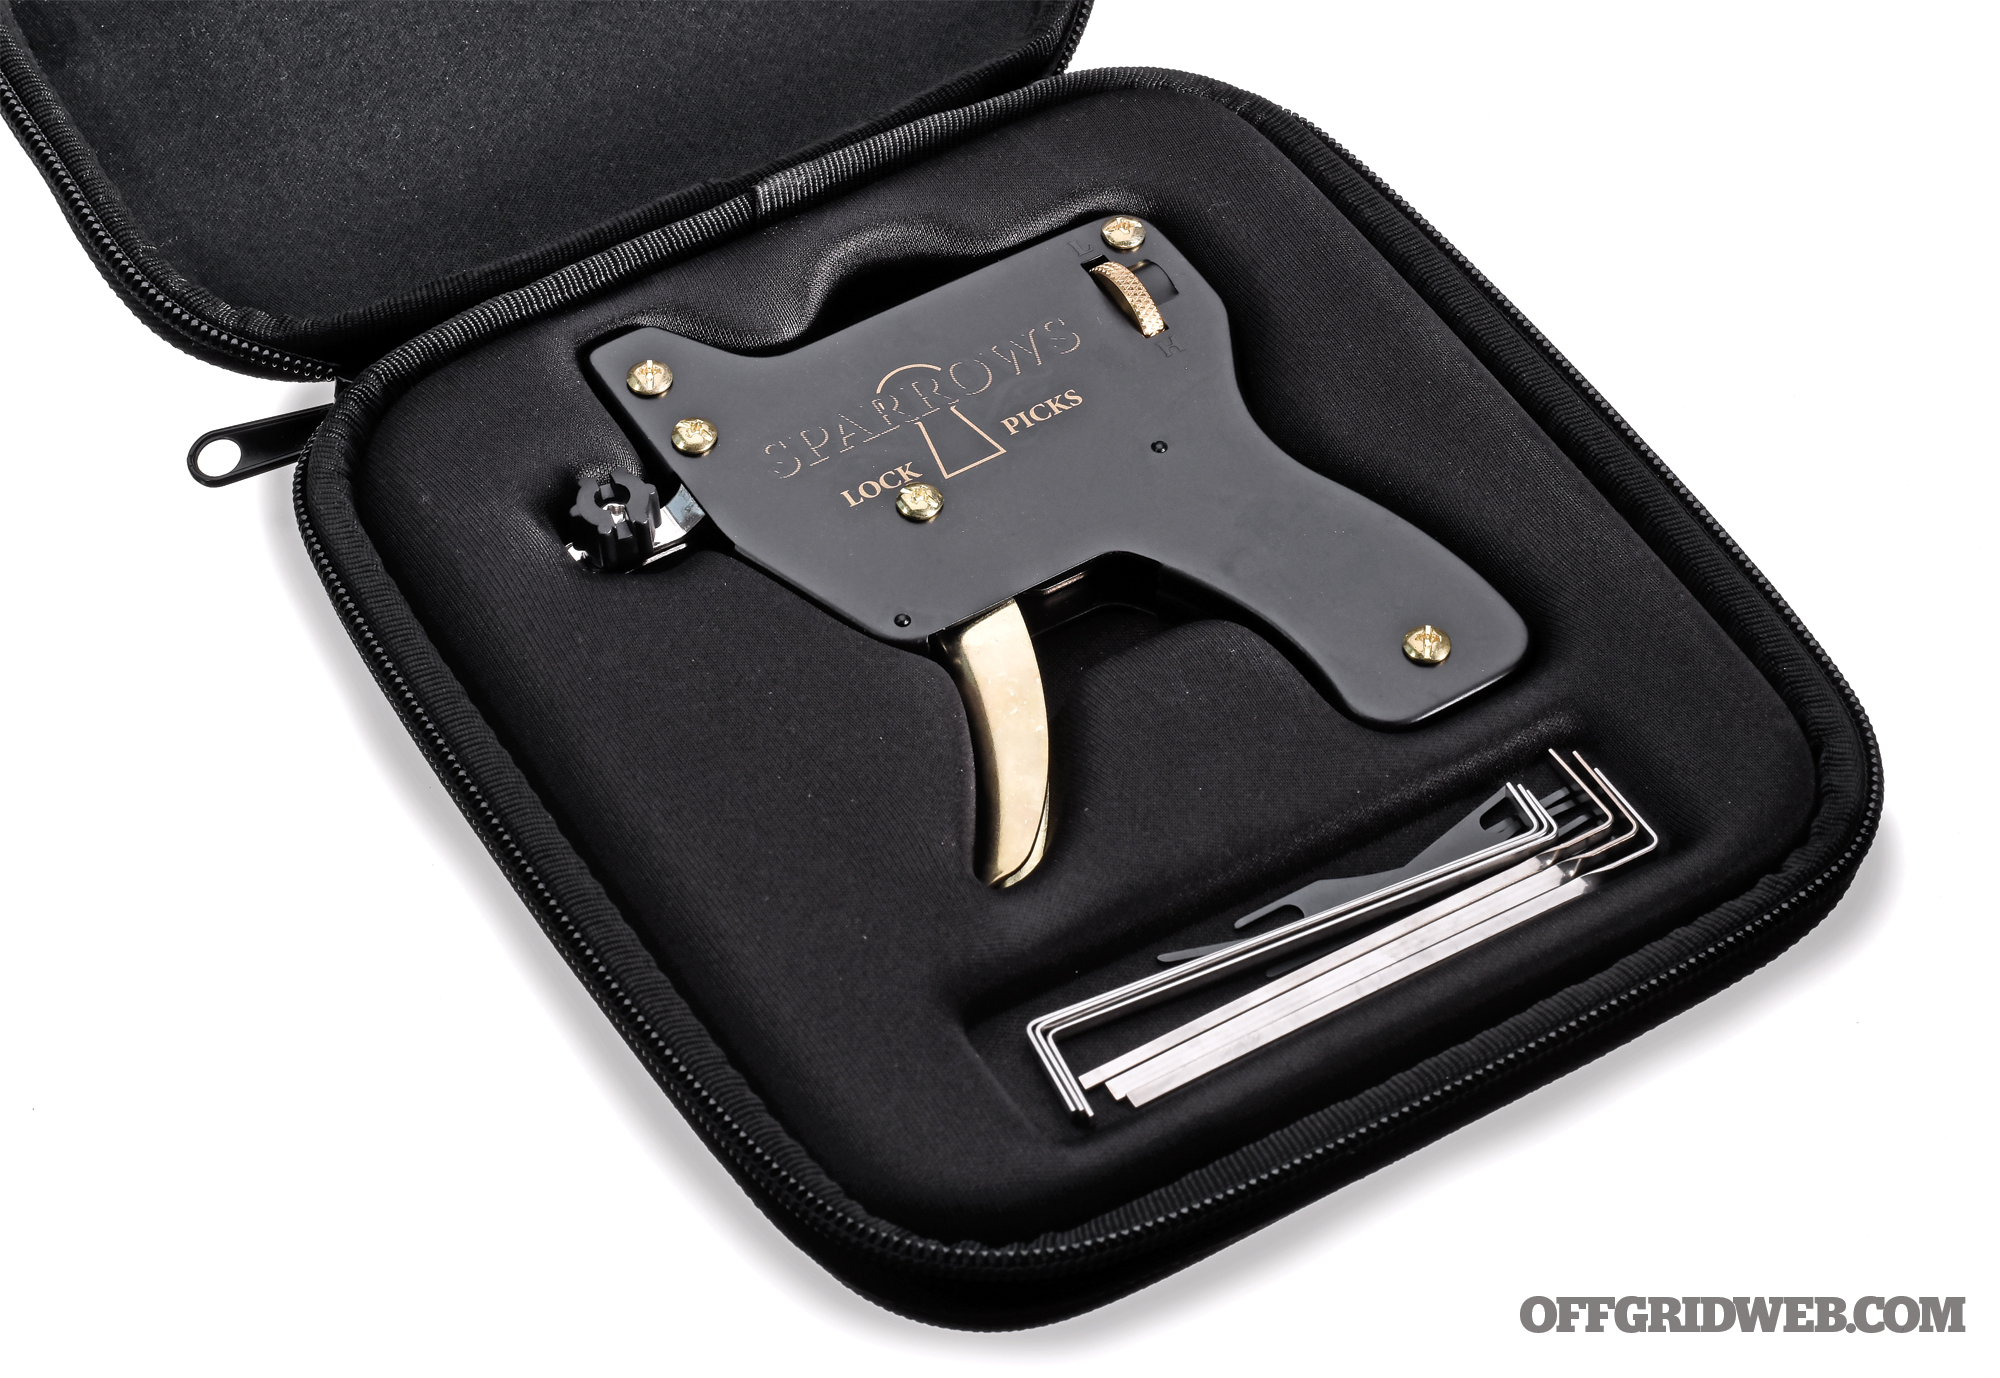
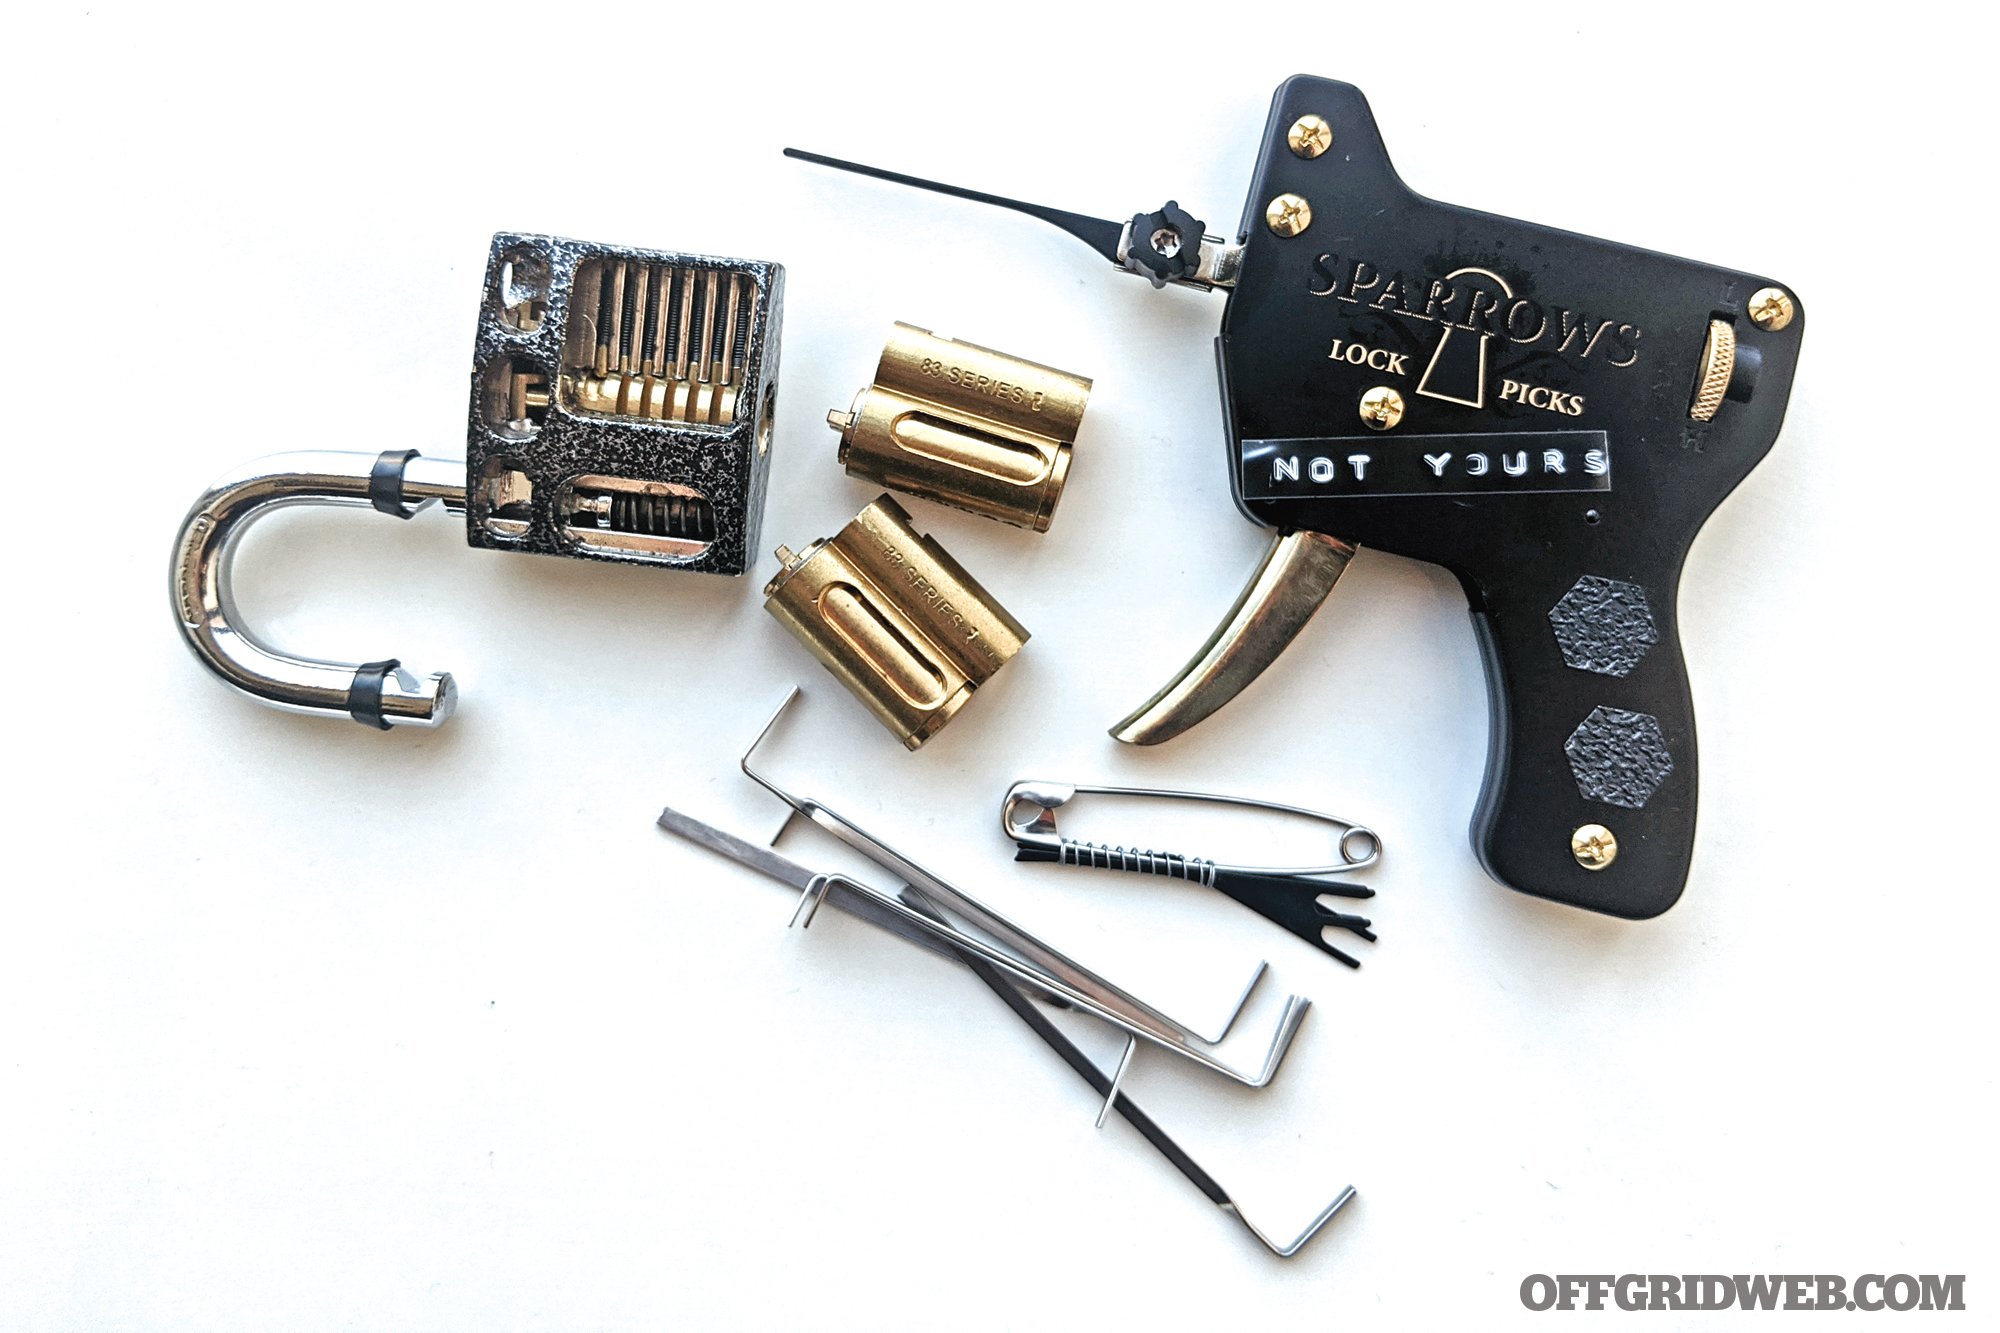
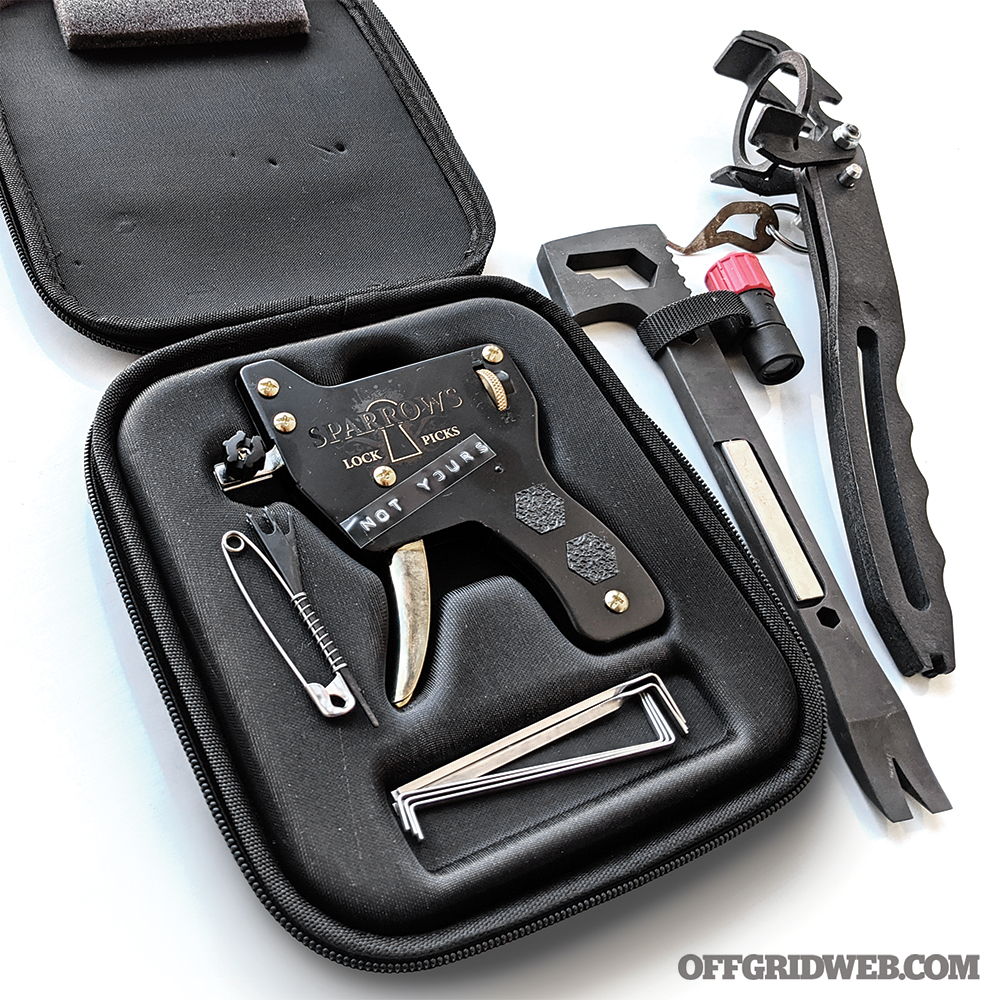
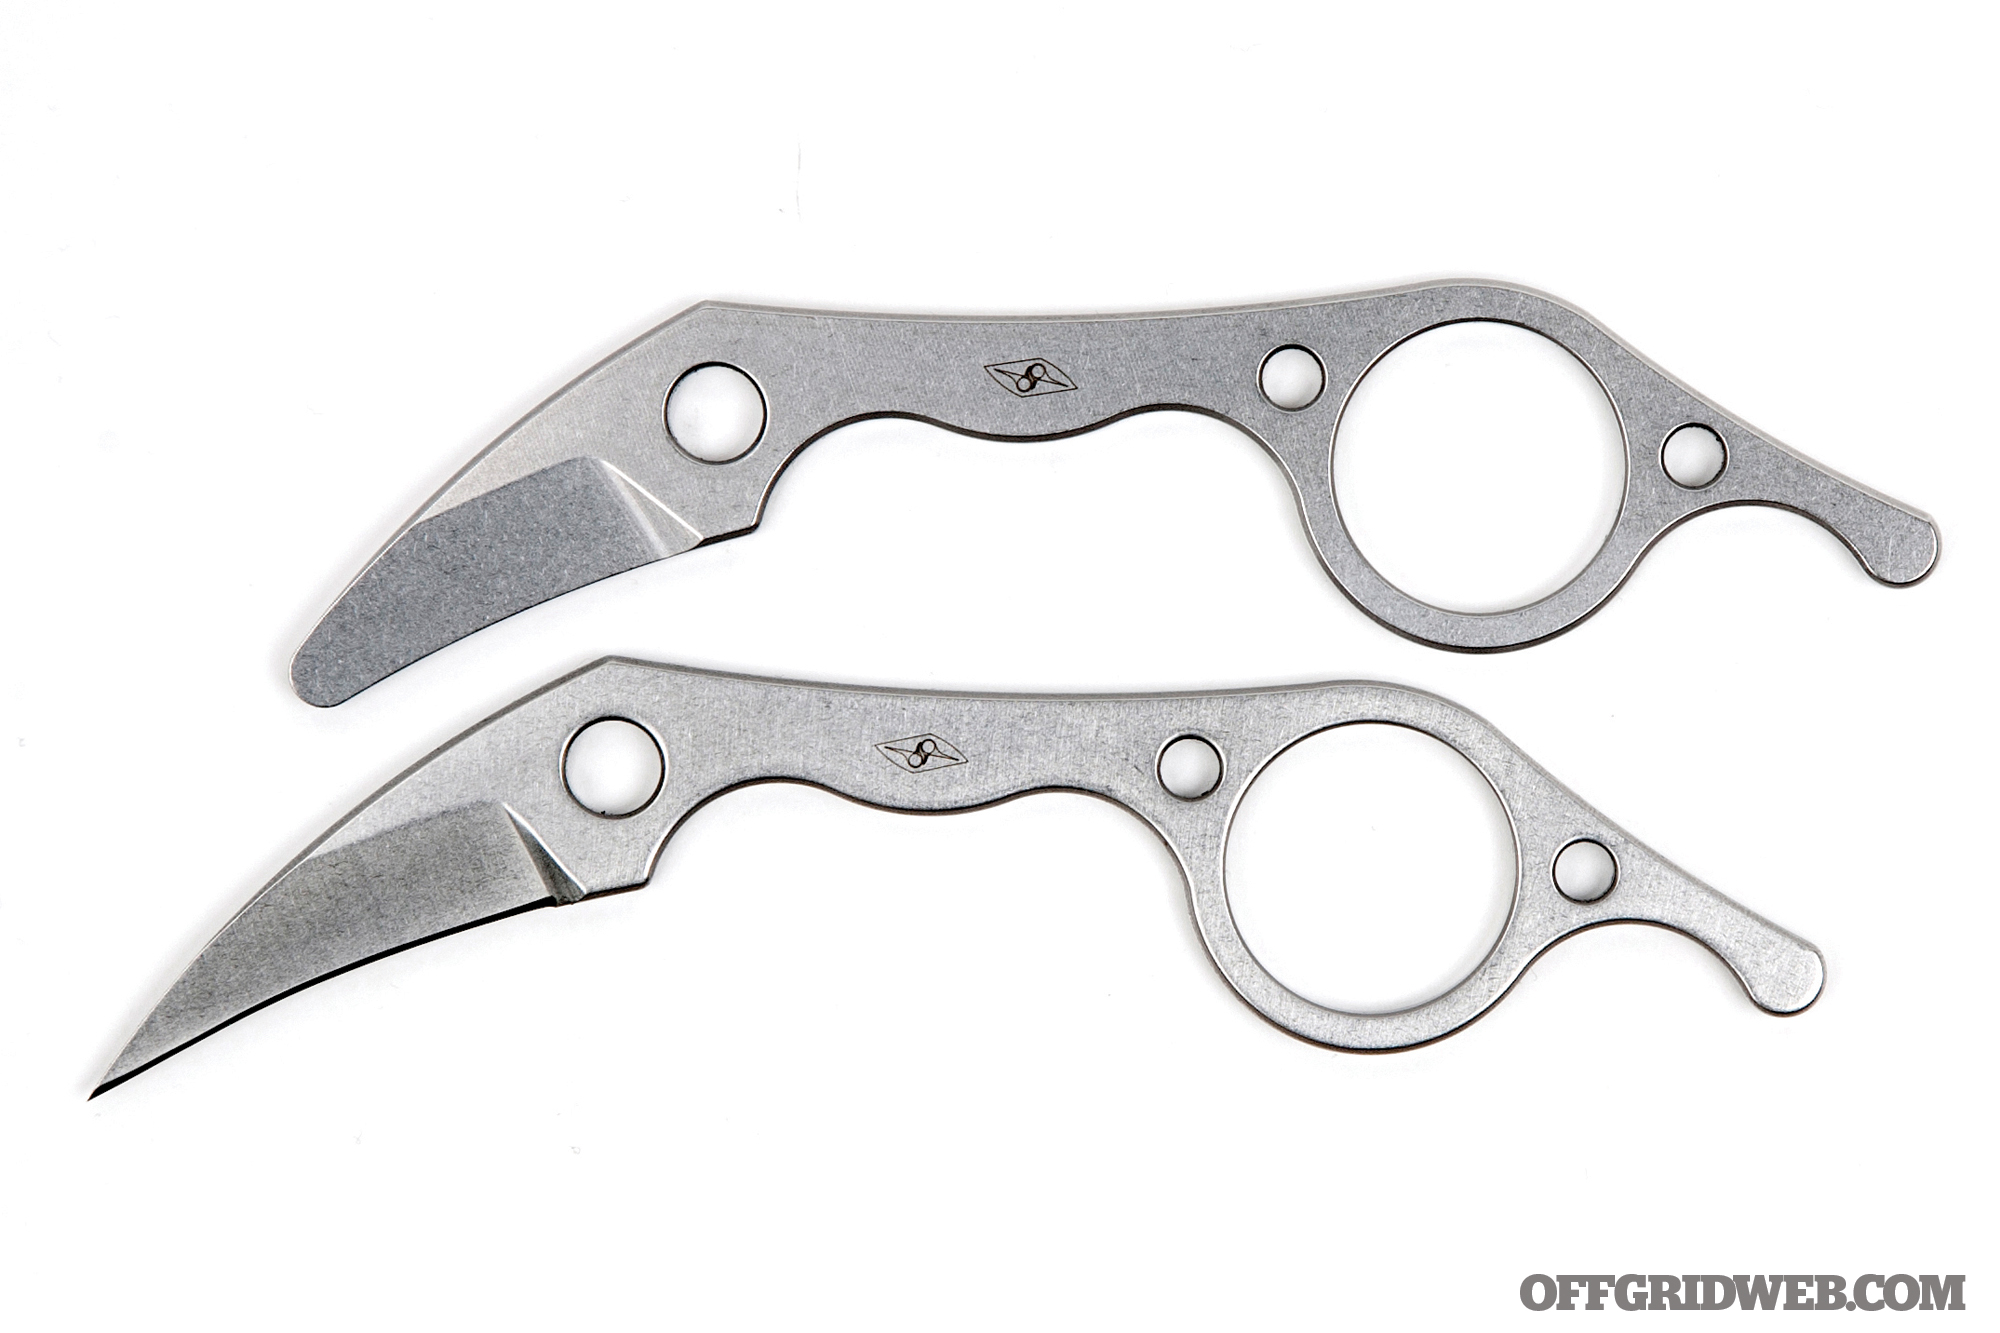
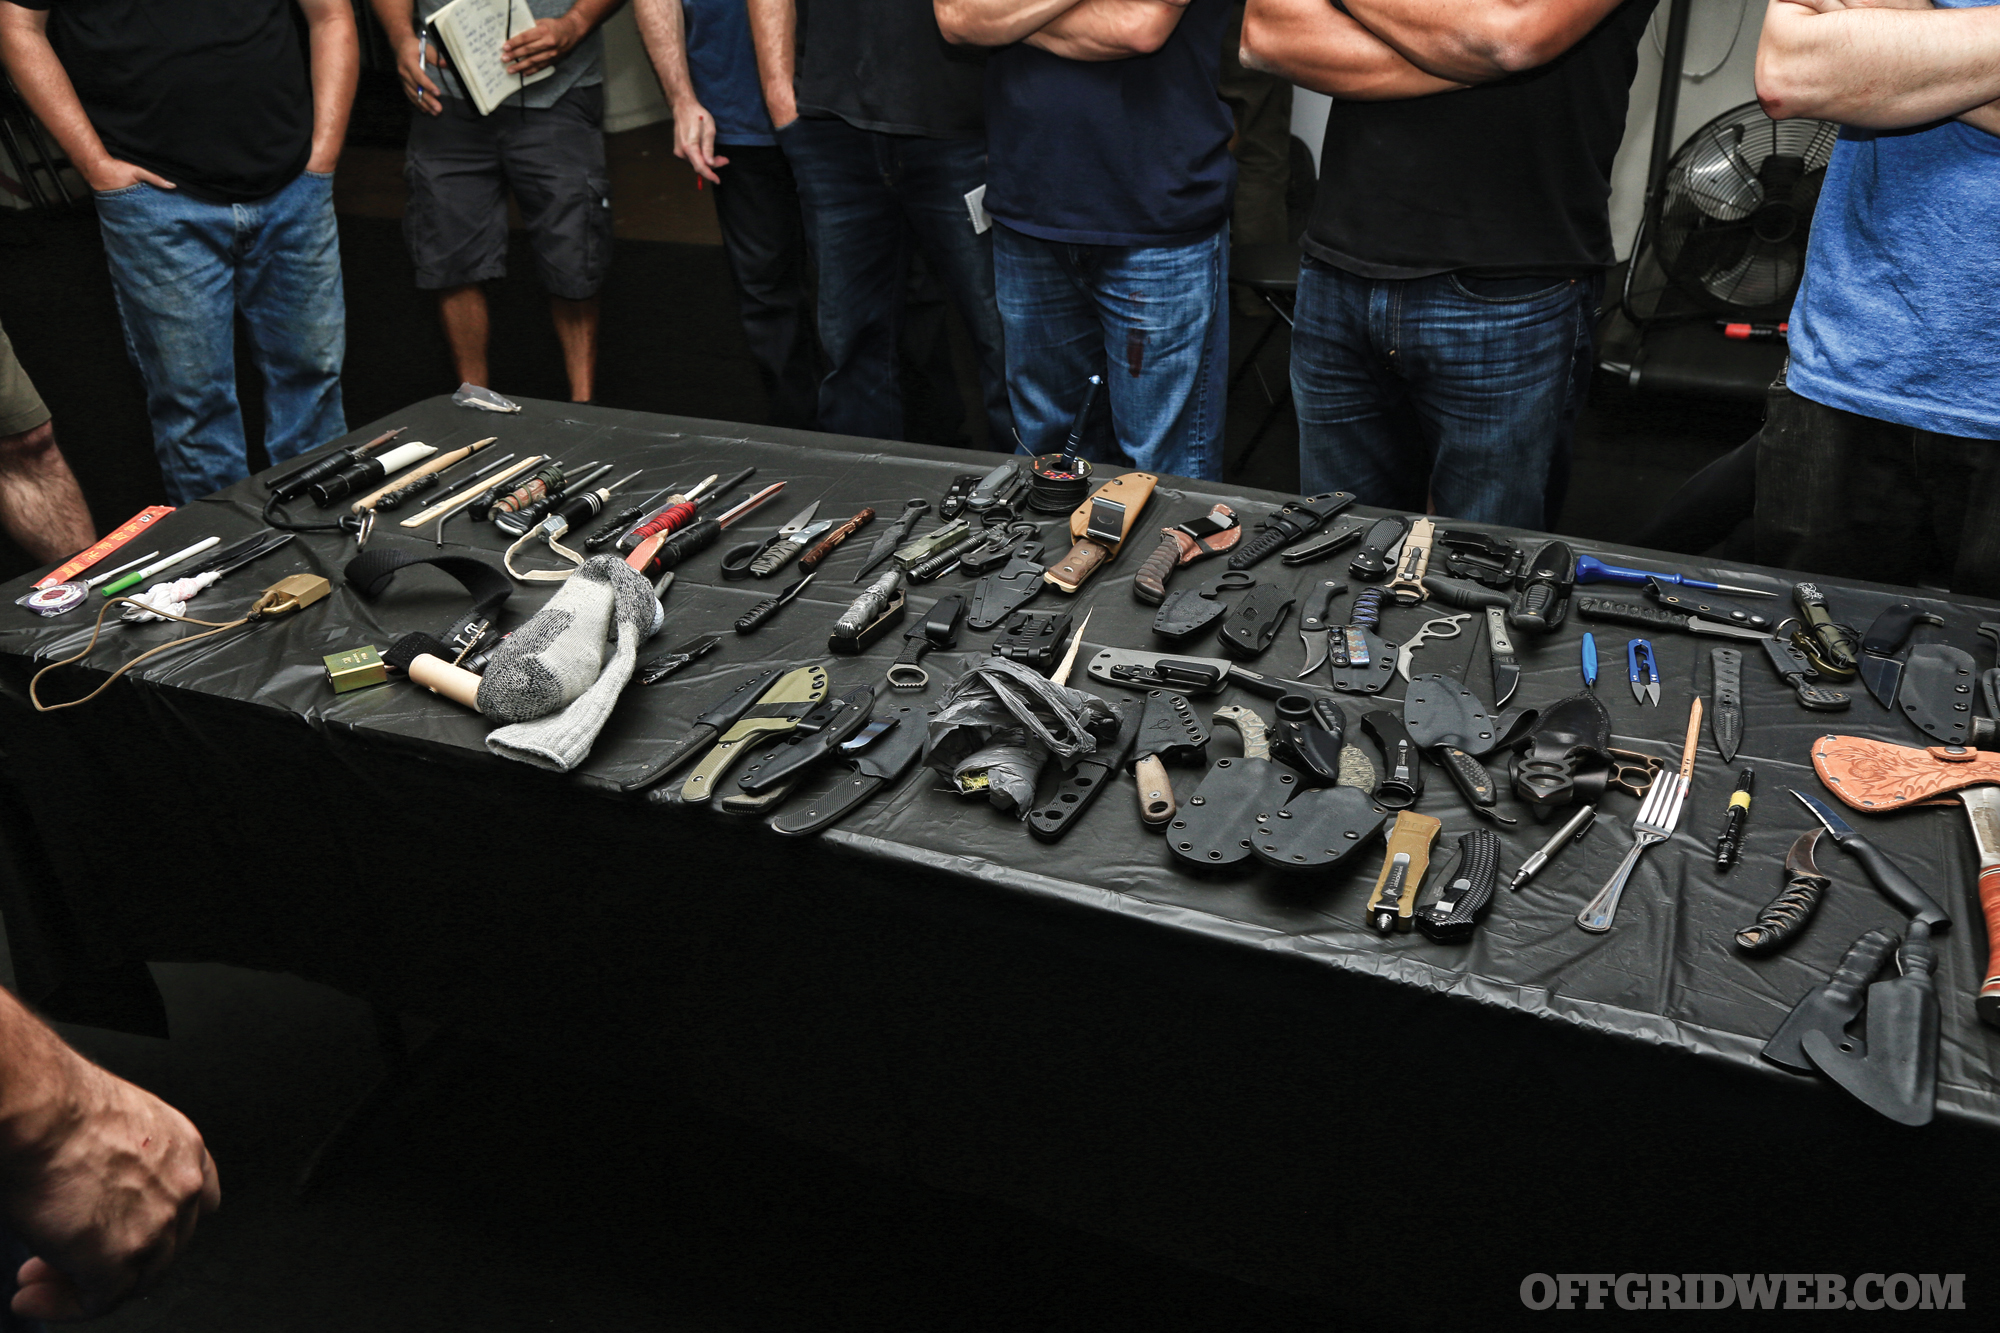 Above: The eclectic and mischievous collection of tools put to the test during Organic Medium Entry.
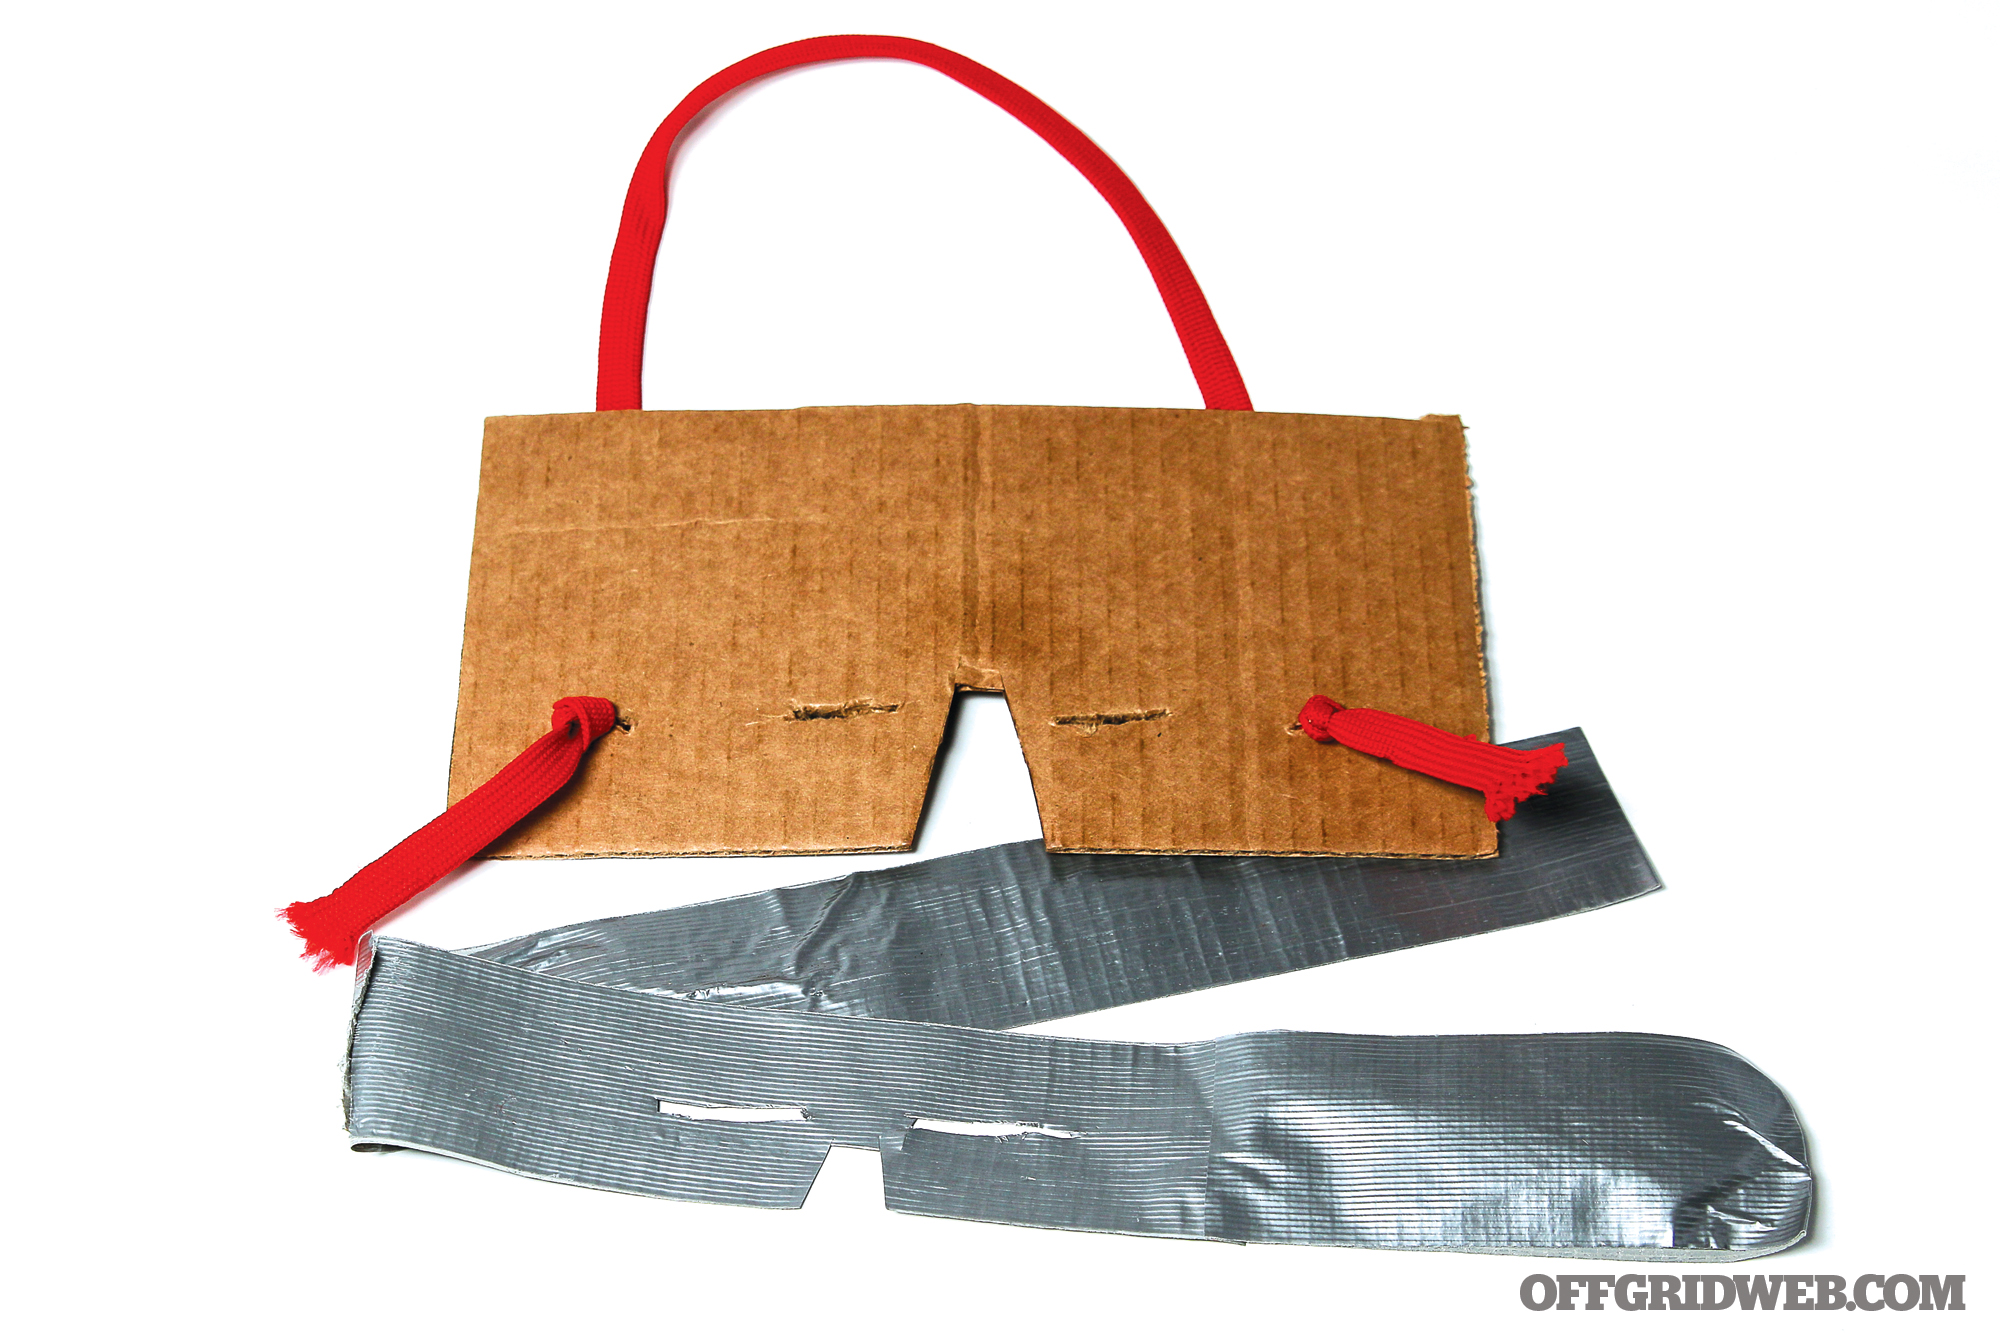
Students are encouraged to bring in whatever slashing or stabbing instruments they wish. The only guideline was that everyone had to bring in one proper knife and one improvised shank that “costs you nothing to make.” So, no late-night trips to the hardware store to build a reinforced Shank-Master 3000 before class. What appeared the next morning was an eclectic array of knives and tools. We saw everything from $400 to $500 custom knives to screwdrivers, butter knives, and bent forks “acquired” from unsuspecting diners and restaurants around the training venue. One student even brought in a set of knuckle dusters, which he tested in a stellar channeling of his inner Rocky Balboa.
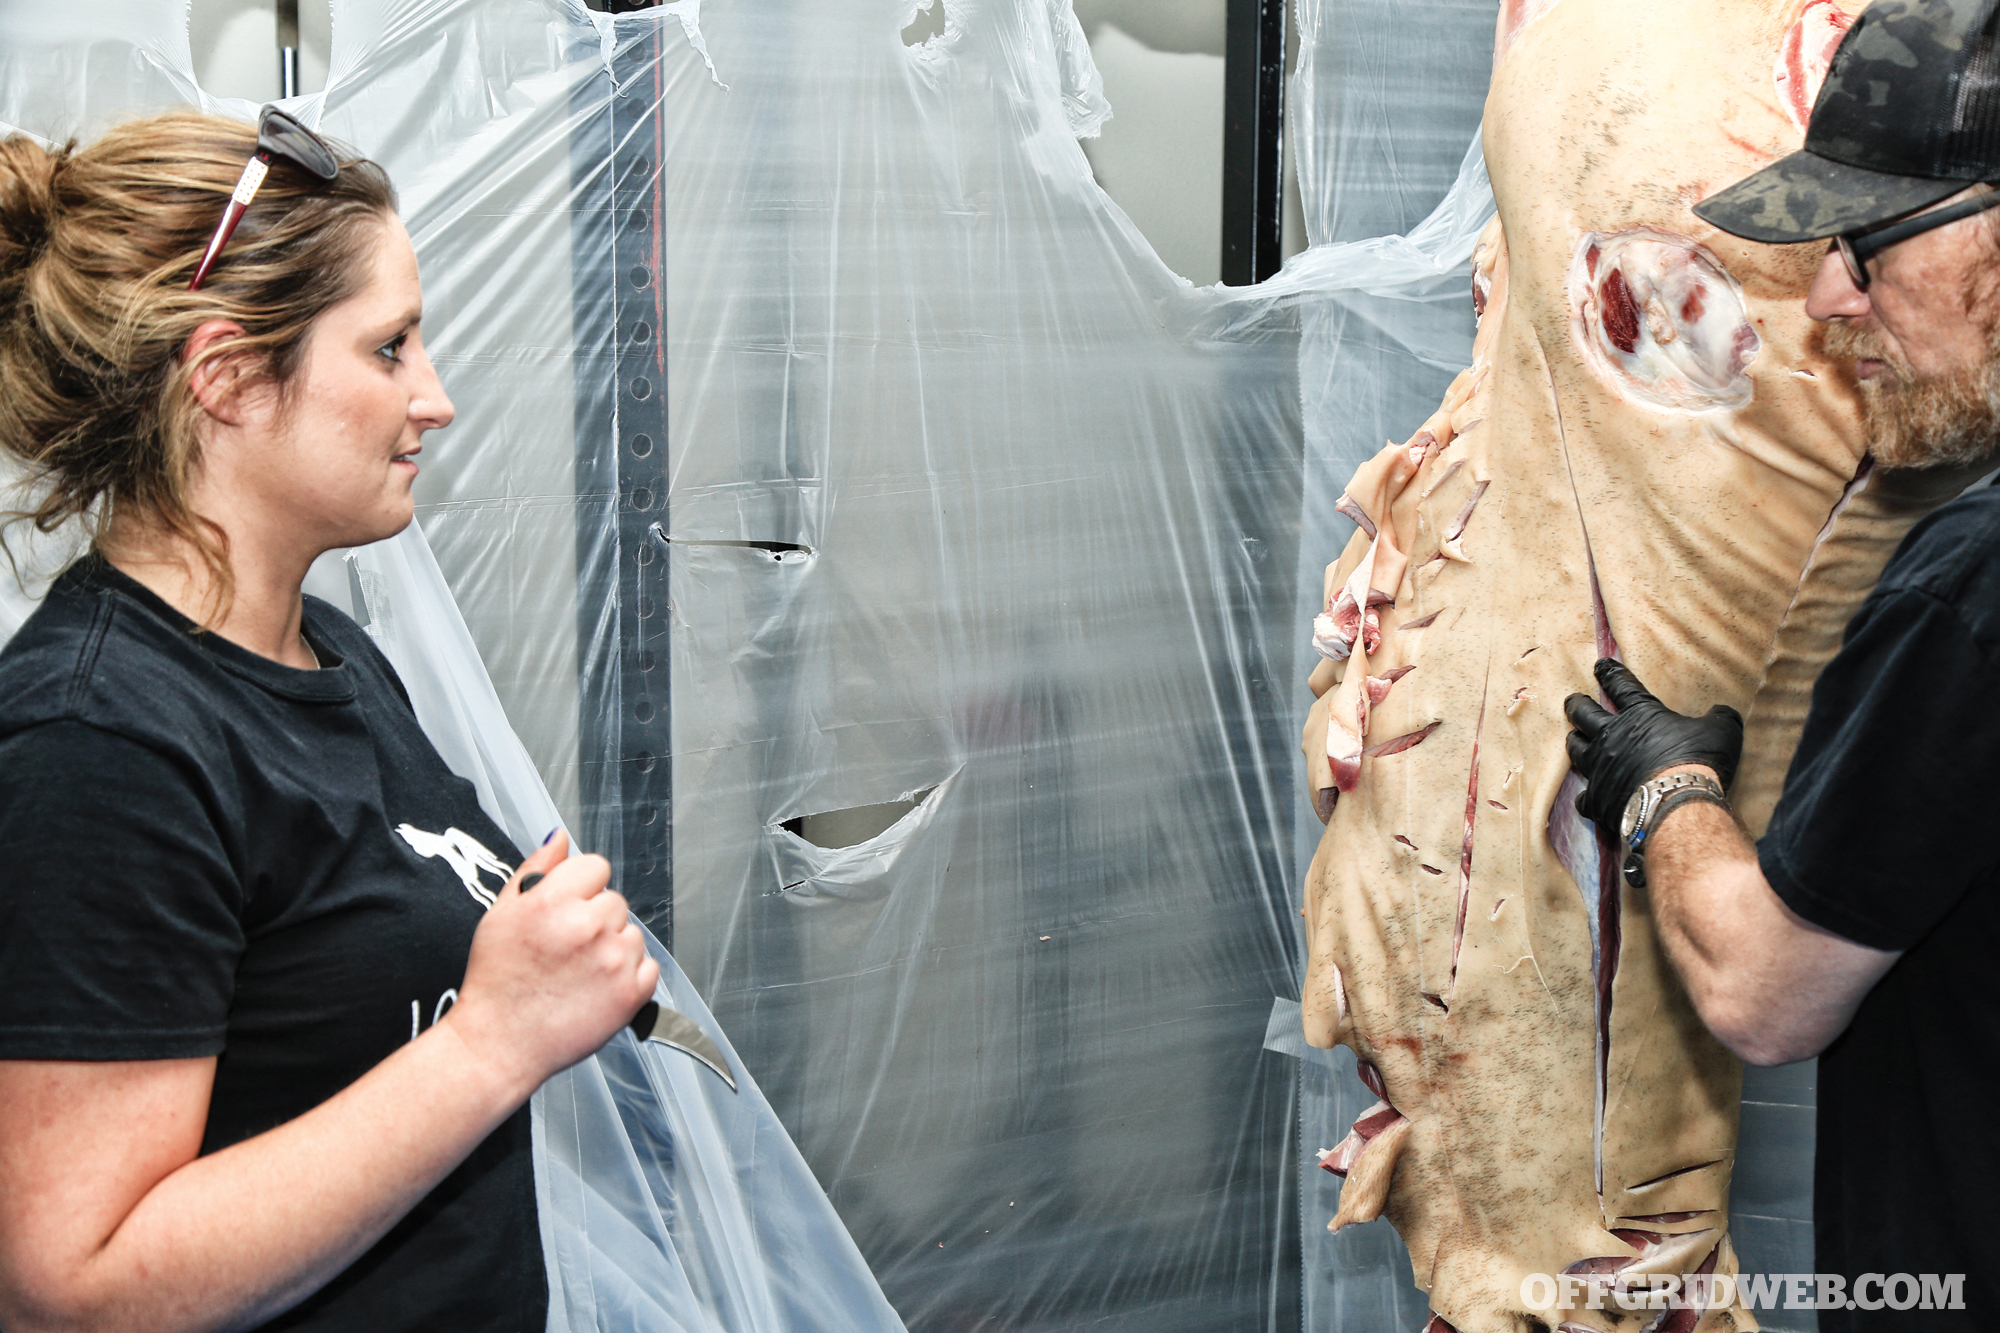
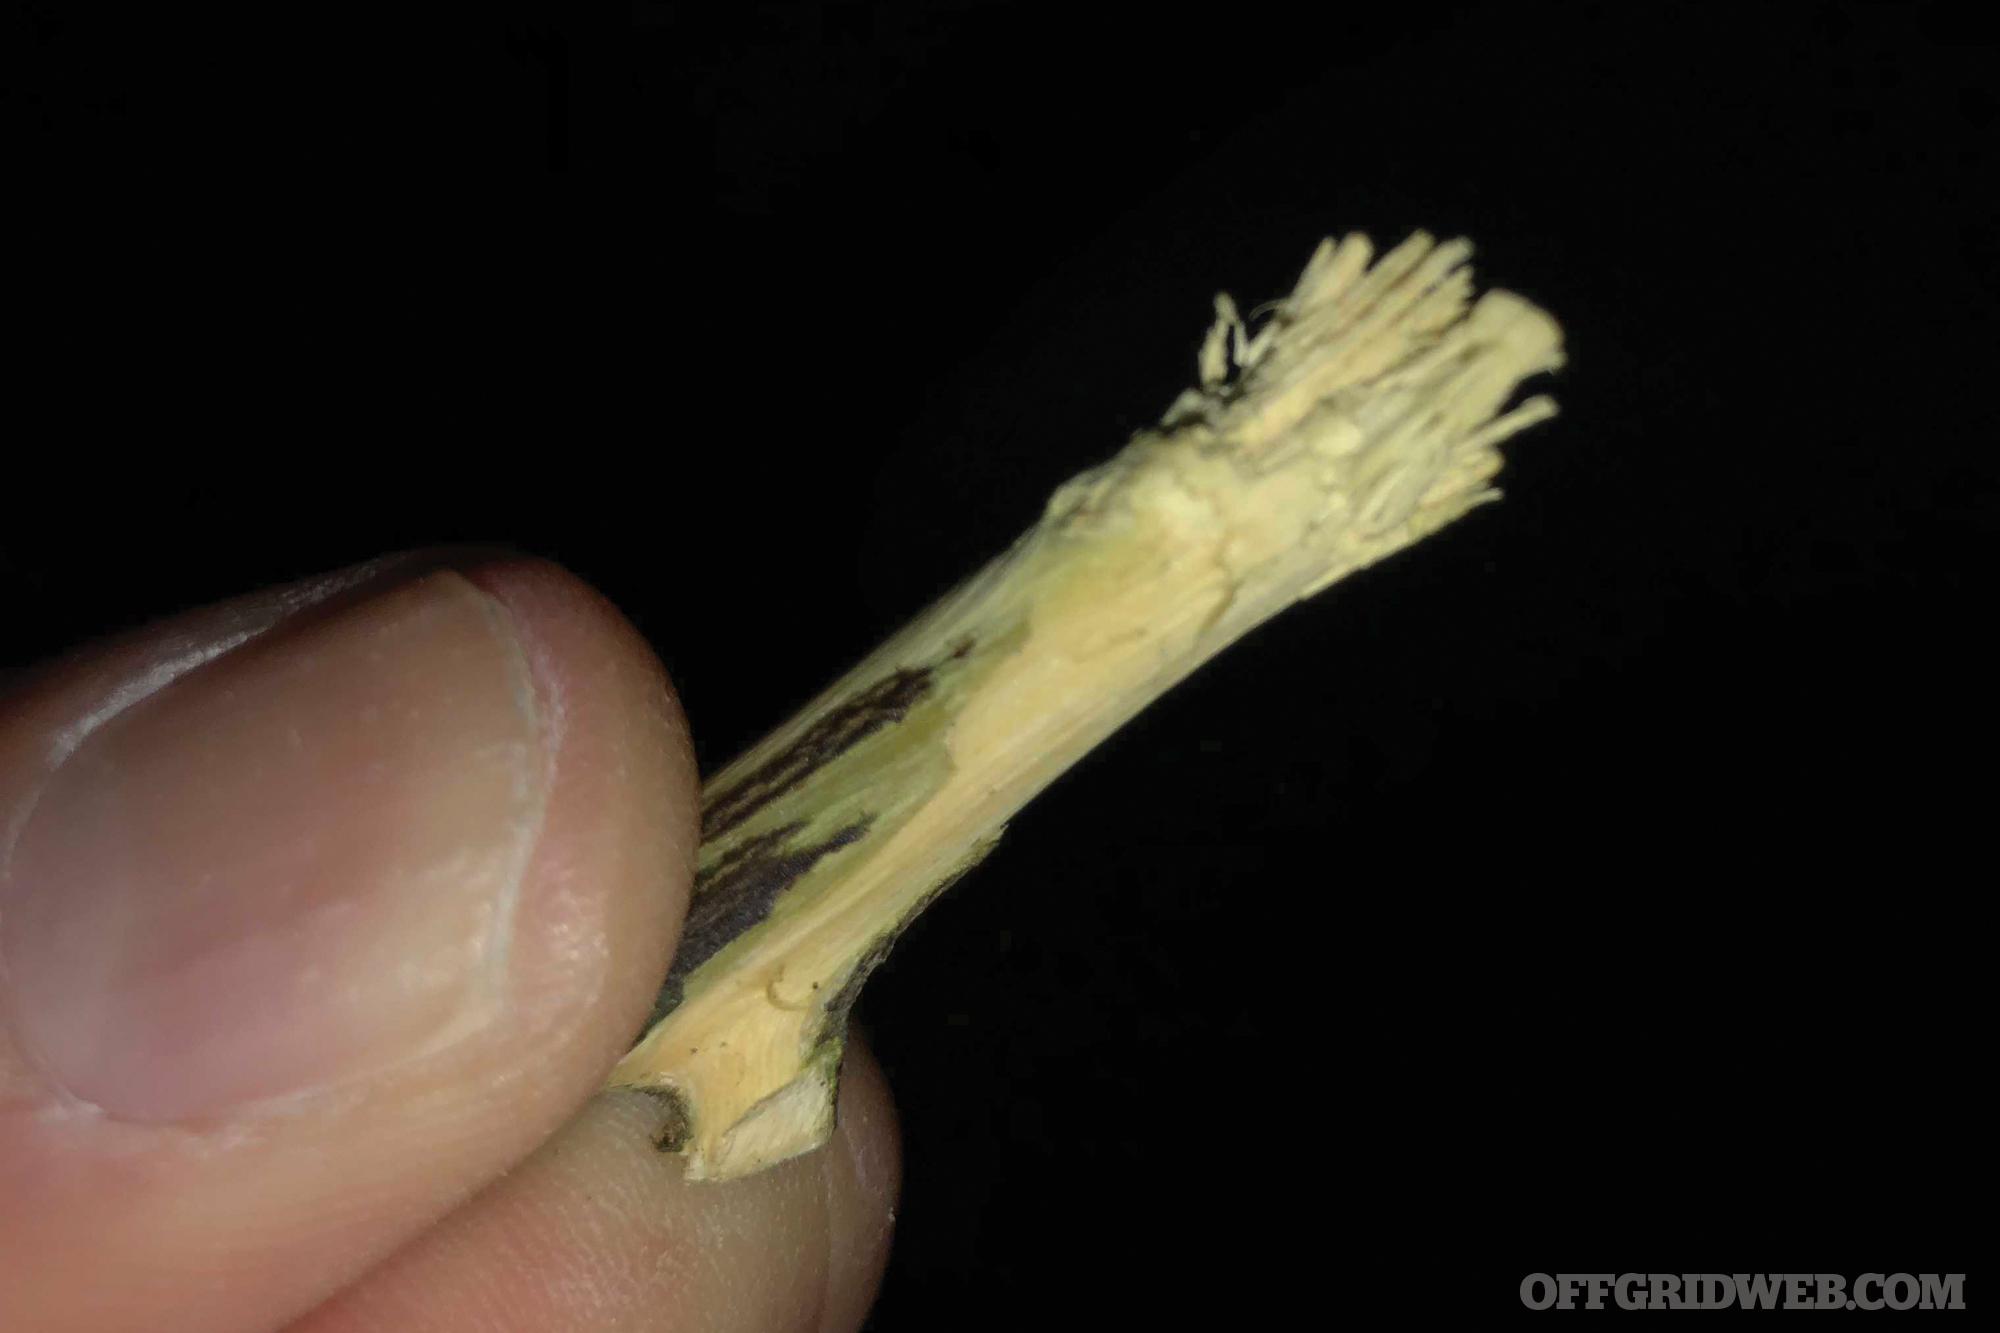
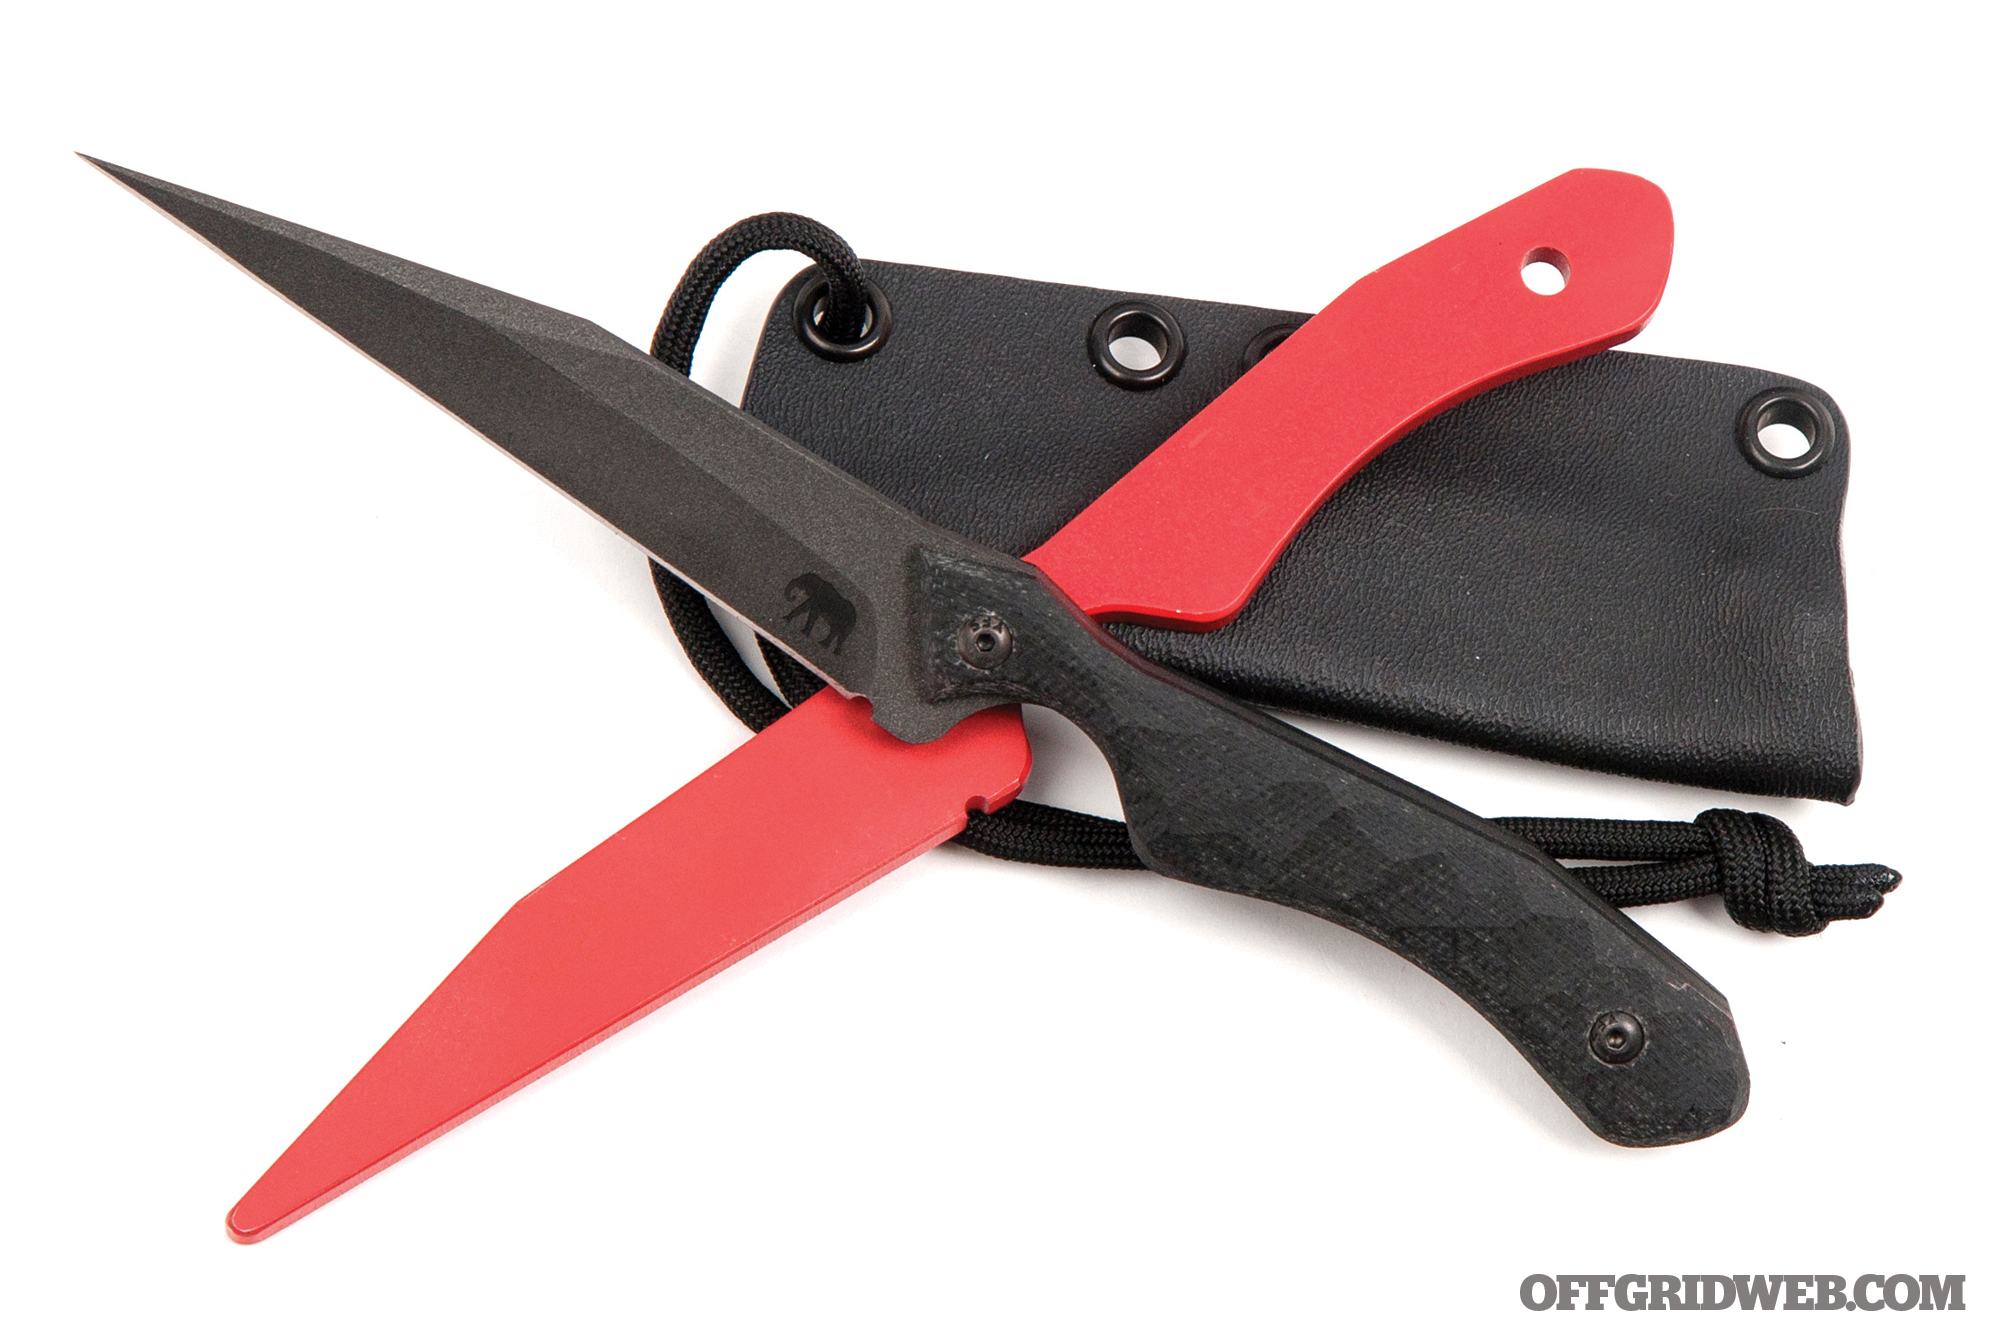
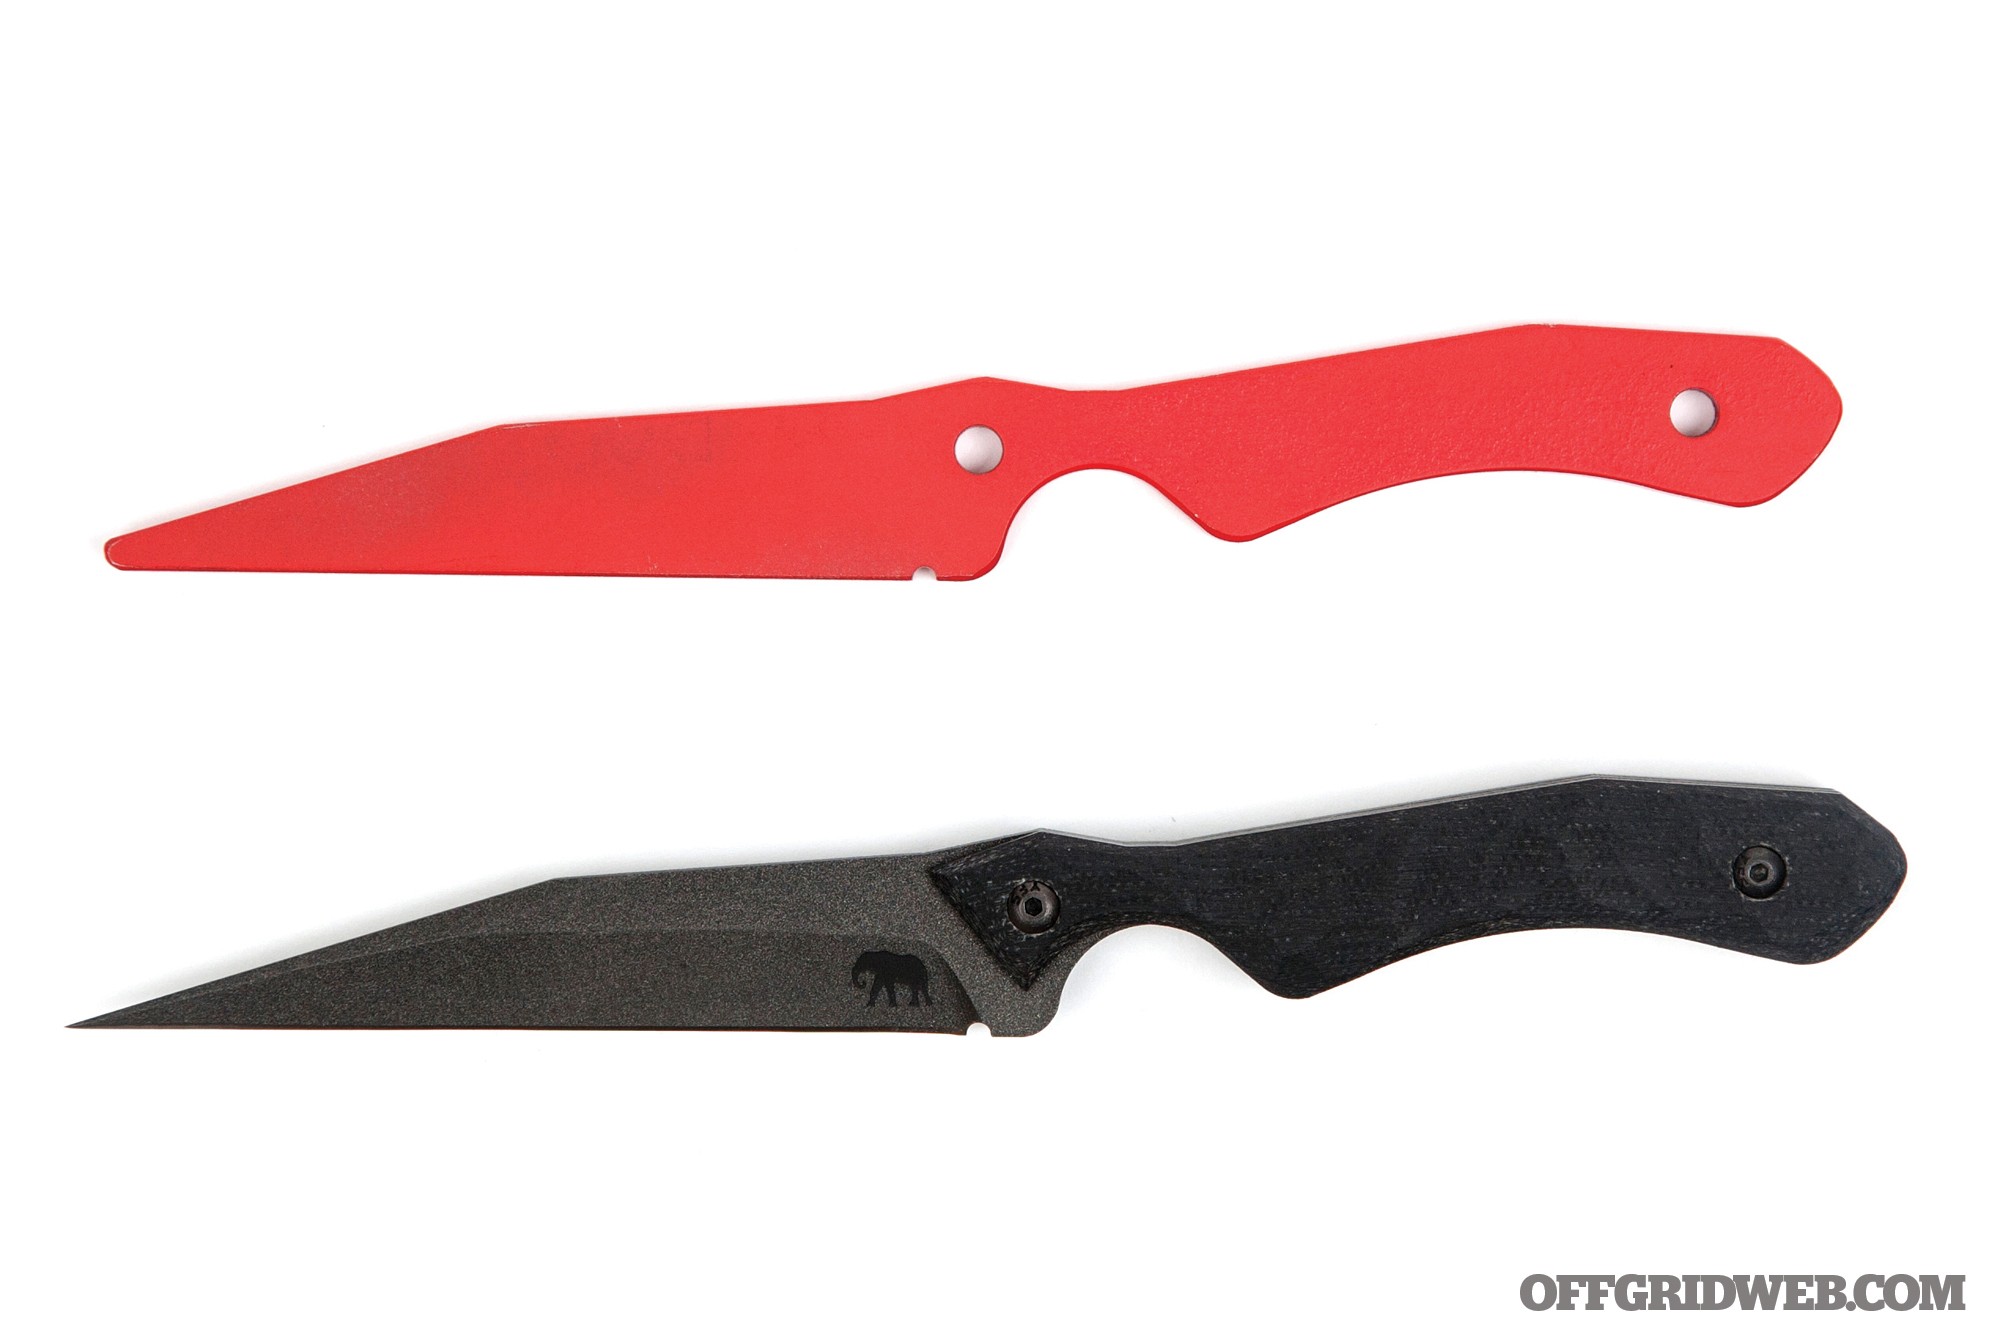
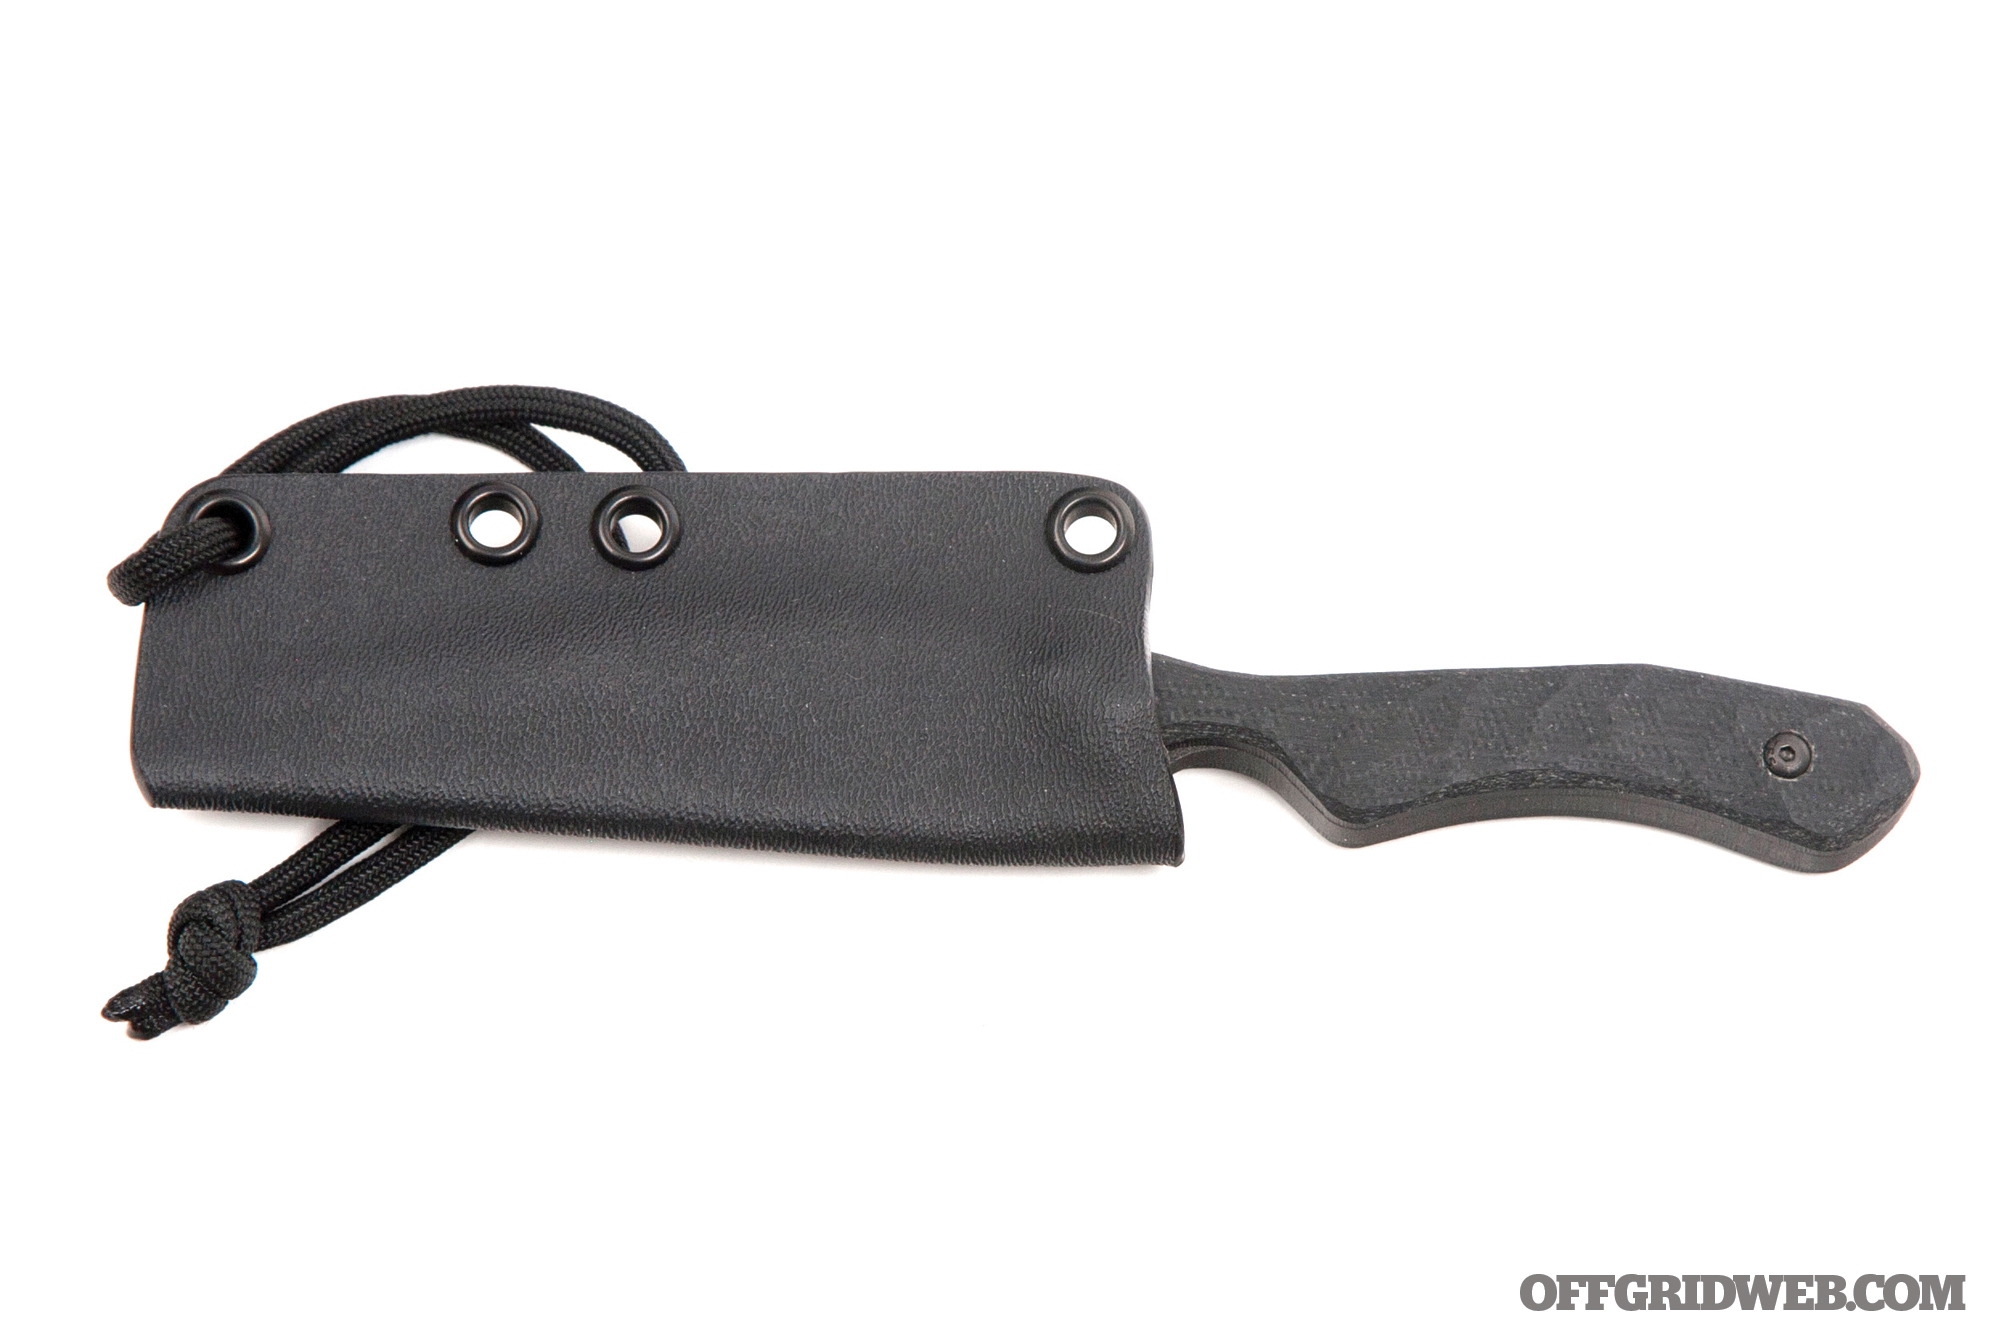
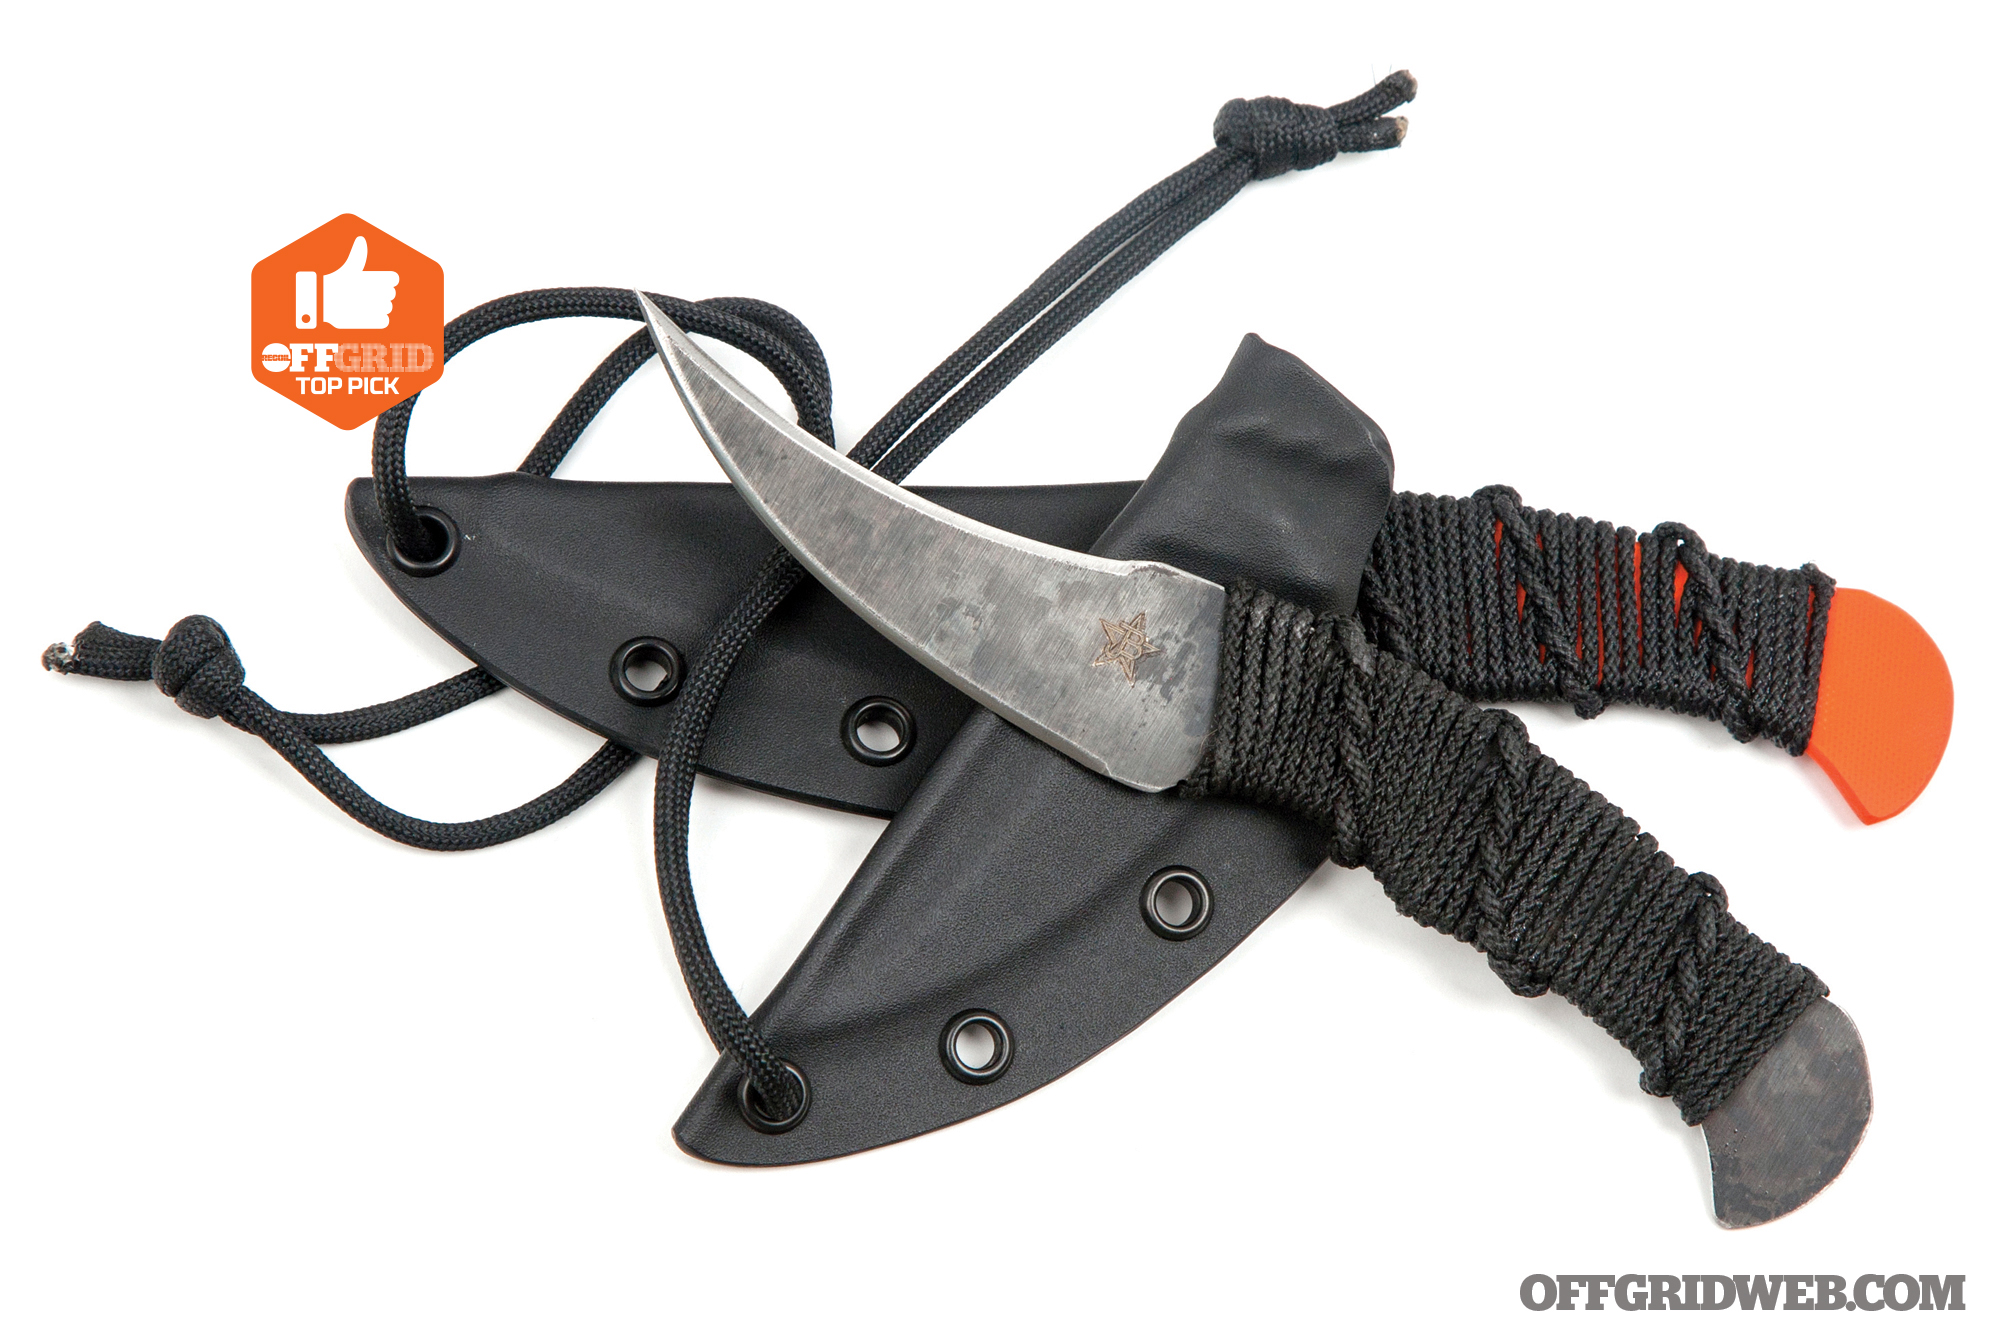
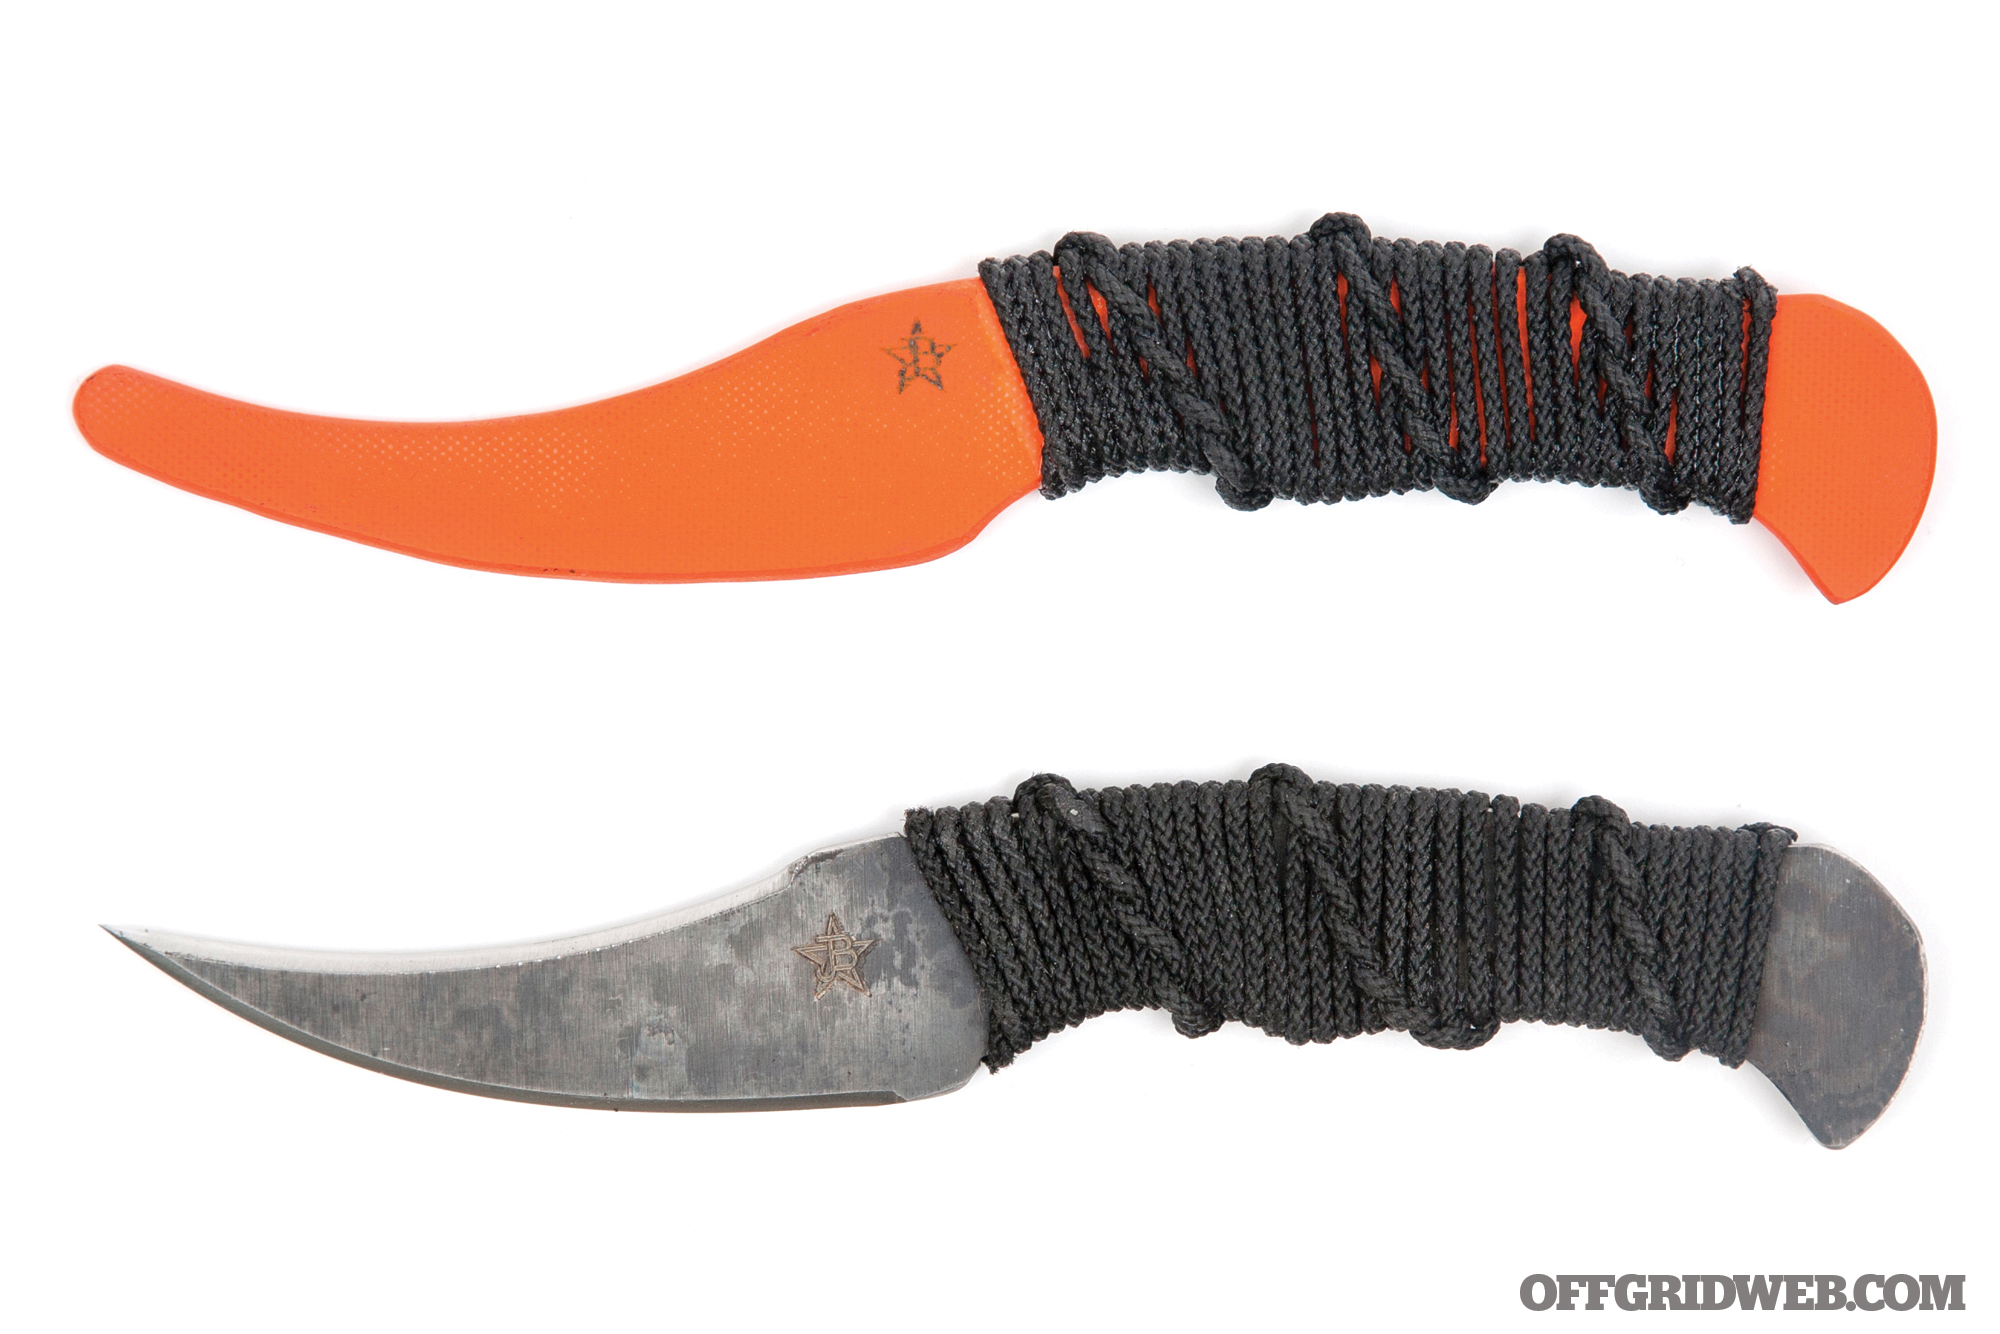
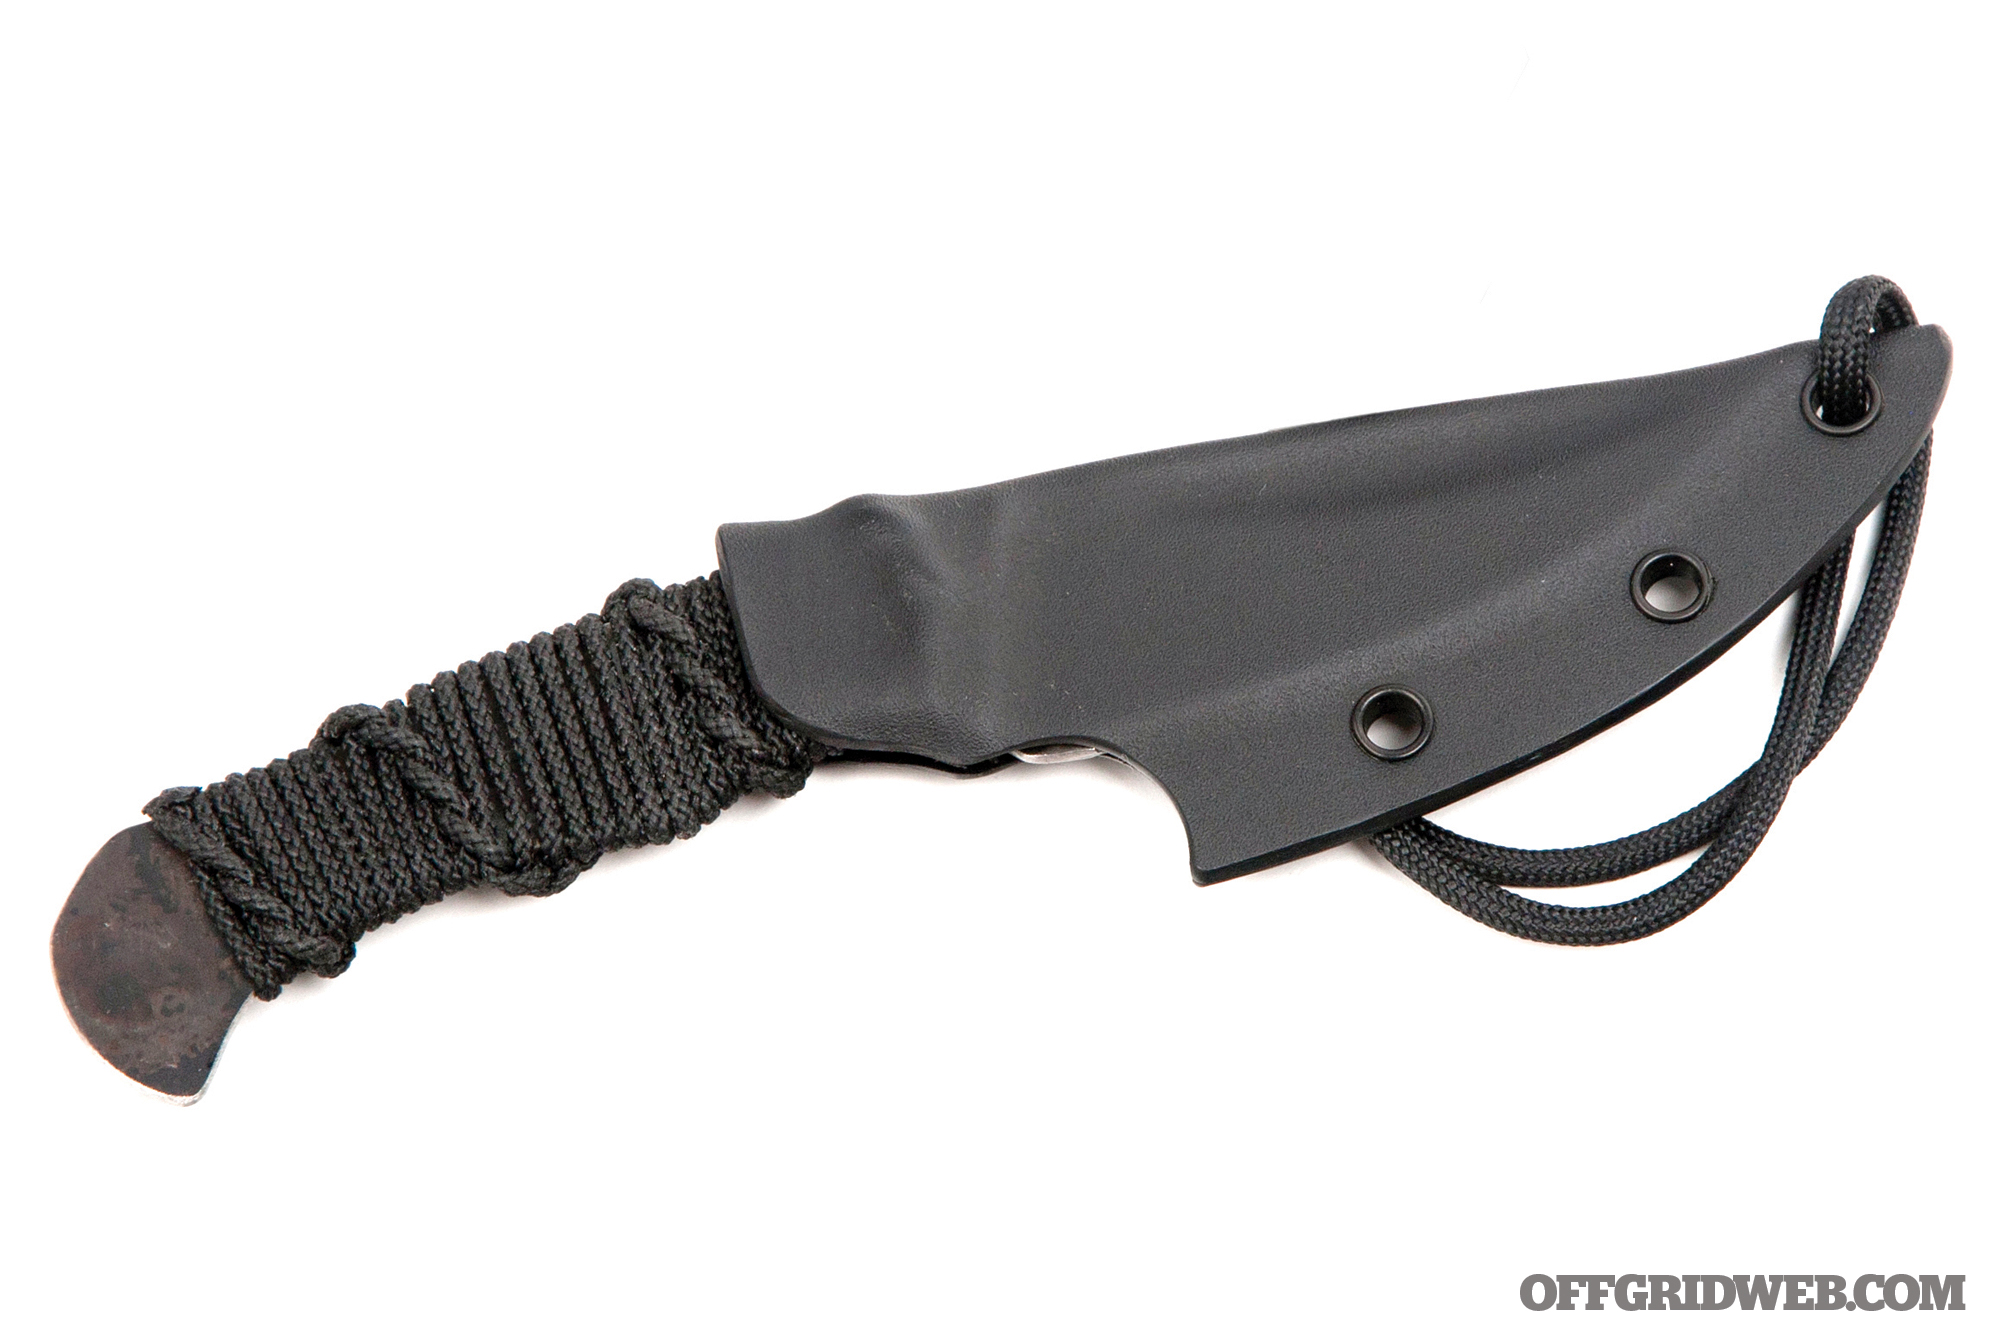
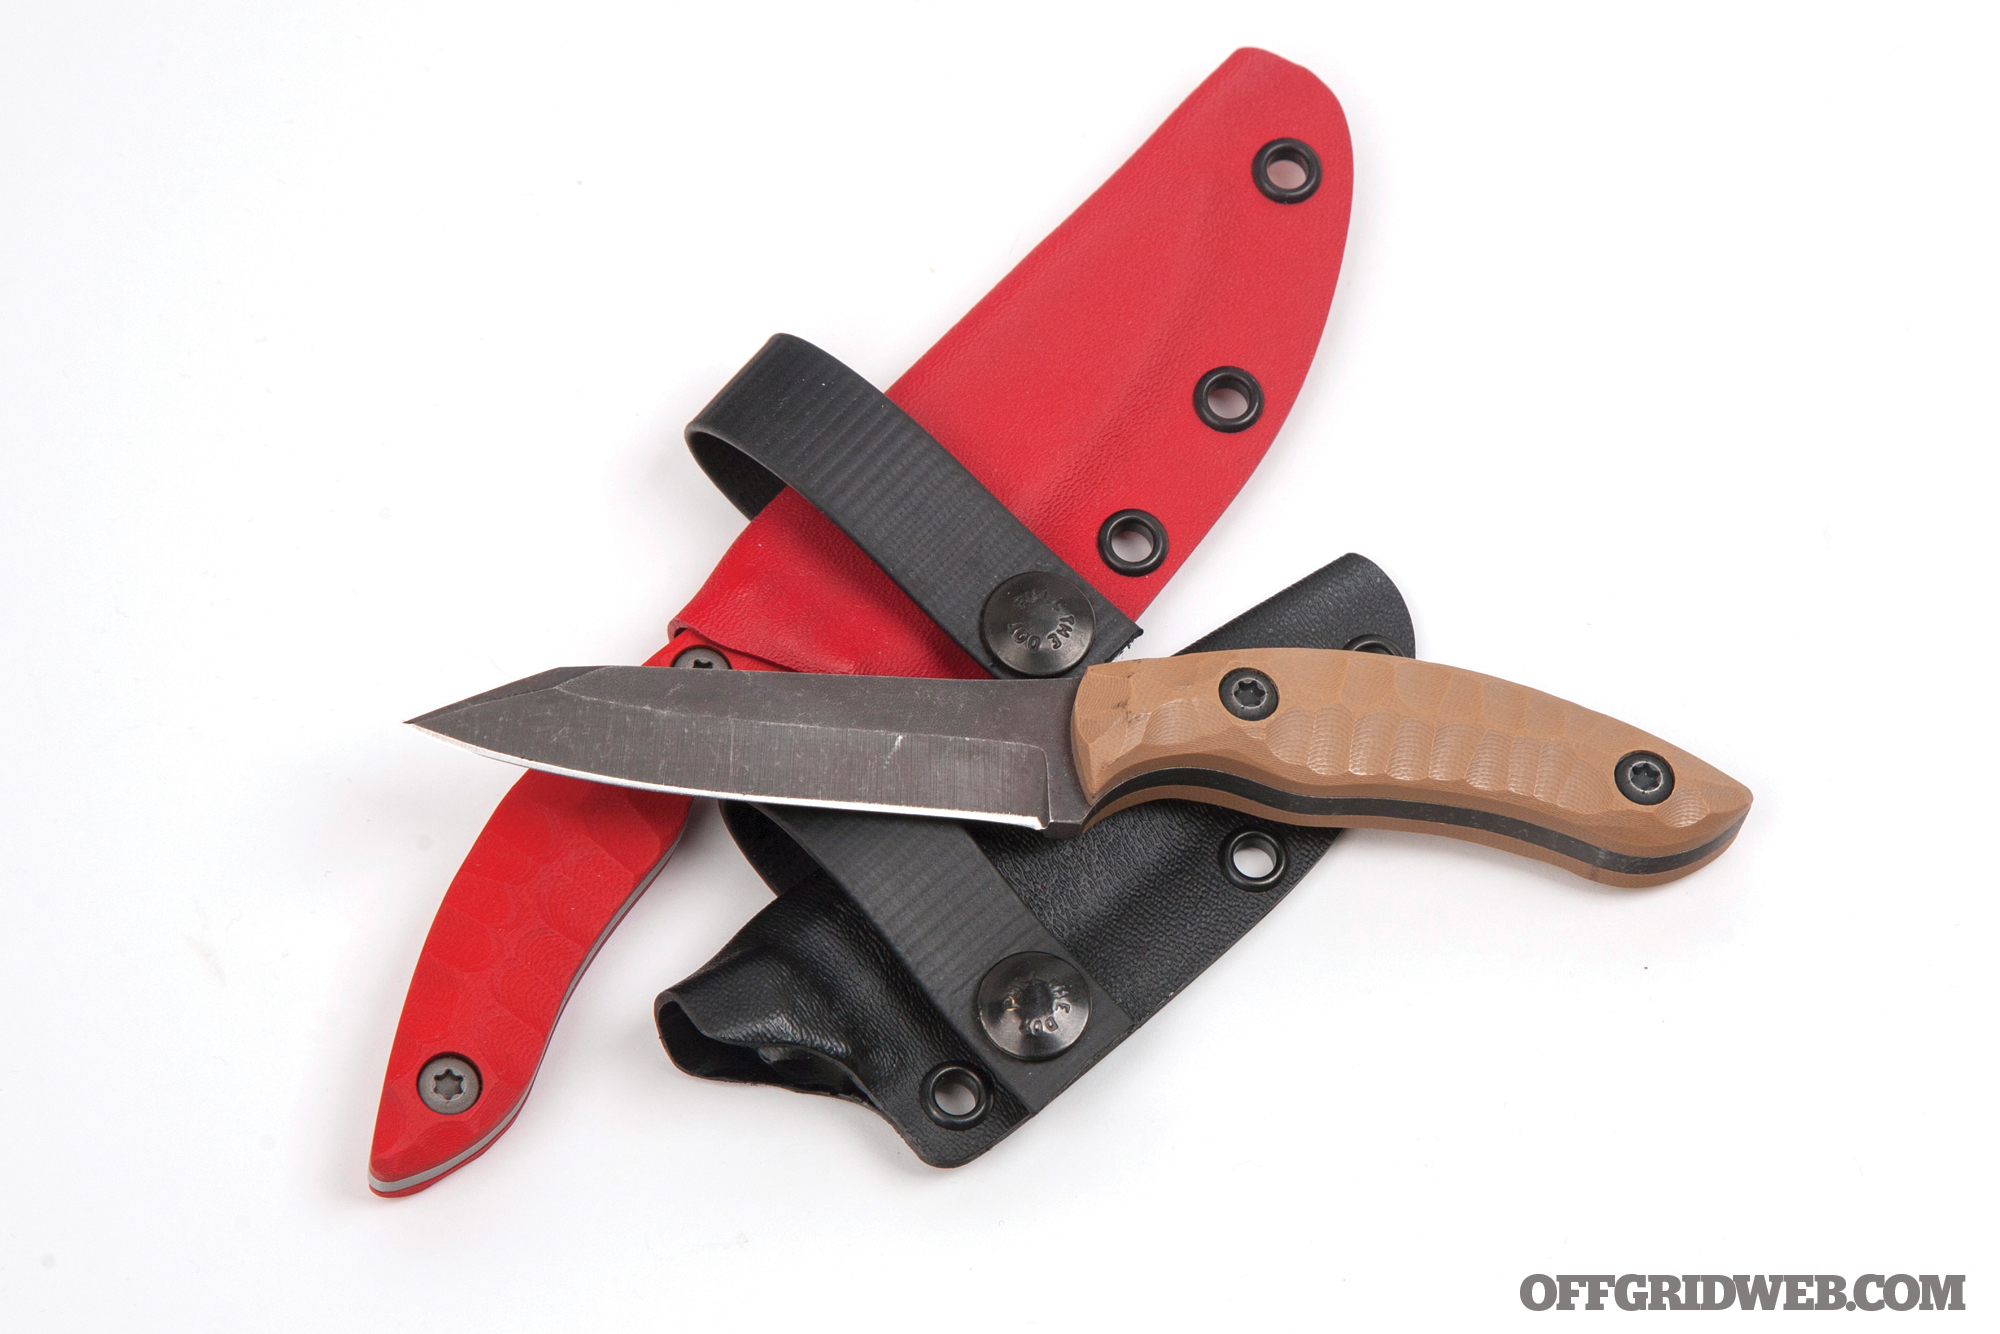
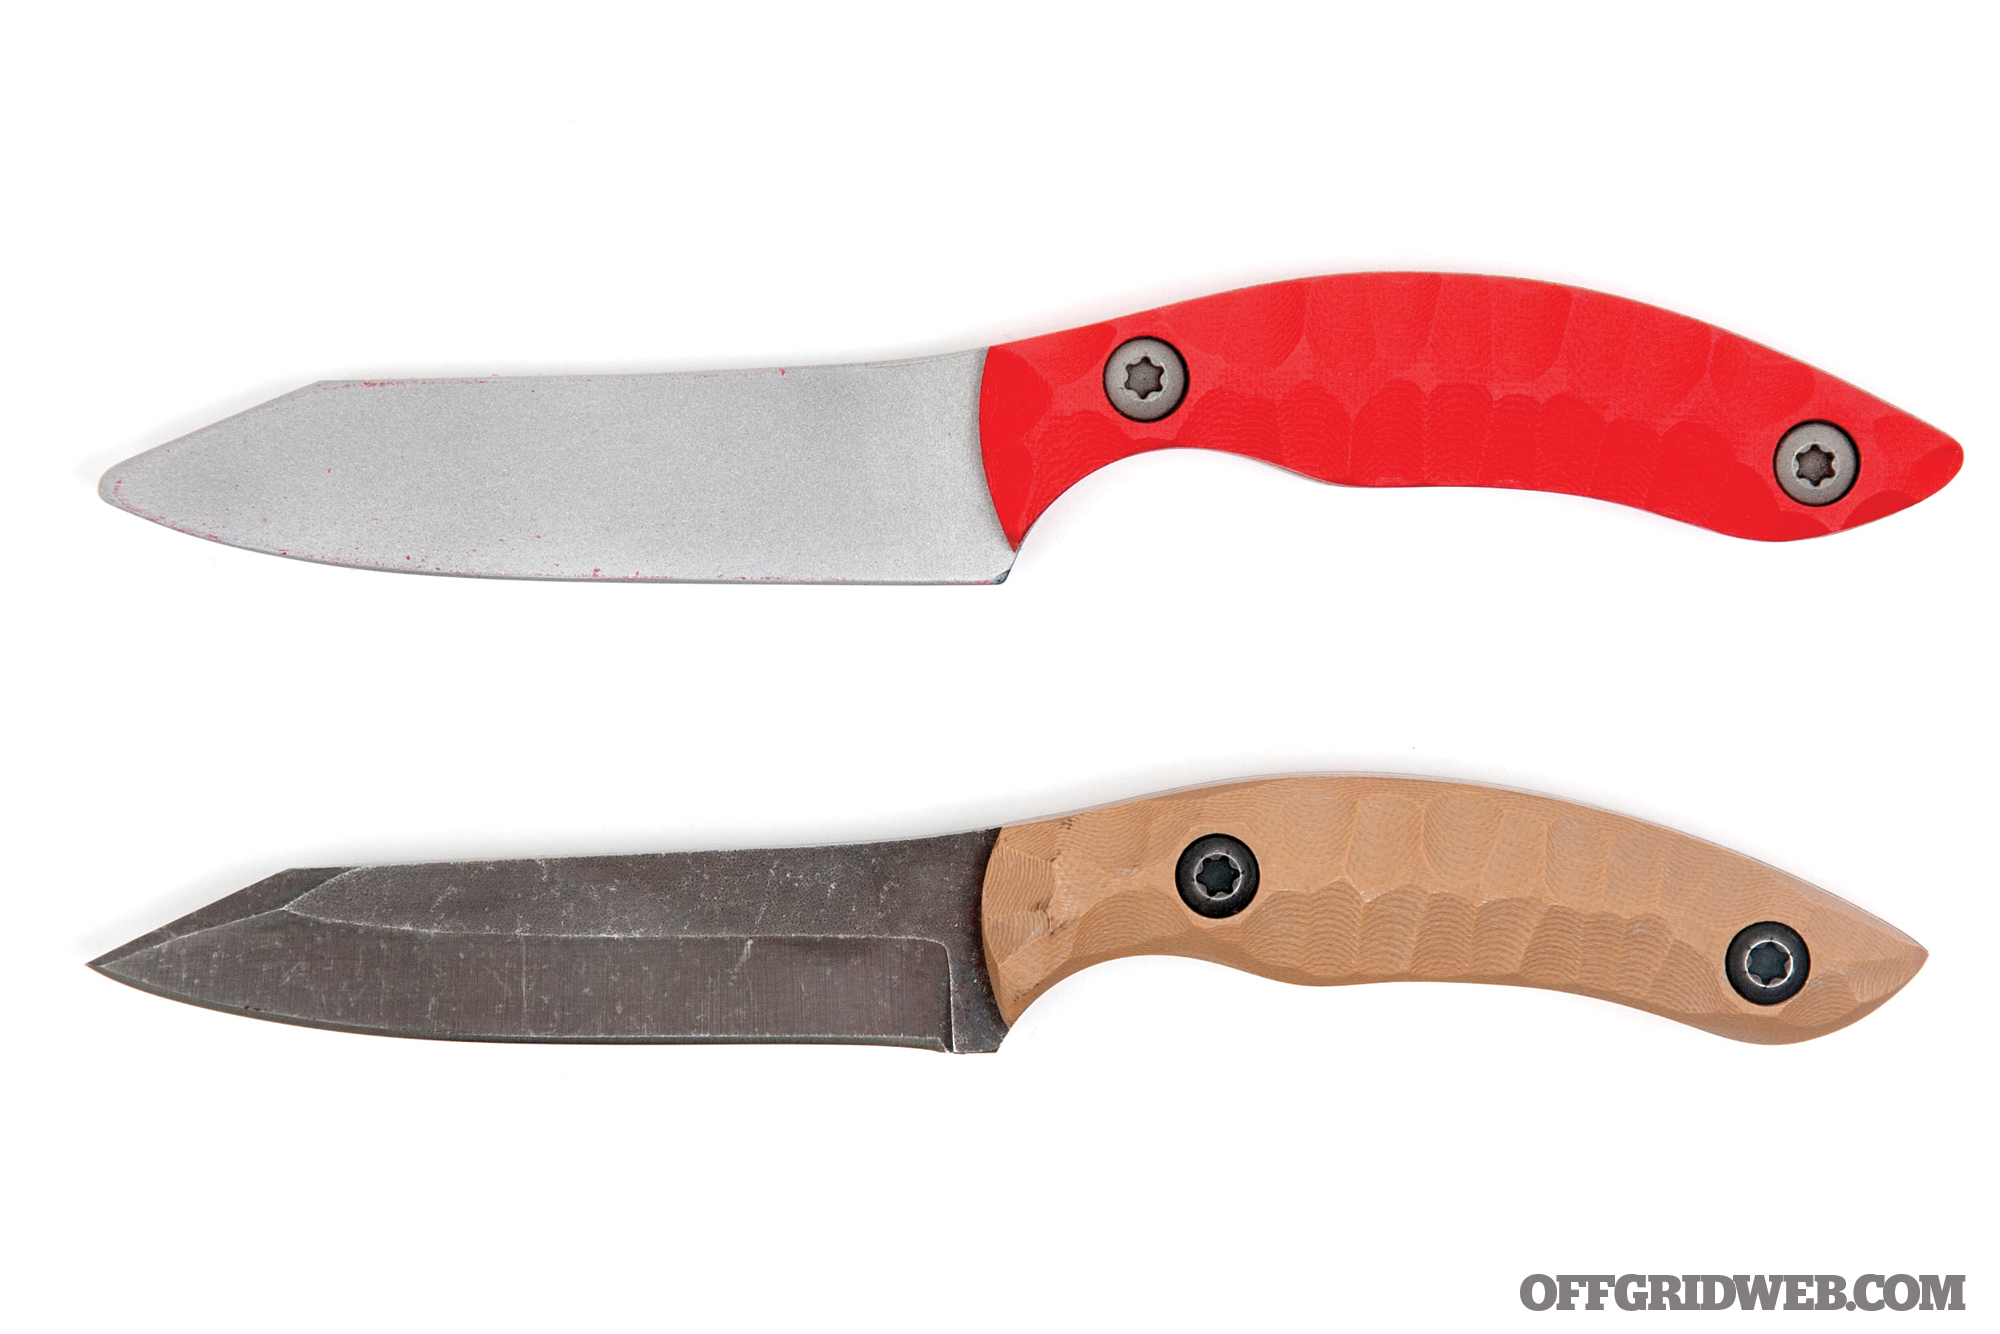
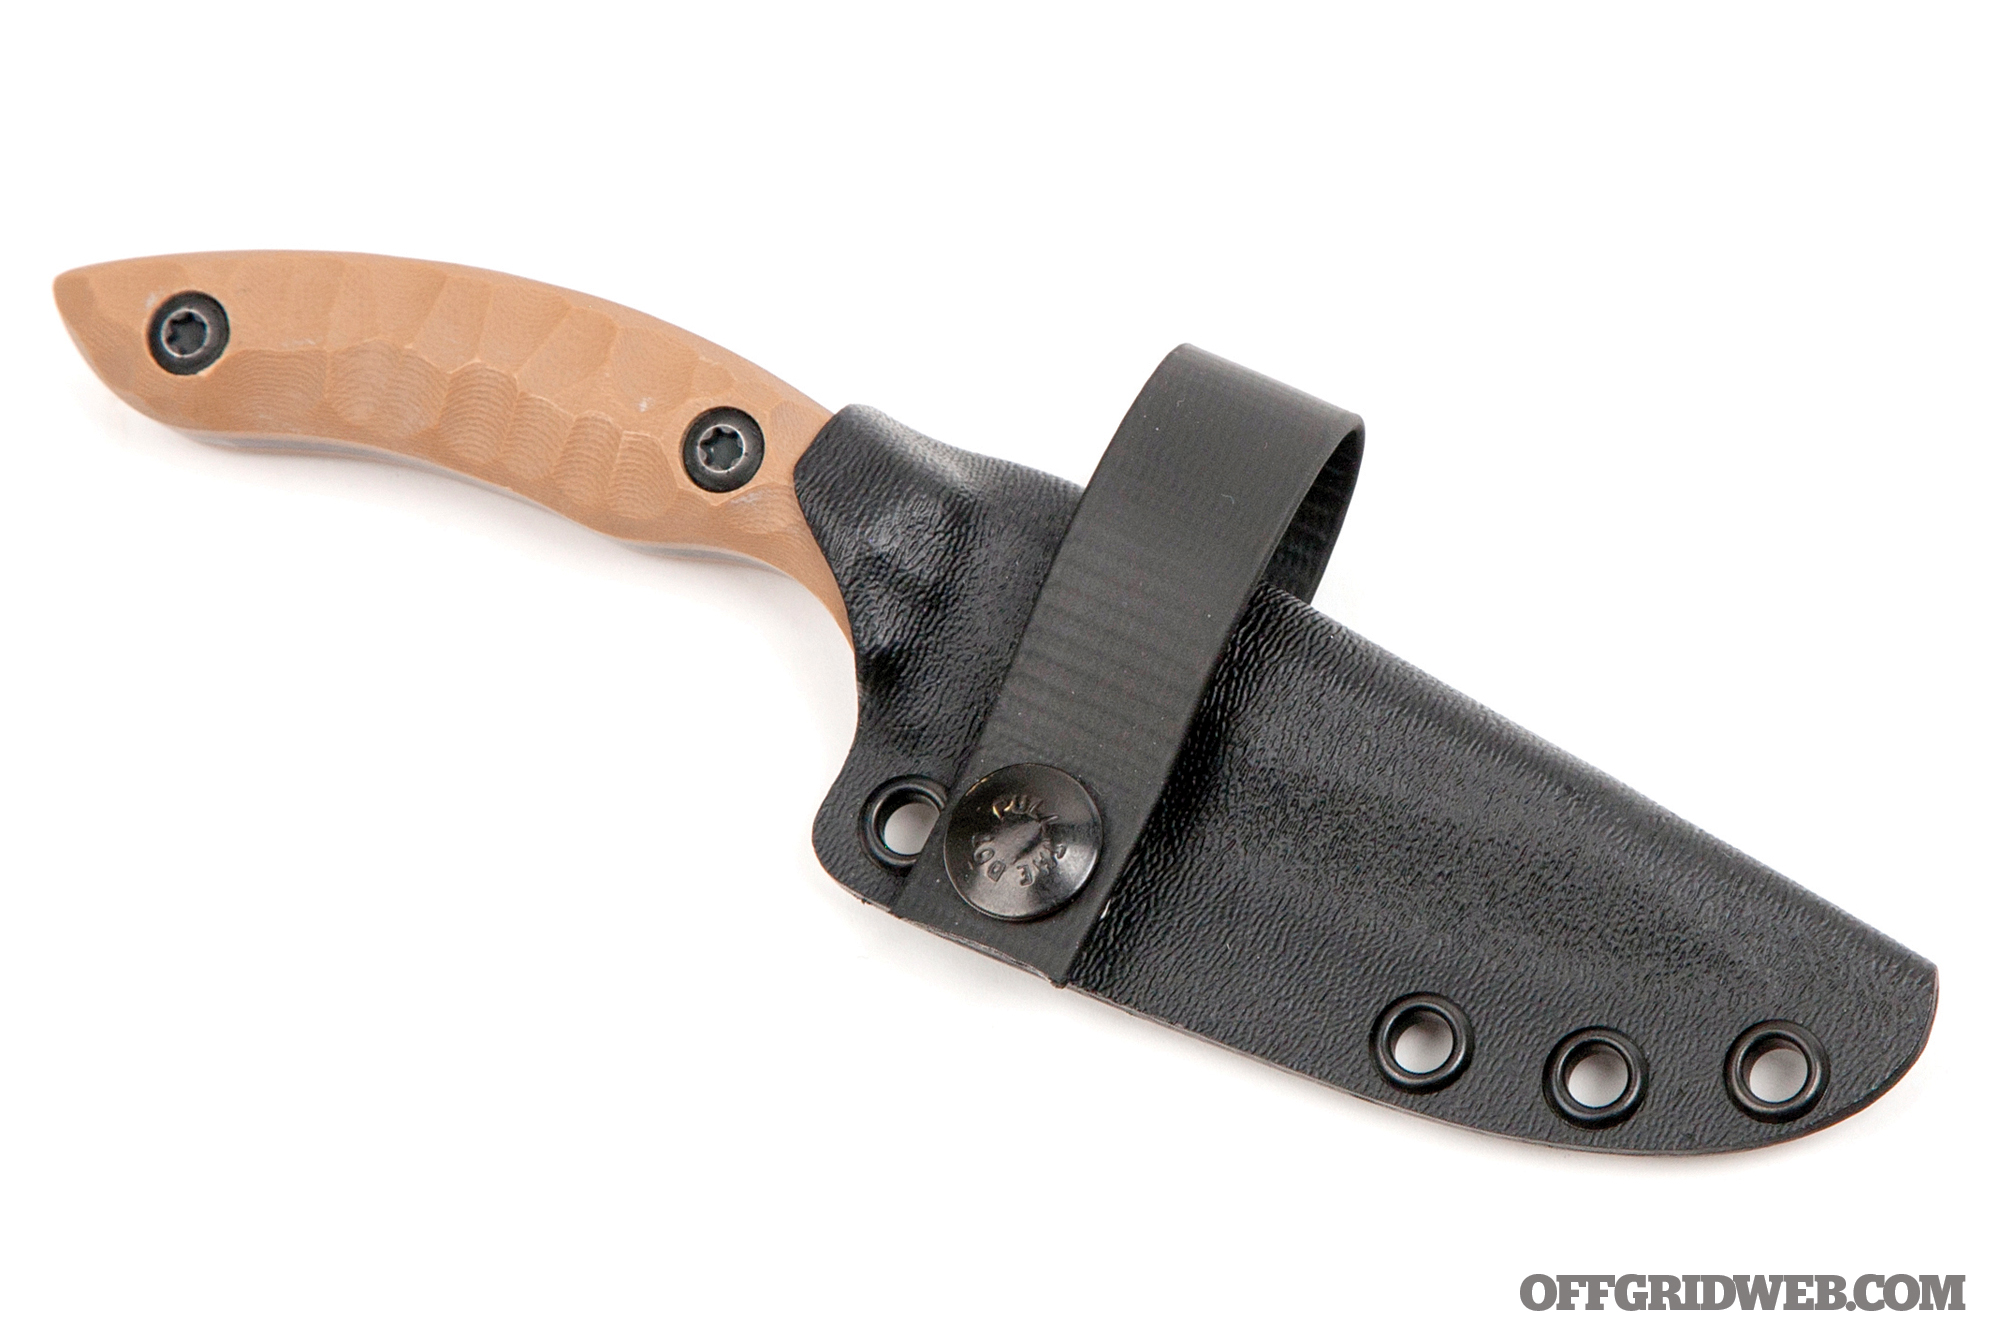
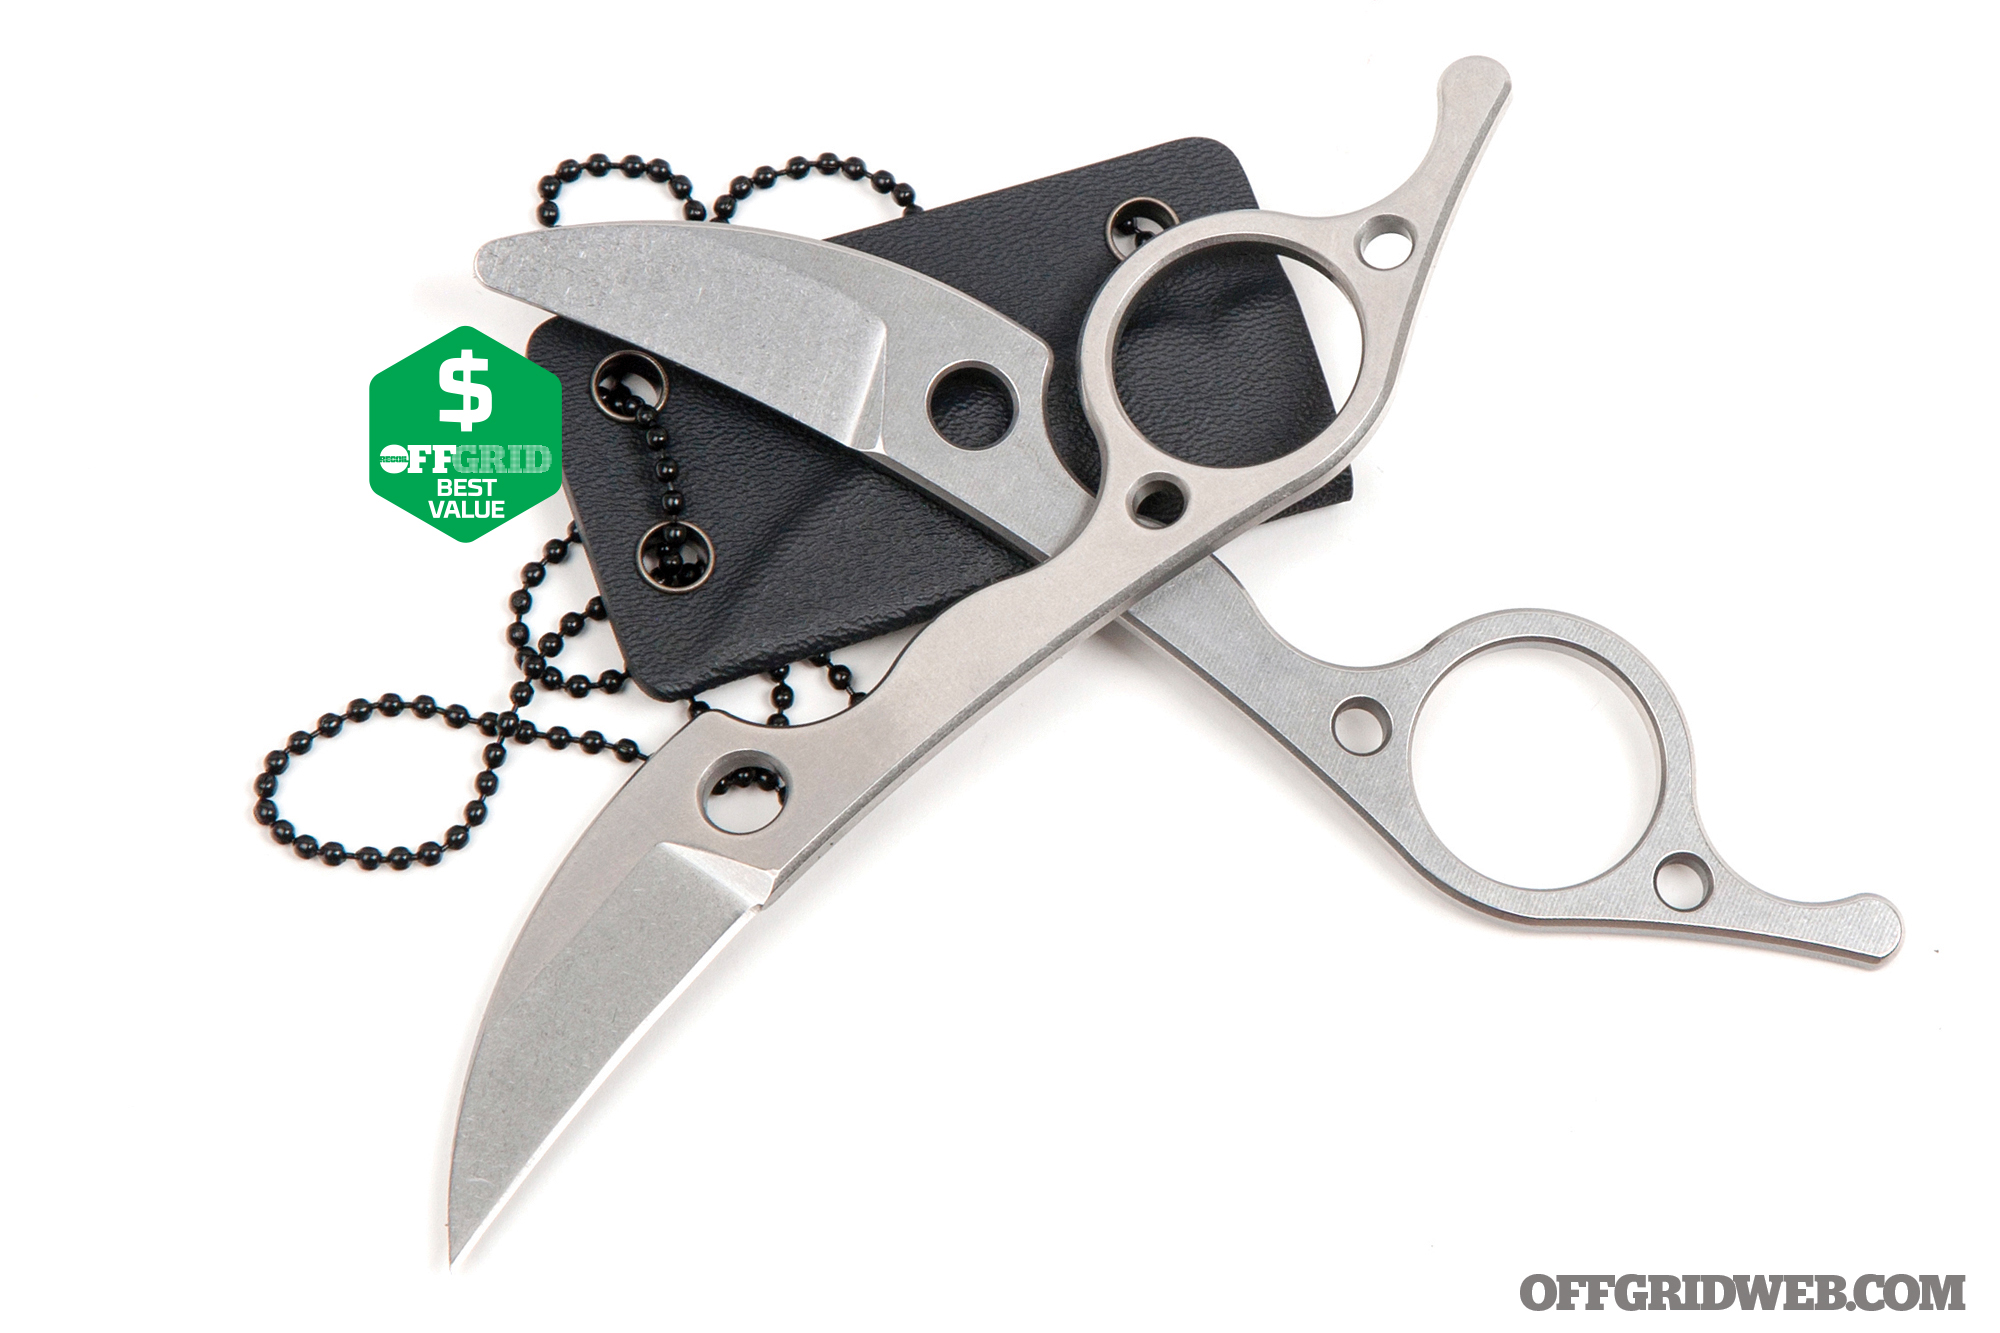
Above: Instructor Jeyr reviews the results of a processing cut our camerawoman made with a prototype of the Kopis Designs L-Via field knife.
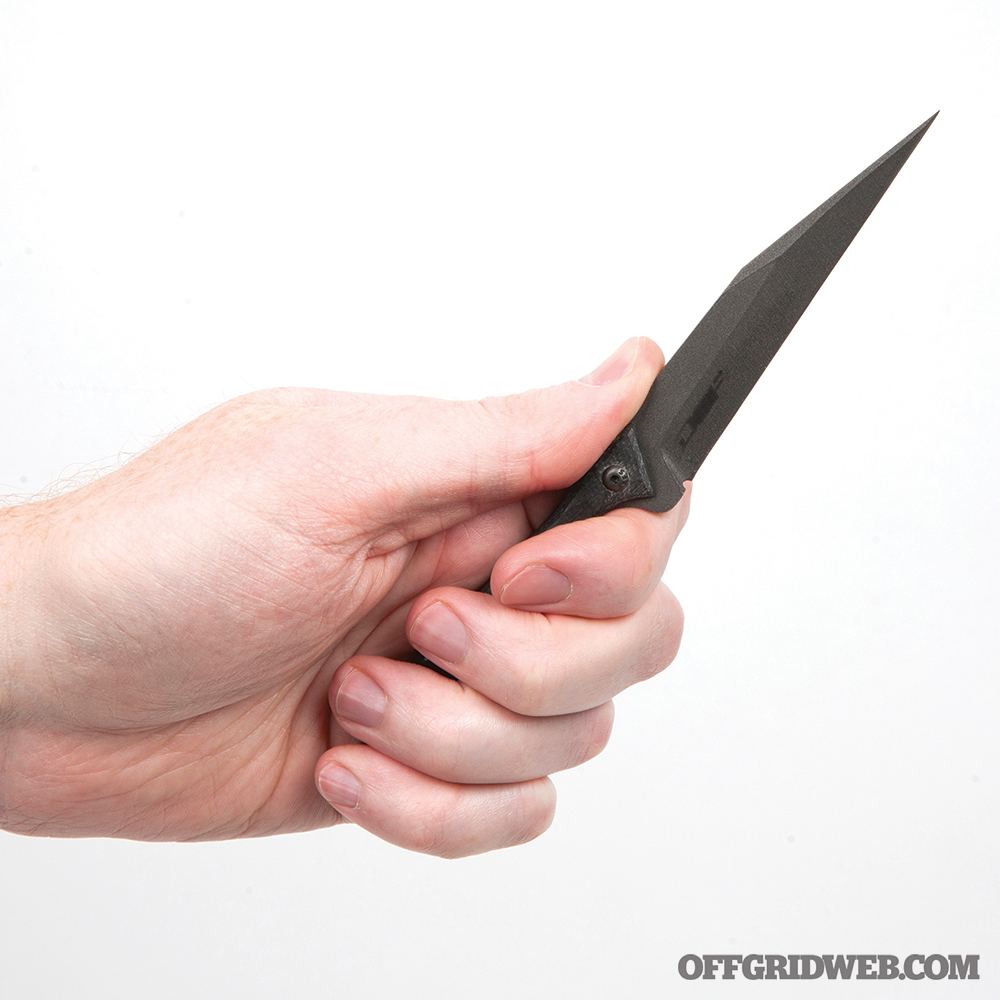
We took the opportunity to test three blades: a G10 Executive Dagger from VZ Grips, a TOPS Knives Street Scalpel, and a Ditch Pik from JB Knife & Tool. All performed admirably. The G10 dagger punched through pig meat all the way to the top of our hand. There was some deformation of the tip after we were done. We suspect this came from torso stabs that caused the tip to impact and glance off of rib bones. But even with the tip slightly mashed, it was still able to penetrate to damaging depth.
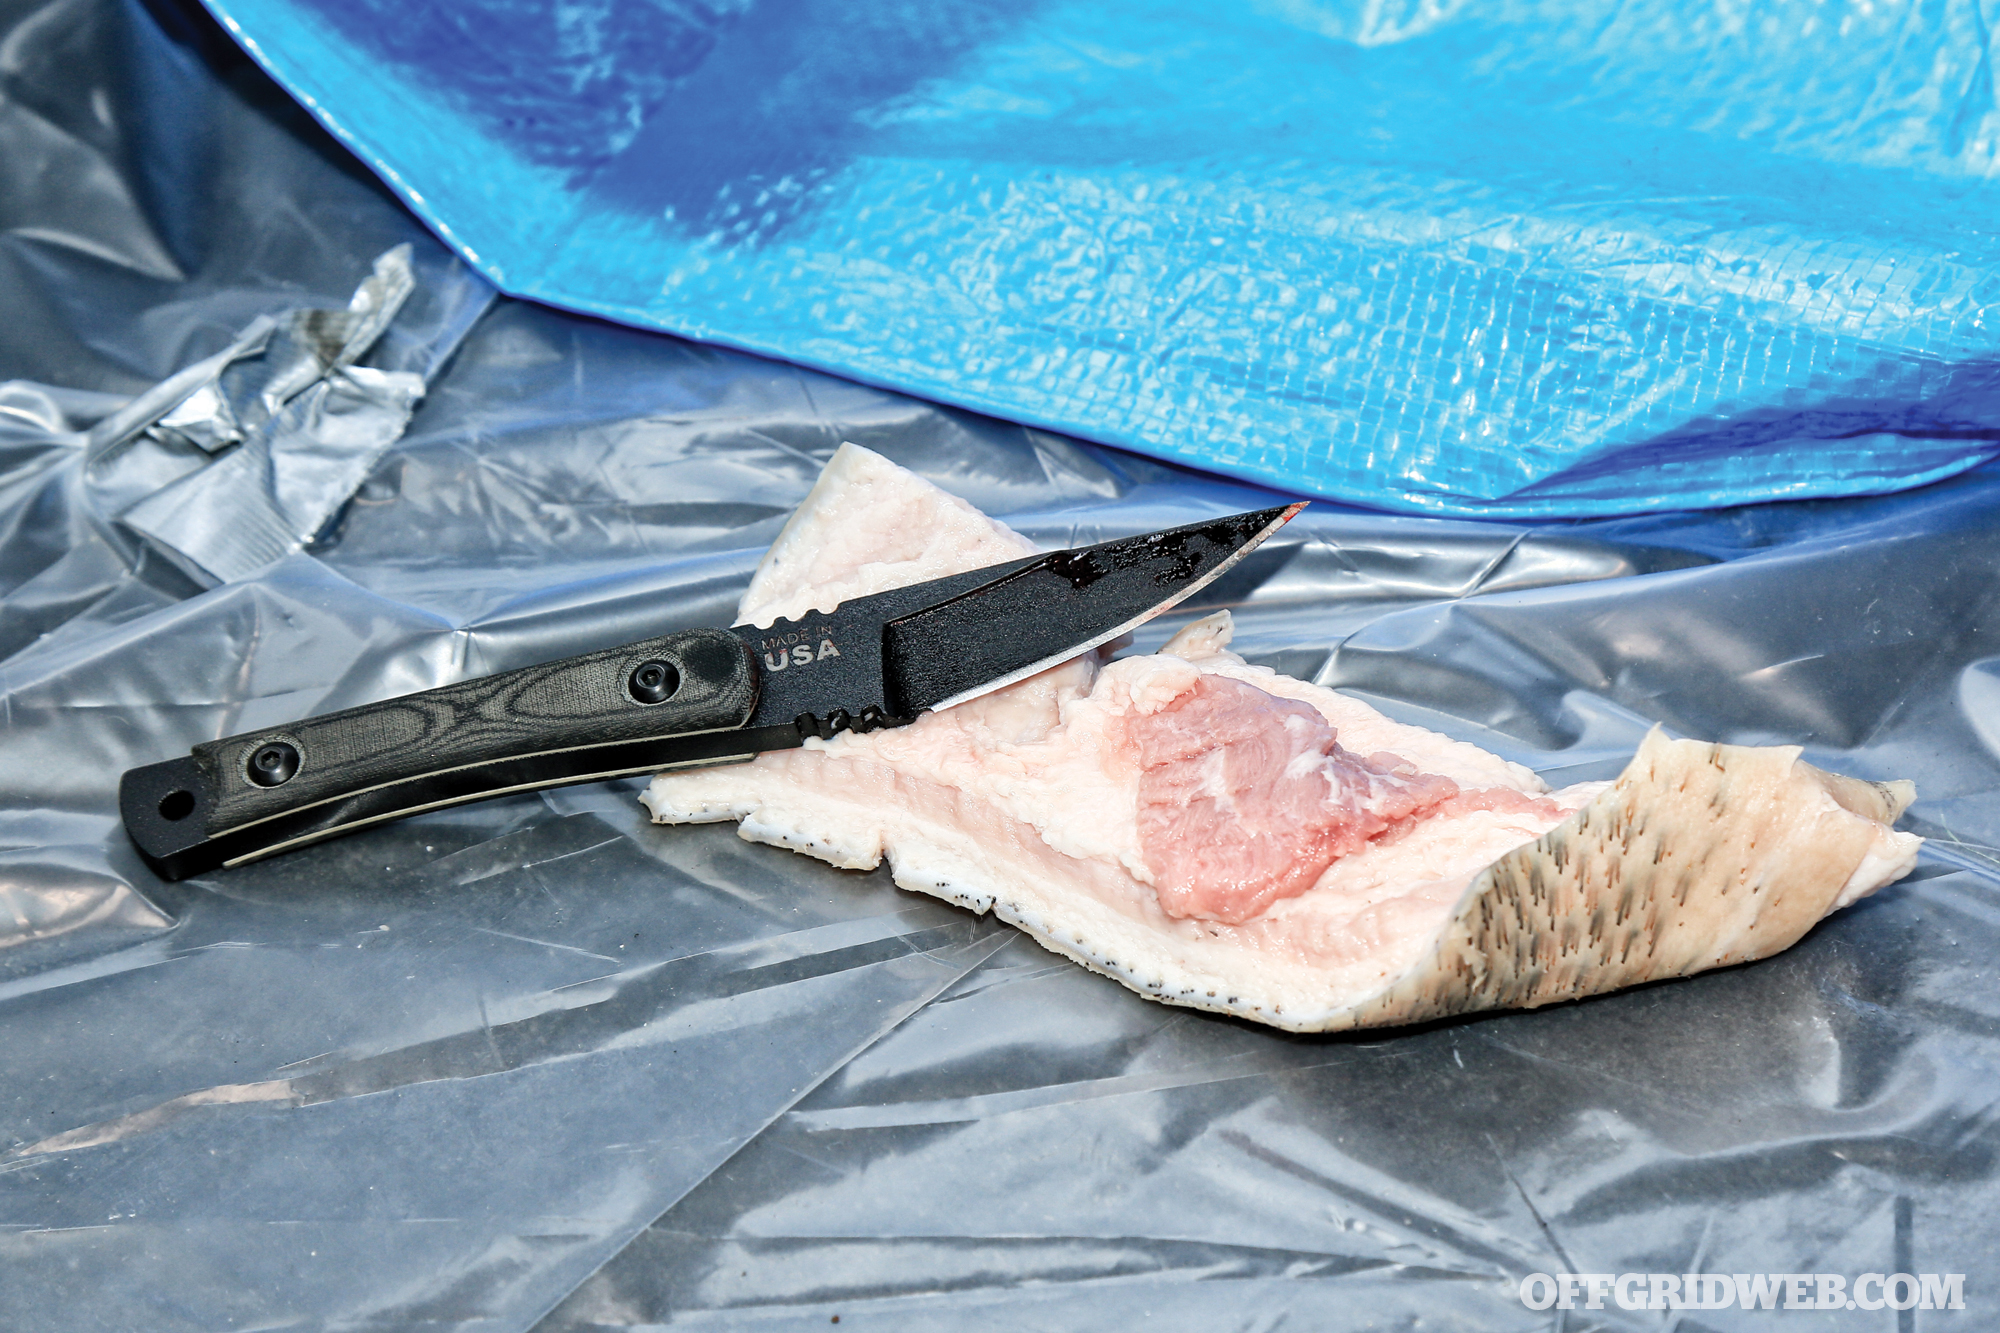
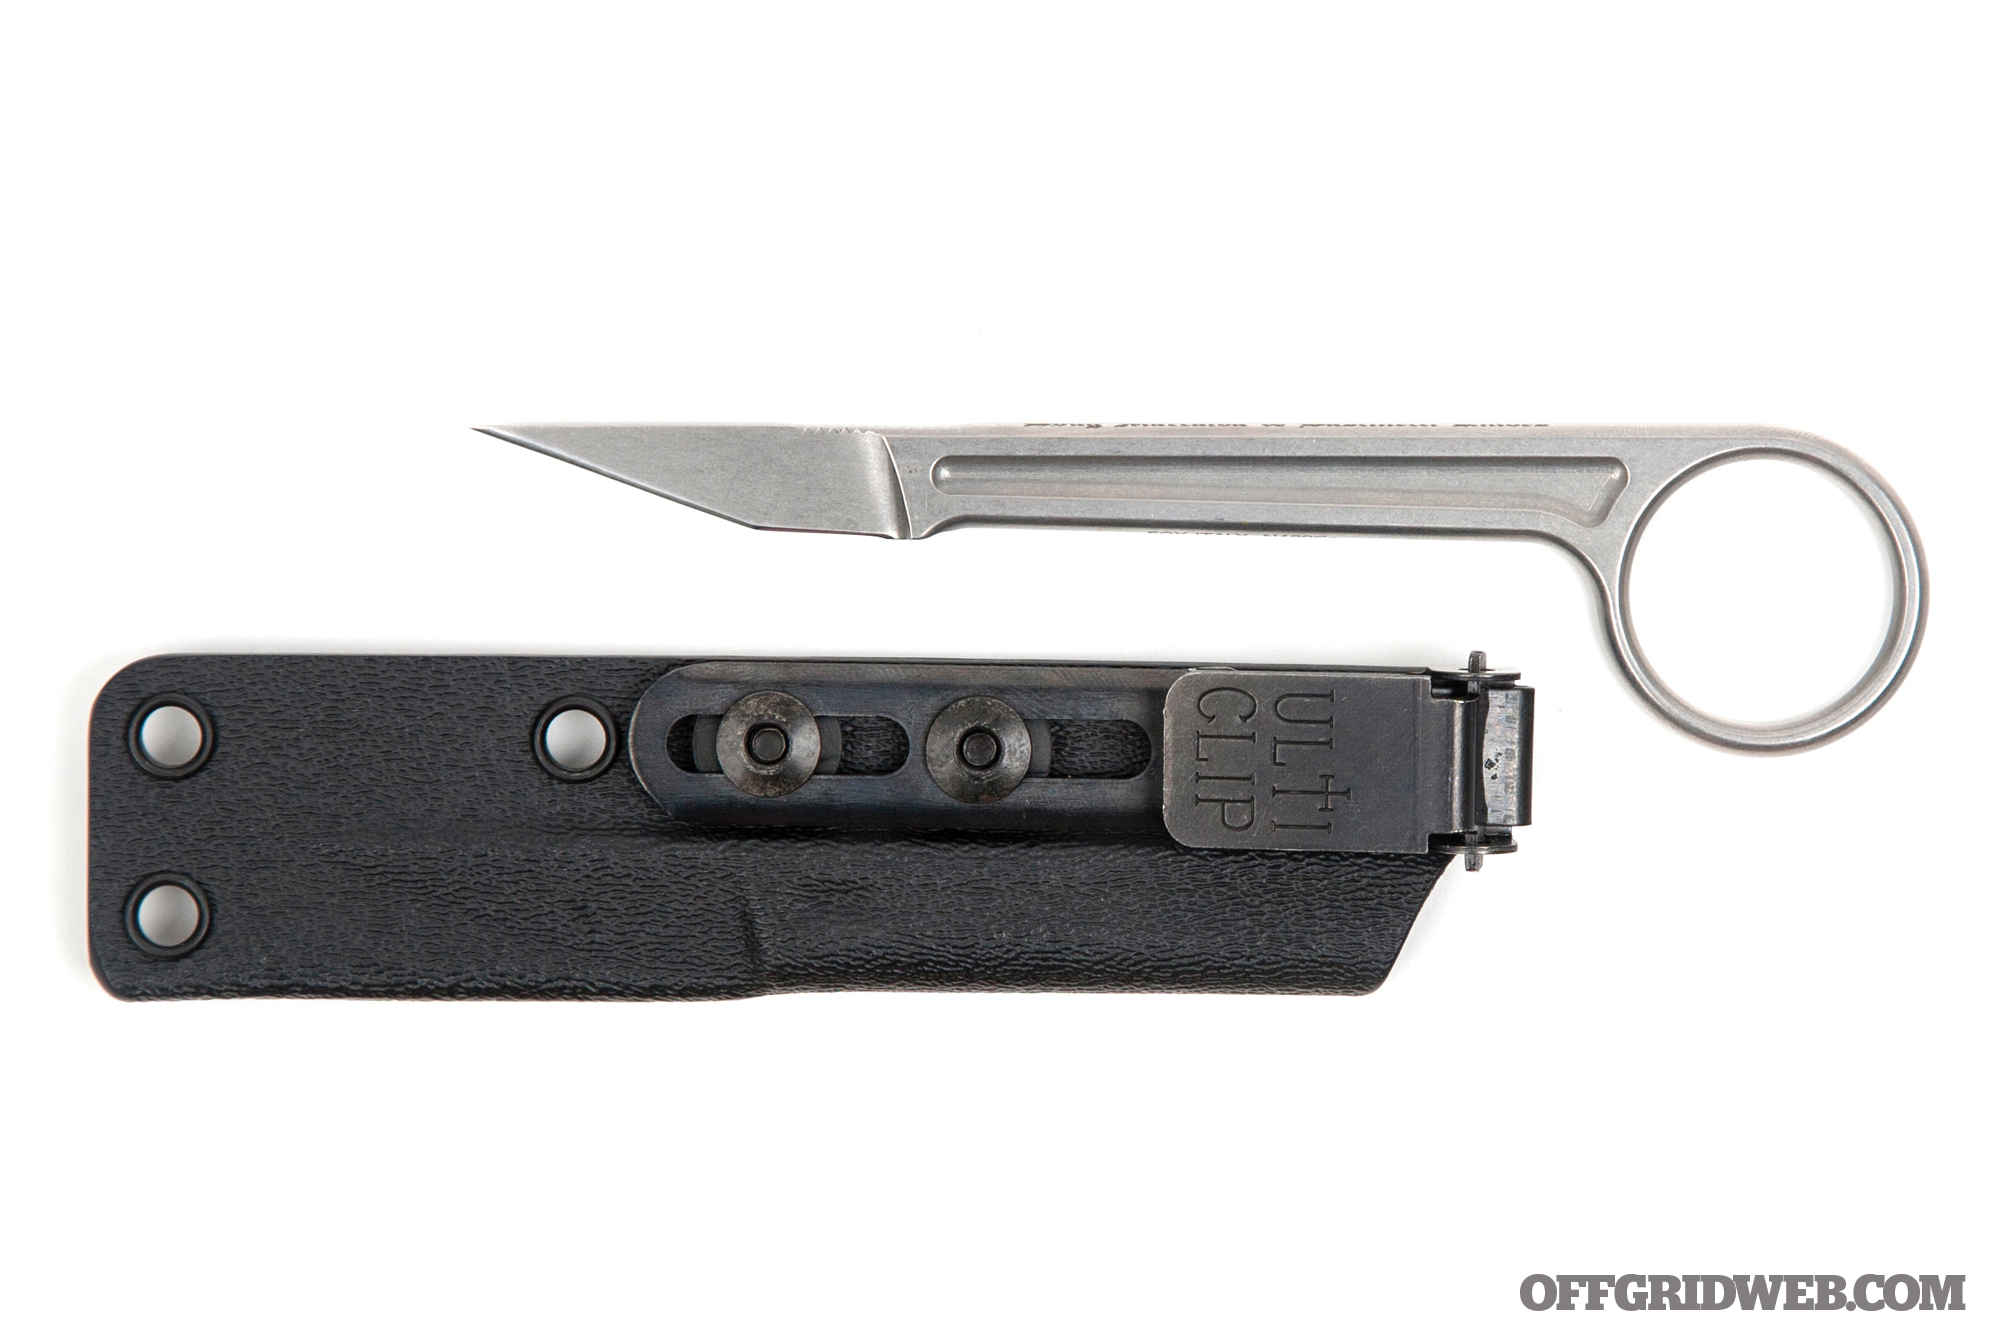
Above: The TOPS Street Scalpel is both highly concealable and razor sharp, cutting nice, bacon-like strips off the pig carcass after penetrating the front part of the skull repeatedly.
The TOPS Street Scalpel performed flawlessly, and its short, razor-sharp blade was perfect for processing cuts — a type of blow that involves sinking the blade in and then dropping your body weight down on the handle. This causes the blade to drag through meat, flaying open large tracts of muscle. Our camerawoman personally tested the Street Scalpel with several hard stabs directly into the thickest portion of the pig’s skull, just above the brow line. She was met with a satisfying, stomach-churning crunch each time, and the blade was no worse for wear.
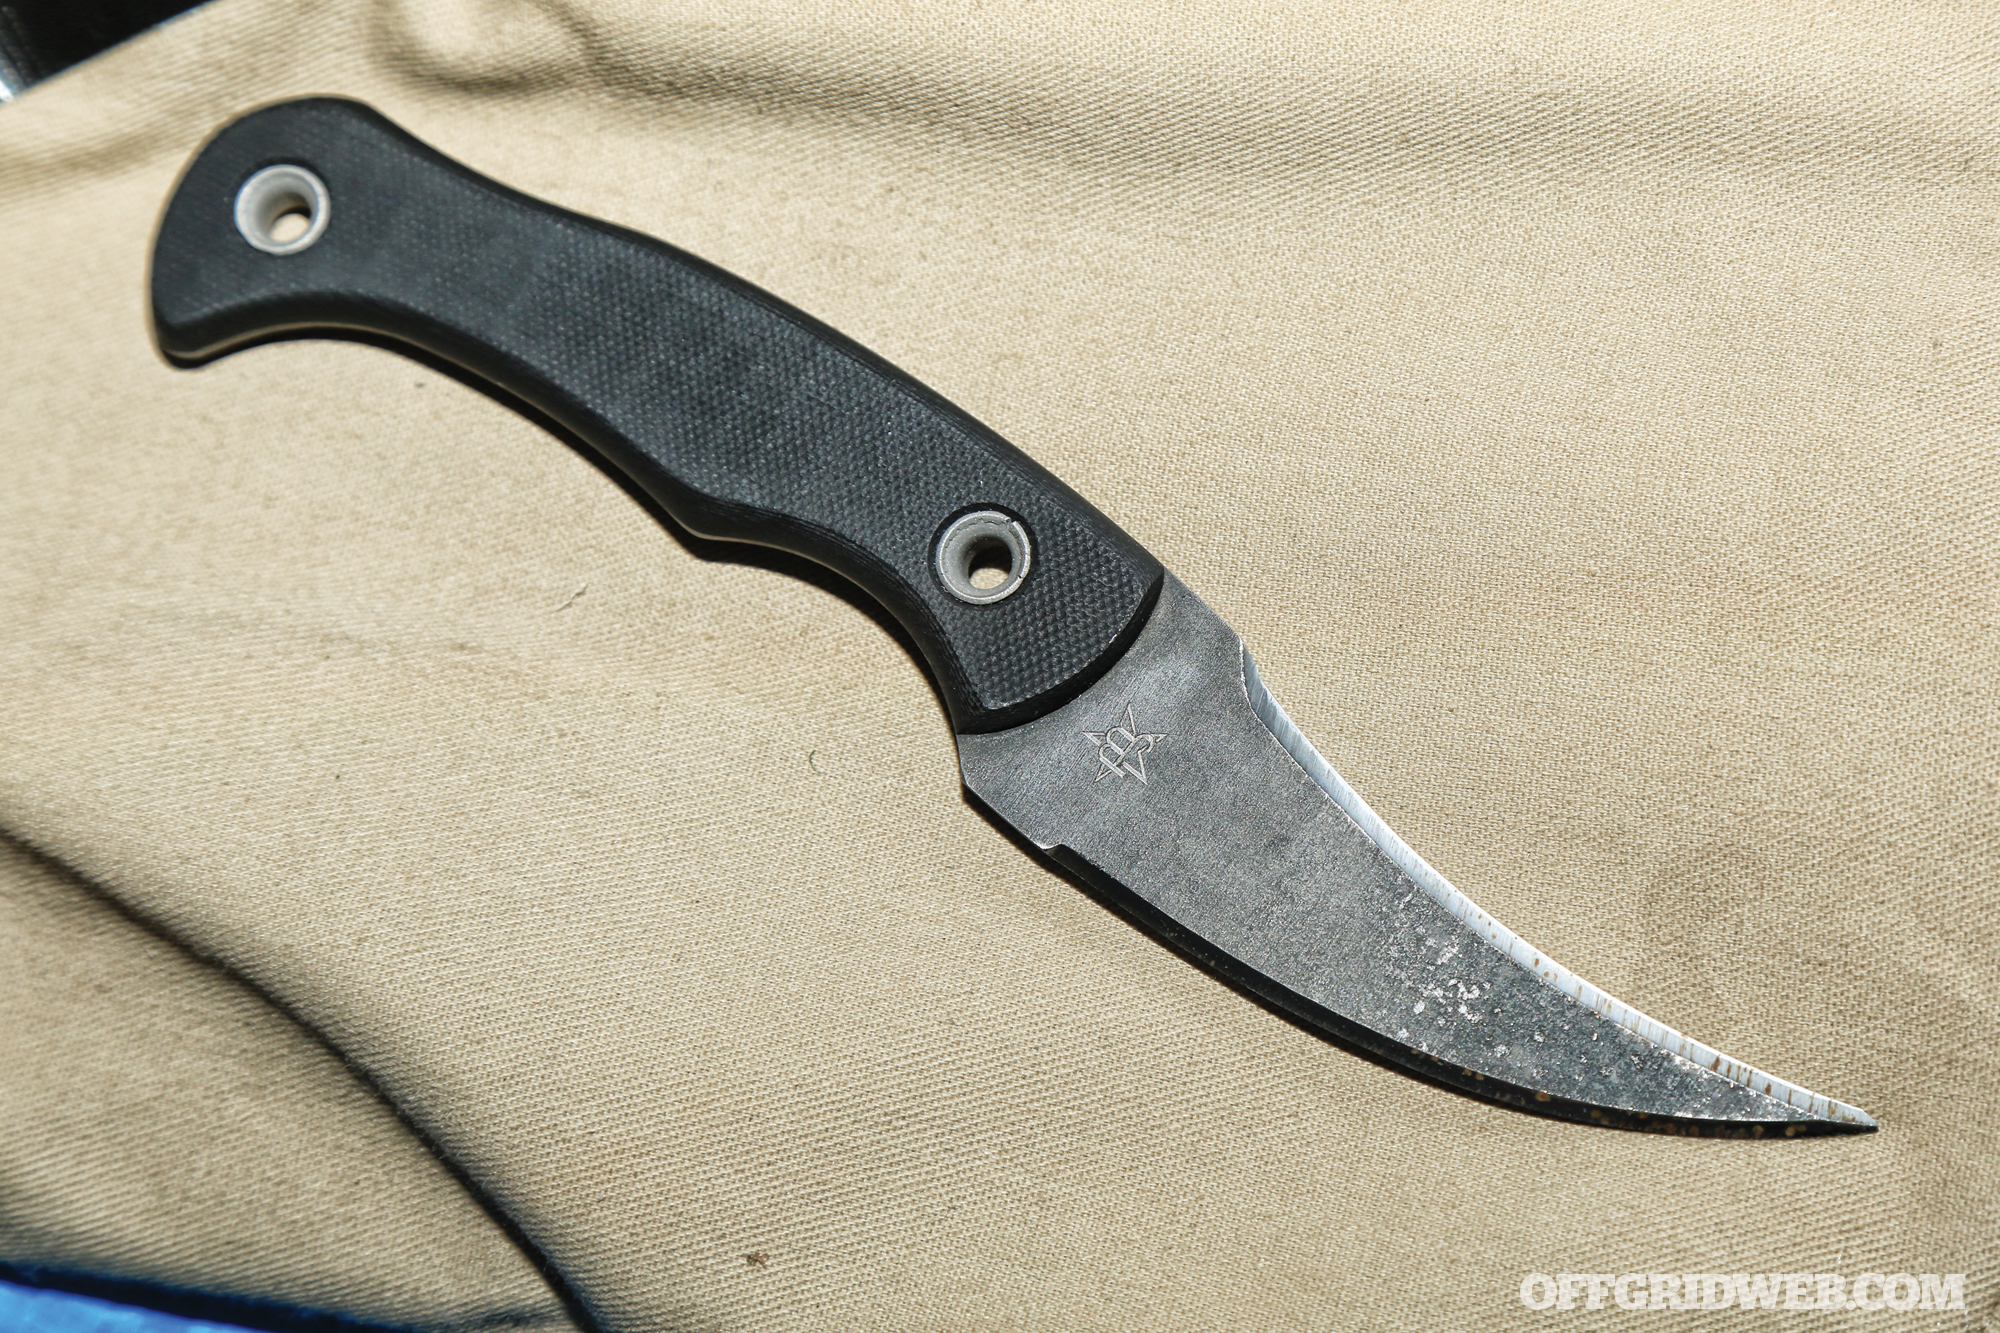
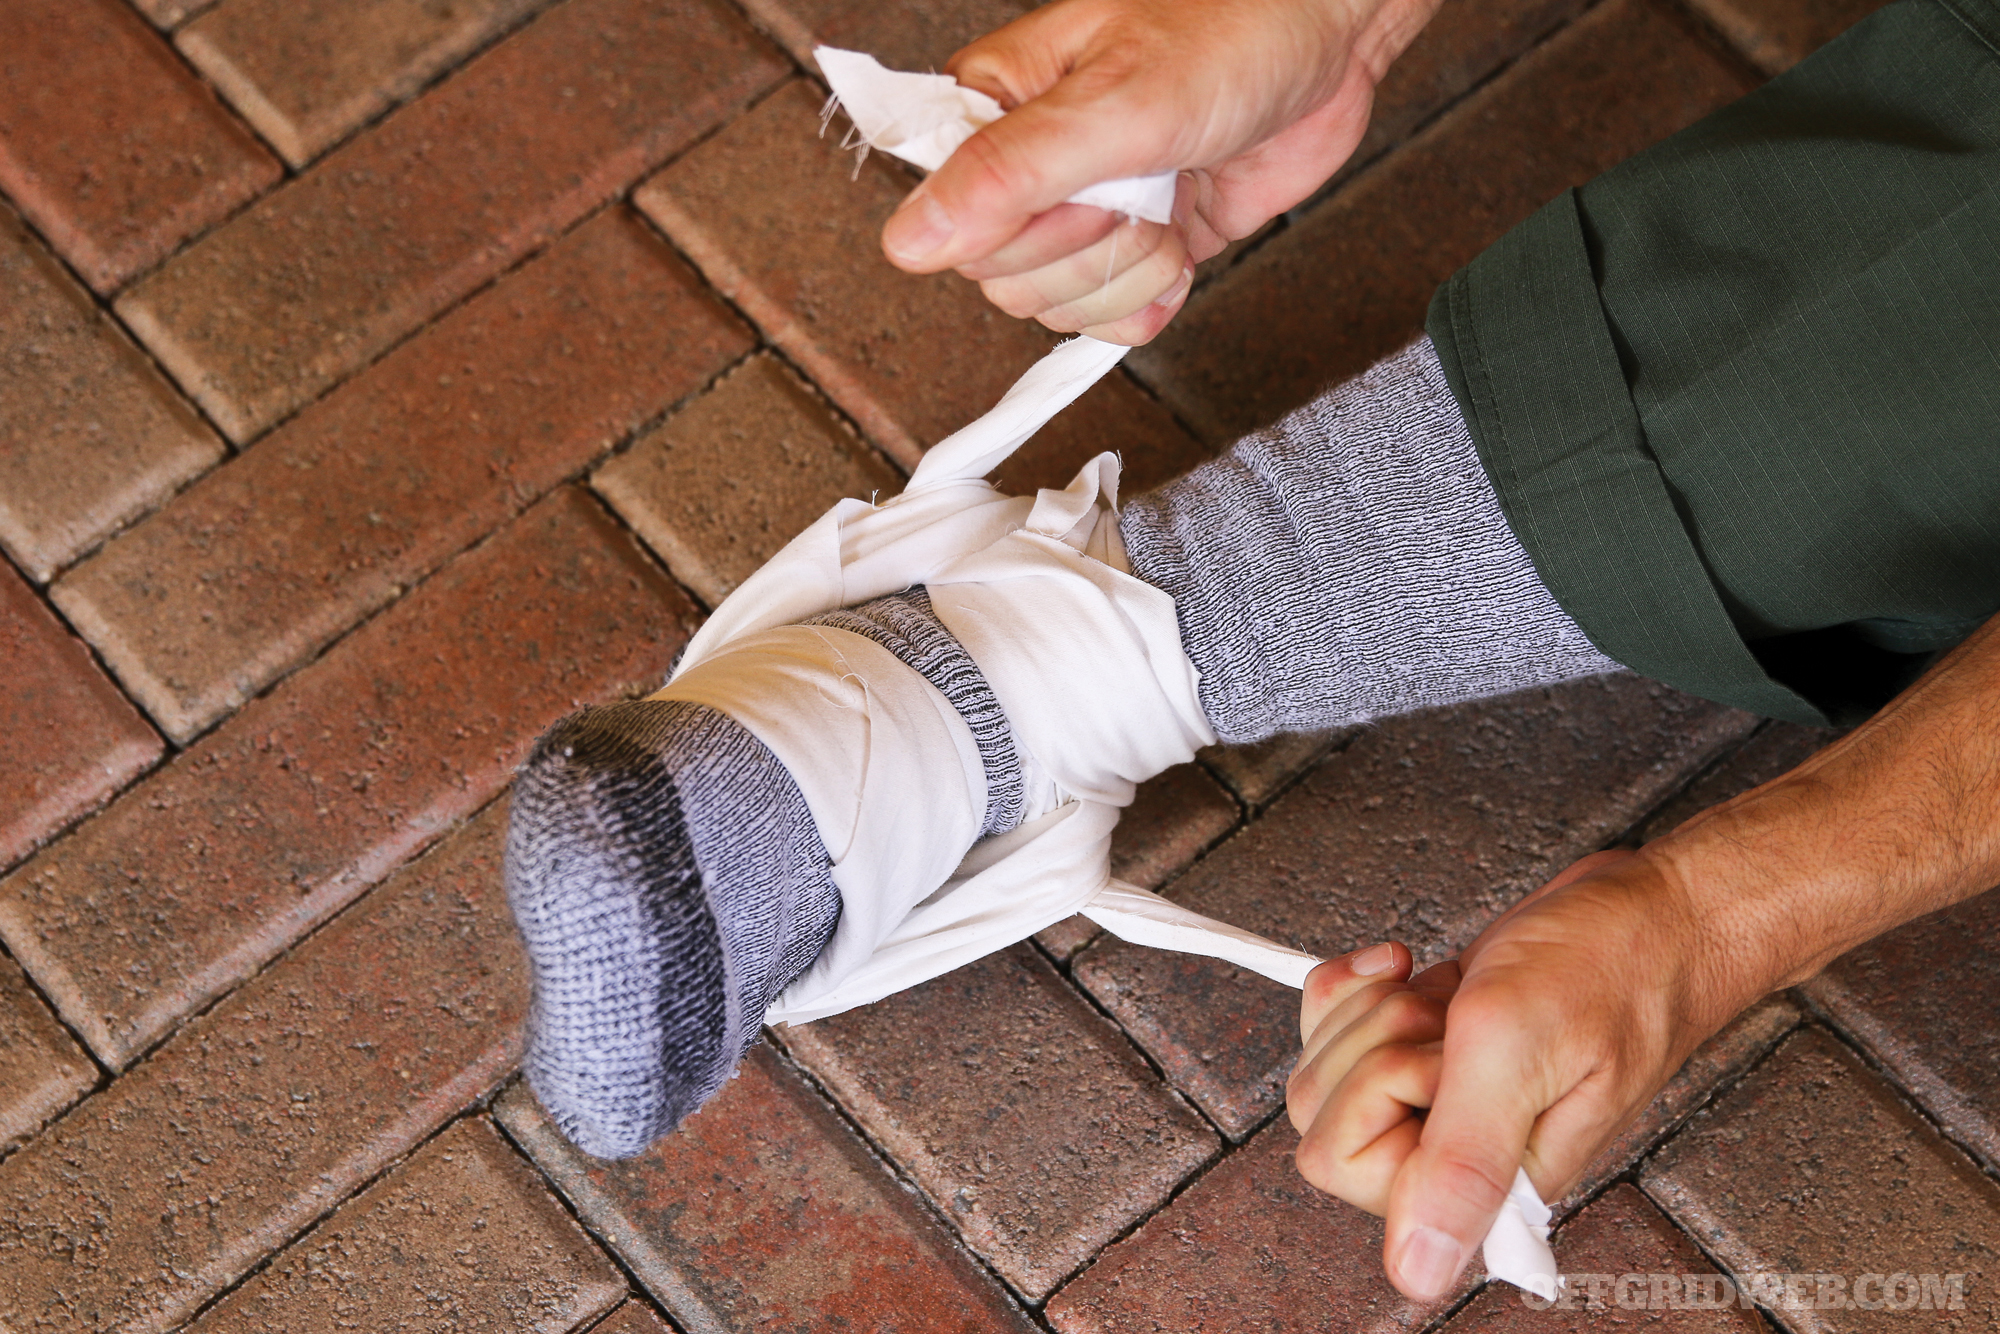
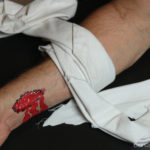
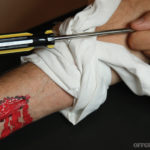
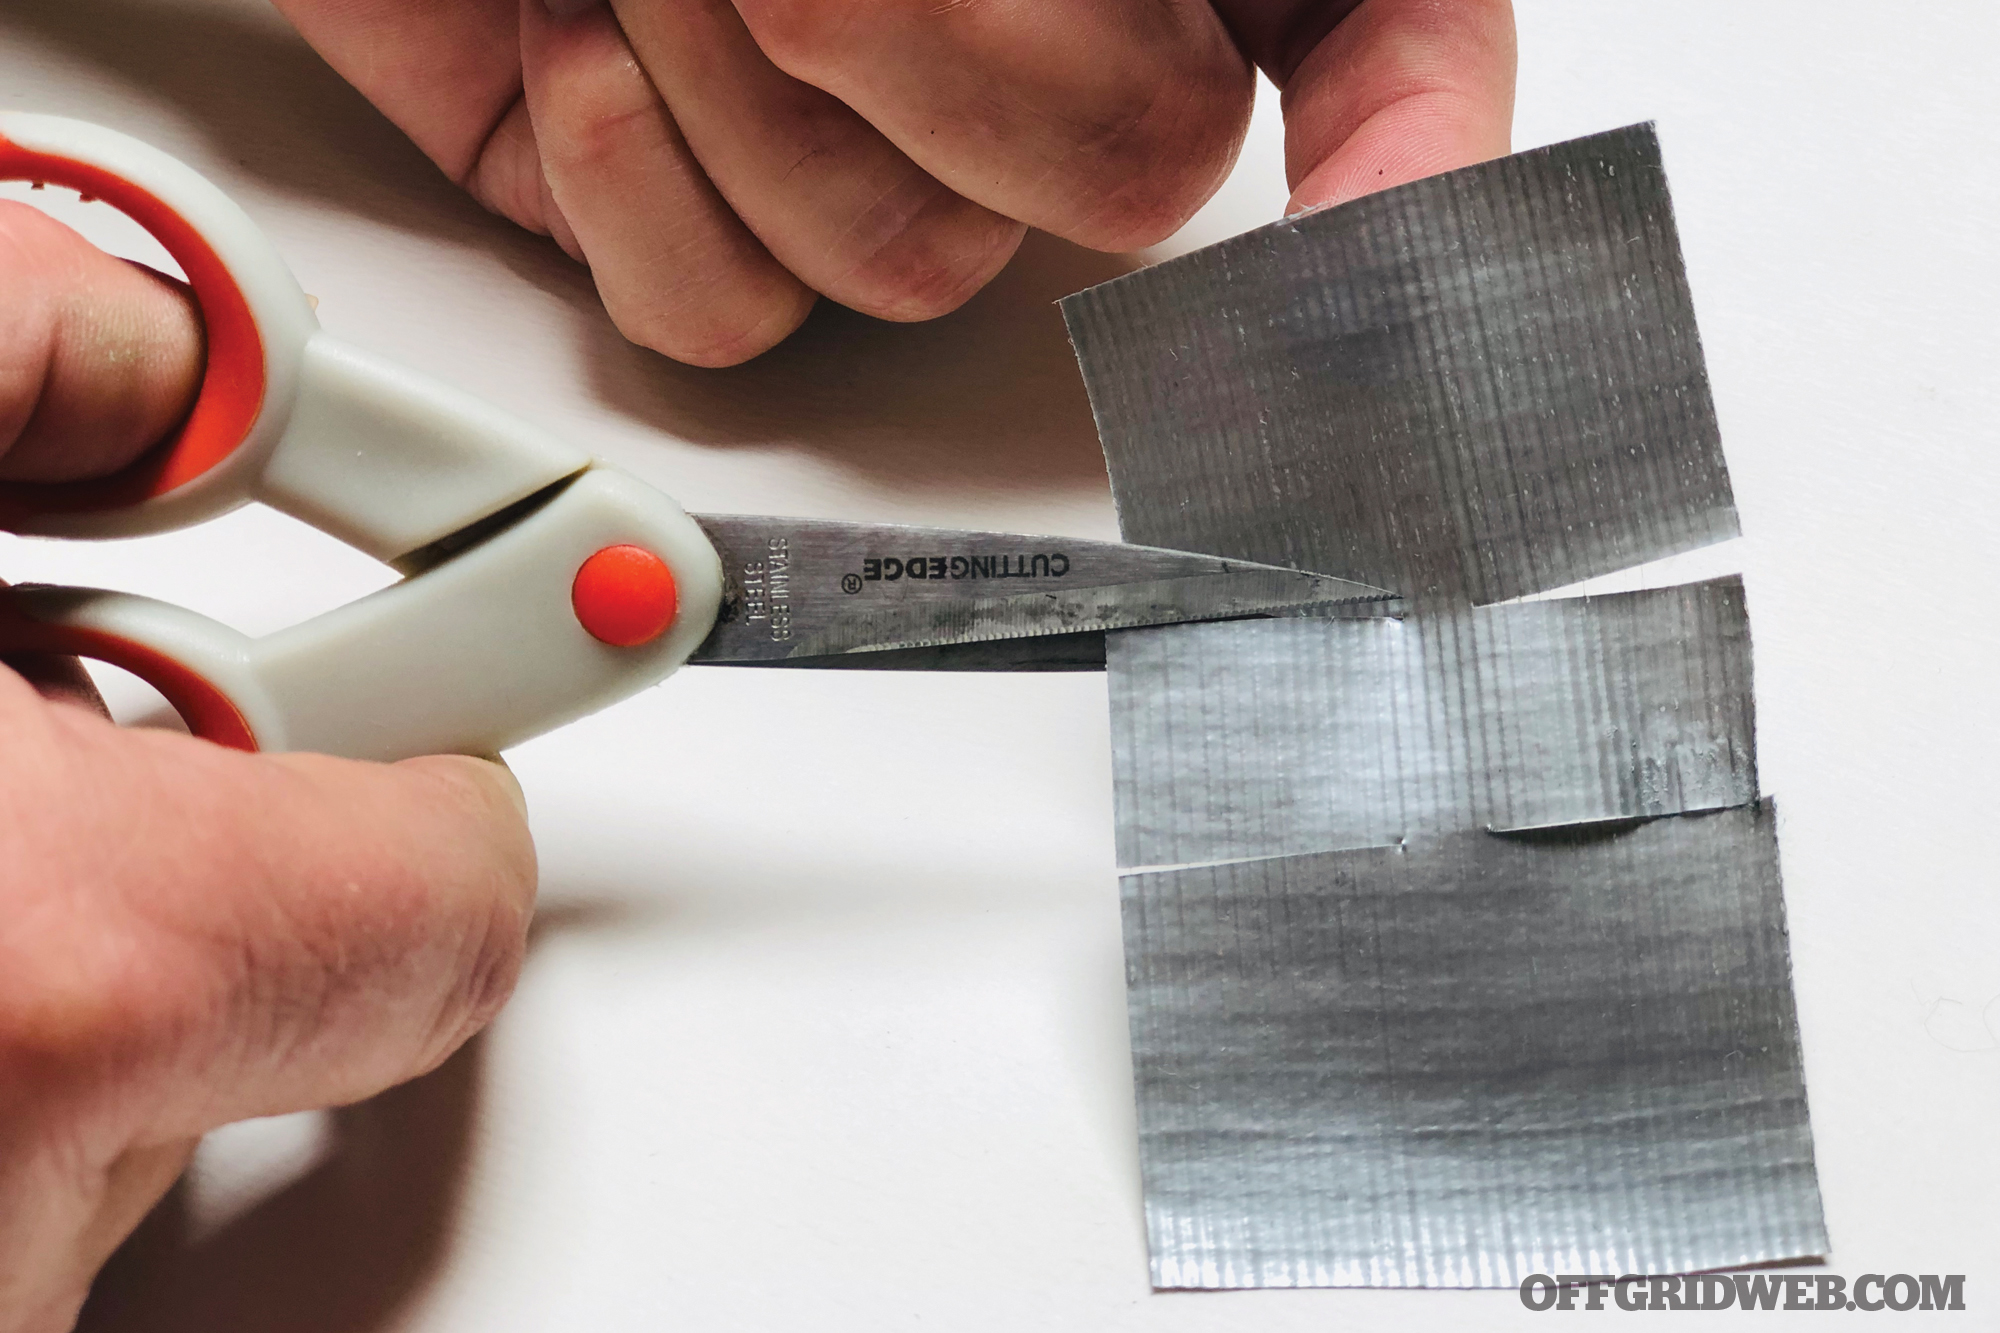
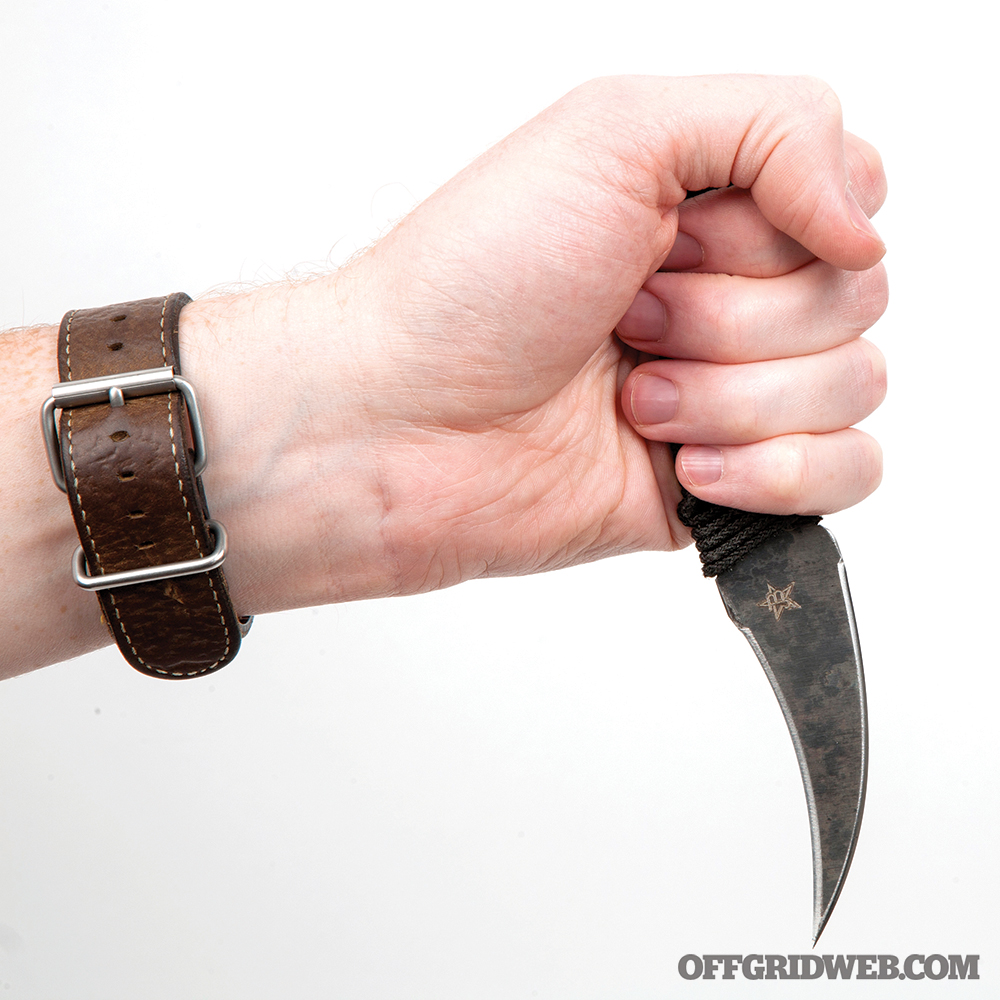
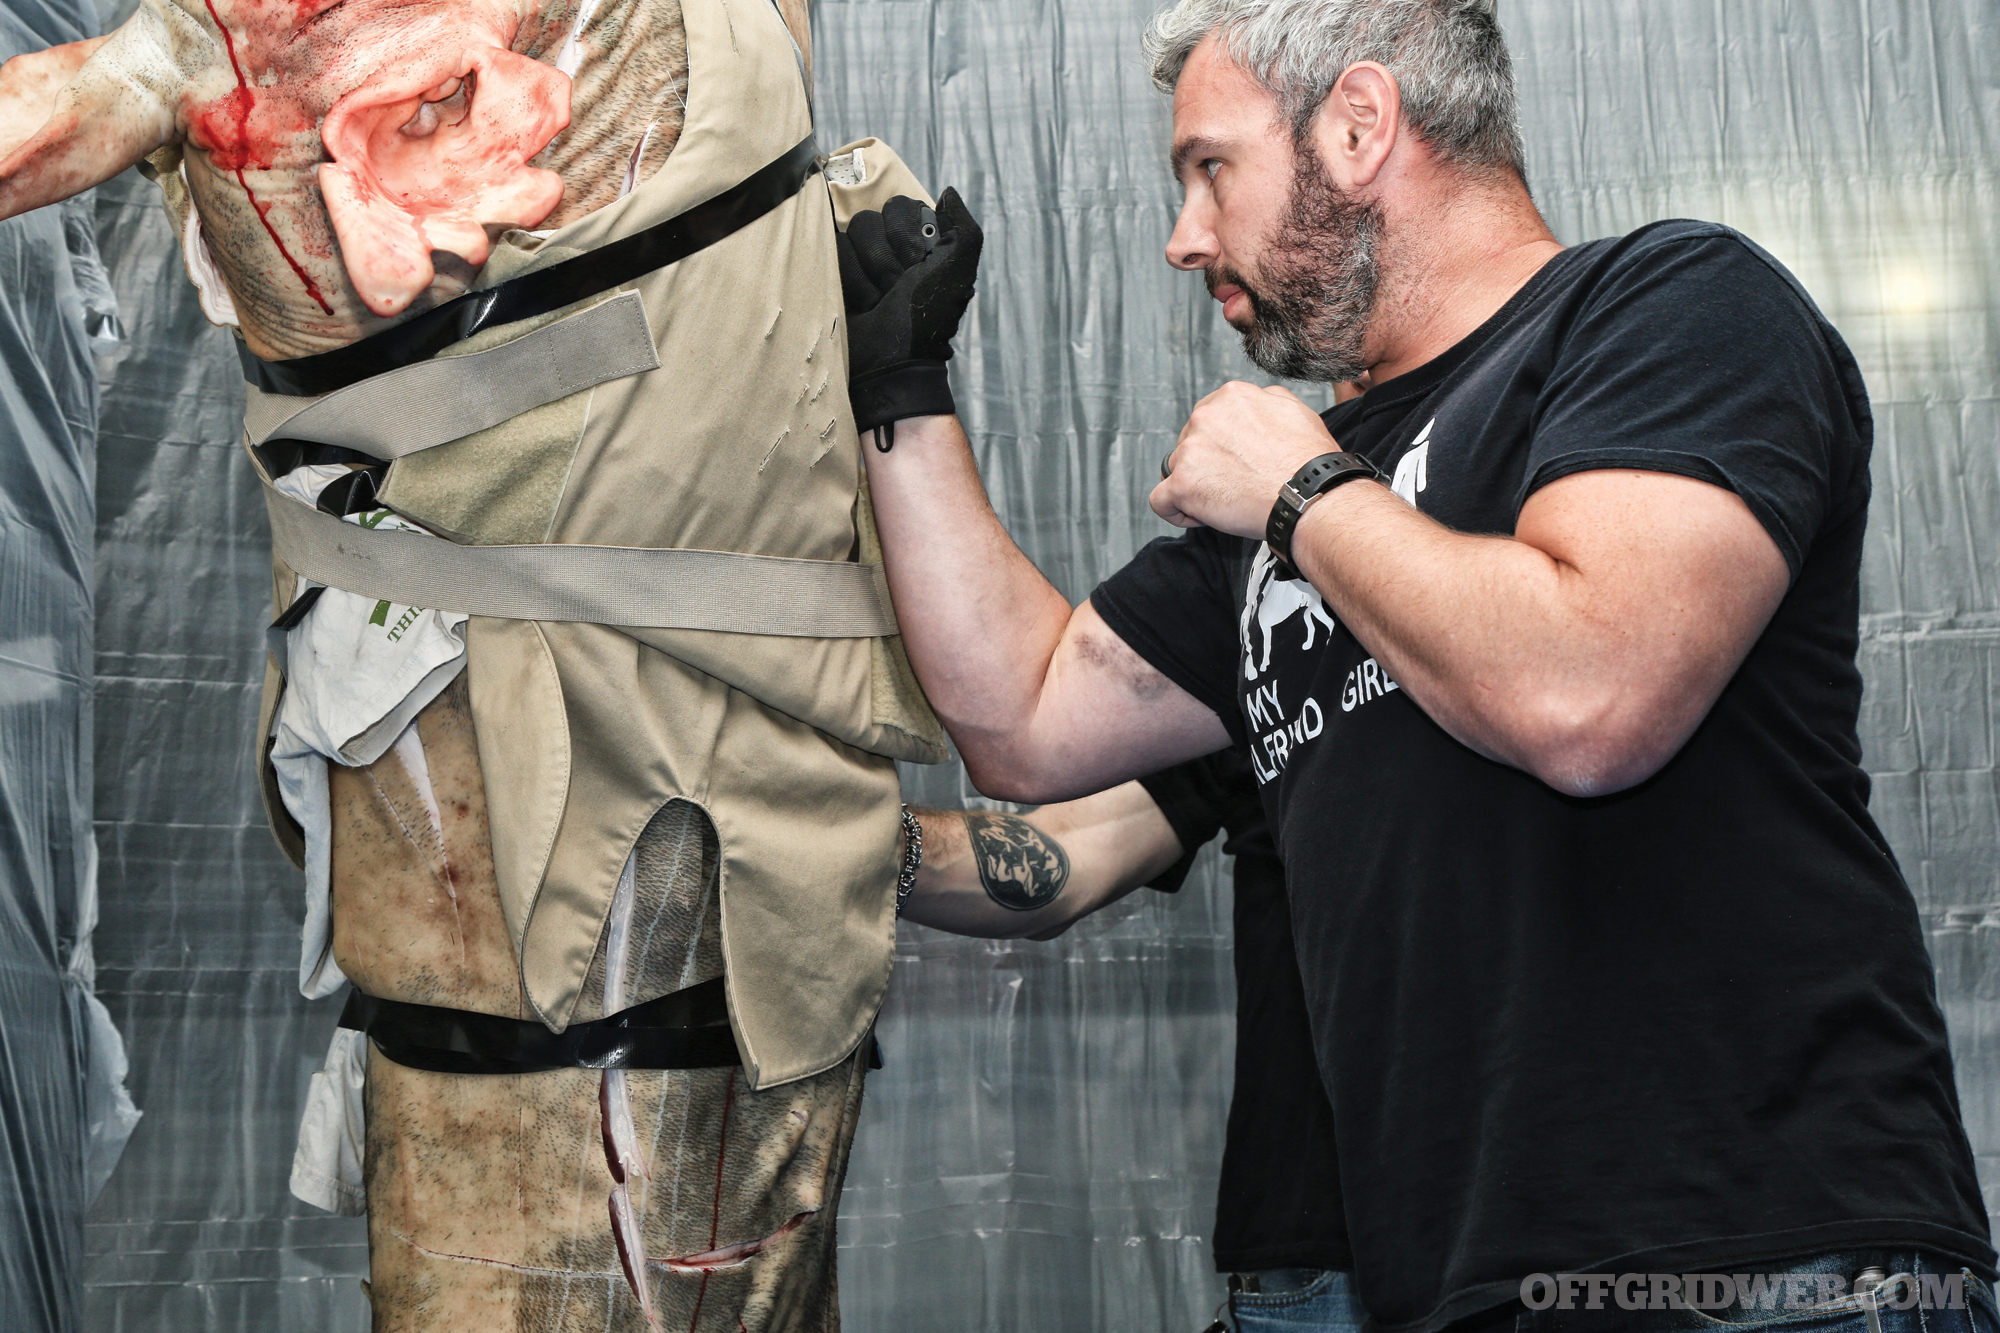
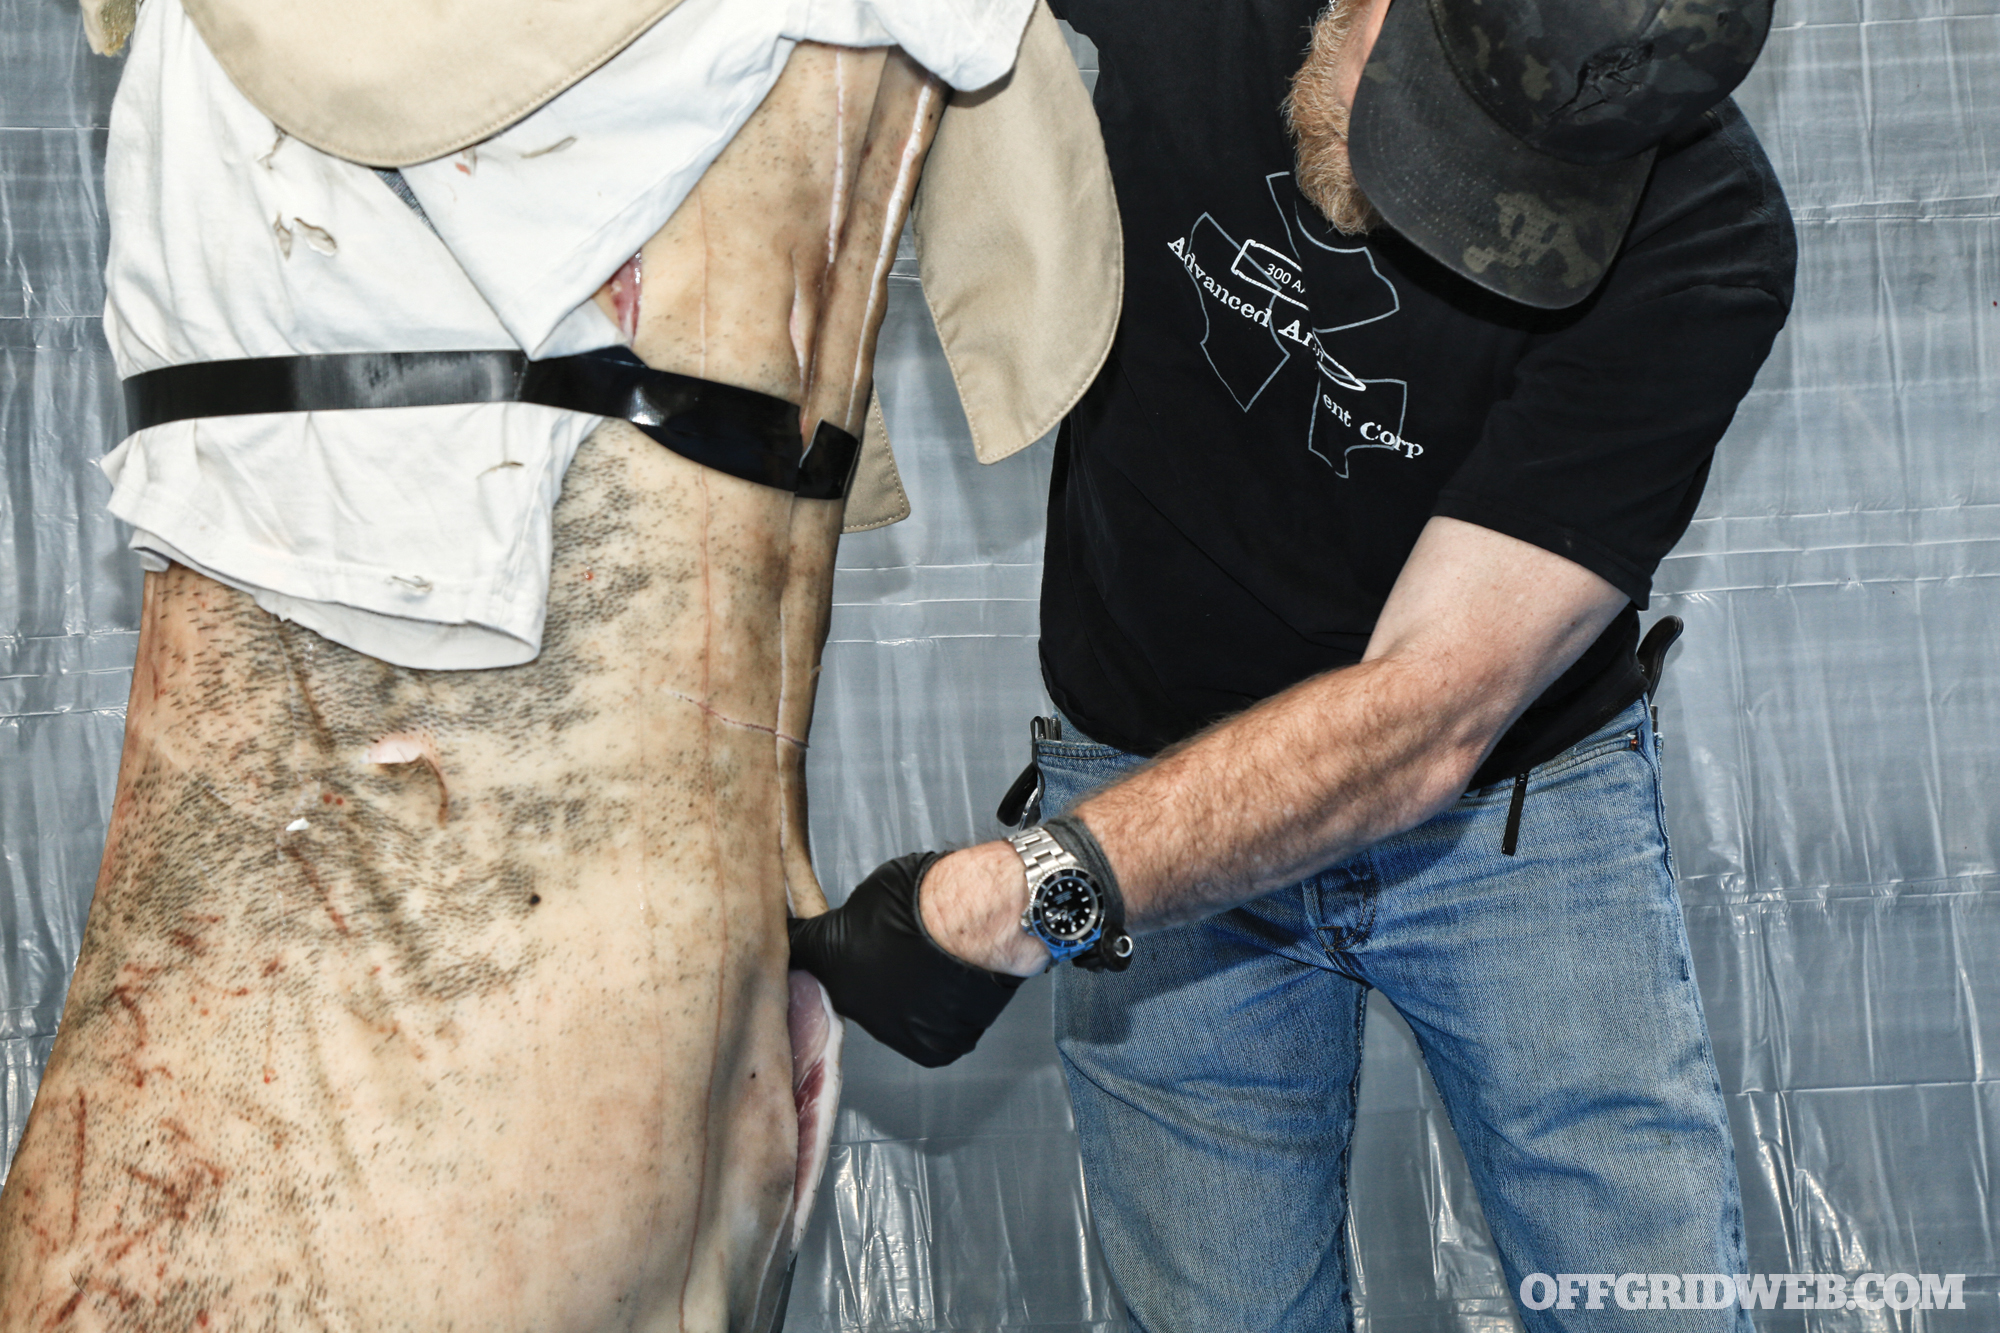
After wiping off the blood, it still could’ve passed for brand new. Finally, my personal favorite, the JB Ditch Pik. This blade is actually a collaboration between Ed and JB. It features a curved, double-edged blade and G10 handle scales. It’s simple, sharp, and efficient. We put this one to the unique test of stabbing through a Level IIIA soft armor panel that was duct-taped to one side of the pork torso. The Pik passed through Kevlar and rib bone without a hitch, opening up a 3-inch wound channel each time. There was some damage to the tip and a little bit of surface corrosion evident at the end of class, but the folks at JB advised me that this can be removed at home with some WD-40 and #000 steel wool. To top it off, they offered to re-hone the tip as well. The point and edges on this blade are so finely ground that we genuinely couldn’t tell the difference between stabbing through the armor versus stabbing through bare torso.
While all three test blades held up admirably, the JB Ditch Pik is what has taken over as my EDC fixed blade. Its double edge, slim body, and low-profile factory sheath gave us that Goldilocks fit that keeps it on our belt more often than not.
The Knife Makes the Man?
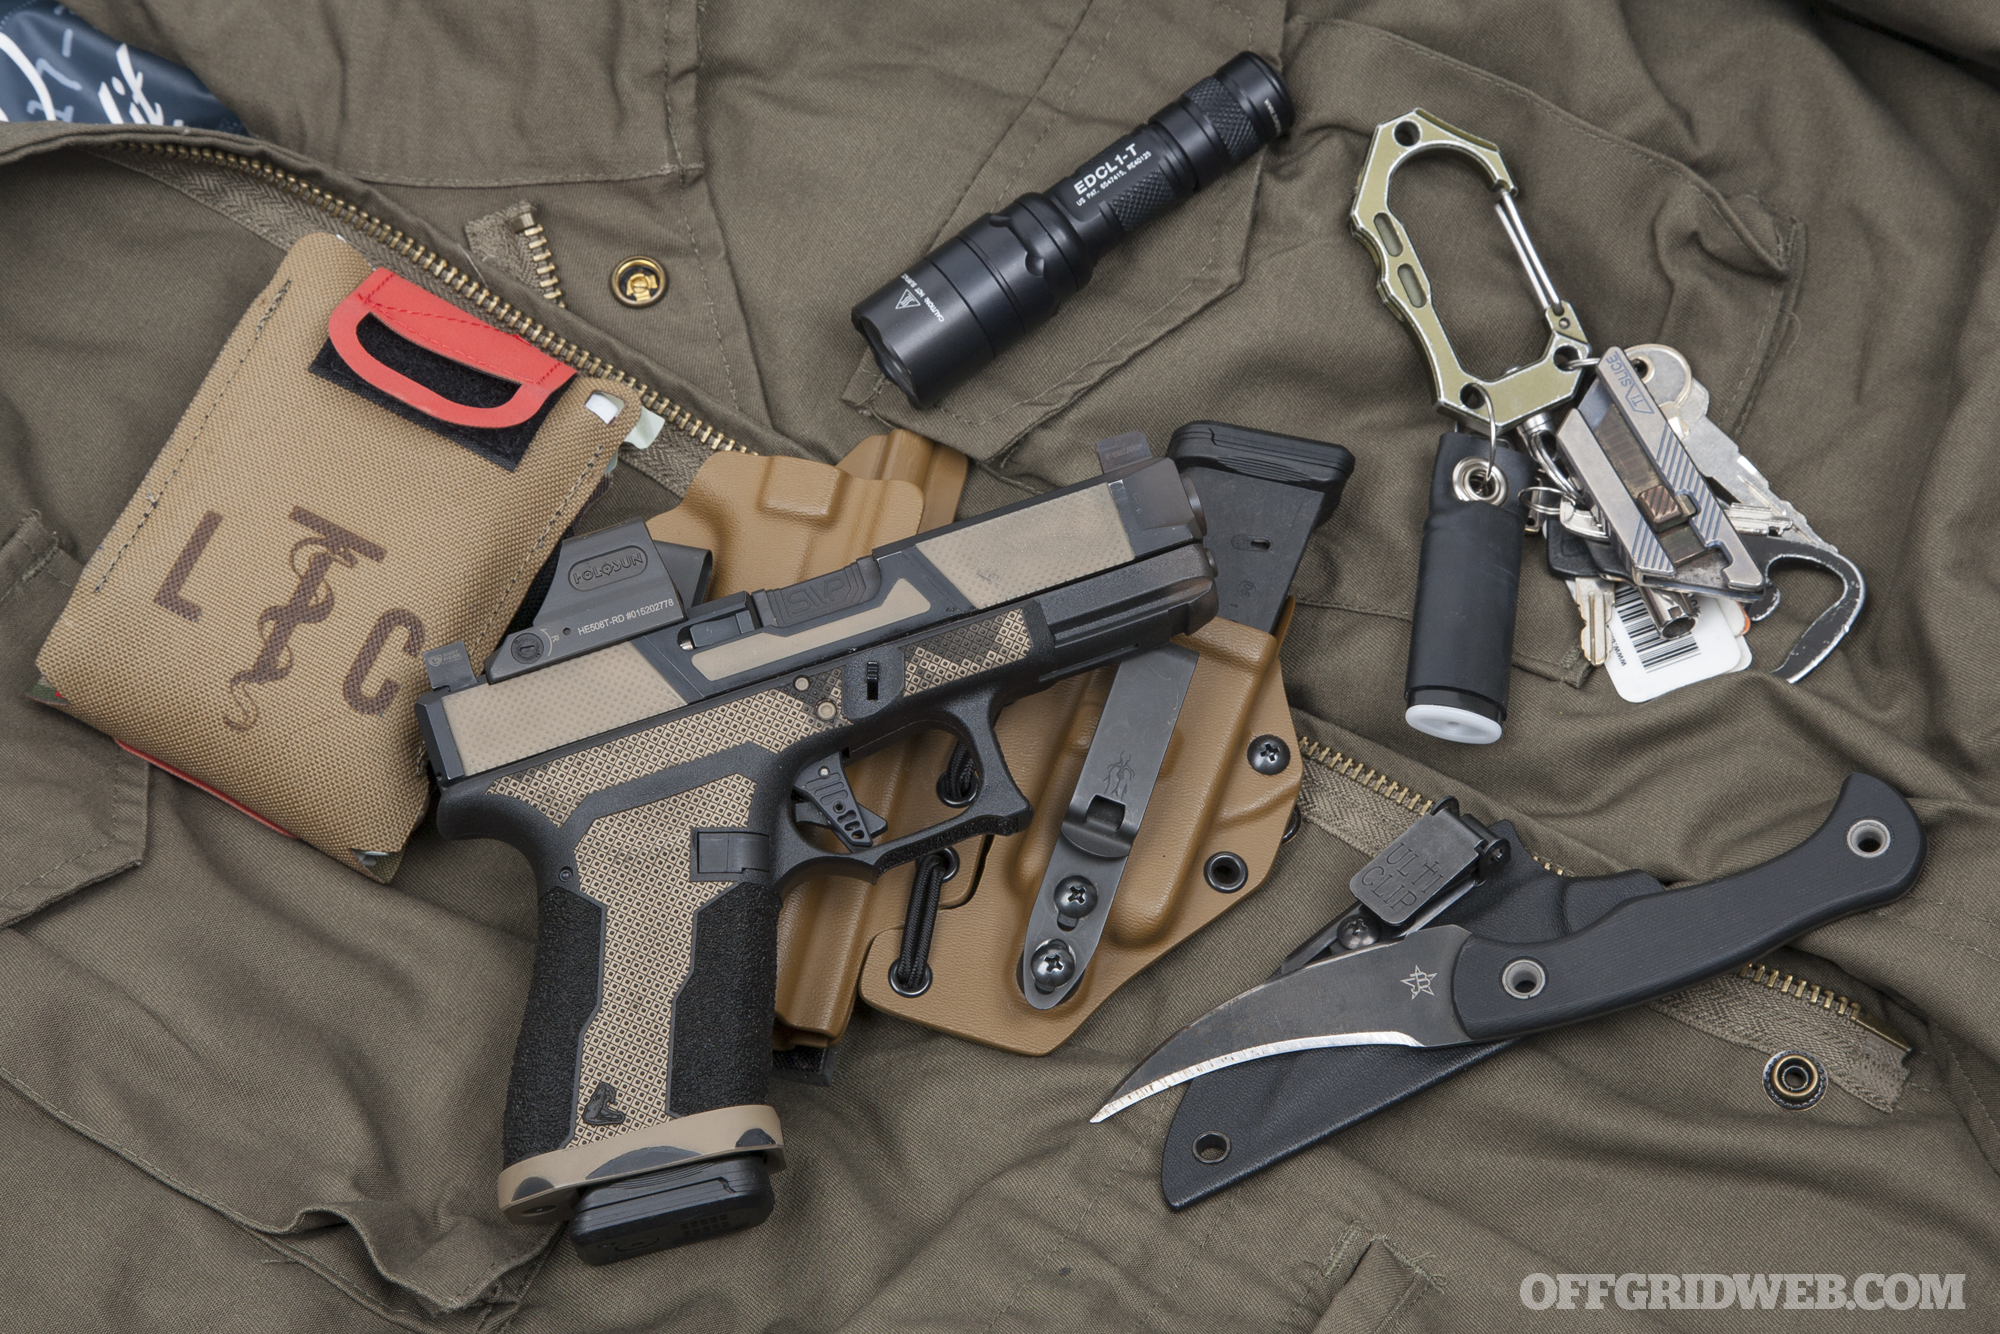
Above: An assortment of the author’s EDC gear, as outlined in this article.
At the end of the day, as with concealed-carry pistols, the best knife to use is the one you have on you. An aggressive survival mindset, smart movement, and high school-level knowledge of human anatomy will carry you much farther than that one-off custom blade. Interpersonal combat with stabbing weapons is an absolute, winner-takes-all sport in which violence must be overcome with violence to ensure your survival. It’s a worst-day-of-your-life disaster we hope you never have to face. But if you have an opportunity to take Ed Calderon’s Weaponolgy and Organic Medium courses, you’ll emerge better prepared to prevail if an uncertain world decides to touch your life with violence.
Sources:
- Ed’s Manifesto: www.edsmanifesto.com
- JB Knife & Tool: www.jbknife.com
- TOPS Knives: www.topsknives.com
- VZ Grips: www.vzgrips.com
Read More:
Subscribe to Recoil Offgrid’s free newsletter for regular updates on more content like this.
- Ed Calderon on Kidnapping and Abduction Trends.
- Improvised Weapons and DIY shivs.
- Ed Calderon and Ernest Emerson team up to teach Surviving Inside the Killzone.
Editor’s Note: This article has been modified from its original print version for the web.