Whether you live in a rural area year-round or just travel to one on occasion, wildfires can be a major source of concern. These fast-moving natural disasters can crop up with little warning and sweep across the landscape obliterating everything in their path. Wildfires often cause devastation that affects the surroundings far beyond the point of origin. If you only had a short time to prepare to evacuate or possibly stay to battle an inferno, do you have a battle plan in mind?
Are irreplaceable belongings stored in such a way that they can be quickly loaded into a car? Have you thought about how to defend your home proactively by preparing items such as a pool pump, fire extinguishers, or sprinkler system? Have you taken the time to create a defensible space and clear dry brush surrounding your house that could exacerbate an approaching fire? Do you know what (if anything) your insurance will cover if a fire destroys your home and belongings? Whether you’ve begun planning for such an event or not, we hope this topic will spark your interest in better preparation to deal with a fire.
The Wildfire Scenario
Situation Type: Wildfire
Your Crew: You and your family
Location: Northern California
Season: Summer
Weather: Warm; high 97 degrees F, low 63 degrees
The Setup
Illustrations by Robert Bruner
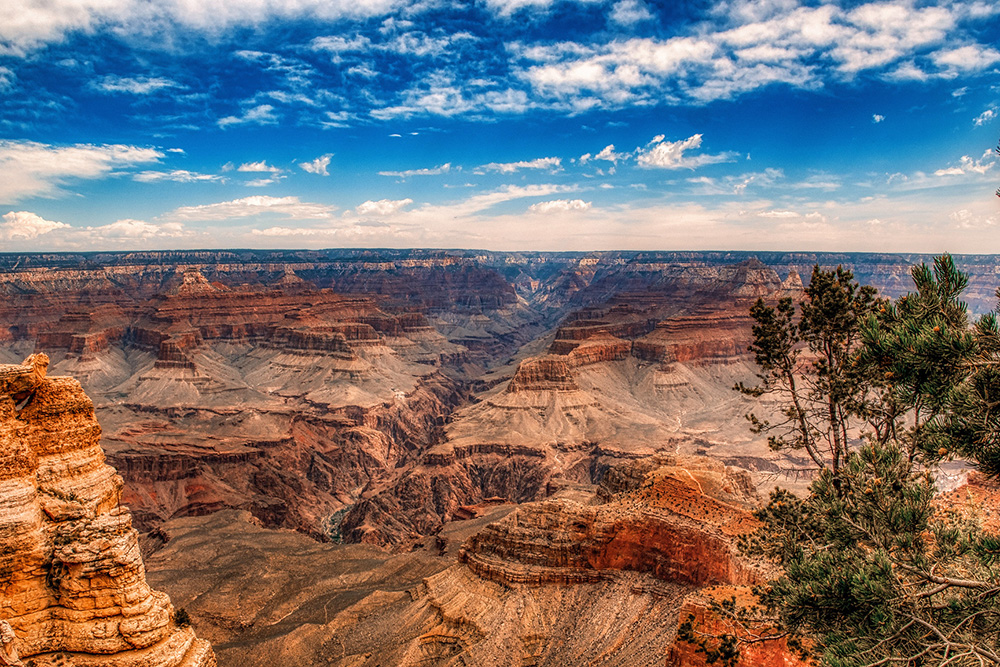
Every year we hear of the increasing incidence of wildfires. From the Caldor Fire to the El Dorado Fire to the Dixie Fire, these events can devastate thousands of acres within hours. Whether it begins with a lightning strike, car fire, arson, or just plain irresponsible behavior, they can often be impossible to predict. Even those who believe they’re far enough from rural areas to avoid problems — such as the recent fires in Boulder, Colorado, or the Glass Fire in Napa and Sonoma, California — can often be taken by surprise at a fire’s ability to spread in a short amount of time. You and your family live in a rural area of Plumas County, California, known for its thick forests and sparsely populated surroundings.
The state’s continuing drought has been an ongoing concern, not only because of falling trees, but also because the deadfall creates more fuel for potential fires. To make matters worse, the season in which fires are most dangerous only seems to grow longer each year. The local fire station is about 15 minutes from where you live, with others in the general area, as well as several state agencies within your county. One thing is for sure though, the amount of vegetation in the area and long, isolated escape routes means that the odds are stacked against you if a fire were to start in the worst possible part of the year — summer.
The Complication
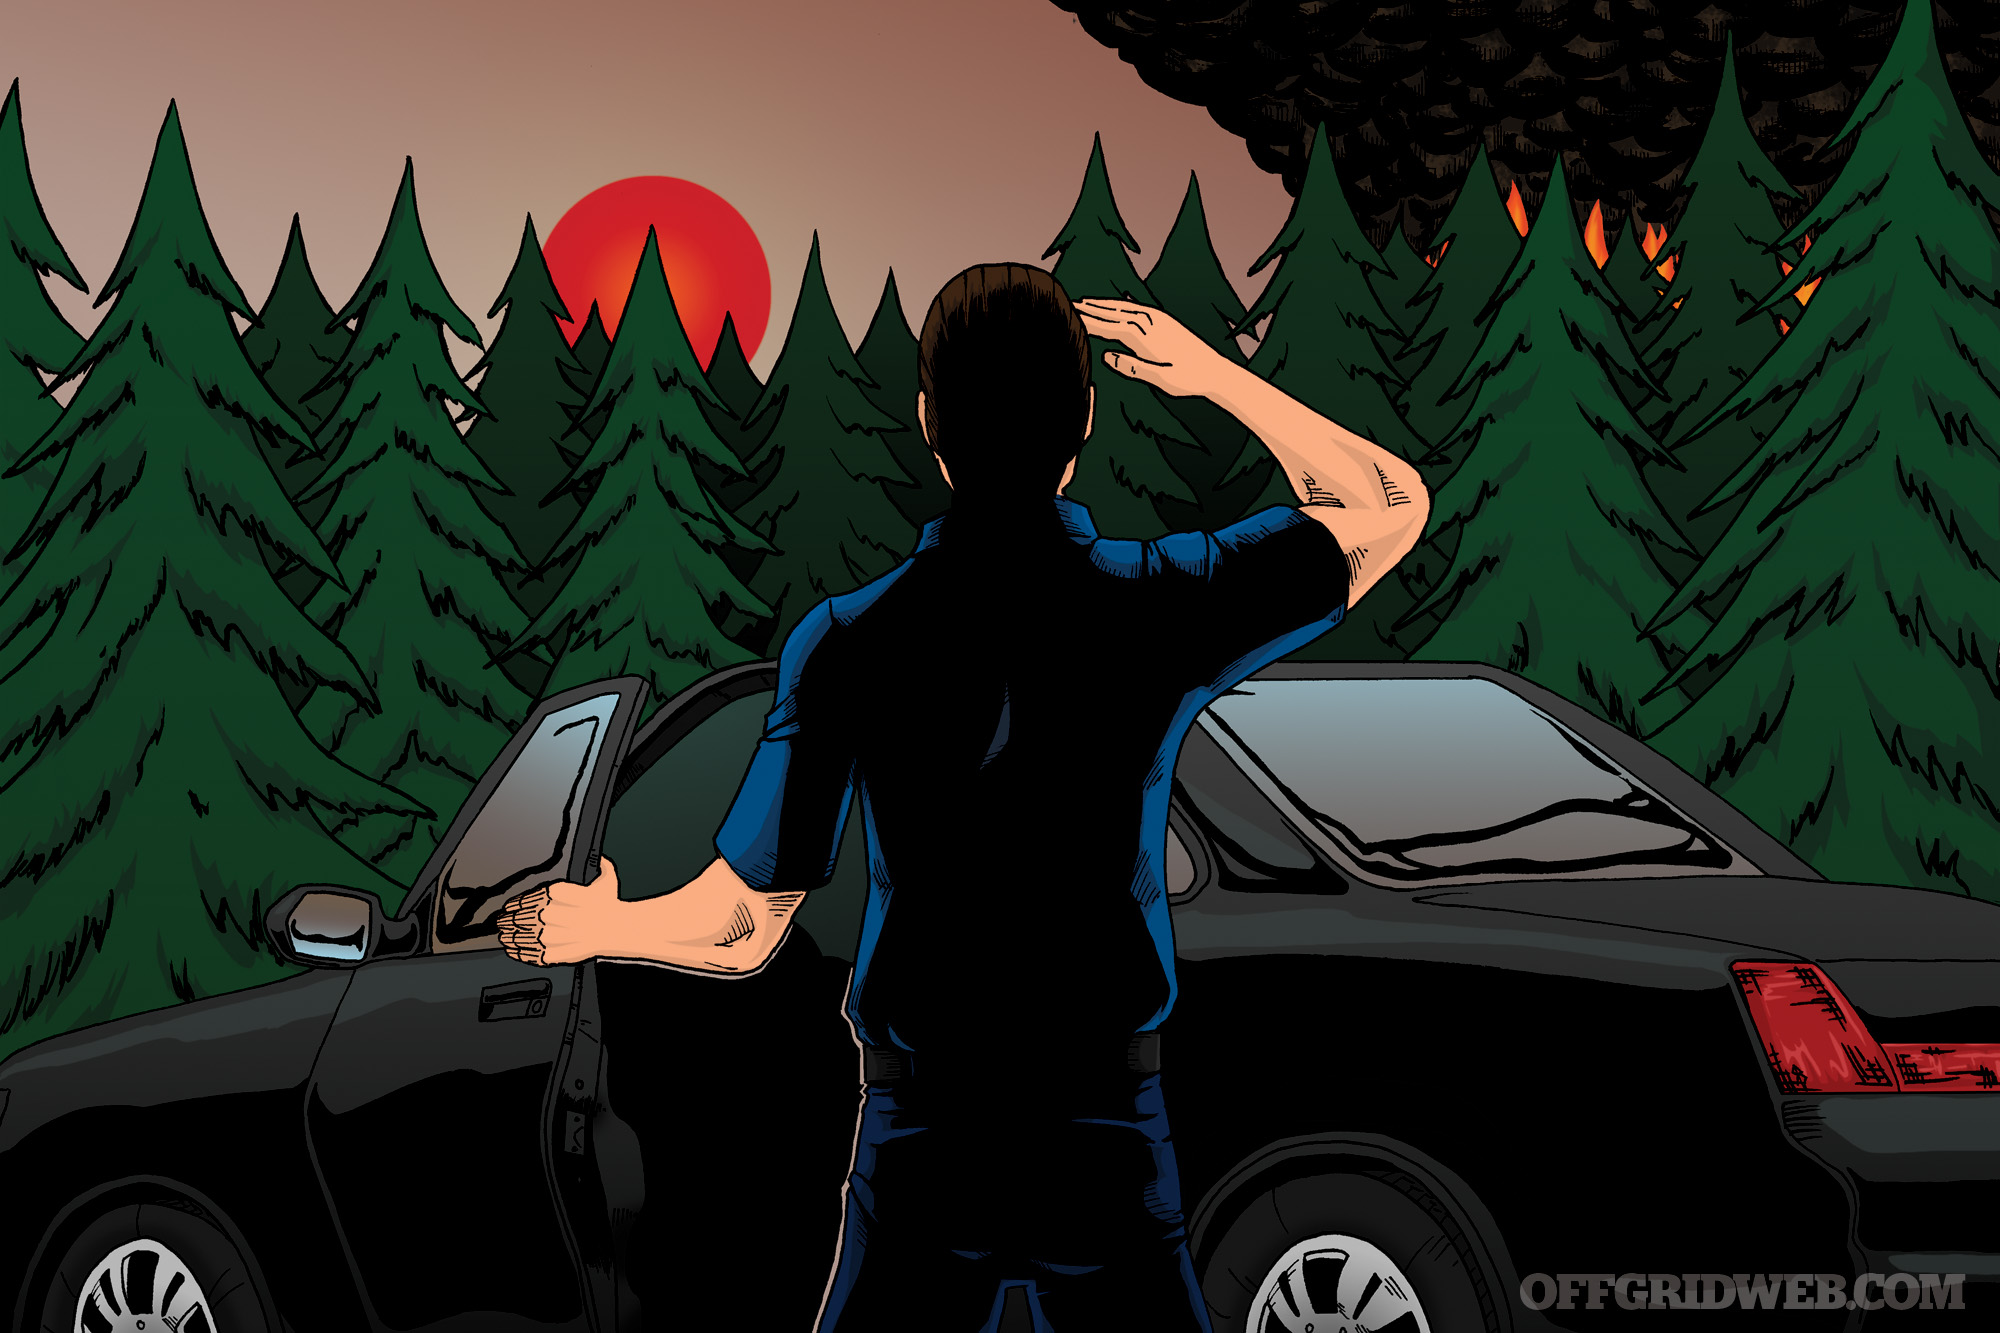
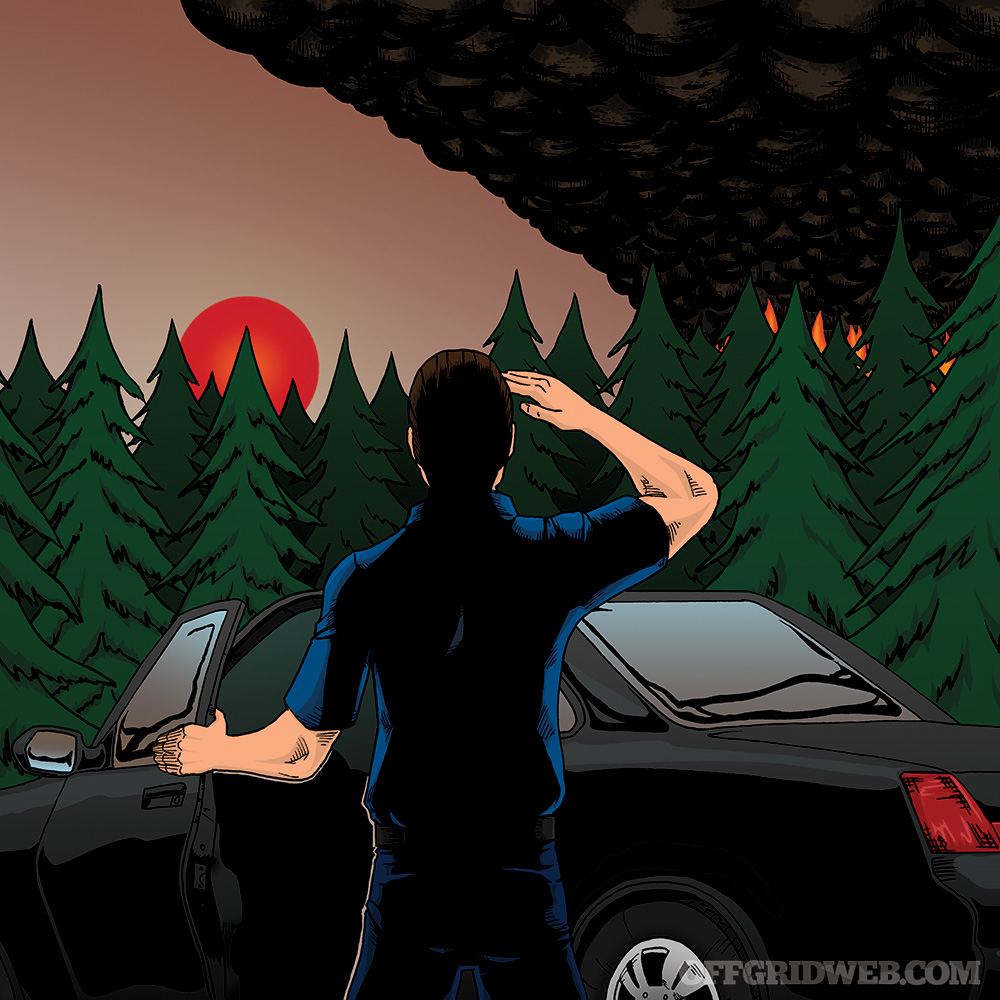
You wake up early on what starts out as a seemingly typical Monday to go to your job at an auto shop in nearby Quincy, California, when you smell smoke in the air. A feeling of dread washes over you. You walk outside as the sun is coming up and see a plume of smoke to the north. It appears to be about 30 miles away. The winds feel moderate at the moment, but you know they may change and take the fire in your direction. As you ponder for a second on the situation and what to do, you begin to hear emergency vehicle sirens that only seem to get more frequent with each passing minute. You wake your wife and young son to let them know what’s going on. You decide to start packing things into your car in case you need to evacuate.
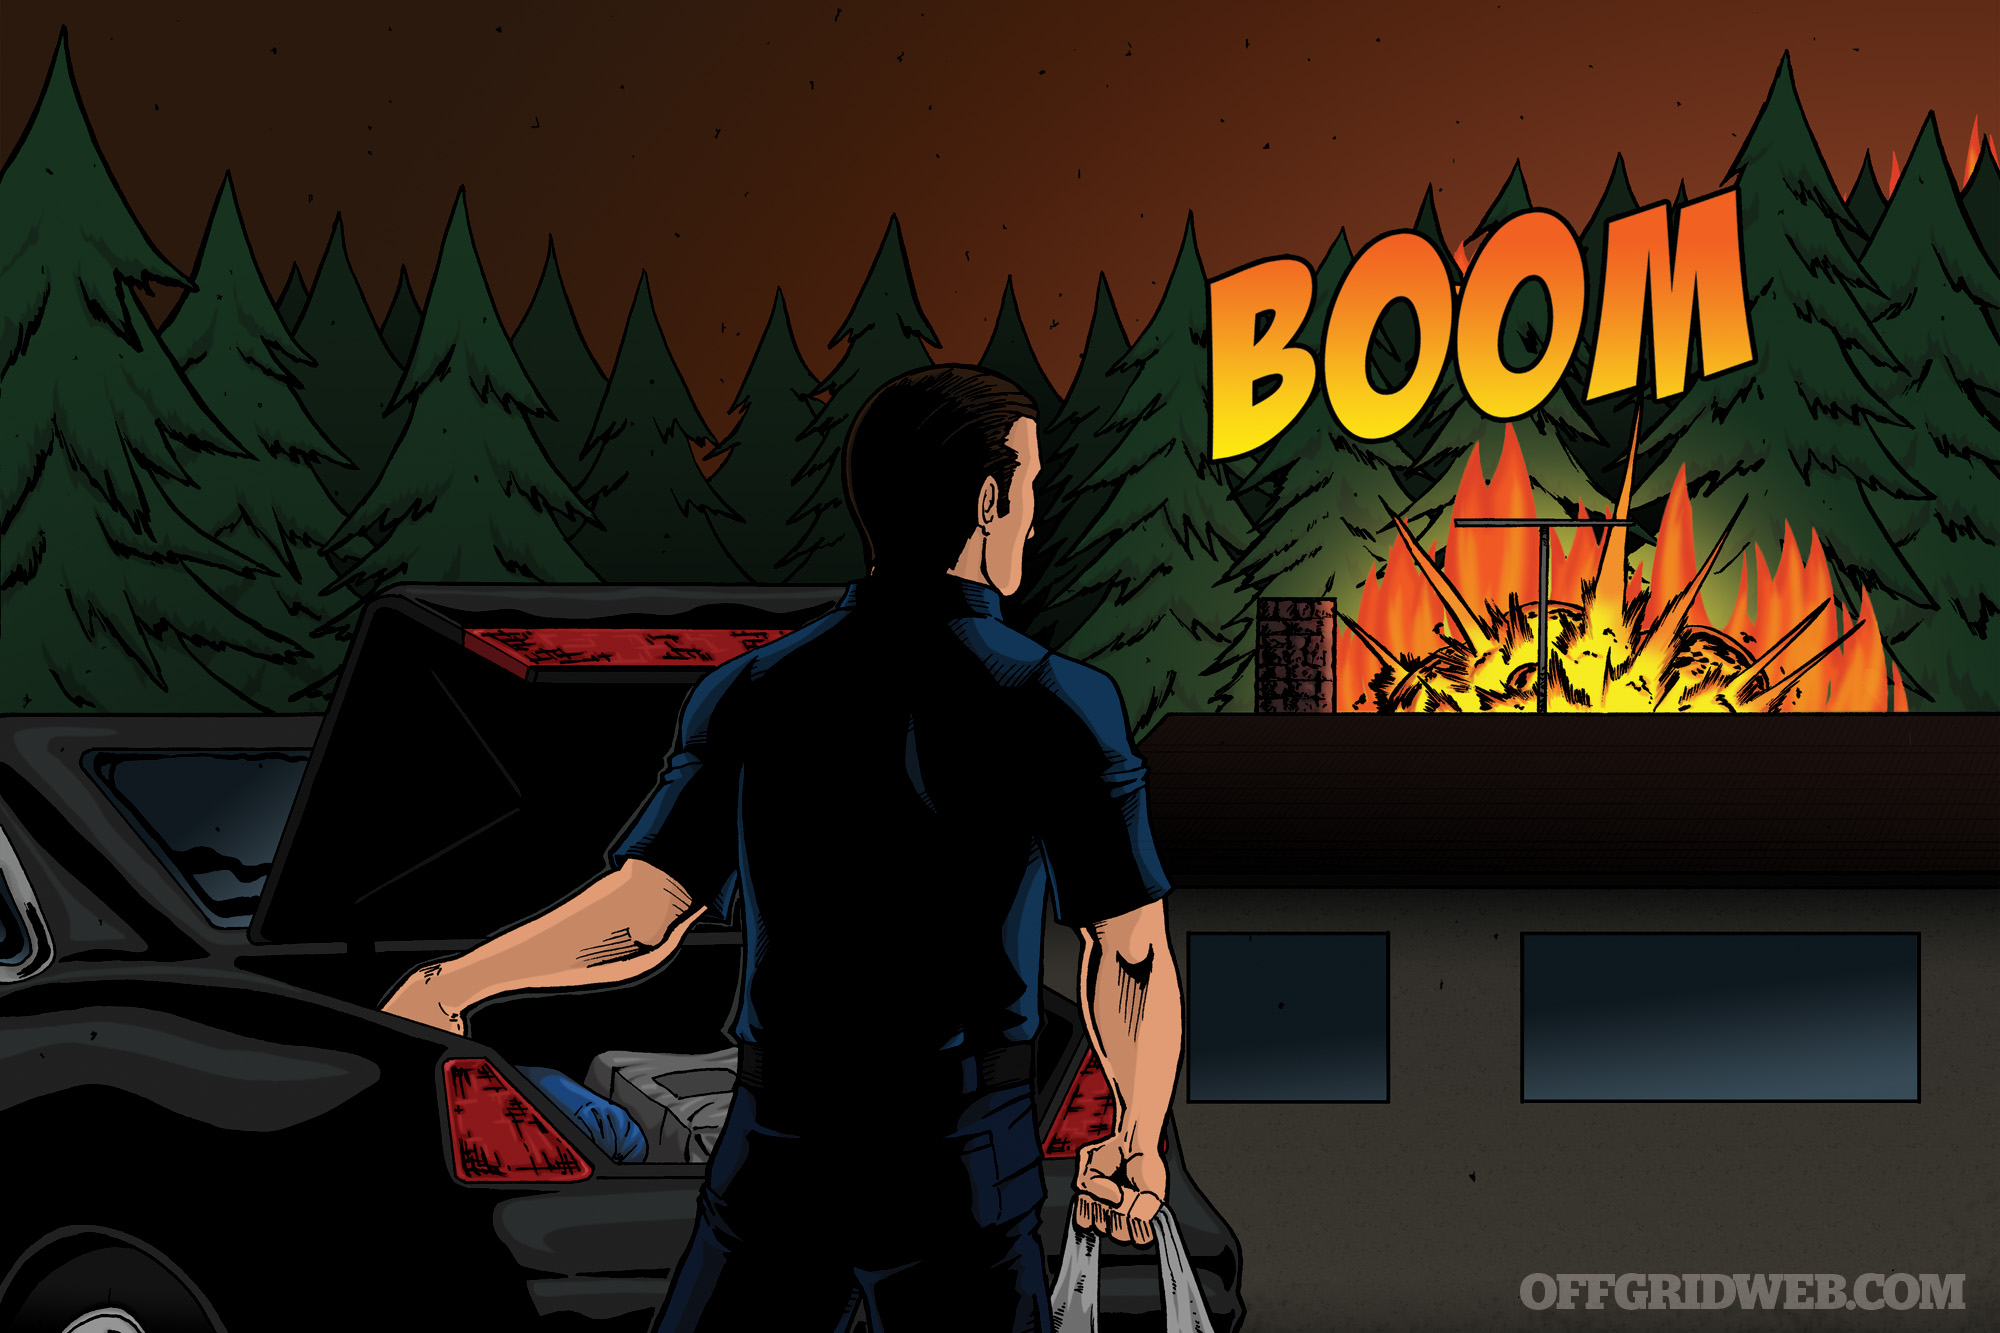
After about 20 minutes, you begin to hear deep booms in the distance. You assume those are propane tanks exploding, which will only exacerbate the fire. You look outside at the direction of the fire, and by this time it seems to have grown exponentially. The sky is turning dark orange, and it’s going to get worse before it gets better. A short time later, a police car begins cruising down your street announcing over the loudspeaker to the residents that a mandatory evacuation is now in effect. Do you send your wife and young child away and stay behind to pack more of your possessions, or to attempt to safeguard your home against the fire? Do you all leave together immediately and hope your home and belongings aren’t wiped out? What should you do? We’ve asked retired game warden Lt. John Nores and firefighter Scott Finazzo for their recommendations.
Game Warden John Nores’ Approach
With California suffering through two peak droughts over the last decade, the Golden State has experienced unprecedented loss of life and property through several large-scale wildfire campaigns. As a recently retired California game warden, I reflect on moments when I did one of the most dangerous, frightening, and rewarding jobs of my three-decade career — assisting firefighting and allied law enforcement agencies during wildland fire incidents. When wildfires get out of control and hit the public safety disaster level due to hot temperatures, bone-dry conditions, abundant fuel, and high winds, it’s a top priority for all first responder agencies in the area.
During several massive fire campaigns throughout my active-duty years, I found myself coordinating and assisting on residential evacuations for people, domestic pets, and livestock, coordinating and manning public safety roadblocks, and providing medical assistance from fire, smoke, and heat exposure impacts. I also assisted with perimeter security for firefighting crews in rural communities, as well as deep in the backcountry where only four-wheel-drive and tracked vehicles could operate.
A recent and personally impactful California wildfire I witnessed the aftermath of firsthand was the 2020 SCU Lightning Complex fire that burned 55,000 of the 87,000 acres within Henry Coe State Park. This pristine and remote backcountry was where I learned outdoor survival and backpacking skills firsthand as a teenager.
When I checked on several friend’s private land ranches throughout Coe Park, I saw that remote and pristine Silicon Valley backcountry ravaged by the largest wildfire in that region’s history. It was eye opening. The devastation was extensive, and I found carcasses and bones from deer and other mammals overrun by the fire in areas I grew up exploring. This was humbling, and a reminder of just how fast and devastating wildfires can be.
For purposes of this scenario, I wouldn’t send my wife and child away so I could stay behind and pack more possessions or attempt to safeguard our home against the fire. We would all leave together when the time came to go.
Preparation
As my friend and Florida firefighter Marcos Orozco points out, wildland fire and hurricane preparedness are remarkably similar, since general preparation tips apply to most disaster scenarios. His input on this article was invaluable.
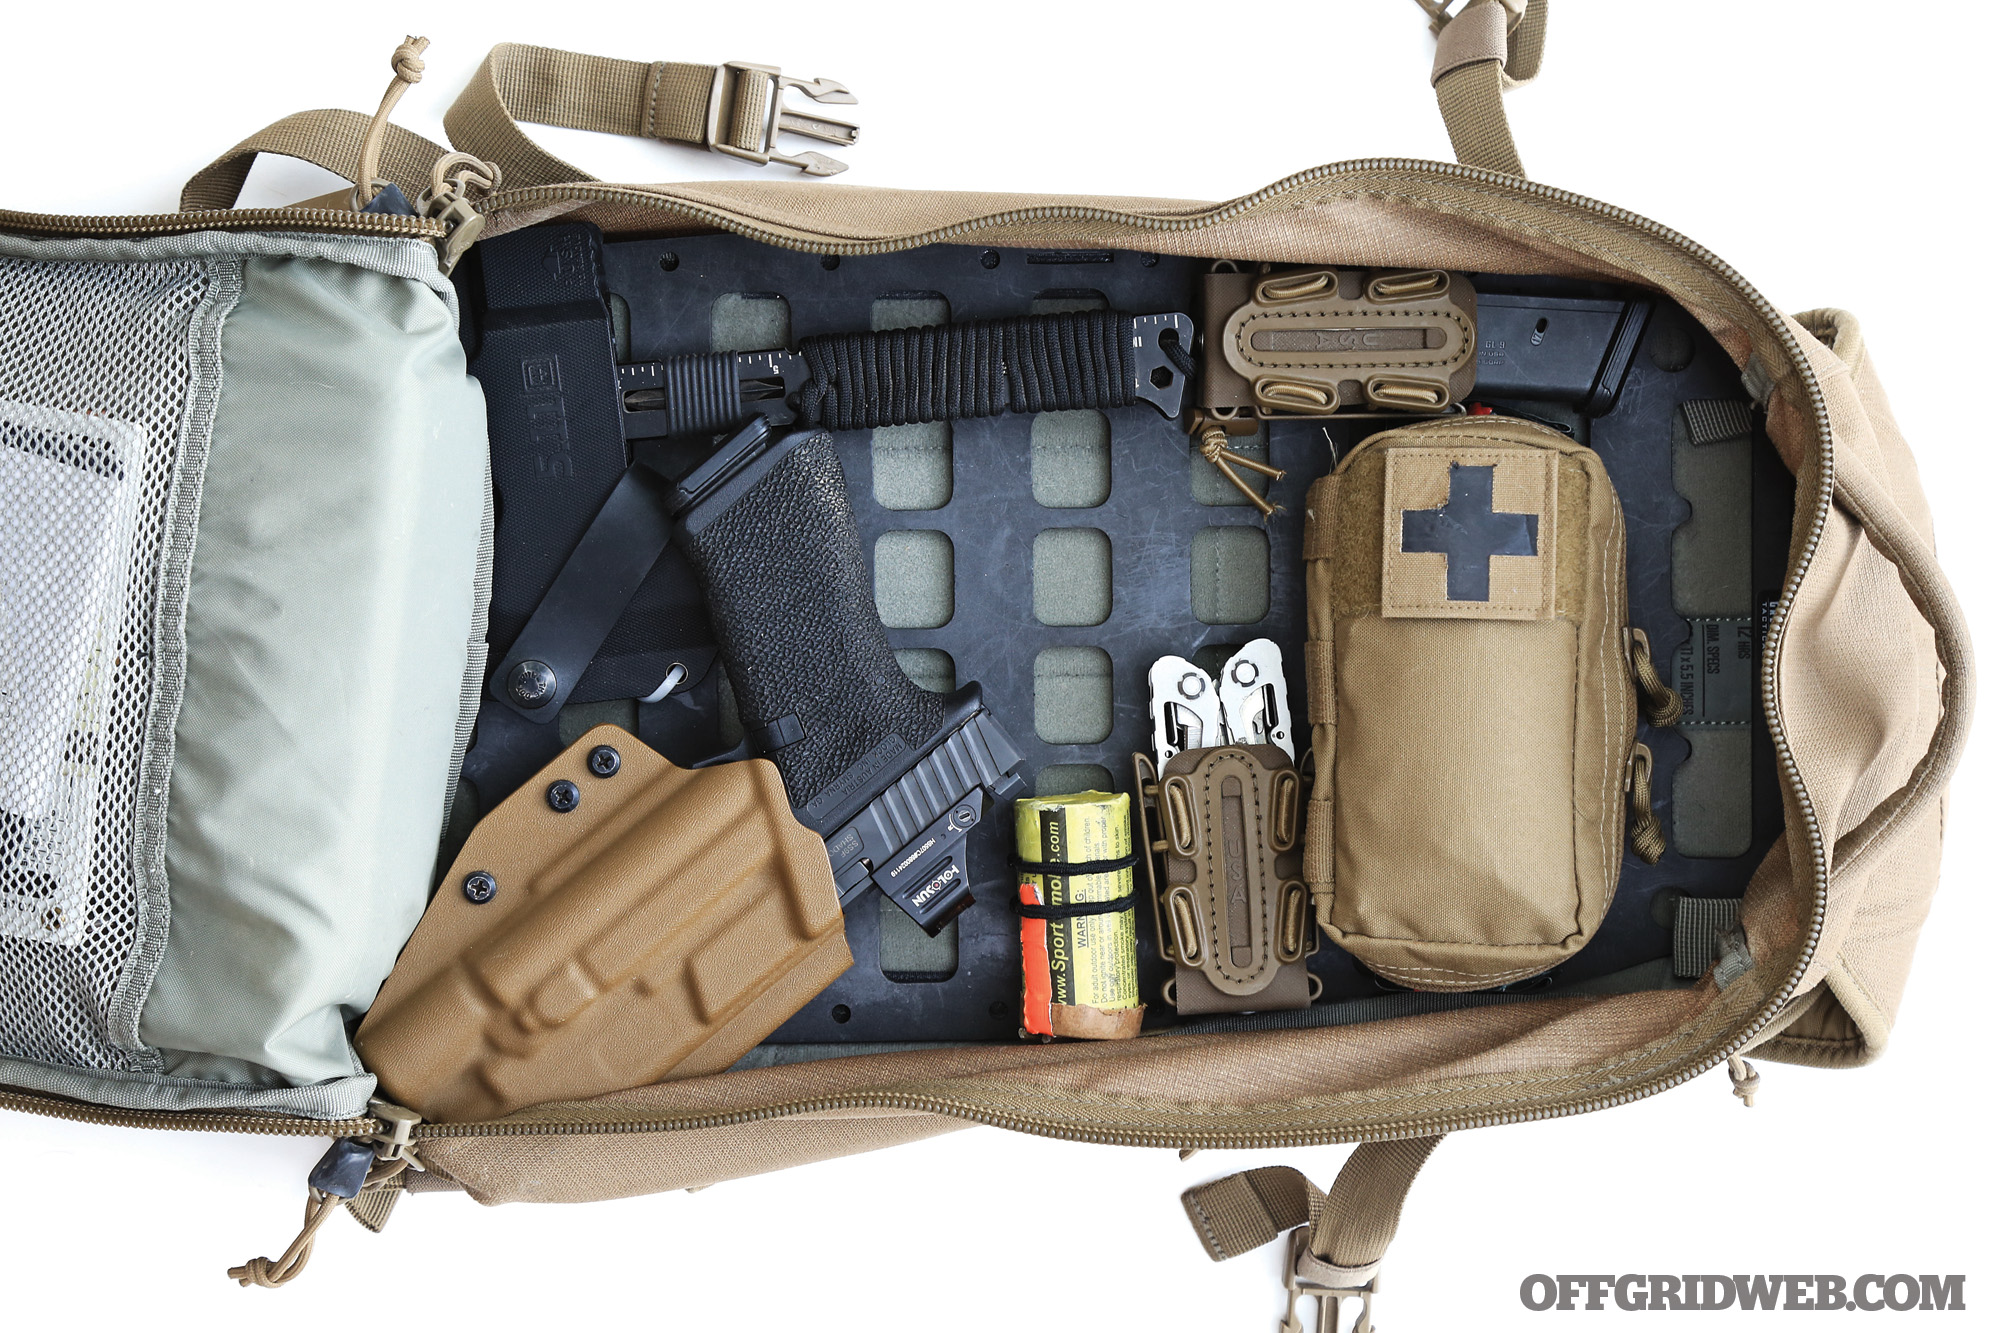
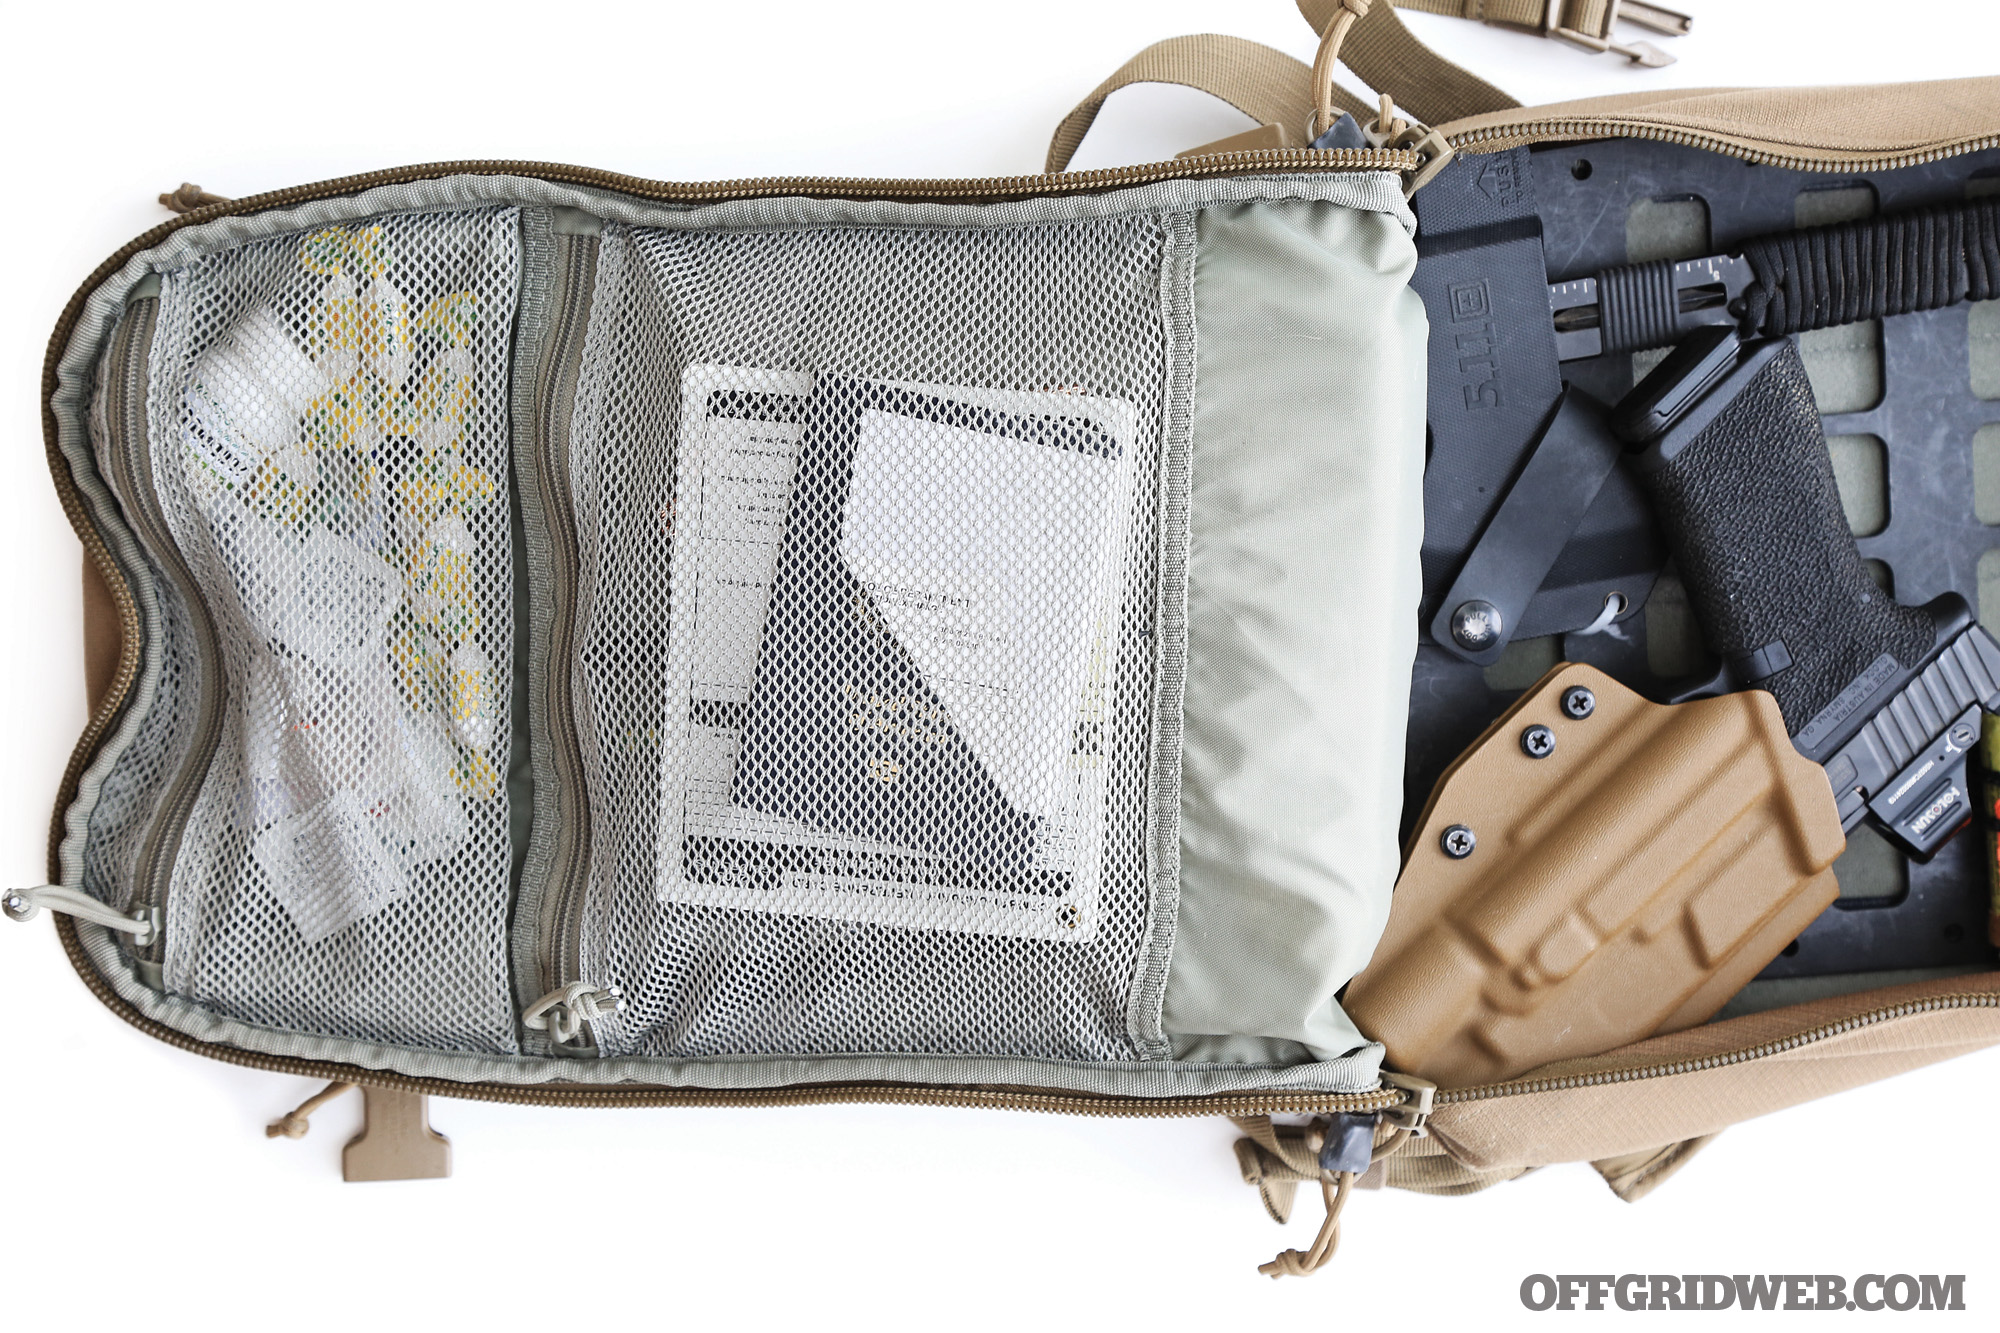
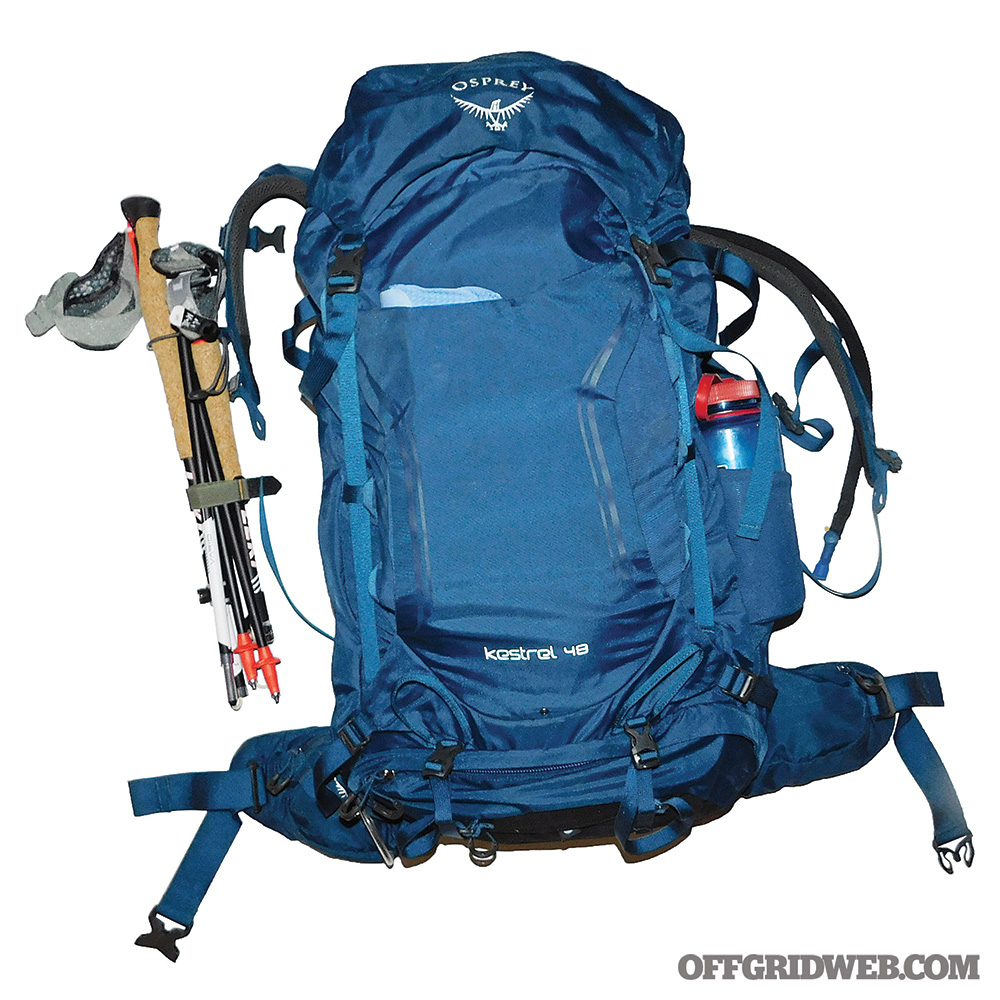
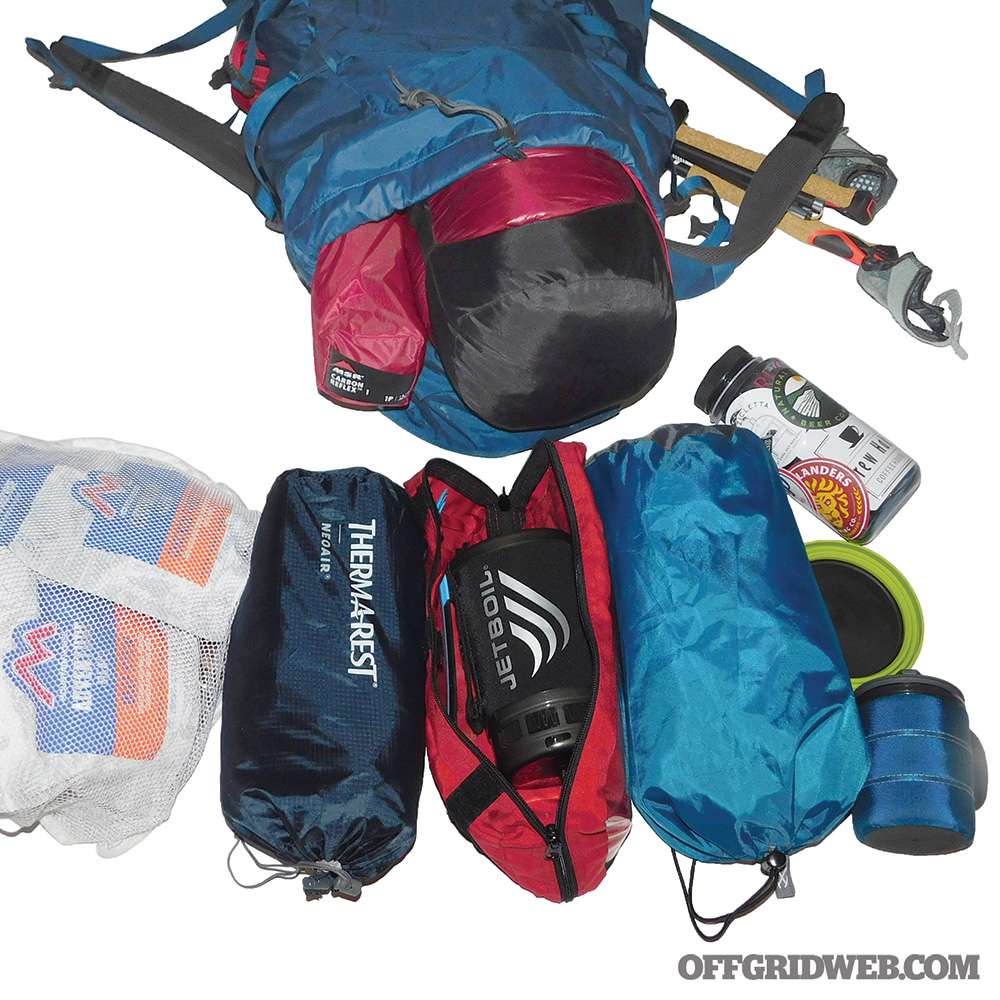
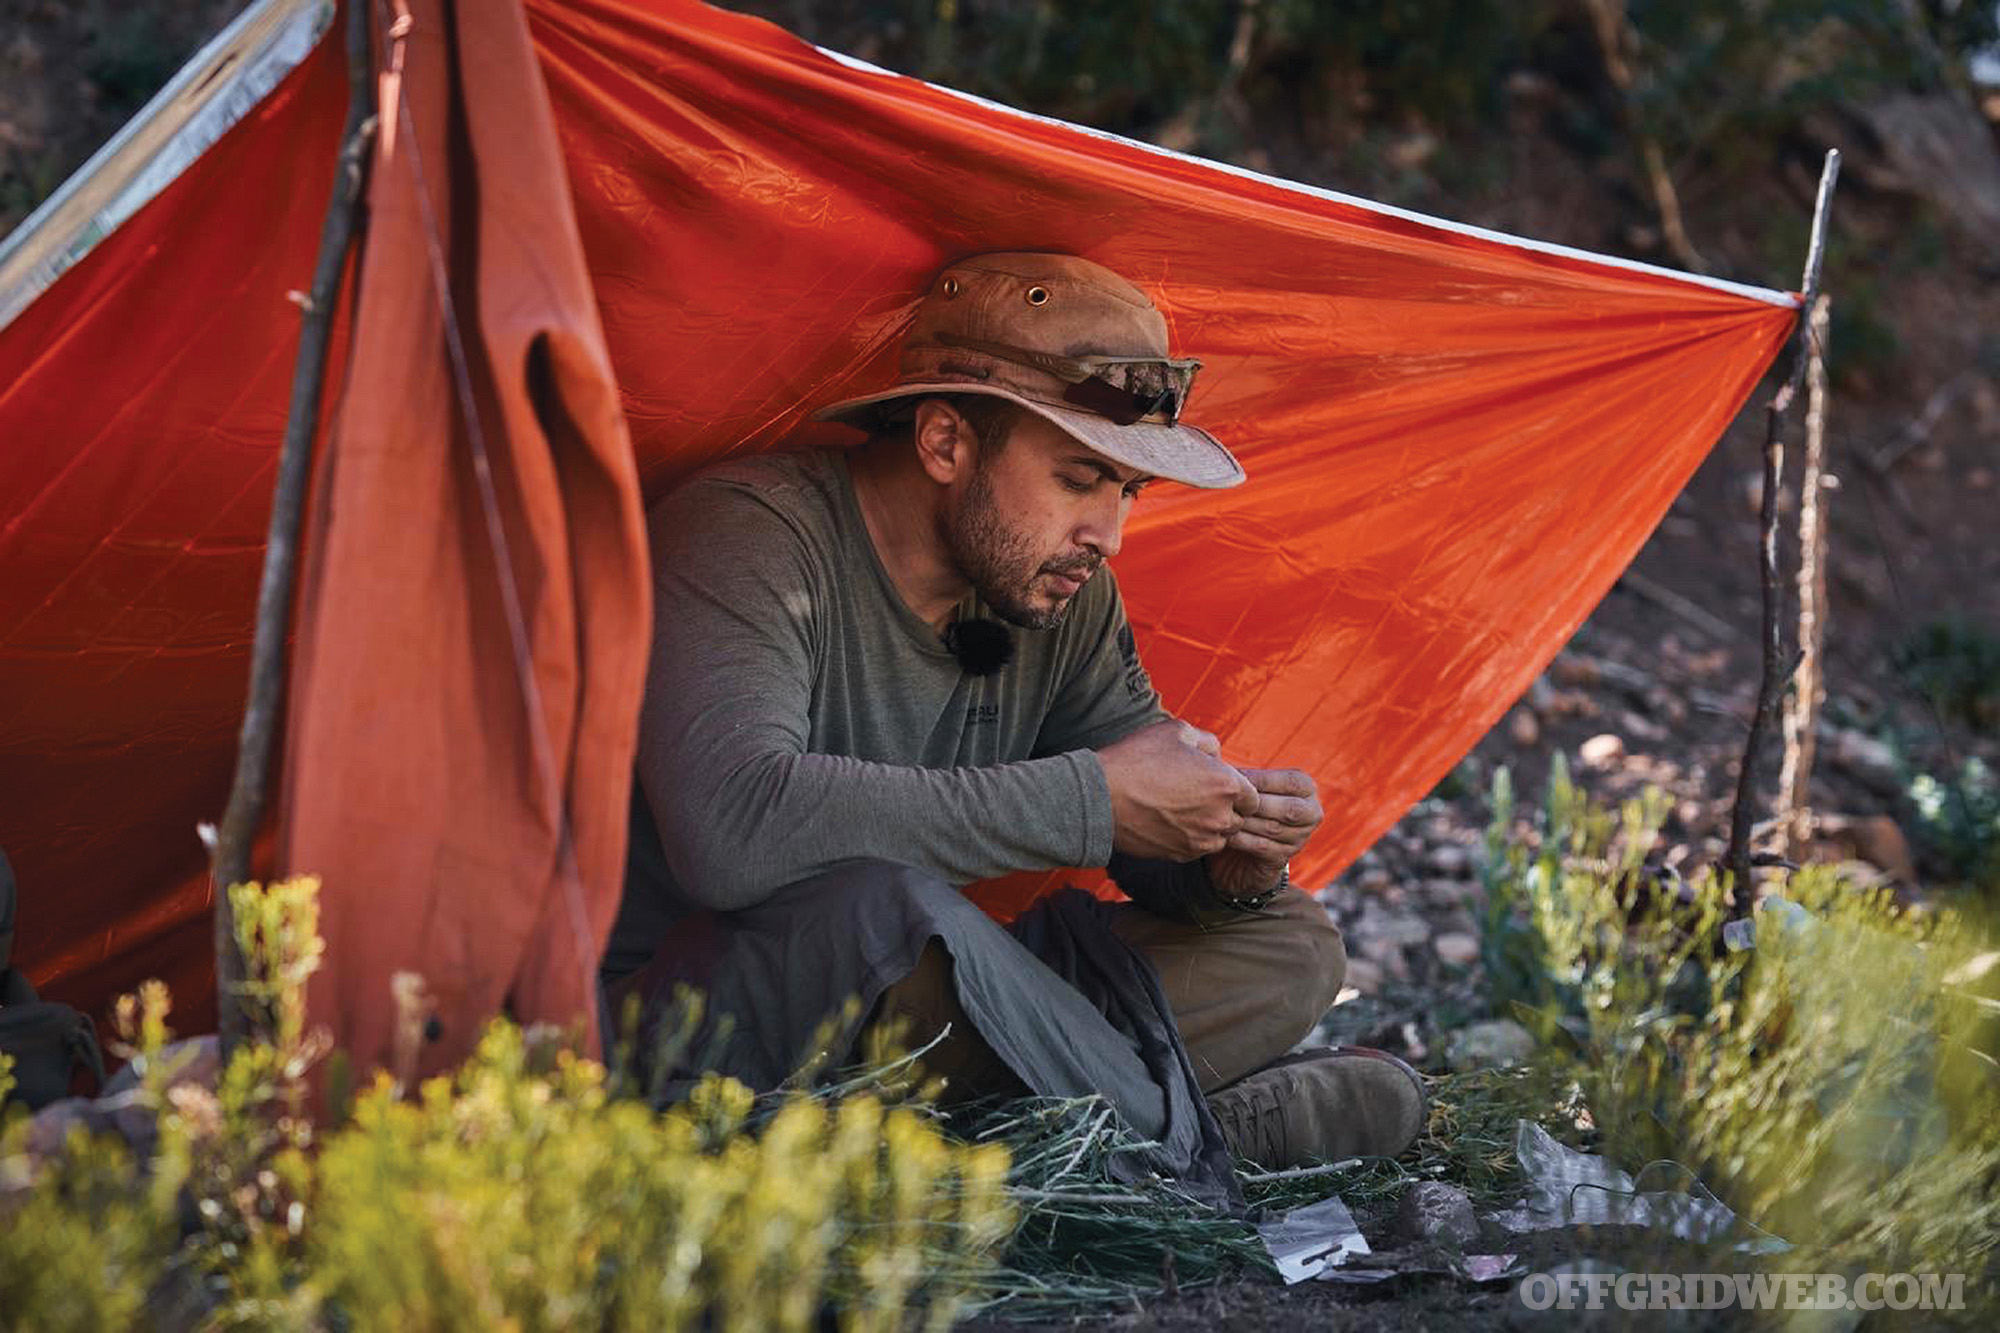
Since we live in wildland fire terrain, it’s critical that we have “go bags” already packed and ready to go for each family member. These bags contain all necessary provisions needed to be self-sufficient for at least three days and up to seven days, depending on how prepared we may need to be. Our “go bags” also include enough food for any pets on the move with us for that three- to seven-day window, as well as enough water for all family members, including the furry ones.
If cell coverage is limited or down completely, we have a satellite phone that can activate most anywhere when the cell grid drops. Having used Iridium satellite phones extensively when racing in Baja, Mexico, and on hundreds of remote backcountry missions throughout California’s backcountry, I’ve experienced the effectiveness of the Iridium platform first-hand. They have the best overall global coverage and have stronger satellite link signals, especially when in wooded or densely covered terrain.
Our family also has $500 to $1,000 cash in small bills ready to go in the safe for any disaster-sparked evacuation. With the power grid down and surrounding towns and businesses also in chaos, credit card purchases of essential survival supplies while on the move may not be possible, making this cash a survival necessity.
Since we have a fireproof safe at home, we can protect any of the family documents, jewelry, family heirlooms, and firearms and ammunition that we’re unable to bring with us. I have also made sure our family members are taking only essential survival items (already packed for a rapid exit in our bug-out bags) upon evacuation from our property.
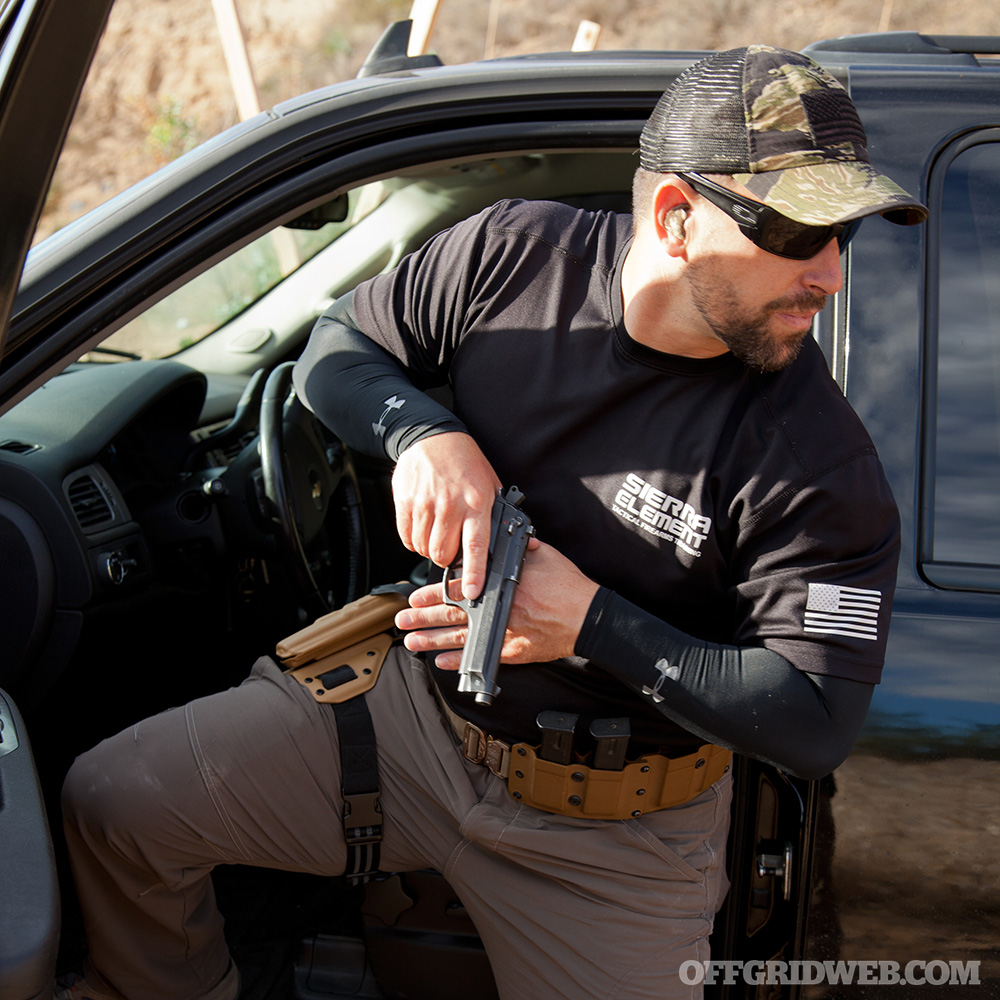
These essential items include firearms for self and family protection from looting, vandalism, or any other physical threat placed upon us. And in the unfortunate event the fire campaign becomes a long and drawn-out crisis where the grid is down and survival supplies are limited or impossible to acquire, we have firearms systems that are also suitable for wild game hunting.
Living in wildfire country engenders the need for immediate mobility in the event of an emergency, so all of our vehicles slated to be used for evacuation are stocked with trauma/first-aid kits, extra clothes, water, blankets, and nonperishable snacks. Once an evacuation order has been declared, under no circumstances would we stay and try and protect our property. Material items, including our home, can always be replaced.
Given this vulnerability, we carry a comprehensive homeowner’s insurance policy that includes added coverage for natural disasters such as hurricanes, floods, earthquakes, and in this case, wildfires. It includes replacement cost for all belongings inside the house such as furniture, clothes, electronics, jewelry, and so on. Our policy also covers costs to demolish and completely rebuild our home — another need if a wildfire sweeps through your property.
In addition to our preparation for evacuation, our family has had several discussions and rehearsal runs on what to do and where to go to ensure everyone’s safety. Everyone is familiar with all escape routes on and around our property and which route to take based on the direction the fire is moving from. We also know where to meet if any of us become separated. All of us have long-range walkie-talkie/two-way radio systems in our go bags to communicate and coordinate our action plan in case cell phone service is down.
Because we live in a wooded, rural community that’s rich in fire fuel sources, we have done as much as possible to minimize damage to our home and any other structures on the property before any fire event has begun. A large defensible space around the house has been cleared out and maintained with all trees, bushes, and any other wildfire fuel sources removed.
The house was built to be fire resistant and constructed with an all-metal roof and fire-resistant siding. It has high-pressure hose and sprinkler systems installed that are capable of thoroughly soaking our home and all cleared-out spaces around the house. Again, we’d only implement this plan if it was safe to do so, and we had a safe window of time before a mandatory evacuation order is announced. If we do have to evacuate, the sprinkler system will be left on when we leave for any added fire protection the additional soaking may provide.
If time permits and wind direction and other environmental factors allow, we may consider a backfire to significantly extend our defensible space. Realizing this is a risky and last resort option to protect the home and property, we will only implement this method with firefighting personnel advisement and/or monitoring.
On Site
Knowing exactly where and how close the fire is to our property is a key factor to defending our property. Wind and burn direction of the fire drives that decision as well. Our 4WD vehicle(s) are located in evacuation positions, and we all have our trauma kits handy since EMS will be unavailable.
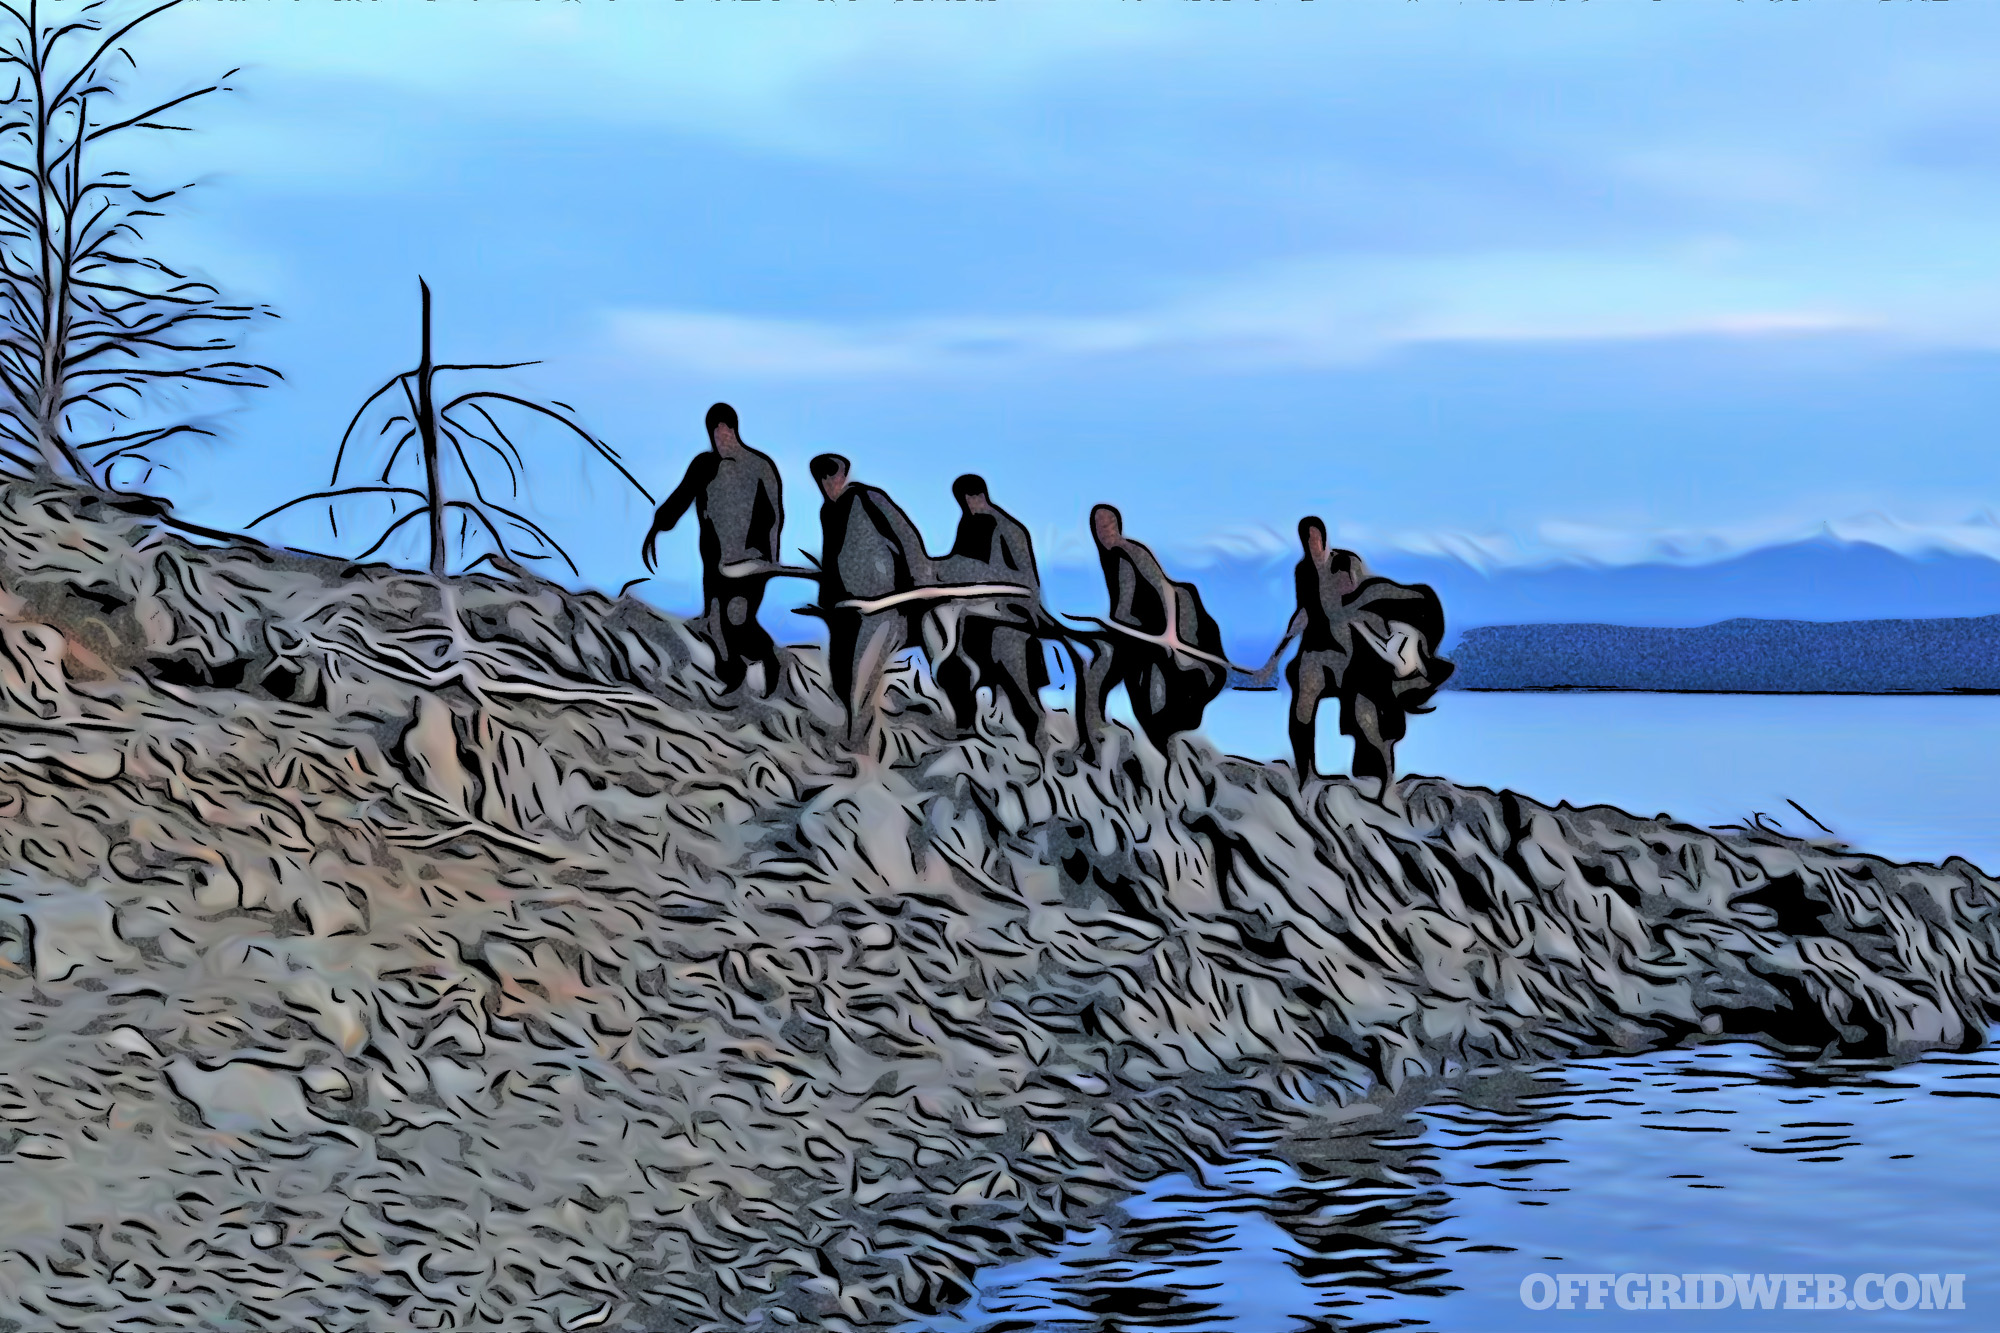
In the event our evacuation route is blocked or engulfed in flames, we’ll move immediately to a contingency plan previously discussed and either hike out on foot (if safe to do so) or take another available off-road evacuation route that is 4WD accessible.
Crisis
If the house is lost to the fire, our first priorities are to ensure everyone in the family (including our pets) is safe and accounted for, and to contact my insurance company as soon as possible to get a home loss claim filed. This will get the lengthy rebuilding process underway so we can focus on the next priority: securing temporary housing.
If we’re unable to stay with relatives or friends in the area, I’ll reach out to Red Cross, FEMA and/or other local, state, and federal organizations that can help with temporary housing. Our go-bags with two-way radios and satellite phones may be the only way to contact loved ones, find emergency housing, and initiate the insurance process of rebuilding our home.
Firefighter Scott Finazzo’s Approach
A wildfire, like a tidal wave, is a force of nature that consumes everything in its path. The heat is punishing, the speed at which they move is mind boggling, and their predictability depends heavily on terrain and weather. In this scenario, a decision must be made to stay, evacuate, or send my family away and return to protect or evacuate more possessions from my home. The decision may seem like an obvious one to many, but it’s not that simple for everyone. Health issues and medical equipment are factors for some. Others have large animals or an inventory of goods that sustain their livelihood to consider. Timely and difficult decisions must be made. Here’s the way I see it …
Preparation
As a career firefighter, I always stress the importance of preparation. The day of the emergency shouldn’t be the first time you think about or plan for it. Bad things will happen. Preparing for a wildfire can be vastly different than preparing your house and family for a fire in the home. The keys to residential fire readiness lie in early detection, suppression, and evacuation. For the most part, once you’re outside of the home, you’re safe. Wildfires are a different animal altogether. The same residential rules apply, but the area of concern grows immensely, as does the in-home preparation. My main areas of focus in wildfire preparation would be early notification, home protection, and evacuation planning, allowing me to better organize my disaster readiness and evacuation strategy.

I consider wildfire home readiness from the outside in. Initially, I’d employ one of the least costly and best ways to protect my home from a wildfire by creating a defensible space. Establishing a buffer around my home that’s free from (or has limited) fire fuels such as grasses, trees, and shrubs is a simple way to slow an approaching wildfire and buy my home and my family vital time. The “industry standard” is to create a 30-foot space around a house, so that’s the minimum area that would be free of fire fuels around my home.
Long before my home is threatened by an actual wildfire, I’d document my home, yard, and possessions by taking lots of pictures and uploading them to a secure place. Then, I’d confirm with my insurance agent that my homeowner’s policy provides the financial protection I need. Insurance coverage should begin with the replacement value of my home but also include other structures. “Other structures” encompass detached garages and outbuildings; their coverages are often set at a percentage of the dwelling coverage. Finally, my family and I are going to need living arrangement coverage that includes food, clothing, hotel costs, and pet boarding. By confirming the insurance coverages are where I need them to be, I can purchase an appropriate policy inclusive of peace of mind.
When a home is engulfed by a wildfire, nothing but a foundation and ashes are left in its wake. Because it would take a small fleet of U-Hauls to load up all of the things in our home that are important to us during an evacuation, preparations and priorities must be established. I digitally back up my photographs and important documentation to cloud storage. In 2022, “vital” paperwork such as birth certificates, wills, passports, and social security cards are replaceable, but to avoid the hassle and protect my documents, I still keep them in a small, fireproof safe that I can easily grab in the event of an evacuation. Also, we have pre-identified family heirlooms, firearms, and items of importance that reside (or can fit) in a larger, fireproof safe that remains on-site.
Anyone who has been involved with or has seen news footage of disaster evacuations knows the bumper-to-bumper, snail-paced mayhem that they are. Even coming out of smaller towns, the traffic can be treacherous. The importance of planning multiple evacuation routes cannot be overstated. Prior to a wildfire, my wife and I would have a multilayered evacuation plan that includes the details of how we’d leave as a family, a meeting place if we were forced to leave separately, and finally a scenario where we have to separately get to safety and regroup once we are out of harm’s way. These plans would be discussed and driven together in advance to identify potential hazards and benefits of any given route. John F. Kennedy is quoted as saying, “The time to repair the roof is when the sun is shining.” The same thought applies to disaster preparation.
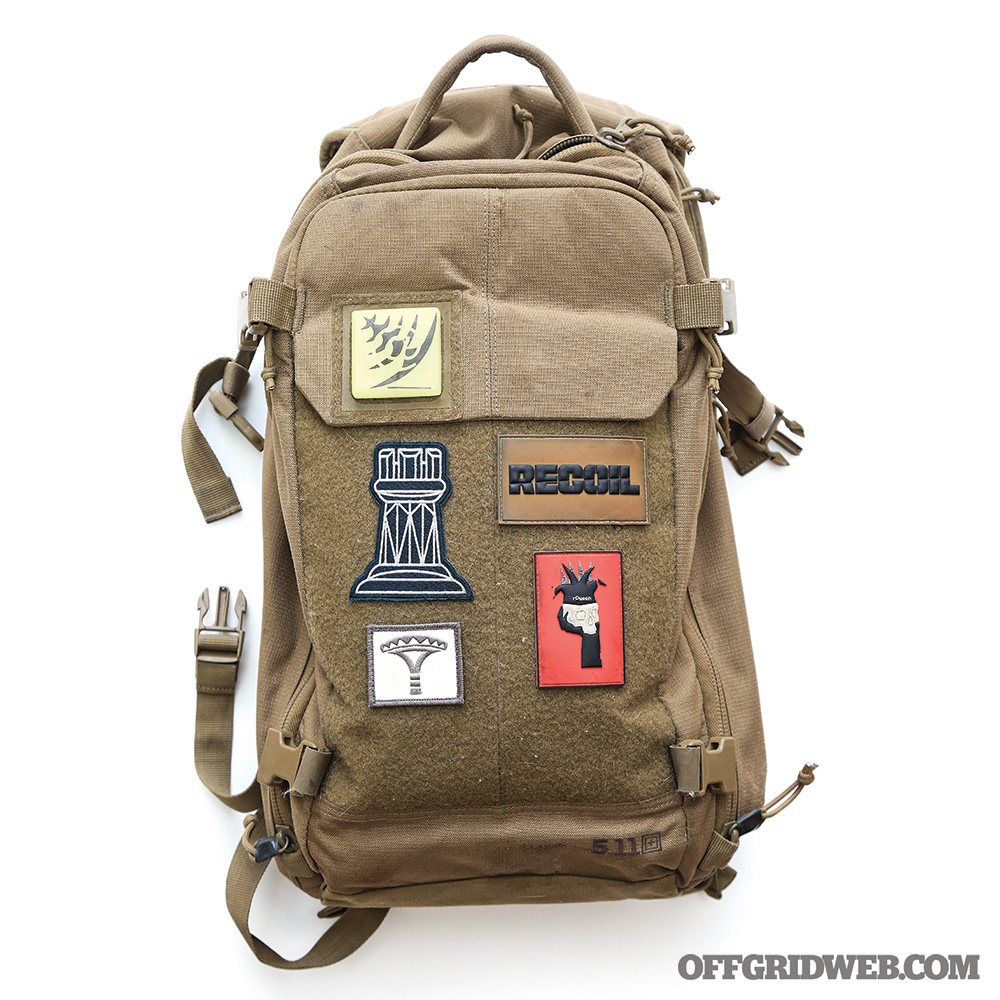
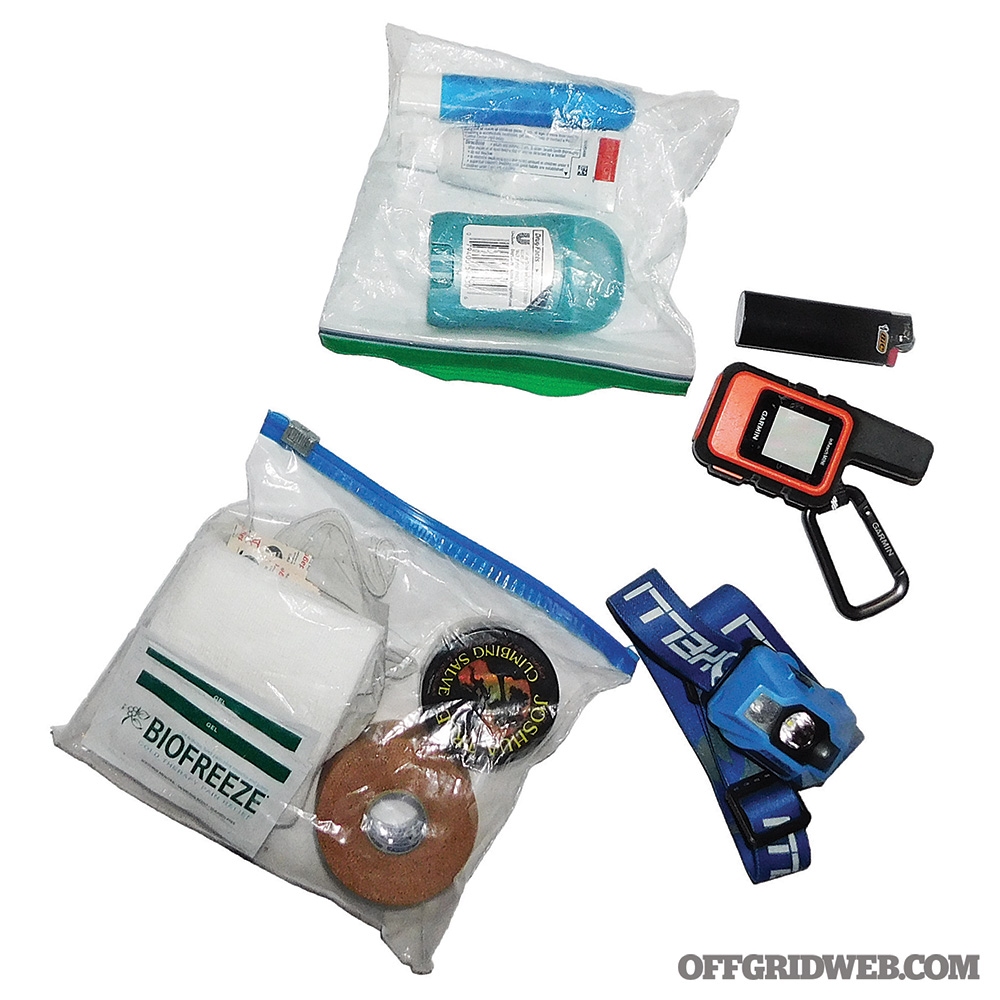
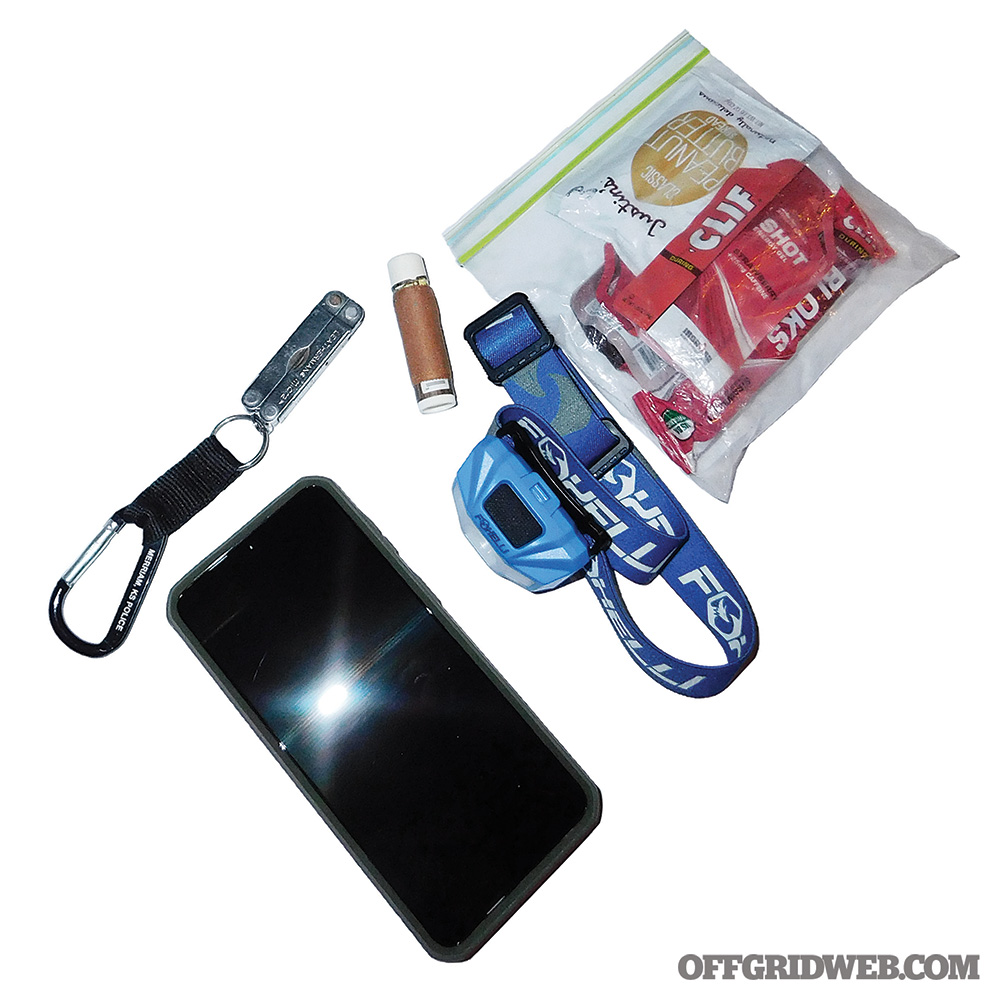
Finally, many who live in areas prone to wildfires often have a bug-out bag ready to go, the contents of which will vary from person to person. My “bug-out bag” comes in the form of three plastic totes, with locking lids, that can be thrown in the bed of my truck. The totes are divided by contents: emergency clothing and toiletries, camping and survival gear, and miscellaneous, which contains two emergency fire shelters, food, first aid supplies, respirators, extra phone charging cords, a solar charger, playing cards, and a few books to cure boredom if we end up in a hotel room or shelter. Also, in my garage ready to load up are two Cold Fire Tactical fire extinguishers, which are small, lightweight, and can be effective at putting out small fires. One final extra is my mountain bike, which will go in the truck as well to serve as a one-person alternative means of transportation.
On Site
There are several websites and apps that can help keep people informed and provide early warnings of the threat of wildfires. Airnow.gov is a good source of current air quality for whichever area you select. Monitoring air quality is a smart way to get early warnings of deteriorating conditions. The Watch Duty app provides up-to-date information regarding wildfires, which is one of several app options that offer varying degrees of current wildfire intel. Additionally, Weather Underground is a highly rated weather app that’s crowdsourced, meaning users can provide updates in real time. All three are beneficial when monitoring wildfire conditions.
There are common recommendations for protecting your house before evacuating, which can be good tips if, and only if, you have the time to spare. Suggestions such as turning on your lawn sprinkler system, turning on all of your home lights to make it easier for firefighters to see, and placing an exterior ladder against your house to help firefighters access the roof all look good on paper, and may actually help, but are just as likely to be pointless. If a wildfire is close enough to your house to radiate heat and send wind-driven embers onto your property, your lawn sprinkler might buy you a little time, but only a little. The lights and ladders are nice, but may not make a significant difference either way. There’s also the recommendation to leave doors unlocked so firefighters can get into your home quicker. I assure you, a locked residential door is a minor speed bump at best to an experienced firefighter. At the very least, I’d seal up my house as much as possible by making sure all windows and doors are closed and block any openings to provide as much of an ember barrier as possible.
My wife and I each have a Garmin inReach Mini, that has a variety of GPS, safety, and communication features, that we’d grab as the three of us set out to evacuate. Unless there’s an immediate critical medical need, the fact that there’s a local fire station nearby doesn’t mean much. The members are going to be gone trying to mitigate the incident or have evacuated to provide support from a more tactical location. The best they’d be able to offer you, if anyone were present, is a reminder that you need to leave.
As our evacuation is underway, I’m going to continually check our traffic maps on Google or Waze and compare them with wildfire updates issued on our apps or by local jurisdictions — obviously this is far safer with a copilot. This offers me the ability to ensure I’ll have the time to get out of the danger zone safely. Wildfire mitigation leadership have preplanned the main evacuation routes and will prioritize protecting them, so our best course of action would be to leave as early as possible and travel a main evacuation route, knowing our detour options along the way. Paying close attention to conditions en route will serve as my internal barometer for if and when we need to turn back and go the other way. If conditions are deteriorating, I’d quickly obtain as much information as I could via the web and apps about the location and direction of the wildfire. Turning around could be a worse decision than pushing forward. The environment, current information, and instinct will be our best guides.
Crisis
Losing everything in a fire is overwhelming. Simply knowing where to start can be the most difficult step. The shock that literally everything — except what you brought with you — is gone can be paralyzing. My first step would be to notify loved ones that we’re safe, which is the most important thing. The second phone call would be to my insurance agent. Most reputable insurance companies spring into action to get you immediate assistance. Once the requisite communications have been made, my priority would be my wife and son. Their needs, both tangible and psychological, are going to be great.
If there are additional needs that we have outside of our own preparations and insurance, the Red Cross works closely, 365 days per year, with victims of disasters. They’re quick to respond with food, shelter, and other needs. By going to disasterassistance.gov, which operates under the Federal Emergency Management Agency (FEMA), I can find out if federal assistance is available to me through the federal government. I’d also keep handy the Disaster Distress Helpline (1-800-985-5990) if I, or my family, need any mental health assistance.
Because I prepared my family by ensuring we had the equipment, goods, and evacuation planning that we’d need, we made it out with our lives. We set ourselves up for success by readying ourselves for a worst-case scenario. Once long-term shelter and immediate needs are met, such as medications, food, clothing, and toiletries, mental health becomes the biggest concern and should be given as much attention as physical health. The needs may be substantial for both.
Conclusion
The deadly and destructive power of a wildfire is astounding. One doesn’t have to live in the California hills to be within its reach. Anyone living in a rural area, particularly with dense forest nearby, is at risk. Wildfirerisk.org provides an interactive map in which to determine risk, wildfire likelihood, and vulnerable populations. This information is good to know to begin your overall readiness. It cannot be stressed enough to prepare, prepare, prepare. Practice doesn’t make perfect; however, it makes improvement. The more you practice, the more you’ll be ready to react when your home or your family are threatened by a wildfire.
When summing up contingency planning for a wildfire disaster as described, we’re reminded of two mindset statements: “Stillness is death” and “prepare for the worst situation to yield the best outcome.” Having a plan and being able to implement it quickly and efficiently in a wildfire or other disaster event is essential to success and your family’s ultimate survival. A plan is only as good as its execution, and to be truly effective, it must be discussed, reviewed, rehearsed, and adapted routinely. Work through the plan with your family as many times as needed until everyone’s execution is problem-free and efficient. Heaven forbid you and your loved ones ever have to face the danger and chaos of the actual event, but if that happens you should be prepared to survive a wildfire or any other disaster on your home front.
[meetourpanel]