In This Article
Every year, we hear stories of stranded motorists who, for one reason or another, end up in a situation that culminates in a fatality. Although we’d like to think we’d never end up in a similarly grim position, the people who actually found themselves in those circumstances probably assumed the same thing. Our overreliance on the GPS systems found on our phones or in our vehicles, as well as the belief that we can “just call someone” whenever we need to, has made us a little too complacent in our preparatory measures. If those luxuries proved to be out of service or just plain useless and your vehicle broke down in a remote location, what — besides luck, hope, and instinct — do you have to rely on to help mitigate a bad situation?
The Scenario
Situation type: Stranded on a remote dirt road
Your Crew: You and your adolescent son
Location: Rural New Mexico
Season: Winter
Weather: Cold; high 60 degrees F, low 24 degrees F
The Setup
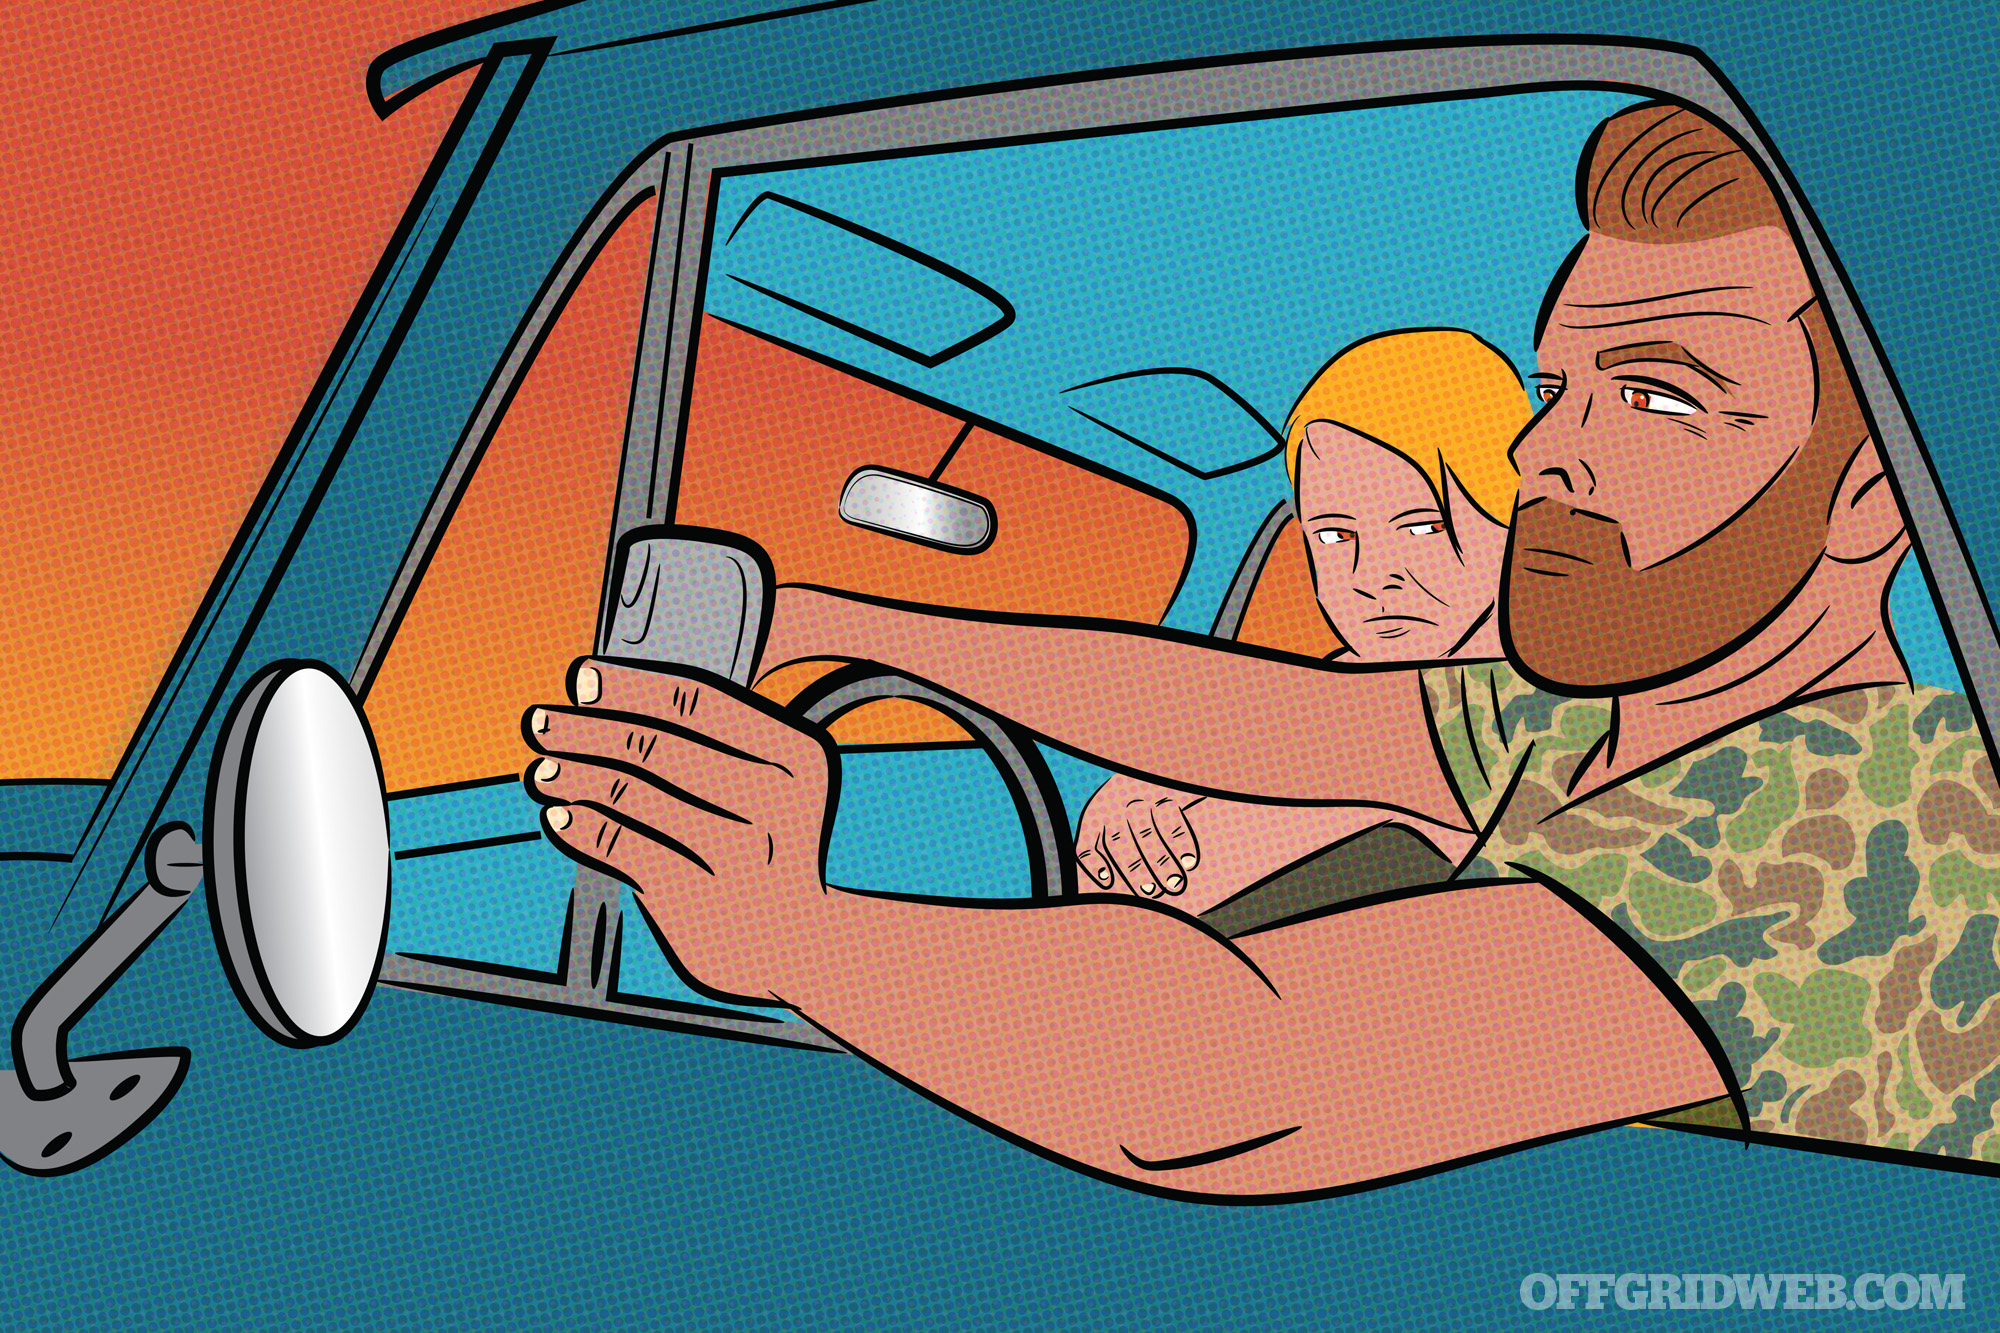
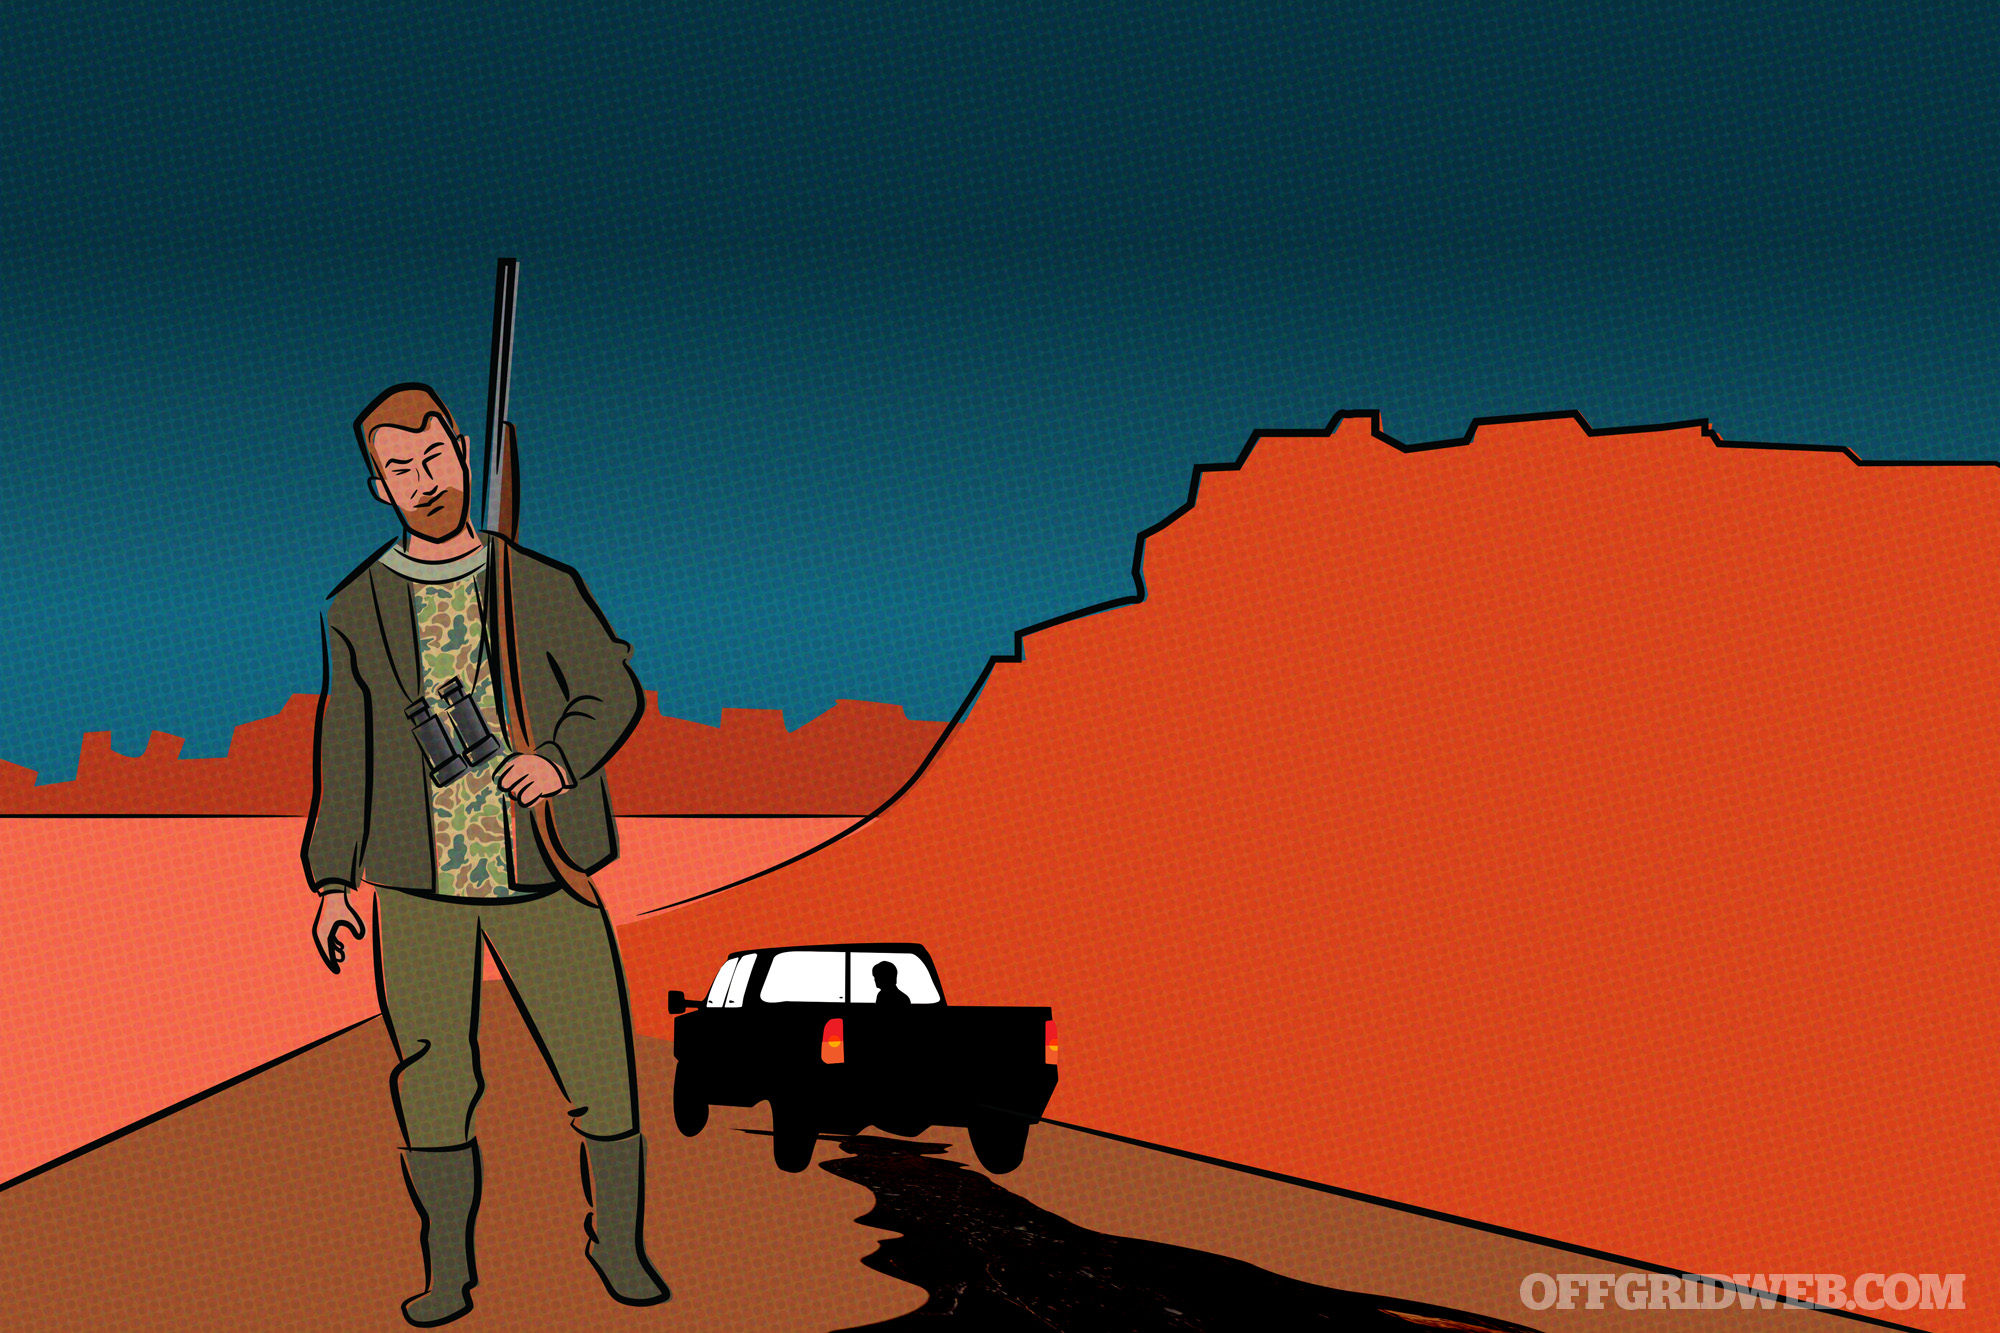
You’ve decided to take your 12-year-old son on his first hunting trip in rural New Mexico. The ranch you’re headed to doesn’t publicize its whereabouts. Only a select few people know of this location since it’s invite-only, but you were able to make the arrangements through a friend who hunts there regularly. He provided the GPS coordinates and contact info for the owners who don’t live onsite. There’s no one else staying at the ranch, but you do have access to their facilities, food, and have key codes to enter and exit. This trek is several hours from your home in Texas, but you figure the road trip will give you some bonding time with your son and provide a chance to enjoy the scenery. The closest major city is about four hours away and the closest major highway is about a two-hour drive from the location where you’ll be staying. There’s a long, unmarked, unpaved road that leads from the main highway to the ranch. You’re all packed up with your firearms, clothing, and some snacks and drinks for the drive. Your assumption is that if you get lost, you’ll be able to call the property owners for directions or clarification.
The Complication
As you approach the ranch down the long, winding road and the sun begins to set, your cell phone’s map app tells you’re about an hour from the location. Then, the unthinkable happens. Your truck’s engine suddenly loses power, clunks loudly, and then shuts off. You step out of the cab to find a long trail of oil and metal chunks on the road — there’s no way this engine will be taking you any further. You still have about a half tank of gas and the truck’s battery is good.
Since you’re a considerable distance from the ranch or the highway, you’re not sure if you should risk walking either direction in the dark. Also, your cell phone has no reception, and you have no other means of communication. Although the outside temperature is currently in the mid 50s, temperatures at night can drop below freezing. Since your son is asthmatic, he’d have to stay behind if you walk to get help. Cold air can trigger asthma symptoms and flare-ups, especially if it’s dry out. All you have is what you brought with you to make do until you find some assistance.
What do you do? Walk to find help or until your cell phone has signal again? Wait it out on a remote road that gets little to no traffic? You have a big bag of potato chips and some beef jerky, four 500ml bottles of water, changes of clothing, hunting rifles, ammo, binos, and your cell phone. How can you survive being stranded for hours or even days? We asked protective specialist Mel Ward and disaster management specialist Nila Rhoades for their takes on how to handle this situation.
Disaster Management Specialist Nila Rhoades’ Approach
Preparation
Planning a hunting trip like this would take a lot of foresight. The potential for things to go sideways are many. When planning any kind of trip, whether it’s to a theme park, an overnight getaway, or a hunting excursion, one must plan for the worst-case scenario and pack supplies accordingly. As the old saying goes, “A failure to plan is a plan to fail.”
To prepare my child mentally for this trip, I’d have long discussions with them on the pillars of survival: fire, water, food, shelter, and medical. We’d then pack items for each of those pillars before we left for our trip. My child would have a good understanding of the rule of 3s as well. One can go 3 minutes without air, 3 hours without shelter, 3 days without water, and 3 weeks without food.
If my son and I found ourselves in a situation like this one, our first priority is finding shelter, since air is a given. The truck’s cab will shield us from the elements, but at some point, we’d have to find help or a way to communicate with emergency services. We wouldn’t move from the vehicle for at least 72 hours. It takes approximately 24 hours to be able to file a missing person’s report, so I’d give a little extra time for search parties to attempt to locate our vehicle. One primary rule of getting lost or stranded is to stay in the current location so emergency services have a better chance of finding you based on your route. If a communications plan wasn’t put in place, we’d stay in the vehicle until help arrived or until we felt we had waited enough time to embark to a secondary location. Having a paper map and compass is critical here as well as having an outlined route that’s followed alongside the GPS on the cell phone. After my 48-hour mark, I’d start doing some map route recon and asking questions like:
- How far am I from the ranch?
- Where is the nearest service station?
- Where is the nearest town?
- Which is the closest walking distance?
- How long is walking to the nearest aid going to take?
- How much time should I add on that pace to account for my asthmatic son?
- What supplies have to come with me, and which can stay in the vehicle?
An important aspect of planning trips where communication is intermittent, is establishing a GOTWA plan prior to embarking on the trip; also known as a contingency communication plan.
- G- Where I’m Going.
- O- Others I’m taking.
- T- Time of my return.
- W- What to do if I don’t return.
- A- Actions to take if I’m hit or actions to take if you’re hit. (Meaning, actions to take if I miss my communications window in this scenario.)
Prior to such a trip I’d have my vehicle properly inspected so an engine malfunction would be a literal act of God. Many auto shops offer pre-trip inspections and would hopefully have found any major issues prior to such a trip. Bringing a hunting rifle is essentially a no-brainer as is it a hunting trip, but I’d also take my EDC Glock 19 as well because the trip between the ranch and my home is a fair distance
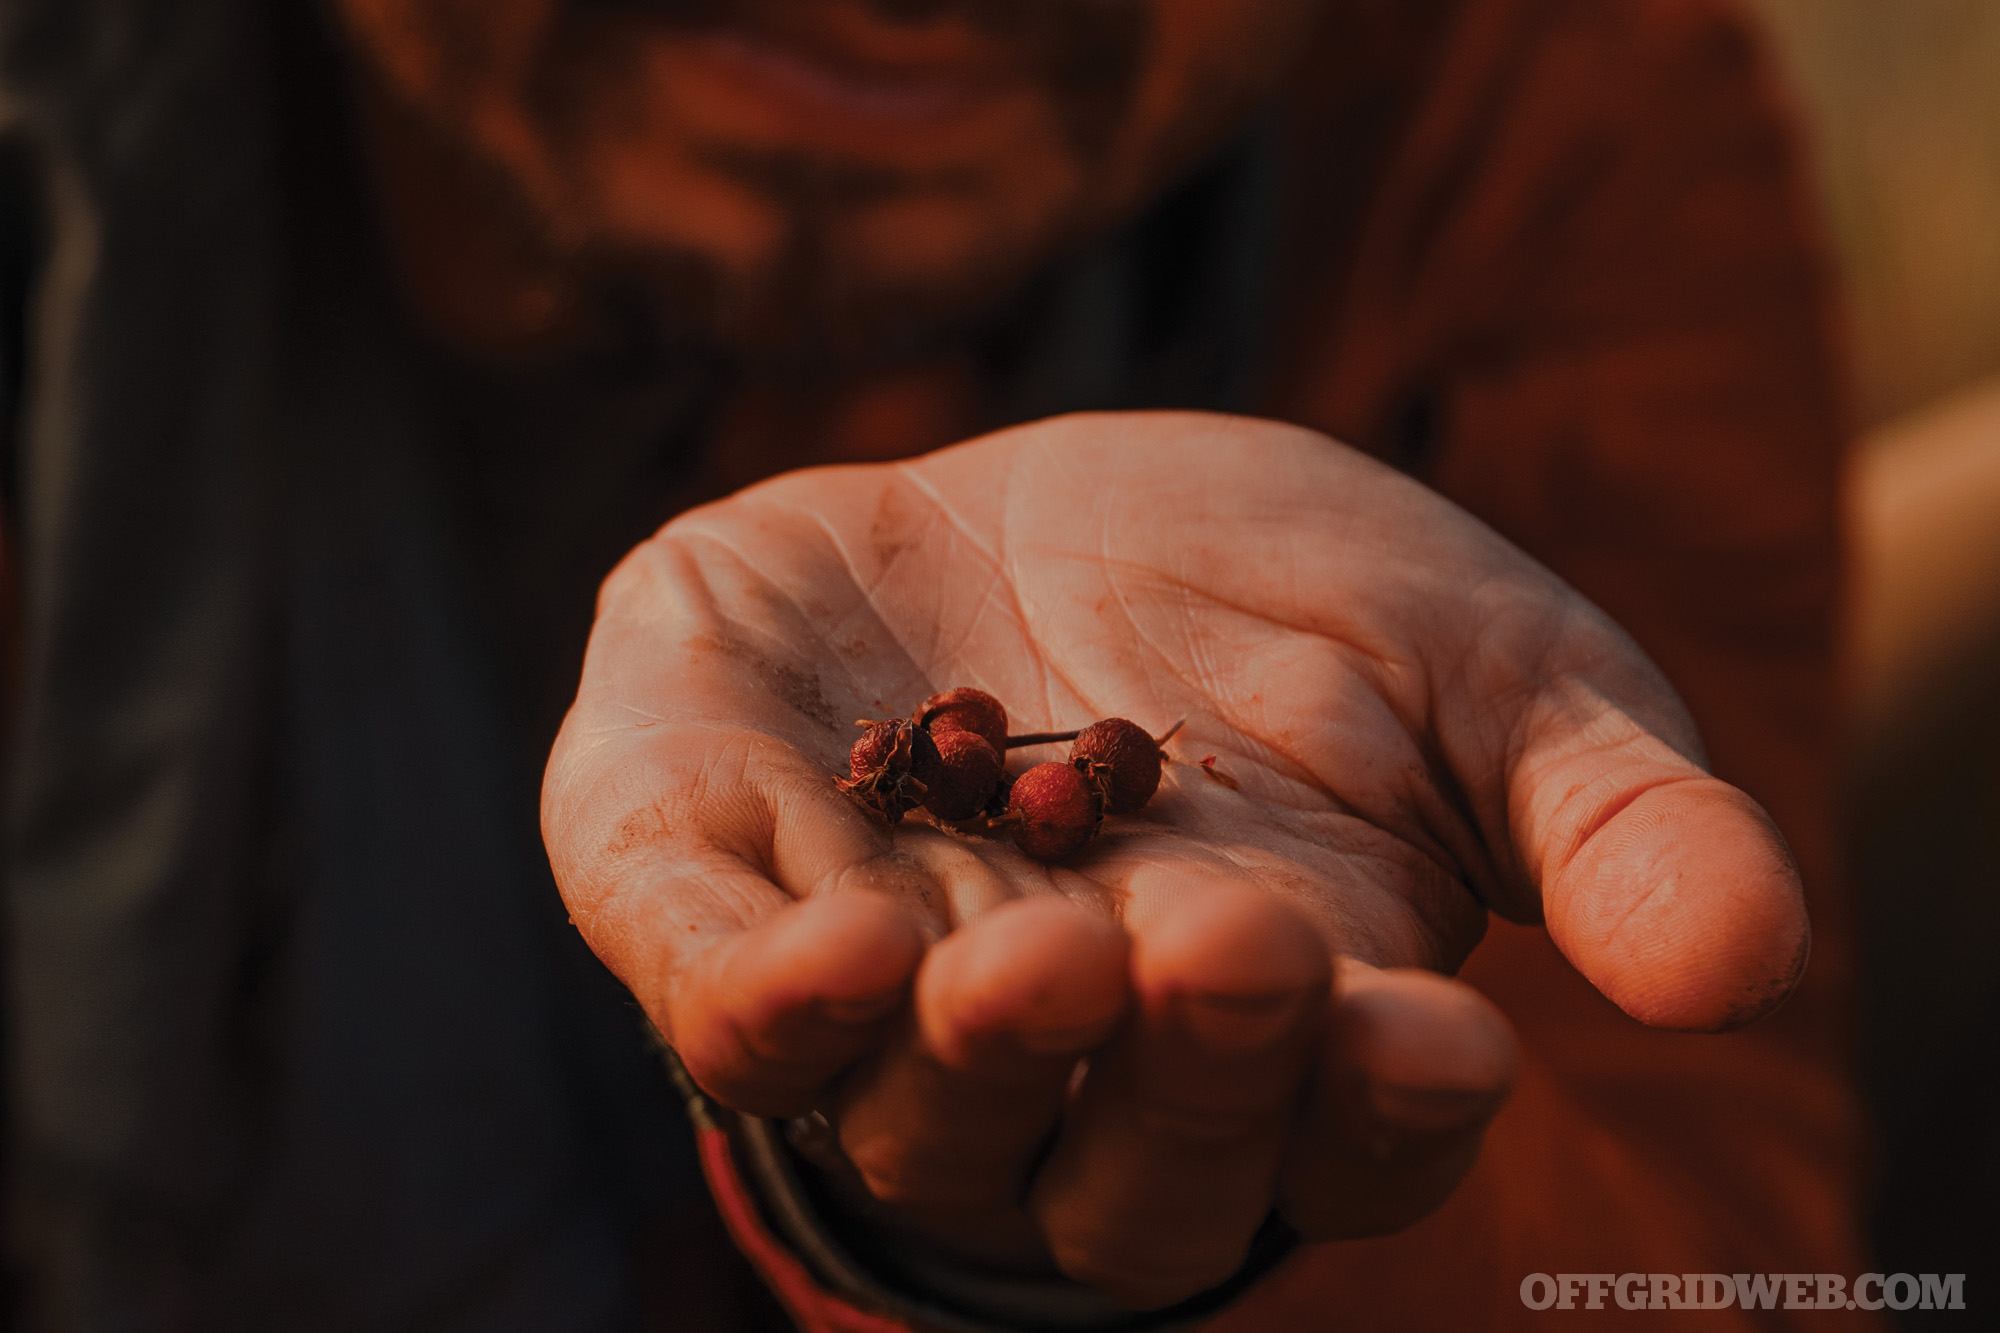
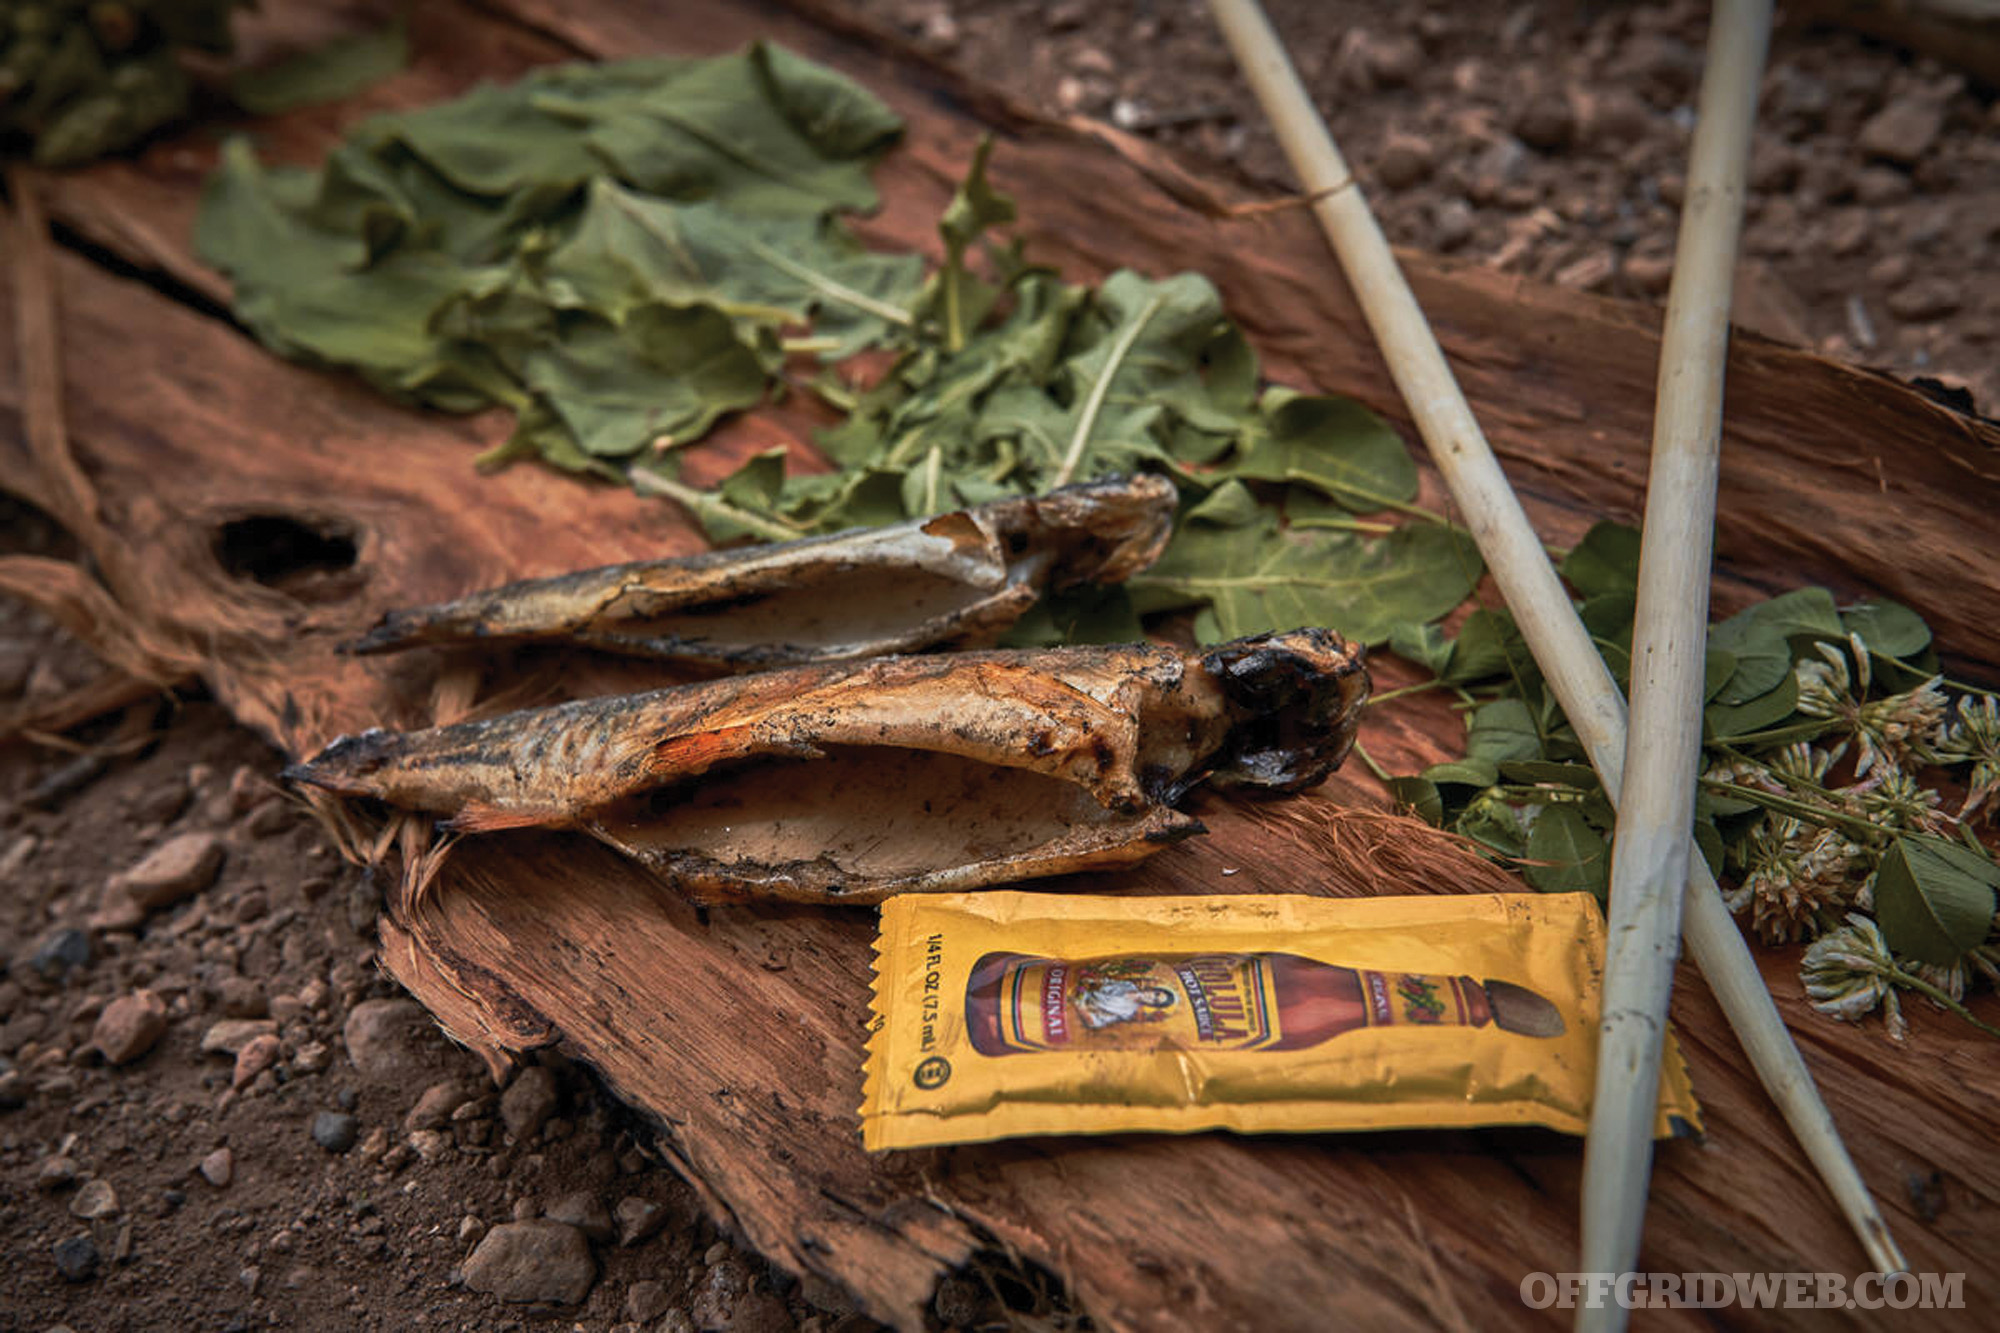
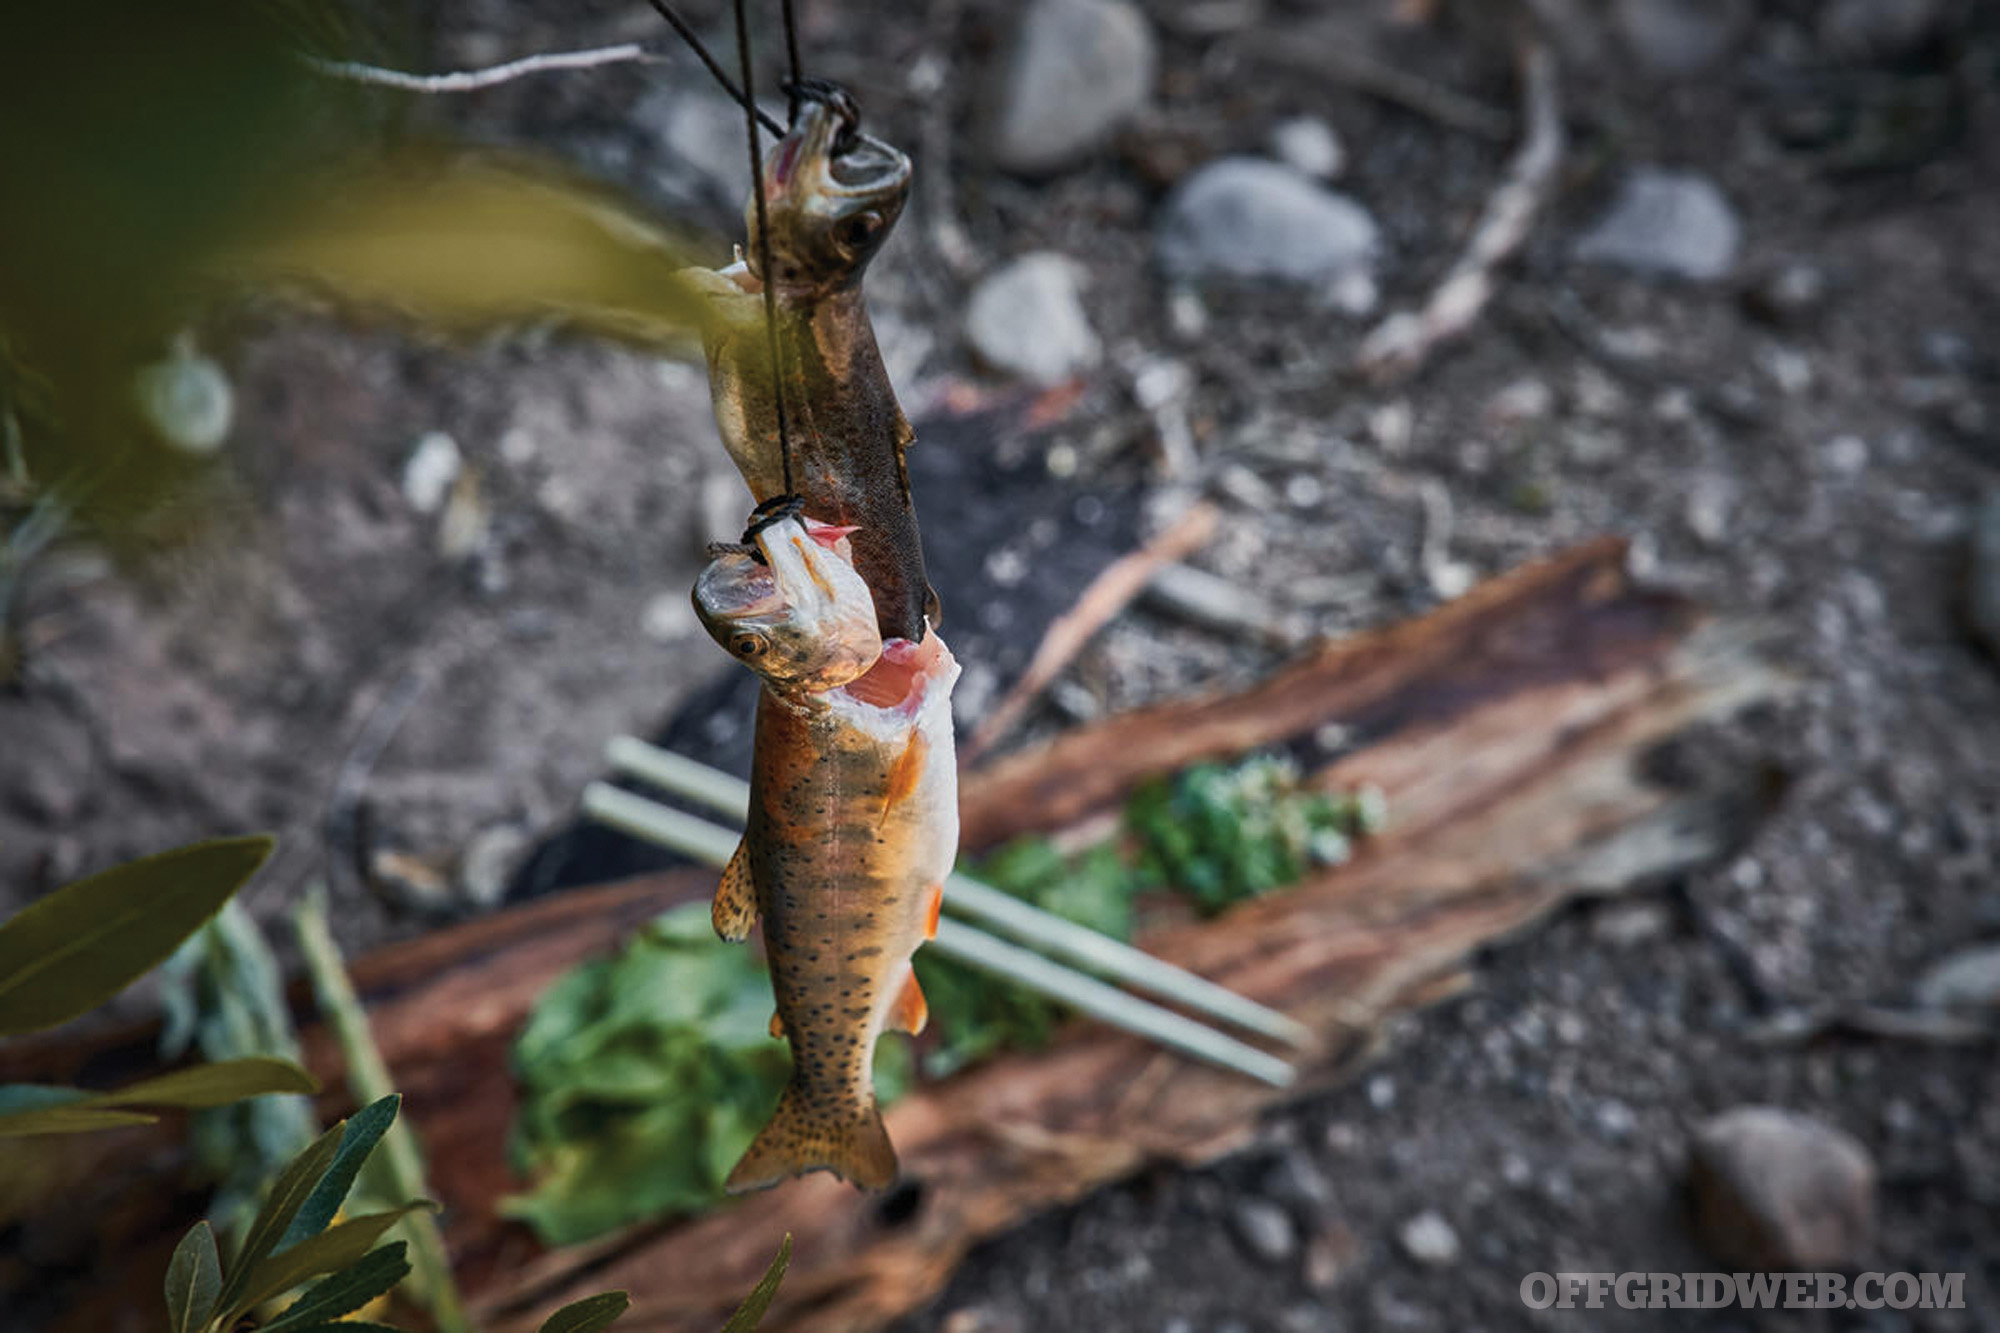
Researching the local area is always a must. Not only weather, but also terrain, indigenous wildlife, local flora, and fauna, as well as nearest towns and service stations. As far as supplies go, a satellite phone is going to be my biggest asset on a trip like this. It is my lifeline in case of emergency. Being a mother, I always pack a few extra days of supplies wherever I go. Whether it’s to a local water park for the weekend, or a two-week-long cross-country road trip. I always bring more than I anticipate using. A camping /hunting trip like this would be no different. Therefore, I’d have extra food and supplies like a Sawyer filter that could be used to filter water we found in the area. The foods I brought would most likely consist of calorie dense granola bars, protein bars, Slim Jims, and probably a few MREs. A little bit of that food can go a very long way, especially for a child and especially when we aren’t physically exerting ourselves yet.
On Site
The one practice I’d absolutely avoid is leaving the vehicle for at least 72 hours. That’s our shelter and our safety from animals and the elements, so we’d stay put with our supplies until help arrived. Being in the middle of nowhere, there’s still always a propensity for evil to thrive. My main concerns wouldn’t be human in nature, but rather animals like coyotes, mountain lions, snakes, etc. Again, staying inside our vehicle will prevent any unwanted and dangerous visitors. The weather is nearly perfect during the day, but the night could prove to be chilly. Layering the clothing that we brought for our trip would provide warmth during the evenings if the temperature got unbearably cold.
If a GOTWA or contingency communications plan wasn’t set up prior to departure, I’d still stay put for at least 72 hours. I’d assess my car for items to signal with. My side mirrors would work for a signaling device to get the attention of aircraft. I’d also take my spare tire and be prepared to burn it to signal those nearby. Black smoke from the rubber would hopefully catch the eye of passersby.
Being stuck anywhere can be scary. Therefore, keeping calm and maintaining a level head is critical. Children feed off their parents’ emotions and reactions so keeping calm for your children is important and necessary. Especially with an asthmatic child, I wouldn’t want them to get worked up or in a panic. Upon first realizing that my son and I were stranded I’d assess our supplies and attempt to ascertain our location via our map. Having already established a GOTWA plan, when I don’t check in at the ranch my family back home should start initiating the emergency plan that we laid out prior to departure.
Another aspect of my supplies would be a SPOT device. It’s essentially an emergency beacon (Emergency Locating Transmitter). As soon as the vehicle died and I realized that it was approximately 60 miles away from the ranch, it could be time to turn on the emergency beacon. Depending on my GOTWA plan, if I didn’t have help by sunup, I’d initiate the SPOT device, per my GOTWA plan.
Crisis
My main concern would be the medical items needed for my son’s asthma. I’m a big believer in the phrase, “a pair and a spare.” Therefore, I always carry an extra dose, bottle, inhaler with me at all times; on top of what my child carries on them for emergencies. Because he’s got a medical condition and because he’s my child, I won’t leave him under any circumstances. I cannot guarantee his safety if I’m not in his immediate vicinity.
Due to the lack of physical exertion because we’re essentially waiting in our vehicle for help to arrive, we could stretch our food and water supplies over the course of many hours, if not many days. Our biggest concern would be water intake and staying hydrated during the warm days.
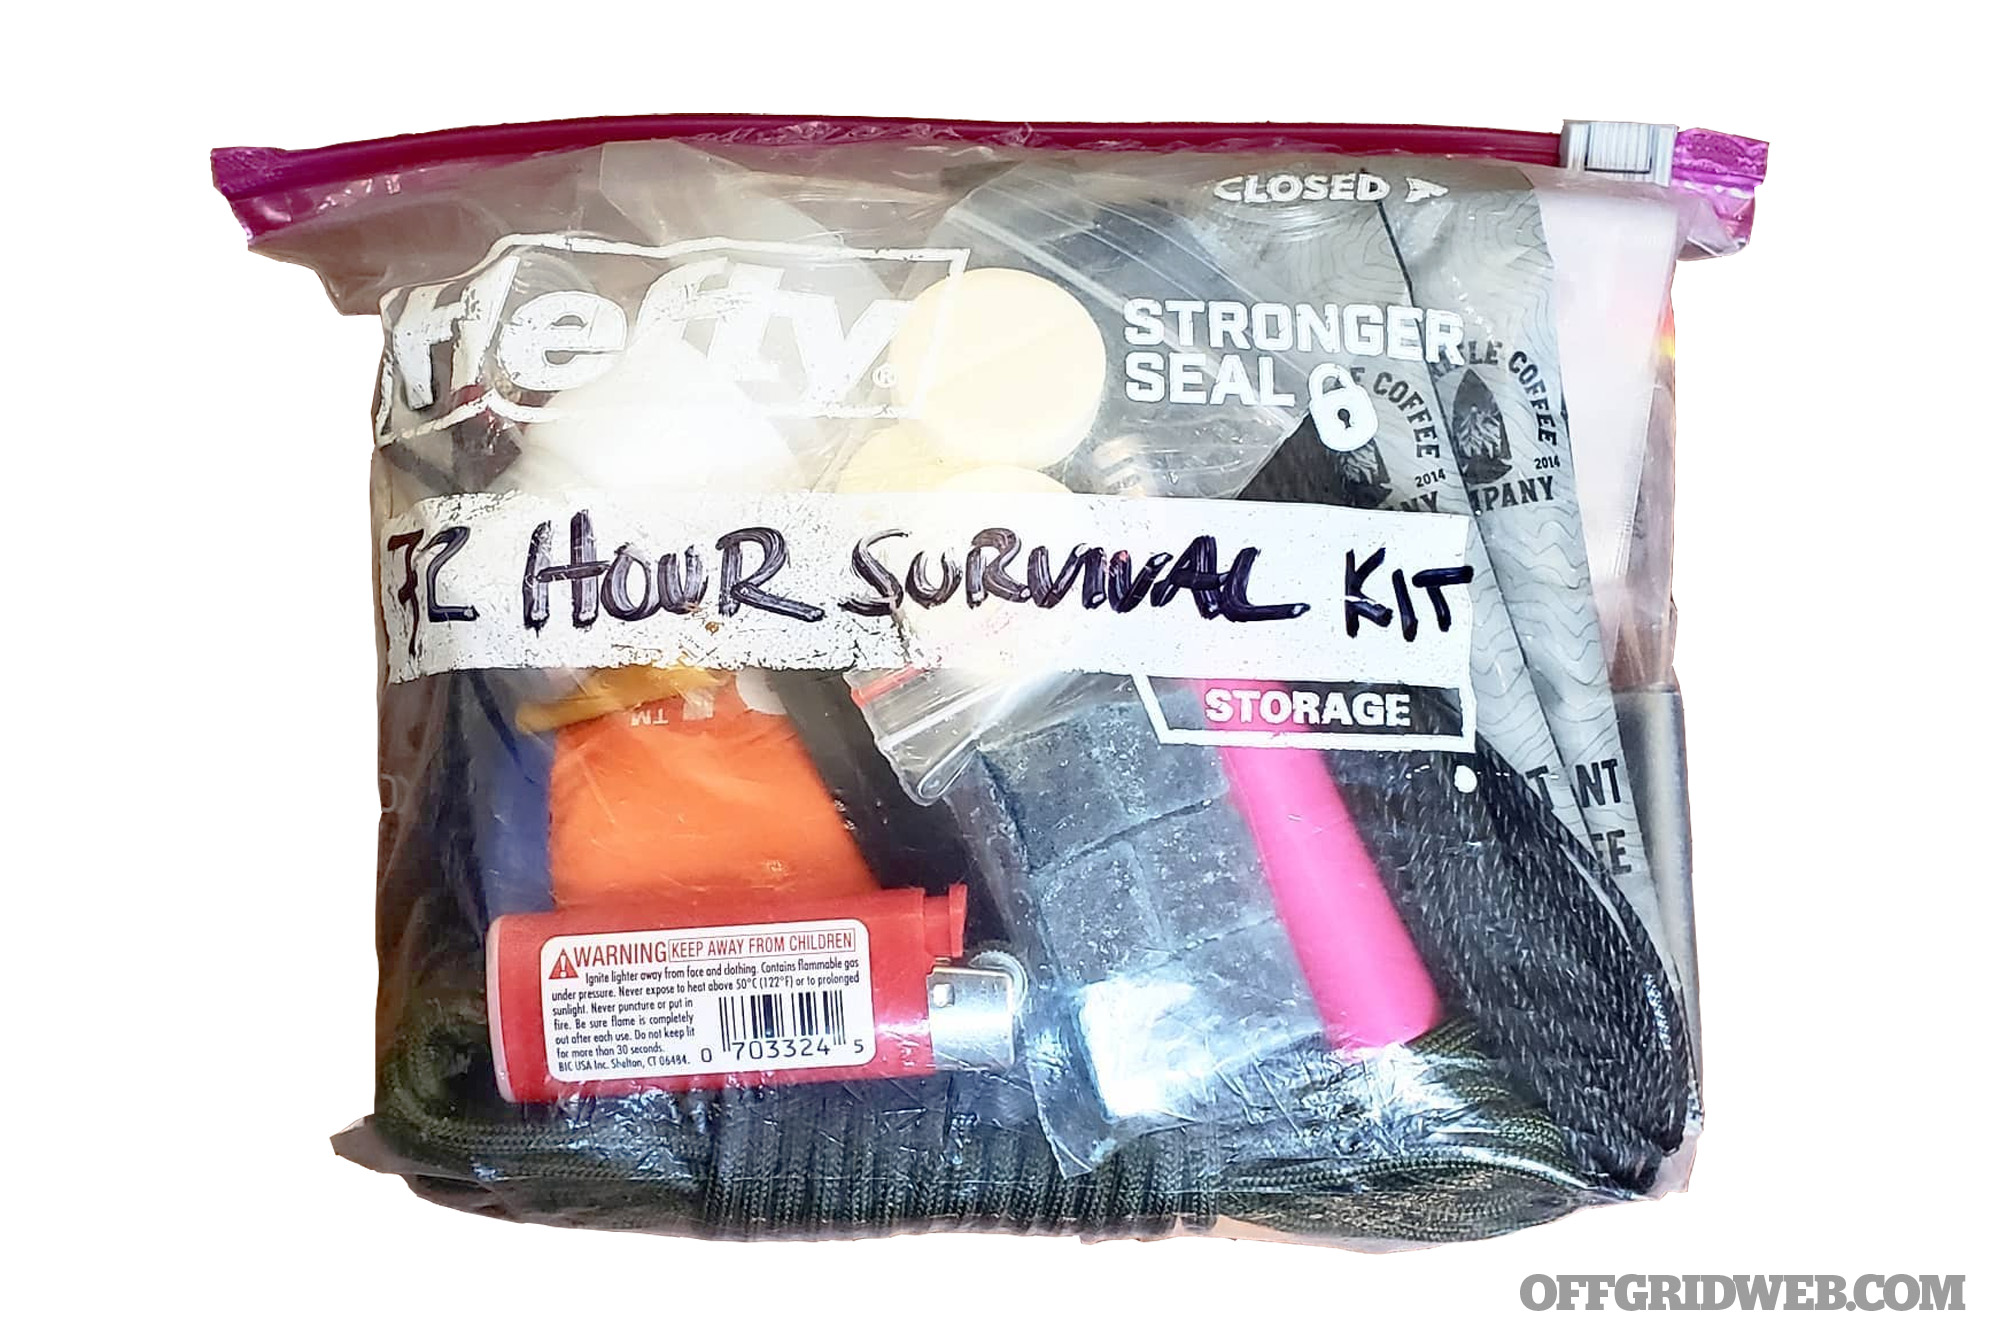
Having prepared for this trip to the point where I have multiple contingency plans, I wouldn’t anticipate being on my vehicle for more than 24 hours. However, being a parent, a lot of my supplies would be able to last for many more days. My SPOT device would work as a signaling beacon. Being the parent that I am, I also always carry a mini SERE kit in my purse, that also has a signal mirror and a few methods of starting fire to keep warm along with water filtration.
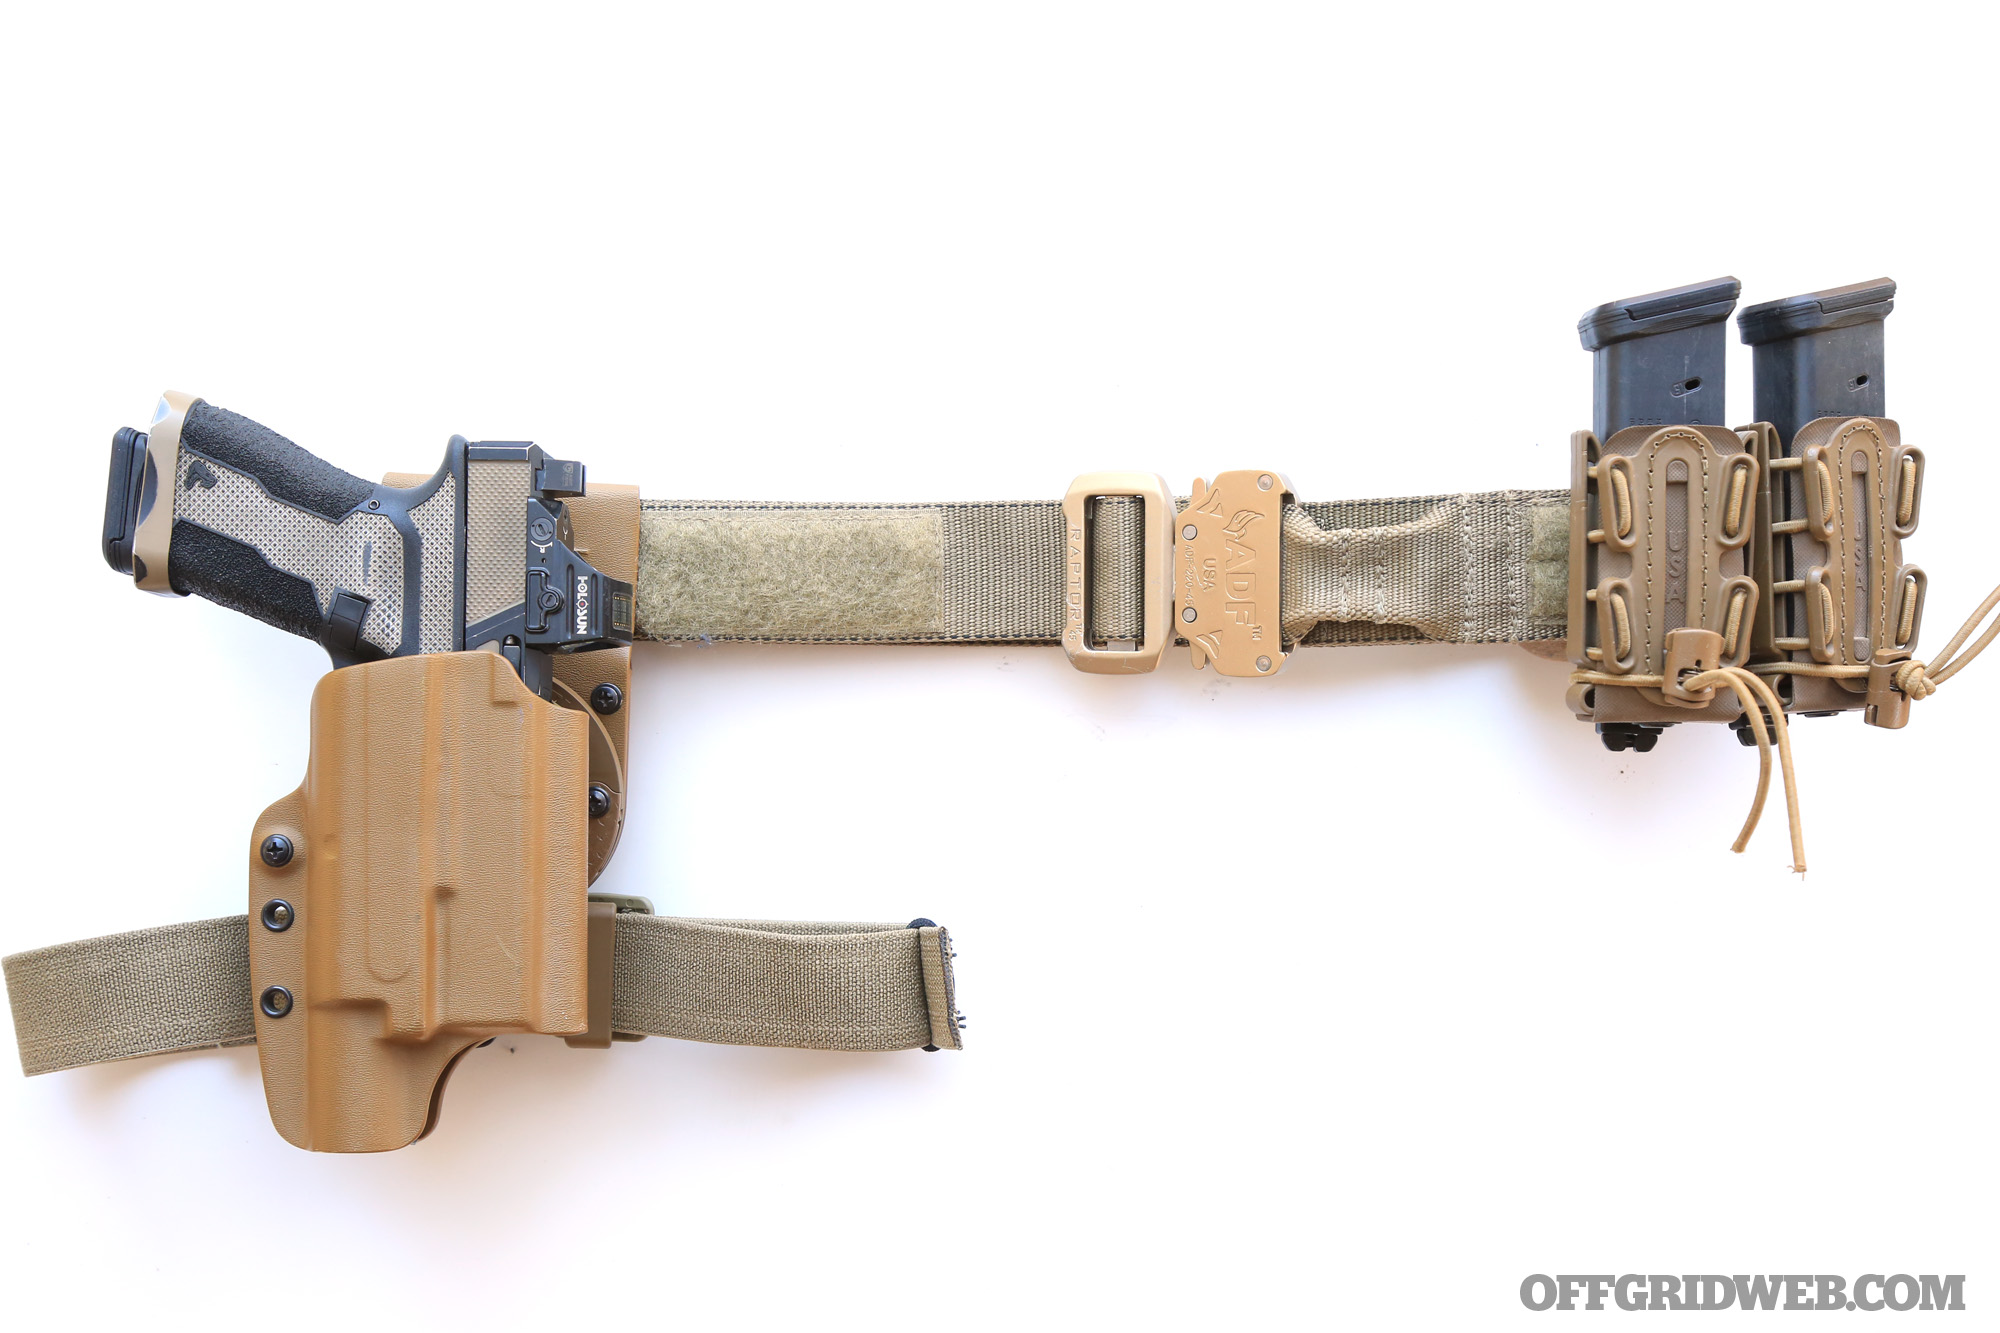
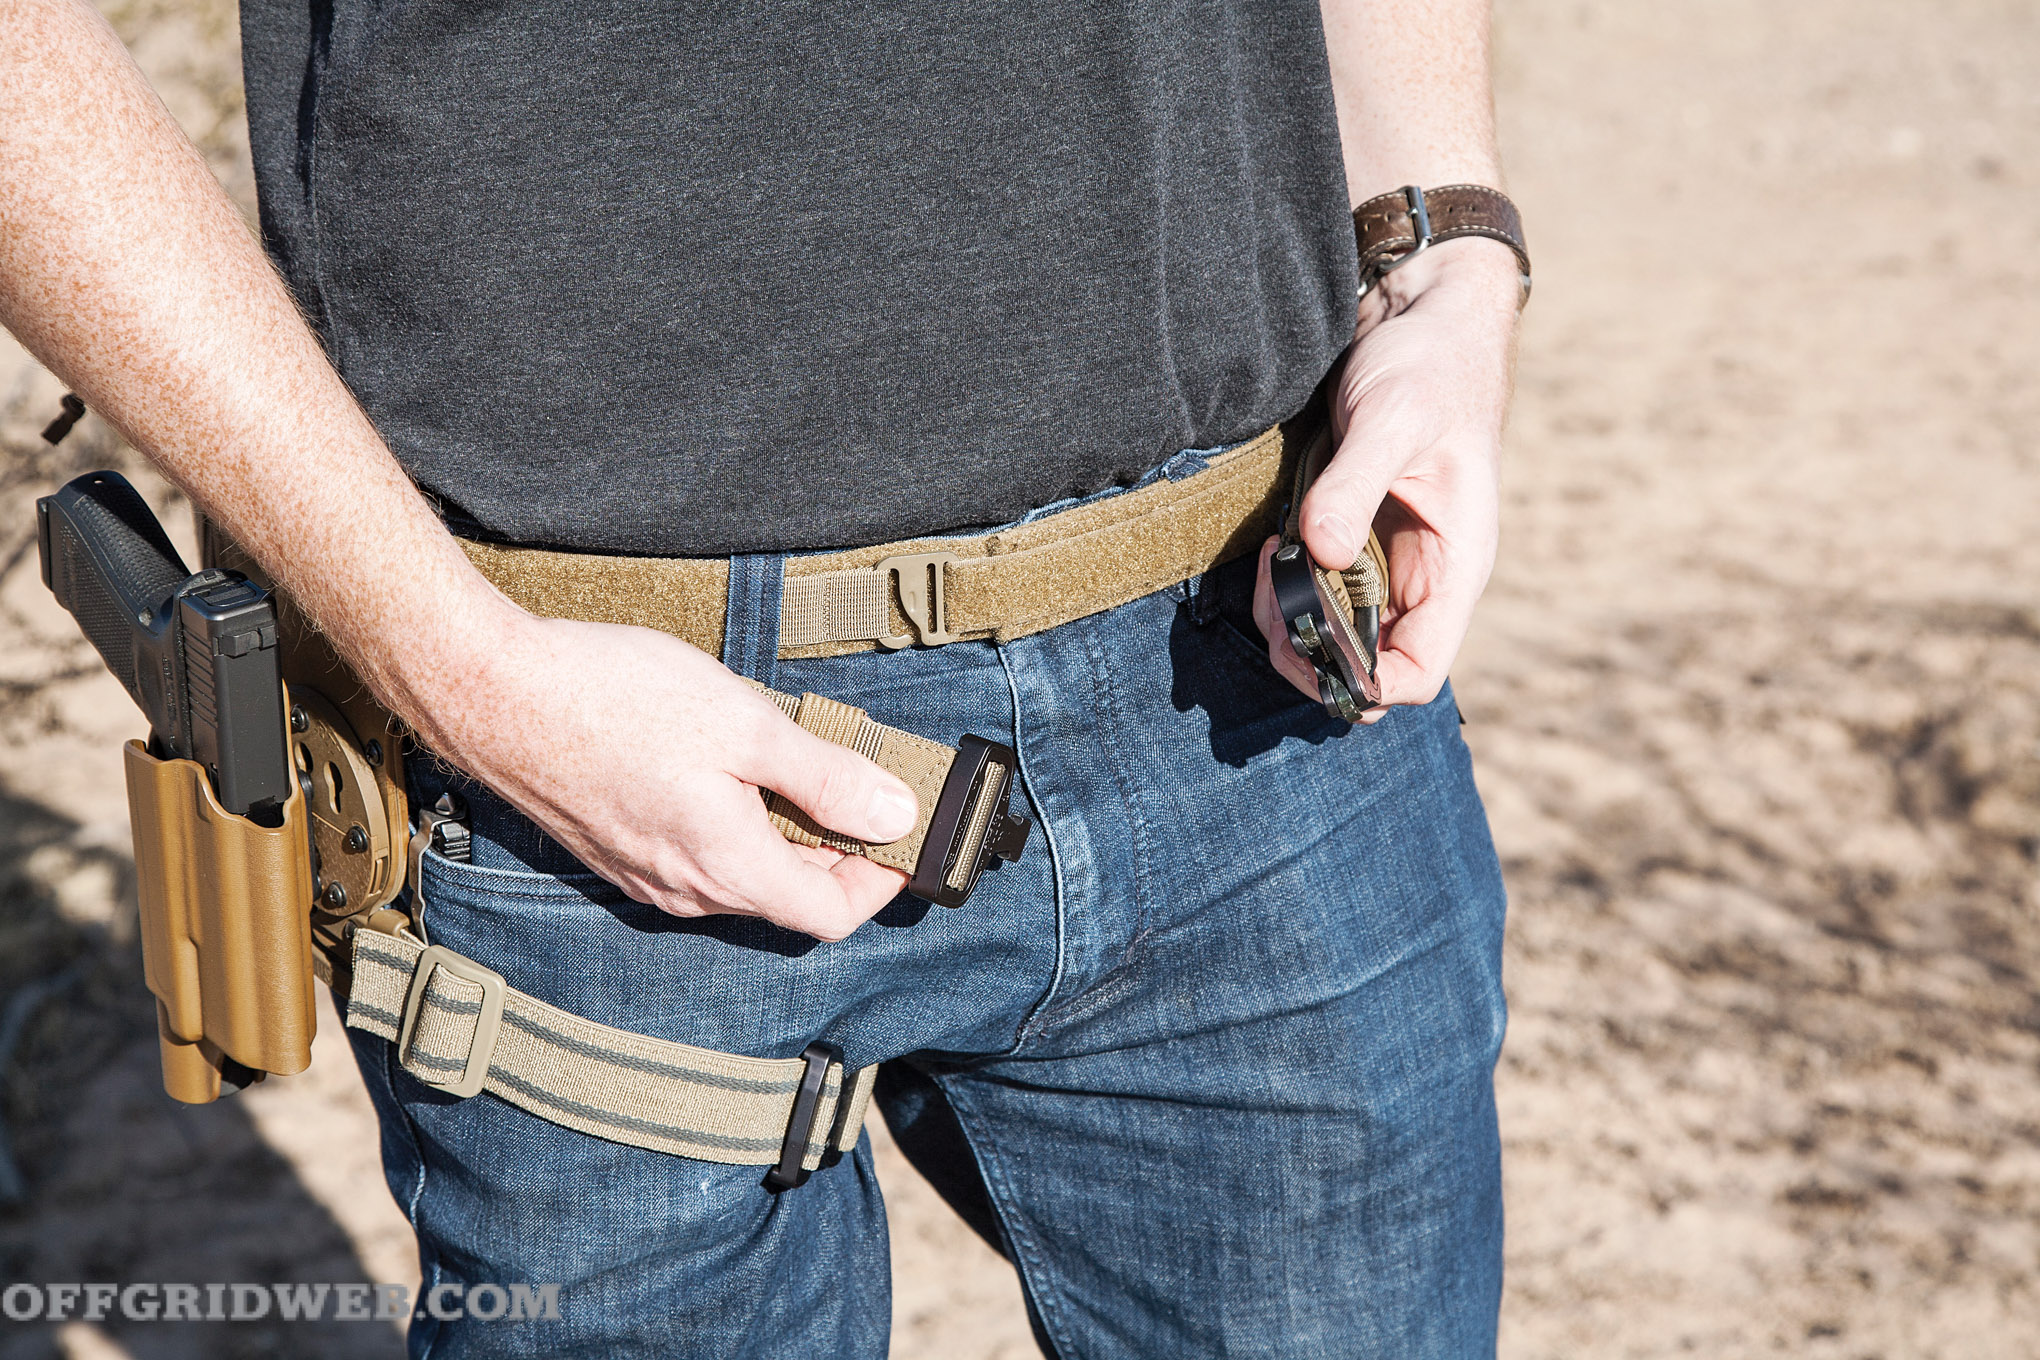
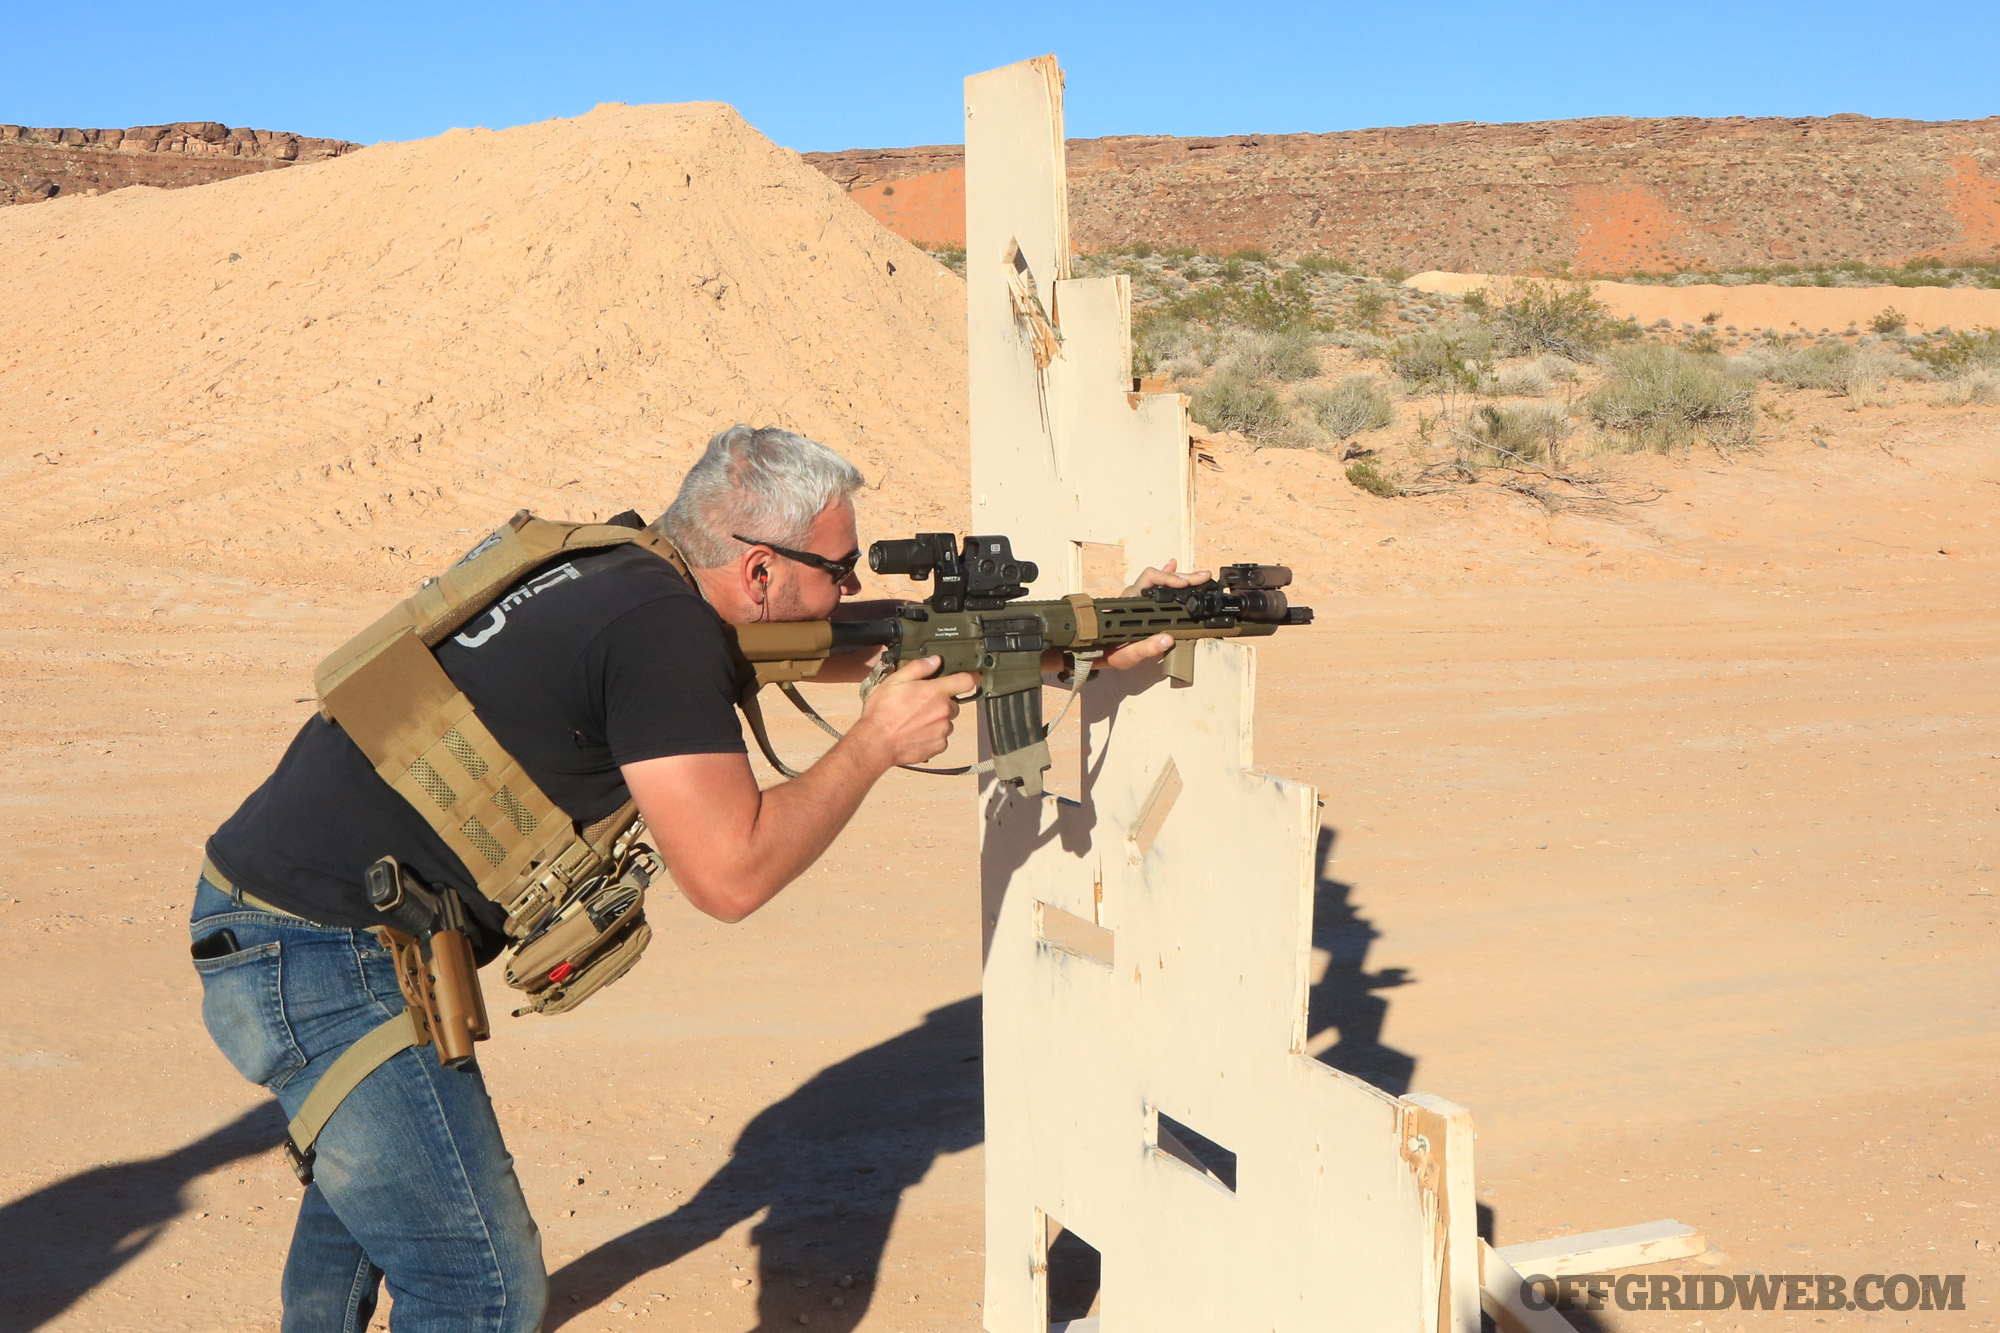
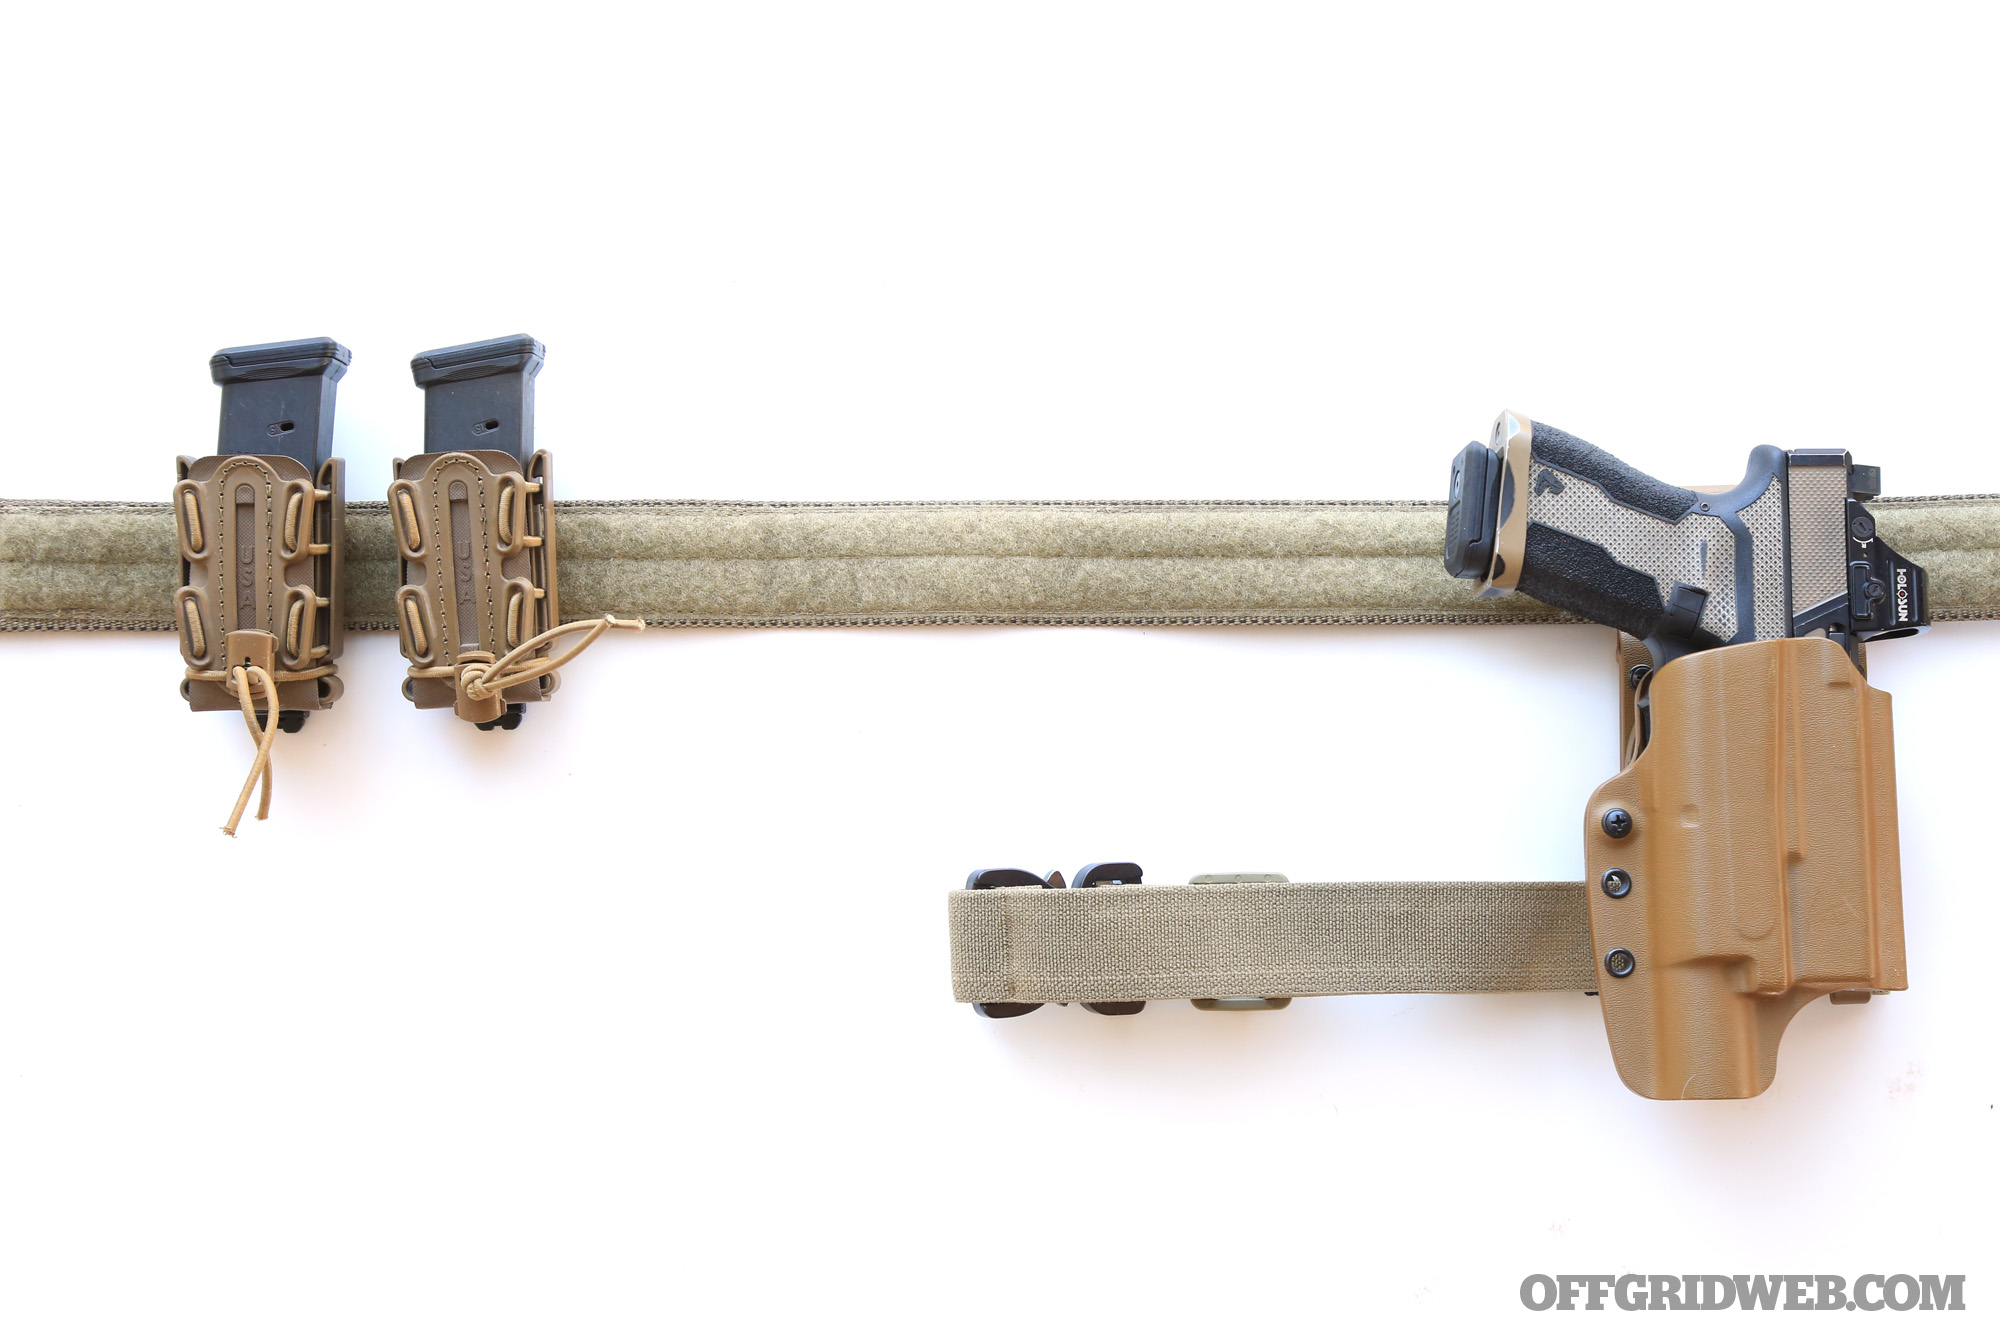
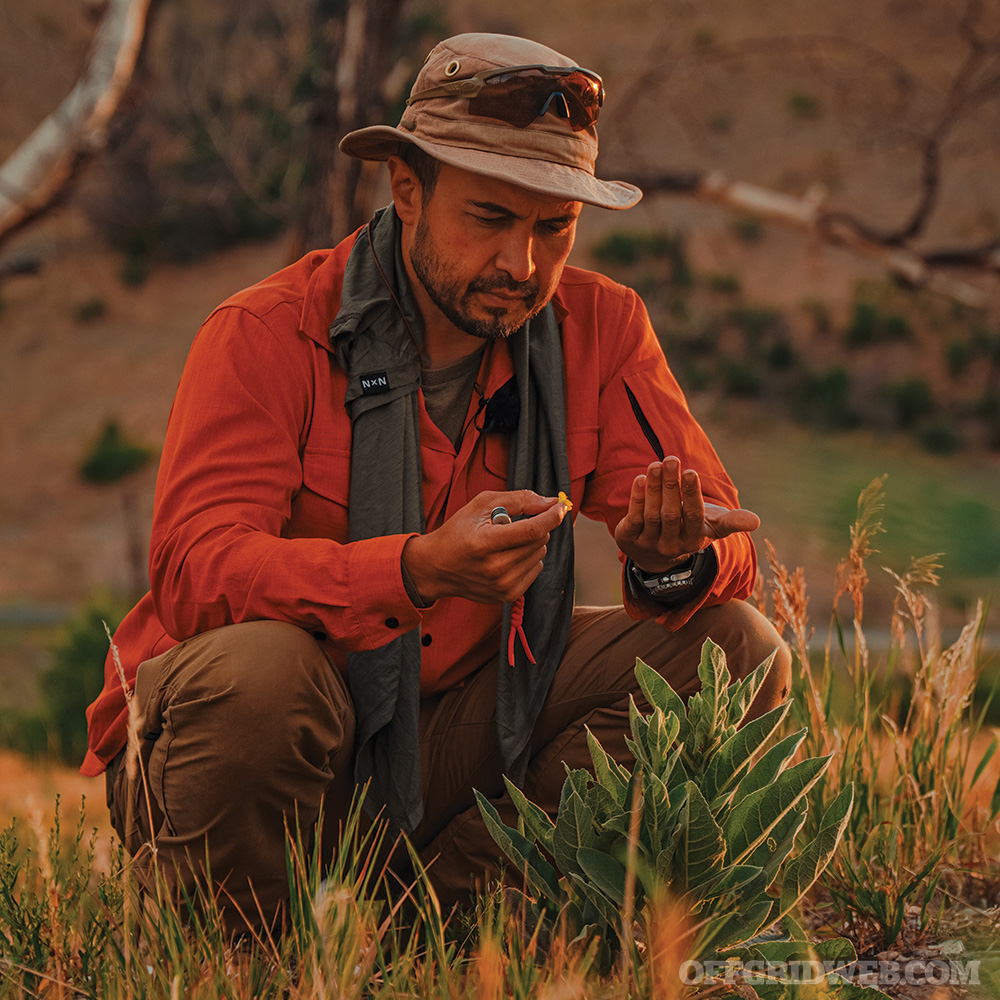
Protective Specialist Mel Ward’s Approach
The Mindset of Mitigation
I treat every outing like I’m leaving the wire. My home is my Forward Operating Base (FOB). Everything else outside that perimeter is unknown. Whether I’m going to the store or heading into the New Mexico desert, I bring things that let me shoot, move, talk, and heal. These are like my four basic food groups.
How much of this stuff I bring depends on where I go, with whom, and for how long, but I always bring the same things. I like to have things that make mild to wild inconveniences much simpler to contend with. That’s my personal strategy. I can’t easily prepare for everything, but I can prepare to make everything a little easier.
Our society has made us victims of our own success. As a recovering survivor of stable power, hot and cold running water, and the mostly peaceful transfer of power, I carry with me things that take the place of that which I’ve seen fail us.
Pandemics can empty store shelves. Supply chain shortages delay products and services. Freak winter storms wreak havoc in states that aren’t prepared for extreme weather. Hackers half a world away can make gas expensive and hard to come by all because they ransomed a pipeline company’s computer network.
Regardless of what I’m doing, I want to plan like it’s the 19th century rather than the 21st. This is especially the case when I travel. I’m preparing like I’m going back in time. I’m not going to rely on smartphones, power grids, and minutes-away Emergency Medical Services. I’m going to account for these modern conveniences, but I’m going to plan like they won’t be there when I need them.
Reconnaissance
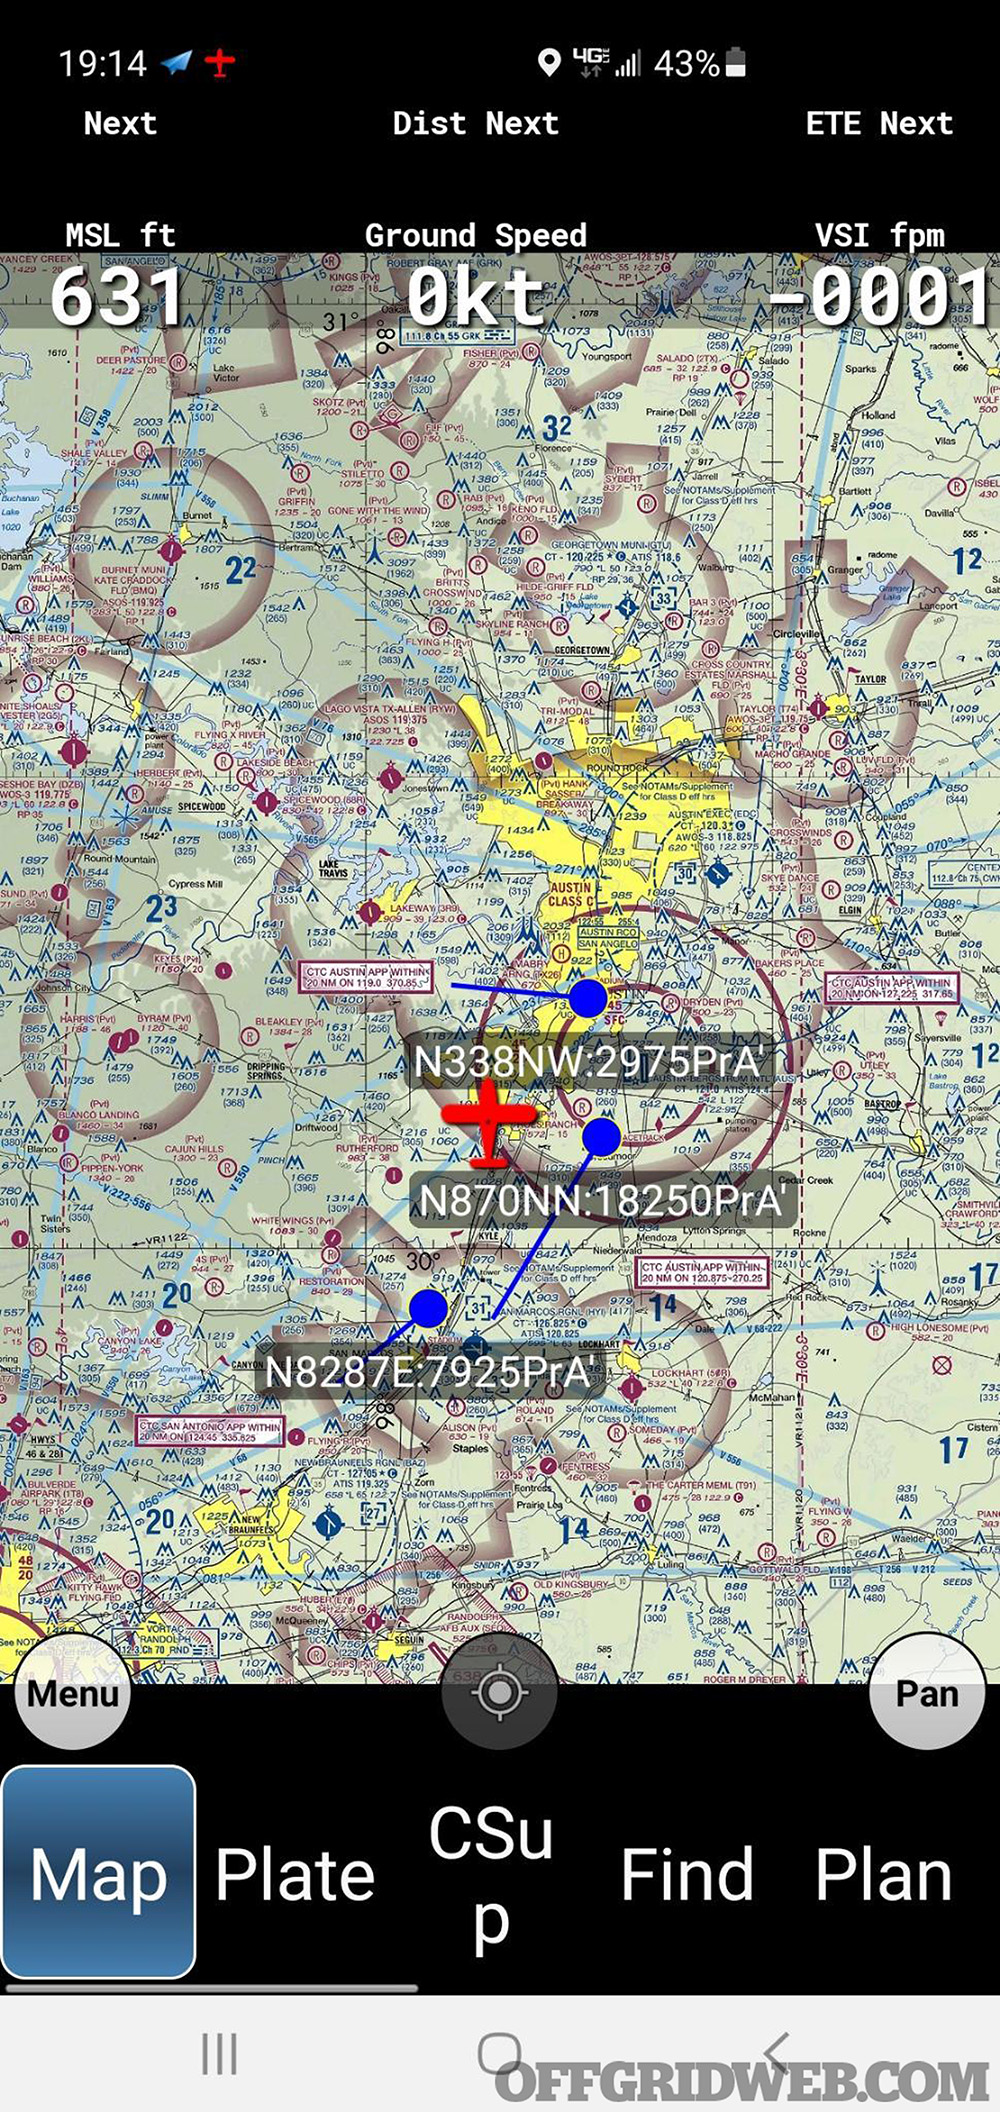
The first thing I like to do if I’m going somewhere I haven’t been before is a map reconnaissance. I not only want to review the route and have an alternate in mind, but for something like hunting or hiking, I’d like an idea of the area of operations I’ll be working in. You can use Google Maps if you want, but I like to stay away from that stuff and go with apps like OsmAnd or Maps.me. Both of these work offline.
Speaking of offline, I’m a paper map guy. I keep a road atlas in all my vehicles. Gas station maps of your region are also great to have as atlases tend to be more compact. It’s nice to have something you can spread out on the hood of your vehicle and do some figuring on. You can also get laminated versions of these from bookstores and use map markers to highlight routes, gas stations, hazards, etc.
Concerning the route, I like to know where hospitals are along the way as well as the closest advanced care to where I’ll be operating. I might identify a few with trauma capabilities as well as some walk-in clinics for bumps and bruises if we incur something minor. Since my near-teenaged son will accompany me, I want to include him in the route planning and points-of-interest along the way so he’s participating rather than just observing. While doing this, I’m going to give his mother, or someone reliable not coming with us, a five-point contingency plan.
I’ll tell her where I’m going, who I’m taking with me, how long I’ll be gone, what to do if I don’t come back on time, and what I will do in response to an emergency. Some of you might recognize this from your time in the military. I think it’s just as useful for civilian activities like hunts and hiking and keeps us in the right mindset. It’s easy to do and much better than the usual, “I’ll call ya when I get there.” What if I don’t get there? What if I can’t call?
Since we’re exploring an isolated region on this trip, I’m going to use either mytopo.com or USGS.gov for some topographical awareness. Both of these resources offer cheap ways to print detailed maps of your chosen AO. I might like to identify some high ground, key terrain features, and water sources in the area. If I give myself a top-down preview, the land is likely to make more sense to me when I see it for the first time.
I’m also going to check the weather forecast for the areas I’ll be passing through as well as my ultimate destination. Farmersalmanac.com has lots of info on weather, phases of the moon, and long-range forecasts for trips I might be planning down the road.
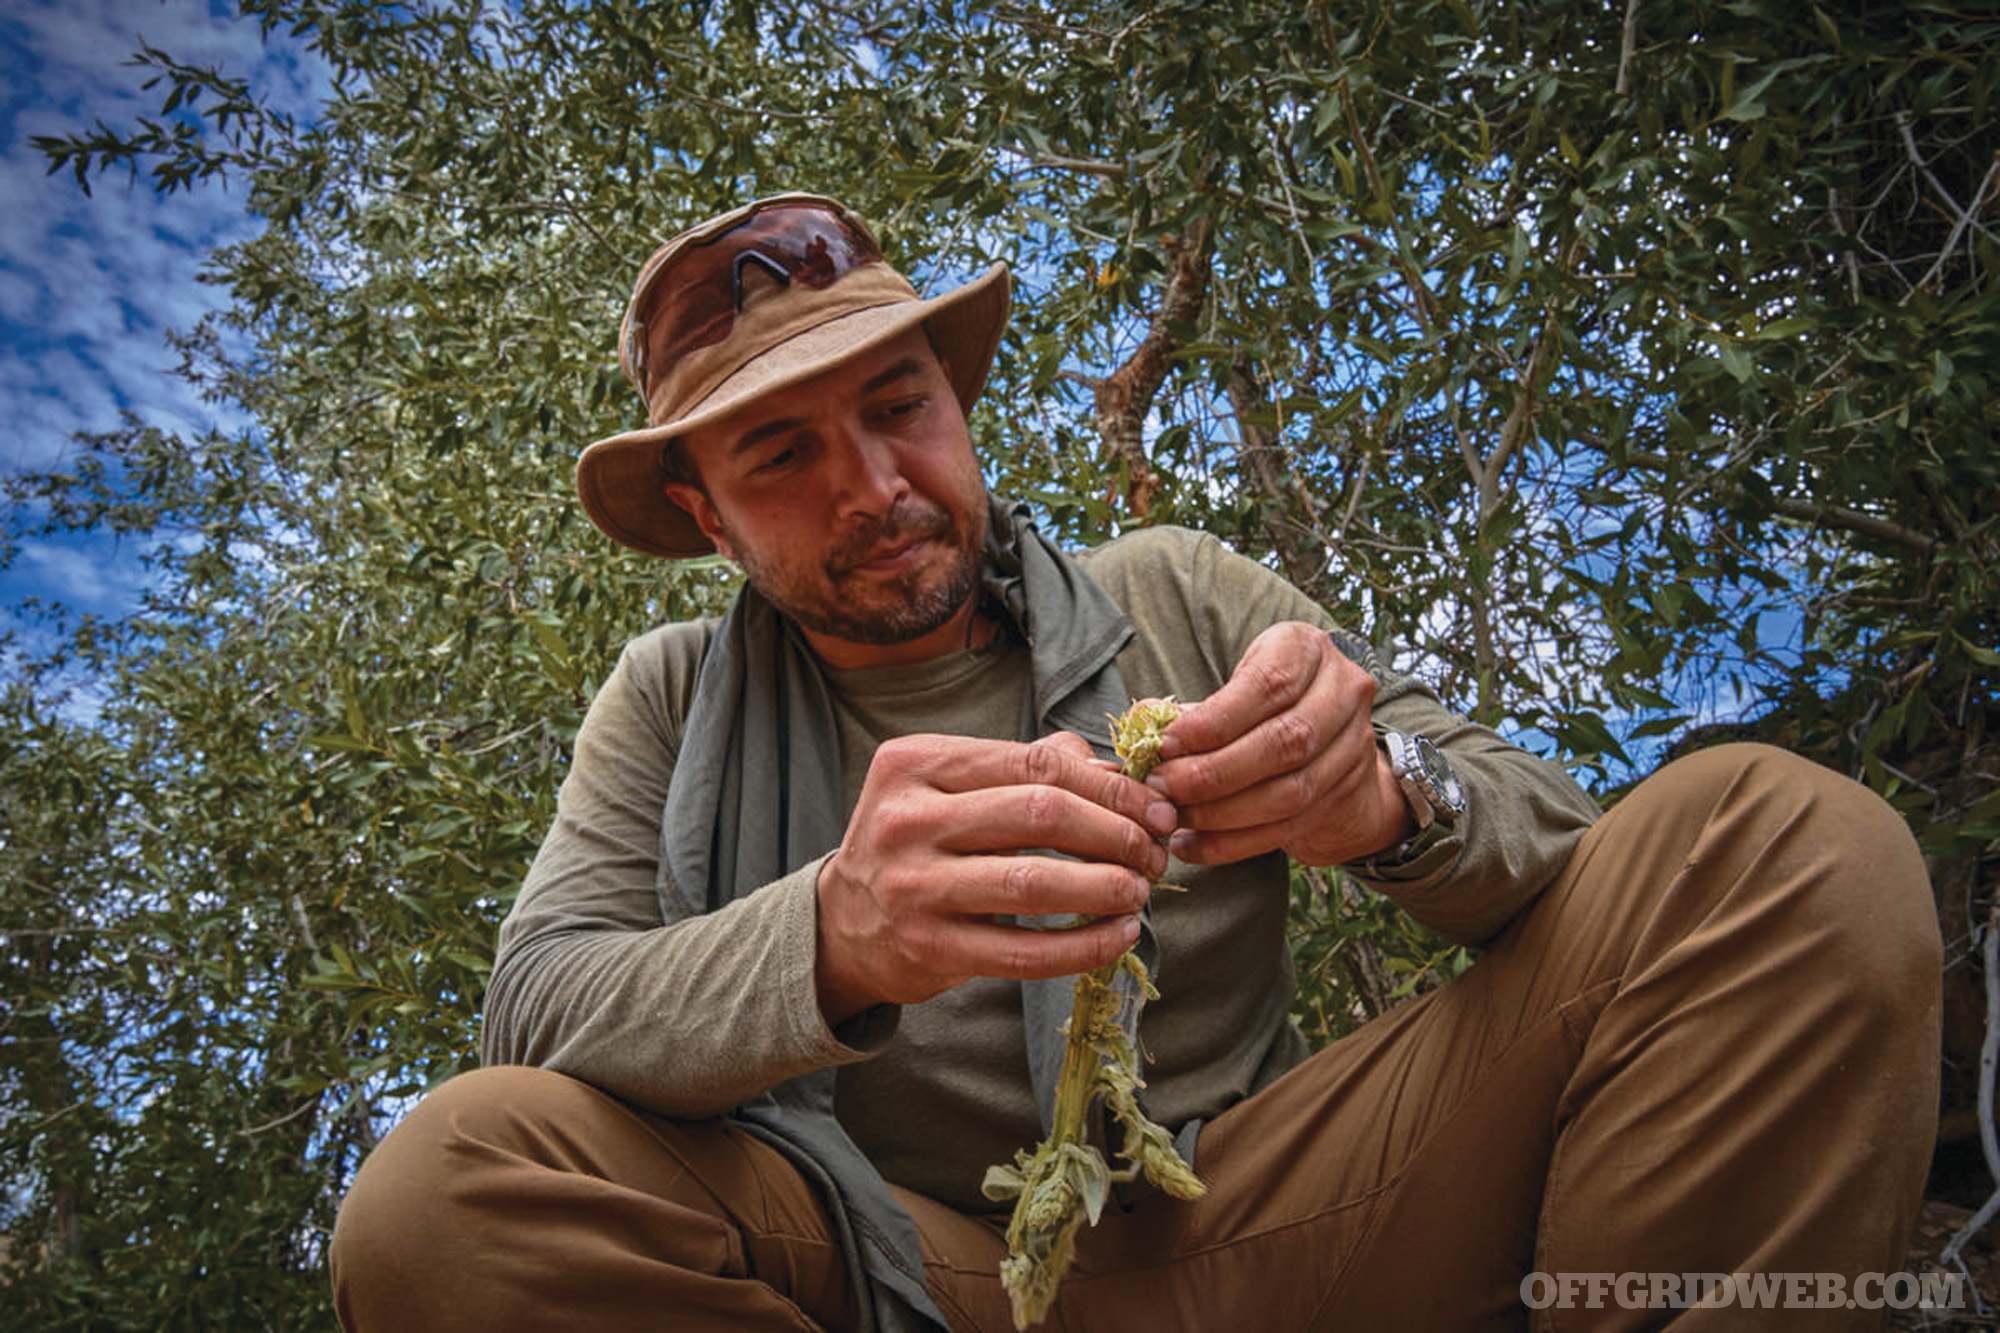
Now would also be a good time to talk to people who’ve been where I’m going. What are the temperatures like there? What kind of wildlife is in the area? What gear do they recommend I bring? What should I watch out for? For me, this is like an intelligence briefing. I like to treat the trip like a mission. I’ll enjoy it when it goes well, but I’m prepared for when it doesn’t.
Now that we have an idea of where we’re going, how to get there, and maybe what to expect; let’s get the truck ready.
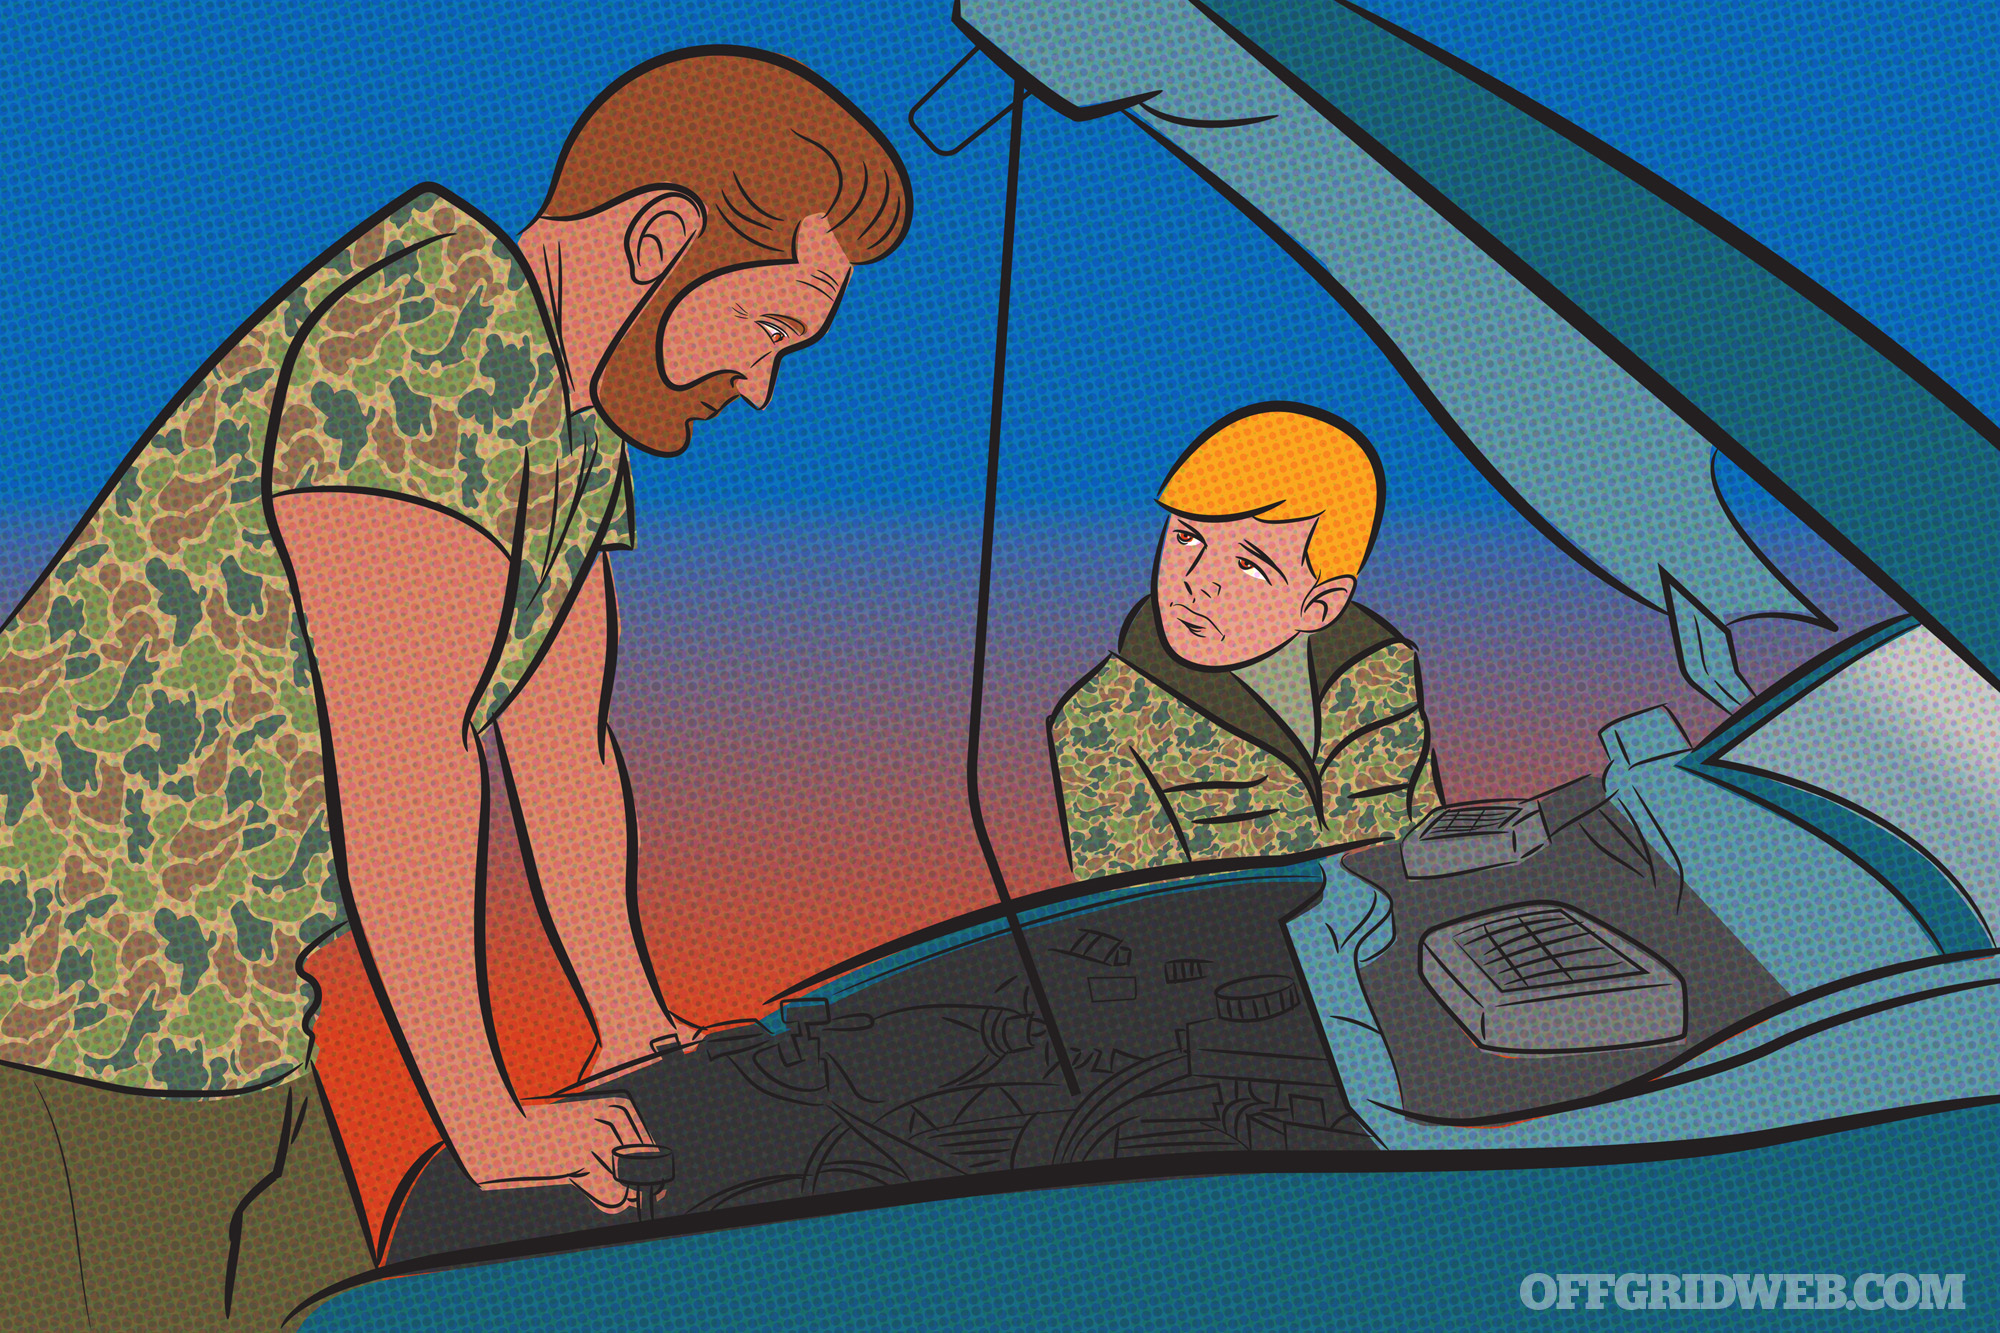
Vehicle Readiness
I’m going to inspect my truck like I’ve never seen it before. I like to check the usual things we take for granted: tires, fluids, belts, and hoses. I’m going to make sure the spare tire is present and ready to go as well as ensuring I have the proper tools to change it. I can also reference a site like AAA.com for vehicle inspection tips if I feel like I’m missing something. I’m also not above scheduling an inspection with the local dealership or auto repair shop. Some dealerships even offer free inspections on the items above and can point out areas that need to be addressed.
Once I’m satisfied the truck is mechanically sound, I’m going to inspect all the gear I’m taking with me. As mentioned earlier, I have all this with me all the time. I may add or subtract amounts given the situation I’m heading into.
Most of what I keep in the truck is recovery and road-side repair related. In rugged terrain I might bring two full-size spare tires. I have a hi-lift jack and shovel as well as a heavy-duty bottle jack (not the one that came with the truck). I carry a full toolkit with sockets and wrenches sized for my truck. I have chains, at least one kinetic recovery rope, winch supplies like tree-savers and snatch blocks as well as two sets each of soft and hard shackles.
In the toolbox I keep a spare serpentine belt for my motor and extra vehicle fluids. I have 5 gallons of water, 5 gallons of gas, 1 gallon of anti-freeze, 2 quarts of my engine oil, power steering fluid, sealed brake fluid, and transmission fluid. I also bring along a lithium-ion jump starter kit that can start multiple dead vehicles or charge my phone. I have a high-output portable air compressor, tire repair kits, tire spoon, and extra valve stems to round out fixing all but the worst tire issues.
Provisions and Gear
For the New Mexico trip, I’m bringing what my son and I need to be there three times as long as my planned stay. I’m setting up our kit and vehicle in a way that serves us if we don’t reach the ranch, lodge, or campsite. It’s just me, him, and the truck and I want to keep thinking and planning like that’s all there will be.
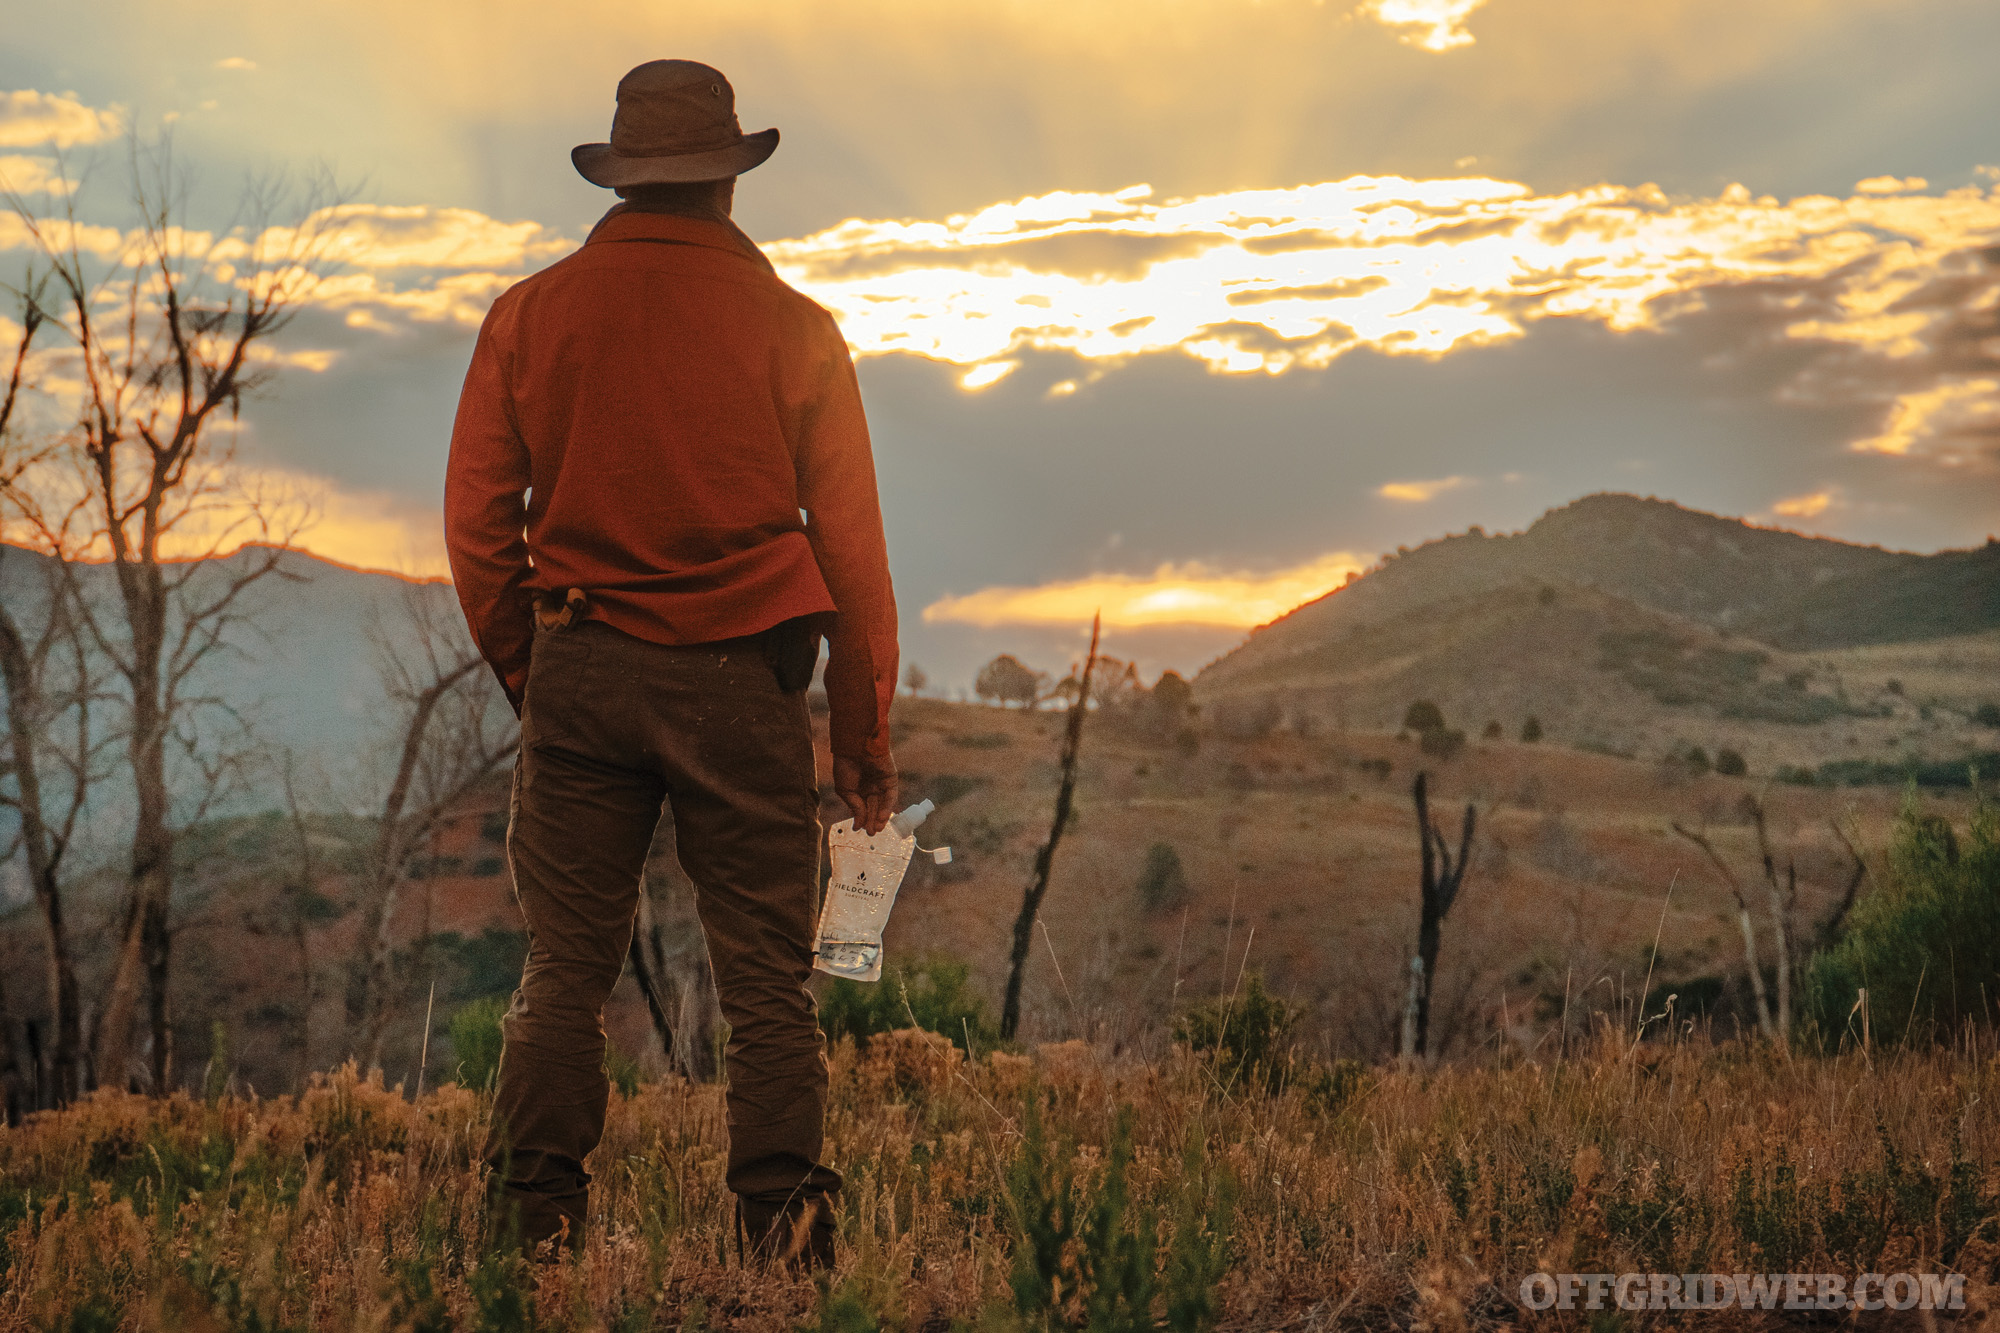
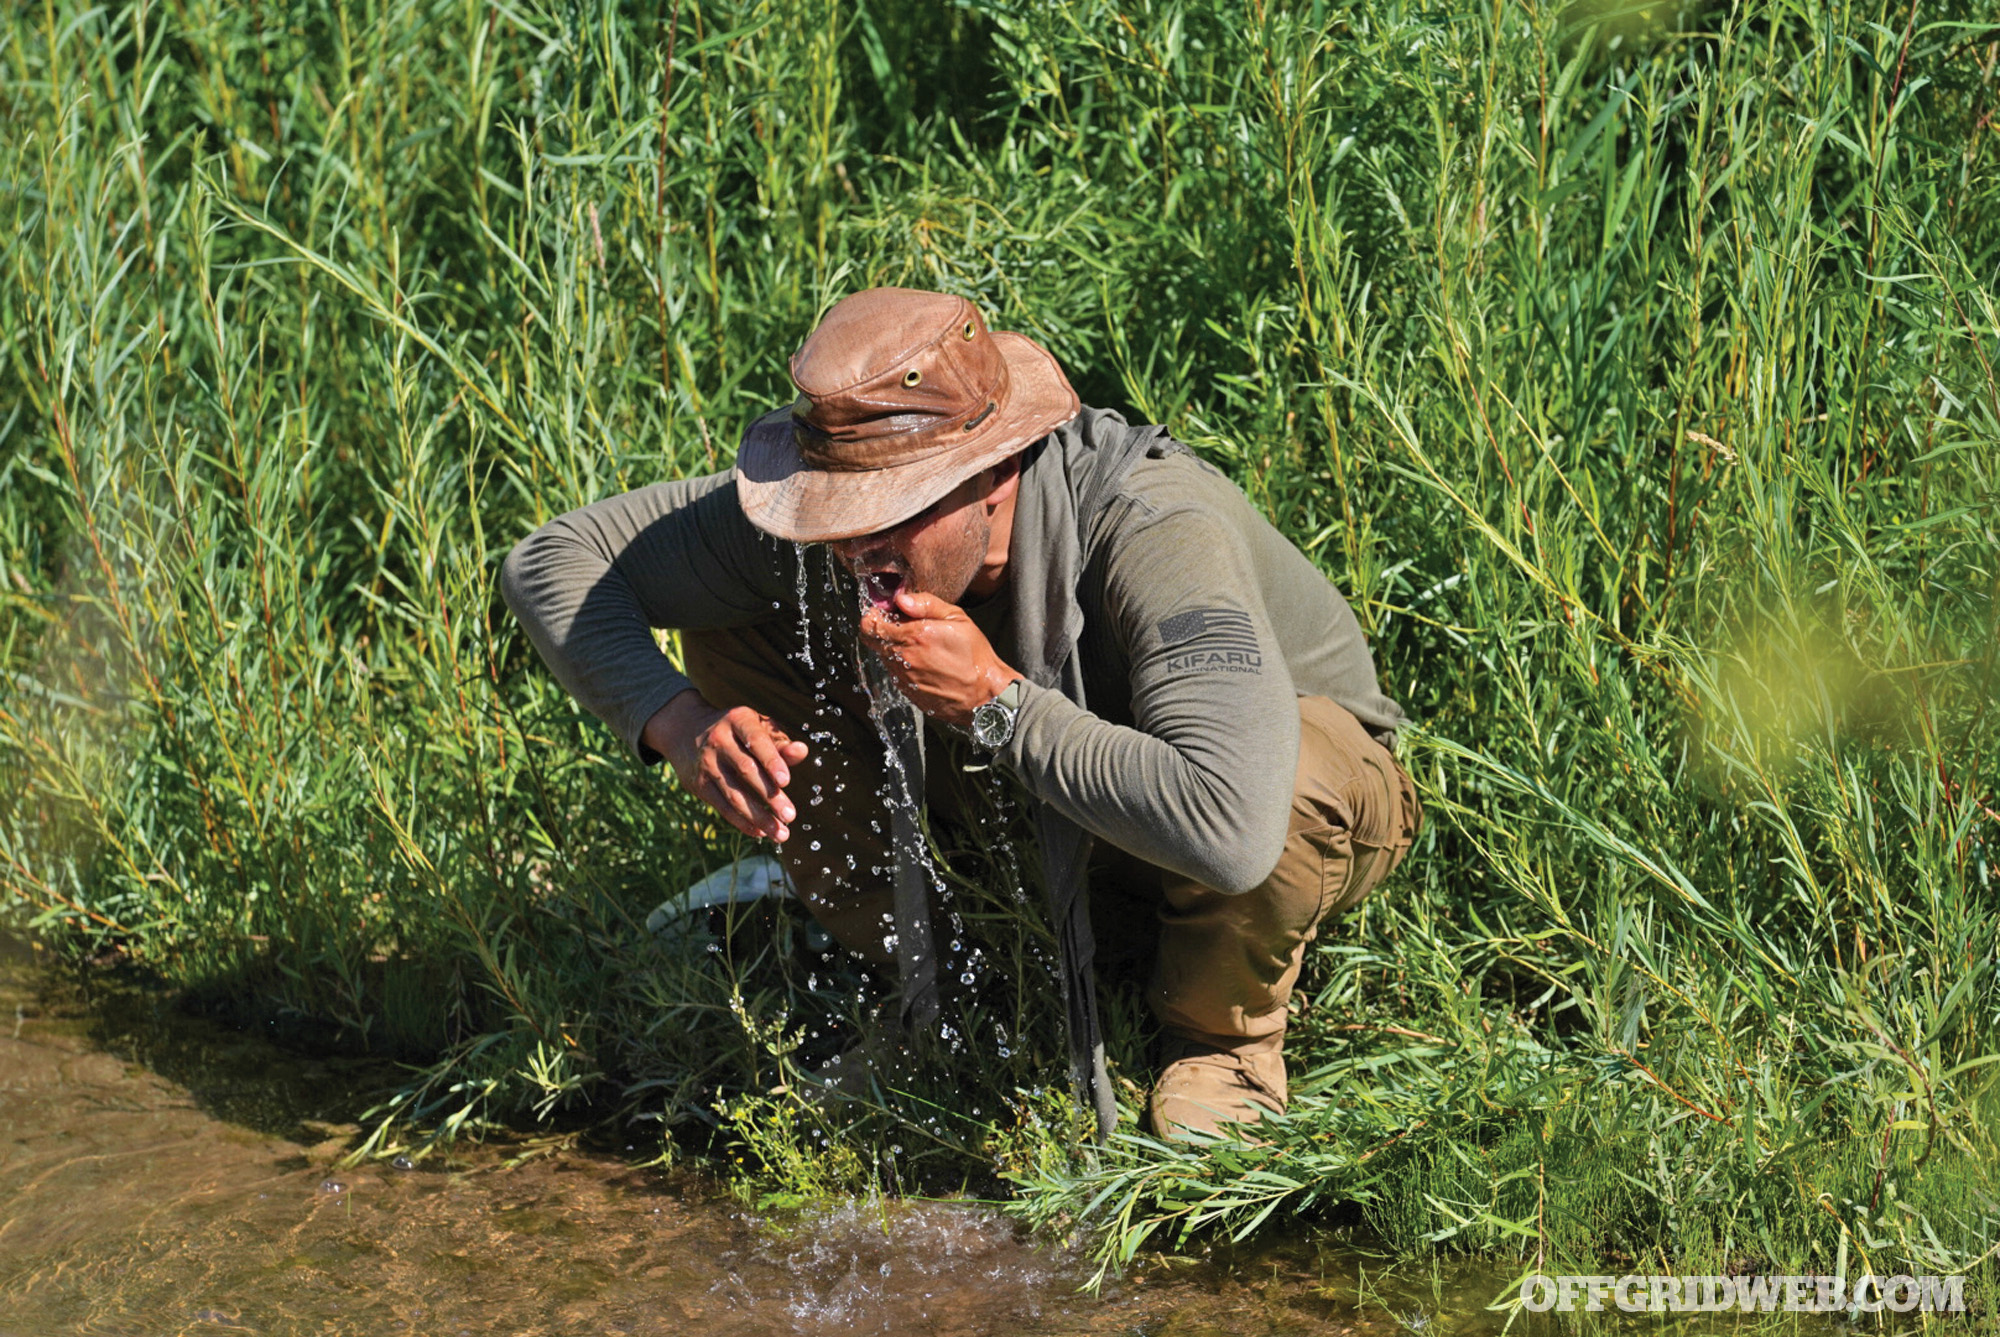
I’ll have with me my rifle and pistol with spare mags and ammo. I always bring along my ragged copy of the SAS Survival Handbook for its many useful survival tips the success of our society has demanded we forget. Water purification is top of my list since taking enough water with me for even a weeklong trip can start to strain a single-vehicle outing. I like Guzzle H2O’s portable Stream system. As long as I have a water source, I can quickly and easily refill my water tanks. I also like to take a two-person tent along with me regardless of if I’m staying in a lodge-like setting or not. Sleeping bags are relatively lightweight insurance against cold nights even if I don’t plan on using them.
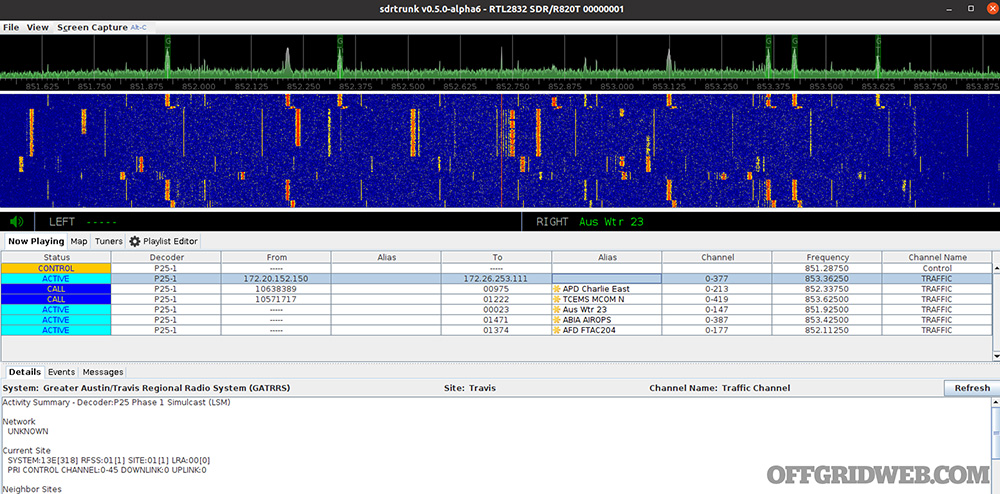
I obviously have my cell phone for primary comms, but also like to have a satellite phone for remote outings. I also carry a backup pre-paid cellphone. While working in the AO, I have several General Mobile Radio Service (GMRS) radios. I like these because they’re relatively inexpensive for intra-group communication and are repeater-capable for situations like the one we’re about to get into. For repeaters in your area, you can check mygmrs.com.
I always have several GPS-capable devices with me regardless of what I’m doing. My wife got me the Garmin Tactix Charlie one year for Christmas which is a nice tool to have on your wrist. I still run my old, but trusty 60CSx as well. Of course, I have my phone’s GPS, which I use the most, but trust the least. For some extra peace-of-mind I’m looking at the Garmin InReach Mini personal locator. To aid with reception issues, I’ve been researching the weBoost Drive Reach OTR. This is basically a 5G/4G signal amplifier that drastically increases your coverage in more remote areas.
For emergency medical I bring plenty of tourniquets staged in, on, or around each vehicle door. I like to use North American Rescue products like their Combat Casualty Response Kit. This lets me deal with various traumas and provides enough resources to deal with multiple patients. I also have individual bleeder kits I keep in response bags that contain light, ammo, and medical. Further, I have normal non-trauma first-aid kits, so I don’t have to use my good medical supplies on routine scrapes and cuts. Rounding this out I have a pole-less litter just in case.
If anyone is dependent on medication, like my son is, I make sure to bring extra along with me. I’ll store it in several places in the vehicle and among my gear in case I lose a pack so I’m not losing everything I have.
Now that I’ve done nearly everything I can to make sure nothing goes wrong, it’s time to break down on the side of a dirt road.
Are We There Yet?
So, the truck is mechanically down hard, we’re not yet at our destination, and we’re pretty far from where we last had cellular reception. Before I get into what I might do from here, I’d like to go back to my paper maps and suggest something. One thing I like to do is make note of when my cell signal starts becoming spotty. I’ll mark my paper map with a last-known spot of solid signal as I wind my way into the badlands. This gives me a sort of rally point I can navigate to if all else fails so I can make an emergency call. I want to go through all my various modes of communication before I start thinking about hoofing it or wearing animal hides and crafting spears.
Without a good cell signal, I’d first try OnStar, or similar service, if I have it. OnStar still uses the same cellular network as your telephone, but the system might have more range than your handheld due to it pushing more watts. It’s worth a try. If I had the aforementioned weBoost antenna, now would be a good time to power that thing up.
If cellular isn’t going to happen, I can try a couple things. First, I’d send some texts and emails to the person I gave my five-point plan to describing the situation, where I am, and what I’m planning to do. Sometimes when signal is faint, a text might make it through whereas voice cannot. I’d next see what I could get on my GMRS radios. I have both a high-power unit in the truck as well as handhelds. Since I took the time to visit mygmrs.com, I’ve already programmed in any available repeaters in my area that can extend my range. If I absolutely have no comms working, it’s time to start figuring out exactly where I am on the map and where the closest help might be whether I try to signal to it or walk there.
Remember those offline navigation apps? Now I’m glad I had those installed on my phone as well the pertinent regions downloaded so I know exactly where I am and can communicate that position via latitude and longitude, Military Grid Reference System, or even key terrain. Now would also be a good time to disconnect the negative battery terminal on my truck to preserve it since it’s not going to be running anytime soon.
Now I know where I am and what my options are looking like. Since no one is supposed to be headed out this way for some time, staying in place and waiting for someone to come along may not be my best option. It looks like I’m facing an hour (by vehicle, much longer on foot) either to the ranch or the highway. I’m not sure if the ranch has a landline or any other form of communications equipment since I’ve never been there. I do know, however, that I marked on my map the last known location for cell reception back towards the highway.
Given that I’m not currently under any additional duress like injury or lacking food and water, walking back toward the highway is looking like the most direct route to getting some help. Alternatively, I could walk in the rest of the way to the ranch and continue the trip, but at some point I’m going to need my vehicle recovered, so I should probably get that ball rolling and then see about salvaging the rest of the trip.
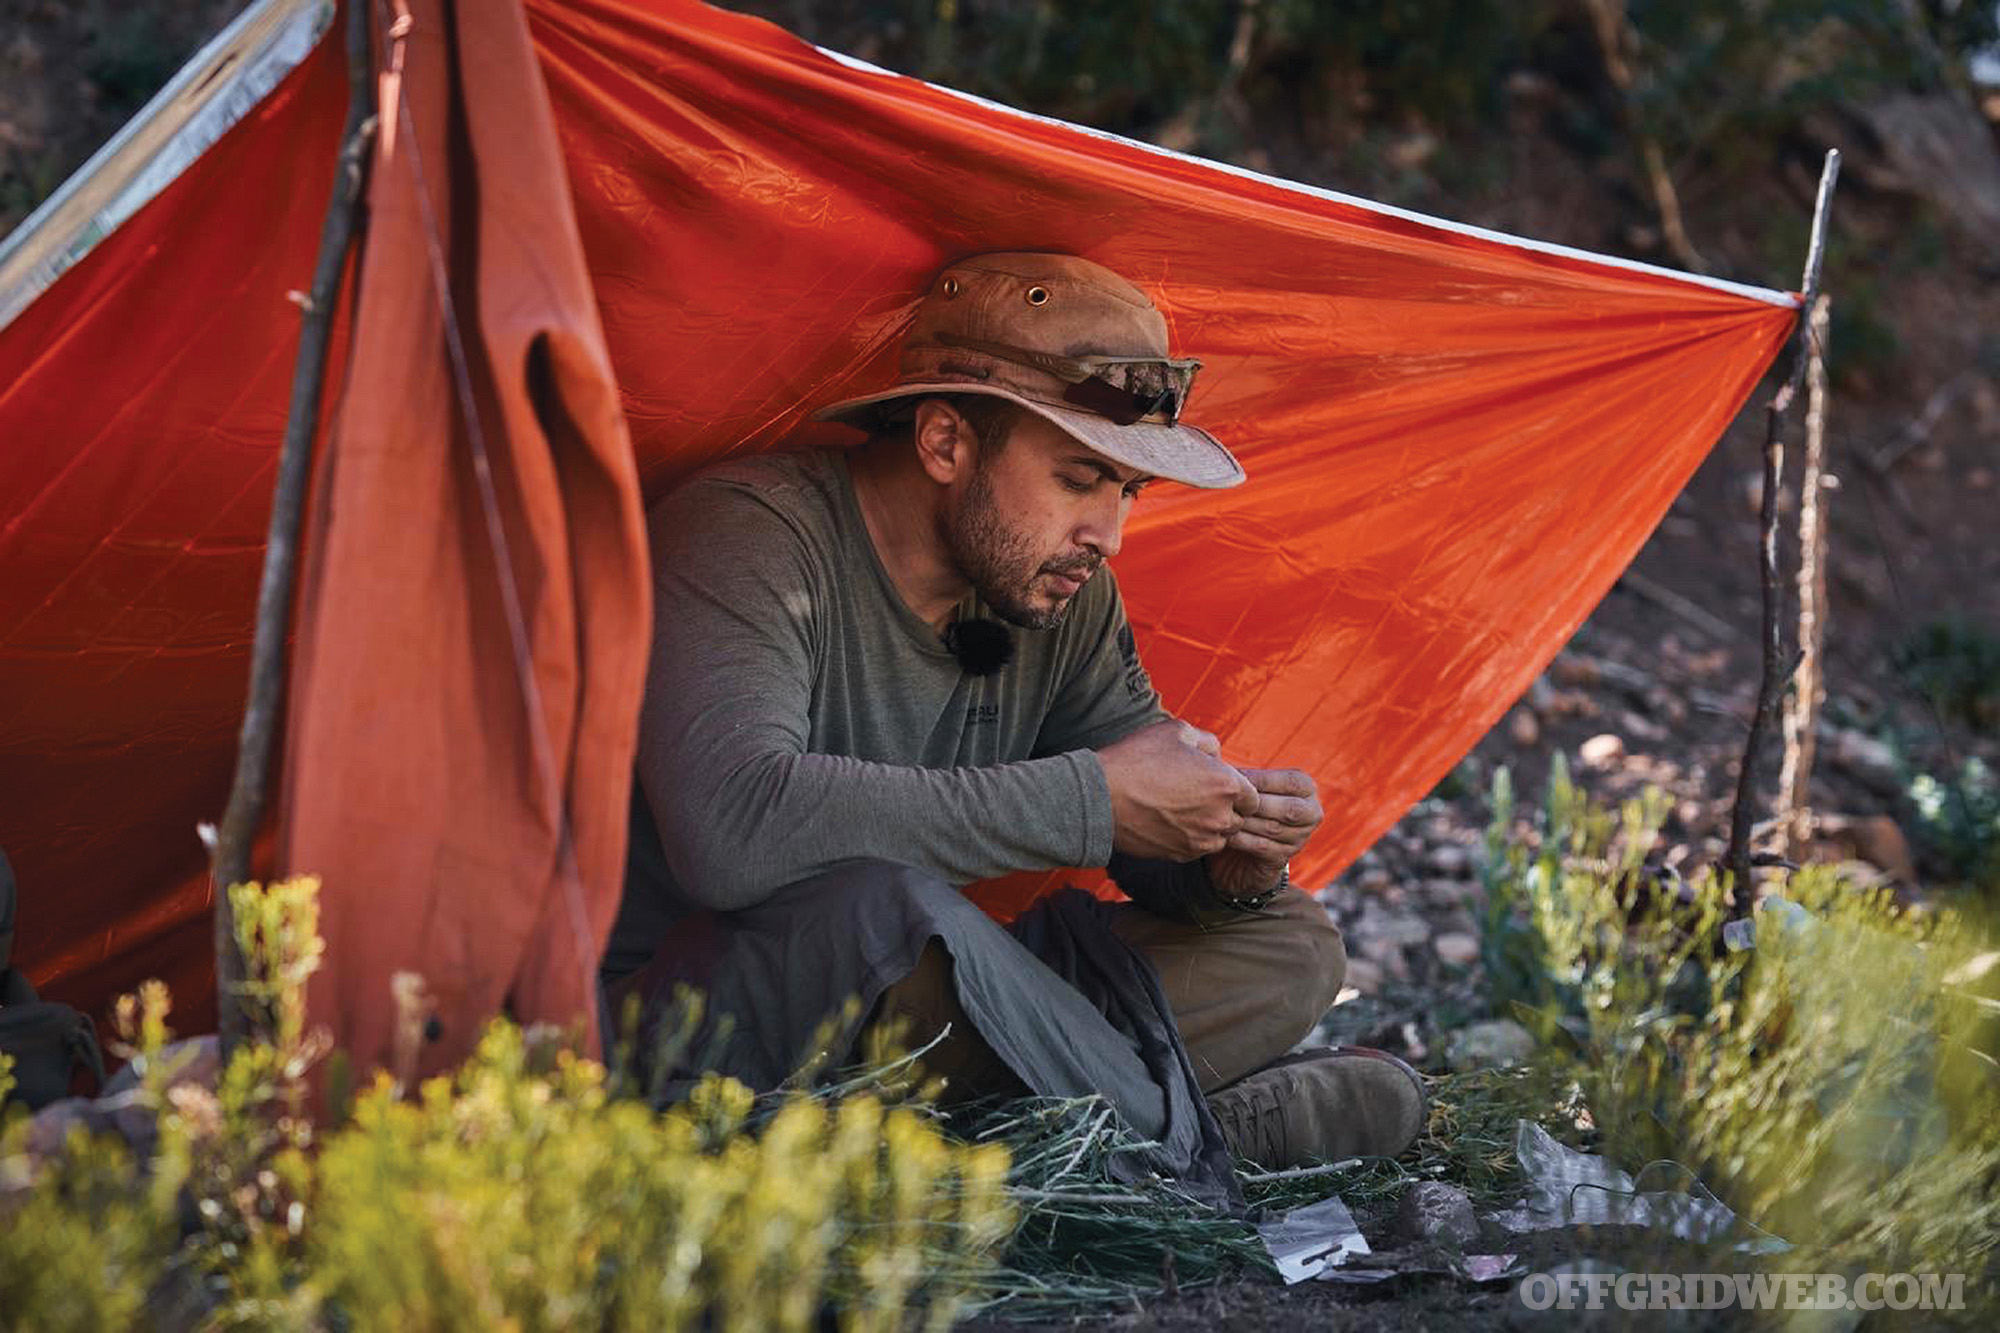
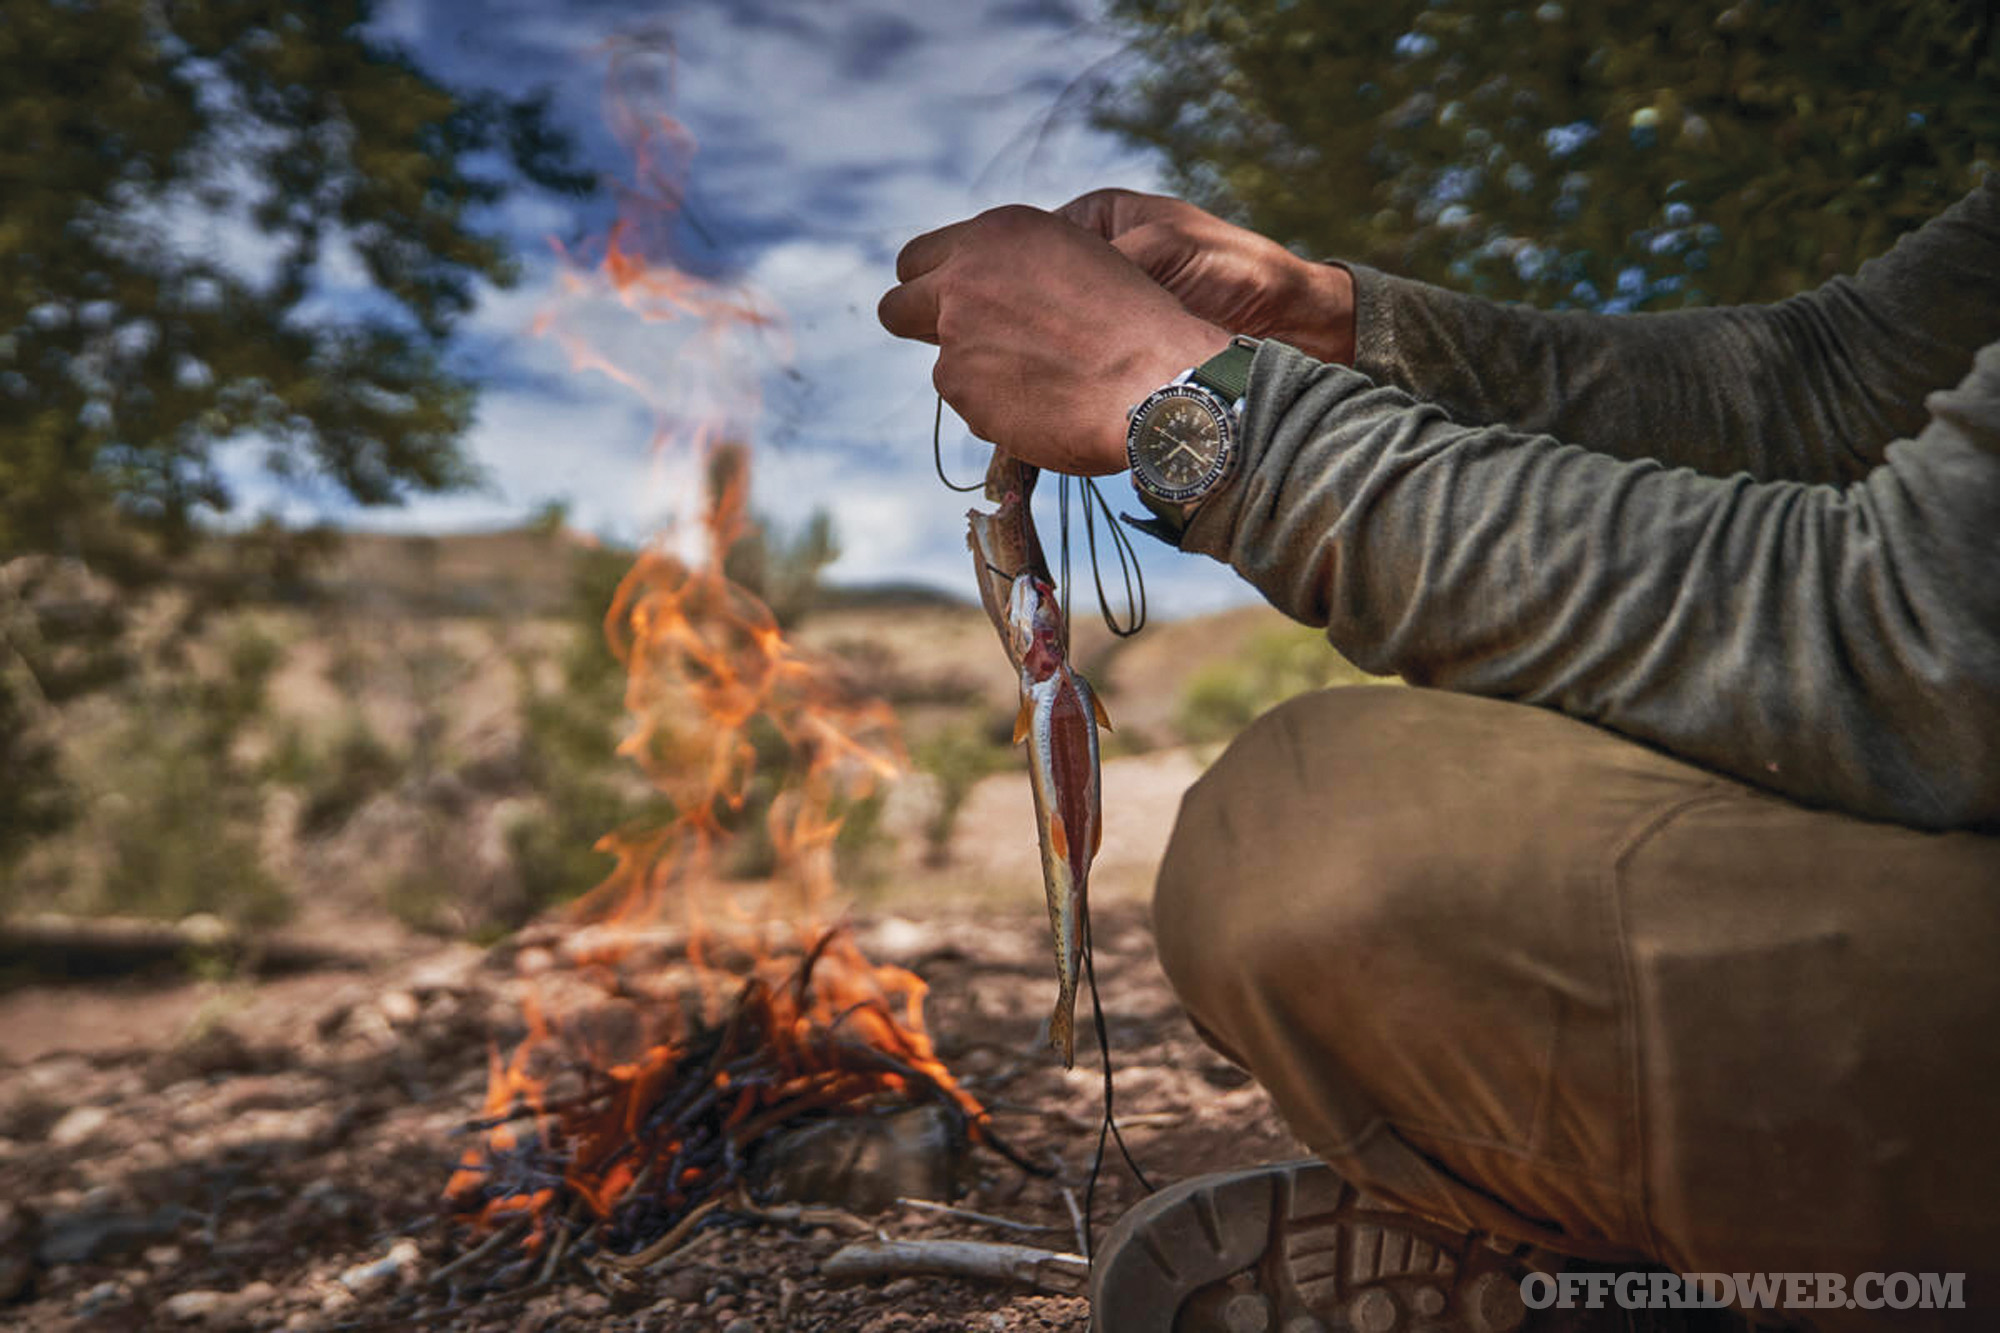
So, what I’d probably do is set up the tent for the night at the truck and walk back to my known reception point in the morning. I’ll keep a signal fire going throughout the night just in case. I’ll ration my supplies, even though I brought extra, in case what looks like a simple plan to do some walking becomes more complicated. If I did have something with me like the Garmin InReach, I’d probably save that for a medical emergency or last resort.
Before bedding down I’d also ensure there’s no possibility of a fire hazard with the truck. I’d probably cover that oil spill with dirt under and around the truck and make sure to keep my fire well away from it. I want a signal fire, not a signal explosion. The entire time I’m talking to my son and including him in the decision-making. If he’s worried at all, it may help him to be a part of the process of how to fix the situation and give him some comfort that we’re taking steps to mitigate hazards. We might make what was going to be a fun hunting trip into even more of an adventure.
When morning comes, I pack up the guns, water, radios, first-aid, food, don some hunter orange, and prepare to hike back to that last known point on my map. I’ll open the hood on the truck as a signal as well as use rocks or a shallow dirt trench to create an arrow on the ground indicating my direction of travel. I’d also tape a note to the inside of the window describing our plan and how to contact us should anyone come along and find the truck.
I would also compose some updated texts and emails and send them even if it tells me they’re not going through. As we walk, I might catch just enough signal for them to be sent as well as possibly receive word back. As we step off, I make sure to mark the truck’s location on my GPS as well as my physical map making note of key terrain in the area I can spot from a distance.
Even though my son has a medical condition, I don’t recommend splitting up and leaving him with the truck. Too many unknowns. I take what I need to care for him with me and walk to a known point together. I can use my map or GPS tools to roughly measure the distance we’ll be covering. I’d bring the tent and camping gear just in case we have to overnight while waiting for help.
Once we reach an area with enough reception to send and receive messages, we can initiate our five-point plan. Our emergency contact person can pass on our location, status, and requests and act as a relay for us if needed. We can set up a temporary camp and wait for help depending on the time of day and estimation of how long it will take aid to arrive. If there’s time left in the day, we can return to the vehicle and wait there until help arrives.
Conclusion
To sum it all up, preparation and planning can go a long way, even when things go sideways during a road trip. The key to success is planning for the unexpected — for the worst-case scenario like we see here. We should always be prepared for medical issues, vehicle issues, food supply issues, water contamination issues, and getting lost. The most crucial aspect is remaining calm and having an emergency contact plan in place, so if a communication window is missed, then friends and/or family have a protocol to follow to send emergency response aid to your general vicinity.
Assume your conventional means of communication and GPS may not work when you need it most, so having redundancies may mean the difference between life and death. Review multiple routes to and from your location and pinpoint whatever key facilities are closest: police substations, hospitals, etc. Jot down and keep direct contact info for these facilities. Leave an itinerary with predetermined contact times/dates for those back home so they know there’s something wrong if they don’t hear from you. A little effort on things like this beforehand will save you a lot of headache if you find yourself in the proverbial middle of nowhere.
[meetourpanel]