In This Article
This article originally appeared in Issue 7 of our magazine.
There’s a lot of information out there about fire-starting in adverse conditions and inclement weather, but a lot of it assumes you’ll have certain (often unobtainable) necessities on hand to carry out said task. For instance, birch bark is great for helping to start a fire, but it doesn’t grow where we live, so we had to figure out how to get a fire going without it.
But let’s face it, as a survival-minded individual, you should never be empty-handed. So, in an effort to simplify things a bit, we’re going to assume three realistic things: 1) you have some basic fire-starting tools with you, 2) you have or can find materials to build a fire, and 3) the conditions aren’t so cold that you have lost some or all of your fine motor skills. While you’ll most likely have little to no control over the third assumption, the first one is well within your sphere of influence. Your everyday carry gear should always contain at least one way to spark a flame. For example, this author wears a paracord bracelet with a fire-starter in it and carries both a lighter and some lip balm (the latter is flammable). Plus, we’re almost always carrying a pocket knife and wearing something made of cotton. You can also keep a few cotton balls soaked in Vaseline in a small Ziploc bag.
And before we jump into the techniques, it goes without saying that you should actually practice every method of survival before you find yourself in the field scrambling to make a fire before you’re drenched or frozen like an icicle. This process might take a little time, so don’t rush. Remember, the most important tool you have available is a proper mindset, so give yourself a break, take your time, and get it right.
Locate and Gather
The first step to fire-starting in tough weather is to find a spot that has some cover from direct rain and provides a barrier to block enough wind. Once you have a decent place, you need to assess the flammables available around you. Of course, you’ll want as much dry material as possible, but that can be a huge challenge if you don’t know what to look for.
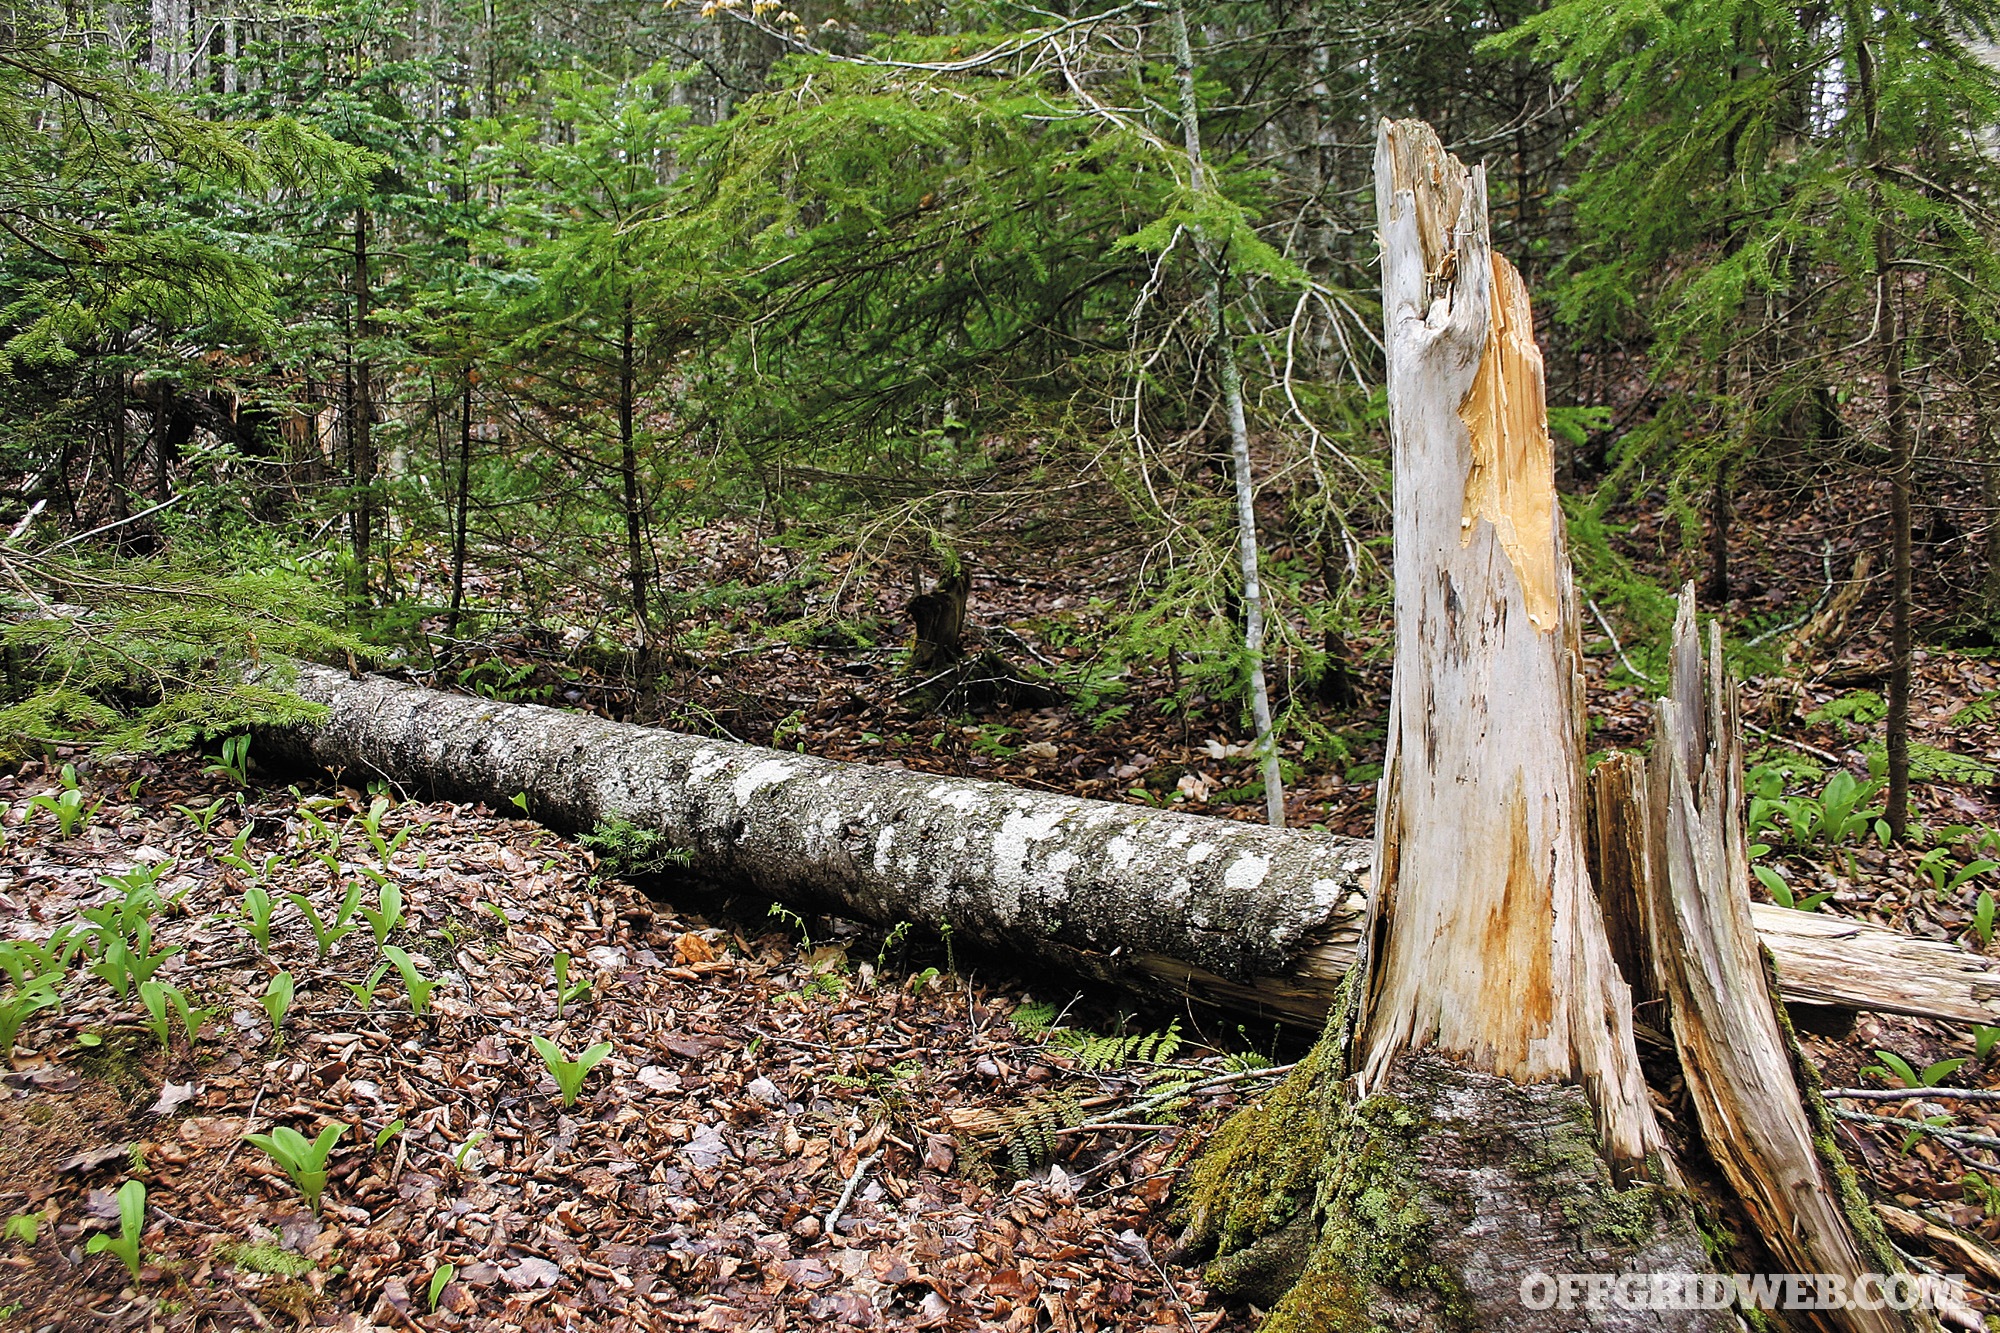
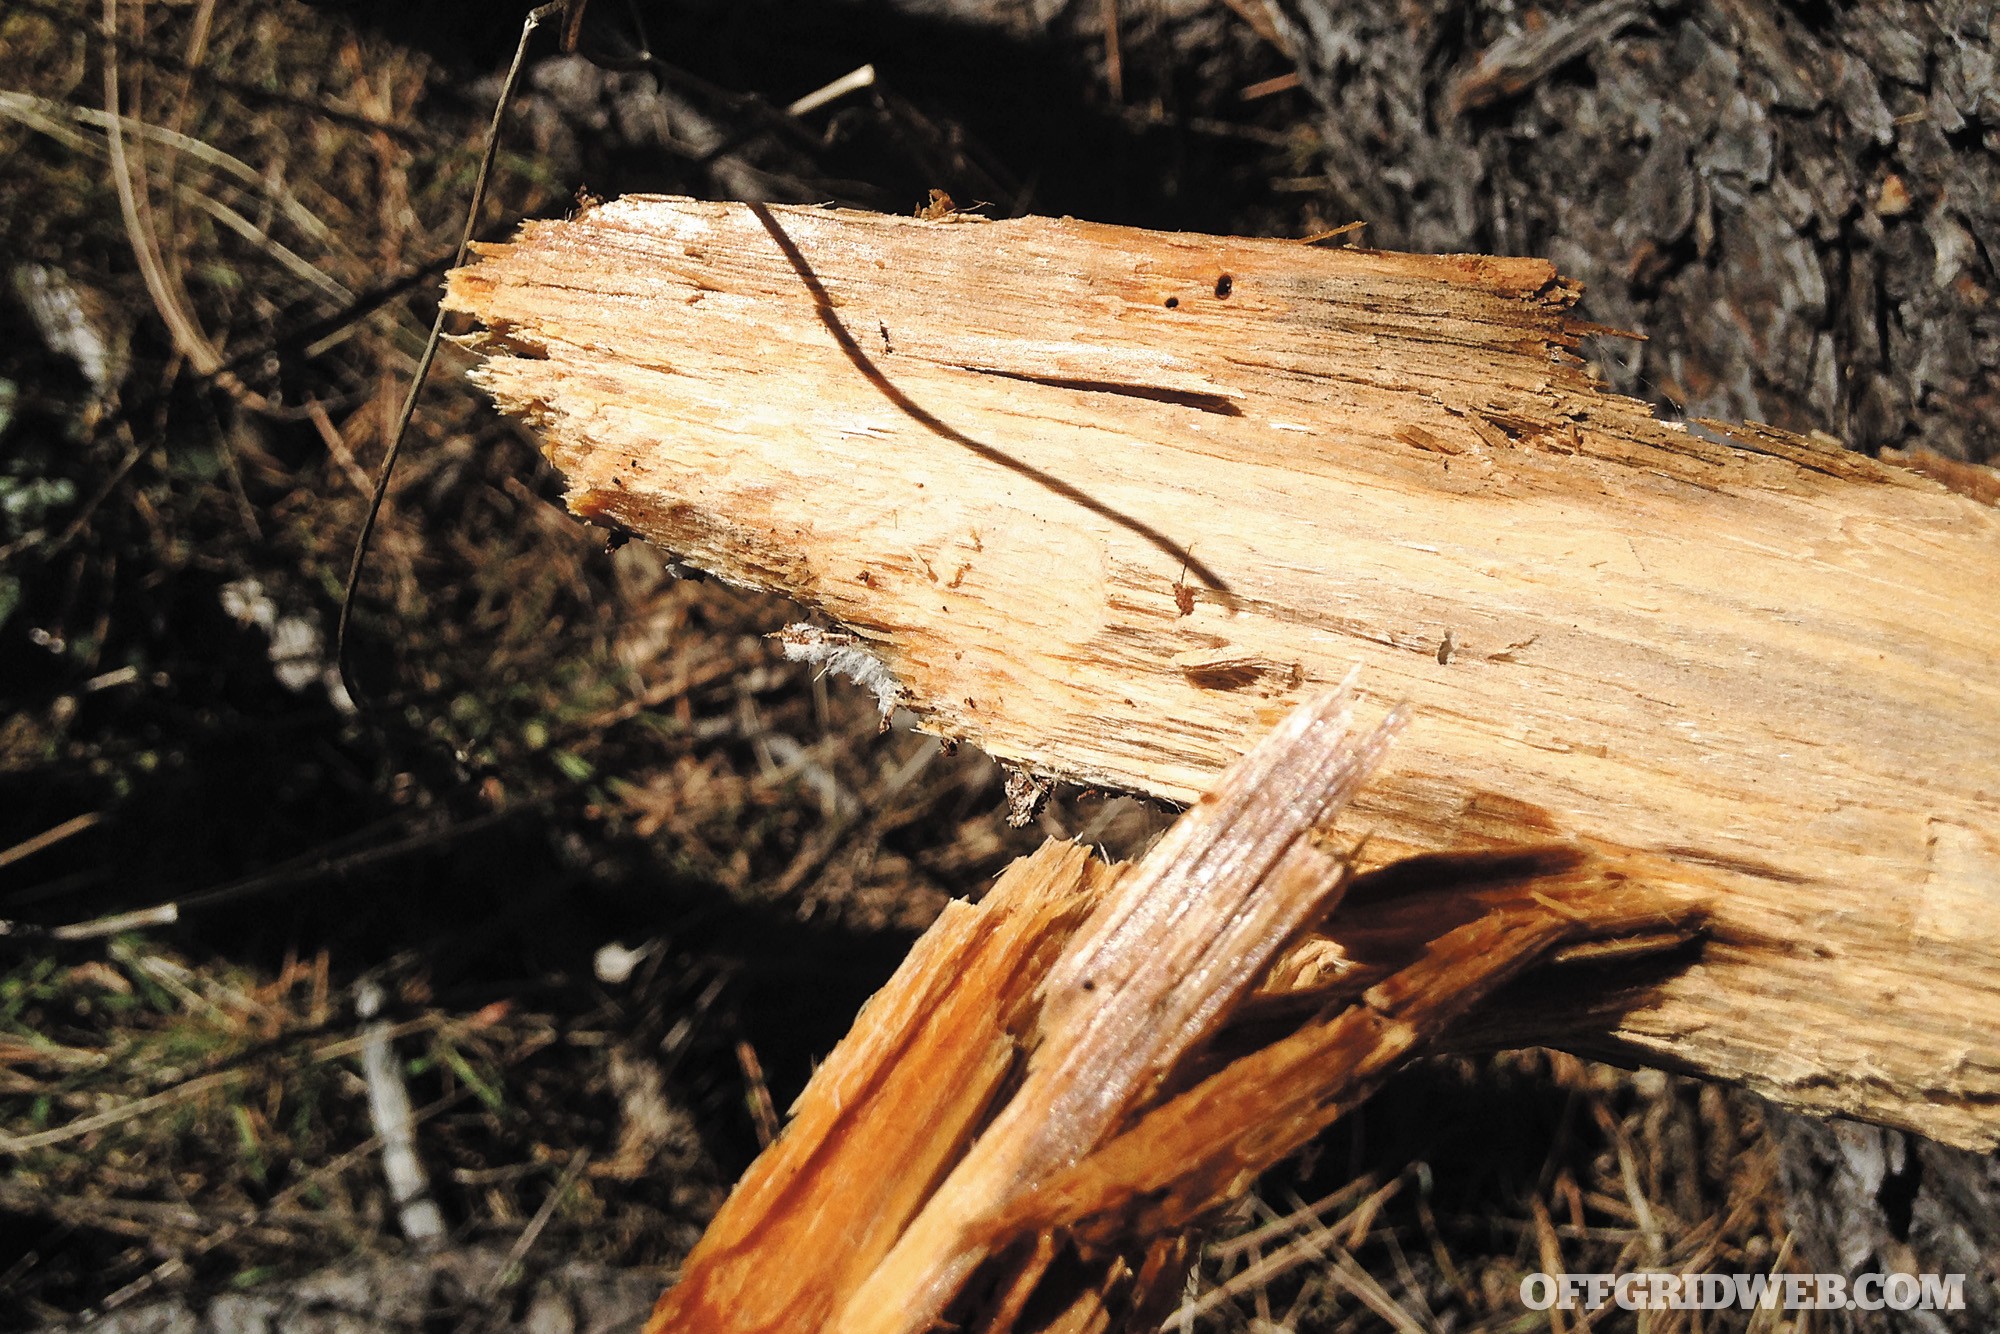
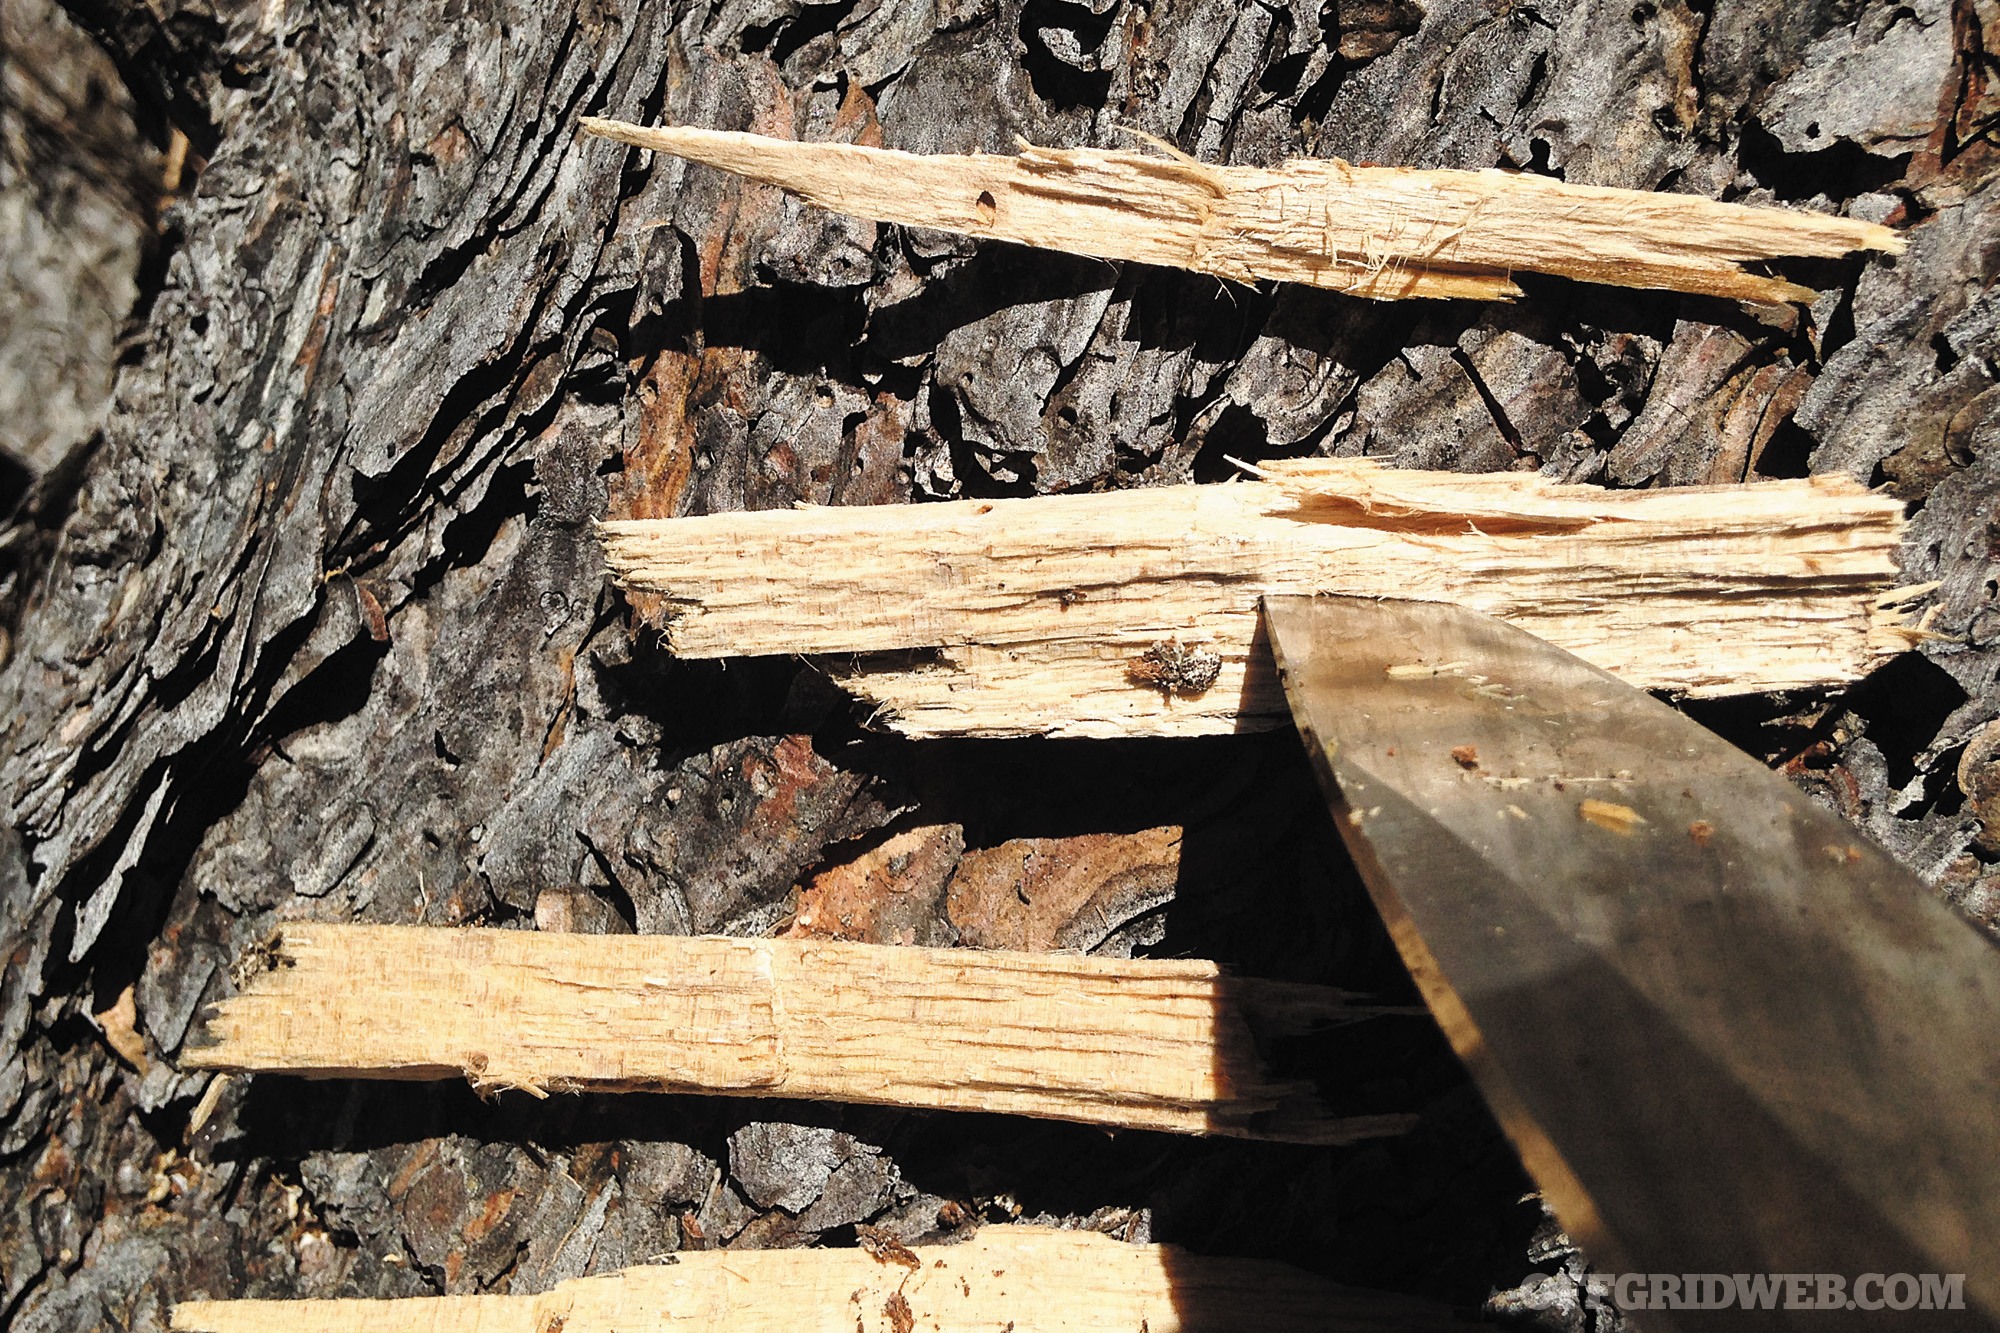
One great place to start looking is a fallen tree that has part of it still standing. This is called fatwood and can be a great source of dry wood. You can check the fallen part, but it will most likely be wet inside. The wood is fairly light and soft and can be manipulated easily. Break off a piece to see if it’s usable. If not, push over some of the trunk that’s still standing and tear off a portion at the new break. Cut out small pieces with your knife, while being very careful not to cut yourself. The last thing you need is a wound to tend to while trying to build a fire. Make sure to cut some of them into thin pieces, like drinking straws.
Next, find twigs and small branches that aren’t too wet. Gather up pine needles if they’re available because even if they’re wet, they’ll still burn. If birch bark is present, get some! With birch bark, there’s an outer layer, inner layer, and the stuff in between. The stuff in between the layers is what you want. It’s somewhat oily and is a great material to burn.
Keep some of the smaller kindling aside in case the fire starts to burn out unintentionally. After accumulating the required elements to get a fire started, look next for wood to keep the fire going and big enough to provide warmth and hot enough to cook. The larger pieces of fatwood are a good start, but you’ll need wood that’s dense as well.
Locate pieces of wood that aren’t completely wet that maintain their integrity and still have bark. Separate the bark from the wood to see how dry the branches on the inside are. When possible, find pieces that are partially split and finish splitting them with your knife or a sharp rock, again being careful not to injure yourself. The size of the pile of larger pieces of wood depends on how long you want the fire to burn.
Lastly, find a medium-sized rock that’s flat enough to put kindling on if the ground is very wet. It’ll help to turn it upside down and use the drier side and get it out of the wind. Once a fire-starting area has been established, separate the materials and make small piles in the order you’ll need them. Place pine needles closest and then thin pieces of dead grass or brush. Next, place the thin pieces of fatwood next to the pine needles. After that would be small twigs and larger pieces of fatwood or brittle branches, followed by the larger pieces of wood and branches. (Note: If you’ve found pine, avoid using the bark because it doesn’t burn well.)

Flame On
Now that you have all the ingredients ready, it’s time to get the party started. Take about five pine-needle bundles, hold them together next to the rock to block the wind, and light them with your lighter or fire-starter. It might take several tries to get them to ignite. Once there’s sufficient flame, hold a small piece of fatwood over the flame. Once that lights up, start adding more small pieces until you have a sustained fire.
The Cotton-Ball Backup: If you don’t have a lighter, you’ll most likely have to use an accelerant from your EDC gear or bug-out bag. The cotton balls soaked in Vaseline are the easiest to use. Simply tear the cotton balls apart into a fibrous little pile then use a striker and rod to ignite the cotton fibers. Add small materials first until you have a sizeable fire going.
The Lip-Balm Alternative: If you don’t have any Vaseline-soaked cotton balls, you can make a similar product out of small piece of T-shirt smeared with lip balm. First, put a thin coating of lip balm on the cloth, then fray it on the edges. The lip balm isn’t really an accelerant as much as it allows the material to burn longer and more evenly so you have time to ignite the cotton blend.
The Paracord Option: The patented 550 FireCord is very cool, too. It’s American-made 550 paracord with one slight difference: mil-spec paracord has an outer shield and seven inner yarns, but FireCord has an eighth yarn added. The eighth yarn is a color-coded, waterproof element that’s easy to ignite. However, because it’s inside the outer shield igniting it accidentally is unlikely. Simply cut an appropriate length of cord with your knife and pull the red yarn out of the center. Make a small pile with it. Sometimes you can take a small length of the FireCord yarn and wrap it around the tip of a small twig. Once you ignite the pile of FireCord yarn, place the wrapped tip of twig over the flame to get the twig to light. As soon as it’s lit, add additional pieces of small material to build up the fire.
Add the larger pieces of wood once there’s a decent flame, being very careful not to smother the flame. Lean two twigs, 6 to 8 inches long, against each other over the flame like the beginning of a teepee or a cone. Add more pieces in a circular pattern around the flame with enough air between the bottom of the twigs and the top of the flame for it to continue burning. Once the shorter twigs are burning, repeat the same pattern with slightly longer and thicker twigs until you have enough flame to start adding pieces of branches or small logs.
If the fire begins to go out, use some of the smaller pieces of fatwood or twigs to get it burning hotter again. If it gets very low, you can use pine needles again by holding them almost vertically and placing just the tips in the flame or embers. Once they have ignited, rinse and repeat until there’s enough flame to start with the twigs and larger pieces again.
Sparking Your Preparation

The key to most things in life is focusing on the solution rather than the problem. In a survival situation this could be the most important thing to remember. Most people who are able to survive when things don’t go their way do so because they don’t defeat themselves. They identify the challenge and set forth to overcome it calmly and rationally. Fire-starting in wind and rain while you’re cold can be difficult, but it’s achievable provided you give yourself a chance to be successful — take your time and don’t get discouraged.
As the old saying goes, “It’s better to have it and not need it than to need it and not have it.” With as a mantra, it’s generally wise to have more than one way to start a fire with you at all times, just as you should have a multitool, knife, flashlight, and other items as well. Most importantly, the tool you should never leave home without is your will to live and a solution-oriented mindset. We don’t know everything or even close to it, but we do know that we love our families and want to see them again. They’re counting on us to make it, and so are yours. Stay focused.
