In This Article
Disclaimer: Check local codes on composting before attempting to create your own to ensure you’re not inadvertently violating any laws.
Whether you’d like to grow your own veggies for fun at your off-grid homestead or you’re preparing for a long drawn-out crisis that’d require the ability to harvest fresh produce for several seasons, you’ll have many problems to surmount. One of the most glaring issues is how to fertilize those crops when the Miracle-Gro runs out. Our forebears grew their own food without the help of any synthetic products from a garden center and in an ecologically friendly way.
You too can sustainably create much of the nourishment that your survival garden will need. Feed the plants that feed you, with the simple process of composting.
You can think of composting as “managed rot.” This is the procedure of collecting plant material (and possibly some animal materials) and assisting the decay of this organic matter so that it can be used as a fertilizer and soil conditioner. The act of composting creates rich plant food, while simultaneously addressing some waste disposal issues.
The finished compost provides nitrogen (for healthy growth of stems and leaves) and phosphorus (which is needed for flowers and fruit) to your plants. In addition to fertilization, compost allows sandy soils to hold moisture longer, breaking up dense clay soil for better drainage and easier root growth. Plants slowly make natural compost (humus) as they die and return to the soil, but when we jump in to help, we can make it happen a lot faster.
Learn the Basics
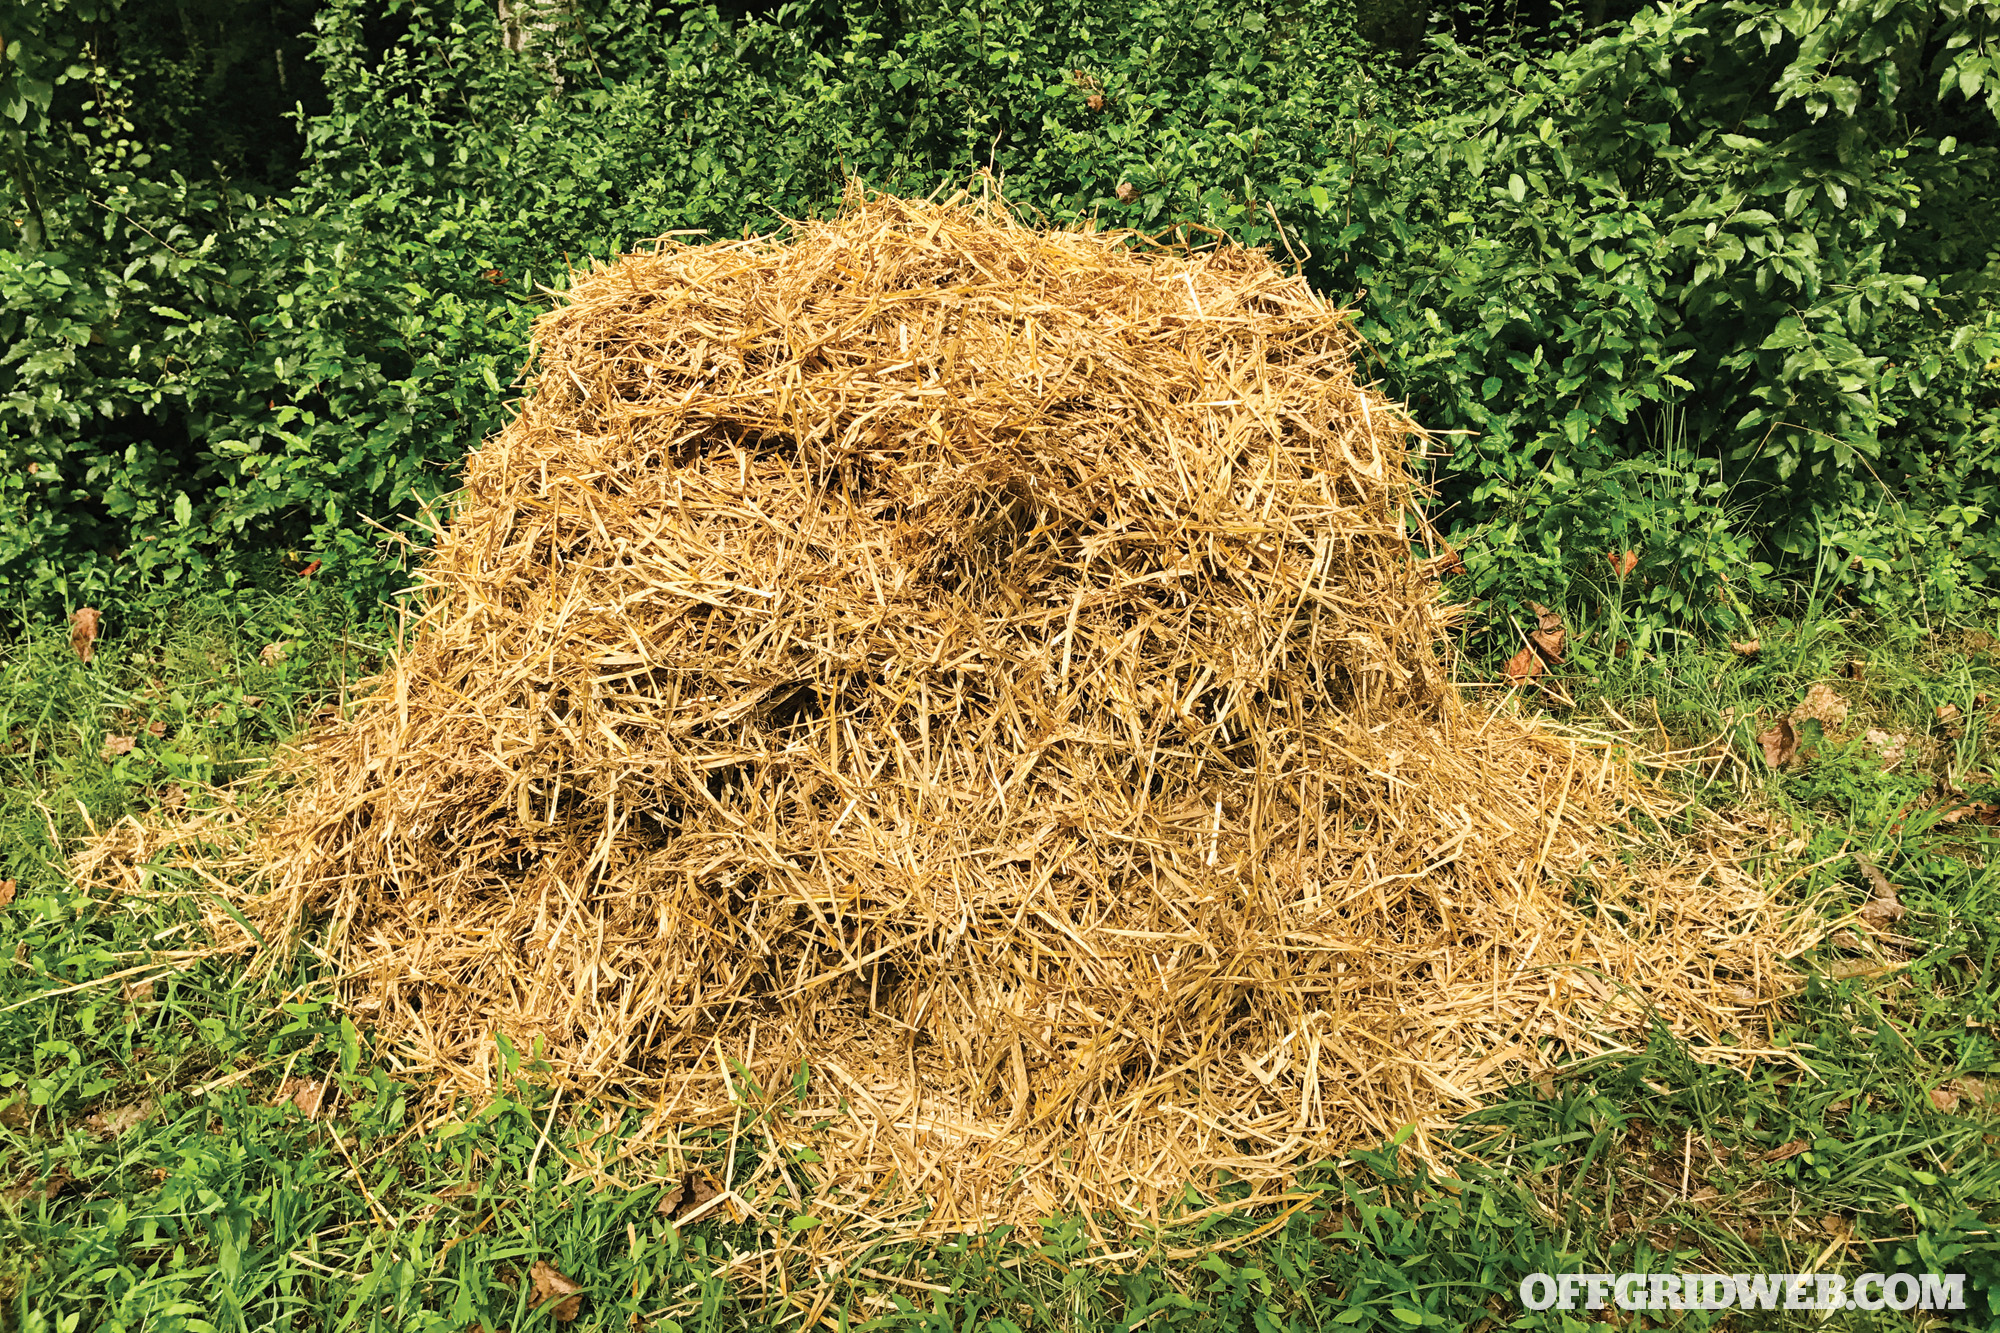
Composting can be practiced in different ways, but the most basic system is a quick-and-dirty compost pile on the ground. The pile can be any size, though tiny ones don’t break down very quickly and may not heat up enough to kill weed seeds. Huge piles can also be a challenge, as they’re hard to mix and aerate by hand. A pile that’s about 3 or 4 feet tall (and just as wide) is a good size for most gardens. Once your waste items are placed in a pile, watered, and blended, the pile begins to heat up, and the organic materials are broken down by fungus, worms, bacteria, and many other soil-borne organisms.
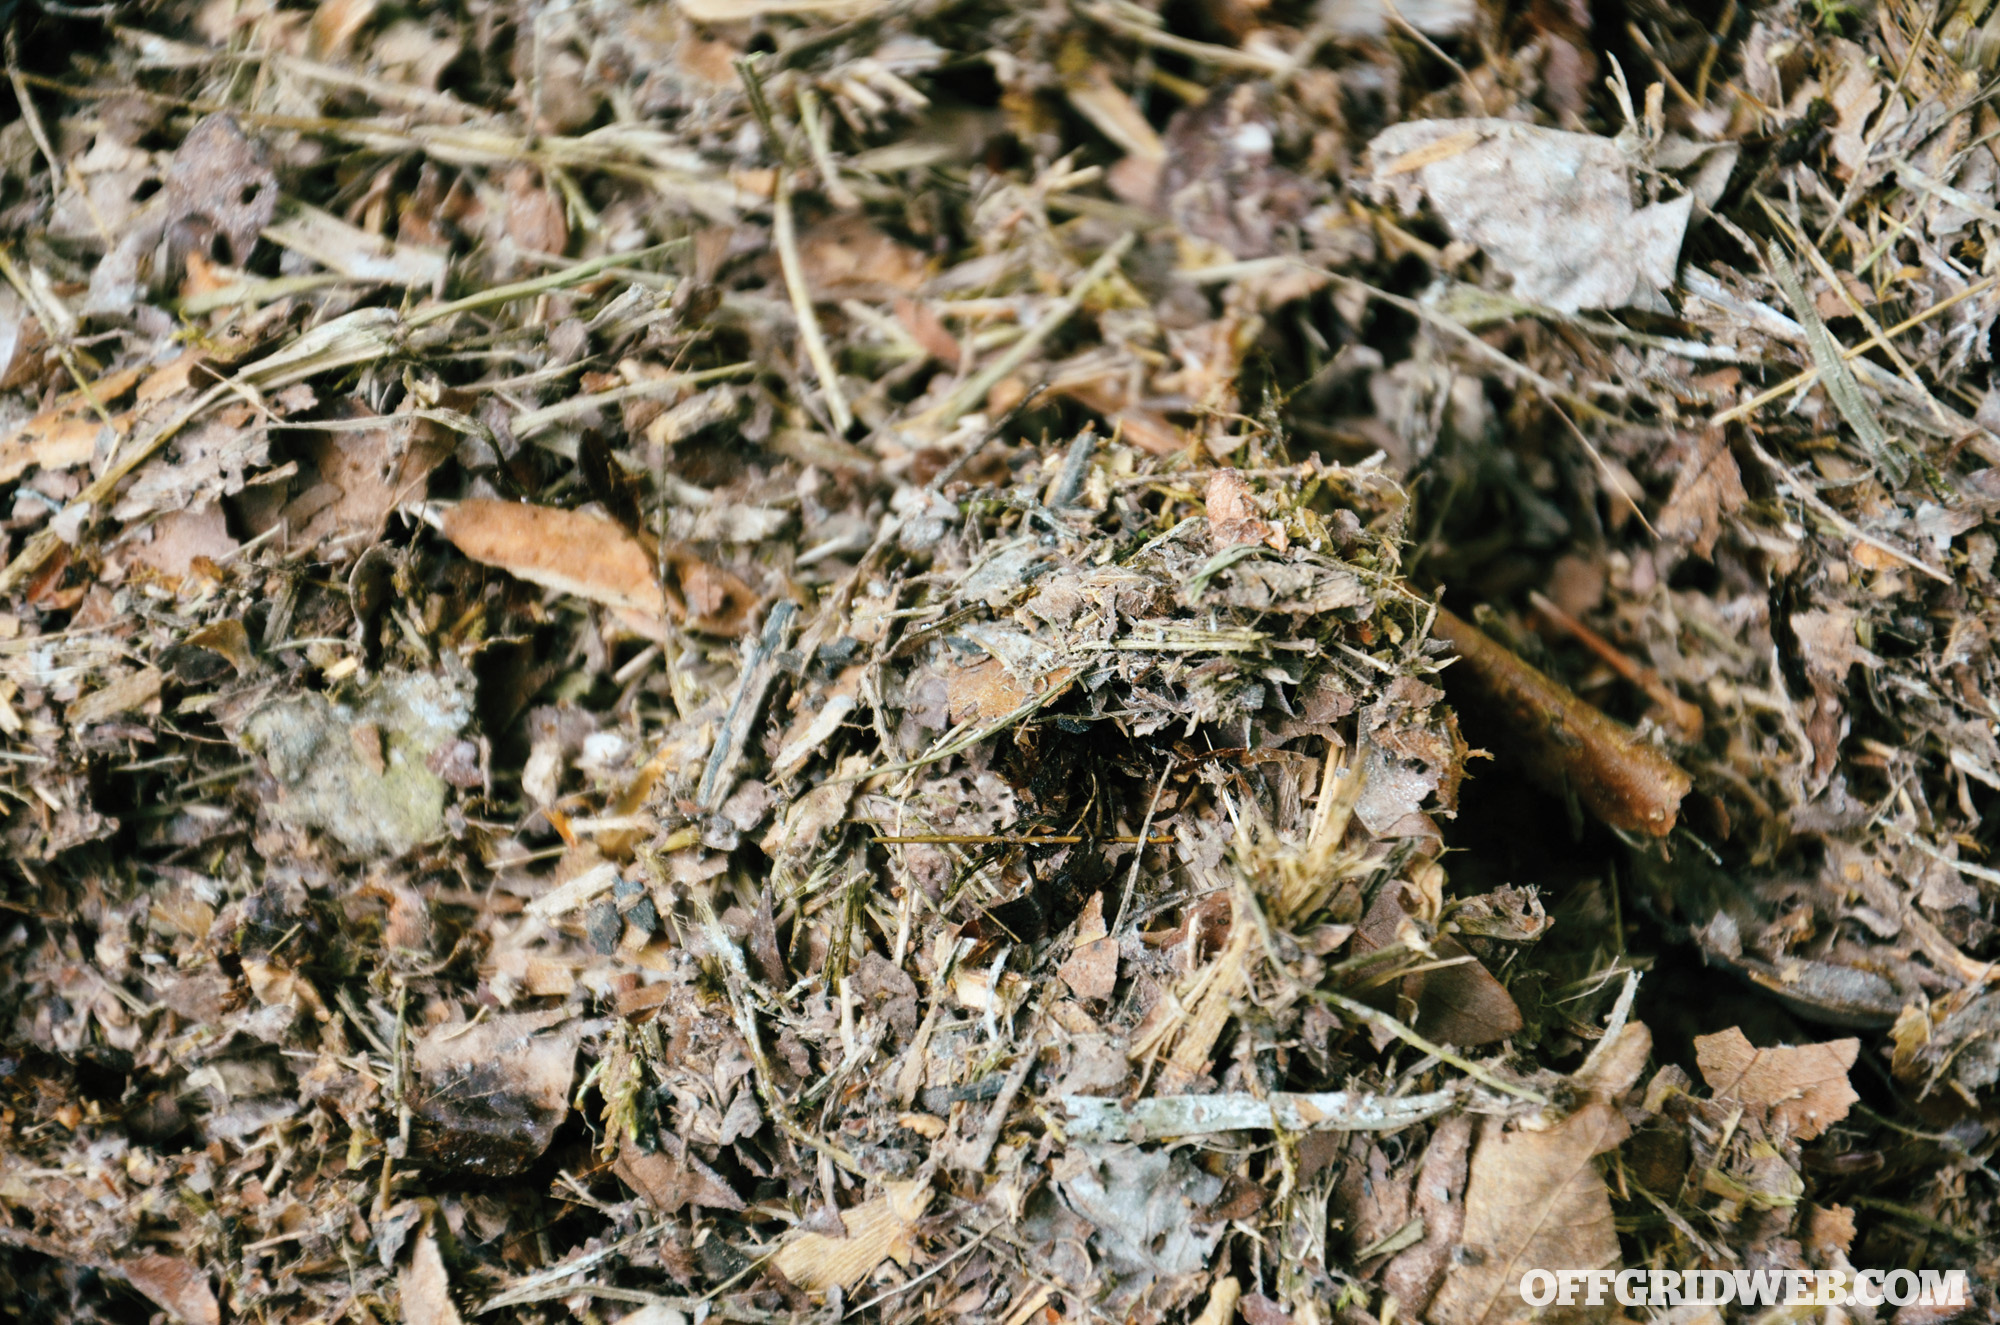
Sure, decomposition will happen even without our involvement — but by keeping the pile as damp as a “wrung out sponge” and by turning the materials to add oxygen, we can drastically speed up the process. The change from lawn waste and food scraps into rich humus (a building block for productive soil) can happen in several months, rather than several years.
Gather Your Materials
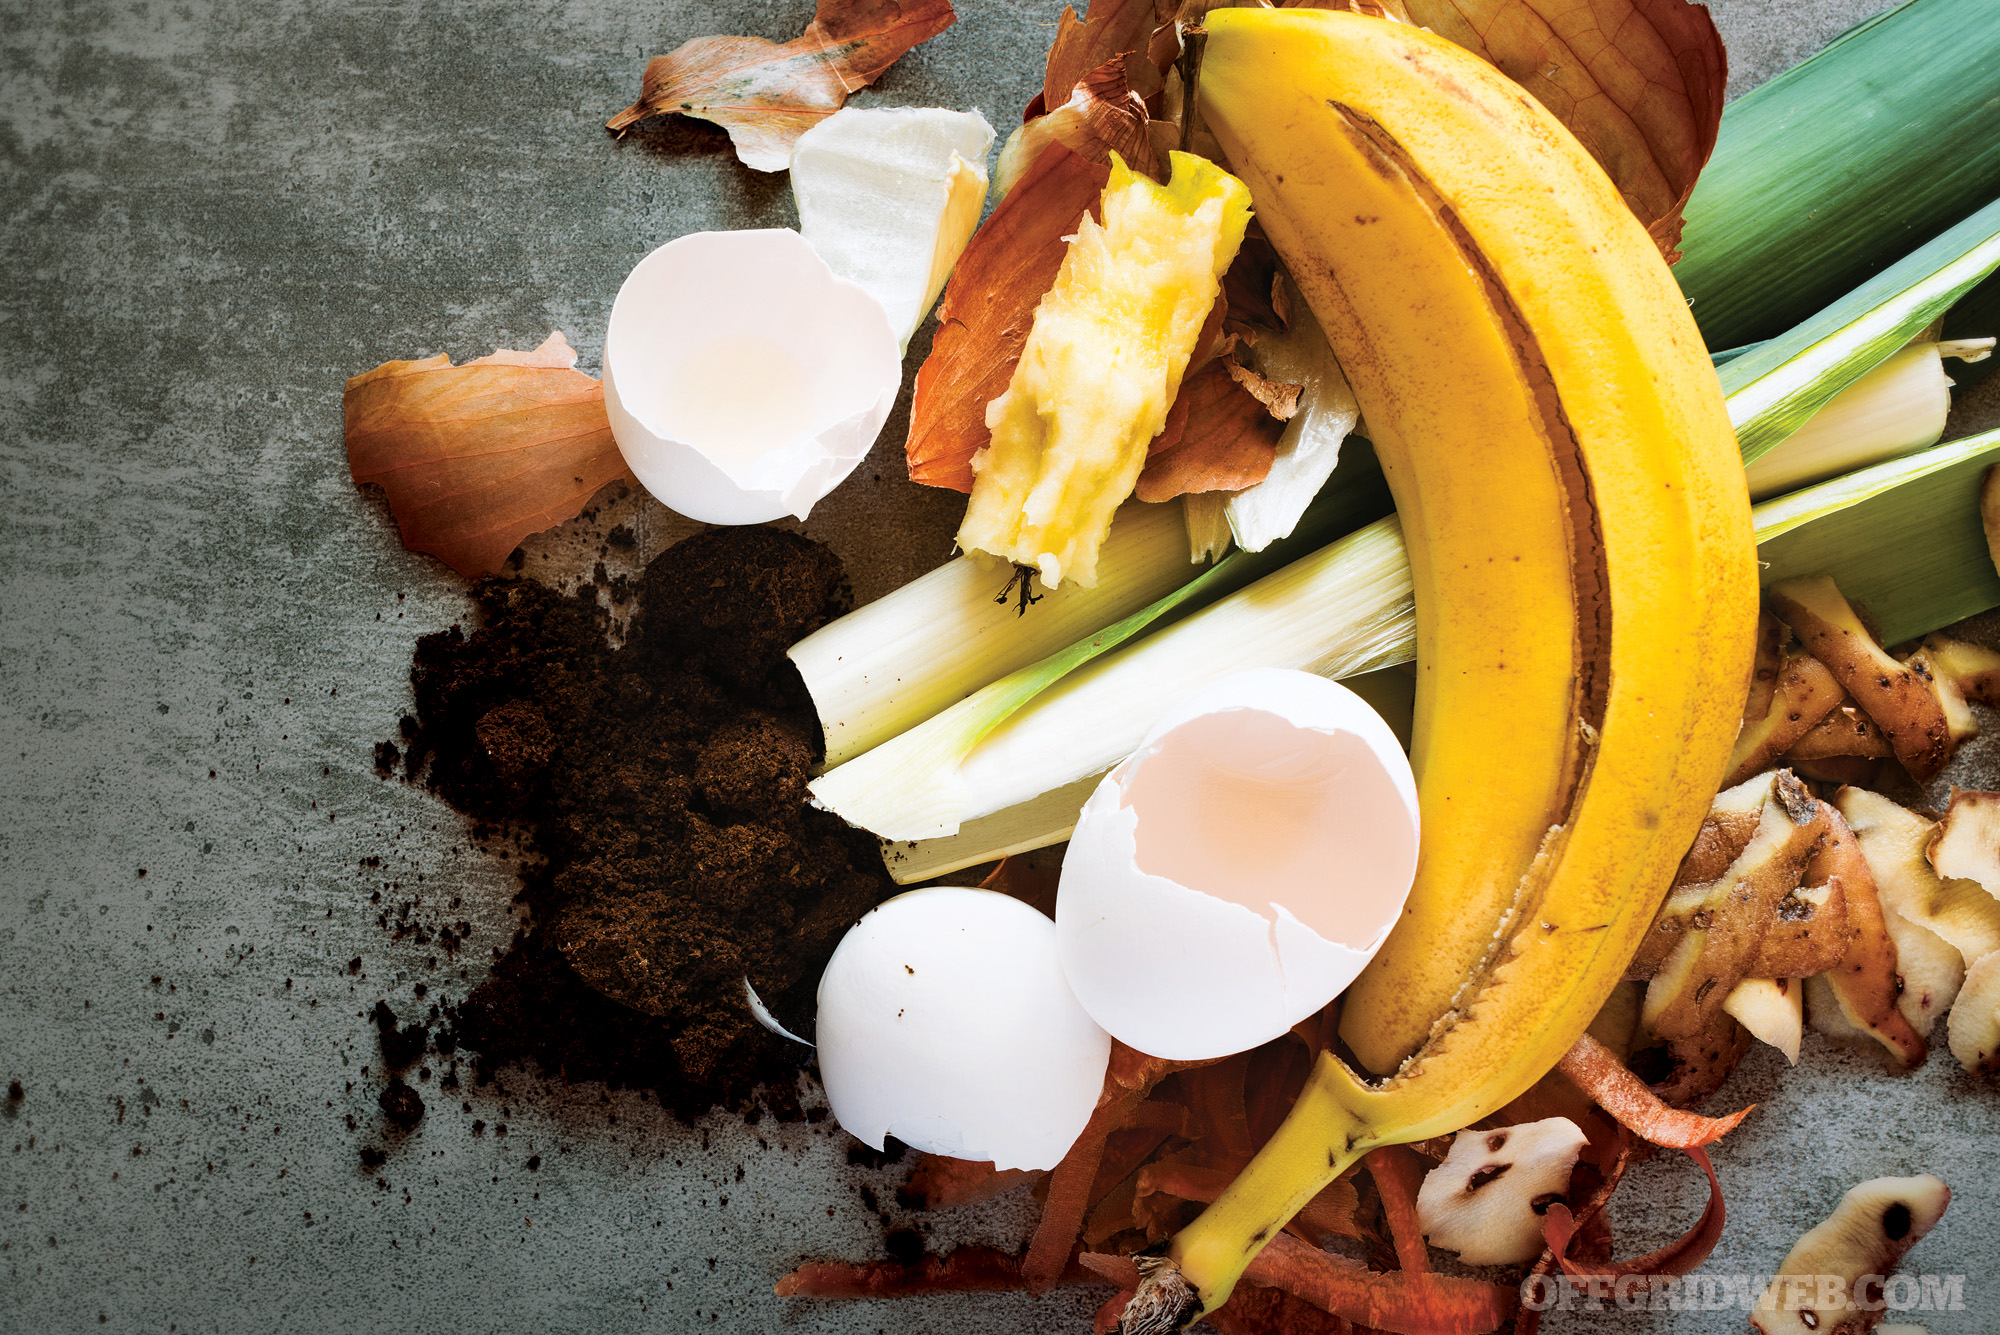
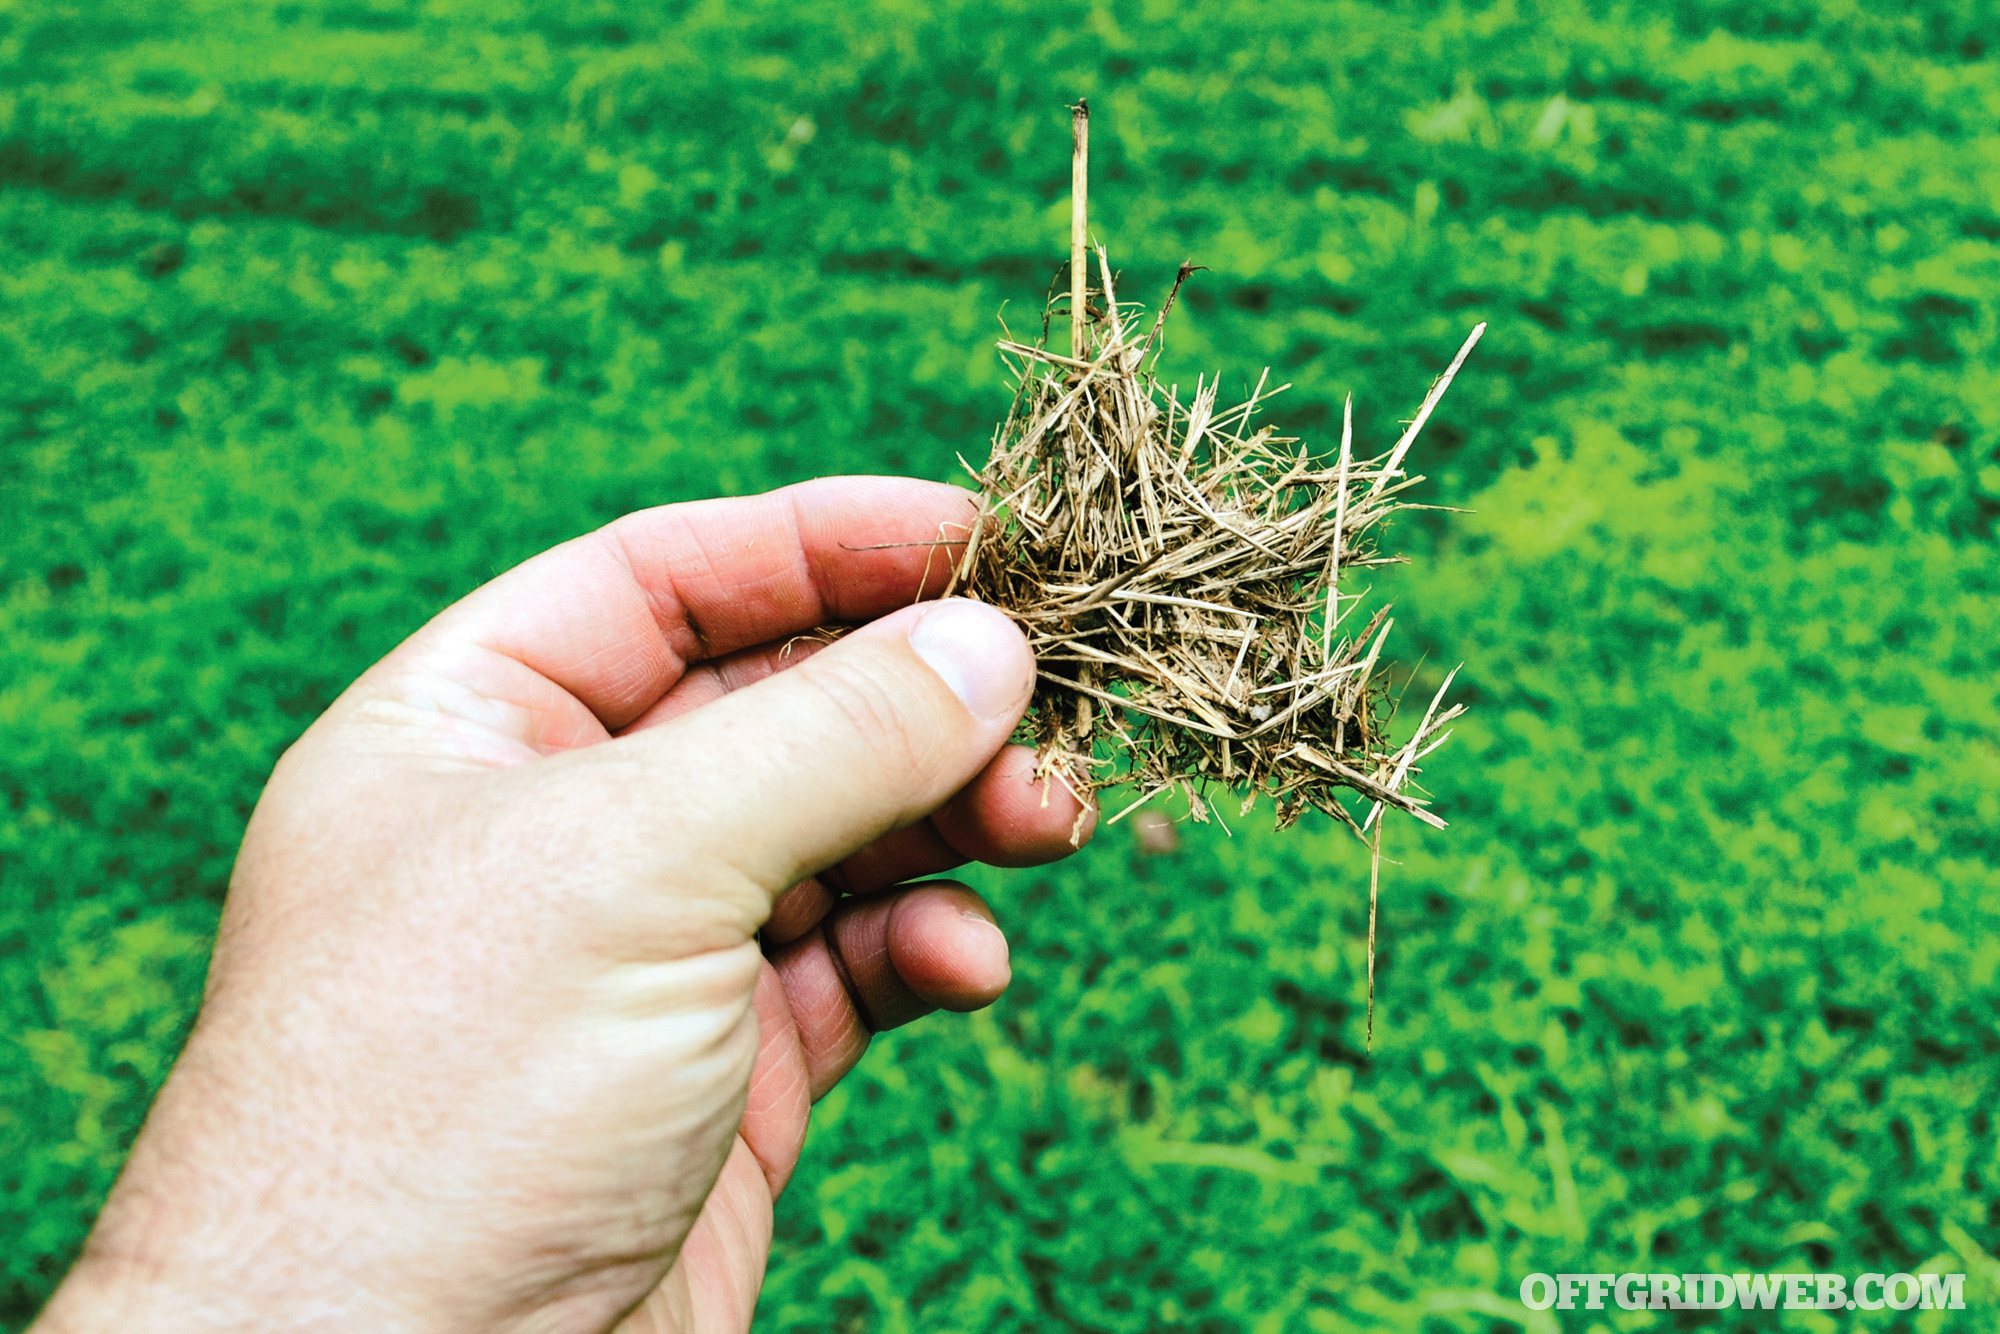
So what can be used for composting? The bulk of your pile should be carbon-rich plant material. From your outdoor surroundings, you can use straw, wood sawdust, spoiled hay, leaves, dried grass clippings (not the fresh green ones, wait until they dry and change color to throw those in), wood shavings, shredded tree bark and twigs, corn cobs, seaweed, pine needles, and similar materials. From home, you can add coffee grounds, crushed eggshells, rotten vegetables, fruit and veggie peelings, spent tea bags, shredded brown cardboard, and other plant-based non-toxic waste. A simple bucket with a lid is all you need to collect your compost scraps, prior to adding it to the pile.
You could add human, cat, and dog feces, if you had no other place to deposit this nasty stuff, but be warned. This waste can transmit various diseases to humans, and your finished compost that contains these wastes should be aged for at least one year before use so that disease-causing organisms can die off. Yes, you heard that right. A compost that contains feces, bones, blood, etc., should be one year old before use, especially on crops that would be eaten raw (like lettuce). You don’t, however, need to age the stuff, then add it to compost, then age the compost as well.
To really kick-start your pile, add some nutrient-dense items to the mix. Bone meal and blood meal are vile yet energetic compost boosters. Both are common products available for purchase in well-stocked garden centers, heat treated for safety. To make your own, you could crush fresh or dried bones with a hammer, or dry out fresh blood on a plastic tarp to make blood flakes. Wear disposable gloves and a mask for safety while handling. These DIY fertilizers shouldn’t be stored for long, and ideally, the bone chips and blood flakes should be added to compost when finished.
Dried herbivore dung is great too. Cow, horse, buffalo, and llama manure can be easily collected once it has dried, and blended into the pile for great benefit. Finally, add some loose topsoil to the pile. This loads up your compost with beneficial organisms. Much like human and other fecal matter, drying the scat is no guarantee of safety. Bacteria like E. coli and other pathogens can live for some time in dried dung. Omnivore, carnivore, and human manure are the most likely to harbor pathogens and continue harboring them for months.
Skip These Scraps
All plant and animal material eventually returns to the dirt, but that doesn’t mean you should indiscriminately toss the following things into your compost.
Thick Stuff: Chunks of wood, branches, and other large materials will take a long time to break down. Chop or shred them into small bits (less than ¼-inch thick) to hasten the composting process. For those with a wood chipper, woody materials can be chopped to a perfect size with little effort. If you lack this mechanical marvel, using a machete with a stump as a chopping block is a non-mechanized way of breaking down pieces.
Sick and Buggy Plants: Your compost may get very hot, but it may not get hot enough to kill the eggs of insect pests or the organisms that can sicken your vegetables (like fungal plant diseases). When your vegetables or other plants die from pests or illness, burn them instead of composting them.
Meat and Grease: A few bare bones or empty oyster shells in the pile are fine; they add calcium, phosphorus, and many other vital minerals. Just crush them with a hammer before adding them. Skip the nastier stuff, though. Rotting meat, eggs, and cheese can draw scavengers and propagate dangerous bacteria. And find some other use for spent cooking oils and rancid animal fat. They’re very slow to decompose. Use the fat for grease lamps to provide lighting. Burning rancid grease doesn’t smell great, but it does offer a good bit of light. That’s a topic for another article.
Weeds and Seeds: If you don’t want it growing in your garden, don’t plant it in your compost! Even a hot compost pile may not kill the hardiest weed seeds on the edge of the mound.
Weird Paper: Ordinary pulp paper can certainly be composted, though other papery products aren’t desirable. Glossy magazine paper won’t add anything nourishing to your compost. And waxed paper and cardboard (like milk cartons) will take an unduly long time to break down.
Grab Some Tools
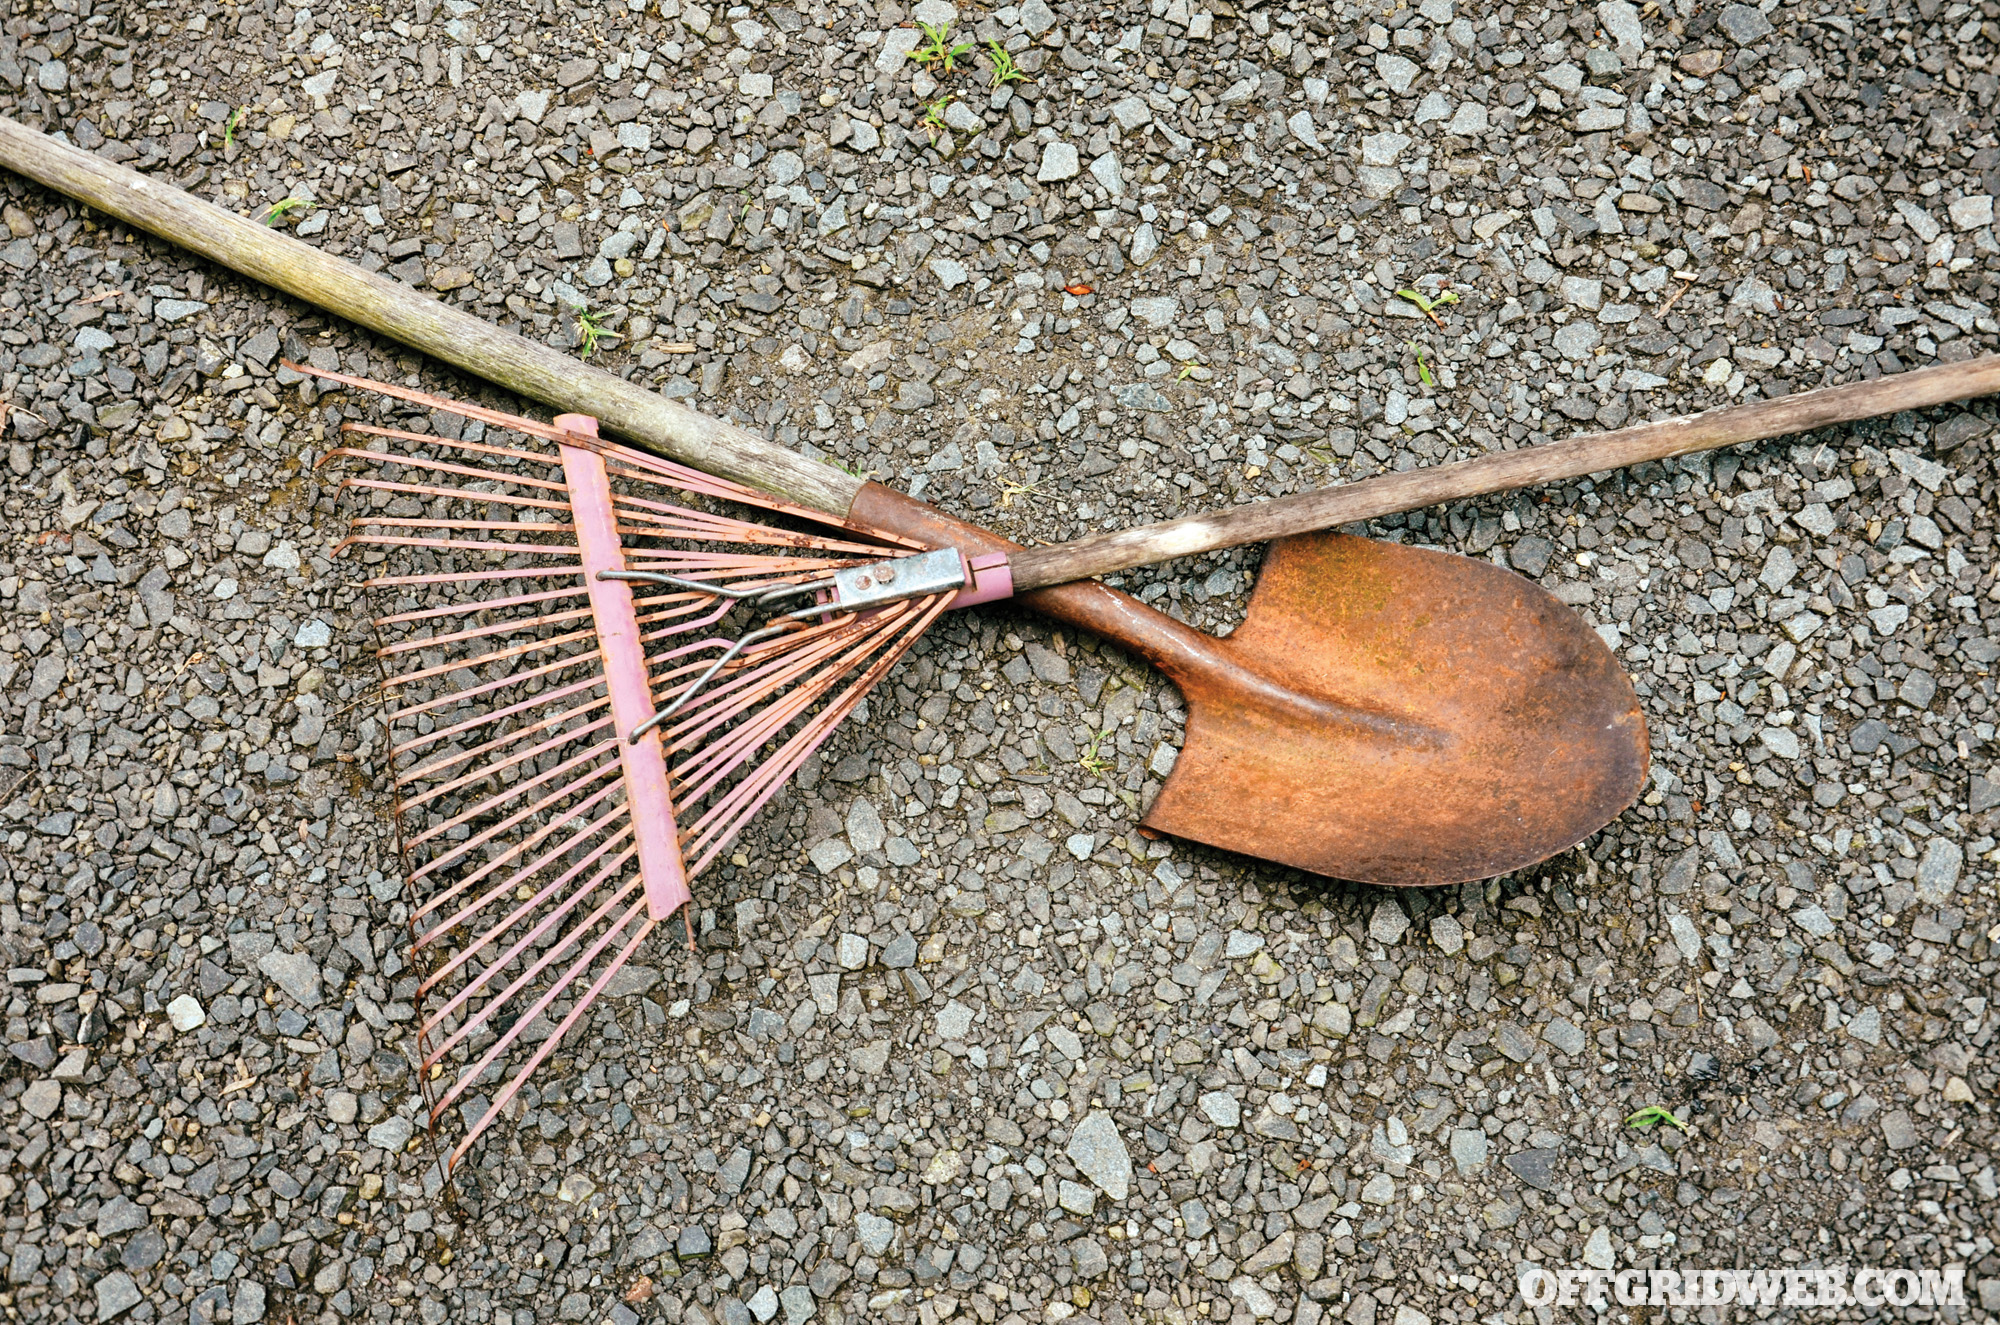
There aren’t many tools needed to accomplish the process of composting. You’ll need a rake to gather bulk materials and some way to move the material to your pile. This could be a wheelbarrow, a “lawn and leaf” trash bag, or a tarp to drag it across the ground. A shovel is a handy way to turn and aerate the pile. You’ll need a water hose or buckets of water to dampen the pile. You may also need a chopping block and machete if you’re planning to compost a lot of sticks, cornstalks, or other coarse material. That’s about it!
Follow The Steps
Now that you have a rough idea of the process and right materials, follow these simple steps to composting success!
STEP 1: Plan it all out. Determine where you’ll put your compost pile, what you’ll be composting, and how you’ll water the pile.
STEP 2: Gather your tools and materials. Chop up any coarse materials like twigs and branches on a stump with a machete.
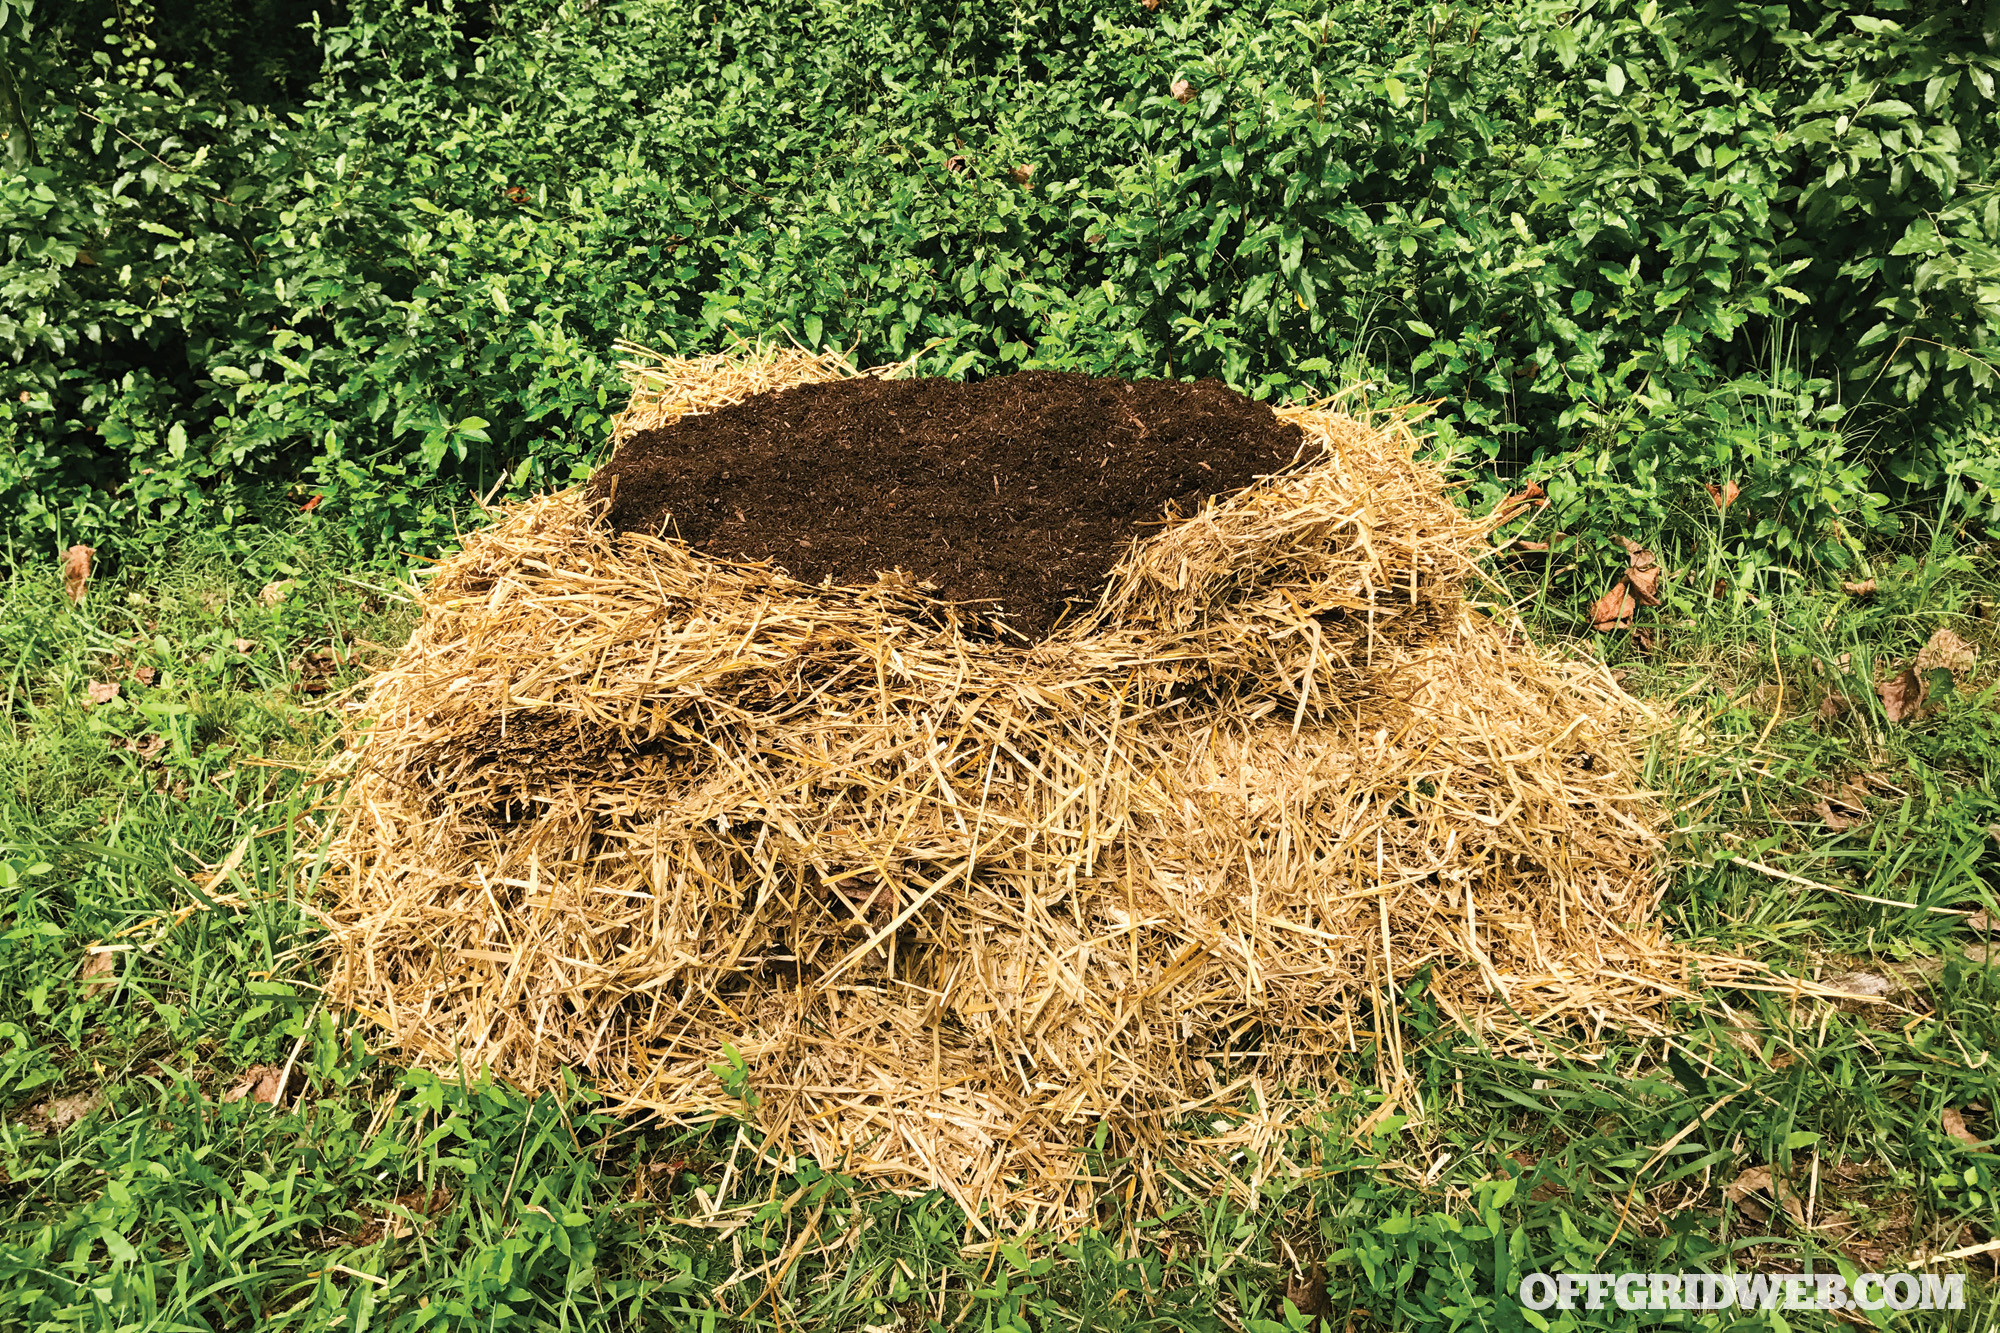
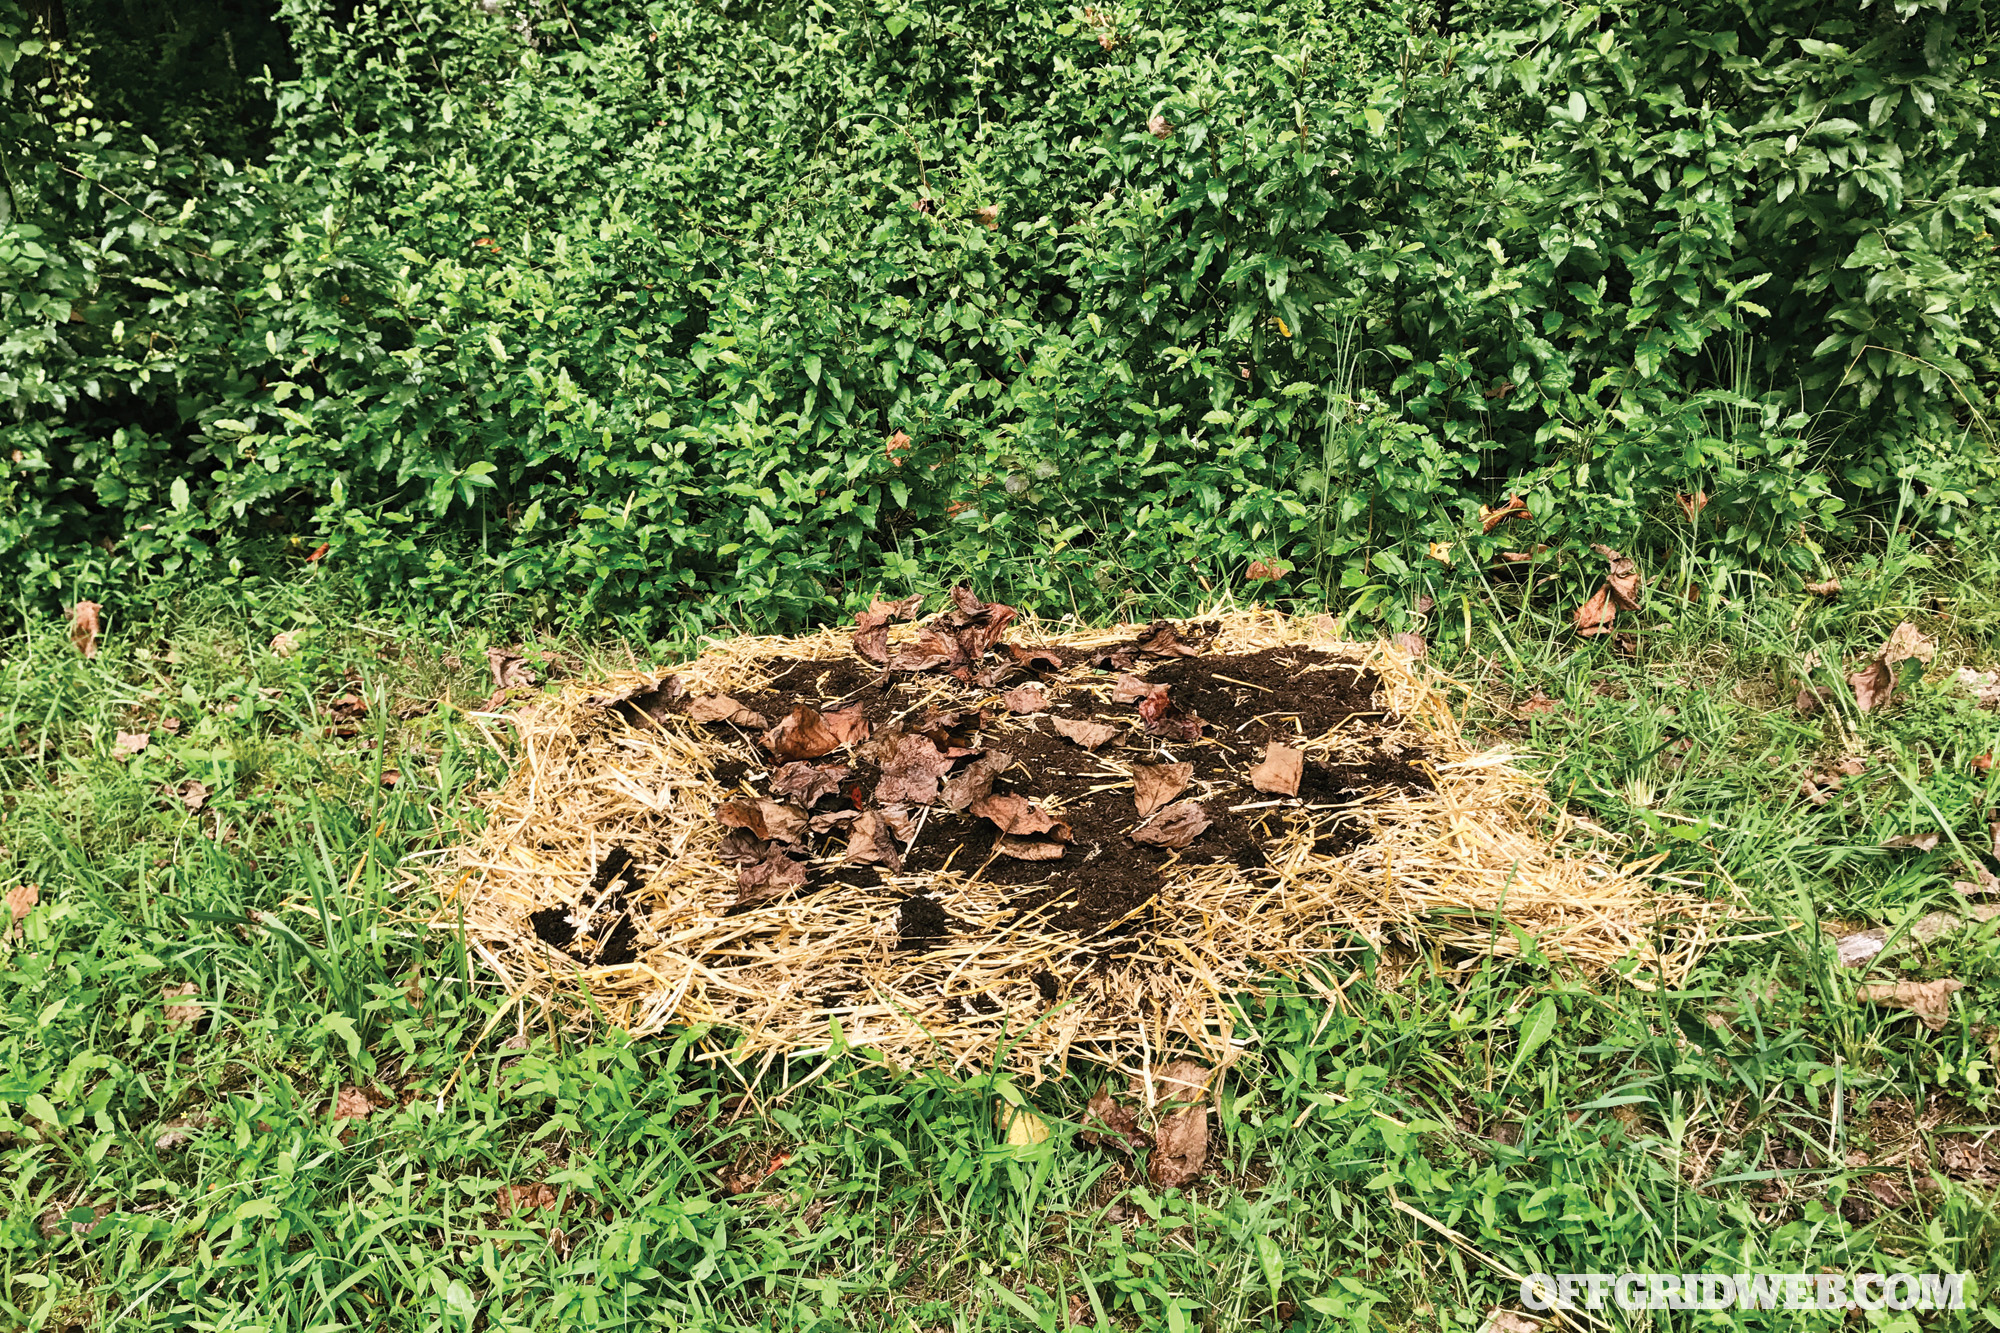
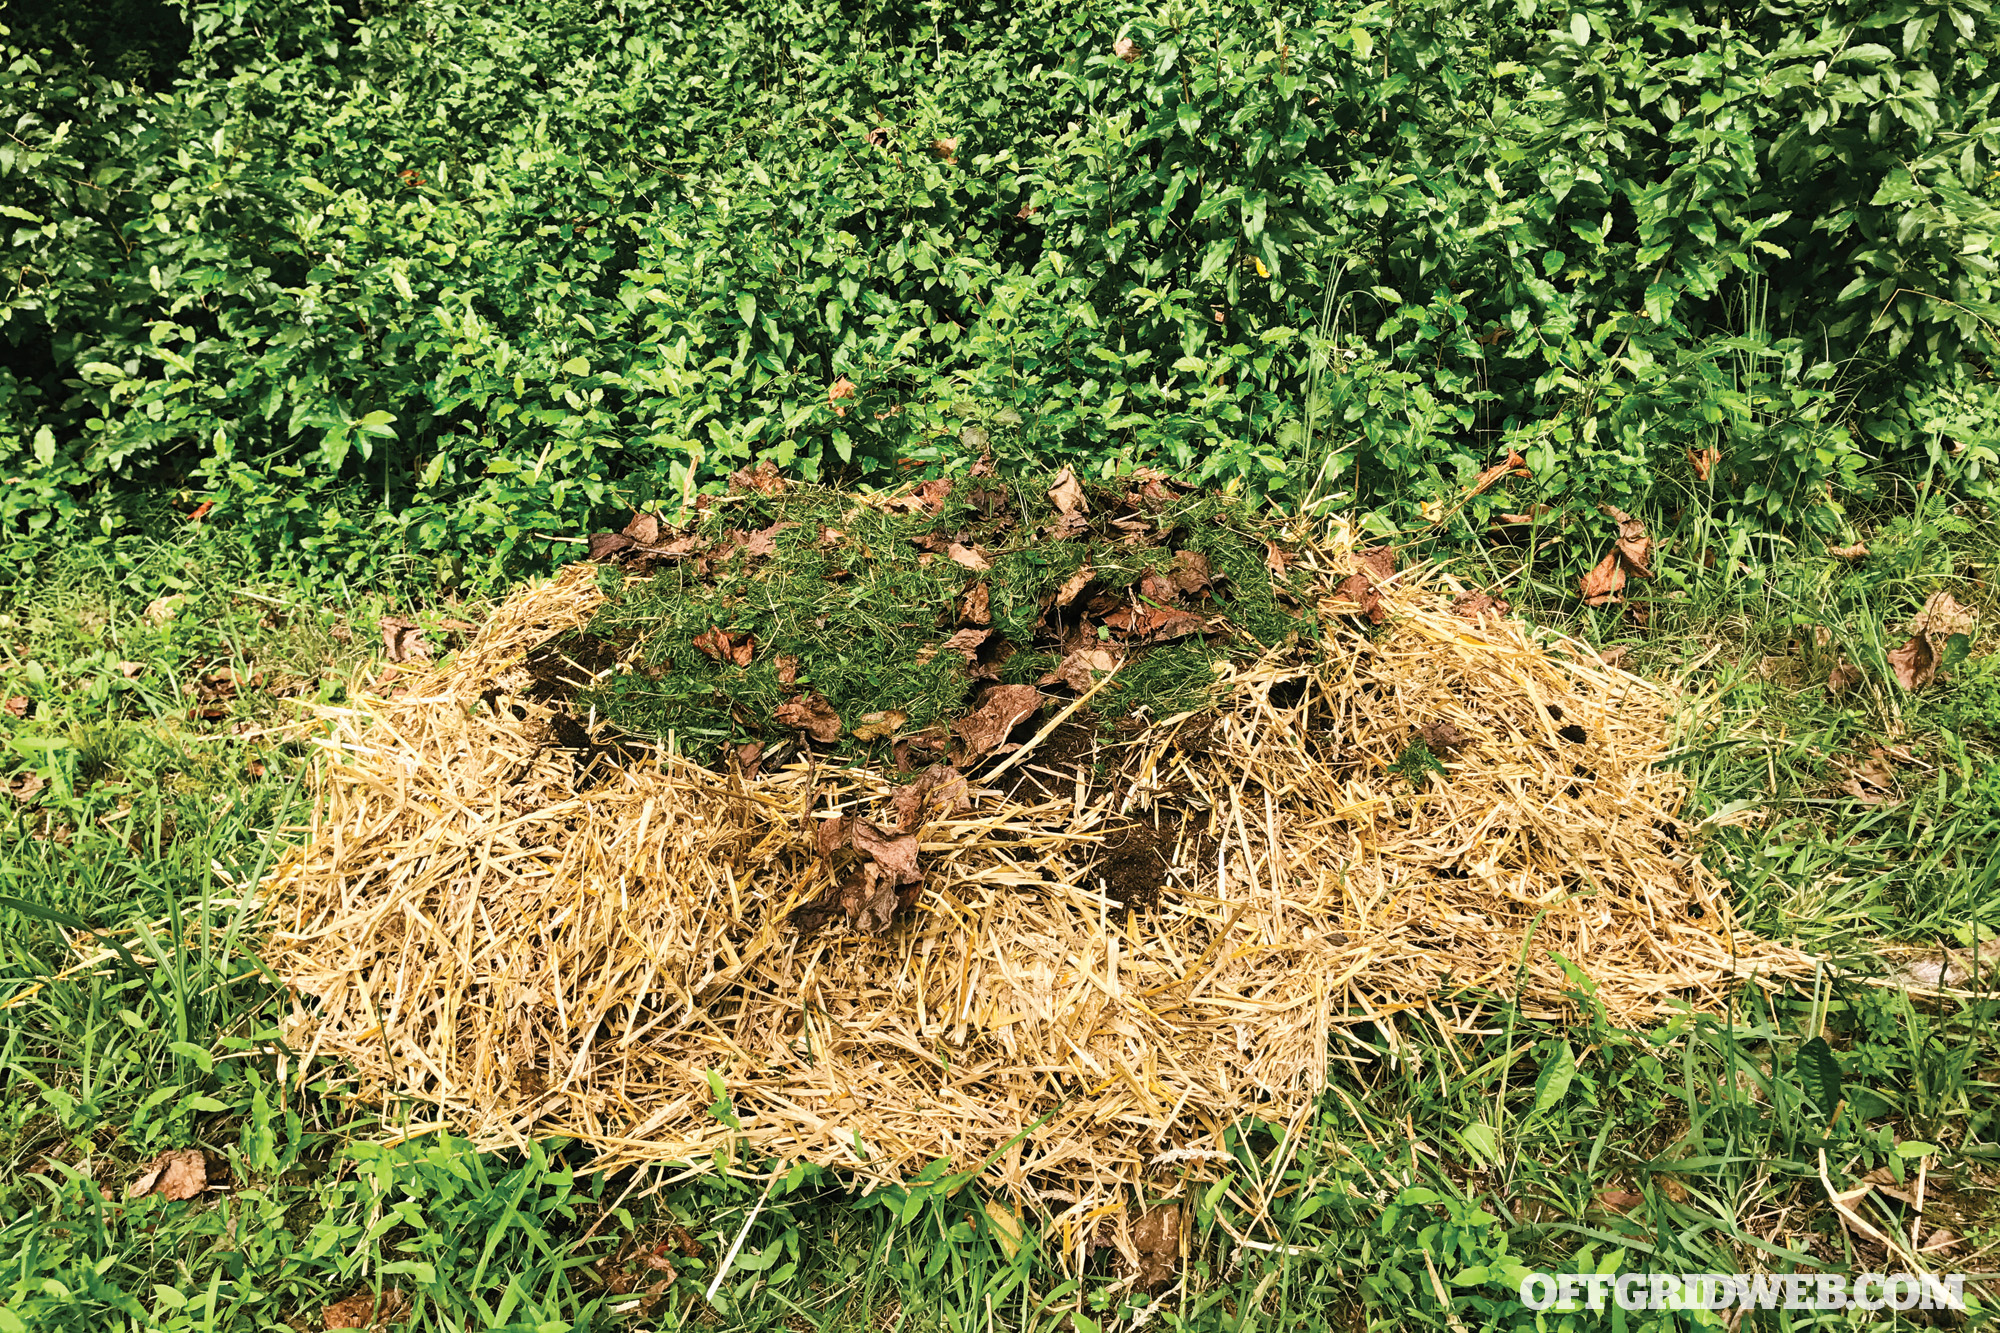
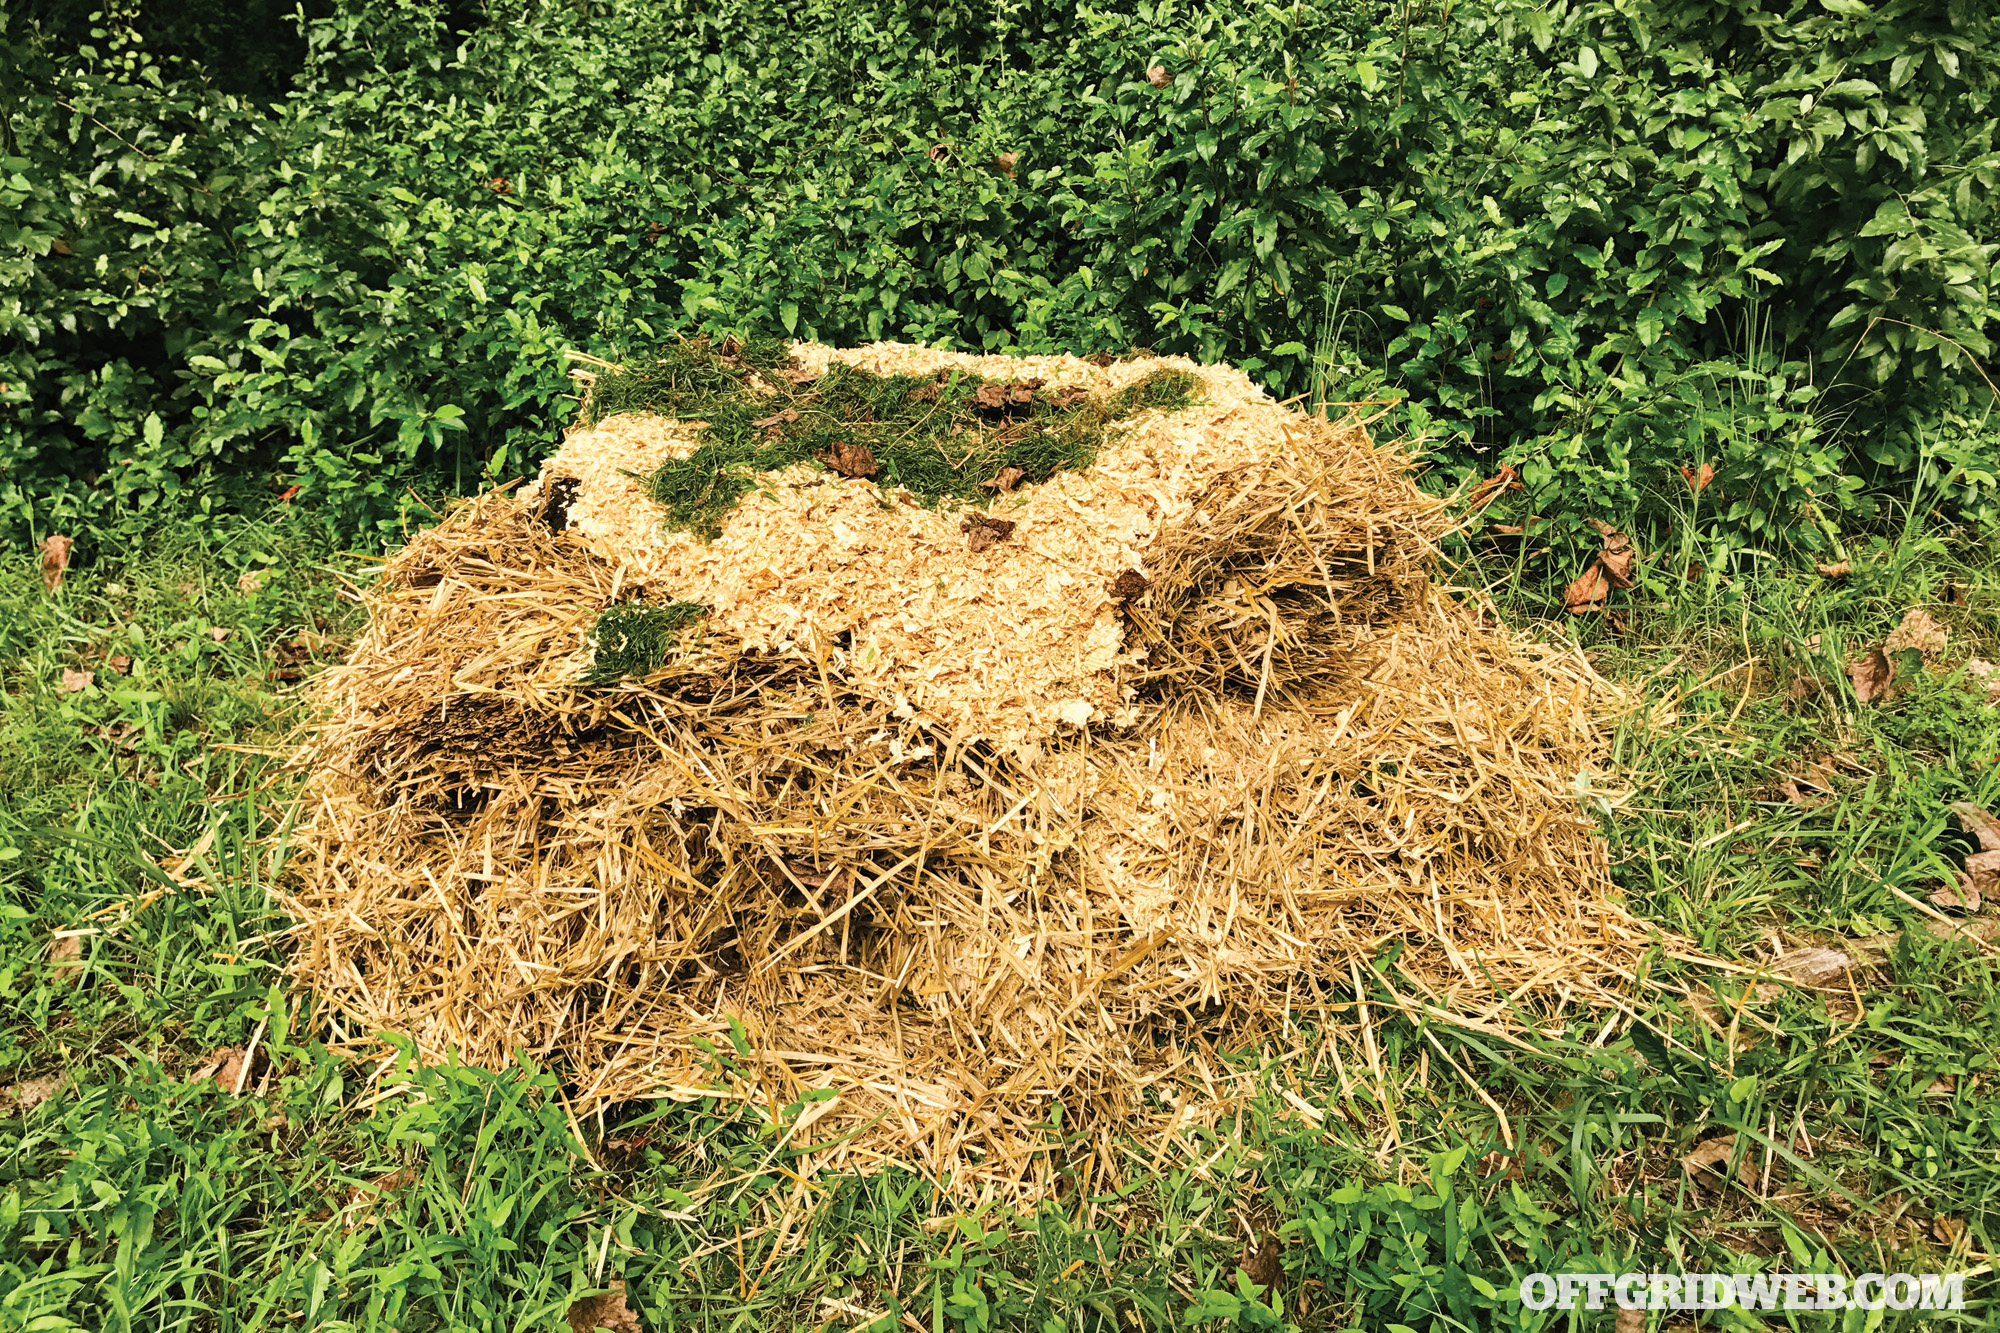
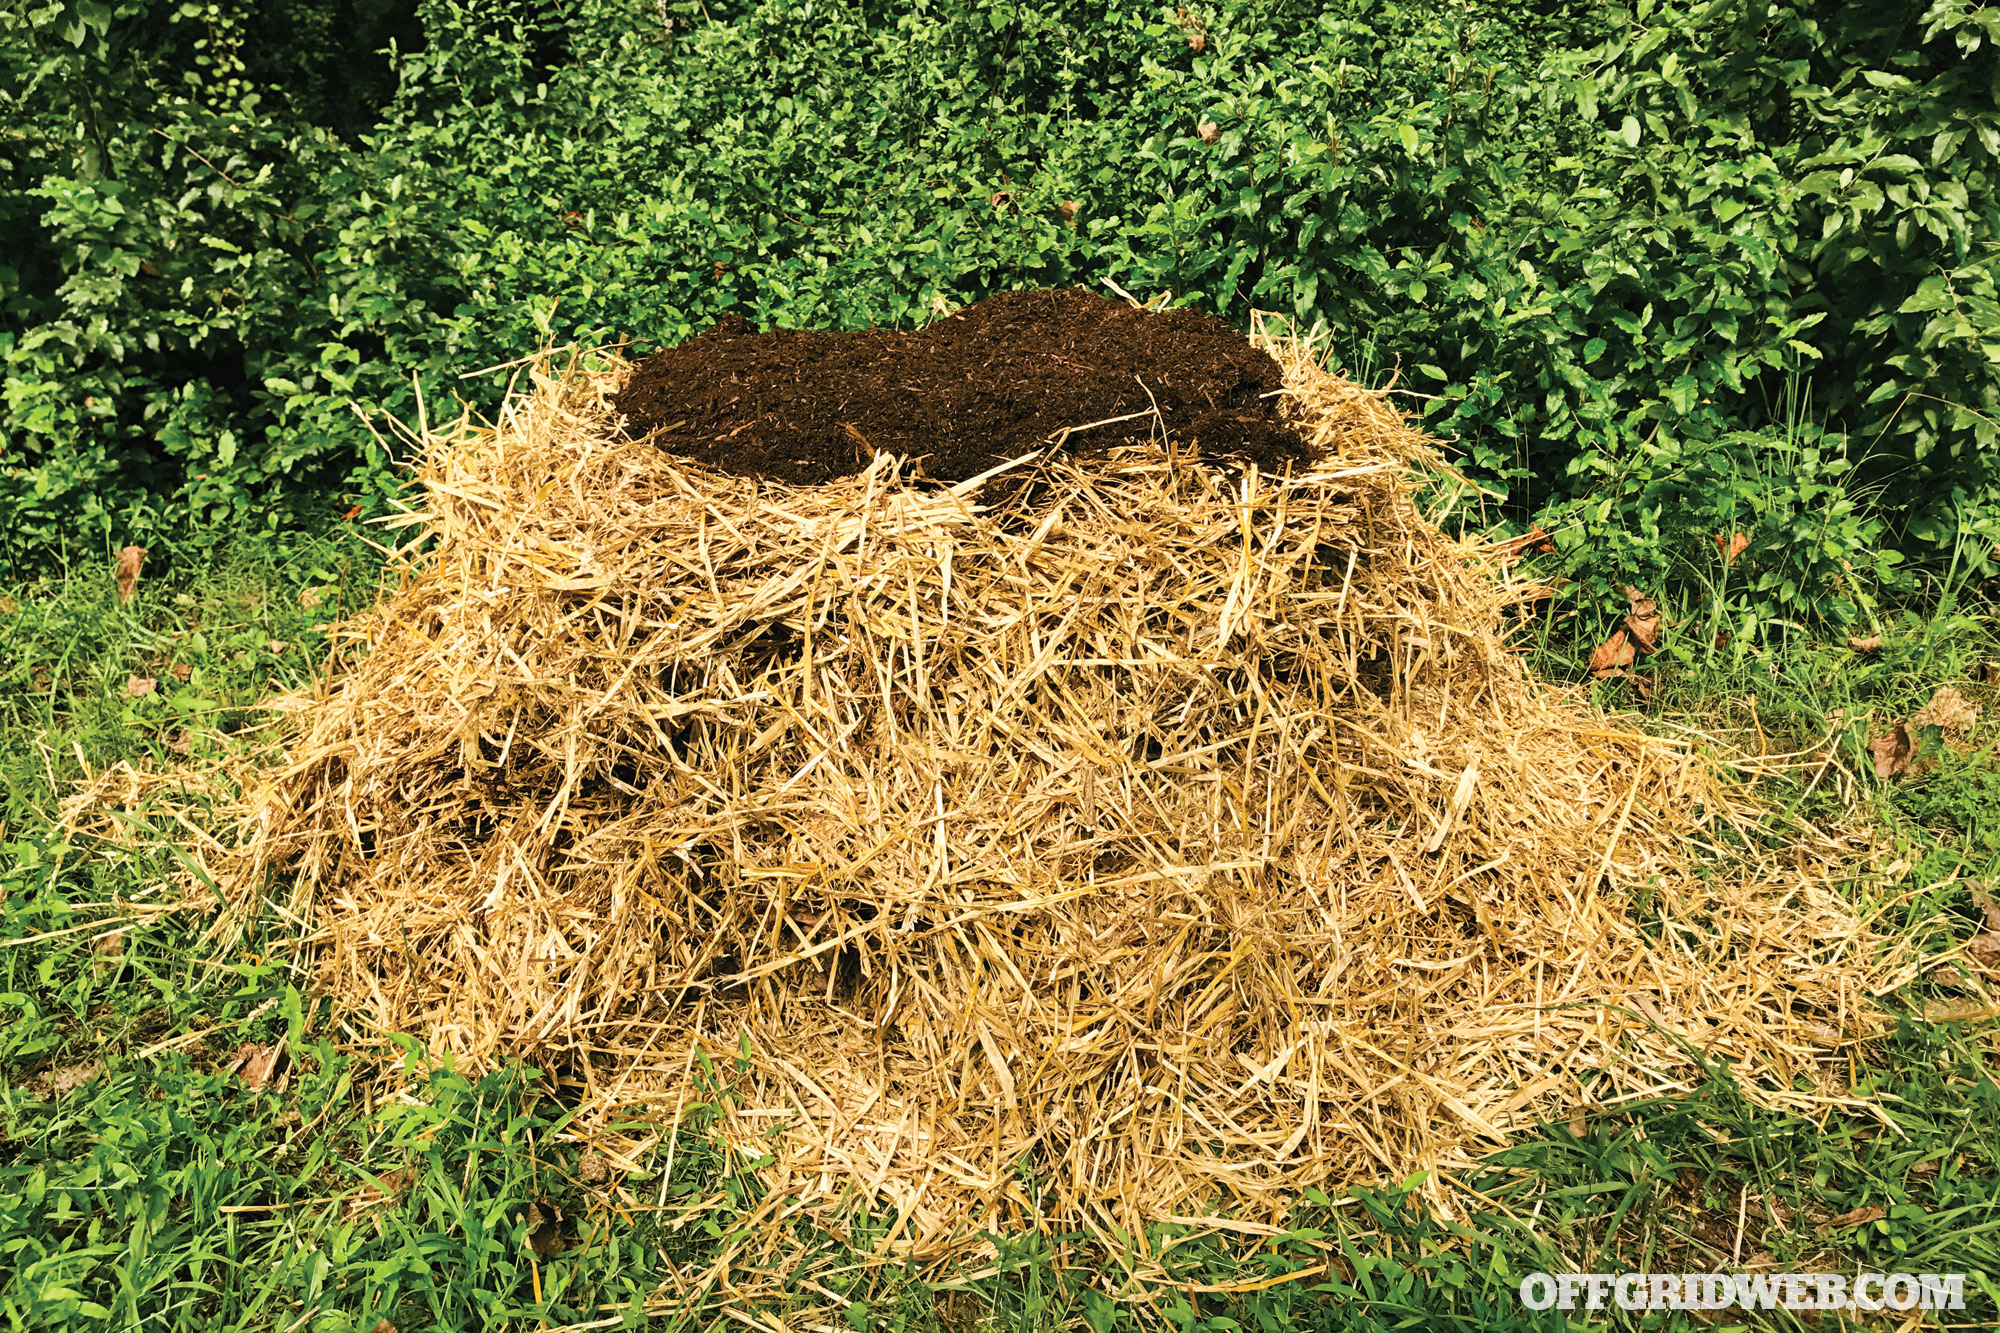
STEP 3: Put down 6 to 12 inches of compostable material, mix in a little rich dark topsoil dirt, and water it. Top it with high-nutrient material like dried herbivore manure, bone meal, eggshells, and similar things. Add another 6 to 12 inches of material with a little dirt, water it, and spike it with more compost additives. Repeat until your pile is at least 3 feet tall and just as wide.
STEP 4: Wait a few days and check the pile for heat and moisture. A good pile will start to throw off heat after a few days. Weed seeds are killed when the pile reaches 130 to 150 degrees F, though a frequently turned pile can get even hotter than that! Water the pile if it feels dry. It should be damp, for best results. To test compost pile temperature, large thermometers are available from garden supply companies, or you can pull open the pile to feel the heat. Be careful, it could be as hot as scalding tap water!
STEP 5: Use a shovel to “turn” the pile over, stirring it up to add more oxygen. Do this at least once a week, but twice a week is even better (especially in the beginning). Water the pile as needed.
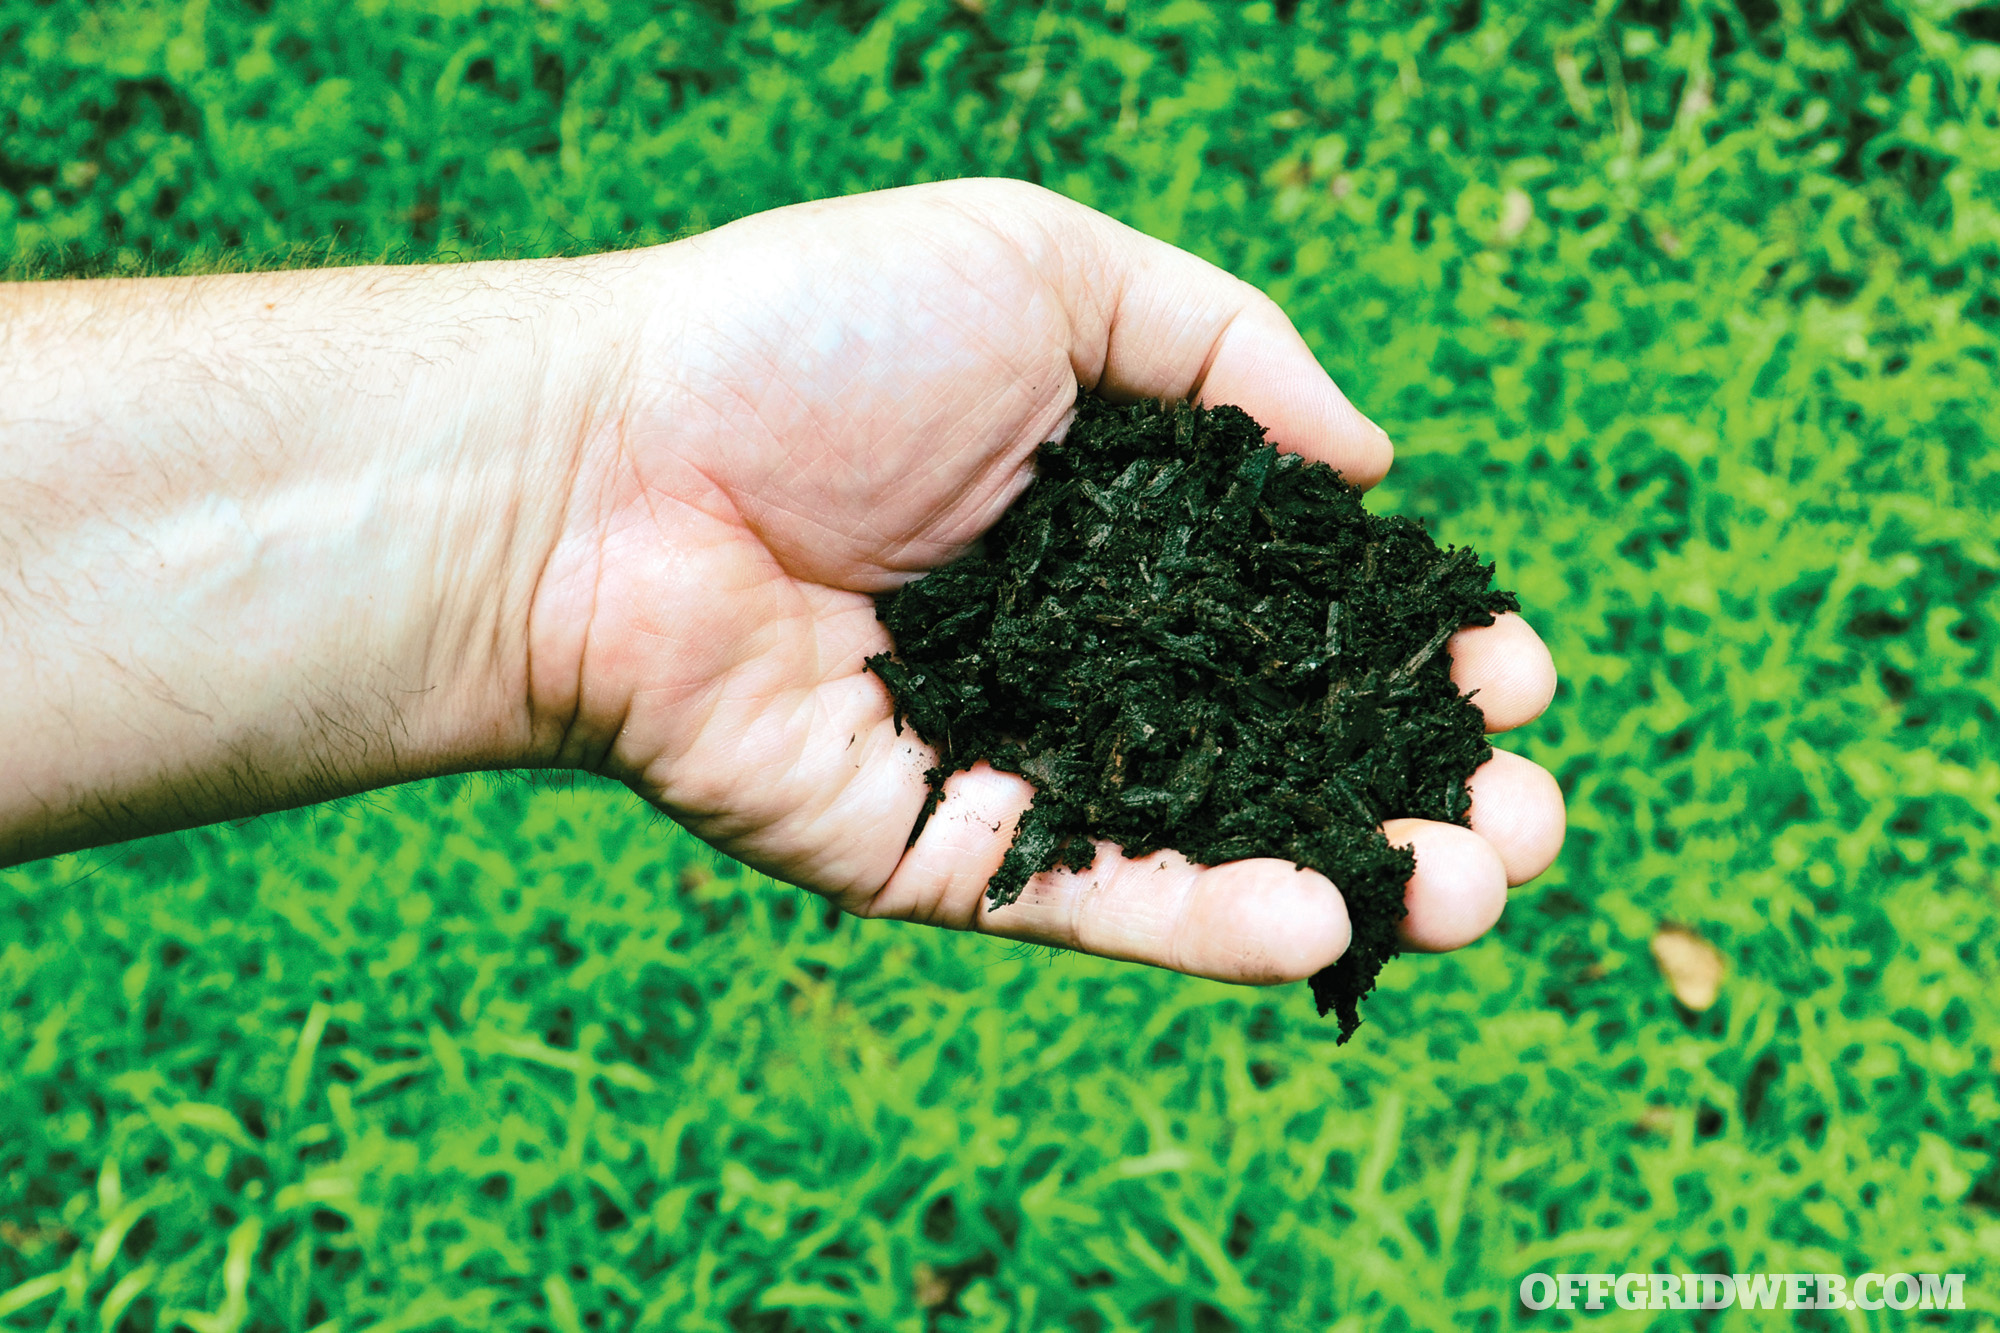
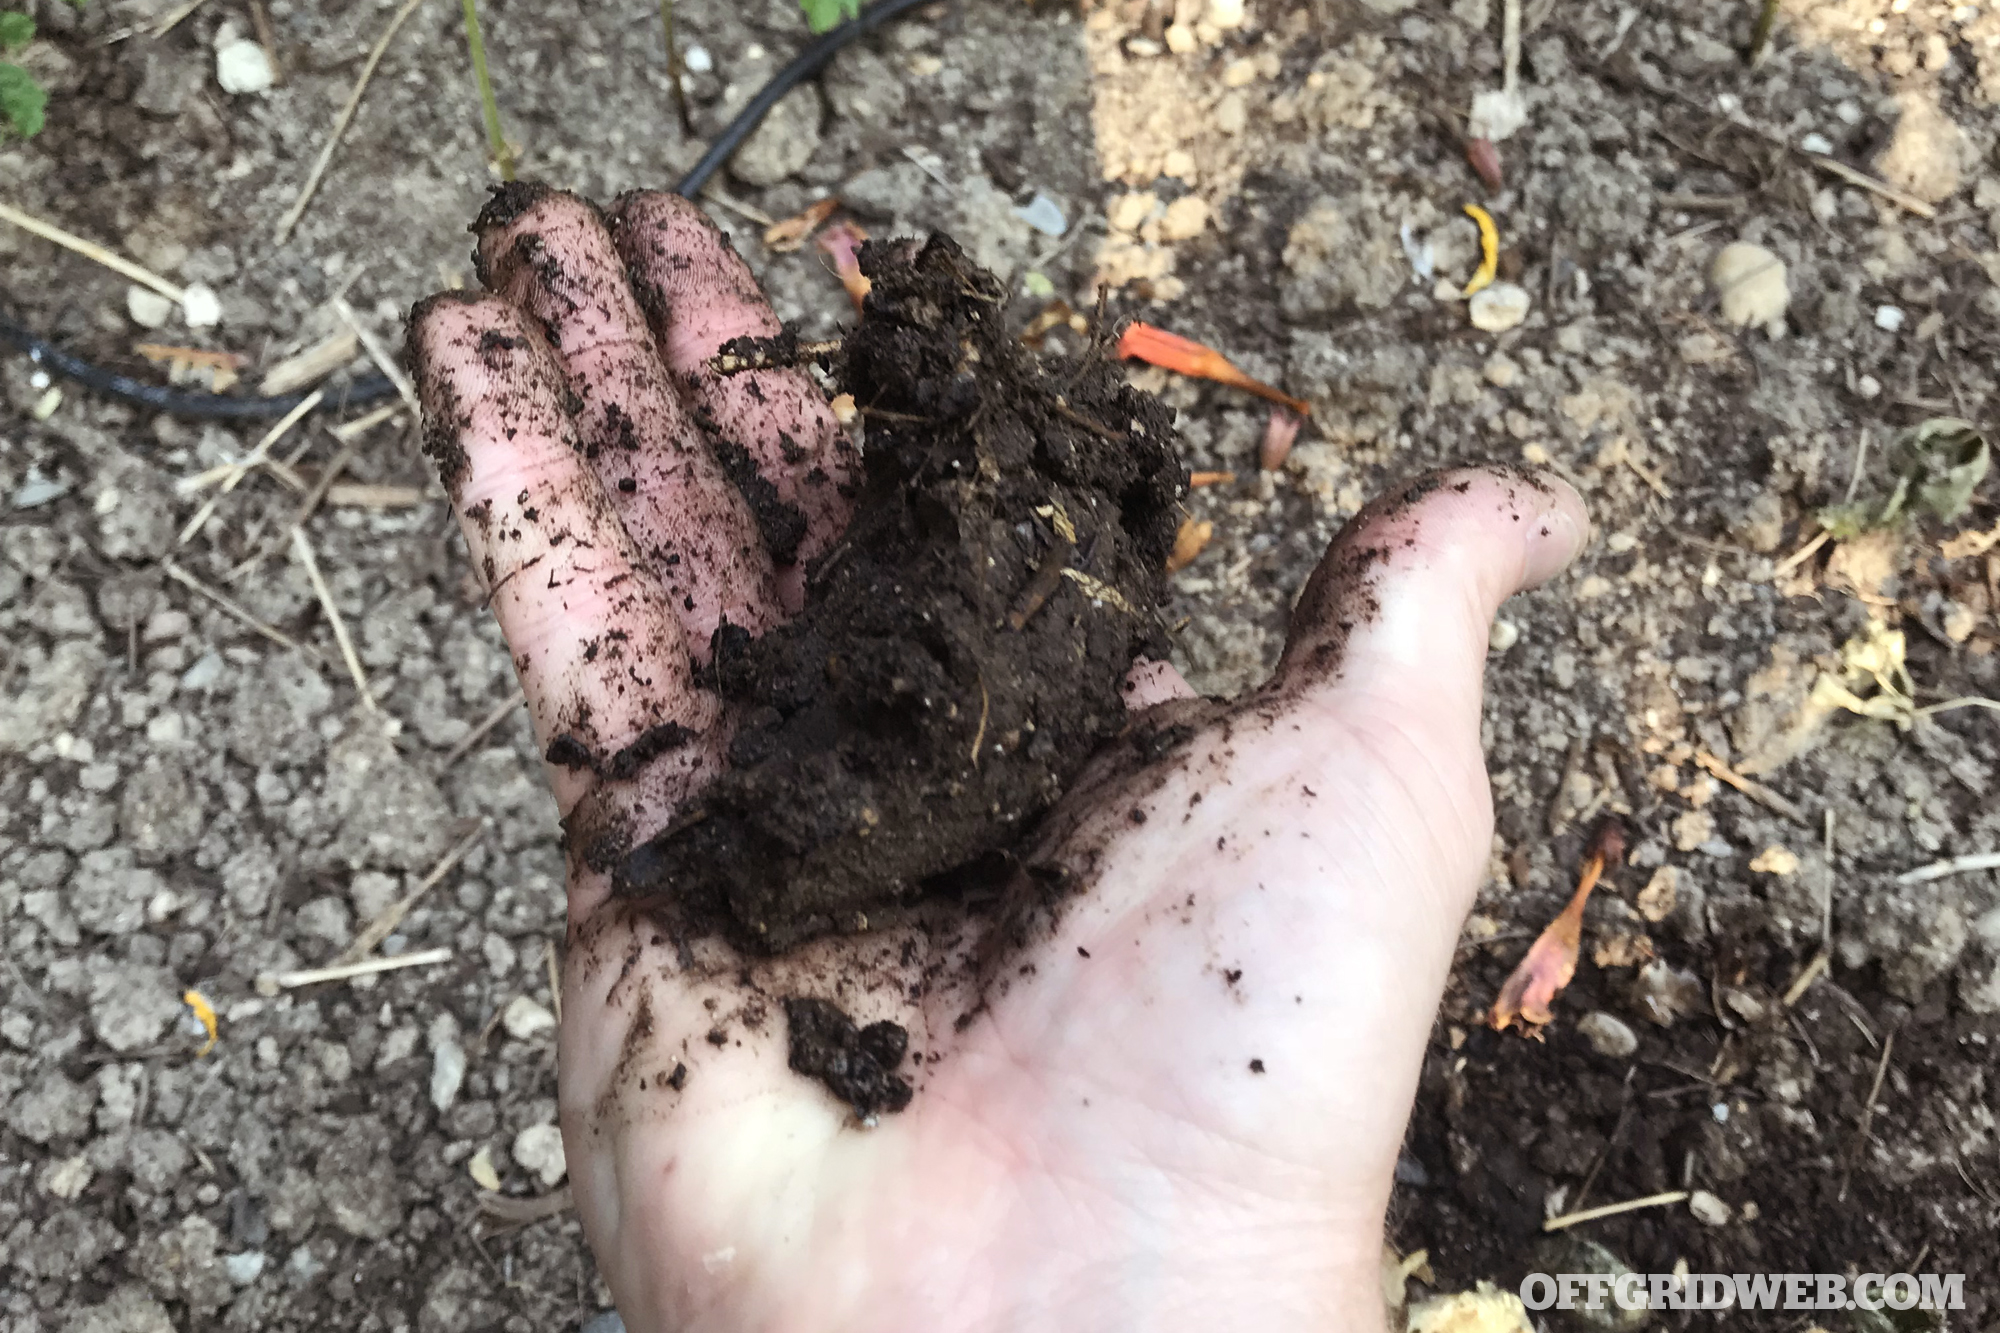
STEP 6: Keep turning your pile until it resembles dark-colored dirt. This is usually a few months in warmer weather, or a few seasons in cooler weather. Use the compost when it’s finished or save it for later. It’ll keep, so there’s no rush.
Don’t get overzealous with your compost size when first trying out the process. Start with a manageable size as outlined in this article for best results.
Know the Health Risks
Even without incorporating human and animal excrement into your compost pile, it can still harbor some harmful organisms.
Tetanus is a common disease that attacks the human nervous system. The culprit is a simple bacterium that can be found in dirt and compost. It typically enters the body through open wounds (like cuts, scrapes, scratches, and yes, via rusty metal). Prevent problems by keeping up-to-date with your tetanus immunizations and keep any wounds thoroughly covered when working with your garden or compost.
Aspergillosis is a lung infection caused by a fungus that thrives in decaying plant material. A healthy immune system is usually enough to protect us from this organism, though the disease did kill a British gardener after he inhaled a large amount of compost dust. Prevent this ailment by wearing a dust mask around your compost and spraying the compost with water if it’s particularly moldy and dusty.
Legionnaire’s Disease can present as a respiratory infection caused by a bacterium known as legionella. Usually associated with tainted water, Legionnaire’s Disease can also be contracted by breathing in compost dust. Wear a mask to prevent inhalation.
Paronychia is a localized skin infection that occurs around fingernails and toenails after prolonged exposure to soil and compost. Symptoms include tenderness of the infected area, pain, and throbbing. Wear clean, dry gloves, and footwear to protect yourself and wash up after playing in the garden.
Compost Troubleshooting
When you’re trying any new skill, it’s common to have questions and feel uncertain if things are going correctly. Here are two typical problems and their solutions.
It really stinks! The natural odors of decomposing plants aren’t usually that offensive, but when your compost pile smells like a fetid bog, you’ve got a problem. A compost pile that reeks like a septic tank may be the result of being too wet. For example, if your pile has been soaked by weeks of rain, cover the pile to keep it drier. And if the stench is specifically reminiscent of rotten eggs, your compost has likely gone anaerobic. This means that anaerobic organisms (critters that don’t need oxygen) have become the majority, and their byproduct is egg-scented hydrogen sulfide. Turn the pile more often to incorporate more oxygen and restore the balance of organisms.
Nothing is happening: Compost can take its own sweet time, particularly when it’s too dry or your composition is off. For those making compost in an arid climate or those who are rationing water, try to come up with more moisture to add to your pile. Remember, it should be as wet as a “wrung out” sponge. If your pile has “stalled out,” add more material and start it again. Make sure to add more high-nitrogen material this time around. Products like blood meal, cottonseed meal, and corn gluten meal can kick-start the pile (as can dry dog food). It’s also possible that you don’t have enough micro-organisms. If the pile is turned often, wet enough, and you have the proper ratios of materials, try adding micro-organisms in the form of an inoculant, fresh finished compost, or rich top soil.
5 False Assumptions
While there are many foolproof aspects to composting, there are a few misconceptions that people have about composting.
You Have to Buy Some Kind of Container or Tumbler: Nope. These products are handy for small backyards and communities with HOAs that are “anti-compost pile.” But making compost on the ground is the cheapest and easiest way to do it.
Composting is Complicated: Hardly. Letting plant material rot is as easy as falling off a log. Even if you do every step wrong, you can’t stop your dead plant material from decomposing.
Don’t Let it Touch the Ground: This is dead wrong. Your pile should be on the ground so that the natural composting organisms can spread up into it from the soil. Never set up your compost on plastic sheeting, on top of wood pallets or in other ways that isolate your piles from the ground.
You Can’t Compost In Winter: That’s not quite true. Well-built piles make their own heat, and as long as the weather isn’t too severe, they’ll keep cooking through the winter.
Composting Draws Nuisance Animals: Yes, it’s possible, but unlikely if you do it right. Focus on vegetable scraps, leaves, grass, and yard waste. Skip the meat and dairy products in your pile. These elements can draw rodents, raccoons, stray cats, and plenty of other marauders.

Add Some Worms
By keeping your pile in contact with the ground, the local native worm population will be able to climb up into your compost, eat some of the materials and enrich the compost with their droppings (usually referred to as “castings”). There’s even a name for this practice. It’s called vermicomposting. You can also purchase a species of worms that can aggressively eat your plant waste. Nicknamed “red wigglers,” red worms, and manure worms, the species is scientifically known as Eisenia foetida. These crimson crawlers thrive between 60 and 70 degrees F, and when healthy, can digest about ¾ of their body weight in plant material each day.
These special worms can be purchased from garden supply companies and added directly to cooler compost piles in mild climates. You can also create your own “worm farm” indoors by building or buying a specialized habitat container. Once settled into a new worm bin, your wigglers will feed, breed, lay eggs, and multiply. After the food scraps and bedding material have turned into rich dark dirt, you can use it to top-dress indoor plants or outdoor veggies. It’s also a great additive to potting soil and compost tea. You could even cook and eat the worms themselves, if your situation got really bad.
Conclusion
It’s been said that good things come to those who wait, and this is definitely the case when we patiently wait for our compost payday. After a host of microscopic miners dig through a heap of plant refuse and convert it into rich humus, the nutrients will be unlocked and your vegetables can receive the full benefit of that dark organic matter. This should be the most important crop you produce — not vegetables, but better dirt!
