Pre-made survival kits are a subject that breeds controversy. Some say that these kits offer a simple starting point for those who might be new to prepping, or serve as a last-resort fail-safe for those who are unable to prepare on their own (an elderly relative, for example). Others will point out that they’re needlessly expensive as opposed to building your own bug-out bag, and that the supplies within won’t be much good if the recipient isn’t familiar with their organization and proper use. As we’ve said in the past, we firmly believe that the best survival kits are the ones you assemble yourself, but we can also understand that off-the-shelf BOBs may have their place in some cases.
Regardless of your stance, today we’re going to show you one pre-made bug-out bag that is, in our humble opinion, a massive waste of money. Today we’re going to take a look at the Preppi Prepster Ultra Luxe.
About Preppi
Founded in 2014, Preppi is a Los-Angeles-based company that offers various survival kits, including their flagship product line called The Prepster. The About Us page on the company’s web site seems reasonable enough at first:
“At Preppi we want everyone to be prepared when the unexpected happens… We seek to inspire more people around the world to be prepared for any situation. With extreme weather and unpredictable emergencies being commonplace globally it is no longer an option to treat the topic of preparedness lightly.”
We’re on board with these goals. So far, so good.
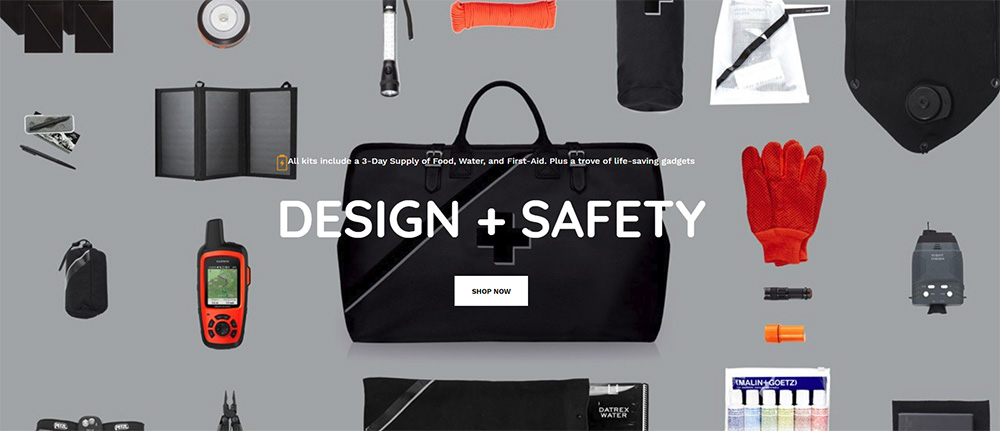
“The core of every Preppi kit is a military grade 3-day supply of food and water with a 5 year shelf life as outlined by survival experts and government agencies. We then add everything from basic necessities such as rain ponchos to advanced tech such as satellite messengers — helping you and your family smoothly manage any scenario.”
Again, not bad. “Military grade” is an overused and meaningless buzzword — not to be confused with mil-spec — but aside from that this sounds OK. Intrigued, we headed over to the Products page to see what these kits are all about.
Preppi offers a range of emergency kits, including the entry-level Prepster Lite and the original Prepster (available in backpack and handbag form). But the one that immediately caught our attention is the Prepster Ultra Luxe, which is available at a retail price starting at $4,995. No, that’s not a typo — this bug-out bag costs as much as a used car.
At this point we were wondering, what gear could a $5,000 bug-out bag possibly contain? Perhaps it would be a high-end personal-defense weapon and several boxes of ammo, lightweight body armor, or state-of-the-art thermal optics. Surely it had to be something good to justify this stratospheric price, so we dug deeper to find out.
The Prepster Ultra Luxe
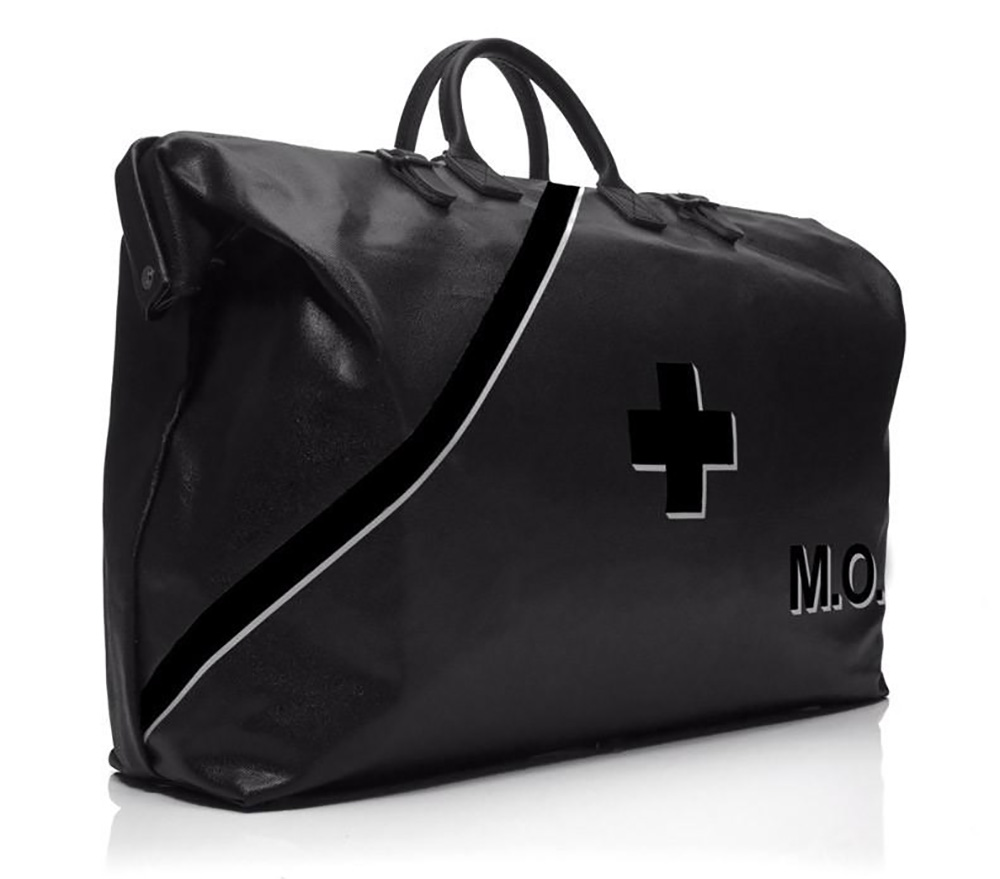
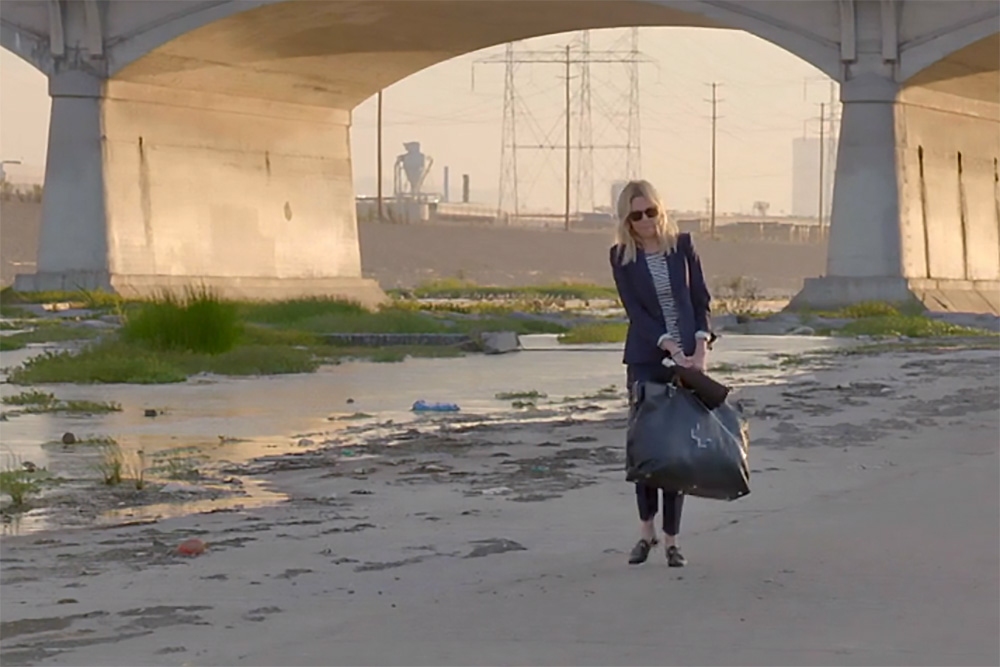
The product description calls this “a dramatic upgrade from our classic Prepster Bag [with] Bond-like gadgets and stylish all-black amenities.” It’s said to contain “all the essential supplies to sustain nutrition, hydration, power, shelter, and communication for two people with ample luxe comforts.” The bag is made from “handcrafted coated waterproof canvas and natural bridle leather” with a top-mounted handle. It lacks a sling or shoulder straps, so you’ll need to carry it like a giant purse.
The bag is finished with a complimentary monogram — you know, so you won’t be confused about whose $5,000 bug-out bag this is.
As for its contents, we reached out to Preppi to request a sample of the Prepster Ultra Luxe for detailed analysis and review. After all, Preppi products have already been reviewed by the likes of TIME, Forbes, and The Wall Street Journal:
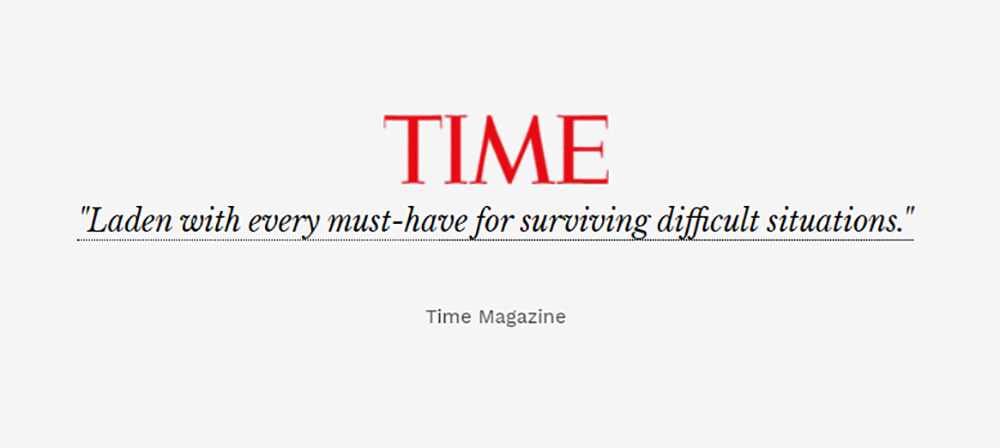
Editor’s Note: A reader named Stuart pointed out that the above quote selectively omits parts of the original — “Technically not full of technology, the $95 Preppi GoBox is laden with every other must-have for surviving difficult situations…”
Disappointingly, we did not receive a response by this article’s publication date. So we’ll discuss the contents solely based on the specifications and images on Preppi’s web site. It’s time to find out exactly what you get in your five-grand survival kit.
Bug-Out Bag Contents
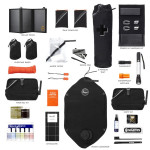
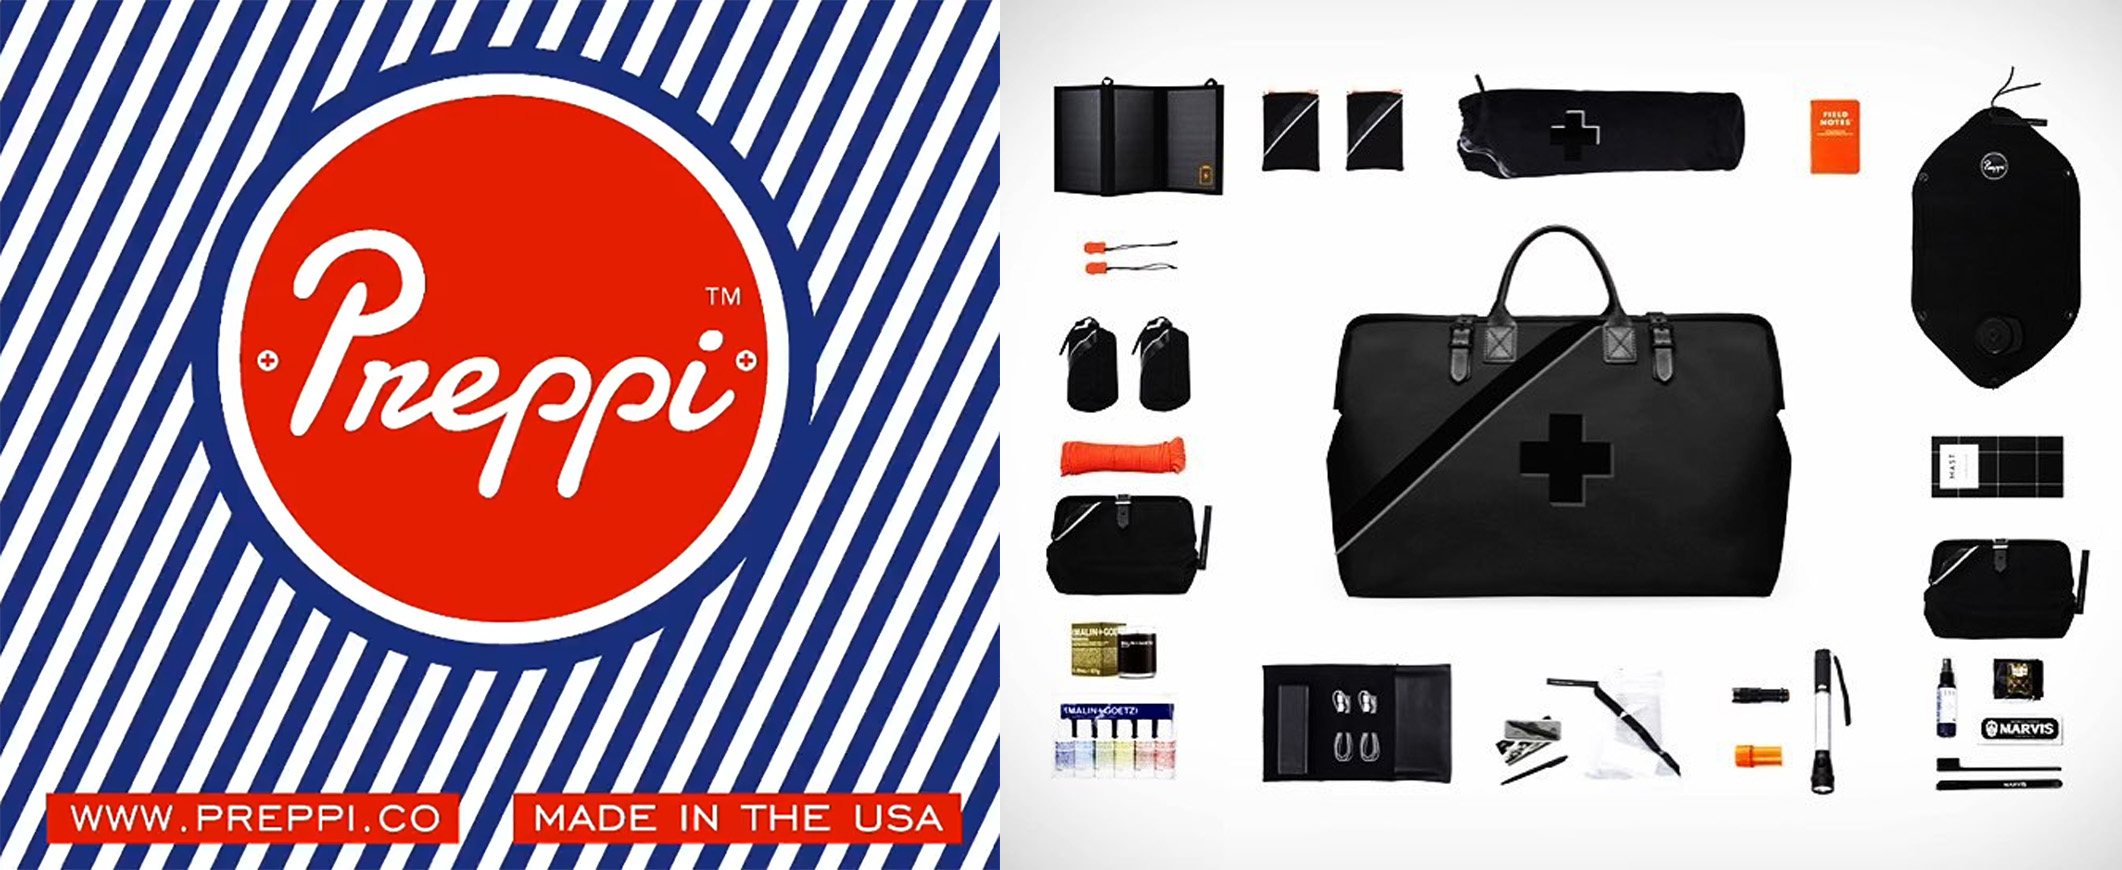
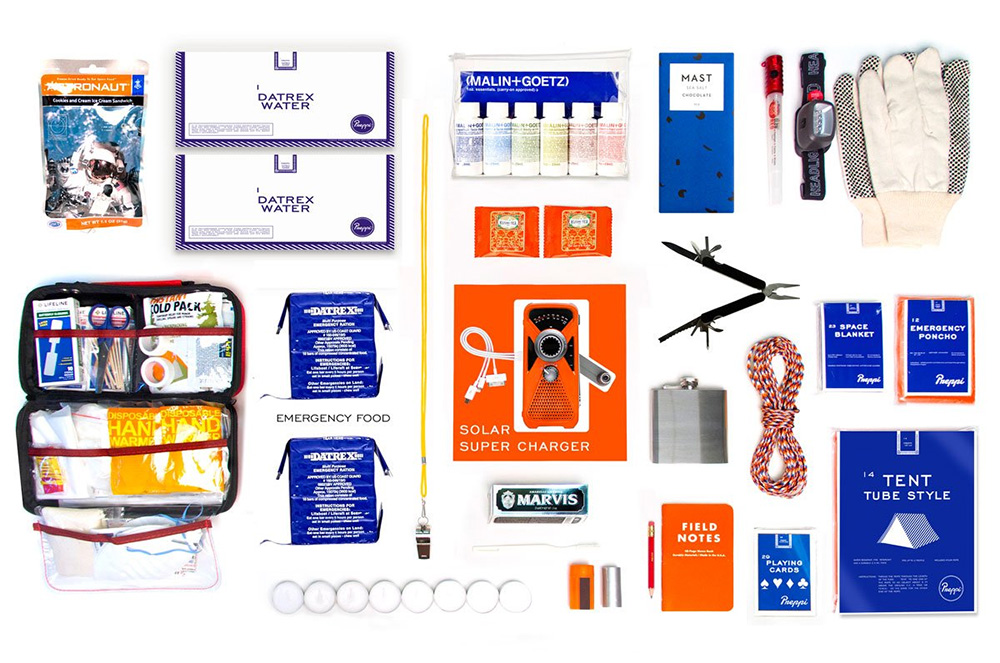
Click to expand these official photos of the Prepster Ultra Luxe’s contents. We’ll analyze each item below.
Shelter
Right off the bat, there’s an “ultra compact full size tent,” two “compact space sleeping bags” (probably prototypes for the Space Force) and two rain ponchos.
No brand name is mentioned for these items, so we can’t comment on their quality — get used to this, because it’s a recurring issue with Preppi products. You might think you’d be told exactly what you’re getting at this price point, but Preppi makes it an exciting surprise. How fun!
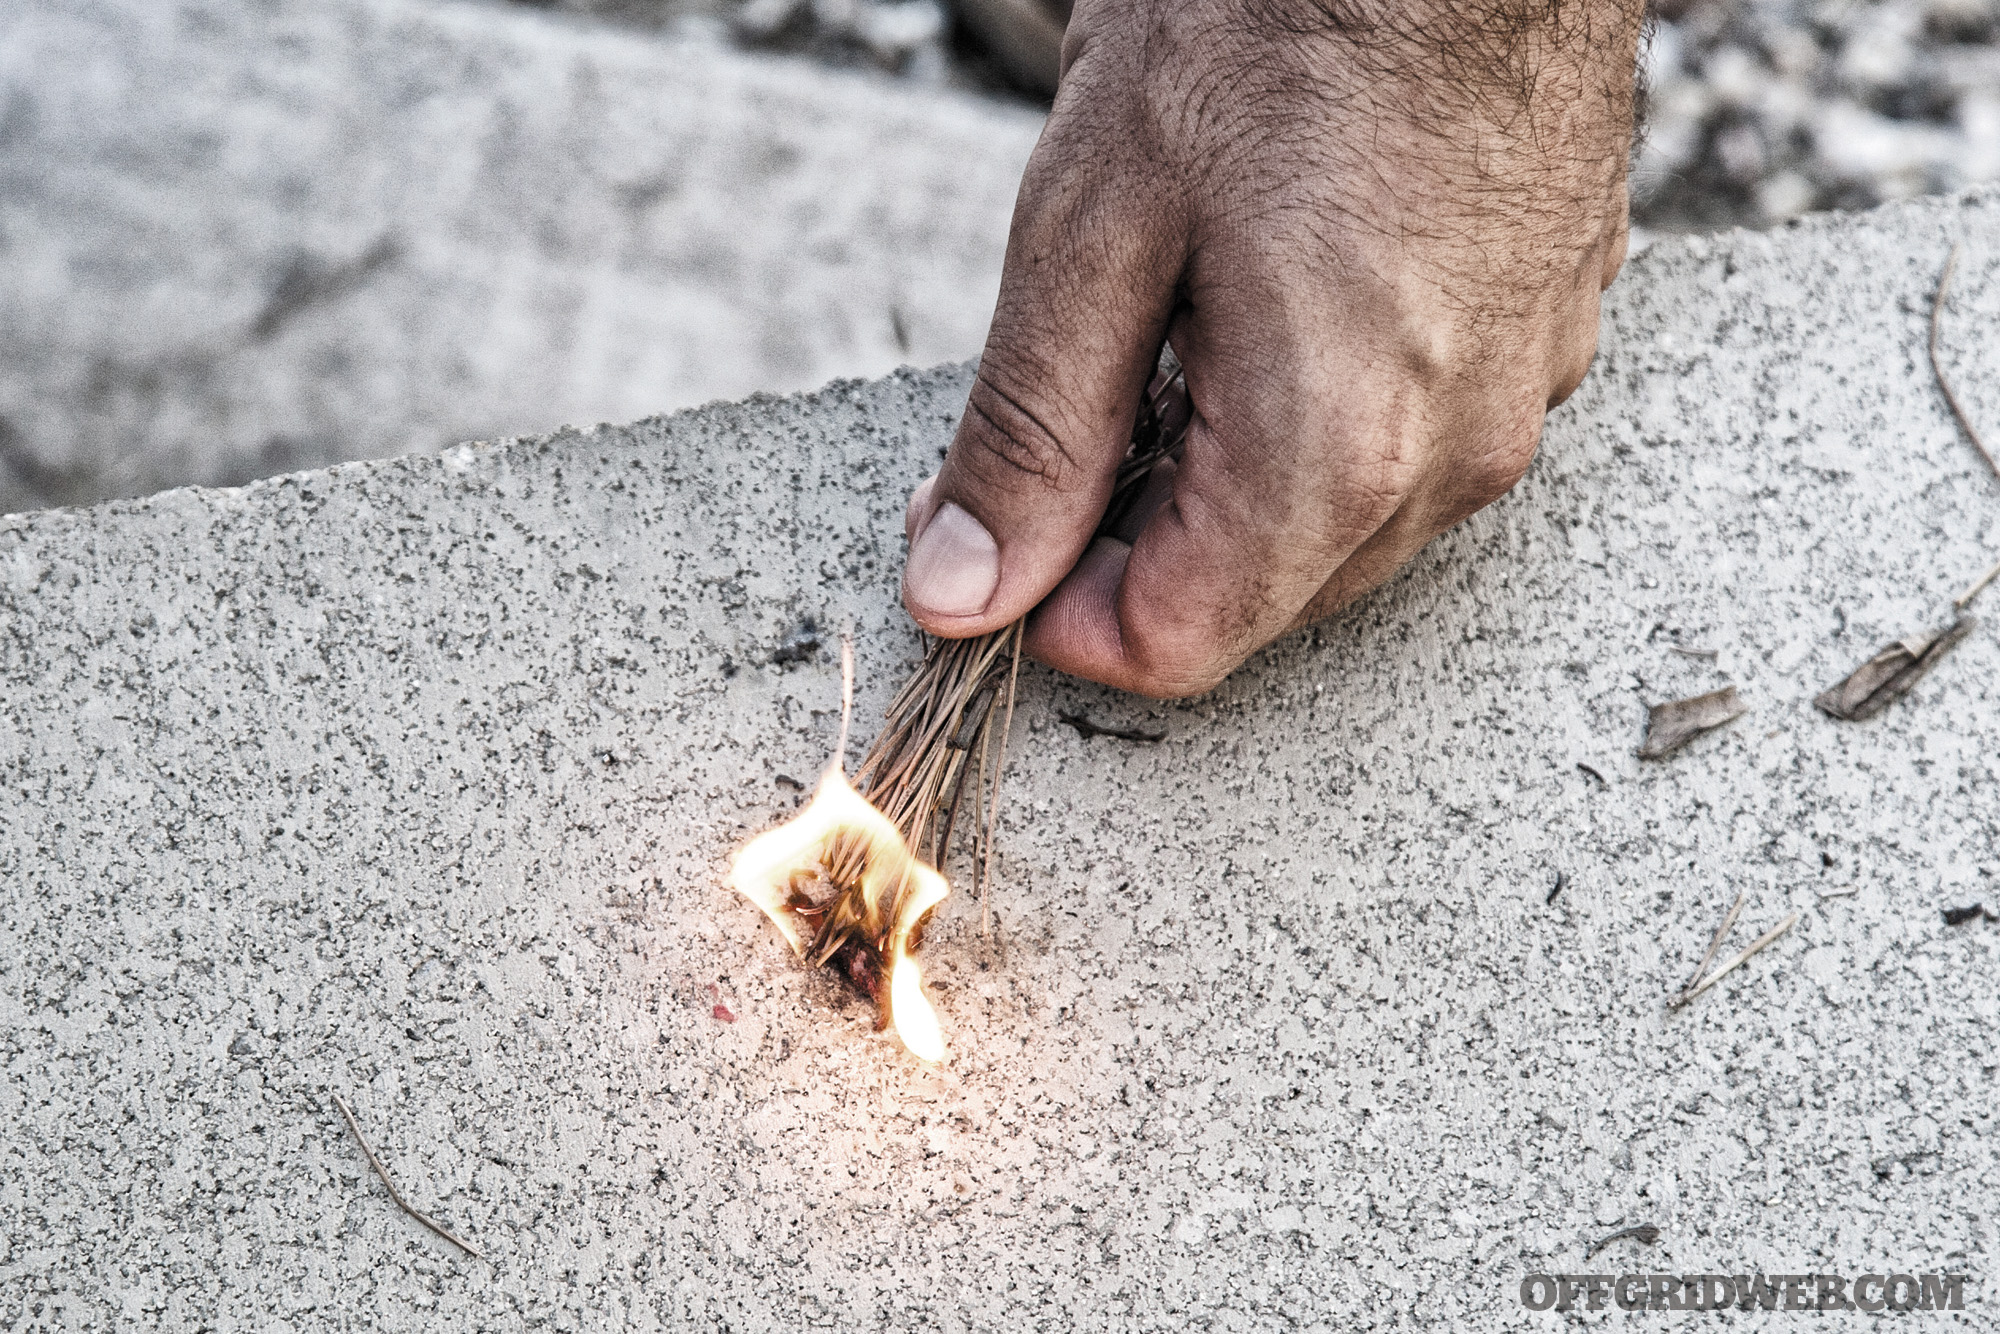
Fire
A case of UCO waterproof matches ($8) serves as the sole fire-starting tool. These can be used to light the included Preppi Survival Candles or the scented Malin + Goetz Tobacco Votive Candle (a $55 value) for some relaxing aromatherapy.
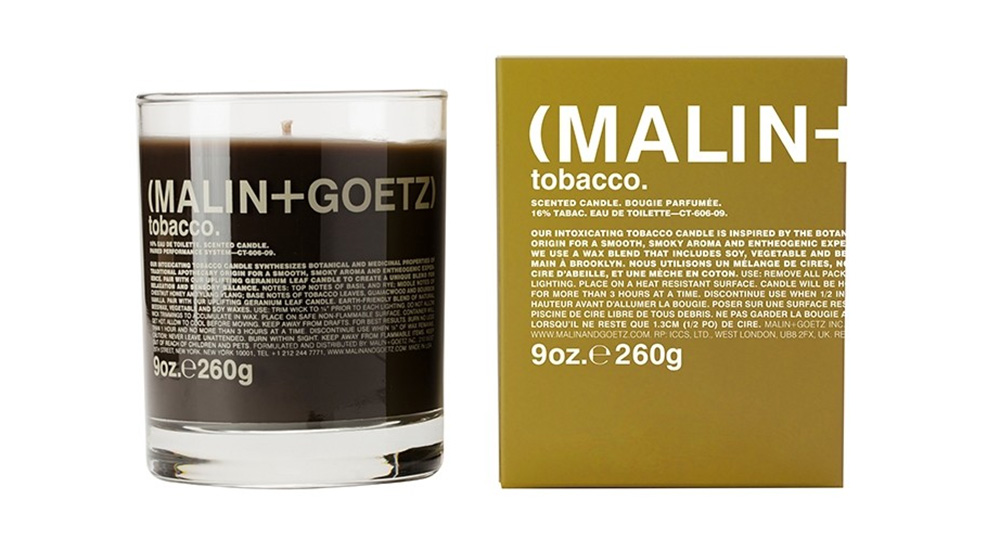
This candle’s manufacturer says it provides an “entheogenic experience.” An entheogen is defined as “a psychoactive substance used in a religious or shamanic context.” If you’re struggling to survive, you can just light this up and ascend to a higher plane of existence beyond the mortal world.
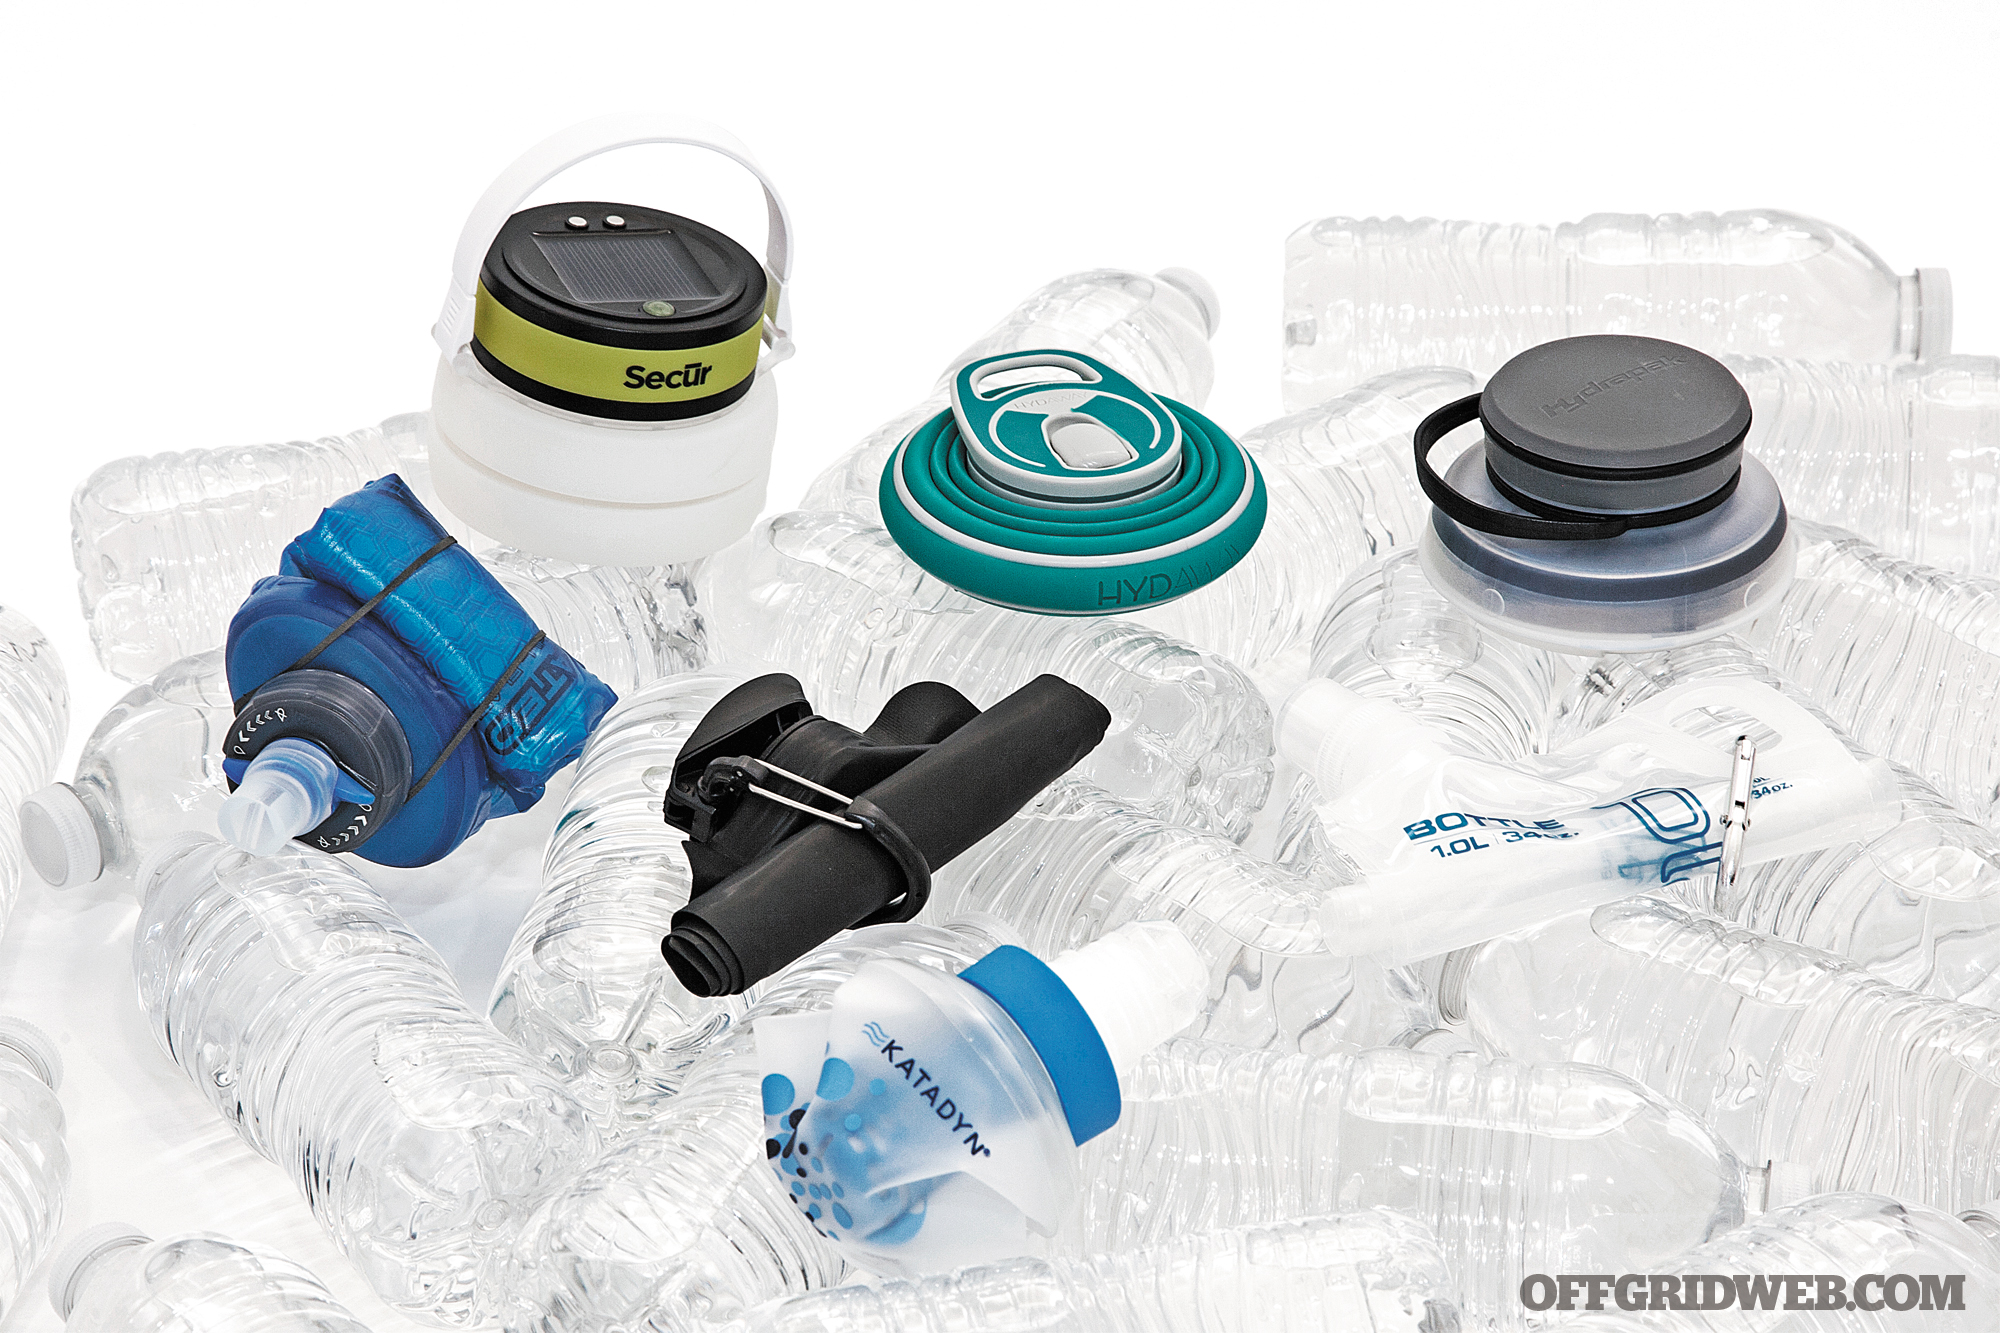
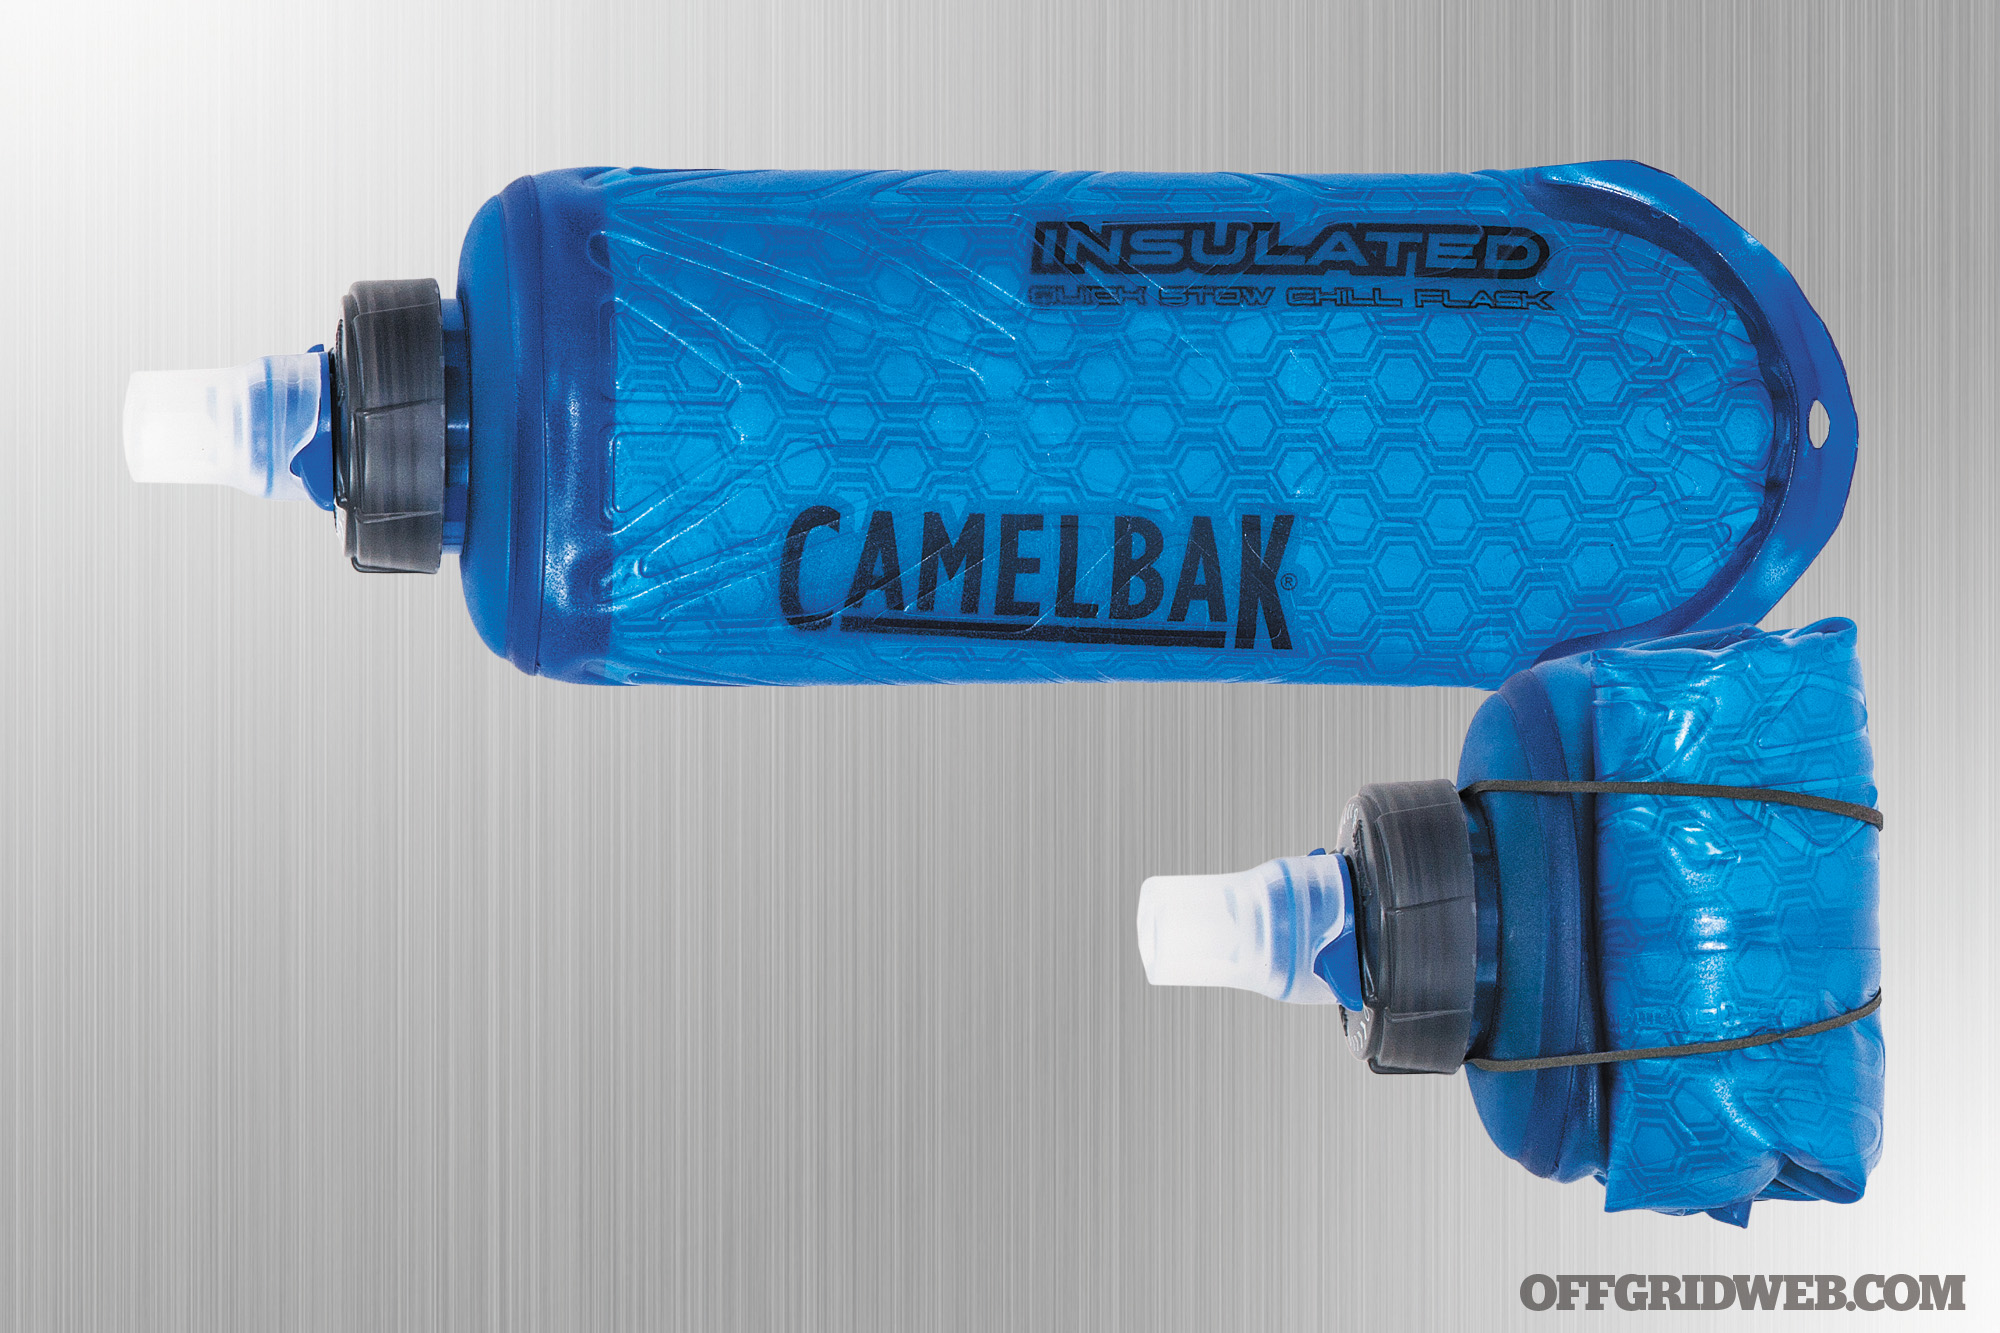
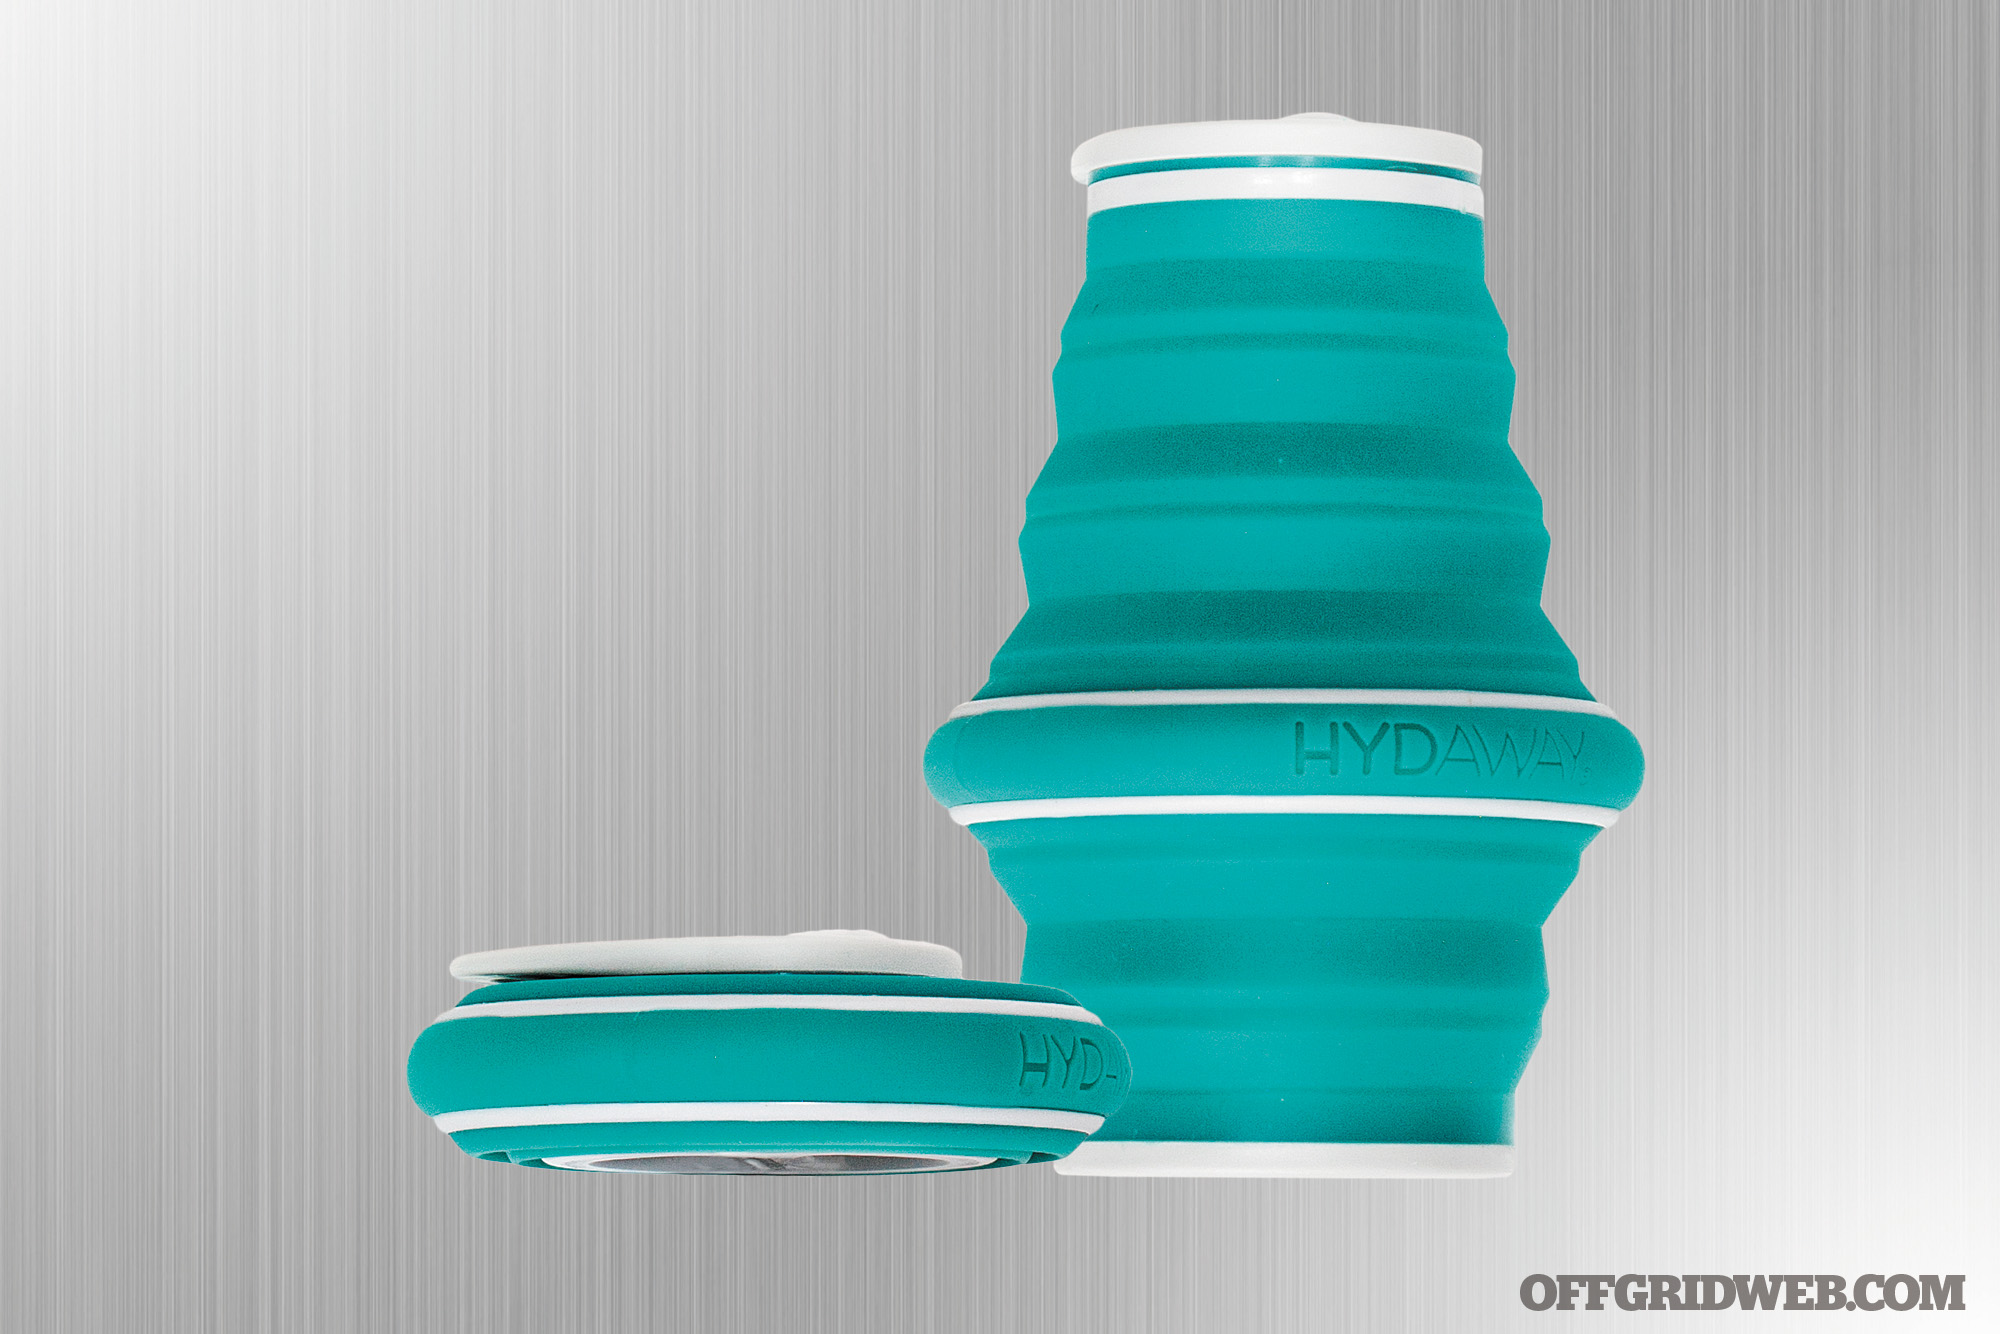
Water
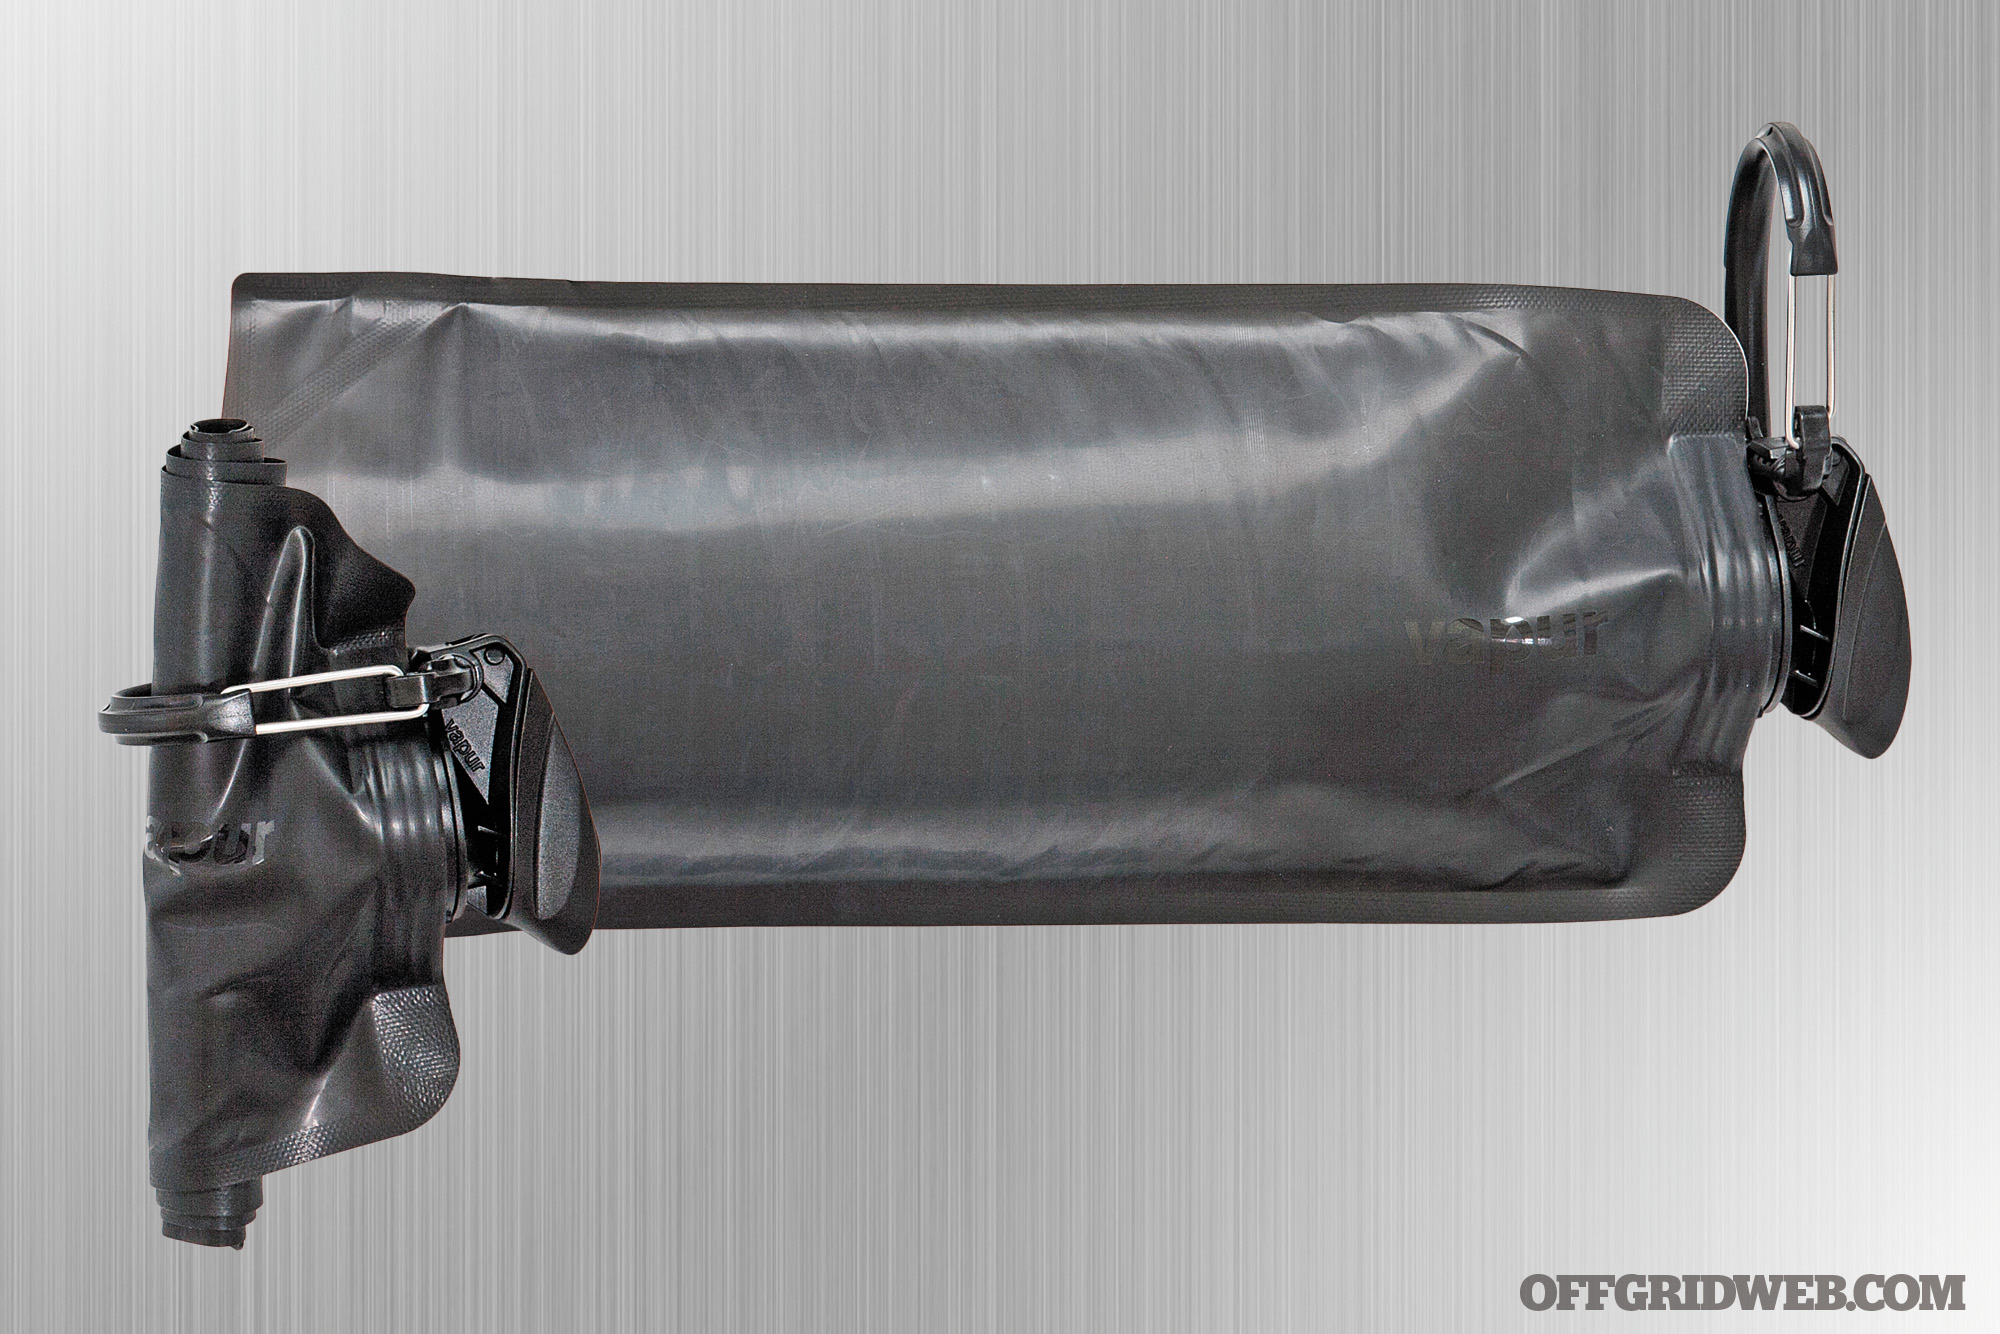
The kit contains an unspecified amount of Datrex emergency drinking water pouches ($31 for a 64-pack of 125ml pouches). There’s also a water purification kit of unknown origin, plus a Preppi-branded MSR Dromedary hydration bladder ($50). A “hydroformed black matte flask” is included; sadly, it doesn’t come pre-filled with 50-year-old single malt scotch. There is some Kusmi Darjeeling No. 37 organic black tea ($22), however.
Food
Emergency food rations were also sourced from Datrex, and appear to be 3,600kcal bars (see our review from Issue 7). Images also show PROBAR Meal bars, though there is no other mention of these in the product description, so we’re not entirely sure if they’re included or not.
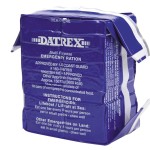

Above: Datrex emergency rations, as seen in the Emergency Ration Buyer’s Guide from Issue 7 of our magazine.
For dessert, there’s a $10 organic chocolate bar from Mast Brothers. You may not get flavorful freeze-dried meals or even MREs, but at least you’ll have a few bites of artisanal chocolate before digging in to several bricks of crumbly lifeboat rations.
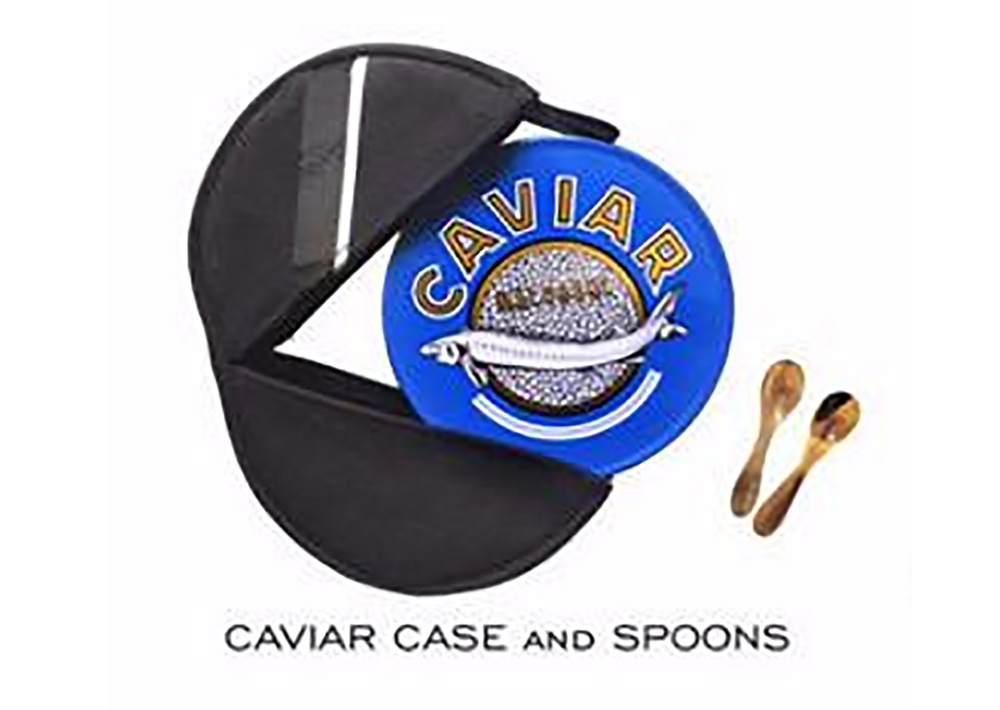
Last but certainly not least, there’s a Preppi brand caviar cooler case and two spoons (a can of imported beluga is not included). We assume these are intended for spreading some chilled caviar onto your ration bars to elevate their gourmet flavor.
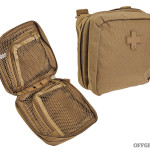
First Aid
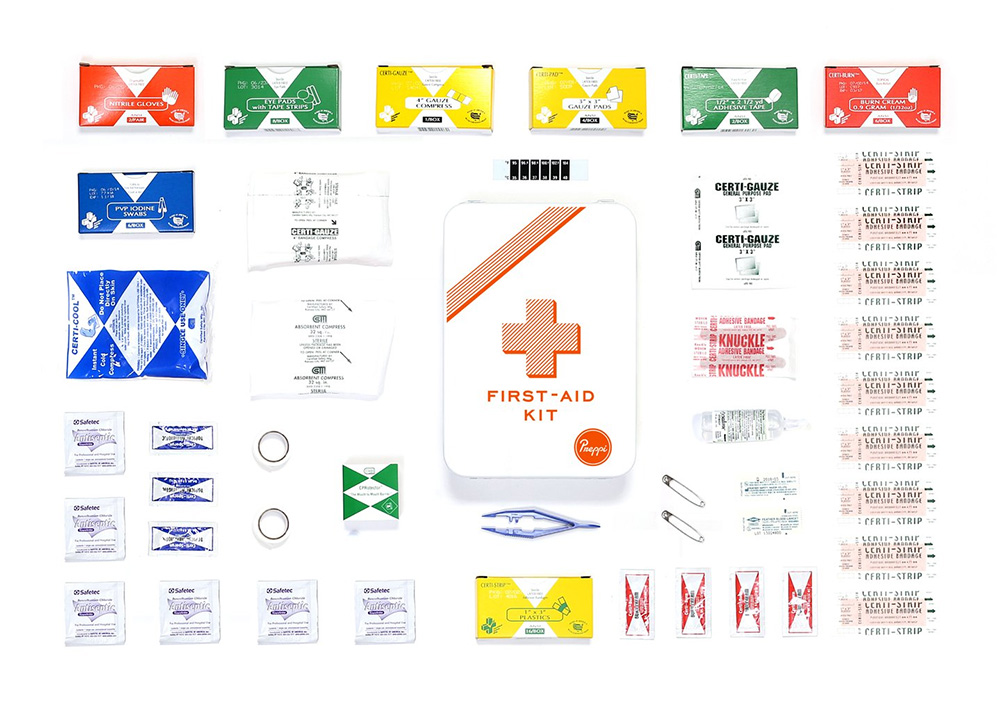
The Prepster Ultra Luxe includes a Preppi First Aid Kit. No details are provided about its contents, but we’d bet they’re the same as Preppi’s $95 standalone first-aid kit. It comes with various bandages, gauze, antiseptics, tape, safety pins, nitrile gloves, eye wash, and a cold compress — no need to fear boo-boos during your harrowing survival adventure.
Personal Hygiene
Most survival kits contain some basic hygiene items, but Preppi takes it to the next level. There’s a Preppi Canvas and Leather Dopp Kit bag ($95) that you’ll need to fill with your own posh toiletries, as well as a Marvis Black Toothbrush ($6) and Marvis Toothpaste ($13). You also receive a Malin + Goetz Essentials Kit ($32), which contains the following:
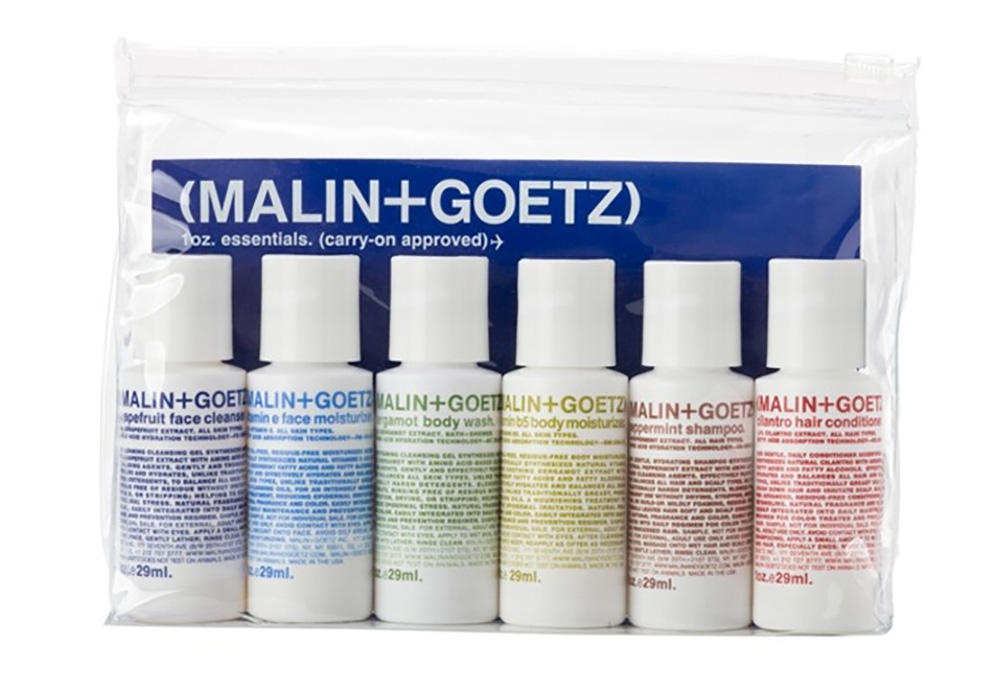
- Grapefruit face cleanser
- Vitamin e face moisturizer
- Bergamot body wash
- Vitamin B5 body moisturizer
- Peppermint shampoo
- Cilantro conditioner
The elegant aromas of bergamot and cilantro will surely do wonders to cover up your post-apocalyptic stank. (Before you head to Google to figure out what the heck bergamot is, we’ll save you the trouble. It’s a type of orange. We didn’t know either.)
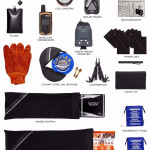
Communications & Tech
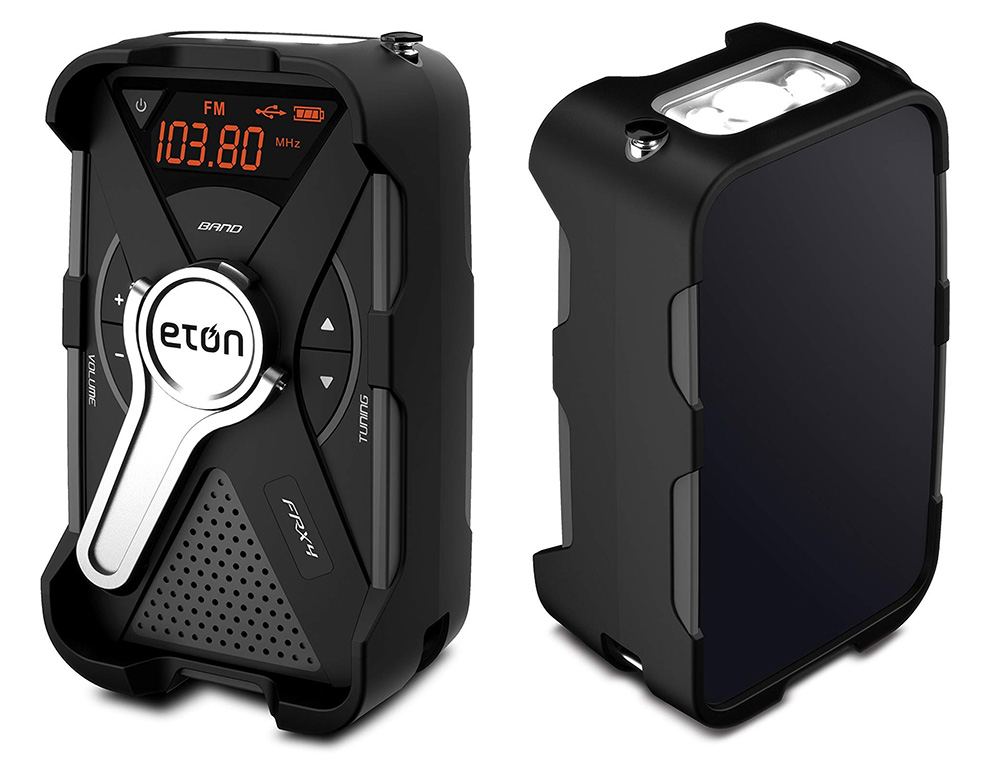
Is your gold iPhone XS Max running low on juice from one too many last-minute selfies? Not to worry! The Prepster Ultra Luxe has you covered with an Anker power bank, USB cables, and a folding solar panel of unknown origin. You could also charge it from the included Eton FRX4 solar/hand crank emergency radio ($80). This product is currently discontinued, making it extra rare.
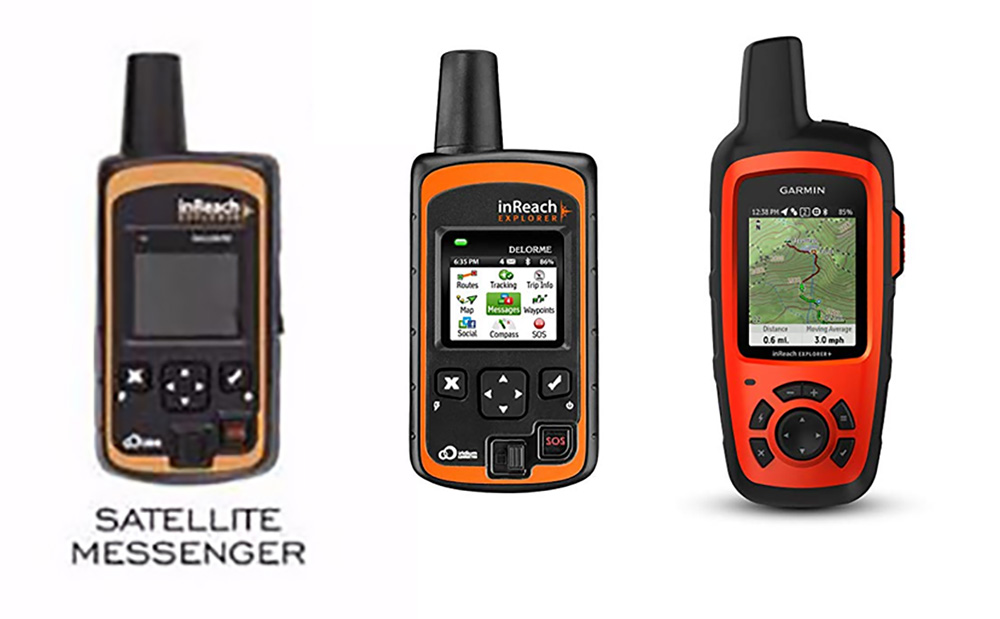
The specifications also mention a Garmin InReach handheld GPS/satellite messenger ($450). Strangely, the images show a now-discontinued Delorme InReach, so we’re not sure which is accurate. Another surprise you’ll have to wait to discover! You’ll also need to buy a subscription to Garmin’s satellite network, which ranges from $12 to $100 per month (sold separately).
We were hoping for some fancy thermal optics, but no such luck. Preppi does include a handheld night-vision unit, although they make no mention of its make or model. However, it bears a very striking resemblance to this $130 Solomark device we found on Amazon.com. What a strange coincidence.
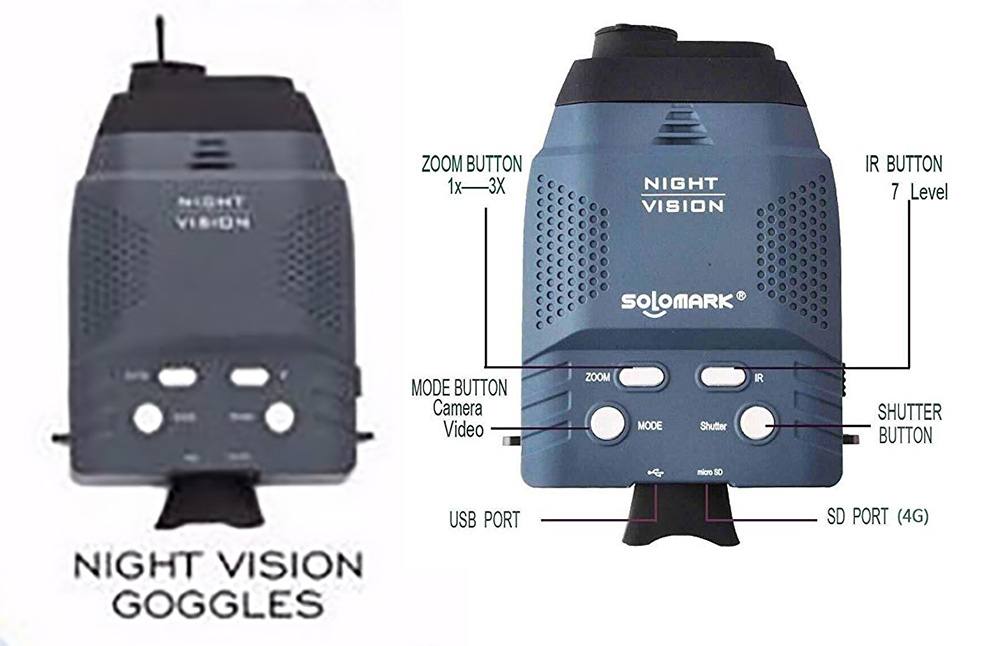
If this is one of the “Bond-like gadgets” Preppi advertises, Q branch must be undergoing some catastrophic budget cuts.
Lighting
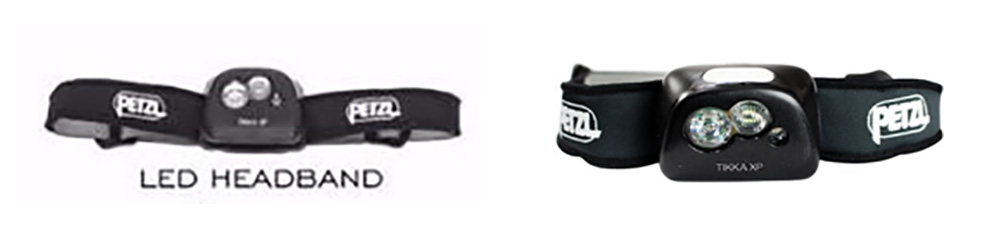
In the extremely unlikely event that your top-of-the-line night vision unit malfunctions, Preppi has provided numerous other light sources. These include a Petzl “LED headband” — the image appears to show a discontinued Tikka XP headlamp, which retailed for $50.
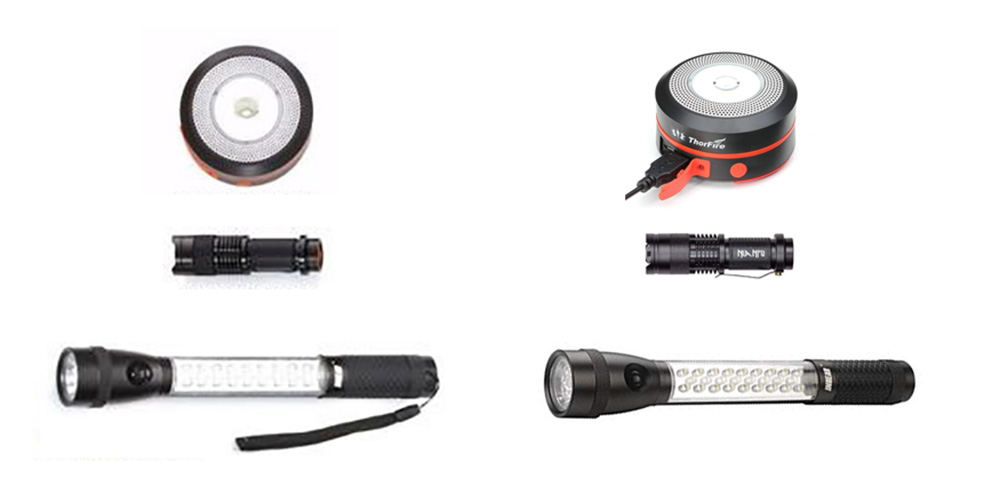
You also get a “solar pop-up lantern, tactical flashlight, and torch LED flashlight.” Again, brand names are conspicuously absent for these three items, but the pictured examples bear an uncanny resemblance to the following items from Amazon.com:
- Thorfire LED Solar Powered Lantern Emergency Charger – $17
- Nianpu Mini Cree Q5 LED Flashlight Torch – $2.40 (5-pack for $12)
- Ingear 3-in-1 Safety Flashlight – $10
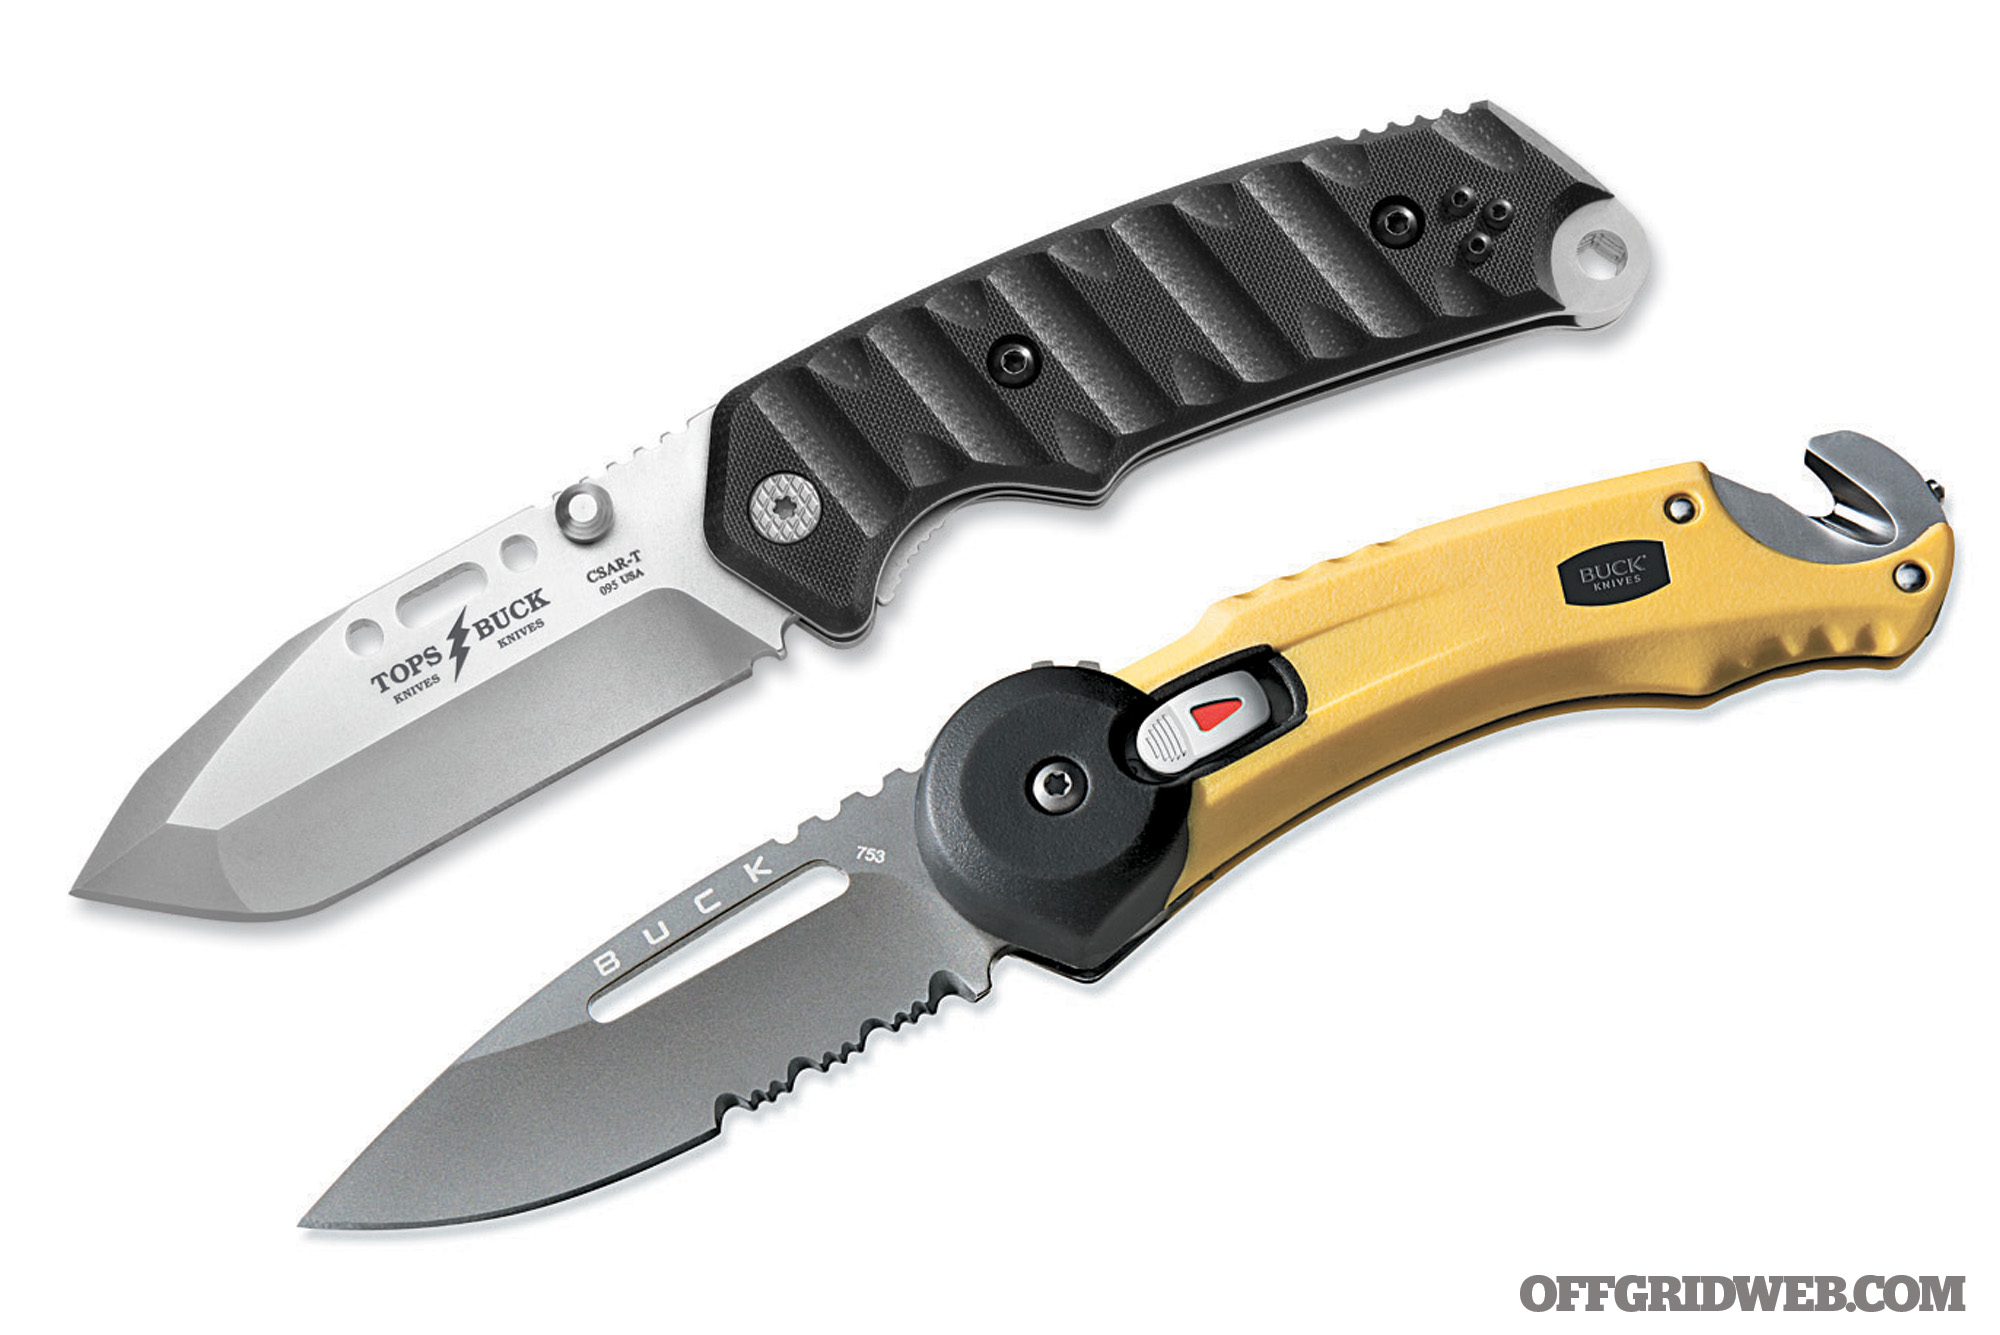
Tools
A black Leatherman Rebar ($70) is the only cutting tool in the kit, and can be used for opening caviar tins and other critical tasks. You’ll be able to keep track of items you need to scavenge from the local Whole Foods in the Field Notes Expedition notebook ($4.33 each / sold as a 3-pack for $13) with a Fisher Space Pen ($26). There’s also an unspecified amount of “tactical paracord rope 550” for all your tactical knot-tying needs, as well as “utility bags” (not pictured; we assume they’re contractor trash bags) and utility gloves that look suspiciously like a $14 pair from Amazon.
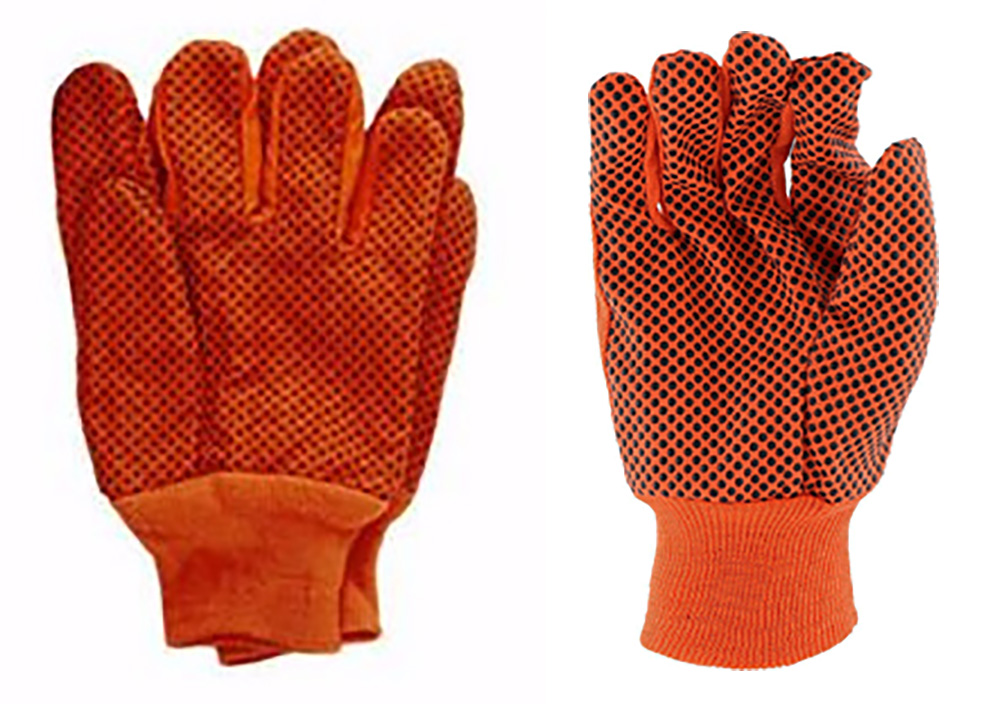
Why buy a pair of tried-and-true Mechanix gloves when you can spend the same amount on a pair that’s one step above oven mitts?
Entertainment
Preppi anticipated that you’ll be bored senseless due to the ease of surviving with your Prepster Ultra Luxe bag, so a game kit is included. It features a poker set and backgammon.
Meet Preppi’s Founders
Now that you’ve seen what’s inside the Preppi Prepster Ultra Luxe, you may be wondering about the seasoned preparedness experts who developed this product. Rapper 2 Chainz interviewed these L.A. entrepreneurs on his VICELAND show Most Expensivest:
“We make everything ourselves in downtown L.A.” — Actual quote from Preppi co-founder Ryan Kuhlman
You may have noticed that this video lists the kit’s price at $10,000. That’s because it includes optional credit-card-sized gold bars, each with a claimed value of $2,500. These feature perforations so they can be broken into smaller pieces for bartering. Preppi’s site says that customers who want this upgrade should email them after placing an order for the standard $5,000 kit.
In the following supposedly-comedic yet painfully-unfunny Daily Show segment, correspondent Desi Lydic conducts a brief interview with Preppi’s Ryan Kuhlman (the relevant bit starts at 3:41). During this segment, Kuhlman name-drops Ben Affleck as a Prepster bag buyer.
We’re disappointed to see that the champagne bottle koozie featured in this clip doesn’t appear to have made it into the final version of the kit.
Conclusion
In case you haven’t noticed by now, we’re not singing Preppi’s praises here. We could make fun of it all day, but there are still lessons to be learned.
Obviously value isn’t the primary concern for luxury products, but even in this realm the Prepster Ultra Luxe is overpriced to a laughable degree. We’d generously estimate the actual cost of the items within this kit, purchased at full MSRP, to be less than $2000. Roughly a fourth of that cost is the $450 Garmin InReach GPS unit; much of the rest can be attributed to completely unnecessary items like the $55 scented candle. You’d definitely have an easier time surviving with $1,000 in gear and $4,000 in cash. You might have an easier time surviving by burning the excess cash for warmth.

But regardless of the sticker shock, Preppi is a prime example of a company using creative marketing to sell mostly-mediocre gear at an insane markup. Even Preppi’s mid-range $495 Prepster bag contains plenty of off-brand and otherwise questionable items — the pretentious skincare set will be little consolation when you’re sleeping on the hard ground in a flimsy tube tent with nothing but a mylar blanket and thin plastic poncho for insulation. Last we checked, chocolate and conditioner aren’t part of the 5 Cs of survival.
This is why it’s essential to know exactly what you’re getting if you buy a pre-made survival kit. Or better yet, cut out the middleman by making your own bug-out bag. You’ll save yourself hundreds if not thousands of dollars, and you’ll actually learn something about emergency preparedness in the process.
In a real emergency, the Prepster Ultra Luxe is only going to help one person survive: the criminal who takes it by force from the sucker who spent $5,000 on it.
Special thanks to reader Ben Badgett for the tip that led to this article.