In This Article
WARNING: Some of the content described in this story involves making fire with accelerants, which is inherently dangerous. The materials provided are for illustrative purposes only. Any use of the information contained in this article shall be solely at the reader’s risk. This publication and its contributors are not responsible for any potential injuries.
When I was young I remember people using cough-drop tins to carry or store all sorts of things. I have a dim recollection of grandma having some sewing supplies in one that she kept in her purse. Several people I knew had those cans rattling around in tackle boxes and on workbenches. They worked great for keeping little odds and ends at least somewhat organized.
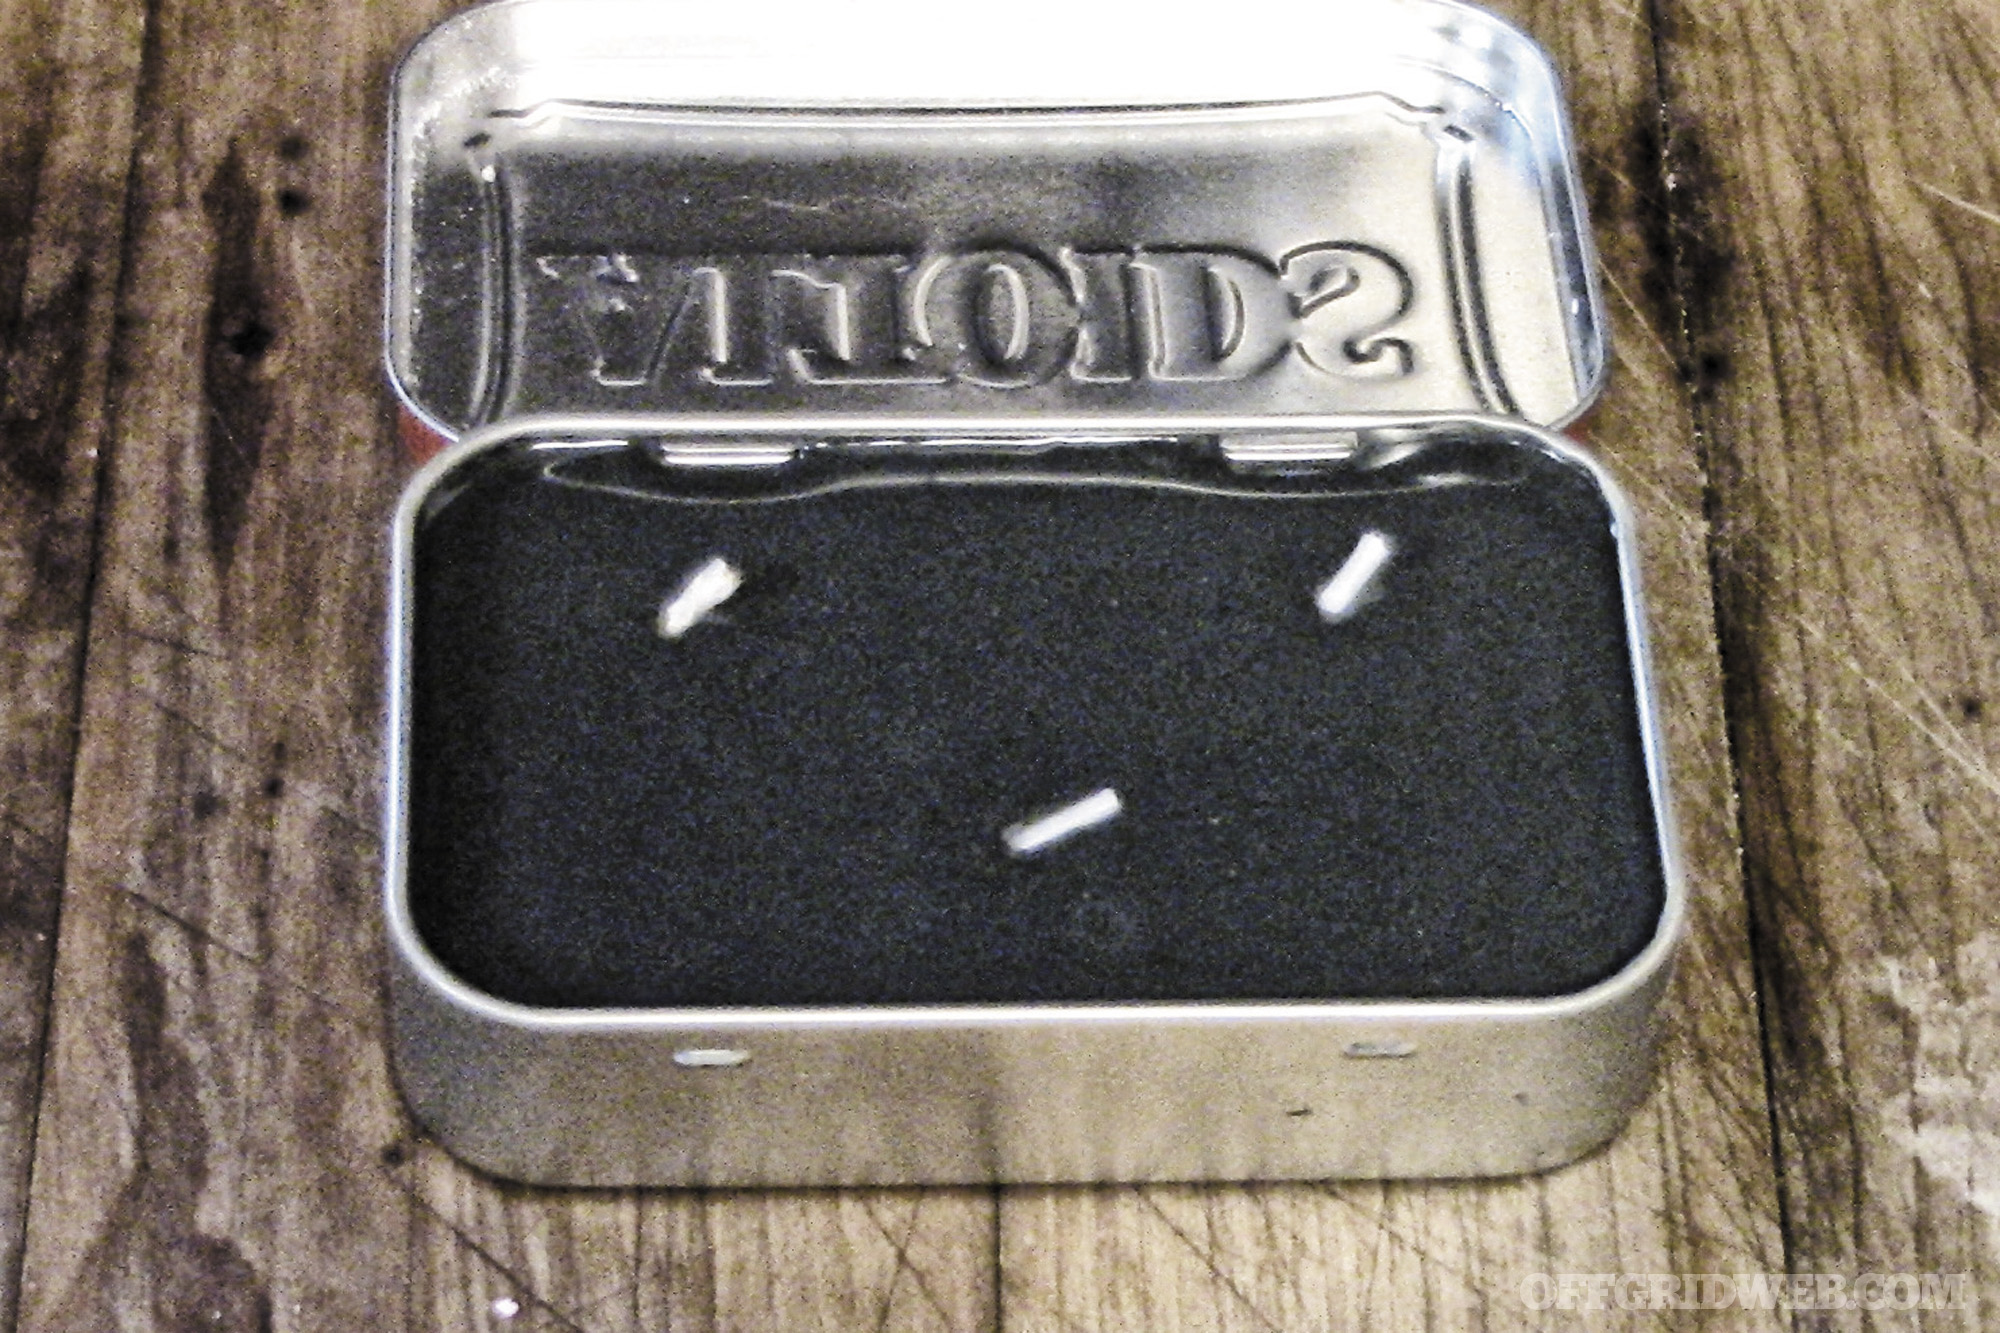
The modern equivalent today is the Altoids mint tin. To the prepper and survivalist, these little containers are almost as useful as duct tape. Altoids tins have been turned into flashlights, radios, and more. We’re going to take a more tech approach, though, and look at a handful of projects you can do with these cans using what you probably have sitting around the house.
1. Alcohol Stove
This project takes a little more effort than the ones that follow, but it’s worth it in the end. The Altoids tin alcohol stove is small in size, but large in efficiency.
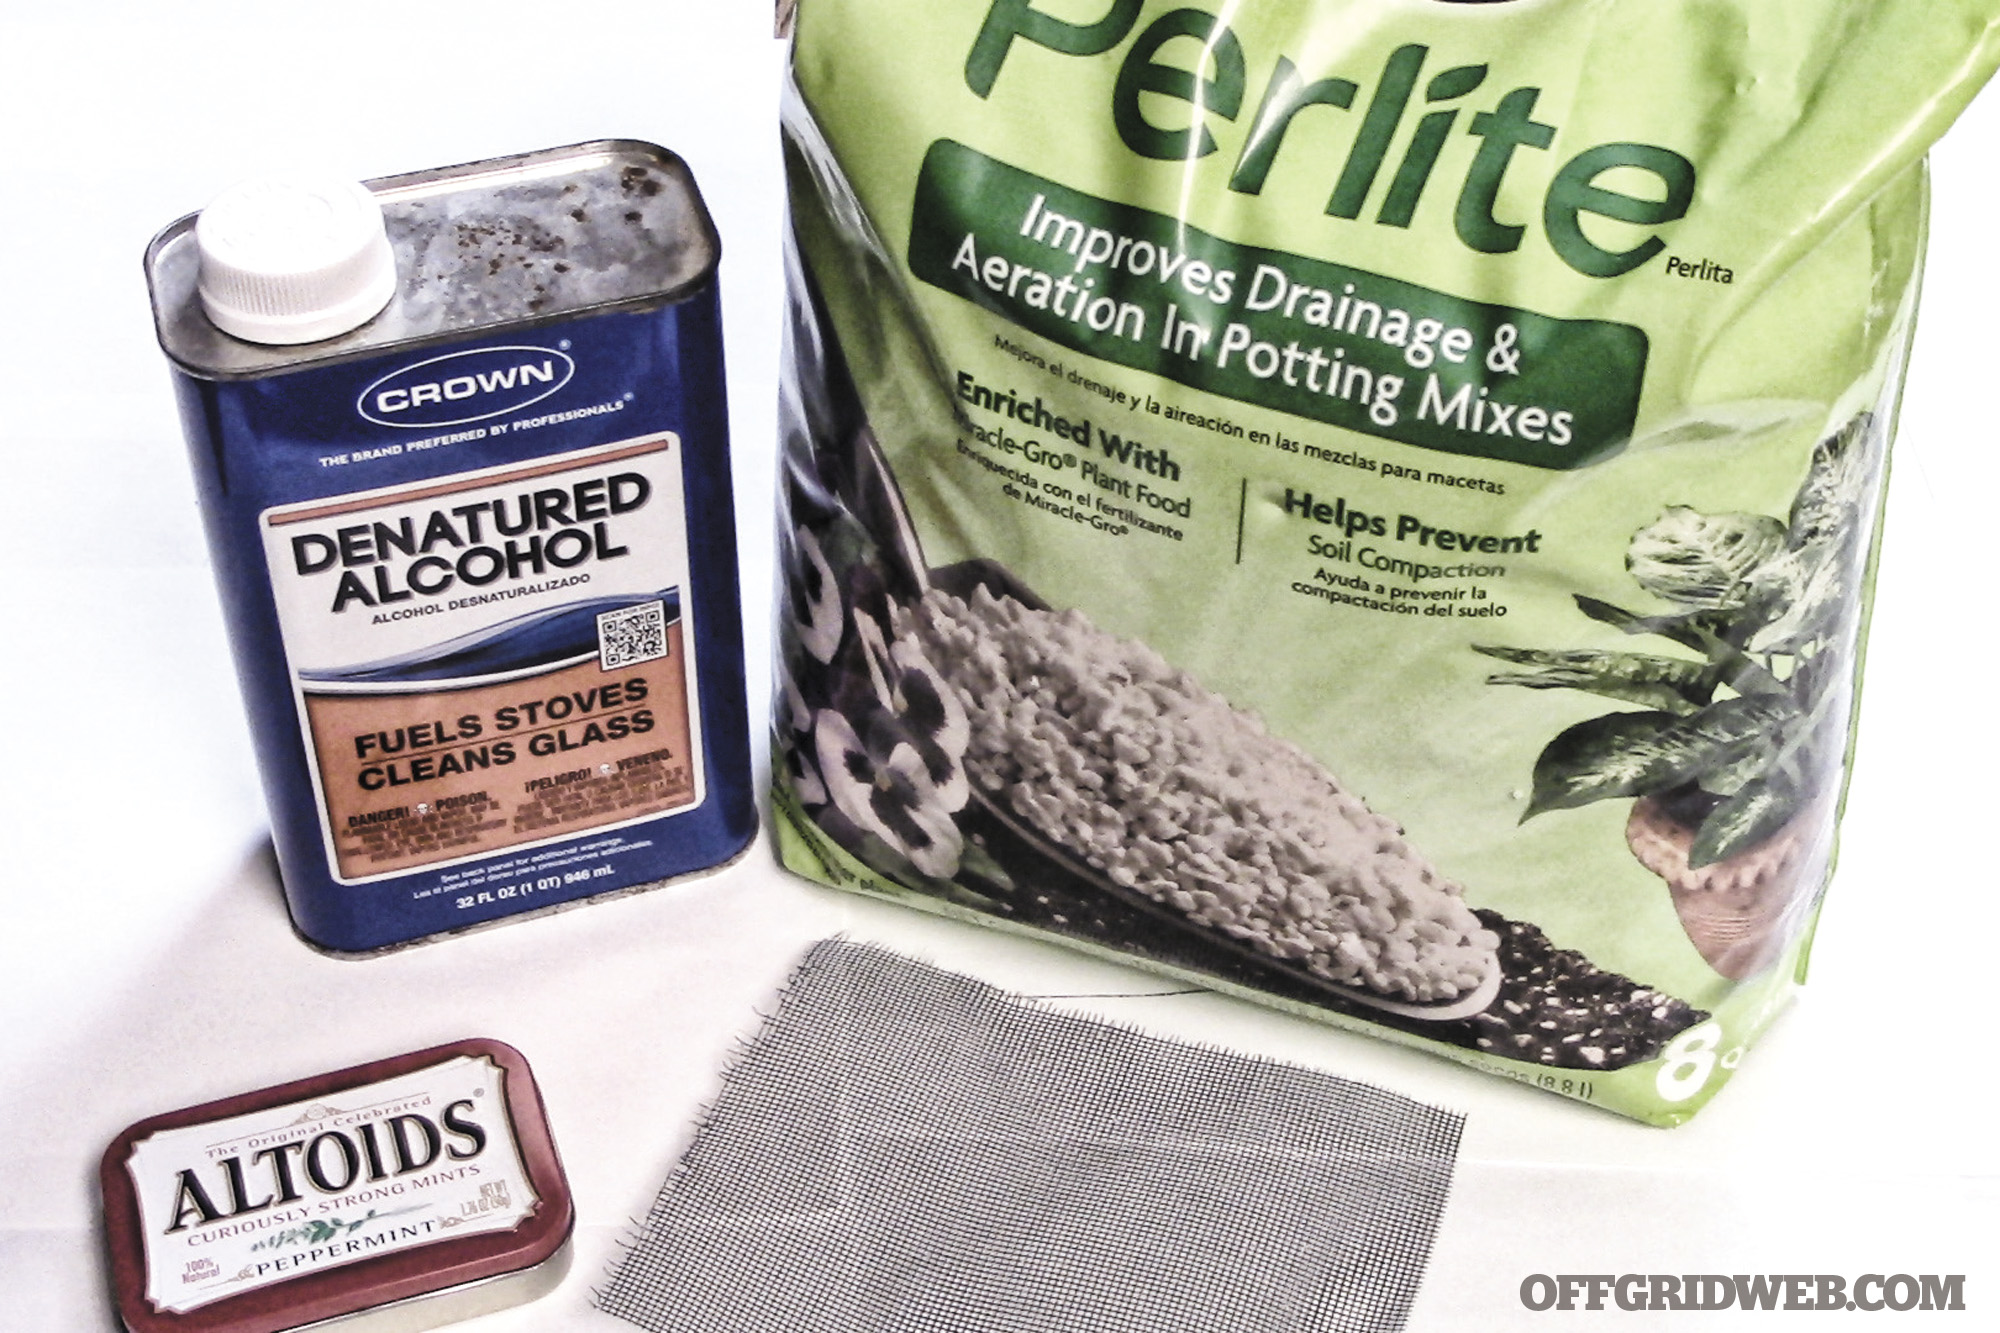
Supplies:
- Altoids tin
- Perlite or vermiculite
- Metallic window screen
- Marker
- Scissors
- Denatured alcohol
Perlite and vermiculite are both soil additives that are commonly found in any lawn and garden store. While they’re different substances from one another, either will work equally well in this project.
If you don’t have an old window screen collecting dust in the garage, head to the hardware store and pick up a metal window screen patch kit. That will have enough screening for this project, so you don’t have to buy an entire roll of material.
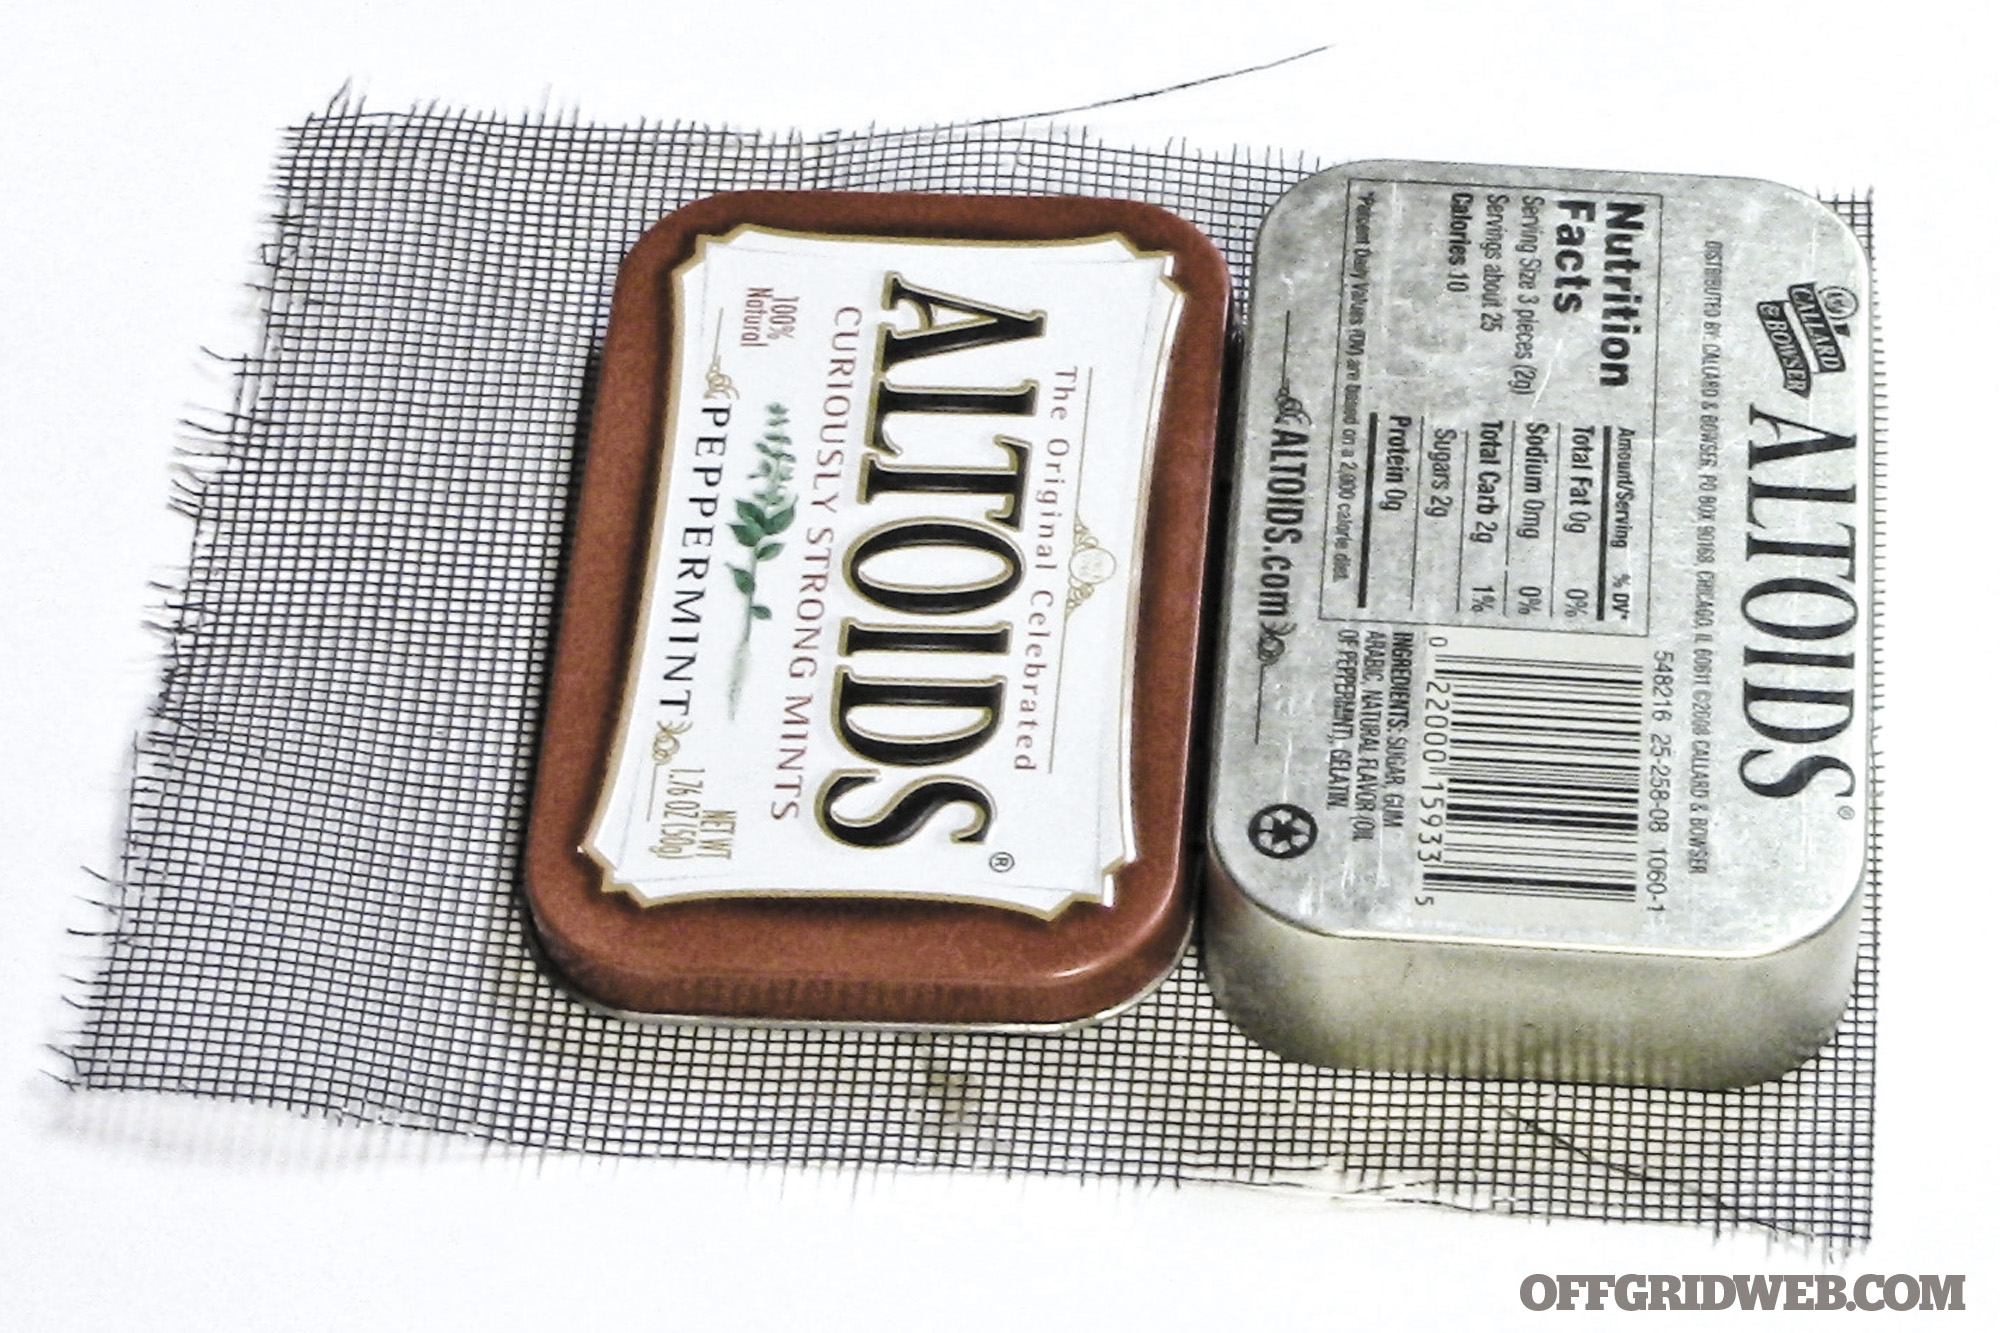
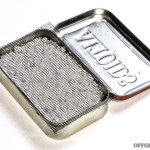
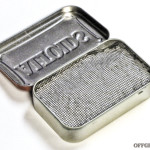
Open the Altoids container and place it face down on the screen. Use a marker to trace the outline of the can on the screen, then cut it out.
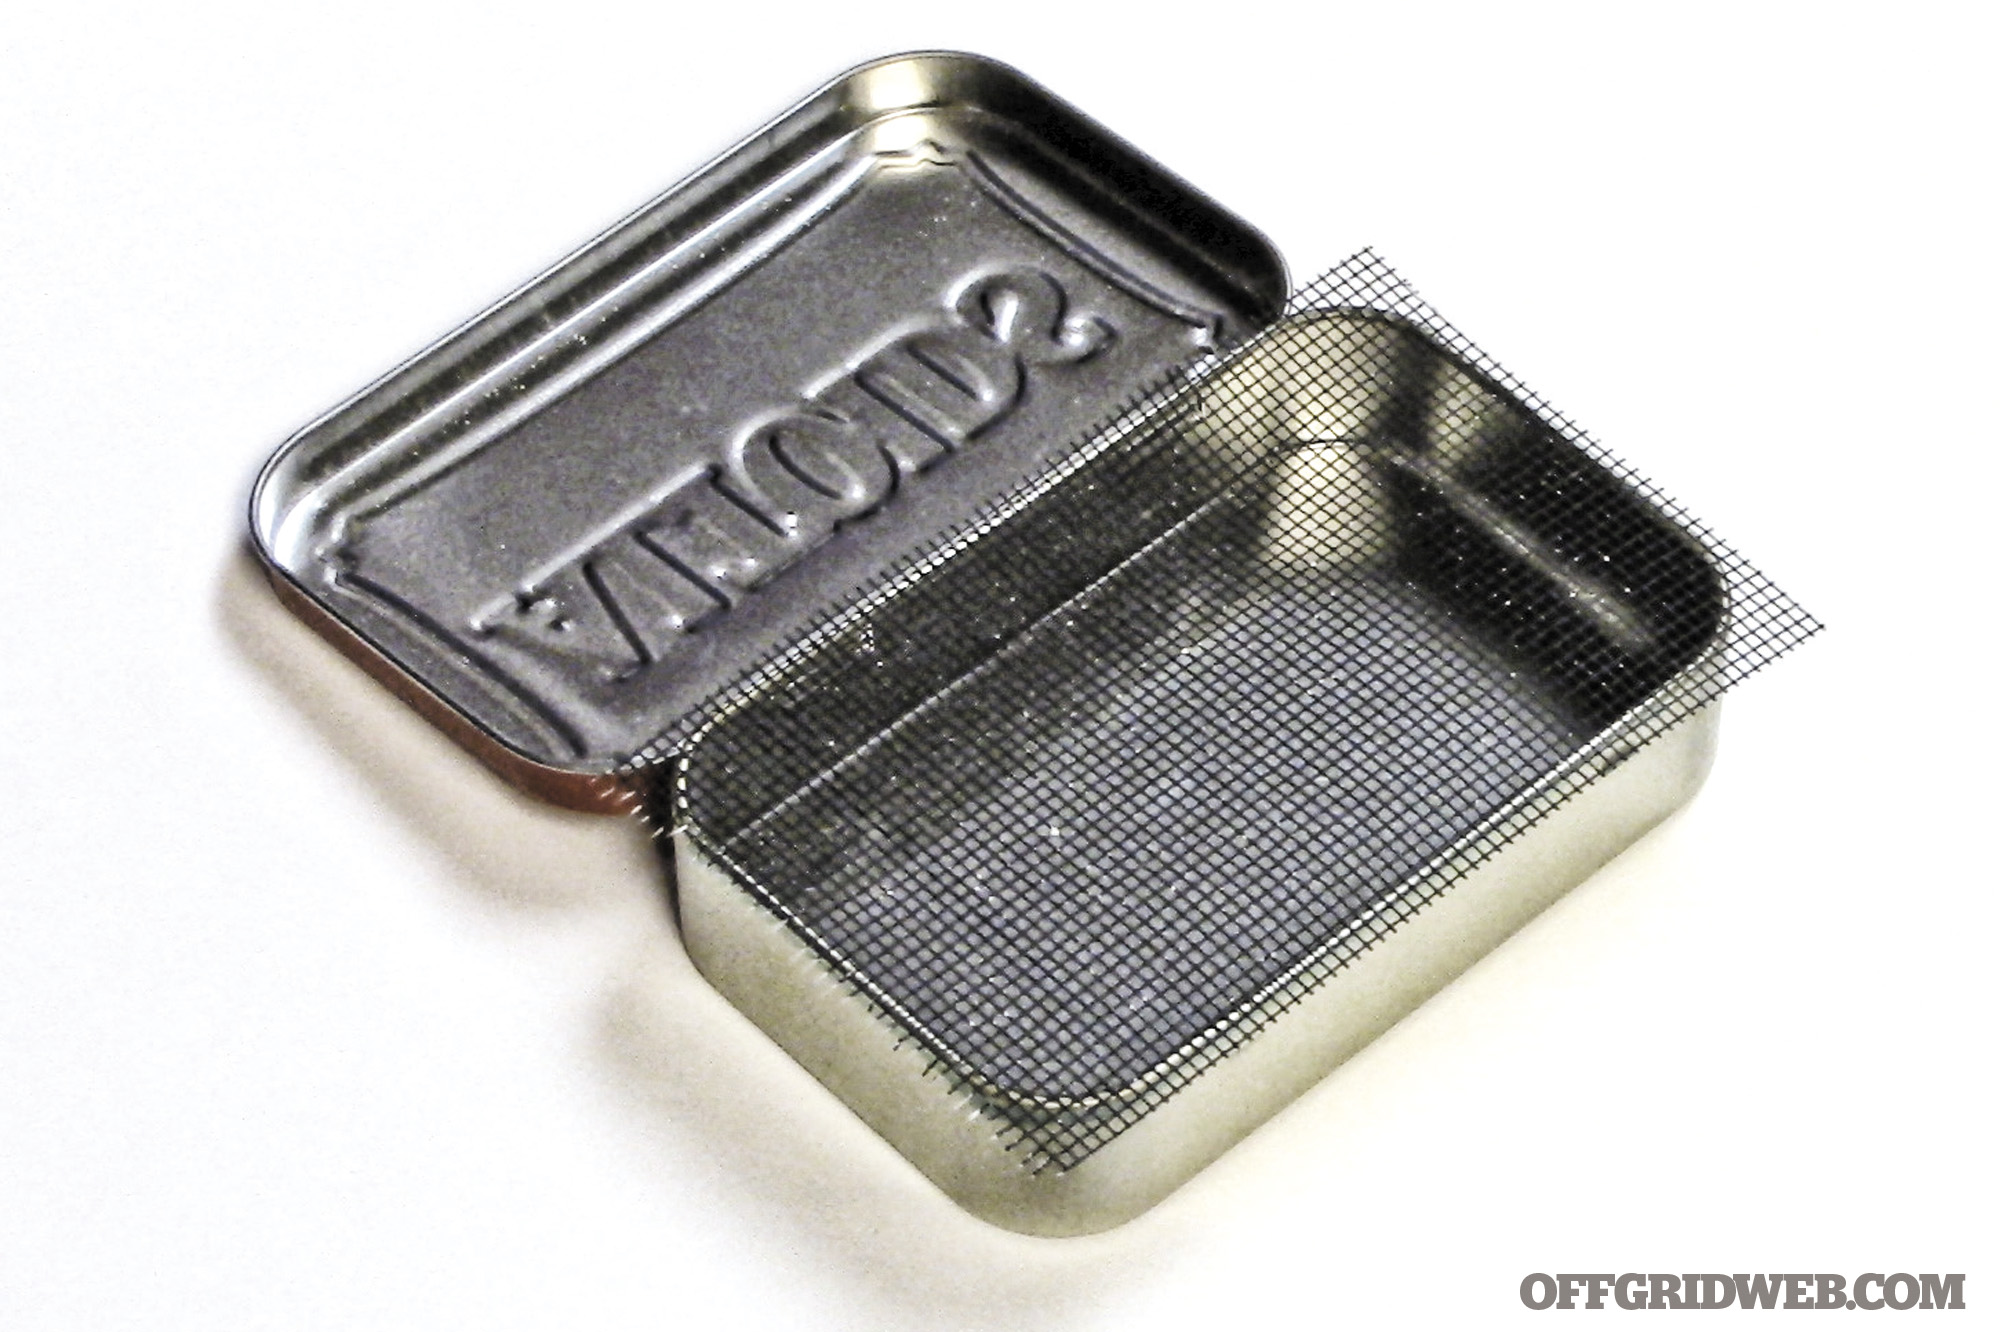
Fill the tin to just below the rim with the vermiculite or perlite. Gently shake the tin to settle the contents, then place the window screen over them. Use a finger or a Popsicle stick to tuck the screen down along the edge all the way around.
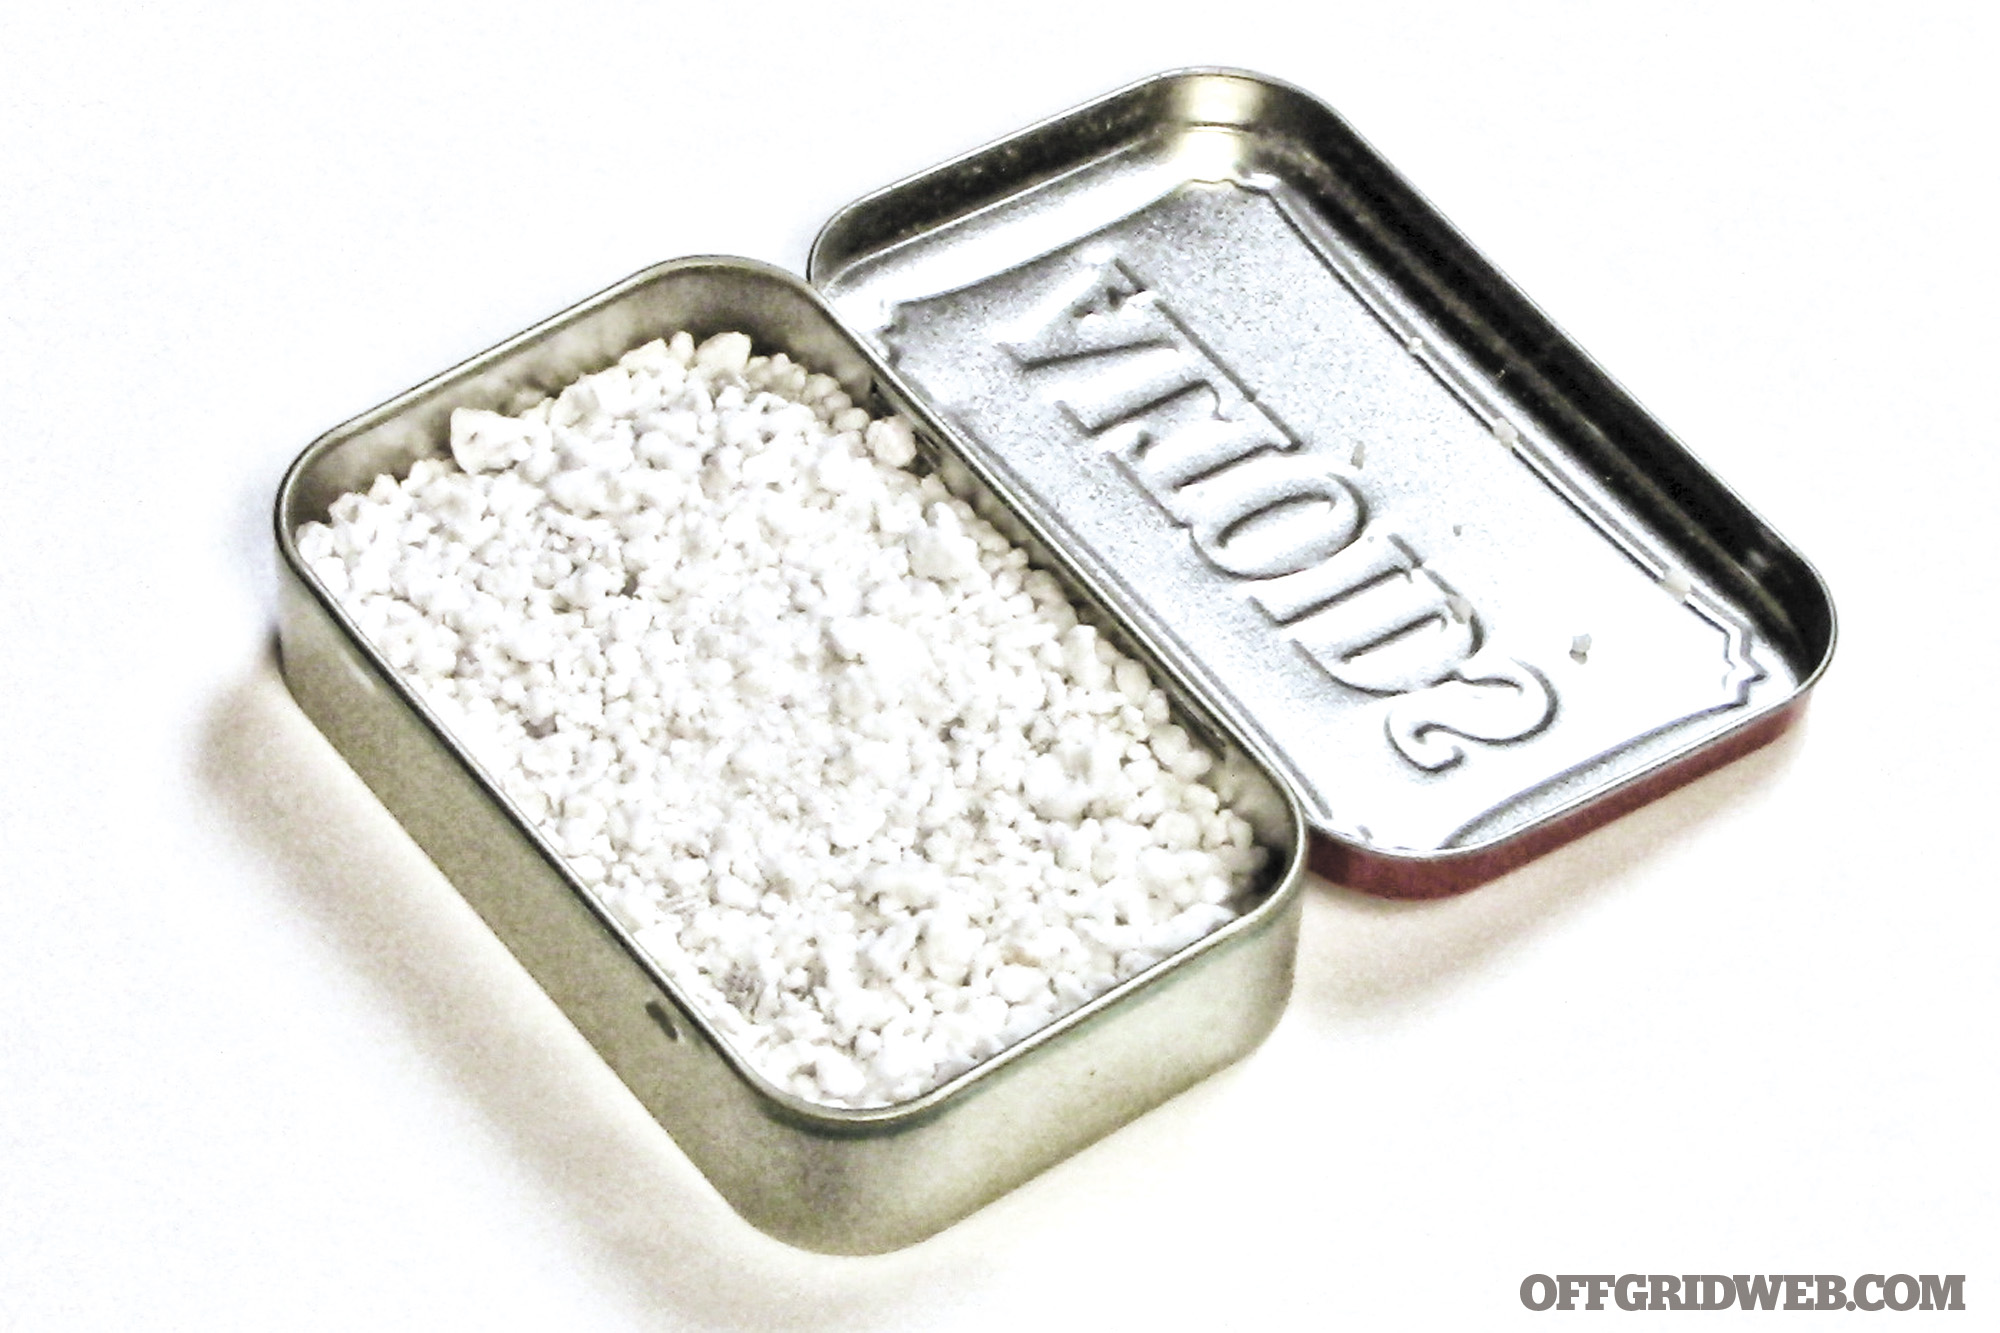
The stove is now assembled and just needs fuel. Denatured alcohol is best as it burns the cleanest. Rubbing alcohol will work but will be smoky. HEET, an automotive fuel additive, is also an option, but stick with the yellow bottle rather than the red. The yellow bottle contains methanol, which burns a lot cleaner than the isopropanol in the red bottle.
Pour a few tablespoons of fuel into the tin. The vermiculite or perlite serves to absorb the fuel and release it slowly, just as it would water in a flowerpot. Light a match and lay it right on the window screen. The alcohol vapors should ignite immediately. Be careful, though. The flames may be nearly invisible. Hold your hand several inches above the stove to feel for heat if you need to check if it’s lit.
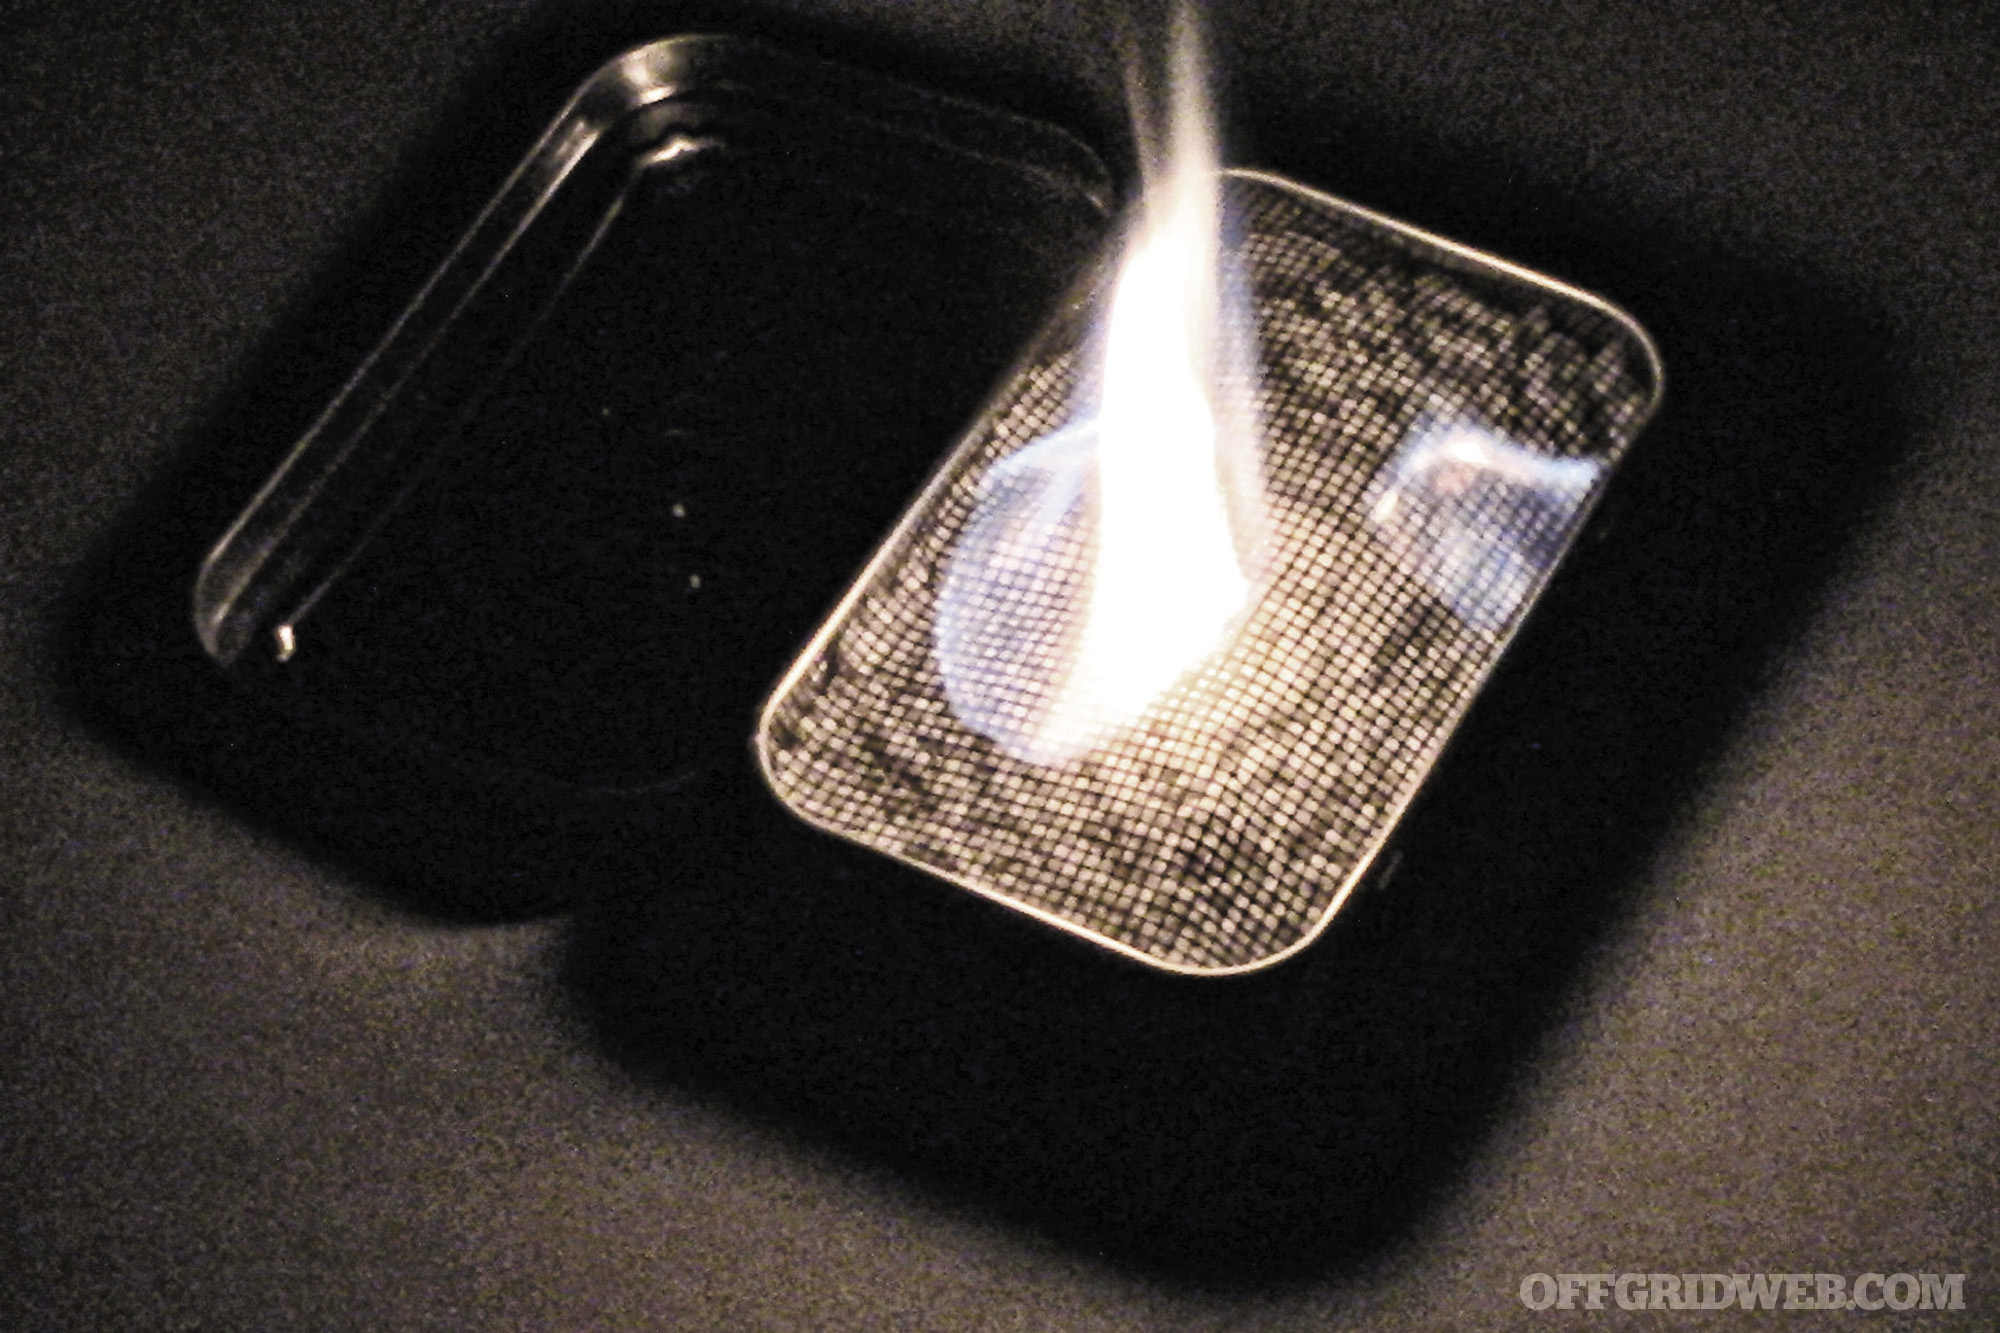
A pot placed directly on this stove will smother the flame. Grab a couple of bricks, flat rocks, or similar objects to place on either side of the stove, then place the pot on top of them. To extinguish the stove, simply flip the lid closed.
When transporting the stove, wrap a ranger band around the tin as recommended with the fire kit. Store it in a Ziploc plastic bag, too, just in case of leaks. Also be sure to pack a small bottle of fuel.
2. Candle
Turning an Altoids container into an easily transported, long-burning candle is a piece of cake.
Supplies:
- Altoids tin
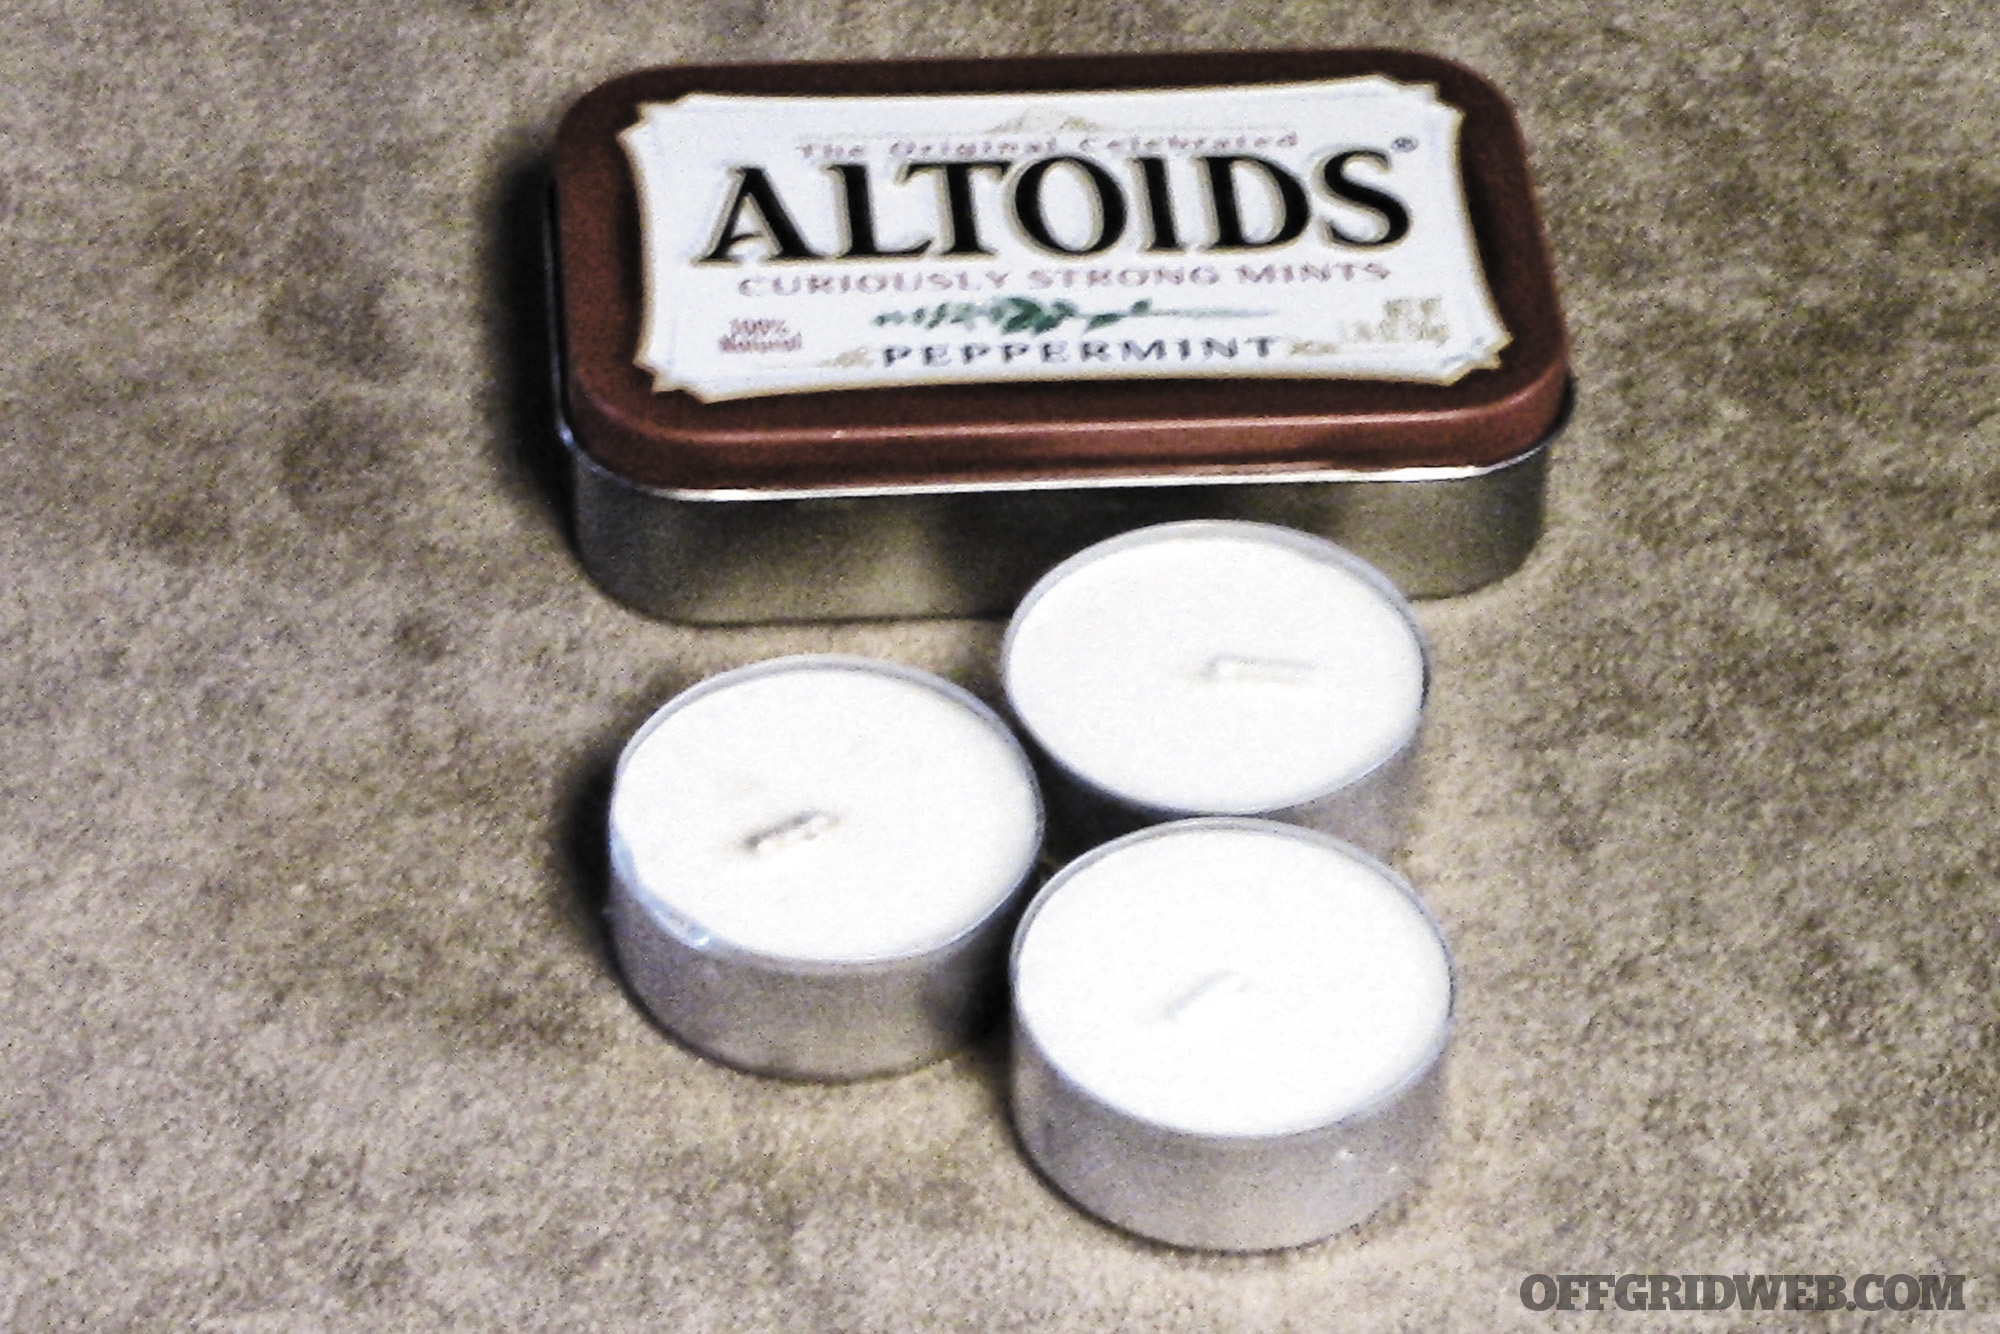
- Two to three tea light candles
- Wax
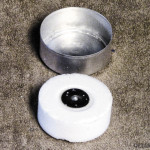
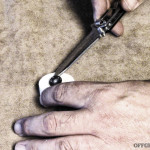
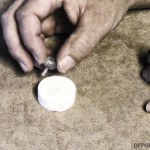
Tip the candles out of the metal cups. Turn the candles over and pry the small metal disks out to remove the wicks. Then melt the wax (see sidebar). Note that you’ll need more wax than just what you recover from the tea lights.
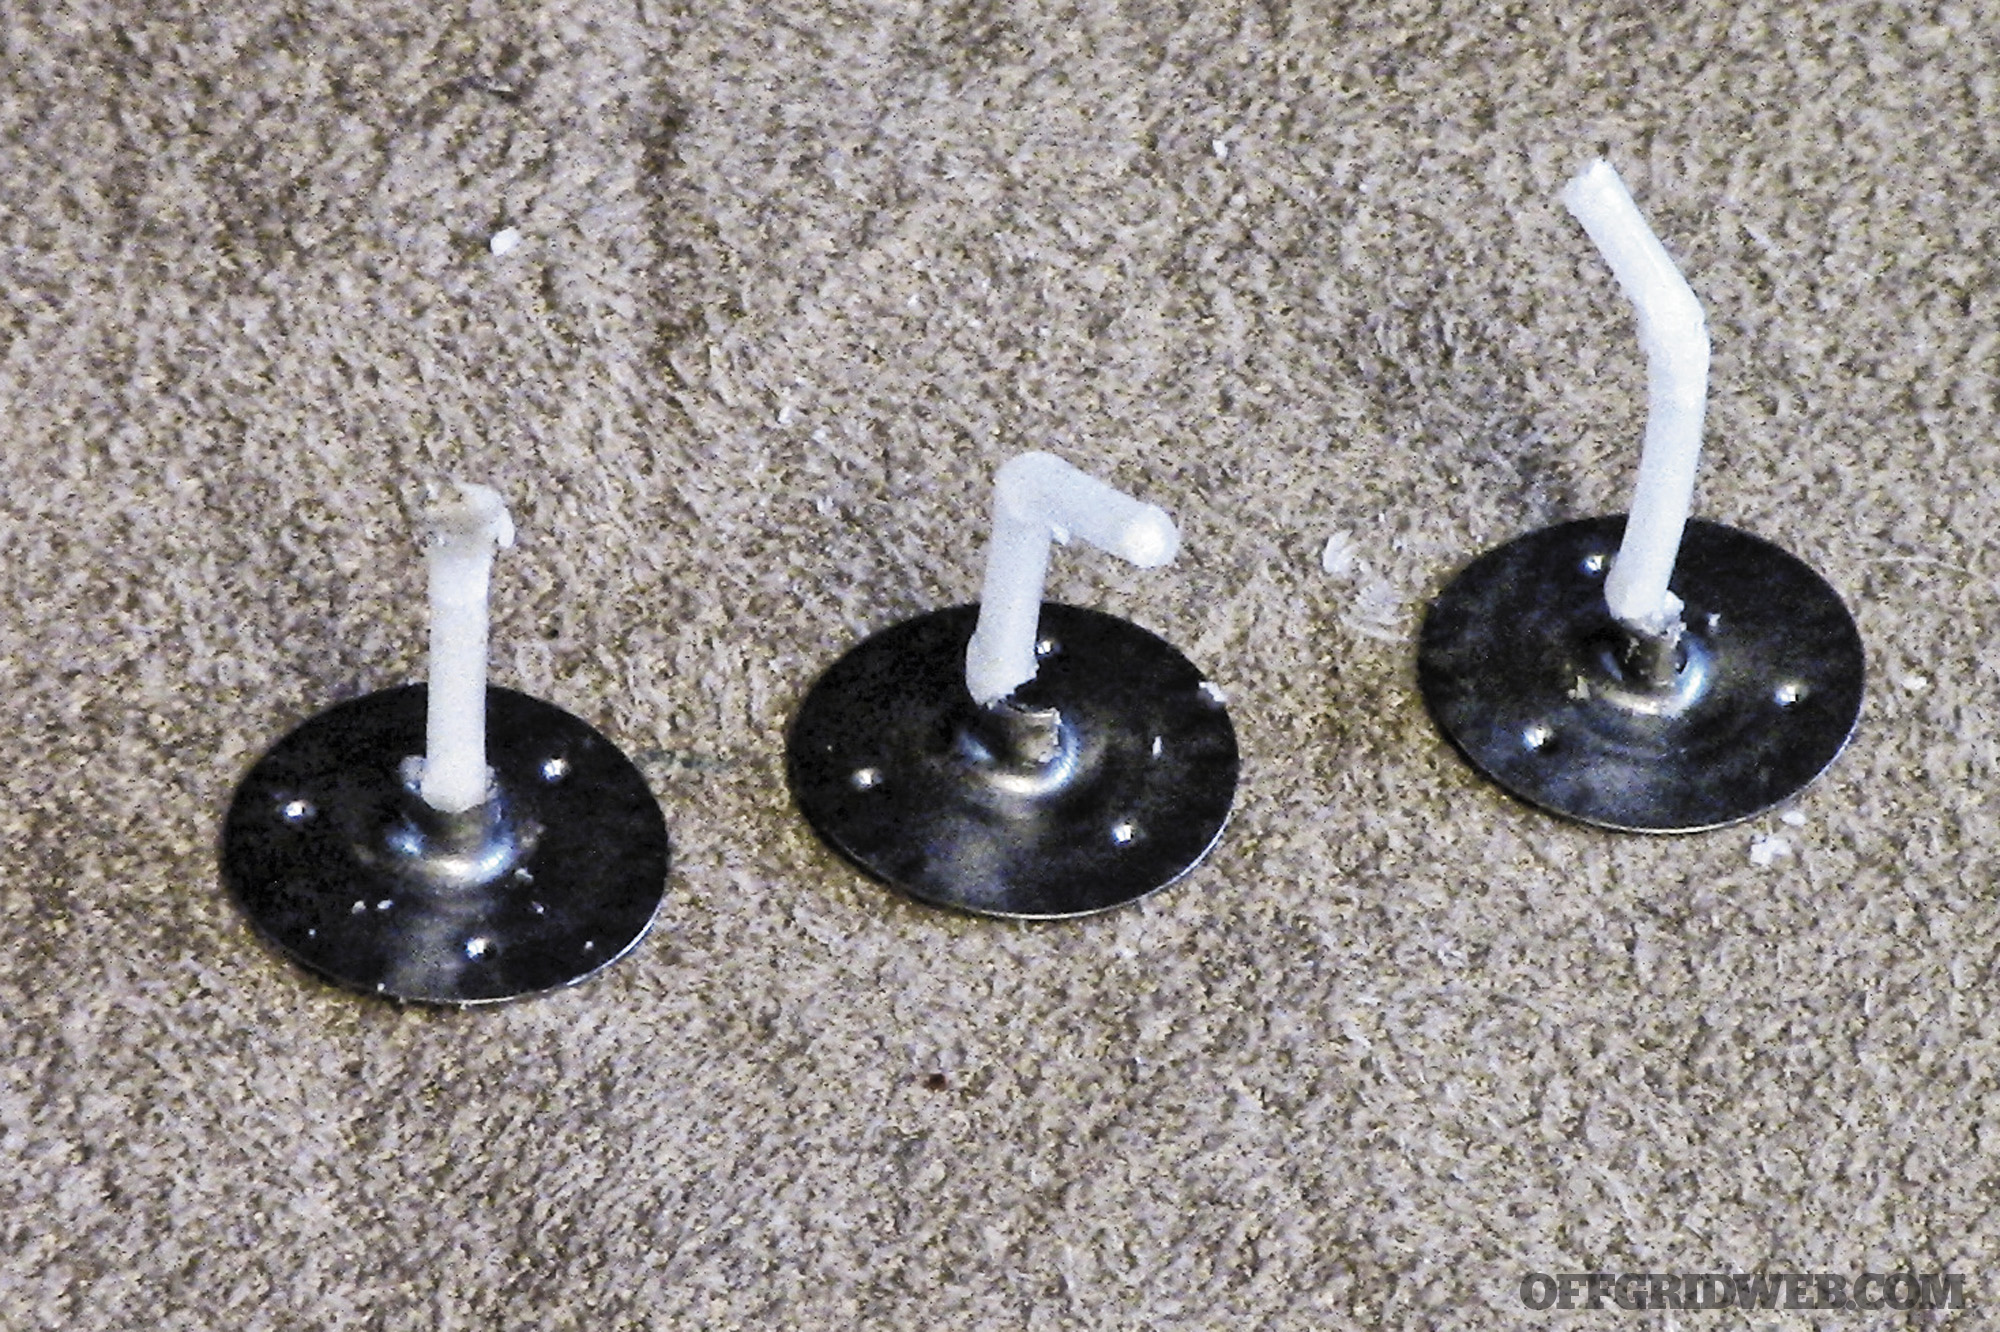
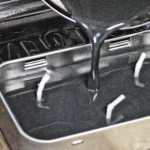
Position the wicks in the bottom of the tin. Space them evenly. Slowly pour in the melted wax and continue adding until the container is full and just the tips of the wicks are visible. Let the wax cool and harden before use.
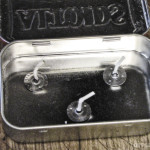
While at first it might seem easier to just toss a few tea lights into the can and be done with it, this DIY candle will actually burn far longer than the tea lights would alone. Plus, with three wicks, the amount of light and heat can be adjusted. The Altoids box can get a little warm with all three wicks burning, so be sure to place the tin on a rock or, if indoors, on an insulated hot pad or oven mitt.
The inside surface of the can’s lid is, if kept clean, very reflective. Propping it up so the light reflects off of it will increase the overall brightness of the candle.
Wax On
When making homemade fire-starters, wax is a common ingredient. Fortunately, most homes have an abundance of old candles and broken crayons. Failing that, thrift stores usually have a ton of candles that can be had very inexpensively. Do not, however, rely on cheap crayons, such as those found at dollar stores. The wax used in making those doesn’t work as well for fire-starters — not to mention they could potentially be made of toxic materials.
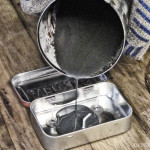
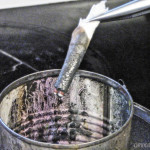
The easiest way to melt wax at home without ruining a pot and thus incurring the wrath of the family cook is to create a homemade double boiler. Procure an empty soup can and wash it out. Be careful, the inner rim is often sharp. Ask us how we know. Dry the inside of the can, then fill it about halfway with pieces of candle and/or crayons.
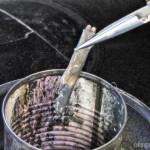
Fill a small pot with a couple of inches of water. Put it on the stove and turn on the heat. Place the can with the wax into the water. As the water comes to a boil, the wax will start to melt. Use a stick to stir the wax from time to time and break up the larger chunks.
Once the wax is fully melted, remove the can from the water while wearing an oven mitt to avoid burns.
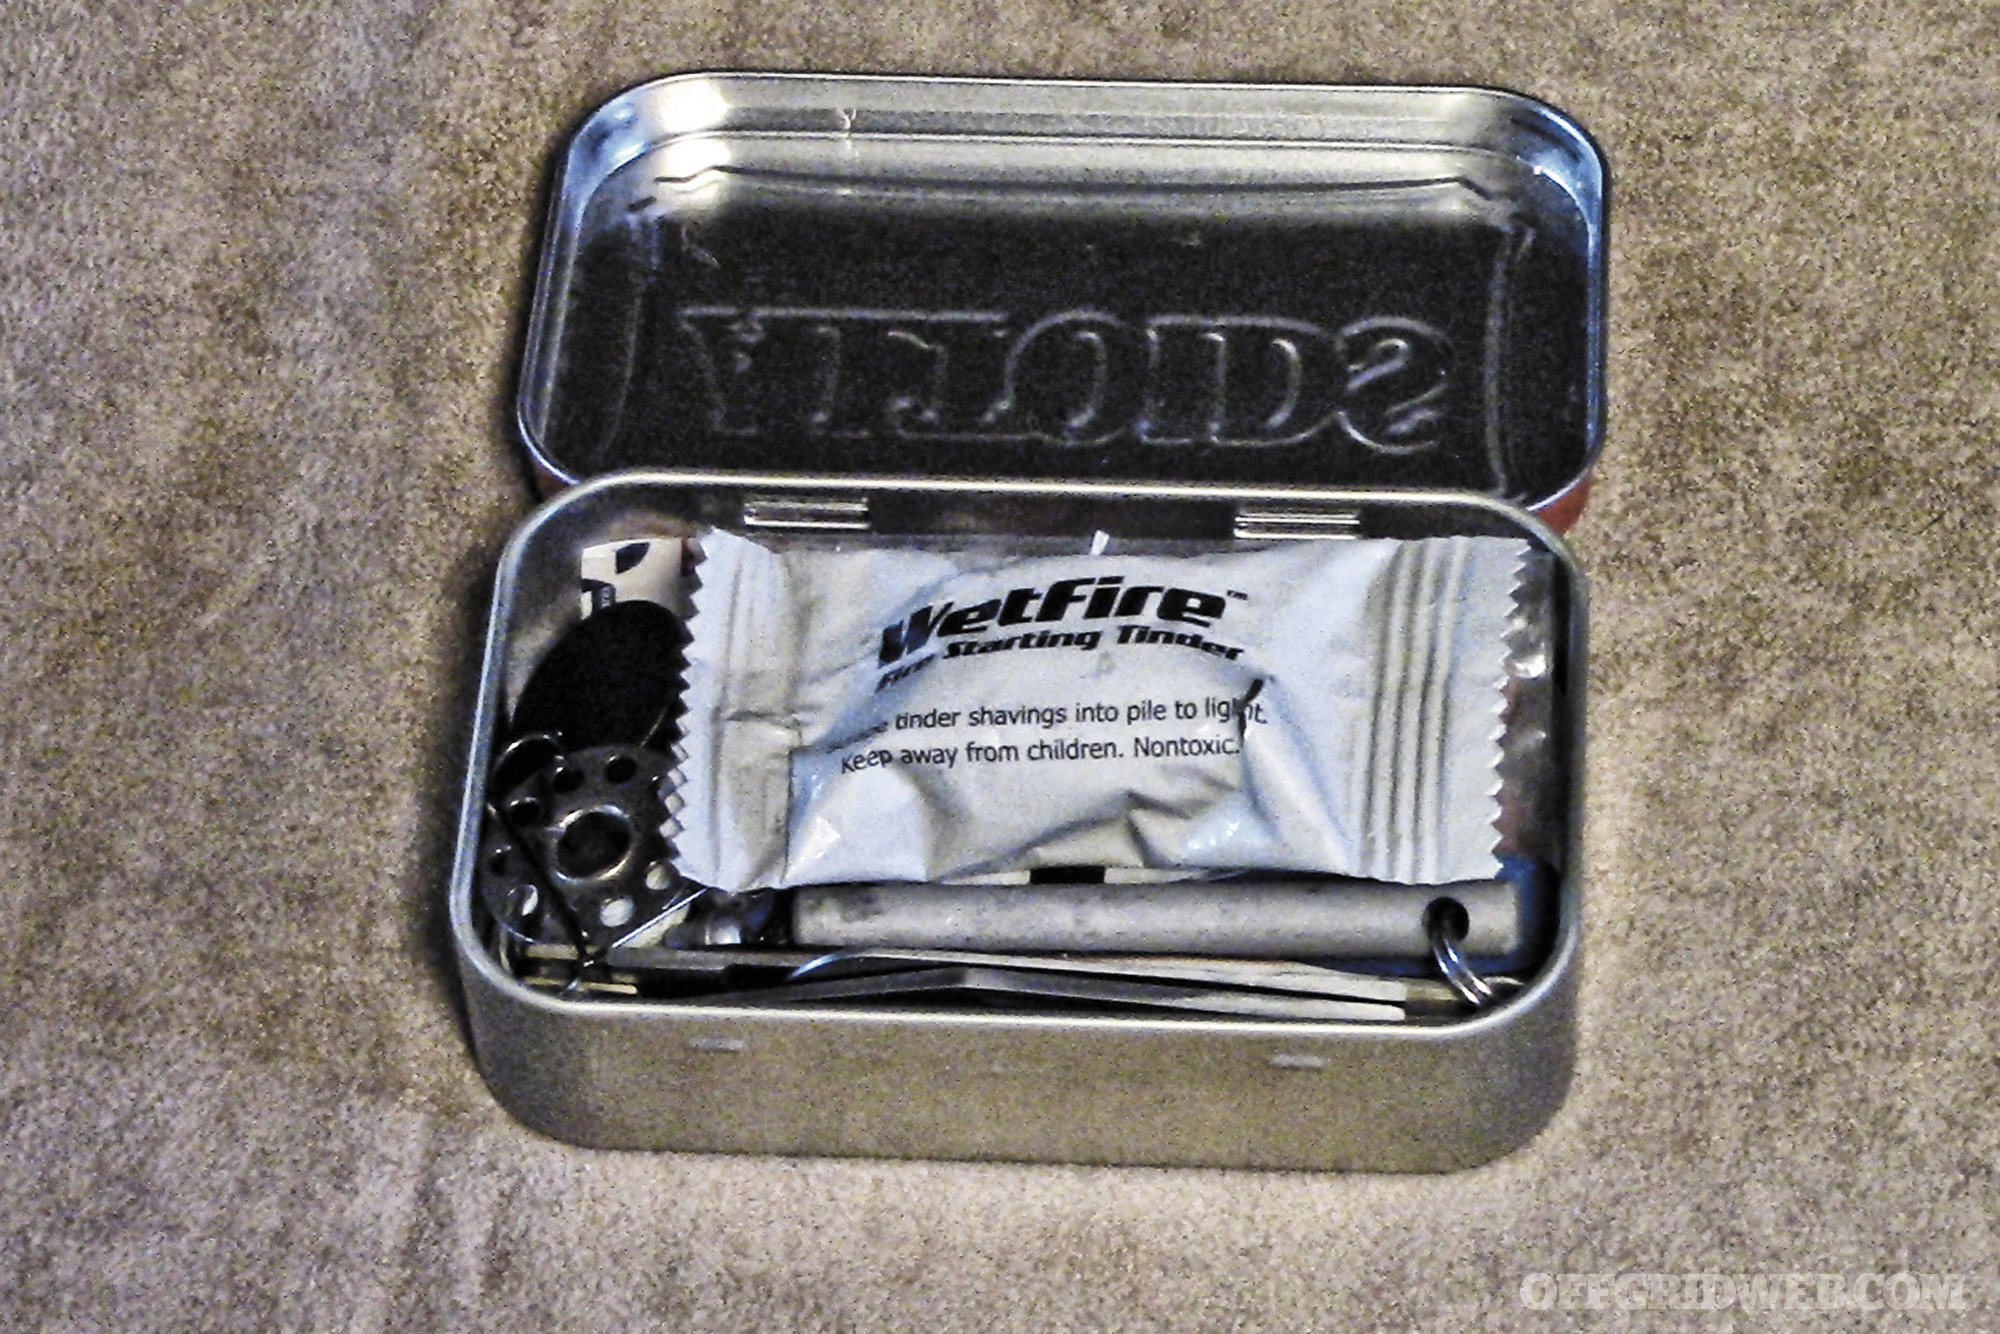
3. Fire Kit
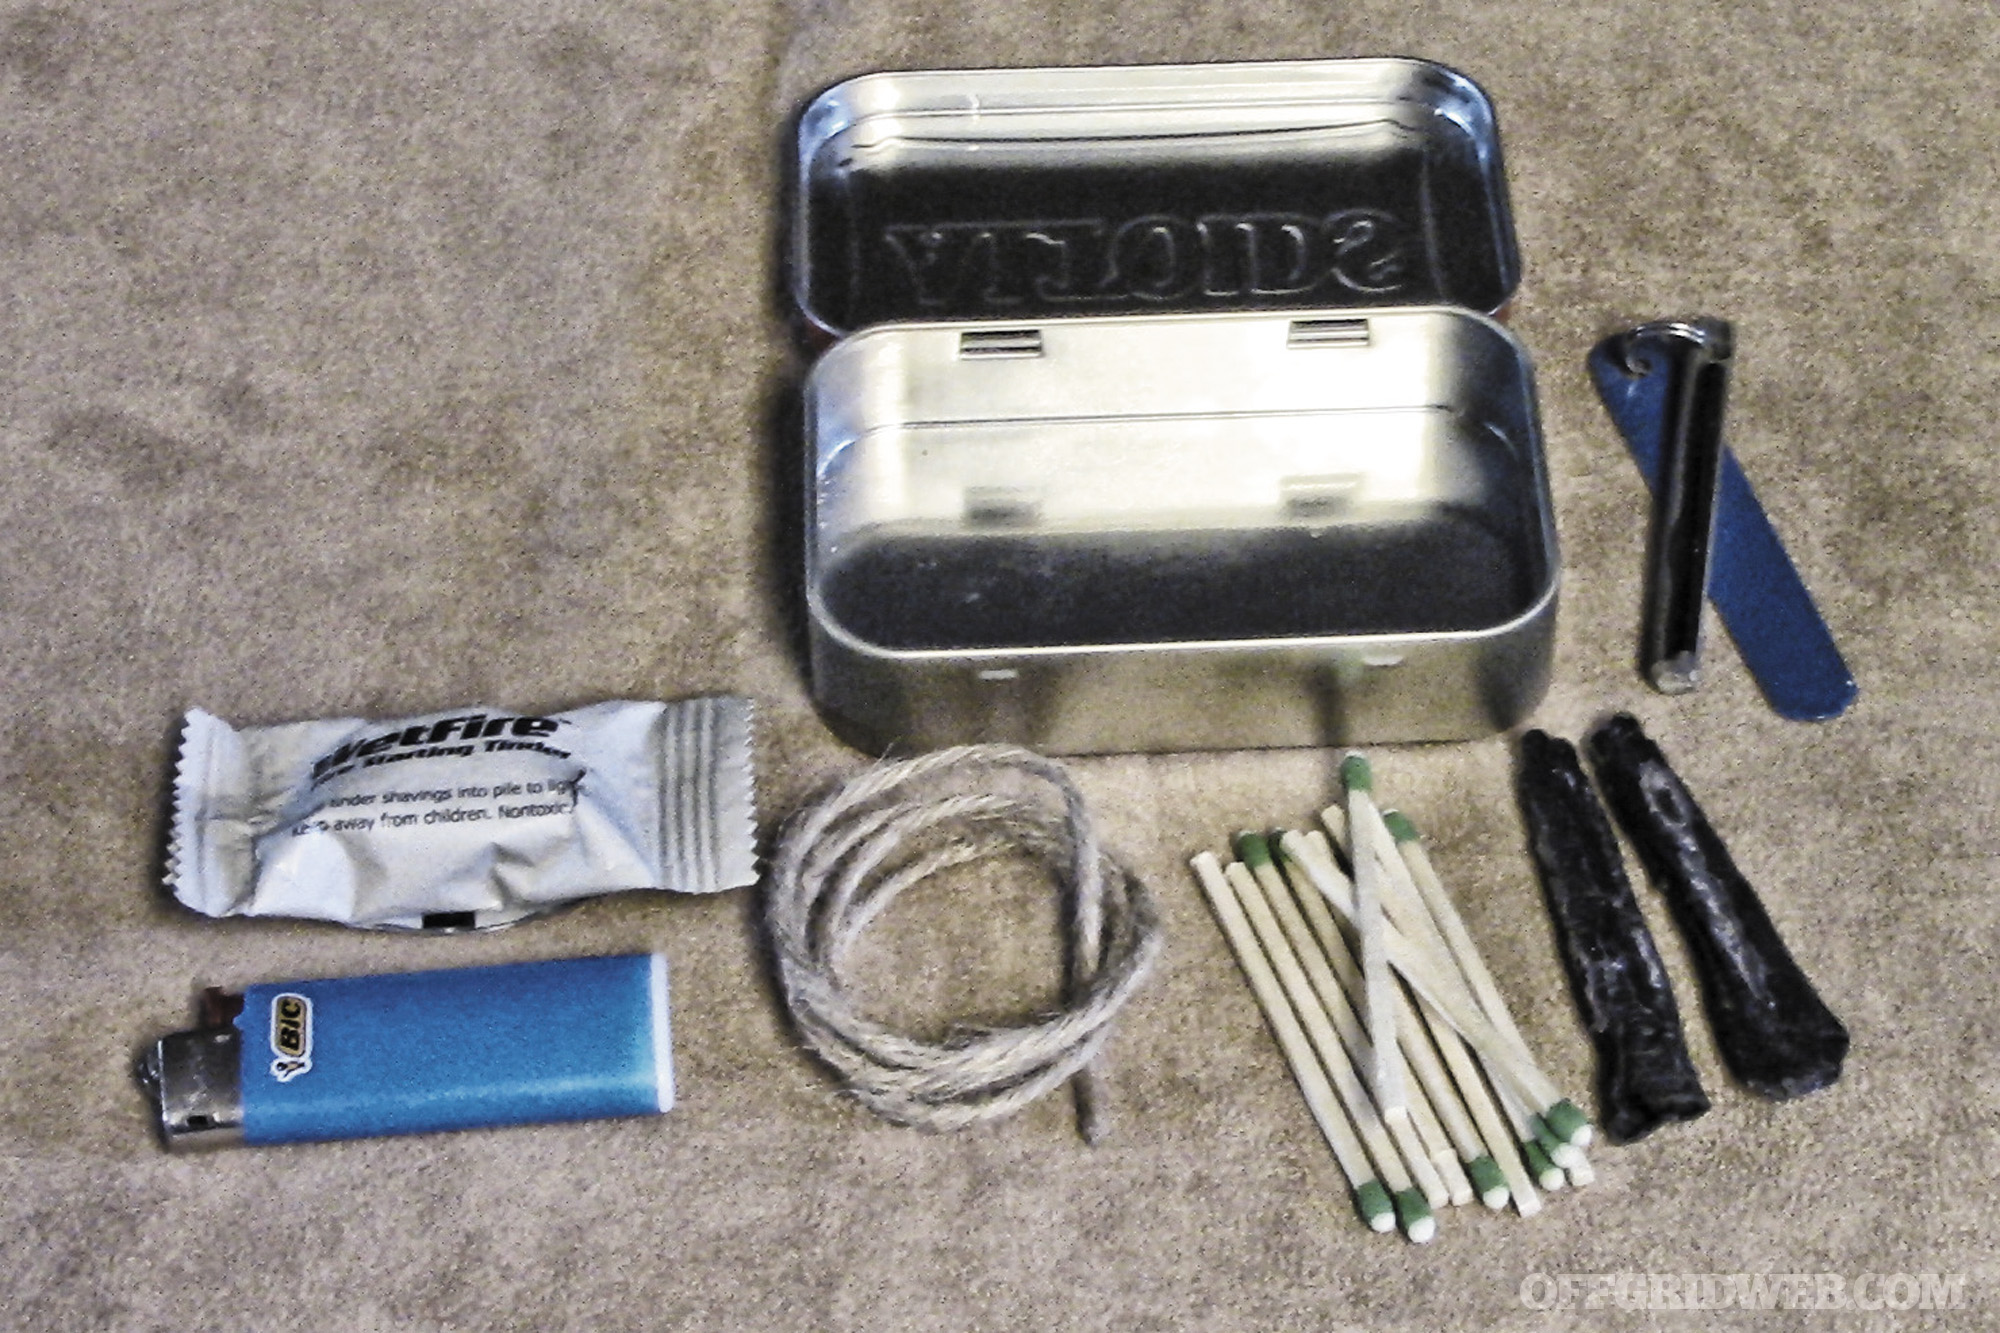
Having the means to make a flame reliably in all conditions is a survival priority. Assembling a small kit ensures you can always carry everything you need to get a fire going, no matter what.
Supplies:
- Altoids tin
- Butane lighter
- Strike-anywhere matches
- Ferrocerium rod and striker
- Jute twine
- Birch bark
- Self-igniting fire-starters
- Commercial fire-starters (Tinder tabs, Wetfire cubes)
- Ranger band or similar
The general rule when it comes to prepping is to strive for three methods or tools to accomplish basic survival needs — in this case, three ways to light a fire, along with several types of tinder. Note that the supply list isn’t set in stone. Choose what works best for you. A butane lighter is a given in all fire kits, of course. A ferrocerium rod and striker, as well. Beyond that, the choice is yours.
One of my personal favorites is a few self-igniting fire-starters (see sidebar below).
Placing a strip of duct tape inside the lid gives you extra tinder since duct tape burns very well. It can also be used to repair a hole in your tent or even clothing in an emergency.
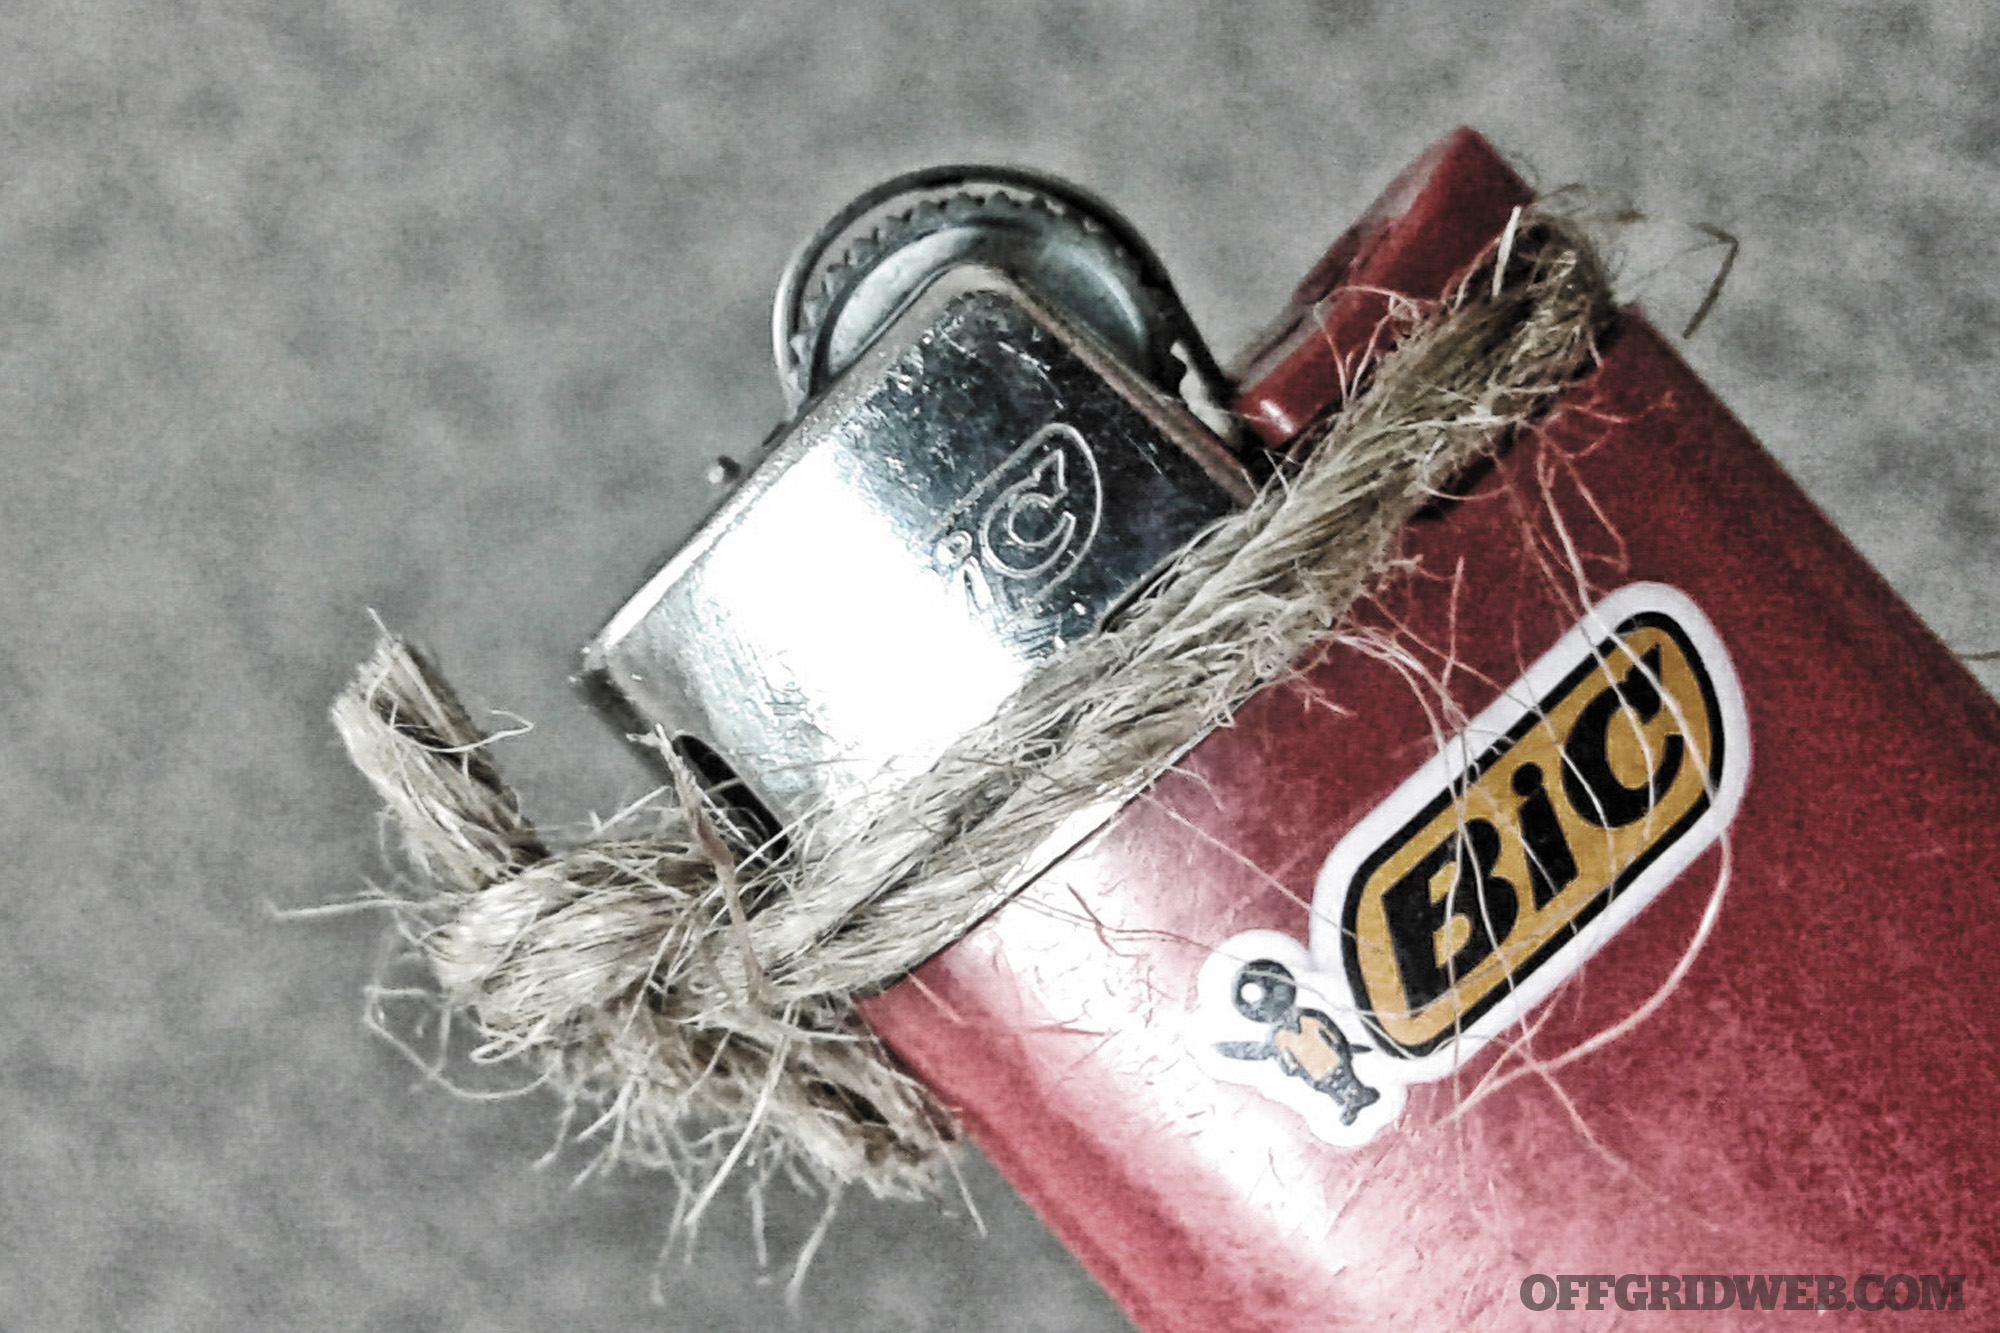
Consider wrapping some jute twine just under the lighter’s valve button to prevent the button from discharging fuel. The twine could also be used as tinder in a pinch.
Use the ranger band or a wide rubber band to seal the tin. This provides protection against water, keeping your tinder dry and ready to light. A piece cut from an old bicycle inner tube works very well.
4. Survival Kit
This is likely the most common prepper use for a mint can. Many survivalists carry a small kit like this in their pocket, just in case. The idea behind an Altoids tin survival kit is not to give you the magical ability to run off into the woods and live for weeks on end using the contents. Instead, it’s intended to provide the bare necessities in case the unexpected happens, such as getting lost in the woods overnight.
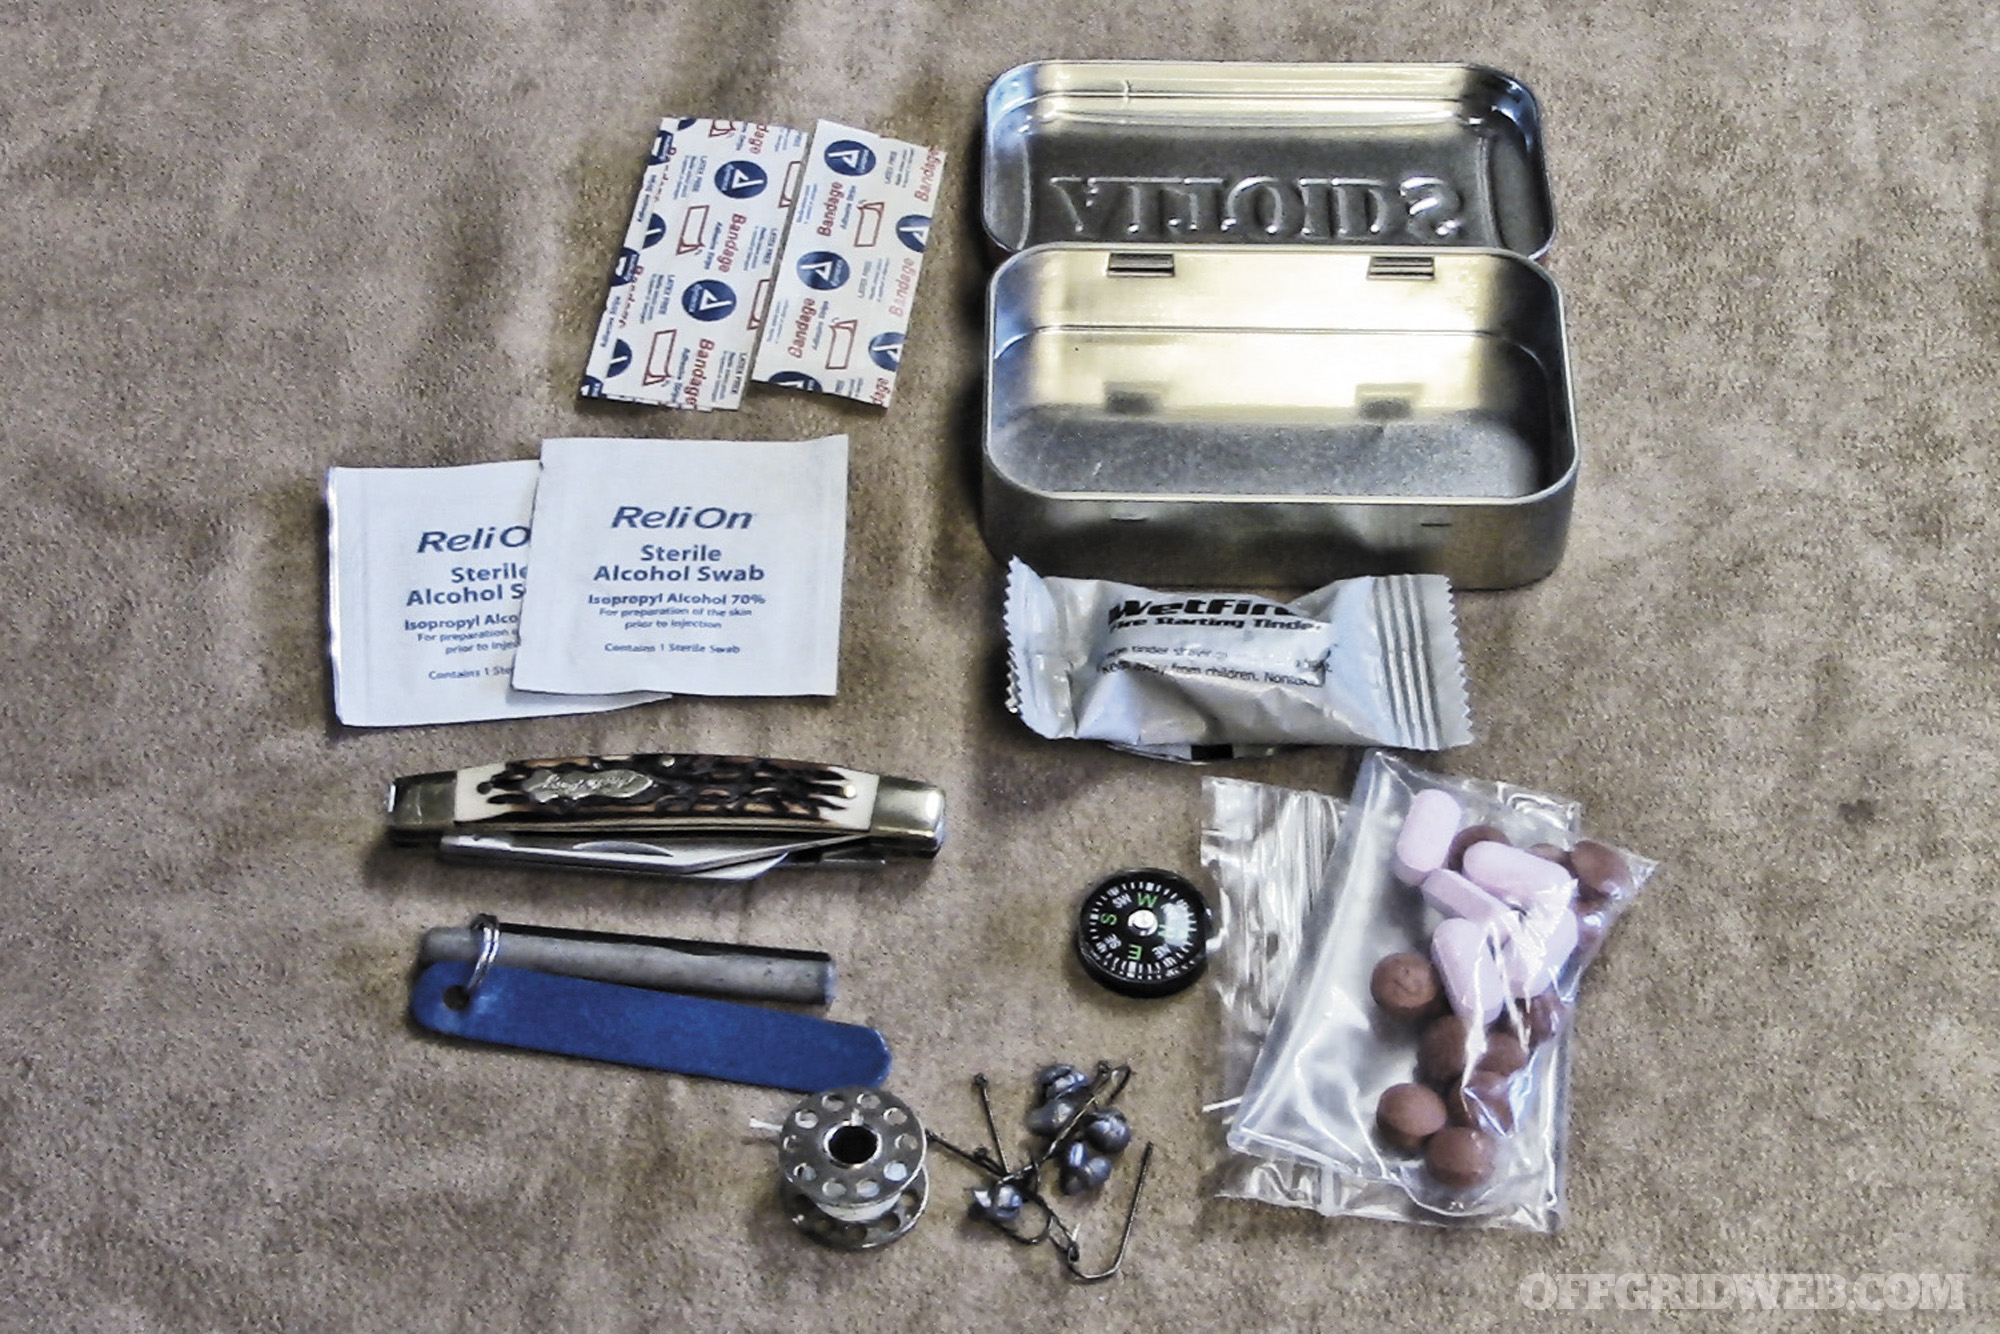
Other than the Altoids tin, the contents here will vary. The kit’s contents will depend upon your location and your skill level when it comes to survival. In general, the kit should contain:
- Small knife
- Butane lighter or a ferrocerium rod
- Some form of tinder
- Fishing line
- Hooks and sinkers
- Adhesive bandages
- Alcohol pads
- Pain relievers, such as ibuprofen
- Anti-diarrhea medication
- Button compass
In this example, the knife is an Uncle Henry Rancher. The fishing line is wrapped around a sewing bobbin. The medications are in a sealed plastic pouch, along with the adhesive bandages and alcohol pads.
Realistically, the fishing gear likely wouldn’t get used on an unexpected overnight spent outdoors. But, the hooks and such weigh almost nothing and fit quite well into the kit. If nothing else, the fishing line could be used in building a quick shelter.
Self-Igniting Fire-Starters
I first learned how to make these fire-starters from noted survival authority John D. McCann (www.SurvivalResources.com). They remain my very favorite homemade fire-starter as they incorporate the ignition right into the mix.
Supplies:
- Strike-anywhere matches
- Toilet paper
- Melted wax
- Aluminum foil or wax paper

Tear one square of the toilet paper into two roughly equal pieces. Take two of the matches and hold them side by side, pinching one end of the piece of toilet paper between them. Tightly roll the toilet paper around the matches. Then, dip the whole works into the melted wax. Place it on foil or wax paper to cool, then dip the other end, completely sealing the matches in wax. Let it cool and harden.
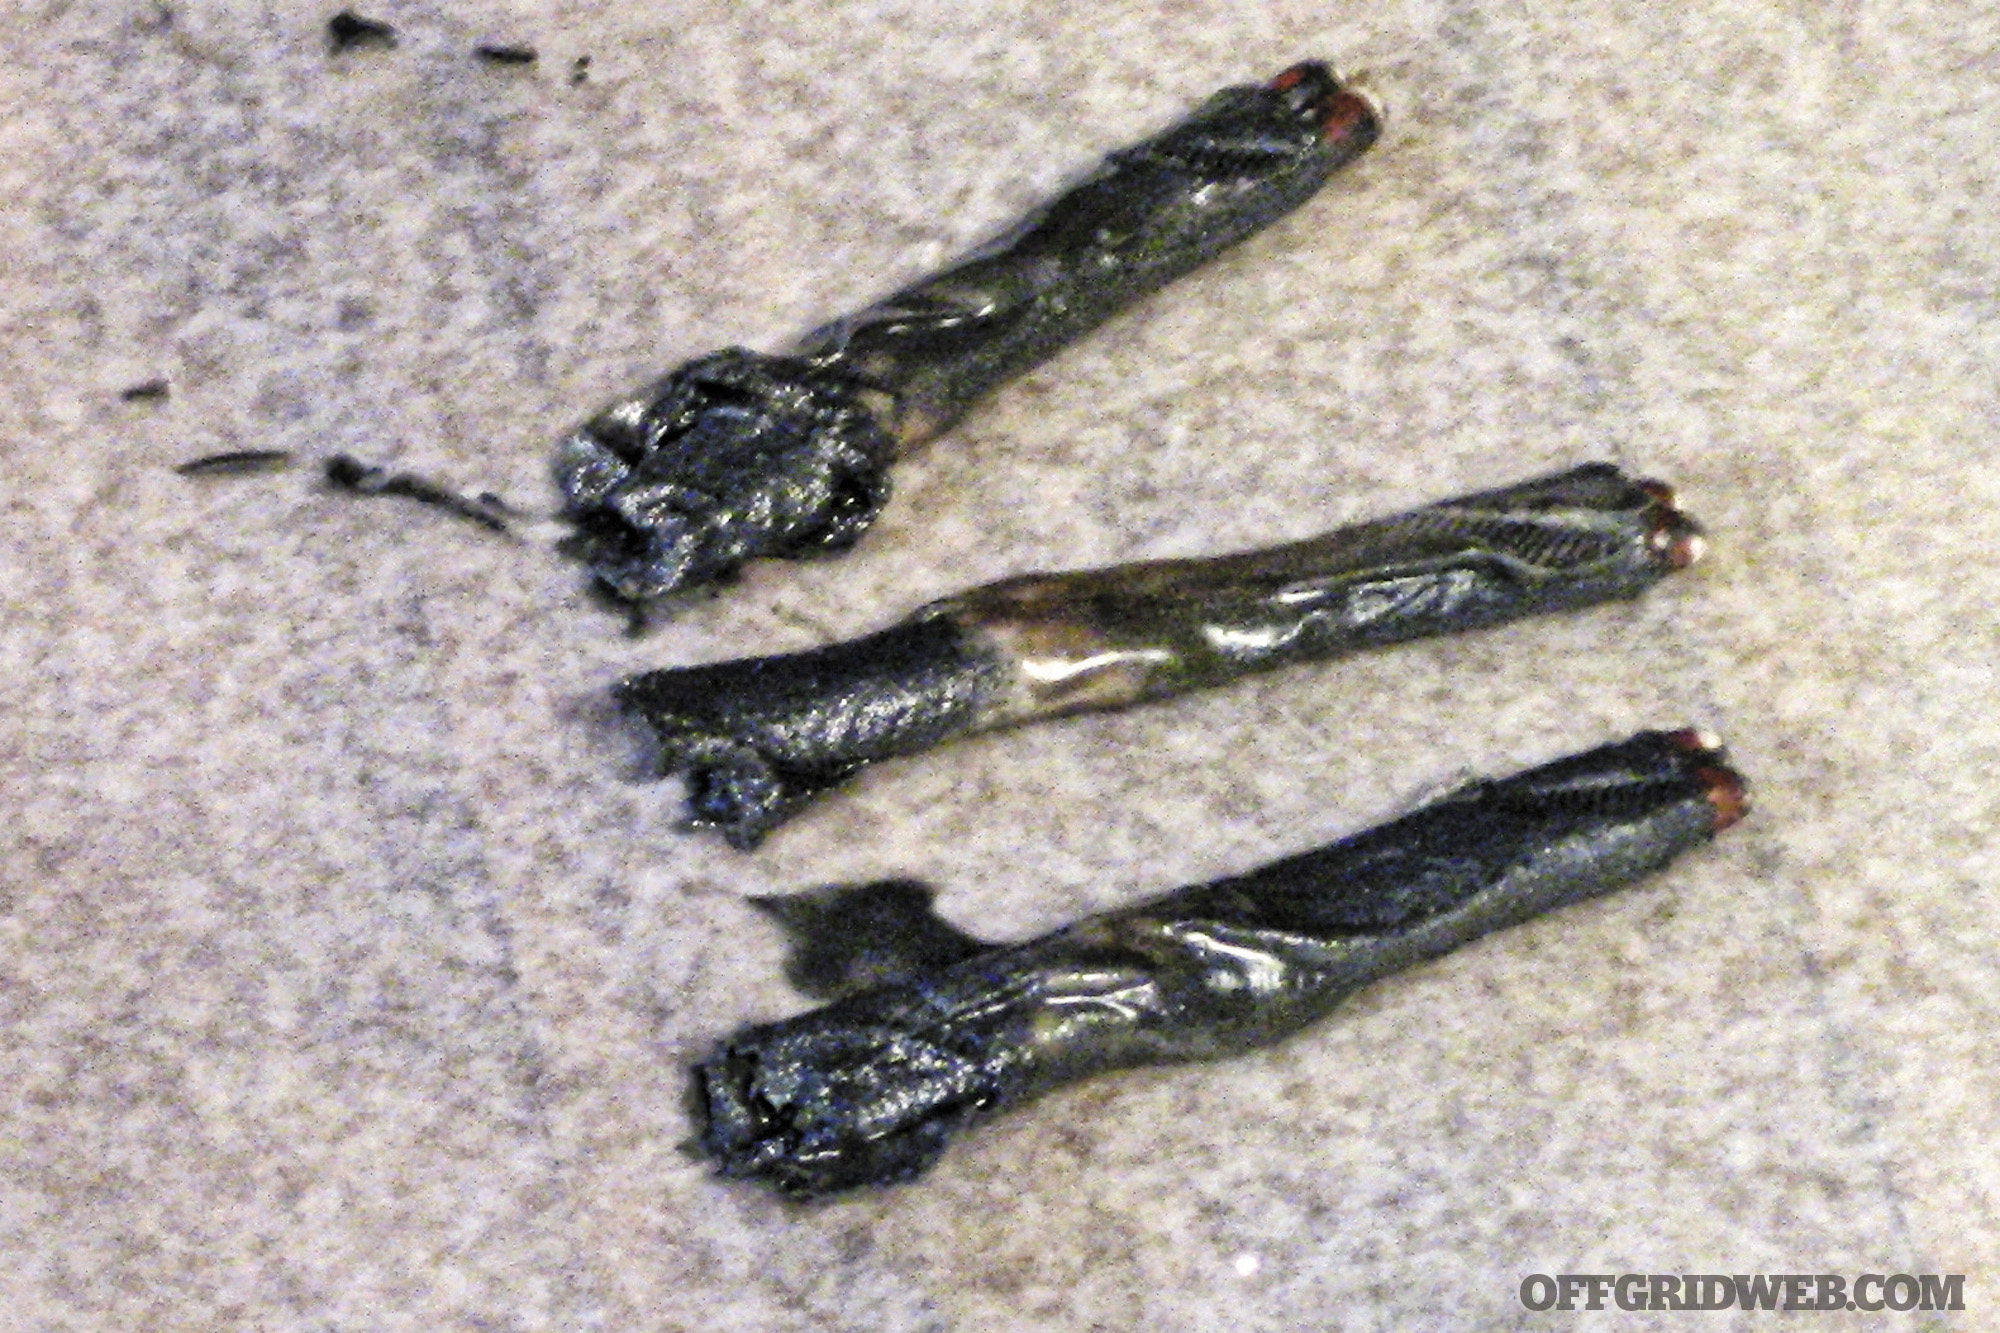
To use, gently scrape or rub the wax from the heads of the matches, then strike the matches as normal. As the matches burn, they’ll ignite the wax and toilet paper. One of these fire-starters will burn for several minutes, easily igniting your tinder and getting your fire going.
The Wrap-Up
Recycling mint cans has never been more fun, or potentially life-saving. Next time you pop that last Altoid in your mouth, don’t chuck the tin in the blue bin. Instead, clean it up and use it for one of these four survival uses. Of course, as grandma taught me, these aren’t the only ways to reuse a tin. Like most aspects of survivalism, it’s all about adaptation. No doubt you’ll find a half-dozen other survival uses for our favorite curiously strong mint container.
More From Issue 17
Don’t miss essential survival insights—sign up for Recoil Offgrid’s free newsletter today!
- Snow Worries: 7 Survival Tips for Hiking in Winter
- What If a Winter Road Trip Leaves You Stranded and Injured?
- Staying Sharp: Spencer Frazer of SOG Knives
- Full Speed Ahead: Power Training Workouts for Survival
- Review: DGT Shadrach Neck Knife
- Shrink Your Drink: Collapsible Water Bottle Buyer’s Guide
- 4 DIY Survival Uses for Altoids Tins
- Mommy, I’m Scared: 5 Keys to Children’s Fears
- The No-B.S. Paramedic Guide to 3 Common Injuries
- 7 Common Self-Defense Mistakes
- Piggy Warmers: Cold Weather Socks Buyer’s Guide
- Miniature Flashlights – Highlights
- The 10 Most Neglected (But Essential) Preps
Read articles from the next issue of Recoil Offgrid: Issue 16
Read articles from the previous issue of Recoil Offgrid: Issue 18
Check out our other publications on the web: Recoil | Gun Digest | Blade | RecoilTV | RECOILtv (YouTube)
Editor’s Note: This article has been modified from its original version for the web.
