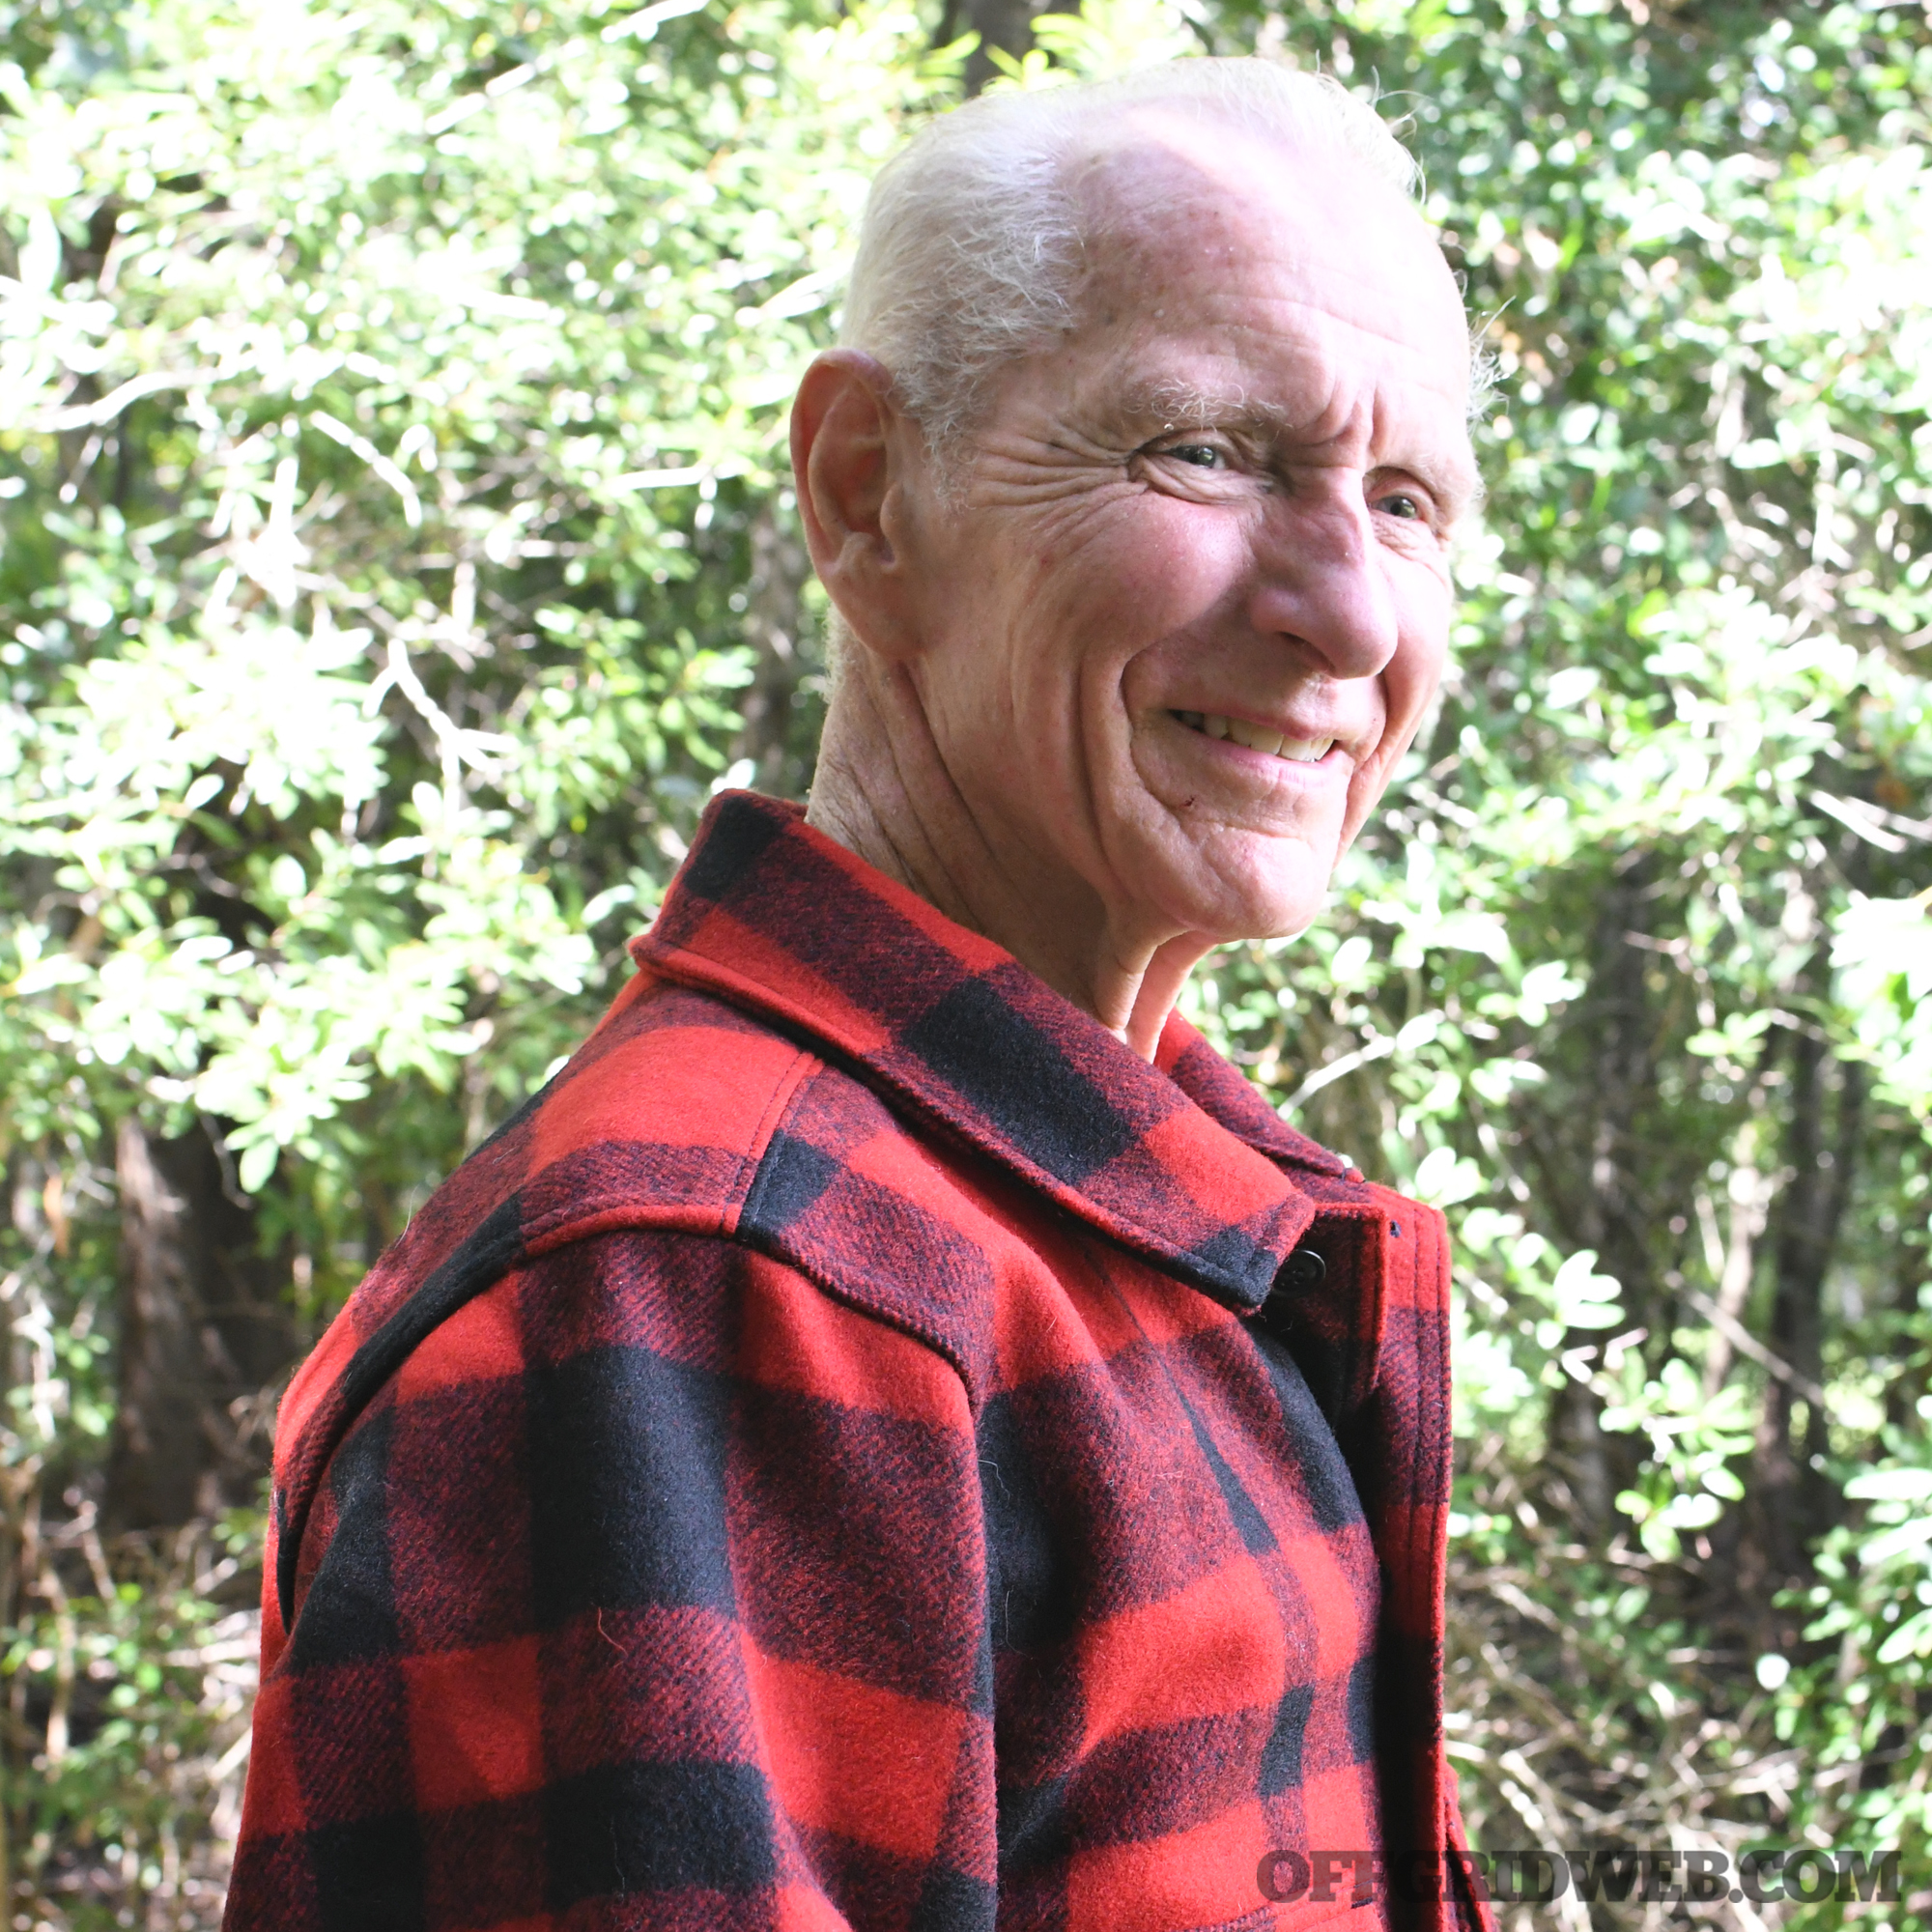
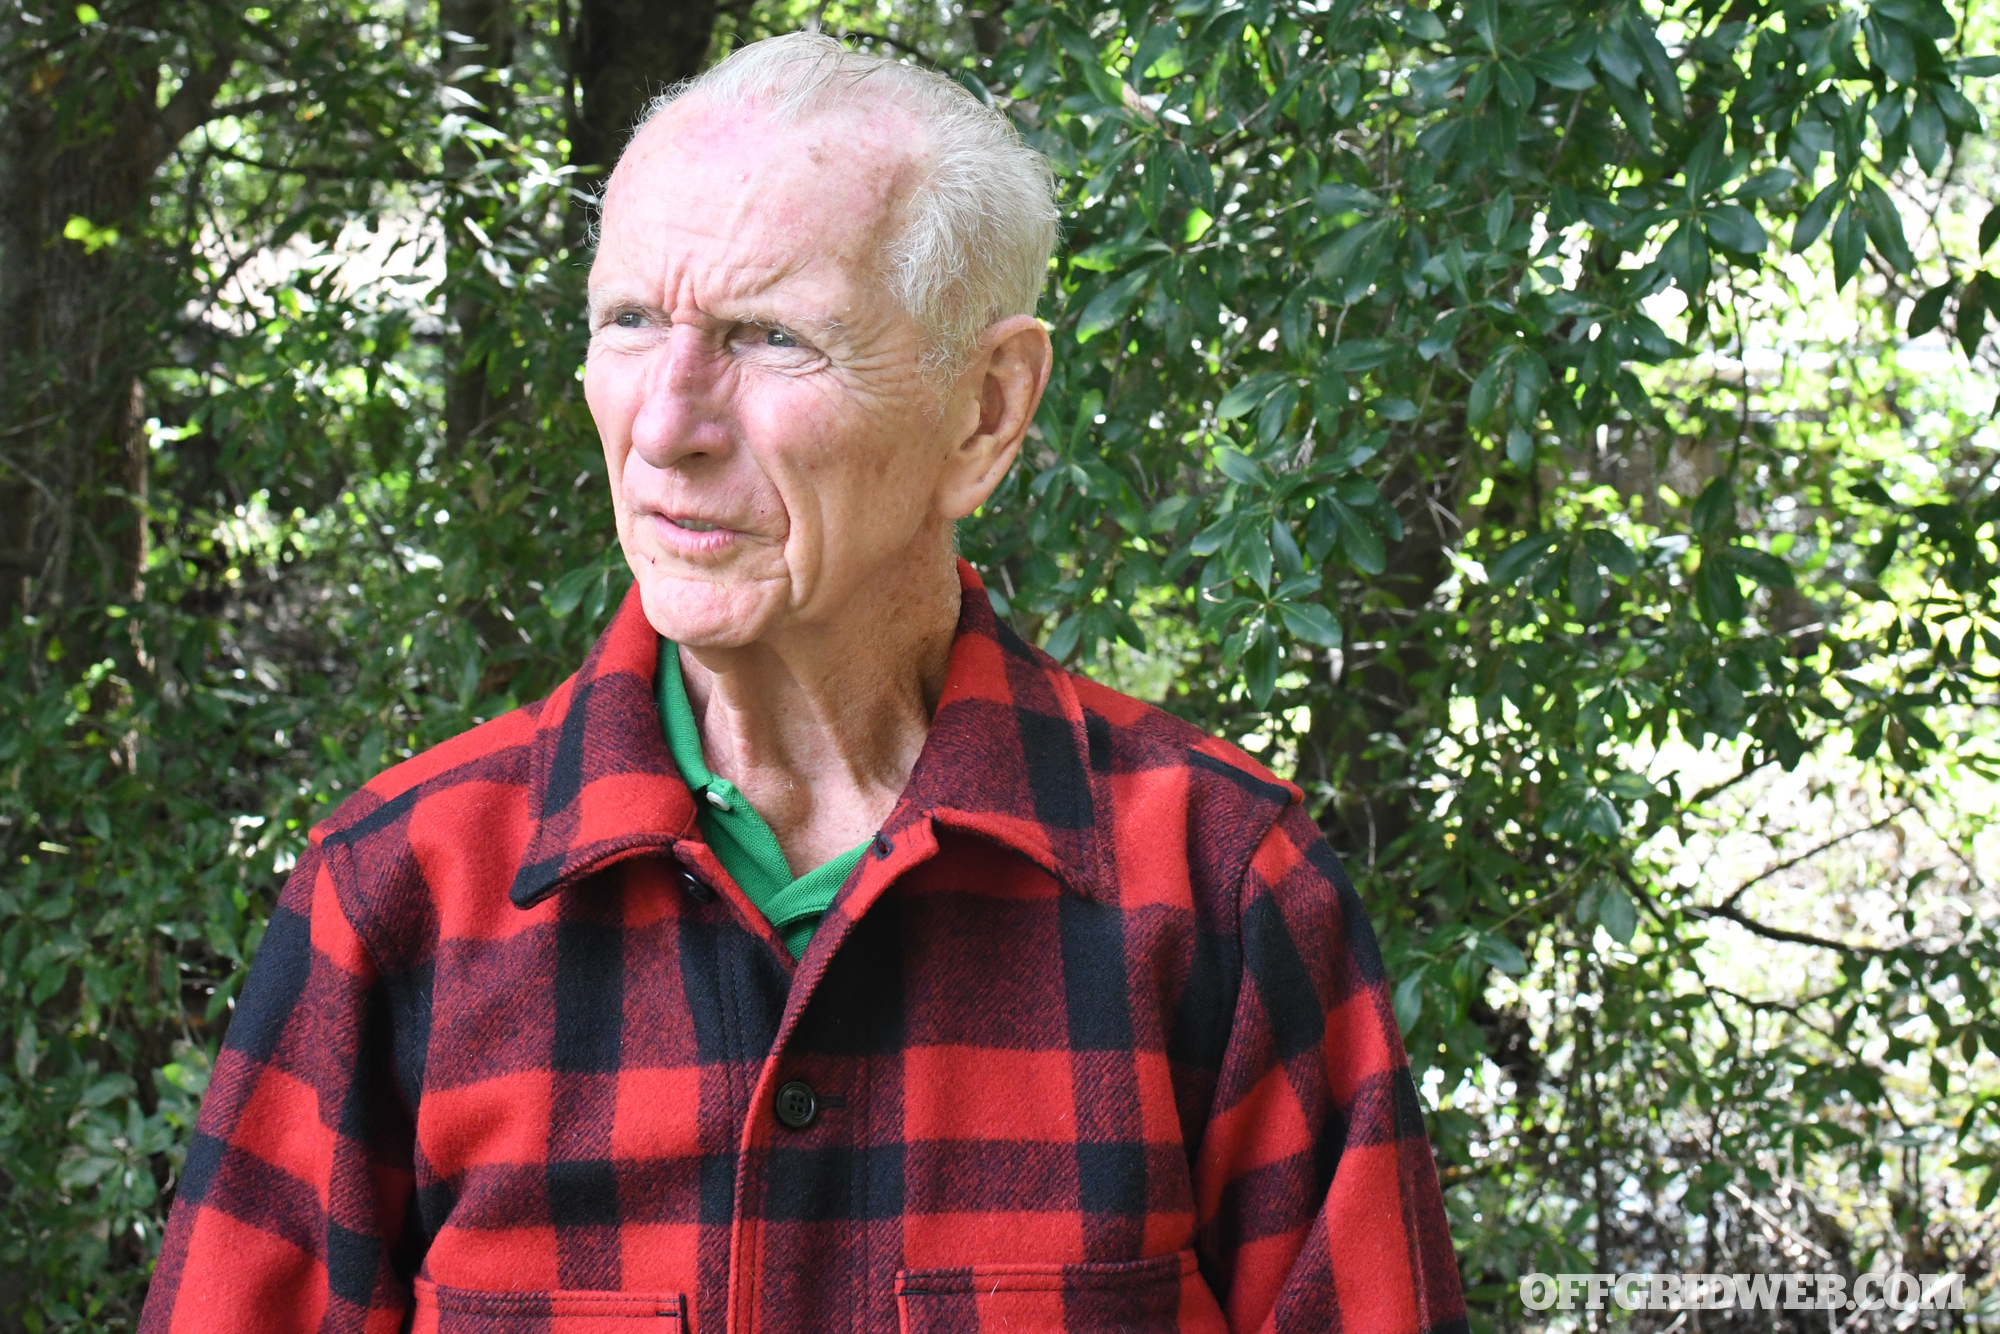
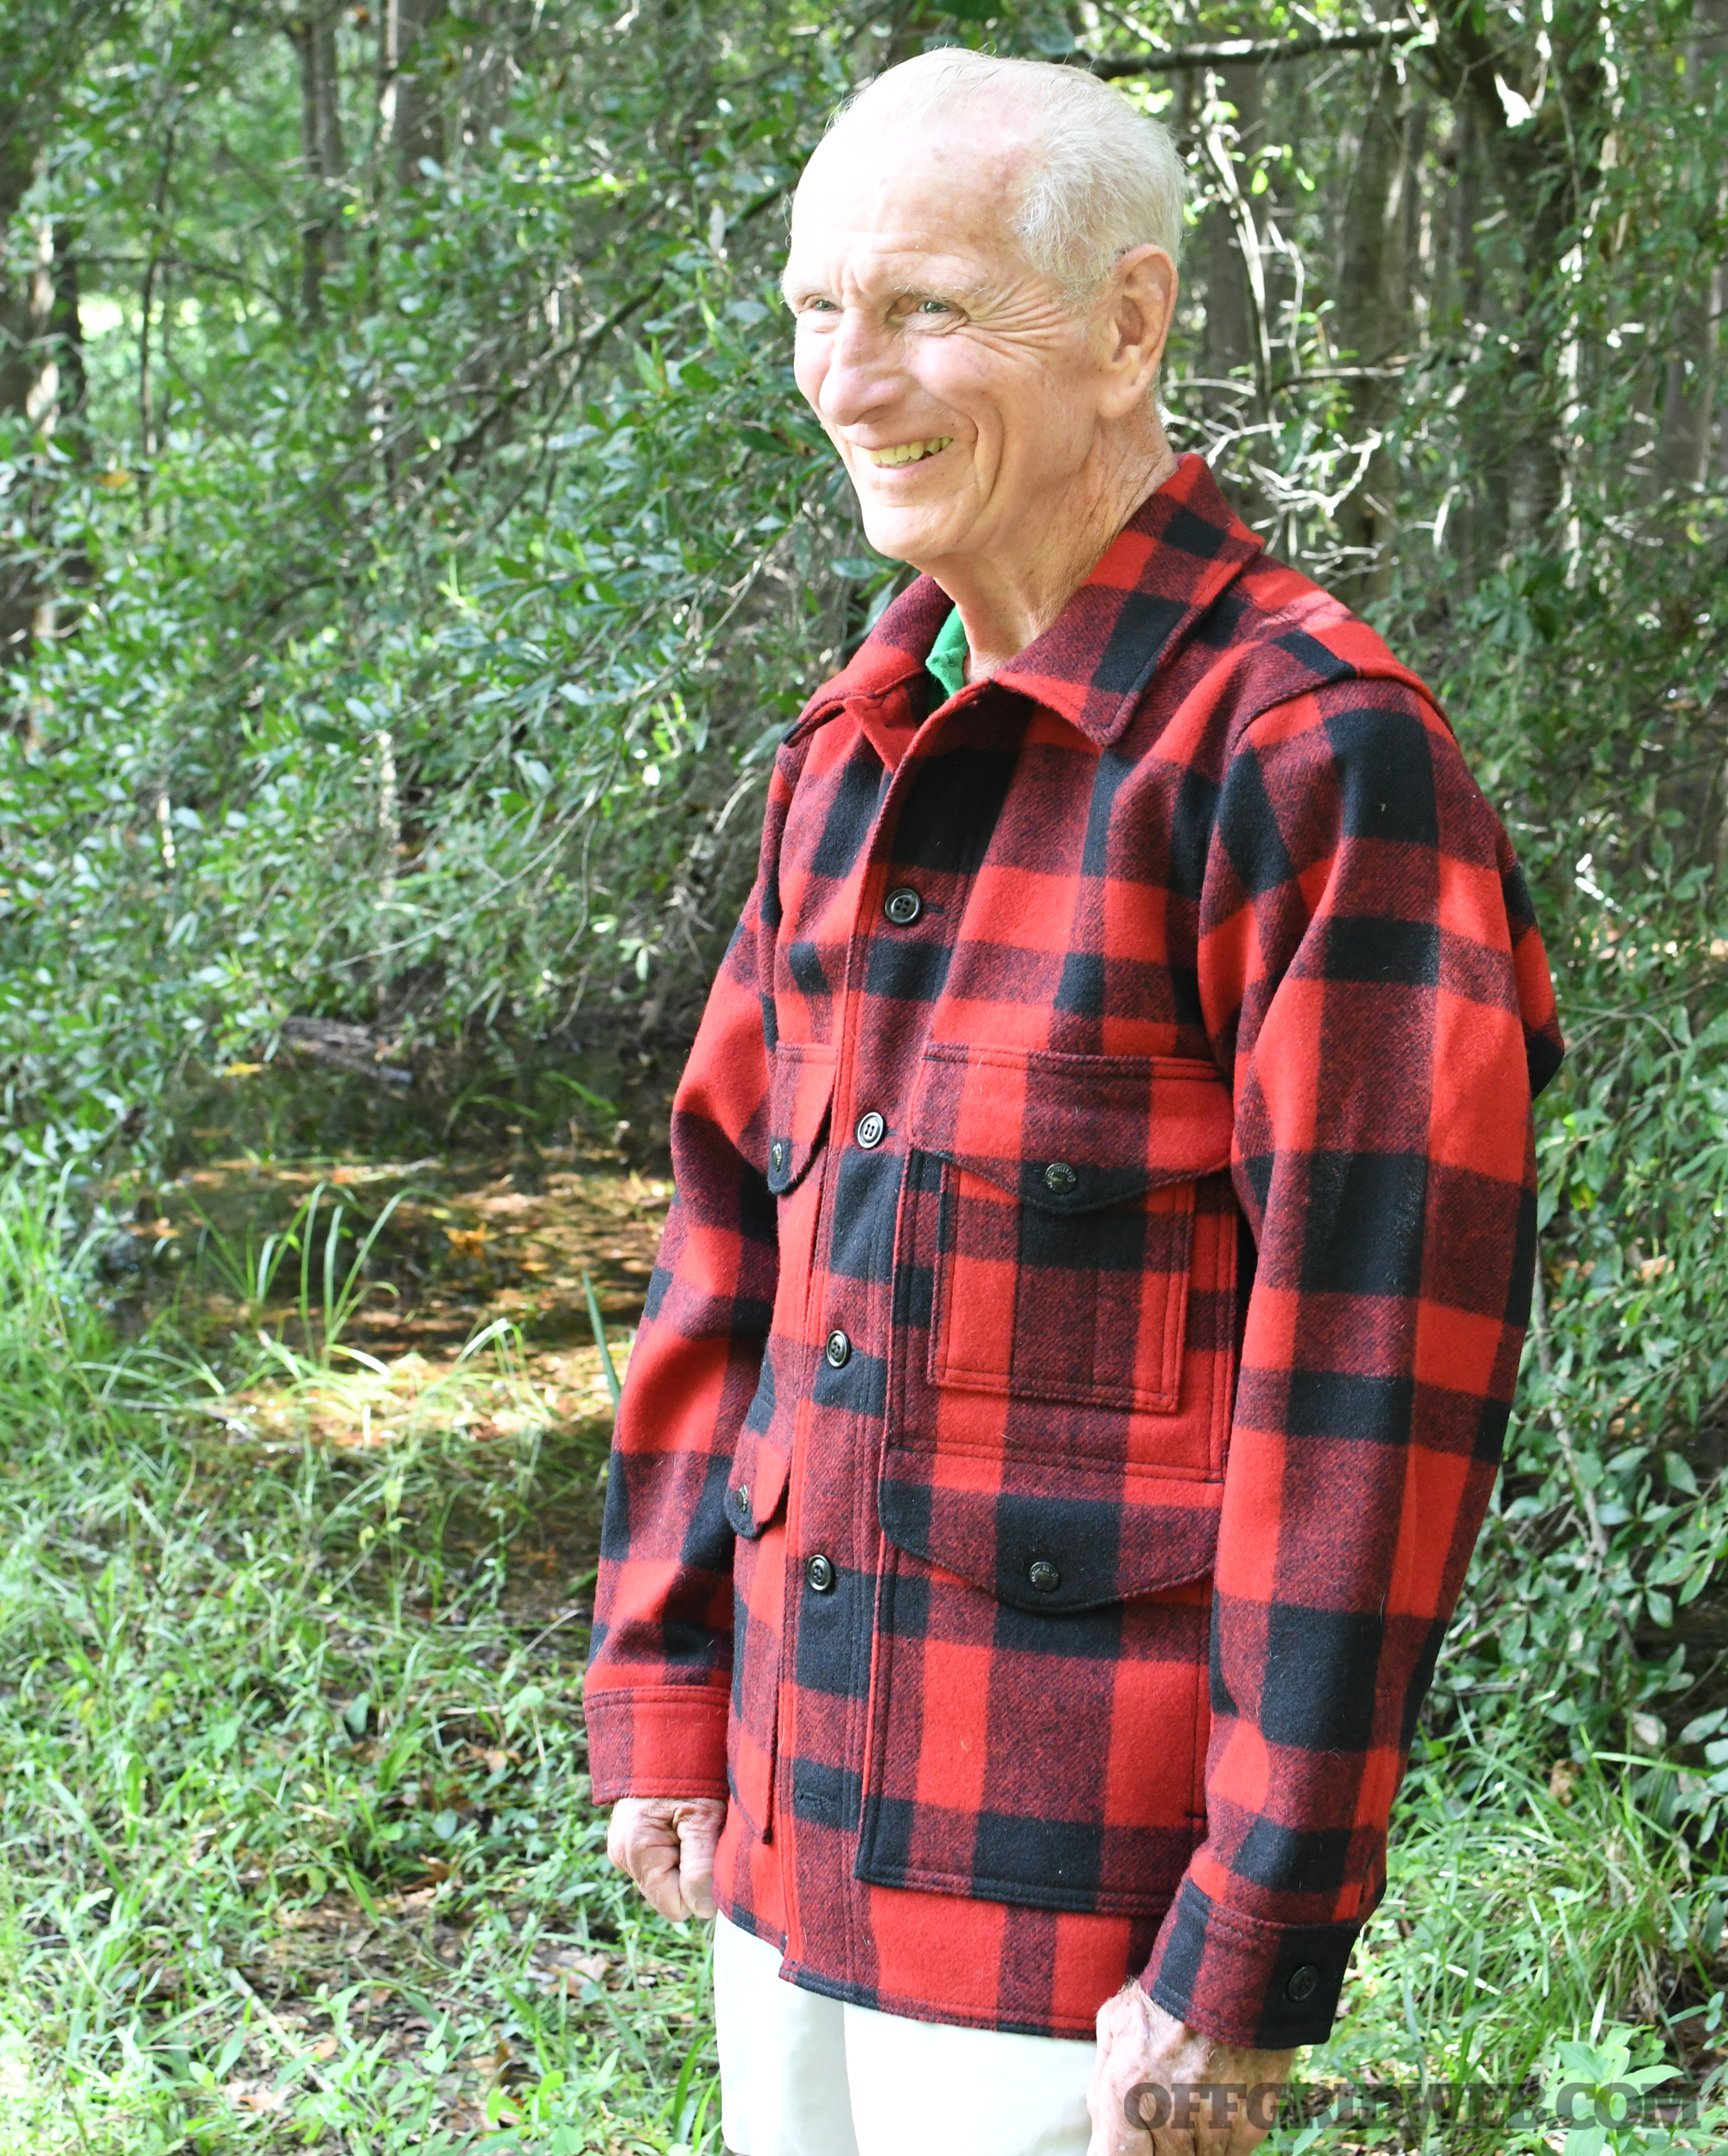
Photos by Dobson Entertainment, Inc.
There’s a saying often attributed to John Stuart Mill that the subject of this issue’s Survivalist Spotlight is quite fond of: “The only thing necessary for the triumph of evil is for good men to do nothing.” While we feel that’s a pretty self-explanatory statement, some may ask what makes a man good. Daniel Lombard has quite a body of experience to answer that question. His dedication to protecting others is truly limitless.
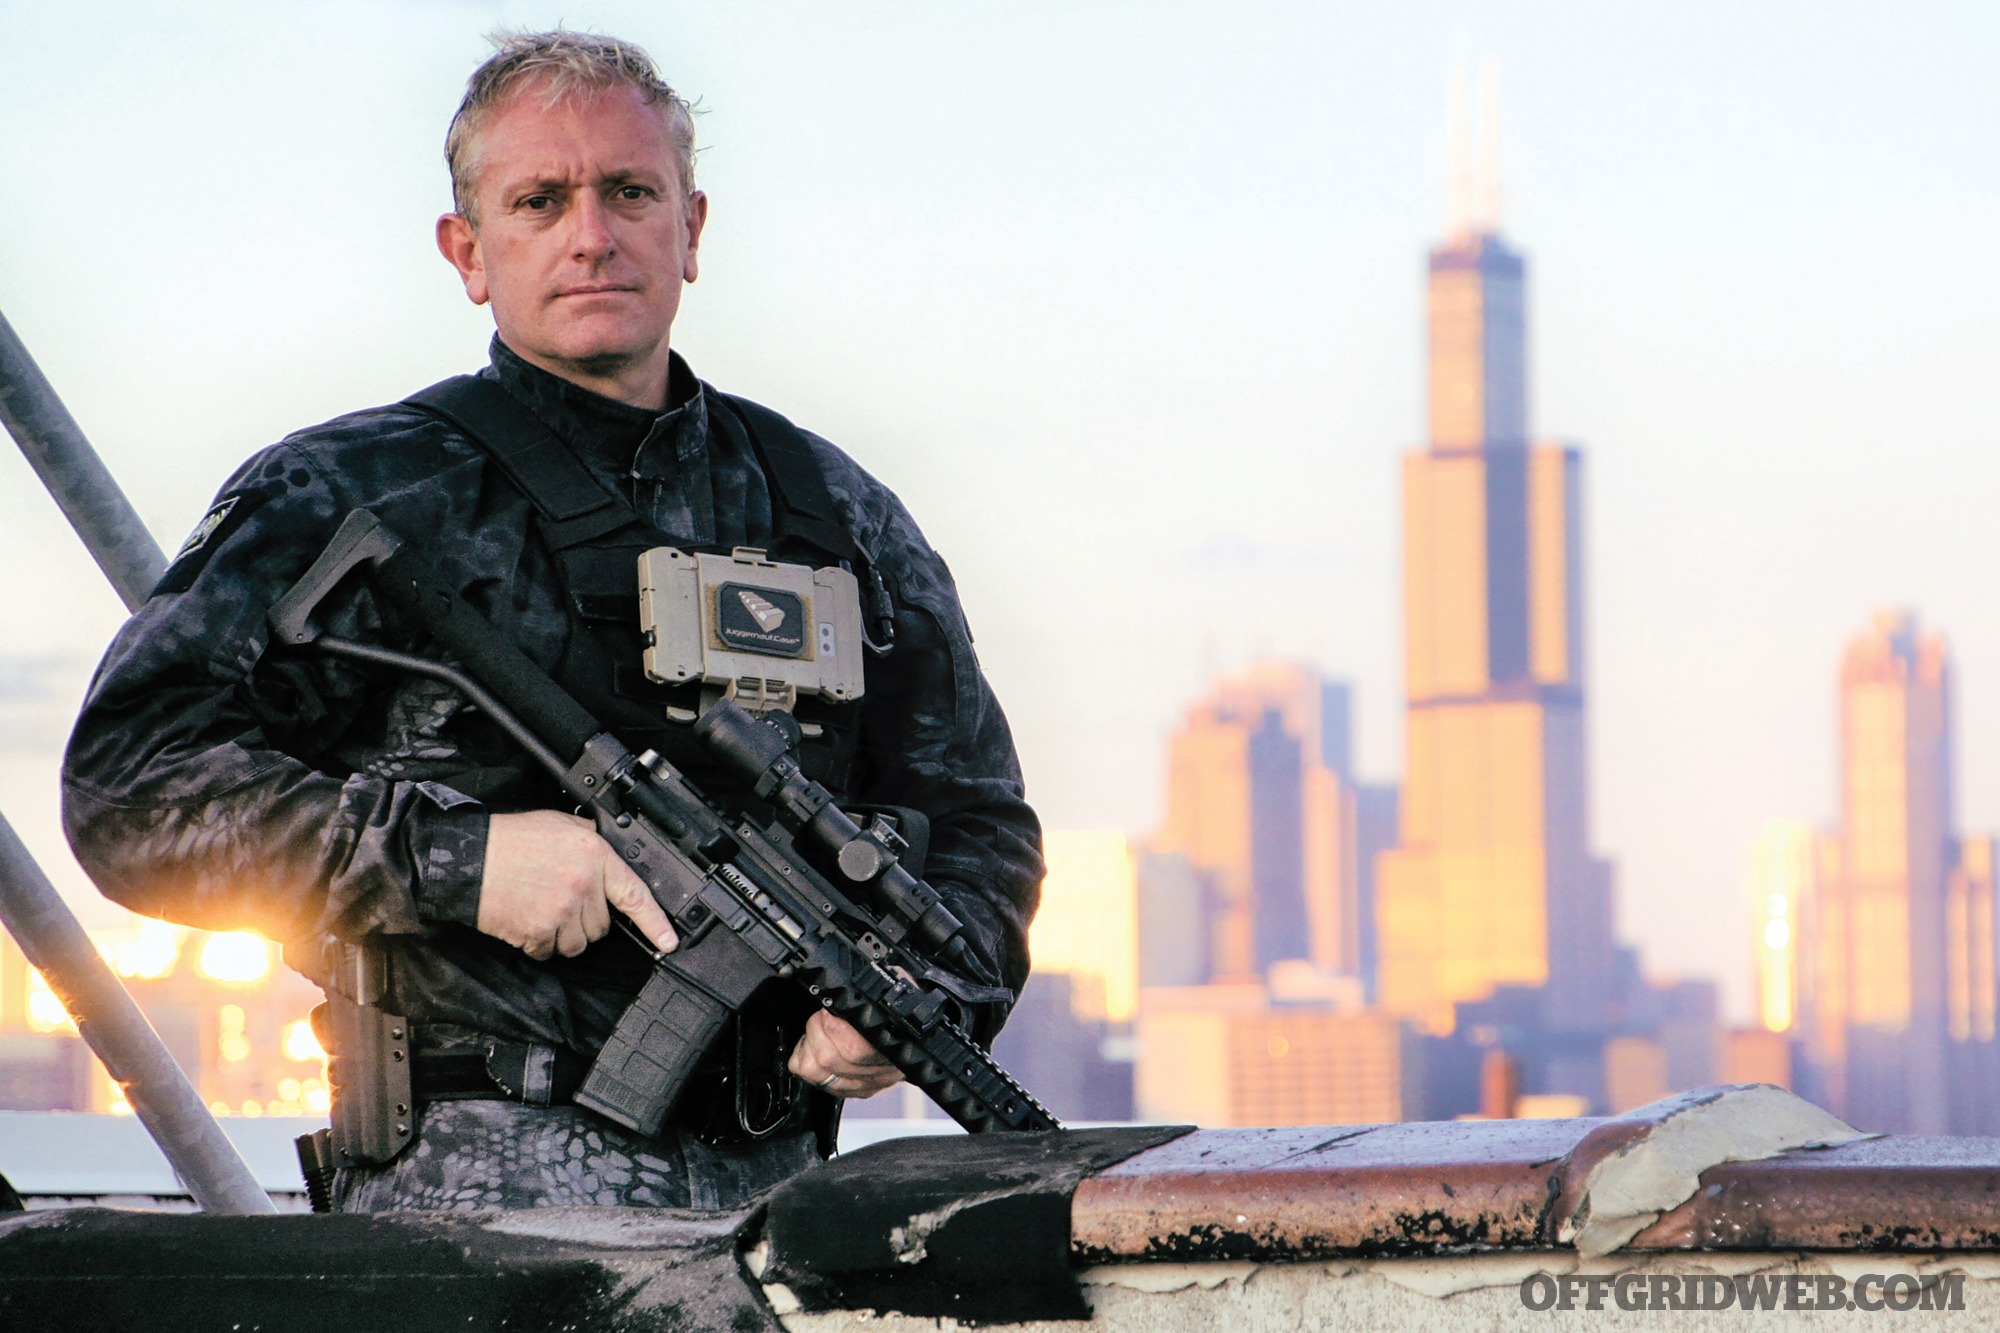
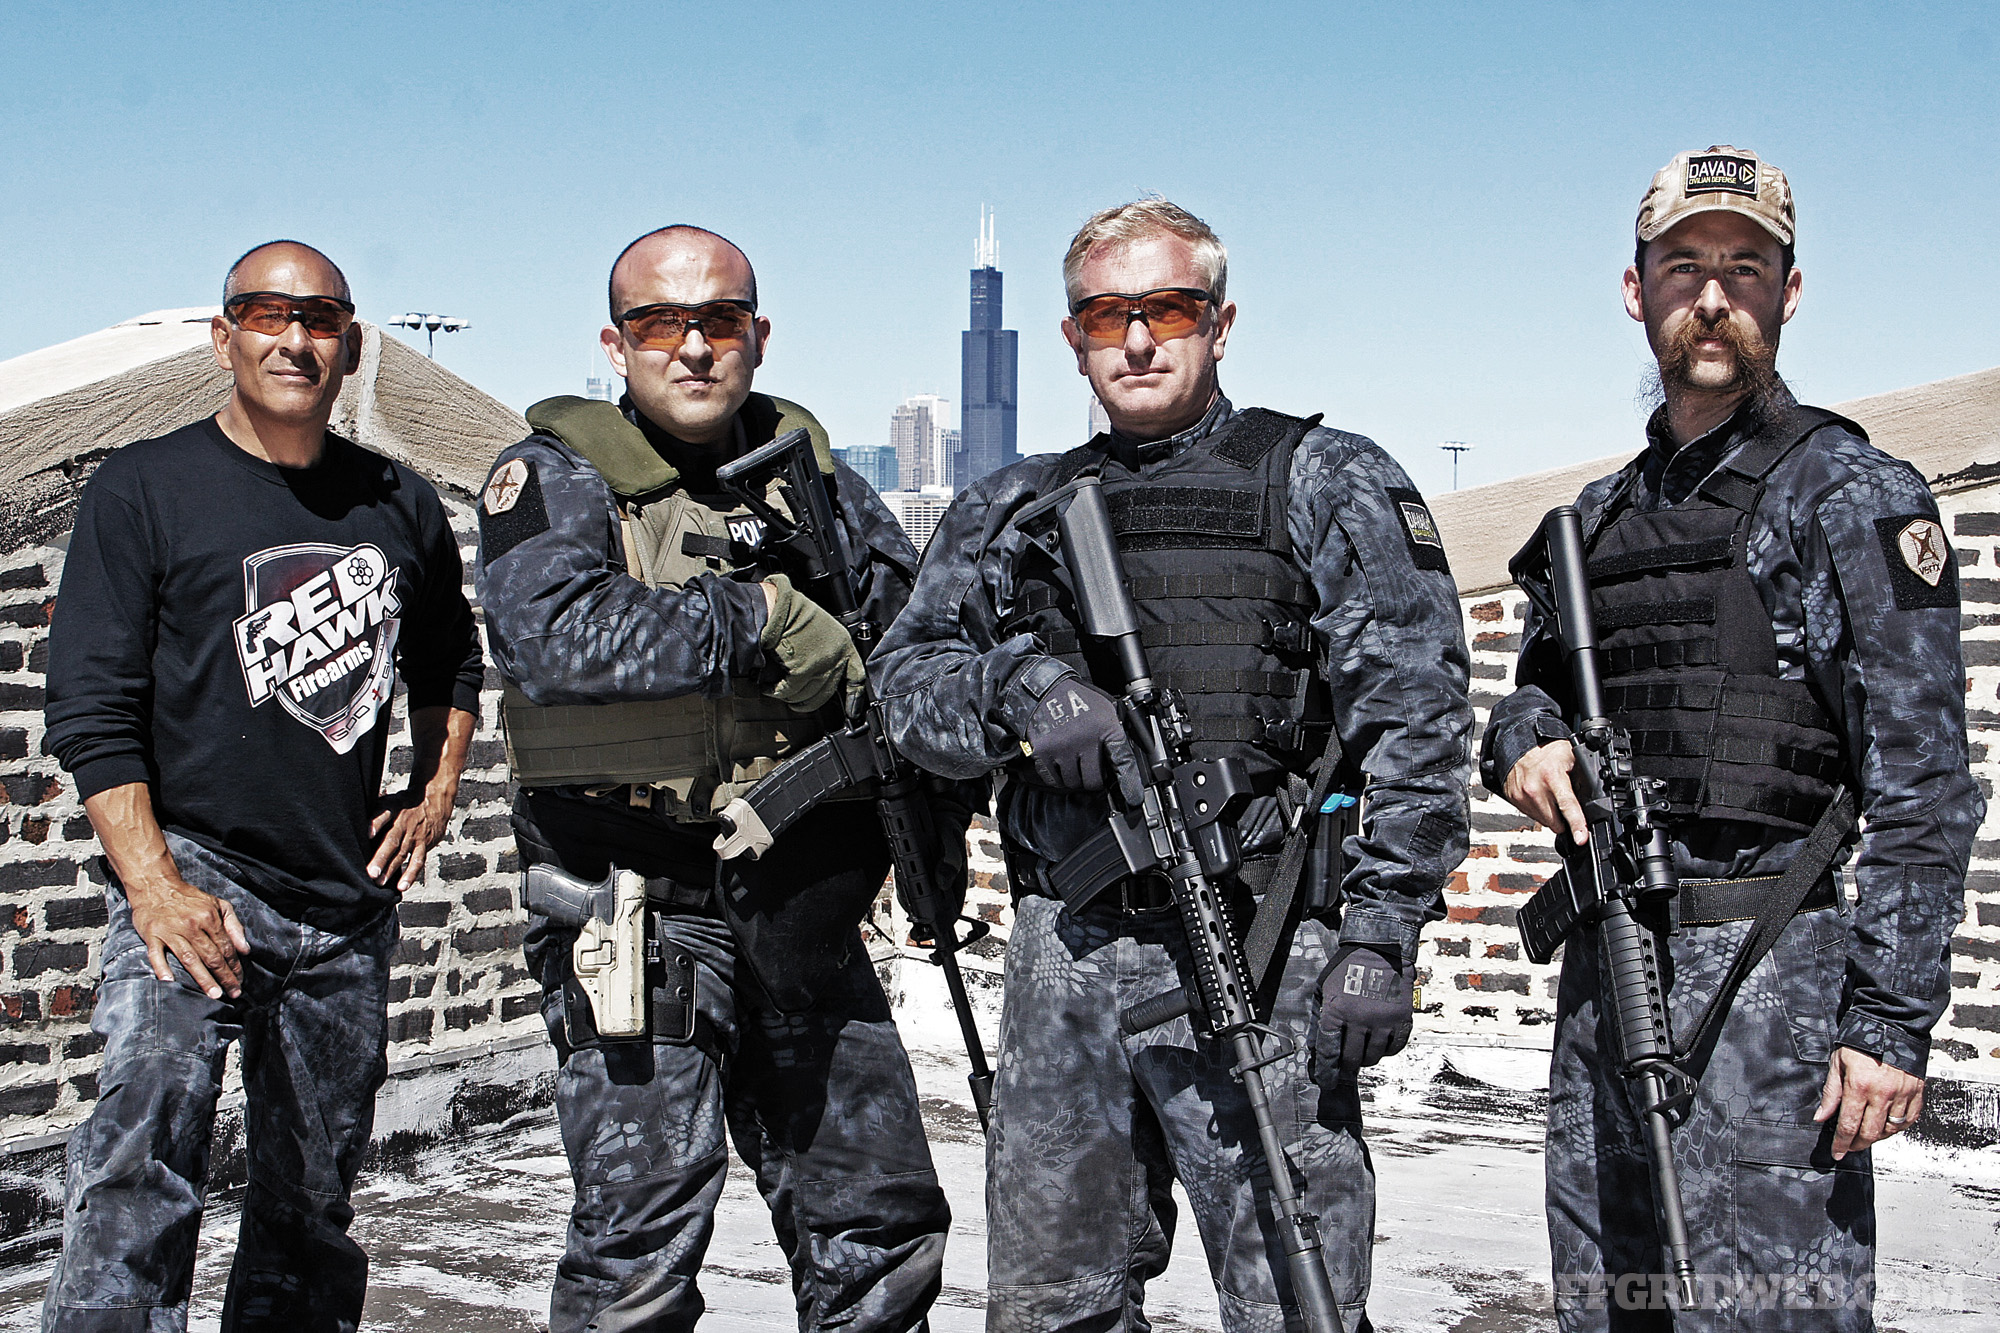
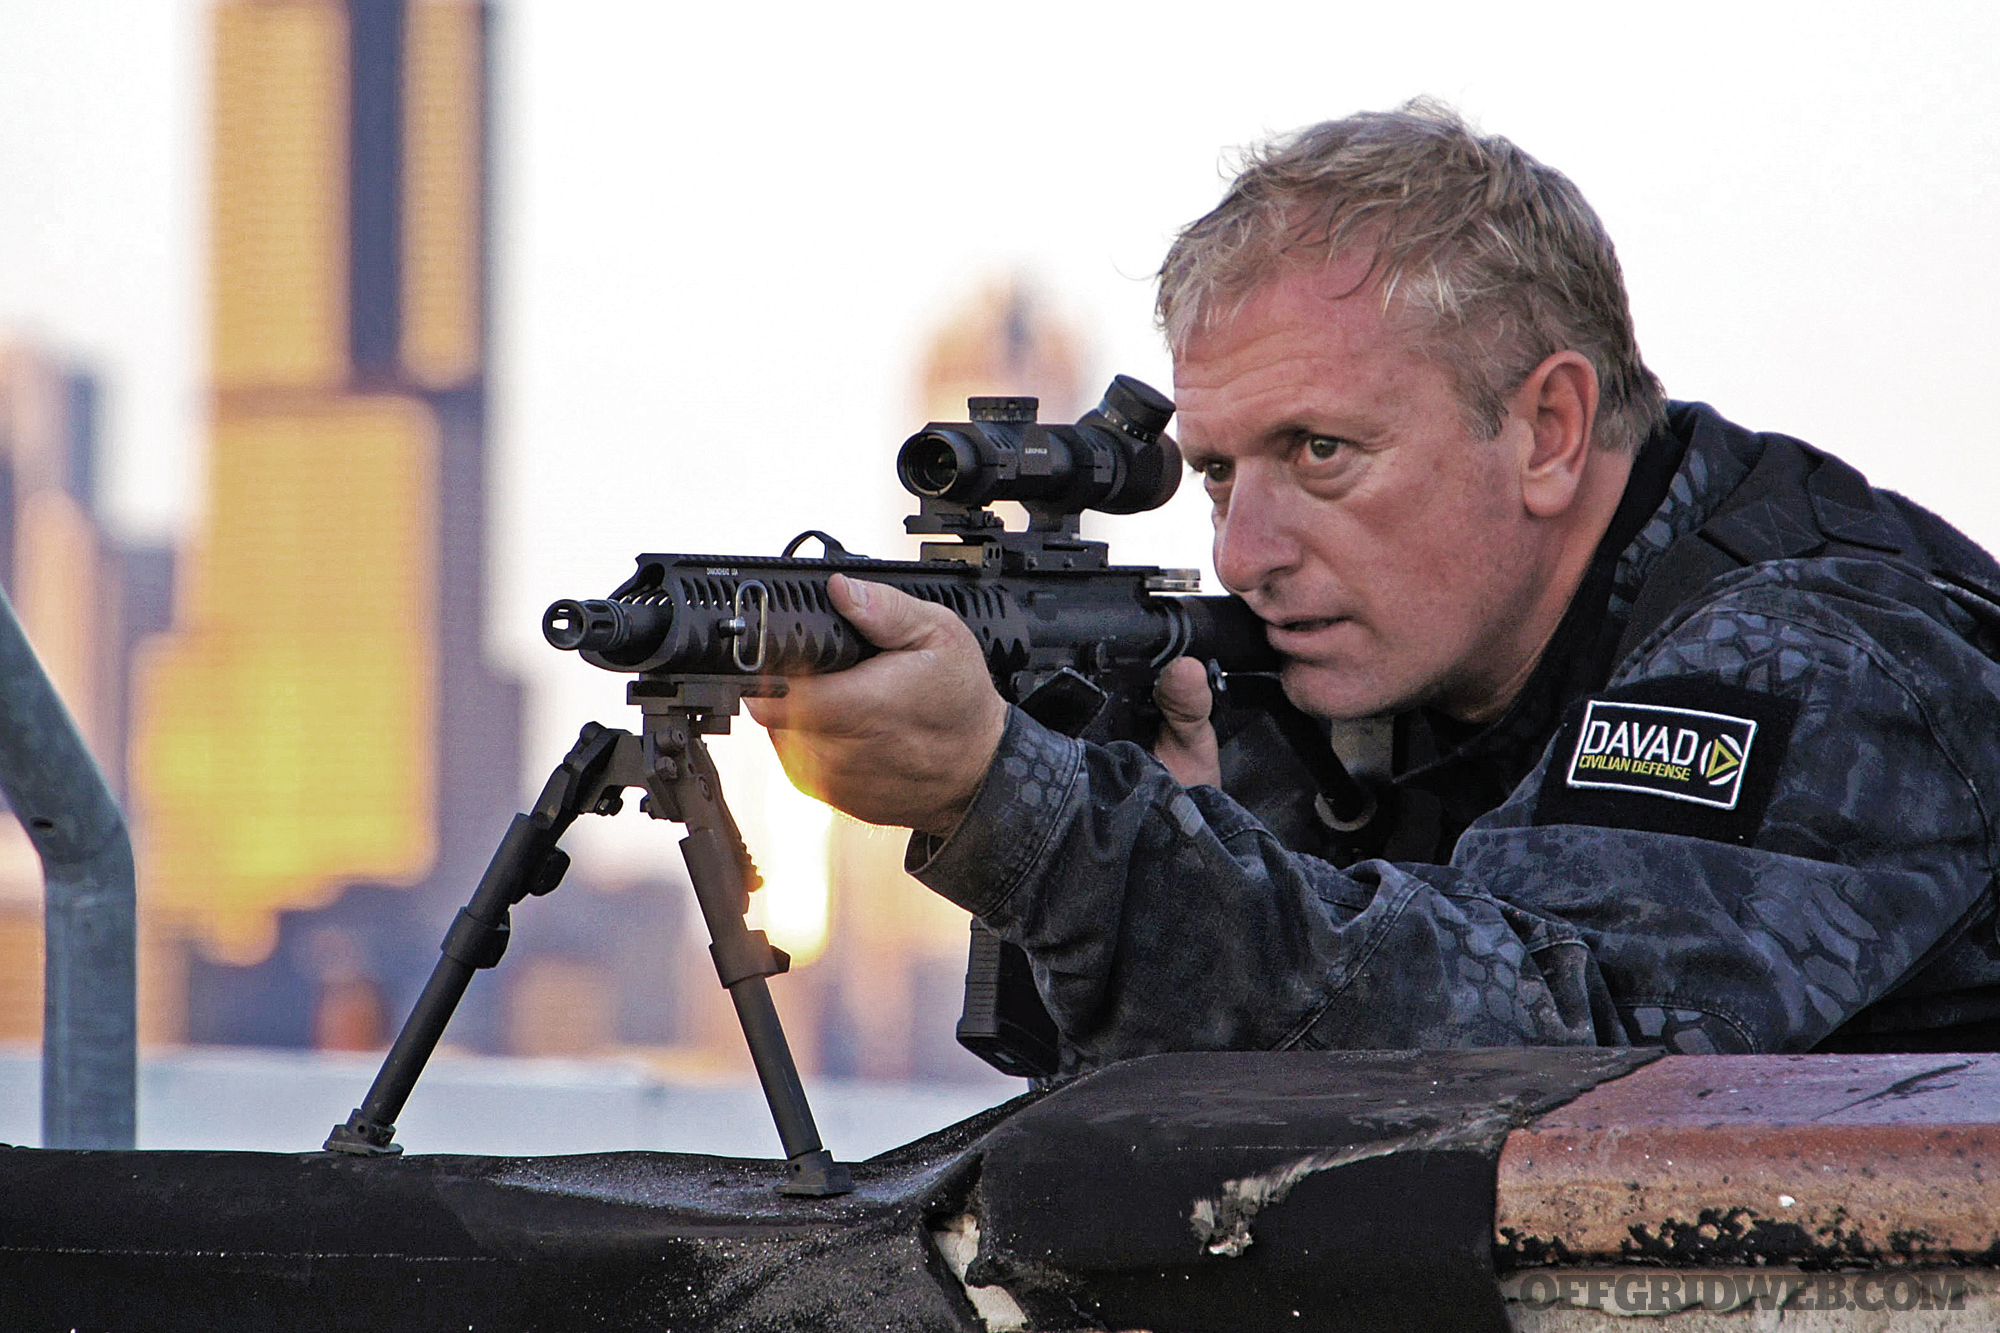
Lombard is a policeman in one of the toughest cities in the country — Chicago. He founded DAVAD Defense, a firearms training company that not only provides instruction to Chicago PD’s various units, but teaches the average citizen how to defend themselves. When Daniel has earned enough respect to be selected as an adjunct instructor by the likes of Kris “Tanto” Paronto of Benghazi fame, you know there’s something to be said for his integrity.
If that weren’t enough, as a native of South Africa, he also took it upon himself to train local game rangers and assist in an ongoing struggle that has no end in sight — battling poachers. Even as rhino populations dwindle and poaching syndicates become better equipped than the native game wardens tasked with protecting them, that doesn’t discourage Daniel from taking an active role in the conservation effort.
We’re pretty sure that the world’s evil wouldn’t stand a chance with more people like Daniel Lombard in it. We sat down with him to get the inside scoop on the anatomy of the poaching underworld, what it takes to survive in the Africa bush and streets of Chicago, as well as the challenges he faces in his police work.
Our Interview with Daniel Lombard
RECOIL OFFGRID: Where were you born?
Daniel Lombard: I was born in Johannesburg, South Africa, but pretty much right after that my parents moved to Durban on the coast. I ended up moving down to the ocean there when I was about a year old.
What did you want to do when you grew up?
DL: When I was in school I ended up going to the university to study law. I was the first person in my family to go to a university. My dad expected me to be a lawyer, but law school didn’t quite pan out. I majored in history as well as constitutional law, so once I had my bachelor’s degree I decided not to pursue law. I think I got tired of being a student at that point.
And you’re now a Chicago police officer, is that correct?
DL: Yes, in fact I just got done celebrating my 17th year on the job. Kinda strange, you’d think I would’ve gone to a warmer place [laughs].
What made you want to become a Chicago policeman?
DL: Because of my weapons background, I met a few guys who immediately told me I needed to get onto the police department. At the time you didn’t need to be a U.S. citizen, so that was fortunate. I thought, for lack of a better plan, I’d send the application and see how it went, and here we are.
What’s been your toughest experience so far as a policeman?
DL: The rules of engagement continue to change. Even if you’re perfectly right, public opinion seems to matter more than anything else.
Have you been in a situation where your life’s been threatened?
DL: Oh yes, I spent 12 years on the gang unit, so we’ve had some issues. I’ve never been involved in a shooting where I had to fire my weapon, but on our team I’ve certainly been in the line of fire.
With all the gun laws that’ve been passed there, what do you recommend citizens do to stay safe in a big metropolis with such strict legislation?
DL: The funny thing is that you think Chicago has such strict laws. Chicago makes a lot of laws, but no one ever follows them and no one ever gets prosecuted. The issue we have is continual shootings, gang violence, etc., but all the people doing the shootings are a small minority that are basically repeat offenders usually on parole for gun crimes that end up doing another gun crime. Cook County is notorious for having a high bar to prosecution for anything.
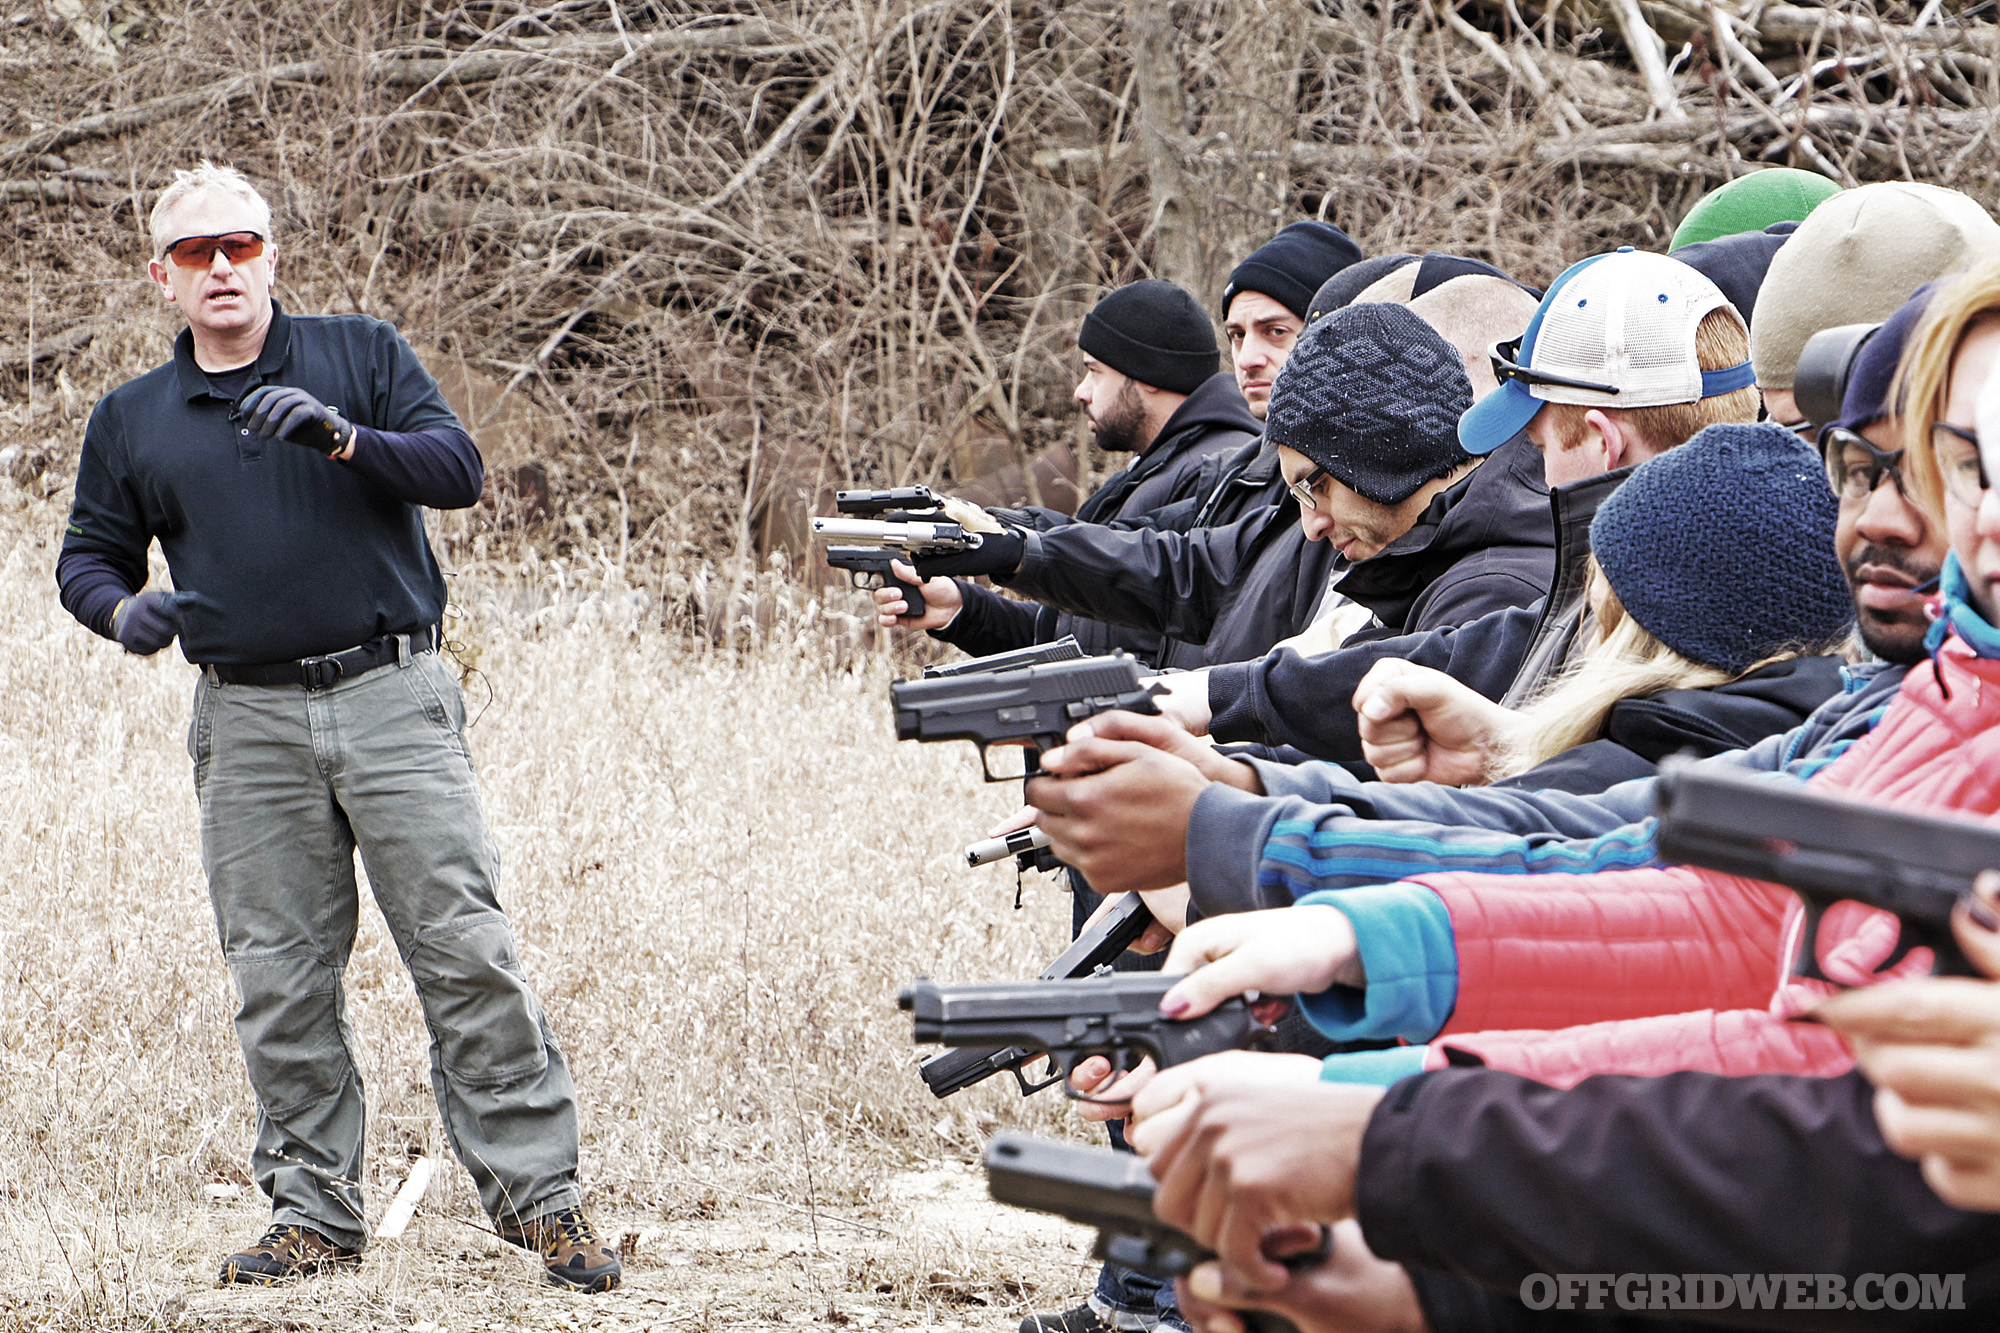
As you know, I run a civilian firearms training company where we do concealed carry training. We offer training after that as well, because just doing the state-mandated legal stuff isn’t really good enough. If you’re in a big city like Chicago, obviously common sense, where you go, and what time of night is important, but if you’re proficient, capable, and legal it’s probably not a bad idea to carry a firearm. Last year in Chicago, there were more shootings involving concealed-carry holders than those involving the police department. We only got concealed carry four-and-a-half years ago; we were the last state to get it. Be proficient, be safe, and be lawful. Under the current climate in Chicago, you’re kind of on your own.
Tell me about your company DAVAD Civilian Defense.
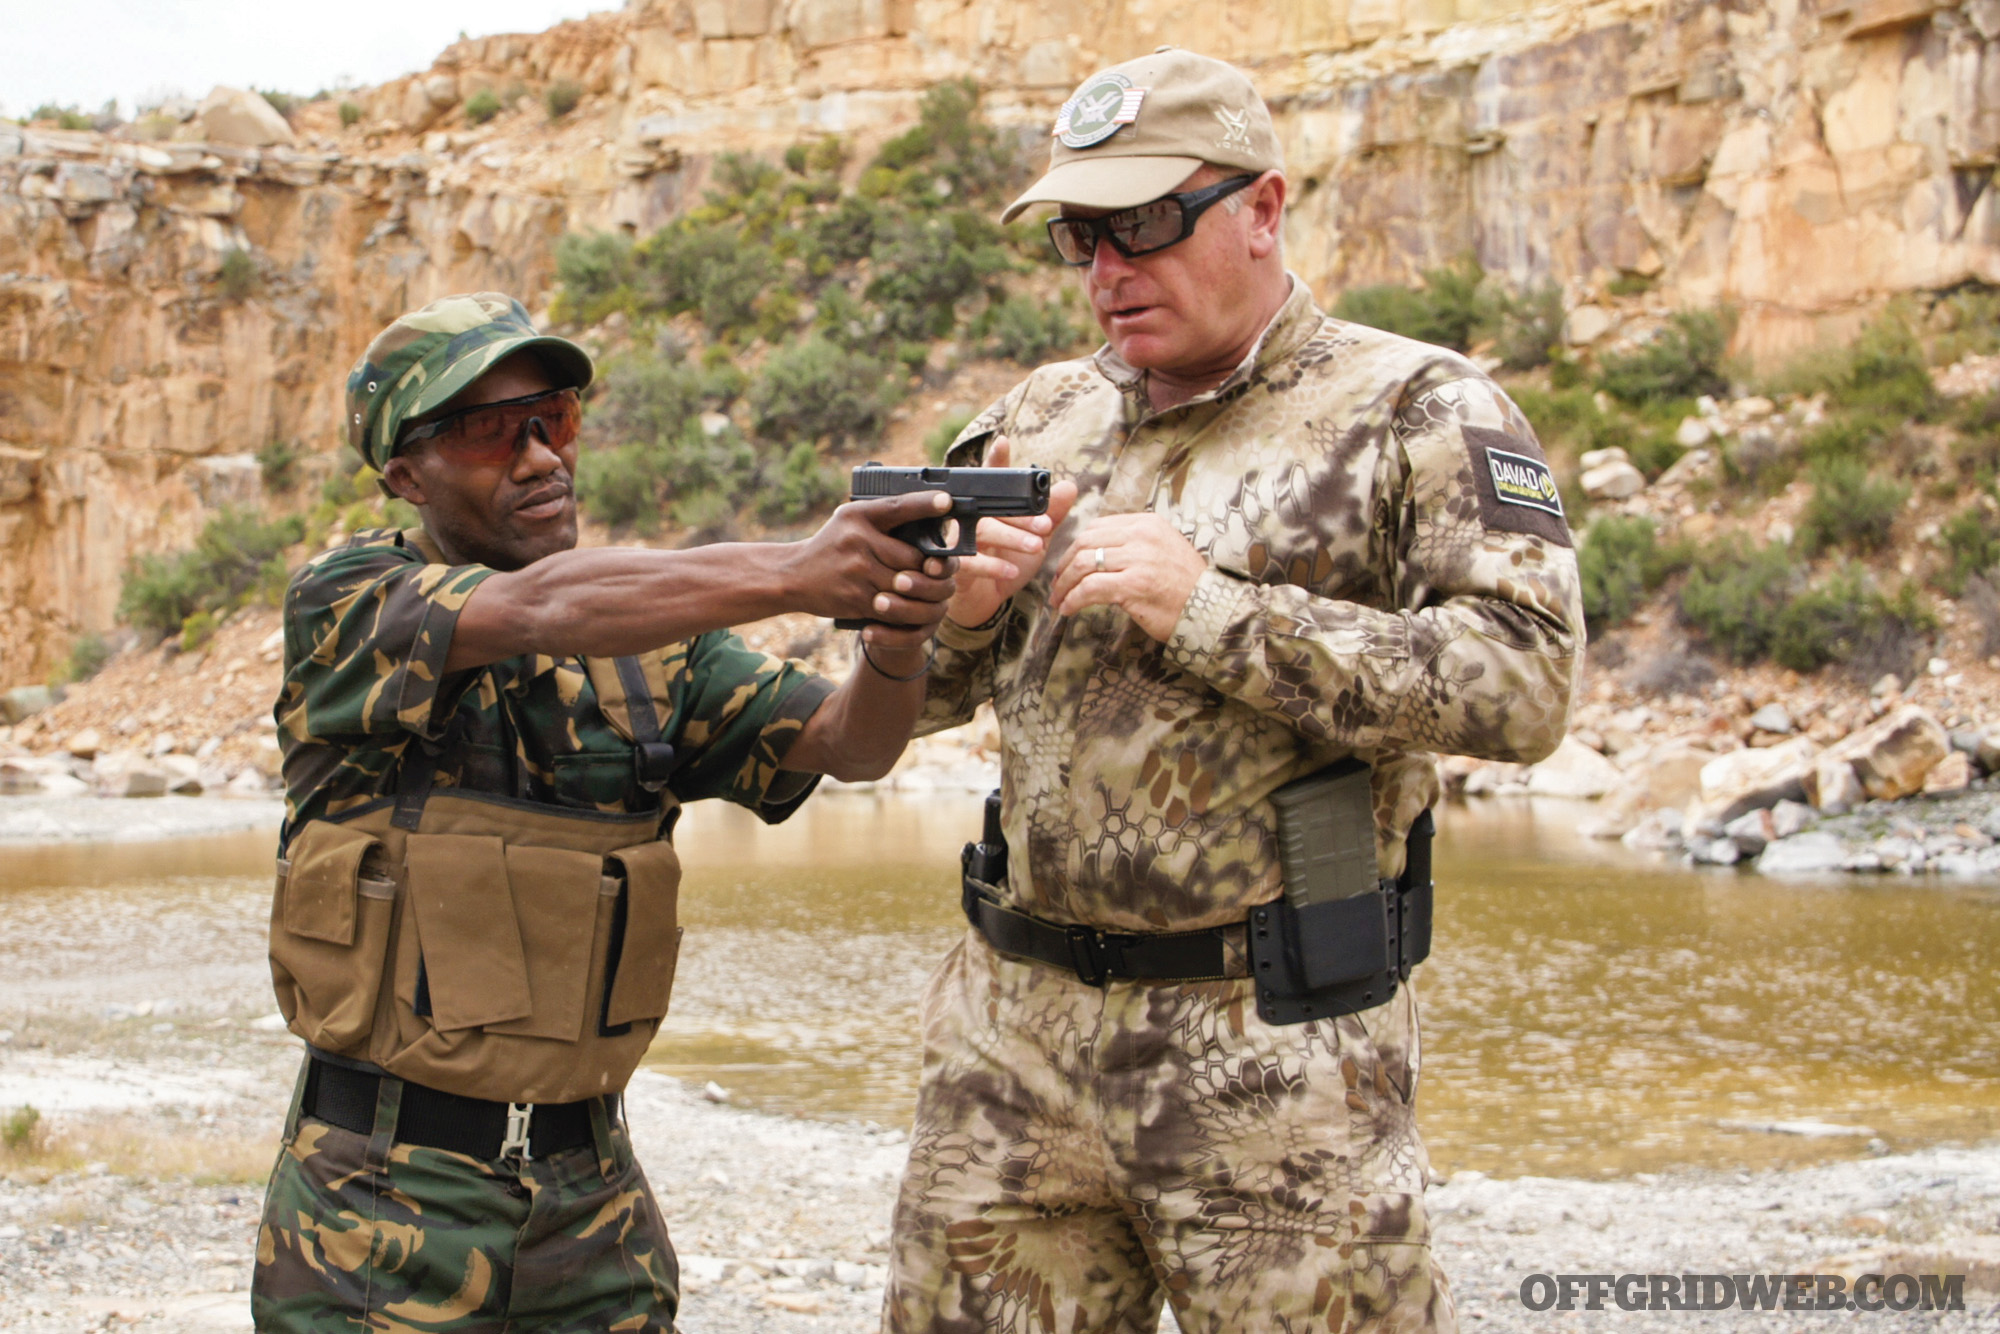
DL: I’ve always had a background in training and trained police officers in South Africa. I was also a competitive shooter. Having been a consultant with DS Arms and working with a few training companies here, I’ve trained the guys on my gang team, because I had a lot of experience from South Africa. When concealed-carry came about, it was a new market and I saw an opportunity to not necessarily make money, but offer premier training for civilians. So if you decide you want to carry a firearm and go get your concealed carry permit, that in no way, shape, or form prepares you for anything. My idea was to provide the next level of training, similar to the stuff like Jeff Cooper and all these top trainers offer where you could truly be proficient and get the same if not better training than a police officer. And, of course, I focus on training police officers to a higher level too.
I train officers to basically be better at what they do when they come out of the academy, and I prepare them to try out for special units like SWAT. I will hone their shooting skills so that they can make their selection. I try and align myself with credible, real-world trainers, not just your Instagram warriors. I hosted Kris Paronto and Dave Benton, the guys from Benghazi. Kris is actually going to take me on as an adjunct instructor helping him out with stuff. We met when I was doing a video; a company out of New York saw a video I did on long-range pistol shooting. Being law enforcement, I went and did a video with Rudy Reyes, myself, Kris, Geoff Reeves, who is a Navy SEAL, and Ron Holmes, a former Recon Marine. So there were the five of us and we did this video for this shooting system, which was actually pretty good and so I was lucky enough to be put in that group of people and once I was there I kept in touch with all those guys.
What are some of the biggest misconceptions people enter your training with?
DL: They get caught up in buying stuff. They buy a gun or all this gear and they start thinking that if you spend money it will solve the problem, especially people who’ve been shooting before, but have never taken a class. Give me the new shooter who has never handled a gun before, and within a few hours I’ll have them outshooting the guy who thinks he knows everything because you don’t know what you don’t know.
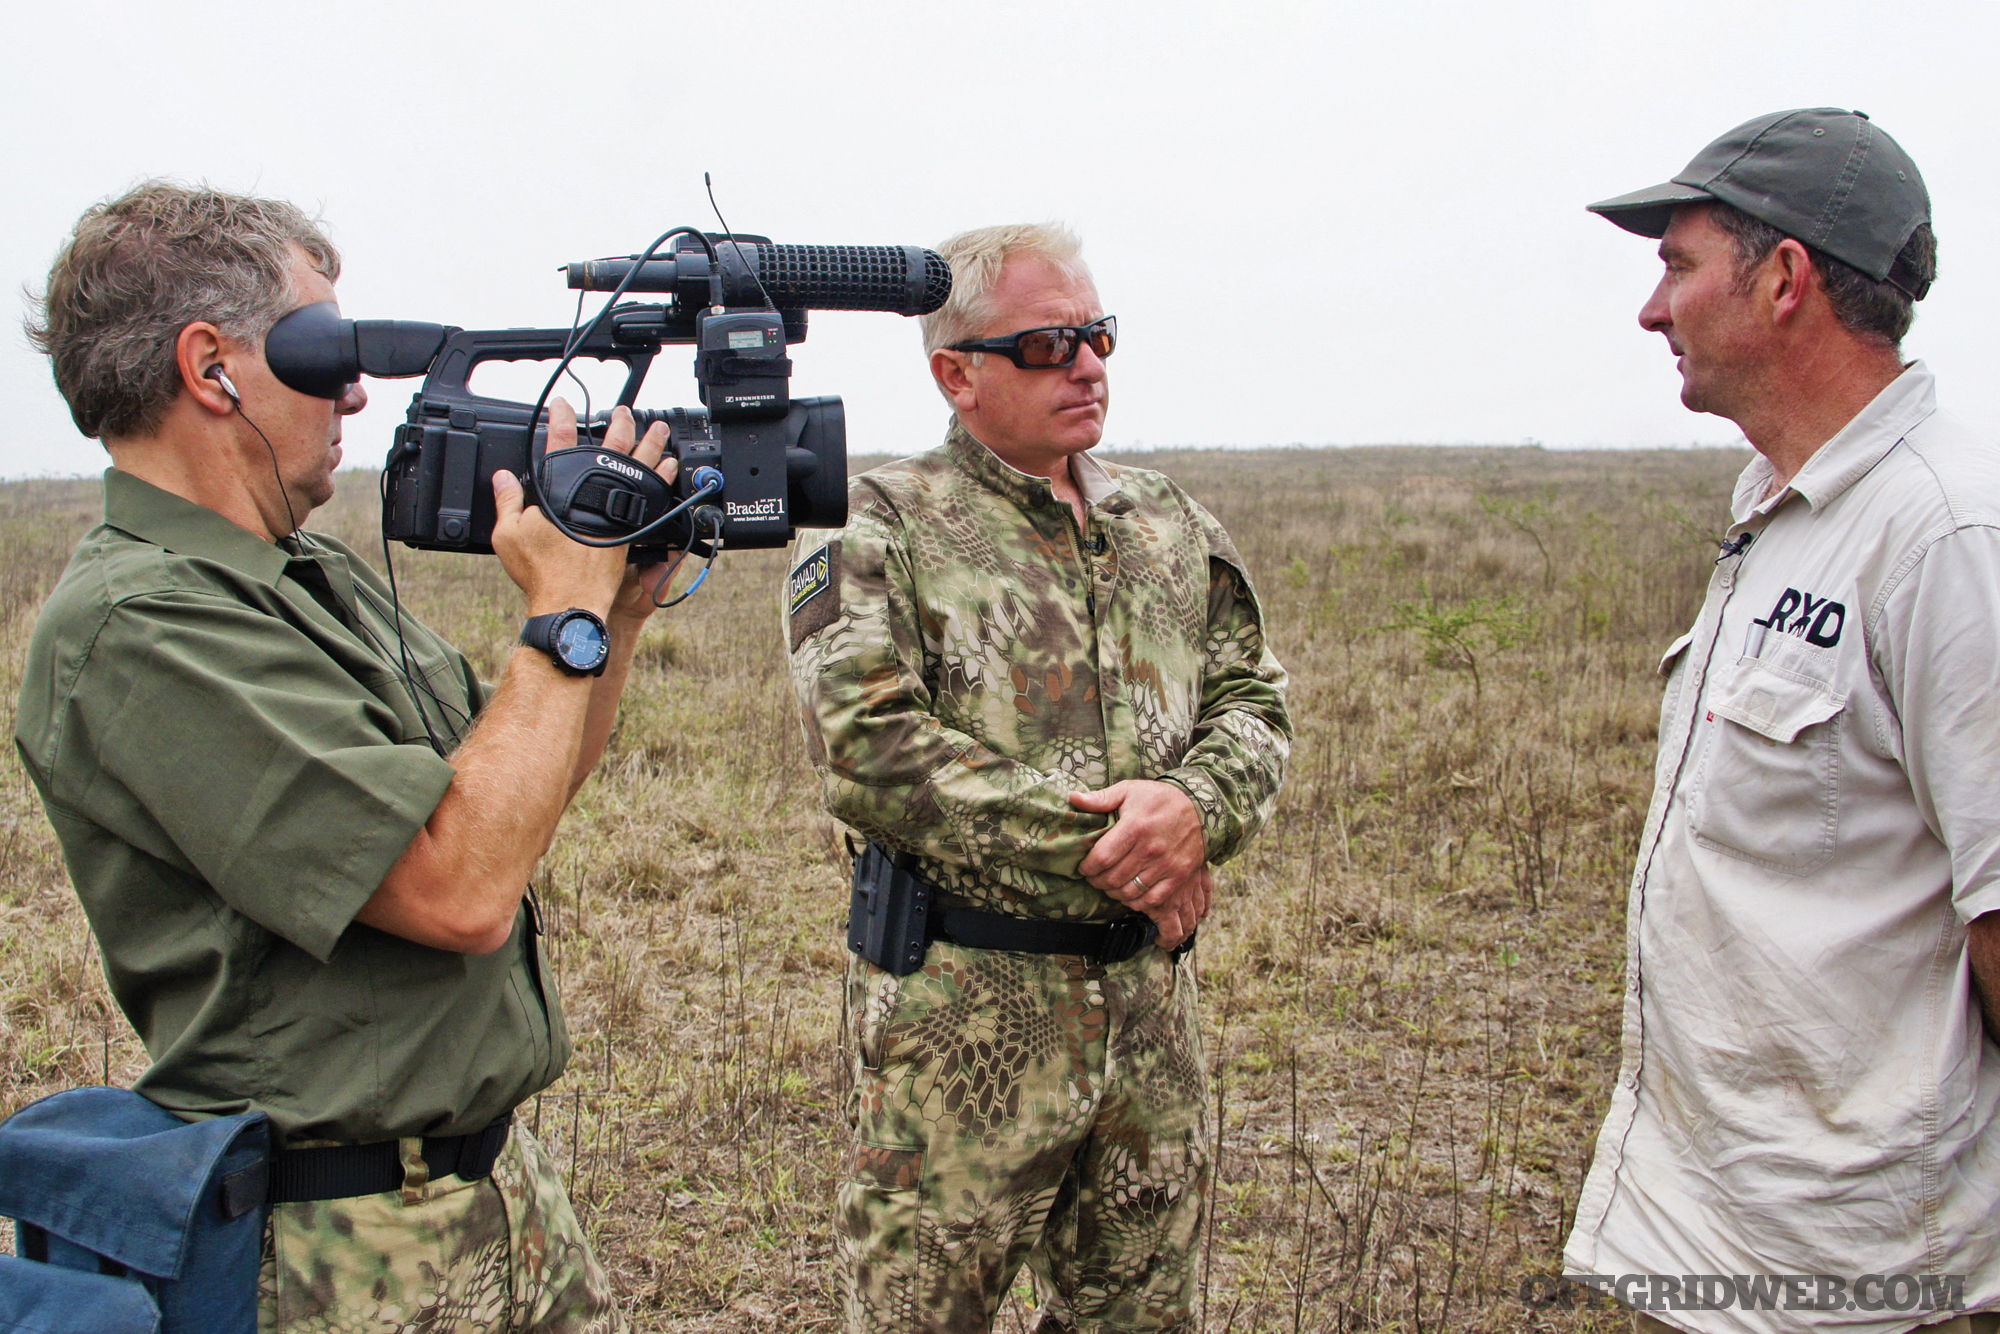
Tell me about this show Zulu Land’s Rhino Warriors you’ve been working on.
DL: I met up with the owner of a company called DS Arms. The reason why I knew them so well is because my police-issued rifle in South Africa was the same one that they now manufacture in the USA. So basically 93 countries around the world adopted this FN FAL, and the owner, Dave Selvaggio, basically bought all the tooling from the Austrian government after the end of the Cold War and started making this iconic battle rifle — “the right arm of the free world.”
Through time, he asked me to help him out and do some demos for some smaller police departments. When he decided to take his business overseas, he asked me to come with him.

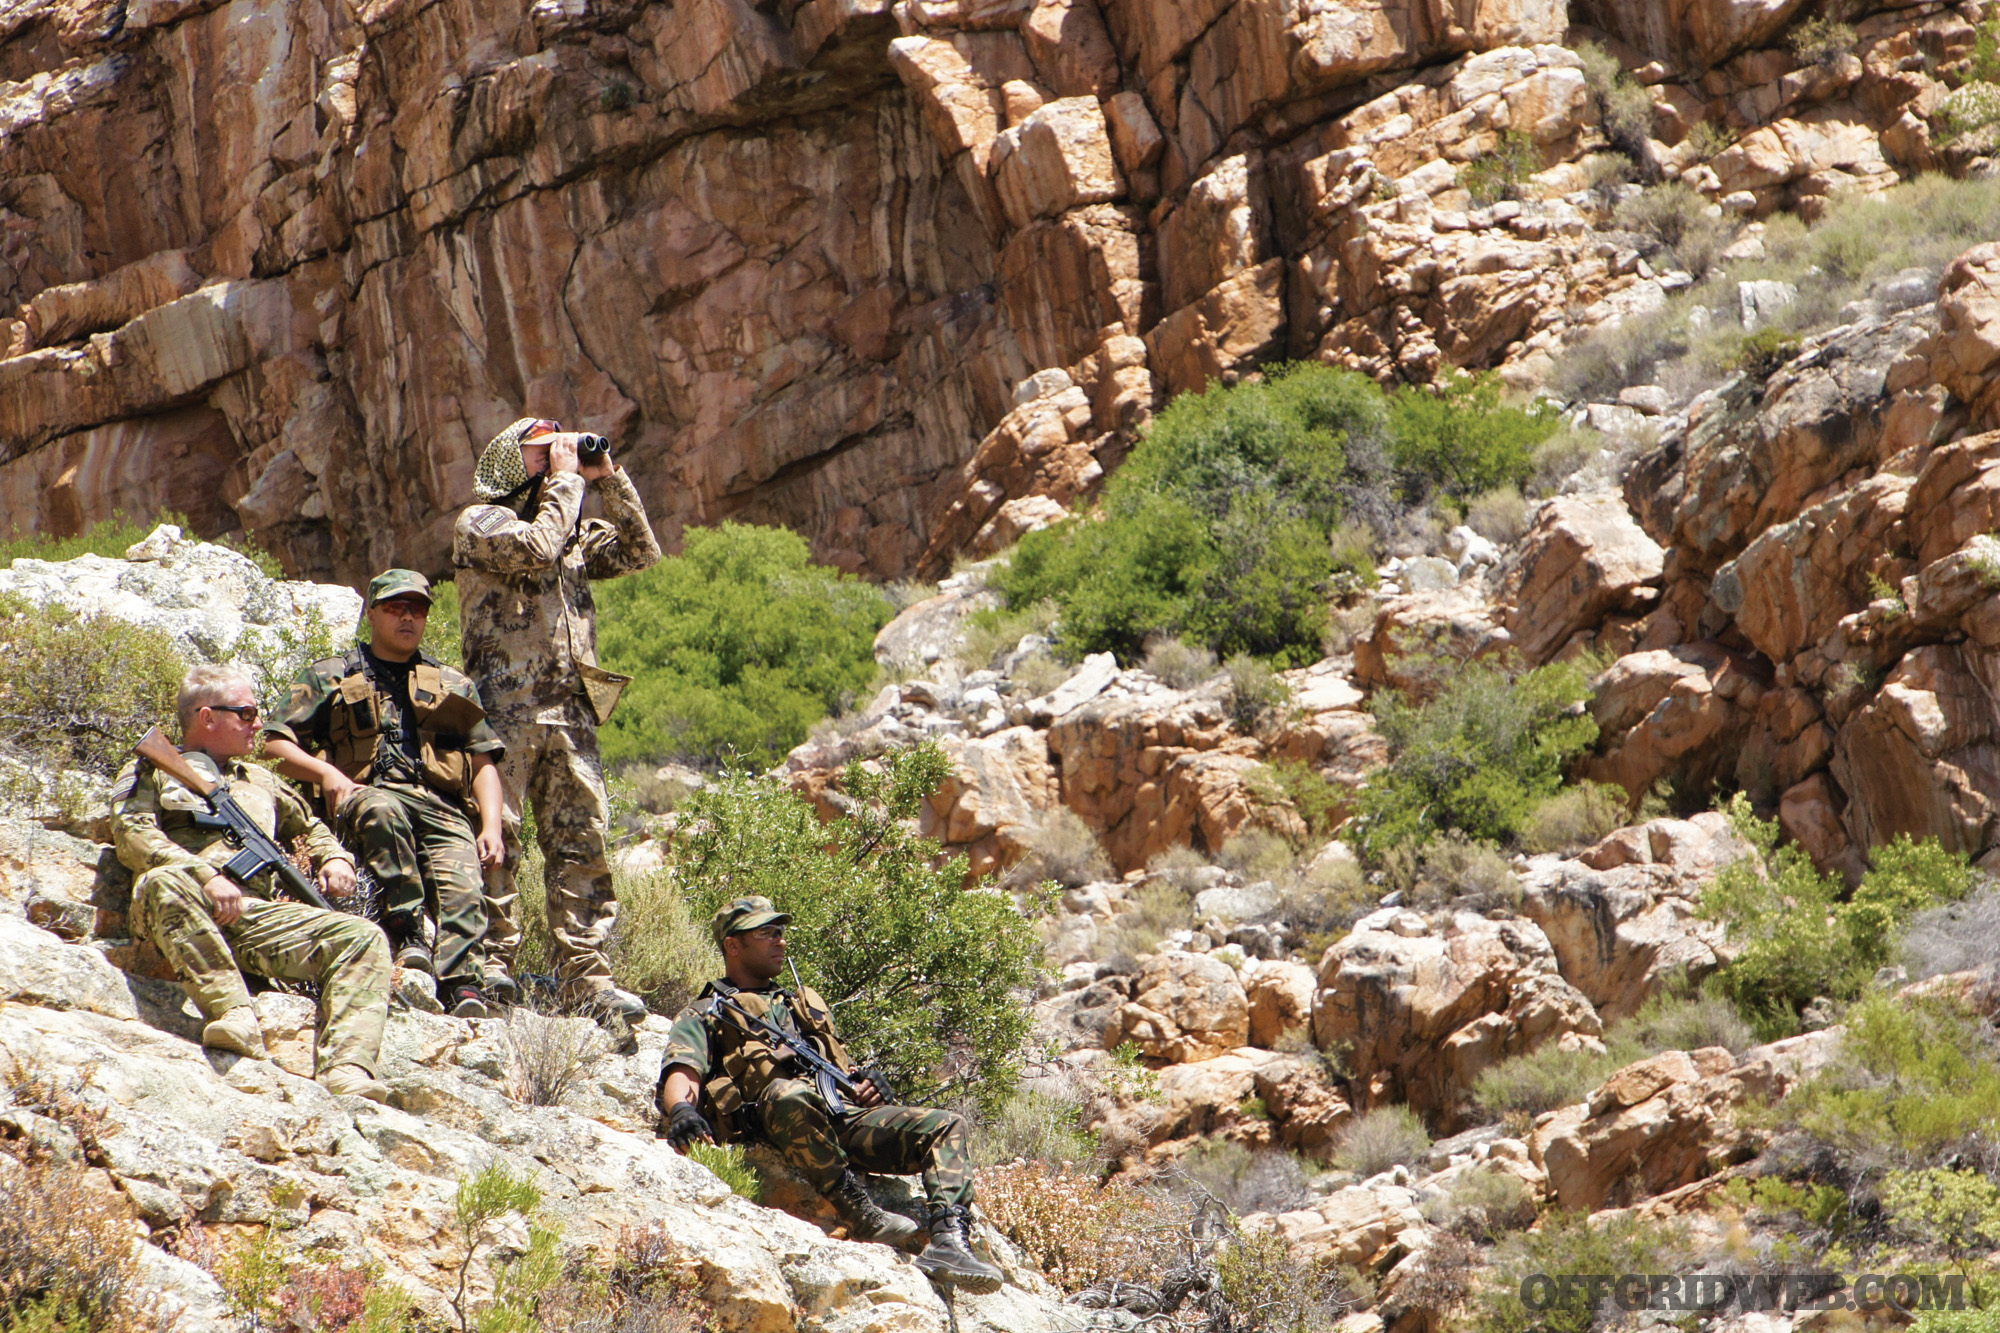
That grew and we started doing stuff in other South American countries, and during this time friends of mine who were working anti-poaching in South Africa kept asking me for parts to keep their weapons going. This particular rifle is the one that all the anti-poaching units use in Africa because it’s a .308. One thing led to the next, I flew to Nairobi, did a demo for the game rangers, and we sold a few hundred rifles to the Kenyan Wildlife Service. That’s what really got me interested in this. When I was there, they basically had one game ranger and two unarmed rangers who would follow this guy with the rifle around because there weren’t enough to go around. If he got shot, they’d just pick up his rifle, which was crazy. We got these rifles to them, and we started supplying logistics and support to my friends in the South African police who became game rangers.
I’d always known about it when I was there, but on my trips back I met with some people and realized, holy sh*t, this is a big, big problem. It’s way worse than I could’ve imagined, and the poaching had just spun out of control out of nowhere. When friends of yours who you grew up with tell you that they’re losing this war, then you take notice. I talked to Dave at DS Arms, and asked if we could sponsor some kind of equipment these guys needed like clothing, uniforms, holsters, slings, binoculars, and also training. There’s all these ITAR regulations you have to be careful of so it doesn’t seem like you’re supplying some army, so we decided to make a YouTube video on the poaching epidemic.
We reached out to Rick Dobson, who had gone with us to record a show in Peru and the concept was to pay for it ourselves, wing it, and we came up with the idea of doing a docu-series. The concept was that we went down and showed how things really were. I had the chance to go on patrol, interview a lot of people, and get a really good grasp of the problem. The people who saw the show loved it. It’s only been on the Sportsman’s Channel so far, and the idea was to try and get the message out about what’s going on and maybe get volunteers. We went to five or six different game reserves, and they showed us some rehabilitation of the rhino and got an idea how big the problem is.
It’s literally on the national consciousness there, and it’s everywhere you turn. We self-funded it, went down on our own expense, donated training to the rangers, and got them some gear. We did some things to highlight the problems logistically, and at the same time say, ‘Hey don’t just give money,’ because there’s a lot of corruption going on. We couldn’t just give money to the government. It’s a hard cause to raise awareness for, because there’s so many other causes flooding the social media feed.
We showed what it’s like being a game ranger, tracked with them, interviewed them, and showed what surviving in the bush is all about. What do you do at night? What do you avoid? What types of snakes do you have to watch out for? What do you do if you’re charged by a hippo? Basically it was just, let’s do something. It’s also about showing how guns can be used for something good and show the positive impact of what a company with a social conscience can do.
What’s the appeal of the rhino horn all about?
DL: The tragedy of this is that it’s nothing; it’s just keratin like your fingernails. It’s not like gold or something that can be used in industry, there’s nothing it can be used for. Its medical power is all a perpetuated myth. Trying to educate people about this myth is tough. It’s gotten so big, and there’s so much money involved now. One rhino horn could be worth a million dollars.
People risk their lives for it. We keep selling rifles to the anti-poaching units because they get involved in shootings on basically a monthly basis, those weapons get taken for evidence, and that case could take two to three years to wrap up, so in the meantime they have to replace those guns on the street. So it’s weird that there’s this crazy war going on over the rhino, which has no value whatsoever other than what’s been made up by man.
We were trying to focus on how ridiculous this whole thing is, but now it’s worse than ever. These are private game reserves, one of which we’d go to as kids, where rhinos were poached in broad daylight. The poaching that goes on is that they’re basically sneaking in, darting these animals with tranquilizers, and hacking off their horns while they’re still alive. It’s very elaborate crime syndicates that are doing this. They’re literally poaching them in zoos now, so it’s completely out of control.
The demand mostly comes from the Far East. You’d have thought that myth would’ve dissipated with Viagra, but then there are other myths about it being a cure for cancer. Vietnam is one of the biggest purchasers of rhino horns, because it’s a status symbol. It’s evolved from aphrodisiac to cancer cure to where it’s seen as something the richest of the rich have. There’s private funding for education that bring out a lot of children from Vietnam, Laos, and places like that have them stay on the game reserve for a week and try and teach them that these rumors just aren’t the case and rhino horn has no mystical power.
What do the local populations and government do to combat poaching?
DL: Most of the anti-poaching in the government game reserves is funded by the government; however, there are levels of corruption that run pretty deep, especially in South Africa. It’s always been known that there are government officials involved in this, because there’s so much money at stake. South Africa has the largest rhino population left in Africa, so there’s been police involved, government officials, etc. You think about someone poaching one rhino, and they could become a millionaire. It’s the most valuable substance on the planet today. Per weight it’s more valuable than gold and diamonds.
Because of the massive amount of money involved, Muslim terrorist groups have also been involved in rhino poaching. In Kenya, you’ve got the Somalians just across the border, and they would go in with military capabilities funded by Al-Qaeda, poach the rhino, and send it to Yemen. The Yemenese also use the rhino horn for ceremonial daggers for the very wealthy when their sons would have their coming-of-age party. That pipeline was basically funding a lot of terrorism. That’s basically symbolic, and again not something that was used for anything other than its mythical power.
What happens to a poacher who is captured?
DL: It depends on where you’re talking about. In Botswana they’re pretty much shot on sight. That’s why Botswana doesn’t have much of a problem, although they do experience some issues. In Kenya, it may also involve some sort of lethal force. Some of the rangers have been killed, and they have a court system. Not sure what their penalty is though.
In South Africa, the rules of engagement are pretty much if the poachers are armed it turns into a lethal confrontation. It also depends on if you’re on a private game reserve or not. If it’s the government that’s doing it, then they would make the arrest and charge them through the court system. Penalties are pretty severe. I know there’s easily a 10-year sentence for being caught with rhino horn, but the problem is just catching the low-level players, meaning the poachers themselves. You’re not catching anyone in the syndicates and the next level up.
How big and well-financed are these poachers?
DL: Very. I can’t verify this, but we know that they have state-of-the-art equipment, cell phone jammers, military-grade night vision, and are funded at the highest levels. They use big-game hunting rifles and very high-schedule drugs for the darting of these rhinos. They’re not shooting them with a rifle with night vision and a silencer; they’re hunting them with a dart gun and a highly restricted drug, which can only be sourced through backdoor channels in the veterinary circles. So there’s even corruption among veterinarians.
What effects do you think the disappearance of rhinos would have on the global ecosystem?
DL: Ecosystems might not collapse, but what’s next? The elephant for its ivory, then the lions for more mythology that their bones cure cancer, so where does it end? It doesn’t. I’m an avid hunter. I have no issue with hunting, but I don’t see the need to shoot an animal that you can’t eat or do anything with, so I’d be morally opposed to people hunting it for nothing. But if you see what people pay for hunting, it might be the only option to pay for some conservation. Apparently, social media isn’t generating any money for the conservation effort. The only people paying to come to Africa to do anything are hunters.
So you can legally hunt rhino over there?
DL: Yes, but it’s very expensive. It’d probably cost you over a million dollars. That would be a permit issued by the government that’d only be for an older rhino that couldn’t breed. Again, I think probably not too many people would sign up to shoot a rhino under the current climate, but I don’t know of any other way to raise money.
What can the average citizen do to support anti-poaching units?
DL: I wouldn’t recommend donating money because you don’t know where it’s going. I think the best thing you can do is educate others and shame them about possessing the stuff. Tell the truth that it’s just a status symbol and doesn’t have any medicinal purposes. There’s causes like Saving Private Rhino and Rave Rhino that will take volunteers who come out and put them in the field.
It may be difficult to arm them, but we literally have volunteers following around the rhinos 24/7 in the game reserves. Maybe if people came out and did that they could come back and tell their story. A lot of these places will accept donated equipment as well. If someone wanted to get involved, get on a plane, and go down there. That’s the conviction it probably takes.
So what does it take to survive in the bush down there if someone wanted to go do that?
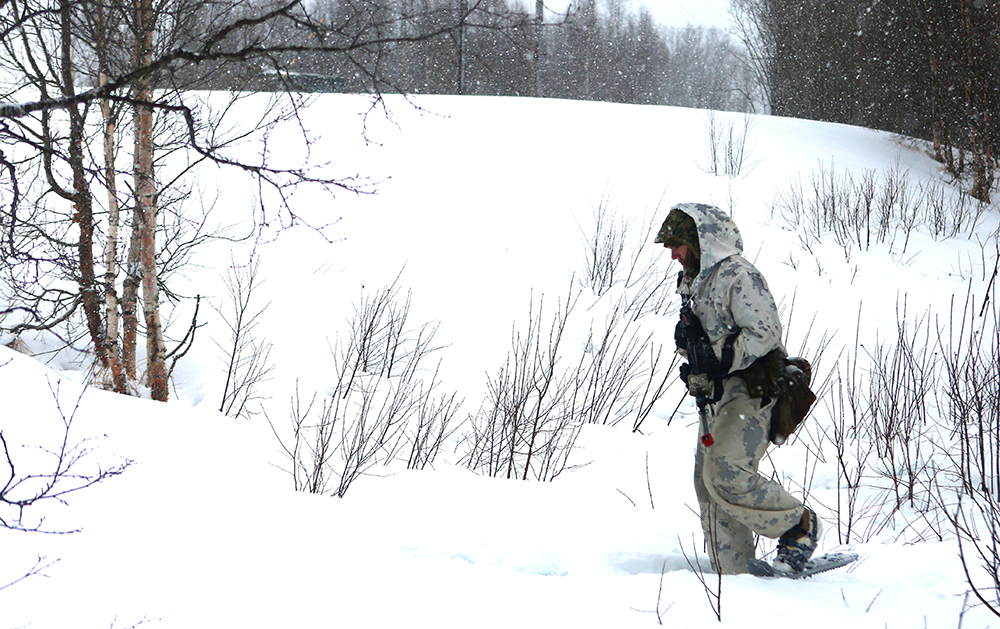
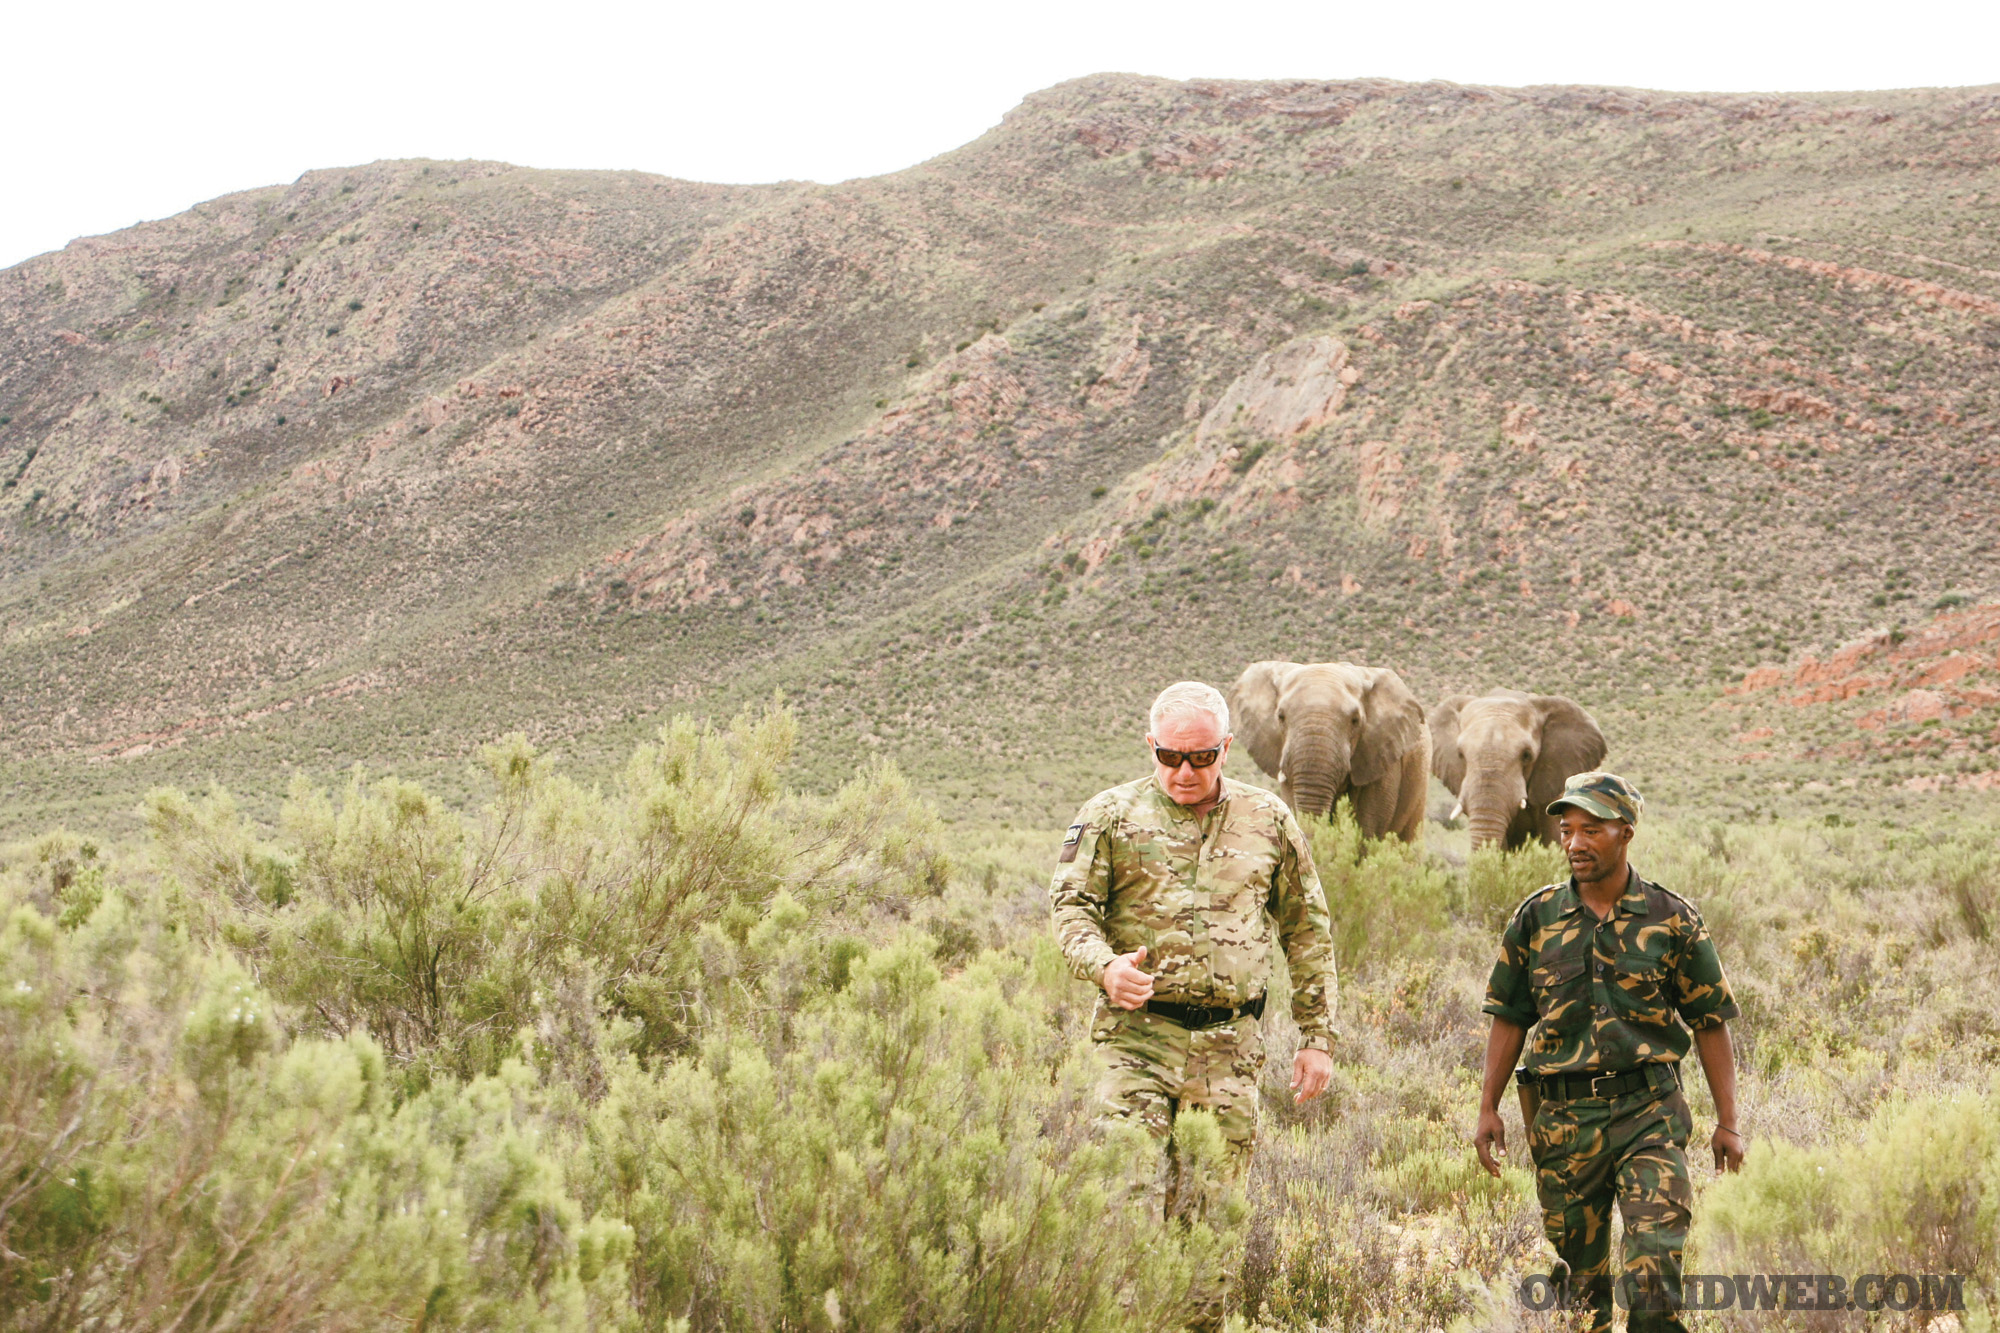
DL: This is where it gets interesting. When it comes to working around rhino, you have to be careful where you’re at in relation to the rhino. Their eyesight is bad, but their hearing and sense of smell is really good. If a rhino charges you, it’s an angry 2,000-pound animal that can overturn a vehicle. You also have to be very careful of snakes. At least 70 percent of them are poisonous. You need to be able to identify what kind it is since some carry neurotoxins, others carry cytotoxins, and so forth.
The other thing is, at night, the most dangerous thing in the bush is the hippo. They’ve actually killed more people in Africa than any other animal. Generally your rhino and hippo congregate around the water holes, so they’re very large animals that can run very fast. Same thing with buffalo. There are also animals like lions in those game reserves, so you could easily end up being stalked by a lion. Everything wants to kill you down there [laughs].
The game ranger has to have good bushcraft and be able to stay out there overnight. He’s got to know his camouflage, he has to know the wind, keep an eye out for lights coming. The average game ranger almost has to have gun-handling skills above the average soldier or police officer, and combine that with all the fieldcraft. He has to know where the animals tend to lay down. It’s a litany of 101 things combined. It’s like a soldier combined with a police officer combined with someone who does counterinsurgency tracking. Plus, you have to have patience, sitting in one place for five or six hours without moving and looking over a vast terrain. If the rhino move, you have to be able to shadow them without spooking them and not fall afoul of the other wildlife. Not everyone’s cut out for it.
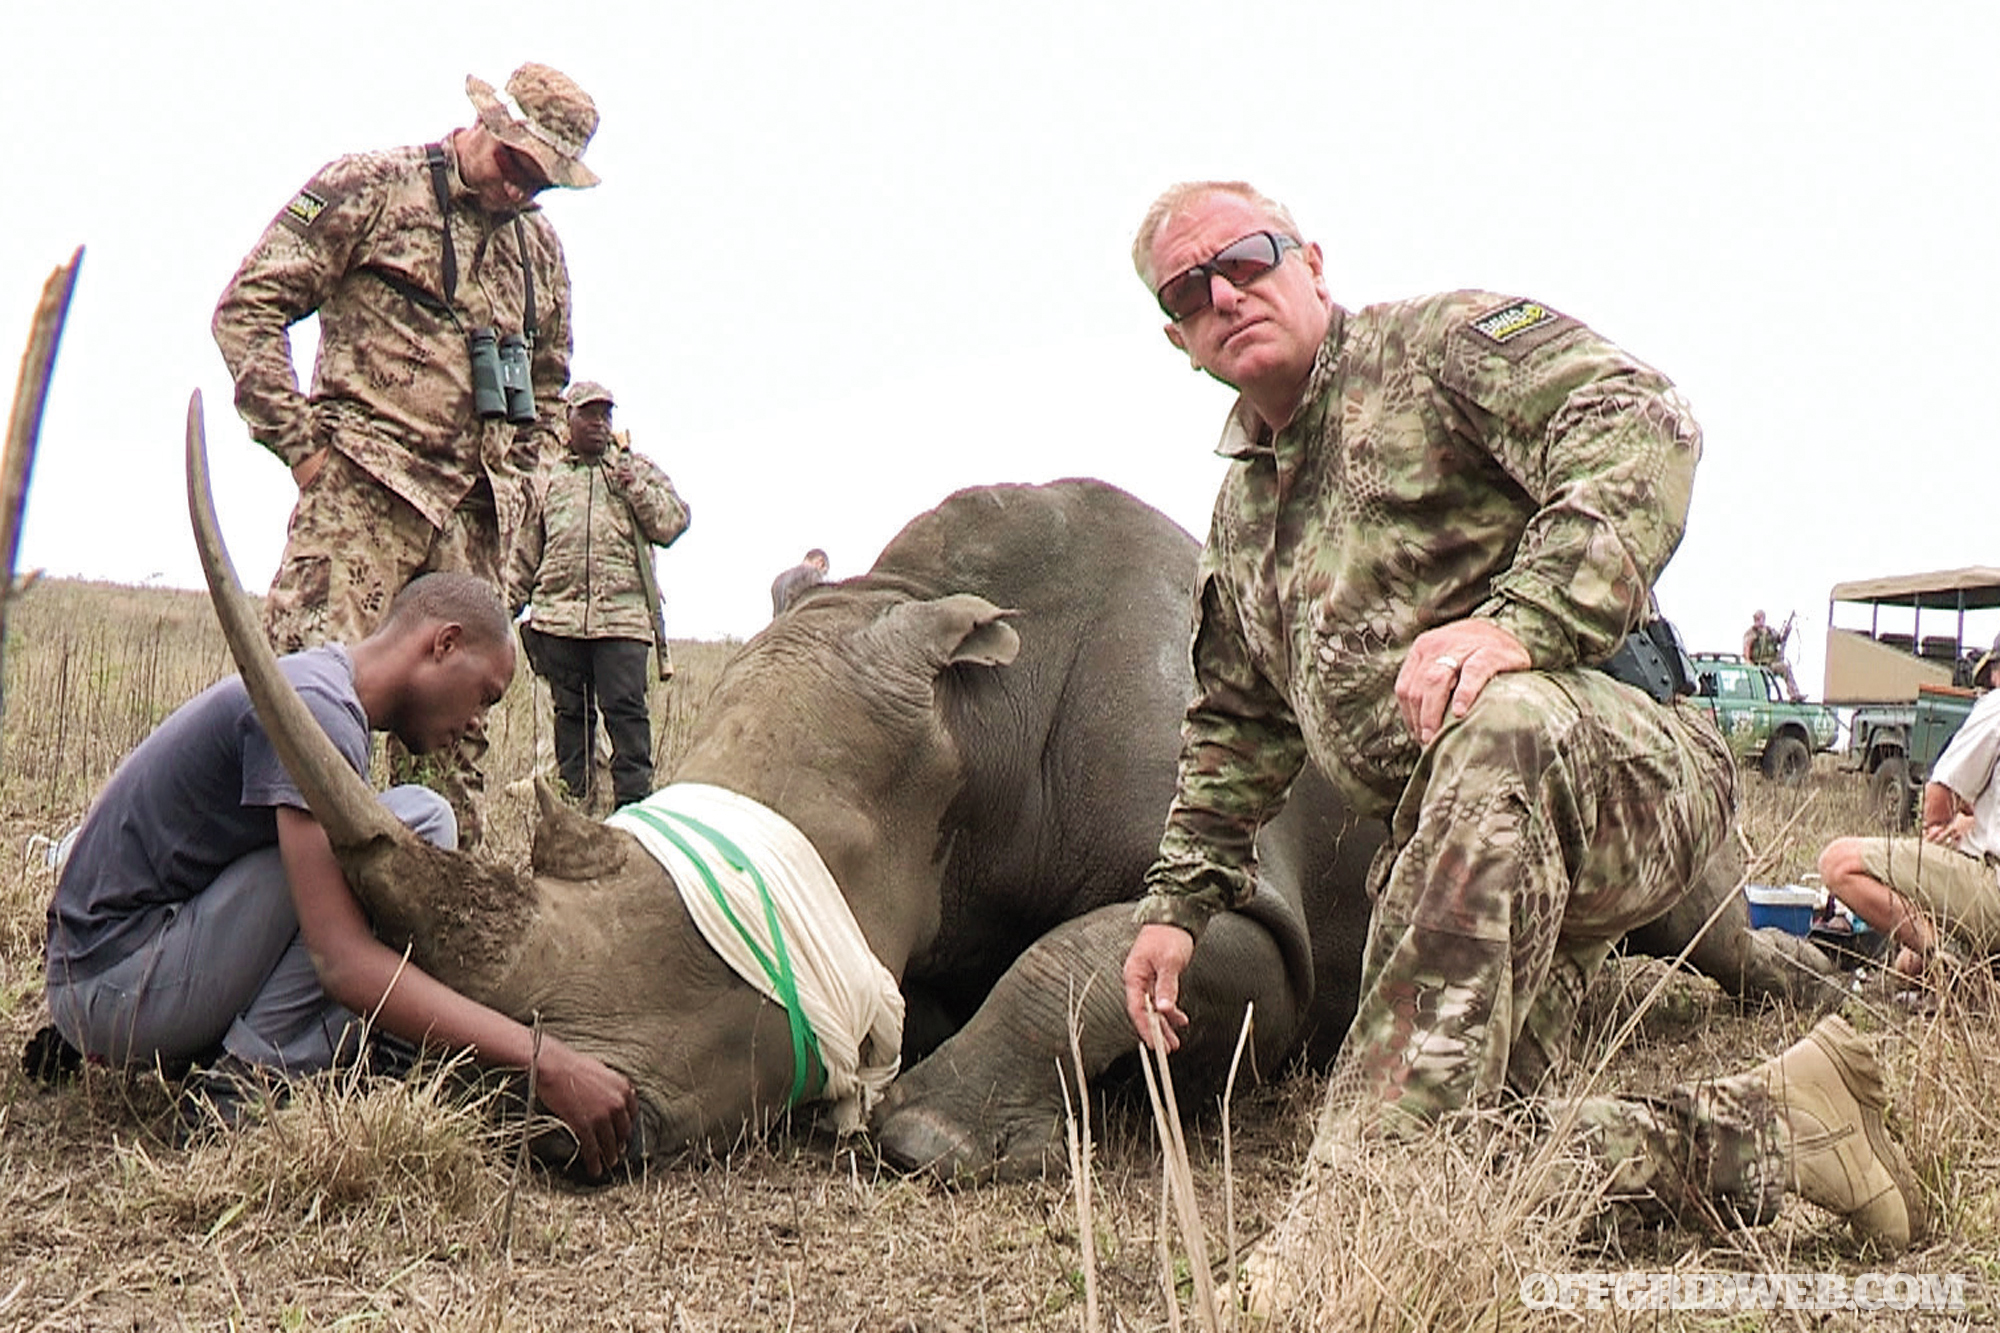
You have to be able to carry enough water with you. You can’t drink out of the watering holes like they do in the movies. You also have to know where to shade yourself. Insect repellent is huge. Some of these areas there are malarial. Rangers are generally equipped with a .308-caliber-or-above rifle and a knife. You’d also need a tourniquet, first-aid kit, and snake anti-venom. If you’re darting animals you’d need an antidote for the opioid in case you prick yourself with the dart. It can get complicated.
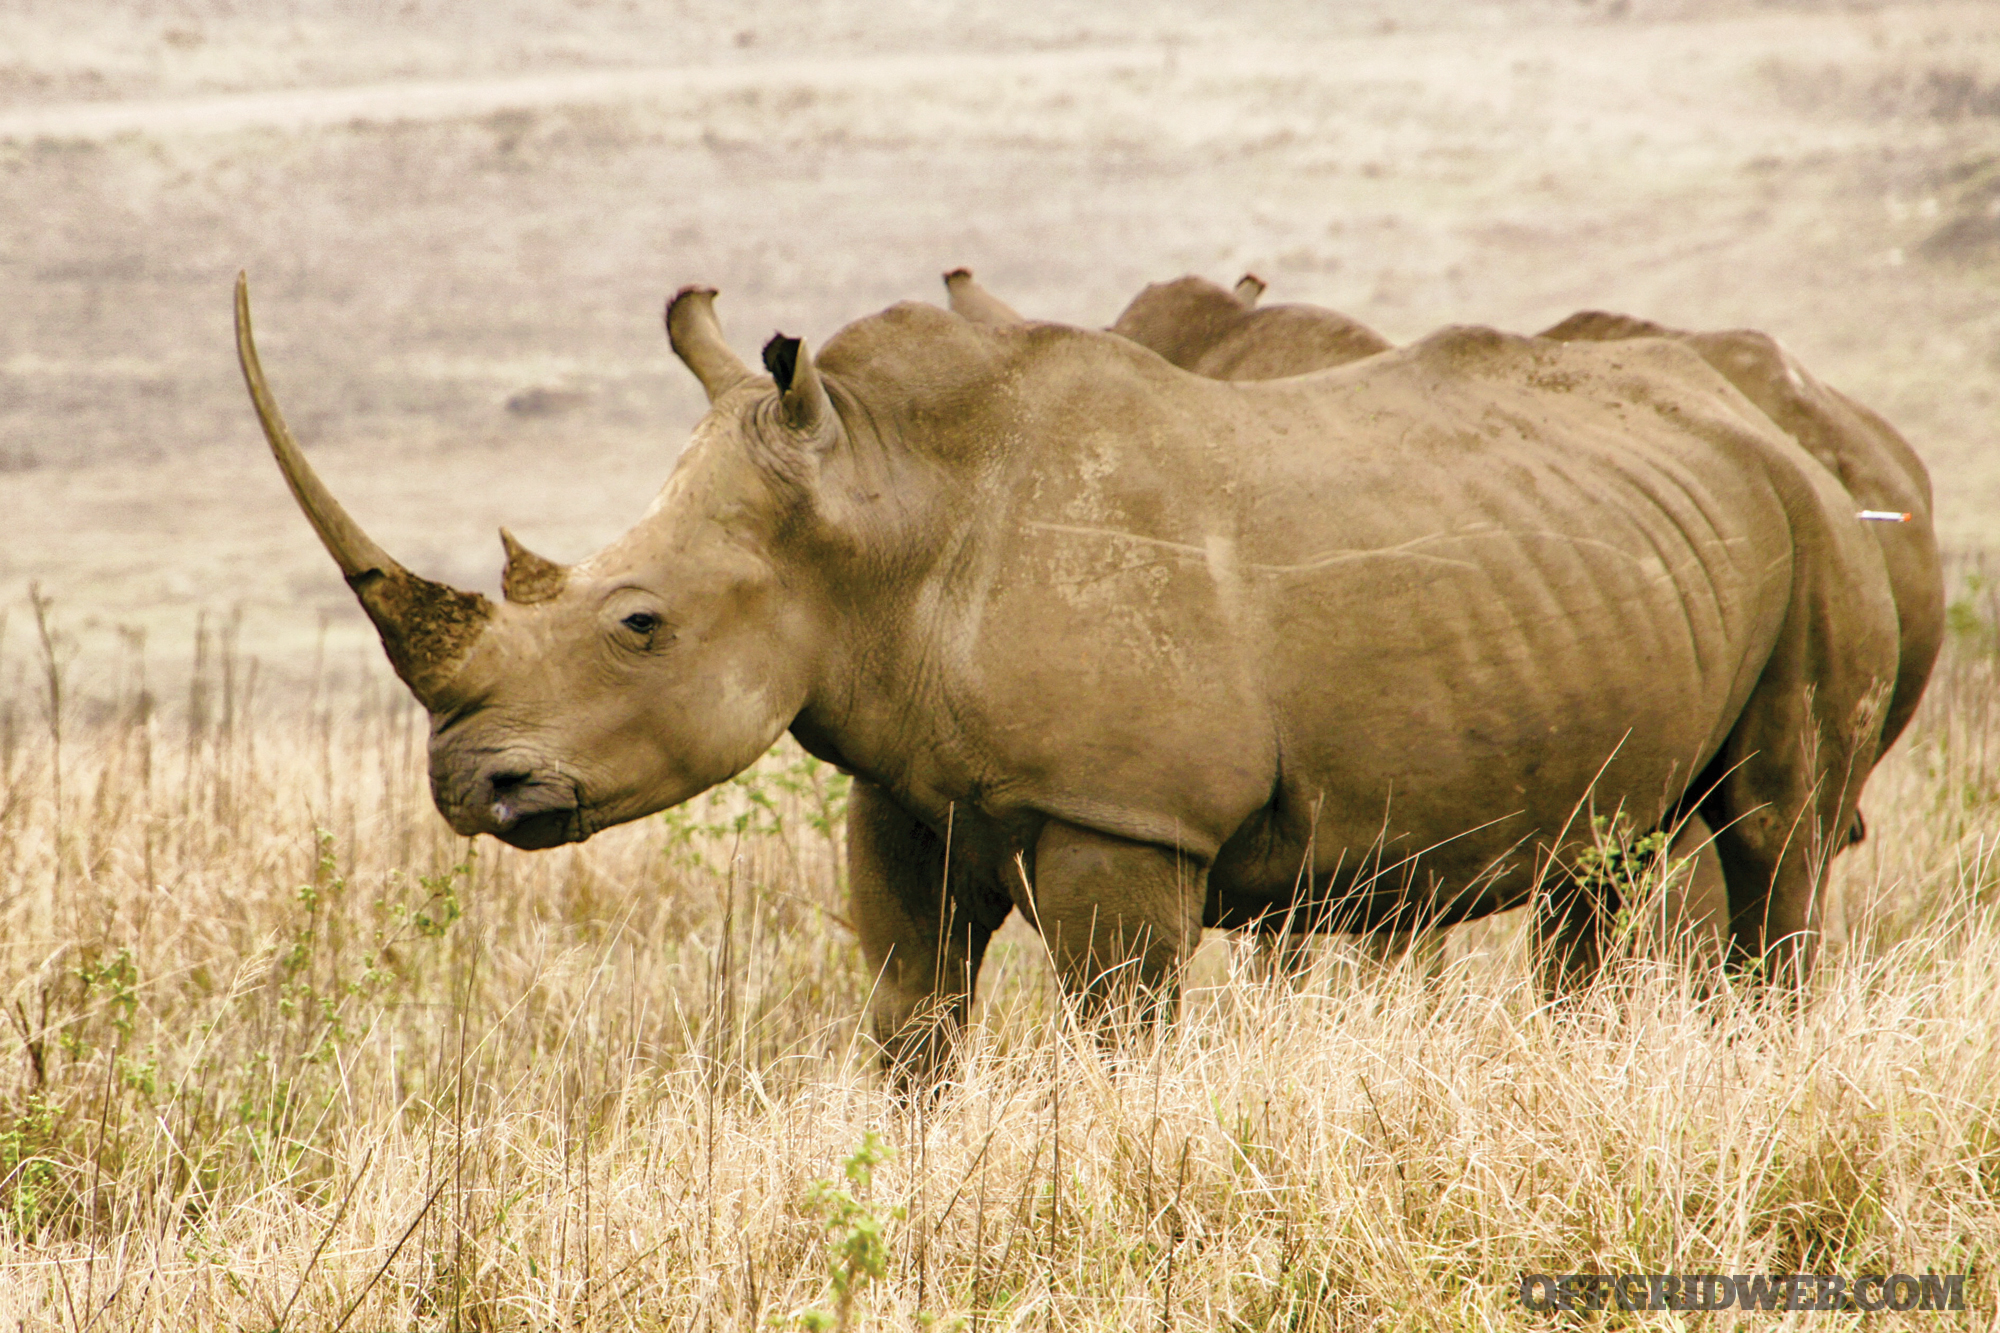
If you’re not running white light if you’re out at night, you’d need some sort of night vision. Always carry extra rope with you for darting a rhino. You’d use this for sneaking up behind them and slipping that rope over the back of their leg. That’s what will finally trip them, otherwise they walk around like zombies forever. They don’t drop that easily, and you want to be able to dictate where they fall because you don’t want them to aimlessly wander into a gully or fall into a river.
Has your life ever been in danger while working in Africa?
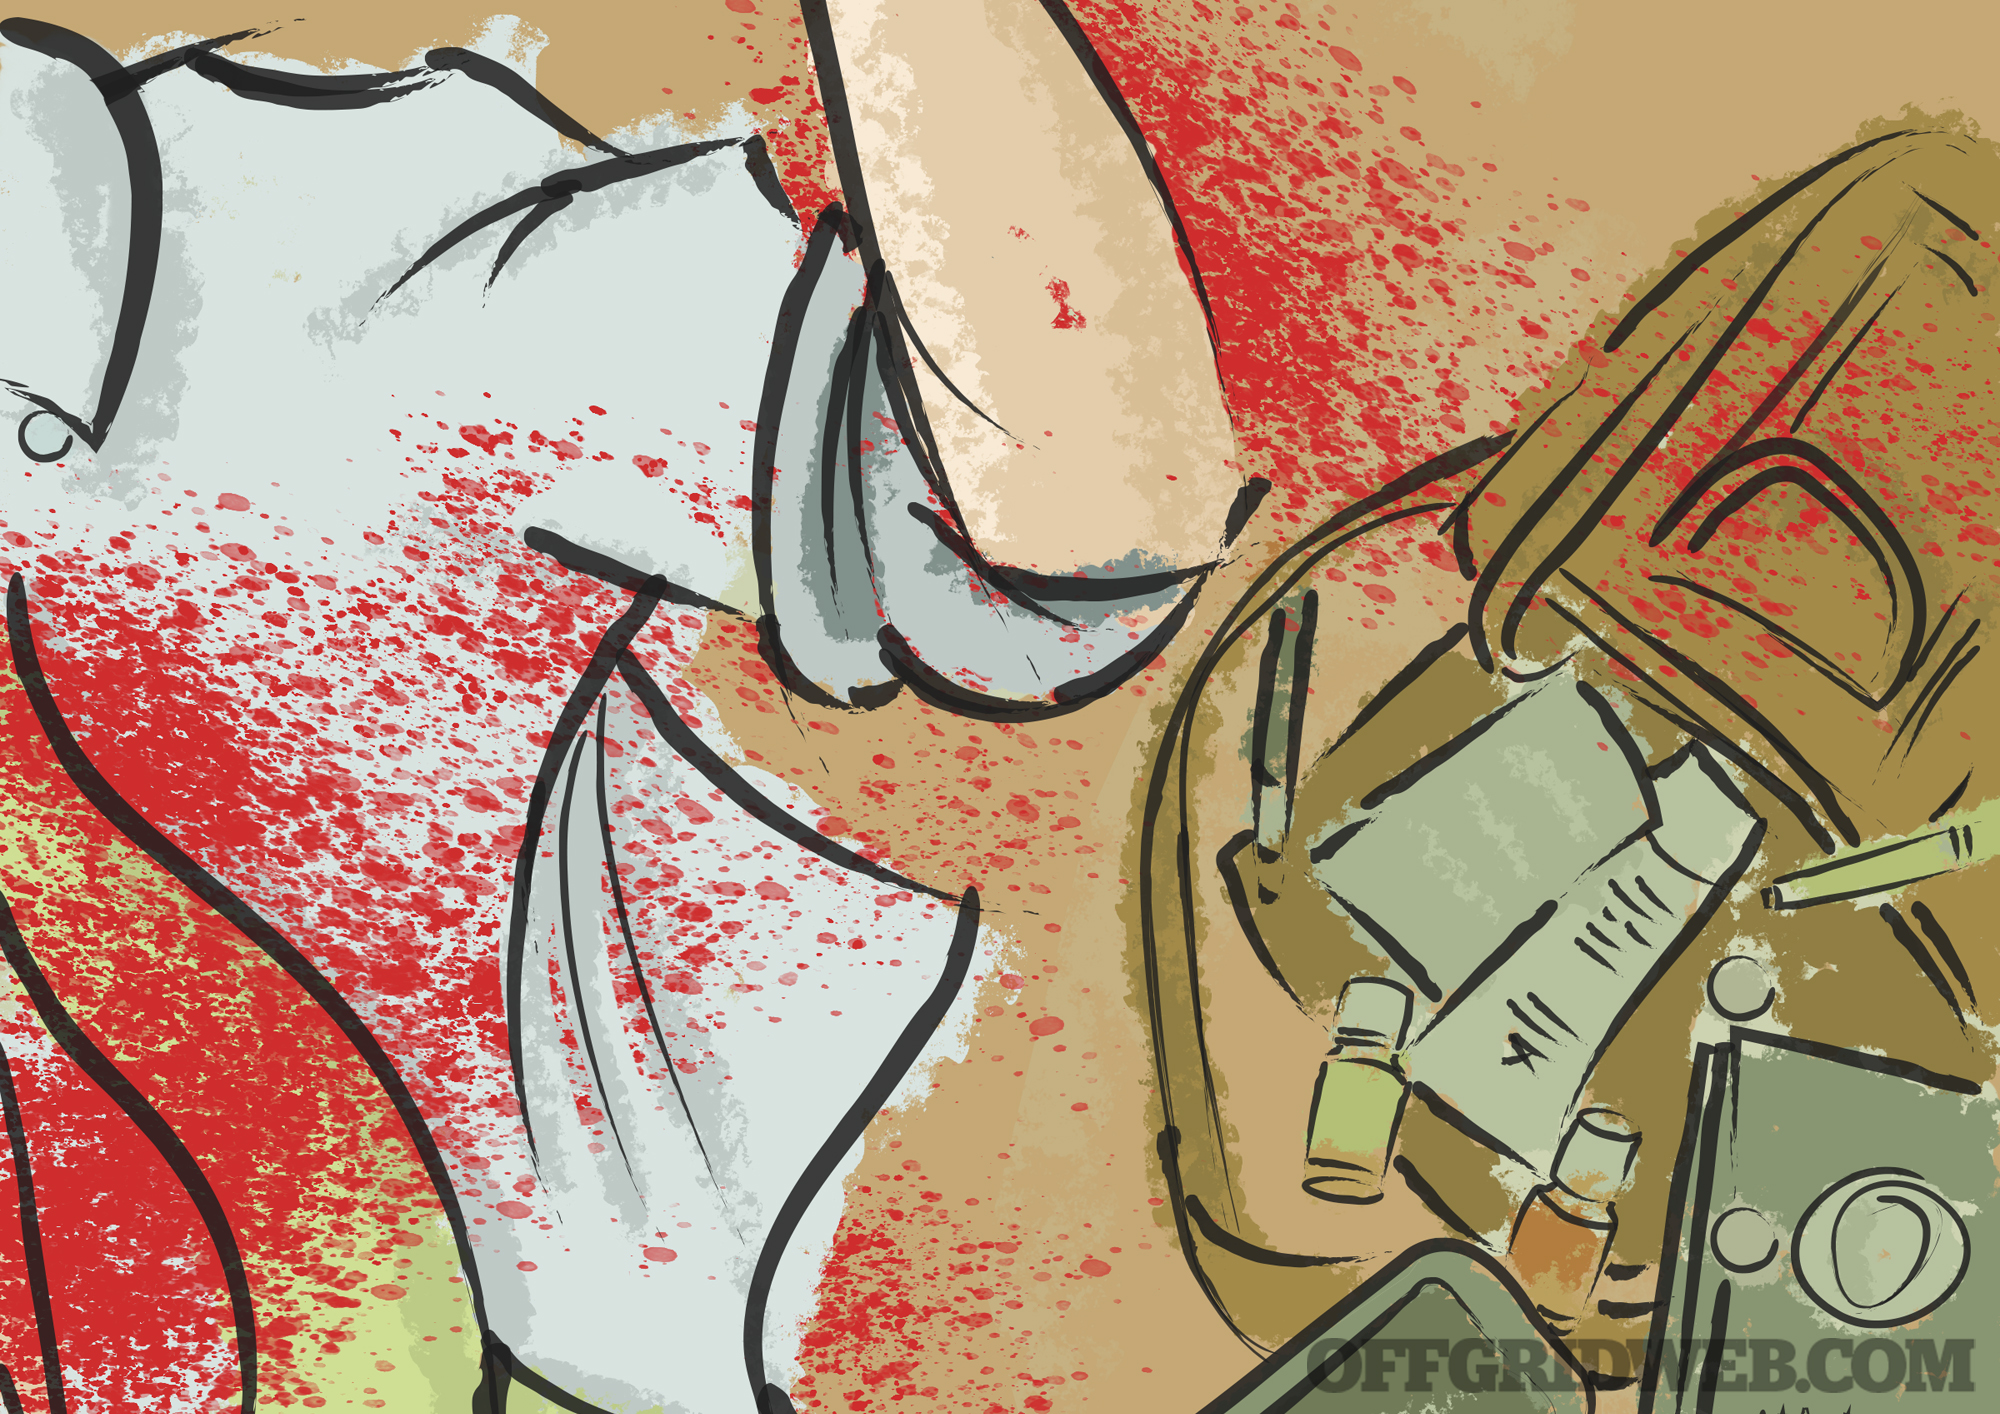
DL: Sure, when I was in the country for the African air defense in Pretoria. After dinner, not far from the hotel, I went to a local bar with the guys. As we were walking out I was struck with a metal bar above my left eye and grabbed by a number of individuals who continued to hit me in the head with the object. Hands went in my pockets, and they grabbed my phone.
I had a Cold Steel Tanto Voyager in my right pocket, but struggled to get it out and open as I was being held by guys behind me. I believe they were searching for my pistol. I eventually got it open and cut my thumb in the process, I was still being held, and I managed to get the blade into the crook of the arm of the guy holding me from behind and pushed in hard and out, slashing his tendons. At that point he screamed they all let go and ran away.
I received 18 stitches and the blood washed out my left contact lens. I lost a lot of blood and had two black eyes and severe vertigo for a few months. Next day, we found a massive blood trail and witnesses stated about six street people had attacked us. I got lucky, should never have happened as I shouldn’t have been arrogant enough to walk the streets that late and after a bar. Should never have separated from my group.
What do you think the rhino populations will look like in 30 years without intervention?
DL: I don’t think they’ll make it that long. I think we’ve got five at best if the current poaching rate continues.
About Daniel Lombard

Age:
49
Family:
Virginia (wife), Daniel Jr., Andrew, Amelia, Rachel, (and Rebecca, not pictured) (children)
Hometown:
Durban, South Africa
Favorite movie:
Heat
Daniel’s required reading list:
Commando by Deneys Reitz
A Hunter’s Wanderings in Africa by Frederick Courteney Selous
Daniel’s EDC:
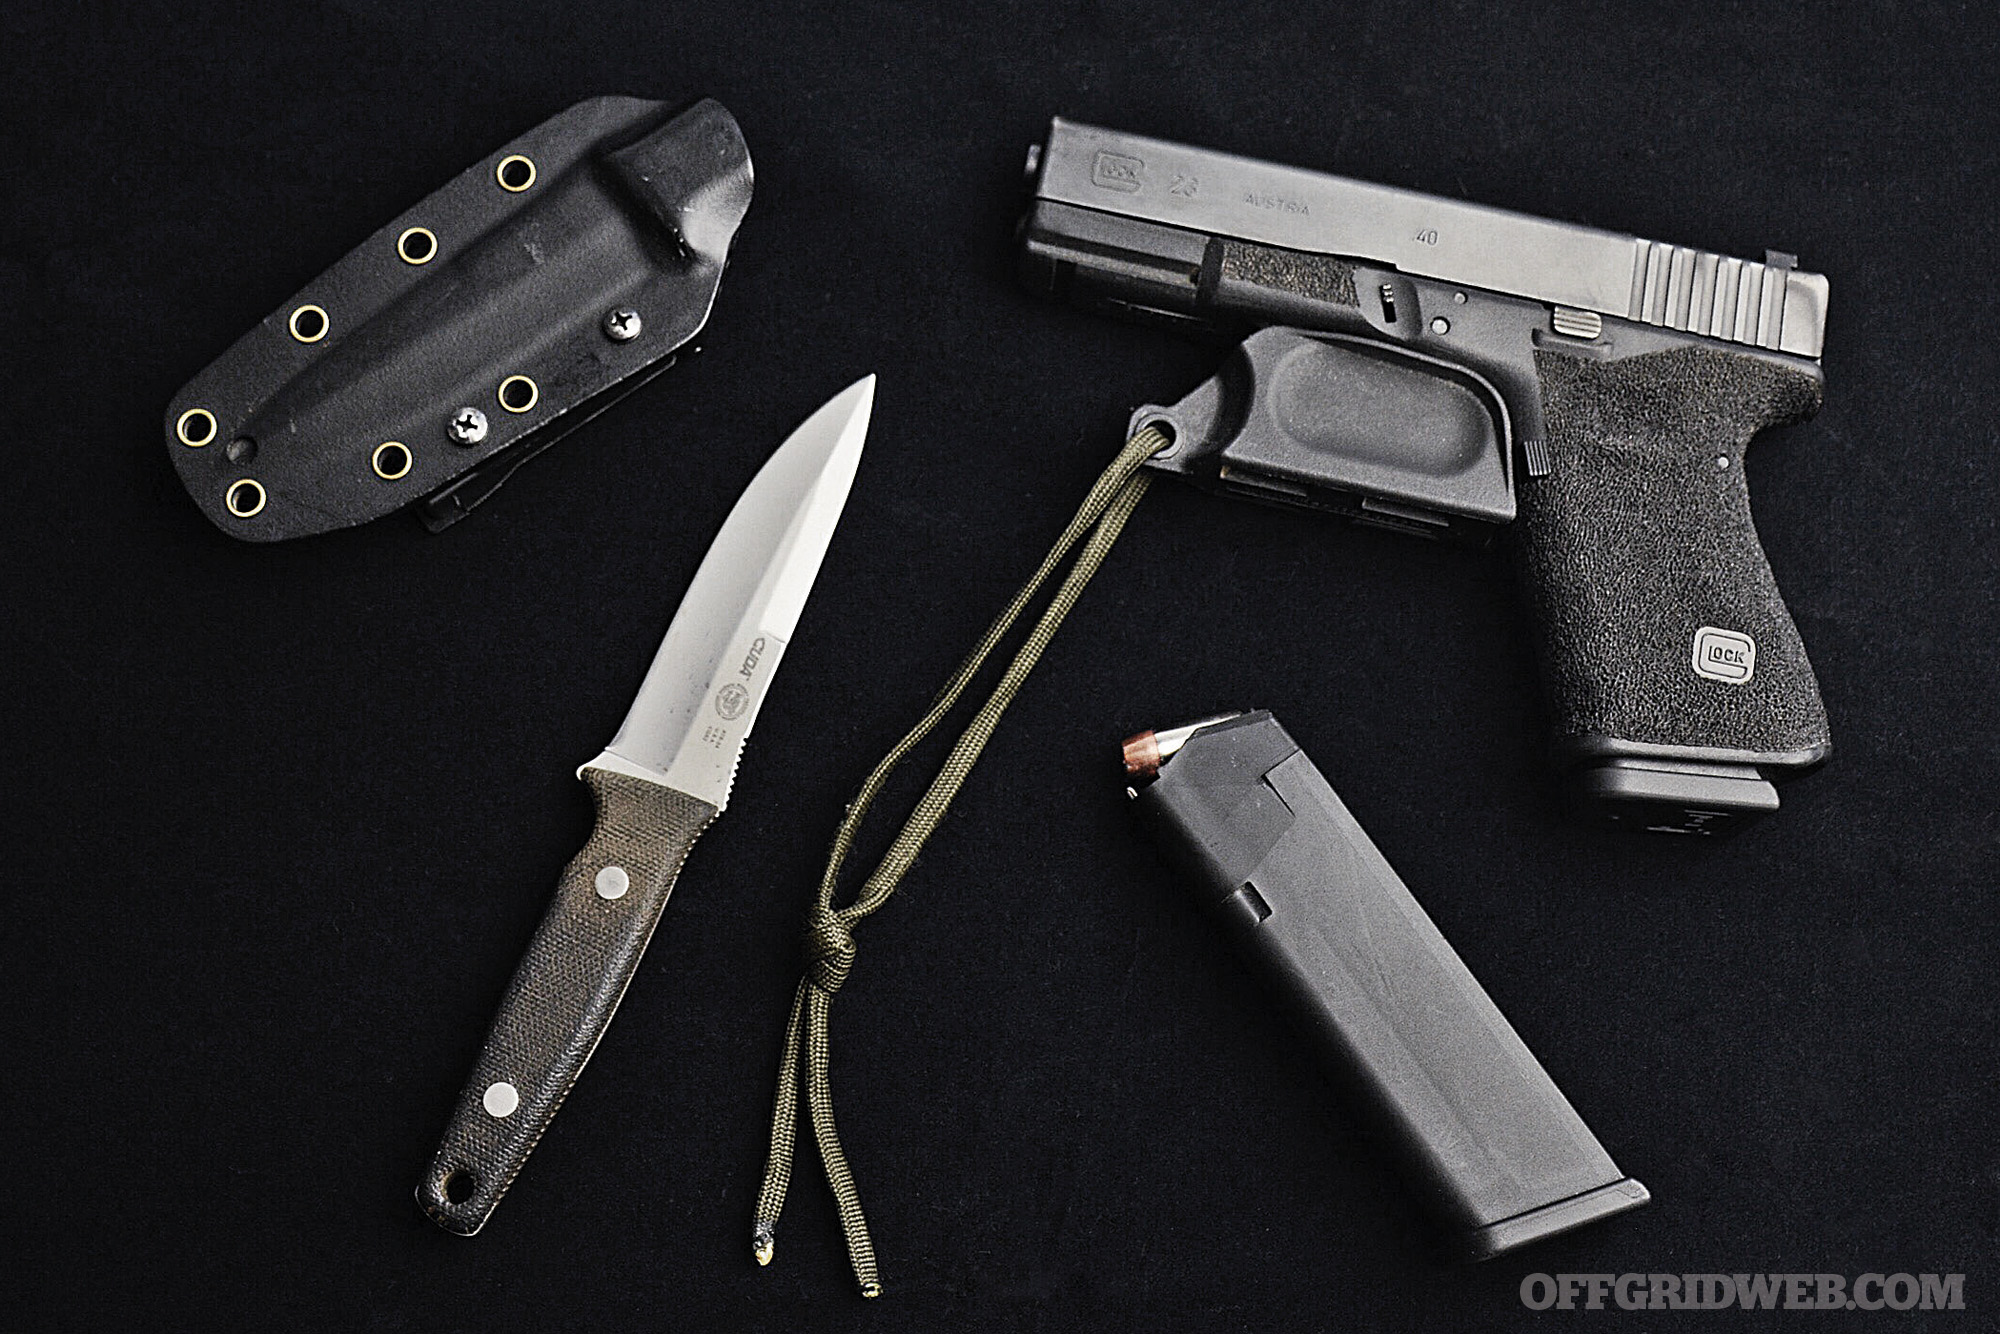
Glock 23
Cuda Bob Terzuola CQB2
Favorite firearm:
The right arm of the free world — FN FAL
Favorite quote:
“The only thing necessary for the triumph of evil is for good men to do nothing.” — John Stuart Mill
If you could have lunch with three people, living, dead, or fictitious, who would they be?
Winston Churchill, Napoleon Bonaparte, and Teddy Roosevelt
URL:
davaddefense.com
Zulu Land’s Rhino Warriors
Check out the pilot of Daniel’s TV show here: https://youtu.be/2MZbZBia60M
More From Issue 28
Don’t miss essential survival insights—sign up for Recoil Offgrid’s free newsletter today!
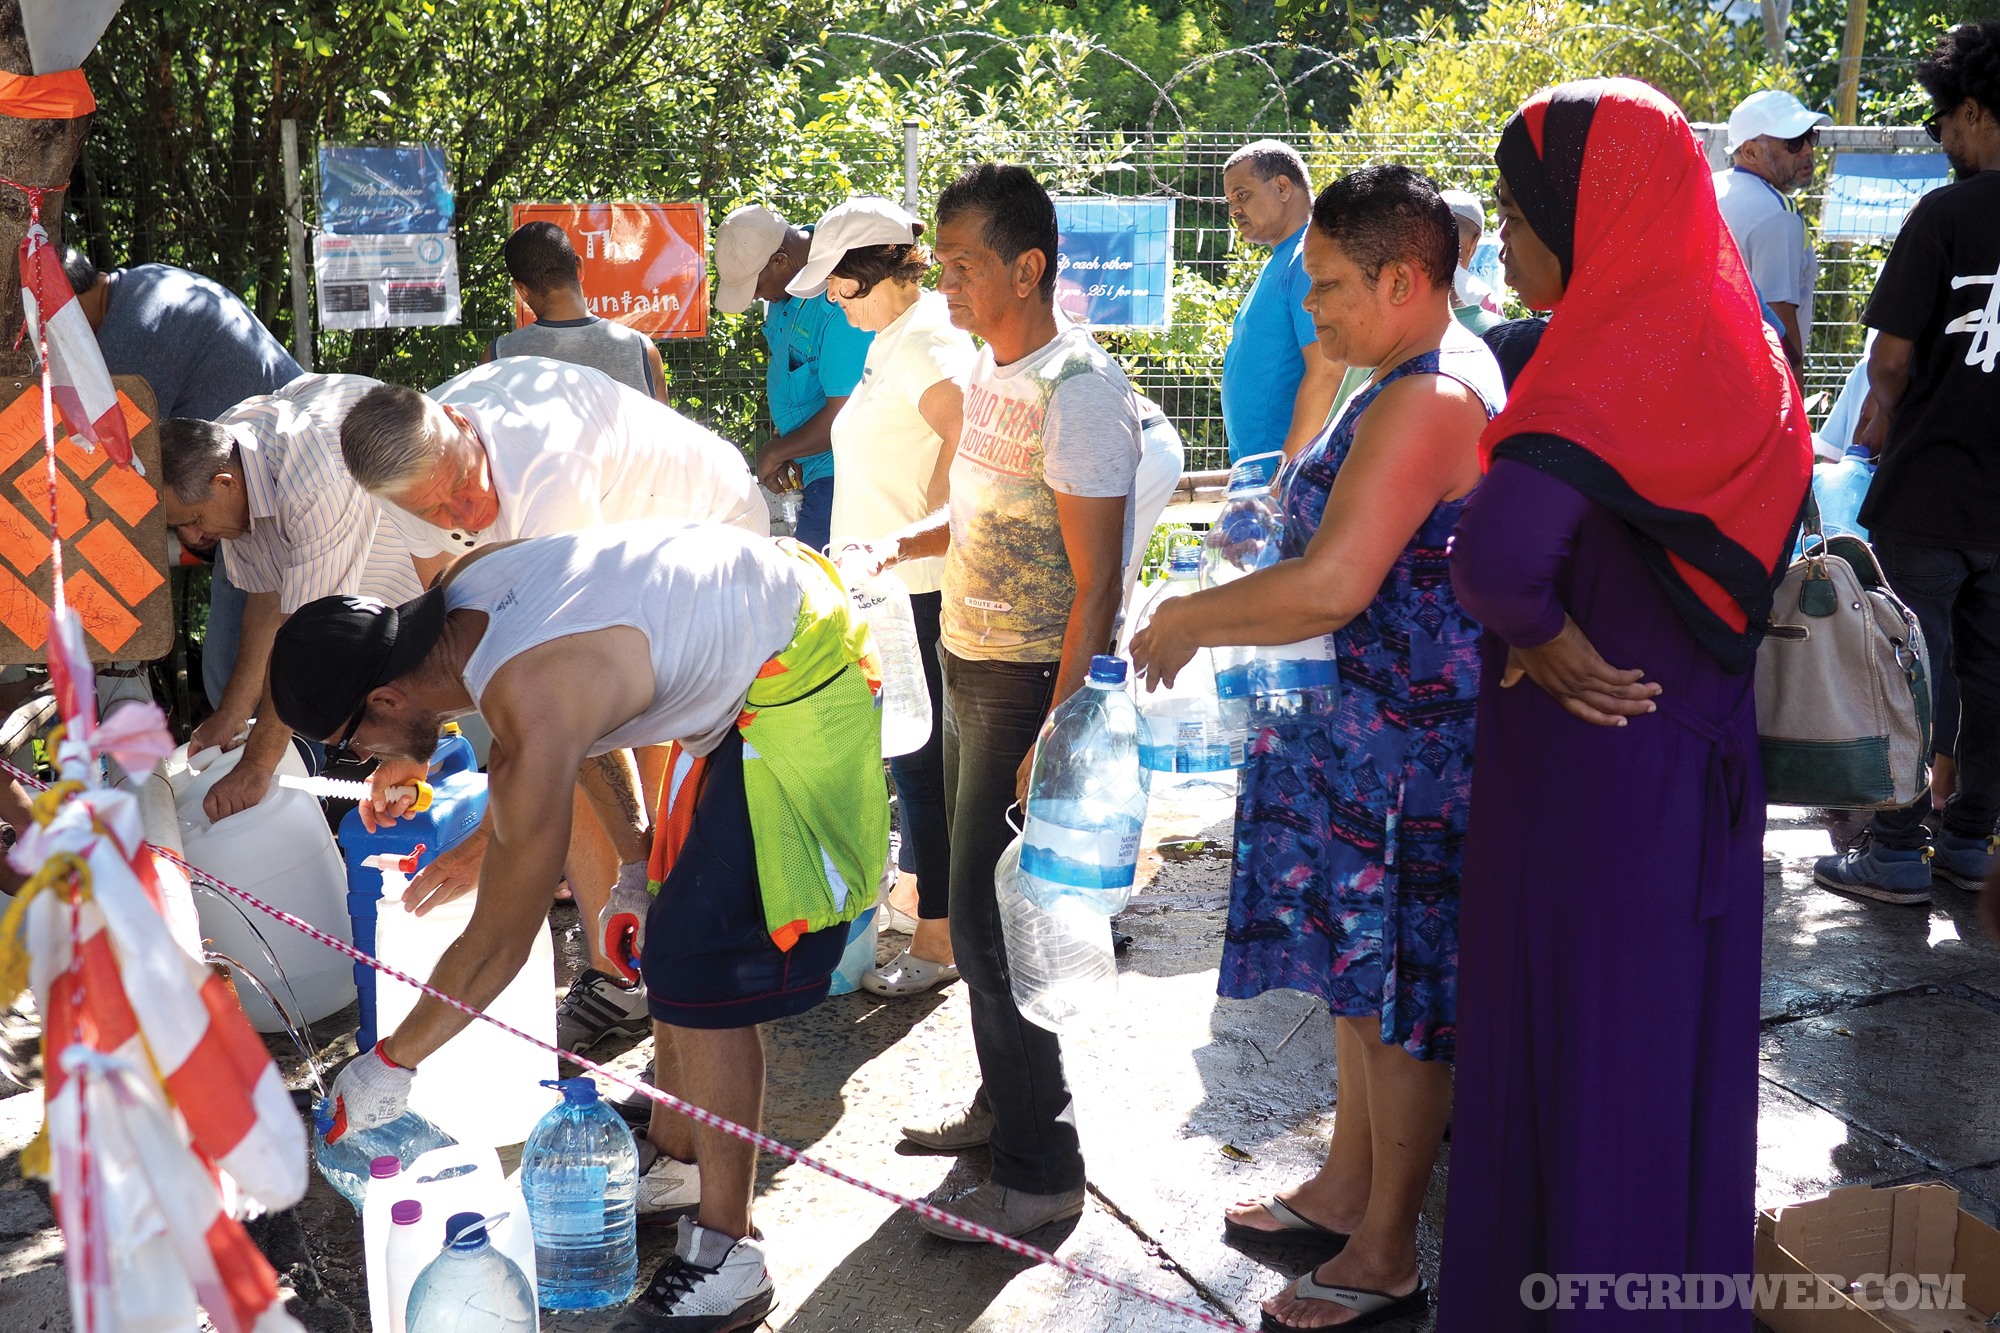
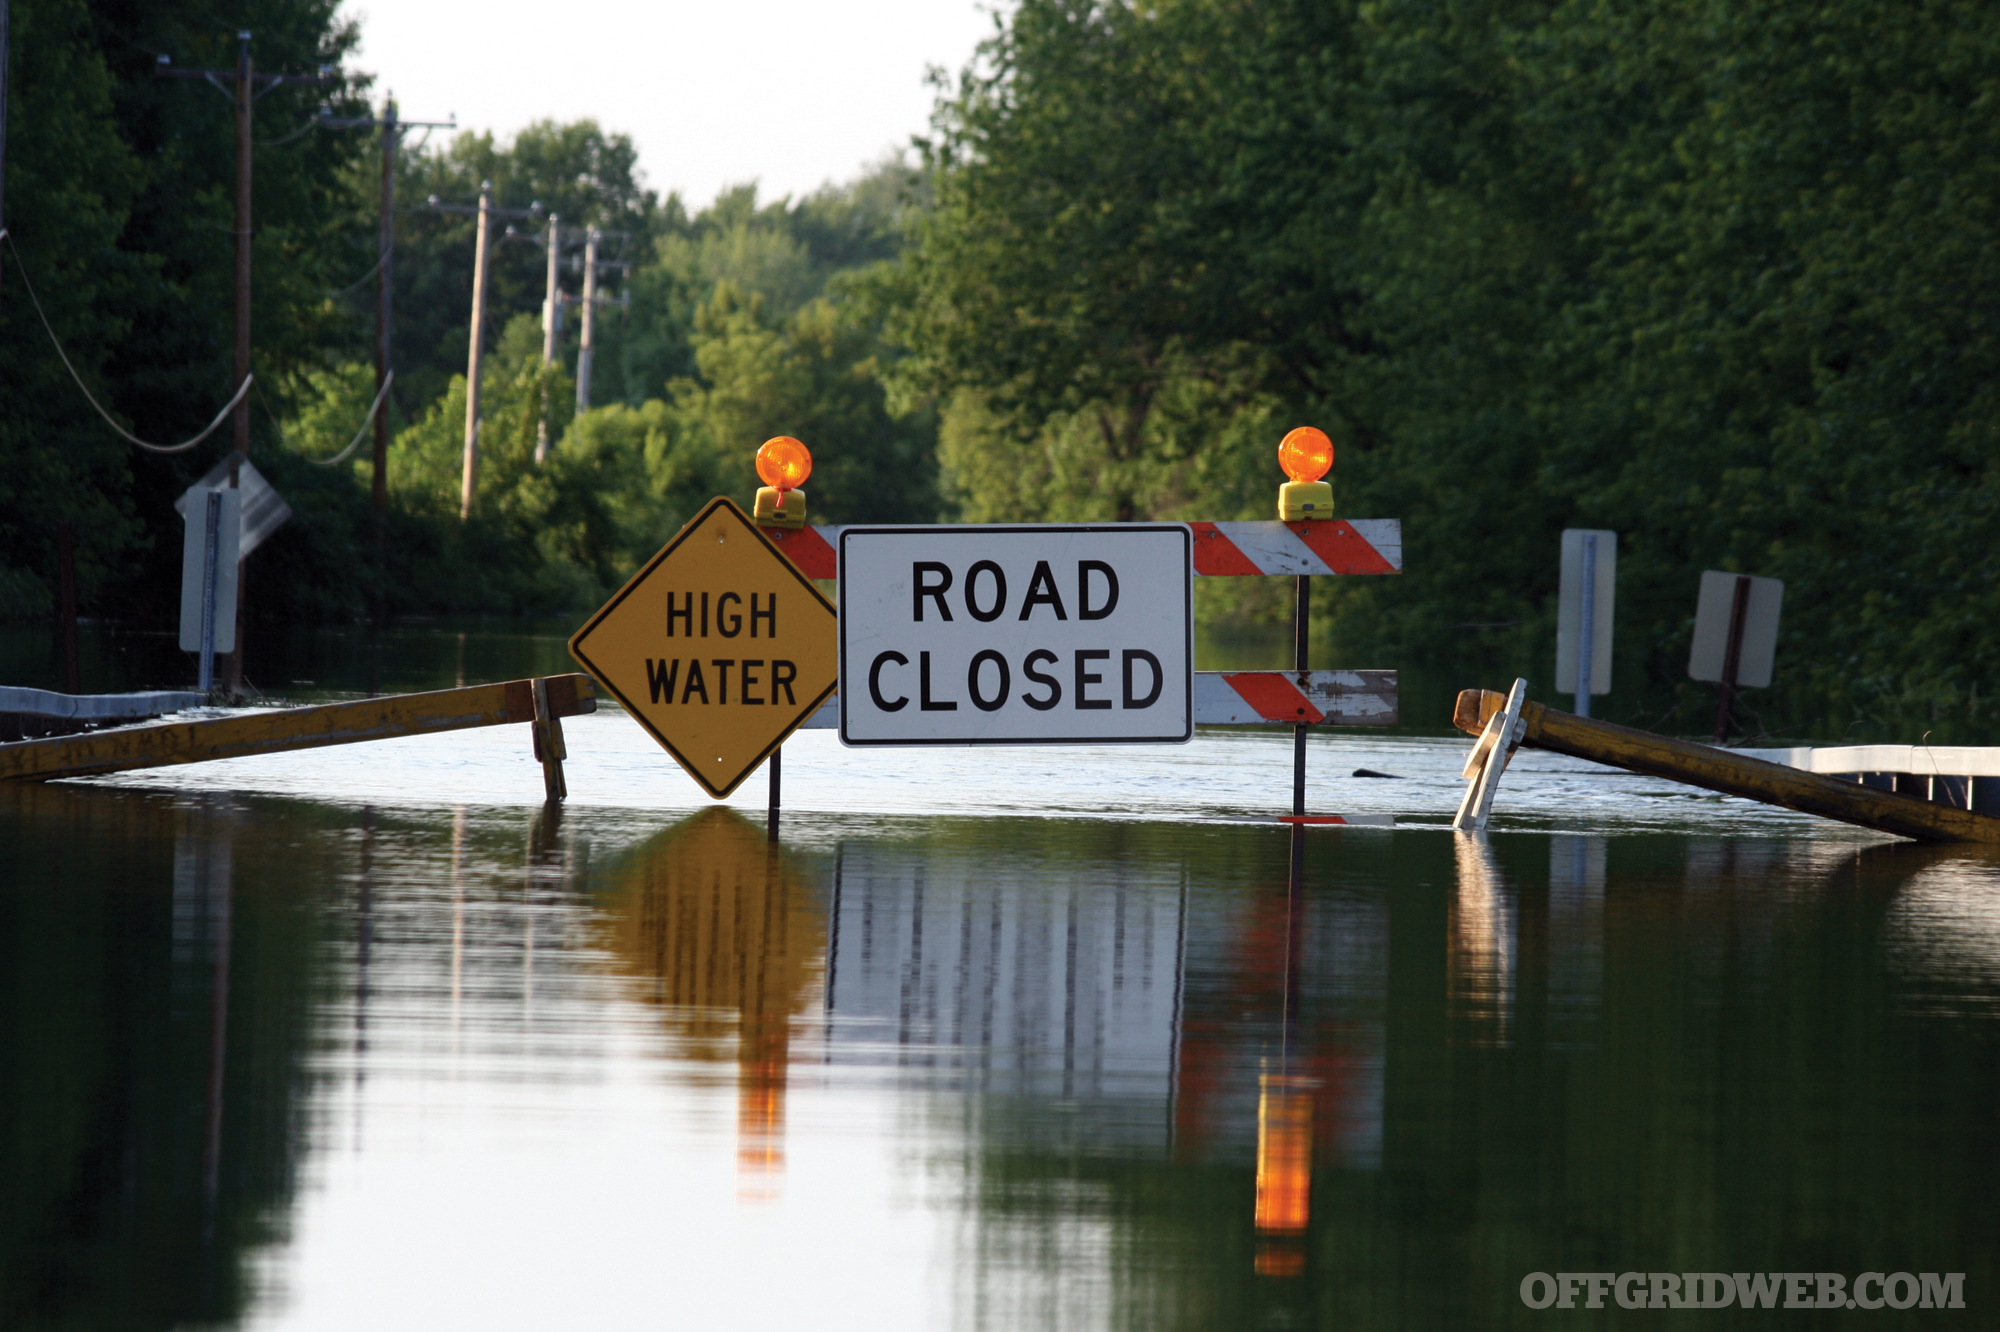
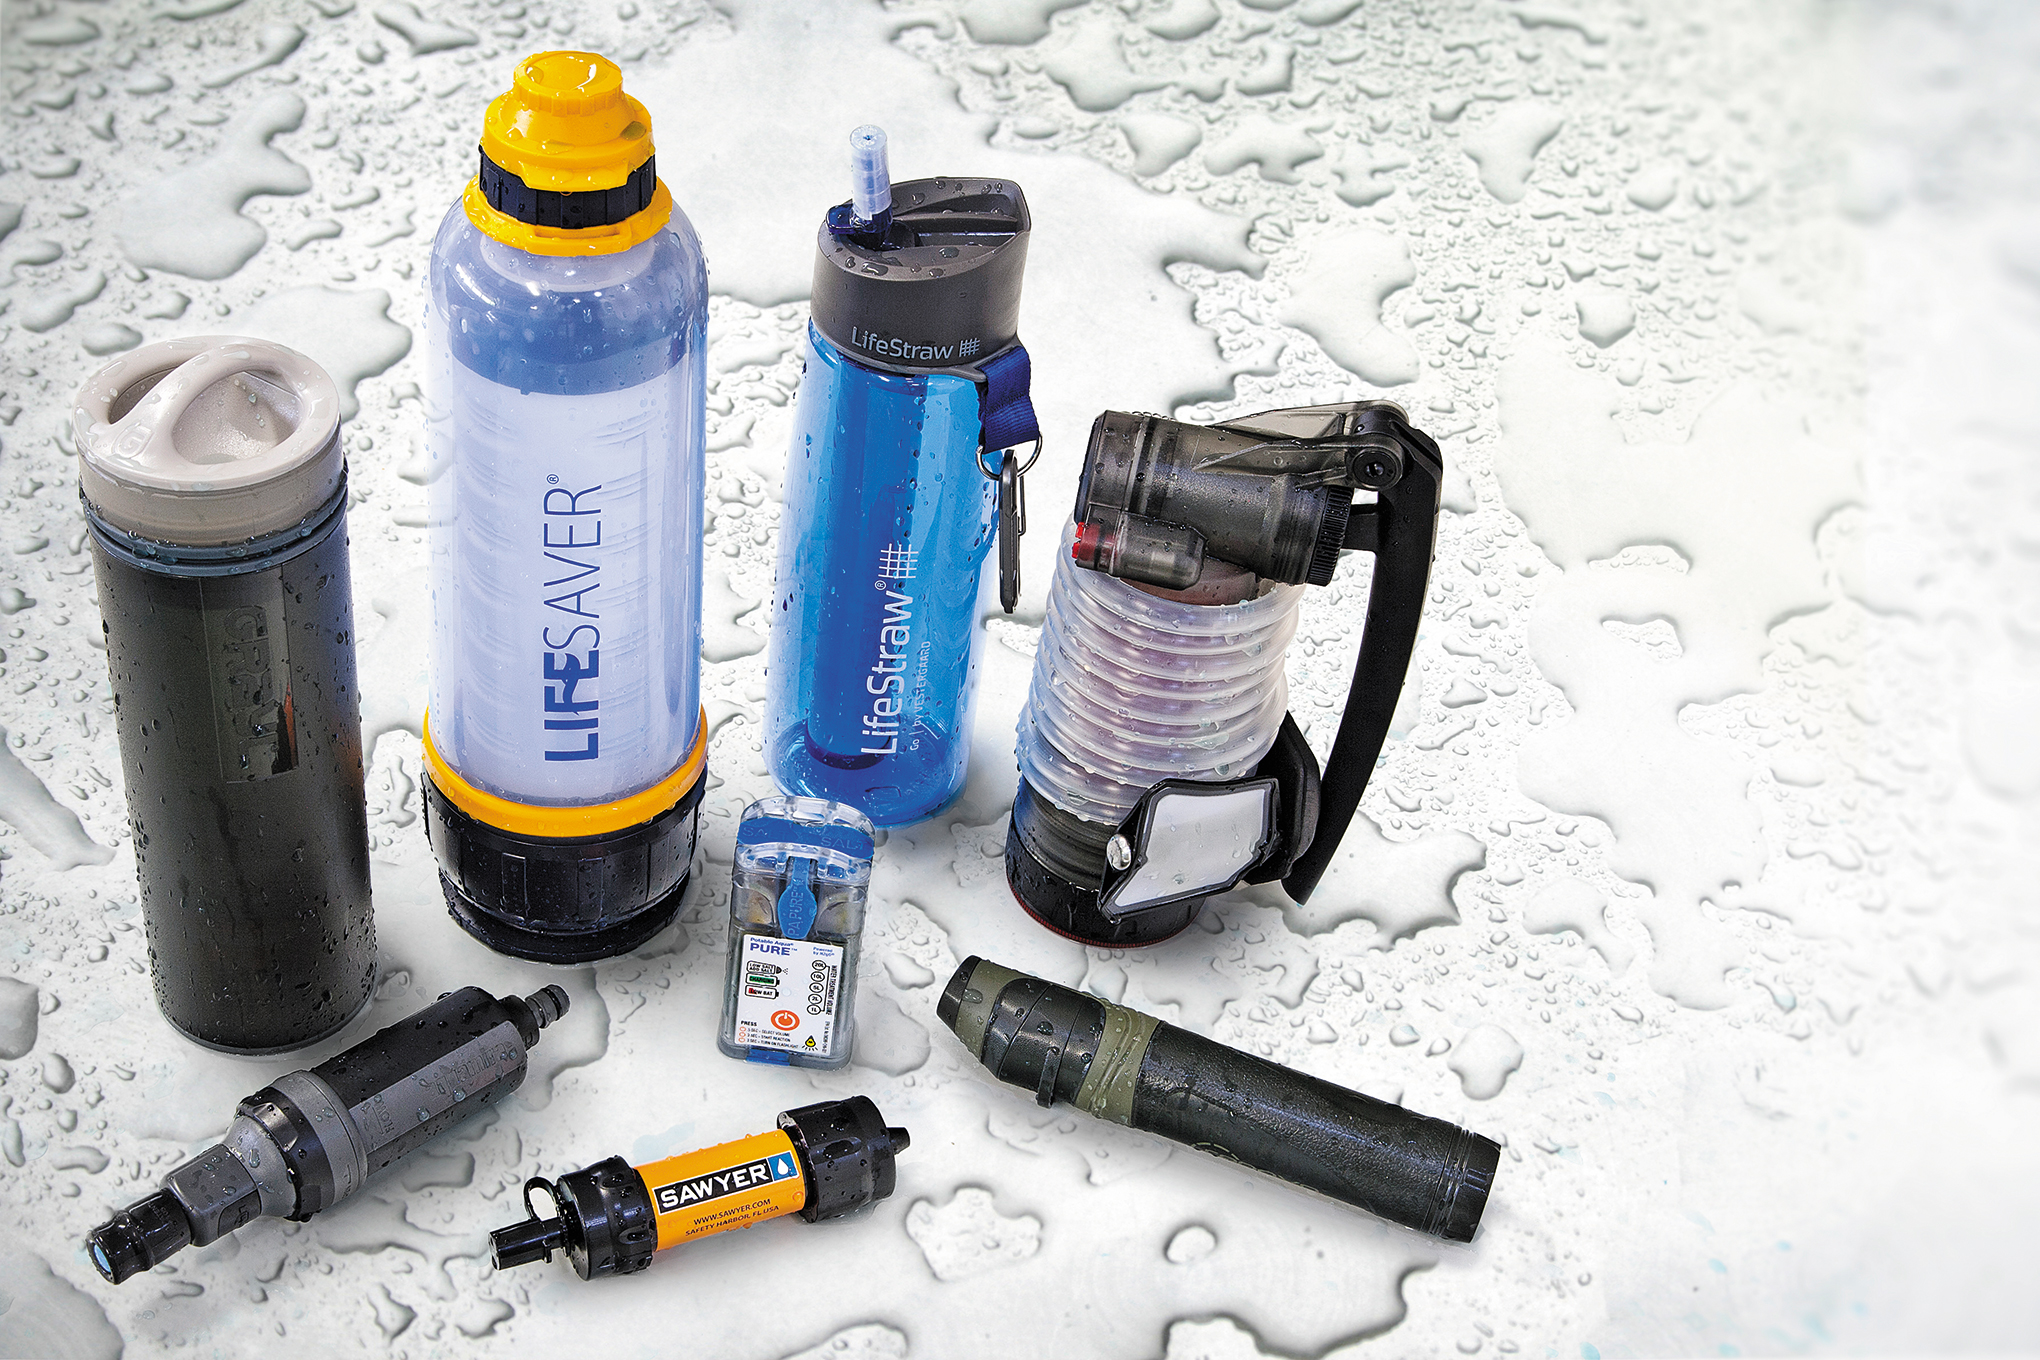
- Debunked: The Myth of Water Divining
- Review: Wound Cube Medical Training Tool
- Book Review: “Cyber Mercenaries: The State, Hackers, and Power”
- Managing Dehydration: A Thirst for Knowledge
- Watch Your Back: Backpack Armor Buyer’s Guide
- Sticking Points: Creating Improvised Spear Heads
- Prep Your Pup: Readying Your Dog for Survival
- How to Survive a Financial Crisis
- Operation Dark Winter: Weaponized Smallpox
- Daniel Lombard Spotlight – True Grit
- Issue 28 Gear Up
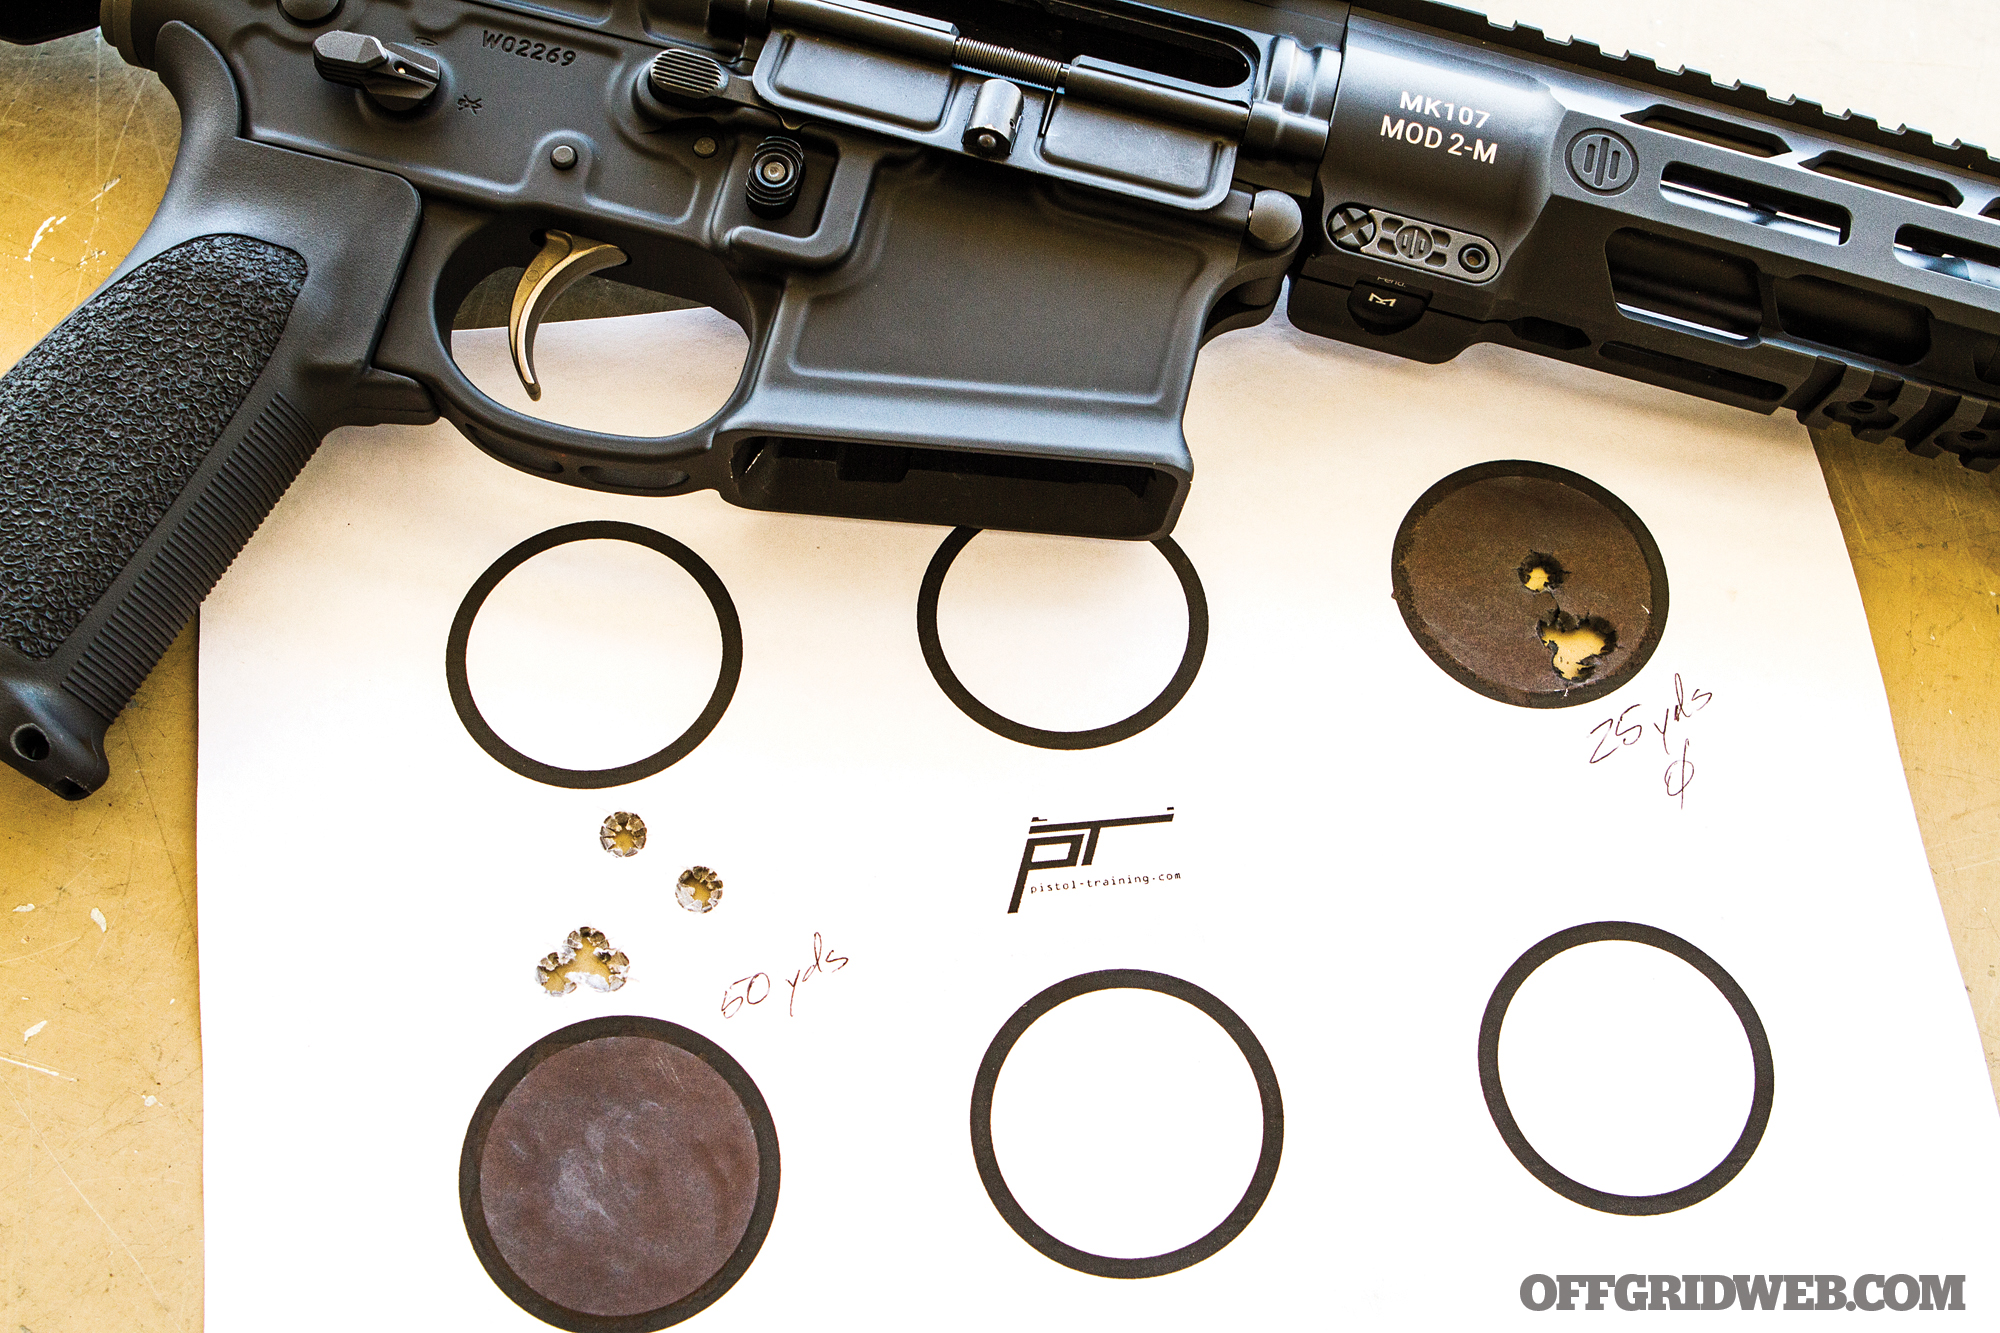
- Review: PWS MK107 MOD 2-M 7.62×39 Pistol
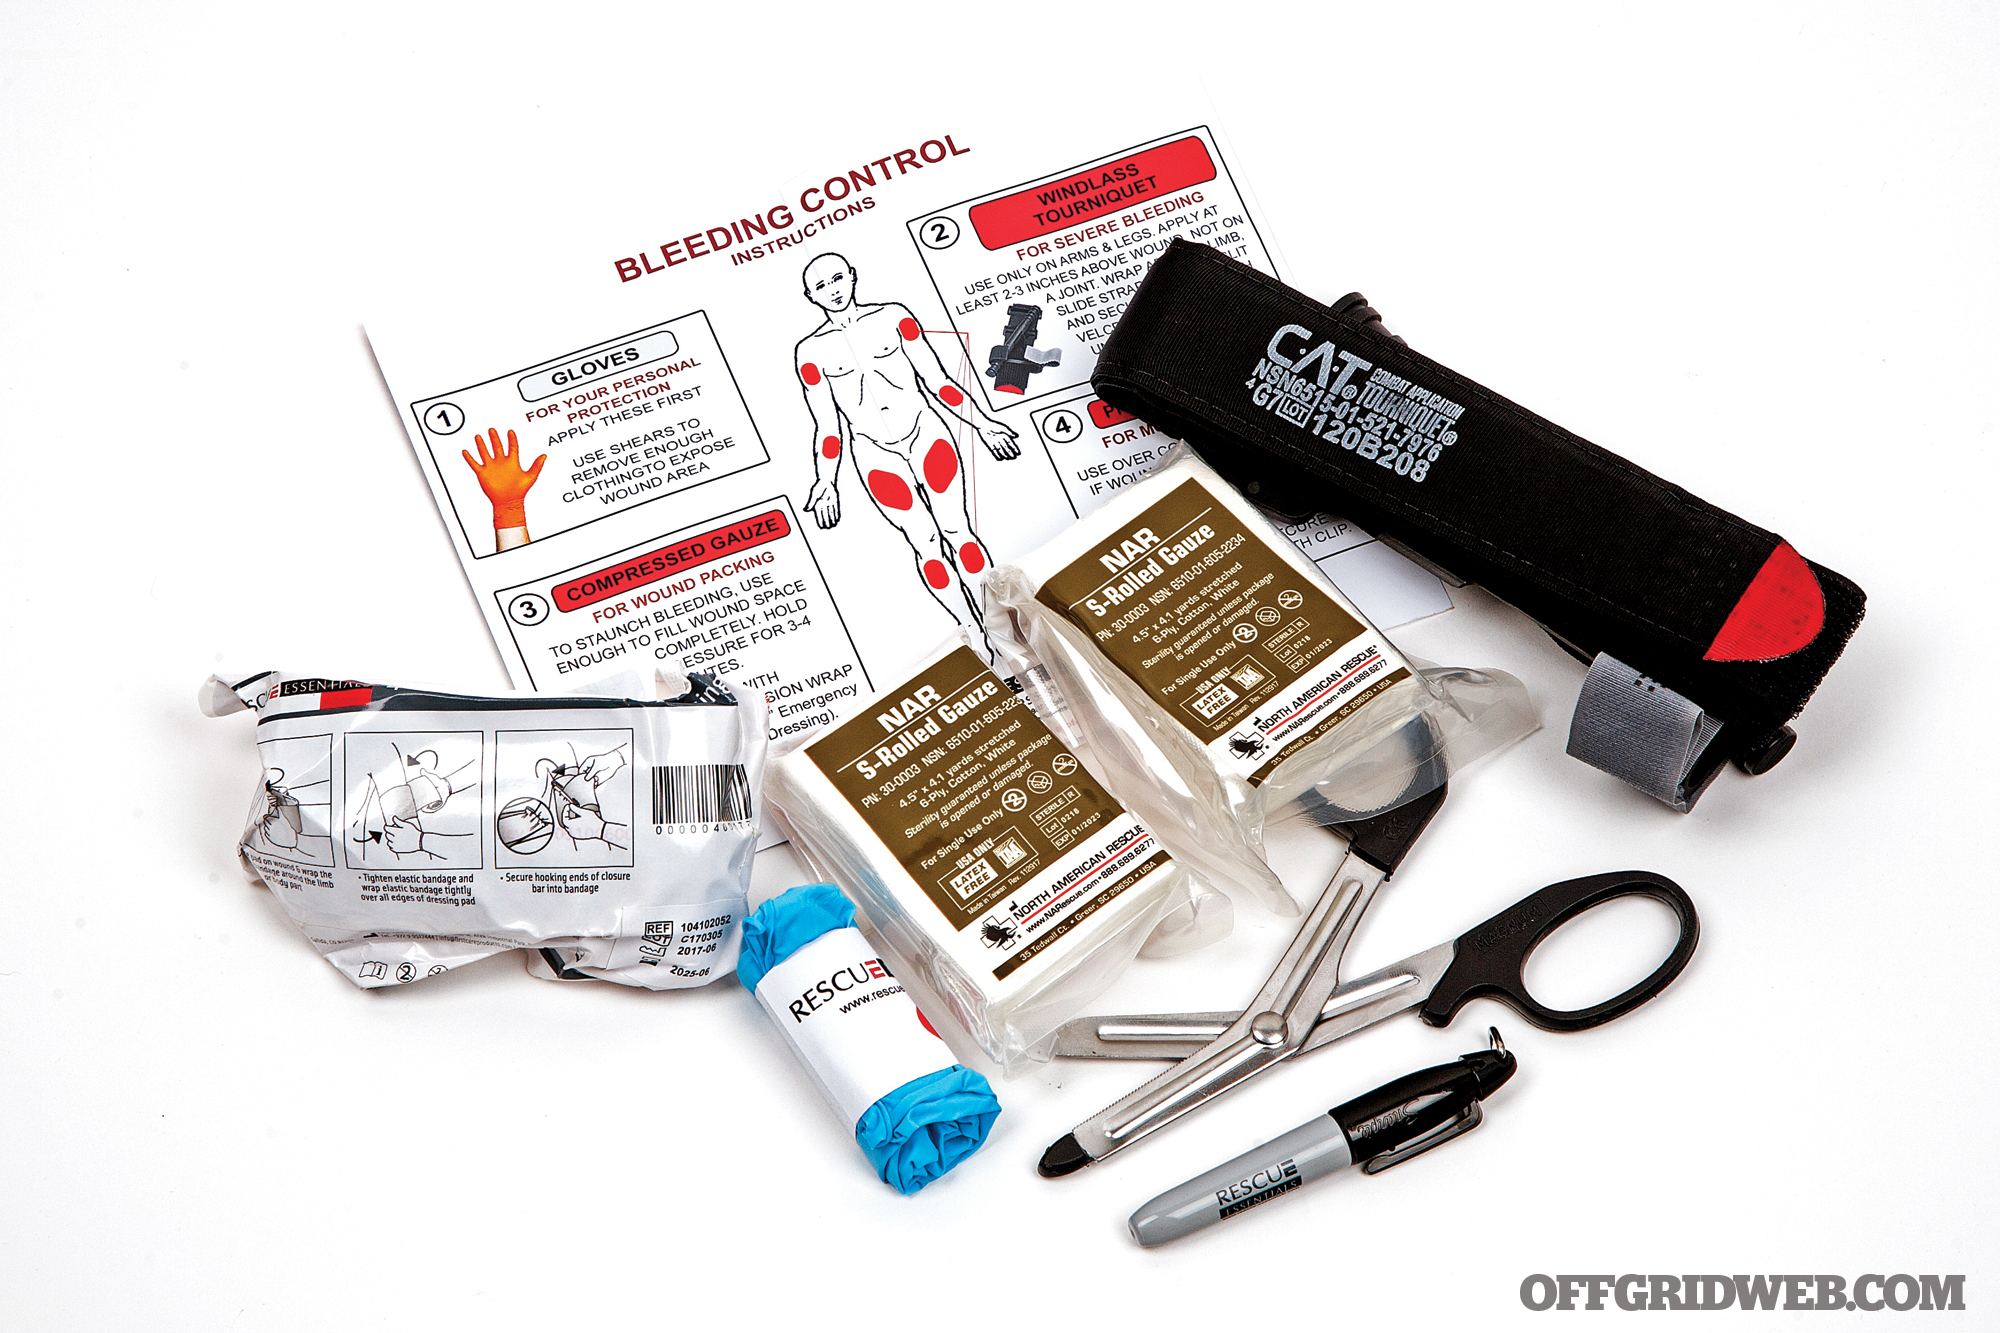
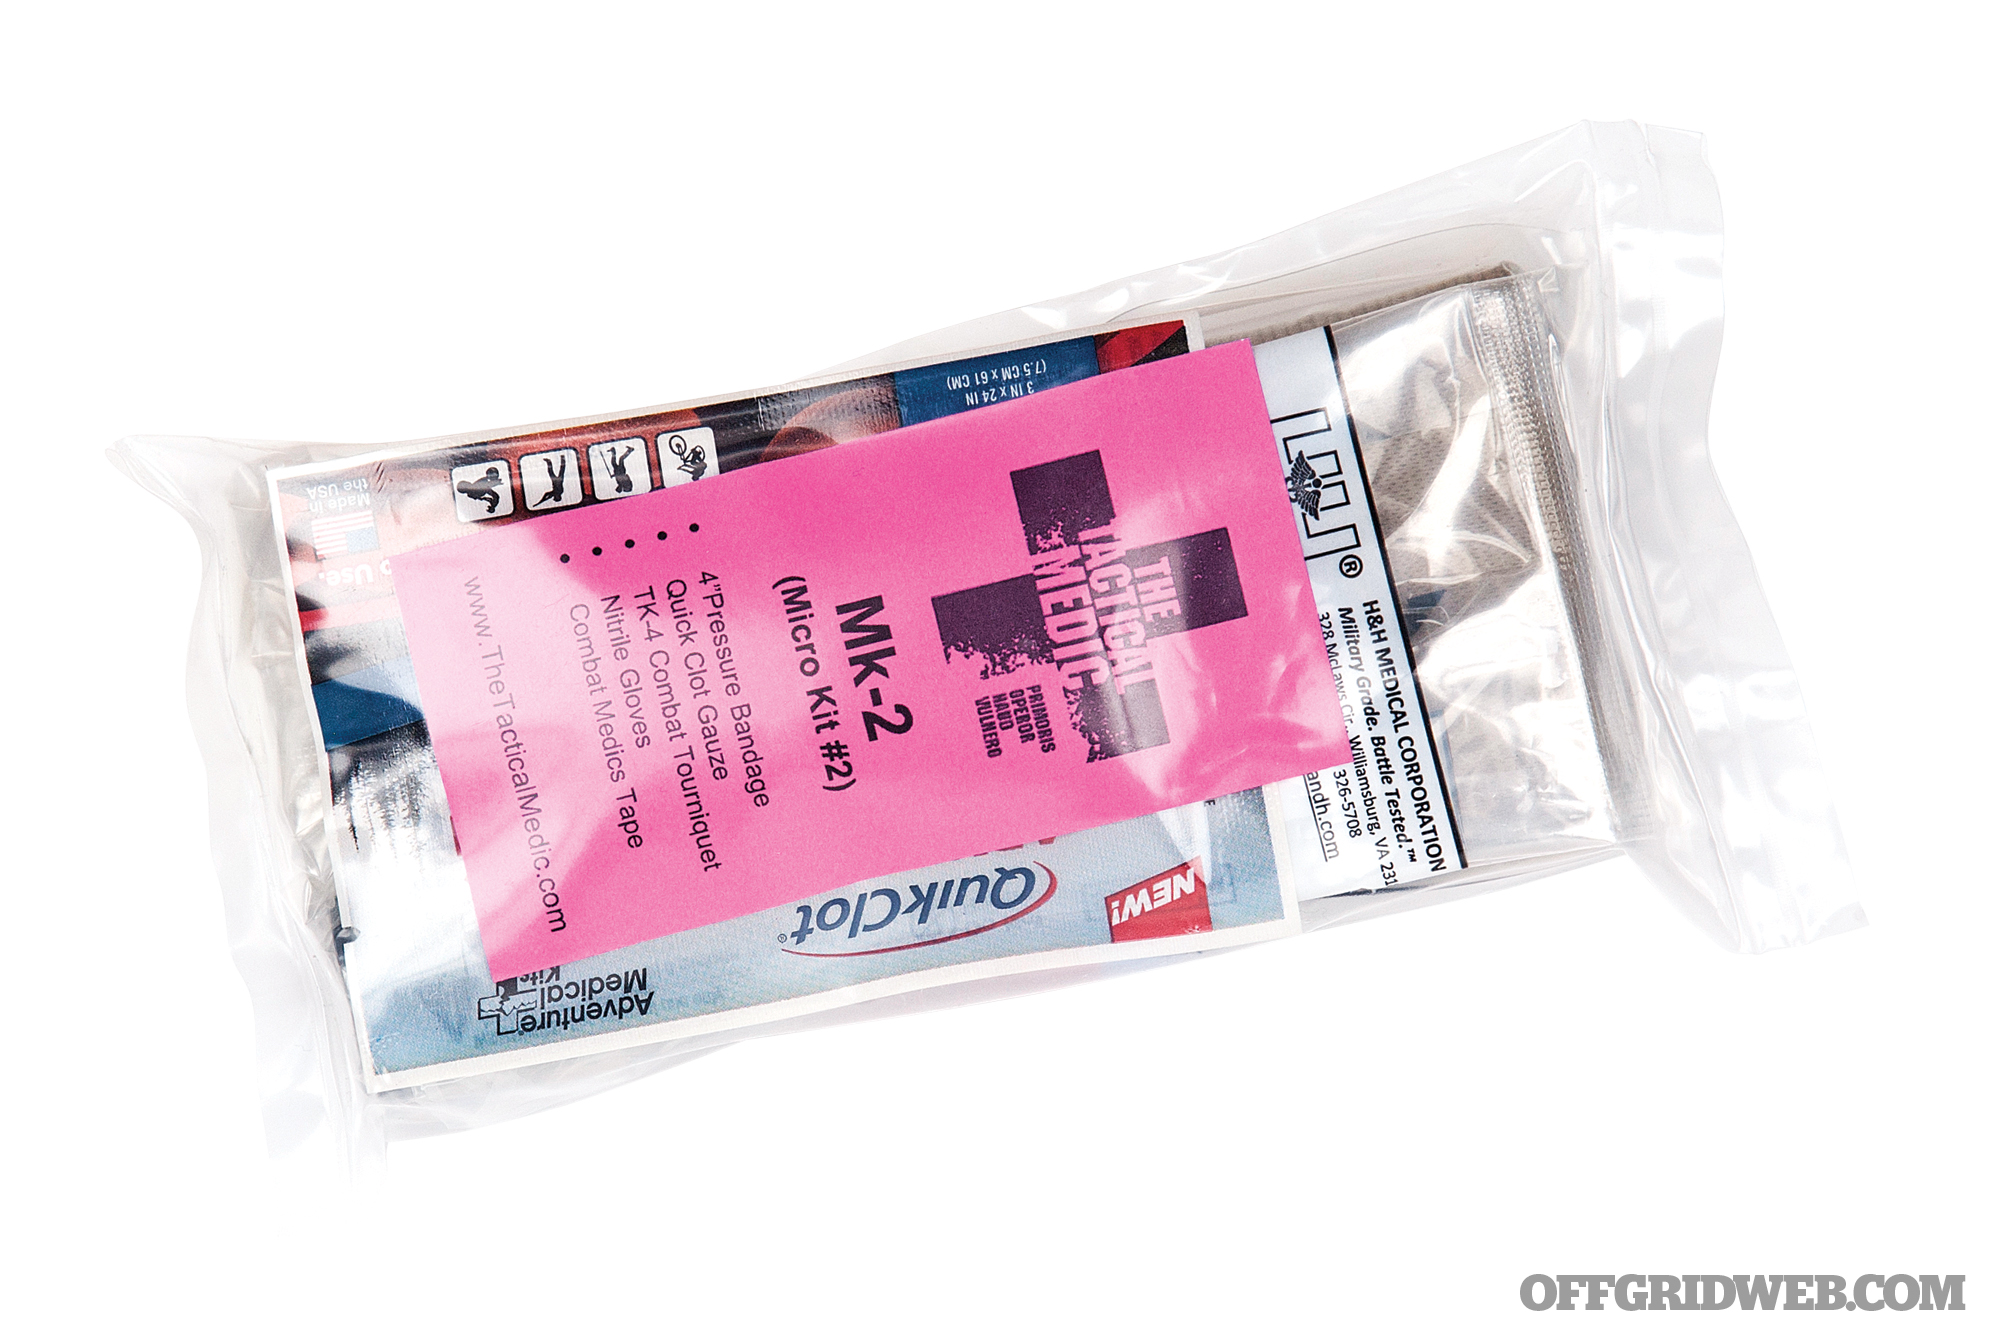
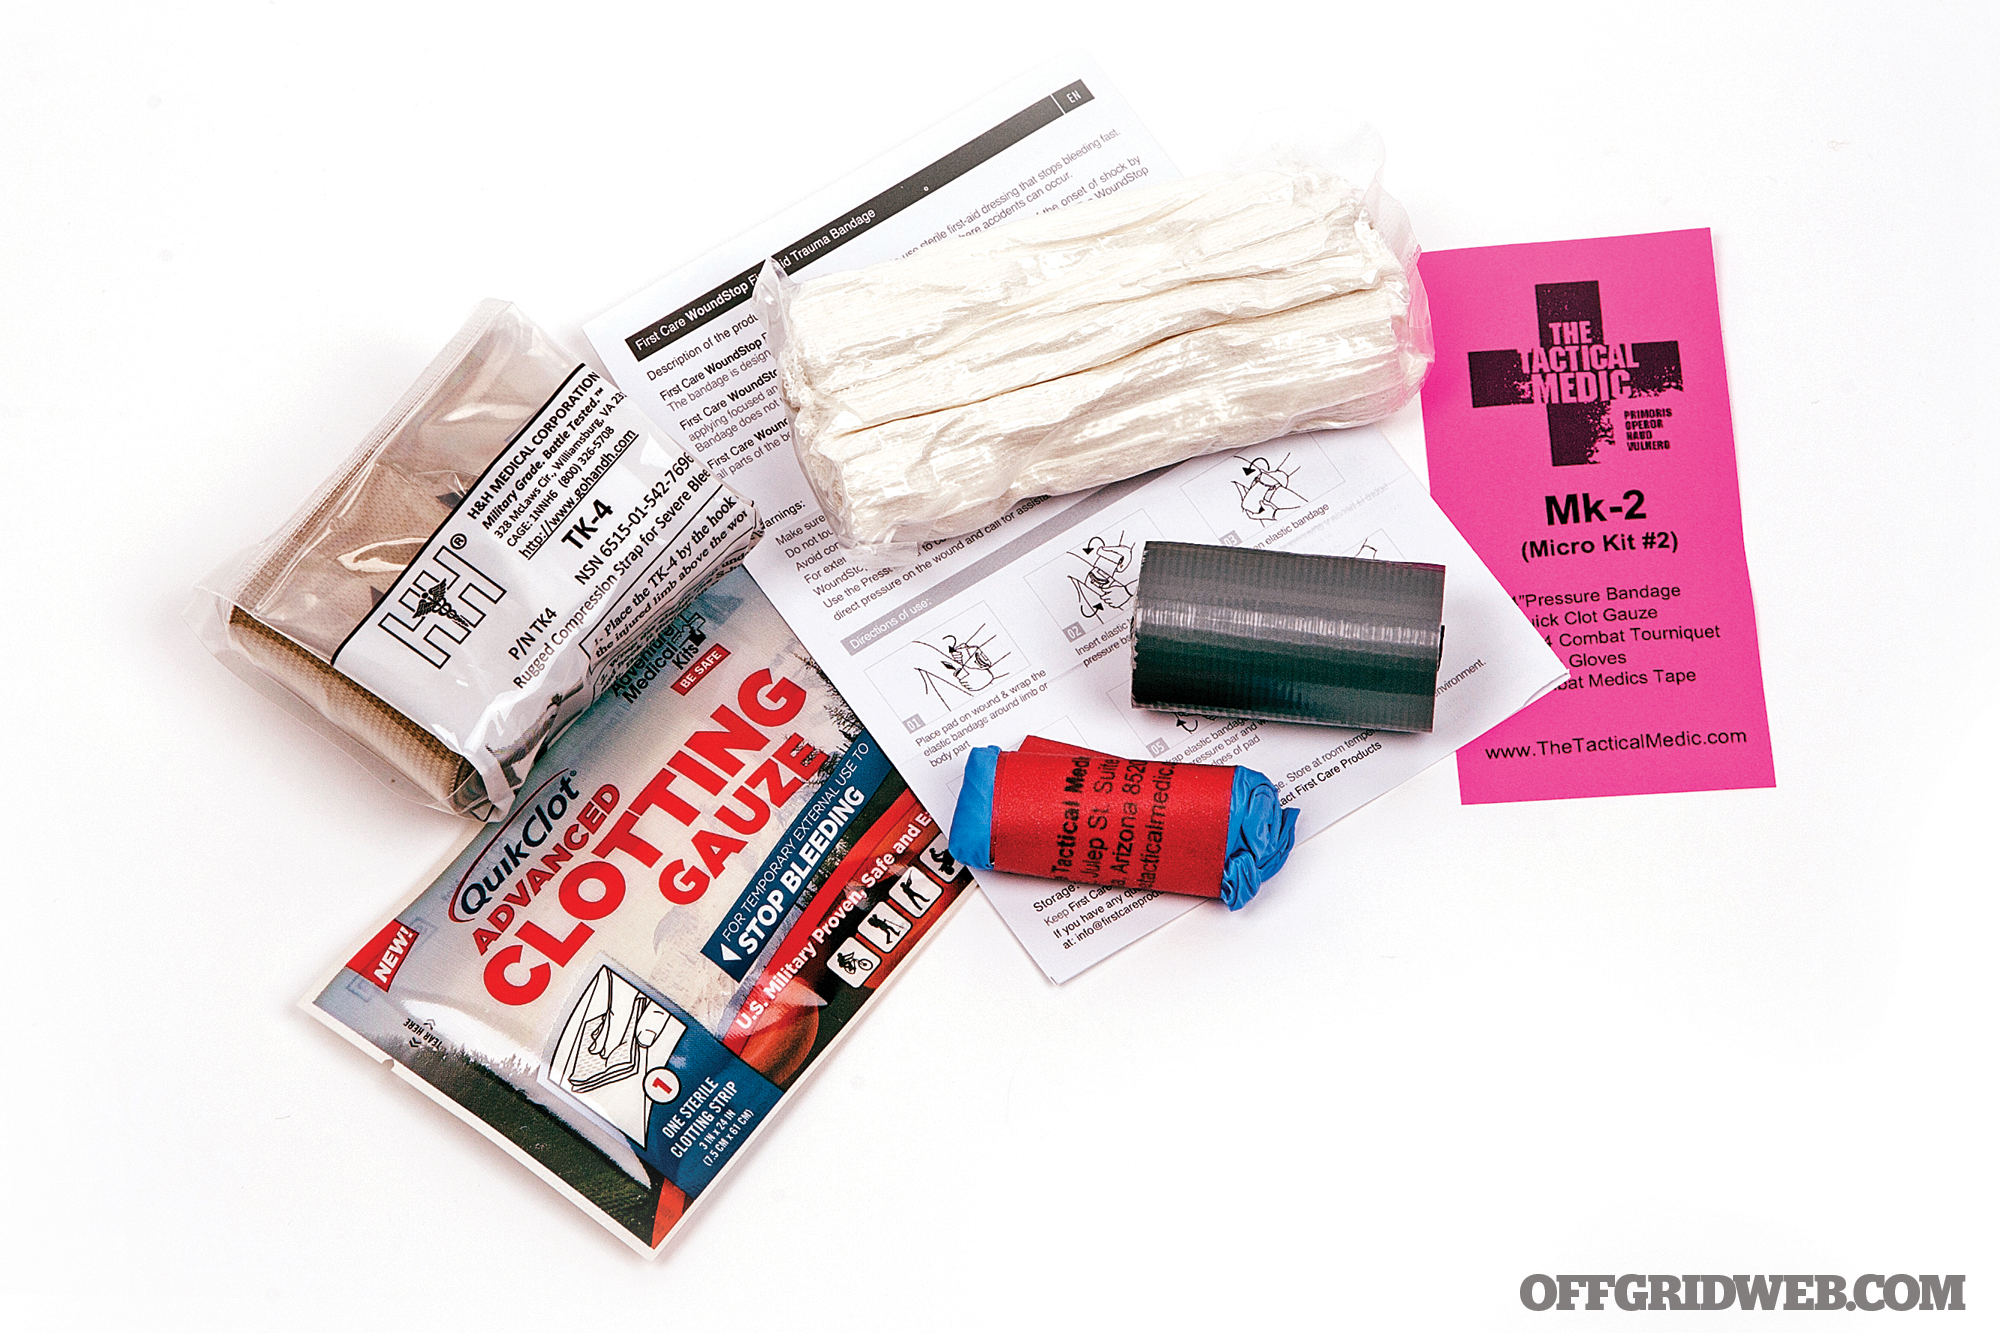
- Pocket Preps: Individual First Aid Kits (IFAK)
- Fluid Thinking: Long-Term Water Storage for Survival
Read articles from the next issue of Recoil Offgrid: Issue 29
Read articles from the previous issue of Recoil Offgrid: Issue 27
Check out our other publications on the web: Recoil | Gun Digest | Blade | RecoilTV | RECOILtv (YouTube)
Editor’s Note: This article has been modified from its original version for the web.