This article originally appeared in Issue 15 of our magazine.
There’s nothing like eating truly fresh eggs. We know, the egg carton you buy at the local grocer says they’re cage-free blah, blah, blah. But they’re not nearly as fresh and tasty as the eggs you might get from a hen that just laid them that morning in your backyard. And they’re even more satisfying because they came from your chickens. It’s a process the whole family can participate in — it’s a lot of work, but it’s also a lot of fun.
No, this isn’t Farming Monthly. But for many preparedness-minded folks, having a sustainable source of food on your property goes hand in hand with survivalism. That’s why in this feature article we’re flying beak-first into the topic of raising chickens.
Not everyone can raise poultry at home due to municipal codes and regulations, but that has changed a lot over the last few years. Many counties have passed ordinances stating that cities can’t restrict people from producing food. Whether it’s due to the growing hipster trend of organic foods or governments realizing the importance of sustainability, coops are sprouting up in urban and suburban areas more and more.
When we wanted to start raising chickens, we did a quick internet search for our county regulations and found that the city said no, but the county said yes (a maximum of six hens, but no roosters). The next thing we had to check was on our homeowners association (HOA) rules. Ironically, the HOA guidelines tried every way to say that we couldn’t raise chickens without expressly forbidding it. We went ahead and bought some chicks and converted a playhouse into a hen house, to avoid calling attention to it. We generally believe it’s better to beg for forgiveness than ask for permission. Also, the neighbors tend to be more supportive of your hens when you bring them fresh eggs — no one ratted us out.
After a year of covert chicken farming, we decided to move to an area where chickens were permitted and added many more.
Selection & Supplies
The first thing to decide is how many chicks and which type to buy. We advise you always buy more than one of any type of chicken and to be sure you have enough space. A general rule of thumb is to have at least 2 square feet per chicken, but we prefer about 6 square feet per chicken. We would also suggest that if you want to have six chickens, buy three each of two types or, at the very least, two each of three types.
The reason? Be prepared to lose at least one chick. As such, the tactical mindset of two is one and one is none comes into play here. If you buy two of each type and one dies, now you have one by itself. That doesn’t bode well for solitary chickens, as we’ll explain later.
Heat and Water
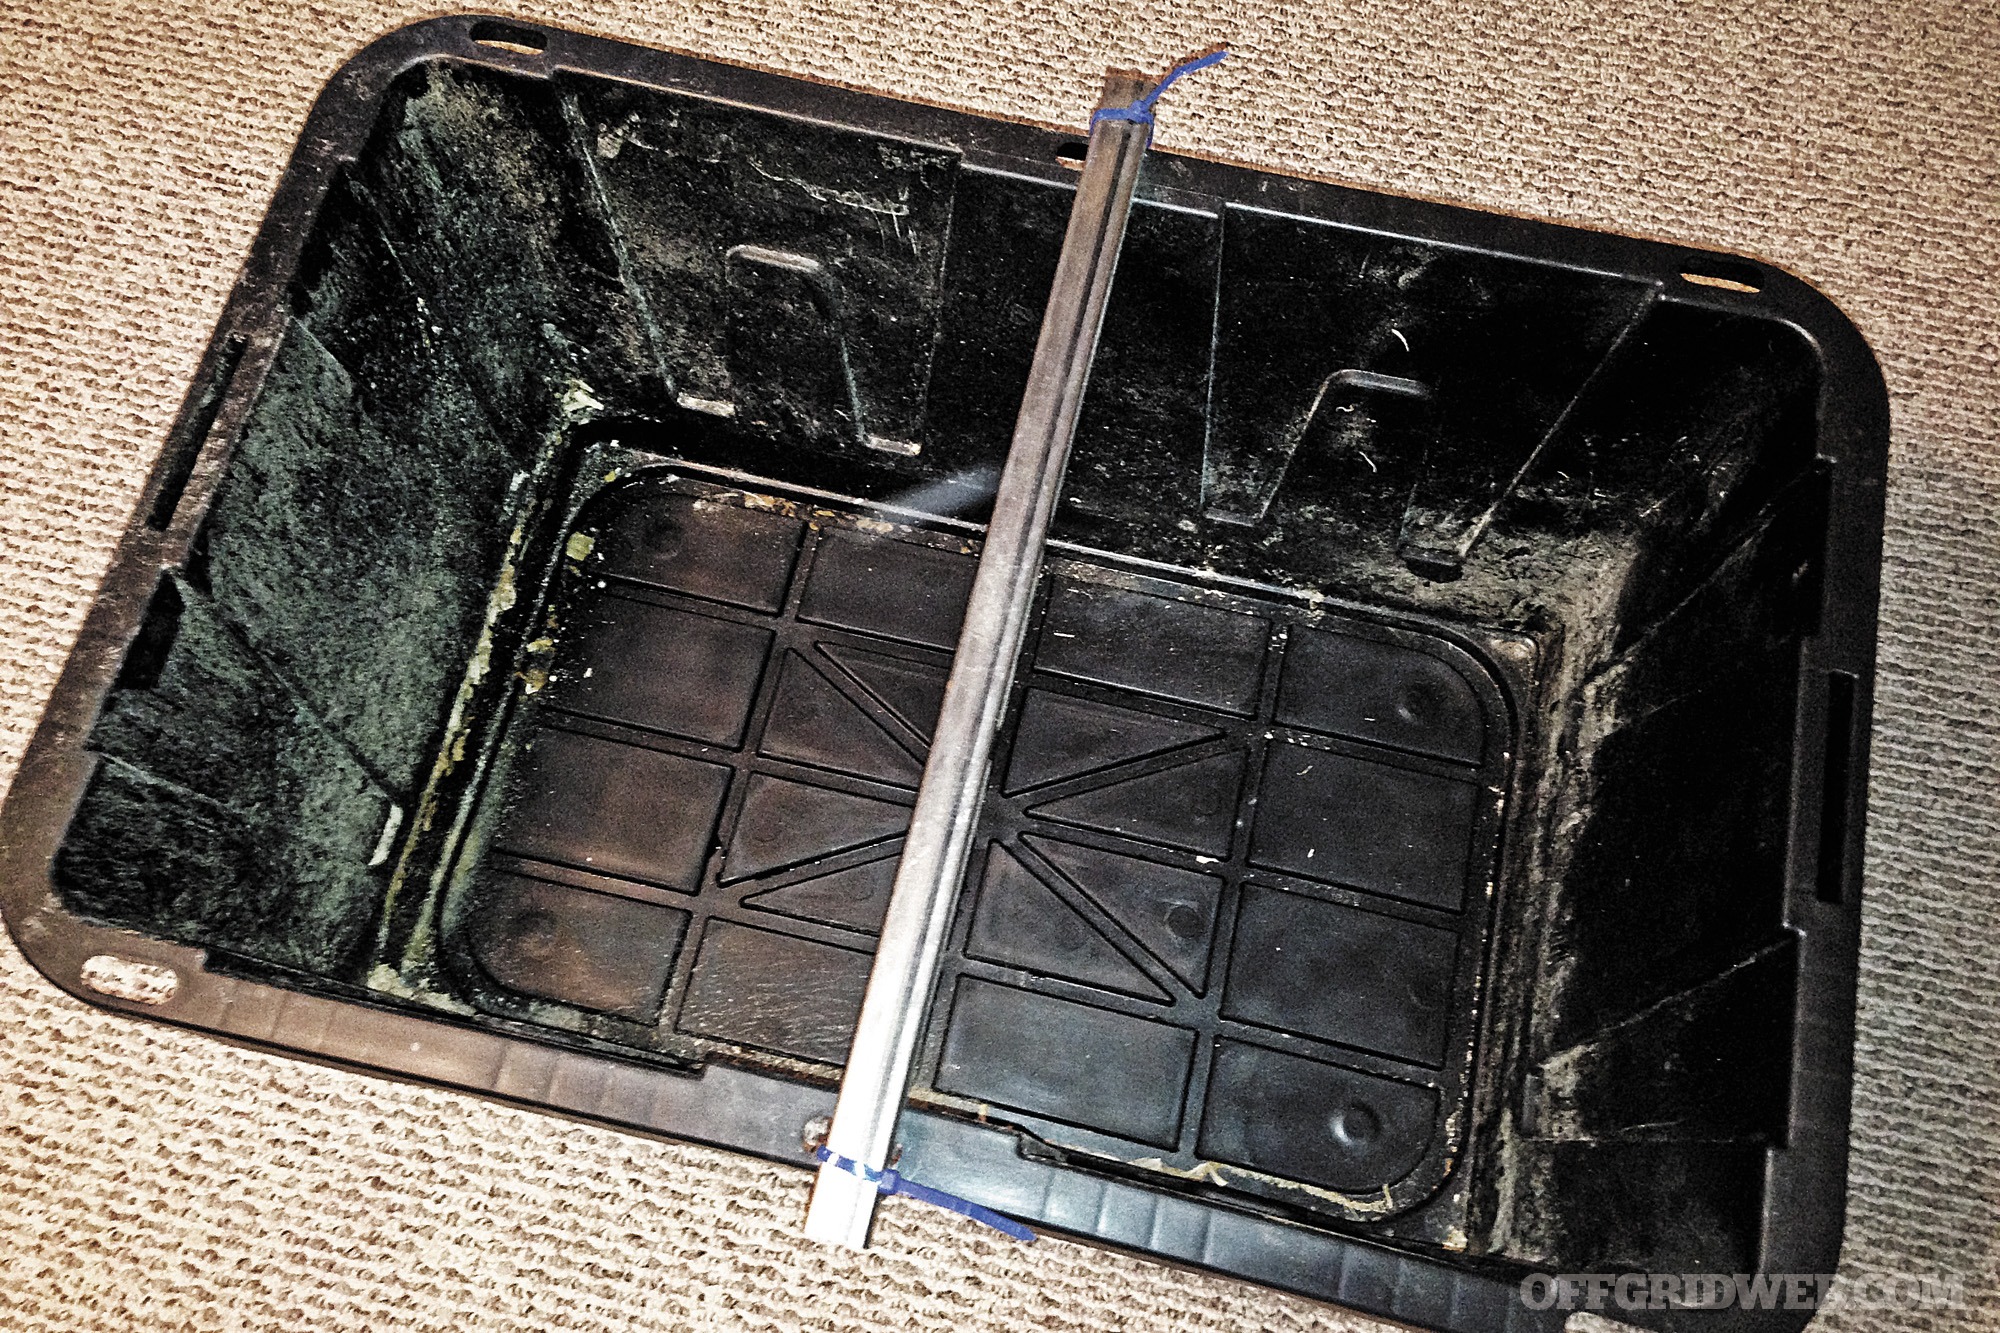
We bought a large plastic tub at a Costco for the incubator. Then we headed to the pet supply store to get some shavings for the bottom of the tub, as well as food and water dispensers.
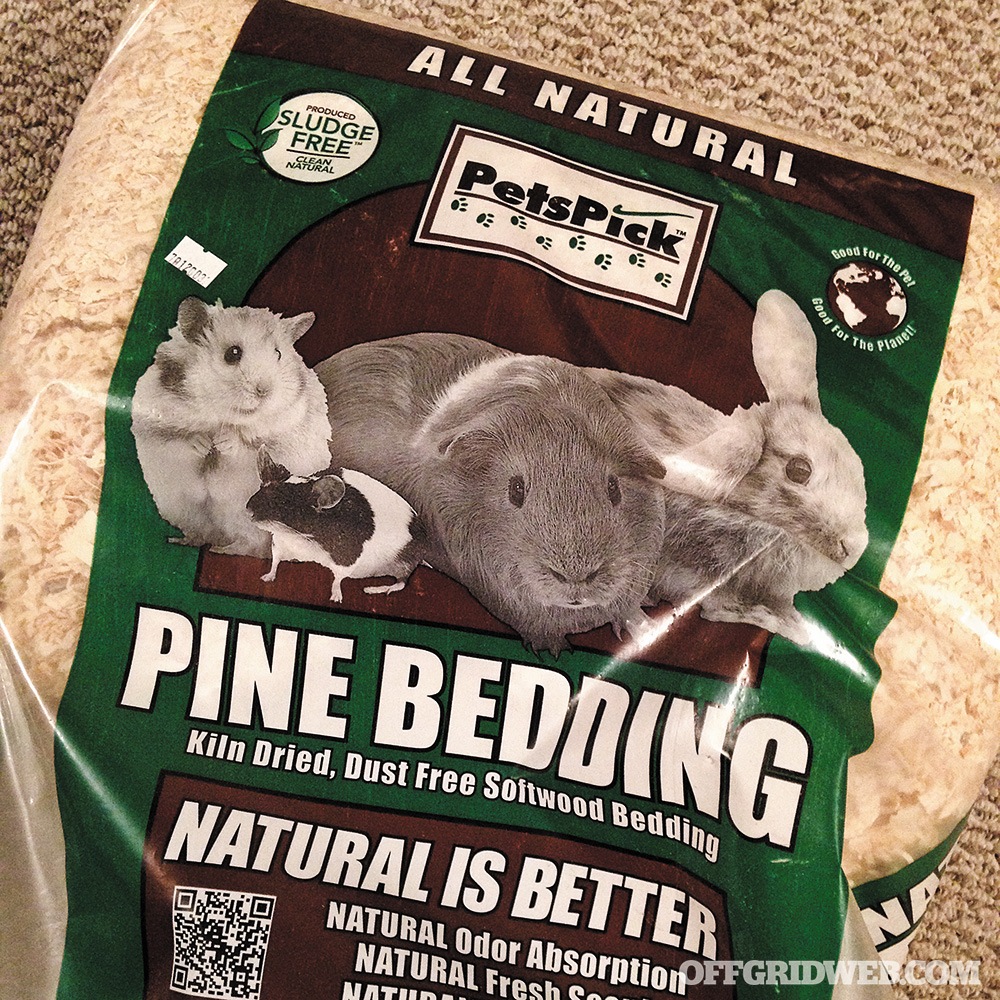
You don’t want your incubator to be too large; chicks can’t manage their body heat very well, and it’s easier to heat a smaller area. Some people prefer a red bulb for their lamp because it isn’t as bright and lets the chicks sleep. Fill the bottom about 1-inch deep with shavings. It’s important to place a thin brick, piece of wood, or a RCBS loading block under the water dispenser so fewer shavings go into the water as they “scratch” the shavings. If too many shavings make it into the water they clog the system and suck up the moisture, preventing the chicks from drinking. Chickens can become dehydrated easily, and this is a fast way to kill them.
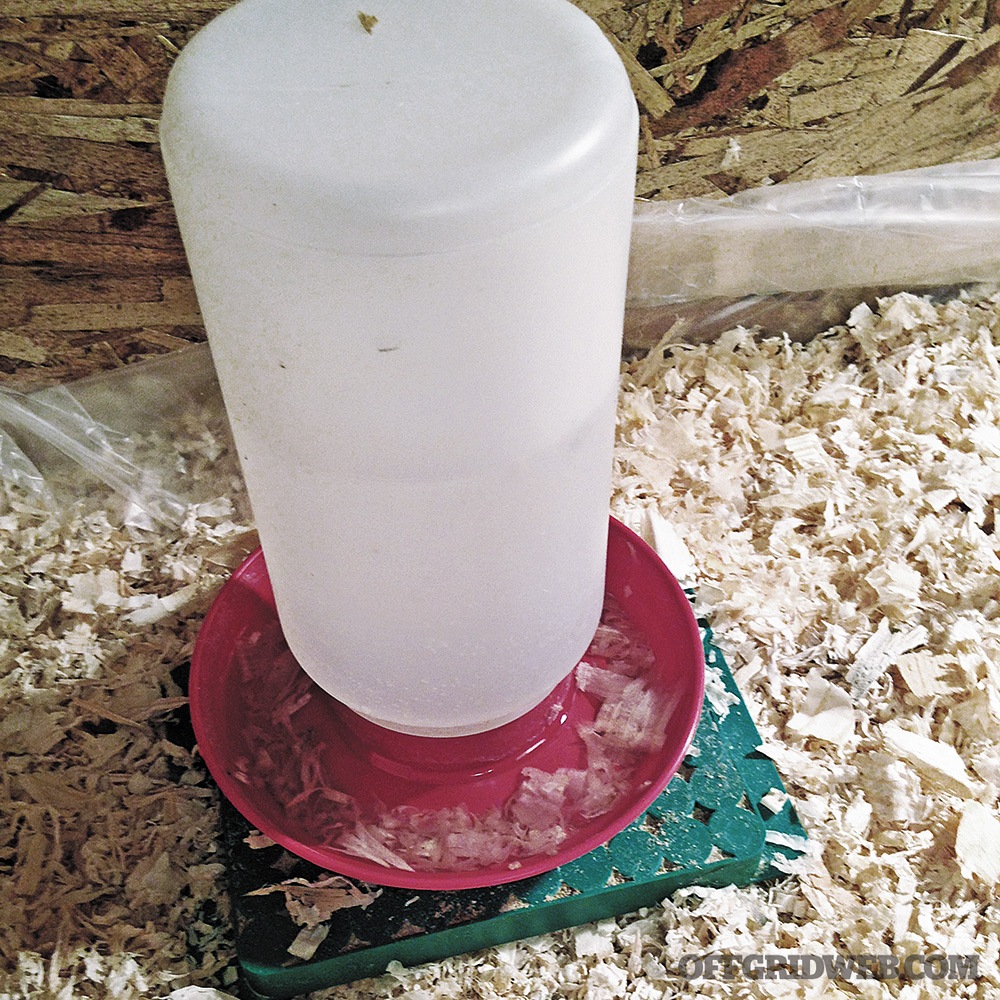
Next, buy food and water dispensers with the canisters on top. Chicks can go through a lot of food and water in a day, and this helps to ensure they don’t run out. The food they need when they’re small is a fine crumble. If the crumble is still too large, run it through a food processor.
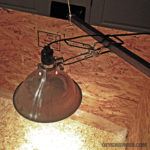
Take a piece of tubing and attach it to the top of the tub with cable ties to attach the heat lamp to. It doesn’t need to be steel or even metal; any piece of wood or dowel will work. Attach it to the center or closer to one end, wherever is easiest and most secure. Do this so the light can be adjusted to be closer or further away from the chicks by rotating it up or down. When chicks are smaller, the light needs to be closer to produce more heat. When they’re bigger, the light needs to be higher so they can move around freely.
As soon as their feathers start to develop, they can maintain their body temperatures better, but they can also fly the coop. If these are your only chickens and it isn’t too cold outside they can go to their permanent housing once their feathers come in. If you have adult chickens or if it’s still cold outside, it’s better to build a small hen house for them that can be easily assembled inside the house.
Building the House
Let Home Depot cut the wood for you so you don’t have to do it. Buy two 4×8-foot sheets of OSB or plywood (whichever is less expensive). The first sheet should be cut into four equal-sized pieces of 2×4 feet, and the second piece cut in half at 4×4 feet.
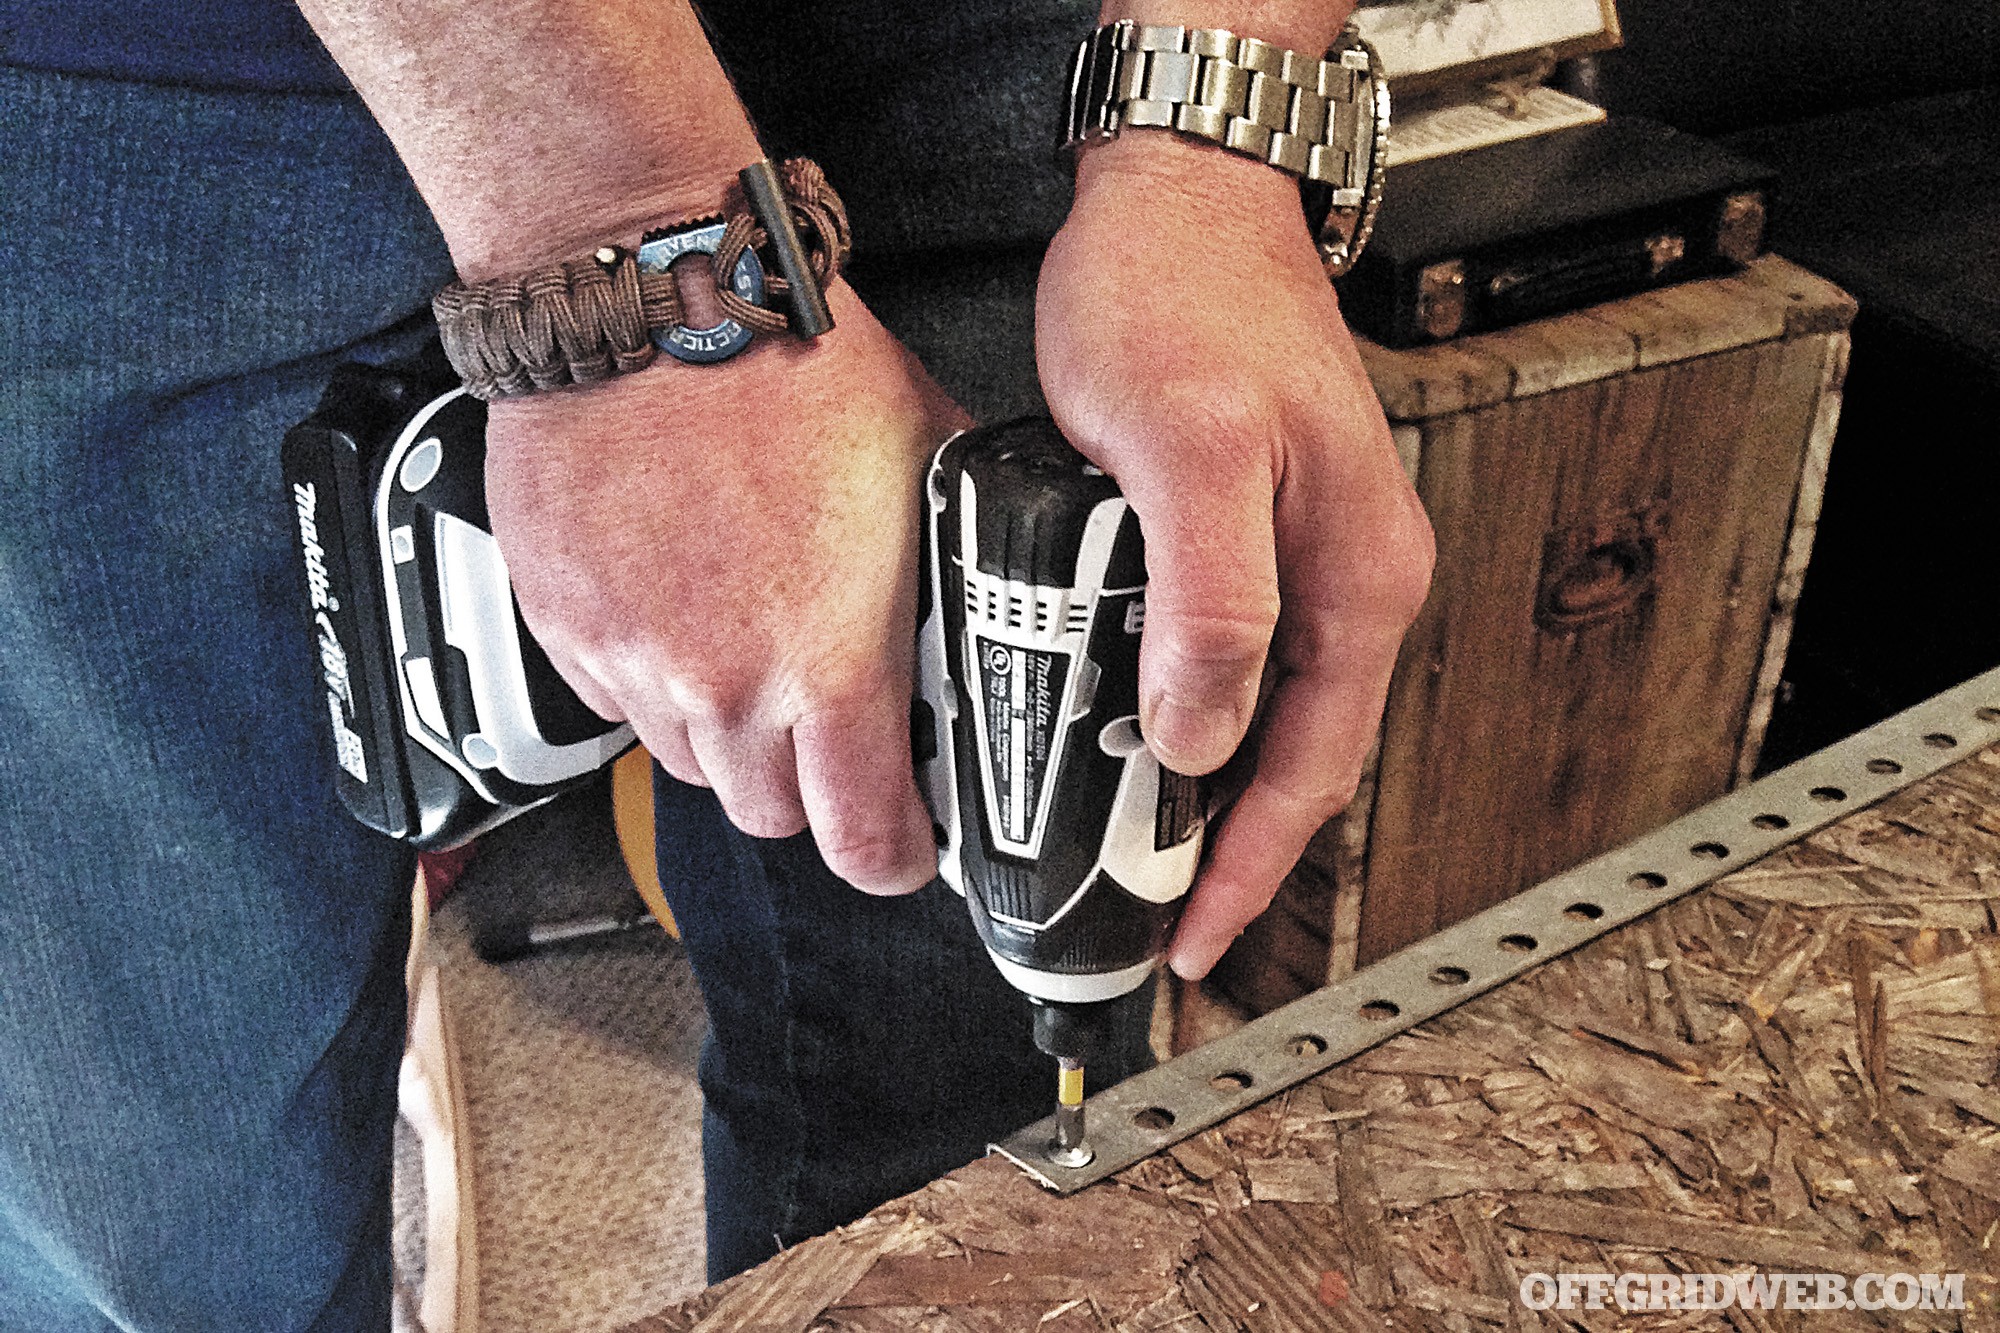
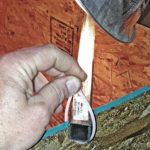
Also buy some punched angle bracket material to put it together. If you don’t have an angle grinder, cutoff saw, or chop saw, you can buy these in specific sizes.
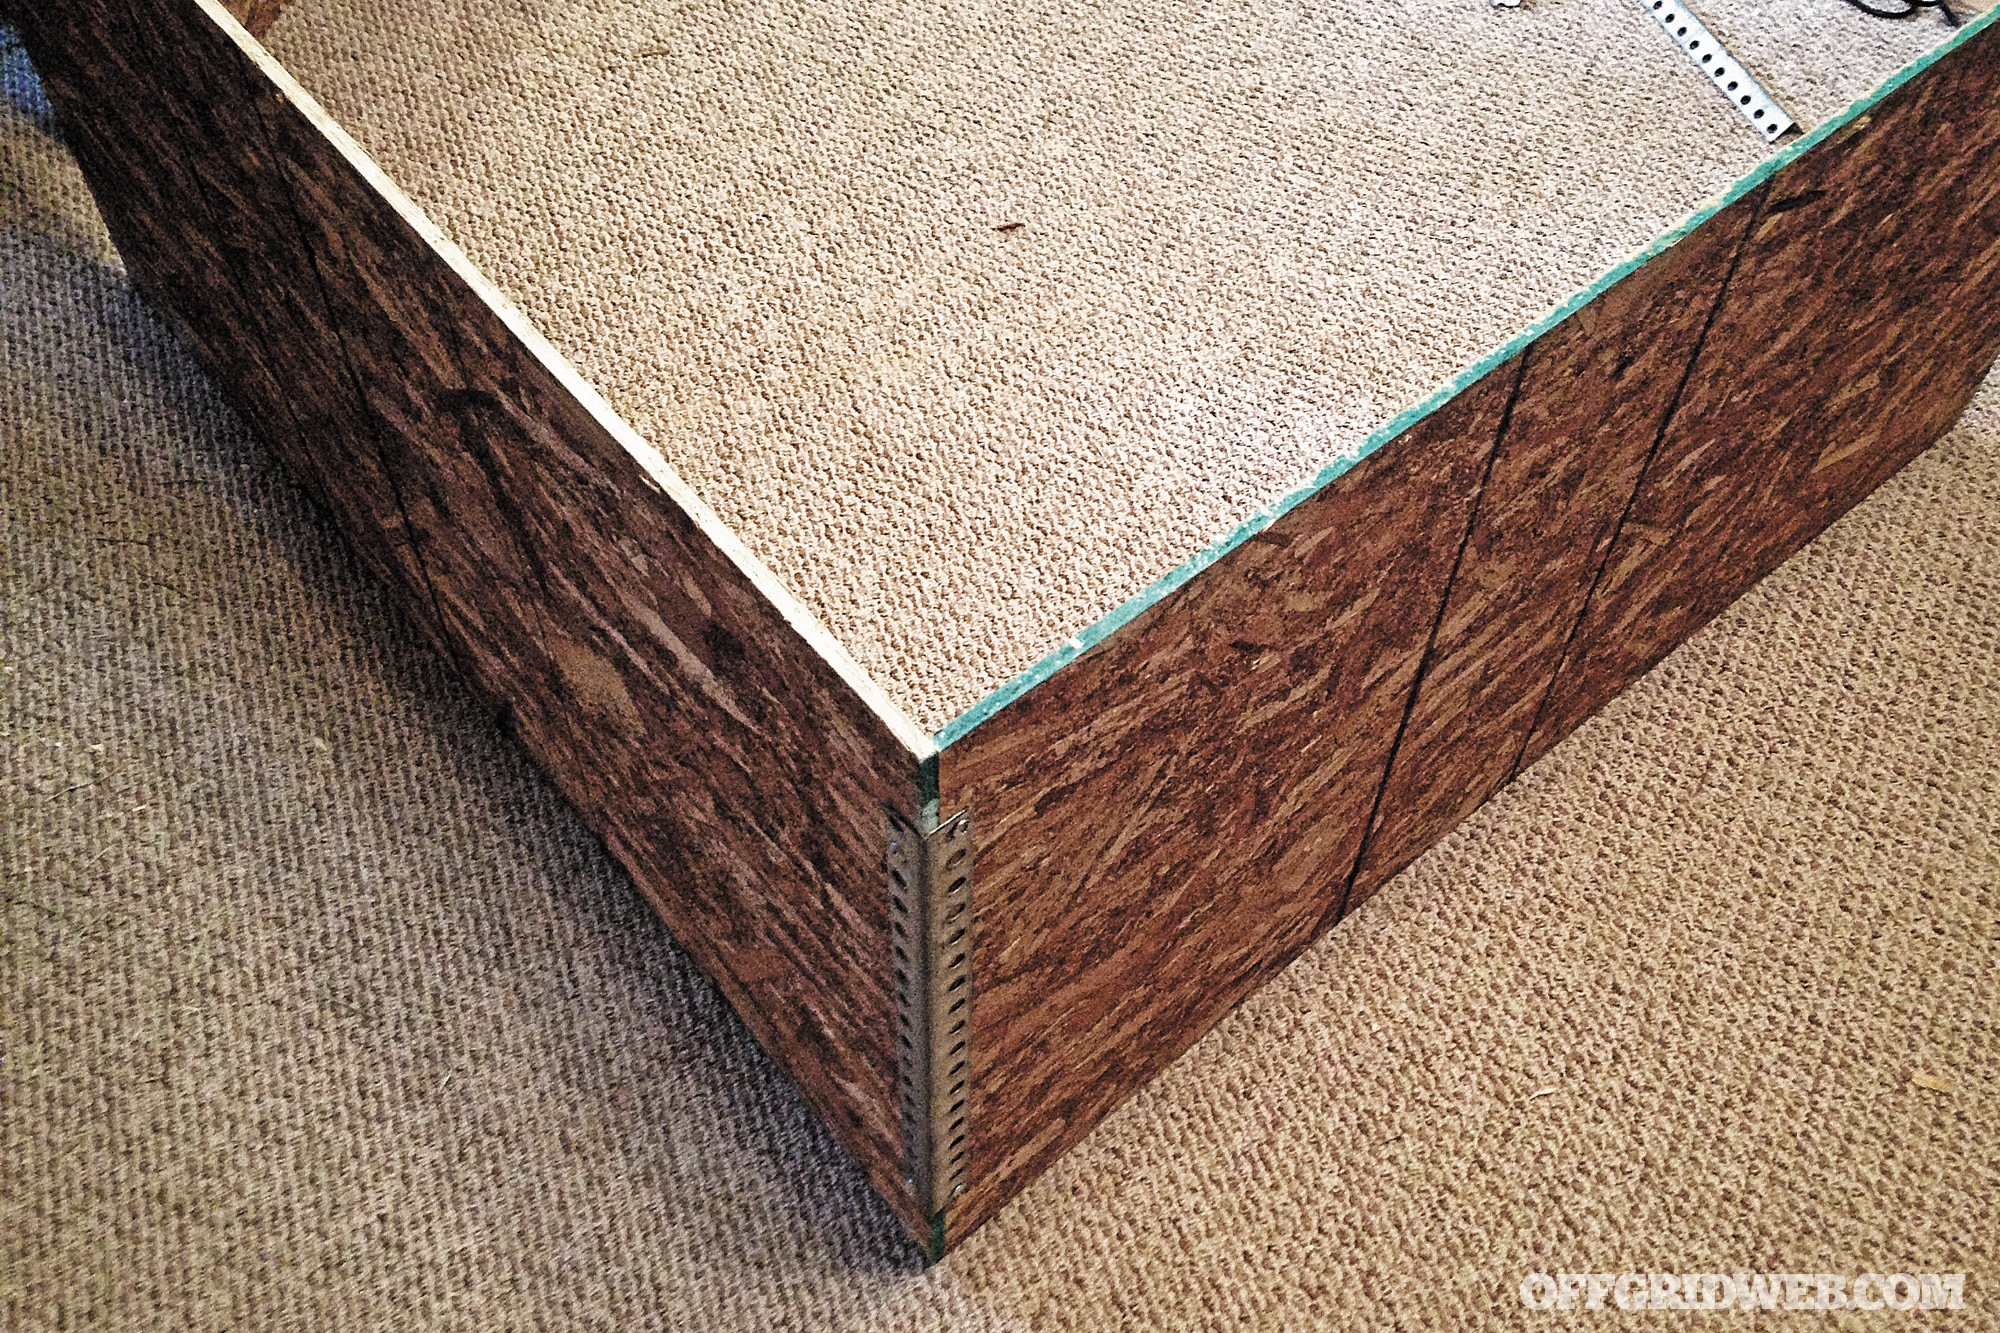
The finished sizes are approximately (four) 36-inch pieces and (four) 12- to 16-inch pieces. You’ll also need a roll of painter’s plastic drop-cloth, some 2½-inch drywall screws, short screws (½-inch), and some staples for your staple gun. Some sort of mesh covering to keep the chickens inside the small pen and the roof of the hen house (approximately 4×8 feet) may also be desired when you put them inside their permanent home. Bring the punch angle, short screws, staples, and the cut wood into the room with the chickens along with the staple gun and screw gun.
Create a box by first connecting two of the sides (2×4) with one of the shorter punched-angle sections and some screws. Repeat until all four sides are connected, then place the larger section (4×4 feet) on top of the four sides. Once this is in place, connect it to the sides with remaining sections of bracket material and more screws. When it has been secured to the sides, flip it over and line the bottom with your plastic drop-cloth and staple it into place, making sure the plastic material comes up the sides approximately 6 to 12 inches so that any spilled water or waste doesn’t escape.
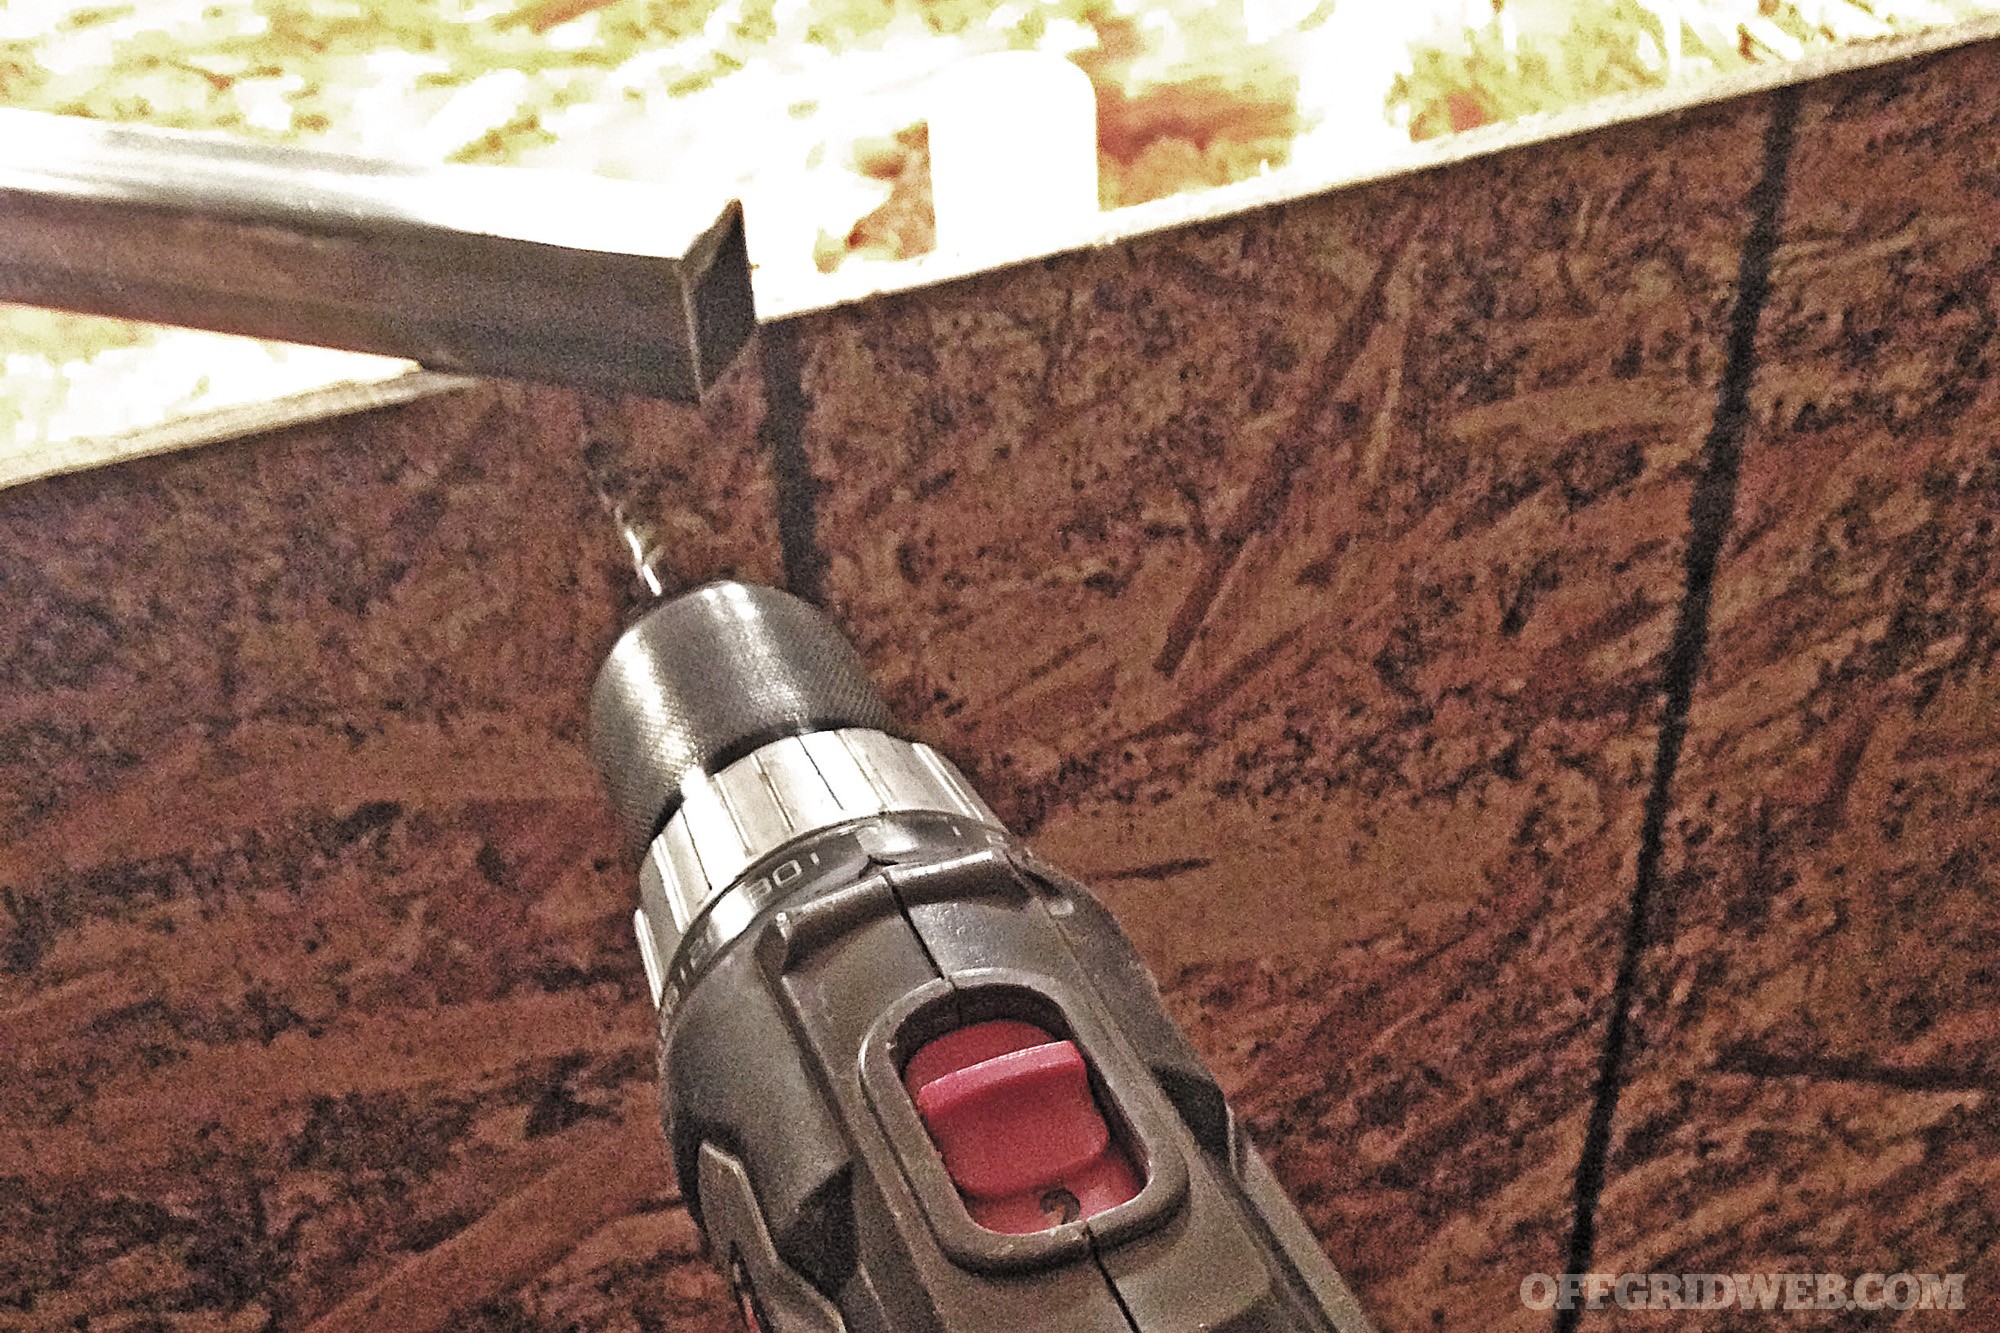
Place the new pen where you plan to leave it and then add your shavings. Once this is done, remove the tube or dowel from the tub, drill a hole through each corner wall near the top of the small pen, and attach it to the corner of the new pen. Choose a corner that’s close to an electrical outlet and position the heat lamp on it. Put it under the top of the wall so it’s closer to the chicks, providing more heat and so you can cover the pen with the mesh.
Put your chicks in along with the food and water dispensers, cover it with the mesh, and watch them grow.
Enclosure Tips
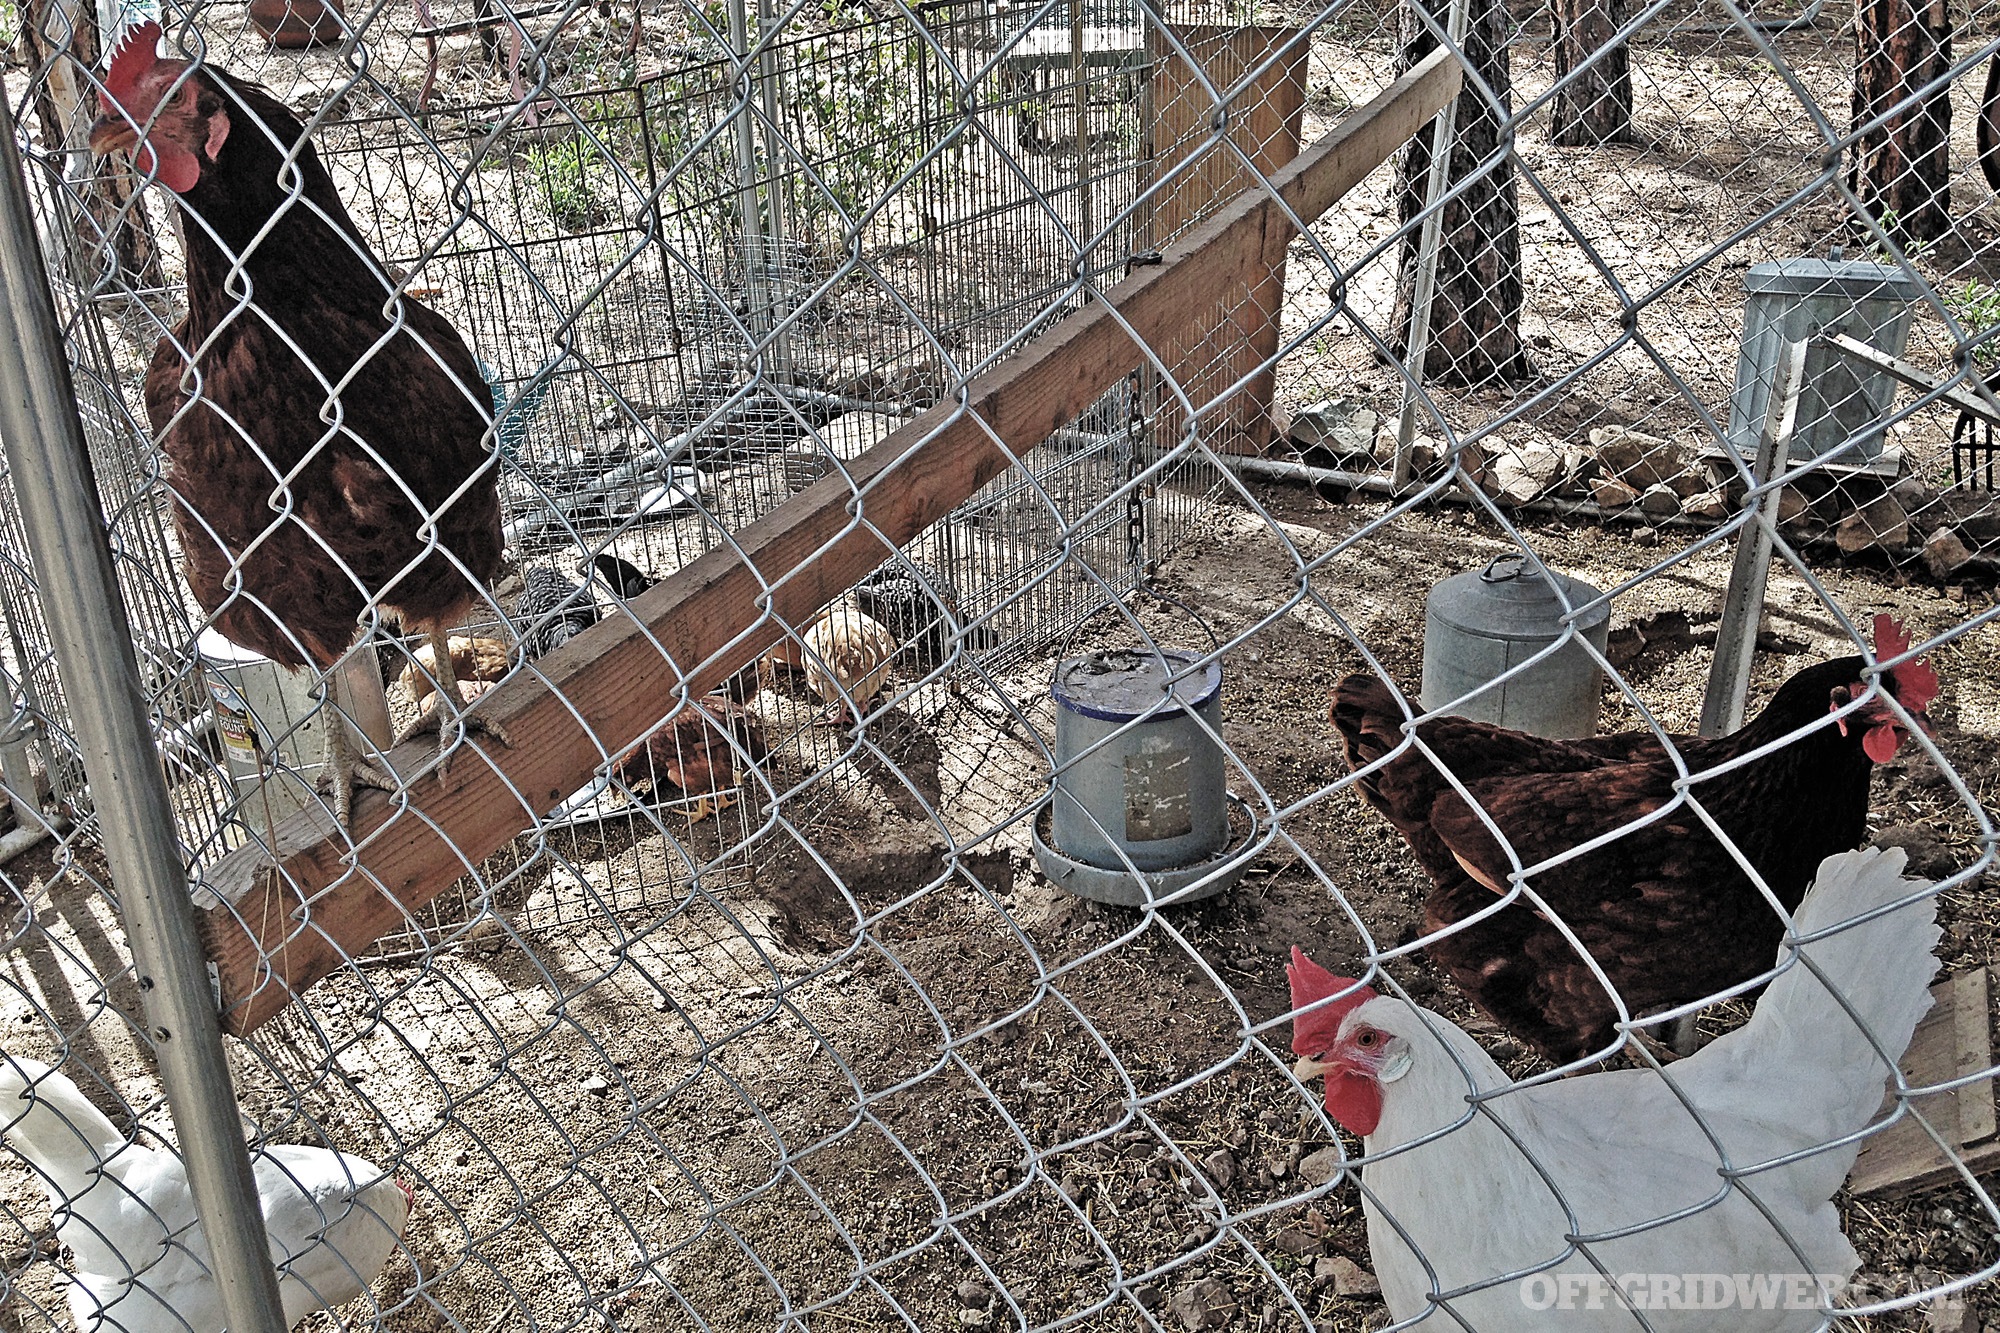
We’ve tried many different types of enclosures for the chicken coop/hen house. The premade pressboard units at box stores aren’t very good. They tend to be small, difficult to clean, and poorly made. For the same cost you can purchase a much better solution. Our current configuration is a 10×10-foot chain-link dog kennel with a walk-in gate that costs about $250 and took about 20 minutes to assemble with only two adjustable wrenches. It comes as four premade sections with two clamps on each corner. It’s 6 feet tall, so we can walk in to clean it and fill the food and water dispensers.
As before, we buy the wood in lengths we can use without having to do much cutting. Build a frame for the roof out of 2×4-inch studs in varying lengths: (two) 12-inch, (three) 10-inch, and (three) 92 5/8-inch studs. Make sure when you lay out the frame for your roof, it remains 10 feet wide. It will actually be 12 feet, 3 inches long if done correctly, so it will hang over by 2 feet, 3 inches to cover your laying box. The third 10-foot stud will need approximately 3 inches cut off on one end to fit inside the frame. Once it’s cut, lay it inside the frame, but don’t attach it yet. Take the three 92 5/8-inch studs and place them approximately 2 feet apart (lengthwise), and butt them up to one end and to the piece you just cut.
Once they are properly laid out, secure them with the 2½-inch drywall screws. You should have an area 8×10 feet with full support for two full sheets and one half sheet of plywood or oriented strand board (OSB). This will provide shade and shelter the chickens when it rains or snows. Caulk the seams and paint the surface so it looks better and lasts longer.
The open area can be covered with wire mesh to keep birds of prey and other critters from getting to your girls. After all this is finished, line the perimeter of the enclosure with rocks. This keeps predators from digging in and the chickens from digging out. Chickens don’t dig tunnels to escape, but they do claw and scratch the ground. Eventually, there will be openings they can use to get out.
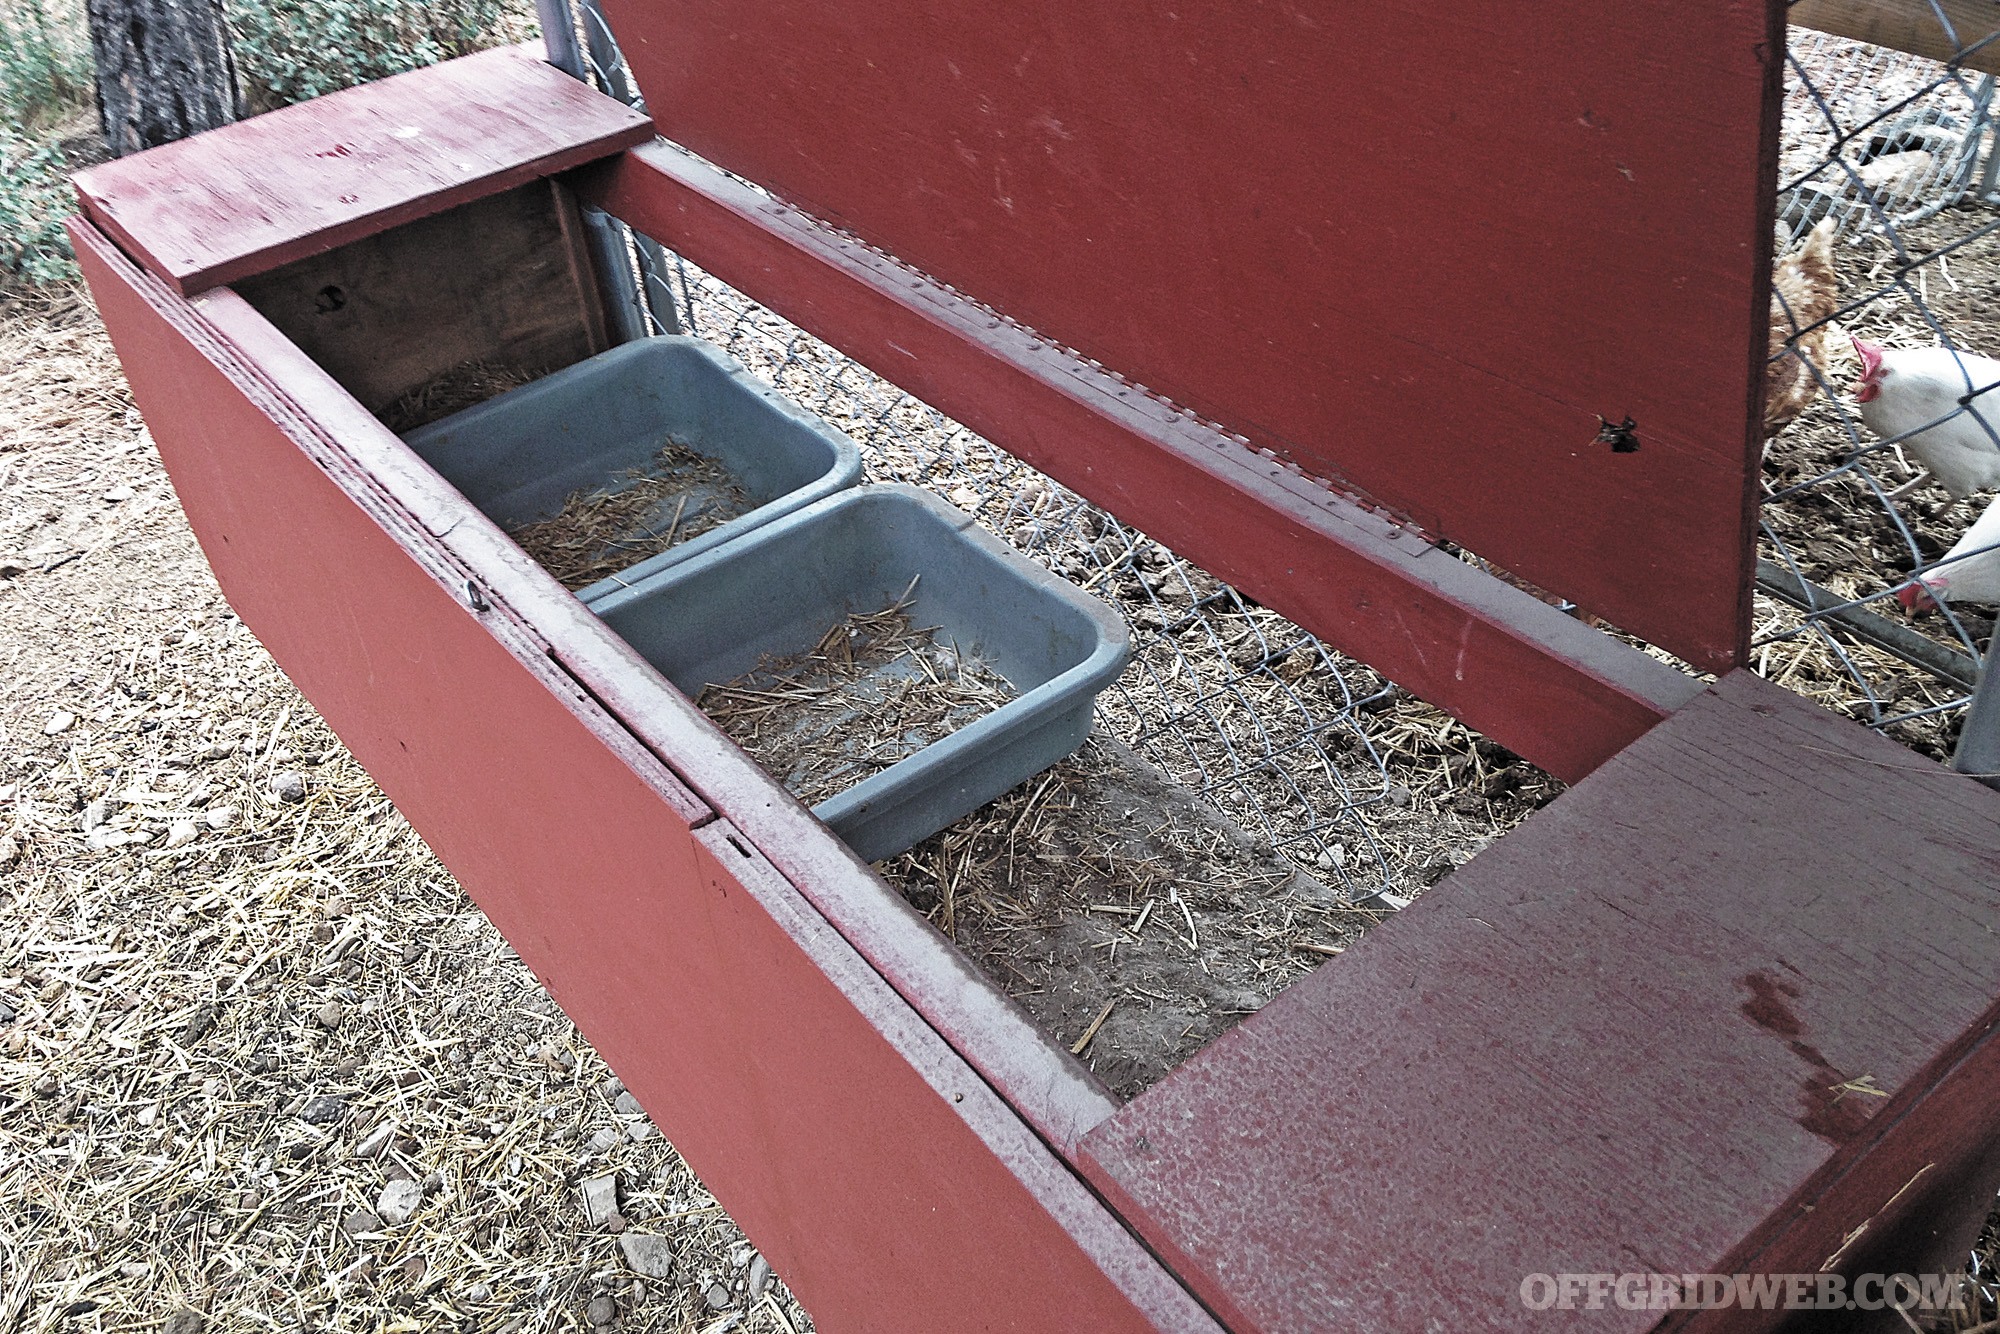
The Egg Box
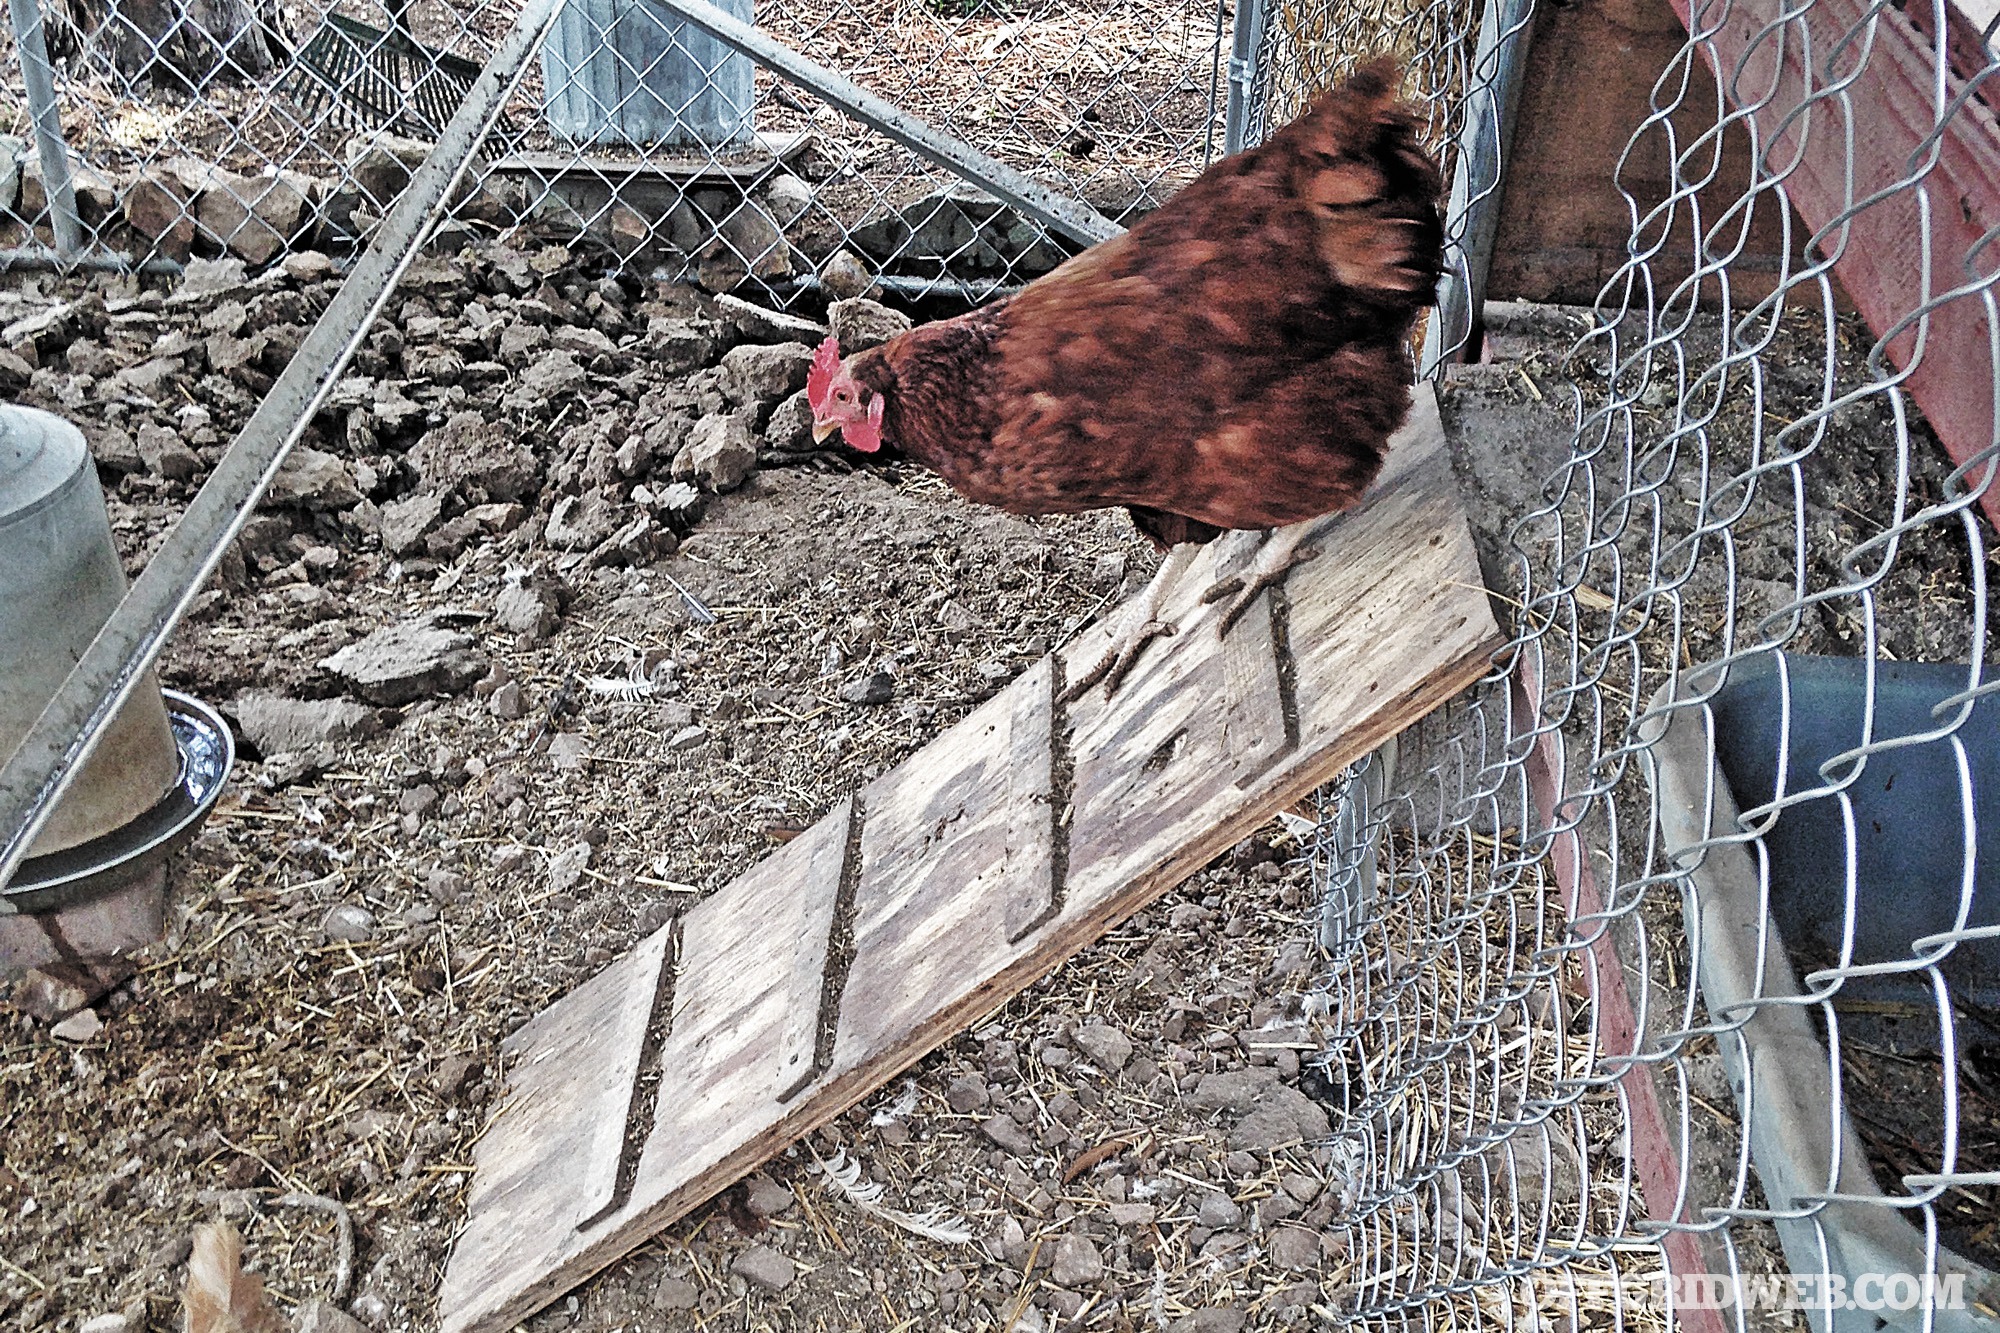
Next, build a three-sided box and attach it to the side of the structure into the end post and center post. Drill through the posts and use the 2½-inch drywall screws to attach the box. The top of the box should be hinged, preferably with a long piano-type hinge keeping it strong, so you can extract the eggs without having to go inside the hen house. Once the box is attached, cut the chain-link in a square where the chickens can go inside to lay their precious eggs.
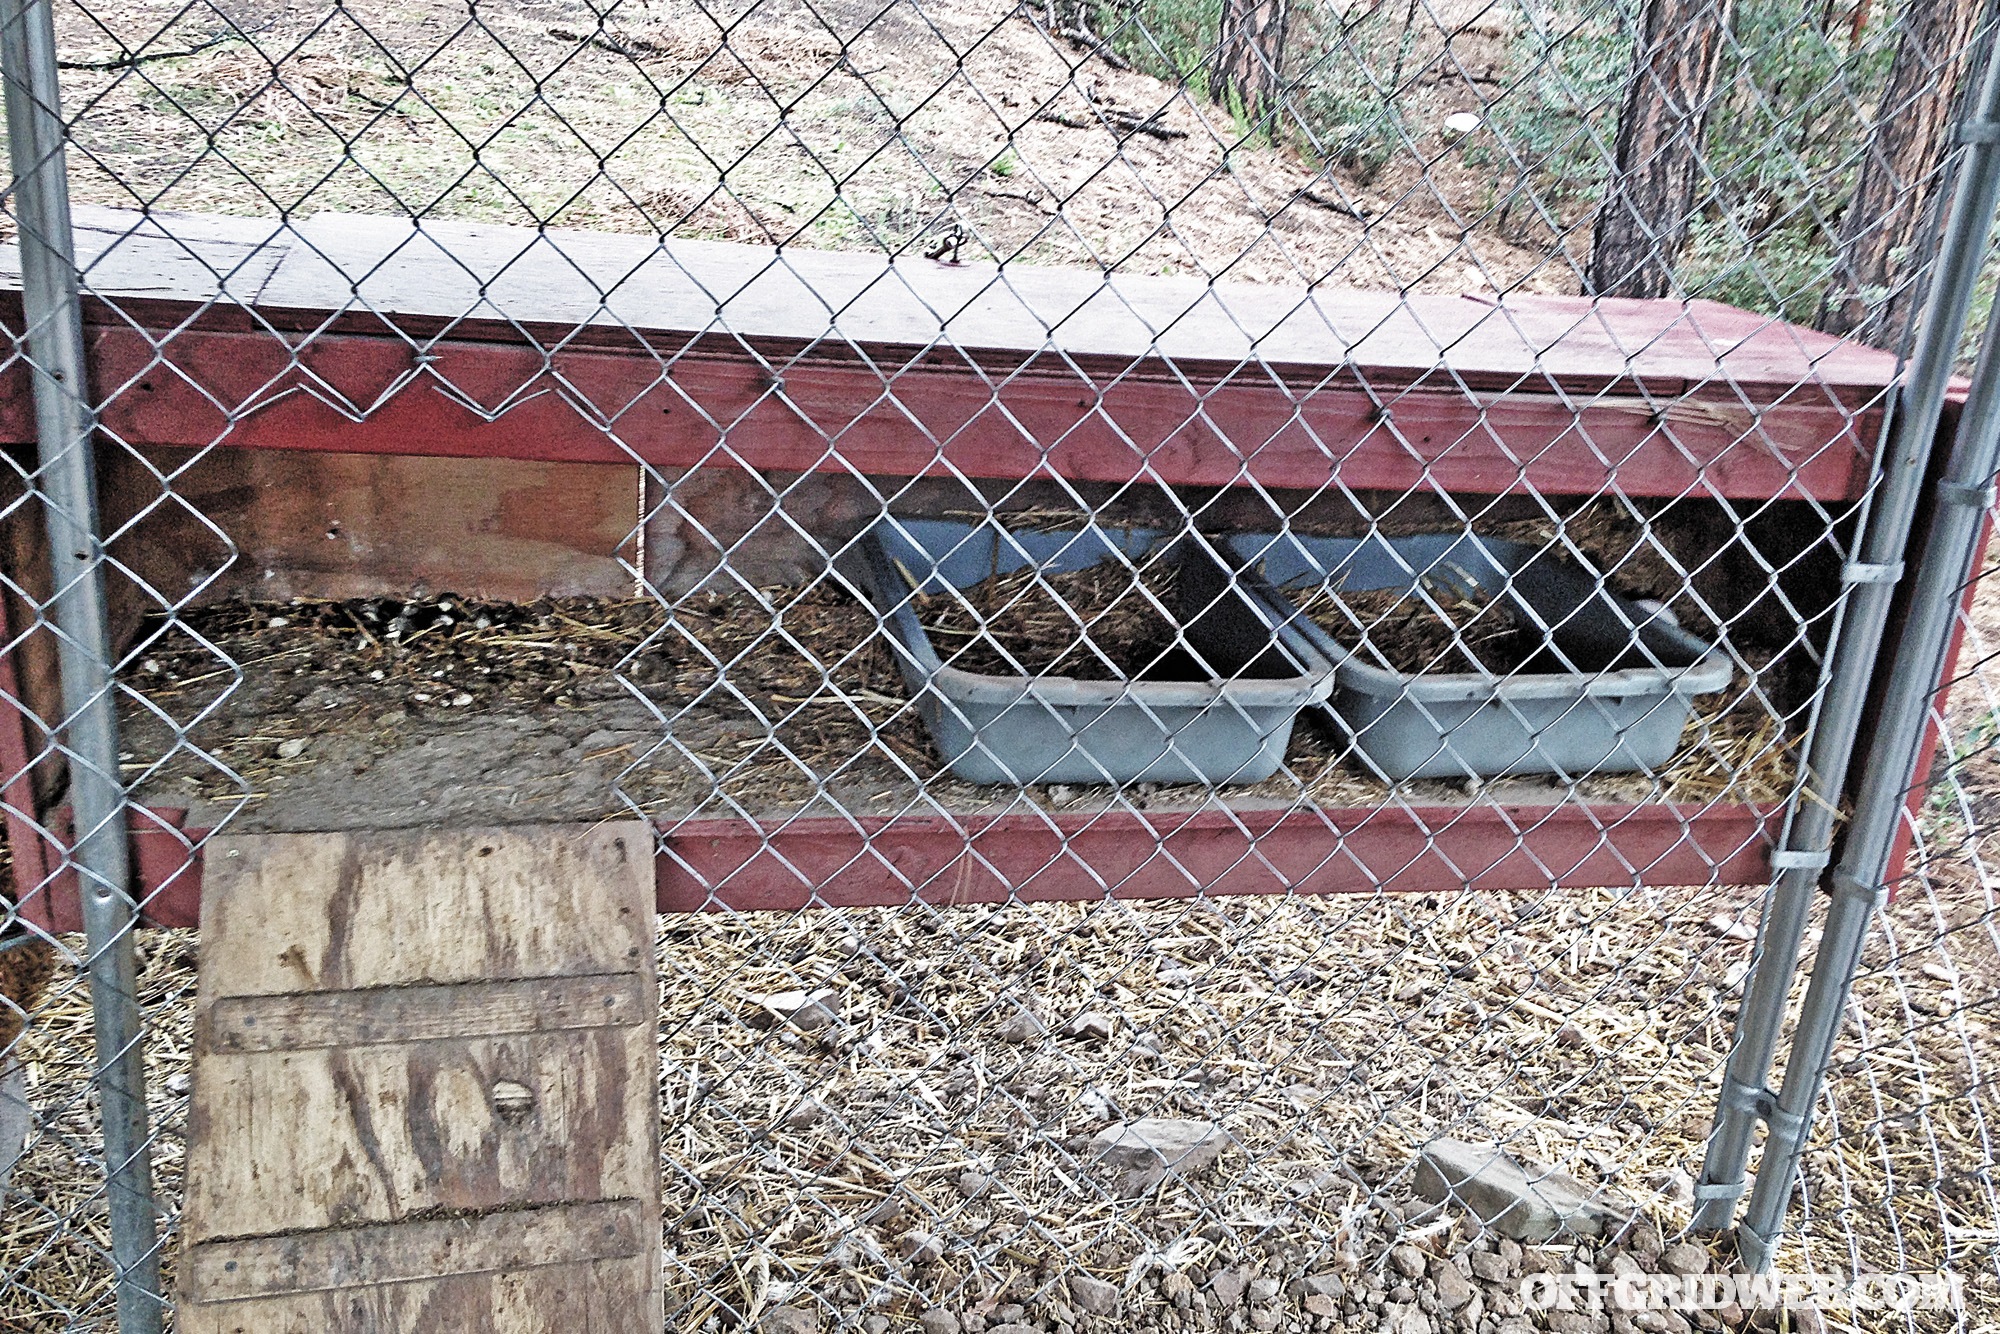
Once the hole is cut, bend the wire from the chain-link back so the sharp ends are not an issue. Make a ramp for them to walk up with small pieces of wood attached to it for traction. Connect it to the edge of the box with some drywall screws. We use buss-tubs filled with hay for their nesting and laying area. At first we had a separate tub for each hen, but they all laid their eggs in the same tub so now we have just two.
Layers of Production
Some types of egg-laying chickens, or “layers,” are more productive than others. However, egg size and frequency will fluctuate regardless of breed. This author chose his breeds based on egg output, disease resistance, temperature tolerance, and friendliness. Here are the types he owns and the approximate egg productivity:
Buff Orpington:
180 eggs per year
Hybrid:
280 to 300 eggs per year
Leghorn:
250 to 260 eggs per year
Plymouth Rock:
200 eggs per year
Rhode Island Red:
250 to 260 eggs per year
Other popular breeds are Sussex, Ancona, Austalorp, Barnevelder, and Hamburg.
Compatibility
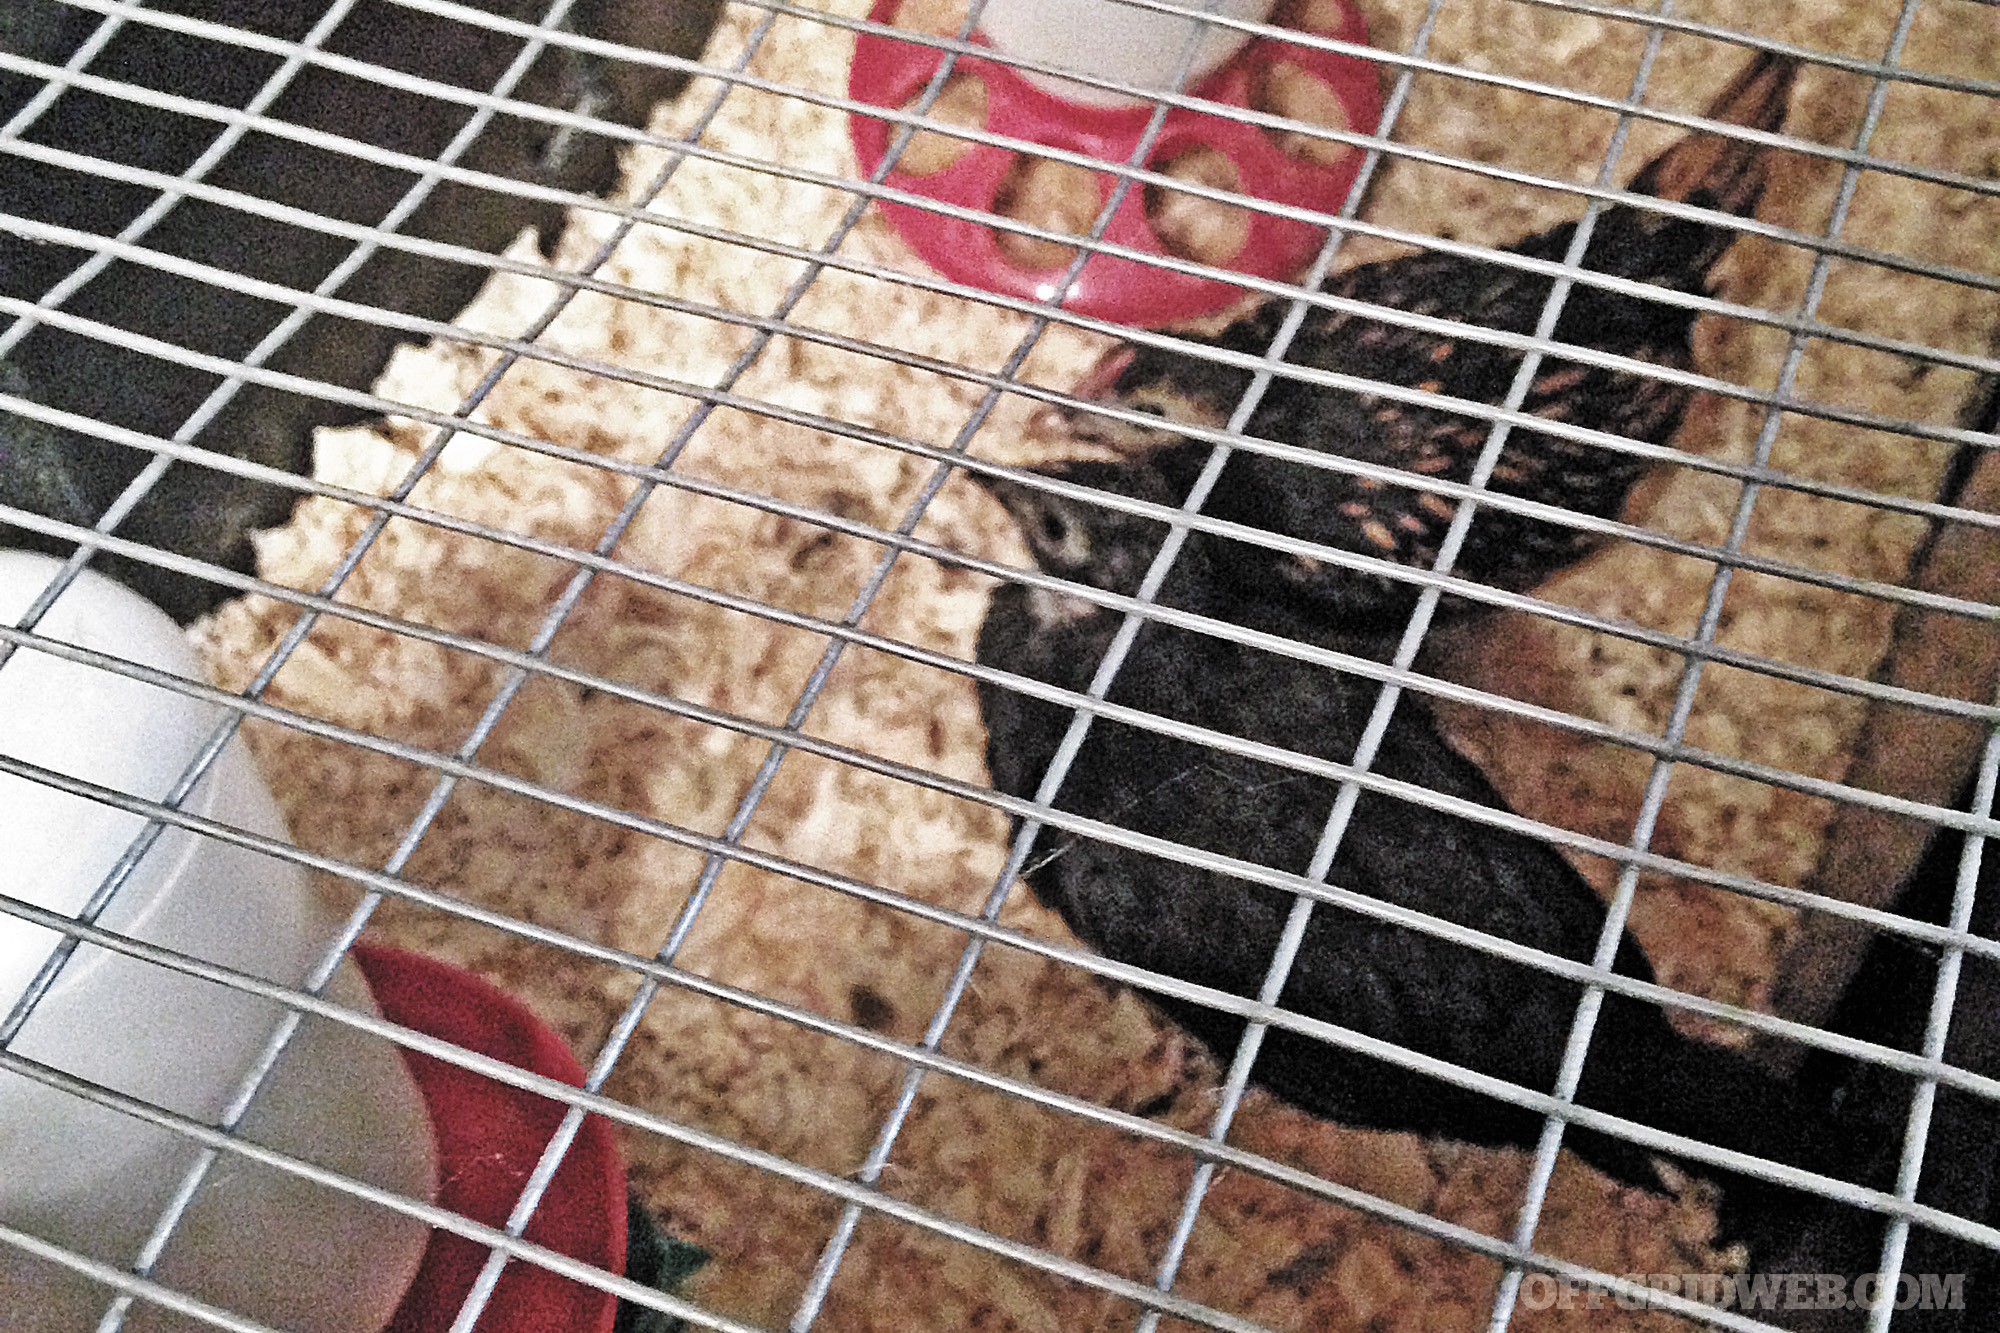
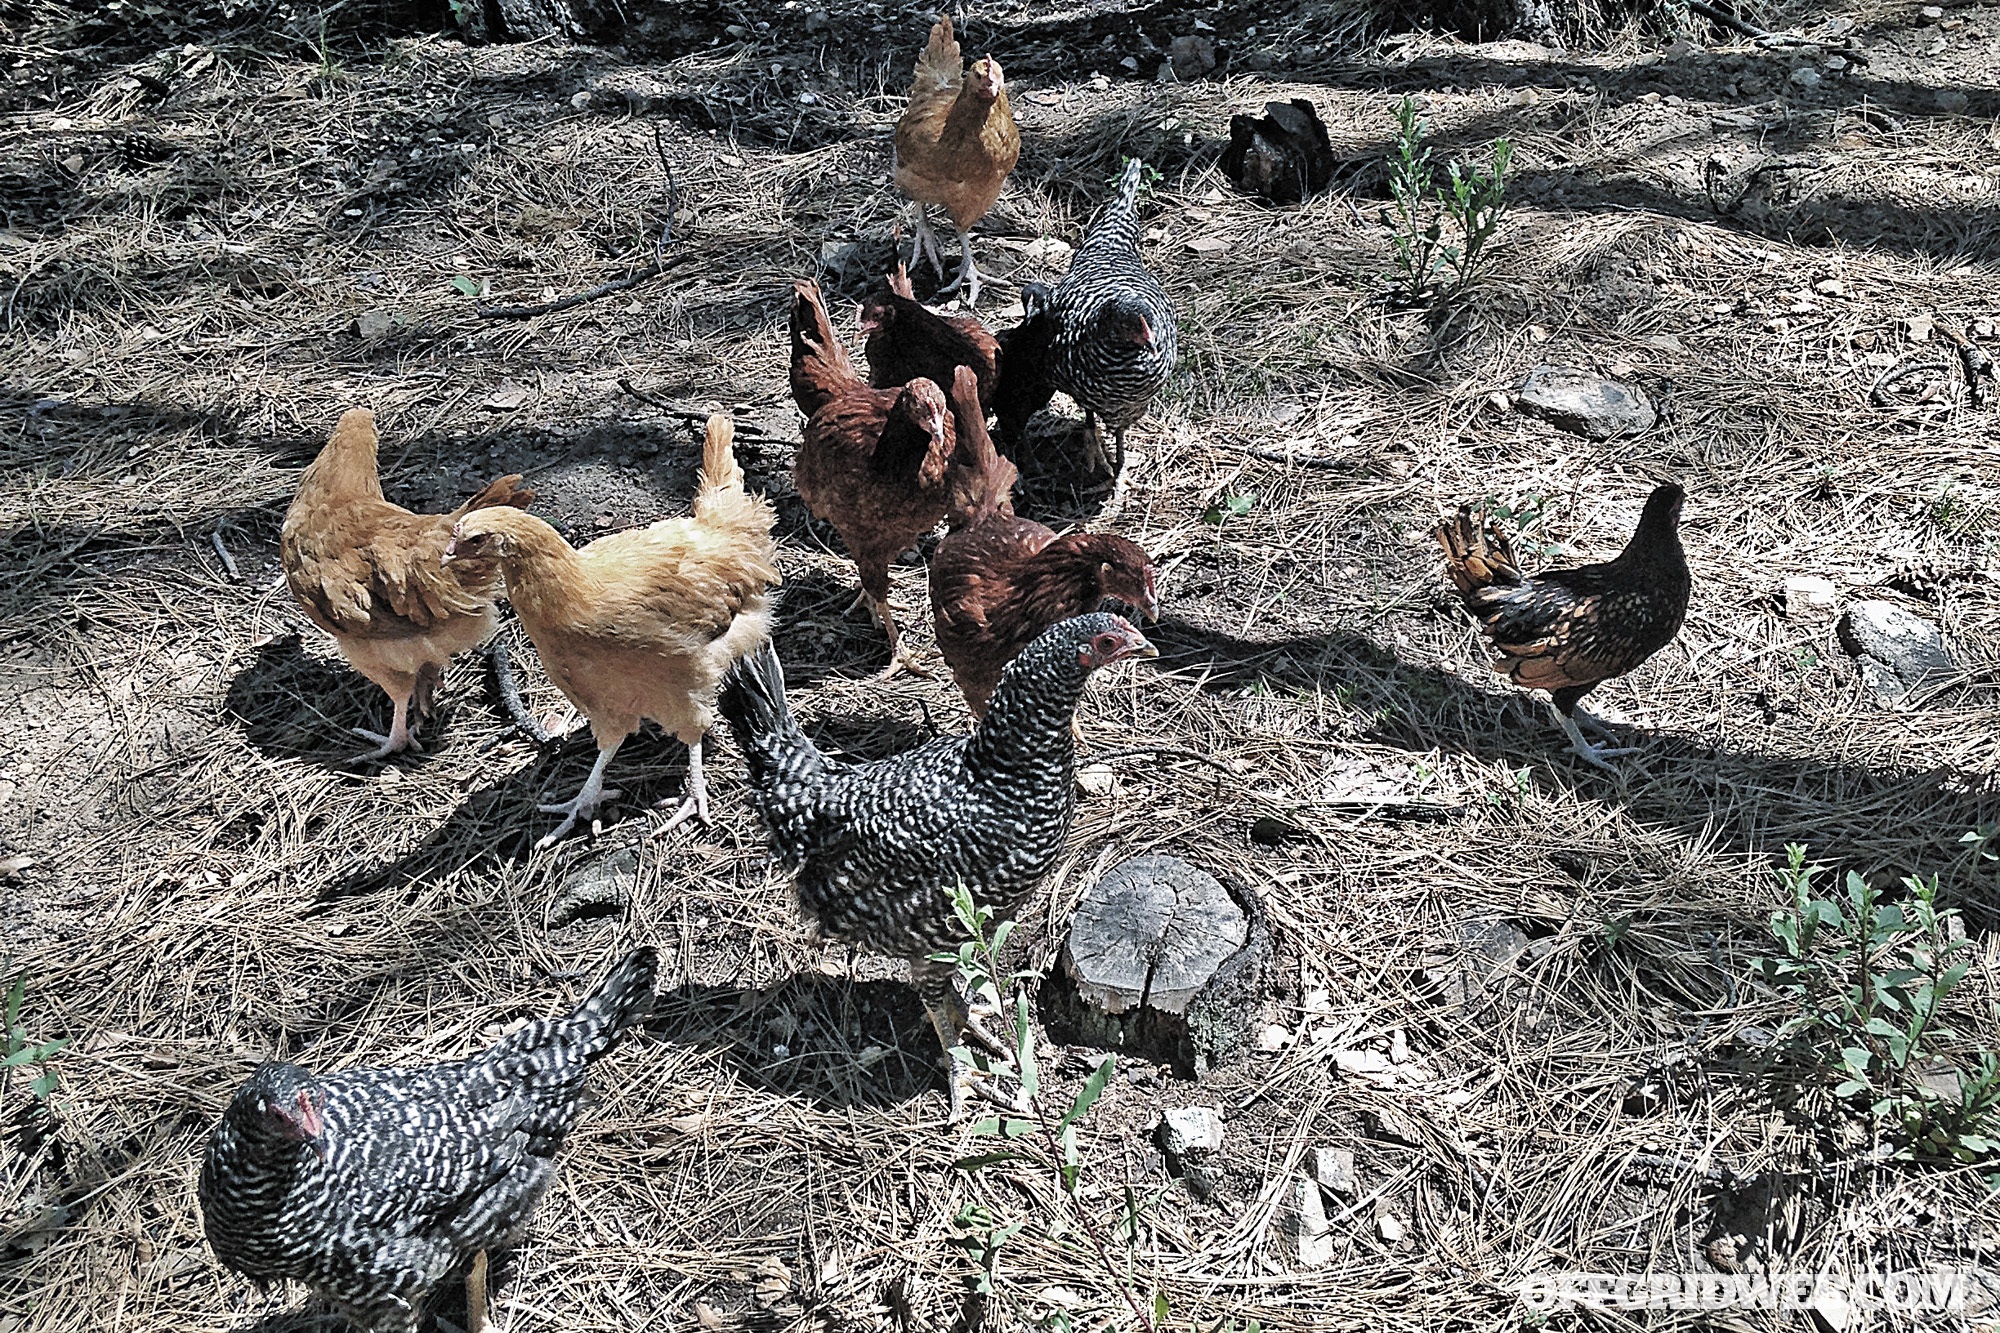
When you put chickens together, a pecking order will be created. While humans might use this phrase to describe a hierarchical organization, it originally came from the observation of chickens establishing dominance by pecking others and/or chasing them around. When introducing new adult hens to the coop, we put them in at night, and they seem to get along without issue. When combining your new chicks with your older chickens, a much longer process is required.

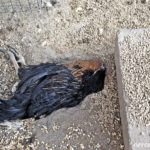
Lesson Not Learned: This young Dark Cornish hen wasn’t accepted by the older chickens in the coop and was viciously attacked. The author immediately separated her from the others, but she eventually flew over the barrier — yes, chickens can fly — and back into the hen house, where she was killed by the older birds.
Birds of a feather flock together. You may have heard that as a child, but do you know what it really means? While civilization has progressed to some semblance of tolerance and acceptance, nature has not. Recently, this author’s friends wanted to raise chicks. They bought three Rhode Island Reds and one that was possibly a Dark Cornish hen. After realizing they had allergy issues, the friends brought them to us. We merged them in with our three Orpingtons, three Plymouth Rocks, and two bantams that the author’s daughter absolutely had to have.
All was well in the tub and the small box, but when we put the young ones in with older hens, it was obvious that the Dark Cornish was not welcome. We sectioned off a portion of the hen house by putting a temporary kennel fence that segregated the young ones from the hens, yet still allowed them to get acquainted to each other. After a couple weeks of total separation, we allowed them to be together for short periods.
We keep a spray bottle close as a training aid for the older hens, giving a quick squirt when they peck the new ones too aggressively.
On the first day of this process we supervised closely for about an hour and left them alone for a short time to integrate. The Dark Cornish was brutally attacked by the six older hens, removing feathers, flesh, and tissue. We separated them immediately and put the Dark Cornish in solitary confinement to let her heal. Yet, she intentionally flew over the barrier to be with the other chicks. They continued the assault, so we separated her again. The Dark Cornish once again flew over the barrier into the area with the grown hens. Not surprisingly, she was killed.
The rest seem to get along OK — even the bantams. The pecking order is being established, but there are no bloody chicks. Occasionally, one of the older chickens becomes a problem, attacking the chicks, and must be eliminated from the flock to preserve community spirit.
Living Conditions
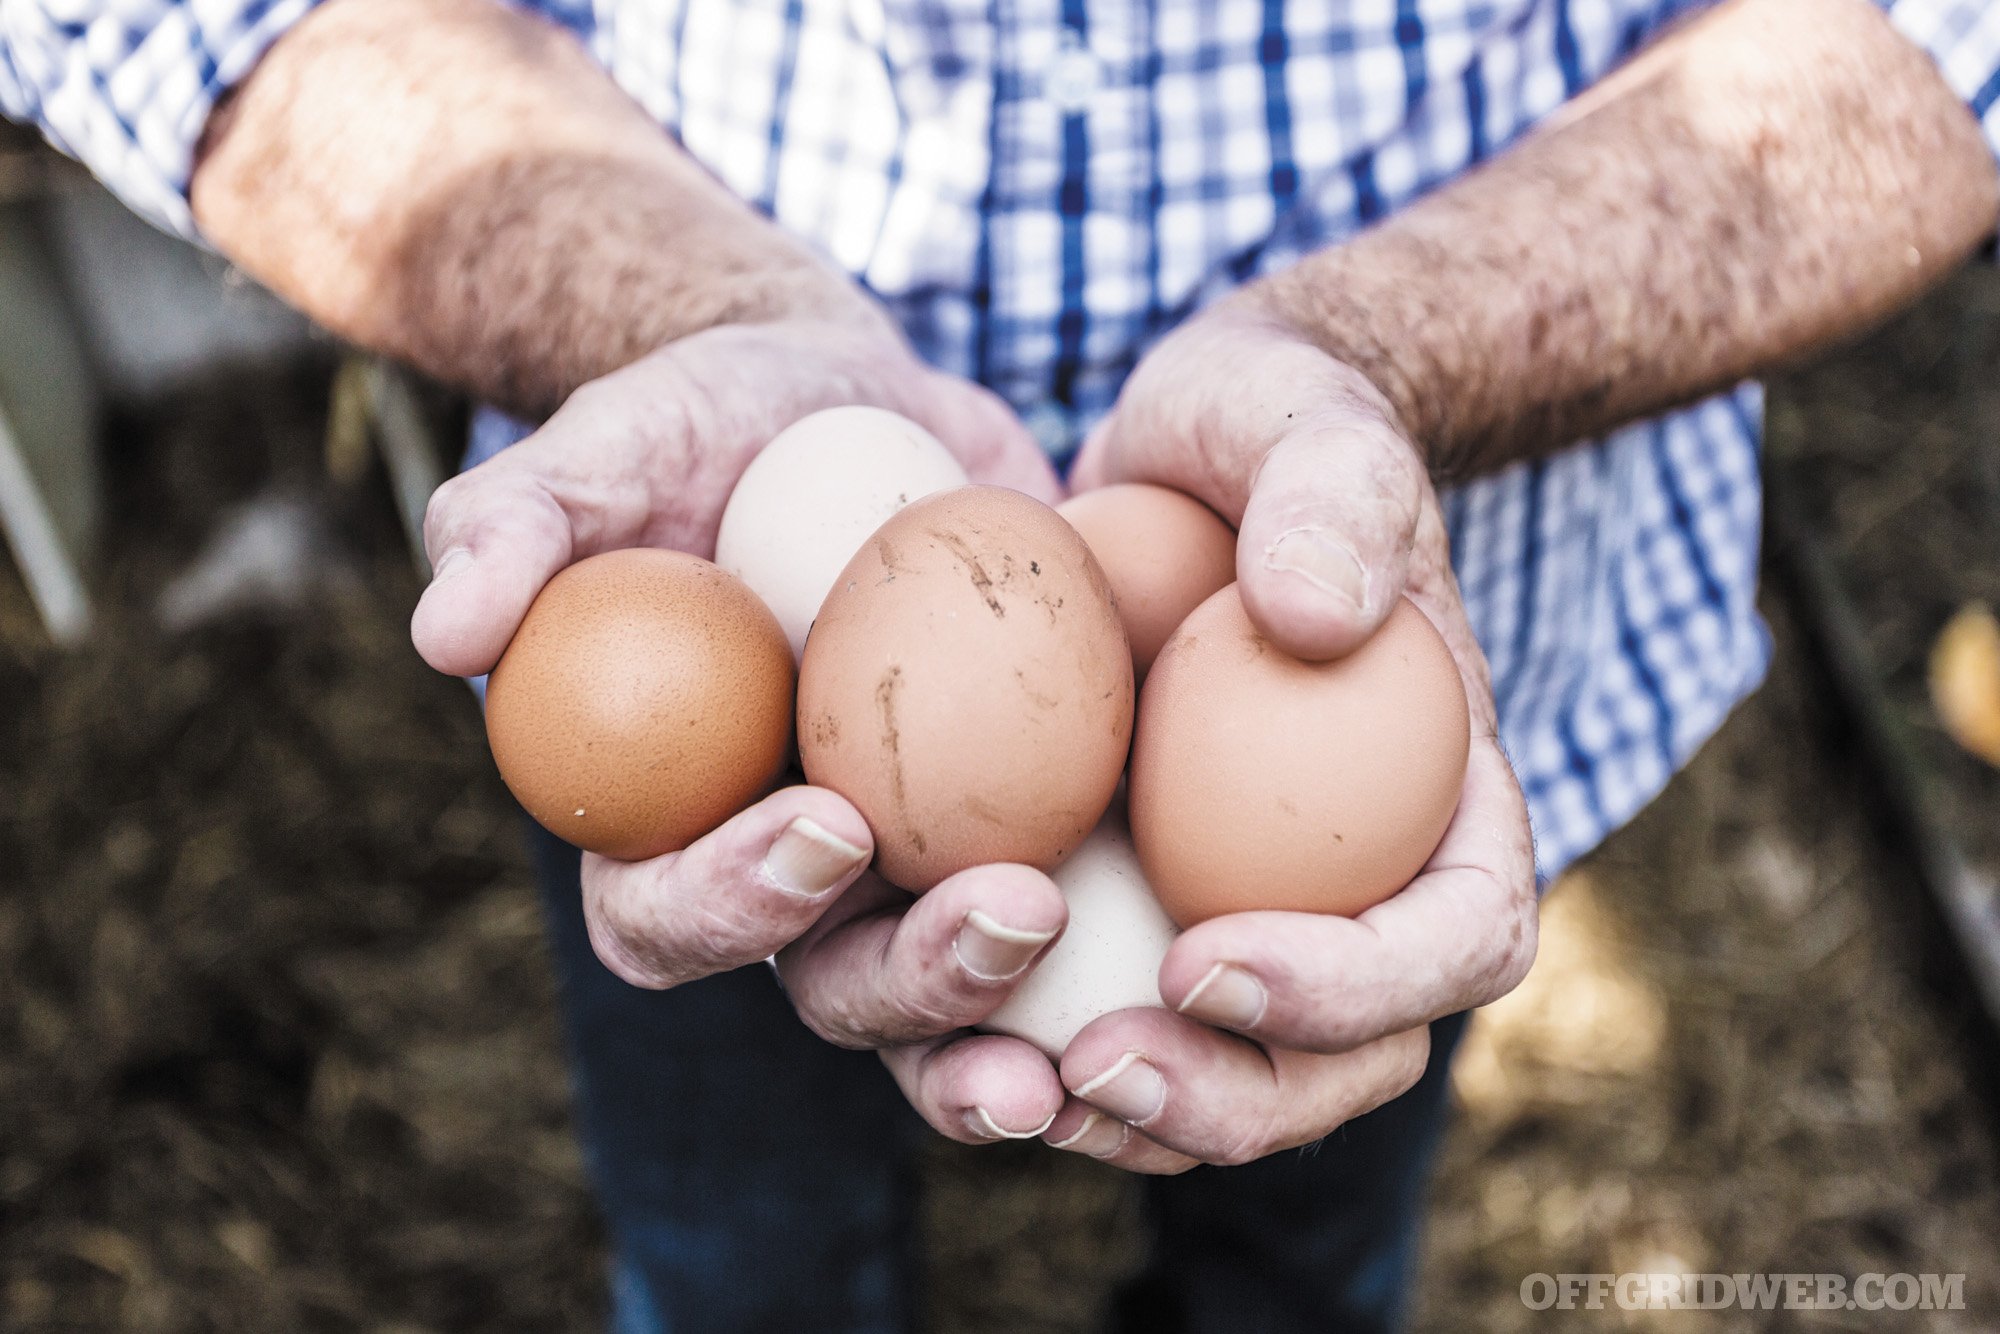
Chickens can lay eggs for many years, but productivity will fluctuate and will steadily decrease as they age. You’ll know which chickens are laying and which ones are not by the egg color. Interestingly enough, the white Leghorns lay white eggs, the tan hybrids lay tan eggs, and the Rhode Island Reds lay brown eggs. It’s a little comical to see them separated into three groups by color, as birds of a feather flock together.
Extreme cold or heat can limit production, as well as stress or shortage of food or water. They need lots of protein and plenty of sunshine. We let our girls run around in the yard often. However, we used to let them “free range” all day until we started losing them to coyotes. Once a predator knows where your chickens are, they’ll come back again and again until they’re all gone.
Also, you don’t want your chickens laying eggs around your yard. Let them out in the late morning after the laying has been done. Herding chickens back into the coop isn’t any easier than herding cats. We use a long stick to help direct them back to the gate, but it doesn’t always work very well. They’ll hurry themselves back into the coop if you train them by giving them the remnants of fruit and vegetables. They literally run back in once they see the pie tin we use to carry the scraps of lettuce, apple core, grapes, fruit, or whatever we have laying around.
Handling Eggs
Our eggs are so tasty because they aren’t refrigerated. A fresh egg will keep for weeks provided you follow a few simple rules:
Don’t wash them when you collect them. There may mud, dirt, feathers, or whatever on them when you collect them, but that’s OK. There’s a film on them called the “bloom” that will allow them to keep for weeks. Store them just as they are in a cool dry place (not in direct sunlight) with the pointy side down.
When ready to eat, rinse them off in warm water to remove the debris and revel in the wonderful flavor of your fresh eggs.
You’ll need to refrigerate them if you want hard-boiled eggs. The shells are difficult to remove if they haven’t been chilled before you boil them.
Some people crush the shells and put them into the chicken food providing essential nutrients for them, but it’s not recommended. Once a hen gets acquainted with the taste of the shells it might start pecking the eggs — even chickens love the taste of fresh eggs! Obviously, this can create a big problem. Again, a hen like this may need to be eliminated from the flock to preserve the integrity of the project.
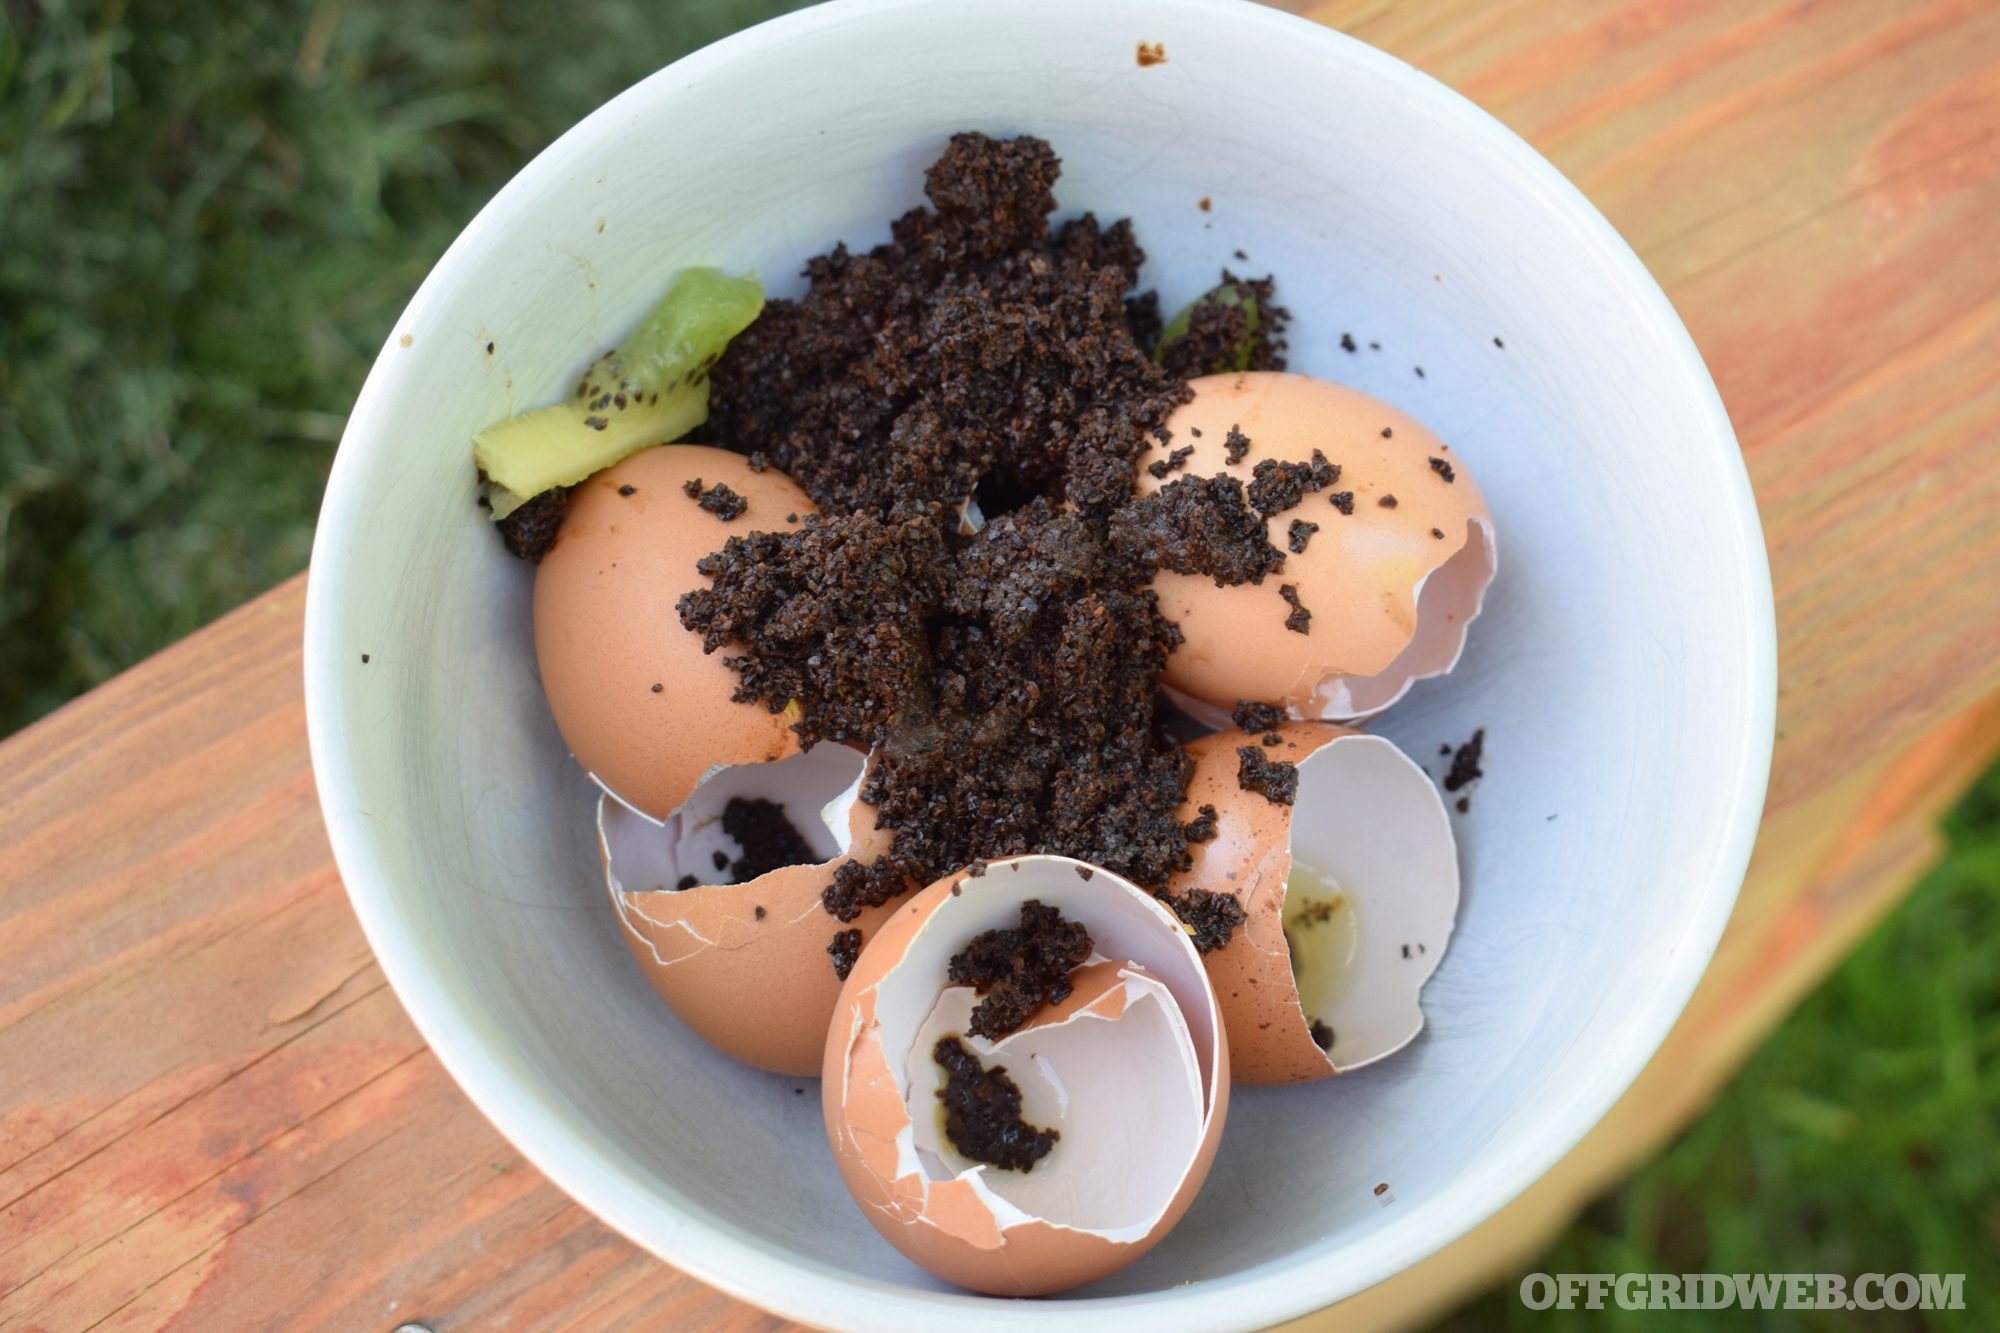
Eggspert Tip: After eating the eggs, mix the leftover shells with chicken poop and coffee grounds for an amazing base and combine that with compost to grow plants.
Temperature
Some things to consider when raising chickens include temperature, moisture, snow, and other elements. Don’t be afraid to leave them out in the cold — they have their own little down jackets. Their feathers are great insulators, so they’ll be fine in temperatures below freezing, even below zero. However, their water will freeze, and they’ll die from dehydration.
We use an electric heater base that turns on automatically when the temperature reaches 36 degrees F. Conversely, when the temperature is above 80 degrees, they go through a lot more water, so you must keep their dispenser(s) full.
When it rains or snows, the ground can become saturated with moisture, which isn’t good for chickens. During winter, place a tarp over the mesh portion of the roof and to cover one more side, keeping rain and snow out. Snow is much heavier and will accumulate on the tarp, which will collapse if not supported. Add some more studs to the section of the roof that’s exposed so you can cover it with OSB during winter. After the ground has become moist from the elements, it tends to create a hard surface that the chickens cannot scratch. This can be remedied with a pitchfork by churning the top layer and breaking it up.
Food and Water
The water dispensers should be elevated above the ground so they don’t get muddy. We put them on large landscaping bricks, but you can use whatever you wish provided it keeps the water clean. While the chickens are “scratching” the ground they kick dirt into the water dispenser, turning it into a muddy mess that makes their water undrinkable.
It’s better to cover their food dispensers and hang them from the roof or from a perch so the chickens don’t sit on them. Where they sit is where they poop, and you definitely don’t want poop in their food. We put one perch about 42 inches above the ground and another at about 18 inches above the ground. They have no problem getting to either.
Noise Concerns
Also, we were surprised at how loud our hens are. We thought only roosters made noise, but that’s not true. Chickens can be heard from approximately 100 yards away. This is good information if you’re trying to be covert about your chickens. In fact, we get excited when our girls are very loud because it often means a very large egg, but be aware of this in case you have neighbors who are sensitive about noise and might make a habit of complaining to the police. That could potentially put a stop to your entire chicken operation or possibly burden you with fines.
Like anything else, your experience may be different than ours, but you won’t know until you cross that road. Get out there and make it happen!
The Chicken or the Egg?
How come this feature is only about the eggs? Raising table chickens (AKA meat chickens) is not all that dissimilar to raising egg-laying chickens except that they should be fed higher percentages of protein so they gain weight faster. We don’t raise table chickens because we don’t want to breed them, and it’s not exactly cost effective to raise a bird for five to 12 weeks for one meal.
However, if you have the space and don’t mind roosters (and their crowing), you can add a rooster into the mix — about six hens per rooster — and allow them to reproduce. If you want to raise chickens for meat without breeding them, it’s less expensive to buy chicks that have not been sexed, usually equal numbers of males and females, and raise them for the table. Meat chickens are typically referred to as Cornish game hens when they’re young, then as broilers or fryers (six to eight weeks old), and later as roasters (three to four months old).
Sometimes we end up with meat chickens by accident. Case in point: One beautiful black bantam hen with orange plumes turned out to be a cock. We figured it out when he crowed early one morning and never stopped. And because our local laws don’t allow us to have roosters, table chicken he became. Eviscerating a chicken is too long to discuss here, so stay tuned for a feature on that topic in a future issue.
More From Issue 15
Don’t miss essential survival insights—sign up for Recoil Offgrid’s free newsletter today.
- Review: Goal Zero Yeti 400 Portable Power Station
- Home Fire Facts – Infographic
- Paleo Prepper: Is the Caveman Diet Realistic for SHTF?
- Pocket Survival Book Buyer’s Guide – Small Books for Big Trouble
- Pick Up Chicks: A Guide to Raising Egg-Laying Chickens
- Out of the Smoke: 5 Survival Lessons from Elite Firefighters
- Flame On: Portable Stove Buyer’s Guide
- Forever Foods: 10 Long-Lasting Survival Foods
- Eye for an Eye: Hurricane Preparedness & Survival
- H2O Hygiene – Water Filter & Purifier Buyer’s Guide
- Big-Bore Airgun Faceoff
- Angle-Head Flashlights
- Why Activated Charcoal Needs to be in Your Survival Pack
Read articles from the next issue of Recoil Offgrid: Issue 16
Read articles from the previous issue of Recoil Offgrid: Issue 14
Check out our sister publications on the web: Recoil | Gun Digest | Blade
Editor’s Note: This article has been modified from its original print version for the web.
