To legalize or not — that seems to be a burning question for most of America’s 50 states in the 21st century. The legalization of marijuana for both medicinal and recreational use has not only saturated politics within the United States, but has opened the floodgates for American entrepreneurs looking to stake their claim on potential gold mines of cannabis sales. Today, we’re interested in how to grow weed in the apocalypse, in a world where legality is not a question.
According to Arcview Market Research and BDS Analytics, “Spending in the legal cannabis industry worldwide is expected to hit $57 billion by 2027. The recreational market will cover 67 percent of the spending, and medical marijuana will take up the remaining 33 percent.” More states are joining the movement to legalize cannabis, not only to control its recreational and medicinal use, but to get a piece of the financial pie through taxation and regulatory fees. Cannabis is unlike many other drugs, such as heroin and other opioids, in that it has created its own counterculture that elevates marijuana as a symbol of mental and physical freedom.
 Above: Many times, users of marijuana turn to the drug to escape stress. During times of massive disaster, many may use cannabis to deal with the anguish of a societal meltdown. Photos by Lars Smith.
But is the use of marijuana as liberating as the cannabis industry claims it to be, or will their arguments for its benefits eventually go up in smoke? Moreover, if America suffers a national disaster of apocalyptic proportions, what could the role of marijuana play in society when resources dry up and hope fades? Advocates of cannabis’ vast array of potential uses could have an opportunity to test their claims if the American grid collapses and traditional healthcare is no longer an option.
Aside from the notion that Americans could exist without power for any number of reasons, the possibility of living in a cashless society would be symptomatic of total grid failure. Rather than using the exchange of money that so many of us are accustomed to, bartering needed items in a post-disaster America would rather be advocated within our nation’s populace. For its plethora potential uses, including recreation and comfort, marijuana could be near the top of the bartering food chain as a form of apocalyptic currency. Alcohol and cigarettes are commonly considered to be high-value trade items, and cannabis clearly falls into the same category.
There are several philosophical paths that could be traversed in any apocalyptic scenario, but adding the use of alternative medicine and recreational drugs only makes those paths a bit more interesting to travel. Discussions on the potential uses of cannabis in any large-scale survival situation should be more theoretical in nature at the time being. History, however, has shown that where there’s need, there’s much demand — the development of speakeasy culture during the Prohibition period in America is one of many examples. For those who demand a product, whether legal or illegal, there’s a “will to find a way.” While the debate of legalizing marijuana infiltrates debates within our government, more philosophical discussions should be had on “mega-disaster” levels which begin with one question: how high are the stakes that marijuana plays in a post-disaster America?
The Versatility of Cannabis
Regardless of what side of the fence you stand on regarding the use of cannabis, its physiological effects are clear. It has been used for ages as a result of its ability to induce the sensation we refer to as a high. However, it’s also known for its wide range of medicinal uses, as well as its proficiency to reduce stress as a coping mechanism. While FDA studies on the medicinal uses of cannabis are ongoing, advocates of marijuana claim that the plant contains more than one healing property that can be utilized in post-disaster situations.
To further explore the medicinal qualities of cannabis, agencies, such as the National Institute on Drug Abuse, develop scientific data on the plant’s biology and how it intimately interacts with humans. Marijuana contains chemicals known as cannabinoids that are related to delta-9-tetrahydrocannabinol (THC) — marijuana’s active ingredient responsible for inducing a high. Each plant contains over 100 cannabinoids, and these have been synthetically created to varying degrees of strength within manufacturing laboratories. The body also produces its own chemicals known as endocannabinoids that may play a role in regulating pleasure, memory, thinking, concentration, body movement, awareness of time, appetite, pain, and senses such as taste, touch, and smell.
According to Tamara Thorn, founder and CEO of Heal Thyself Gardens in Lake County, California, our brains — amongst many other components — are guided by the endocannabinoid system “which plays a crucial role in regulating our physiology, emotions, and everyday experiences.”
Thorn adds that when one consumes cannabis, it overwhelms our endocannabinoid system and can either kickstart it or make it sluggish, depending on your own endocannabinoid deficiency. But according to Thorn, the benefits of cannabis far outweigh its negative consequences in post-disaster situations. “I see it widely used for people who are distressed or suffering anxiety and depression. Cannabis helps the body’s adrenals relax and communicates with the rest of the body’s systems to alleviate large amounts of stress. For example, with many of the wildfires that we saw in the Western states, cannabis was used for many of the effects of PTSD people suffered through that time.”
If overused, marijuana can cause our endocannabinoid system to become dependent on THC and stop making its own endocannabinoids. It becomes lazy because the cannabinoids are already present in excessive quantities. This is where the potential for using marijuana can interfere with our physical and emotional functions, becoming more hazardous than pleasant.
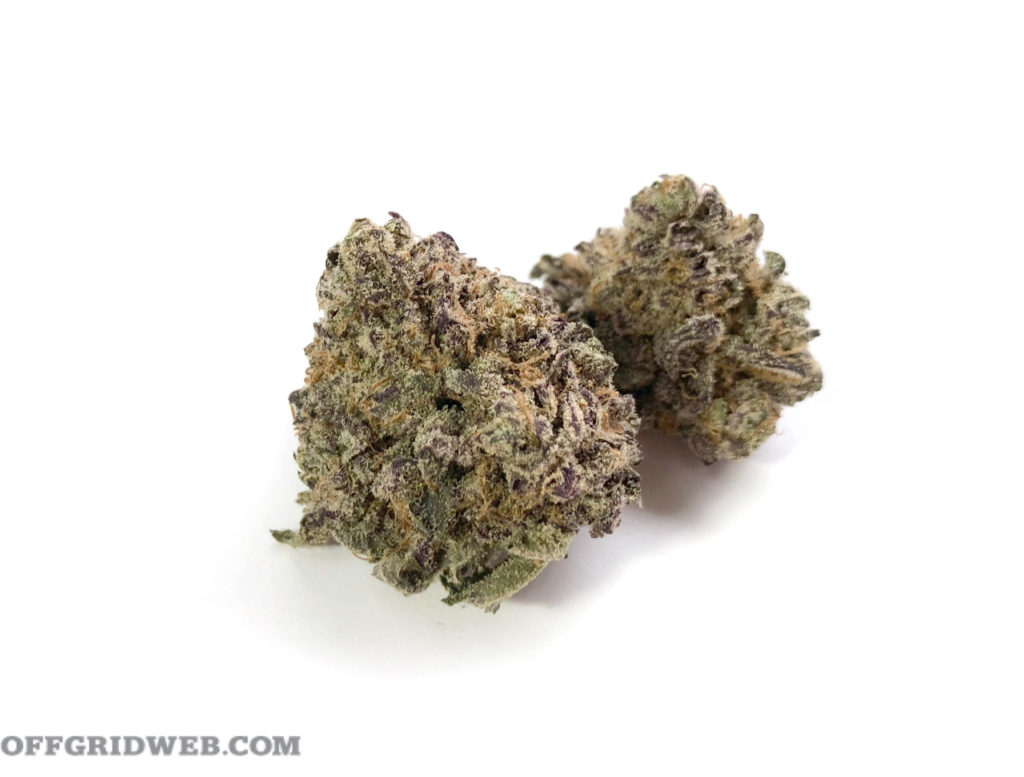
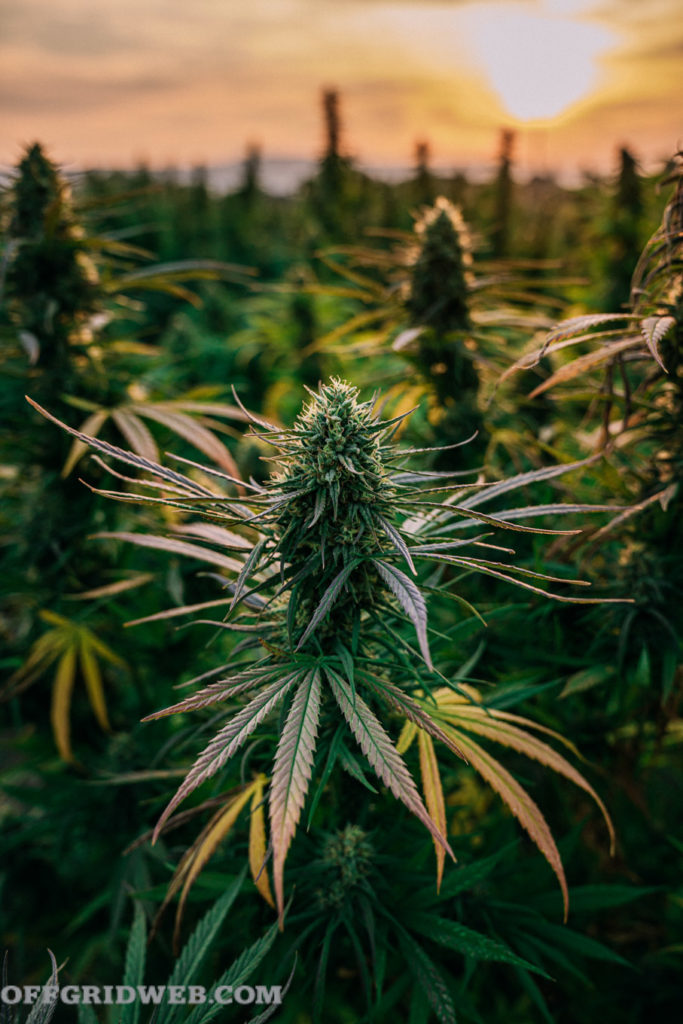
 Above: Marijuana remains the most widely used drug in the world, both for its proposed medical abilities as well as the stereotypical “high” that marijuana is infamous for. Photo by Henry Glover.
Psychologist Neal Olshan has repeatedly observed psychological and physical drawbacks associated with the overuse of marijuana. “There’s another side to pot that a lot of people don’t look at. If you have a propensity for being psychotic or schizophrenic, or are suffering from severe depression and panic attacks, utilizing pot has been shown to have the ability to trigger an underlying condition that you may or may not be aware of.” Users who are unaware of underlying psychological conditions might experience psychotic reactions, panic attacks, and extreme levels of fear.
Research has proven that one of recreational marijuana’s predominant effects is a decrease in the ability for a user to see the need for action, as well as diminished desire to acquire new information needed to fuel problem solving. According to Olshan, “One of the most important detriments to smoking pot is that it inhibits the ability to evaluate future consequences of behavior. Keep in mind, these are the abilities that humans possess that separate us from other members of the animal kingdom.”
This is the foundational debate as to whether marijuana is a medically efficient choice during times of extreme disaster and survival. On one hand, marijuana is widely used as a relaxant or anti-inflammatory, which are vital in times of extreme duress seen in apocalyptic conditions such as war. The other side of the debate, in which our psychological and physical systems become impaired by the drug, leads to doubts about the value of marijuana in disaster scenarios, especially when our judgment and senses need to be functioning at the highest possible levels.
Most current scientific studies, which have been anecdotal at best, show that marijuana’s effectiveness tends to vary widely depending on the person using it. Dr. Jeff Wigand, an expert witness on several tobacco-related issues and founder of Smoke-Free Kids, Inc., believes there’s considerable evidence that marijuana does impair judgement and ability. “A drug that’s been proven effective by the FDA is a drug where you know what you’re going to get. With marijuana, you’re not totally sure what you’re going to get.”
One of the major issues found with marijuana is that it sedates certain warning centers of the brain. This can put an individual in danger during a catastrophe. Olshan adds, “We live in societies today where we don’t fear for our lives on a daily basis. Most of us don’t fear the environment or live in a war zone where those senses are heightened. Add to that the potential overuse of pot during a disaster, and you could have a real danger on your hands.”
Preserving the Pot
If we’re to debate the effectiveness and psychological attributes of marijuana, then questions concerning the health and safety of cannabis should also be fair game. Much like any other consumable, public health measures should be addressed on both the legalized and illegal distribution of marijuana. Within the public health spectrum, safety questions should be addressed as they would with any standing food or drug on the open market.
Specific analysis of long-term storage capabilities, such as freeze-drying or vacuum sealing, may reveal that long-term storage of marijuana may not only affect the quality of the drug, but the health and safety of it as well. There’s currently no clear research-based consensus on any possible adverse health effects of storing marijuana in the long term. However, cannabis, like most other herbs, doesn’t fare well under extreme temperatures, including cold and freezing temperatures.
Drying and curing cannabis buds before storage is just as much an artform as growing it. Many growers feel that drying buds slowly with proper curing will make buds feel more potent to a point. Growers also report that properly cured buds are much more pleasant to smoke, vape, or turn into edibles. This is likely due to how cannabinoids are altered during the curing process. To properly store cannabis long-term, most growers, such as Thorn, shy away from freezing the cannabis buds. As cannabis sits, it continues to decarboxylate, which is the process that transfers THC-A into the psychoactive THC most marijuana users know and love.
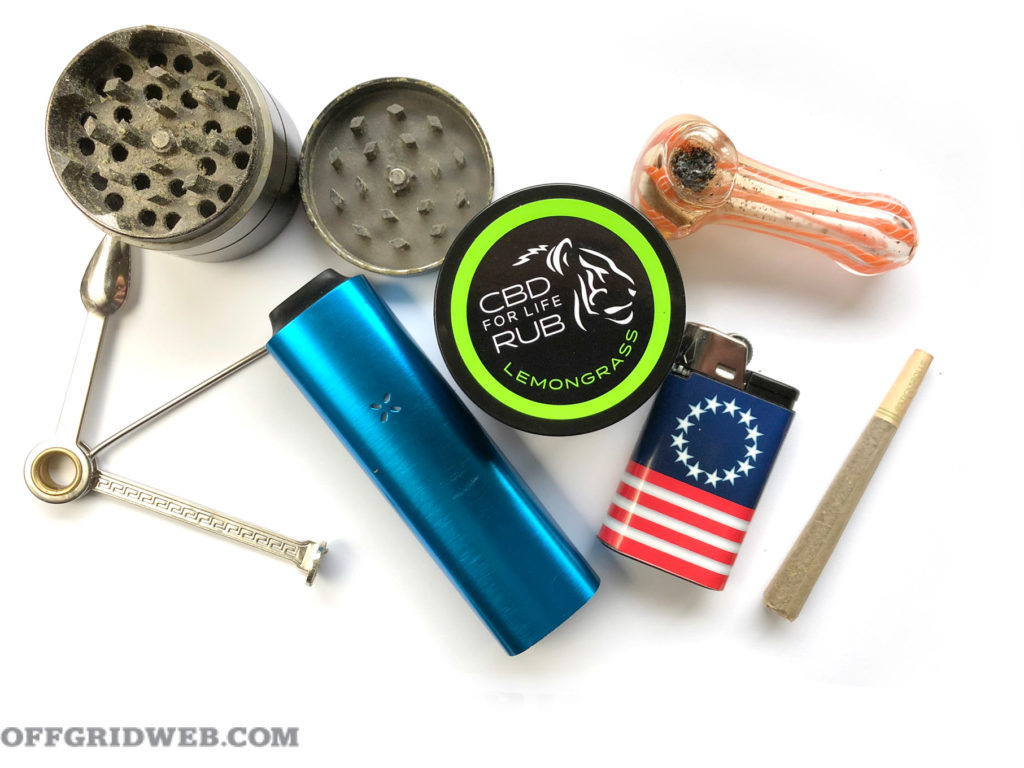
Lower temperatures will slow down, if not completely halt, the decarboxylation process and lead to less potent cannabis over time. If someone is in the business of selling legalized marijuana, then product effectiveness is key, as well as the availability of its multiple consumption methods. Marijuana is famous for its alternate forms of consumption, and can be delivered via vaporizers, edibles, and oils. In fact, while many American states haven’t legalized the sale of cannabis, consumers often turn to the closest legal product that offers some of the benefits of marijuana, CBD oils. As in most cases, those purchasing items such as CBD oil should approach sales with a “buyer beware” attitude. Authentic and effective CBD oil is a great deal more expensive than the bottles found at most corner gas marts, and is typically sold by those in herbal remedy stores governed by the Medicines and Healthcare Products Regulatory Agency (MHRA).
Marijuana’s Wild West
While federal and state governing agencies have worked a great deal in developing avenues for the legalization of marijuana in both the medicinal and recreational markets, there are going to be some who refuse to play by the rules. This especially holds true in a post-disaster situation in which the populace may have to fend for themselves due to a collapse of governmental institutions. If the worst-case scenario happens, money may have little to no value, which may institute bartering systems as the main source survival commerce. Some apocalyptic movies, such as The Book of Eli, may not be far off in their interpretation of the national bartering system if an apocalyptic scenario happens. Many survivors will do what they must to ensure their survival, and trading “products” — not money — will more than likely be their means to live.
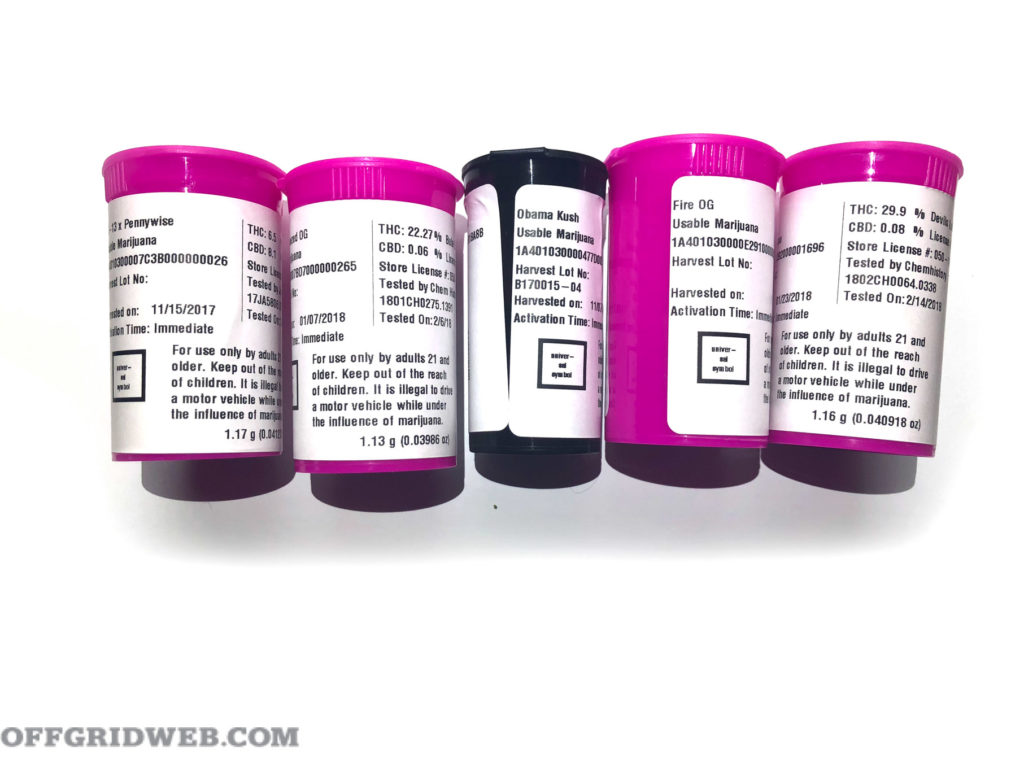
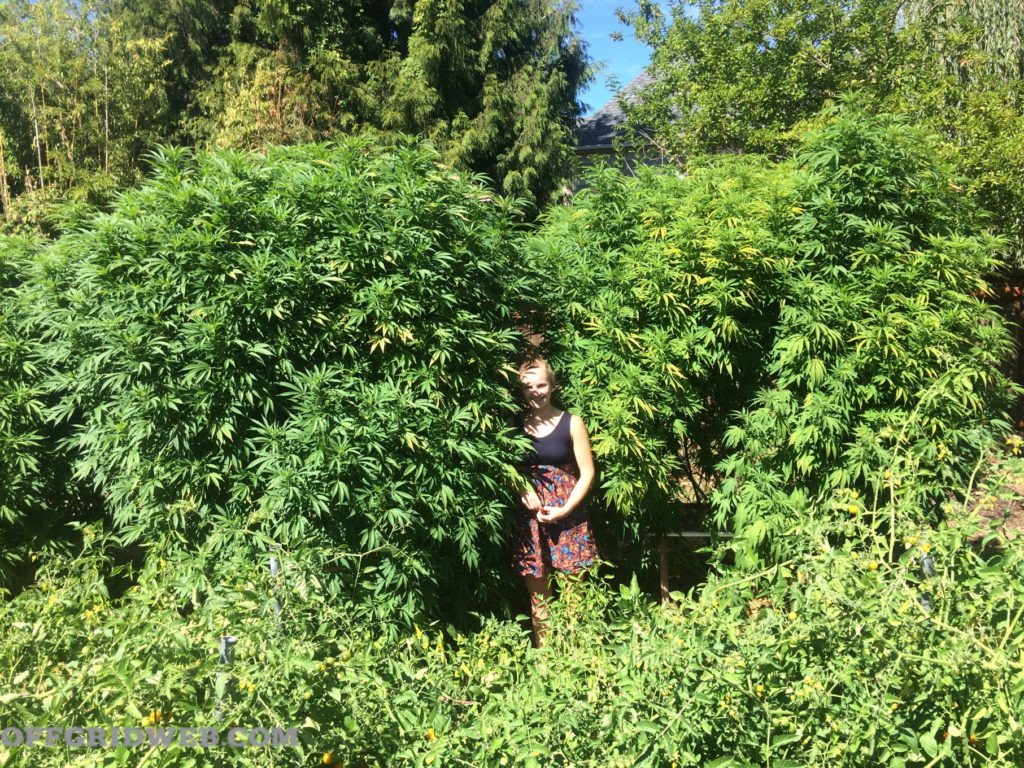
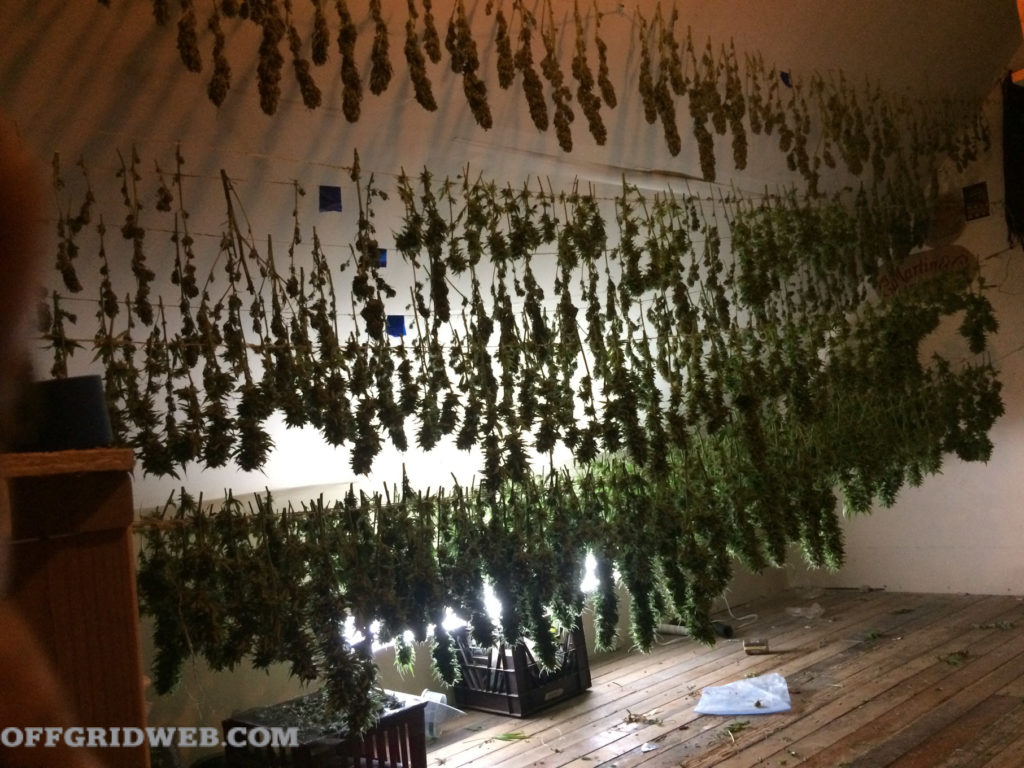
 Above: Currently, a handful of American states have legalized the growth and sale of cannabis for both medicinal and recreational purposes. Businesses in these states have the advantage of securing a product that may be highly sought-after during times of national distress.
John Nores, a tactical surveillance and covert/overt special operations instructor, believes that the demand for marijuana will greatly increase in a massive, post-disaster scenario. “In a disaster situation, when you lack water or power, and food sources are limited, it makes logical sense that cannabis users would use it for pain relief to deal with the uncomfortable scenario that they’re in. An argument can be made that there will be a greater demand for use. Depending on what state you live in, you may have greater access and desire to use cannabis if the legalization and availability of marijuana has already been established within your state.”
As long as the Yellowstone Park super volcano doesn’t erupt and cover the nation in a cloud of ash that blots out the sun for three years, chances may be good that vegetation will still grow for the foreseeable future. This would be fantastic news for crop producers, especially those who grow marijuana, as their product will always be a renewable resource with sustained growth. Marijuana may actually be a more sought-after drug, because unlike other drugs that must be processed, marijuana is much easier to produce and use. Whether it’s bartered for medicine, recreational use, or as a control measure, cannabis will be a hot commodity in a post-disaster situation where money would’ve lost its value.
In times of need, however, citizens may take it upon themselves to revert to more rudimentary measures of acquiring sought-after items. The increased demand for stress reduction that would follow a mega-disaster may push many to resort to crime to secure needed drugs, especially if the initial demand is low. Crime may not only increase with individuals, but also against those who are currently growing legalized crops of marijuana, such as Thorn. She explains, “I think that the most sought-after commodities could be food, tobacco, cannabis, and alcohol. These would all be powerful bartering tools that I think people would look for after a massive disaster. But any drawbacks to bartering such items would most likely revolve around thievery and securing cannabis crops because they would be such a large commodity during those times.”
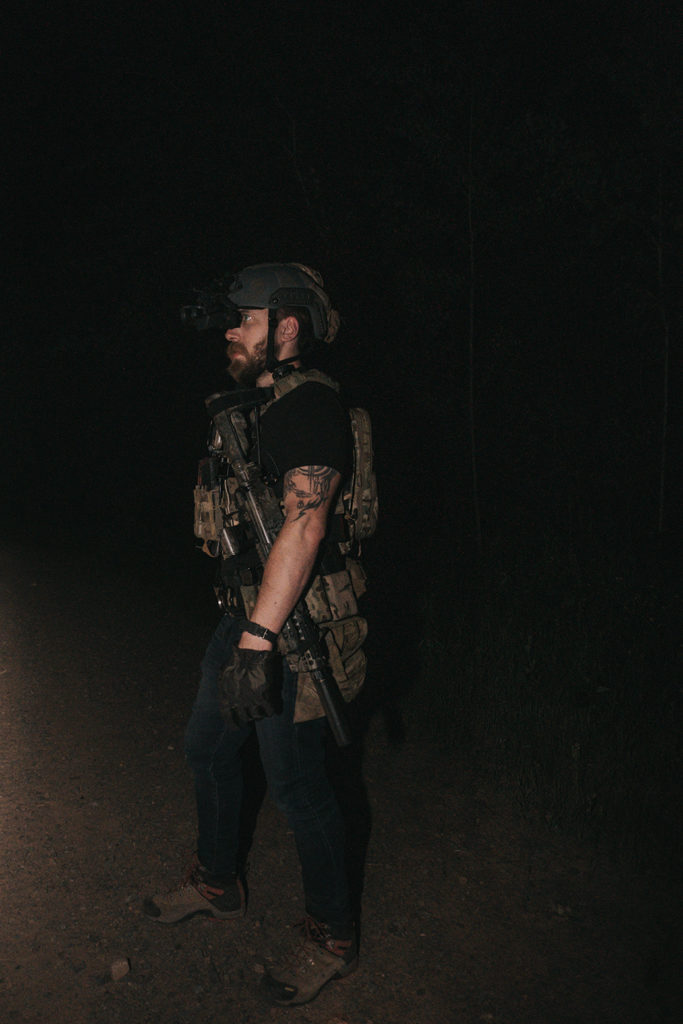
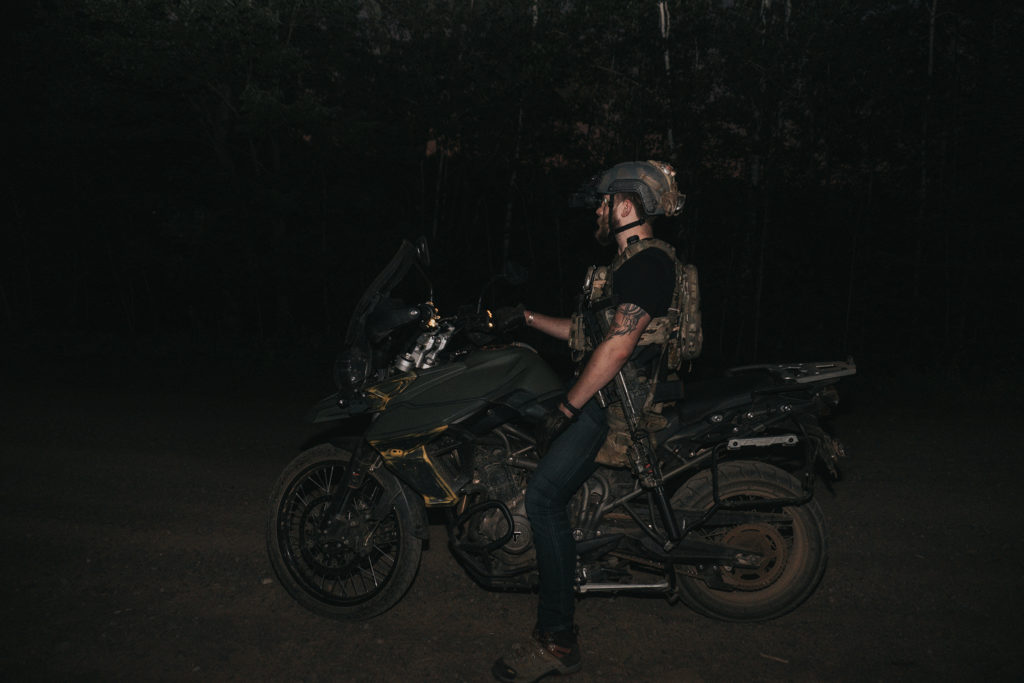
 Above: In a society where the infrastructure has fallen, marijuana may become a bartering token. However, its value as a resource may lead to crime, such as killing or stealing from those who have it. Photo by Lars Smith.
While post-disaster theft may increase on several levels, other circuits of crime may arise in the form of big business. Just as a thriving black market developed to illegally sell alcohol during the days of Prohibition, a similar circumstance could envelop the illegal sale of cannabis more so than it does today. The concern isn’t without validity. California is one state where the legal sale of cannabis is regulated. Currently, California growers must register with the State and be overtly “on the grid,” with their facilities and crops inspected through environmental compliance measures.
Many in California feel that government intrusion only dampens their efforts to make a viable profit. In turn, they prefer to stay in the black market because the cost and visibility of regulation is something they want to escape, and therefore refuse to sell their product legitimately. Nores has seen his share of illegal cannabis sales in the Golden State, especially through multiple encounters with drug cartels. “If it’s a problem today, it’s going to be a huge problem in a post-disaster situation where a black market has already been established. There will be even less pressure for growers to distribute their product since law enforcement and first responders will have focused their efforts on life-and-death objectives, rather than cracking down on the distribution of cannabis. The cannabis black market will be very low on their priority list when people’s lives are at stake.”
Above: According to retired game warden, Lt. John Nores, black-market marijuana crops are often sprayed with toxic and illegal chemicals to protect them from wildlife. The potential health and environmental damage could escalate a public health crisis. Photo by Henry Glover.
There are several health and safety issues to be considered as well. If the sale of marijuana is delegitimized and deregulated after a disaster, then all regulatory inspections and oversight would cease, potentially leading to the proliferation of unsafe or contaminated crops. Wigand insists that while the control of marijuana distribution is difficult today, the control of cannabis would all but cease in a post-disaster situation. “If you decide to purchase marijuana in any apocalyptic situation, then it’s going to be buyer beware. Before you buy it, you’d better know what it is. There’s going to be some real health consequences in using marijuana, especially when you don’t necessarily know what you’re buying or using.”
Nores agrees. “We currently have a black-market cannabis industry in America, a lot of which is generated out of California by international drug cartels. This stuff is very potent and gives a really good high. What buyers don’t realize, however, is that the marijuana plants have EPA-banned insecticides and rodenticides on them that contains the same active ingredient that the Nazis used for their nerve-agents in WWII. These same chemicals are distributed on marijuana buds throughout the entire U.S. cannabis black market, with no knowledge to the buyer.”
If there would be a lack regulatory control over cannabis dispensaries, then the public health ramifications of poisoned cannabis might be immense. Little could be done to help mitigate or respond to the illegal sale of poisoned marijuana, aside from spreading warnings slowly through word of mouth. In a post-disaster situation, lawlessness could increase to the highest levels this nation has seen, yet the efforts of law enforcement would decrease on exponential levels as they respond to more urgent scenarios with a decreased workforce. Much like the spread of heroin tainted with deadly levels of fentanyl, this could give unscrupulous black market cannabis pushers free reign to distribute poisoned marijuana to American communities, and potentially place citizens at severe risk.
Another potential issue is the notion that everyone, whether for personal or business-related ventures, may want a piece of the cannabis pie. The likelihood that individuals would grow personal crops would only increase, especially with a diluted law enforcement presence. This not only increases health risks, but also the probability that crime would increase to steal crops.
Basic economics dictates that if the market becomes flooded with too much product, then the value of the product goes down. The same would hold true with increased marijuana growth and sales. Whether this would be a positive or negative influence to a disaster-torn America falls to the realm of social theory. However, in a vacuum, there’ll be another product that fills the void if marijuana isn’t the drug of choice. This potential drug could fall more in line with drugs like heroin, and exacerbate the growing opioid crisis that America is currently facing.
Lighting Up the Debate
As discussion points are laid out within this article, readers may be disappointed that there are no strong conclusions. They don’t exist. As with most forecasted apocalyptic events, discussions are based mostly on theory, which should include current data to support or discredit social estimates. There’s always one fact that rings true with disaster-based theoretical discussions: “It’s not if, but when.” Disasters happen every day. America could have its final day due to a plethora of theoretical doomsday scenarios. We can base similar principles on the current social tendencies that surround the marijuana culture. It’s, as theory goes, the best we can do. While chances are more than good that cannabis could be the drug of choice during an apocalyptic situation, it’s difficult to forecast what society’s “escapism” might look like in those times.
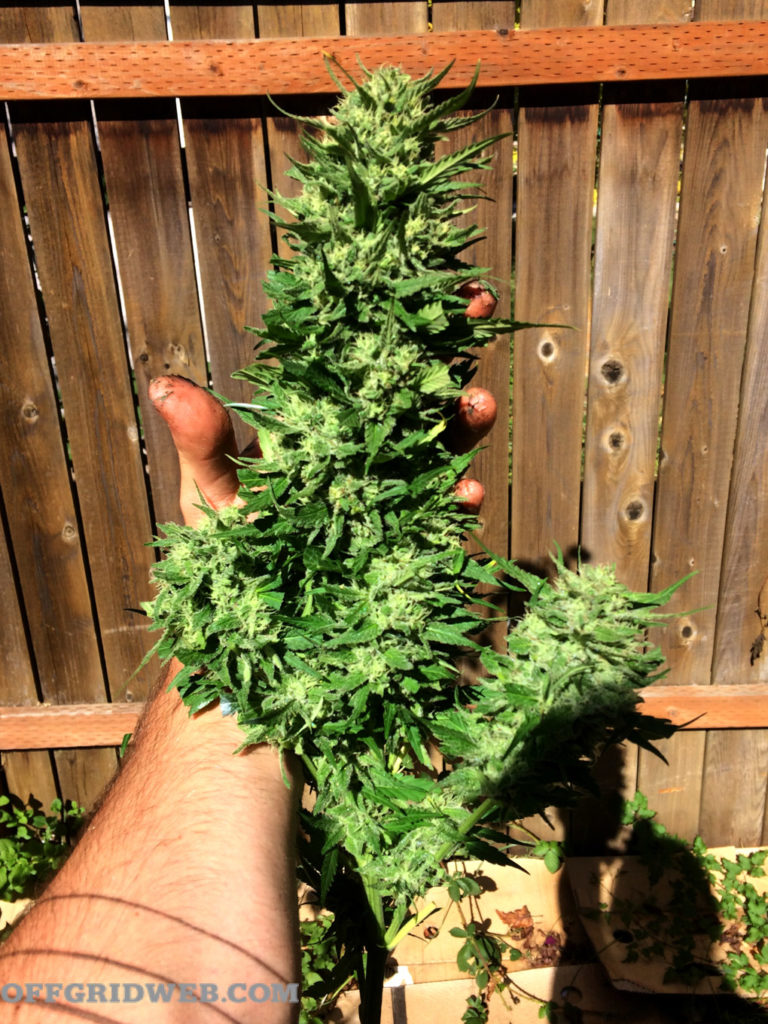
 Above: In many cases, the cost to become a government-sanctioned marijuana grower is so exorbitant that farmers continue to maintain an unregulated operation. Photo by Henry Glover.
In the realm of psychology, Olshan completely understands the state of anguish that his patients experience when emotionally pushed to their brink. “People are not going to know how to deal with the pressure of hopelessness. A lot of people don’t have a contingency plan in life, and people will turn to marijuana to dull their pain and fear. Rather than wait for legislation to pass to give them permission, they’ll take it upon themselves to self-medicate in a post-disaster scenario.”
We currently live in a society where citizens are quick to grab anything to dull their senses. If America is decimated by any level of disaster, it may not be our greater sense of judgement that enables us to work through the emotional and physical pain. It may come in the form of a drug, such as unregulated, and potentially tainted, marijuana.
Olshan continues his thoughts that “social pressures will be an increased burden during a post-disaster situation, because as a society, we’ve become soft. We are constantly waiting to be rescued, and matters don’t seem as severe. This is one of the false leads associated with marijuana. In a dire scenario, the growth and distribution of marijuana could escalate to a point where we lose control of it, only exacerbating the effects of the disaster.”
Meet Our Panel

Jeffery Wigand
Dr. Jeffrey Wigand spends his time and efforts around the world as an expert witness and consultant on various tobacco issues, and on his nonprofit organization, Smoke-Free Kids, Inc., where he concentrates his energy on helping kids of all ages make better health decisions regarding tobacco use. In 1995, Wigand achieved national prominence when he became the tobacco industry’s highest-ranking former executive to address public health and smoking issues. He made the truth known to the public about the industry’s disregard for health and safety during an interview with 60 Minutes. This situation went on to be depicted in the film, The Insider.
jeffreywigand.com
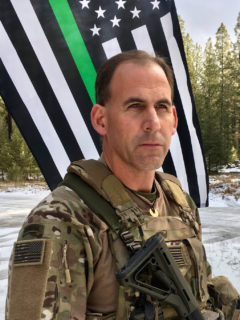
John Nores
Lt. John Nores has investigated environmental crime and wildlife resource destruction for the last 28 years as a Game Warden for the California Department of Fish and Wildlife, and was awarded the Governor’s Medal of Valor for lifesaving and leadership efforts in 2008. His first book, War in the Woods: Combating the Marijuana Cartels on America’s Public Lands was published in 2010 with the stand-alone sequel, Hidden War: How Special Operations Game Wardens are Reclaiming America’s Wildlands from the Drug Cartels. Nores also recently co-authored a national cannabis issue book, Where There’s Smoke, released in 2018. Nores is a tactical surveillance, and covert and overt special operations instructor and operator throughout California. Nores has allied with the U.S. Secret Service in rural and urban protection details for Barack Obama and former Israeli President Shimon Peres. In 2007, Nores codeveloped and instructed at an overt and covert wildlife investigators’ school in Cambodia.
johnnores.com

Tamara Thorn
Tamara Thorn is the founder and CEO of Heal Thyself Gardens in Lake County, California. The work done at Heal Thyself Gardens is committed to empowering well-being through the offering of educational opportunities in regenerative farming, food and medicinal herbs, products, and community collaboration. Thorn has a background in alternative health, working in the fields of massage therapy, yoga, and herbalism. She has spent years in a variety of off-grid living situations, including crossing the country living on a bus, traveling through Mexico with a horse caravan offering environmental education, and participating in a number of intentional communities. Each new experience fueled her passion and taught her more about sustainability and community. She has been growing clean, sustainable, organic food and medicine, including cannabis, since 2009.
heal-thyself-gardens.com
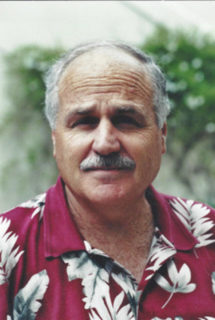
Neal Olshan
Dr. Neal H. Olshan is psychologist, award-winning photographer, freelance writer, author of seven nonfiction books and a novel, The Panama Escape, with his wife, Mary. He has also been a competitive glider pilot. He lives in Scottsdale, Arizona.
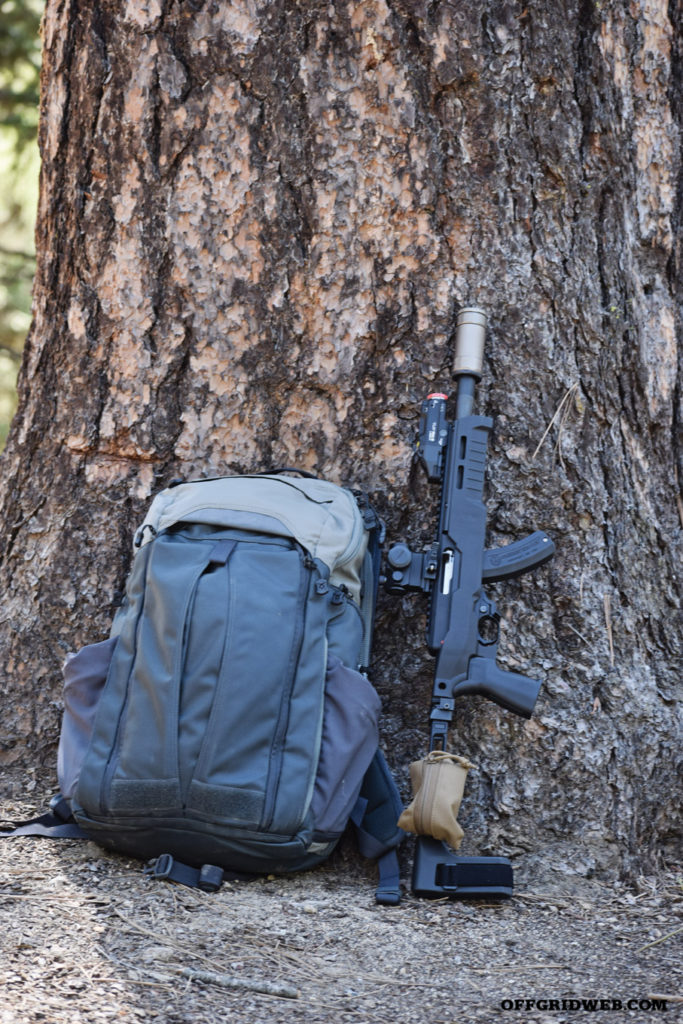
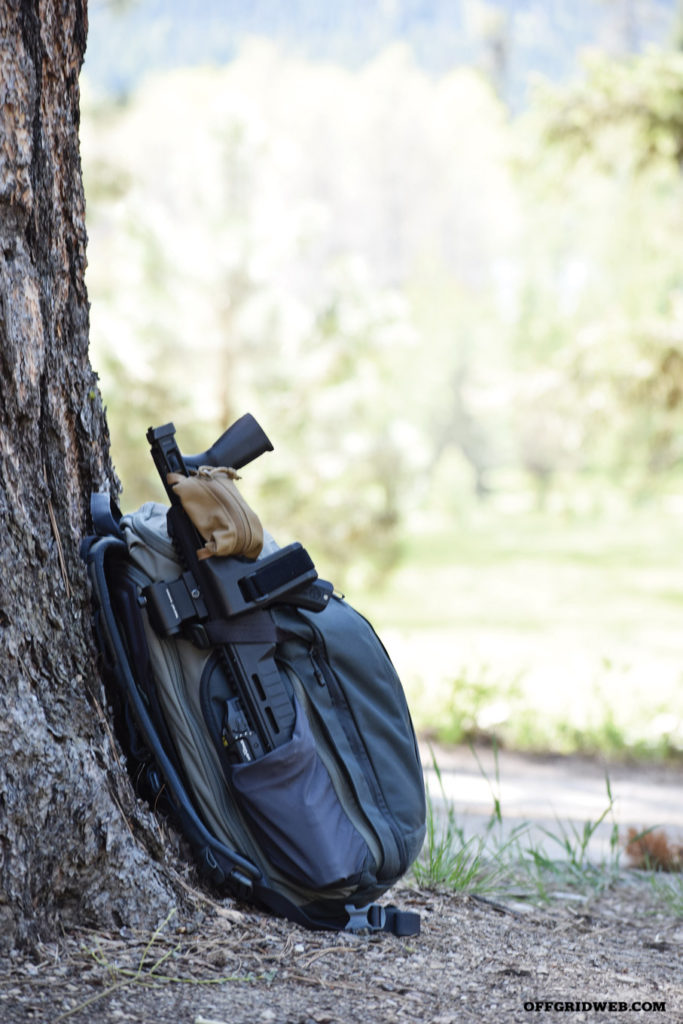
More on Survival Gardening


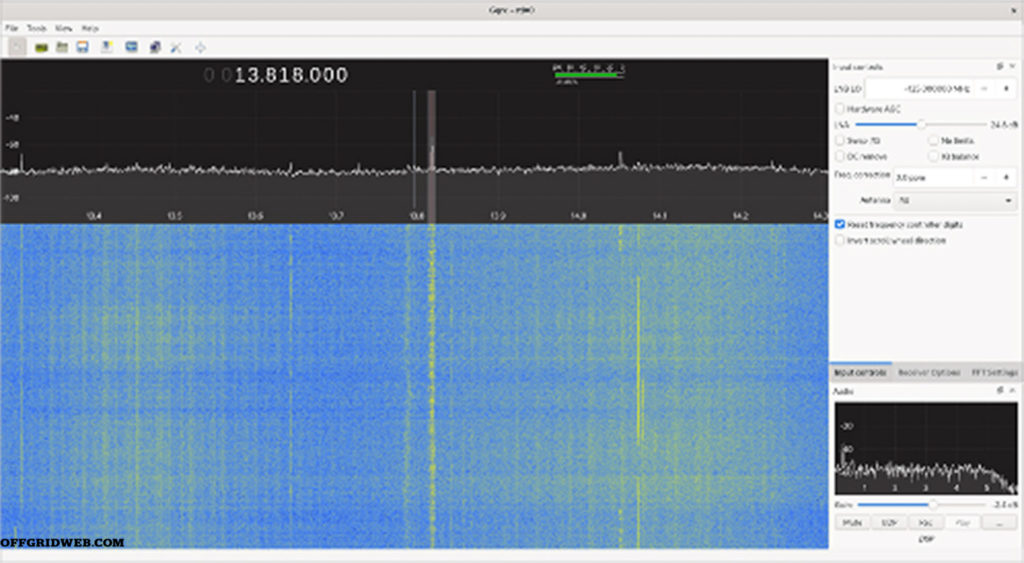
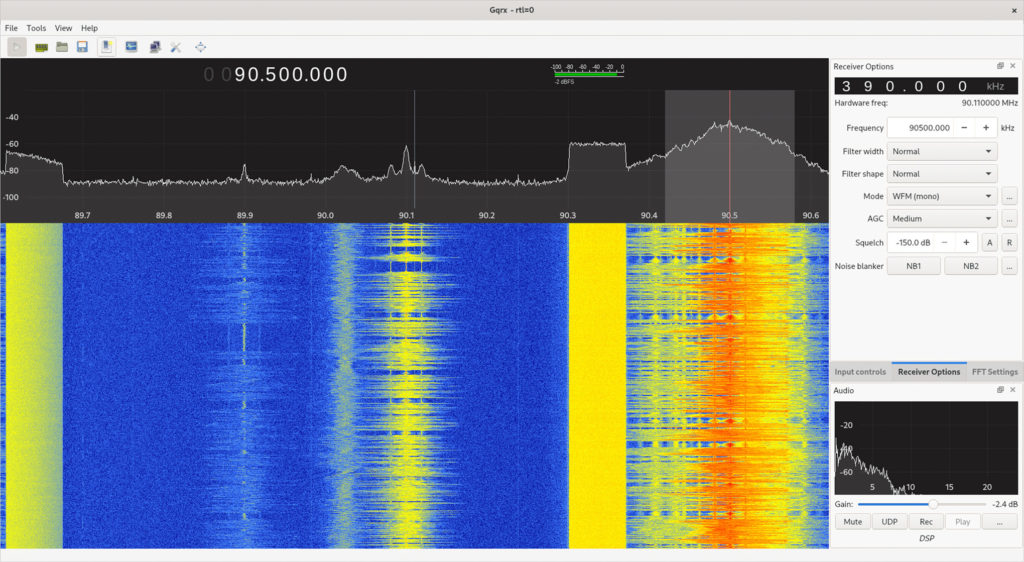 Above: Gqrx provides a waterfall display to show signal intensity (X-axis) over time (Y-axis), with color indicating signal strength. Here, we see the waterfall display for some broadcast FM stations in the Austin, Texas, area. Note that the mode is set to Wide FM.
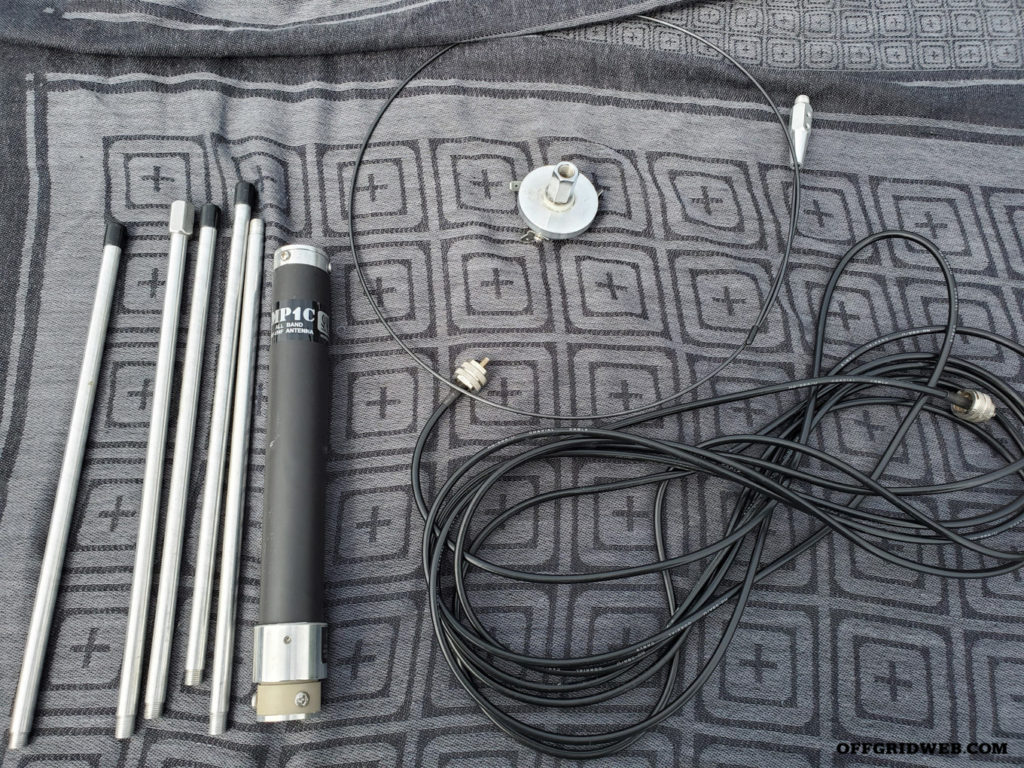
 Above: The Nooelec RTL-SDR bundle is a common, inexpensive way to get into SDR, including the ability to access HF bands with the Ham It Up up-converter. Depending on the antenna you want to use, you may need different cables.


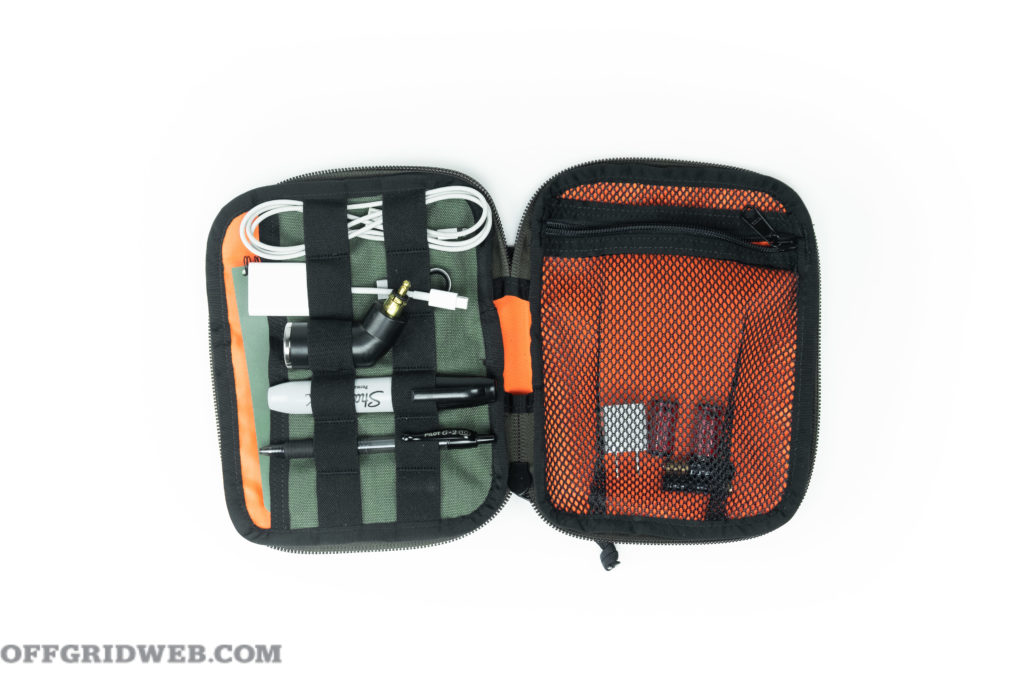
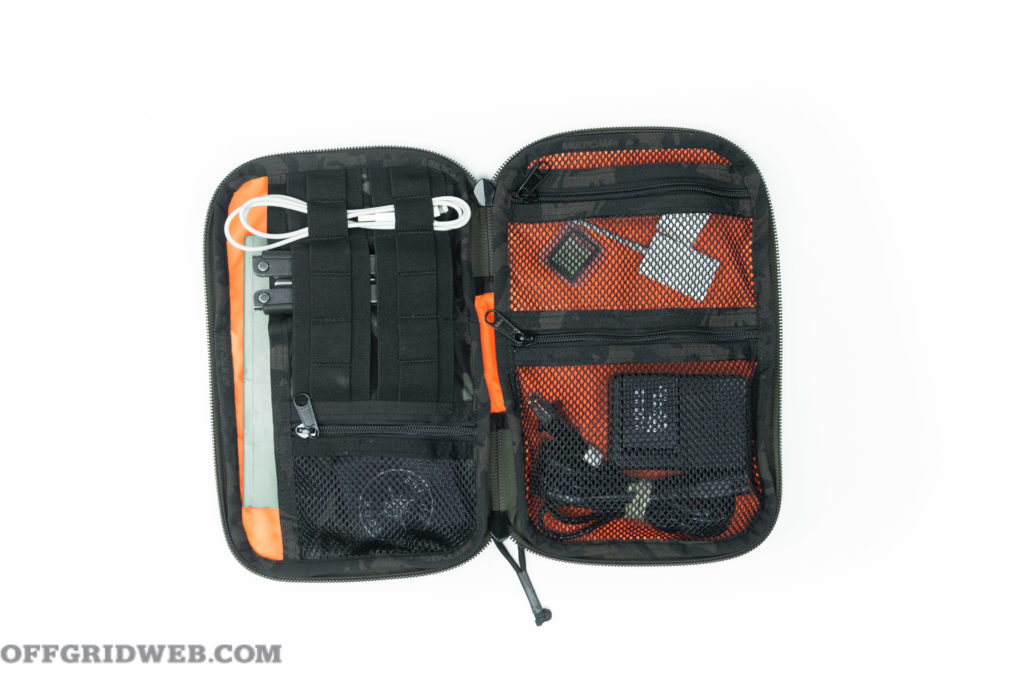

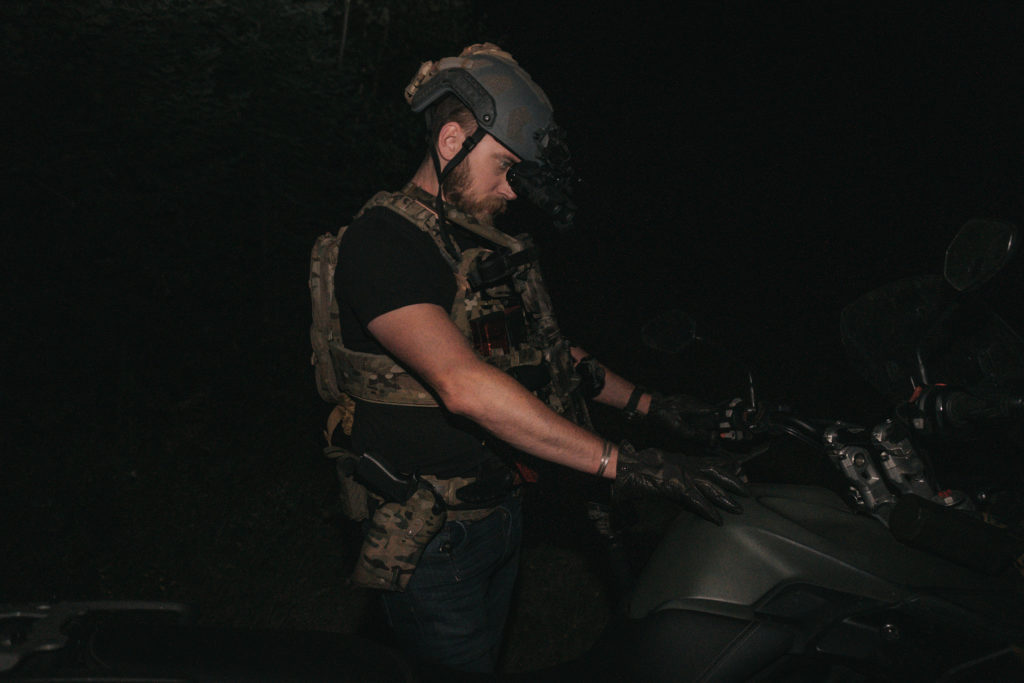
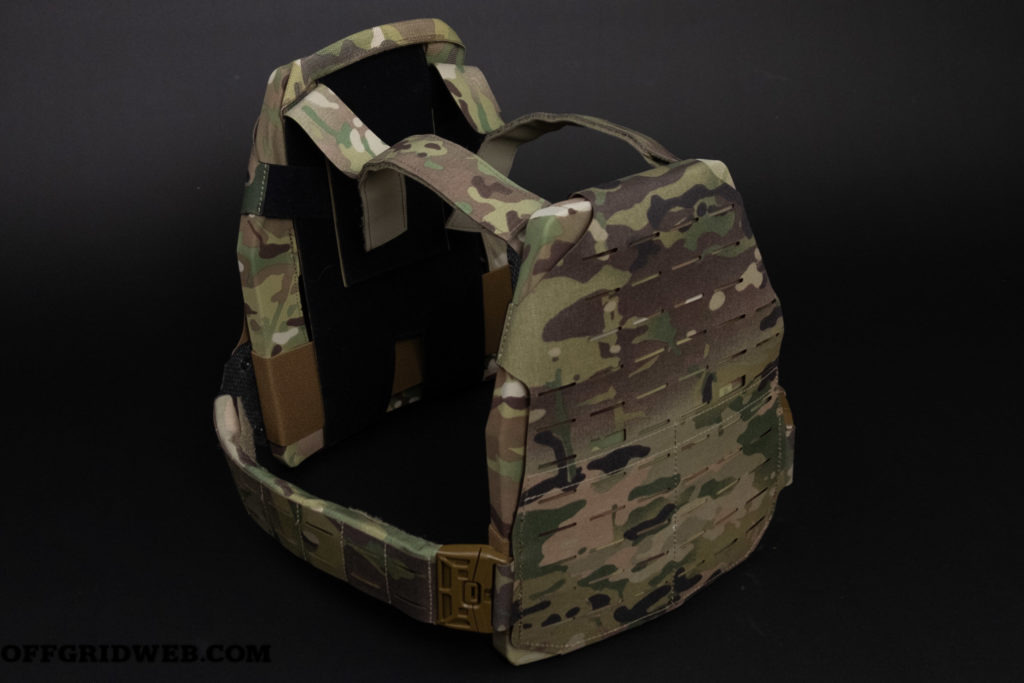
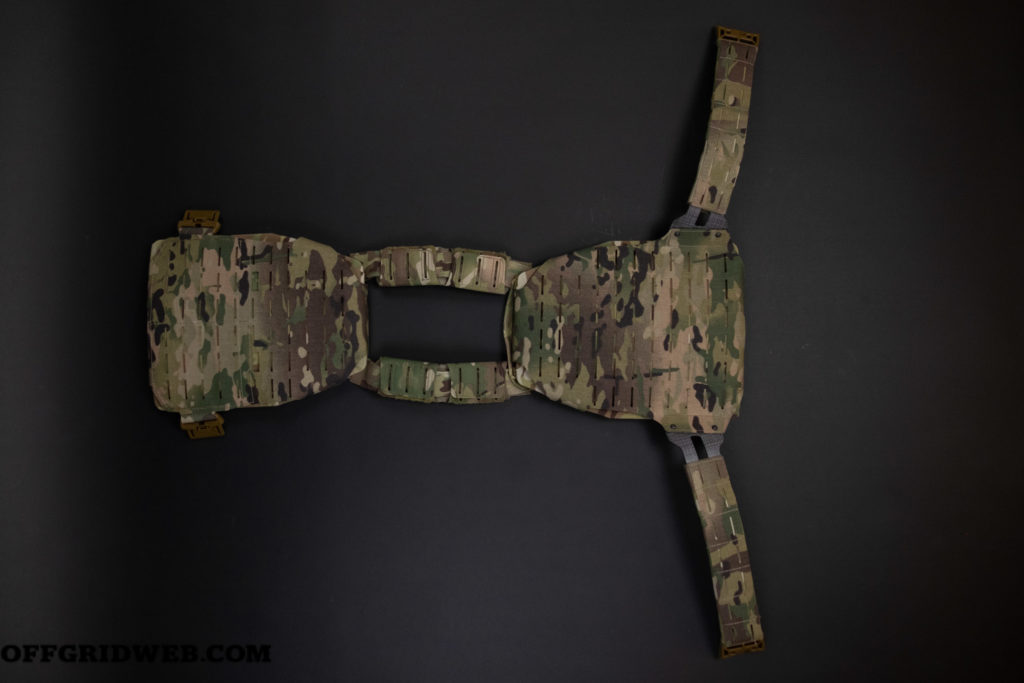
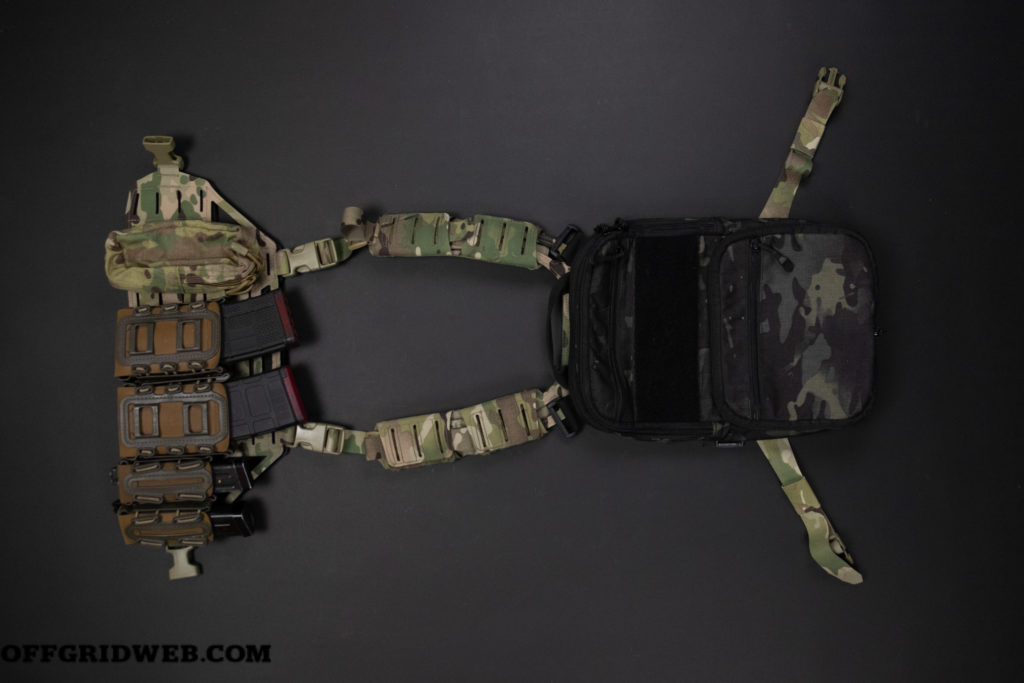
 Unobtainium Gear has appeared on OFFGRID before, when we covered their