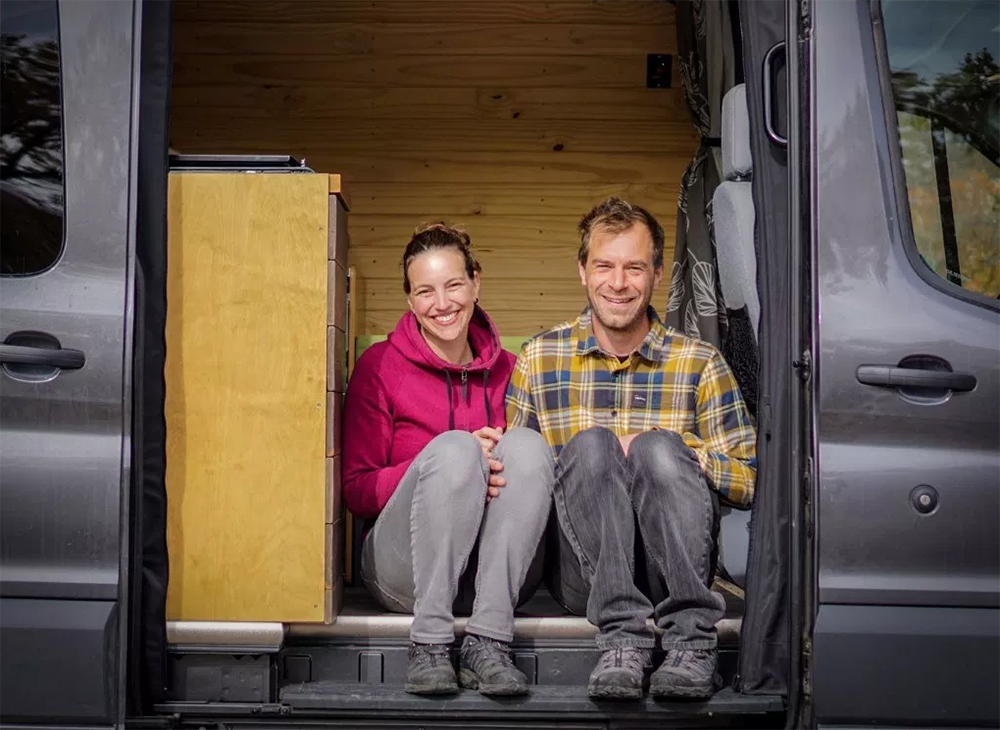
Photos by Q Concepts
When you hear Rudy Reyes talk about his 47 years of existence, it makes you wonder why he isn’t being passed around like a hot potato among VA hospitals or slamming heroin under a bridge somewhere. He was the product of a father he never really knew. He was raised in a big city surrounded by gangs, crime, and drug abuse. He was shuffled around between relatives, abused mercilessly, and ultimately ended up in a boys’ home. He’s been in warzones where the worst aspects of human nature are seething and raw, leaving an indelible imprint on the souls of those who live through it. The odds didn’t favor him living long enough to tell his story, but odds are something that Rudy’s understood how to control and use to his advantage. The hallmarks of a reluctant but self-admitted warrior.
He isn’t some self-aggrandizing personality putting his own interests above everyone else so he can make money off his own name. Quite the opposite. Everyone else comes first for Rudy. He’s one of those guys whom after knowing him 20 minutes you feel like you’ve known him 20 years. It’s a personality that can only be described as incandescent; the big brother you never had and always wanted. He doesn’t need to prove anything to anyone. He’s living proof of what you can do if you have the tenacity to rise above what’s thrown at you and be there for others who need you.
Martial artist, Recon Marine team leader and scout sniper, DoD consultant, actor, motivational speaker, environmentalist, brand ambassador, father — the list just keeps growing. We spoke with Rudy about what’s kept him going in the face of adversity, his experiences in the military, his work to rebuild our planet, and what’s really at the core of a true survivor. If we could bottle and sell Rudy’s motivation and infectious enthusiasm, we could make Warren Buffett look destitute. Until we figure out a way to do that, we’ll give you some insight into what makes him tick and his advice to survive whatever you encounter in life.
Our Interview with Rudy Reyes
RECOIL OFFGRID: It sounds like you learned about survival from a young age. Tell us how you came into this world.
Rudy Reyes: So I was taught very early that the world’s designed to kill you, and it wouldn’t be doing its job if it were anything but. How we thrive as a human race is through struggle, strife, and conquest. Through that we become intelligent and people with will. The people with grit who can somehow, no matter what, make it to that new dawn, they’re the ones remembered throughout history, and the ones we extol in songs and movies, and our very society is built upon their backs.

My mother was 16 years old and fell in love with my father, who was a Marine getting ready to go on a second tour of Vietnam. He was very intelligent and handsome, and people gravitated to him his whole life. I guess in a lot of ways I’m a lot like my biological father; however, he didn’t want me or my mother. He came from a more prestigious family, and my mother came from a very poor family. He didn’t choose to stay with my mother and I, so while my mom was pregnant with me, the father who gave me his name and ethos is Rodolfo Reyes, Sr. He’s the one who taught me to fight for what’s right and that selfishness and greediness are the two ugliest things a man can be. He was also a proud Marine and was a law enforcement officer for much of his life afterward. They’ve both since passed away, but it was Rudy Reyes, Sr. who I carry with me to this day, and I think he’s an angel looking after me.
When I was a child, there was always fighting, yelling, and I was treated much worse than my other two brothers. Little did I know, but everyone else in the family knew, that I was his bastard son. I looked more white and different than my other two brothers and some of my other family. I stuck out. I can remember my father Rudy Reyes, Sr., in my front yard with his pistol pulled out and in the head of my grandfather who had his knife out and was horribly abusive, and almost beat me to death. It was frightening, people were screaming, and the other police were coming, but I was very proud and knew that the measure of a man was my father who stood up for me and what was right.
Shortly after that my mother and father divorced, and my brothers and I grew up being shuffled around among different relatives. My mother got involved with another man, and we became second priority. Then, it got harder and harder; we went to very tough schools with lots of kids with very tough backgrounds and no fathers at home, so I also learned that the strong survive. I excelled at lifting weights and sports to make myself stronger, although I was malnourished and we all got very sick because of the conditions we were in. We had lice, worms, and ultimately I got hepatitis and almost died when I was 10 or 11, but I still kept pushing myself.
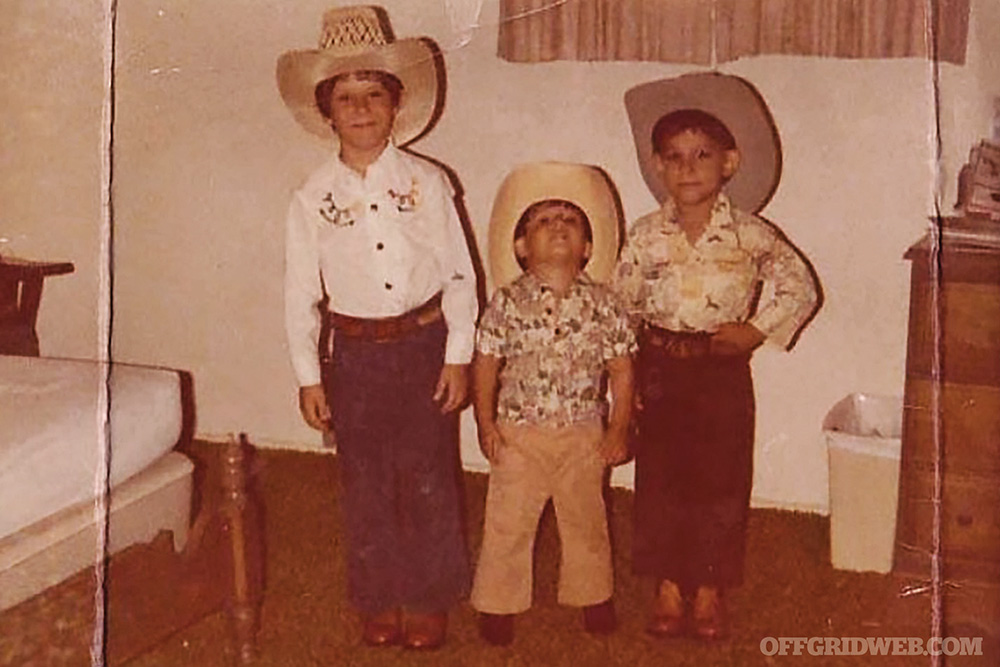
When my little brother Caesar and I were blessed enough to go to the Omaha Home for Boys, then we were able to get well. There we got shots, dental care, haircuts, sports, coaching, and rules. Young men thrive in structure.
I just took the ball and ran with it. I did sports and still kept painting and drawing. We farmed, I learned to drive a tractor, we worked to feed ourselves, and it was very much like the military. I really thrived there, and it gave me confidence. One of the things in survival and times of crisis — confidence is the medicine for panic and it comes from competence. You can’t be confident unless you’re competent, and you can’t be competent unless you’re trained. We’d say in Recon, there were two types of men — trained and untrained.
Strangely enough, it sounds like being in an orphanage improved your situation.
RR: It very much did. For the average American it’d probably seem austere, but for me it was amazing. We got to eat all we wanted. We got to train. We had strength in numbers. When we went to the public school, we banded together, and that way the other kids wouldn’t bully us. It was incredible, brother.
Tell me how Bruce Lee became an inspiration, what you love about martial arts, and how it became a way to protect yourself.
RR: My father, being a Marine, loved to whoop ass. He was 5-foot-4, but walked around like he was 7 feet tall. The confidence of infantrymen in the Marines is just unreal. He would take me to see the Kung Fu cinema at the drive-ins. I was obsessed with the asceticism and culture of the East, because it seemed they had something for self-development. My father also collected Black Belt magazine and was always practicing with his nunchucks. There was already a culture of warriors there and I was always in love with manhood, so I tried to soak up every little bit I could.
I grew up in the hard inner-city parts of Kansas City as well as impoverished South Texas on the border. You think the border’s hard now; you can’t imagine what it was like in the ’70s and early ’80s. My mother was into drugs, and so were the people around her. In the early ’80s, crack had hit the streets in Kansas City. Gangs were proliferating. It was legitimate combat. I had to be able to fight to protect my two little brothers, and it gave me great pride to do that. And it empowered them to become lifelong martial artists as well.
Did you get into MMA as a profession or a hobby?
RR: I got into Sanshou, which is kickboxing and Judo. It was just in its infancy when I was competing as a kickboxer in the Chin Woo Martial Art Academy and throughout international competitions. Where I got heavier into MMA was in the Marine Corps. We do the MMA program in the Corps, and it’s one mind, any weapon. We fight, we grapple. We fight with knives, guns, improvised weapons such as E-tools and helmets — what you’re wearing is a weapon. Being stationed in San Diego my whole career, there was an immense martial arts community there, and I just immersed myself in it. To this day, it’s just part of who I am.
What made you want to become a Marine?
RR: Believe it or not, what made me want to go into it is goodness. I saw a documentary on the war in Kosovo with an orphanage and all these kids who’ve lost their parents in sniper alley. Shortly after that I read in the paper that President Clinton was putting boots on the ground in Kosovo. That’s why — to fight and defend my little brothers all over again. It struck me as something that needed to be done. I joined as an infantryman and was afforded the opportunity to try out for Recon, and it changed my pathway.
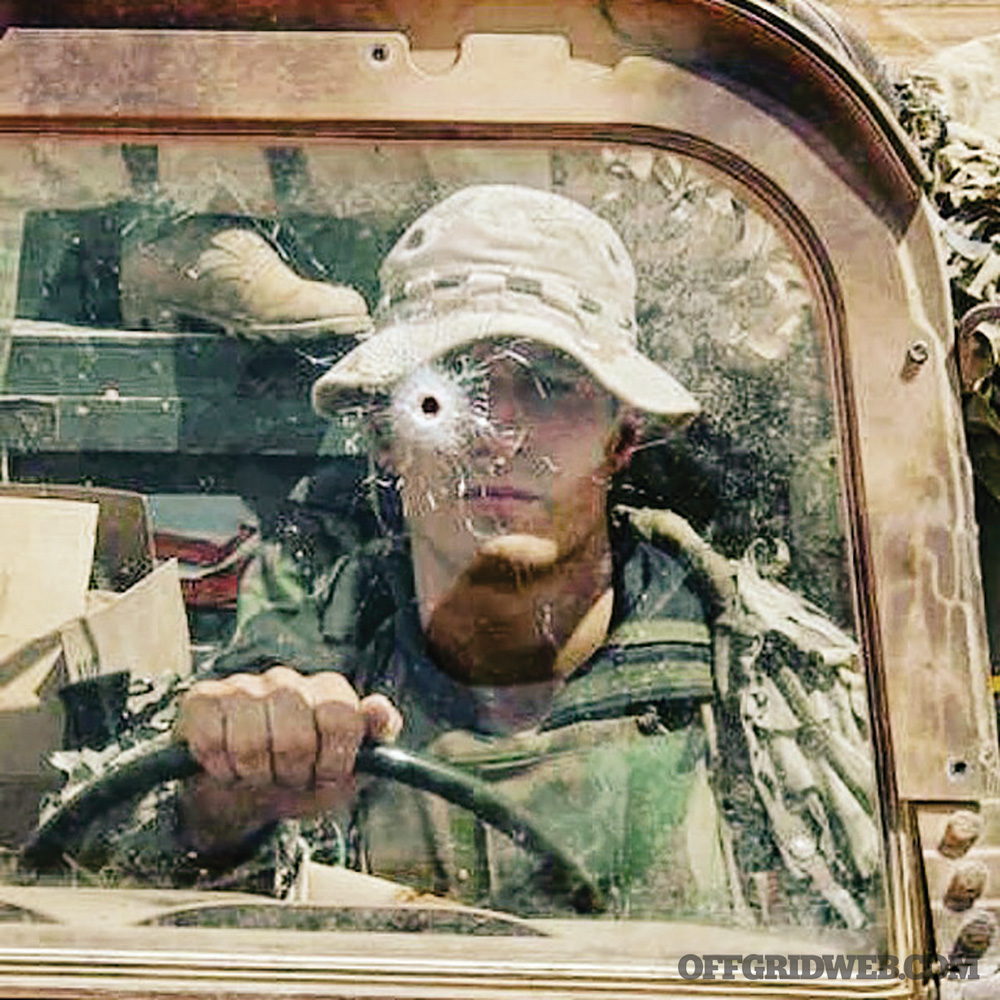
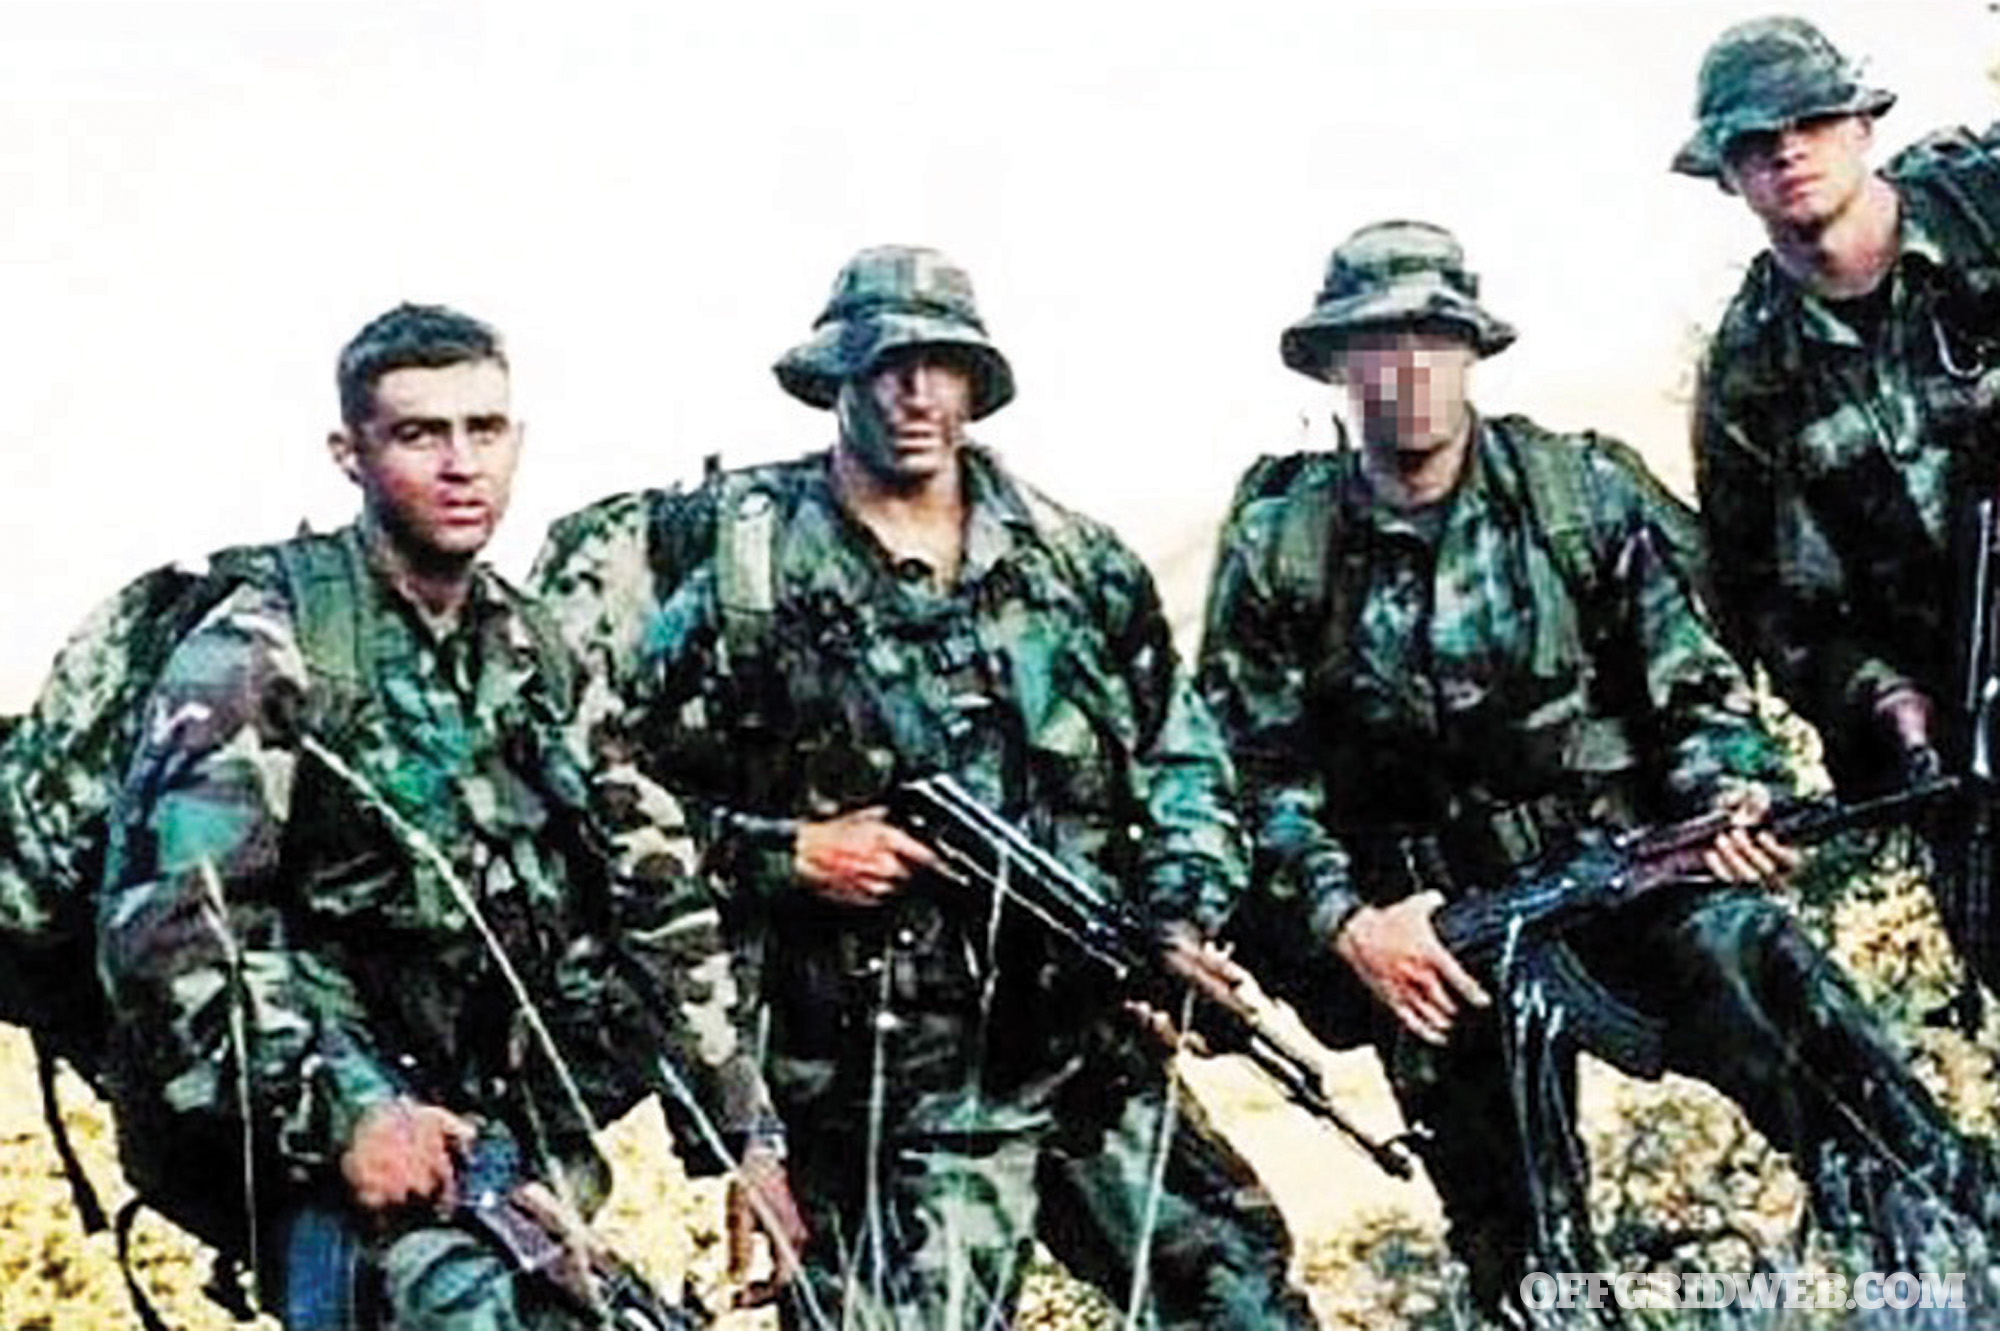
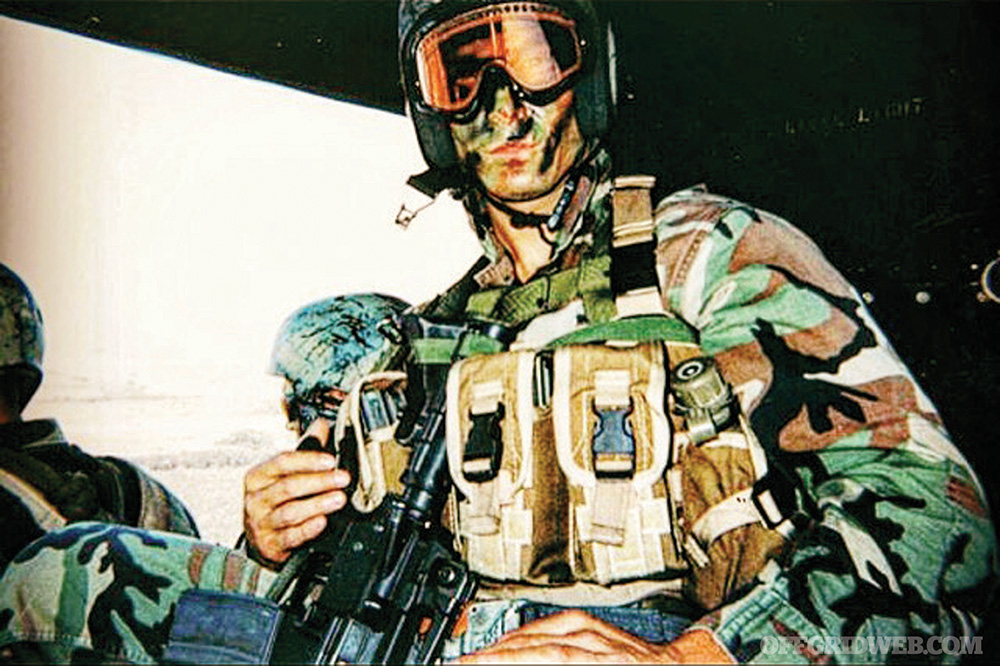
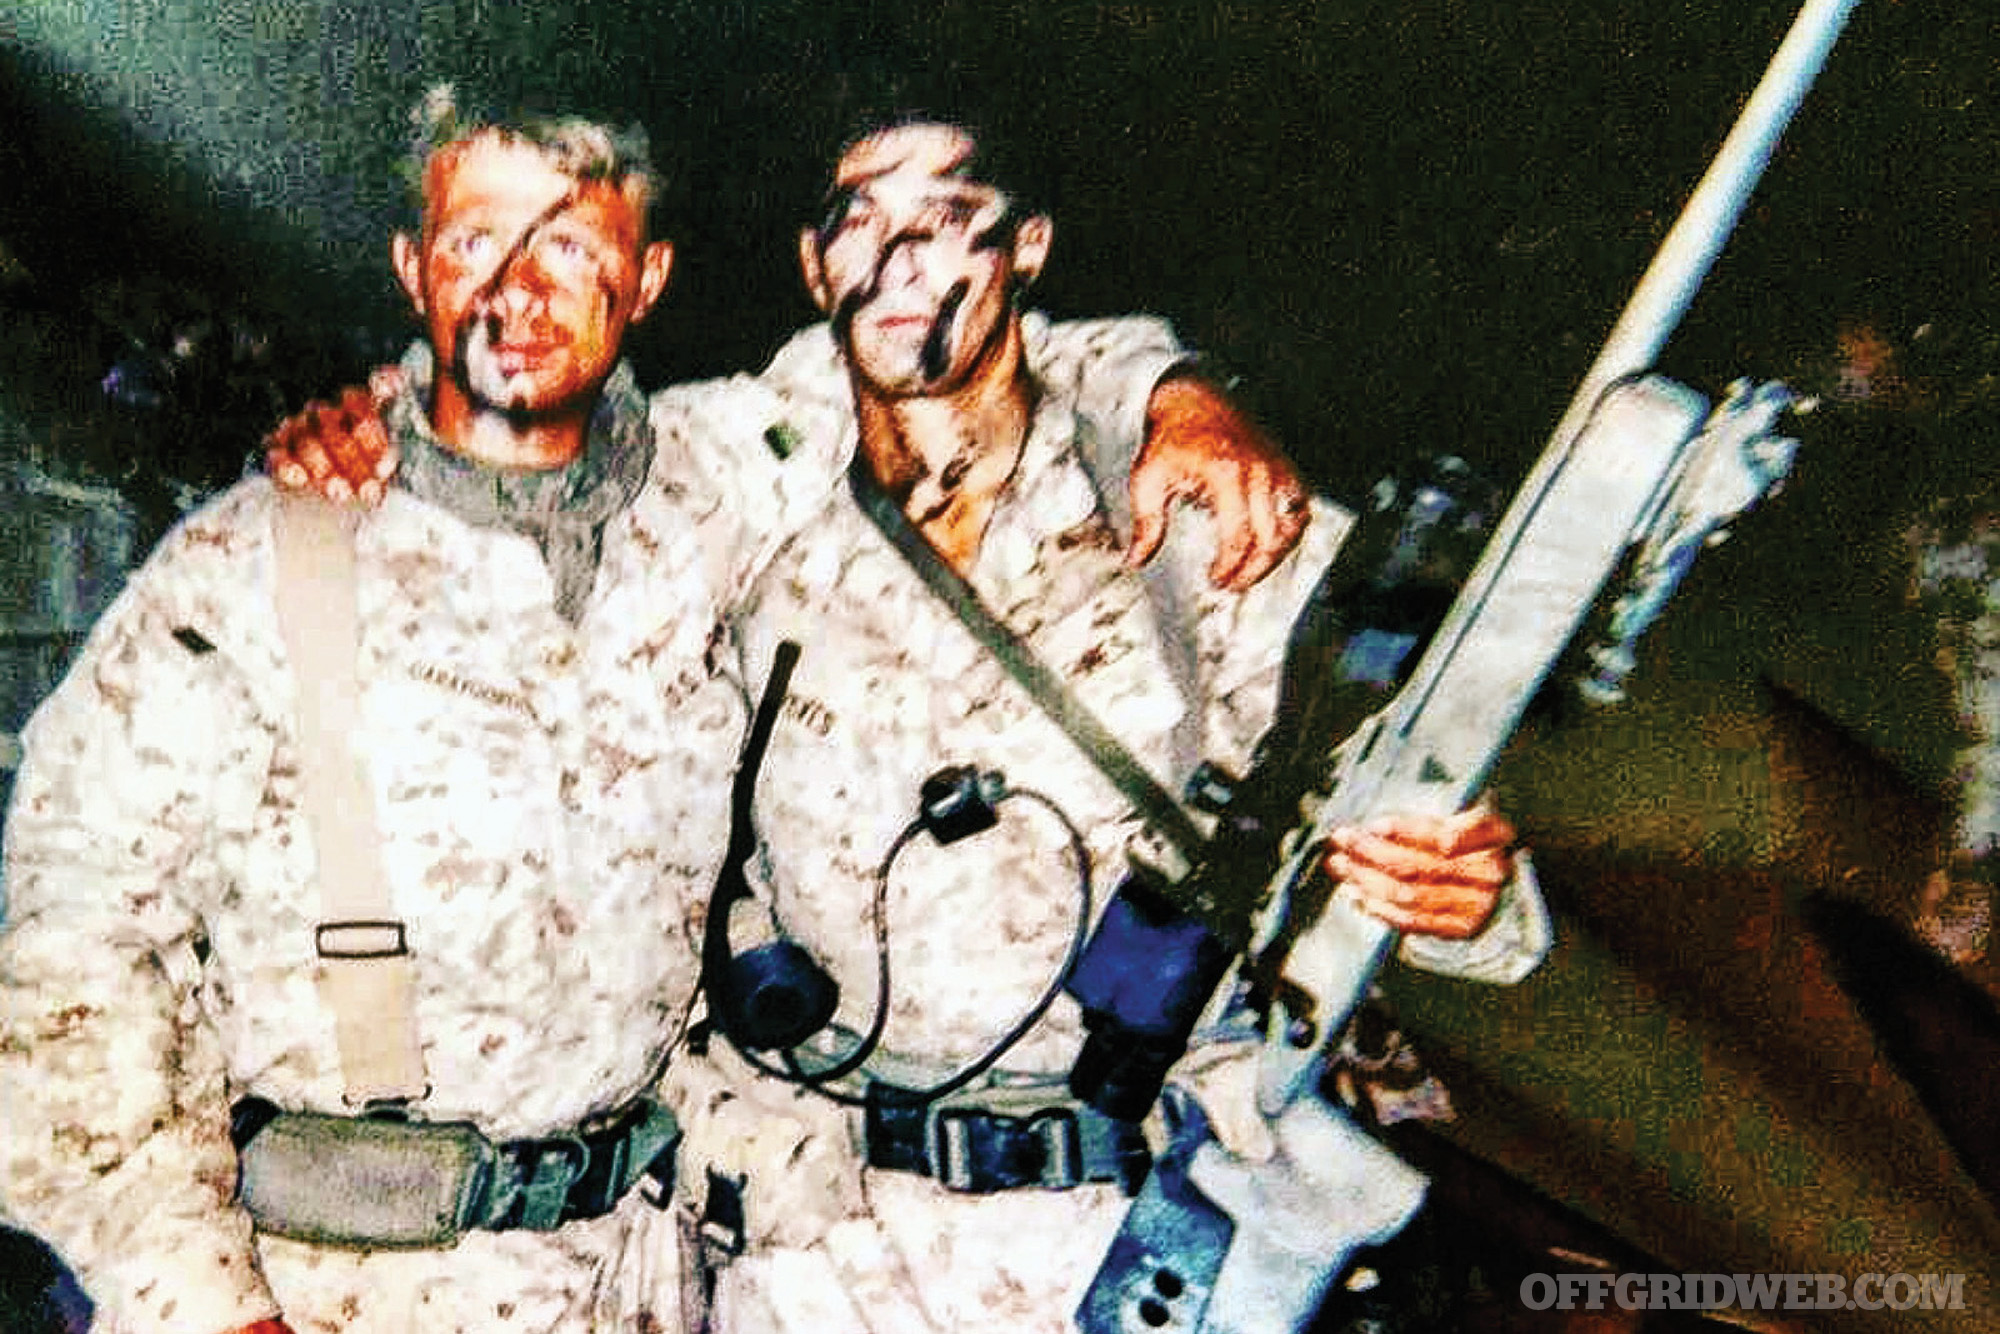
I went through a training evolution that’d culminate three years later after being a paratrooper, combat diver, demolition expert, mountain warfare expert, and then running things in and out of helicopters of all sorts. From doing that, I was on the 15th Mountain Expeditionary Unit. Then sure enough, as karma would have it, I was on a ship when the towers were hit, and my platoon and a platoon of SEALs were the very first American fighters in Pakistan, and then Afghanistan. I found myself fighting as a point man and scout sniper with an amazing team. My team leader was a Ranger, sniper, and badass drill instructor, and we came back after fighting and winning, and then I got the orders that we were to prepare for Iraq.
And as you know, the Iraq war didn’t slow down for many years. I fought and led the invasion with my team, and it’s documented — many people know about it from Generation Kill on HBO and the book of the same title, which is the true story of my team. Then, we fought in Fallujah and Ramadi in some of the worst guerilla warfare you can imagine — some of the heaviest street-to-street, village-to-village fighting since Hue City in Vietnam.
After all that, I came back after two enlistments in the Marine Corps and didn’t know what I wanted to do, except somehow be relevant. I thought, with those experiences, both sacred and profane, what do I do with them now? I went back to my simple disciplines: training, martial arts, teaching MMA, and doing triathlons. But even that wasn’t making me happy. I needed my community back. I needed my dignity and pride back from doing something truly immense.
The glory one feels in war is well earned in knowing you’re alive and your enemies are dead. If you weren’t absolutely sharp, together, and professional at being the most dangerous face on the friggin’ planet for seven months straight in Fallujah and Ramadi, if you were anything less than a warlord, you’d be dead. So after vibrating at that level, then I came back here and there’s nothing that was bringing that to me, I had to bring it to myself.
What were your experiences like in combat that had the biggest impact on you?
RR: There’s so many. You’re living and breathing it everyday. I also think the brain puts it away too because it can only handle so much for so long. Some things were forgotten and then they come back to me in flashes or were triggered by some other experience. We did the heaviest stuff. Patrolling day and night for two or three days in immense heat. Then other times we’d lay in a canal and let the patrol move on out. And then me and my team would be the hunter-killer team to circumvent the main supply route and set in as the gun trucks would do a vehicle checkpoint on any enemy running the opposite way. That stuff was like every other day.
What was even heavier, aside from toppling two regimes and cutting off the snake — my platoon was chopped away for a special program called Operation: Trojan Horse, where men who look ethnic/Latin like me would disguise ourselves as Pakistani workers. Spies would see me leaving the base into a taxi, which had other Recon Marines in it and some armor inside the cab. We’d have cutoff teams and close air support. It was highly mechanized and highly rehearsed in conjunction with various units — Green Berets, Recon Marines, Air Force, other agencies — and we would draw the insurgents or corrupt policemen out and they would try to kidnap and kill me in close quarters on the road.
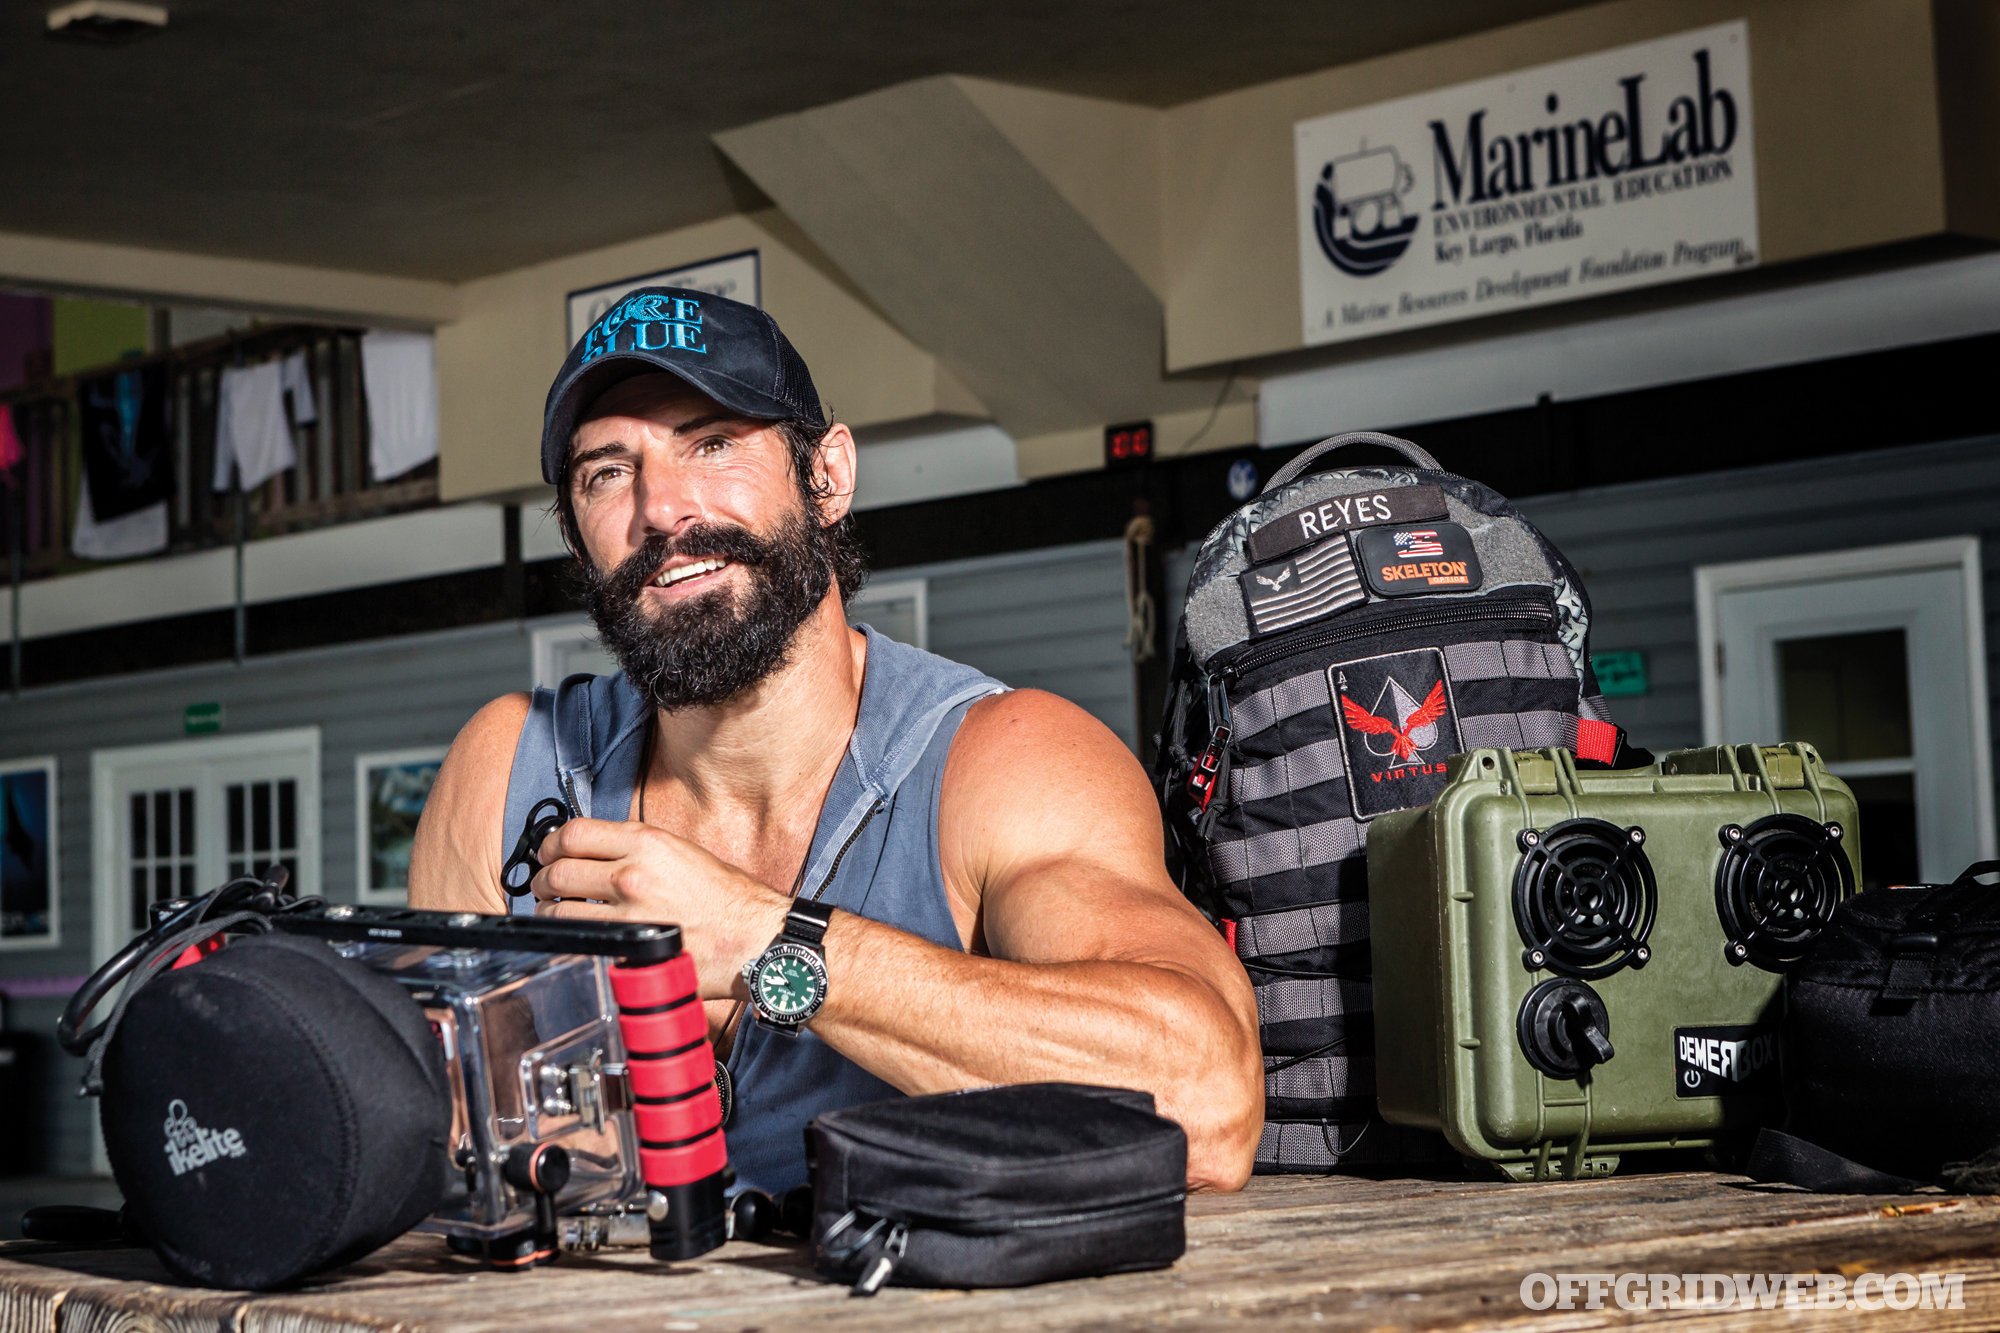
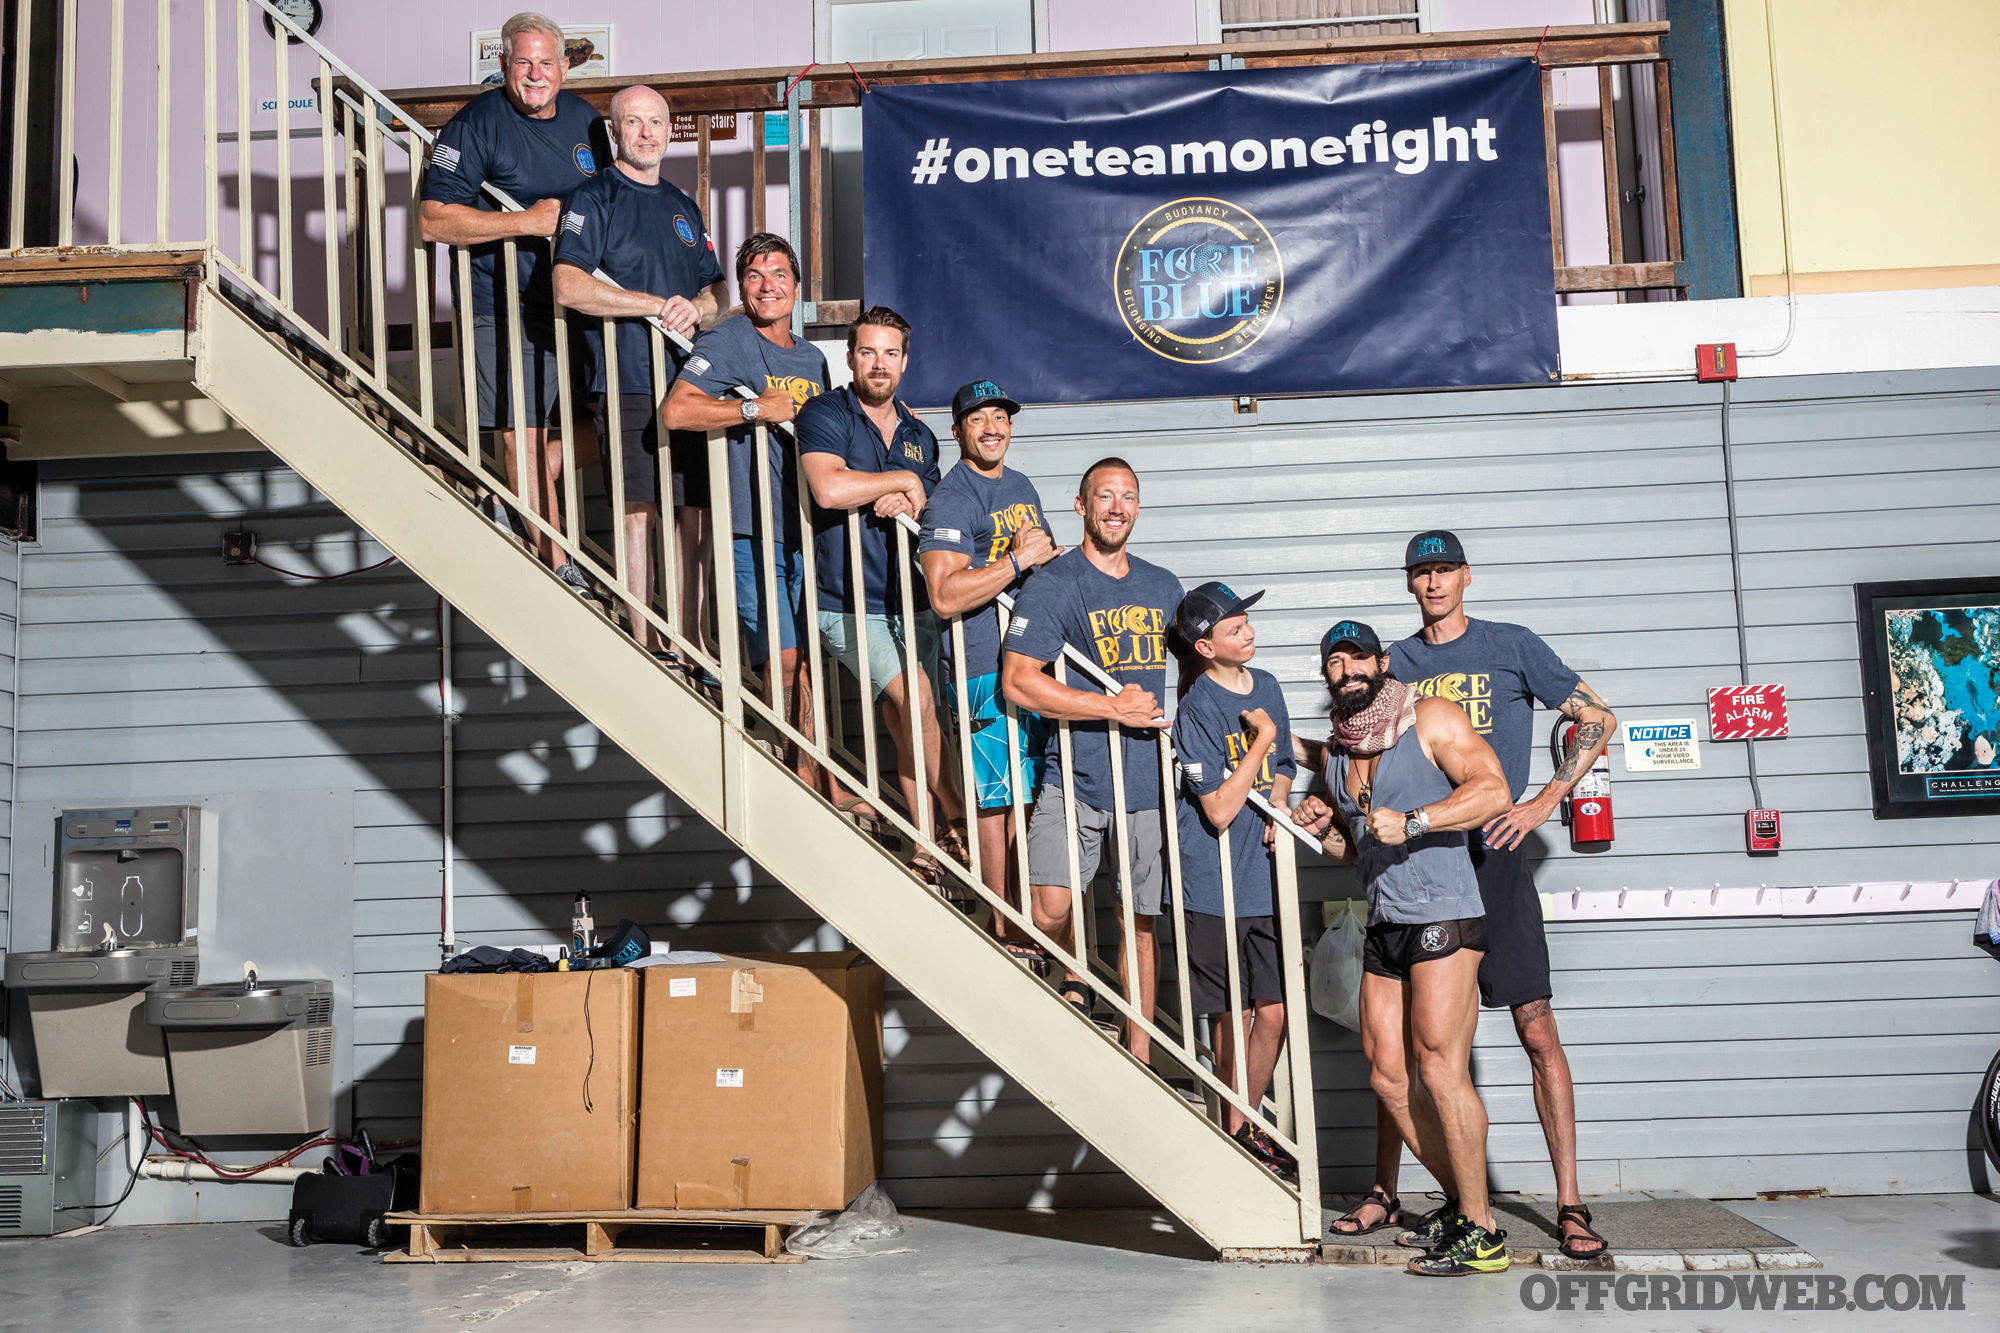
Above: At the Force Blue HQ in Key Largo. Learn more about their work at ForceBlueTeam.org. Special thanks to DemerBox and Virtus Outdoor Group.
In milliseconds we’d be engaging at 50 mph with fully automatic weapons, kill these insurgents or policemen, and cut off the road. From the information we’d get off their phones and computers or anything they had; we’d do direct-action hits. We really shut down the IED and major terrorist threat in that zone for some time. Of course, we’re not able to hold it forever because eventually we rotated back to the world and then the tyranny seeps back in. These are just some of the things I did out there. Our First Recon battalion did jump missions, snatch and grab direct-action, sniper missions, demo missions, you name it. It was a target-rich environment, and there was so much fighting to do.
What do you think the key to surviving in combat is? Is it training? Innate skill? Instinct?
RR: I think you hit on all of them, but most people don’t trust their instincts because they’ve not honed them. You have to have a positive mental attitude and be immersed into the process of training and improving your position, always! You can think about survival in this way. Always in a survival or combat situation, always improve your position. Insist on it. When you instill young men and women with that mindset and confidence in themselves, they will be seeking self-improvement always. They’ll never be filled with hubris. It’s a mosaic of skills, practice, attitude, physical fitness — it’s all of those things together. And passion!
How did you feel after you rotated back to civilian life with all these experiences that you’d lived through?
RR: When you live like that for so long, it becomes normal to you and you’re so happy with the small things — hot chow, hot coffee, laughing with your brothers. It’s really rich in a lot of ways; it’s so extreme, but so rich because happiness is true happiness there. You’re filled with happiness because you’re alive and have developed self-esteem and respect. Imagine your best friend, and now imagine four other of them always around you just as good as your best friend, and the rest of the platoon — you have a war tribe family that supports you. So coming back here without the family and without a mission that’s so dangerous that I had to put all of my passion and intelligence into it, without those things you can stumble and fall down and have depression. All those things happen to a lot of us.
After you got out of the military and wondering what you were going to do, how did you start the next chapter?
RR: I went to my warrior discipline. I was training and immediately started coaching boxing, kickboxing, and MMA, and clients just flooded me with work. Soon the State Department got a hold of me and needed me to teach and prepare Navy explosive ordnance disposal techs to go in country and attach to special operations units. So I was contracting stateside, teaching and training, and I still had this idea that I’d try and change the world somehow. As this was happening I got a call and the people at HBO were very interested in me helping with the production of this miniseries called Generation Kill. That sent me in a whole other trajectory.
What would you say to the men and women out there suffering from what they’ve experienced in combat and feel helpless and dismissed?
RR: I felt all those things too, so I was no different than the rest of the brothers and sisters. I had so much forward momentum that I could keep a focus. Now we know so much more about PTSD and what men and women who go down range carry back with them. I believe there are four things that can make a stable structure. First is physical fitness because it creates self-esteem. And the chemicals that happen from training can combat the things that cause depression. Number two is your community — reach out! Isolation kills. Now, in this age of social media, there are so many people and groups in which you can do this.
Number three is having Mother Nature. You must go out and be in the ocean, the land, the mountains. You must get out there and get your hands dirty and feel the rain upon your chest. This is the way human beings are designed; we are animals of the Earth and very much need to connect with that source. The last thing is you need a mission, whether it’s getting a job or being the best spouse and parent or starting a nonprofit like I did or going to school. Whatever’s going to improve your position. All the things you learned in the military, push it forward and remember those four things.
Tell us about some of the other movie and television experiences you’ve had like Apocalypse Man and how those came about.
RR: Isn’t that awesome? It was such a good show! Discovery Channel threw every bit of its budget to defeat History Channel, and History Channel didn’t have the money. Everyone looks back at Apocalypse Man and says, “Rudy, this is some of your best work!” It was about how you use urban techniques practically and people loved it. Since then, I’ve had a few other television shows like Ultimate Survival Alaska. I have another show I’m working on right now that has elements of warrior and survival, and all the stuff I do and love. When that was happening, I started getting into feature films. I acted in films, advising, some stunts, and now I write and help with the scripts. I also assistant directed the Marine Corps Super Bowl commercial — massive responsibility!
I’m an advocate for physical fitness and mental wellness for our people. I help bring attention and get people to get along financially. I help special organizations like the Recon Sniper Foundation and another called Lionhearted utilizing art and expression that’s absolutely wonderful. I work with We Are the Mighty, which is a for-profit business that employs veterans. Really I’m just back full circle to where I was before. I’m expressing myself because I can write and speak publicly. I’m staying fit, I’ve partnered with Spartan Race, and I lead with their adventures. I’m working on my own clothing company with David Wood, who is a Marine as well, called Virtus. I’m the commander of my life now as well as the point man. I make my missions.

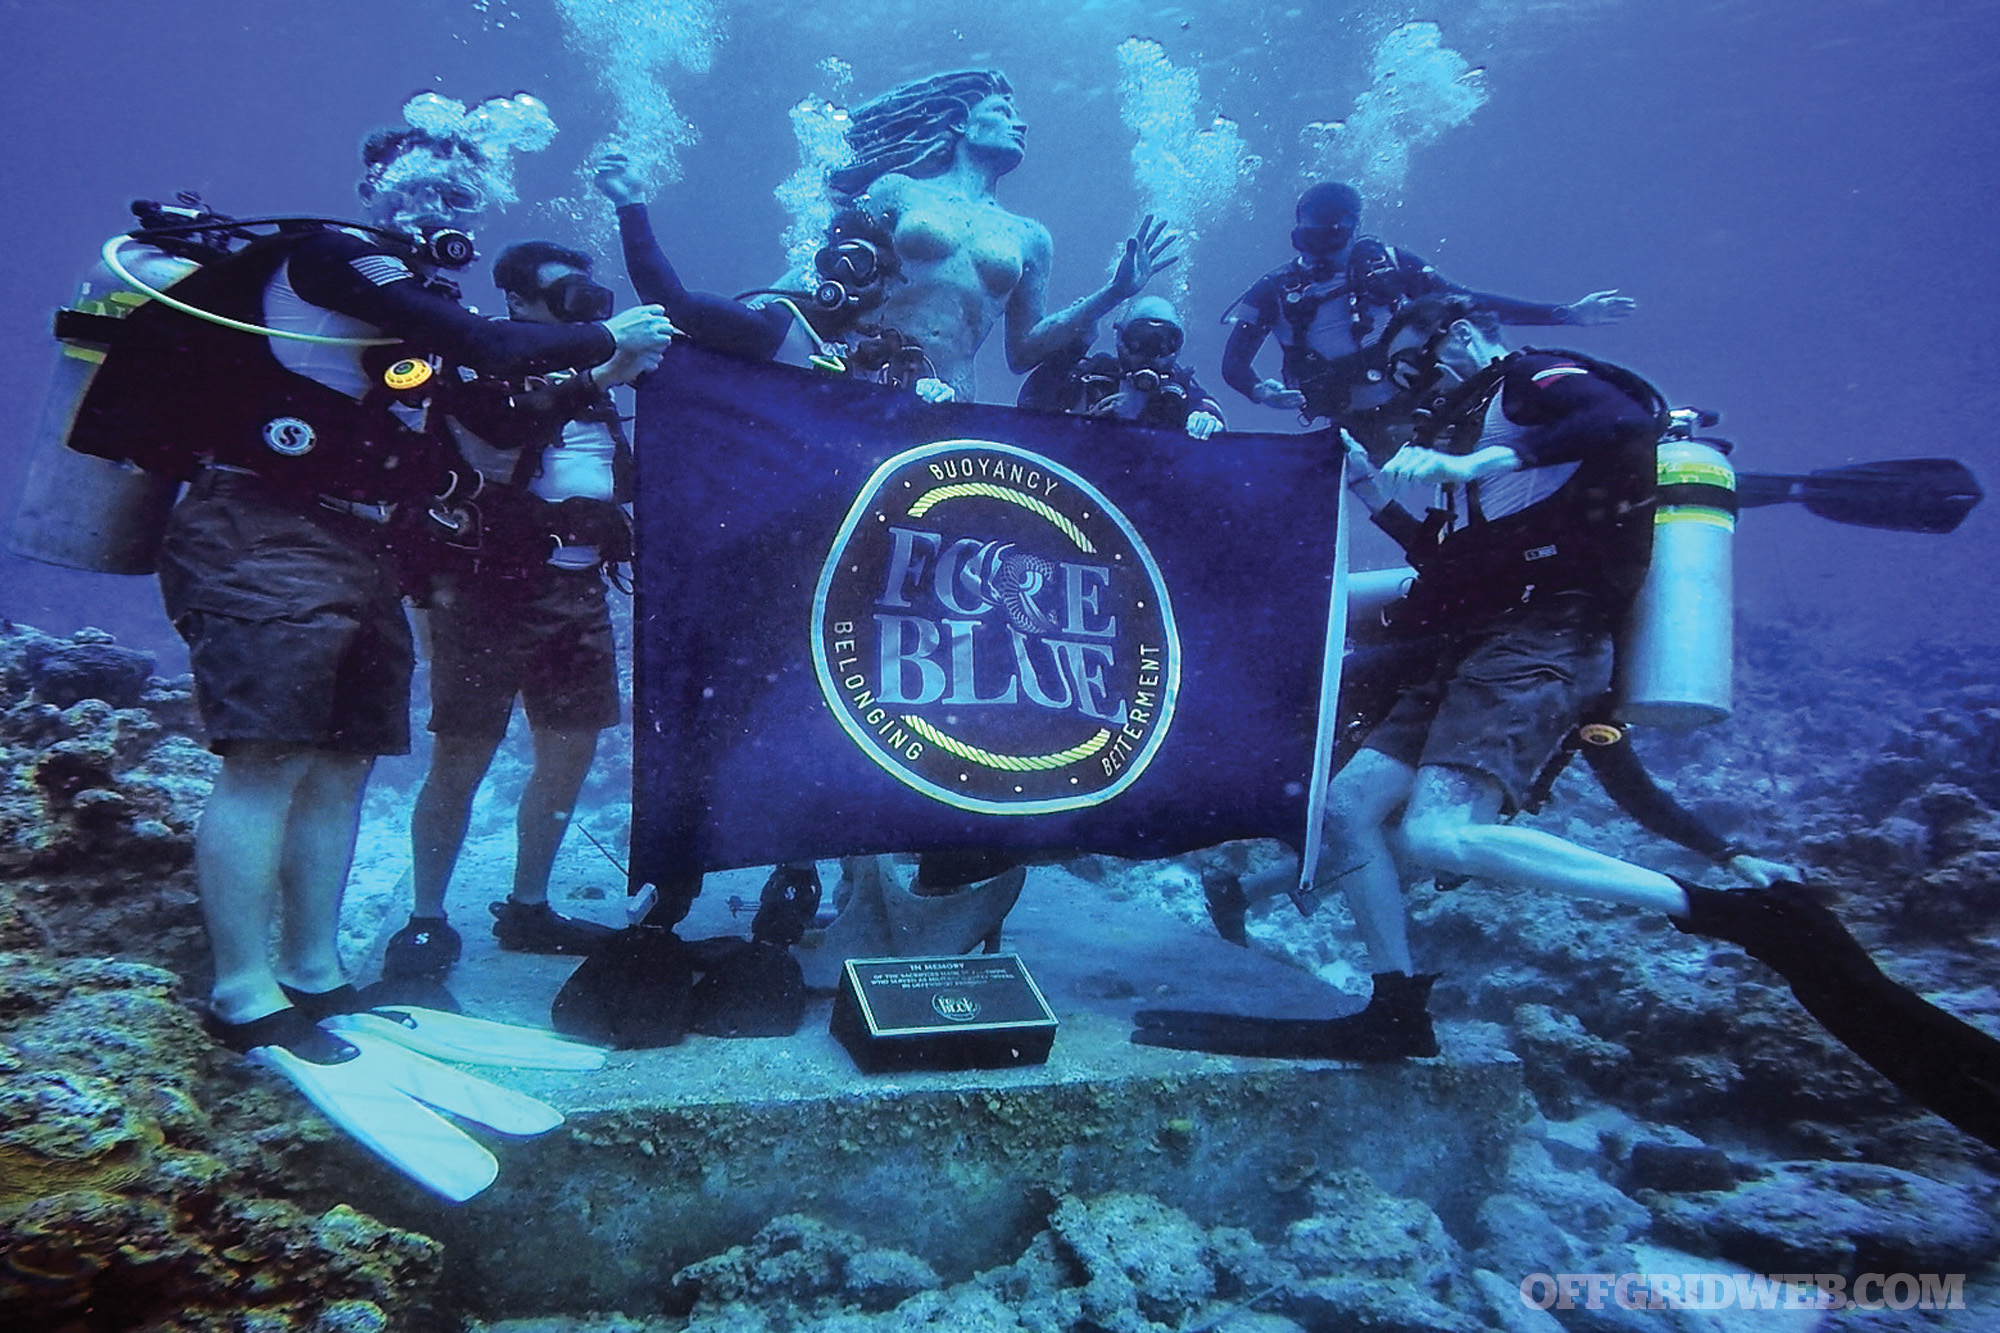
Tell me about Force Blue and how that came about.
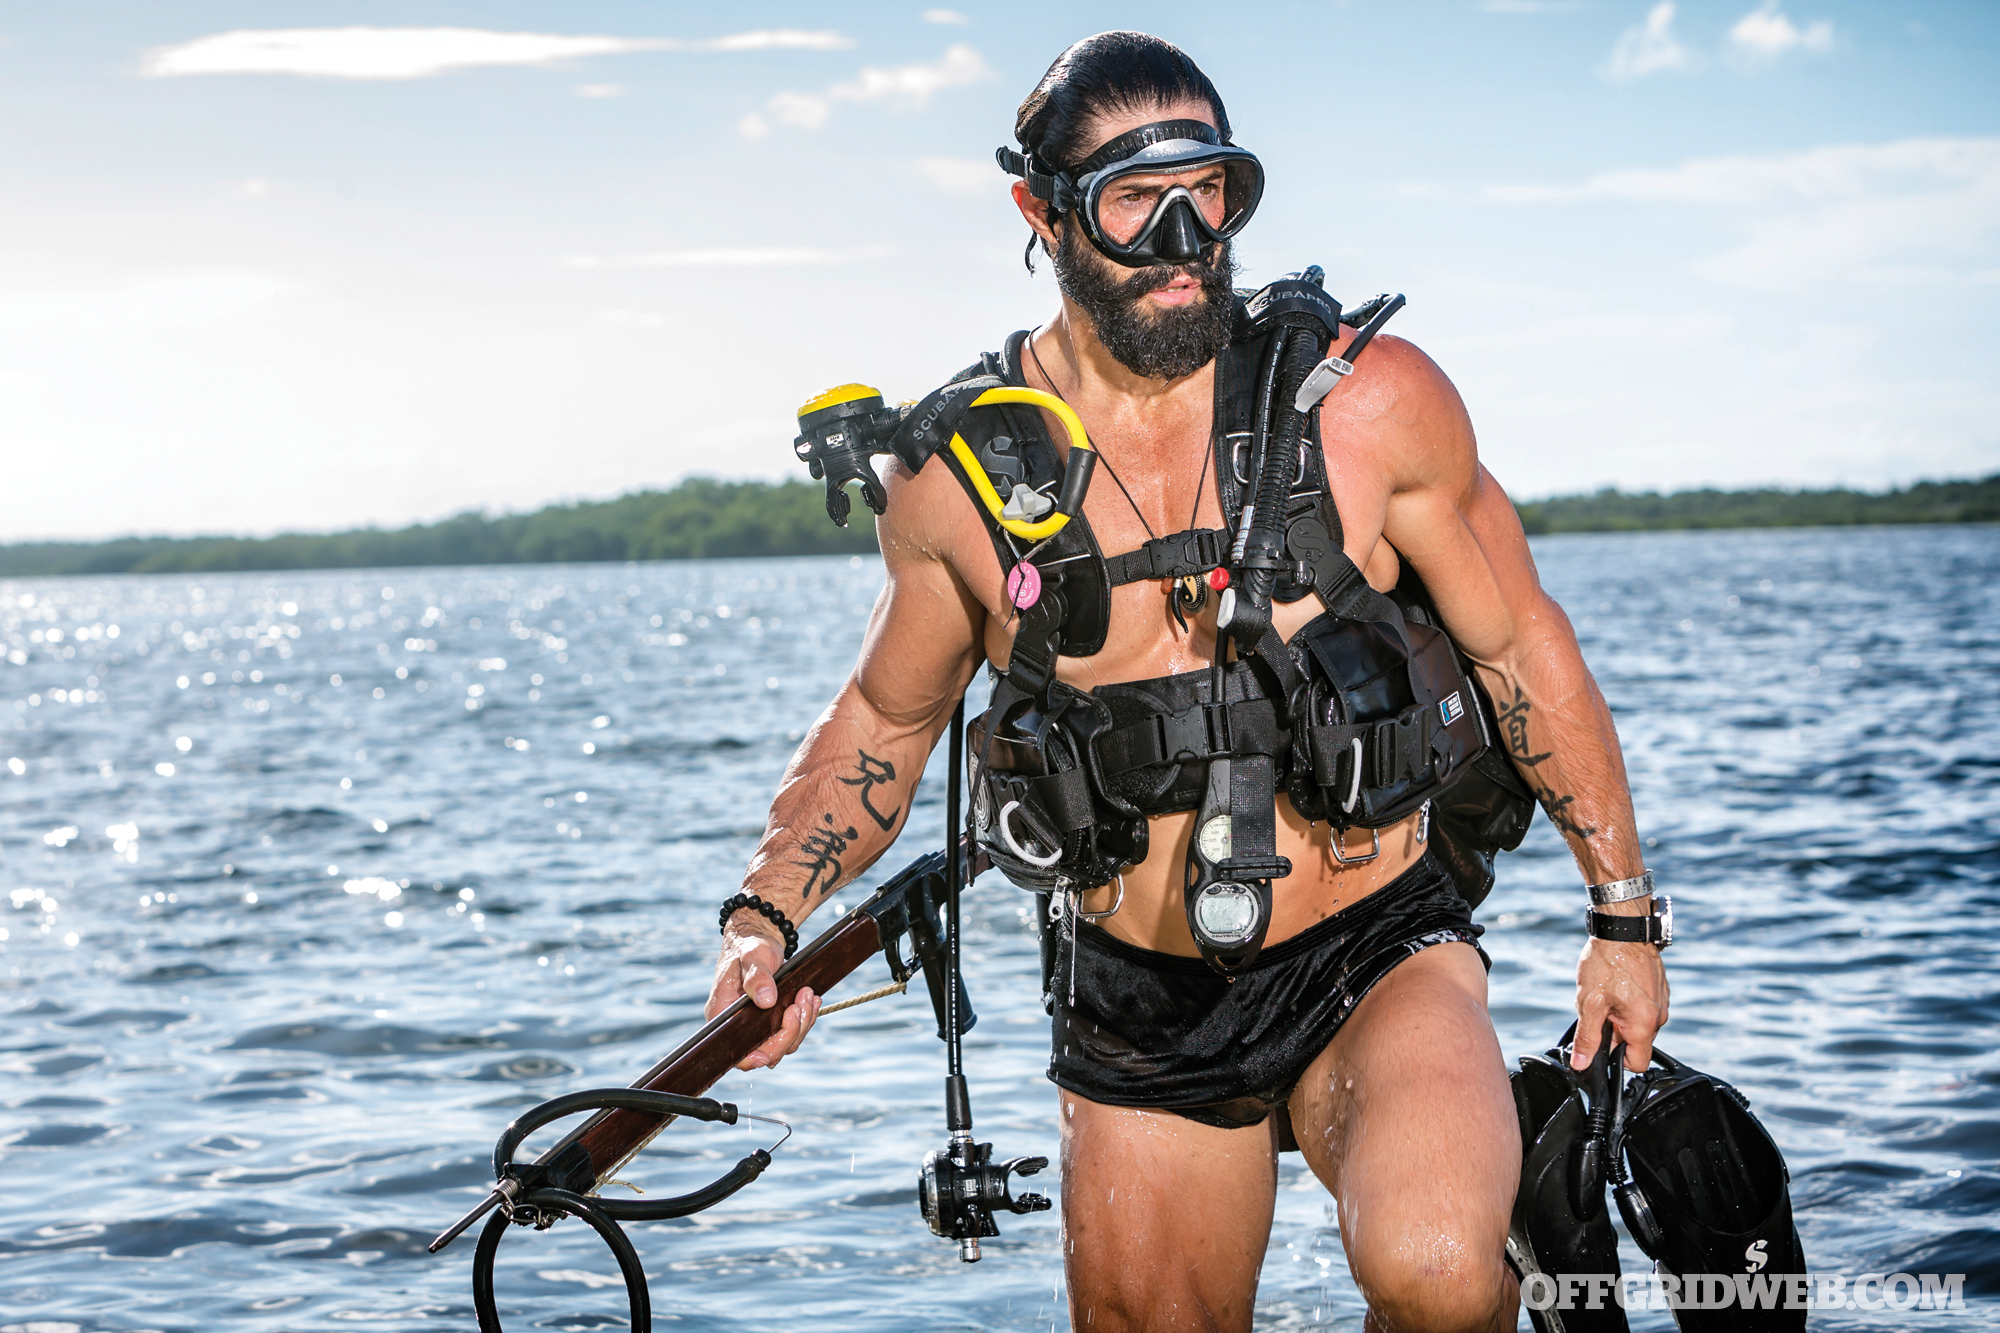
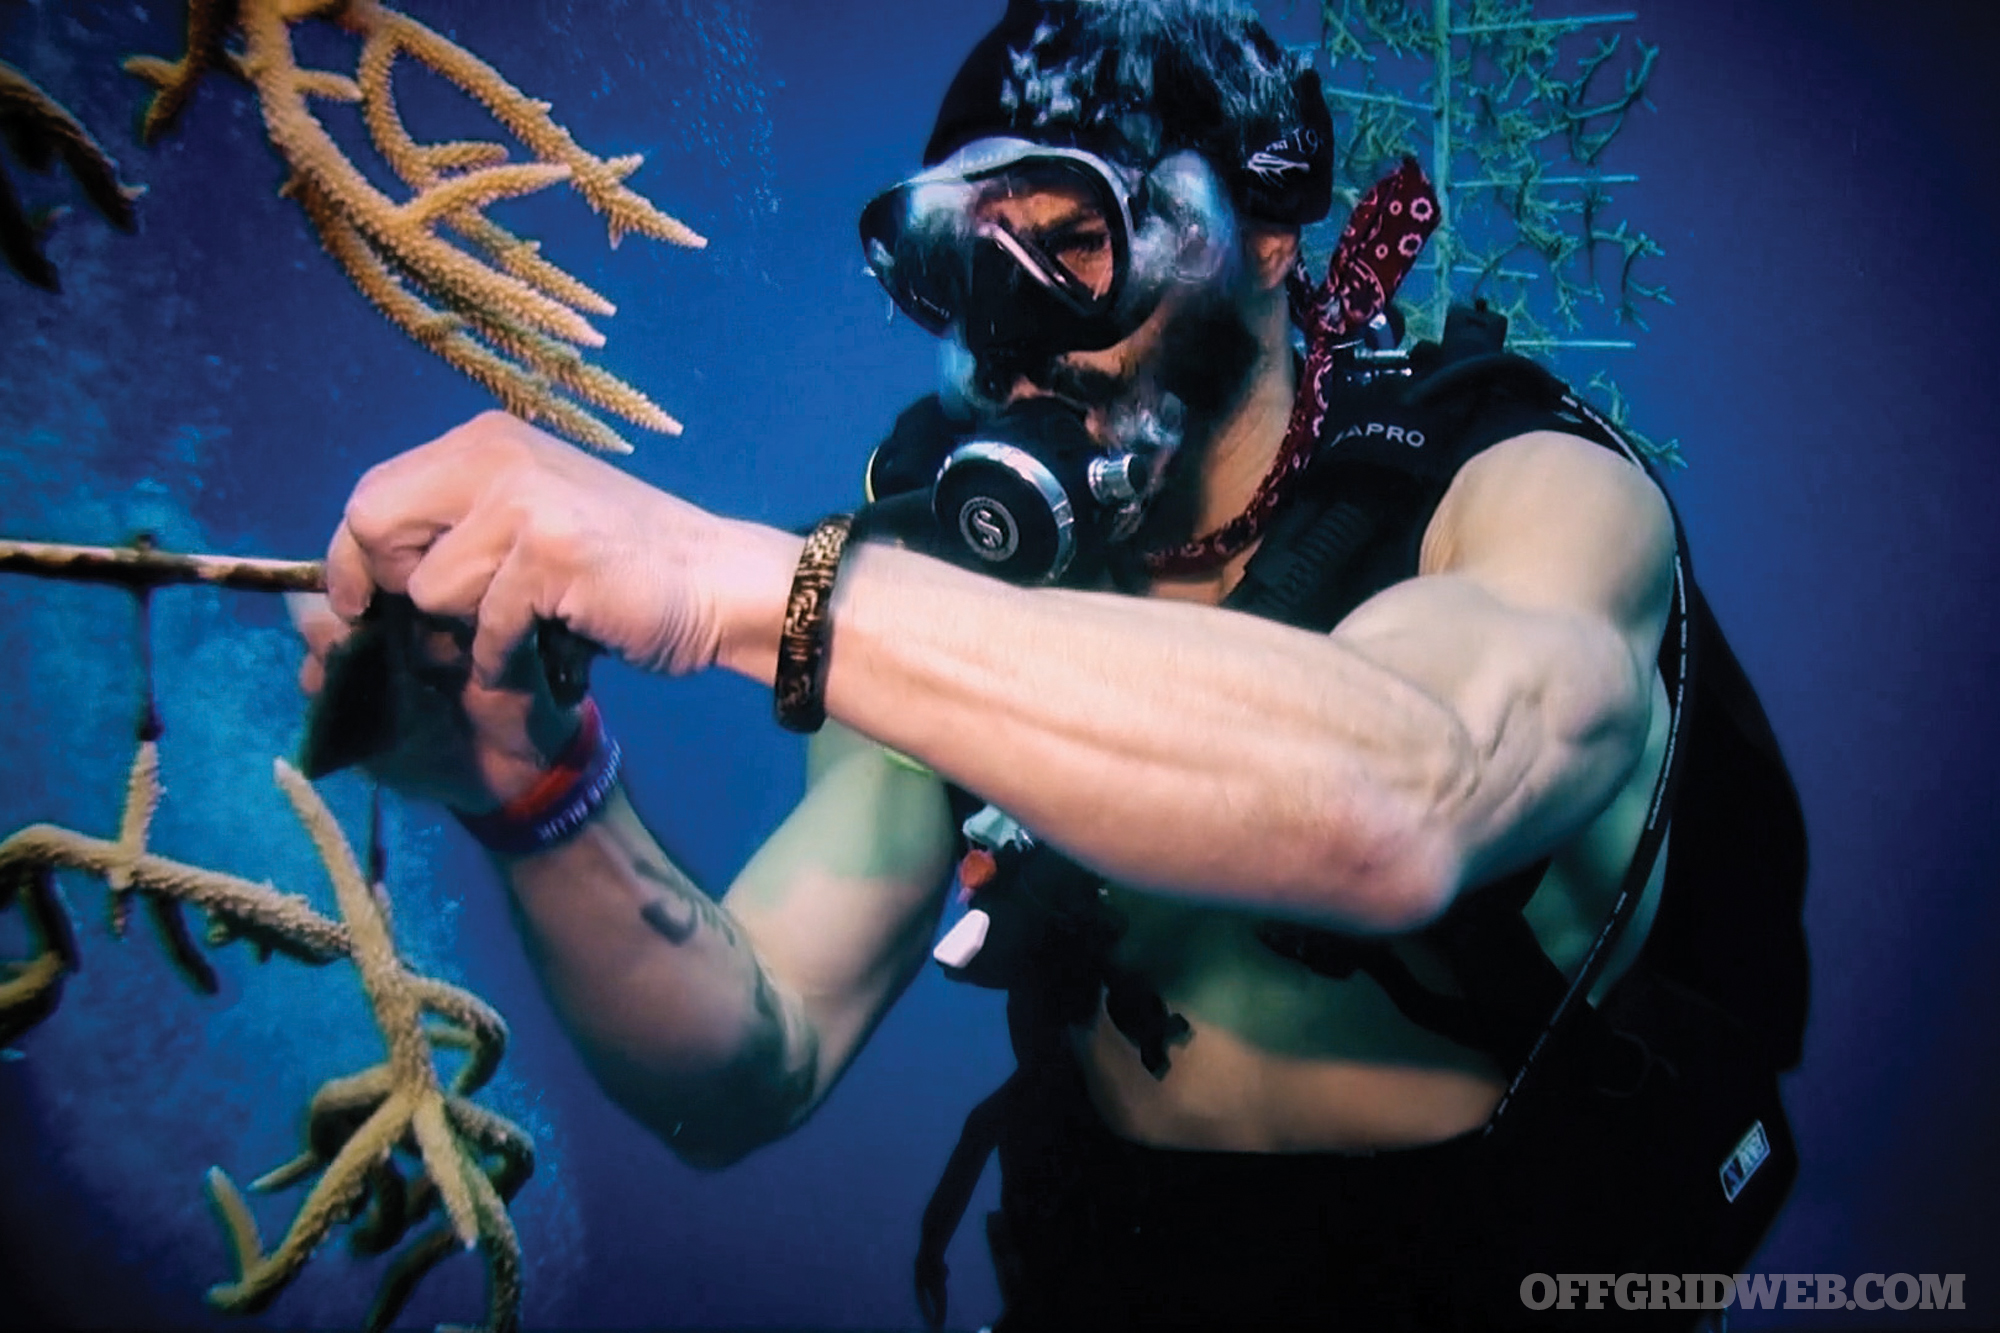
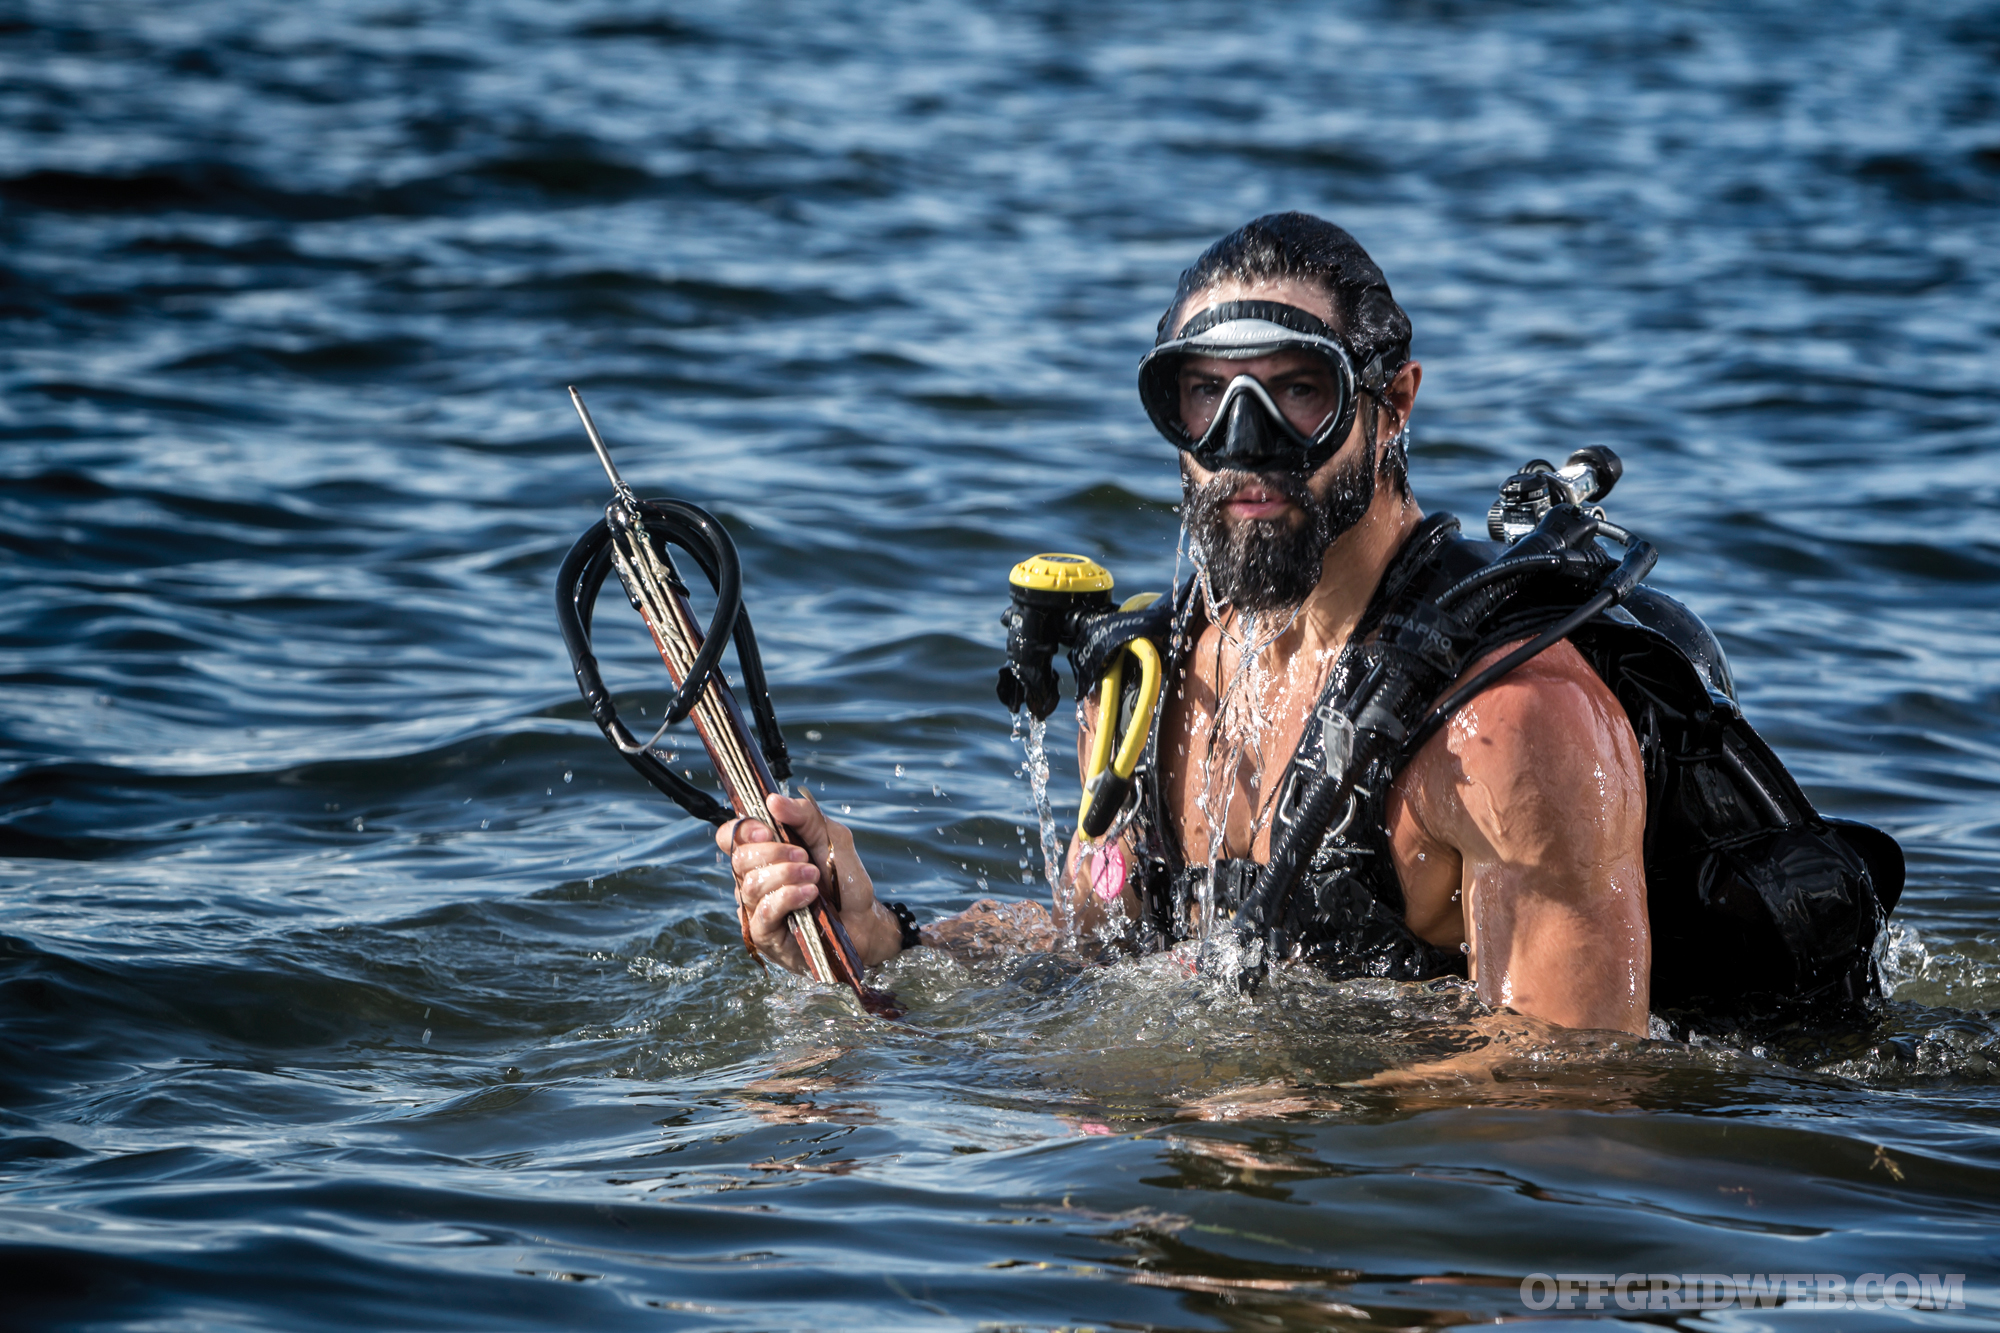
RR: To this day, I don’t think there’s been anything more important that I’ve been a part of in my short life than Force Blue. It came about as a dream. Myself, Jim Ritterhoff, and others went down to the Cayman Islands for some PTSD therapy. I used to be a combat diver, but I never felt a dive in a way that was healthy. It just made me happy and calm in the ocean with all the blue, the fish, and the sky — it brought a childhood wonder back to my life. I understood that these coral reefs were being destroyed by the cruise liner industry and other manmade things, and I said, “No way, we’ve gotta do something.” Jim said that we’re going to lose it if we don’t do something about it, so I said that’s what we’re gonna do then. I don’t know how, but that’s it.
We’ve been fully operational for a whole year and rebuilt coral reefs after the hurricanes. We’re really fighting for the most precious and noble cause in the world that’s all about survival — and that’s the ocean. Every third breath you take is from the coral reefs, and if we lose those reefs we lose it all. It’s fantastic, brother! I don’t know how to tell you how rad it is that I’m smiling and doing all this work with other veterans and families. That’s really proof in the pudding that Force Blue saves lives, and it’s only just begun.
So many people still think that the world of survival and preparation is just based on paranoia and some fringe movement. What do you think it takes to make people more conscientious about it and put aside these misconceptions?
RR: Too many of the Doomsday Preppers-style narratives and shows have been out there. Media has to sell product, and there’s a few ways to sell. If you know about advertising and media using base drives inside of people to mobilize them to buy things, guess what? Fear is a big one. Let us break out of that narrative of fear and instead have a narrative of self-reliance and the confidence and happiness one has when they’re prepared. That’s what I love. How rad is it when you learn how to forage for your own food? When you learn how to make your own bio-diesel? When you know how to garden, hunt, and make your own tools? It’s a beautiful transition and new narrative of a human society that’s more responsible, capable, and ready, rather than just waiting for something to happen.
What do you think the single biggest thing is that people need to prepare for?
RR: The basics. In the Marine Corps you have to have your survival kit. You have to have water procurement, fire procurement, medical, signaling, shelter, those basics. You should have your basic survival kit, and it’s so simple to do. Make your little go-bag for the car, make some for the house, make sure you have access to water or know how to purify your water, basic first-aid, and signaling, which is very important. If there’s certain emergencies where we don’t have comms, if there’s an EMP, you’re out of range, then all of a sudden you’re reliant on simple communication. You should also learn how to use Ham radios. Also, rehearsing things with your neighbors and community. There’s nothing that people can’t overcome with just a little passion, planning, and a couple rehearsals.
If you had three wishes for the future of our survival and this planet, what would they be?
RR: Three ideals. The first is that conservation becomes a bedrock of human culture, regardless of nationality, language, race, or religion. Number two is a return to families having time to spend in the wilderness or in the ocean, whether it’s learning to sail, going into the woods to camp, fishing, hunting, and not just going to Disneyland or on a cruise. Inner cities creating community gardens everywhere. Number three is everyone leaving wherever they’re at a little better than they found it. If we do that, we’ll solve all the problems on this planet.
About Rudy Reyes
Age: 47
Hometown:
Kansas City, MO
Best advice you ever got:
“Take it personal.” — Roger Sparks, Recon mentor
Childhood dream girl:
Farrah Fawcett and Chrissie Hynde
Bedside gun:
Glock 19, but any weapon you got is the right weapon.
Marital status:
Single
Children:
Dylan, 5; Belladonna, 8
Required reading list:
- Guns, Germs and Steel: A Short History of Everybody for the Last 13,000 Years by Jared Diamond
- Collapse: How Societies Choose to Fail or Succeed by Jared Diamond
- The Seat of the Soul by Gary Zukav
- Gates of Fire by Steven Pressfield
- Dark Tower series by Stephen King
Favorite movie:
Heat, but anything by Michael Mann, really.
Favorite word:
Magnificent
Least favorite word:
Can’t
Everyday carry:
Glock 19, snubby Taurus .38 when permissible
URL:
www.rudyreyes.com
More From Issue 30
Don’t miss essential survival insights—sign up for Recoil Offgrid’s free newsletter today!
- Pocket Preps: Knife Sharpener
- Gear Up Issue 30
- Parental Preps Issue 30
- What If You Awaken to a Kidnapping, Abduction, or Worse?
- Rugged Recipes: How to Make 4 Historic Survival Foods
- Out of the Darkness: Taking Control After Sexual Violence
- Survivalist Spotlight: Rudy Reyes
- 6 Trap Triggers for Survival
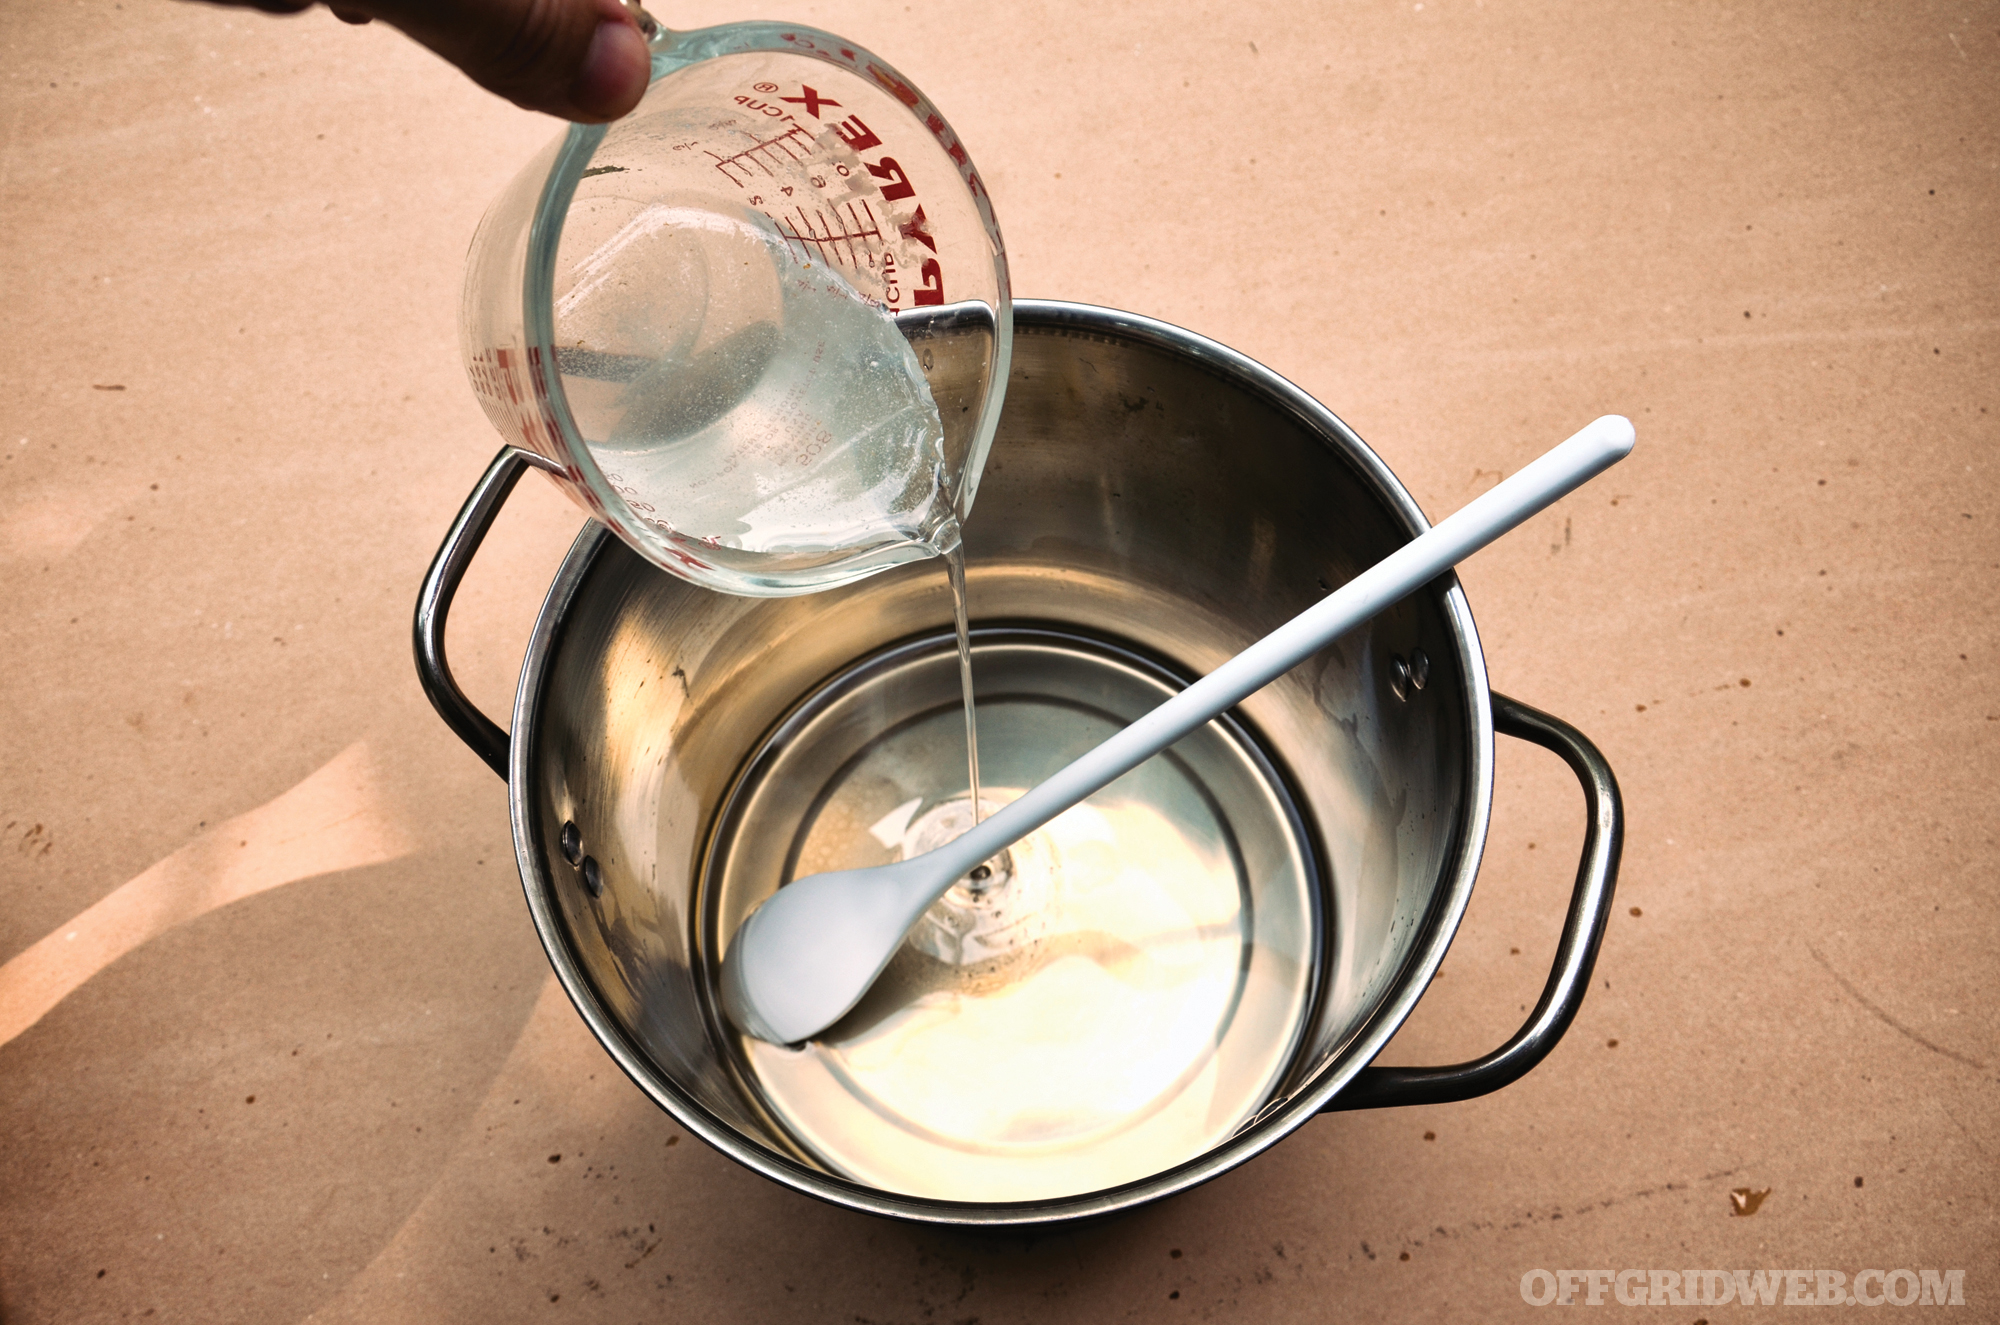
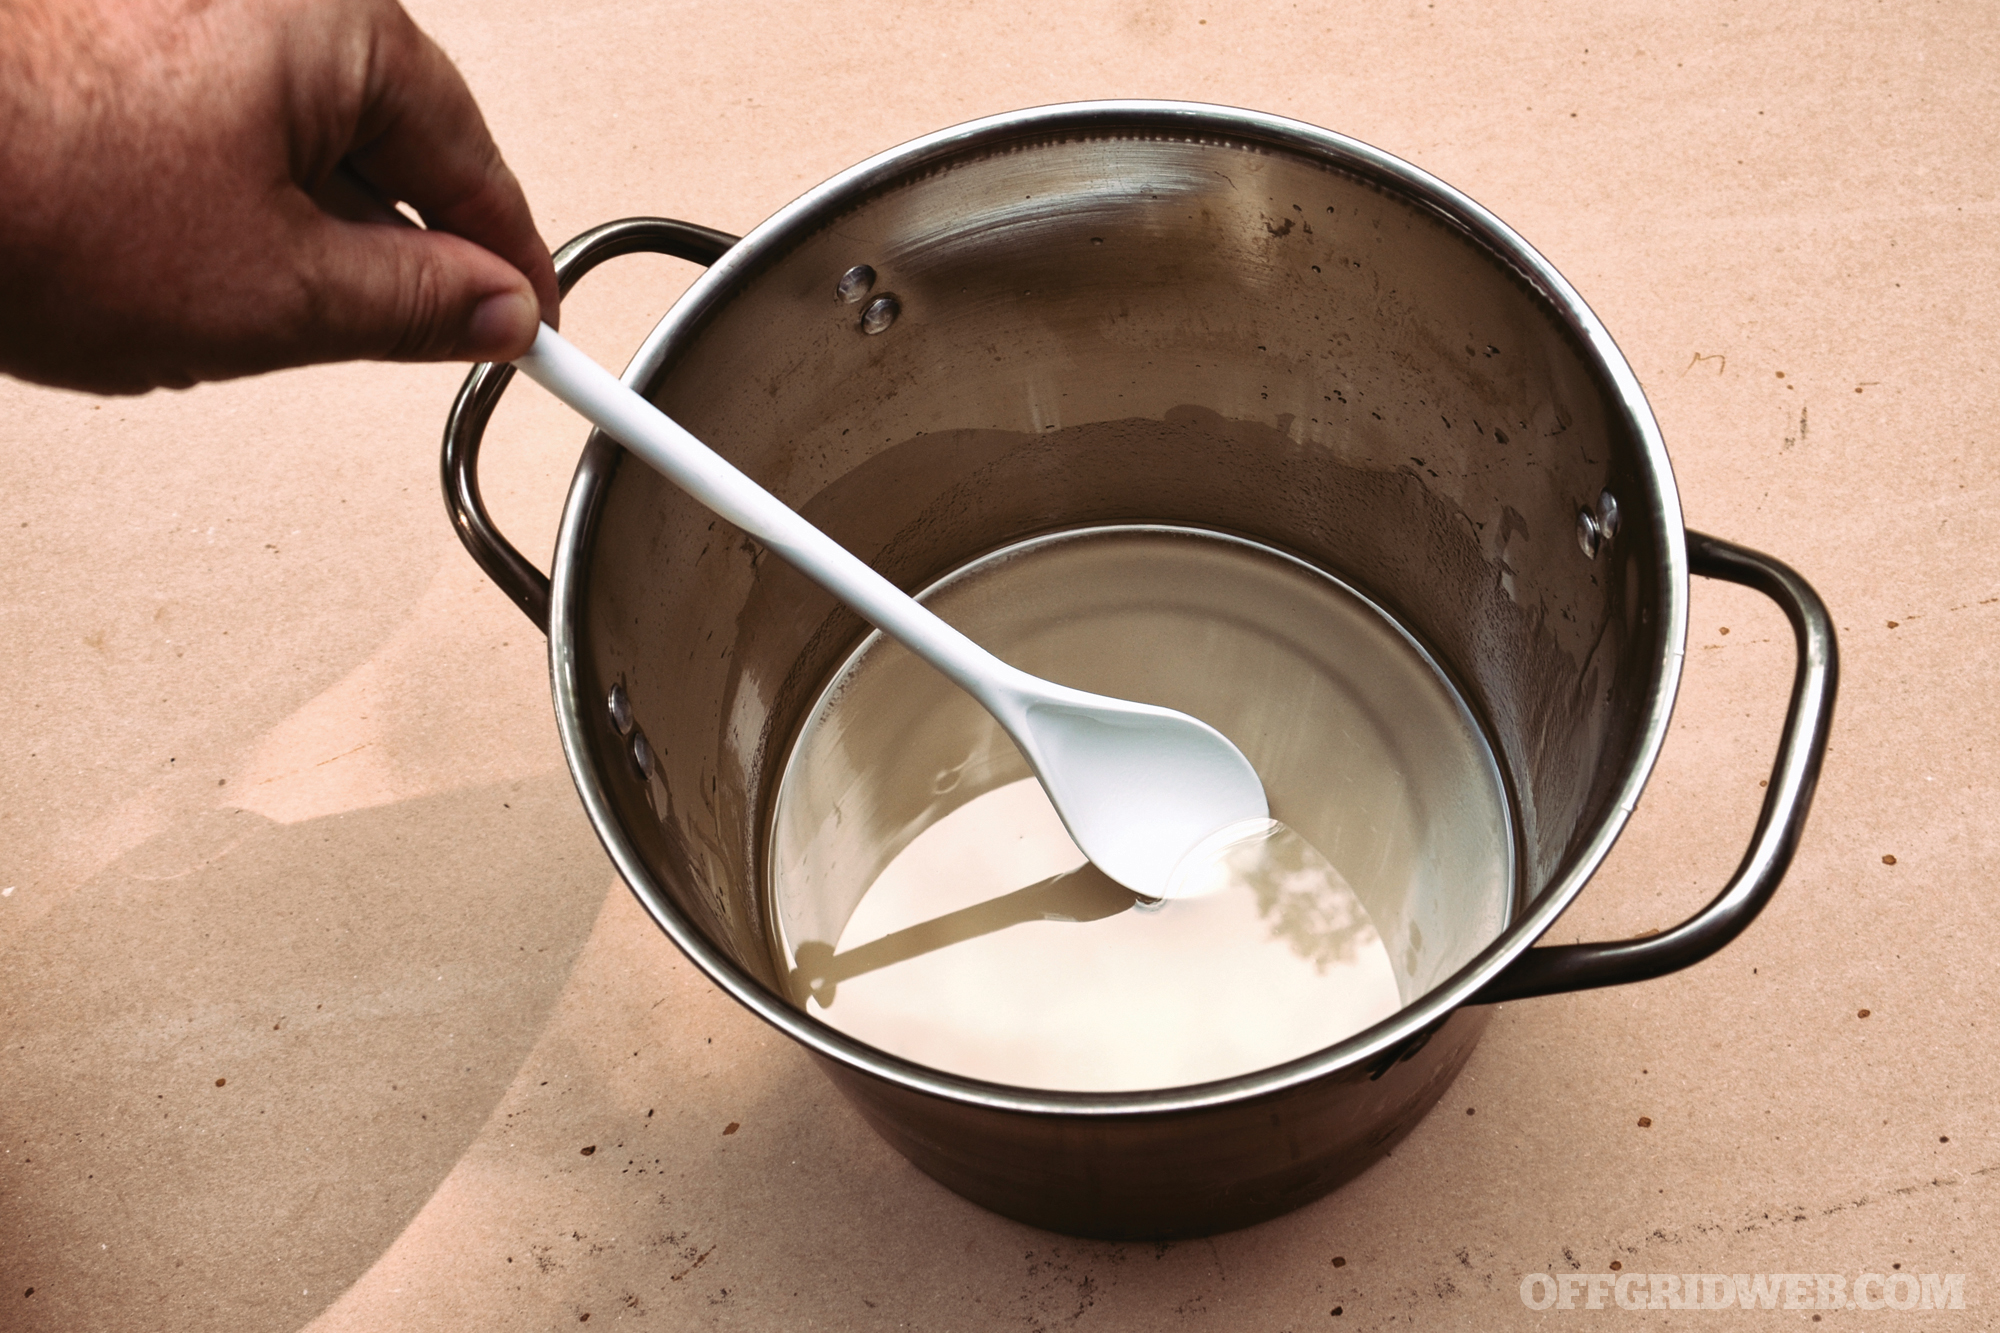
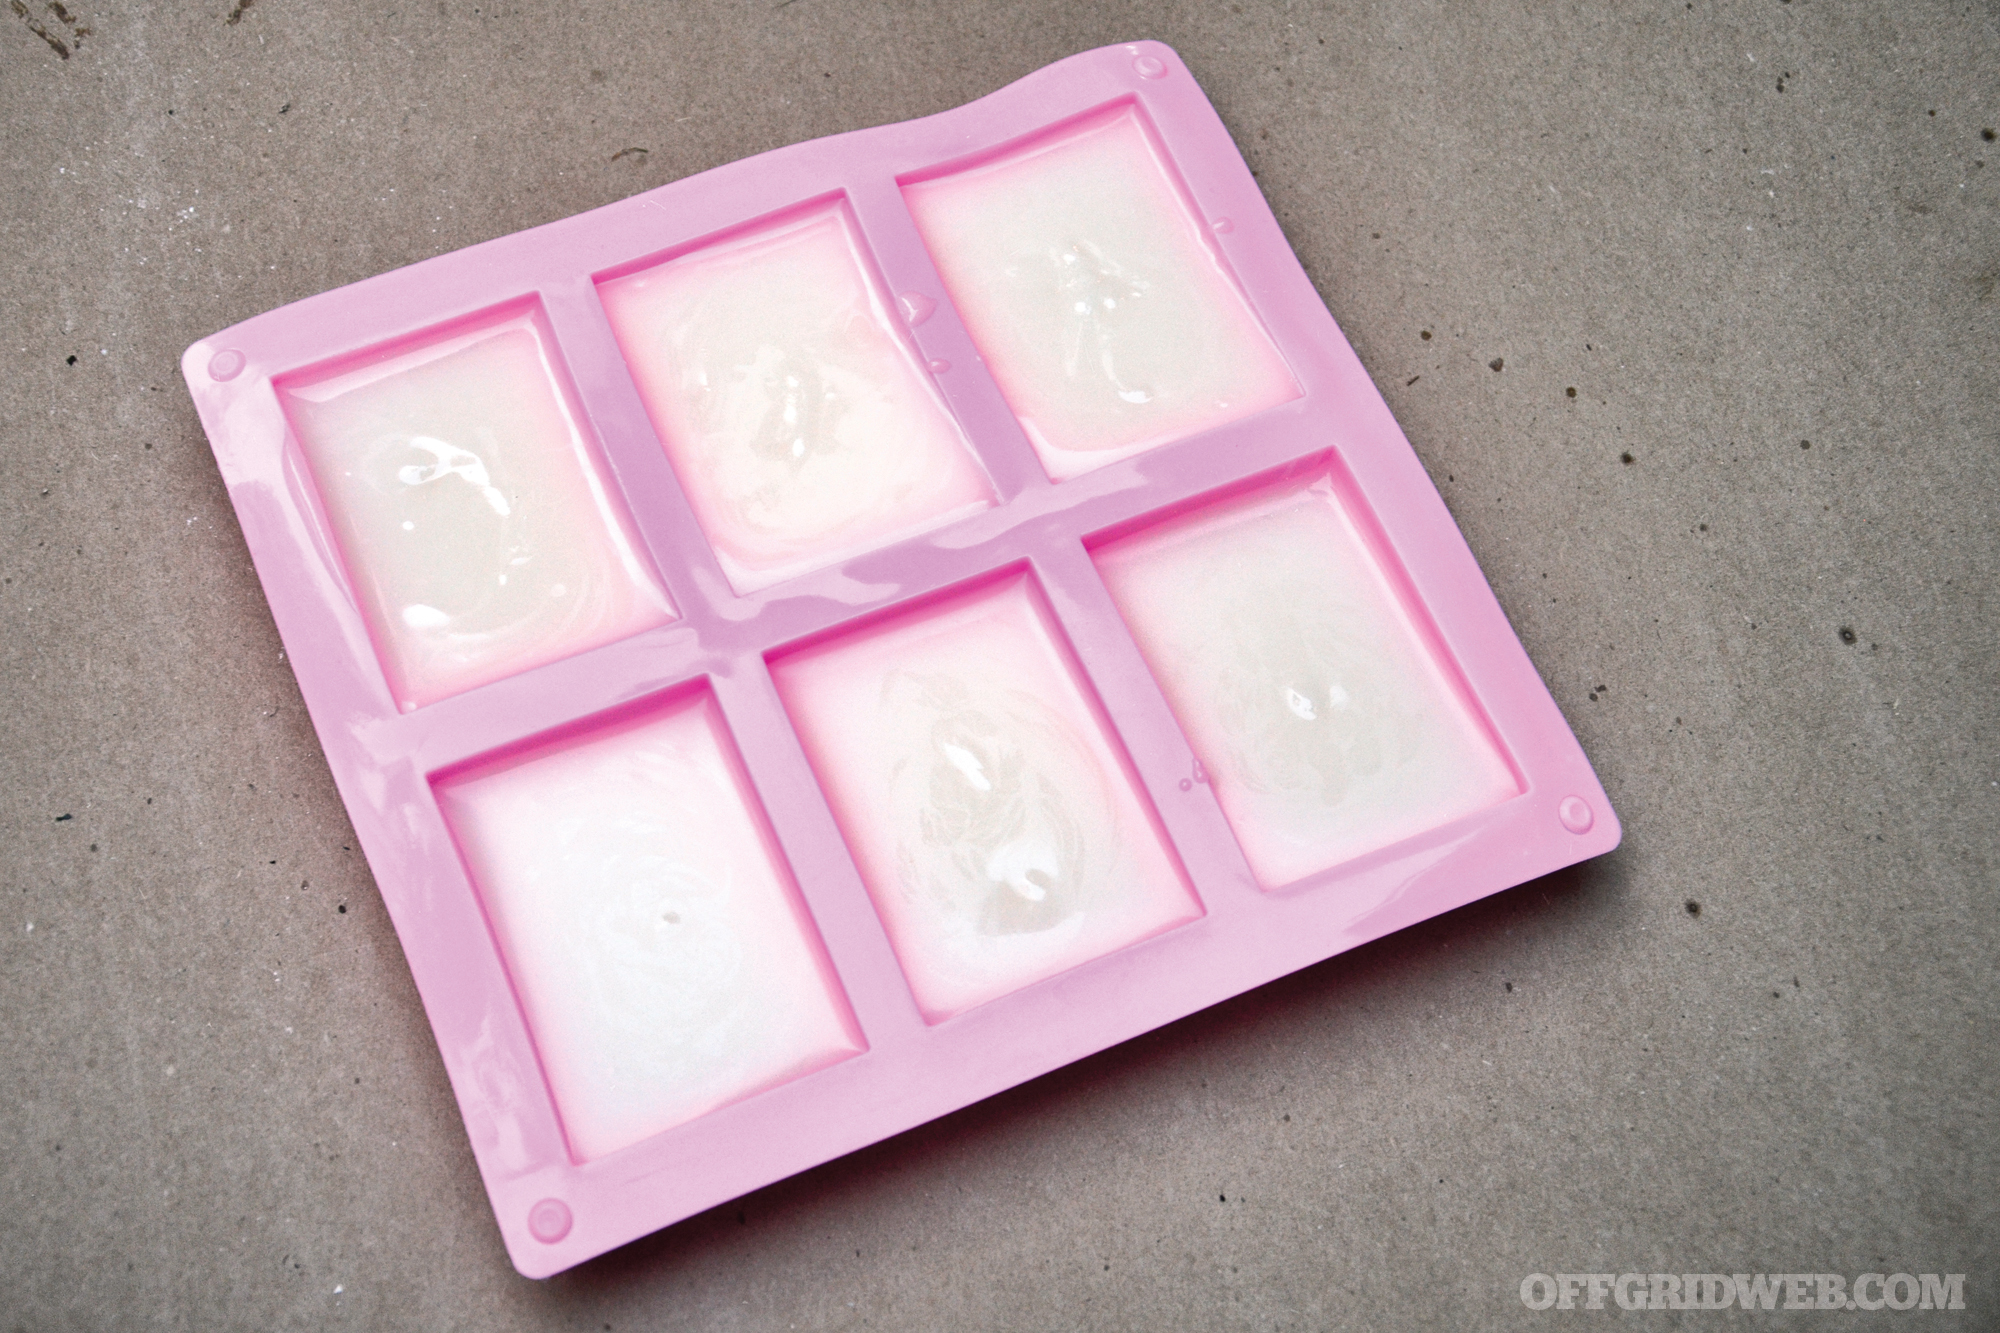
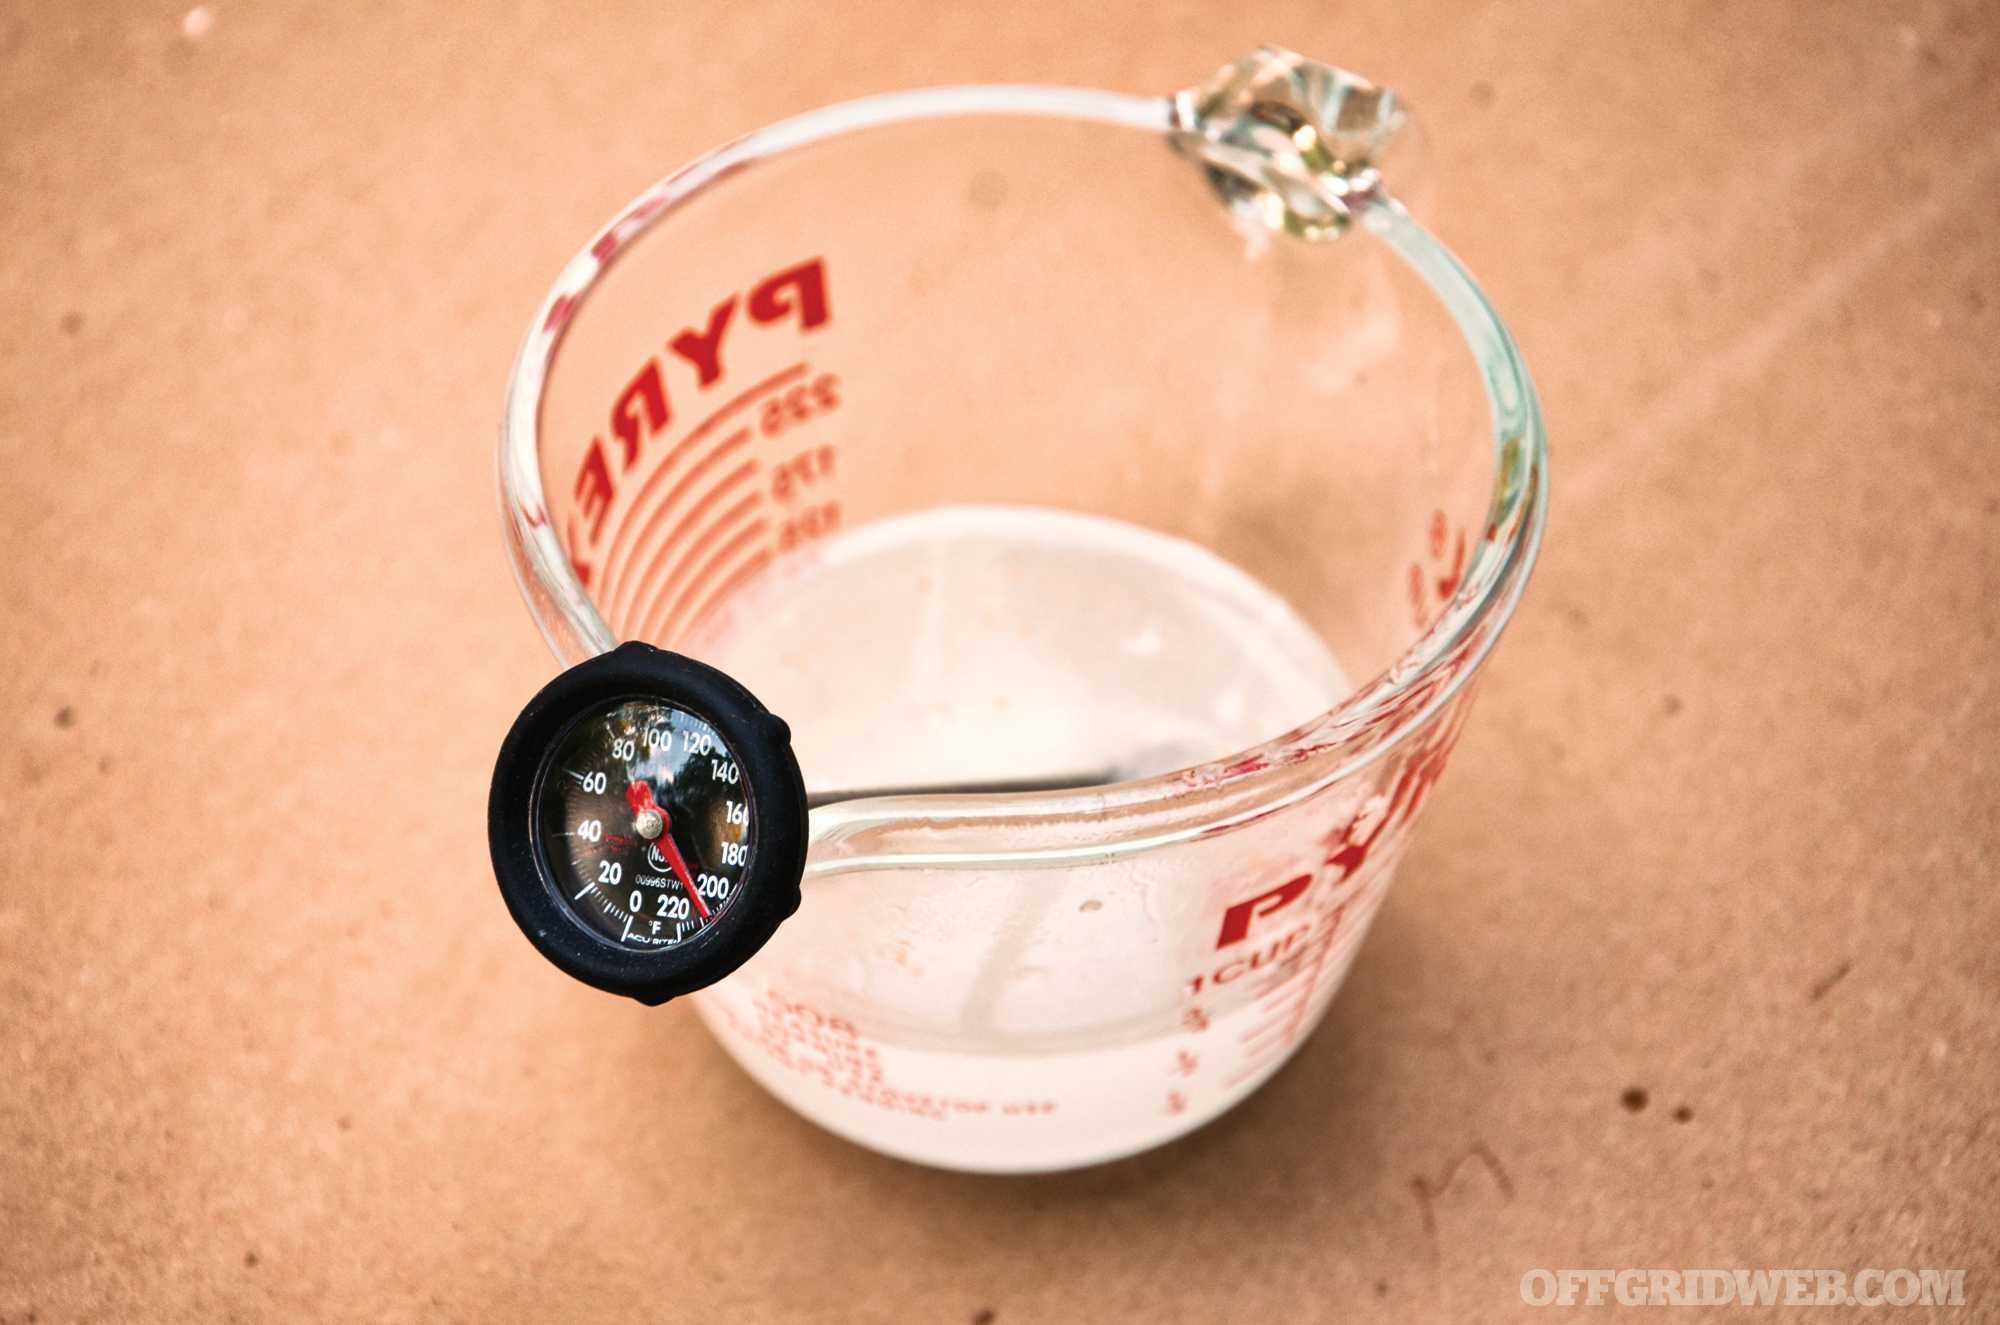
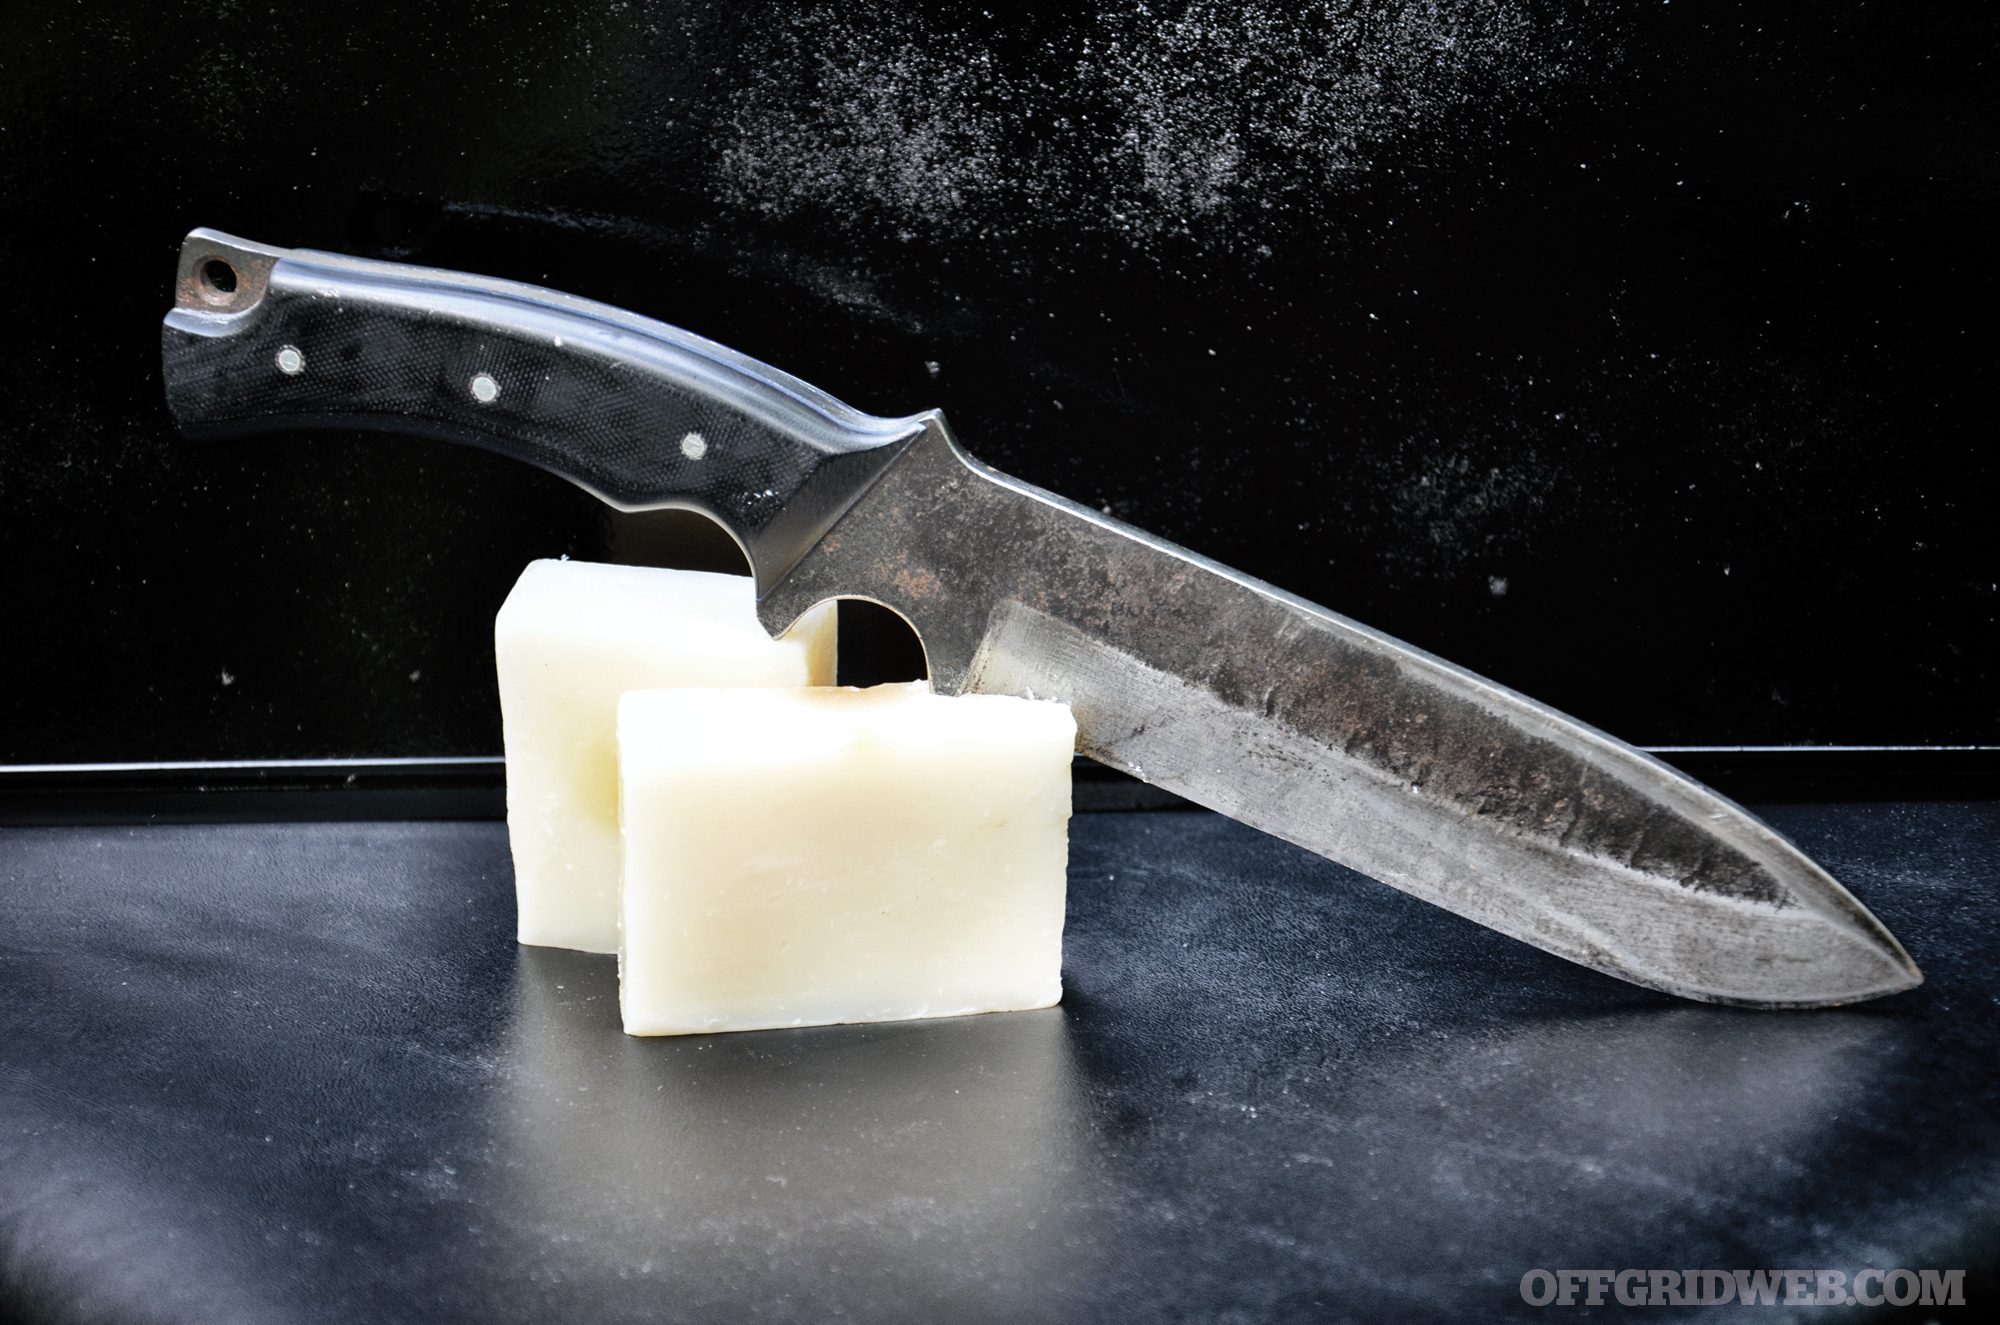
- All Washed Up: How to Make Soap from Scratch
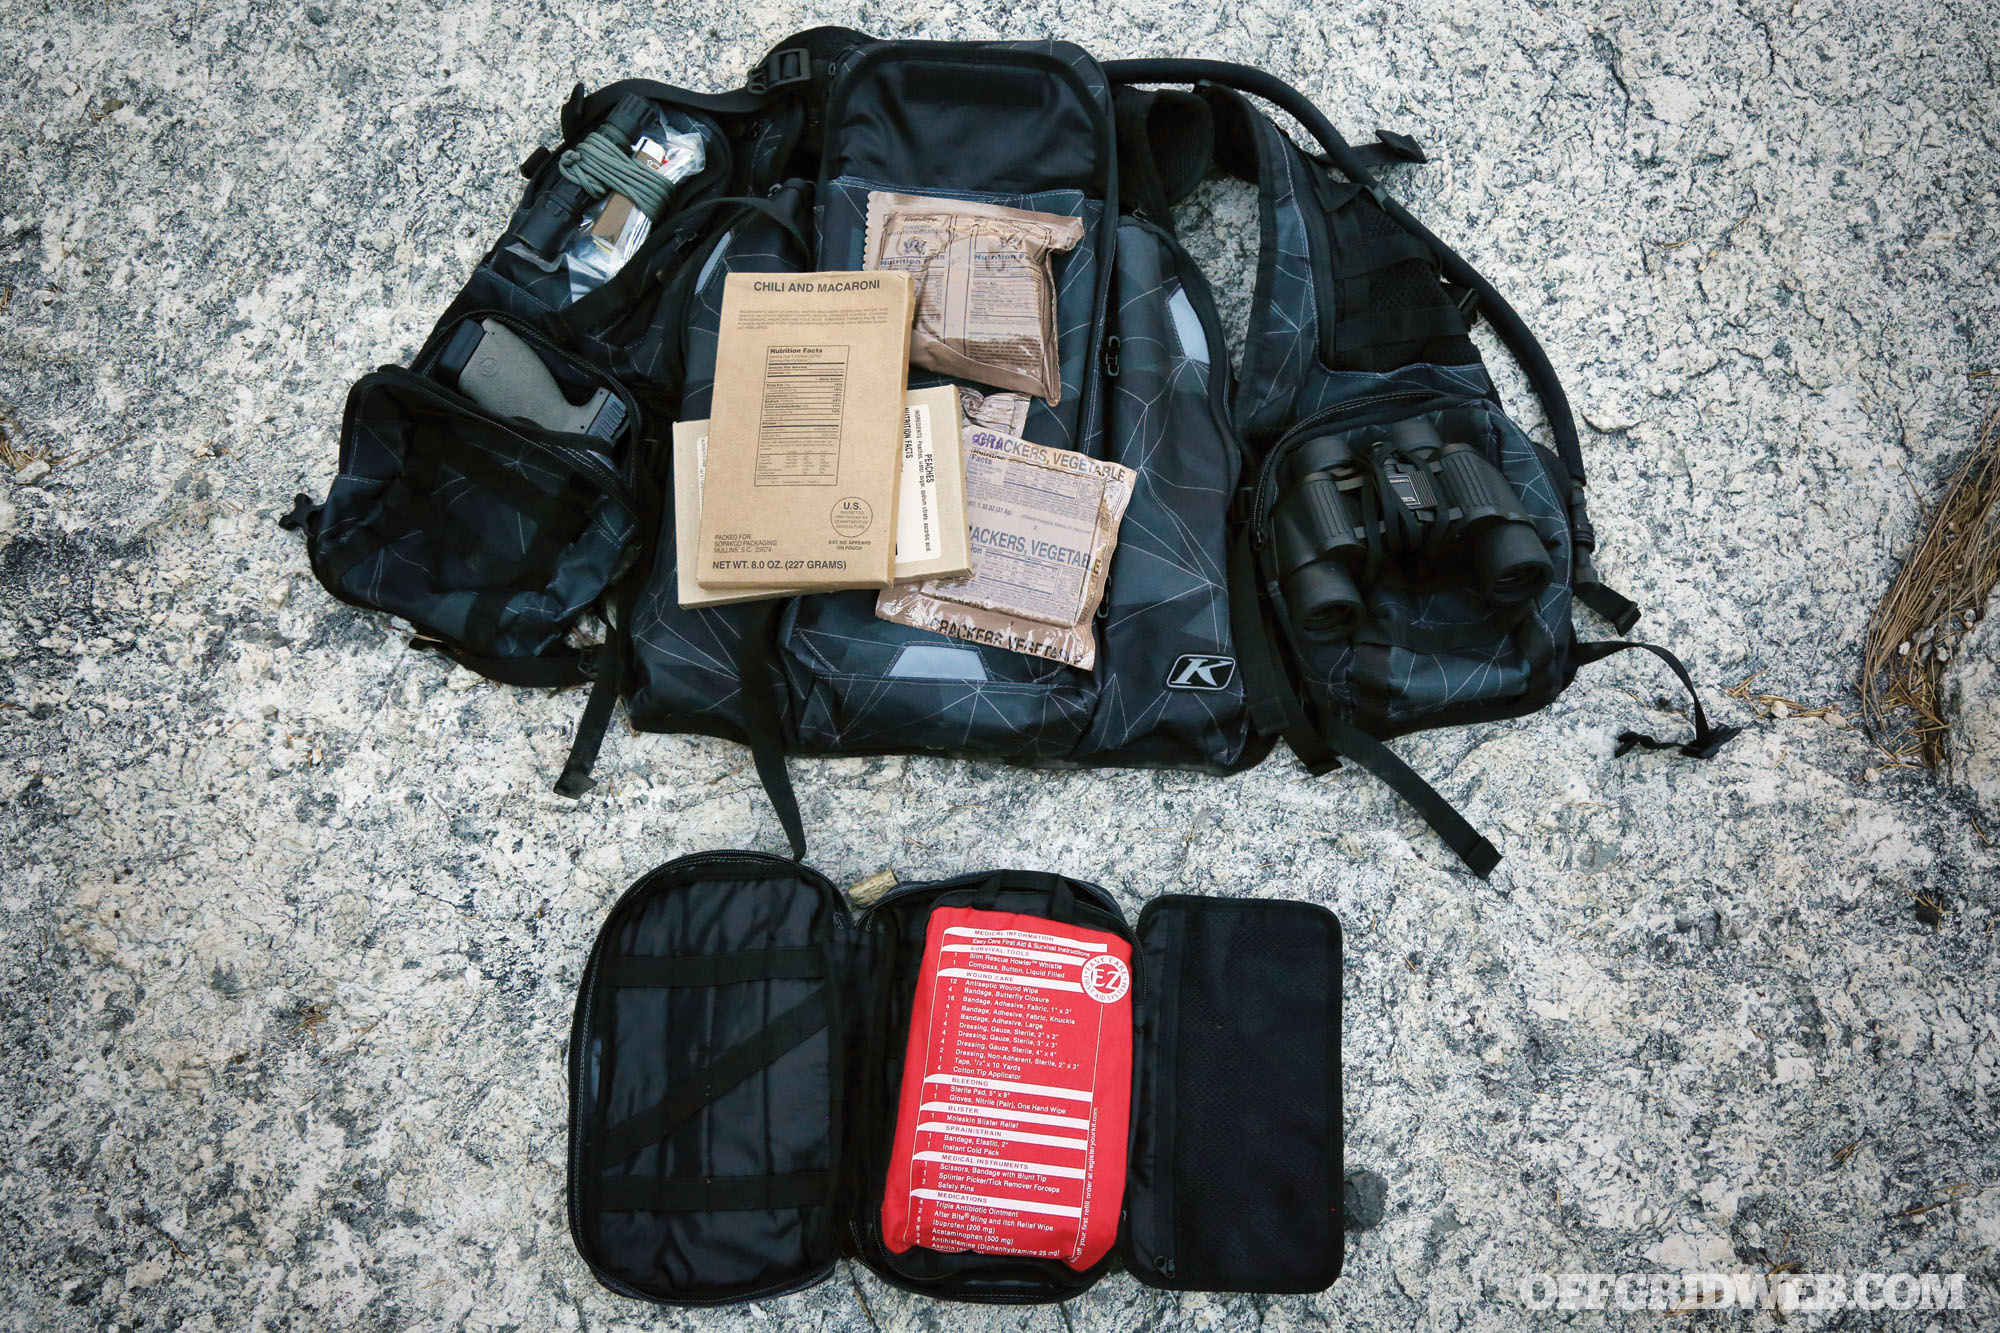
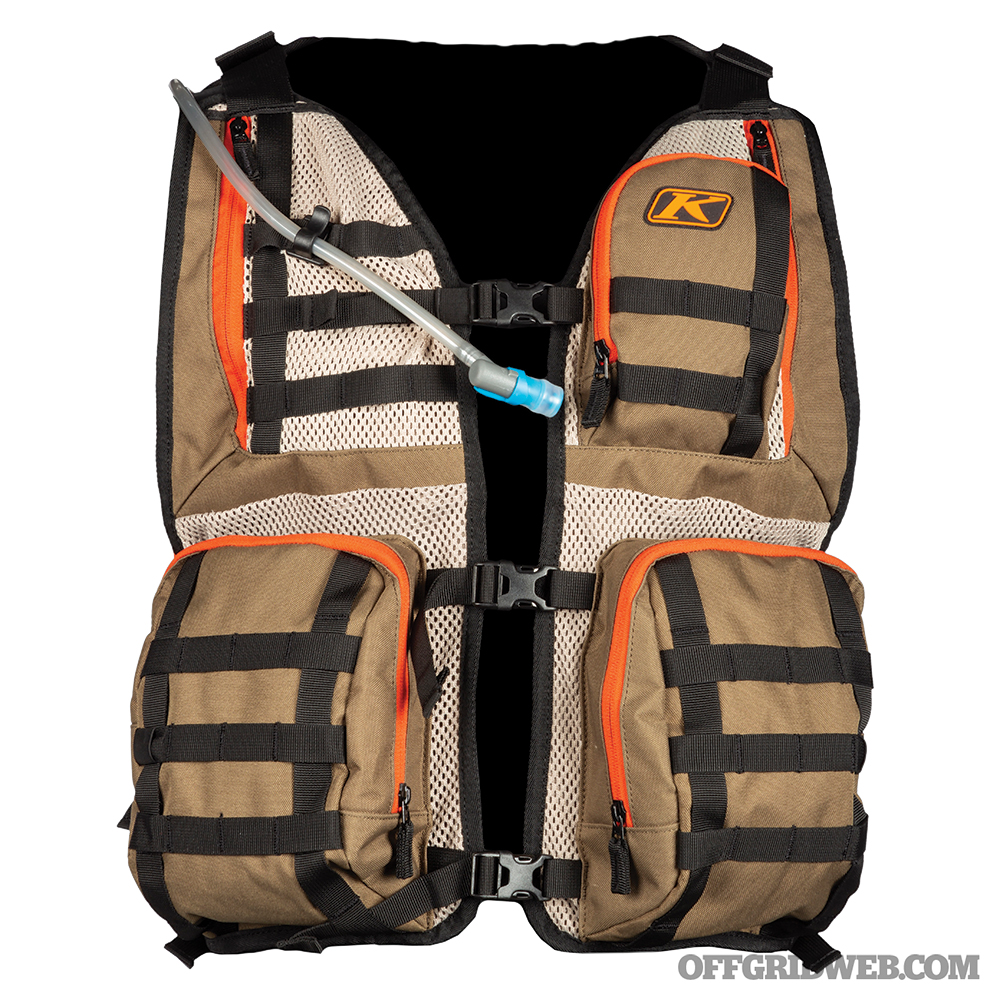
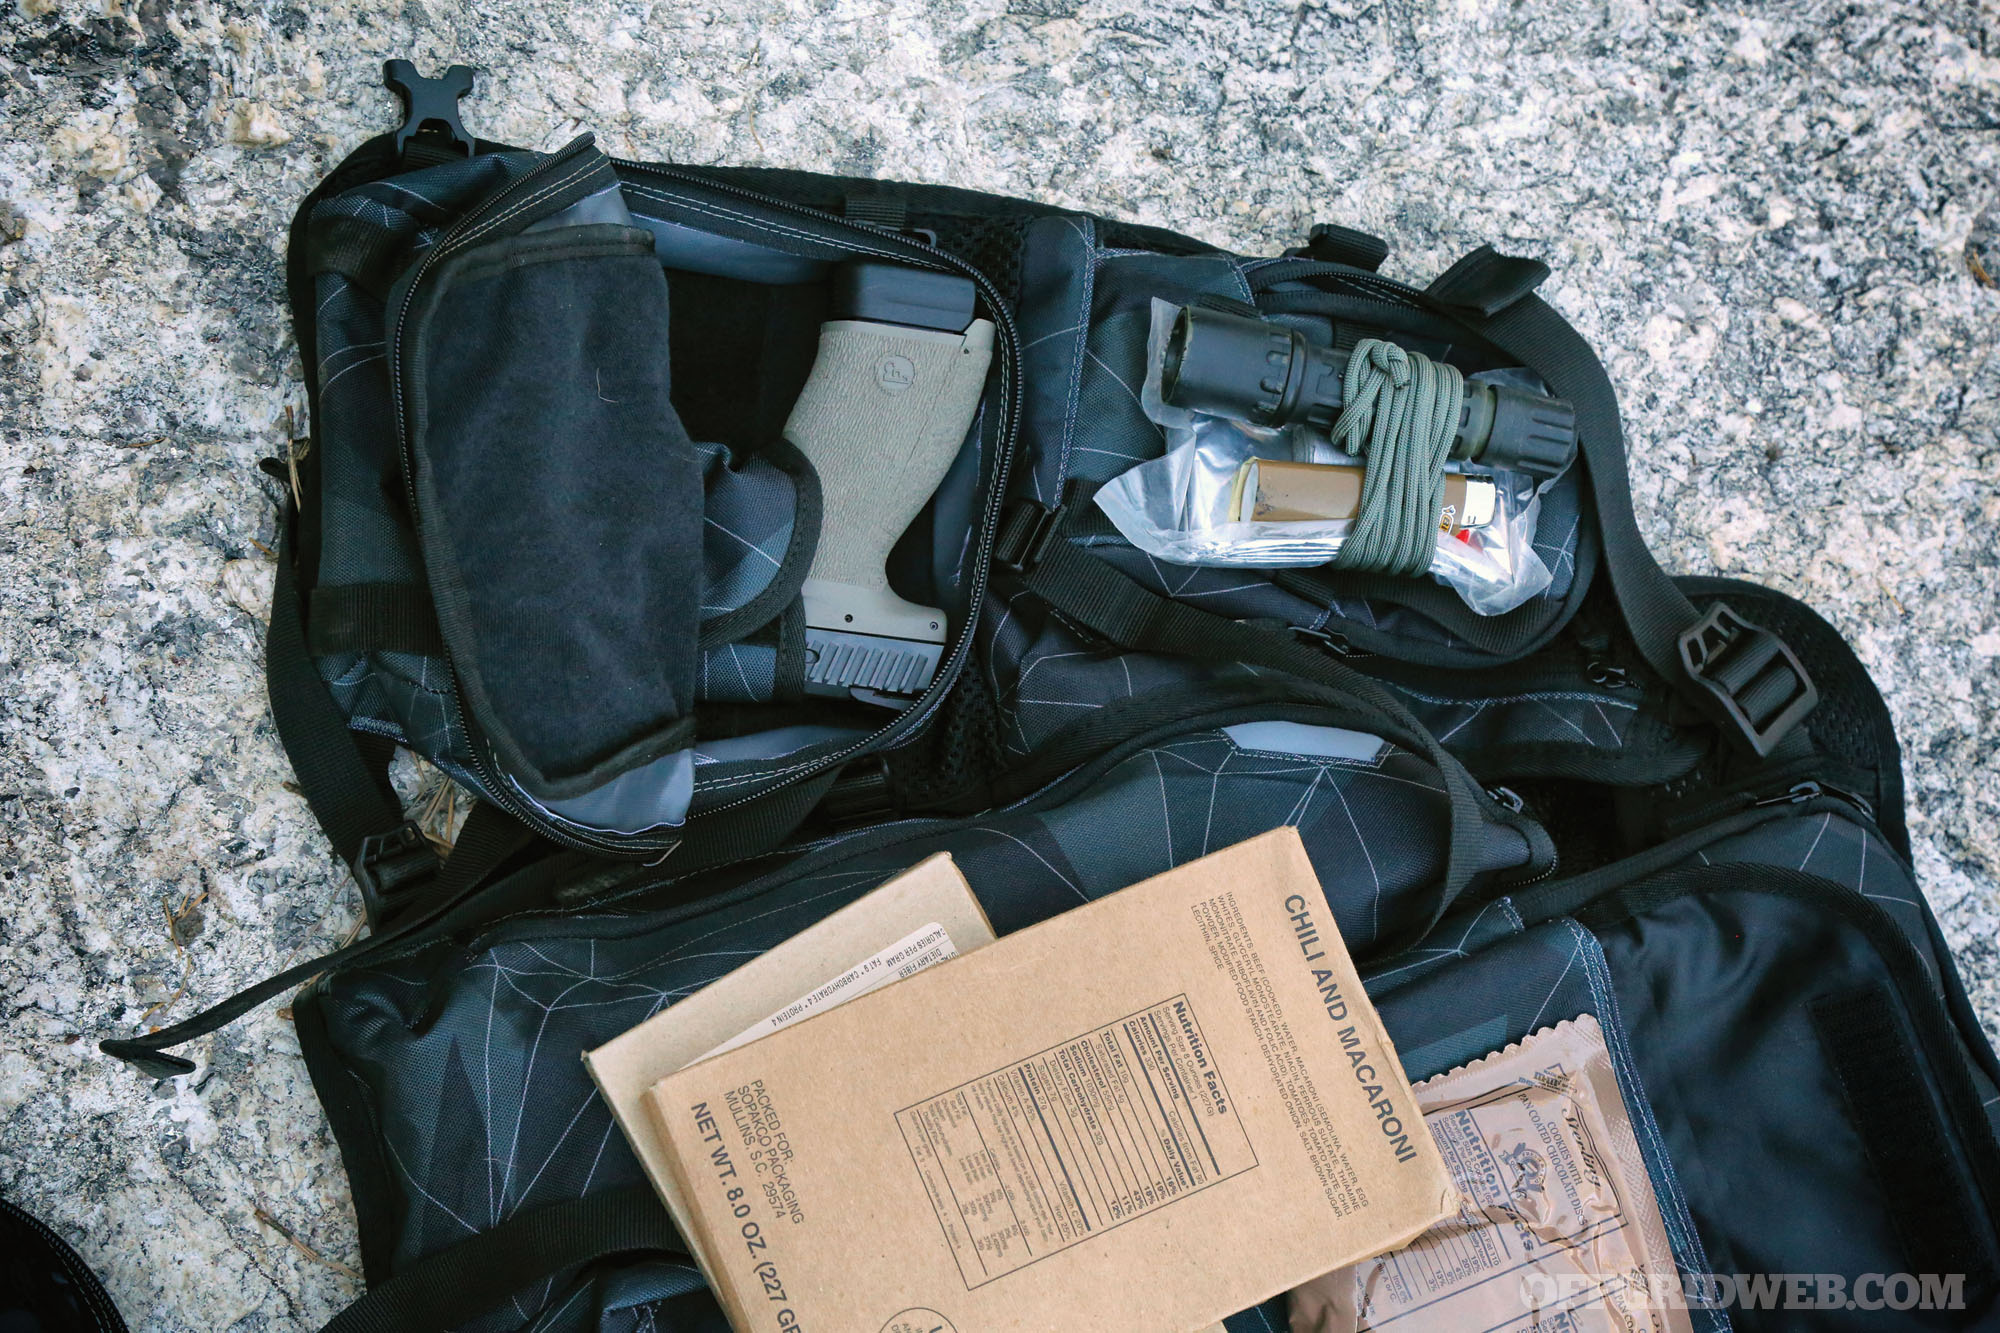
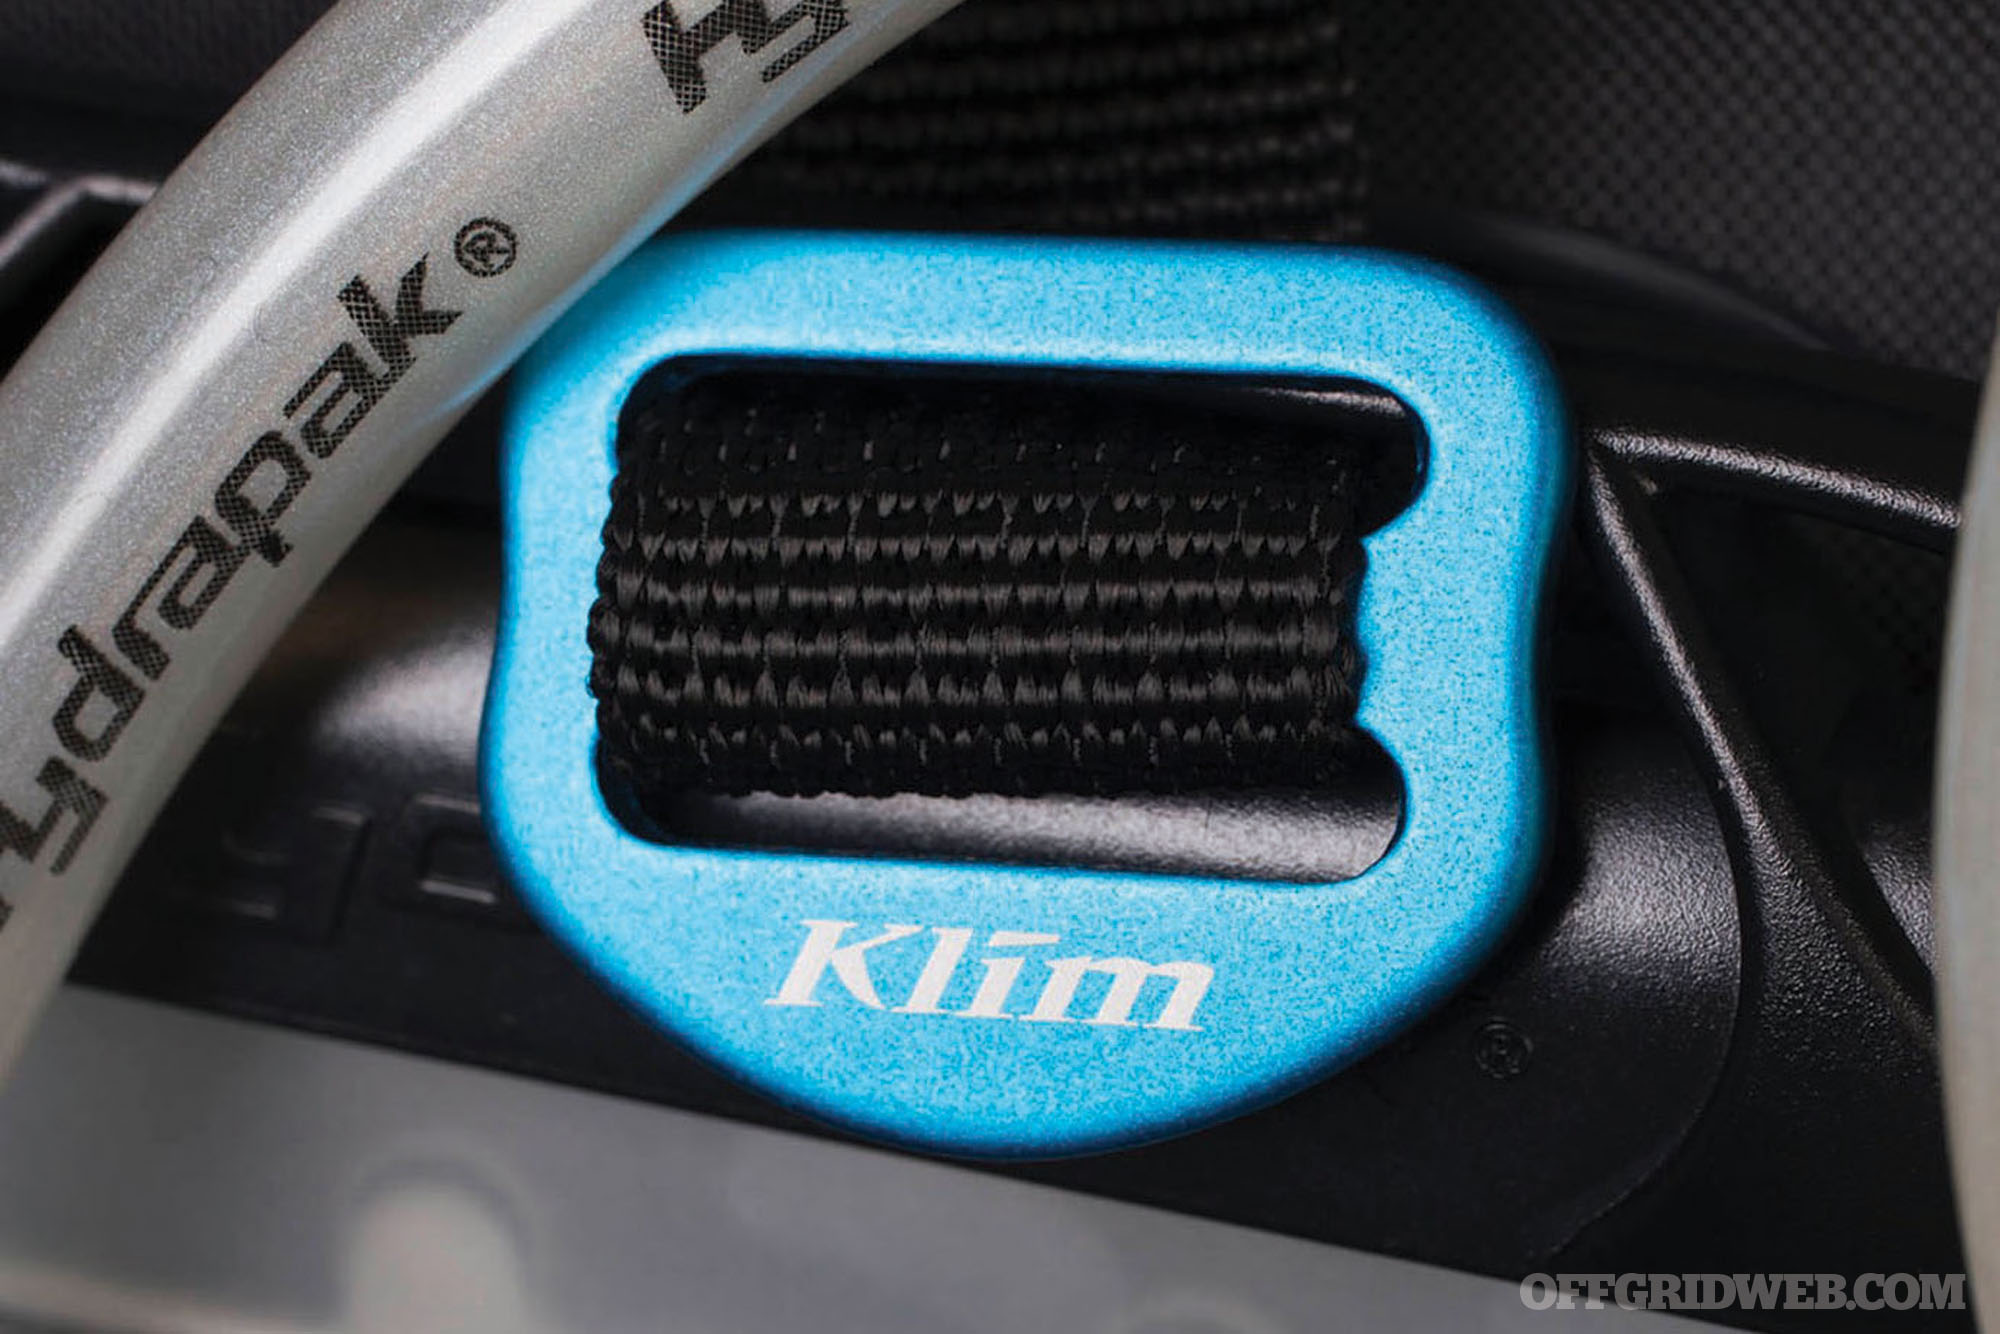
- Review: Klim Arsenal Vest
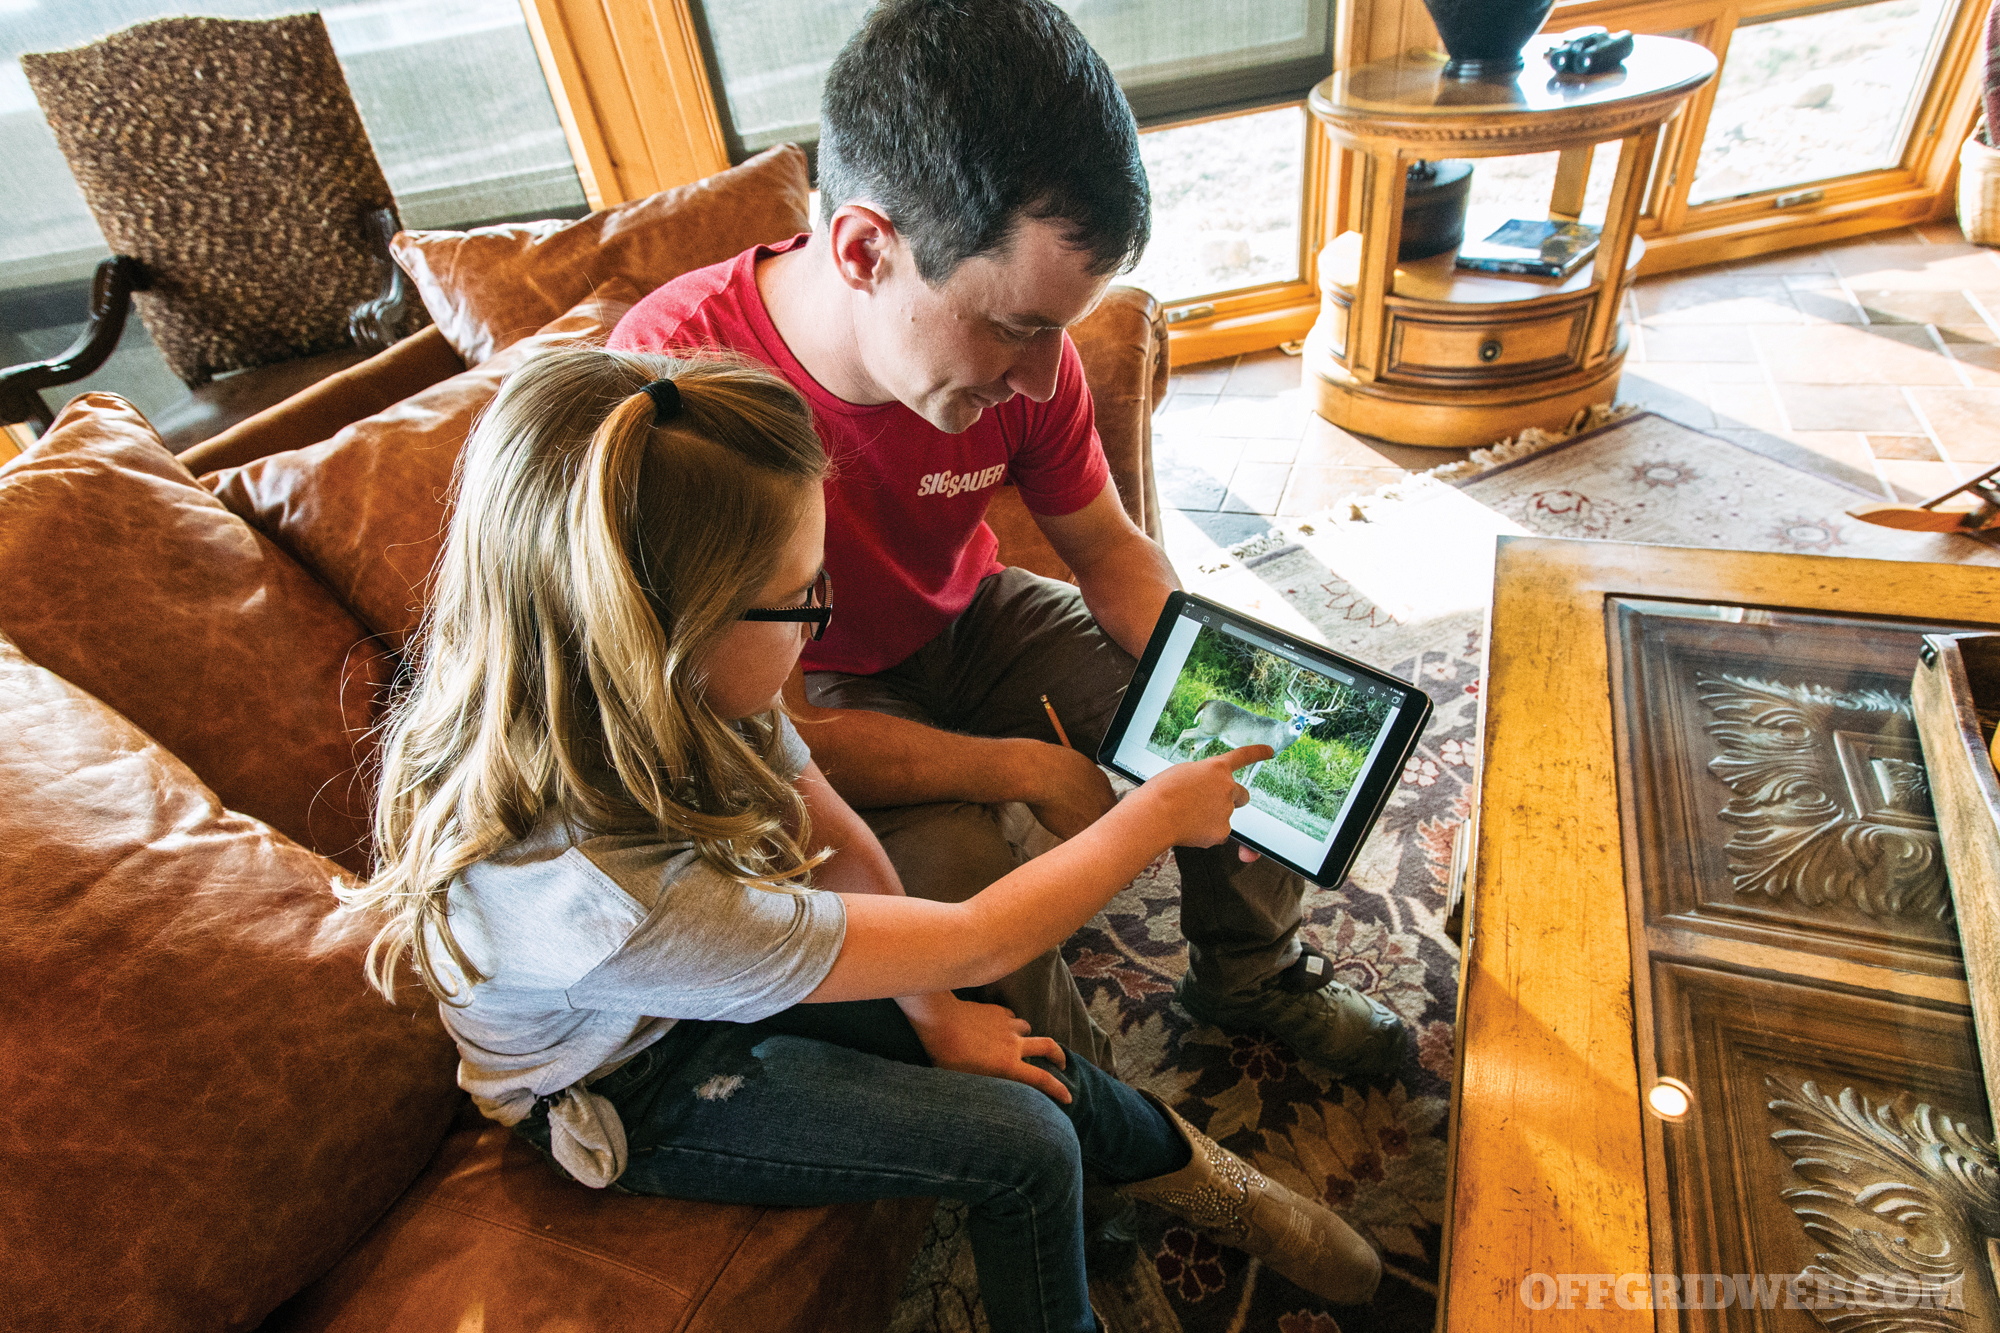
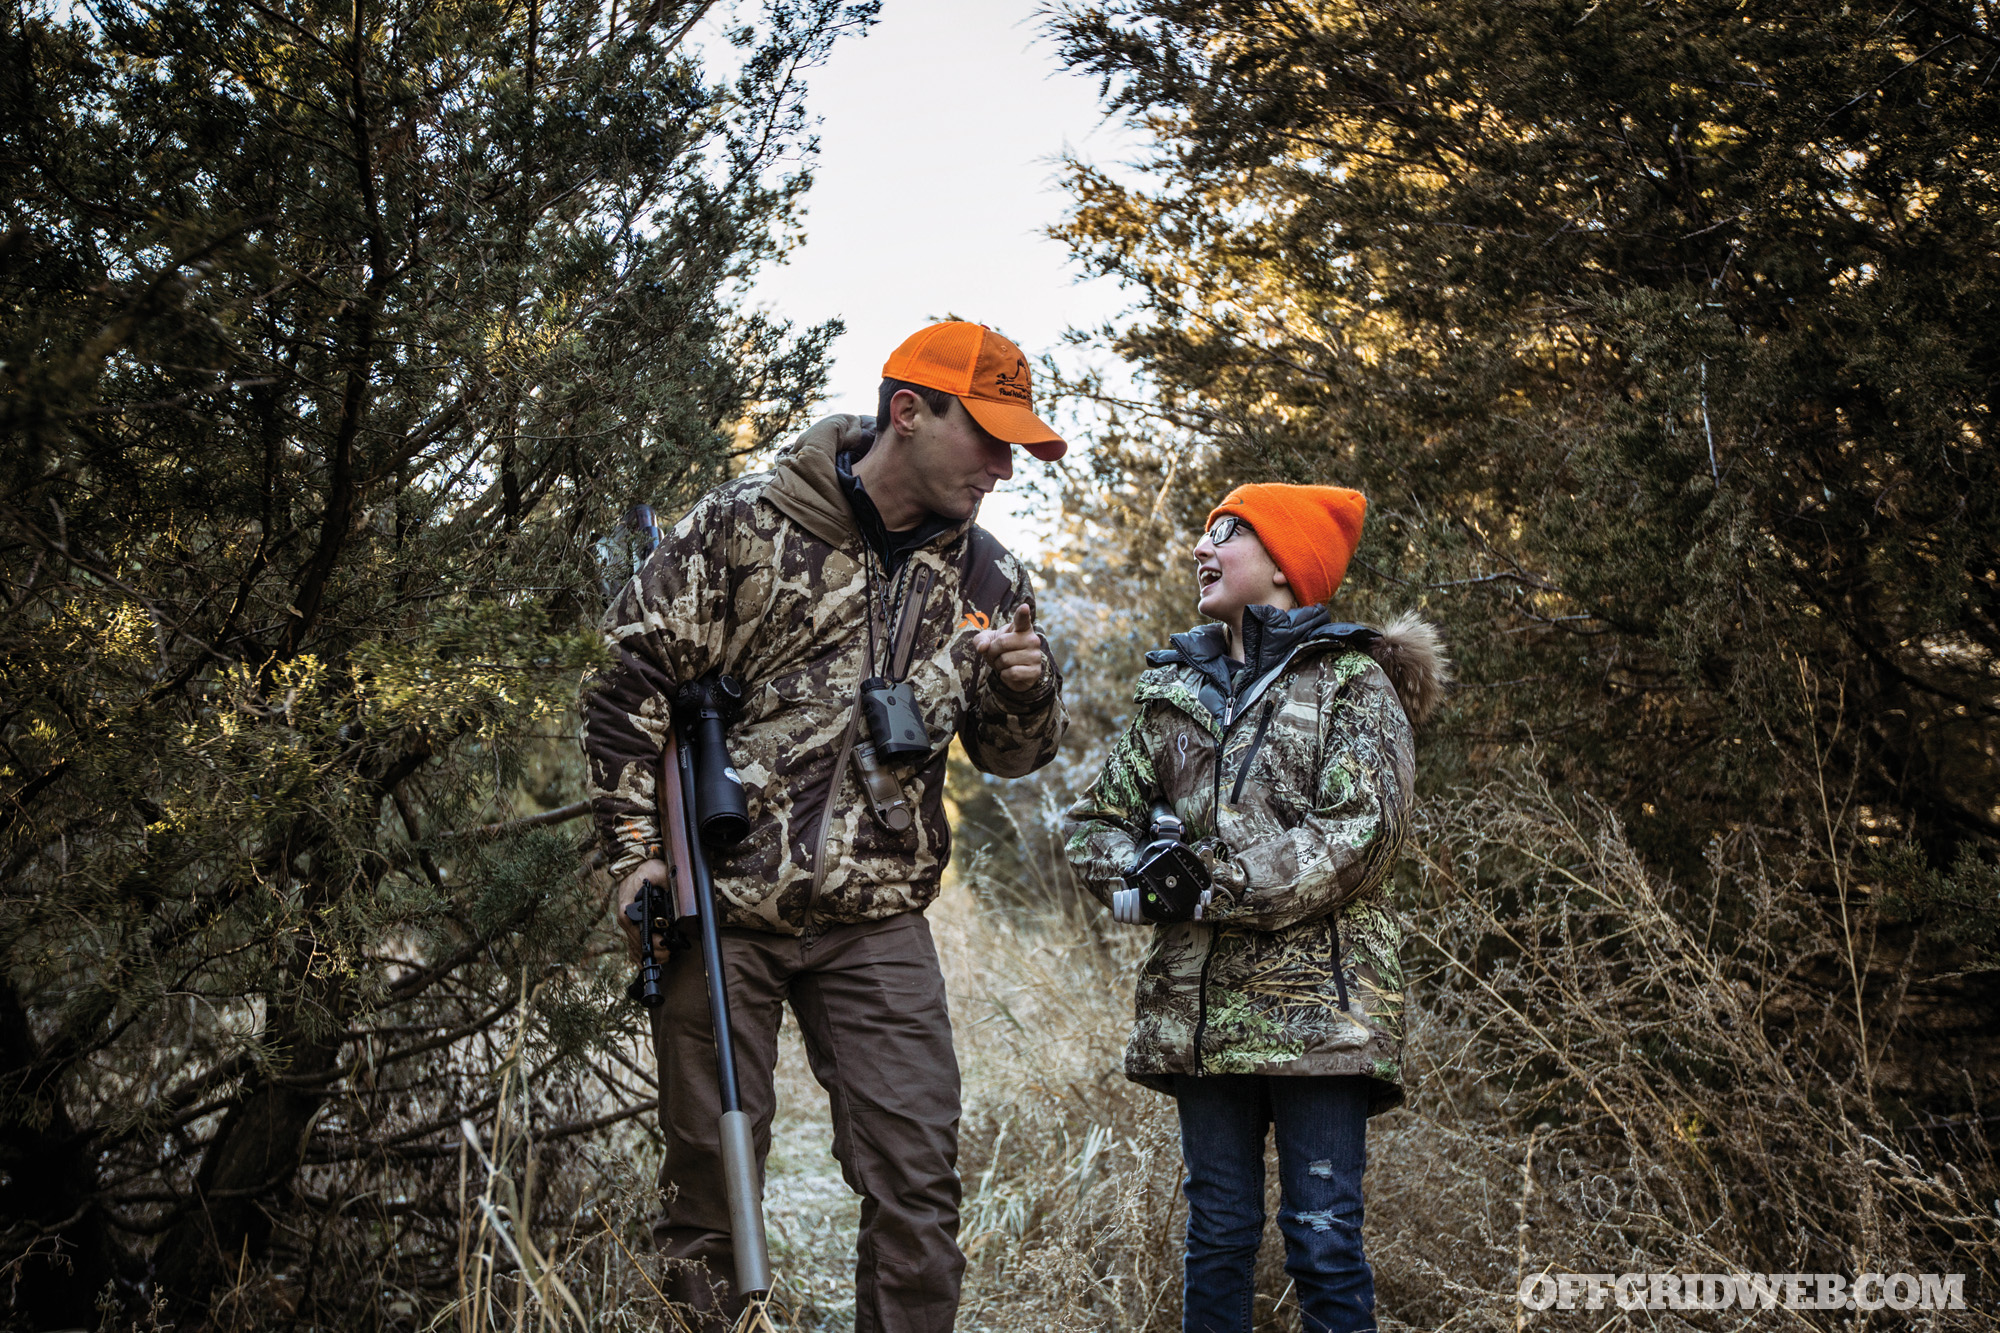
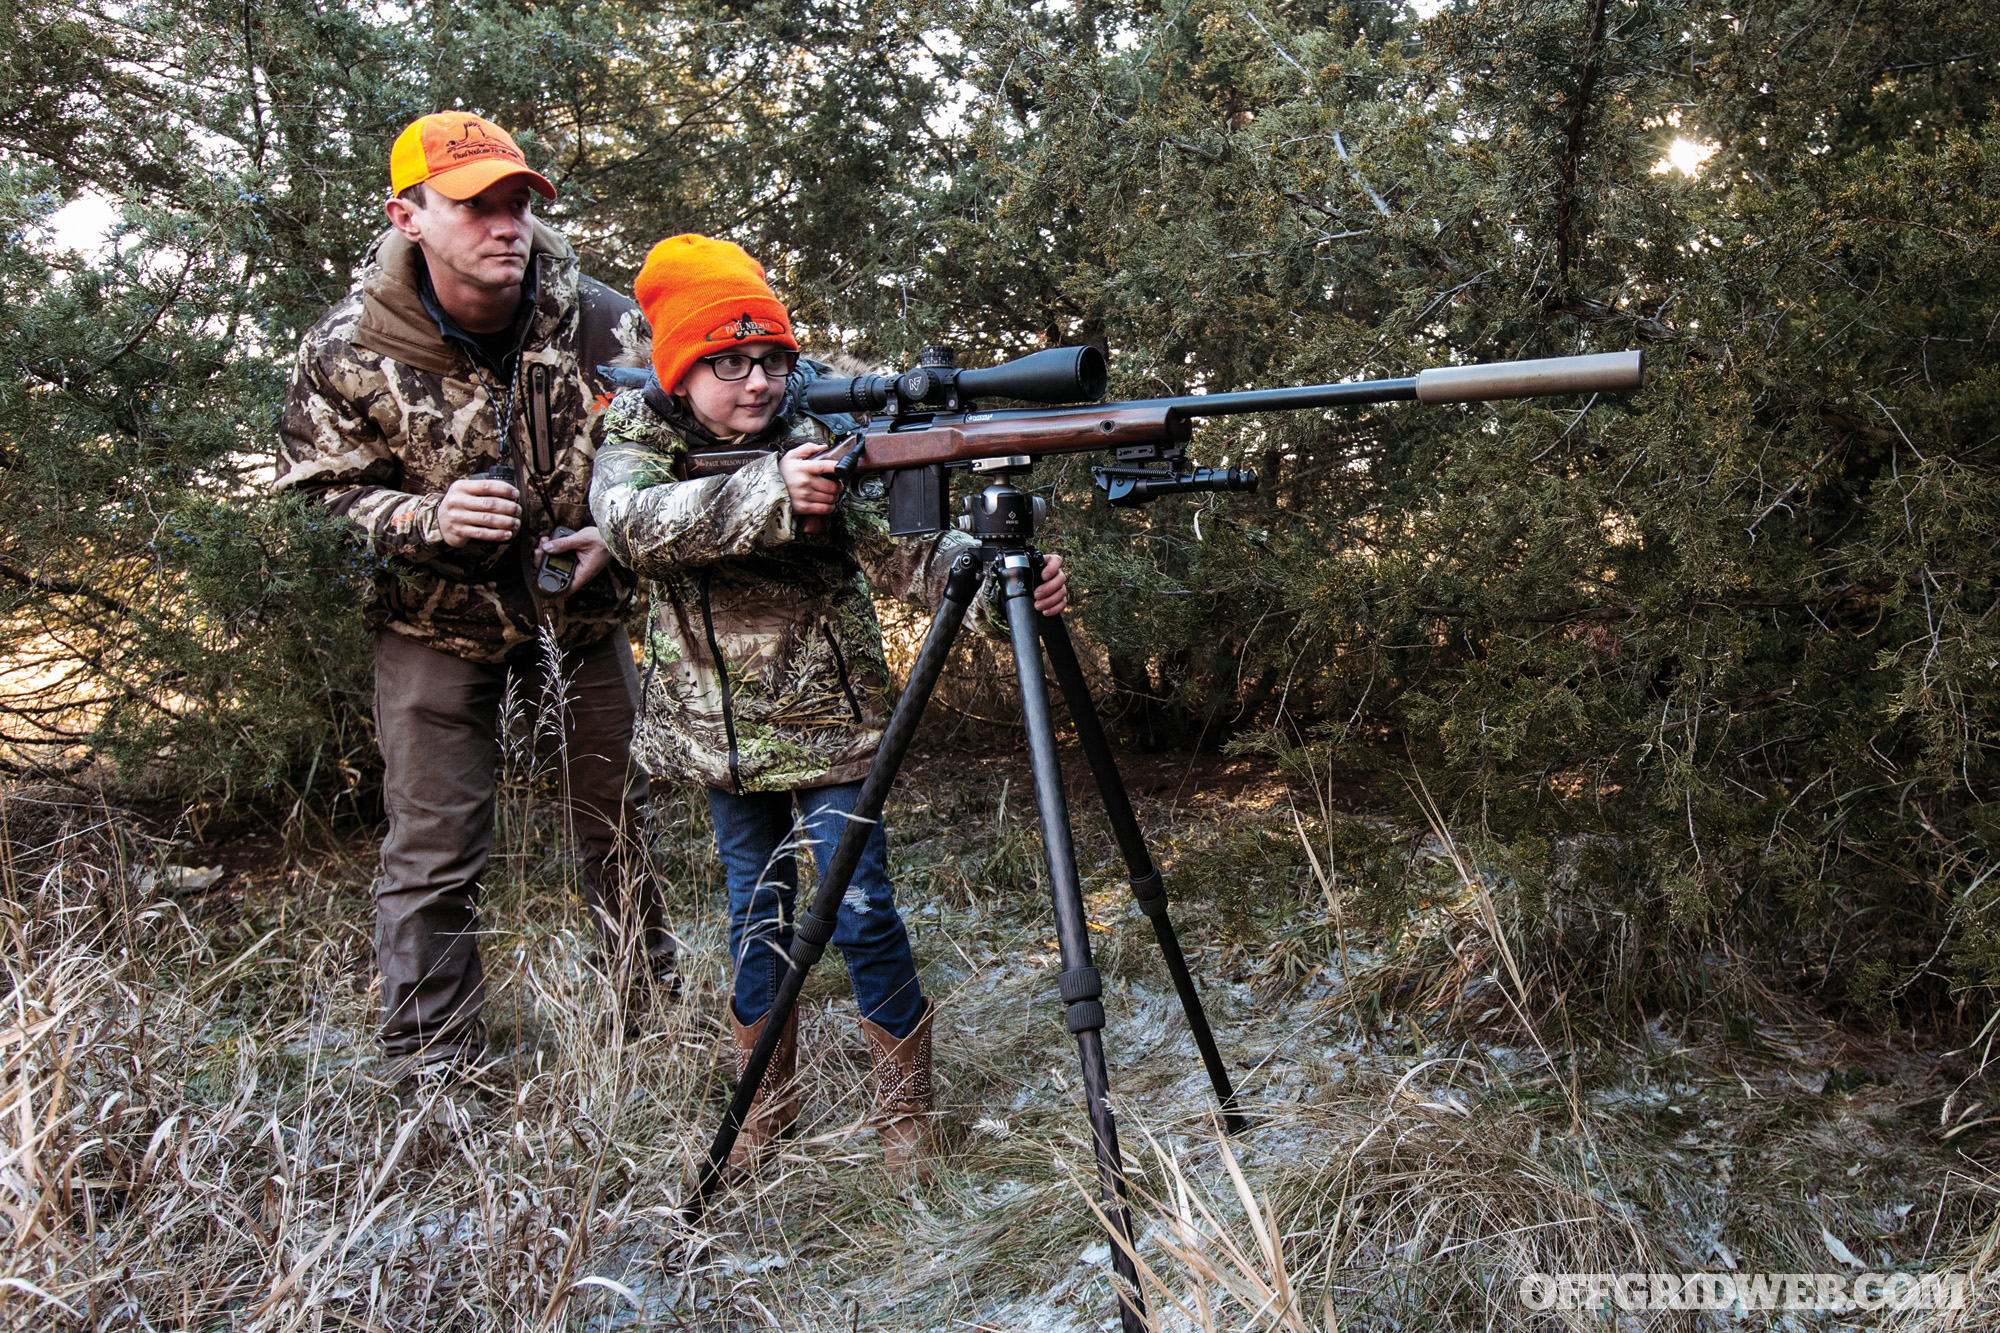
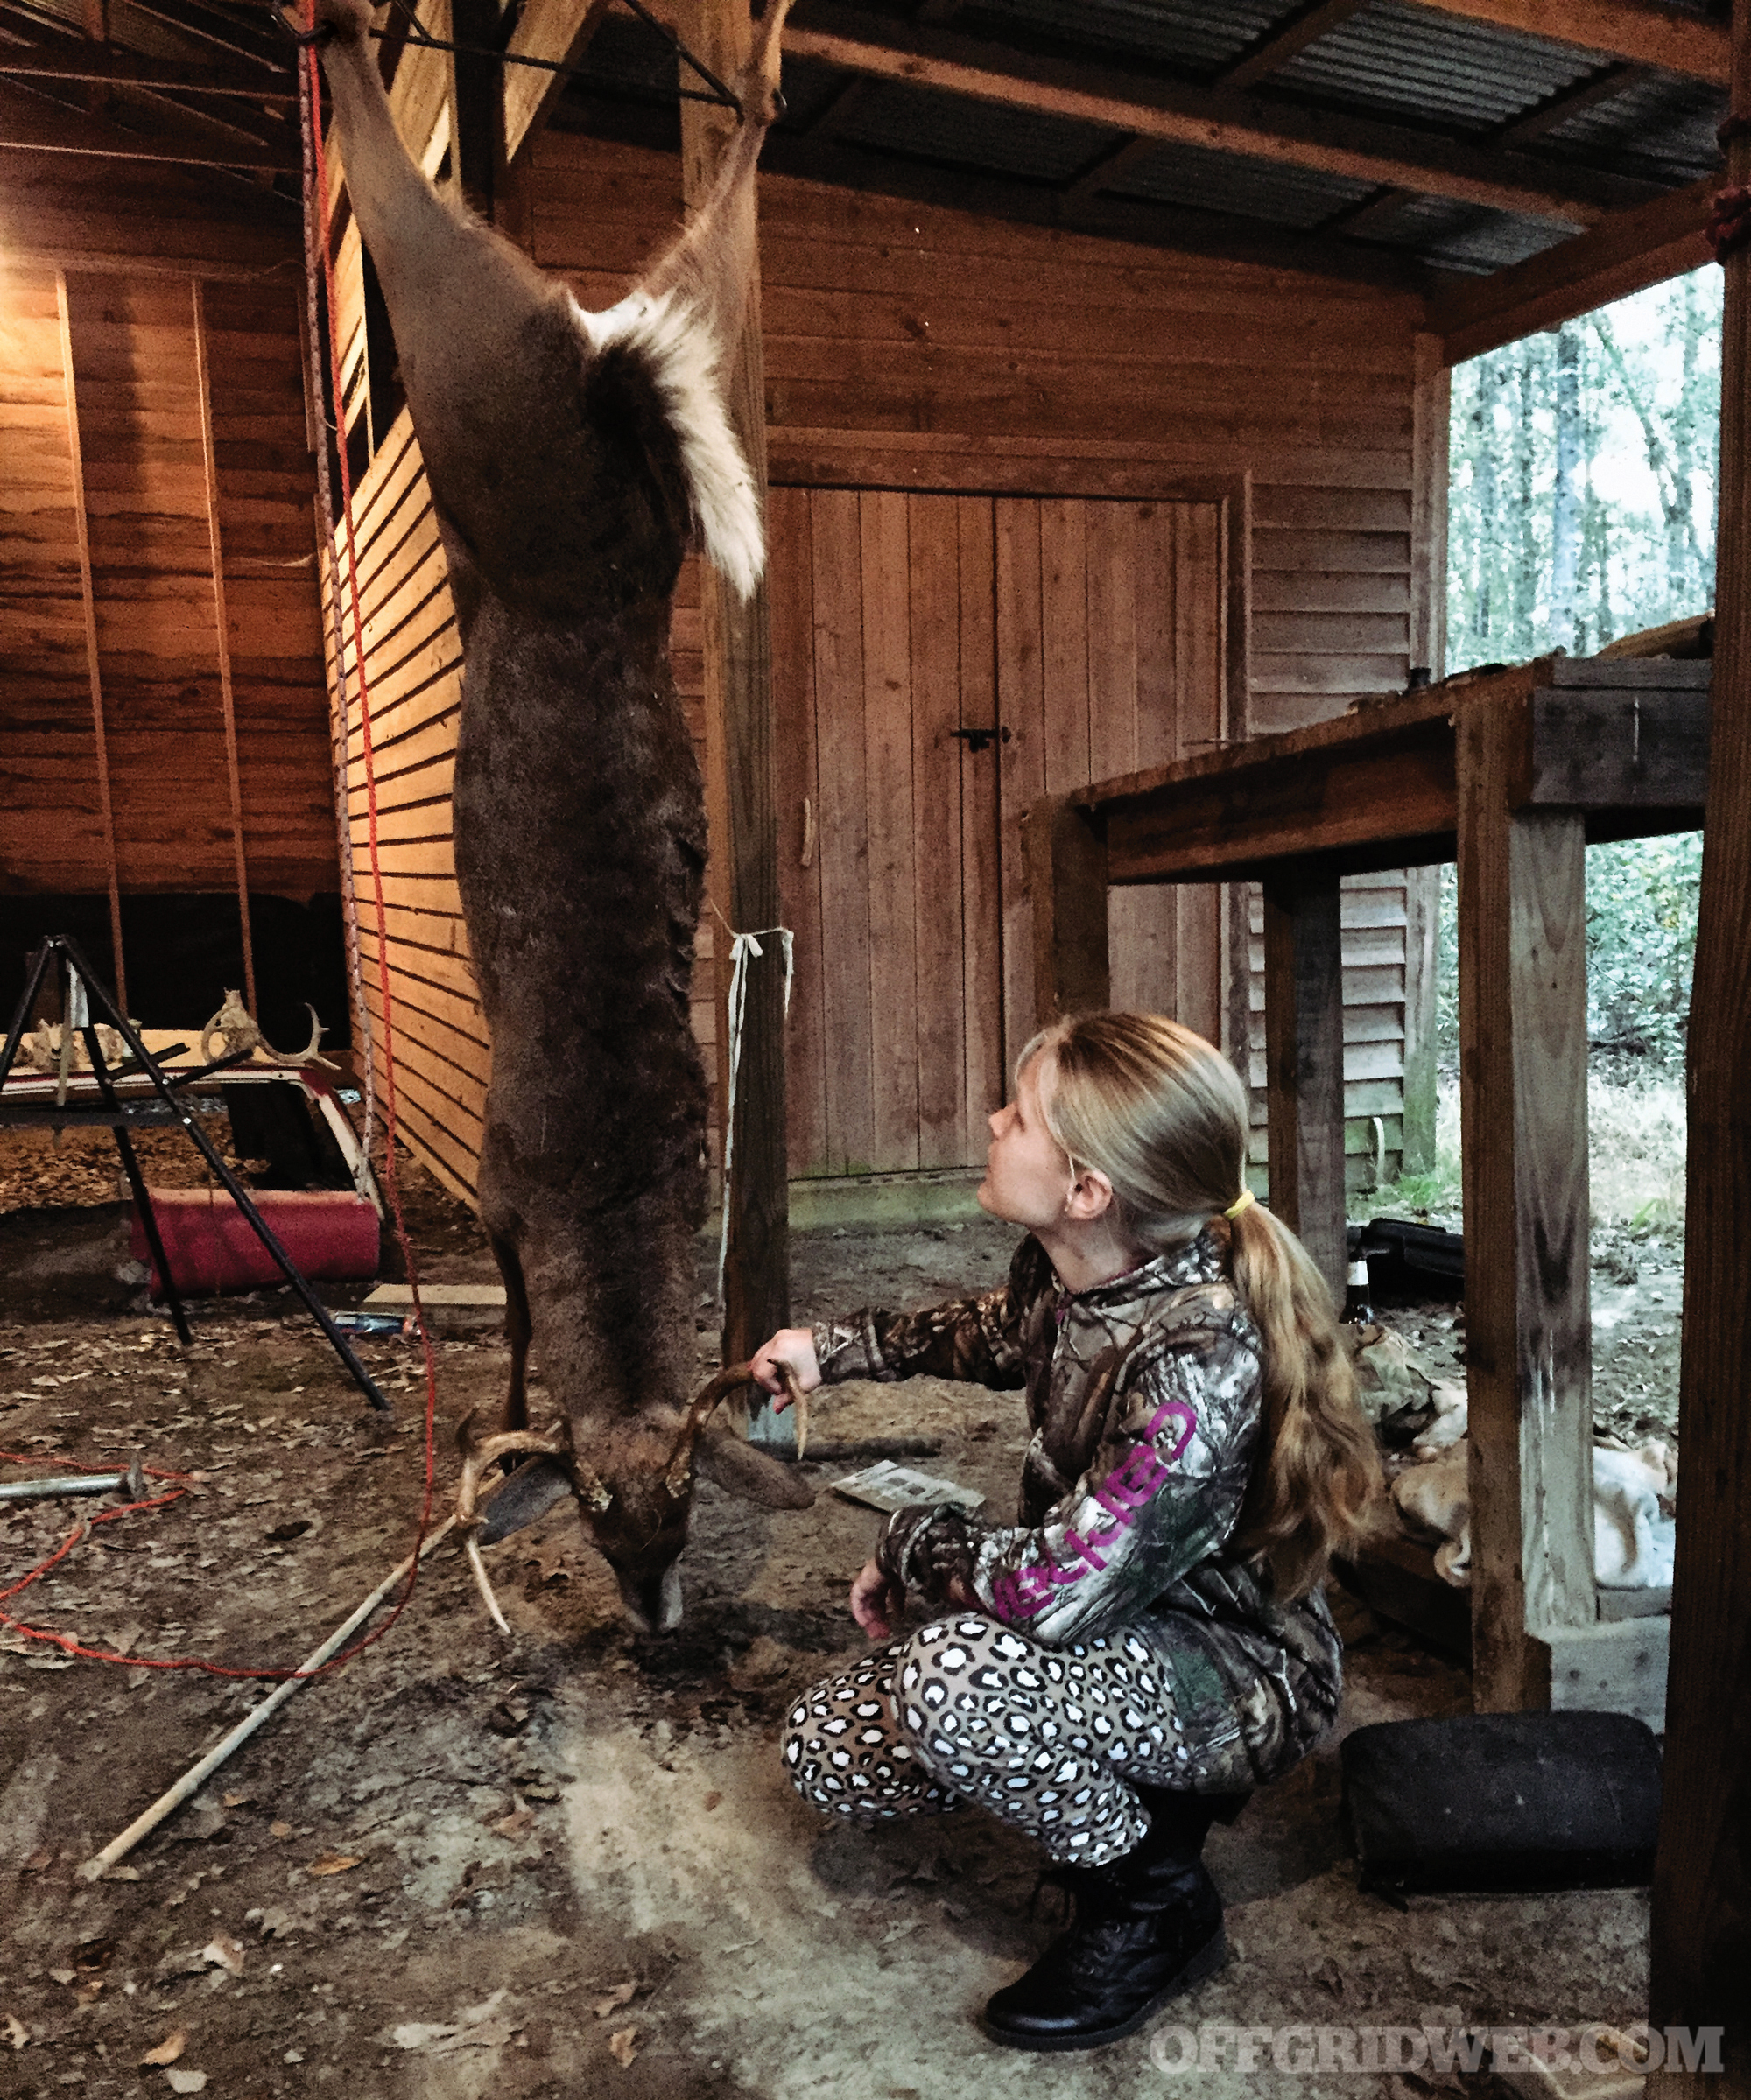
- Young Hunters: Tips for Teaching Kids to Hunt
- Household Ingenuity: 13 Specialized Tools for Survival
- Battle of the Boomsticks: Kel-Tec KSG vs. SRM 1216
- Book Review: “Waste Land” by David T. Hanson
- Traumatic Shock Treatment & Survival
Read articles from the next issue of Recoil Offgrid: Issue 31
Read articles from the previous issue of Recoil Offgrid: Issue 29
Check out our other publications on the web: Recoil | Gun Digest | Blade | RecoilTV | RECOILtv (YouTube)
Editor’s Note: This article has been modified from its original version for the web.