
In This Article
DISCLAIMER: This article is intended to be a brief overview of encrypted radios, not an exhaustive guide. Nothing in this article should be construed as legal advice. Check your local laws and license policies before transmitting from any radio, encrypted or otherwise.
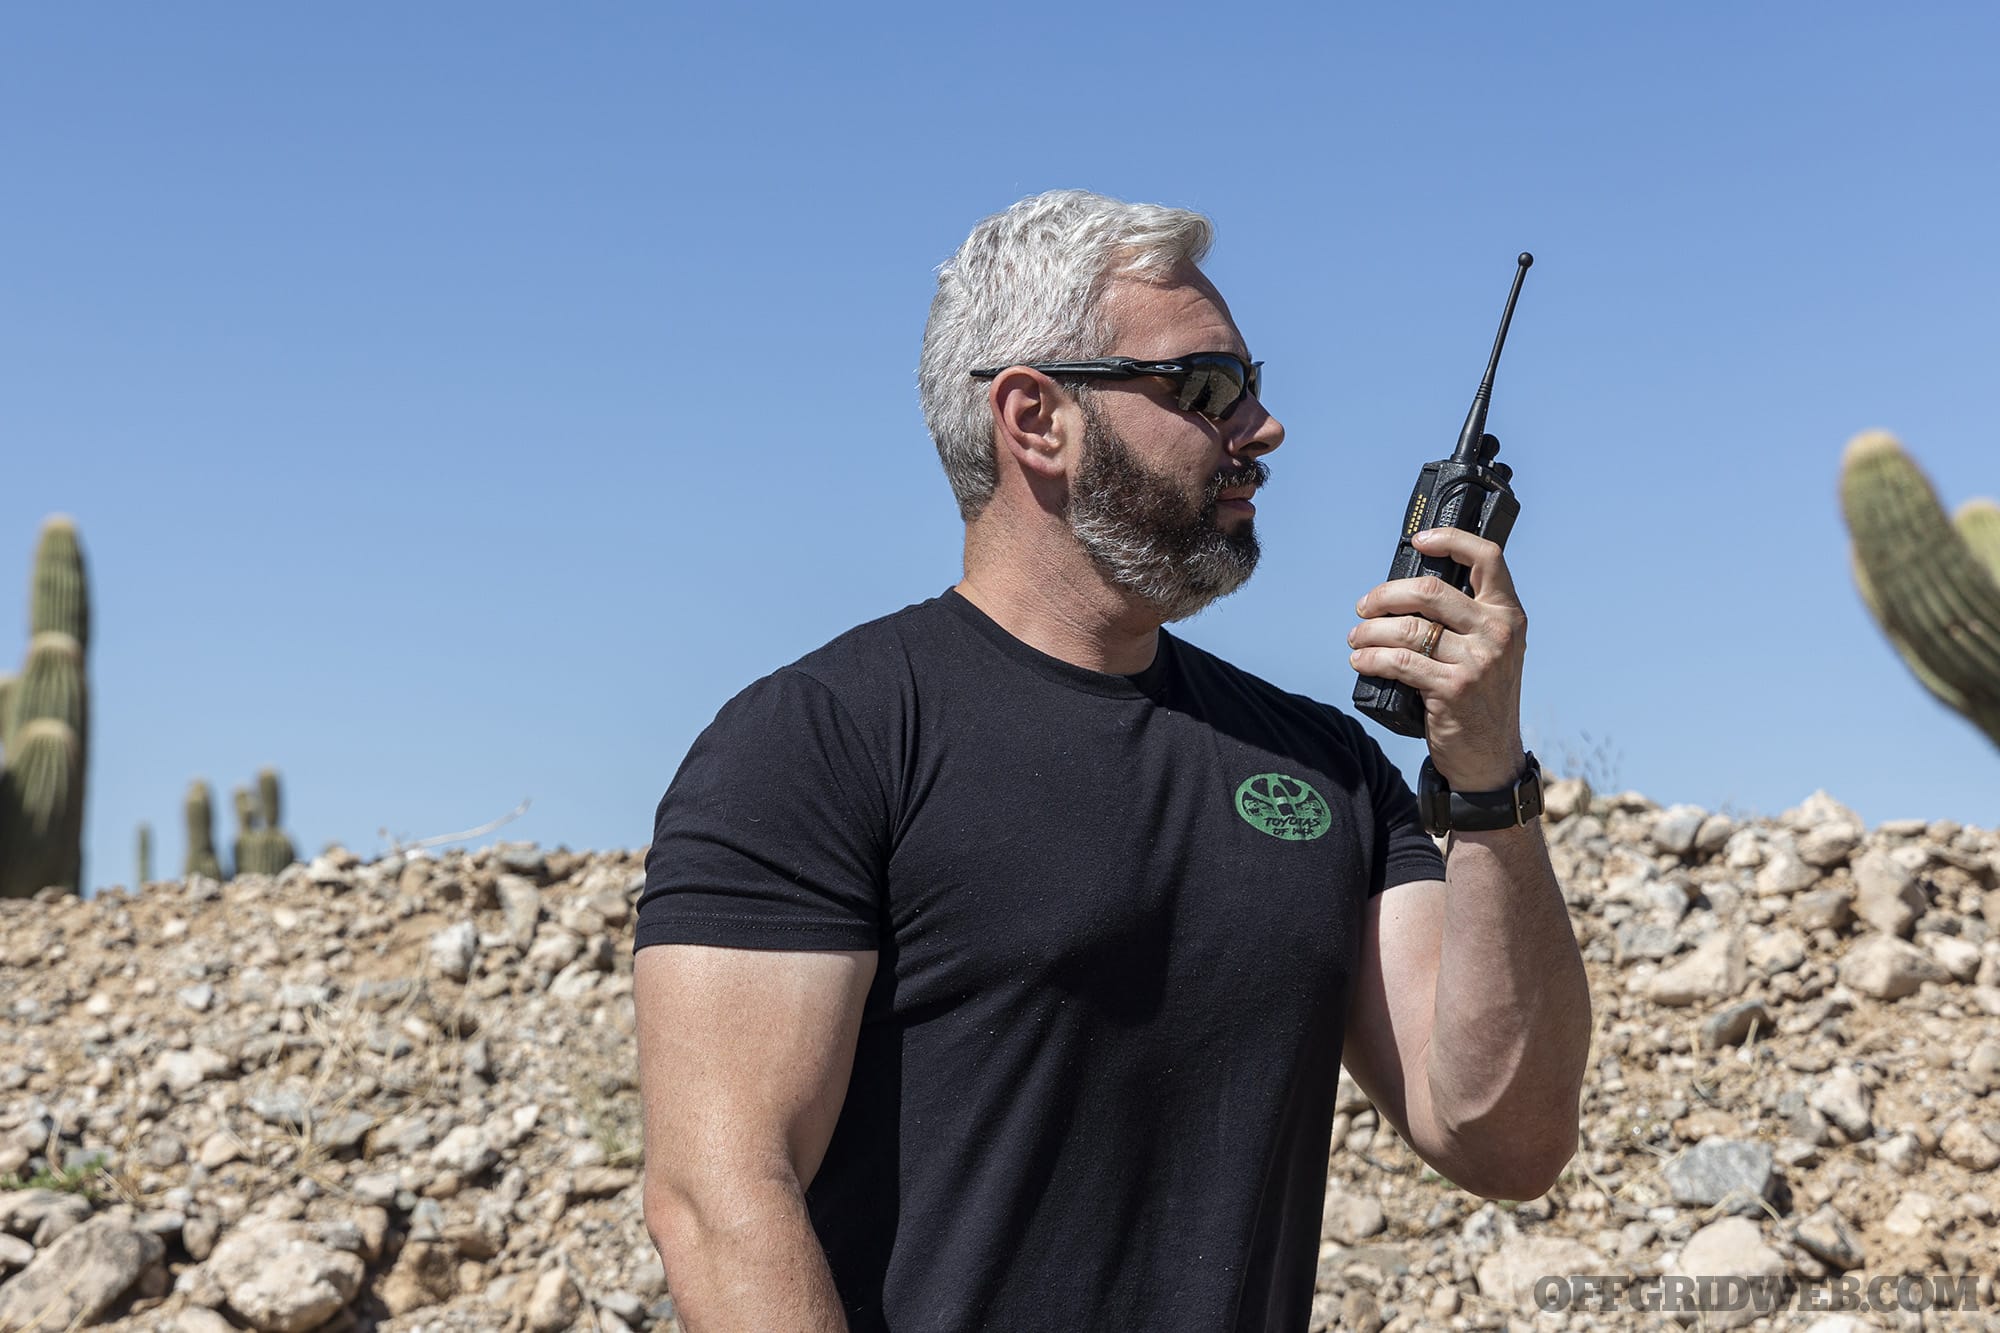
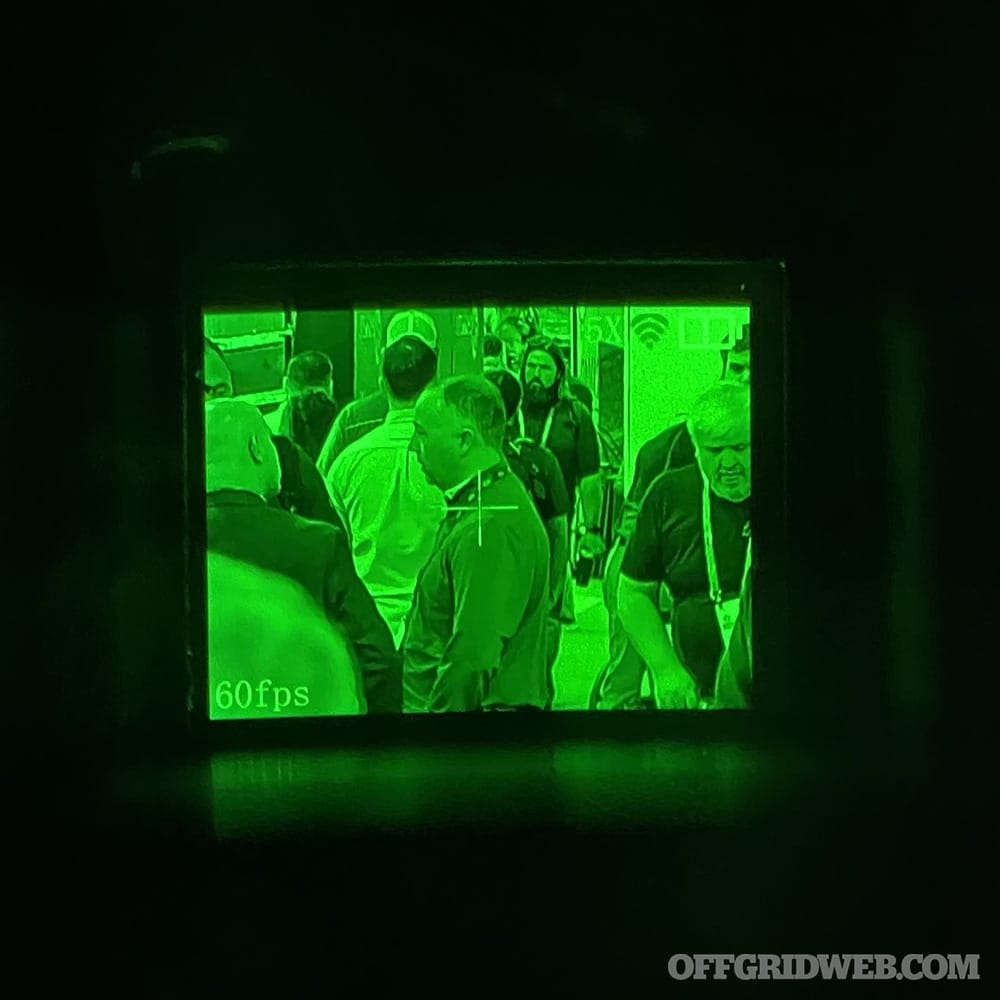
Humans are social creatures. From the moment we’re born, we begin working to communicate with those around us — it starts with parents, siblings, and extended family, then friends and classmates, and eventually coworkers, spouses, and children of our own. In the best of times, our ability to communicate is fundamental to our happiness, but it’s when things go wrong that we feel its true importance. Whether it’s lost hikers in the backcountry, a town devastated by a natural disaster, or a country ravaged by war, our instinct is to call for help from neighbors, authorities, and allies. Here is quick breakdown about encrypted communications:
However, there’s another truth that must be acknowledged: Humans are predators. Even before organized societies formed, we hunted to stay alive — not with tooth and claw, but with our wits and the tools we devised. First, we hunted animals for food, and then we hunted other humans to prevent them from taking our food. Thus came the never-ending series of conflicts that have defined (and destroyed) countless nations.

Above: From the simplest smoke signal to complex satellite phones or GPS beacons, the ability to communicate is especially critical in an emergency.
These two characteristics — social communicator and intelligent hunter — go hand-in-hand. As our weapons and technology developed over the millennia, so have our abilities to communicate and hunt. But it didn’t take long for these skill sets to be weaponized against each other. When our enemies attempted to communicate, we sent spies to intercept their messages. Recognizing this danger, they attempted to obscure their communications through the use of codes. Recorded examples of this date back as far as 1900 BC, when ancient Egyptians used non-standard hieroglyphics to conceal the meaning of messages. In response, we have assigned some of our best and brightest minds to the task of decoding encoded messages. This led to the arms race of communication security (COMSEC) that rages on today.
The Value of Encryption
“Why COMSEC is Important,” a U.S. Air Force memo published in 2018, explains succinctly:
Communication security can be something as simple as a decoder ring you received in the mail as a child or as advanced as an electronic mathematical algorithm created for securing satellite communications thousands of miles away in space.
Cryptographic security and the encryption of information are probably the most recognized disciplines within COMSEC. The military and other government entities use encryption to protect classified information, businesses use encryption to protect trade secrets, and hospitals use encryption to protect patient information. Encryption can also be used on computer systems to protect files containing personal information such as social security numbers, credit cards, tax information, email, and chat histories. This ensures that even if your laptop or cell phone is stolen, the data contained is still secure and unreadable by others.
The compromise or mismanagement of COMSEC can negatively impact our lives in many ways by means of identity theft, turning the tides of war, or possibly causing unnecessary loss of life.
Legality and Restrictions
Unfortunately, as is true with weapons and other powerful tools, encryption is often tightly controlled and jealously guarded by governments. This is especially true in nations with regimes that lean toward authoritarian control. Global Partners Digital, a London-based company that focuses on “bringing laws and policies relating to the digital environment more in line with international human rights standards,” provided the following ranking of encryption legality around the world:
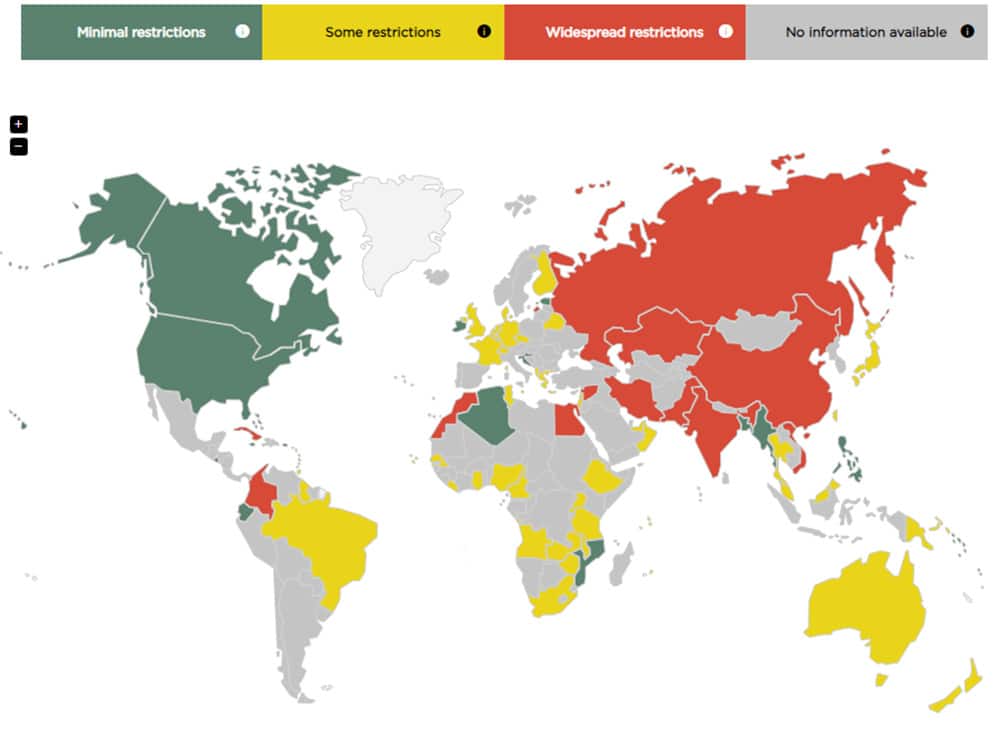
- Widespread Restrictions: China, Russia, India, Iran, Egypt, Cuba
- Some Restrictions: United Kingdom, France, Germany, Brazil, Australia, New Zealand, Japan
- Minimal Restrictions: United States, Canada, Ireland, Philippines
Refer to gp-digital.org/world-map-of-encryption for an interactive map with more details on each country’s policies.
While restrictions on encrypted communications are relatively lax in the U.S., there’s one area where they’re more stringent: amateur radio. In the Code of Federal Regulations (CFR), Title 47 § 97.113 — “Prohibited transmissions,” the Federal Communications Commission (FCC) prohibits amateur radio users from transmitting “messages encoded for the purpose of obscuring their meaning.” This blanket statement effectively prohibits everything from advanced digital encryption to the use of simple code words with undisclosed meanings.
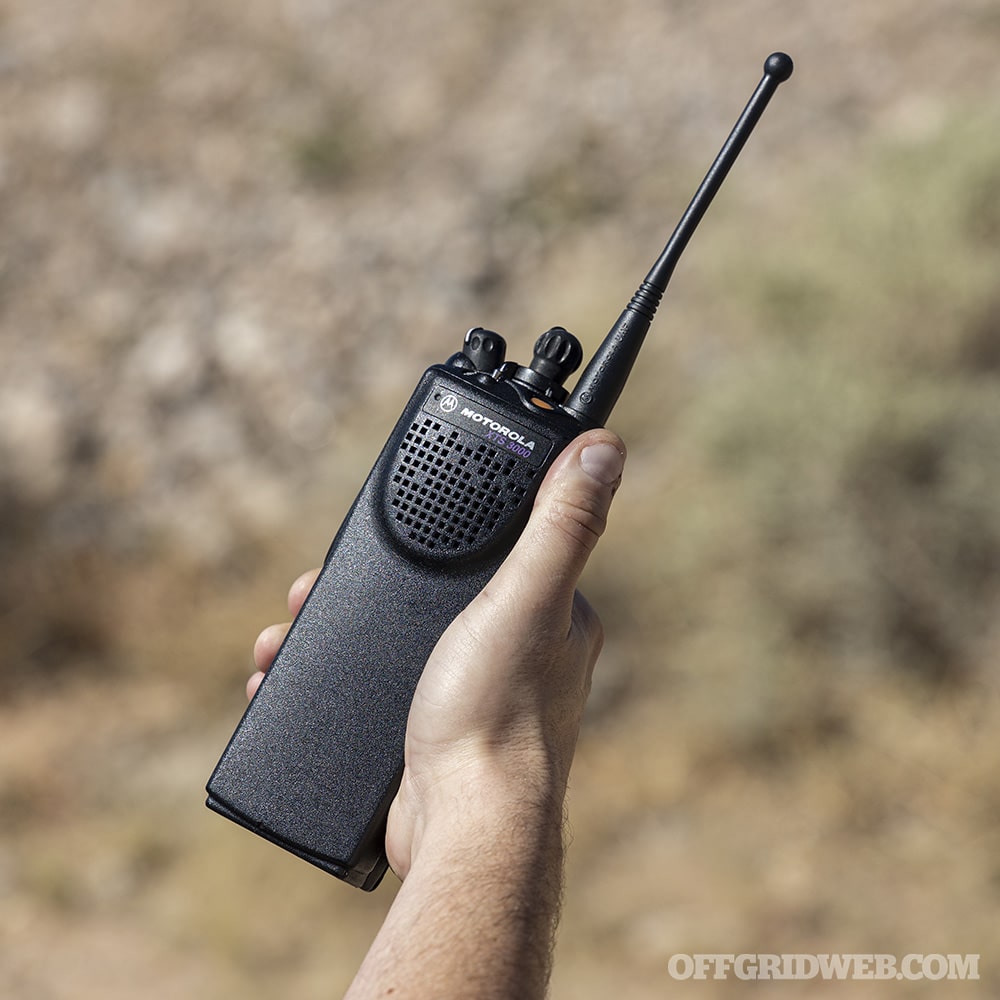
Above: The Motorola XTS 3000 is a common encryption-capable digital radio that can be purchased at a relatively affordable price from surplus sales/auctions.
Ostensibly, this policy is in place to preserve the open and non-commercial nature of amateur radio bands, since it wouldn’t be much fun if encrypted, indecipherable transmissions drowned out every attempt at casual conversation. But privacy-minded individuals may also see it as an attempt to impede their ability to communicate without Big Brother listening in. Lending some validity to these concerns, the FCC published a public Enforcement Advisory on January 17, 2021, in response to the January 6 incident at the Capitol. It stated the following:
The [FCC Enforcement] Bureau has become aware of discussions on social media platforms suggesting that certain radio services regulated by the Commission may be an alternative to social media platforms for groups to communicate and coordinate future activities. The Bureau recognizes that these services can be used for a wide range of permitted purposes … [but they] may not be used to commit or facilitate crimes.
Specifically, the Bureau reminds amateur licensees that they are prohibited from transmitting “communications intended to facilitate a criminal act” or “messages encoded for the purpose of obscuring their meaning.” Likewise, individuals operating radios in the Personal Radio Services, a category that includes CB, FRS, GMRS, and MURS are prohibited from using those radios “in connection with any activity which is against Federal, State or local law.” Individuals using radios in the Amateur or Personal Radio Services in this manner may be subject to severe penalties, including significant fines, seizure of the offending equipment, and, in some cases, criminal prosecution.
Regardless of your thoughts on the events that transpired that day, the message is clear. The FCC and other U.S. government agencies are paying close attention to encoded/encrypted civilian two-way radio communications, especially those that might relate to illegal activities or perceived national security concerns.
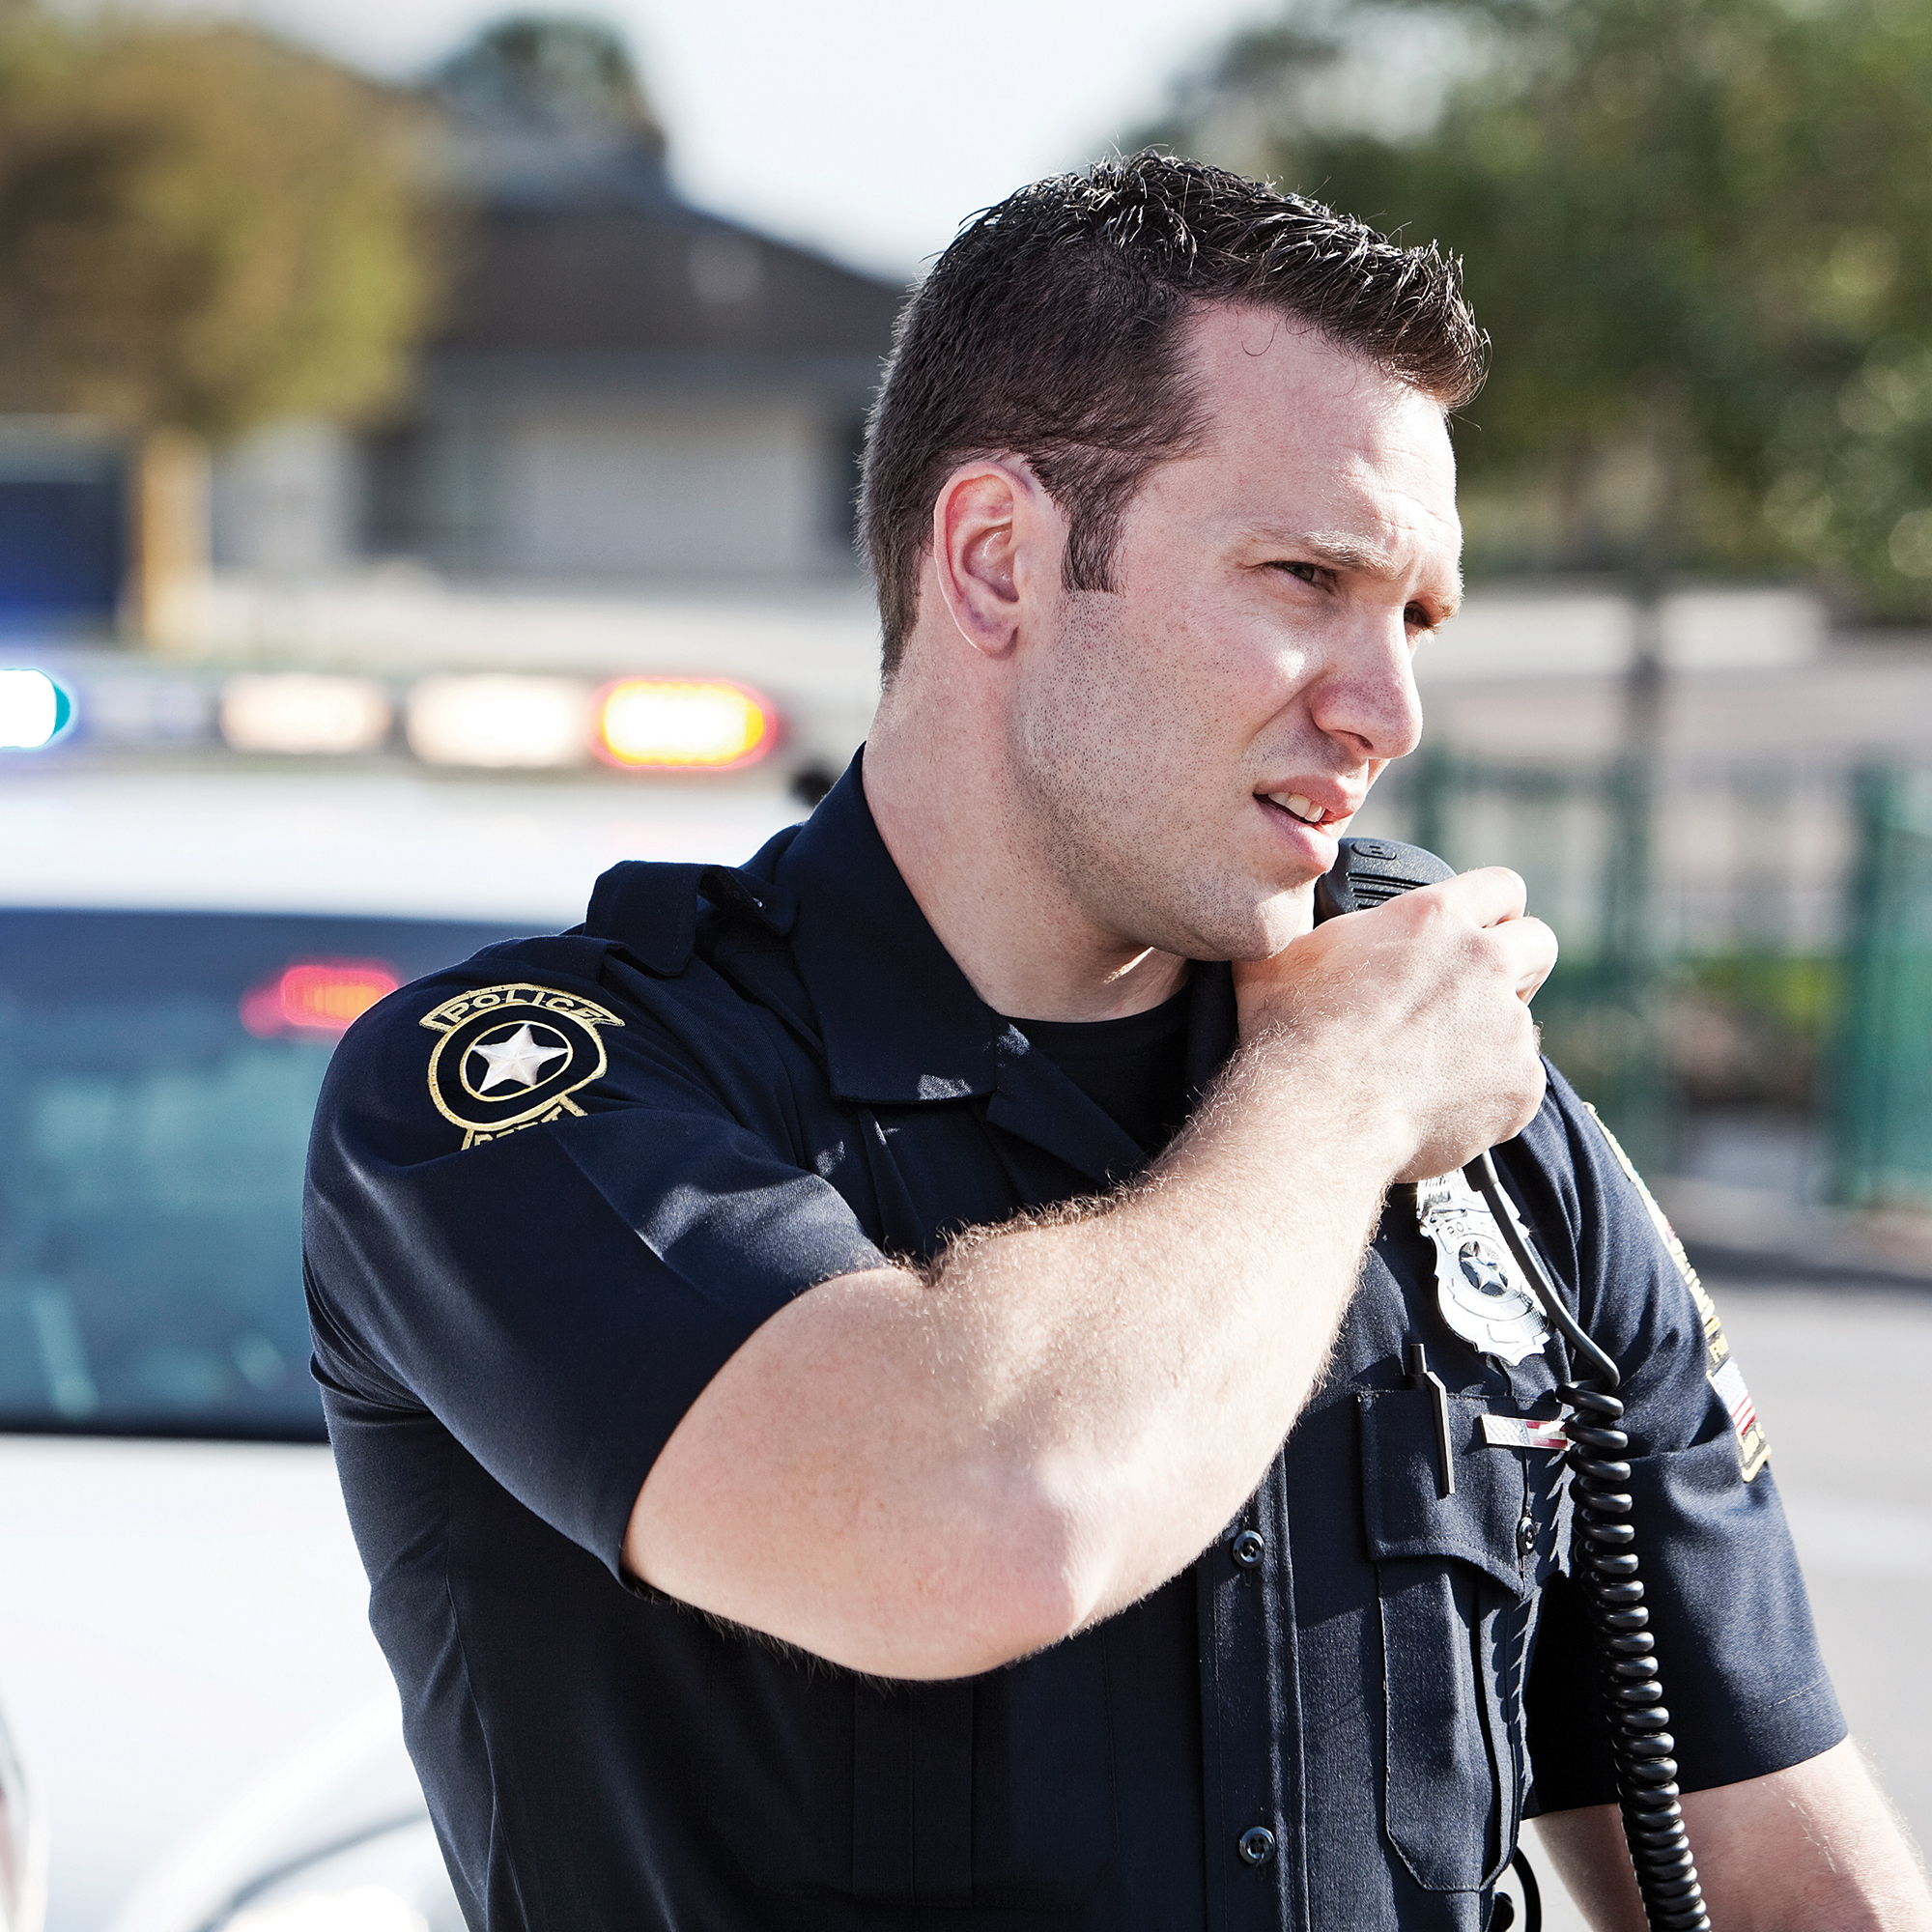
Above: Digital encrypted radios using the P25 standard are common among law enforcement agencies.
Exceptions: Of course, there are exceptions to the radio encryption rules. Military, law enforcement, and emergency services are exempt, and use of encrypted radios is common among these groups (mostly the first two). That should come as no surprise — refer to our previous point about governments jealously guarding powerful tools. (See also: the National Firearms Act of 1934.)
The other exception is for businesses. After obtaining the appropriate license, they can use frequencies within the Industrial / Business pool, which do allow encryption. Obtaining an Industrial / Business license involves navigating some fairly substantial red tape, as well as paying several hundred dollars in fees. You’ll need to file an FCC Form 601 online to provide information about your business, the specific frequencies you intend to use, the number of radios that will operate on the system, output power of each radio, antenna type and placement for stationary installations, and so on. There are specific requirements for eligibility, so you’ll need to confirm that your business meets these requirements before applying. And, of course, if your business violates any of the regulations, the punishments will be substantial.
Aside from these exceptions, any use of encryption on Amateur (ham) radio frequencies and Personal radio frequencies (e.g. those used by FRS and GMRS walkie-talkies) is illegal.
P25 Radio Standard
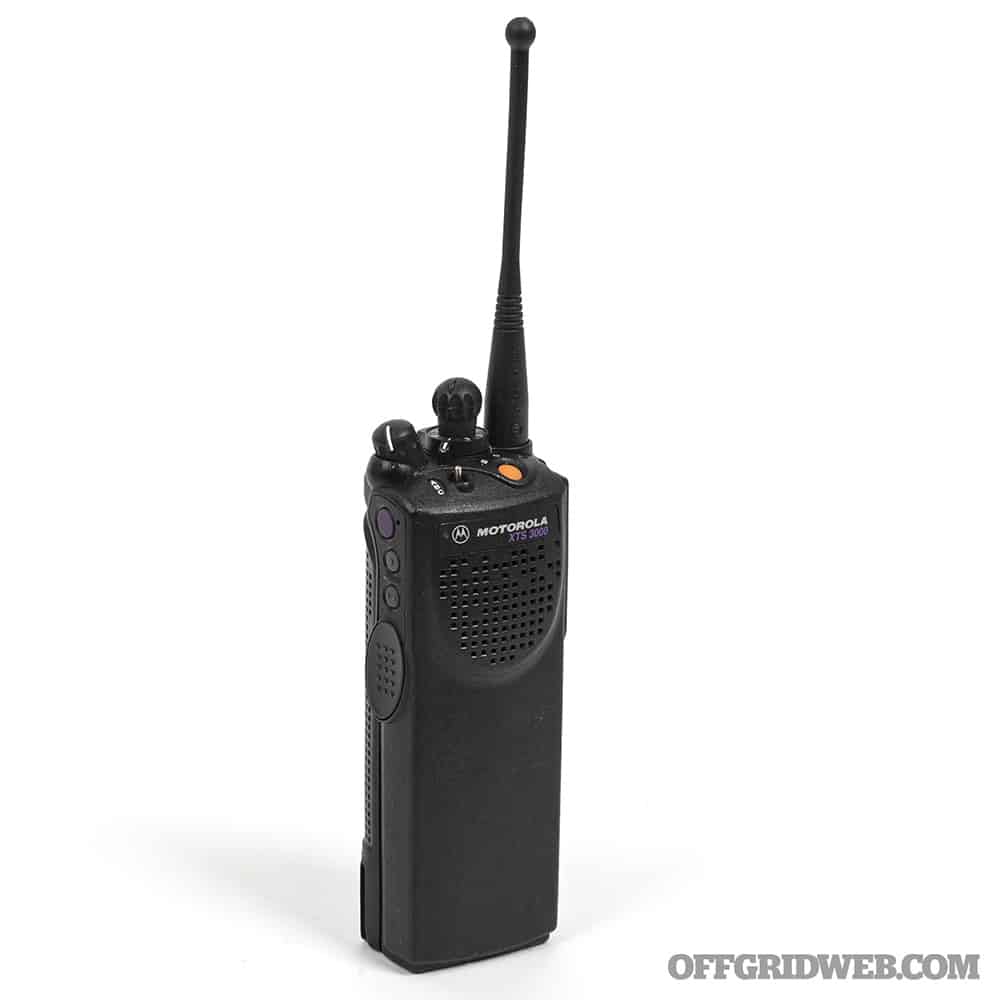
Above: The Motorola XTS 3000 can be used as stand-alone handsets, or can be connected to a variety of headsets and PTT systems.
Project 25, aka P25, is a set of standards developed by the Association of Public Safety Communications Officials International (APCO) so that “emergency responders can exchange critical communications across agencies and jurisdictions.” It specifies the use of digital two-way radios, which are backward-compatible with analog wideband and narrowband radio systems. This means that P25 radios can transmit voice and data to other P25 digital radios but can also communicate with common analog radios (FRS walkie-talkies, Baofeng handhelds, off-road mobile radios, and so on). P25 radios are widely used by police, fire, ambulance, and emergency rescue services.
Devices that meet the P25 standard can be used without encryption, in which case anyone with a P25-compatible digital radio will be able to listen in and respond. For higher-security applications, these radios can also be set up to use the 56-bit Data Encryption Standard (DES) or 256-bit Advanced Encryption Standard (AES).
DES and AES Encryption
DES encryption was developed by IBM and adopted by the U.S. government in 1977. Its 56-bit cipher was quite secure at its inception, but by the 1990s, the rapid advancement of computing power had made it possible to overcome DES through brute force — a computer could randomly guess the key in less than 24 hours. This led to the development of a much more secure system, AES, which was officially recognized by the National Institute of Standards and Technology (NIST) in 2002.
AES is available in three flavors: 128-bit, 192-bit, and the most secure, 256-bit. The former two systems require less computing power to encrypt and decrypt, but in exchange, offer less security. As processors got faster, AES-256 became the gold standard. You use AES-256 every single day without thinking about it — it’s integrated into the NTFS Windows file system, SSL/TLS security certificates for online banking and commerce web pages, password managers, messaging apps, VPN services, and much more. It’s the only publicly available cipher approved by the National Security Agency (NSA) for top secret data storage, and the 2012 Edward Snowden leaks showed that the NSA had also spent years attempting — unsuccessfully — to break it.
So, how secure is AES-256? Unless you obtain the encryption key to decrypt the data, it can be considered virtually unbreakable when implemented correctly. According to a calculation by The SSL Store, successfully guessing the sequence of 256 ones and zeros that make up a key would likely take a millions of years to decrypt — and that’s if you were using the combined power of every single computer on Earth. Although the advent of quantum computing will probably make this type of encryption obsolete in the not-so-far future. Of course, any security system is only as strong as its weakest link, so hackers will seek work-arounds rather than attempting to defeat AES-256.
Encrypted Radio Vulnerabilities
We’re looking at radios from an emergency preparedness standpoint, not one of business logistics. Therefore, we’re less concerned with competitors overhearing our trade secrets, and more concerned with malicious individuals overhearing information that could help them find and victimize us. AES-256 encryption will prevent even the most tech-savvy criminals from listening to your conversations and can stand up to government-level scrutiny. However, there are other vulnerabilities that must be considered.
RDF: The first vulnerability is one that no amount of encryption will solve. Radio Direction Finding, or RDF, is used to determine the location and movement of a transmitter. It’s not necessary to be able to understand a transmission to determine where it’s coming from. RDF is often used by military units to track down and destroy enemy radio installations or jammers, as well as by search and rescue organizations to find lost individuals. This skill isn’t exclusive to trained professionals — it’s also a hobby among radio enthusiasts, who conduct “fox hunting” competitions to locate transmitters hidden inside (or moving through) a designated search area. Enthusiasts have also been known to track down and report illegal pirate radio stations that encroach on amateur frequencies.
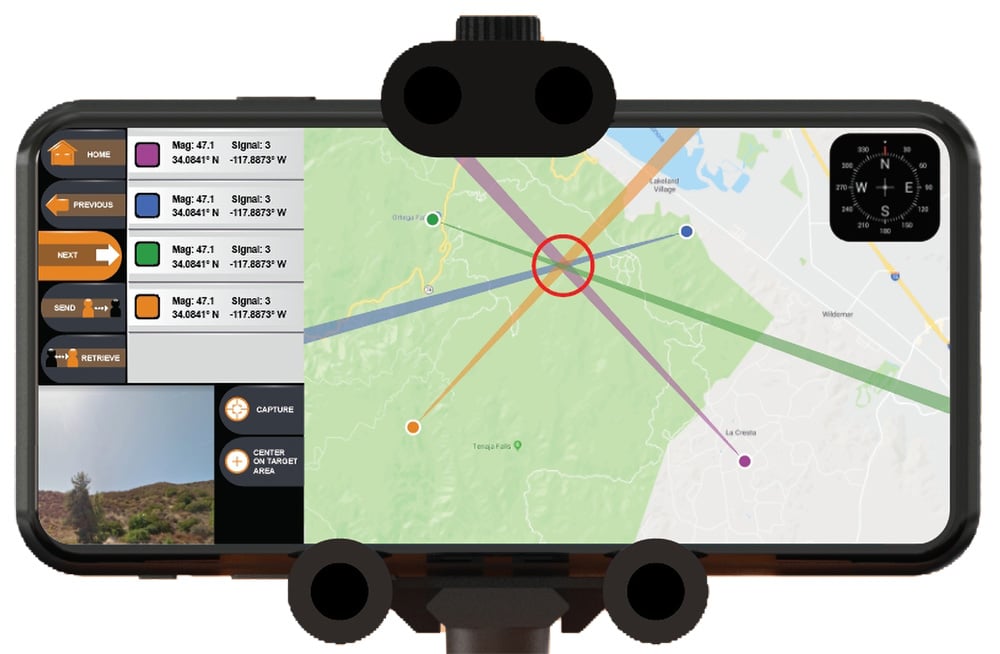
Above: Polaris RDF is an Android app used by search and rescue personnel to locate targets using radio-based emergency beacons.
RDF can be accomplished with a single directional receiver, or with multiple receivers to triangulate a transmitter. Professionals have precise tools designed specifically for this task, with spinning DF antennas that can scan a broad range of frequencies in a 360-degree area.
If you believe there’s a risk of someone using RDF to locate you, it’s wise to be erratic. Only transmit in short bursts, move to different locations as often as possible, and never follow a predictable schedule.
Hardware Interception: There’s no need to pick a lock or smash a window if a criminal can just steal the key. Similarly, encryption can be defeated by capturing one of the radios that has been programmed with the encryption key, or by capturing the computer that was used to program the radios. There’s plenty of historical precedent for this — many of the breakthroughs leading up to the eventual defeat of the German Enigma Machine cipher during WWII were the result of Allied forces capturing machine components, codebooks, and radio operators who could be interrogated.
Aside from common-sense physical security measures to prevent radios from falling into the wrong hands, the risk of hardware interception can be reduced through periodically loading new encryption keys. Large organizations often use over-the-air rekeying (OTAR) to load new encryption keys into digital radios that are already out in the field. The U.S. Military adopted this as a standard procedure in 1988, and it became a NATO standard soon after. The NSA created an advanced form of OTAR known as the Electronic Key Management System (EKMS). Using OTAR, network administrators can remotely issue new keys to all radios at the push of a button or deactivate individual radios on demand.
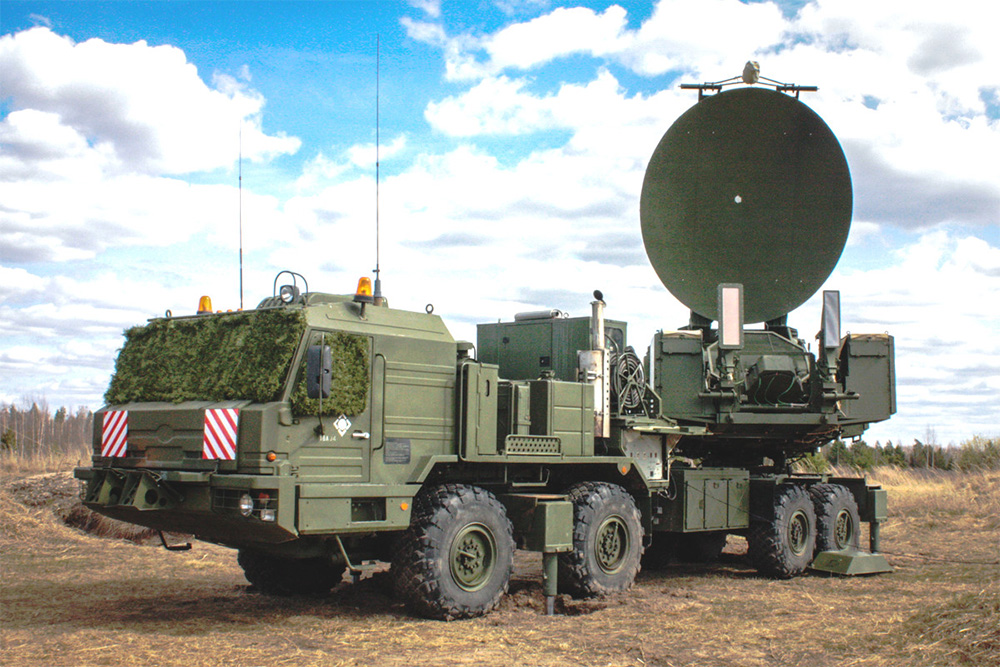
Above: A Russian Krasukha-2 radio jamming station. (Photo via Mil.ru, CC 4.0)
Jamming: In a report titled “Security Weaknesses in the APCO Project 25 Two-Way Radio System,” University of Pennsylvania Department of Computer and Informational Science researchers concluded that “P25 systems are highly susceptible to selective jamming attacks, in which an attacker can jam specific kinds of traffic (such as encrypted messages or key management traffic).” The report explains that jamming attacks are “not only feasible but highly efficient, requiring, for example, significantly less aggregate energy output from a jammer than from the legitimate transmitters.” Through selective jamming, “encrypted [radio] users can be forced (knowingly or unknowingly) to revert to unencrypted mode.”
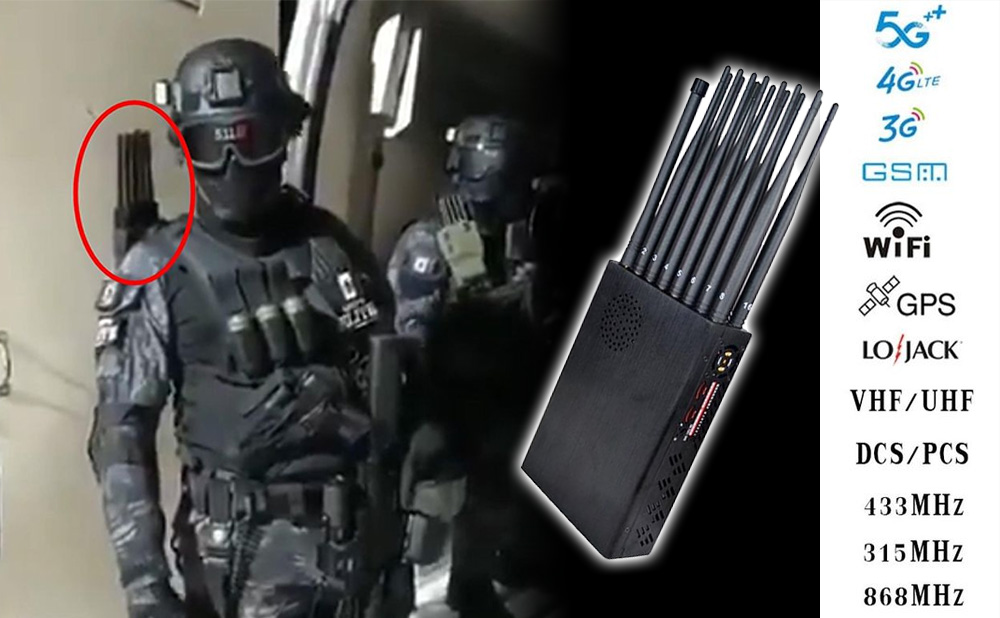
Above: Small, man-portable jammers have become a popular tool among Mexican drug cartels. They seem to go hand-in-hand with another piece of tech the cartels have adopted: aerial drones.
What does this mean to us? If you ever find yourself up against a highly sophisticated, state-sponsored threat — this is the absolute worst-case scenario — it’s possible that jamming attacks will be used to block transmissions on certain frequencies or force you to communicate without encryption. The report states, “[selective jamming attacks] can prevent encrypted traffic from being received and can force the users to disable encryption, or can be used to deny service altogether.”
Short of physically disabling the jammer or moving outside its range, there’s not much you can do to prevent these high-tech, targeted attacks. Like we said earlier, AES-256 encryption is extremely secure, but knowledgeable hackers will always be looking for work-arounds.
Closing Thoughts
Buying a security system is one thing; understanding how it works is another thing entirely. Before attempting to obtain encrypted radios, it’s critical to understand the basics of how these systems work, why they’re valuable, and what their potential vulnerabilities are. We hope this article has been helpful in that regard. Armed with this knowledge and the matching hardware, your COMSEC plan will be ahead of the curve long before any disaster — man-made or natural — knocks out cell towers and Wi-Fi.
If a day comes when the proverbial excrement hits the fan, encrypted radios can serve as a priceless lifeline to your family and friends that keeps not-so-friendly listeners at bay.
Encrypted Radios FAQ
- Q: Are encrypted radios legal?
A: It depends on the laws in whichever country you are using an encrypted radio. In most countries it is not legal, so it pays to research which laws might affect you. - Q: Can civilians get encrypted radios?A: Some radios have built-in encryption options, but if someone else has a similar model, they will most likely be able to listen to transmissions from other radios of the same type.
- Q: Is it illegal to decrypt police radio?
A: In the United States, Federal and state laws make intercepting and divulging radio communications illegal and punishable by severe criminal penalties, with certain exceptions.
Read More
Don’t forget to subscribe to our free newsletter for more content like this.


