In This Article
We’ll go out on a limb here and say the extent of most people’s ax education is probably a talk about the “safety circle” and a warning not to cut in the direction of anything you don’t want to cut off, like your leg. Just about everyone who has received some sort of formal education on using a hatchet or ax has heard about the “safety circle” — as long as you’re still using an ax, you probably still have all the body parts you started with. We get it; you’re not supposed to use an ax if you don’t have a safe place to swing it, and no one wants to get cut. It’s good advice. Unfortunately, too many people fear what the ax can do, and their lack of ax training and knowledge of the tool limit their ability.
For many ax owners, the extent of their skill is splitting pre-cut campfire wood on a picnic bench at a private campground or hacking away at branches within reach. What we’ll show you are real skills that go beyond the “don’t cut yourself or anyone else” talk. If you aren’t comfortable with that, hold that ax at full extension, draw a circle in all directions, and practice that first. If you’re ready to see old-school skill, follow along as we show you some advanced techniques that can save your ass — or at least make your time in the backwoods a little easier.
Felling
Everyone wants to cut a tree down at some point. It’s almost an unwritten rule and rite of passage. Felling has practical purposes, including removing hazardous trees or clearing an area for a camp and accessing larger wood for fuel or building materials. To cut trees down, aka “felling,” you can’t just hack away at a standing tree. Some serious considerations and skill go into learning the nuances of it. Mistakes can be forgiven with smaller saplings, but apply the same sloppy technique to larger trees and you’ll be in a world of hurt.
Whenever you approach a tree you plan to fell, assess it first. Look all around to see if there are any dead or hung-up (widowmaker) branches hanging overhead. Many times, these dead branches will fall after getting rattled free with the first ax cut. This is why we recommend first using your hands to push against a tree while looking up. If part of it starts to break off, get your ass out of the way if it falls.
In your assessment, look for the pathway the tree will take when it falls; it should be clear. Trust us, it’s much more rewarding to watch a tree fall cleanly to the ground than get hung up on another tree that acts like a crutch. Part of your felling assessment should include thinking about the job after the tree falls. Ask yourself if you can drop a tree closer to camp and if you’ll be able to process it easily.
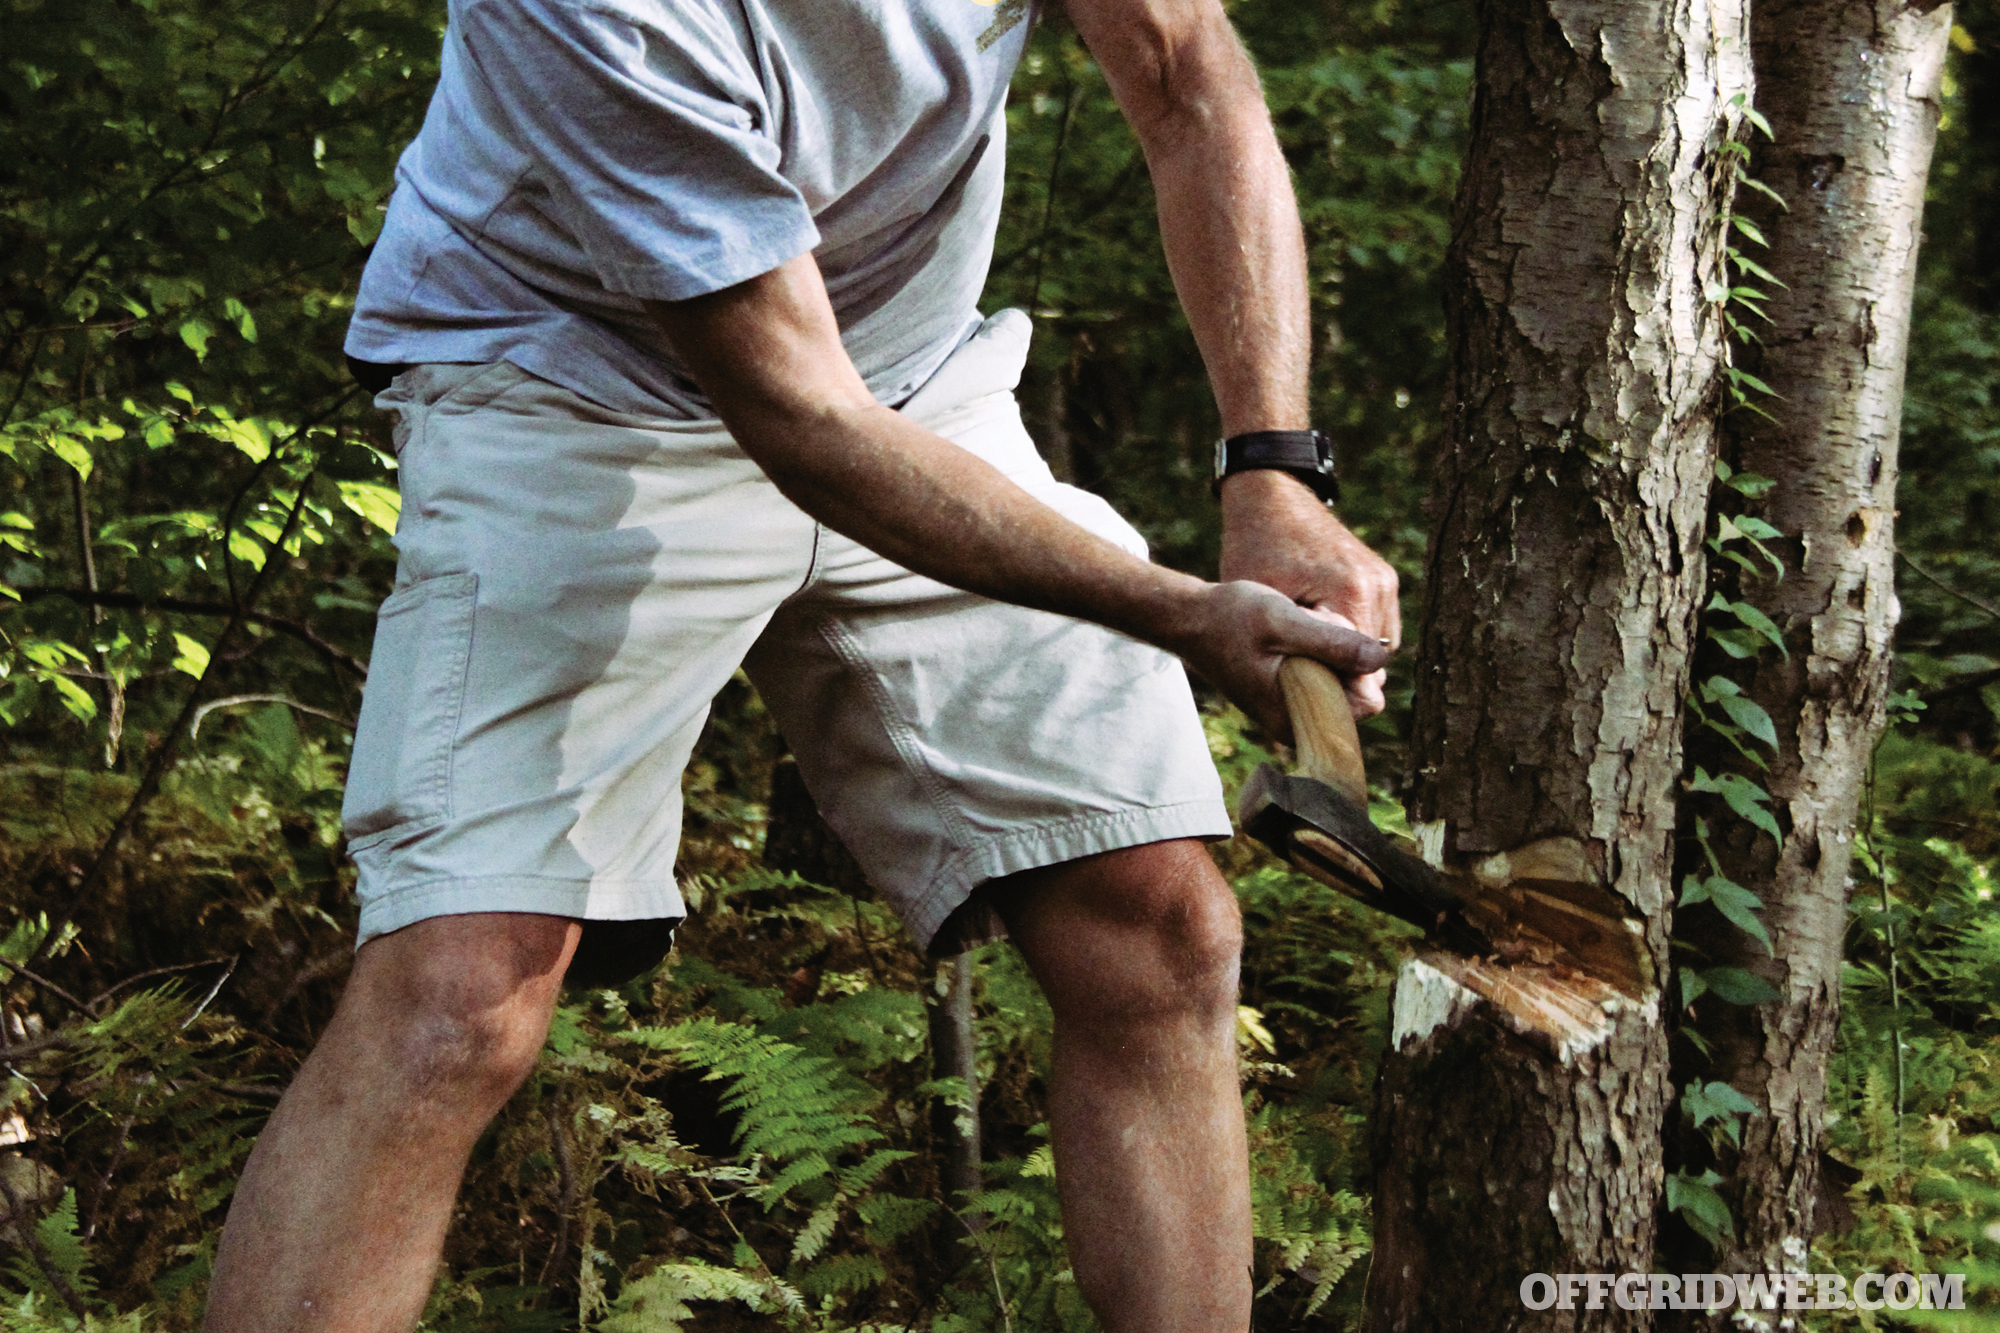
Above: When felling a tree, make sure to anticipate which direction the tree will fall and be mindful of branches that may fall on you in the process.
When you’re ready to cut that tree down, start with a good front cut on the same side in the direction the tree will fall. This front cut will serve as a hinge and prevent “barber chairing” when a tree will actually kick back as it breaks. On a large tree, this could kill you. To front cut, a 45-degree diagonal cut is made into a tree. On a large tree with the potential to hurt you as it falls, cut halfway through diagonally down and slightly diagonally across.
If someone tells you to cut horizontally across, they’re used to dropping trees with a chainsaw. In general, a good diagonal cut against the grain of wood will shear it instead of compress it like a cut made perpendicular to the wood. Once you have a good front cut, you can move to the other side and proceed to back cut. Another simple way of felling a tree is to cut four 90-degree angles around a tree. This works well with trees smaller in diameter than your ax head. Whichever way you choose, when it’s ready to fall, go ahead and yell, “timber” if you want, but get out of the way when it starts to move.
Limbing
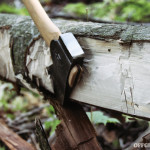
If you want to process a tree you just dropped or some branches on a dead tree you’ve come across, the skill you need is limbing. Working from the bottom of the tree to the top, cuts are made to the underside of branches. Use caution when cutting pines and other resinous woods if the tree is extremely dry. Resin collects at the joints of branches and trunk and will harden to a point where it’ll actually damage some edges when struck. Hardened pine resin is the reason why seasoned axmen will cut around knots instead of through them.
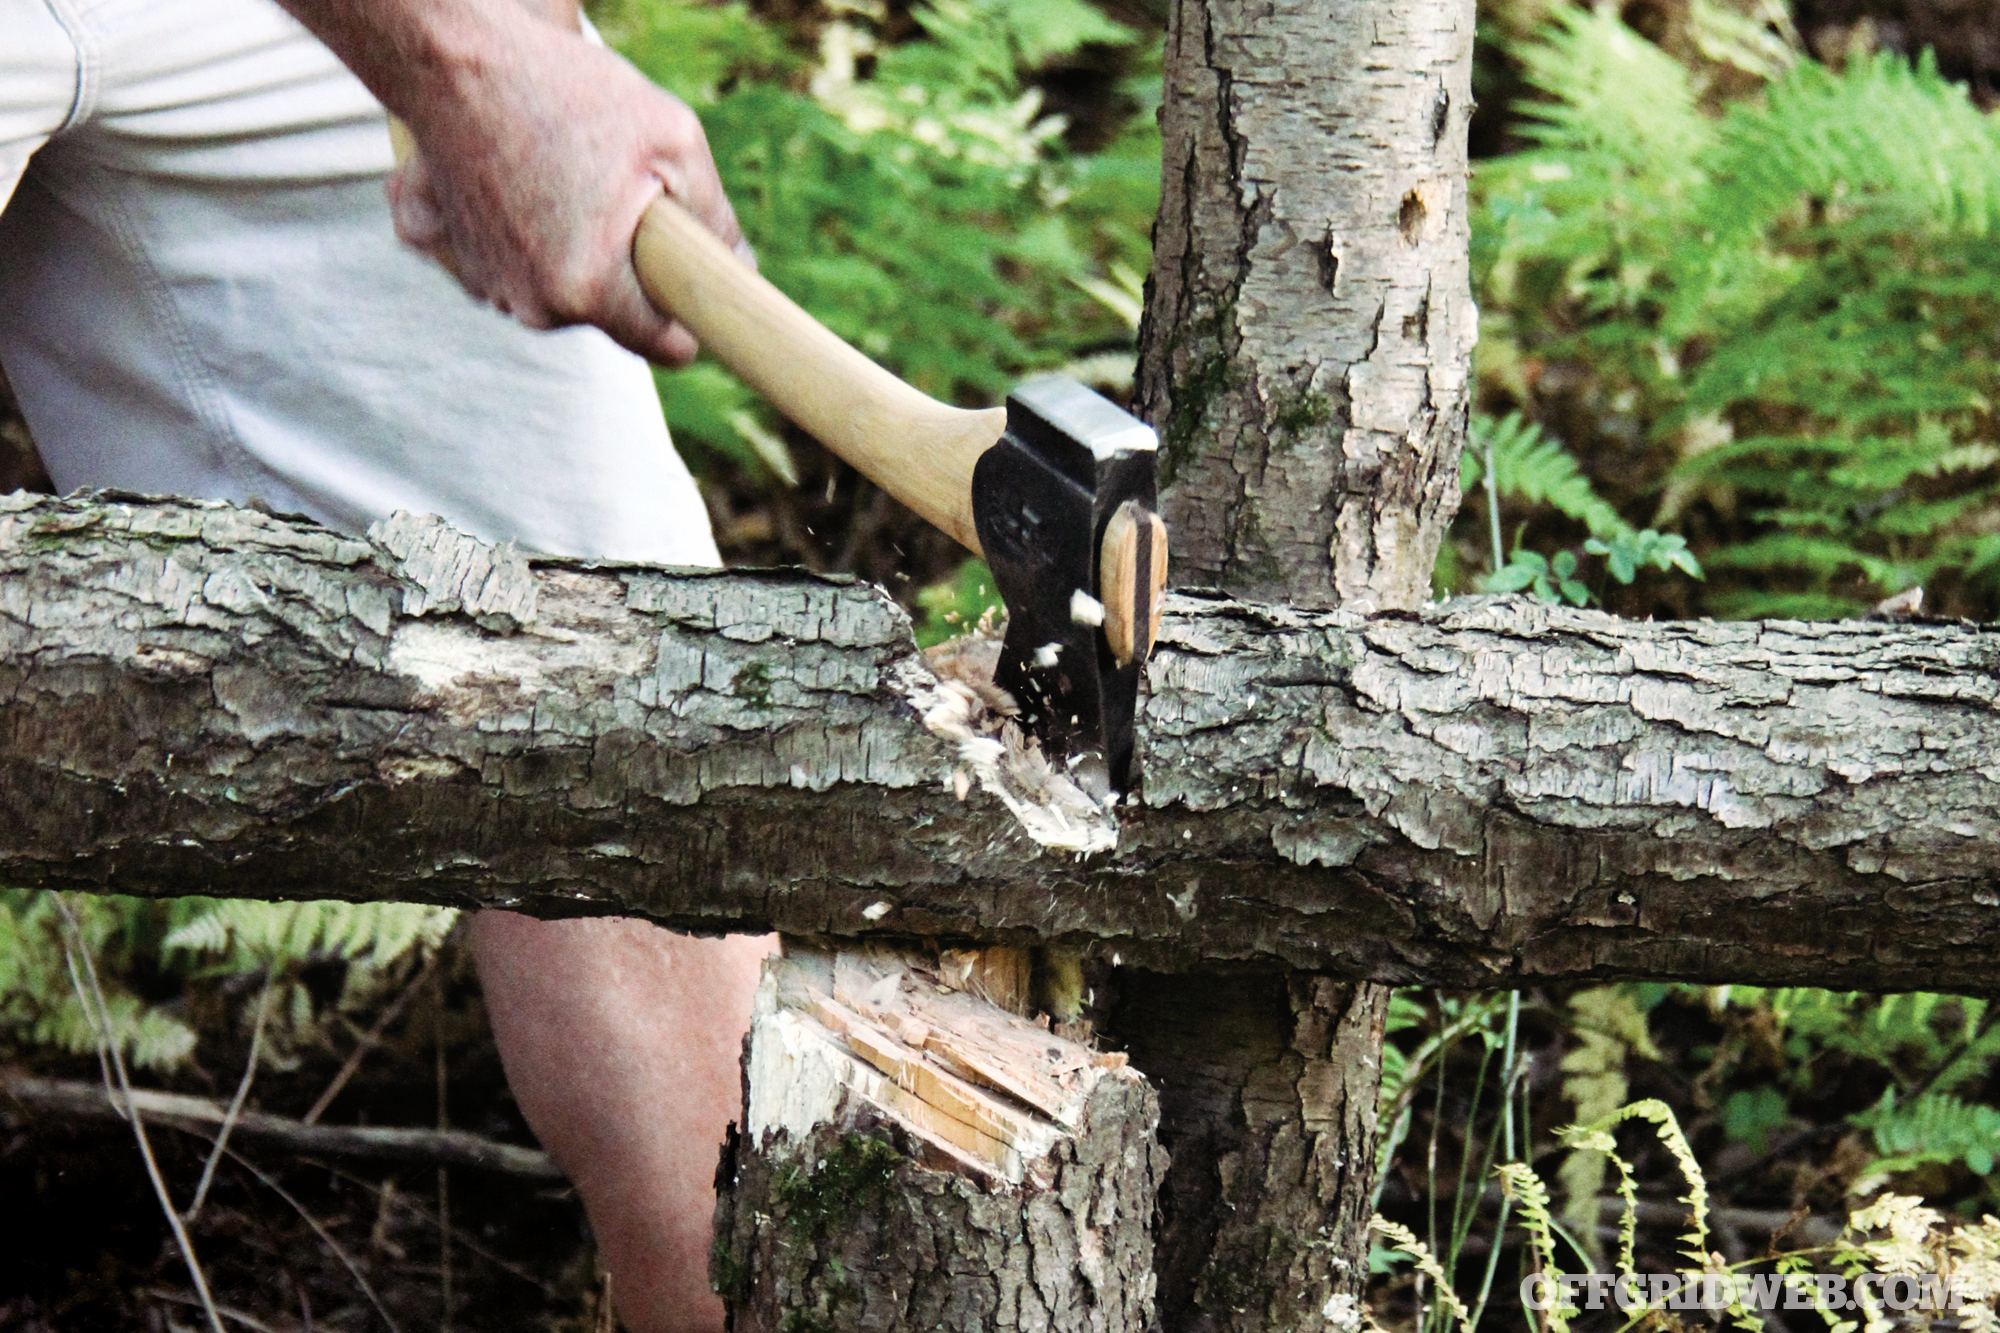
Above: To avoid striking through to the ground, the log you’re working with can be propped up on a stump and against an adjacent standing tree.
When limbing, use a “golf swing” and keep the trunk of the tree between you and the ax head. Depending on the size of the tree you’re working with, either roll it over to access the branches on the other side and continue swinging in the same direction or switch hands if you’re competent working in more than one direction. Just make sure that if you’re limbing a tree on a hillside, you stay on the uphill side of the trunk. The remaining branches on the tree might be the kickstand preventing it from rolling downhill. A relatively small tree rolling in your direction can be forgiven, but a larger tree will hurt or kill you.
Bucking and Splitting
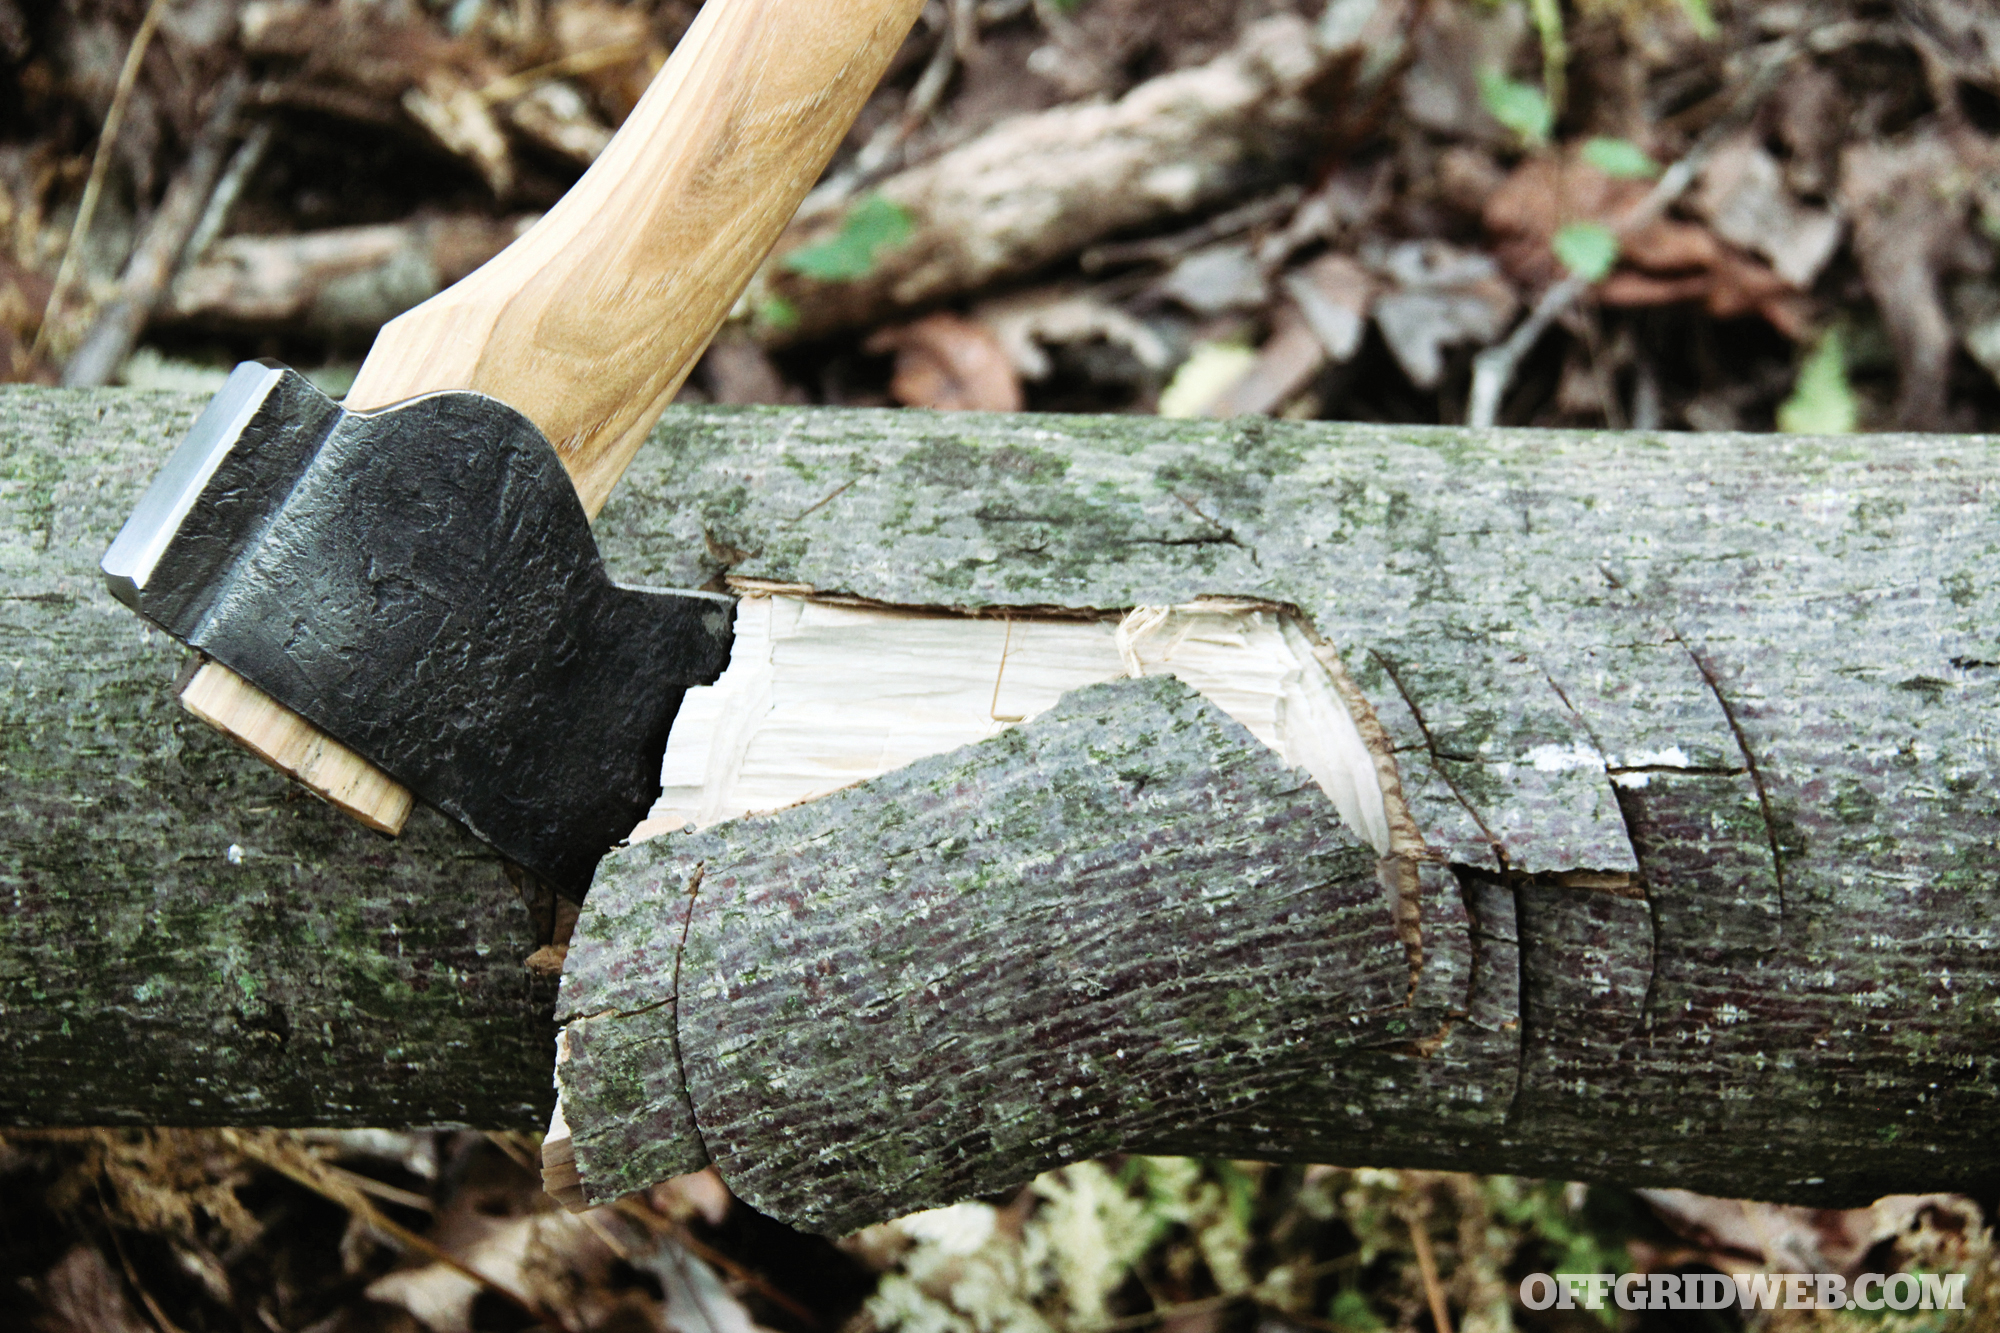
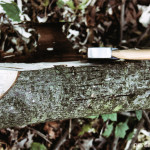
After every good storm, news reporters love to make reference to trees blocking roadways. It doesn’t take a very large tree to stop most traffic. It’s easy to clear with a good ax — the process of bucking, or cutting a tree into logs, can be done while standing next to the log or on top of it. We suggest you avoid mimicking the Stihl Lumberjack Challenge underhand buck competition until you burn some good reps bucking while standing next to the log first.
Above: Without a chopping block, you’ll have to improvise. You can safely swing between your legs with a wide enough base and a clear follow-through.
When using an ax to buck a log, think of chopping in thirds. That is, you want to cut the log three times, furthest from you, nearest you, and connecting the two in the middle, before you change your angle. Keep your cuts at about 45 degrees to prevent compressing the wood with too steep or too shallow of an angle that will cause your ax to glance. Make sure the kerf, the width of your cut, is at least as wide as the tree is thick around.
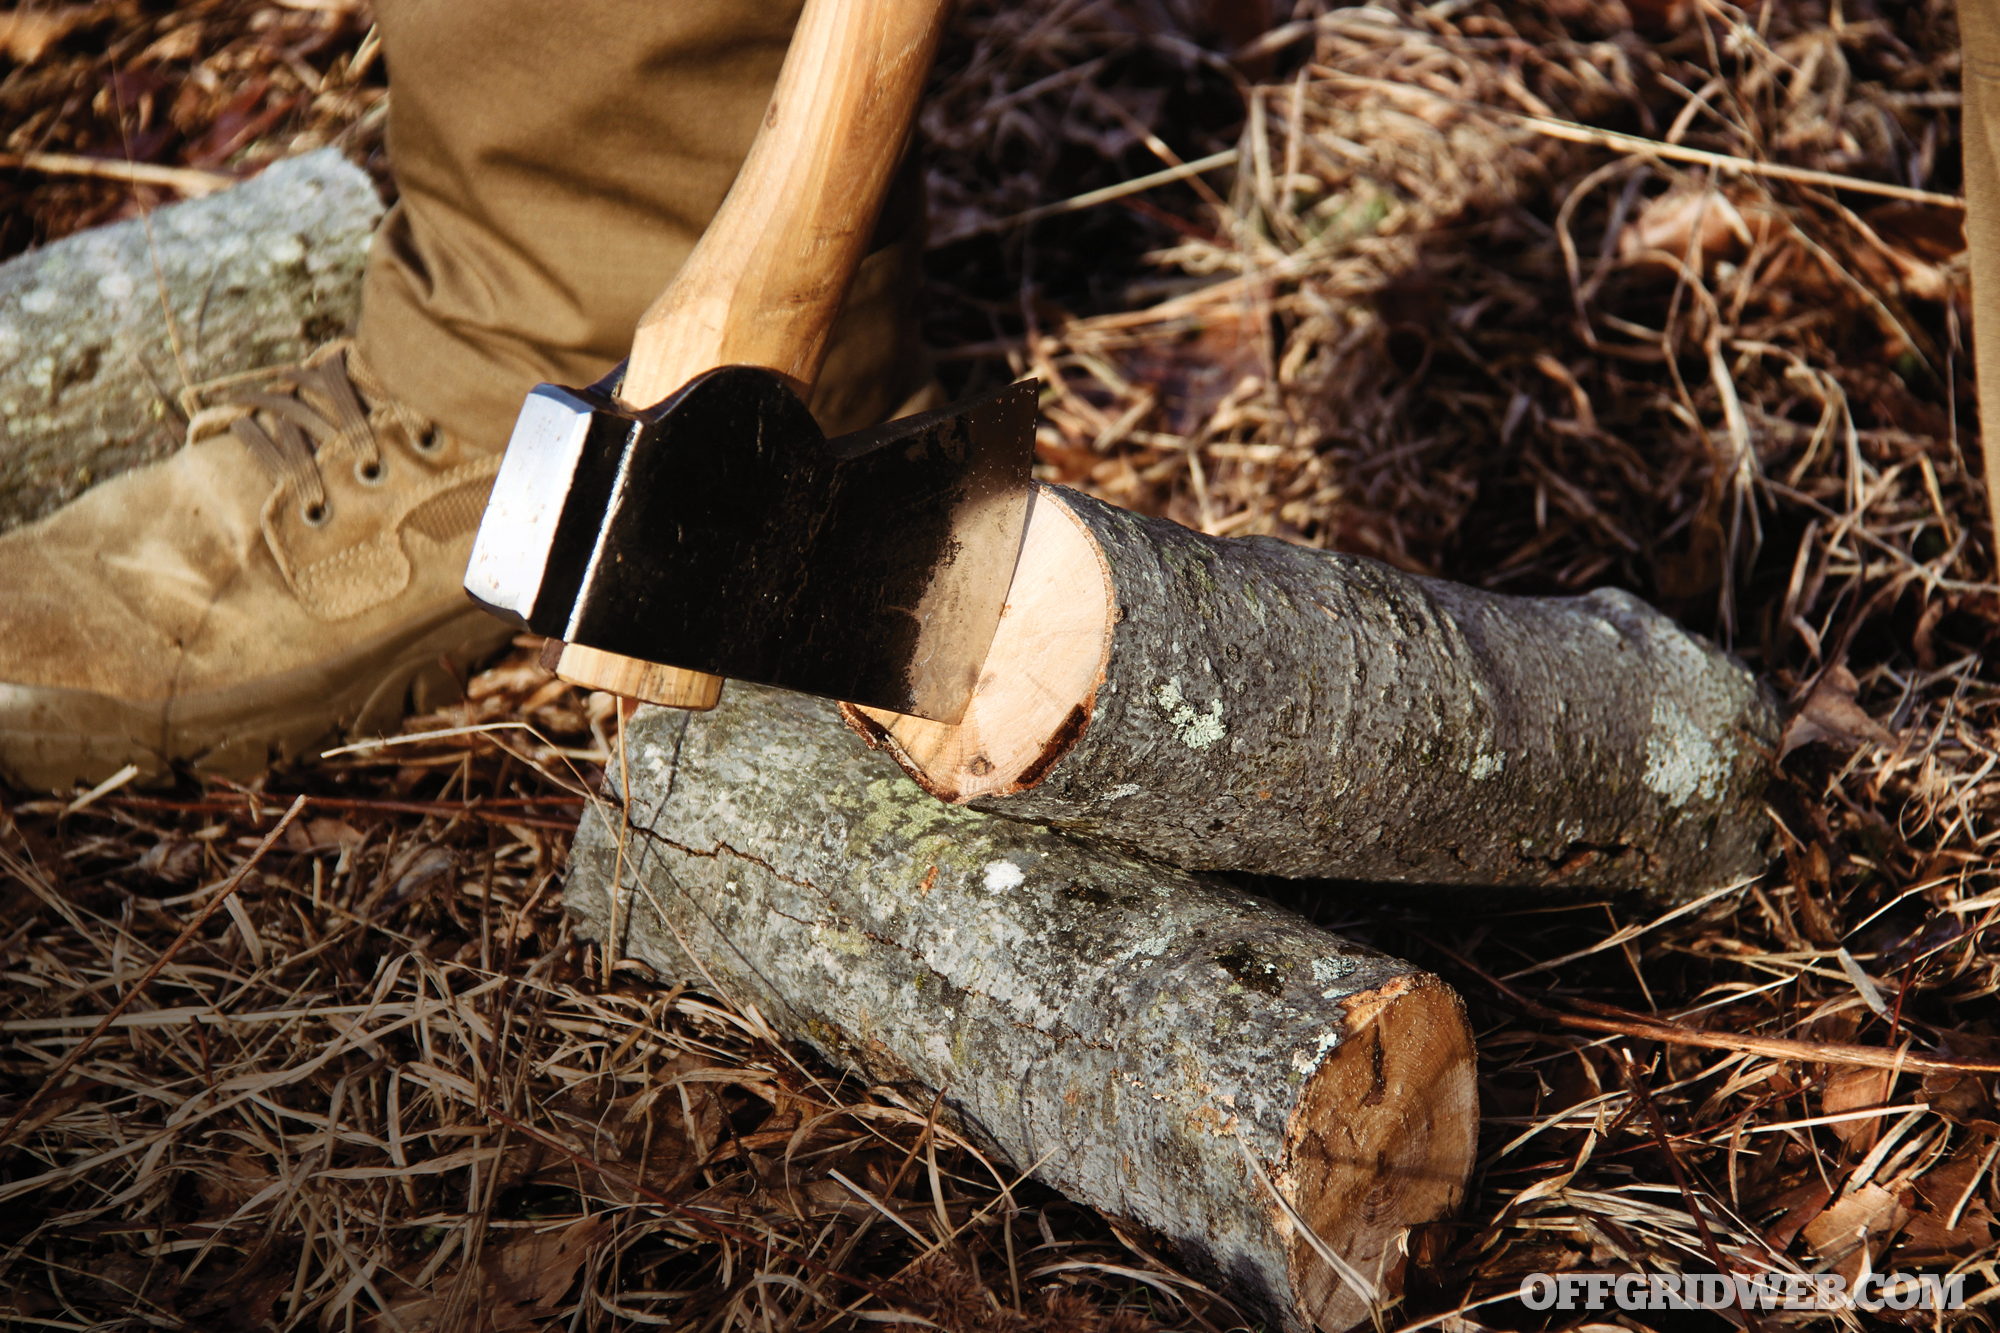
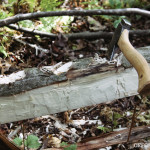
After you buck your tree into logs, you’ll notice your ax didn’t create any flat surfaces to stand up on for splitting the logs into pieces. Most beginners have no trouble learning how to split logs with flat surfaces. Splitting ax-bucked logs requires more skill to either exploit natural cracks in the wood grain with wooden wedges or to split the logs where they lay in different ways. For some logs, this will mean propping the log up on another log with the side lifted up to face you.
Above: Bucking is the process of cutting through logs to create smaller lengths. Divide the log into thirds on each side of the kerf. This is how a smaller ax can be used to effectively process a thicker log.
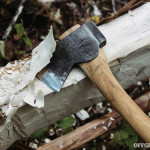
A strong vertical chop will split the log and the log it’s propped up on serves as a stop to your ax blade. An axman can also swing horizontally at the bucked logs and split them this way. If this is the preferred way, the logs should be positioned far enough away where they can still be reached with the ax, but a glance won’t cause the ax to cut into the axman’s leg. The safest way to split is to use a wooden baton on the pole of your ax. This can be done with the grain from either the end or the side of the log.
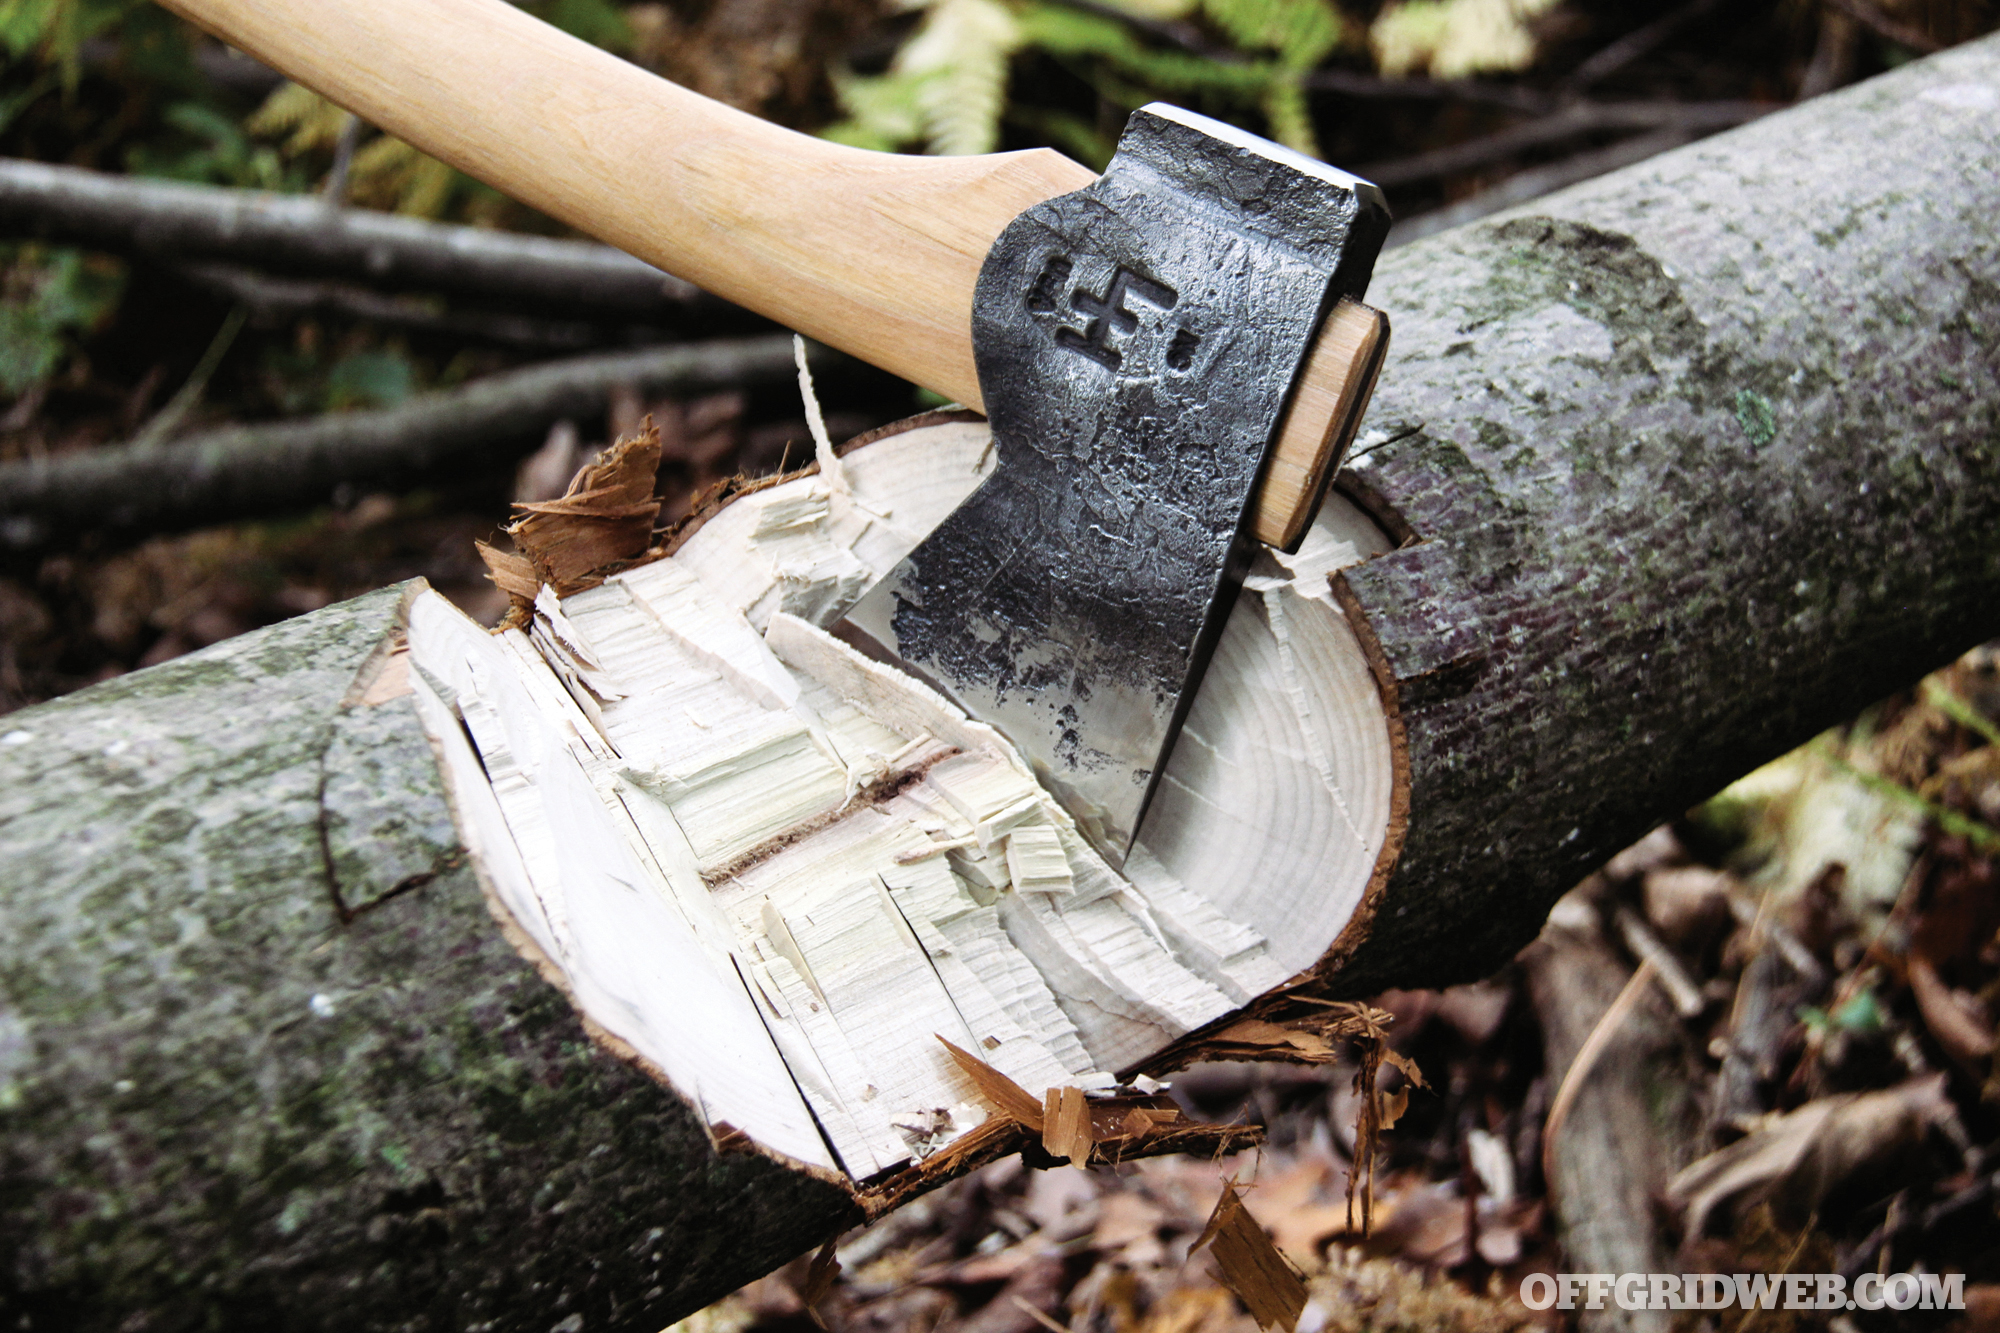
Above: Your kerf, the cutting channel you’re working on, should be as wide as your log is thick. This will prevent binding.
Creating Flats (Hewing Logs)
There may be a time or situation in an extended camp or overland trip when you’ll need to process round logs into squares. You may need to construct a more permanent camp in the woods with benches and walkways or a bridge to cross a gap. In both of these circumstances, flat surfaces are more comfortable to sit on and better for tires to roll across. Hewing logs is an advanced skill, but it isn’t a complicated process.
Much like the method one would use to buck up a log, the axman uses his ax to score a log along its length. If you had a saw, you could mark the clean-cut end with a square to use as your beam’s dimensions as you hew it. Without a saw, you need to eyeball the log from different angles to ensure it ends up square. The scoring cuts should be a uniform depth, or very close to it, for the flattest and straightest surface. Once the entire length of the log is prepped with these marks, the axman works from one end of the log, cutting away the remaining outer bark and wood along the same depth as the multiple scores until he reaches the end of the log. The flat surface created can be repeated to make square beams, and these are more easily joined with other flat beams in construction.
Above: Hewing is the process of turning round logs into square beams. Using your ax, first start by creating scoring cuts along one side. Remove the remaining material between the scores to create a flat. Repeat the process until a 90-degree angle is made. Repeat again and again to create a square beam.
Ax Habits
Lack of skill is a dead giveaway for ax inexperience; a shortage of good habits is another. If we are what we repeatedly do, we want to instill good ax habits in our routine. Rather than cutting any wood that you might find, learning which woods work the best for each application will save time and energy. Good hardwoods work well for producing the most BTUs, and certain softwoods are better suited for semi-permanent shelter building for insect resistance.
A good axman will know which wood is most seasoned and which wood is too punky and decomposing. In adverse weather, an axman should know to coat his blade with a protectant like linseed oil that leaves a clear coat on the blade and protects it from rust. He also knows how steel is affected by the extreme cold and will warm the blade slightly by a fire before use. He also knows not to heat it to excess, as that will take the temper out of the blade. Any good axman should also have a maintenance kit that includes files, a sharpening puck, and the other tools needed for handle repair and replacement. In this respect, what you carry speaks to your experience and knowledge of what could happen.
Advanced skills are acquired with plenty of time and a lot of elbow grease. Learn to use your gear, and it’ll take care of you, whether you’re casually camping in the forest or addressing your survival needs in the deep backwoods.
Ax Handle Replacement
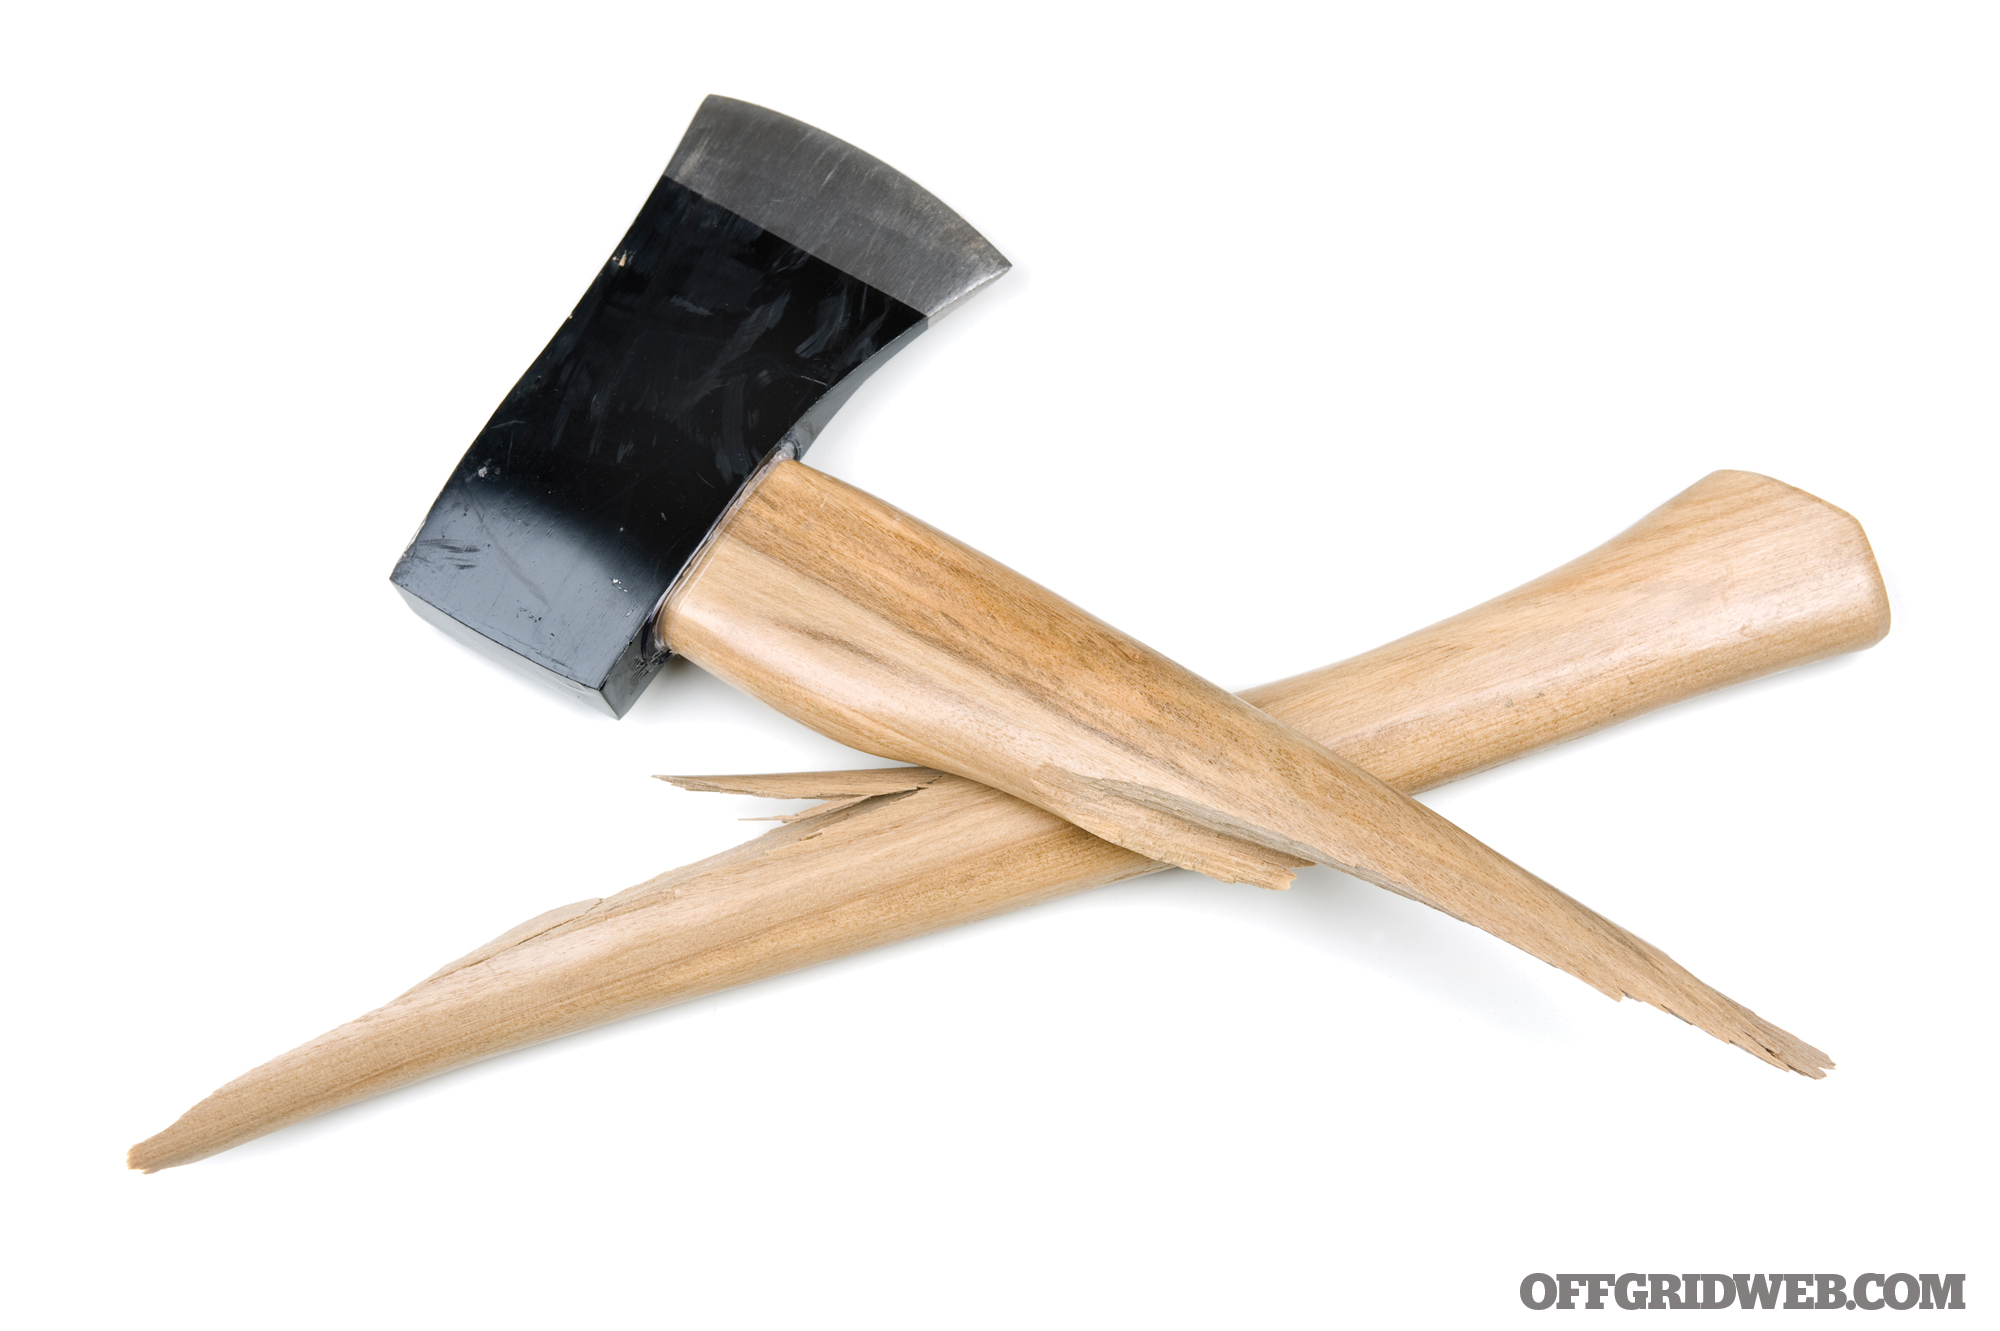
If you use an ax long enough, chances are that you’ll need to replace a handle. The process is pretty easy in your garage with power tools, but what happens when you’re in the field? Misjudge your distance, accidentally strike the handle, and you may have a problem. How do you remove a wooden handle from the ax head? Follow these steps:
Replacement Handle: We highly suggest carving a replacement handle before you attempt to remove the existing broken handle. You may still be able to use what’s left of the broken handle as a stubby handle to cut your new handle with. When you find a suitable piece of wood to carve the replacement handle from, reassemble the broken handle to the best of your ability and use it as a stencil before carving.
Remove the Old Handle: When you have a rough new handle, it’s time to burn out the old one. Gather firewood and locate a safe place to build a ground fire. Wet the ground sufficiently before you start. This will help keep the ax edge cooler than dry ground. Bury the head in the wet soil and leave the wooden handle exposed. Light a fire and burn out the old head. It doesn’t need to burn to ash completely; sometimes, when it’s charred, the tolerances will give and it’ll push out with a dowel or log baton.
Fit the New Handle: This process can be done with a Swiss Army Knife equipped with a saw or with specialized gear like a rasp and a small folding saw. Fitting, aka “hanging,” an ax head on a new handle takes patience and time. Once you’re able to pass the new ax handle through the eye with some force, split the ax handle in line with the edge of the ax head with your saw. Use a wooden wedge carved from a good piece of hardwood to friction fit the handle in place. If the ax handle is properly hung, you won’t need to crack the wood grain with supplemental metal wedges.
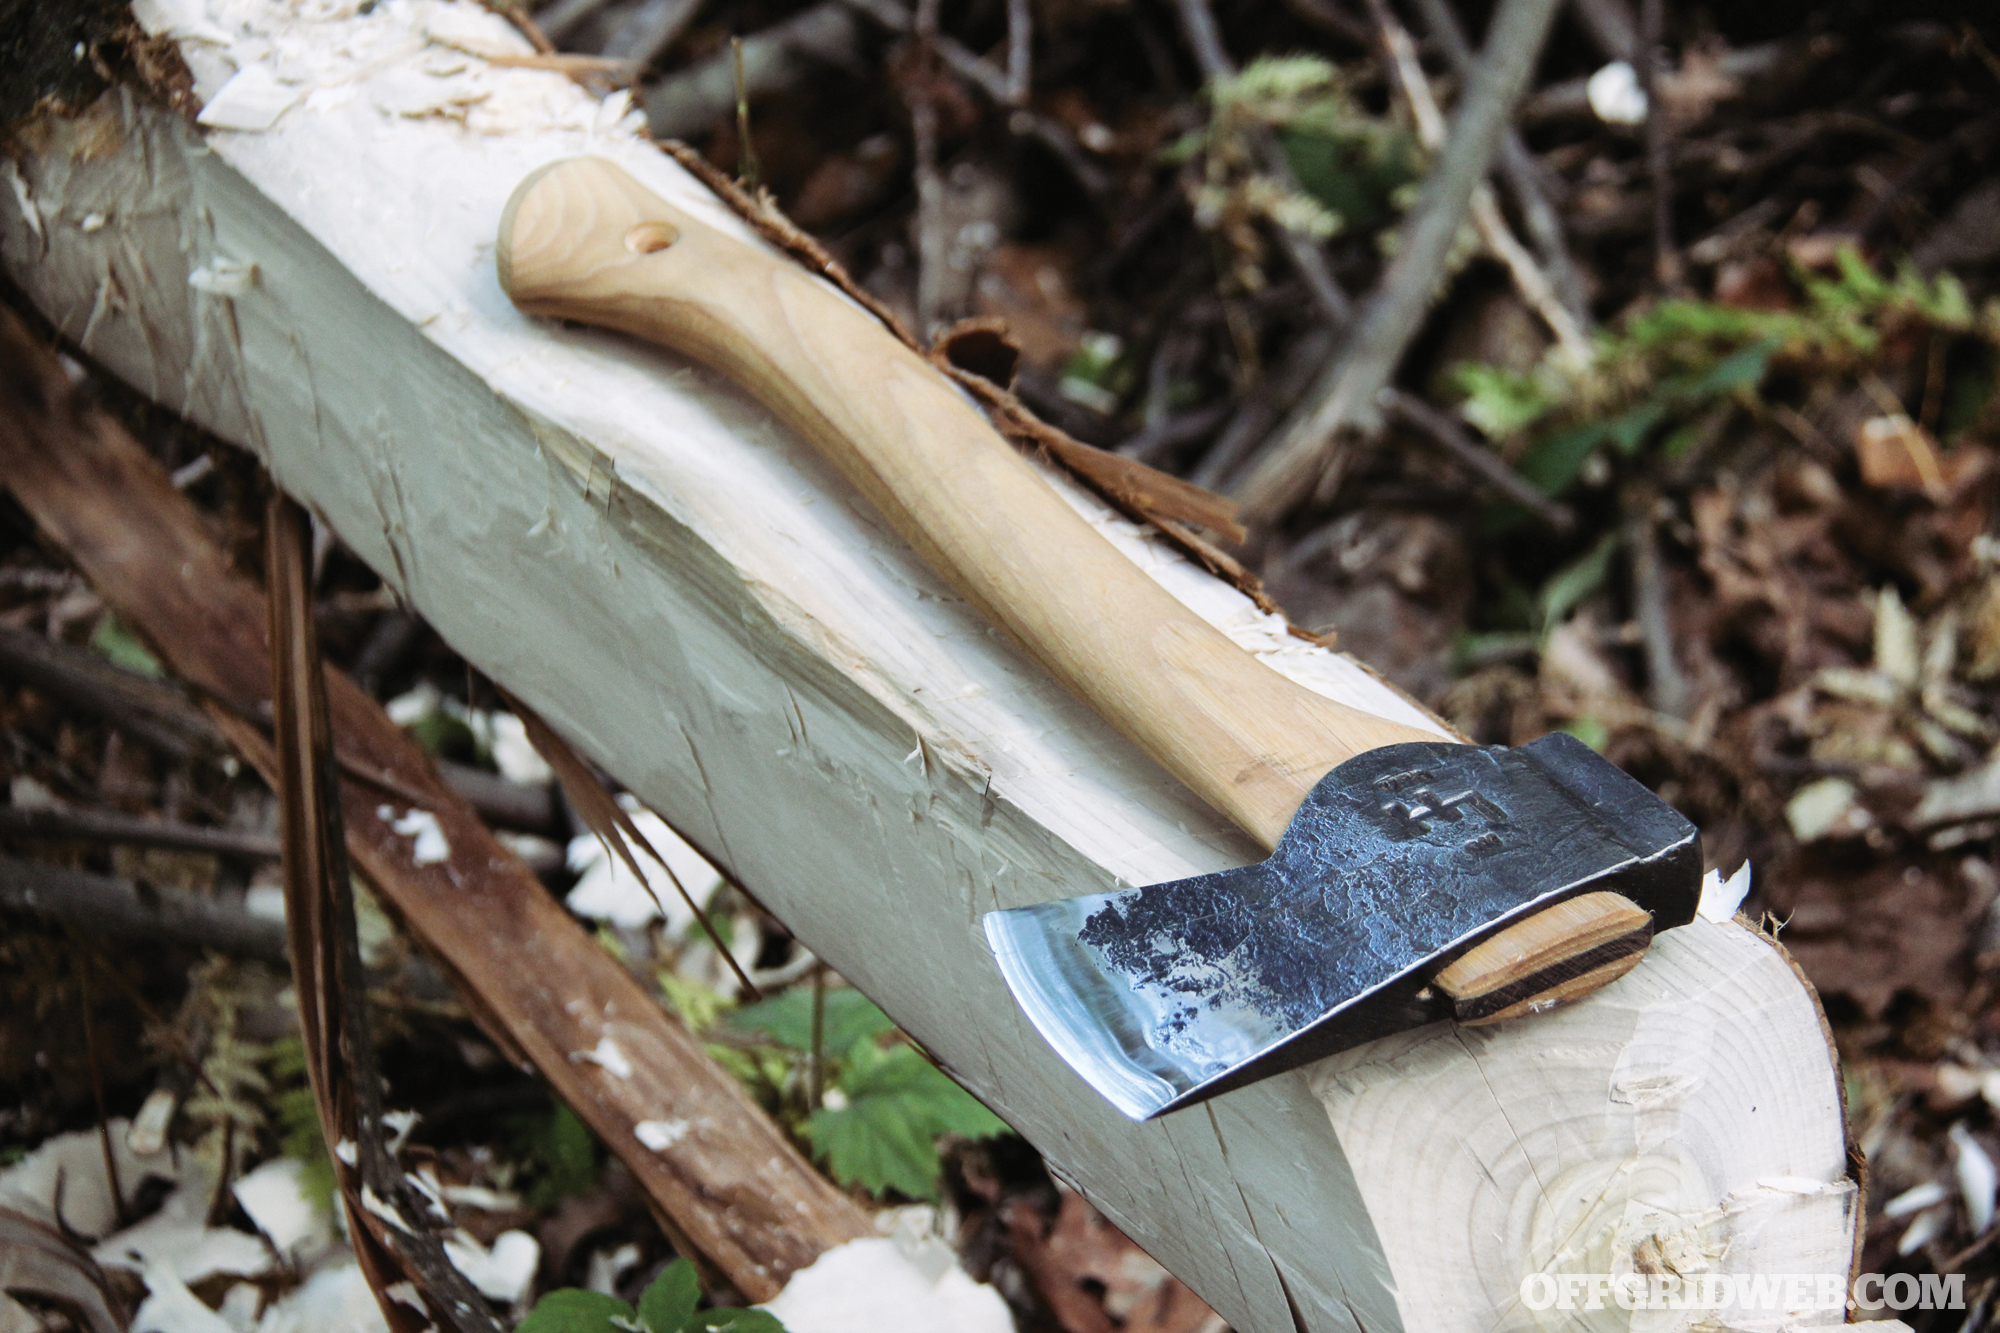
Field-Ready Finish: Once your ax is handled, take the time to clean it up to make it more comfortable for use. Smooth it out by removing any knots or hot spots in the wood. If properly done, this handle will last you the duration of your trip.
Interview with Liam Hoffman
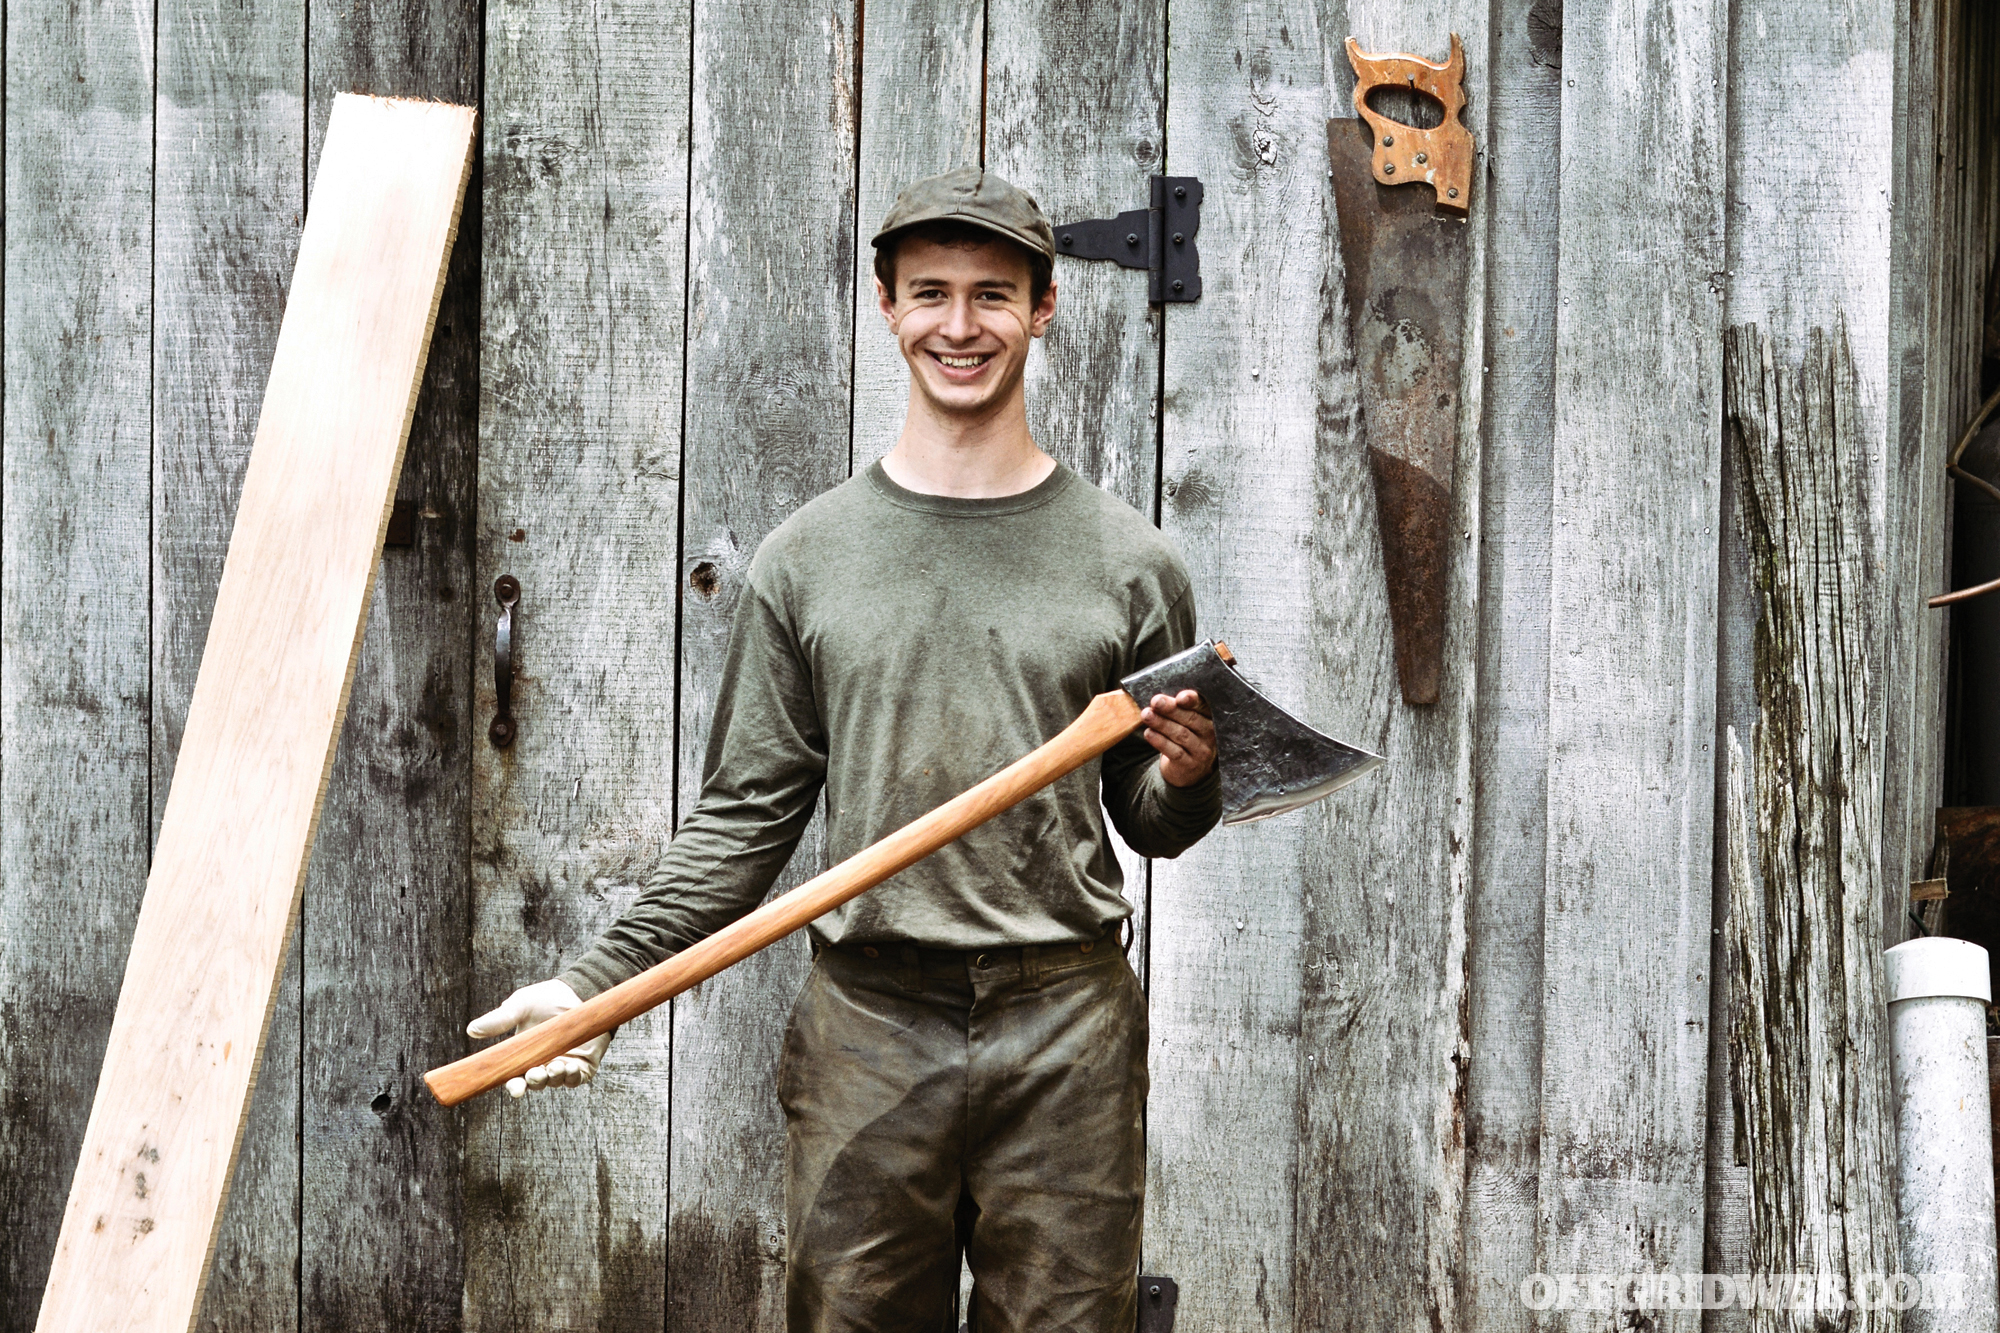
Liam Hoffman of Hoffman Blacksmithing is one of the most in-demand blacksmiths in the country. Hoffman, 22, was the youngest champion of History Channel’s Forged in Fire when he was only 19. We asked him some questions readers surely would want answers to.
What are the top three tips you can give ax owners in regards to their use?
Always study the area in which you are about to use the ax. Clear it of tripping hazards or objects in the ax’s path. Examine what you are about to cut, and predict where the tree or log may fall after it is cut. Logging is a very dangerous profession! Don’t be afraid to get it dirty.
What are the top three tips you can give ax owners in regards to maintenance?
Carrying a small sharpening puck in the field with your ax is a convenient way to make a quick touch up on the edge. Regular and consistent maintenance is best. Oil the handle at least once a year, especially if it goes through a dramatic climate change. Wood is a natural material and can be subject to expanding and contracting. The best way to prevent rust and deterioration is using the tool regularly!
About the Author
Kevin Estela has been a professional survival instructor since 2007, first at the Wilderness Learning Center as lead instructor and then with his own company, Estela Wilderness Education. Kevin is a ranked associate level instructor in Sayoc Kali, a purple belt in Brazilian Jiu-Jitsu under Sifu Chris Smith, and an avid firearms marksman and shooter. When not teaching outdoor skills, he’s a full-time high school history teacher and founder of the Estela Wilderness Education Fund. Follow him on Instagram/Twitter @Estelawilded or www.facebook.com/estelawildernesseducation
