Shelter is always a top priority for survival. Even if it’s 70 degrees and sunny outside currently, those conditions can change in minutes, leaving you miserable or in serious danger. When the wind picks up, rain clouds roll in, or the mercury drops rapidly after sunset, you’d better have a plan to stay dry and maintain your core temperature. While there are many improvised shelter options to consider during emergencies, under normal circumstances you’ll be bringing shelter with you. This usually means a tent and sleeping bag.
However, as with all survival gear, your shelter setup will be a compromise between various factors. Weight is a major consideration, especially if you’re going to be carrying your gear on foot in a bug-out bag. Packed size is another, since the more space your shelter occupies, the less room you’ll have for water, food, tools, and other crucial gear. These variables will be directly affected by the unpacked size of your shelter — a palatial 5-person tent will obviously be larger and heavier than a spartan 1-person tent. Other considerations include ease of setup, durability, and cost.
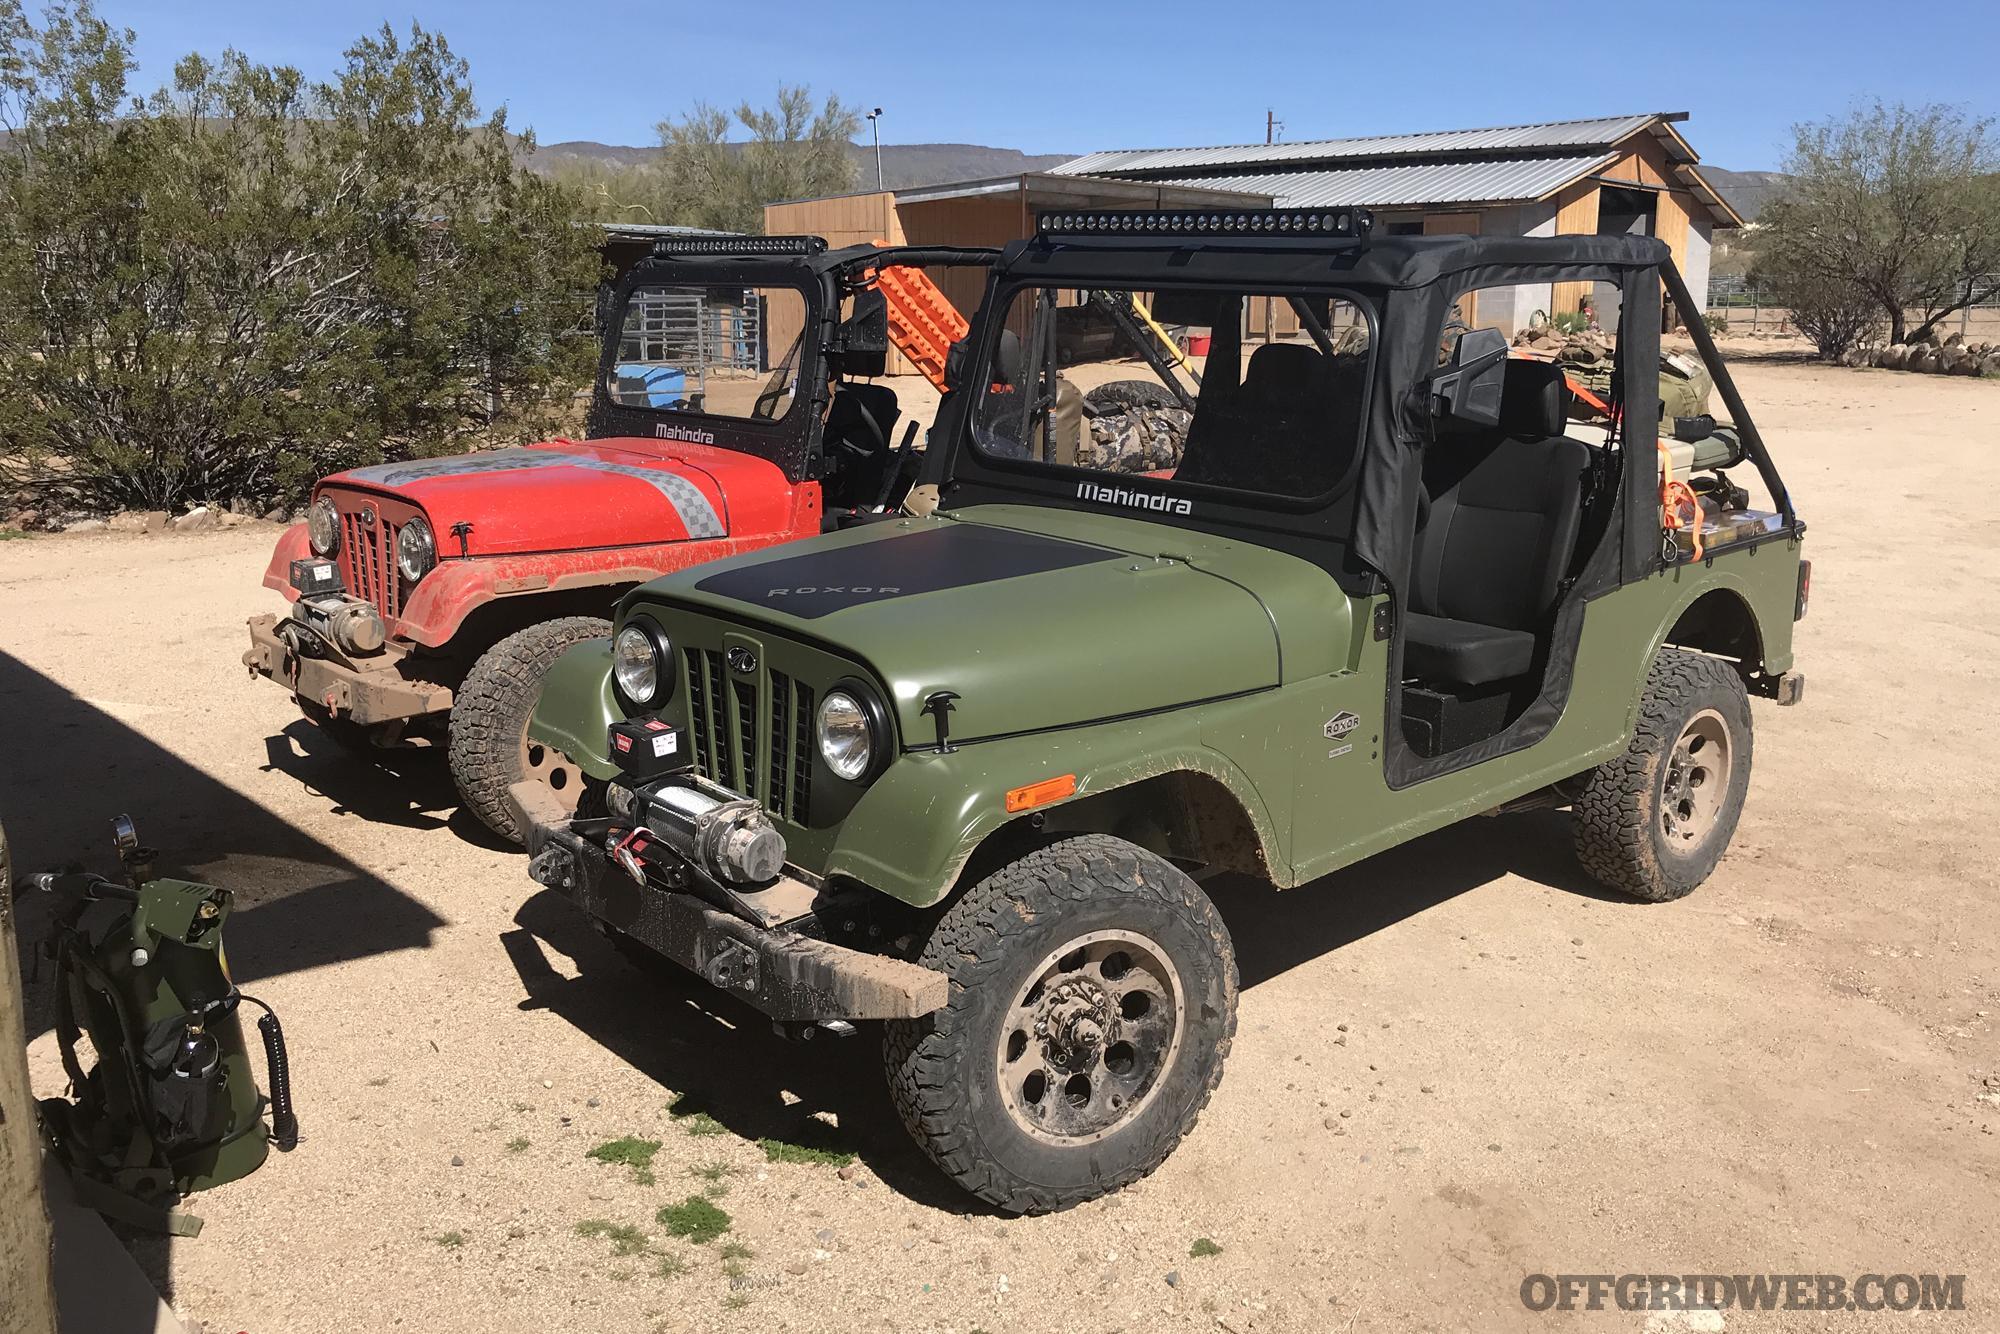
On our recent Bug-Out Challenge trip, I took the opportunity to test a new tent and sleeping bag from Sierra Designs. Although this was a vehicle-based trip, I still chose to condense all my gear into a single backpack. That way, it occupied less of the ROXOR’s limited cargo space and would be ready if I needed to set out on foot. The Sierra Designs Studio 2 ultralight tent and Synthesis 20° sleeping bag were ideal for these requirements. Read on for my thoughts on each.
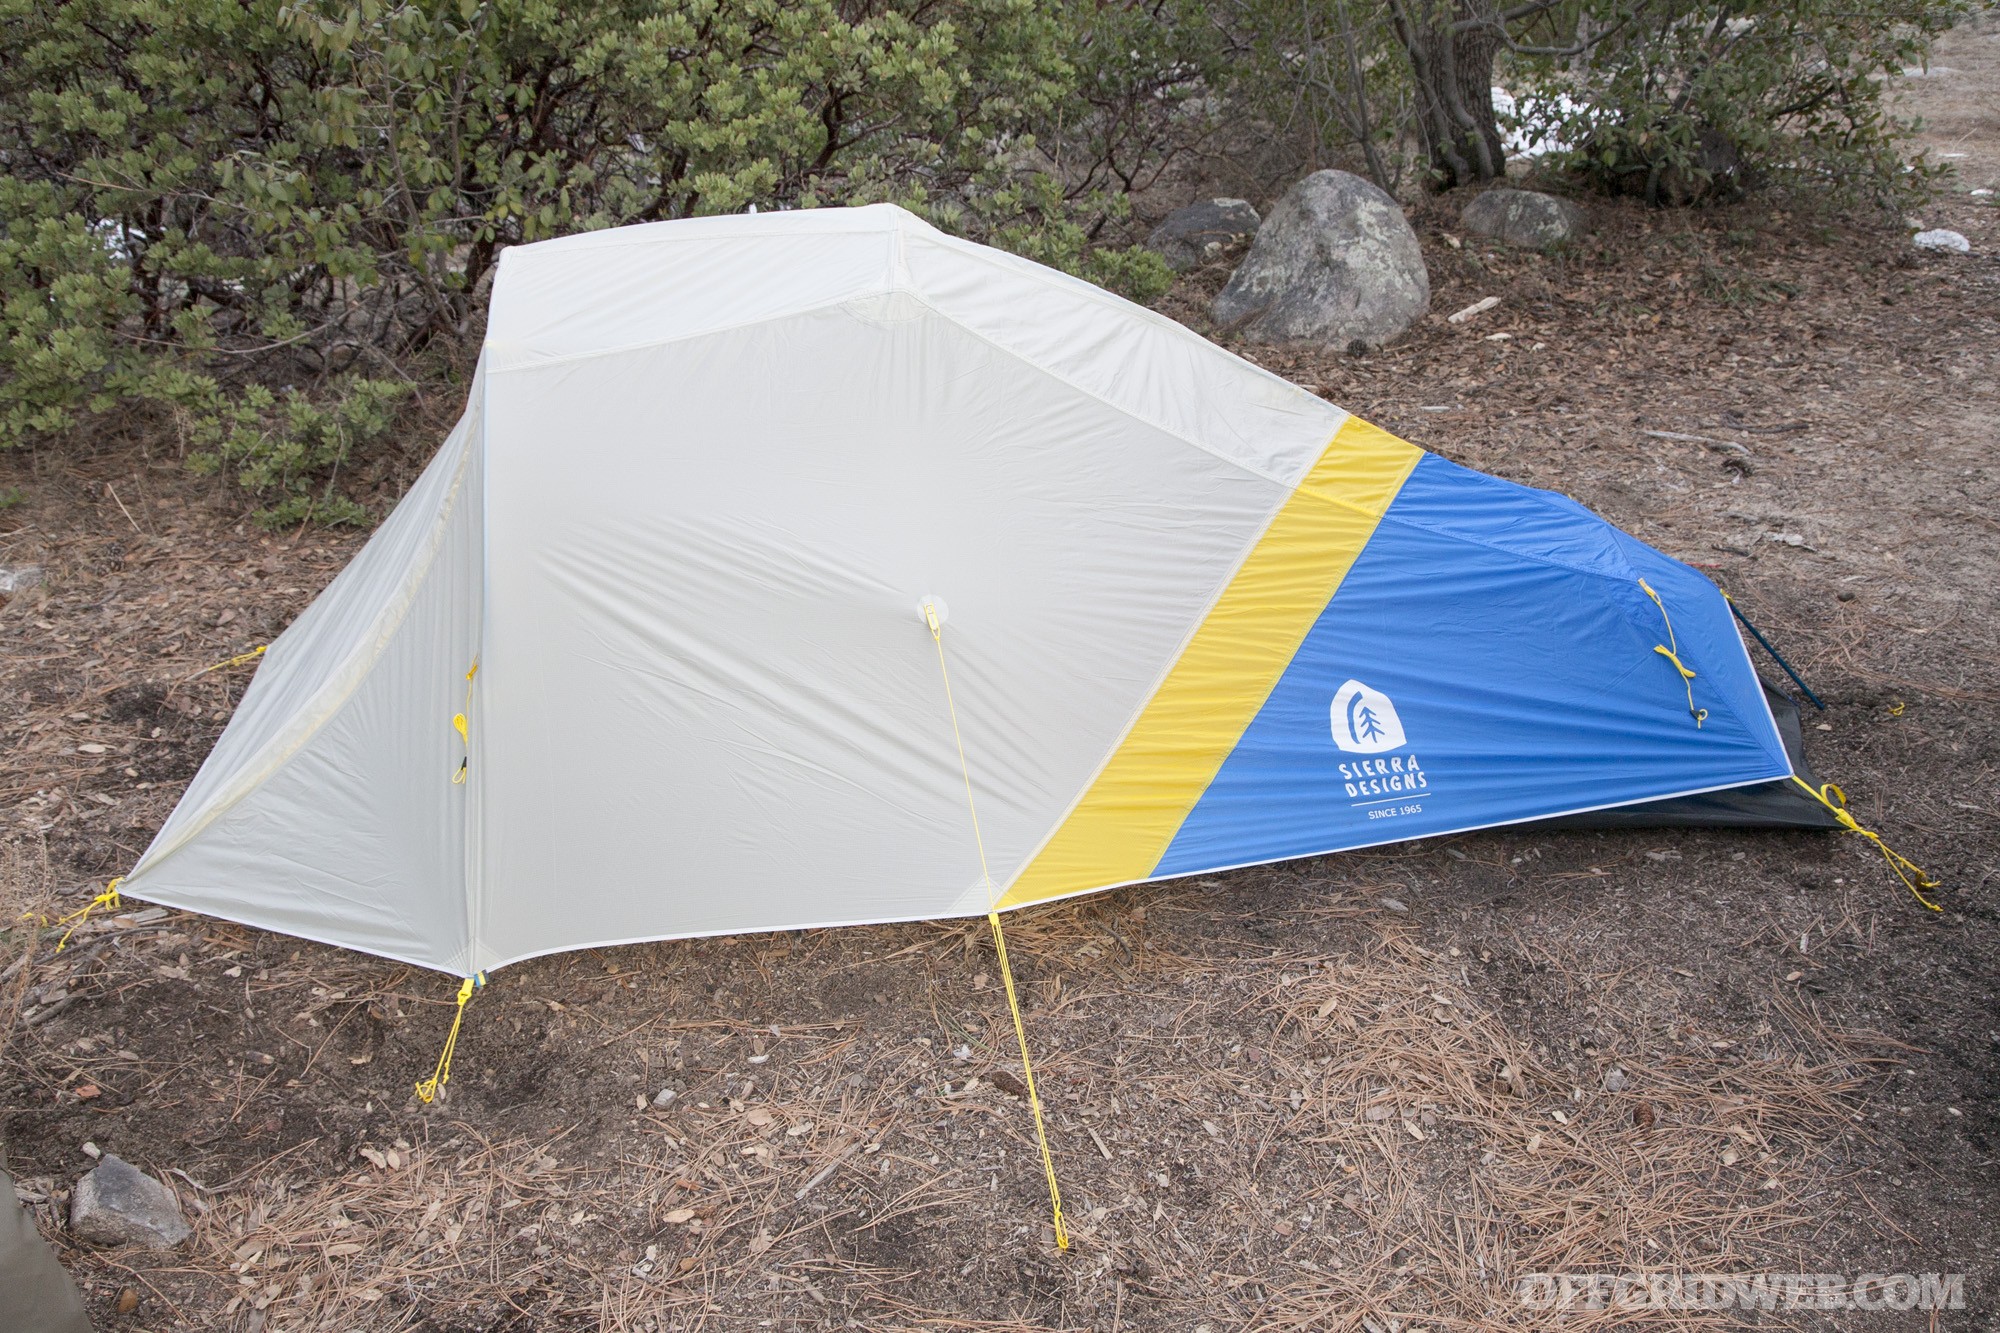
Sierra Designs Studio 2 Tent
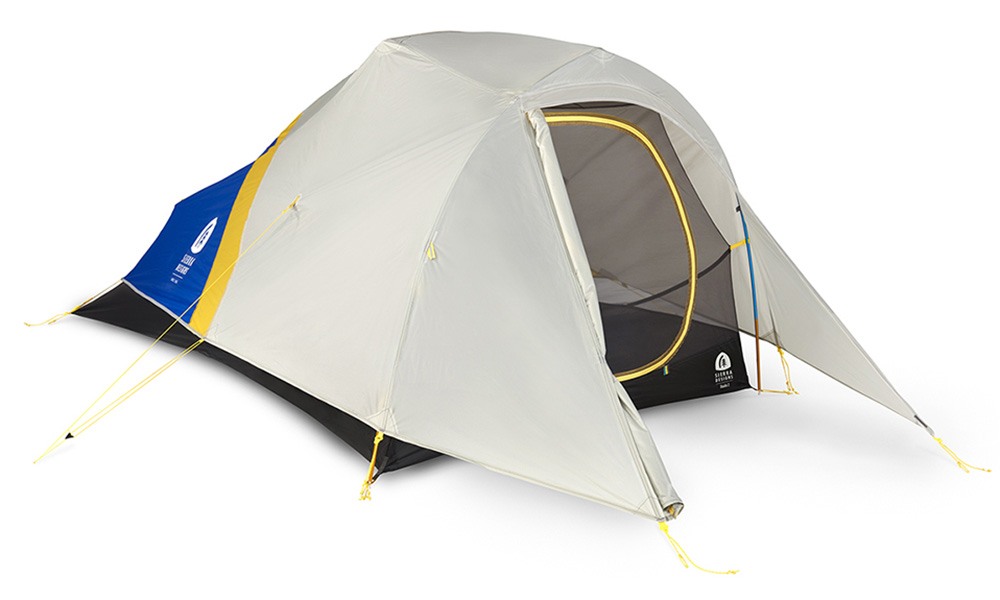
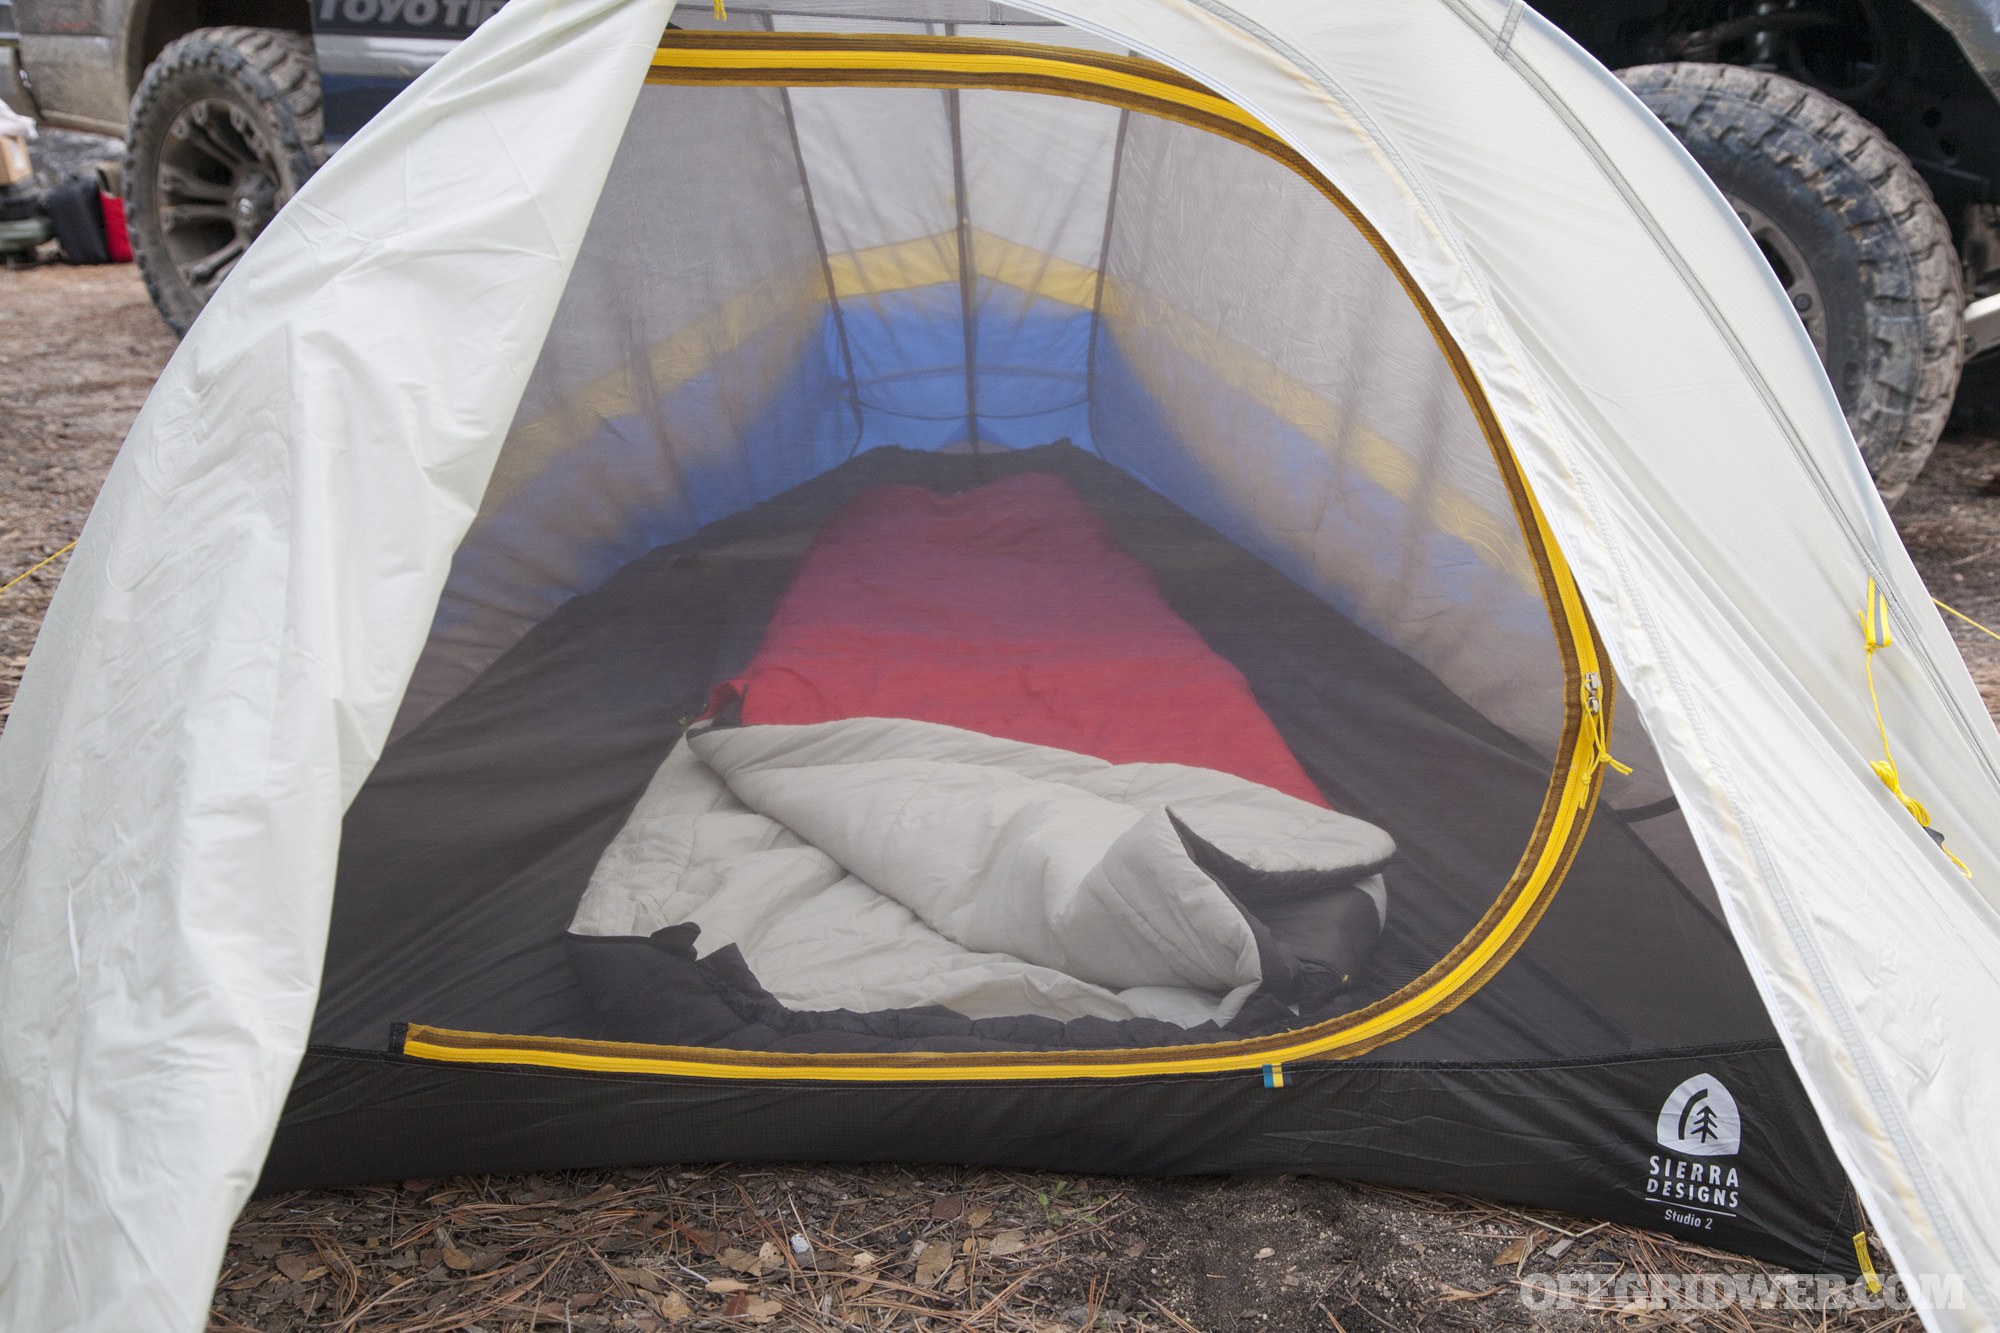
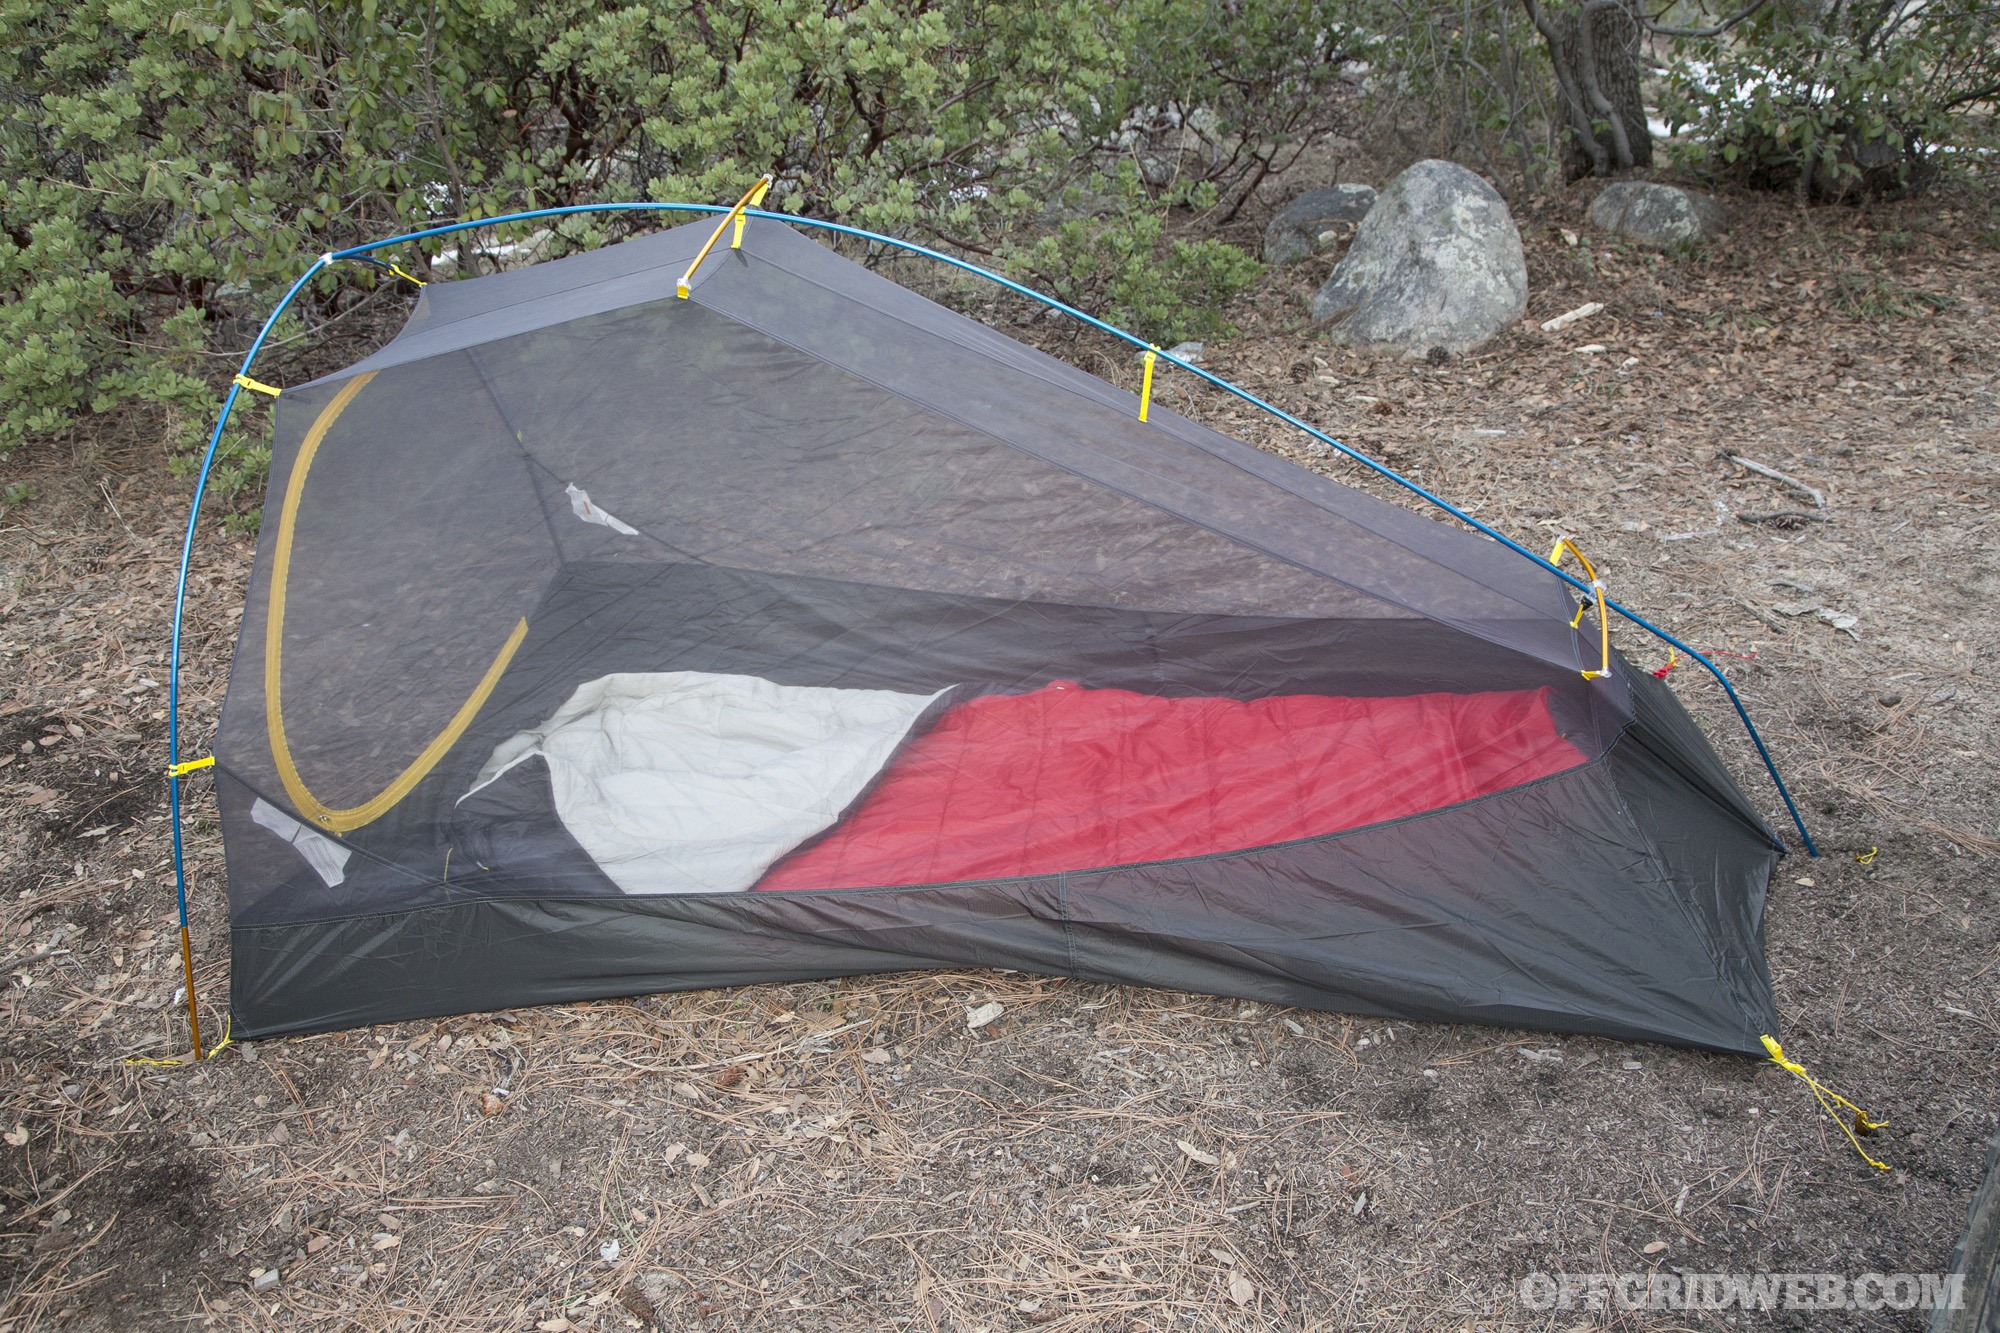
As the lightest 2-person tent offered by Sierra Designs, the Studio 2 tips the scales at 3 pounds and 3 ounces. However, it does so without sacrificing space and comfort. The floor is 85 inches (7’1″) long, 52 inches (4’4″) wide at the head, and 42 inches (3’6″) wide at the foot. I’m 6’5″ tall and fit easily while laying flat — something that hasn’t always been the case in the lightweight tent category.
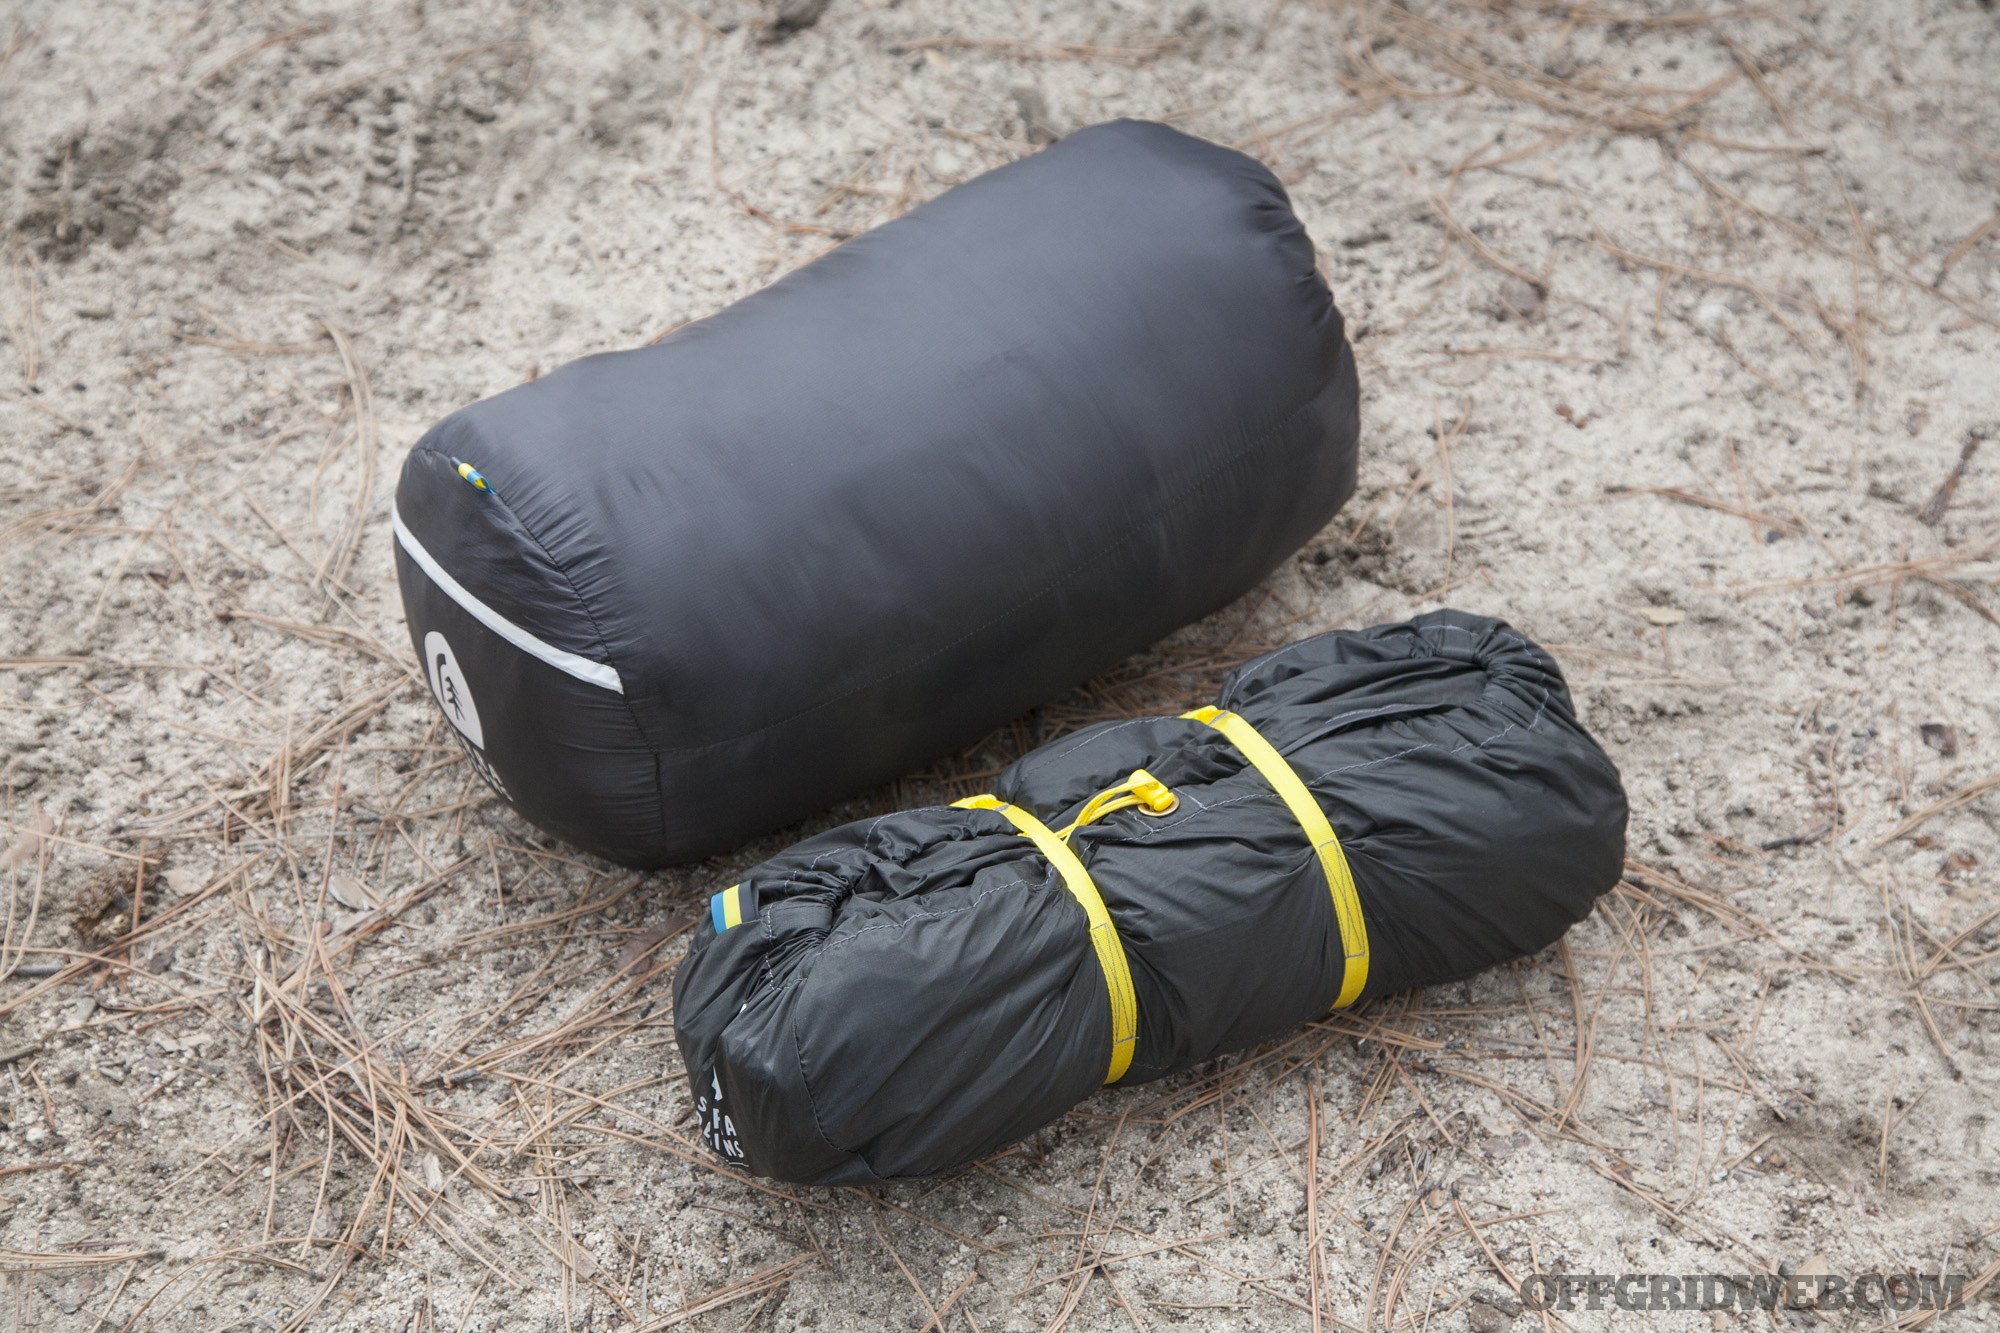
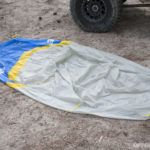
In packed form, the Studio 2 tent fits into a 16-inch long by 6-inch diameter ripstop bag. This bag includes both a drawstring and a pair of cinch straps with buckles, ensuring the tent parts stay inside and protected in transit.
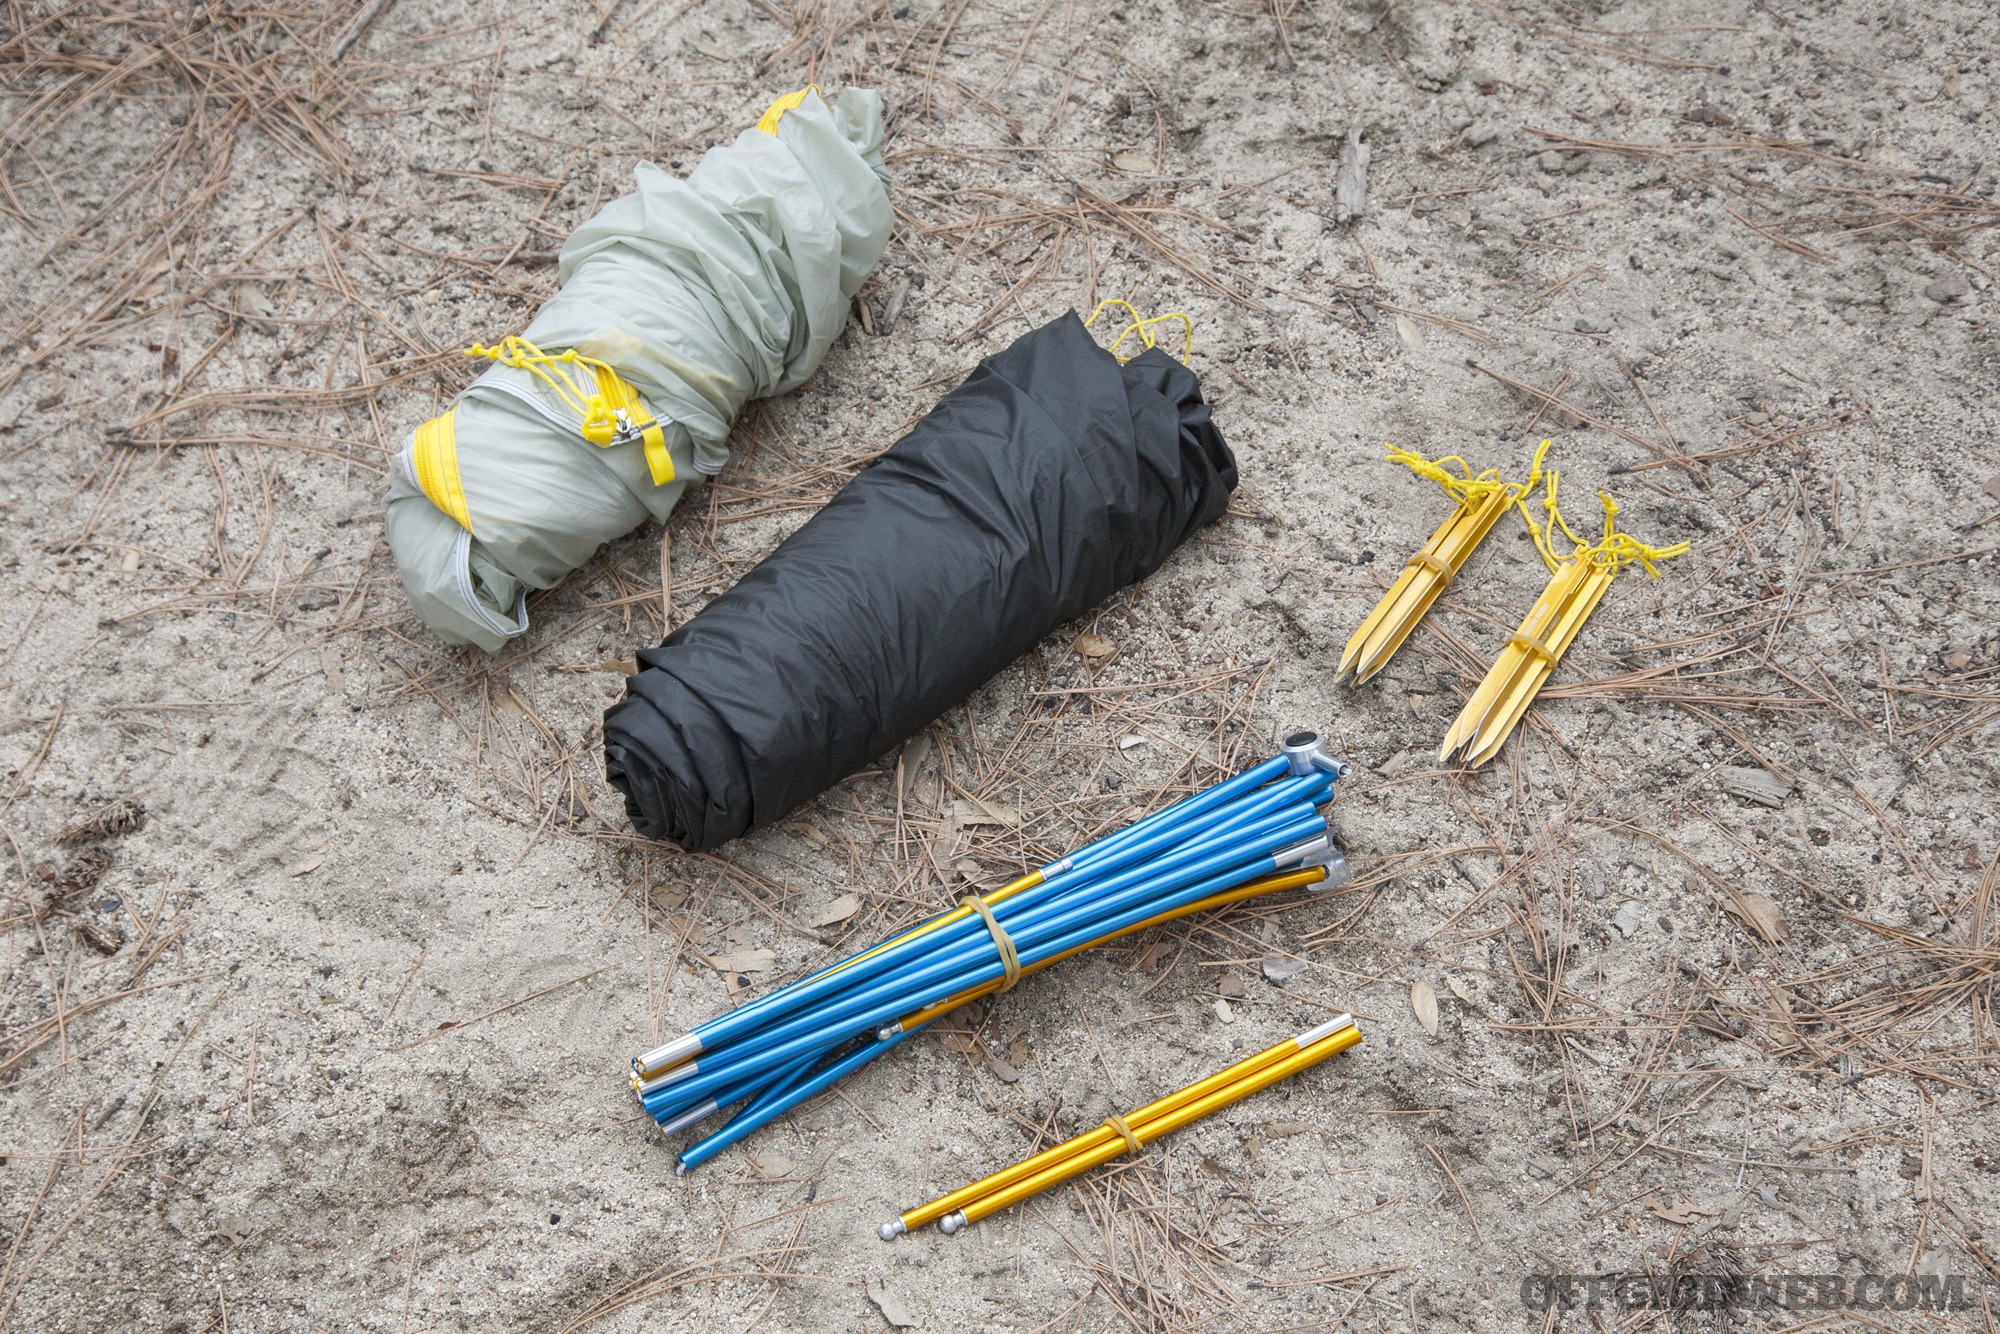
Opening up the bag reveals the rain fly and tent, as well as poles and stakes inside an additional nylon sleeve (not pictured). The stakes are the common triangular style, each with a notch in one corner and a high-vis yellow lanyard attached. Twelve are included, and that’s more than you’ll need unless you’re expecting to weather a serious wind storm.
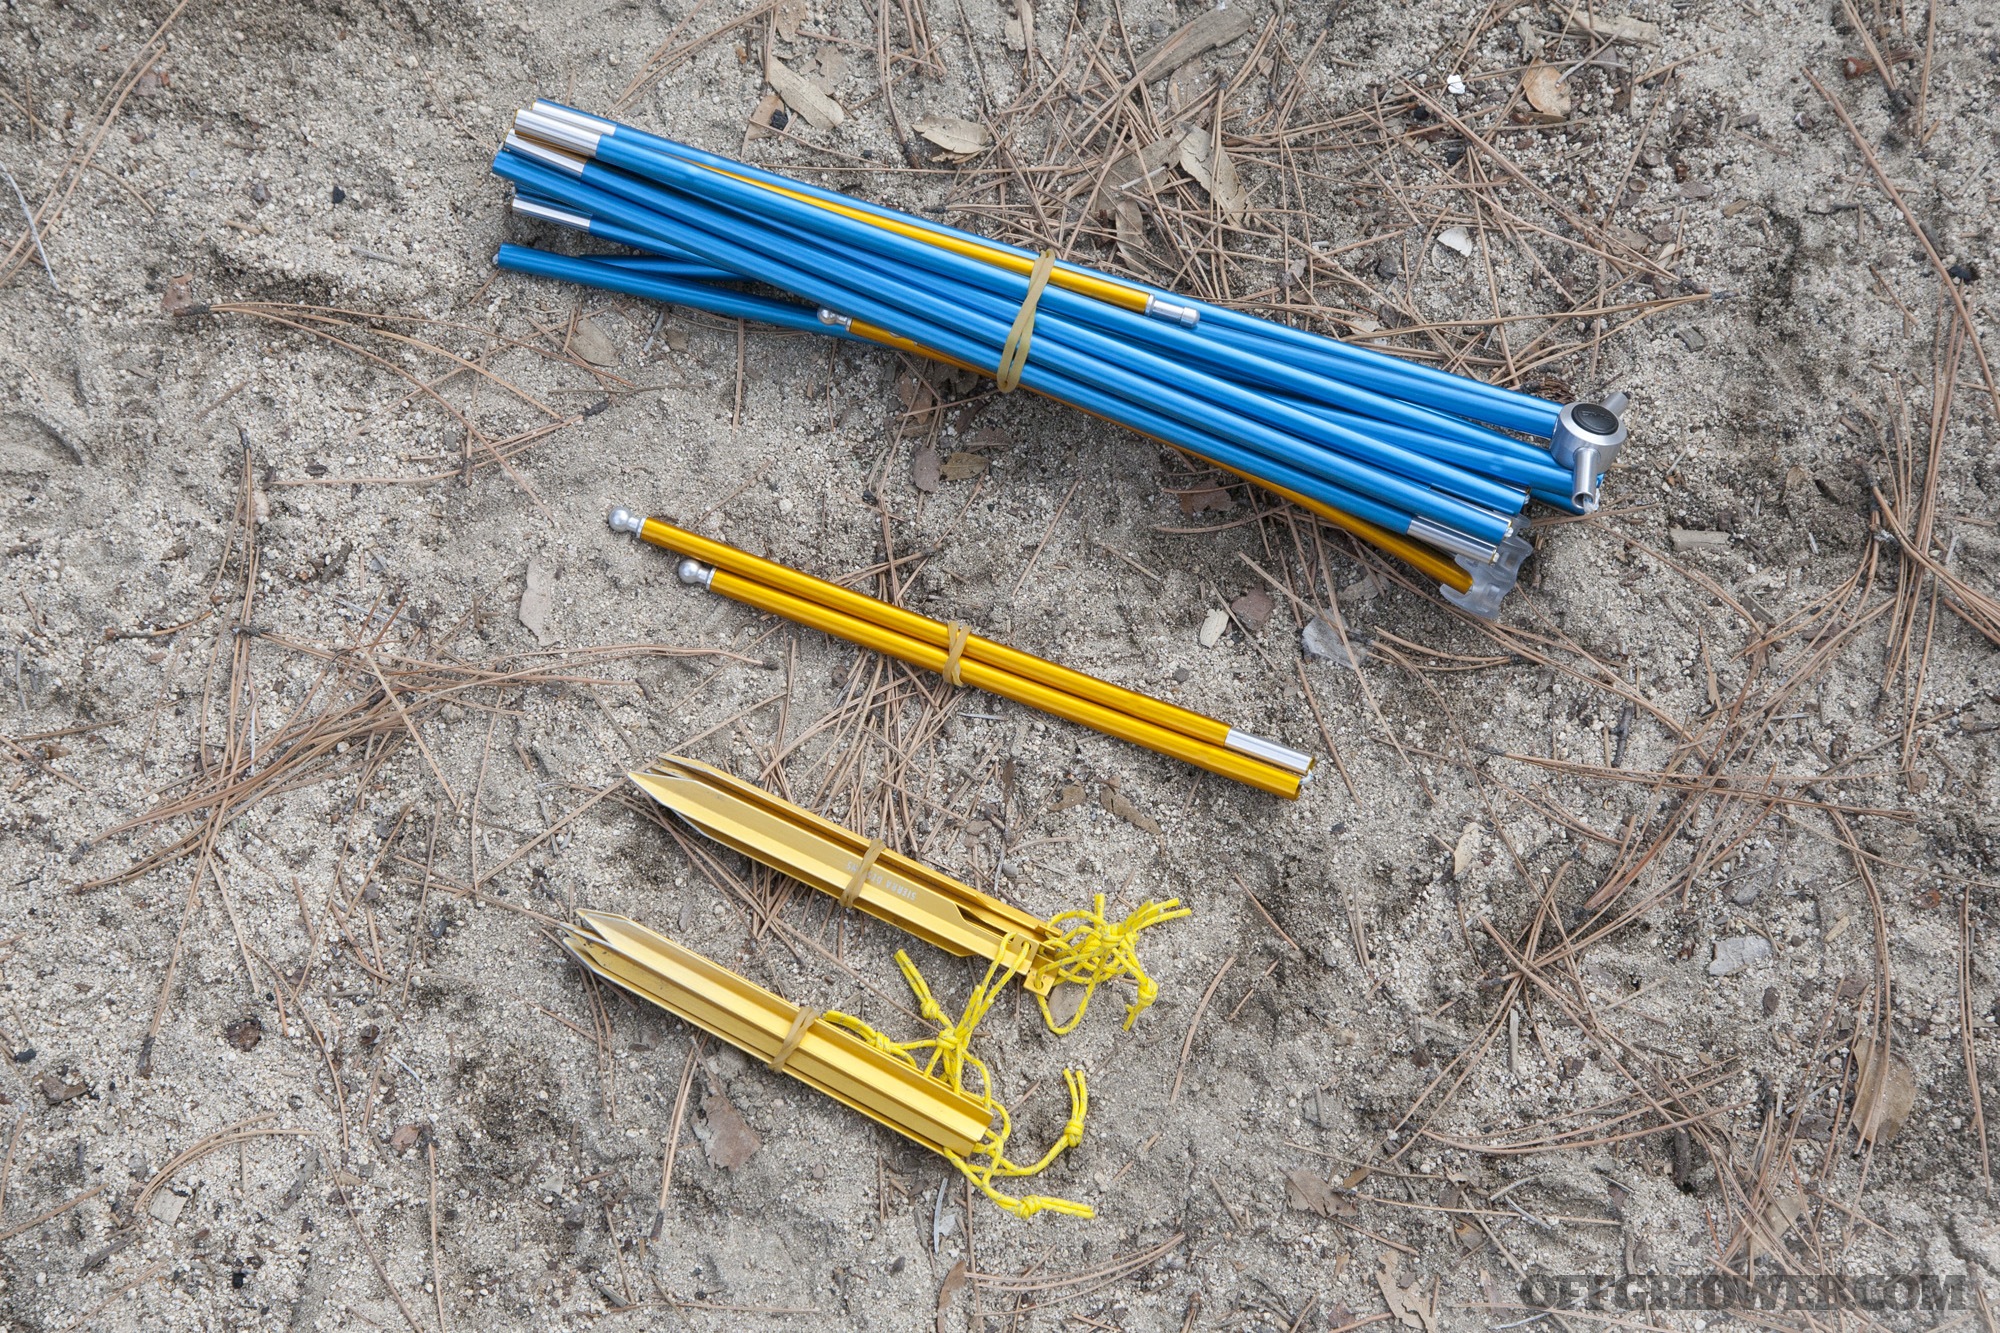
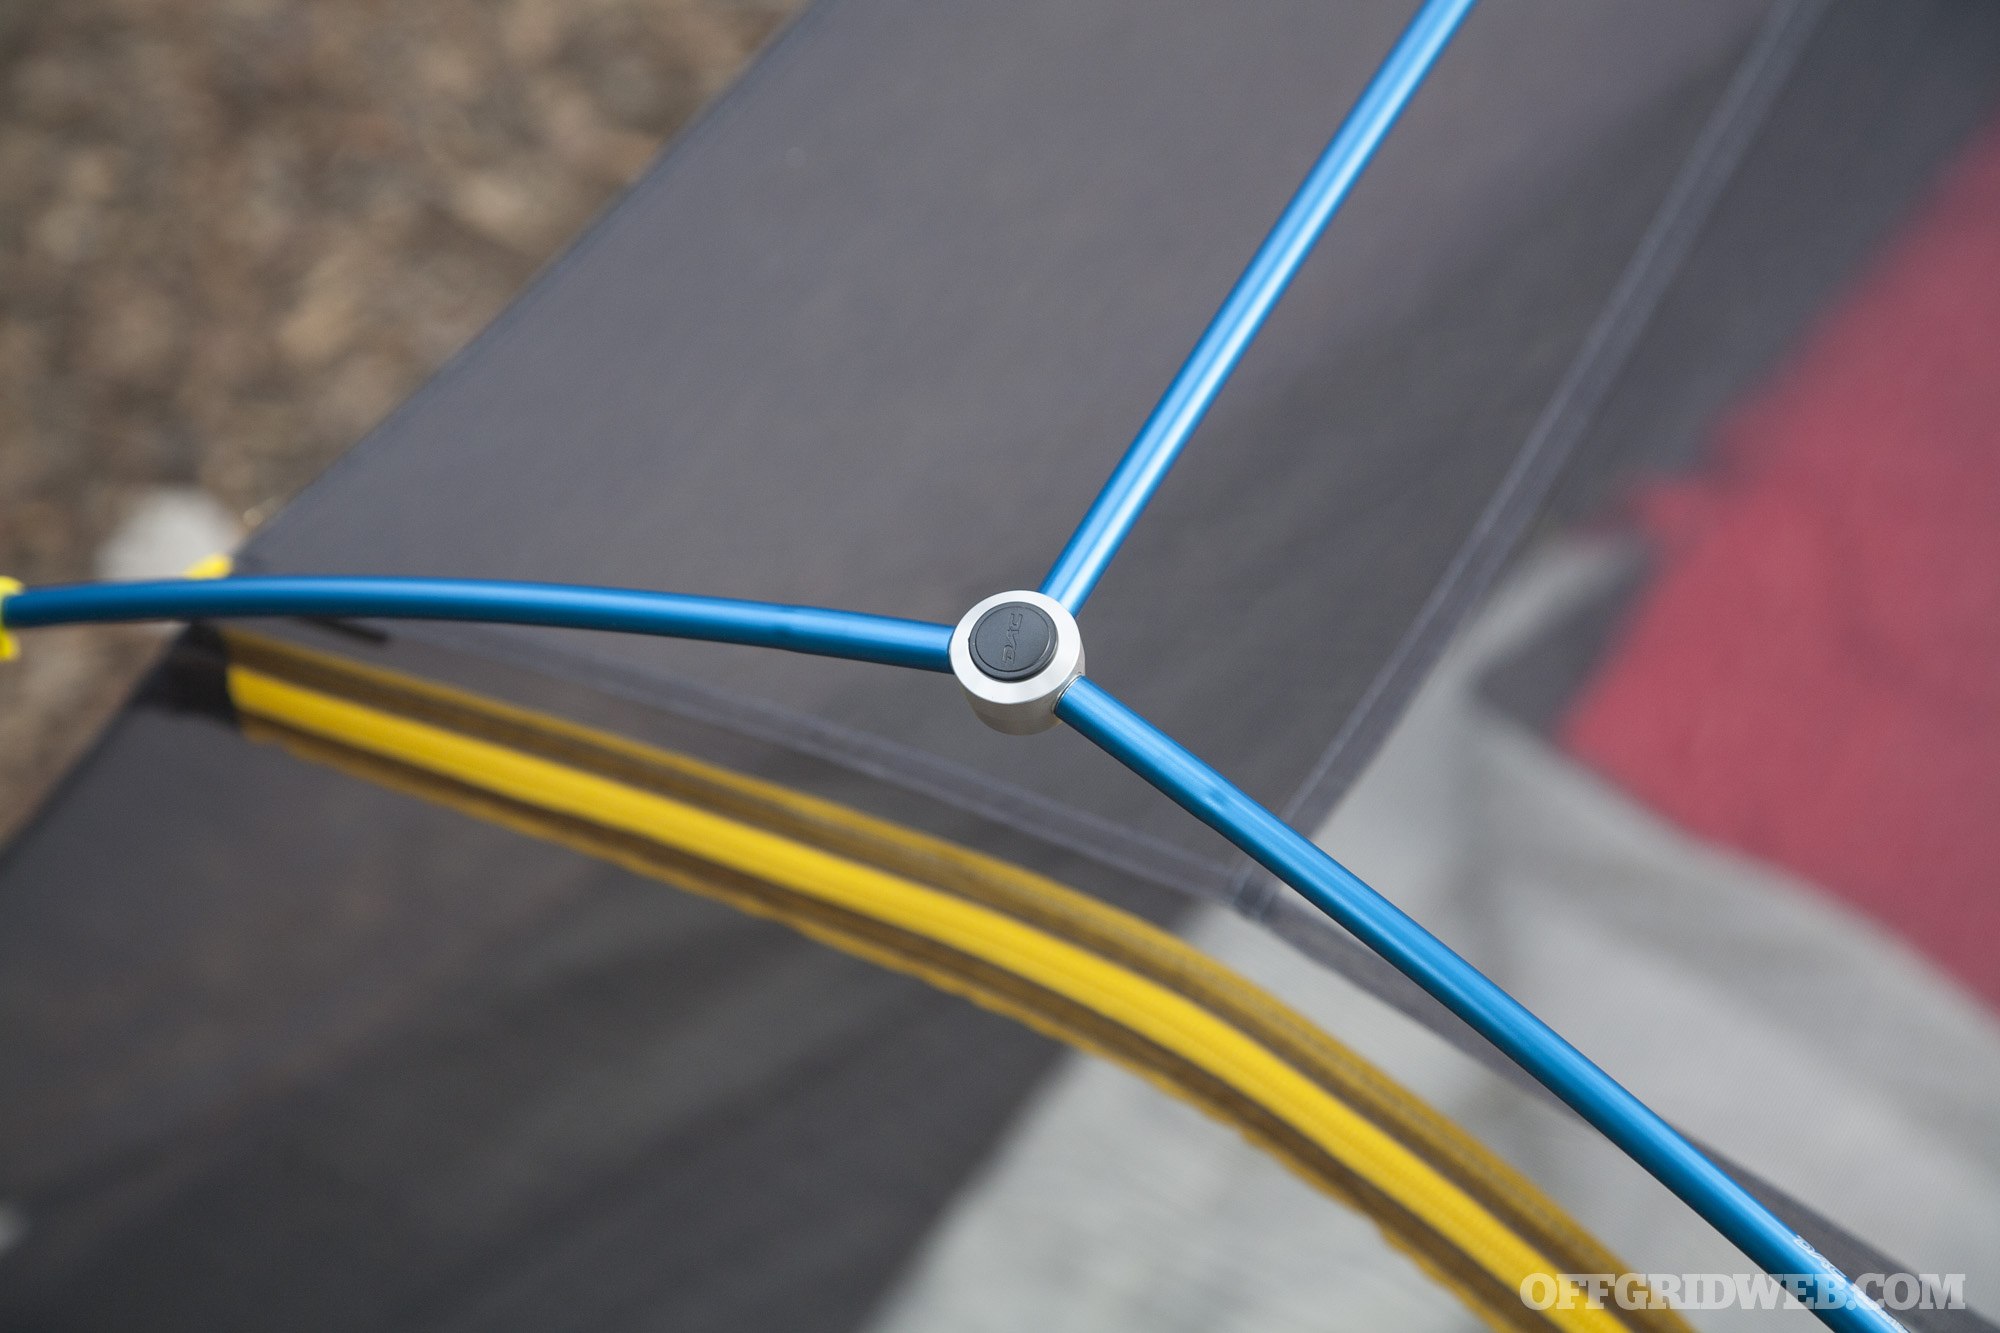
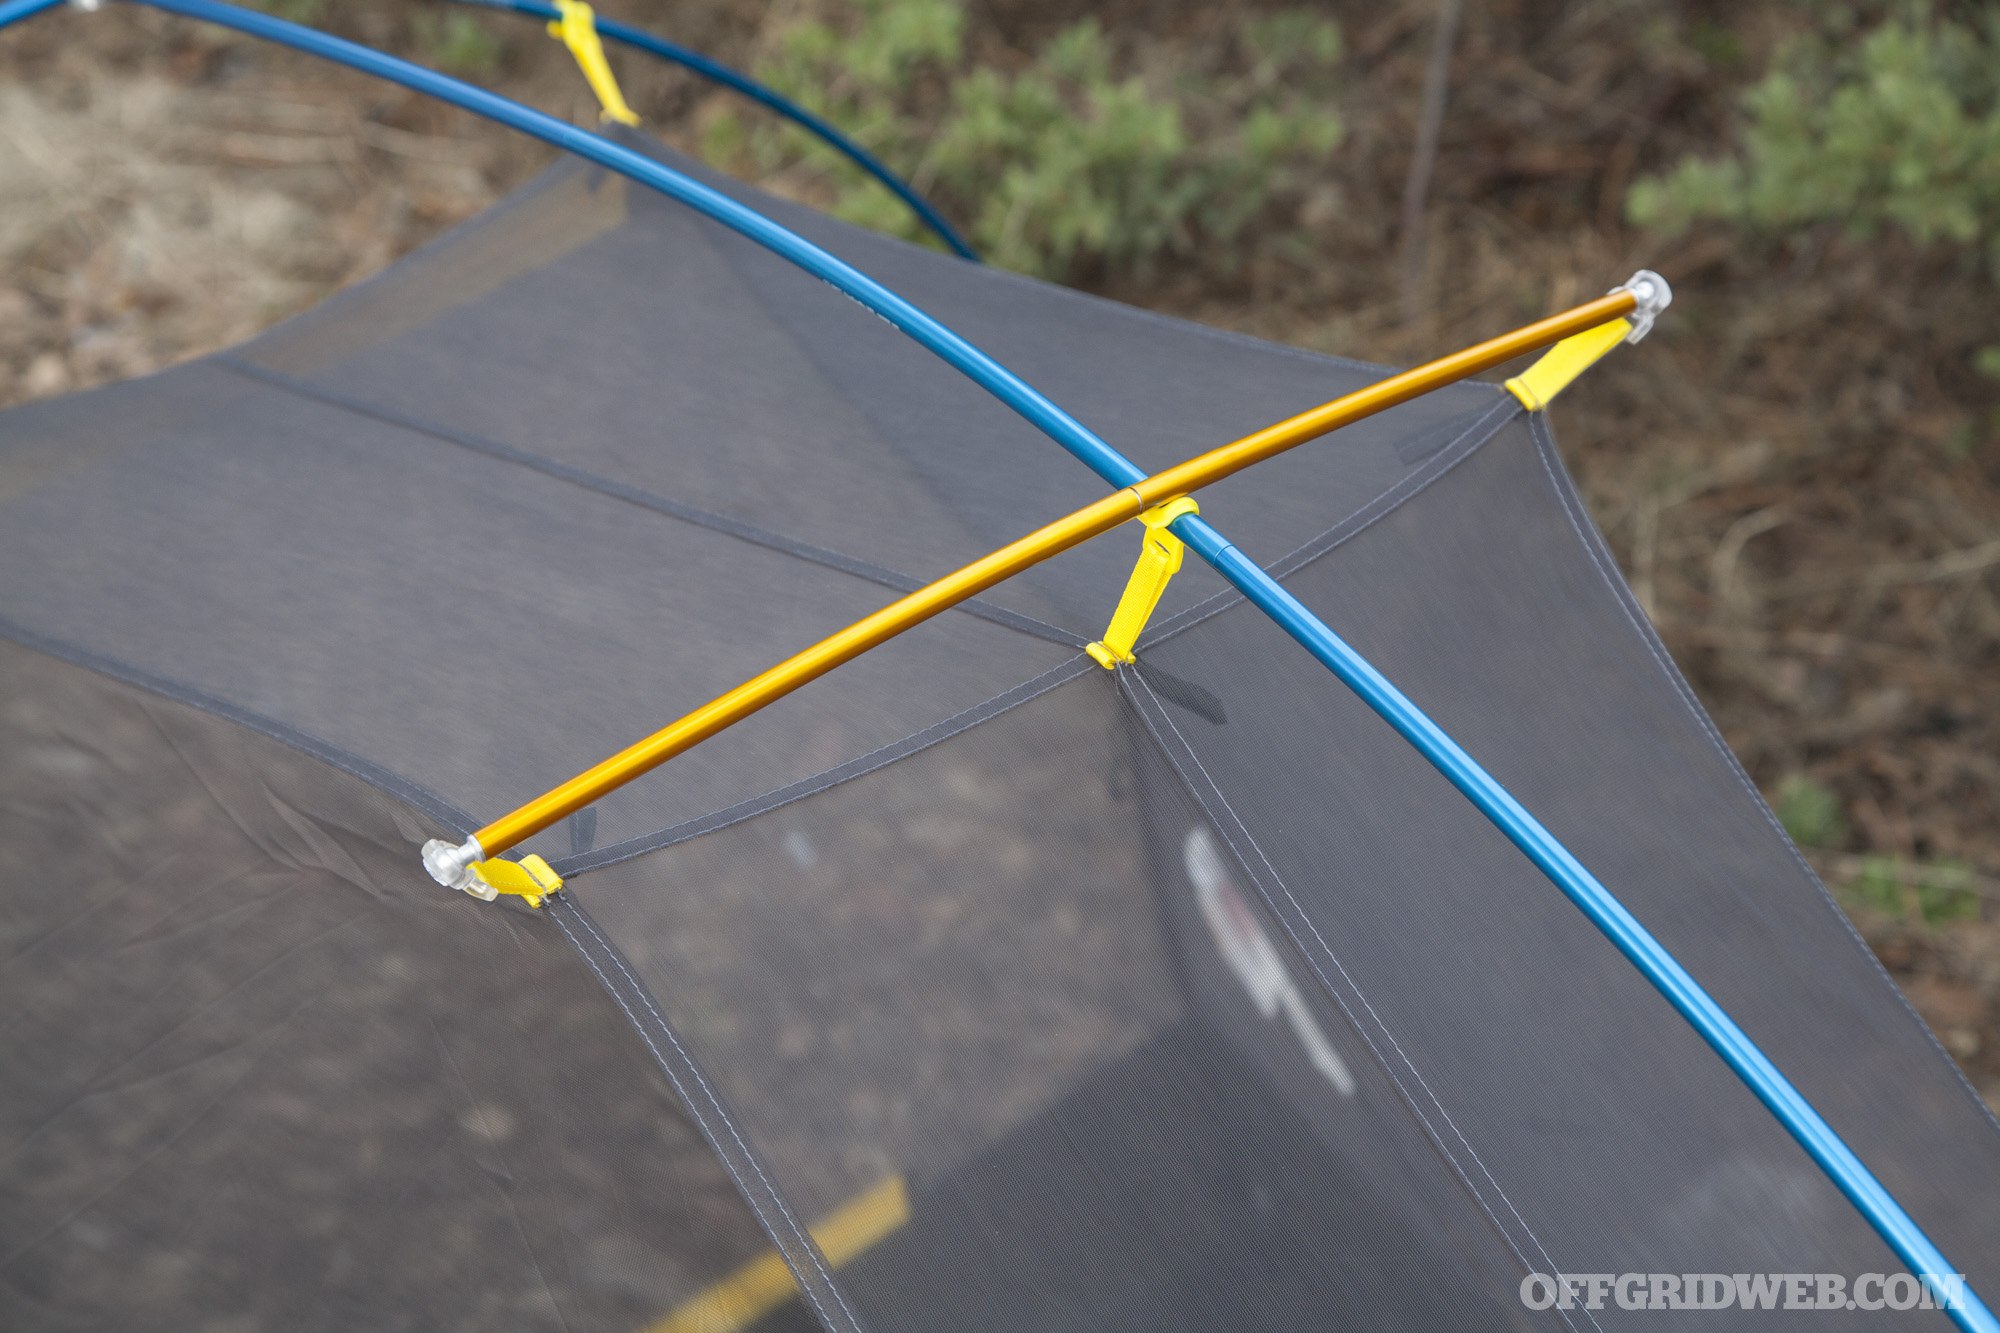
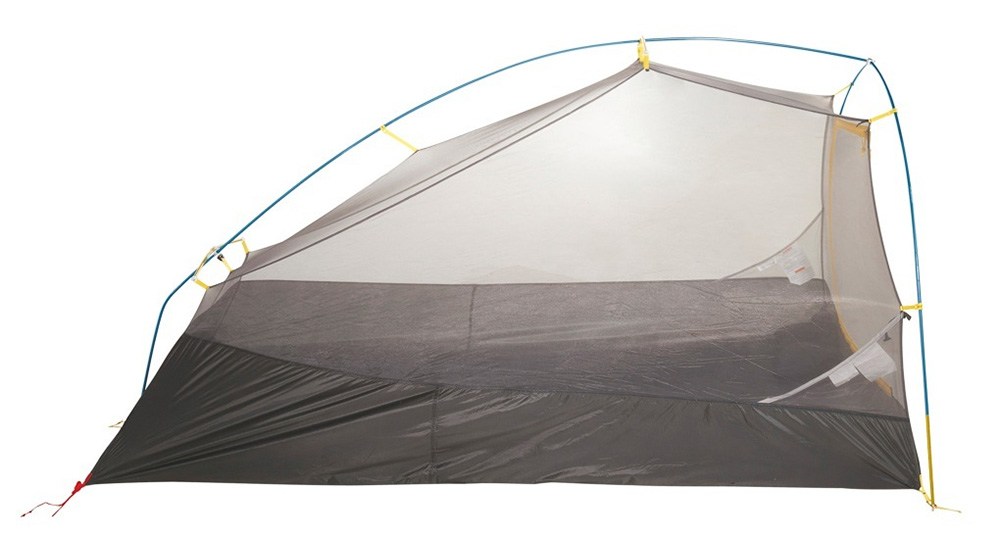
As for the poles, Sierra Designs has kept it simple and foolproof in that department. There are only two DAC Featherlite aluminum poles — a primary pole with three segments connected by a pair of hubs, and a secondary ridge pole that’s installed near the top of the tent.
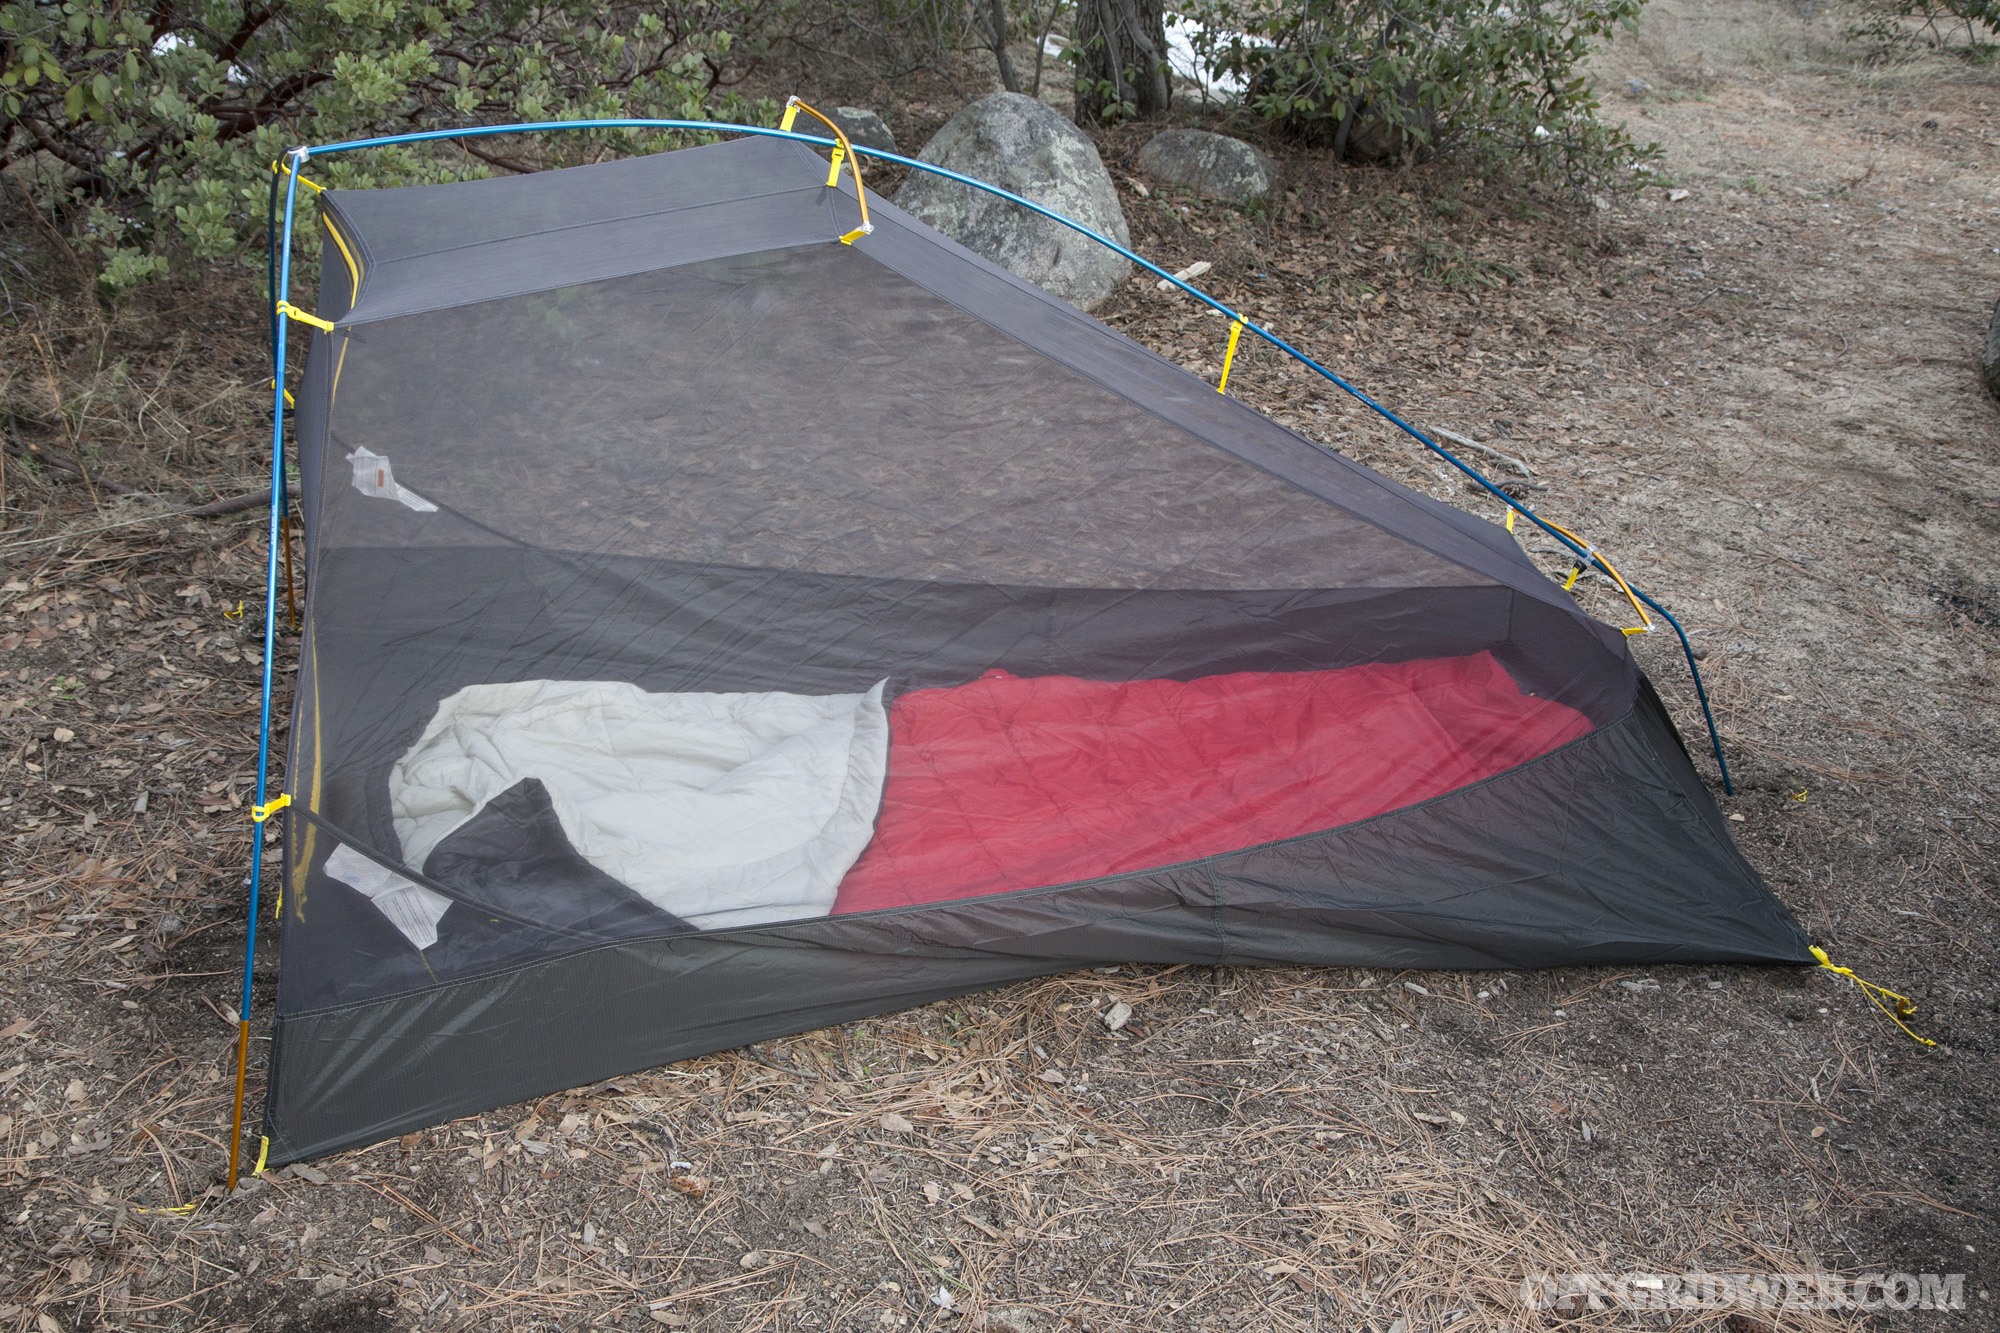
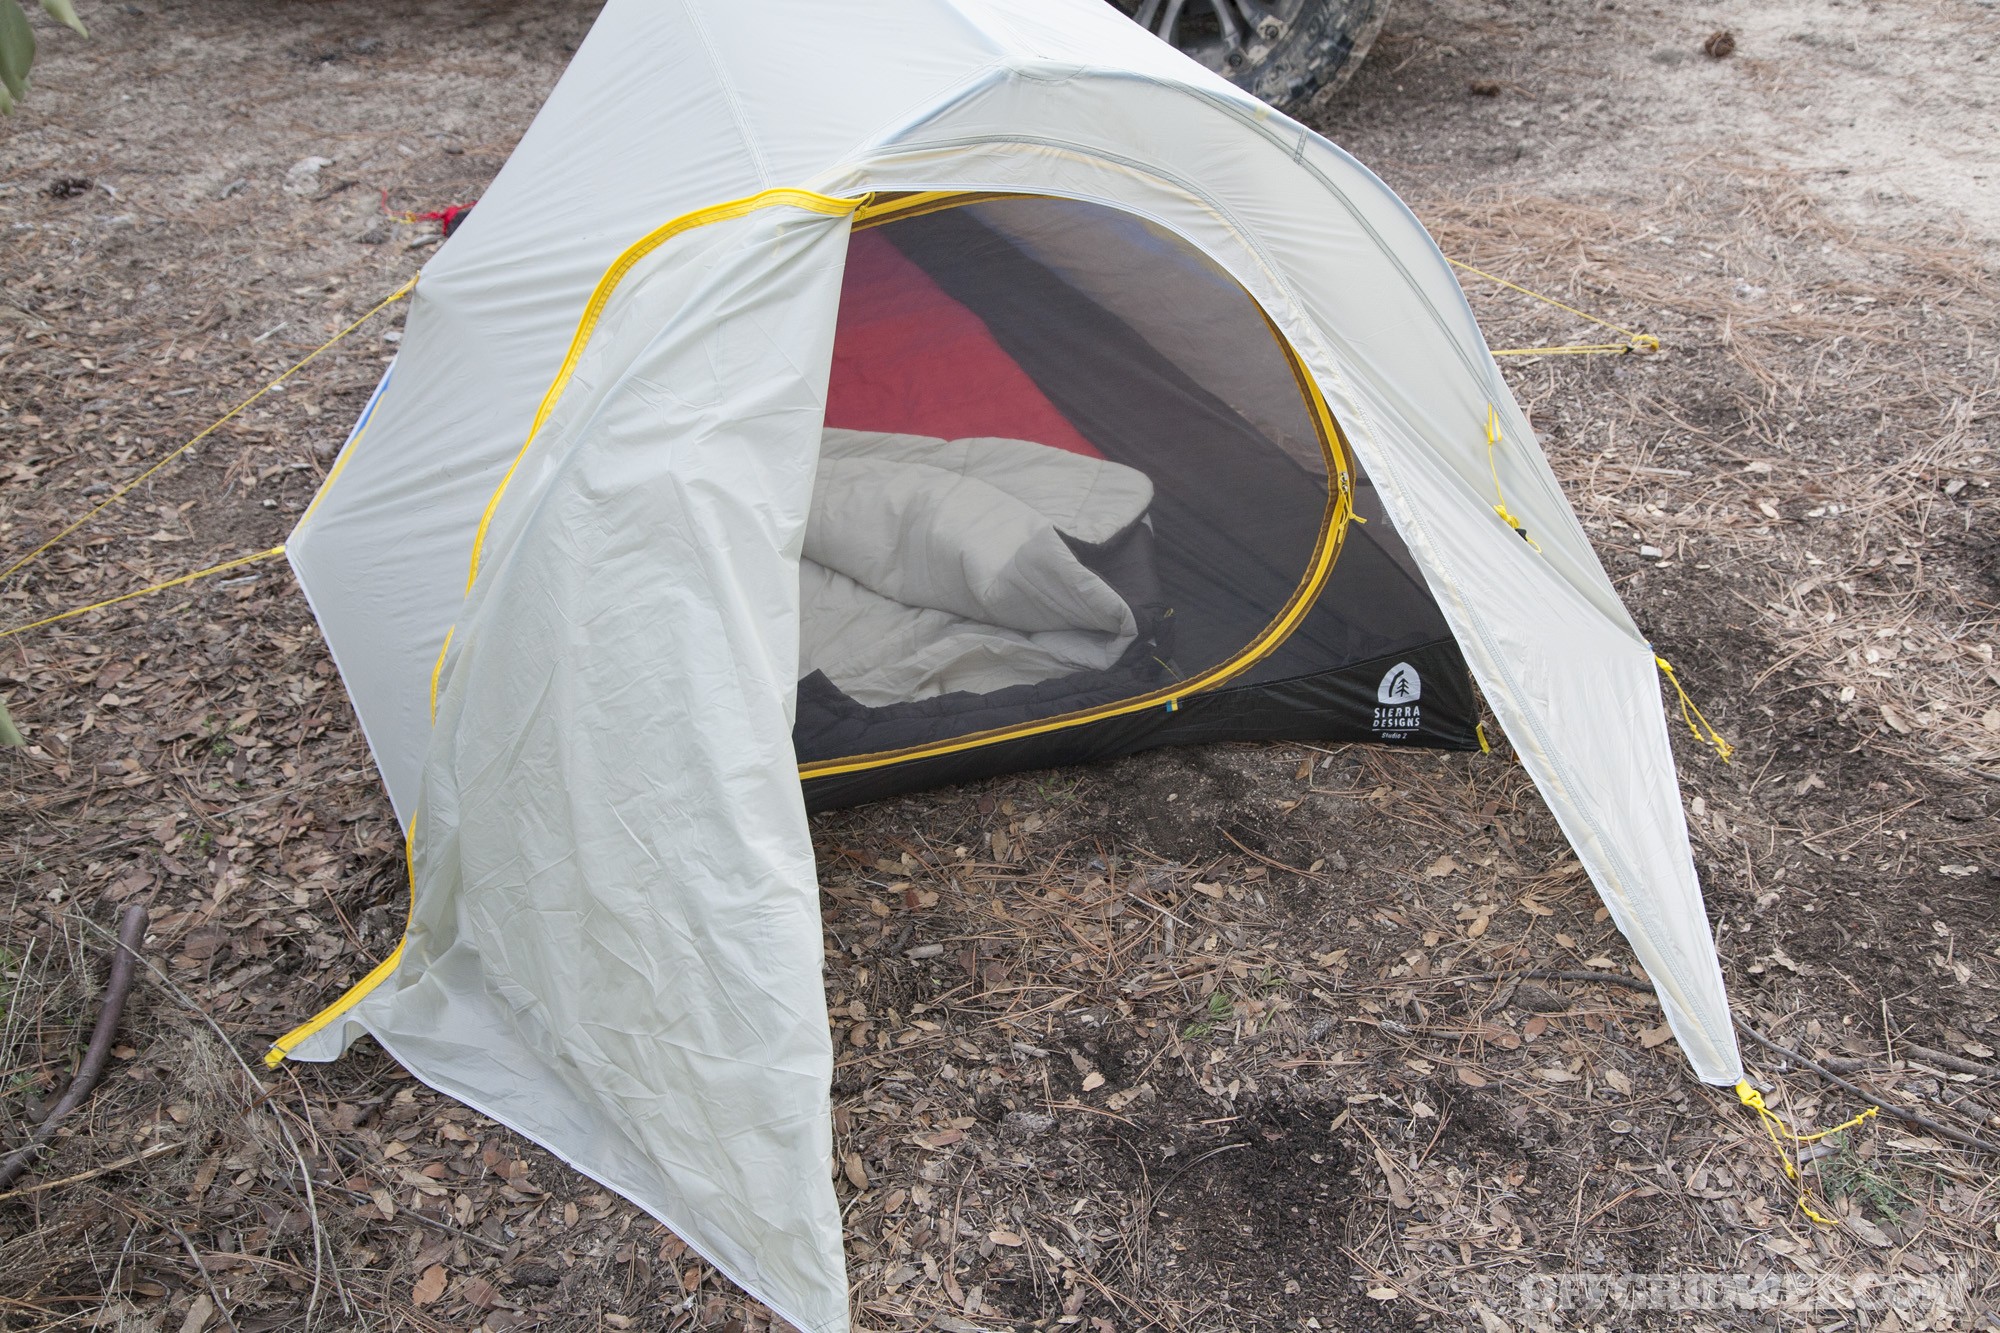
The Studio 2 is semi-freestanding. For those who aren’t familiar with this term, it means it keeps most of its structure with only four stakes, even though you can’t carry it around your campsite like a true freestanding tent. It also features a near-vertical door design, allowing for occupants to enter easily and sit up straight inside. The tent’s floor is relatively-thin 30D nylon ripstop, and its body is extremely fine 15D nylon mesh.
Setup for this tent is more complex than your average heavy-weight tent. First, roll the tent out flat, pull it taut, and install five stakes. Then add the primary pole, snapping together the hubbed sections and pushing the pole ends into two grommets at the head and one at the foot. Then pop the yellow segment into the clear plastic clips above the foot area to give that area volume.
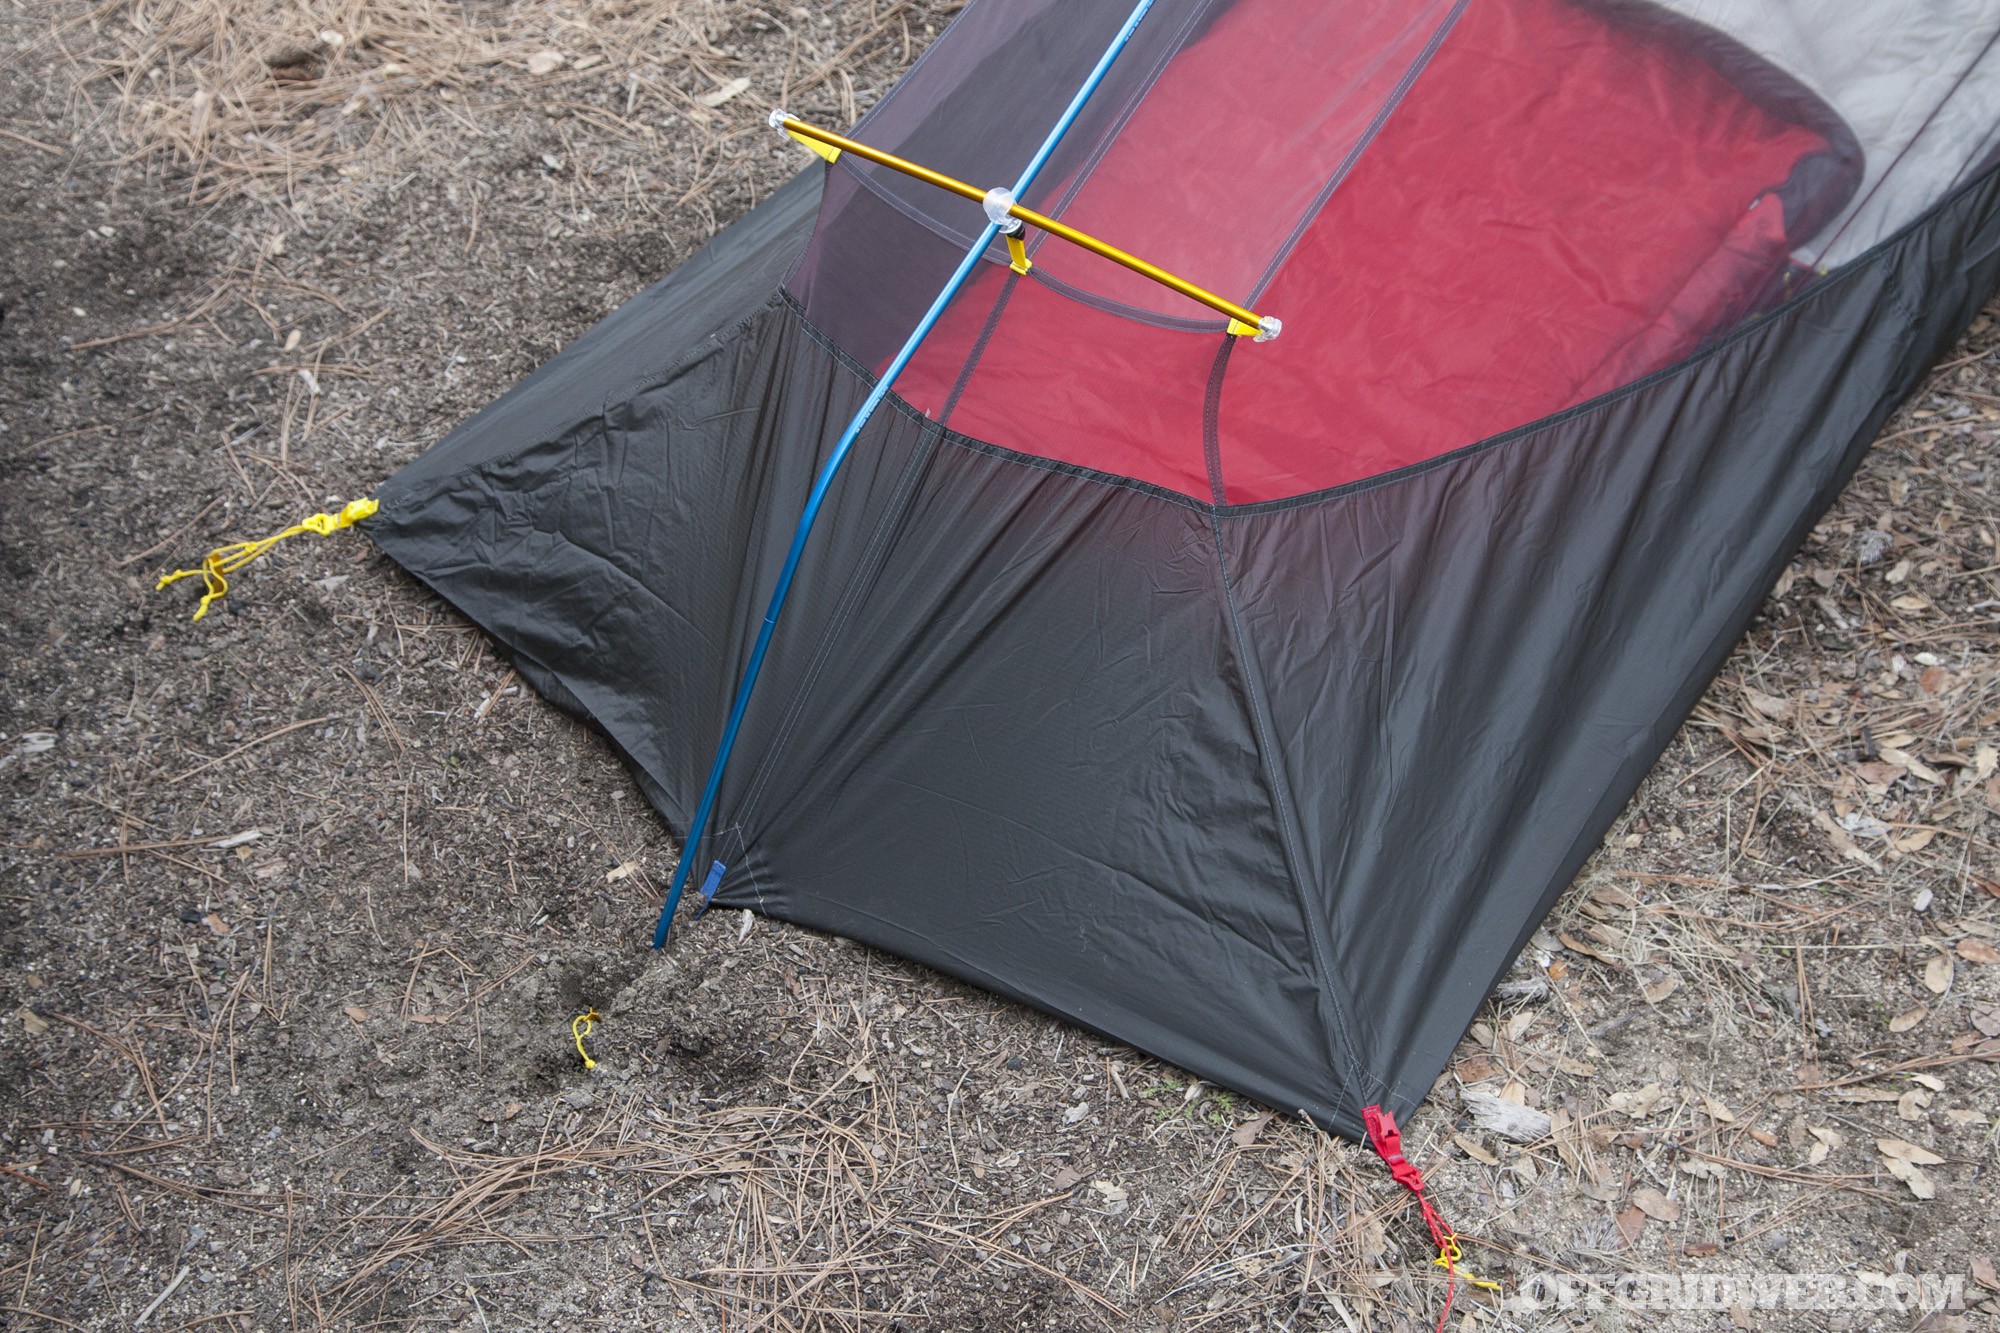
Four yellow hooks at the head of the tent attach to support the door, and two more attach to support the ridge area. The final pole is installed atop the notch in one of these yellow hooks, and connected to two more clear clips, completing the base tent setup.
Next up is the 20D nylon ripstop rain fly, which you’ll want unless you’re absolutely certain that there’s no chance of rain incoming. The rain fly includes buckles that connect to matching buckles on the corners of the foot area. Conveniently, one is red, making it easy to index the orientation.
The rain fly also features black plastic clips that connect on top of the clear ridge pole clips, so it won’t shift around as much when you’re applying tension to the guylines.


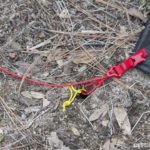
Speaking of guylines, the Studio 2 has plenty on its rain fly to cope with strong gusts. Four additional stake points along the head of the tent create a vestibule area with enough room for one large pack or two smaller ones.
Long lines at the sides include tensioning cleats, although these are rather finicky to set up evenly if you’re not familiar with them. Tension can be applied to the buckle straps at the foot area. There are also four additional guylines with tensioners around the circumference — we didn’t use these since the conditions weren’t too windy.
The Sierra Designs Studio 2 tent is spacious and comfortable when it’s set up, at least for one person. Adding a second person would be doable, but a little on the “cozy” side. The tent is also lightweight and compact when it’s packed away. Although the materials aren’t nearly as durable as a heavier tent, this is a necessary compromise if you want to reduce weight. We feel confident the tent will serve us for several years with proper care and storage.
Our main criticism of this tent is in regards to the complexity of its setup. While this is far from the most elaborate tent we’ve used — thanks mostly to the convenient two-pole design — there’s still quite a bit of clipping, sliding, and cinching that are required to get it just right. The rain fly is especially picky about guyline tension. That said, teardown was quick, and setup gets easier once you’ve done it a few times.
The other potential drawback of this tent is its $350 MSRP — that number may deter some budget-conscious preppers. Keep in mind that price increases as weight decreases, and nothing acceptable in the ultralight category is going to be found at a bargain-basement price. Actually, we’d say the Studio 2 is good value, since competitive options from the likes of MSR are either much more expensive or substantially heavier.
Sierra Designs Synthesis 20° Sleeping Bag
We paired the Studio 2 tent with a Synthesis mummy bag. This design is available in 50, 35, and 20-degree versions; we opted for the latter since temperatures were expected to dip close to freezing during the night. It’s important to note that 20°F is the EN Limit temperature rating, meaning you won’t freeze if it gets that cold, but you’ll almost certainly be uncomfortable. The EN Comfort temperature rating of 31°F was ideal for this environment.
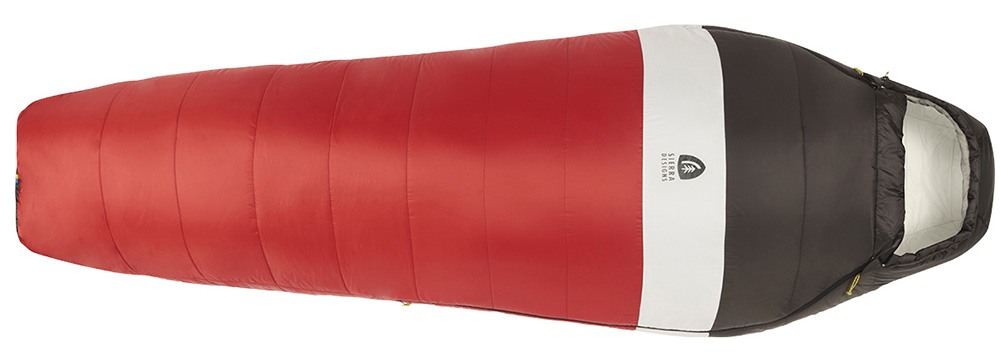
I selected the Long version of this sleeping bag, which can accommodate occupants up to 6’6″ tall. It weighs 2 pounds and 12 ounces, packs down into a 15″ by 7.5″ stuff sack, and is priced at $150. Those under 6 feet tall will want the Regular version, which is 3 ounces lighter and costs $10 less (packed size is roughly the same). The bag is composed of synthetic insulation and 20D nylon fabric with dual zippers.
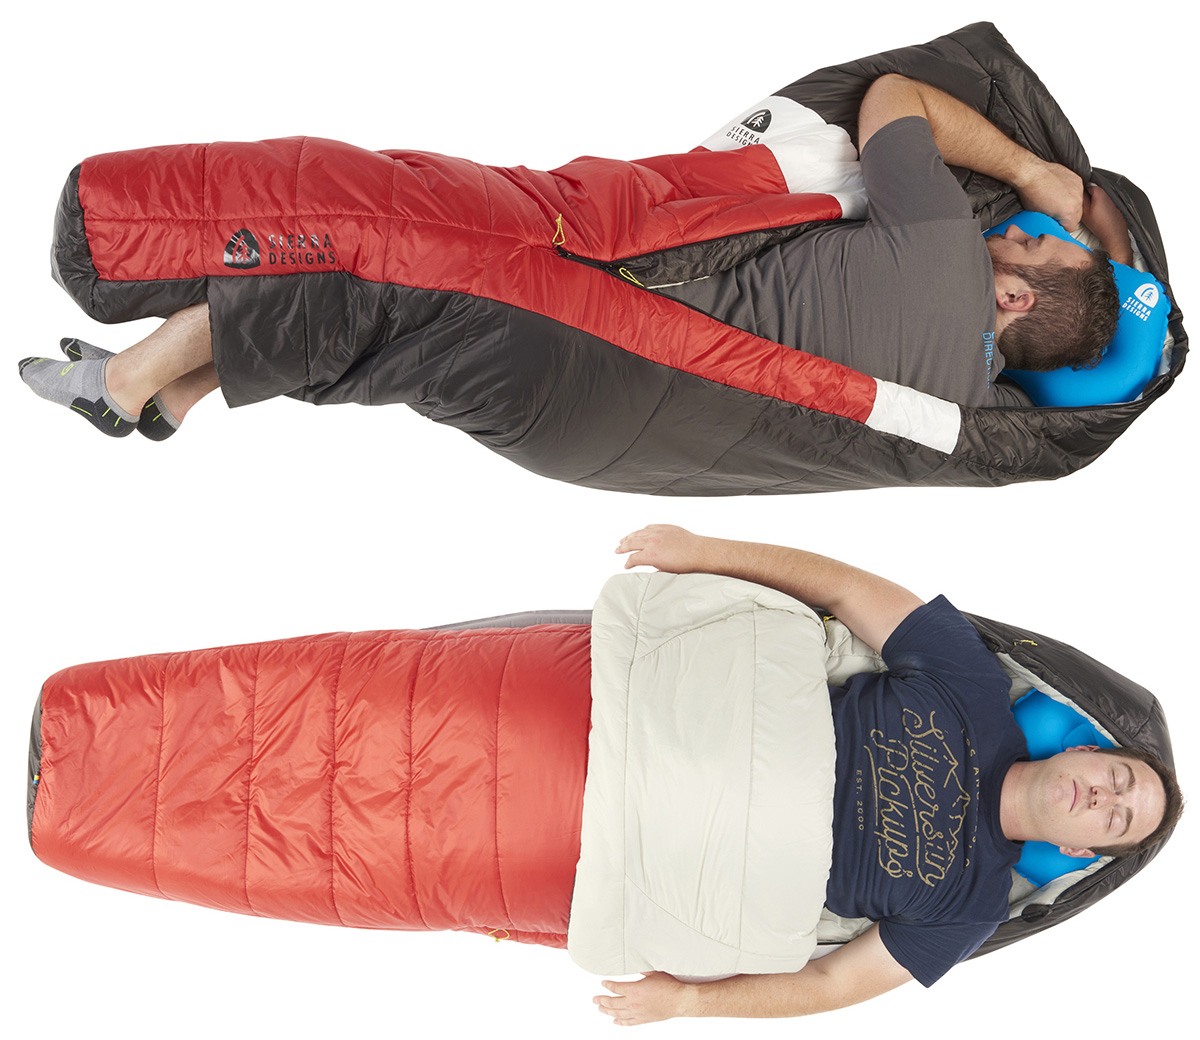
The Synthesis bag can be used in full mummy mode during colder weather, with a hood and collar that seal out drafts. In warmer conditions, it can be used with the front folded down to the chest or unzipped down to the waist. Sierra Designs’ patented self-sealing foot vent also lets you poke out your feet for faster cooling.
I found the Synthesis 20° sleeping bag to be comfortable and roomy, even for my tall frame. Its collar works well for retaining body heat. One night, I fell asleep with the bag unzipped to my chest, but awoke shivering in the early hours of the morning. I zipped up the bag, cinched down the hood, and was toasty again in no time.
However, the “self sealing” foot vent is a bit of a misnomer — it’s essentially just an overlapping flap that’s held shut by the weight of your legs. If I laid on my side or changed positions, I could feel a slight draft through the opening. This wouldn’t be an issue during warmer seasons, but it was noticeable in the low-30°F range.
Conclusion
If you’re looking for a lightweight shelter setup that’ll fit into your bug-out bag, the Studio 2 tent and Synthesis mummy bag are a great combination. They weigh just under 6 pounds combined, and fit easily into a 72-hour pack. There’s always going to be some form of compromise when you select an ultralight shelter — smaller dimensions, reduced durability, complex setup, increased cost, or some combination of these — but there’s also a tremendous benefit to cutting weight. As the old saying goes, ounces equal pounds, and pounds equal pain. Less weight on your back means you’ll be able to move faster during the day, and have more endurance when you crawl into that shelter at the end of the day.
For more information on Sierra Designs tents and sleeping bags, go to SierraDesigns.com.
