In This Article
On a recent visit to a major sporting goods store that had a counter dedicated to blade sharpeners, a woman took out a folding knife from her pocket, turned on a sample grinder, and just stuck the blade directly into it. This author noticed and said, “You might not want to do that.” She pulled her knife out of the machine and the blade tip was rounded, plus the edges were beat to hell. Her husband said, “I’m glad you said something or I would have just stuck my Benchmade in there just like she did.”
Since the dawn of mankind, the most basic survival tool has been the blade. Its basic requirement is a sharp cutting edge. Surprisingly, maintaining that edge seems to be a lost art.
One of this author’s shooting mentors, Rob Virkus, was fond of saying, “There are two completely useless things in the world: an unloaded handgun and a dull knife.” When knife blades go dull there are three options: dispose of the knife, return the knife to the manufacturer for sharpening, or sharpen the blade yourself.
The first choice is typically used for only the cheapest knives or by people who don’t appreciate the value of a decent blade. The second is the mark of a user who lacks the skill, confidence, or tools to undertake the task of sharpening on their own or maybe someone who has a somewhat valuable piece with a particular edge that lost its factory grind and it needs to be restored by the maker. As a rule, if a knife must be returned to the manufacturer for something as basic as sharpening, it’s probably not intended to be a working knife to begin with.
Readers of OFFGRID tend to be a self-reliant group. We like to do things for ourselves, on our own whenever possible. In some circumstances it may be our only option. When that happens, we want to be able to keep our tools sharp — both proverbially and literally.
Repetition Equals Skill
Sharpening with any device requires a basic understanding of how the sharpener is meant to be used. Before using any sharpener, you must read the manual and understand the instructions. If you don’t know the angle of your blade grind, contact the manufacturer and find out. Sharpening at an incorrect angle will result in changing the profile of the blade.
Always start slowly and use precise, deliberate strokes. The key to a proper edge is in being consistent. Forcing the blade can damage the sharpener or the knife, and it can create a thick burr on the edge that will be difficult to remove.
Whether you are restoring a completely dull piece of steel or using the finest stone available to touch up an edge, always remember that you’re removing metal. There is a learning curve. It’s best to start out with the cheapest knives in your house, like the set of steak knives that your uncle gave you as a Christmas present 10 years ago.
Sharpening Stones
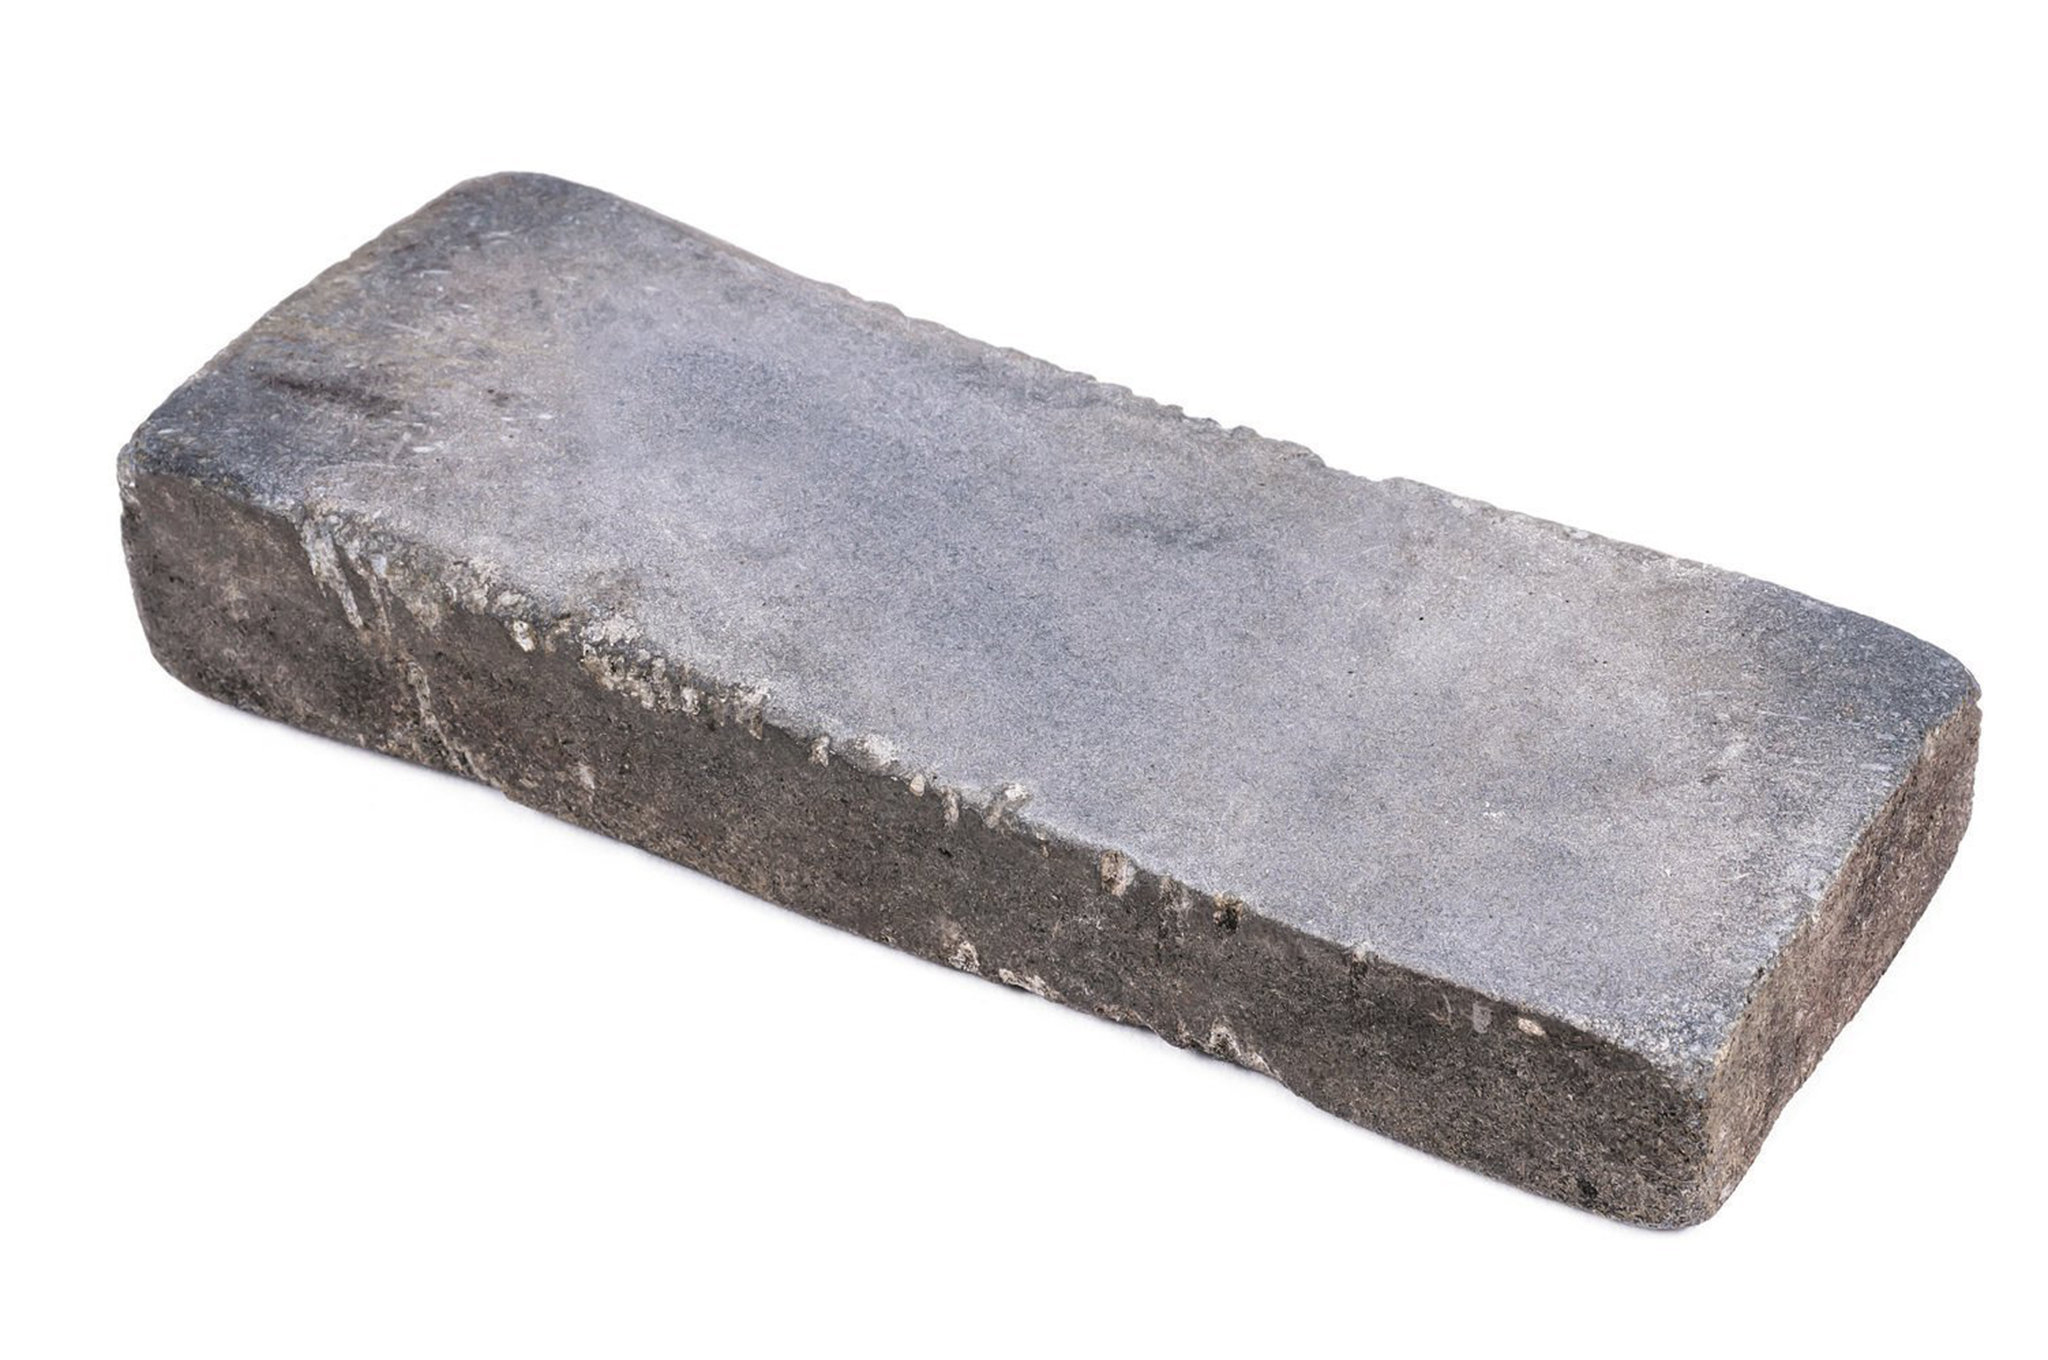
The stone is the most basic type of sharpener available. It is quite literally a stone, just available in various degrees of coarseness or grit (from extra coarse to extra fine). These are most commonly produced from natural silicates found in Arkansas or India. Manmade versions are produced by companies such as DMT, which rely on the same principle of a flat abrasive sharpener, but use microscopic diamonds bonded to a metal surface.
Stones can be used dry or with water as a lubricant. Some manufacturers recommend water-based honing oils instead. These products work as advertised, but once oil is used on a stone or aluminum-oxide sharpener, it cannot use water again.
The major downside to natural stones is that they wear down and are prone to breakage. Their relatively low cost may mitigate this somewhat, but if you’re on the move and have one in a sheath pouch or in a pack, it may not be usable when you need it.
Secondly, most stones have no guide and the user needs to know how to gauge the angle by eyesight. As basic as they may be, stones are not ideal for a complete beginner.
Manual Sharpeners

These are the most basic sharpeners on the market and include the previously mentioned stones, but in this case some of the guesswork has been taken out with regard to angles. The easiest ones to use are the “pull through” types offered by companies like Chef’s Choice. The sharpener is either mounted to a counter or held down in place with one hand and the blade is pulled through from the choil to the tip. The sharpener uses integral stones or sticks of varying degrees of grit and set at predetermined angles. A few strokes on the coarse stone will tune the edge and expose more carbide. The finer stones will refine these and result in a basic and durable sharpening job. They are rugged, lightweight, and portable.
Another variant on the manual sharpener is known as “the sticks.” The sticks form a V-shape and the knife is sharpened by bringing the blade down and rearward in one smooth and continuous motion.
By far the best one we have found has been the Spyderco Tri-Angle Sharpener. Spyderco is mostly known for its innovative and cutting-edge knife designs, but it was this sharpener that gave the Colorado-based company its start.
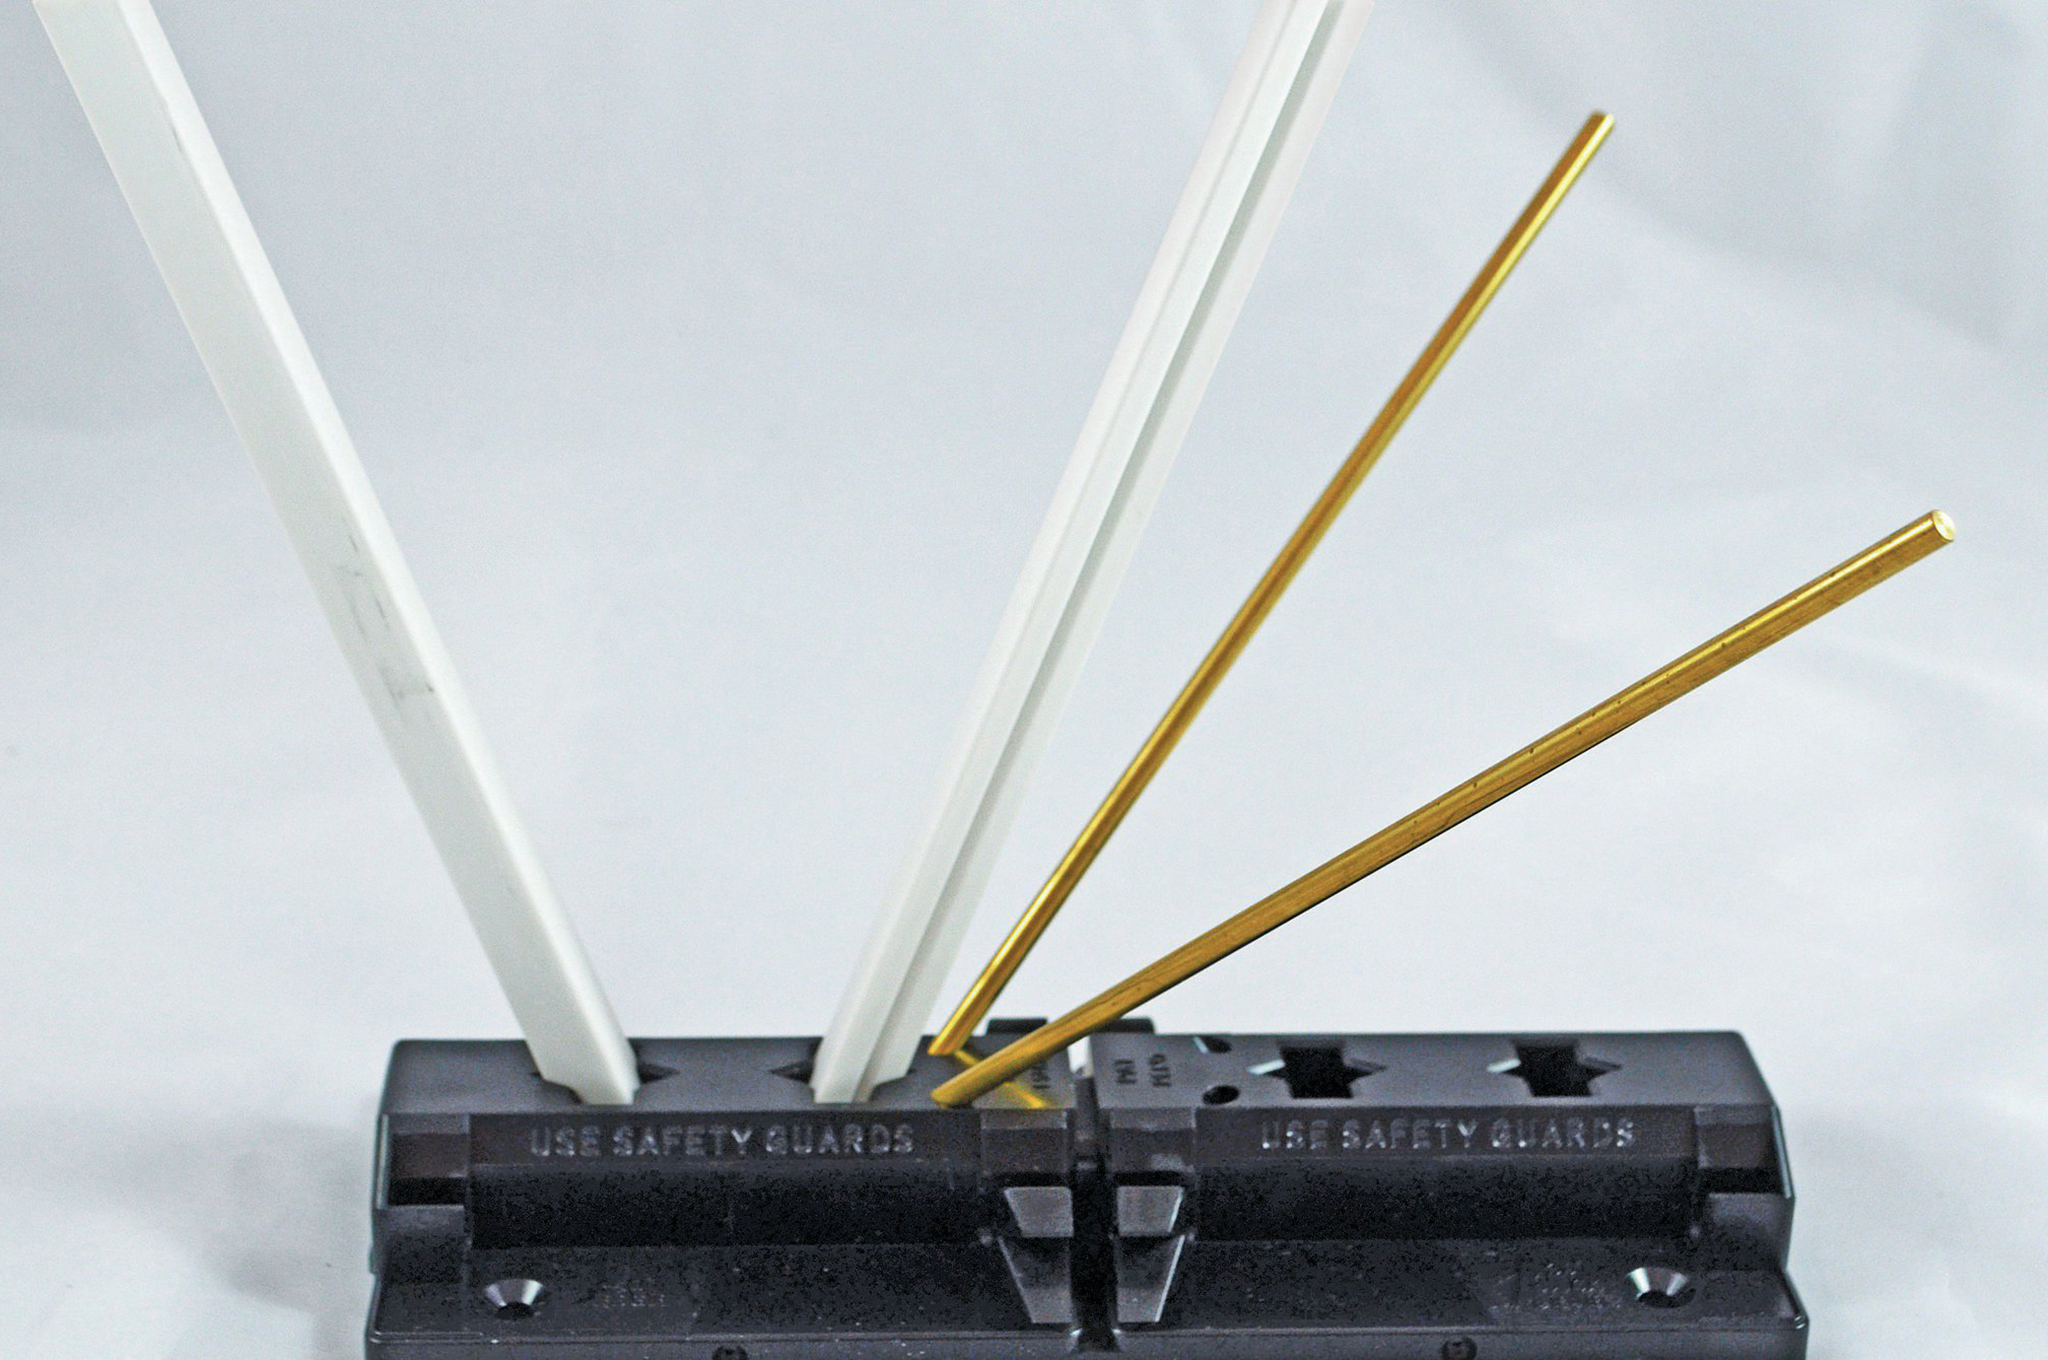
The Tri-Angle breaks down for easy storage and portability. What makes this sharpener different from all the others, in this author’s opinion, is the choice of using a plastic base. Many lesser designs use wood and the uncoated rods wear away at this much quicker than they do on a knife blade. The result is an inconsistent angle that will give you an inconsistent grind. In this day and age, people try to save money where they can, but that extra $10 or $20 savings can potentially ruin a much more expensive blade.
Dynamic Sharpeners
Up to now, all of the sharpeners we have discussed are of the static type. This makes sense because we want consistency and stability in our sharpening. A dynamic sharpener is different in that the knife blade is stabilized and it’s the stone that comes into contact with it on the part of the user. In essence it’s how the majority of manufacturers put the factory edge on their knives.
The best sharpener of this type in our experience has been the Lansky system. There is a bit more of a learning curve than with the others, but it’s not very steep. The knife blade is secured in a padded clamp that has various holes indicating different angles. A stone or hone is fastened to a rod and then the rod is inserted into the hole. The hone makes contact with the blade at this angle and is moved back and forth from choil to tip on each side. It is a series of very coarse to very fine stones allowing everything from a quick touch up to a complete restoration.
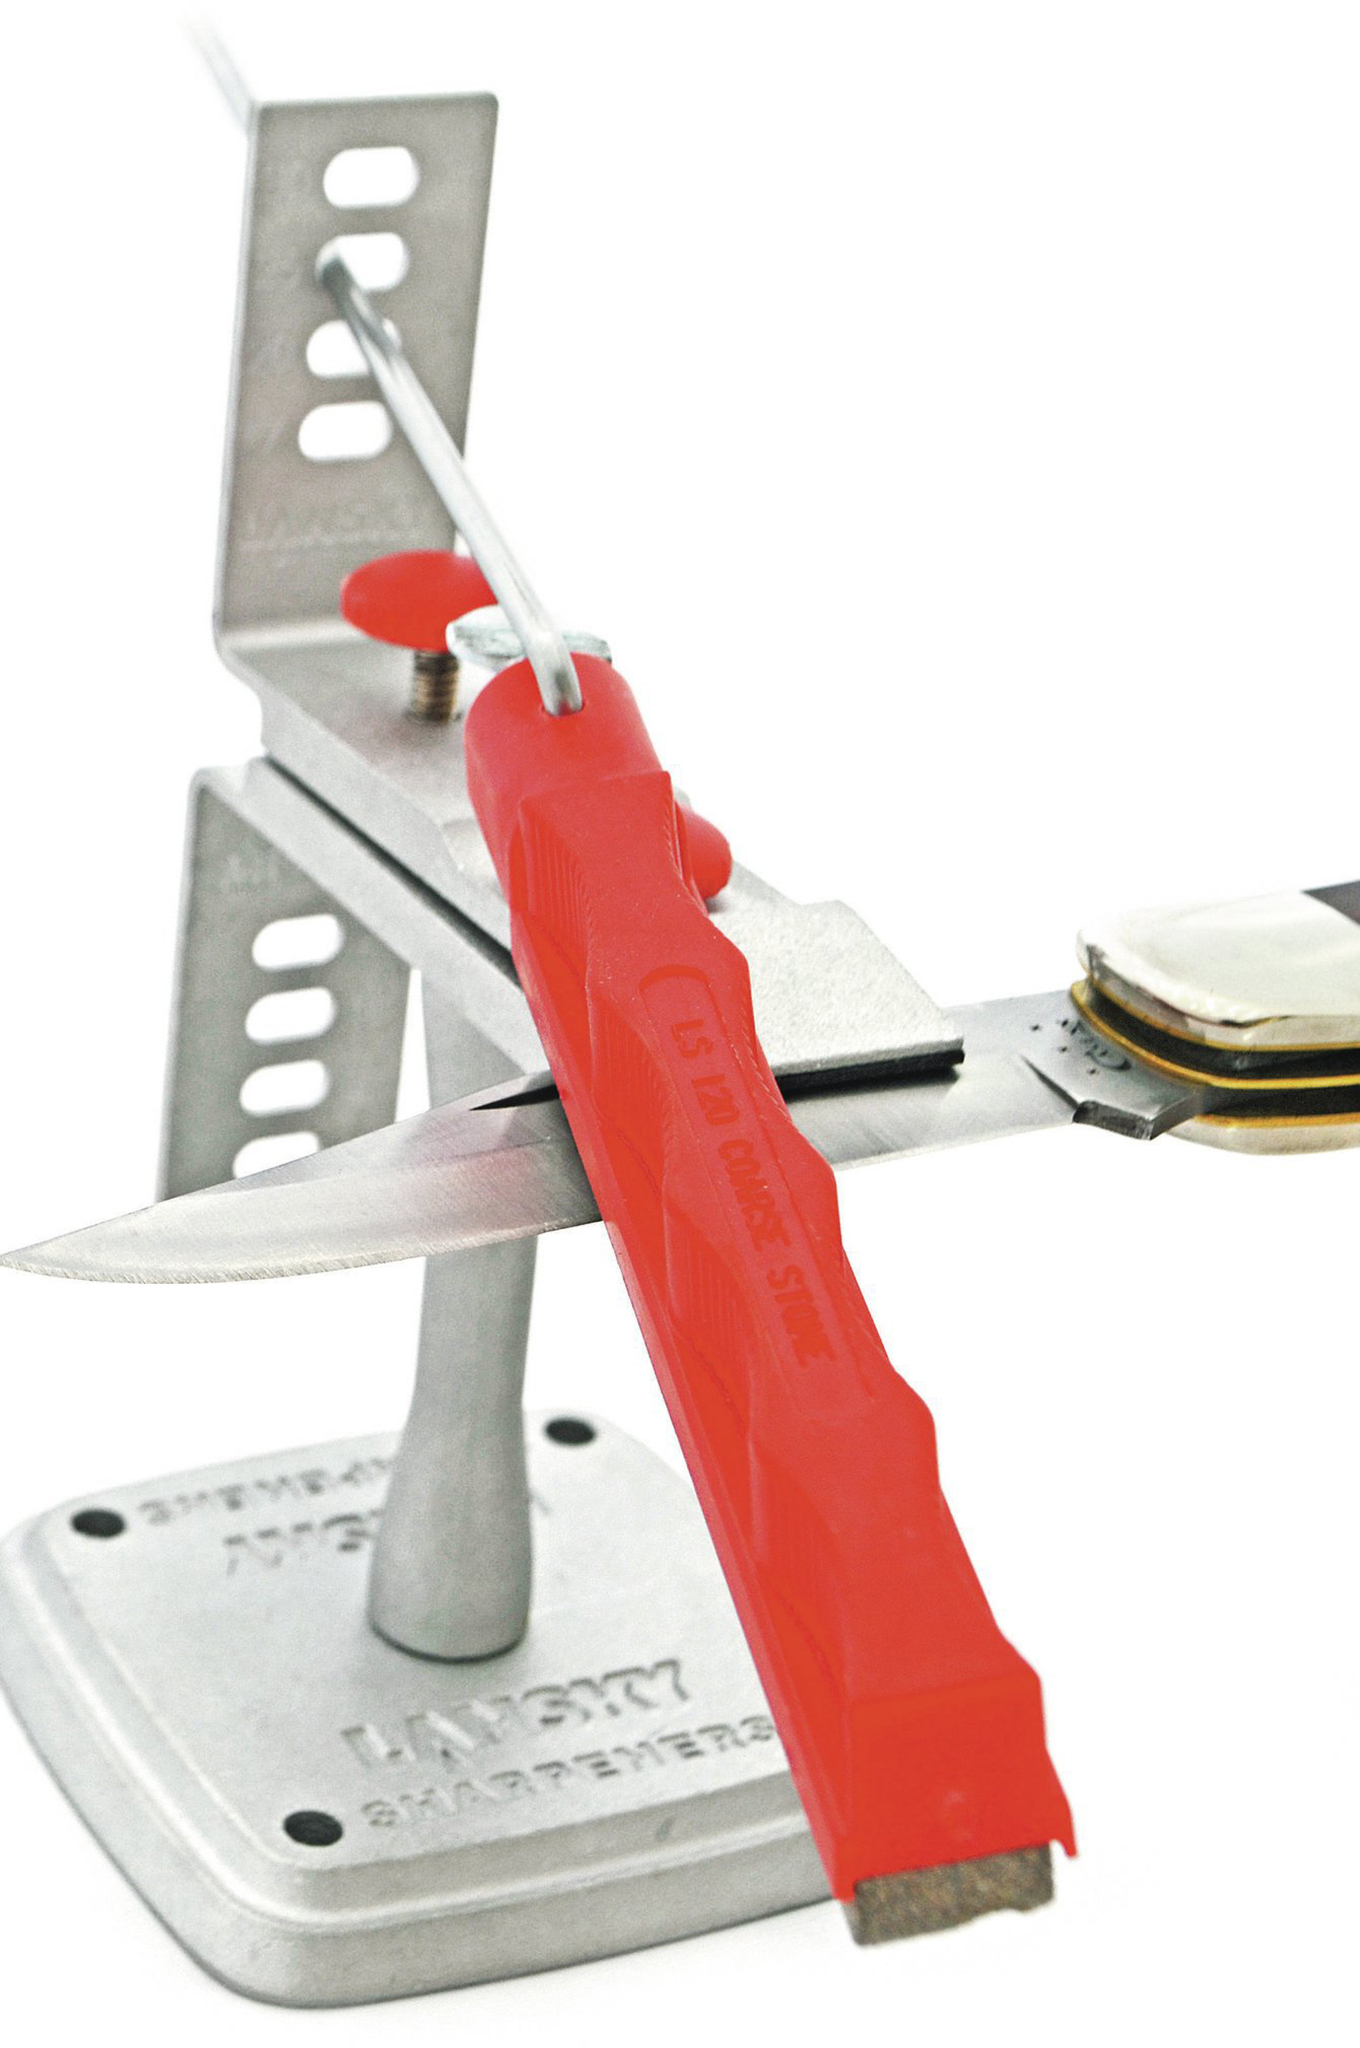
Aside from the brief learning curve, we have found this system doesn’t work well with particularly long or thick blades. If the majority of your blades are shorter than 8 inches and less than a ¼-inch thick, it might be one of the better systems out there for you.
Mechanized Sharpeners
There are a lot of myths about using a powered sharpener. Unfortunately, many of these types, such as the rotating stone included on many electric can openers for maintaining kitchen knives are essentially worthless and the hazards associated with these and common stone grinding wheels have contributed to a huge amount of misinformation.
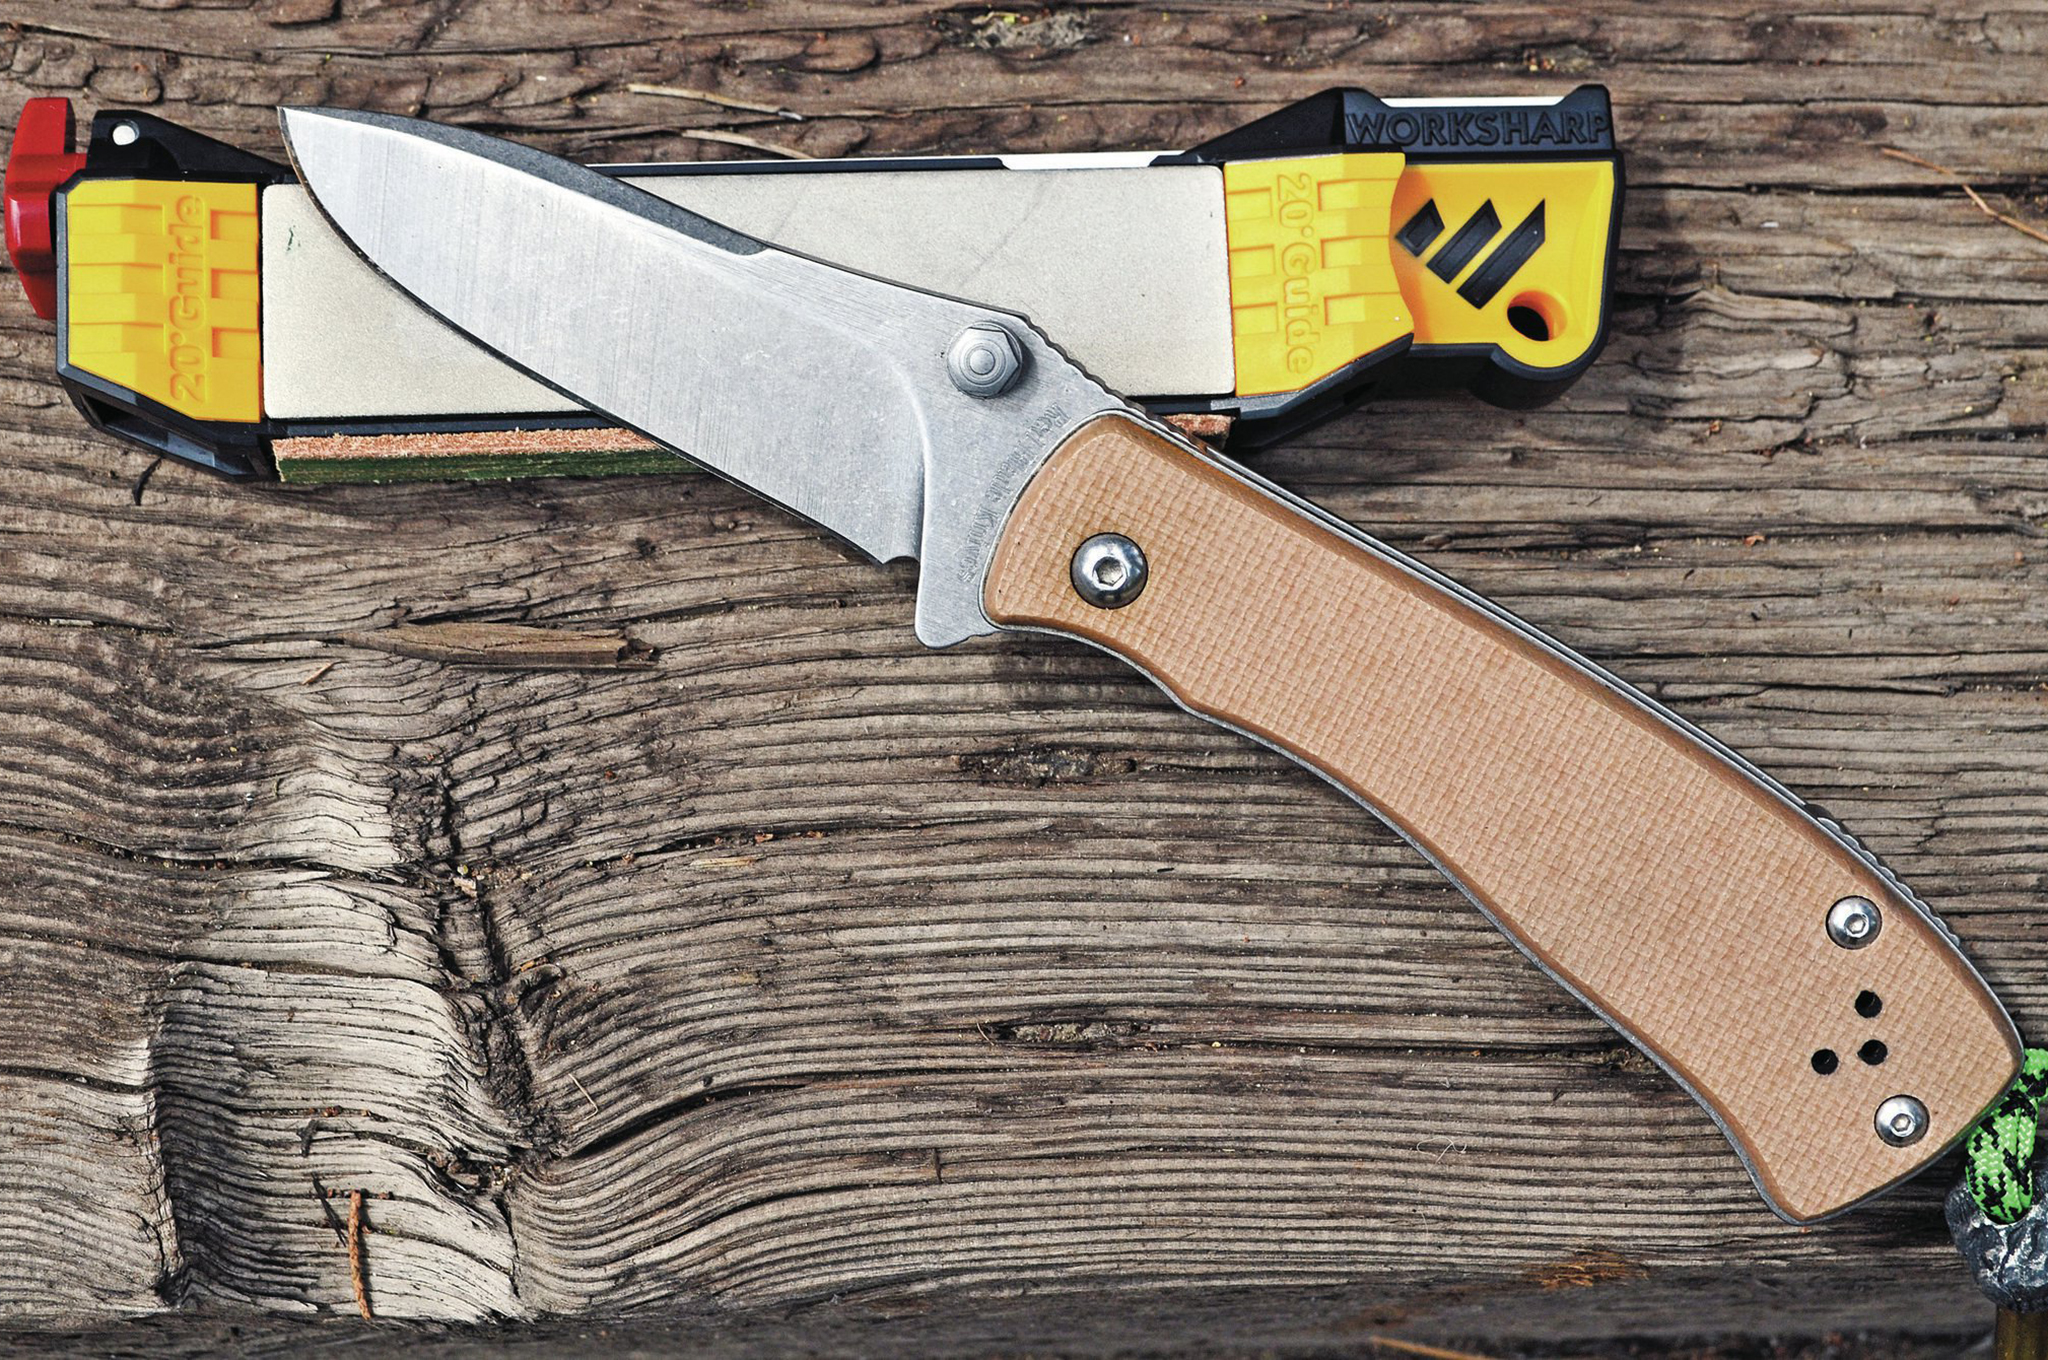
We found one sharpener that stands out from the rest. It is made by Work Sharp and this particular model was designed by none other than famed knife-maker Ken Onion.
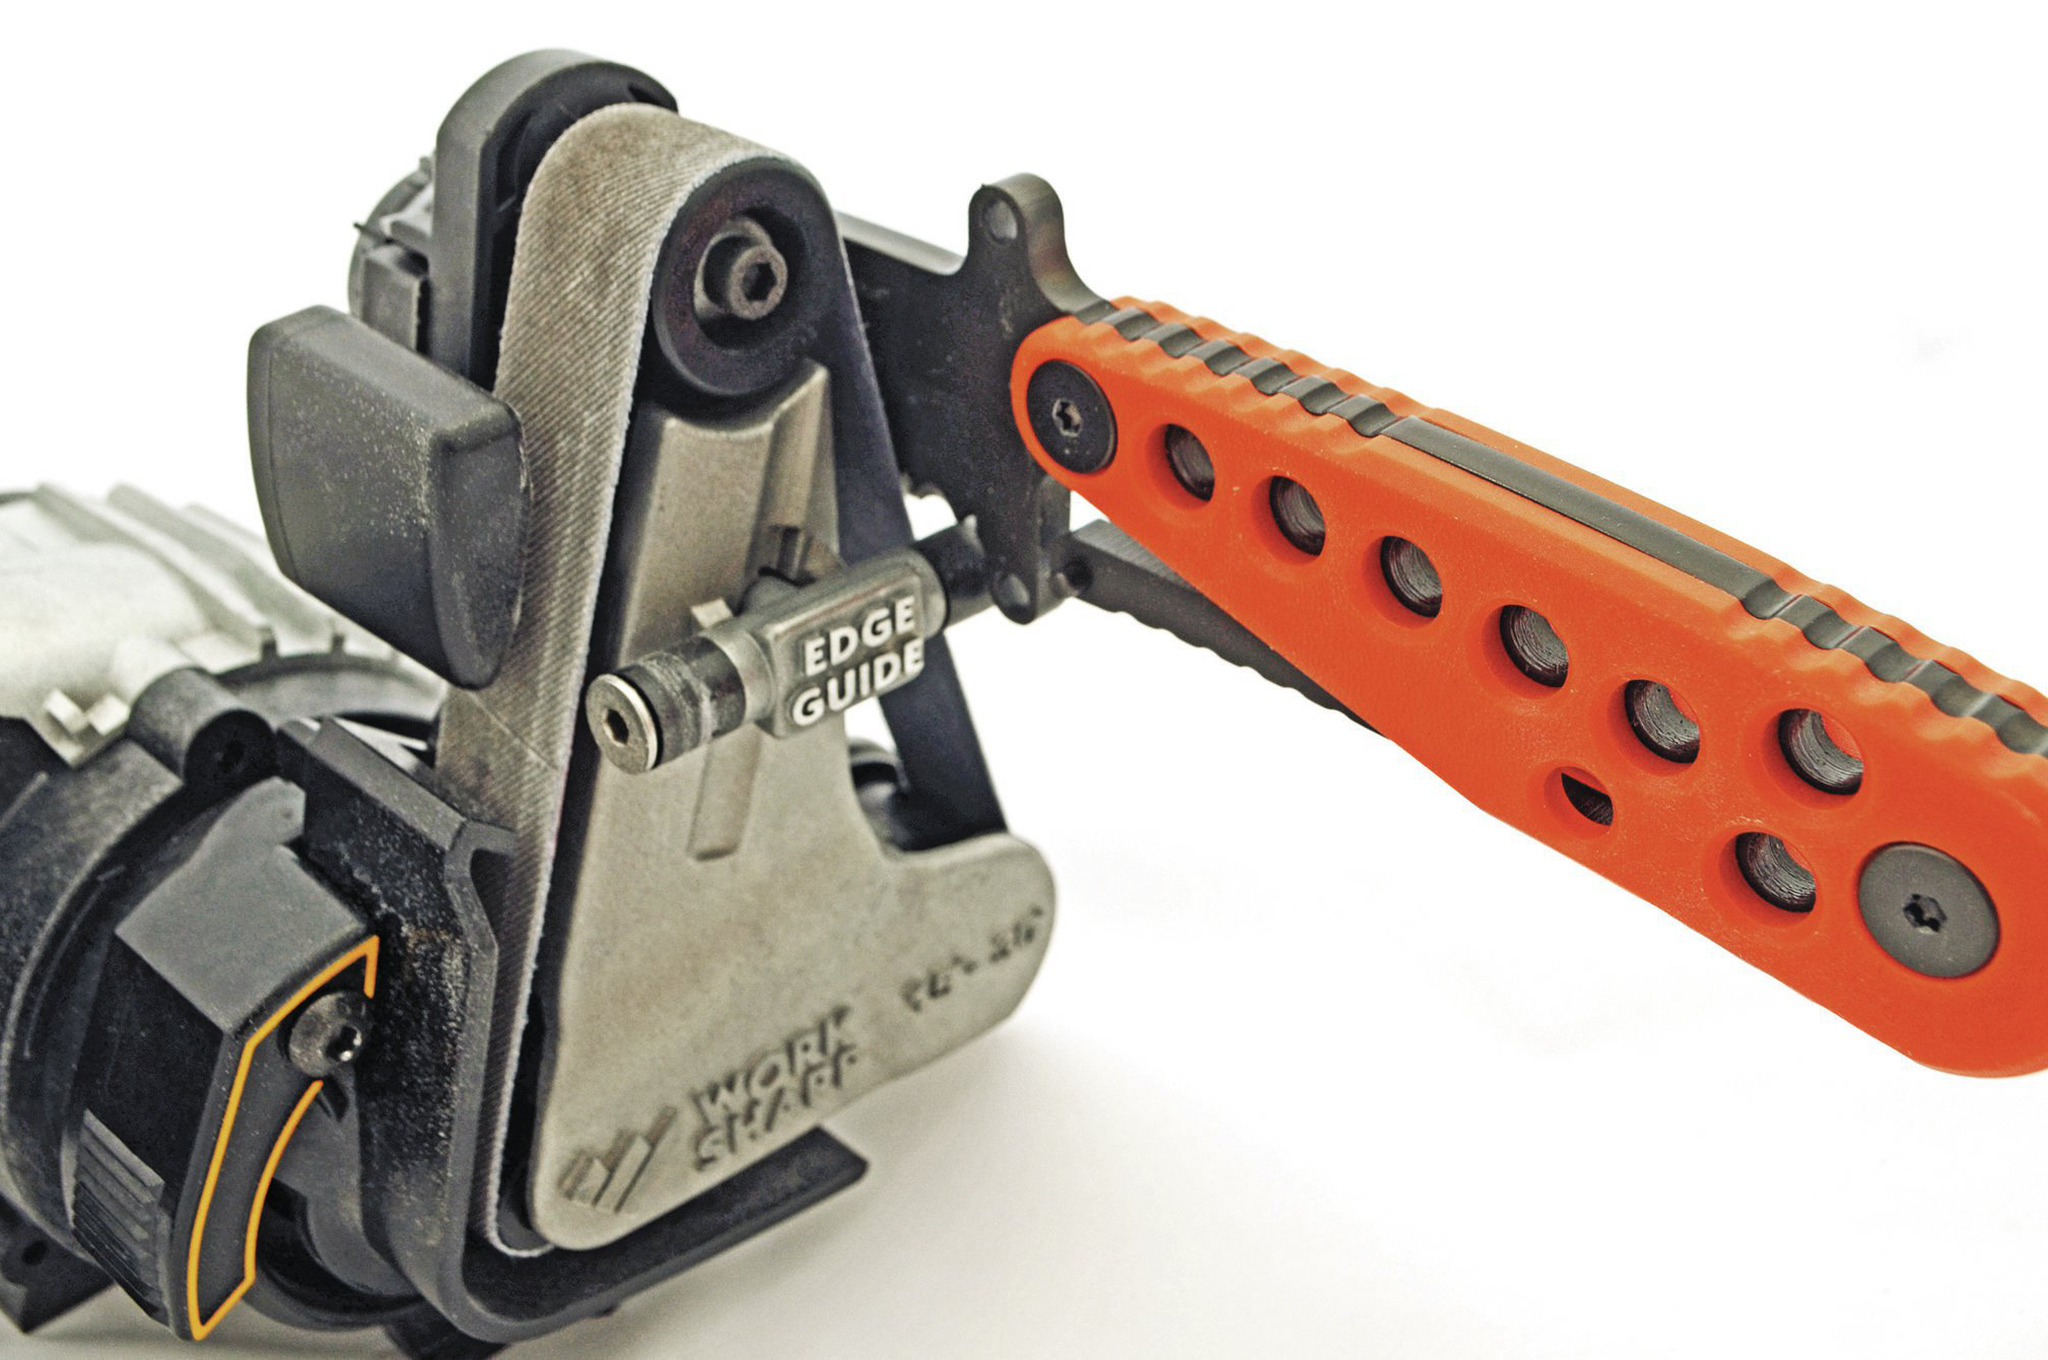
The Work Sharp Ken Onion Edition is a scaled-down belt grinder. There are guides on either side of the belts and the angle is completely adjustable. The belts are available in a variety of grits, and a leather belt for buffing or stropping an edge is included to really make that final result pop.
Like the pull-through model by Chef’s Choice, set the choil of the blade in the guide and slowly squeeze the trigger on the beltdrive. Pull the knife rearward and stop before you get to the tip or else it will round. Do this as many times as you need to while counting to 10, and then grind the other side.
The biggest myth about a system like this is that you will ruin the temper or heat-treatment of your blade as if you had used a motor-driven grinding wheel. This is most often espoused by folks who have no knowledge of steel, chemistry, or physics — the same types who wear belts with suspenders. There is simply no way to get this device’s motor-driven belt system that fast and hot to cause the damage that they fear. That damage can occur with a faster motor-driven grinding wheel, but not with the Work Sharp.
For even more versatility, Work Sharp offers a knife and tool grinding attachment. This replaces the belts and will let you do an expert job on chisel grinds, lawnmower blades, axe blades, and can act as an introduction to grinding a blade from bar stock.
Portable Systems for the Prepared
Every sharpener we have touched on to this point is portable, including the Ken Onion Work Sharp model (it needs power, but it is by no means heavy). They would all require a minor degree of setup to work in the field and are fine for hunters. But if you’re bugging out and don’t have the time or facilities to set up a sharpener, or are tallying every item down to the ounce or cubic-inch, there are a few options beyond the basic whetstones. Here’s a look at a few:
Guided Field Sharpener: Made by Work Sharp, it’s roughly the weight and dimensions of an unloaded pistol magazine. The guide is a 20-degree angle with coarse and fine diamond abrasive stones. A three directional ceramic rod is located on the spine for coarse or fine work and even has a fishhook setting and a rod for sharpening serrations. The opposing side has a practical leather strop treated with a polishing compound.
Blademedic Knife Sharpener: This Lansky model comes in an even smaller package and can handle serrations with a swing-out diamond hone rod. The tool may not work on large knives or machetes due to the smaller dimensions, but for maintaining pocketknives, fishing knives, or hunting knives, it makes for a very handy piece of kit for your bug-out bag.
Golden Stone: Spyderco’s portable tool makes for a much more portable version of their Tri-Angle sharpening system. This oblong sharpener is made from alumina bonded ceramic covered in micron-sized sapphires and comes in a suede pouch that doubles as a base. Position one of the legs on the base for the proper angle to sharpen one side, and then rock it over to the other leg to sharpen the reverse. Unlike a stone, this one will never wear out and requires no water or honing oil.
Whichever sharpener you choose will require some study and research to get the most out of it in order to be able to properly maintain your knives. Most sporting goods stores and hardware stores have in-house samples to let you try them out before you buy them.
Luckily for the couple in the opening paragraph, we were able to restore the edge on the cheap pocketknife the wife tried to destroy by using a demo unit of one of the very sharpeners mentioned in this article. The knife still looked beat-up, but based on the model, it definitely had a better edge than when it left the factory.
3 Tips From the Master
Ken Onion is a master knife-maker and was kind enough to give us a few tips for the sharpener he developed with Work Sharp:
Slow Your Roll: “I realize it was easy to round the tips with the old Work Sharp. We addressed this with my version. The belts are wider and the variable speed makes it much easier to dial down the speed to where you are comfortable. Start slow and work it up.”
Sponge It Up: “If the dust becomes bothersome, try putting a damp sponge on your table and place it right across the face of the wheel so it just barely touches it, but do not get the belts wet. The sponge will collect the dust.”
Get Attached: “If you are having trouble getting the hang of things or wish to sharpen zero grinds or just want to take your knife sharpening to a whole new level, I recommend getting the knife and tool grinding attachment. I feel it’s much easier to use and does a much more precise job of sharpening. You’re much less likely to scratch the finish of your knife, as you’re not pulling your blade through a guide.”
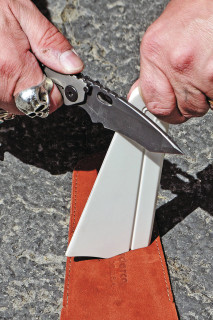
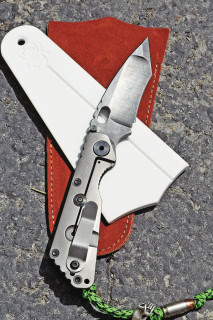
Sharpening the Emerson Way
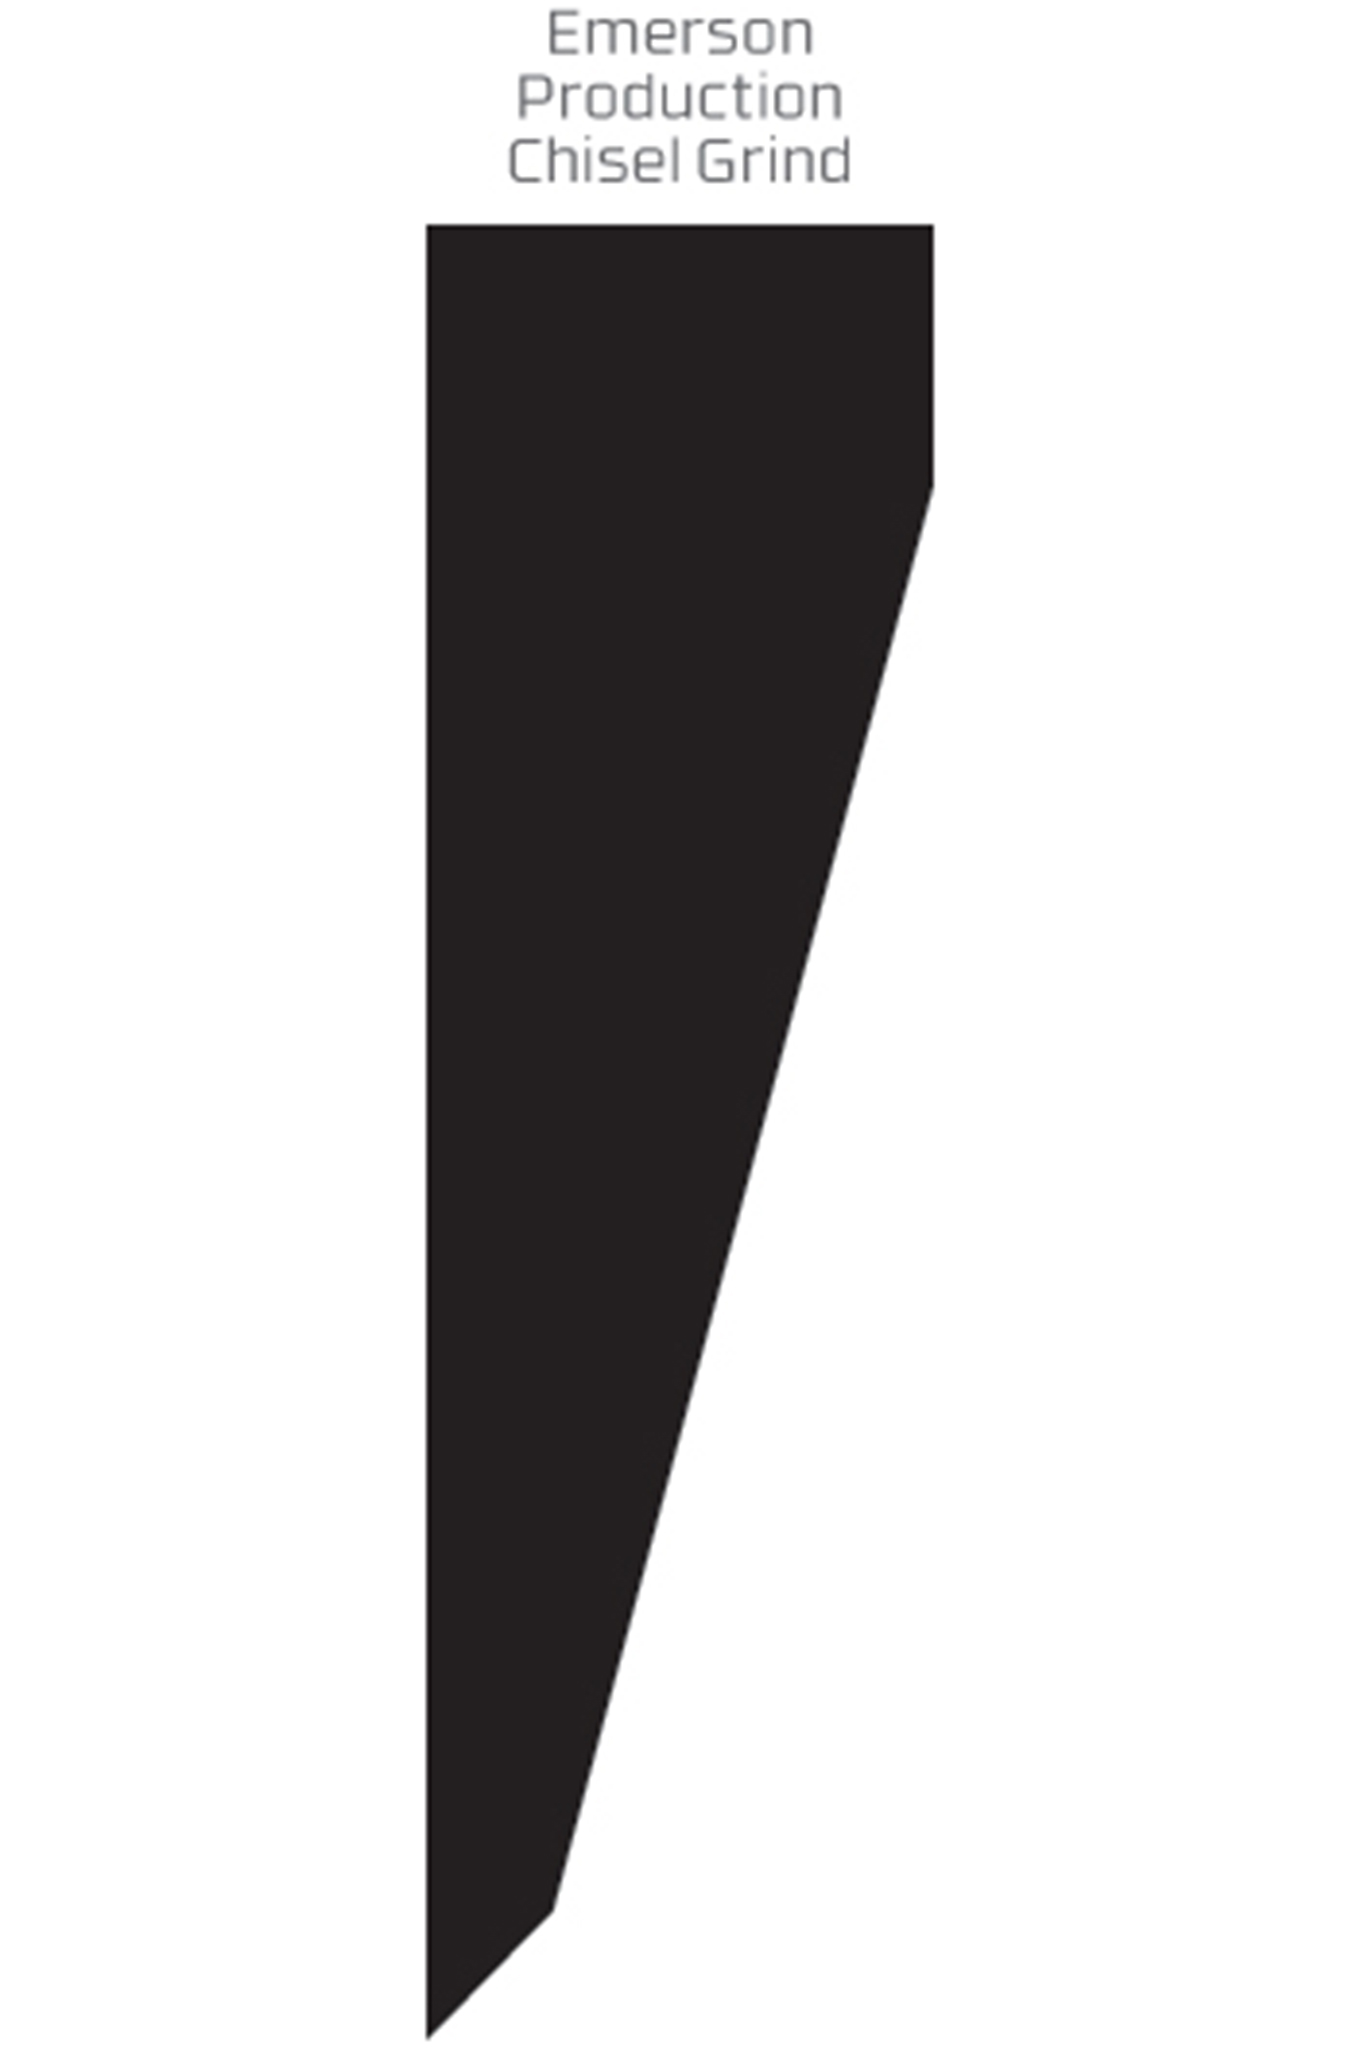
Ernest Emerson helped popularize the chisel-grind edge on folding knives and revolutionized the concept of the tactical knife in the 1990s. As simple and efficient as the grind may be, it still mystifies some users. He was kind enough to share some of his wisdom with us:
Why the Chisel Grind Edge? “When designing a knife for use by SEAL Team Six back in the 1980s, we chose the chisel-grind edge because it is the easiest to sharpen (you only have to sharpen one side of the knife) and it holds its edge for a long time.”
When is it Sharp Enough? “Use whichever device you are most comfortable with and sharpen the primary edge. When you feel a burr with the back of your fingernail off the edge, you have sharpened the front edge enough.”
What About the Back Side? “Turning the knife over, you lightly stroke the flat side just to break the burr free. This only takes a couple of light passes. Incline the sharpener slightly so you don’t scratch the surface of the blade and are only touching the very edge. Next you take the cardboard back of a yellow legal pad and strop the knife back and forth on the cardboard. You have to use some pressure, so be sure that your fingers are clear of the blade if it were to accidentally close. Do this repeatedly for 10 to 20 strokes on each side.”
Strops and Steels
Perhaps the best way to maintain any blade is to strop it on a regular basis. A few passes on a strop or razor strap will keep a keen edge on most blades. For certain blades, it may be the only failsafe method of maintaining the edge, such as on a zero-bevel knife or “Scandi-grind.”
Another touted method is the “Butcher’s Steel.” These steel sharpening rods used to be a standard feature in most kitchen knife blocks, and they do a great job of cleaning blood, gristle, and skin from knives that have been processing meat because they are made from the same steel with the same hardness. For that reason it is not a good idea to “touch up the edge” on your EDC knife with S30V, ATS-34, D2, or any other steel that the Butcher’s Steel was not made for.
Improvised Sharpeners

Sometimes the best plans fail, and maybe you bugged out without a decent sharpener. Abrasive stones found in the wild that are flat will mostly work the same as a sharpening stone. The rough inside of a quality leather belt can function as an effective strop as can denim, cardboard (see the Ernest Emerson sidebar), and most rugged material of a similar nature. Coffee cups, bowls, and other items made of ceramic are sufficiently hard enough to stand in for a field expedient sharpener if necessary. Other abrasives, such as files and sandpaper, can be used as well.
Read More
Subscribe to Recoil Offgrid’s free newsletter for more content like this.
- Video: Whetstone Sharpening a $1 Knife
- Improvised Knife Sharpening Methods
- Whetstone Knife Sharpening
- Review: Warthog V-Sharp Classic II Knife Sharpener
