In This Article
A knife is the most quintessential of all survival tools. Whether you’re stranded in a desert, inundated by floods, caught in a snowstorm, or stuck in any other potentially life-threatening situation, having a reliable cutting tool is a must.
While opinions on what constitutes a proper “survival knife” will always vary greatly, the defining quality that makes a knife a knife remains the same: it must cut. It must also continue to cut until your emergency situation is over and life as you know it returns to normal. To make sure it does that, you need to know how to sharpen your knife, if necessary, with improvised means.
Cutting-Edge Basics
A knife essentially functions as a miniature saw or a miniature ax. When properly sharpened, its cutting edge terminates at an acute V-shaped angle. Depending upon the grit size of the abrasive used to finish the edge, the size of its microscopic teeth varies from relatively coarse (great for cutting rope and other fibrous materials) to extremely fine and polished (for scalpel-like cutting, usually in softer materials).
In its saw-like mode, the edge cuts when it’s drawn longitudinally through the material while constant pressure is applied. This slicing style of cutting takes full advantage of the edge’s tooth pattern and typically cuts with maximum efficiency.
As an ax, a knife’s cutting edge works like a pure wedge. Rather than drawing the length of the edge through the material, it meets it at a right angle. The force of that contact — either ballistic (chopping or batoning) or sustained pressure (whittling) — sinks the edge into the material to separate it.
Either way, the key to a knife edge’s performance is the acute V shape at its terminus. The exact angle of the V depends upon the blade’s grind (i.e. flat, hollow, saber, convex, Scandi), its thickness at the beginning of the terminal cutting edge, the steel the blade is made from, and the hardness of that steel at the edge.
When a knife gets dull, the tiny teeth at the edge become mangled and ultimately the acute point of the edge’s V is worn away, broken off, or bent over. When this happens, the cross-section of the edge looks more like a U than a V and your knife’s defining function — cutting — is compromised until you sharpen it again.
Staying Sharp
In simplest terms, sharpening is the process of maintaining or, when necessary, recreating the V shape of your knife’s edge. Since prevention is always better than a cure, let’s start with keeping your knife sharp.
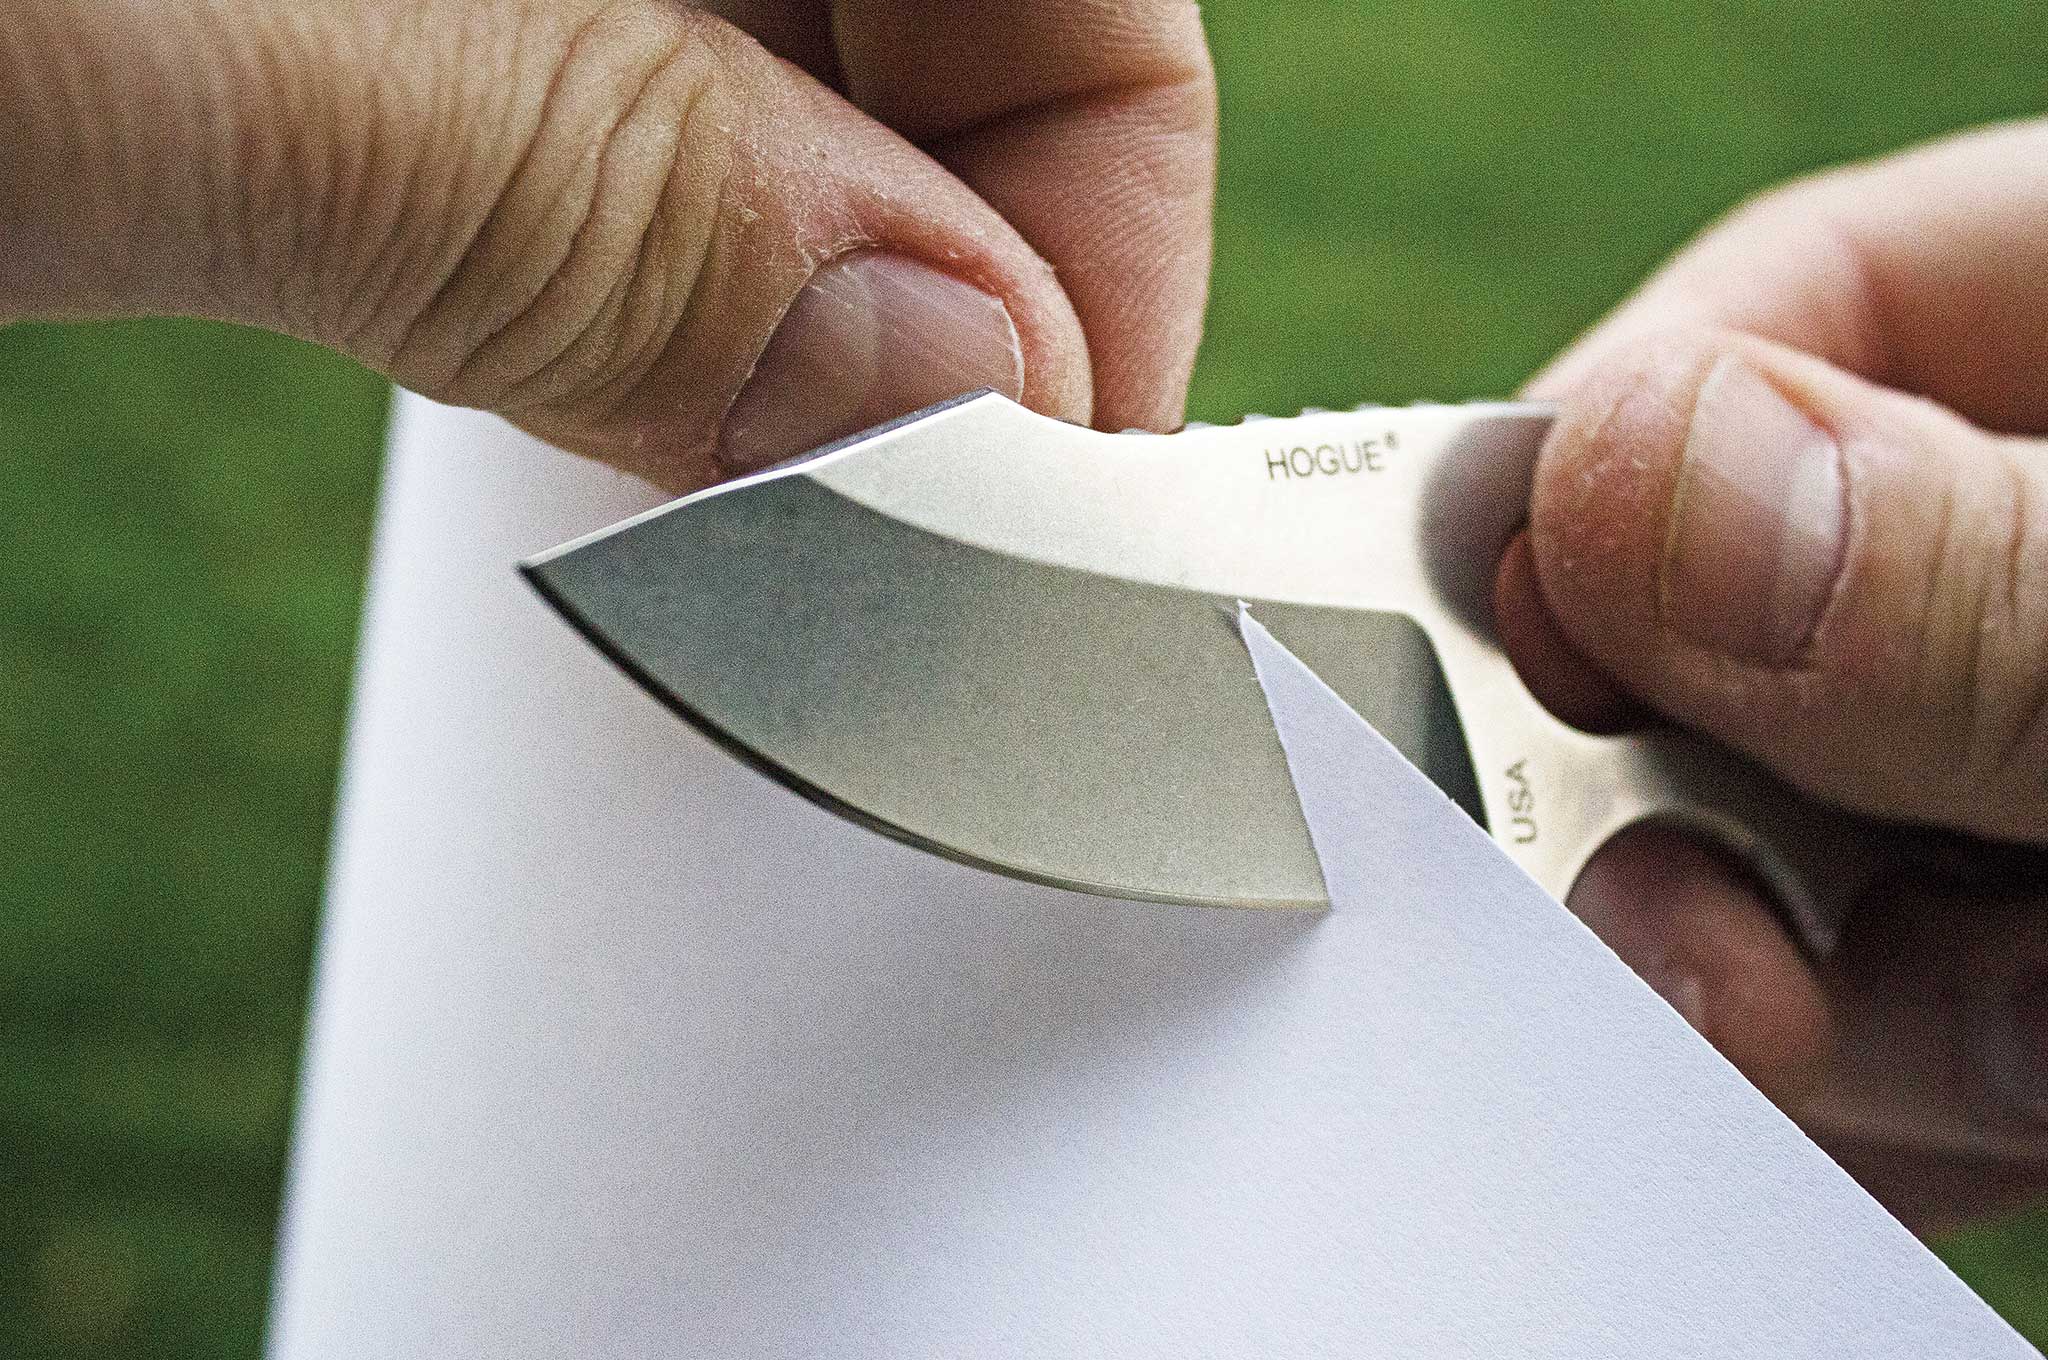
First of all, let’s assume that when your specific balloon went up, you started the party with a sharp knife. Sharp, unlike pregnant, is a relative term, and some knife geeks have taken its meaning to crazy extremes. Assuming you have a life and don’t spend all your time literally splitting hairs with your EDC folder, let’s set a simple baseline. If you can cleanly slice a piece of typing paper with your knife, it’s got a sharp, utilitarian edge suitable for most survival applications.
Based on that standard, let’s say you’ve cut a few things and you notice that your knife’s not as keen as it was when the emergency started. Rather than waiting for it to get duller, it’s much easier to restore the edge by stropping it.
Have you ever seen an old-school barber run a straight razor against a piece of leather? That’s stropping. It’s basically the action of drawing your edge across a mildly abrasive surface to realign the terminal portion of the V.
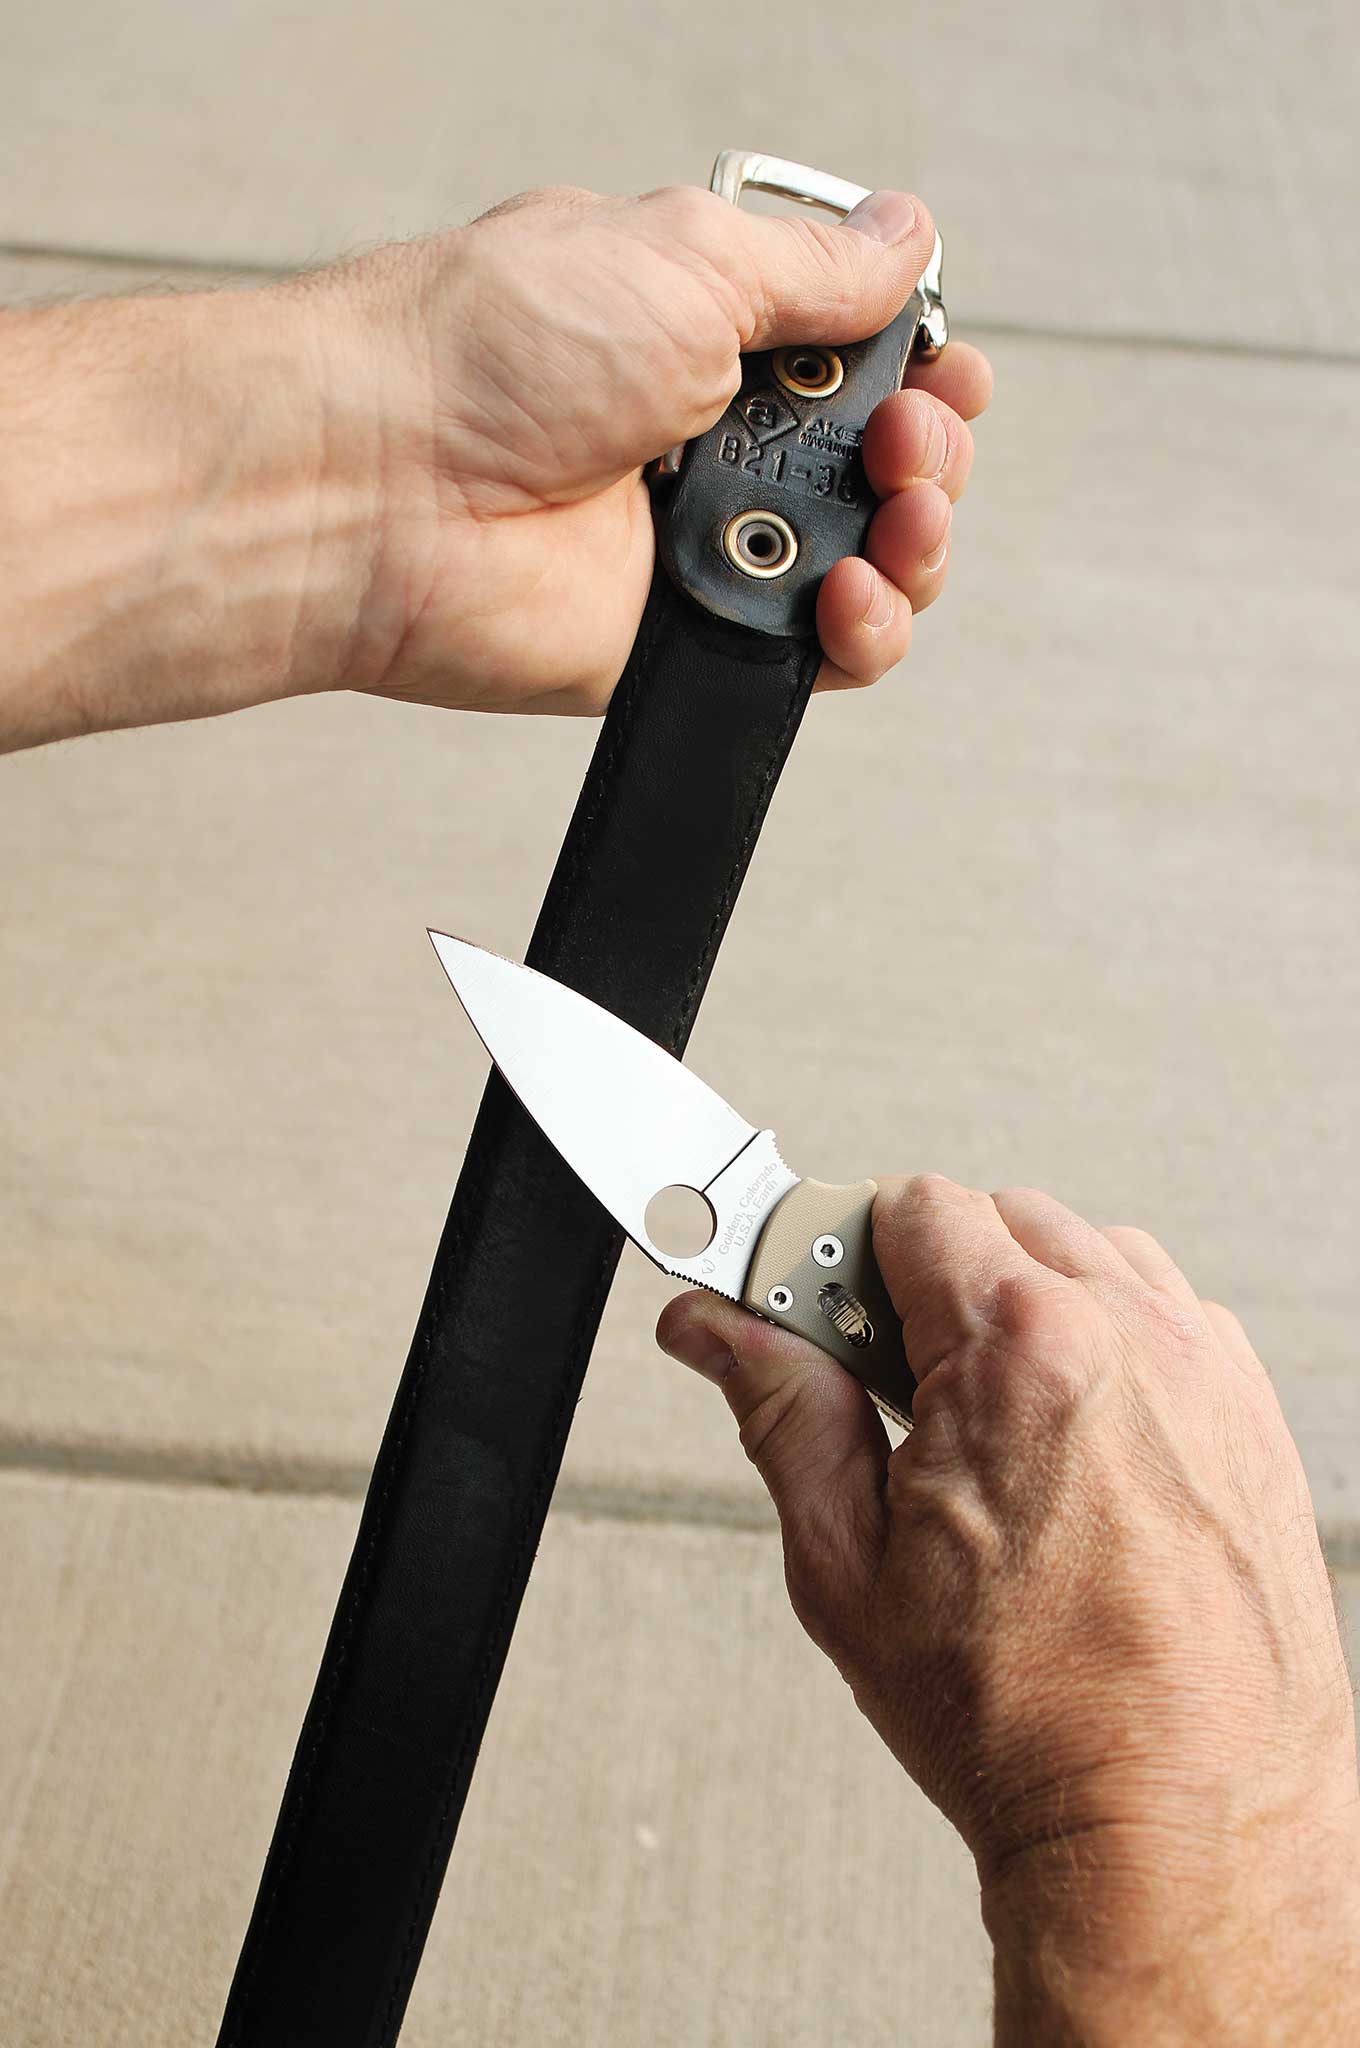
To strop a knife, hold it in a normal grip and place the blade flat on the stropping medium. Ideally, do this with an overhead light source so you can clearly see the shadow under the edge. Now, raise the back of the blade until the shadow disappears and the bevel of the terminal cutting edge is flat on the strop. Maintaining that angle and moderate downward pressure, wipe the blade across the strop, leading with the spine of the blade so the edge trails behind (just like spreading butter on toast). Flip your hand over and repeat the process on the other side of the edge. Work from the “heel” of the edge (closest to the handle) to the tip so you strop its entire length.
Initially, maintaining the proper angle throughout each stroke will be tough, but with practice you’ll get more consistent. That muscle memory and understanding of angles will also come in handy when learning other improvised sharpening methods.
What materials make good improvised strops? The easiest and most practical is the stout leather belt that may already be part of your EDC kit. Take the belt off, hook the buckle to something or step on one end, hold the other end taut, and strop away. Purpose-designed leather strops are usually rubbed with jeweler’s rouge or polishing compound before they’re used. Doing the same with the inside surface of your leather belt ensures that you’ve always got a way to touch up your knife edge at all times. If you want to be an overachiever, you could even consider sticking a patch of fine (about 240-grit) adhesive-backed sandpaper to the inside of your belt for more serious improvised sharpening.
In addition to belts, heavy cardboard also makes a great improvised strop. Lay a piece of dry corrugated cardboard on a flat surface and use the same technique to touch up your edge. Ideally, it should be about twice the length of your blade to make it easy to hold as you sharpen. Sprinkling a little dry dirt or fine sand on it can replicate the abrasive quality of polishing compound and give even better results.
Stropping is very easy to learn, and keeping a knife sharp is simpler than making it sharp once it’s dull.
Iron Sharpeneth Iron
If you watch a good butcher or chef in action, you’ll notice that he regularly touches up the edge of his knife with a long, wand-like thing called a steel. Drawing the edge along the hard, grooved surface of a butcher’s steel realigns its teeth and keeps it sharper longer. Like stropping, steeling is a maintenance strategy and won’t restore a very dull edge, but it’s still worth adding to your bag of tricks.
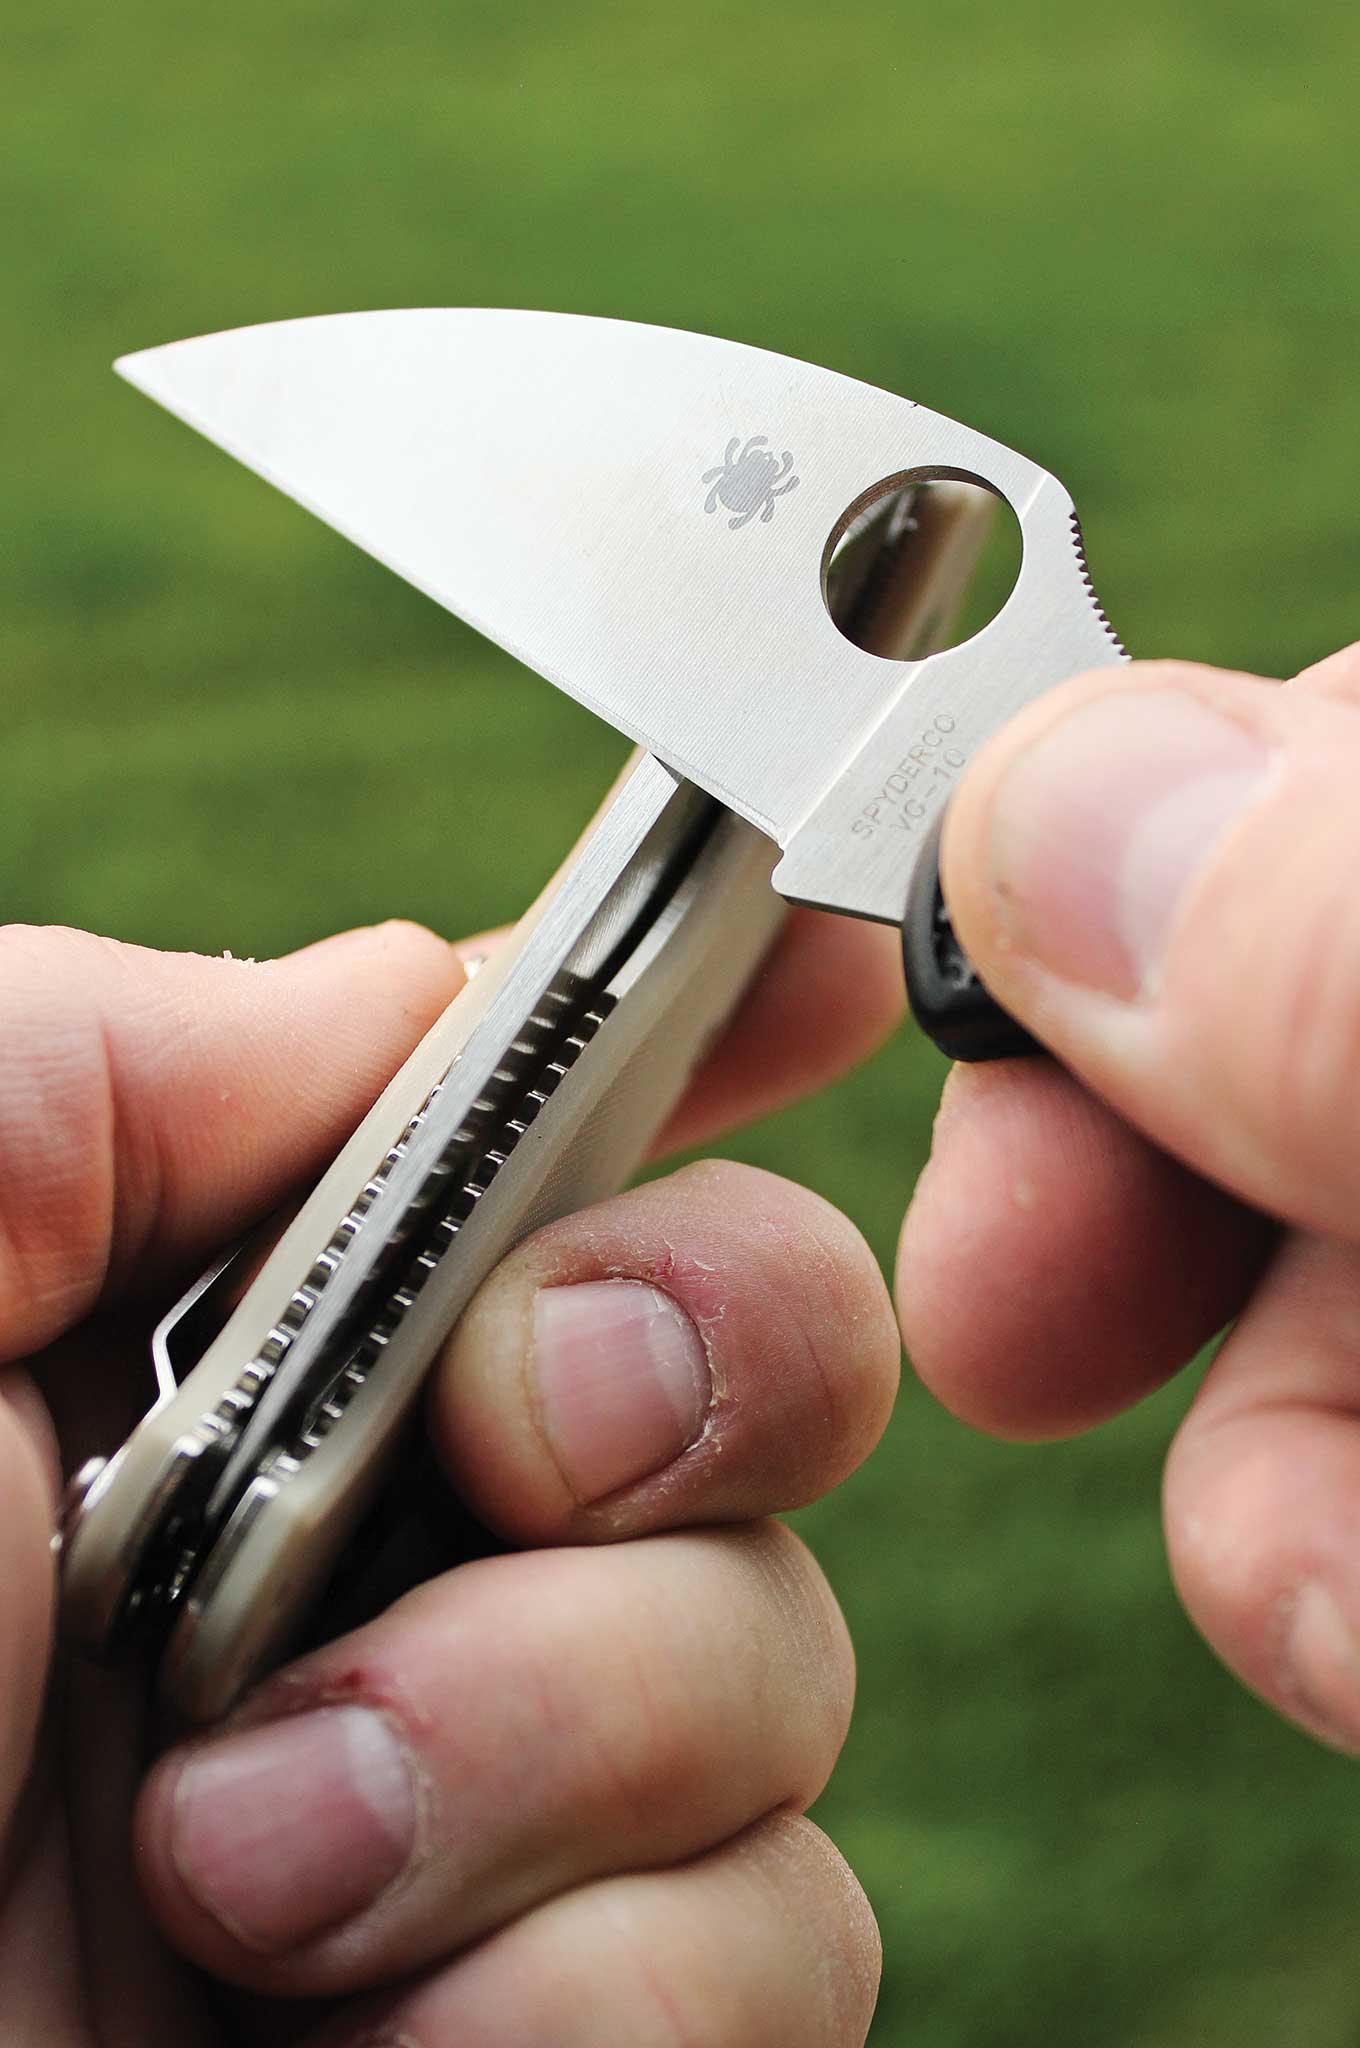
So where do you find a hard piece of steel with fine longitudinal grooves in it in the field? How about the spine of your other knife? In a survival situation, two is one and one is none. Carrying two or more knives allows you to have different tools for different jobs (i.e. one for tough jobs and one for fine work) and can allow you to use the back of one blade to steel the edge of the other. If your knives don’t naturally have a longitudinal groove pattern in the spine, create that pattern before you go afield by draw-filing the blade spine with 150-grit sandpaper.
To steel your edge, use the same overhead light and shadow method described earlier to determine the sharpening angle of your knife. However, instead of wiping the edge as if spreading butter, lead with the edge — as if trying to slice a thin layer off the spine of the blade you’re using as a steel. Use light pressure, work from the heel to the tip, and alternate sides with every stroke.
Back to the Grind
Sooner or later, your edge is going to get dull enough that stropping or steeling it won’t be enough to keep it sharp. In simple terms, the acute V shape of your edge has been dulled to a rounded U shape. To restore its sharpness, you’ve got to grind away steel on both sides of the edge to turn the U back into a V. Doing that requires two things: 1) an abrasive hard enough to grind steel yet fine enough to leave an acute edge angle, and 2) a steady enough hand to maintain a consistent angle as you remove steel on both sides of the edge. Let’s tackle the hard part first: skill.
Like using turn signals and saying please and thank you, knowing how to sharpen a knife on a flat stone used to be a common skill. However, as fewer people carry knives and old-school Arkansas stones are replaced by motors, angle jigs, and weird Rube Goldberg, crew-served sharpening contraptions, freehand sharpening is becoming a lost art. Well, if you have visions of yourself bringing your knife to hair-popping sharpness on a river rock, I strongly suggest you find that lost art. Invest in a good bench stone at least as long as your longest EDC blade, break out your knives, and spend some time learning how to sharpen.
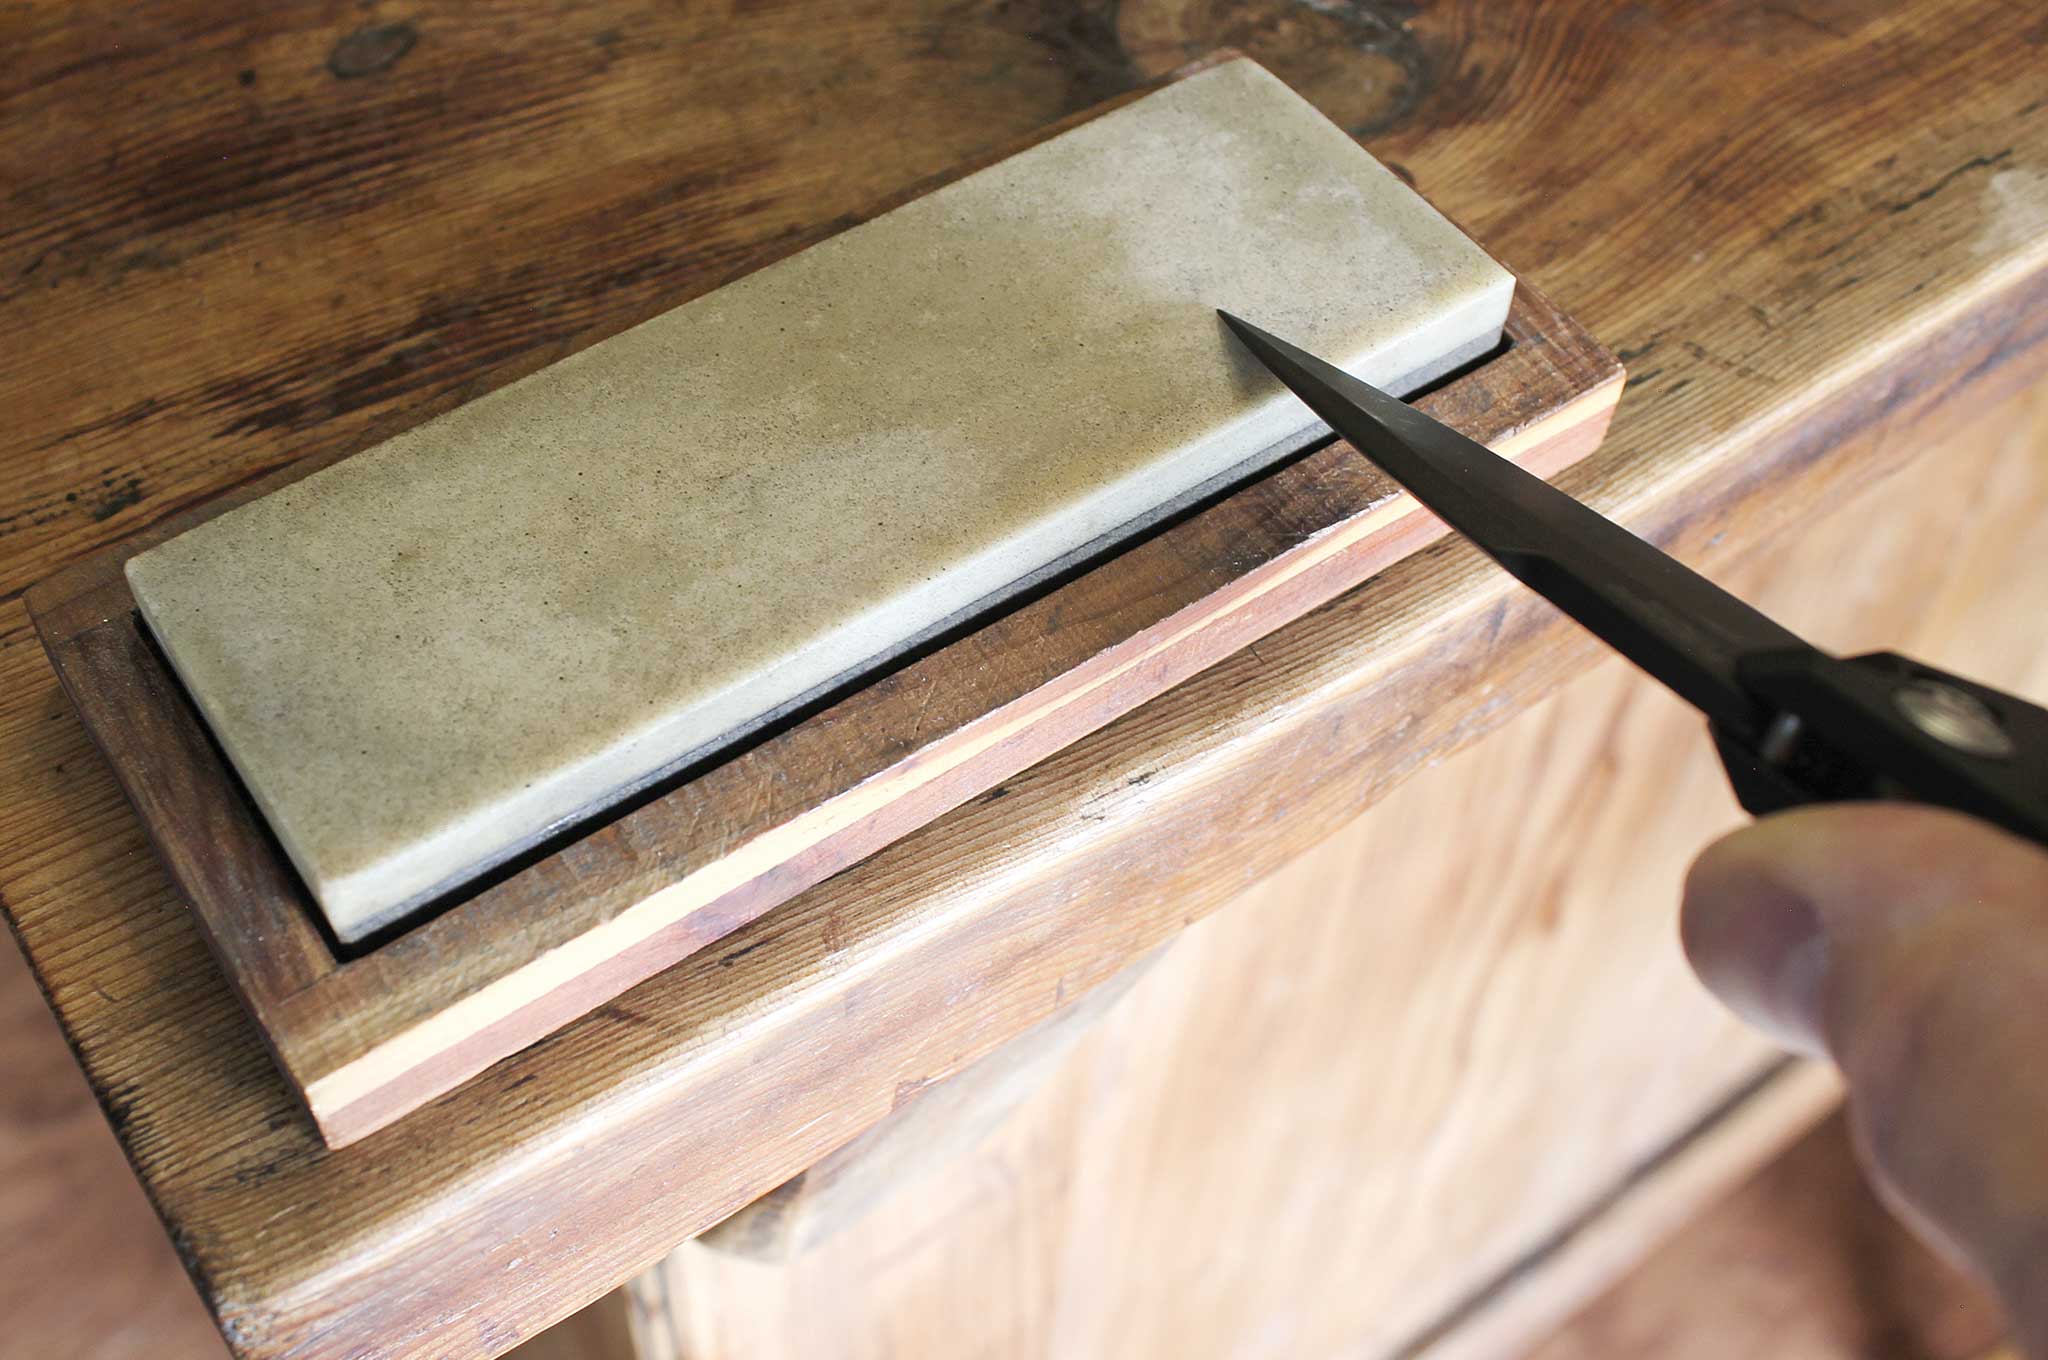
The basic technique, as described previously, is to lay your blade flat on the stone. With a light source directly overhead, raise the spine of the blade until the shadow under the edge just disappears. For most knives, this happens when the blade-to-stone angle gets to about 20 degrees. Do this repeatedly until you start to get a tactile feel for the proper angle. Then, maintaining that angle and applying firm (but not hard) downward pressure, draw the edge across the stone from heel to tip. If your blade has belly (i.e. upward curvature) near the tip, you’ll have to raise your hand a bit to maintain a constant edge angle.
To see if you’re doing it right, get a Sharpie marker and a magnifying glass. Color both sides of the edge bevel with the marker and take a few passes on a dry stone. Then, examine your work with the magnifying glass. If your angle is correct, you should be removing steel right near the edge. If your angle is off or inconsistent, the shiny spots where the marker is scraped away will let you know and help you adjust your technique. Once you get the hang of it, follow the stone manufacturer’s directions, using oil or water as necessary to keep the stone’s pores clean.
When You Can’t Get Stoned
Armed with the skill to sharpen on a proper stone, you can now apply that skill to less proper, field-expedient abrasives. The exact abrasives you choose will depend upon your environment, but anything that’s hard enough to scratch your knife blade can work. In general, you want to look for relatively smooth materials that allow you to achieve finer teeth and a sharper edge. Light-colored materials are also preferred as they provide visible evidence that they’re actually removing steel.
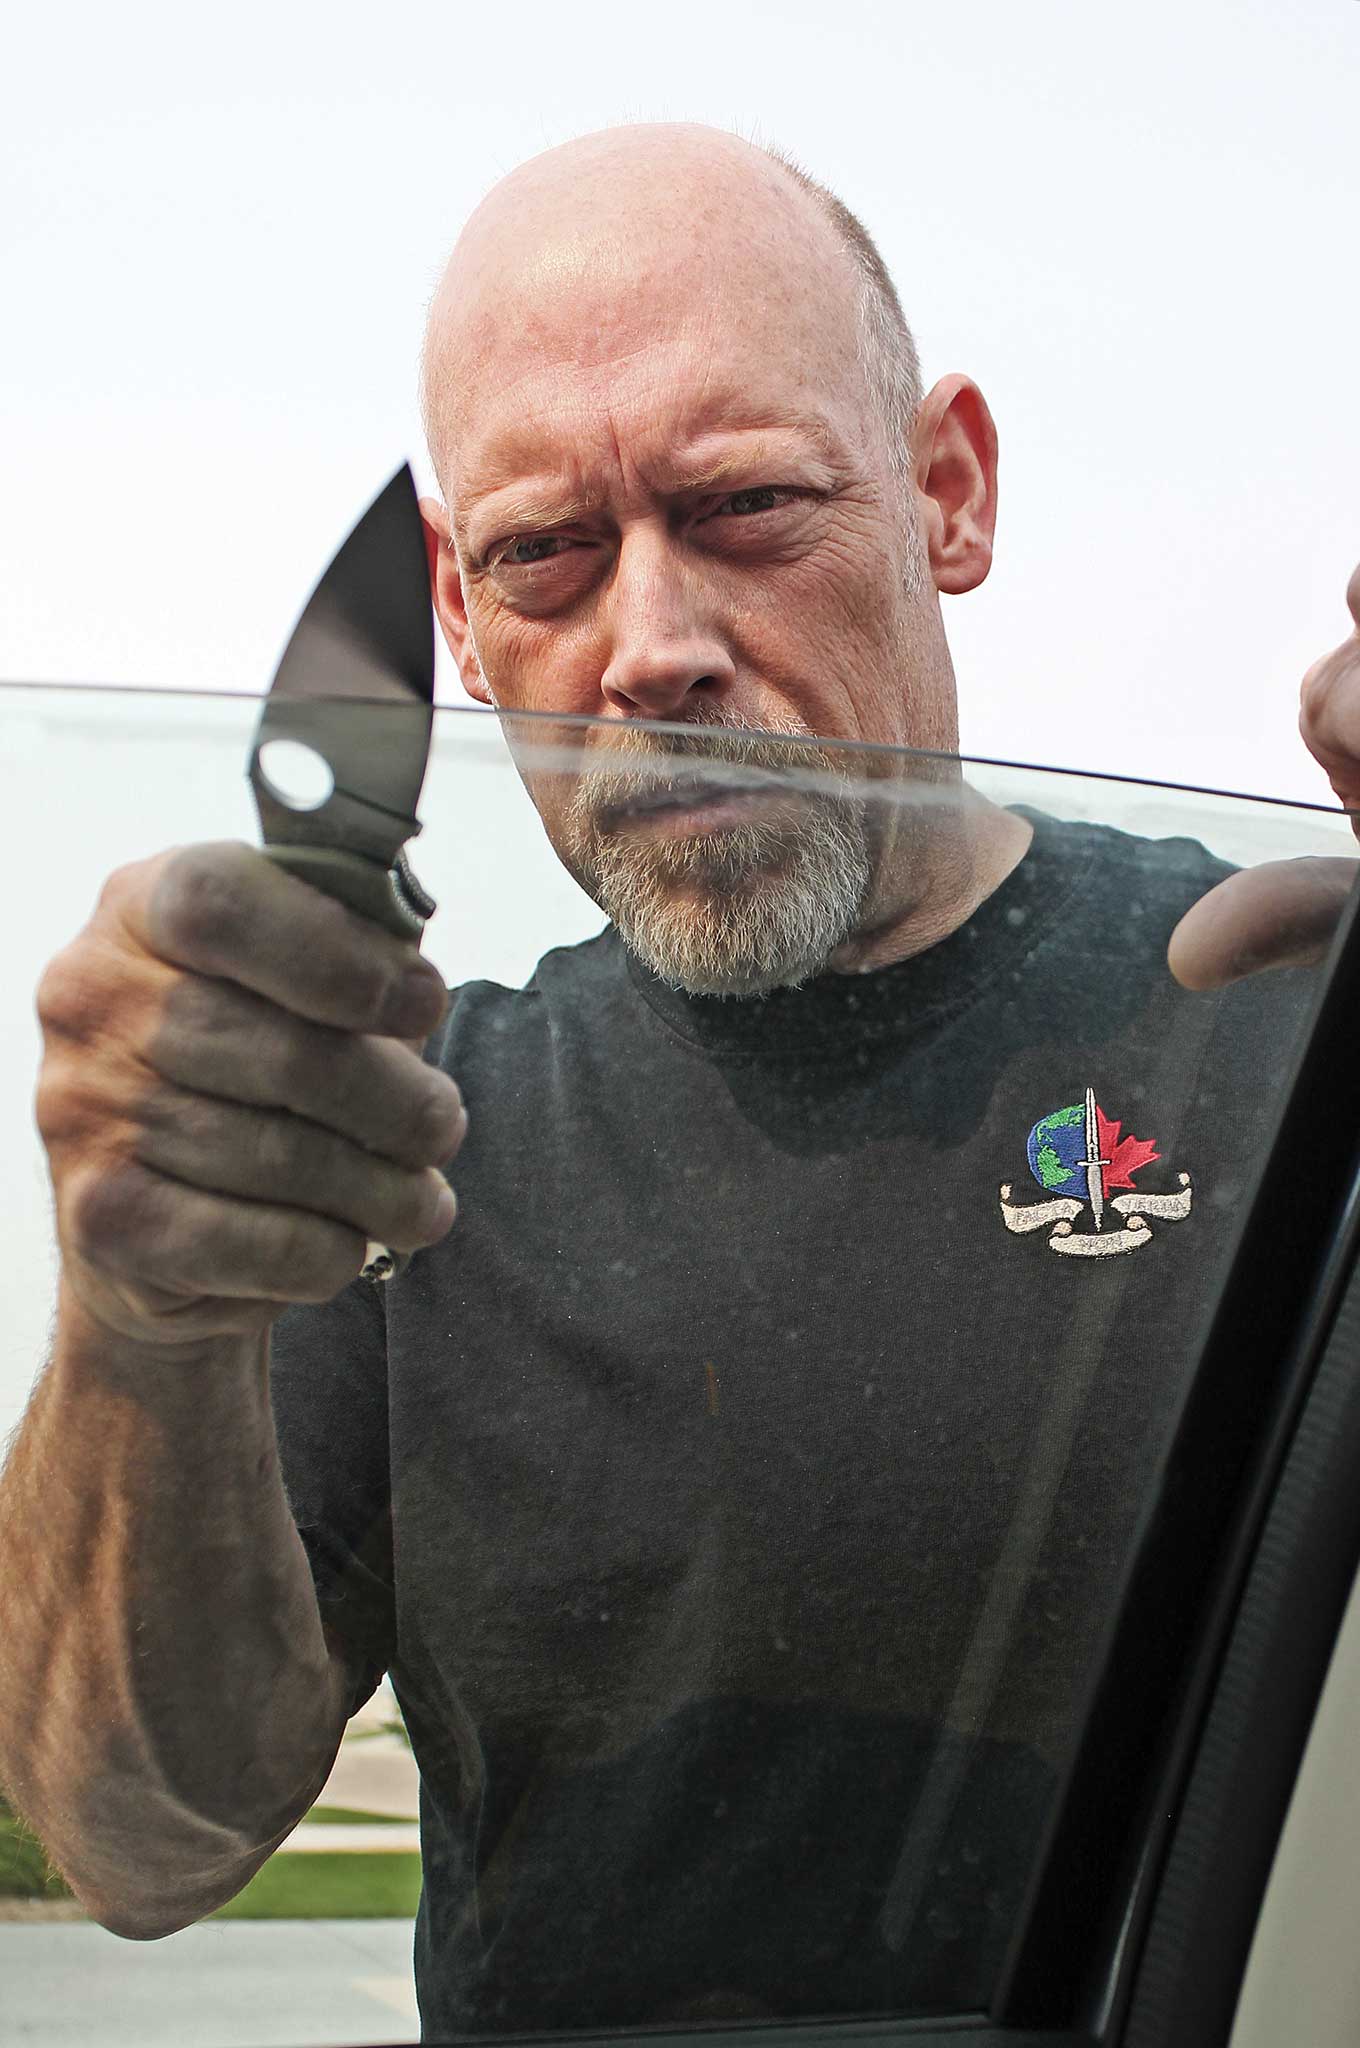
In an urban environment, one of the best expedient abrasives is the top edge of a car’s side window. Glass is extremely hard and, when properly textured, will readily grind steel. The rounded, somewhat frosted surface at the top edge of a car window is just about perfect for this. Just roll the window down partway and use the same technique you use with a stone.
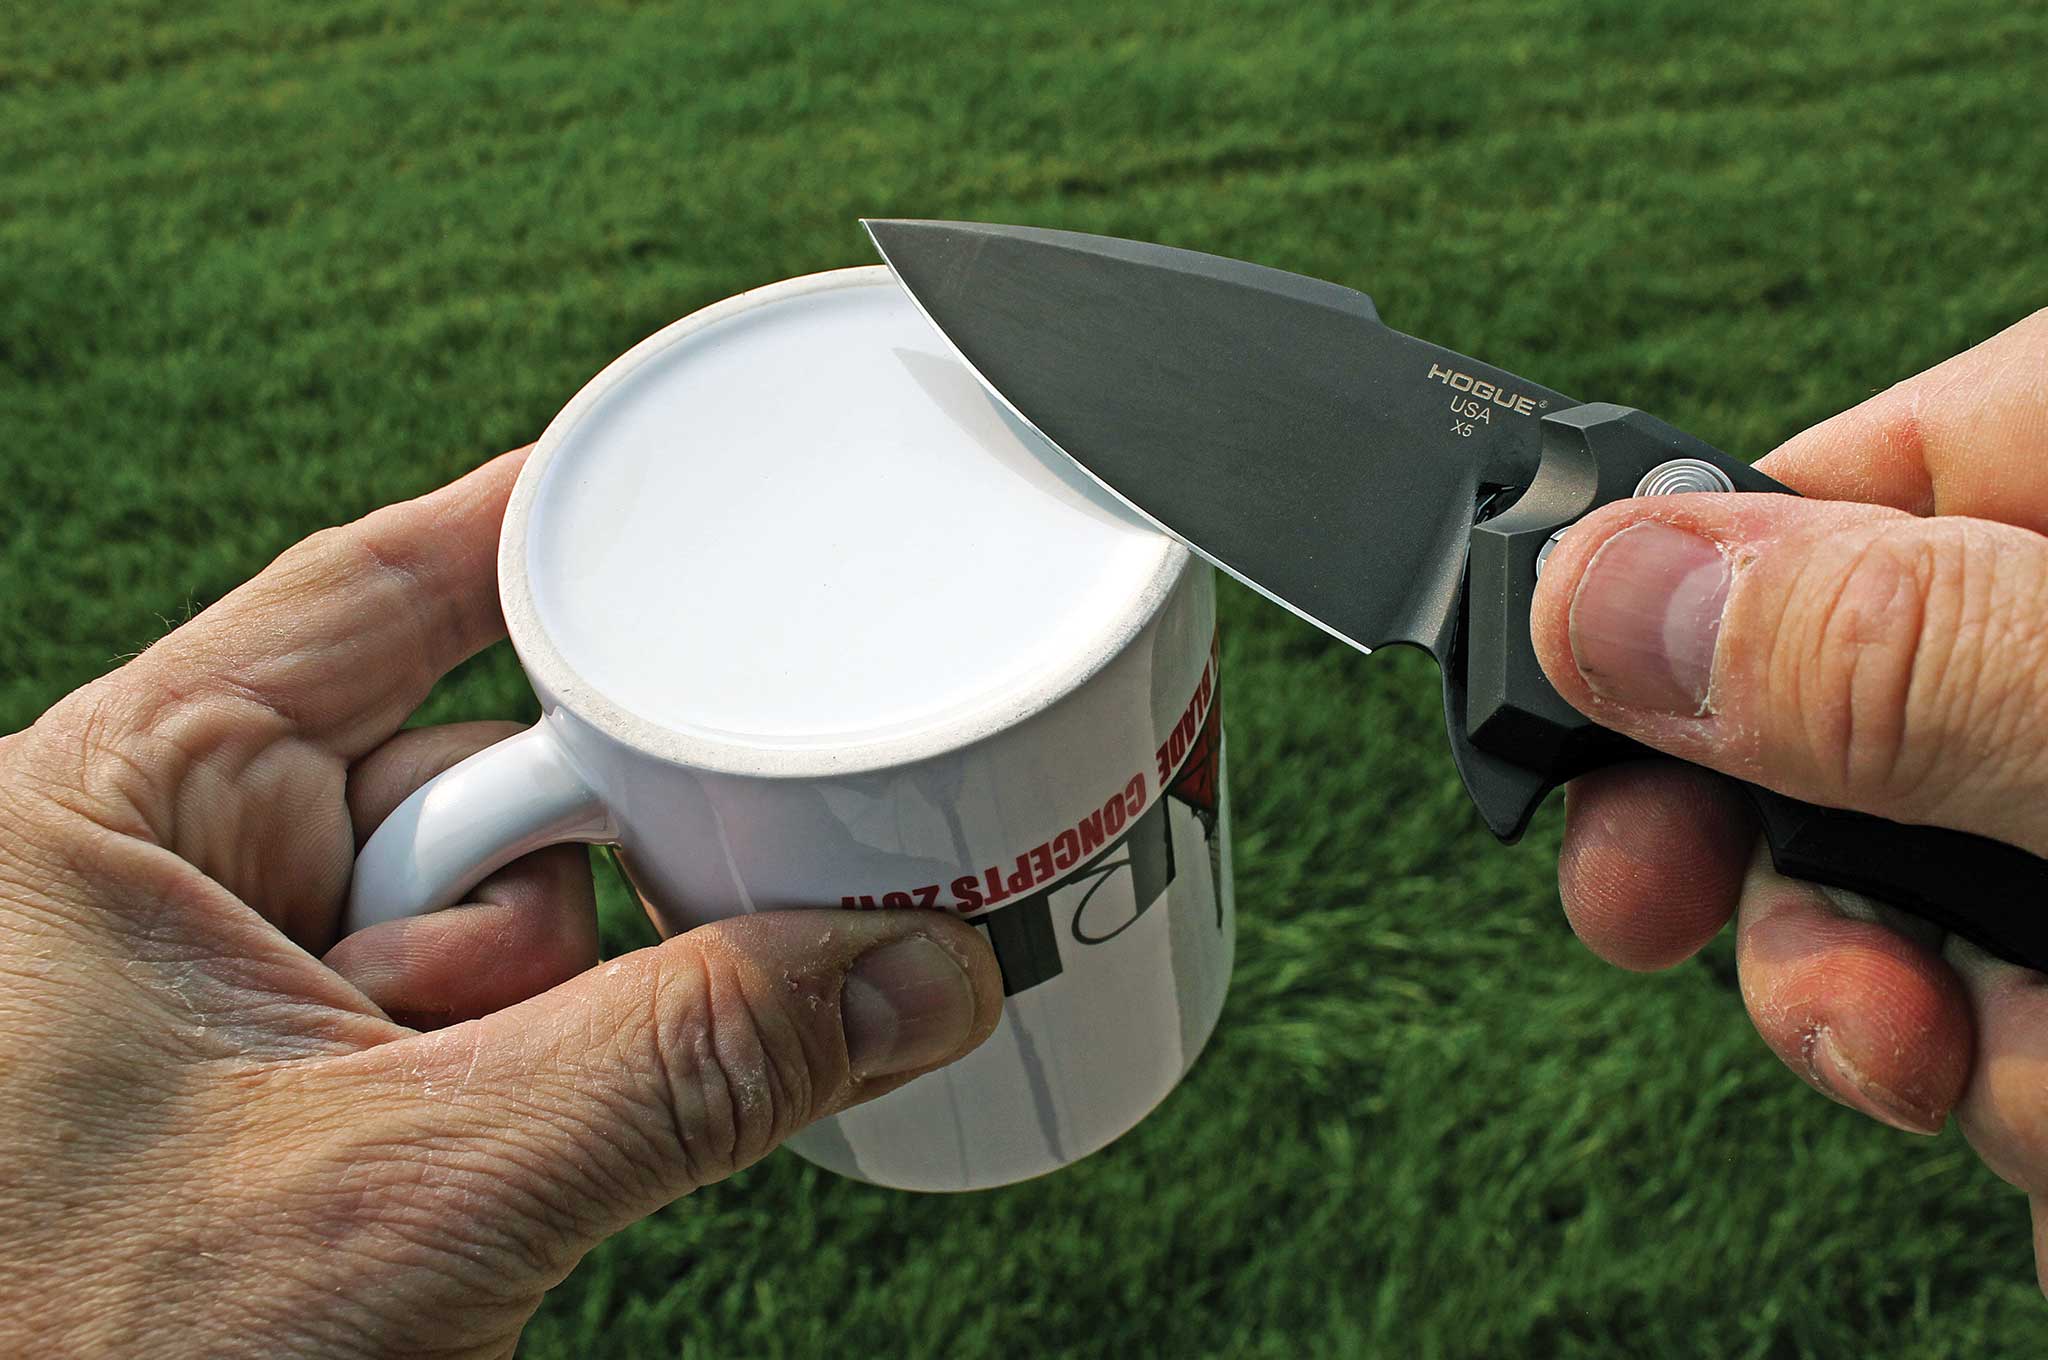
Many modern sharpening systems use ceramic abrasives. The very first modern sharpener of this type, the Crock Stick, got its name from the traditional method of honing knives on the rim or bottom of a ceramic crock. A modern expedient for this is the slightly rough bottom rim of a coffee cup or bowl. Use the same stone technique, pay attention to your angles, and you’ll be cutting stuff in no time.
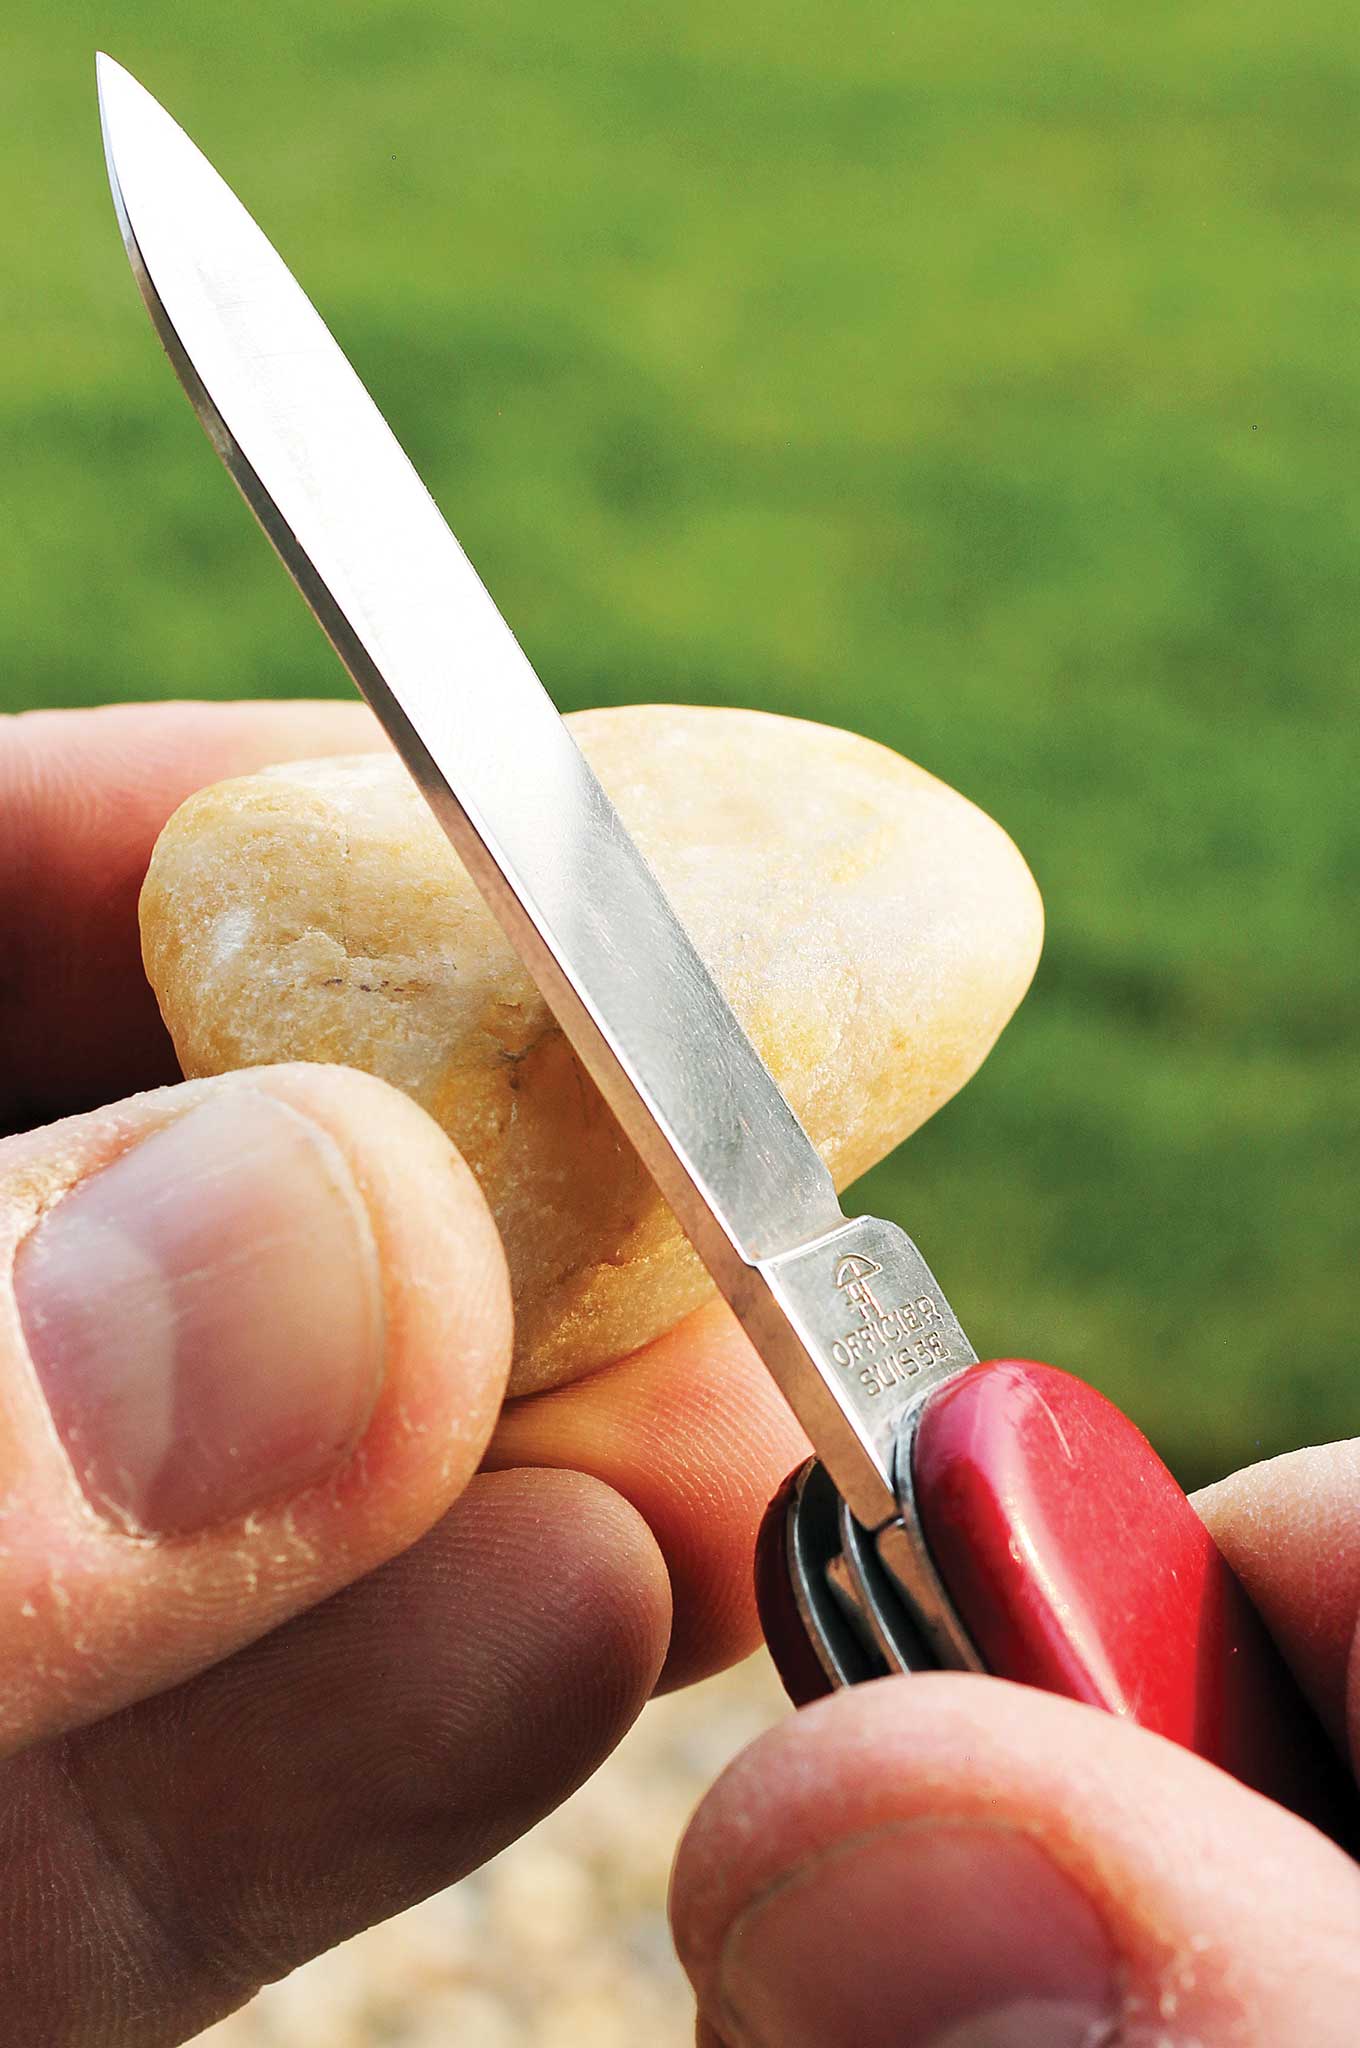
In wilderness environments, even ordinary stones can be used as improvised sharpeners. Smooth, flat, river rocks work very well, especially if they’re lighter colored so you can see the steel coming off and confirm your progress. Larger stones are easier to hold or brace than smaller stones, and once your knife is reasonably sharp, you can always follow up by steeling and stropping the edge to refine it.
The only good knife is a sharp one. With the right skills and knowledge, you and your knife can stay sharp anywhere.
Knife Sharpenability Factors
One aspect of knife selection that has a tremendous impact on “sharpenability” is blade steel. In recent years, the development of steels suitable for or specifically geared toward cutlery applications has exploded. The carbon steels and relatively simple stainless steels that used to dominate the production knife world have now been superseded by exotic, powder-metallurgy steels packed with ultrahigh levels of carbon, as well as vanadium, molybdenum, cobalt, niobium, and other elements. These alloys can greatly enhance the wear resistance and toughness of blade steels, allowing them to hold an edge better than ever.
Remember, though, that there are tradeoffs to everything. Blades that are resistant to dulling in use are also notoriously hard to grind and therefore more resistant to your efforts to sharpen them. Some high-performance alloys refuse to yield to anything less than diamond abrasives, so you’d be hard pressed to sharpen them with improvised means.
Simple, traditional blade shapes are also much easier to sharpen than blades with complex grinds and multiple bevels. In most cases, they cut better and offer greater versatility, too. Don’t be fooled by hype or looks; focus on knives that look like knives, not something out of Star Wars.
Serrations are another controversial topic when it comes to survival knife selection. While well-designed serrations will hold an edge longer than a conventional plain edge and absolutely devour fibrous materials like rope and webbing, they are considerably more difficult to sharpen than straight edges and exceedingly difficult to sharpen with makeshift tools.
If you have to sharpen a serrated blade in the field, your best bet is to use a rock or other abrasive to work the edge on the side opposite the grind of the serration teeth (serrations are typically beveled only on one side of the blade). This method restores the sharpness of the serration points and edge without trying to reach down into the concave of every tooth. Depending upon the size of your blade’s serrations, the rounded surface on the top of a car window may be able to fit the recesses, but it’s still simpler and quicker to sharpen the non-bevel side.
Bushcrafters and other survivalists have always preferred simple carbon-steel blades with zero-ground “Scandi” (short for “Scandinavian”) grinds that are easy to sharpen with any available abrasive. While modern steels, serrations, and other high-tech features may offer high-performance in some circumstances, it often comes at the price of being high-maintenance — perhaps too high for SHTF-style sharpening.
More From Issue 23
Don’t miss essential survival insights—sign up for Recoil Offgrid’s free newsletter today!
- What If A House Fire Breaks Out During an Ice Storm?
- Portable Utensils Buyers Guide – Have Spork, Will Travel
- Six Lighters & Torches to Keep Your Fires Burning This Winter
- Crafting and Using a Survival Stick
- Mykel Hawke Spotlight – Wake-up Call
- The Power of Survival Comes From Within
- Improvised Knife Sharpening Methods
- Rope Rescue 101
- How to Assemble Tools to Fish, Trap, and Hunt
- One-Piece Multi-Tools
- Physical Preparation with Limited Space
- Issue 23 Gear Up
- The Foraging Myth of Subsisting on Nothing More than Wild Plants
- IN-CASE Water Filtration System Review
Read articles from the next issue of Recoil Offgrid: Issue 24
Read articles from the previous issue of Recoil Offgrid: Issue 22
Check out our other publications on the web: Recoil | Gun Digest | Blade | RecoilTV | RECOILtv (YouTube)
Editor’s Note: This article has been modified from its original version for the web.
