Passing through security checkpoints requires relinquishing our everyday carry (EDC) comforts, but one need not surrender their status as a card-carrying pipe-hitter, especially when that calling card is a stealthy KA-BAR TDI-Self Defense Cane. Not your father’s walking implement, this aluminum cane can venture into non-permissive environments where our other EDC essentials can’t go.
To those martial bug-out artists with issues about phrases like “self-defense cane,” consider that canes are designed for average folks seeking a potential weapon that can go anywhere. After all, what happens when you’re faced with a threat and your trusty pistol or blade are simply unavailable or prohibited?
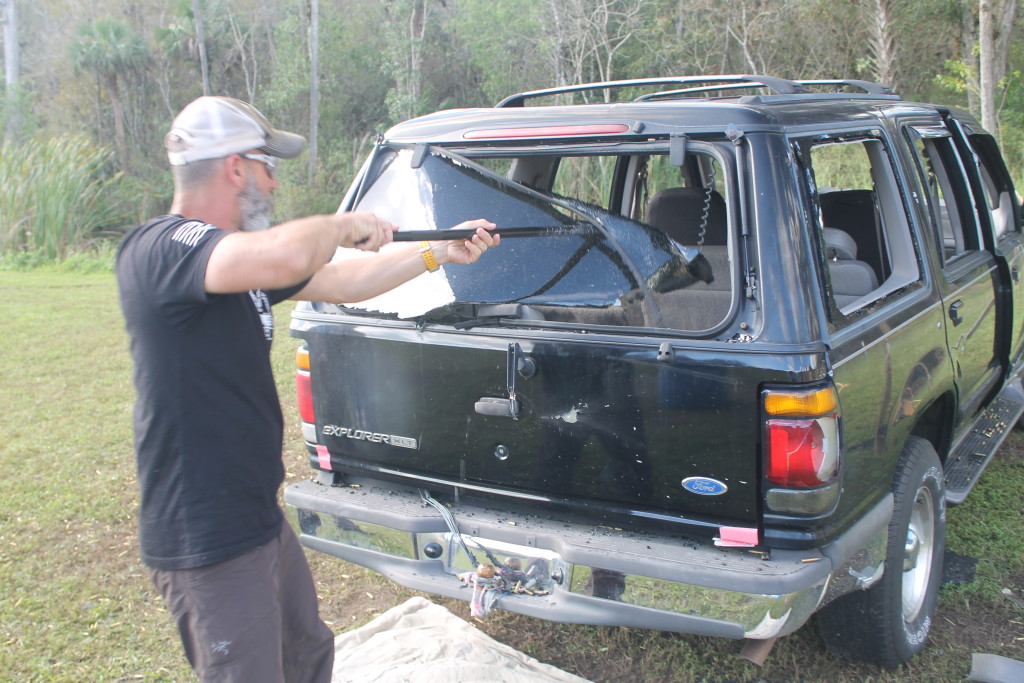
Above: Chris Costa of Costa Ludus smashes SUV glass to clear the way for his pistol and carbine vehicular shooting class in Everglades City, Florida. The aluminum cane crook easily took out the windows and allowed Costa to rake out large pieces of glass, clearing the way for his shooters and keeping his hands free from cuts. The cane had minor scratches. (Photo courtesy of Costa Ludus.)
Why Carry a Cane? I Don’t Use One
With a comparatively moderate amount of training and practice, the time-honored cane can provide peace of mind in those situations where it may be the only advantage you have when confronted by multiple assailants. With practice, a qualified instructor, and some sweat equity, higher-level skills from sweeps, takedowns, joint locks, even throws are possible.
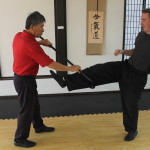
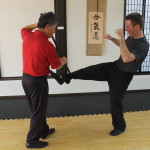
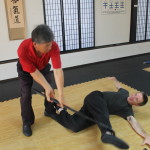
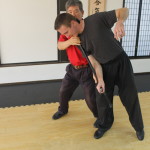
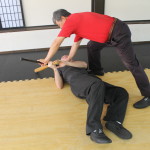
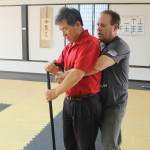
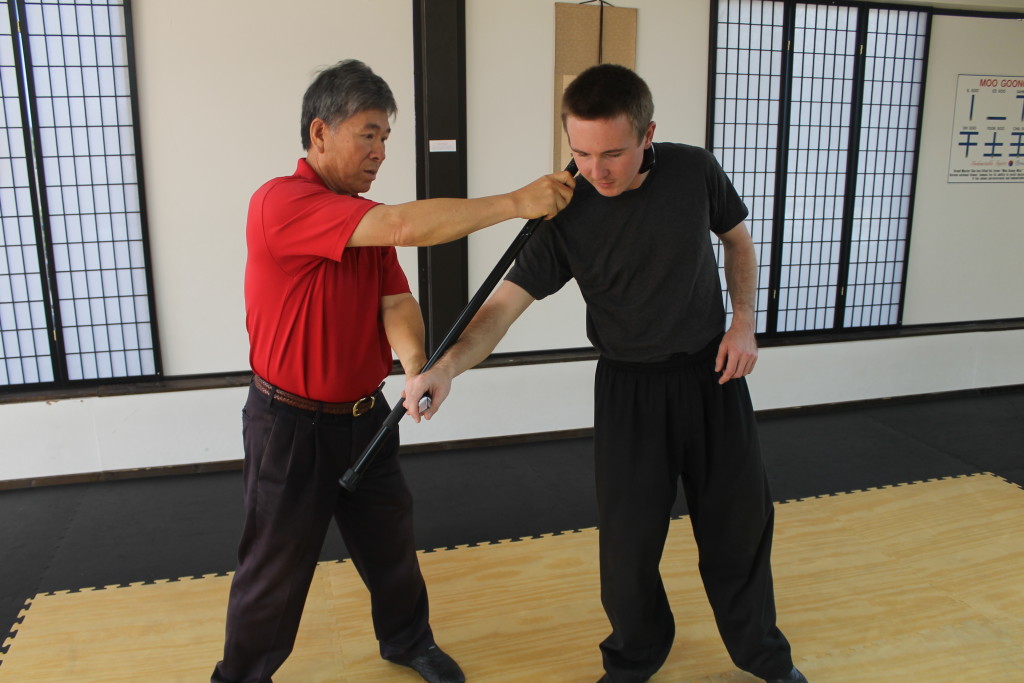
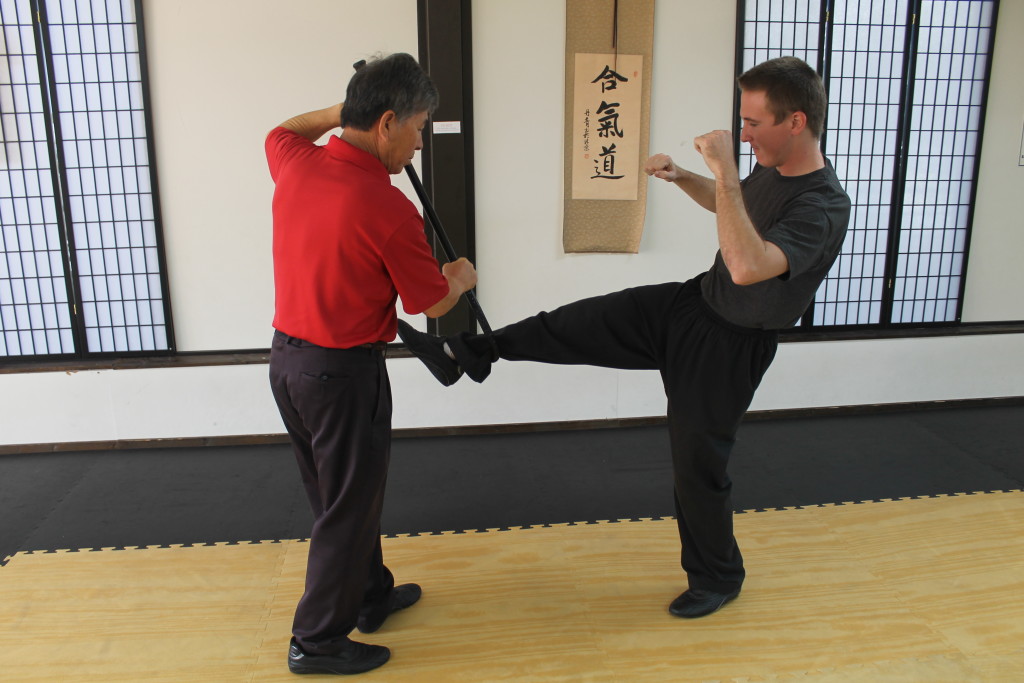
Below: Grandmaster Sung Cho, 74, of Sung Cho’s Tae Kwon Do and Hapkido, uses the cane to block a front groin kick. He uses the hook to trap the leg then pulls the attacker off balance and down.
Search YouTube for train station stabbings, from London to China, and ask whether you would prefer a self-defense cane to a rolled-up newspaper. What has really changed since the early 1900s when aristocratic Londoners once trained in the gentlemanly use of the cane against street thugs? Beheadings, robbing iPhone users, the knock-out game — you name it.
How Do You Use It?
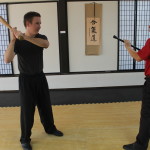
Don’t telegraph your moves by suddenly assuming your “batter’s box” baseball stance. This is not a lightsaber. When lightly held diagonally across the chest with two hands for a potential block-strike, the cane may be brought into play by a subtle step back in stance and a direct counter or strike, singularly or in combinations with a takedown. With a cane as your tool, delivering one hard arm or leg block may take the fight out of an attacker or cause him to lose his weapon.
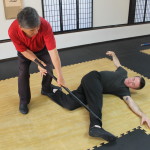
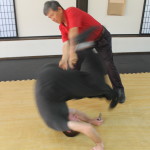
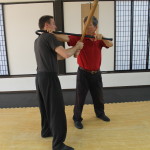
Below: Attacked with a blade, Cho blocks the attacker’s arm then goes on the attack, hooking the neck and forcing the attacker into a forward roll.
Standing toe to toe with a potential threat in close quarters? With one hand resting lightly on the cane handle, simply lift the cane tip and deliver a foot-crushing smash.
Seated at a park bench when your threat awareness is triggered? A straight-up, hinge-like groin strike can short-circuit hostile perps.
During an urban bug-out, if you can’t avoid the fight, better to end it. When an attacker brings up a kick, punch, or grab, even a sharp forceful block from the aluminum cane shaft can effectively inflict pain, or set up a countermove or takedown. Finish the fight with a subduing strike to a vital area, taking away the attacker’s mobility, incapacitate attacking arms or legs, or decide on a head or neck blow.
Specs and Development
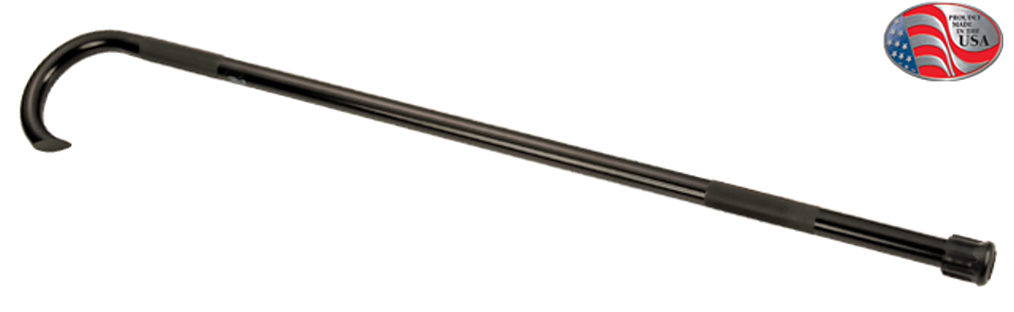
Compared to training with rattan, bamboo, or rosewood canes, the KA-BAR TDI Self Defense Cane delivers serious heft. With an overall length of 39 inches and a weight of 2.2 pounds, the cane’s polyester powdercoated tube of 5052-H32 aluminum has an outside diameter of 1 inch and a wall thickness of 0.1 inch, allowing for an inside “storage” diameter of approximately ¾ inch.
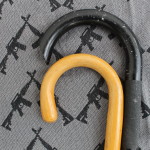
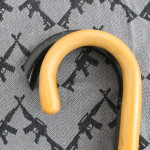
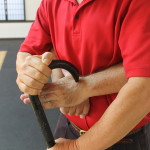
Below: Compared to a standard wood cane with a tightly shaped handle, the KA-BAR TDI-Self Defense Cane has an open crook designed to easily hook limbs or necks, with a beveled beak to apply pressure points.
John Benner, a Vietnam veteran, police officer, and developer of the cane for the Tactical Defense Institute (TDI) in Ohio, said KA-BAR now manufactures the cane in New York to meet a growing demand of all ages.
“The idea is to have it with you
when you can’t have a weapon.”
“I recently carried one with me to Mexico,” says Benner. “We even see law enforcement officers and veterans giving these away as retirement gag gifts — at least until we let someone hit the bag with one and test the power and they say, ‘Holy sh*t!’ The idea is to have it with you when you can’t have a weapon.”
Two other features separate the TDI Self Defense Cane from the common variety cane and both are not immediately noticeable from casual observation. The first is the overall enlarged curved handle, including a slightly beveled beak for applying a pressure point. A typical wood cane’s curved handle may be formed in a semi-circle, with a small 3-inch gap between the hook point and shaft, making it difficult to catch and release an assailant’s attacking weapon hand, leg, or neck. The KA-BAR hook, with an opening of 4¾ inches and a more open half-circle shape, ensures a wider grip, capable of encircling most body parts.
Second, the cane shaft is smooth, moving predictably through the hands and without the texture of a heavily carved piece that may cause you to loosen your grip. Two lightly knurled handgrips located at the upper and lower shaft allow the user to take a balanced blocking, parrying, or thrusting grip, with each hand spaced evenly about 2 feet apart, or slightly wider than shoulder width.
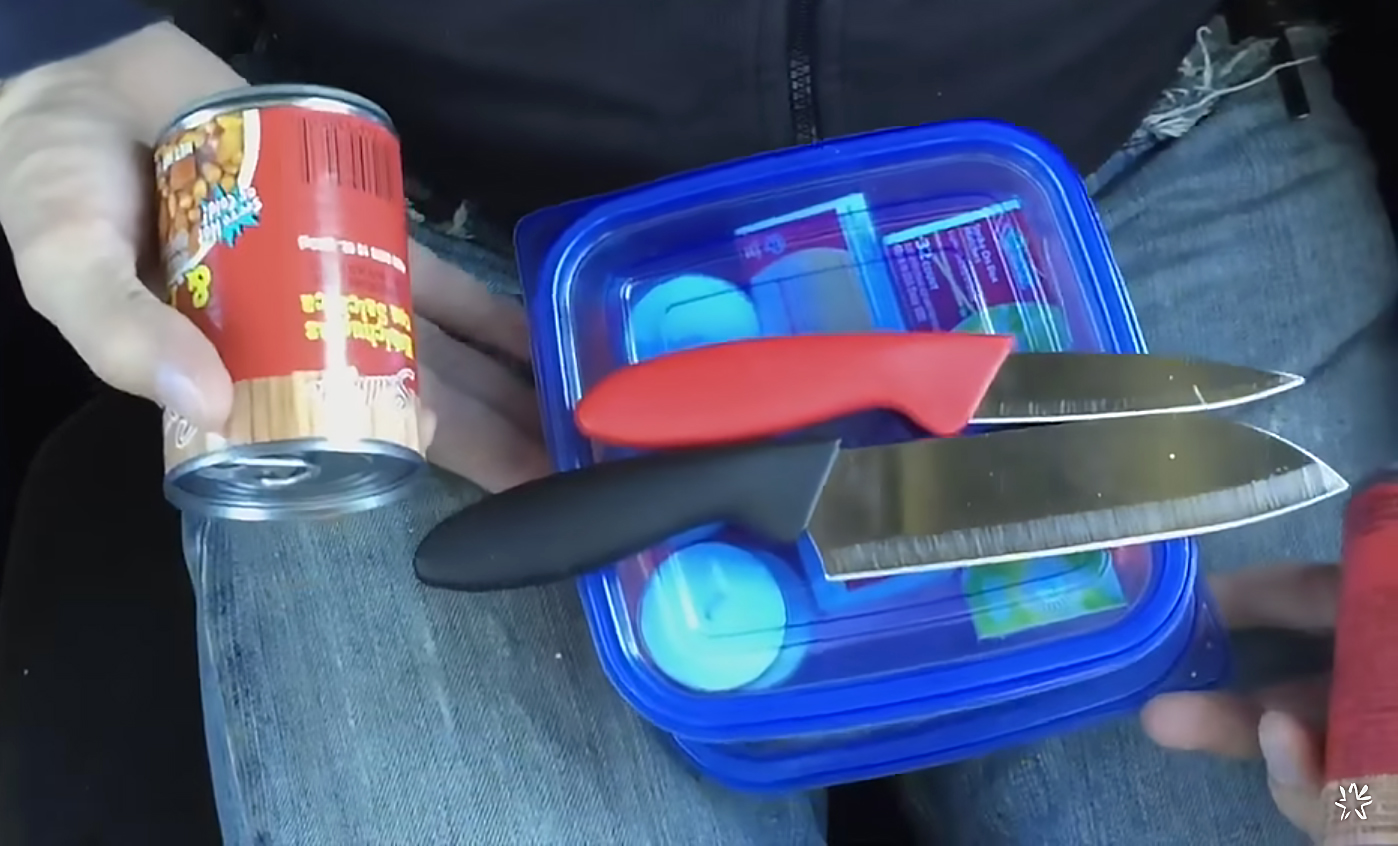
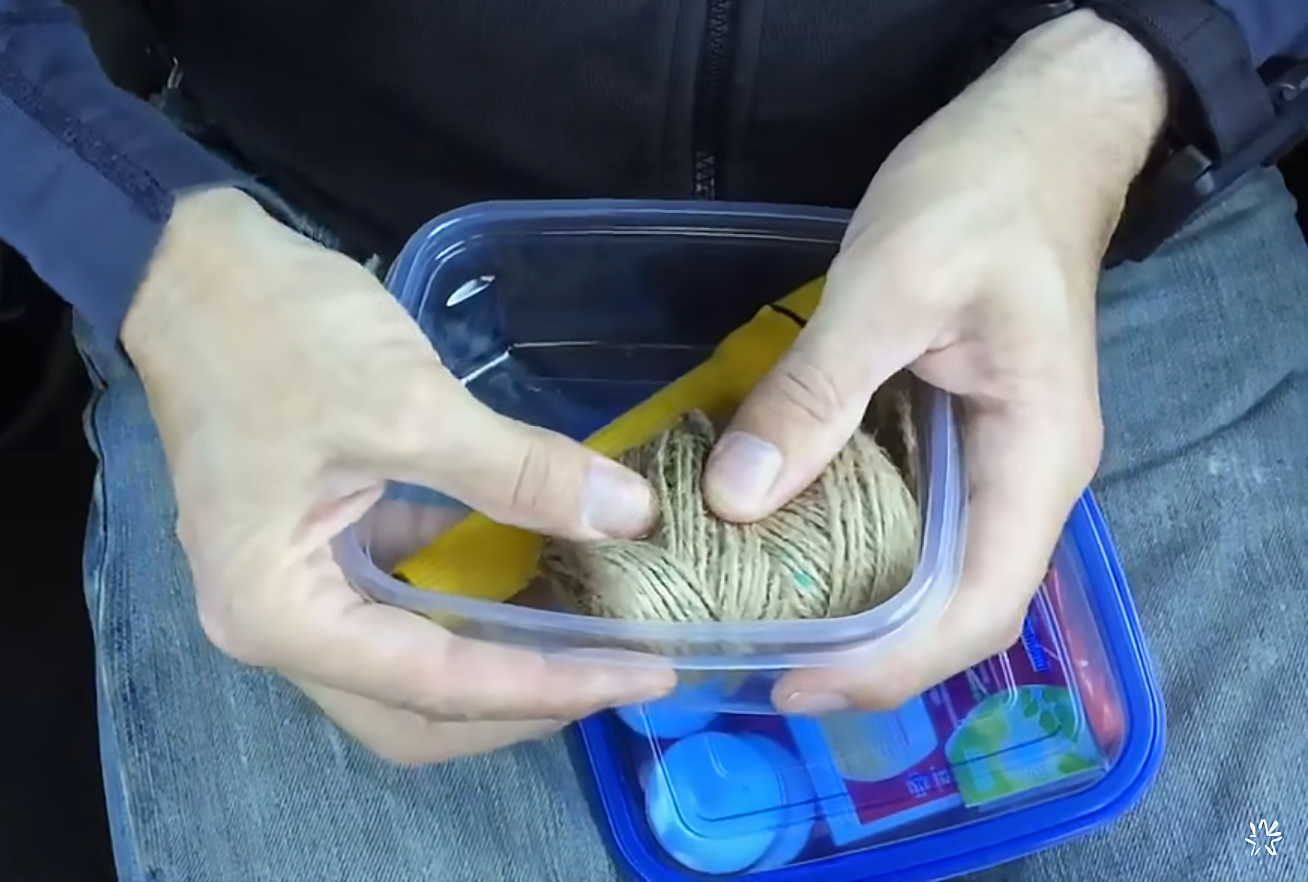
The foot may be removed and the tubular shaft used for storage of small items, from practical items like cash and a spare key to more emergency-related items like a small knife and paracord for rigging a cane splint. Travel advisory: When visiting court houses, federal buildings, or other restrictive areas, use professional courtesy, common sense, and expect to have the cane passed through airport checkpoints and scanners.
One international commercial airline captain confirmed that travelers should expect no delays from a walking cane, although flight attendants may offer to store the cane securely in the overhead above your seats. Check TSA regulations and specific airlines for more rules on its legality.
So just keep this tip in mind and play it straight. It’d be wise not to pack the cane with items that could get you in trouble if discovered.
Hidden in Plain Sight
For generations, the cane in various forms is commonly found in venues of all kinds due to its practical and innocuous appearance. And while a pretty carved cane may look stylish, serious cane practitioners almost universally favor the traditional hook or curved handle, compared to the ball-end knob or the right-angle style grip of cane. The hook-style handle can also make life easier simply by allowing you to hook the cane temporarily on your arm while using your hands for something like phone dialing.
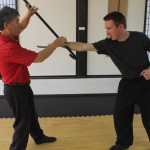
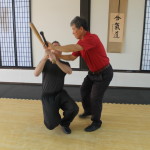
Below: Attacked with a baseball bat, Sung Cho uses the cane to deflect the strike. Then with crook to the neck, he forces the attacker down for a finishing strike.
Weapon retention rules apply. Should someone grab your cane tip, break it free from them by rotating against the thumb, snap down, and twist the tip away the same way you would break free from a grab. Practice this with an instructor. Don’t assume it’ll be as easy as it sounds and the last thing you want is your means of defense taken away from you.
Say you’re singled out in a parking lot by a drunken bully. Perhaps the cane is interpreted as a sign of weakness or vulnerability. In those situations, a cane may enable you to maintain a safe circle around you and a loved one, to keep a threat from escalating, thereby reserving the blade or firearm for a life-threatening response.
Below: Jon Capriola of Sarasota drives a stick into the face of this punk trying to jack his Ferrari and unmellow his sunset cruise.
Should the cane accompany someone who also has a concealed carry pistol or knife? We may occasionally find ourselves in a temporary, non-permissive environment. In certain situations, we may be forced to remain holstered and concealed due to the immediate presence of innocent bystanders, or unknown foreground or background. With training, the aggressive cane carrier can distance, deflect, circle, or even take down a knife attacker, possibly drawing immediately after for a downward angled shot or when the background is safe.
And should such a situation escalate to the point where deadly force is justified, say against multiple armed attackers and the use of your pistol or blade is called for, in those extreme kill-or-be-killed circumstances, the cane may even buy you a fraction of a second or a little distance to keep you from getting tied up in a close-range encounter, enabling you to shift position, draw, and connect with a shot. In the event a longer shot is required, the cane can provide an instant monopod, allowing the good guy to take a knee and rest the pistol across his opposite wrist.
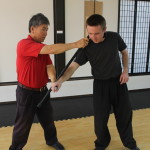
Below: A rear bear hug is broken up by direct pressure downward on the hands using the beveled point of the cane handle.
This requires a small shift in thinking, especially in the USA, where the cane is associated with the elderly and infirm, and may flag you to predators as a potential pushover. Use your non-threatening demeanor to your advantage and raise a little cane.
About the Author

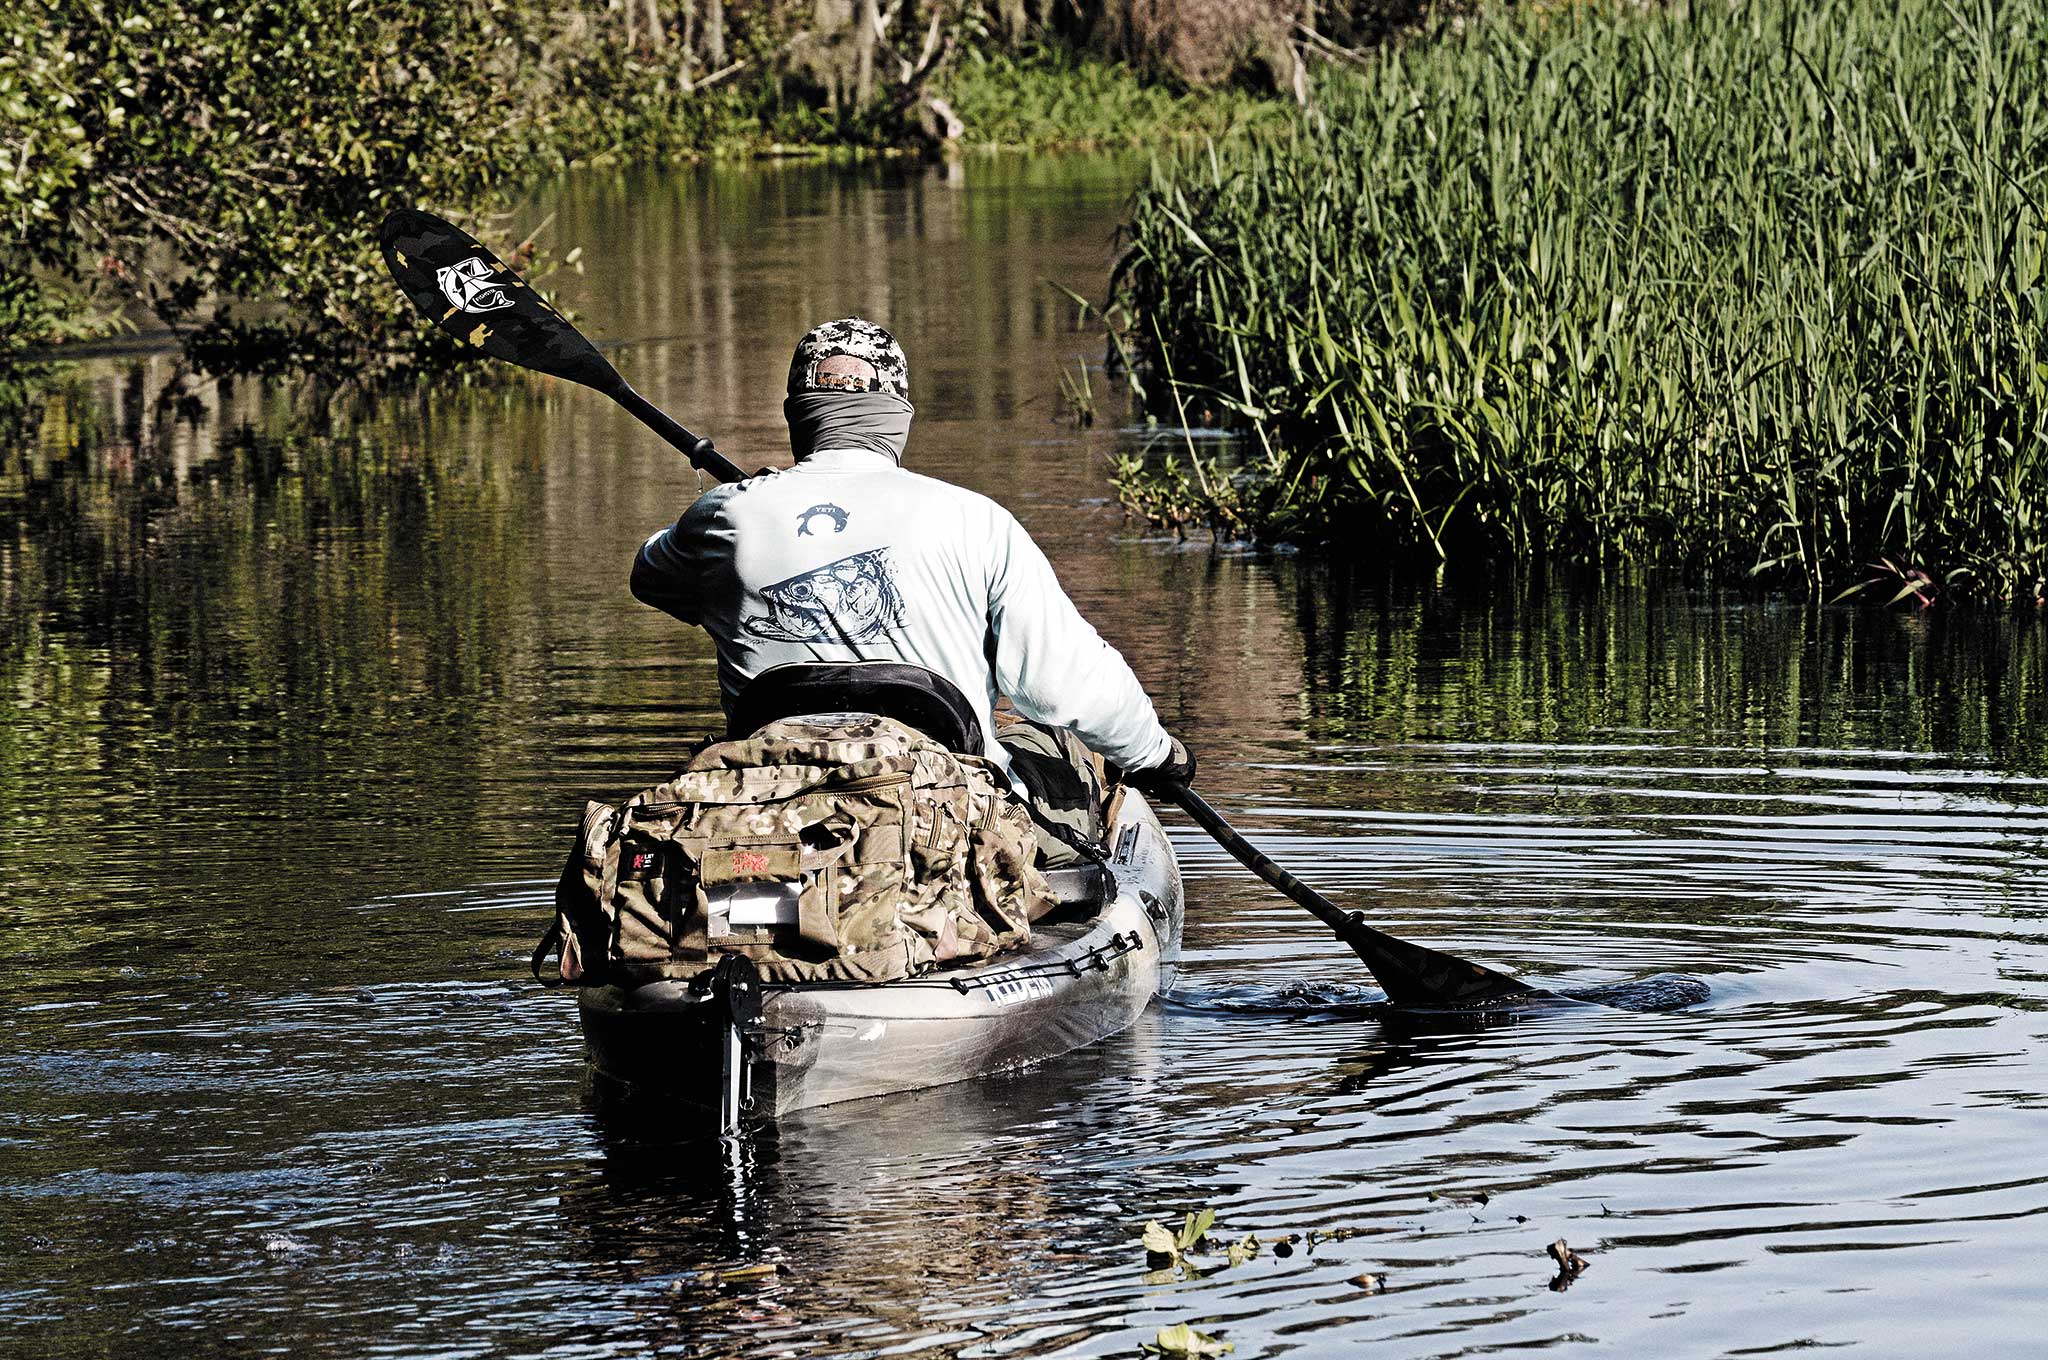
David H. Martin’s family studied three years under Grand Master Sung Cho’s Tae Kwon Do and Hapkido of Sarasota, Florida, earning his black belt together with his son, while traveling for forms and sparring competition. Martin is a professional NRA training counselor, firearms instructor, and Southwest Florida wilderness survival skills kayak/canoe instructor, guide, and outdoor writer. He may be reached via email at davidhmartin@me.com.