In This Article
Illustrations by Joe Oesterie
In a world where millions go to the supermarket to get their meat, it’s funny how many people have no concept of the work that goes into producing that perfectly wrapped and presented protein product. We can’t count the amount of times we’ve talked with people who eat meat, but somehow find it distasteful that others spend their fall and winter hunting to fill their freezers.
With more and more people looking for organic and free-range animals to incorporate into their diet, what would happen if they couldn’t just go to the store? For some, hunting an animal and processing it from start to finish is a way of life, whereas for others who never learned the sequence of tasks necessary to prepare an animal without contaminating the meat, their “Eww! Blood and guts!” reaction could cost them their lives in dire circumstances. It’s not all macabre gore.
Field dressing an animal is a practice that’s been handed down for centuries and a critical part of preparing what you’ve hunted for consumption. If you can filet a fish, you can field dress a four-legged animal.
The hardest part of the hunt begins when the animal hits the ground. The process of gutting and butchering can be daunting for the uninitiated. If you find yourself alone and miles away from civilization, that process can become even harder. But, like any task, it comes down to using the proper methods to get the job done. With practice you’ll eventually realize it’s not as gruesome as many people think. We’ll focus on larger game animals such as elk, deer, or moose. The approach, steps, and care to be taken are the same for all animals of the same body type.
Tool Up
Everyone has their go-to knife or knives for the job. As with many other aspects of preparation, knife selection isn’t a one-size-fits-all. Dressing requirements may change from when you’re butchering in a controlled environment versus in the field. Over the last year we’ve found two blades that have remained in our packs through many rotations. The replaceable scalpel-style knives have been the rage in recent years — a newcomer, Wiebe Knives, stood out.
The company’s Vixen model has a larger handle, allowing for better control and less fatigue in cold and bloody conditions, especially if you have larger hands. While the fine scalpel-style blade works in most scenarios, we still prefer a small fixed knife with a roughly 3-inch blade, because it offers greater control inside the animal — specifically when reaching in to cut the esophagus.
For a butchering and skinning blade, the author uses a simple, semi-flexible boning knife when working at home. They’re cheap and durable enough to pop joints and scrape bones. We’ve used the Frosts/Mora knives for the better part of 10 years; their rubberized handles are nonslip, and their blades hold an edge very well. Remember to sharpen your knives after each use or replace blades on models with that feature. A dull knife is more dangerous than a sharp one. When you have to force your knife to do the work and it doesn’t cut with ease, accidents happen.
And if you’re alone in the middle of the woods with a severe laceration, you might not make it to dinner.
Gut Check
Out of all the processes involved, eviscerating or gutting the animal is the task that can be the most overwhelming. But anyone can make quick work of this task when done correctly. If you plan to completely butcher the animal in the field because it’s too far or too difficult to haul it back to camp, hold off on gutting it. There are better methods of butchering in that situation, which we’ll discuss later.
However, if you plan to leave it overnight (assuming the temperature is fairly low), gutting the animal and putting edible organs on ice is recommended.
For the sake of clarity, we’ll explain things assuming the animal is on the ground rather than hung from a gambrel.
Position the animal on a slight decline, head uphill. With the animal on its back, prop the rear legs apart. If you’re working alone with a large animal like an elk, it’s easier to tie the legs to neighboring trees to assist in keeping the animal stationary and legs separated.
Using a basic scalpel-style field-dressing knife, make an incision a couple inches above the anus and cut a larger circle around it. The idea is just to free a larger circle of fur around the anus from the rest of the hide. Do not cut it free from the intestine. Leave this patch of fur connected and simply separate it from the remaining fur, as we can use this later to remove the entrails. Then, make a shallow cut around the middle of the abdomen just deep enough to penetrate the flesh without going too far into the membrane below it that protects the stomach and other organs. It doesn’t take much effort to slice through the flesh, so take your time. Orient the knife with the blade facing upward — don’t force it. Let the knife do the work and gently cut into the skin, which (depending on the animal) usually isn’t more than an inch deep. You can work two fingers of your free hand into the initial cut to help pull the fur away from the carcass as you continue cutting upward toward the bottom of the sternum where the cut should end. You can then lengthen this opening by cutting back the other way toward the genitals to create one big continuous incision.
(Note: Depending on your state, proof of sex may need to be left on the animal for transportation, so check your local regulations.)
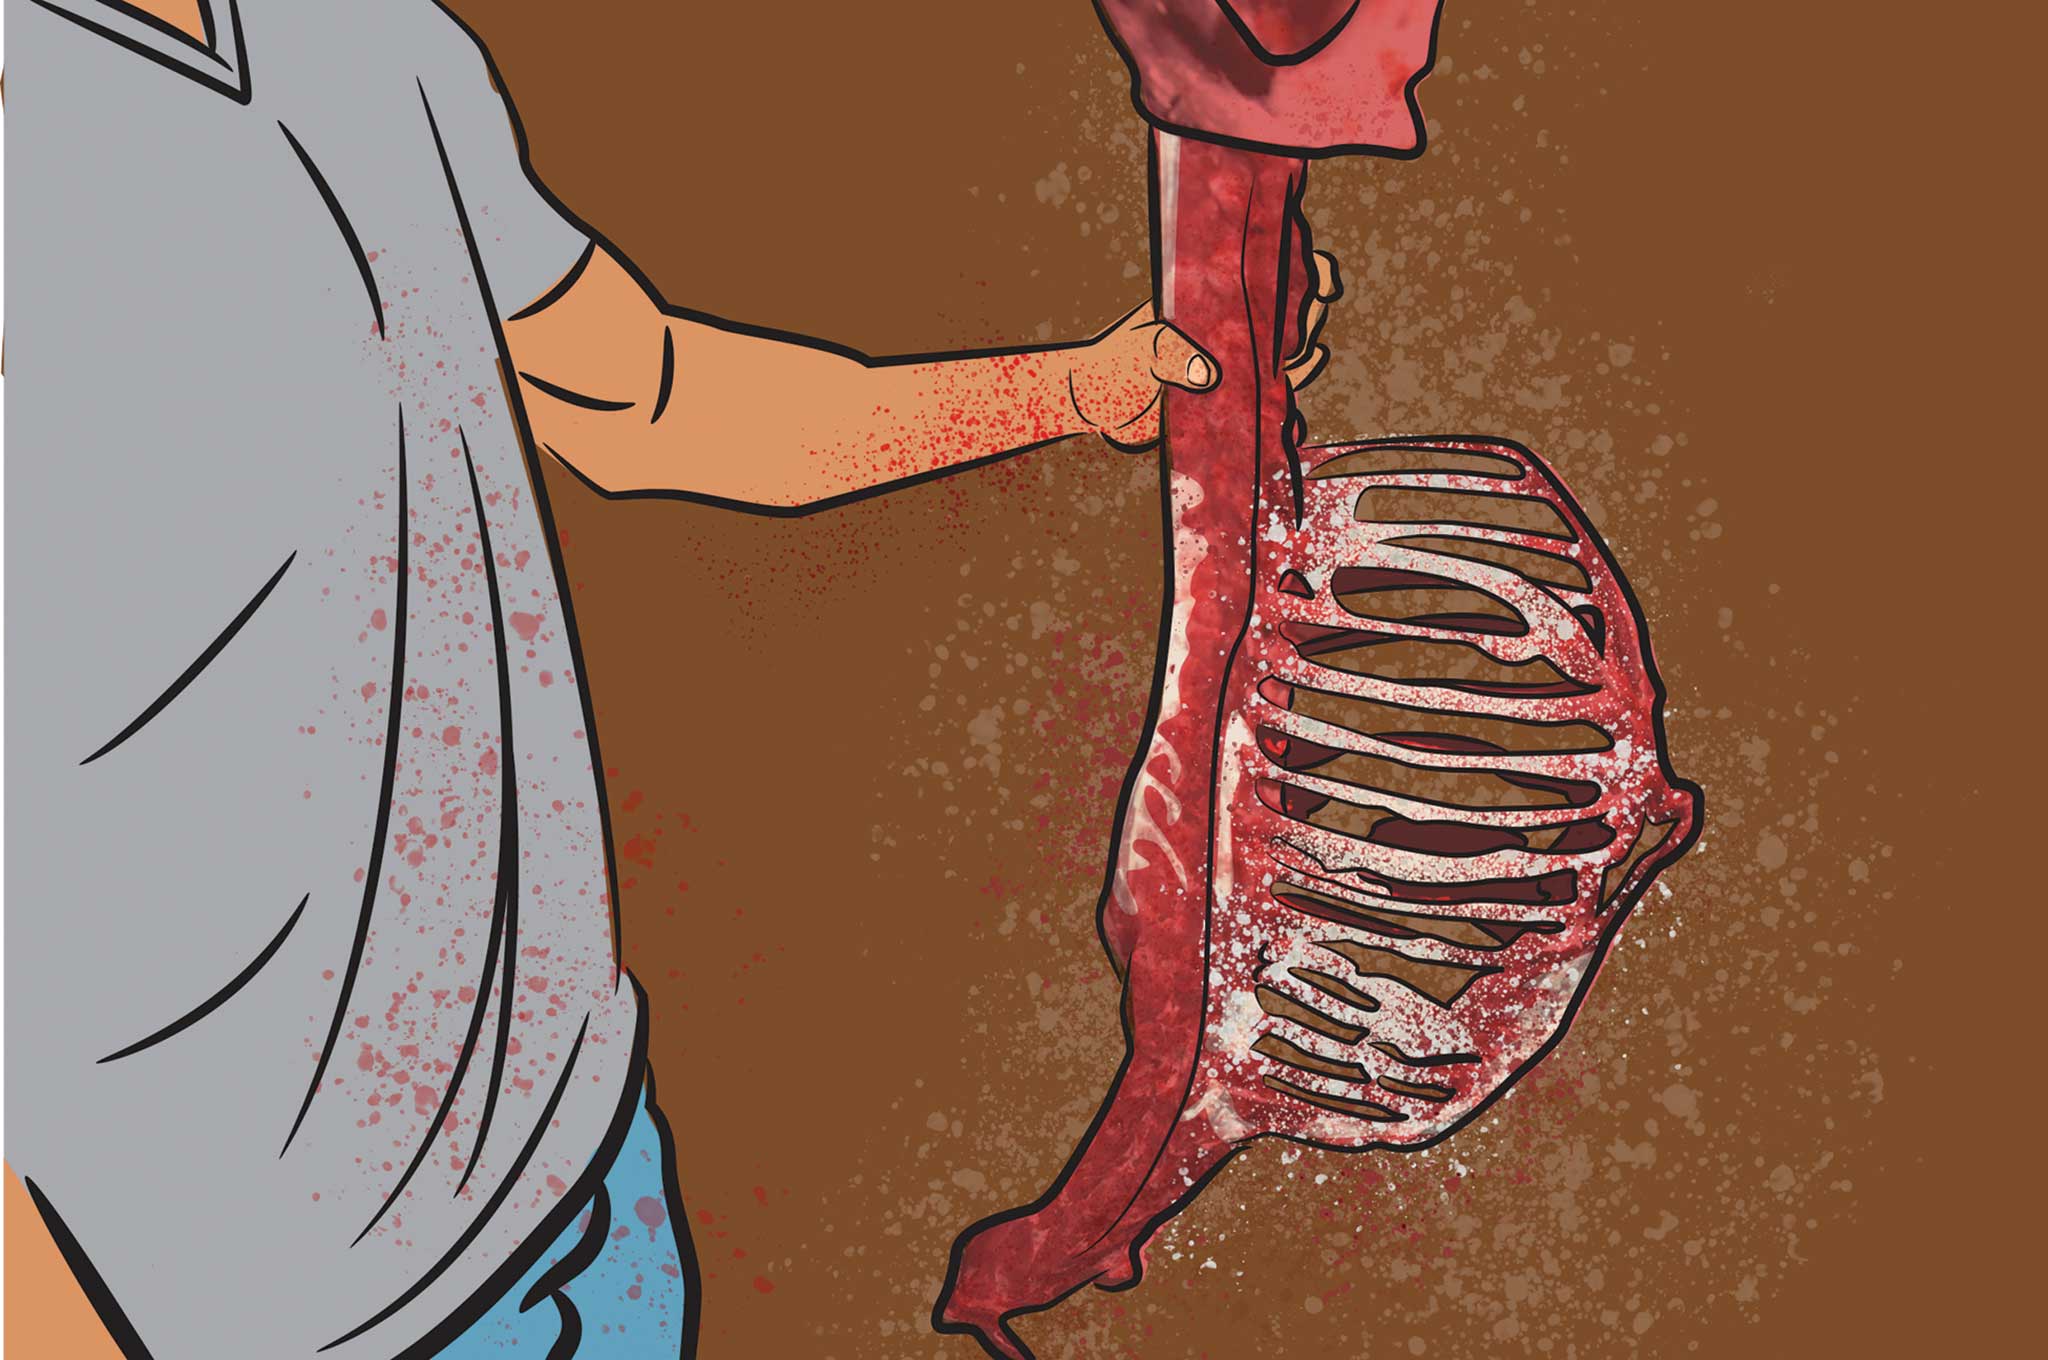
Now you’ll have complete access to the lower body cavity. Reach up into the rib cage to cut the diaphragm, a thin membrane separating the lungs, liver, and heart from the digestive organs. Then reach past and cut the esophagus, which may be hard to see — when you reach in toward the throat it feels like a bony, round tube. When both hands are out of sight and inside the body cavity, pay close attention so that you don’t cut toward your other hand. Go slowly and avoid lacerating yourself on any bone shards which may be displaced by a bullet.
With most of the organs free, work to pull the lower intestine back through the pelvis, making sure not to break the bladder. With just these few cuts, all of the organs should slide out fairly easily in one group.
You should also be able to pull the initial incision you made around the anus through the open chest cavity.
Another key note: You may see some examples of field dressing where the incision is made all the way up through the rib cage, opening the entire chest cavity. However, the less you cut, the less chance of dirt, leaves, and debris entering the cavity when dragging the animal or transporting it to a vehicle. This is another reason not to split the pelvis to remove the lower intestine and anus.
Thick Skinned
The key with any big game animal is to get it cooled down as quickly as possible. Skinning is just that, shedding the animal’s coat to allow heat to dissipate. While we’ve hung deer-sized game unskinned and allowed them to age for multiple days, we’ve achieved a better product when skinning the animal and allowing it to age as an exposed carcass.
Attempting to fully skin an animal on the ground is best avoided, so all these procedures are described for an animal hung from a gambrel; they don’t change regardless of animal size.
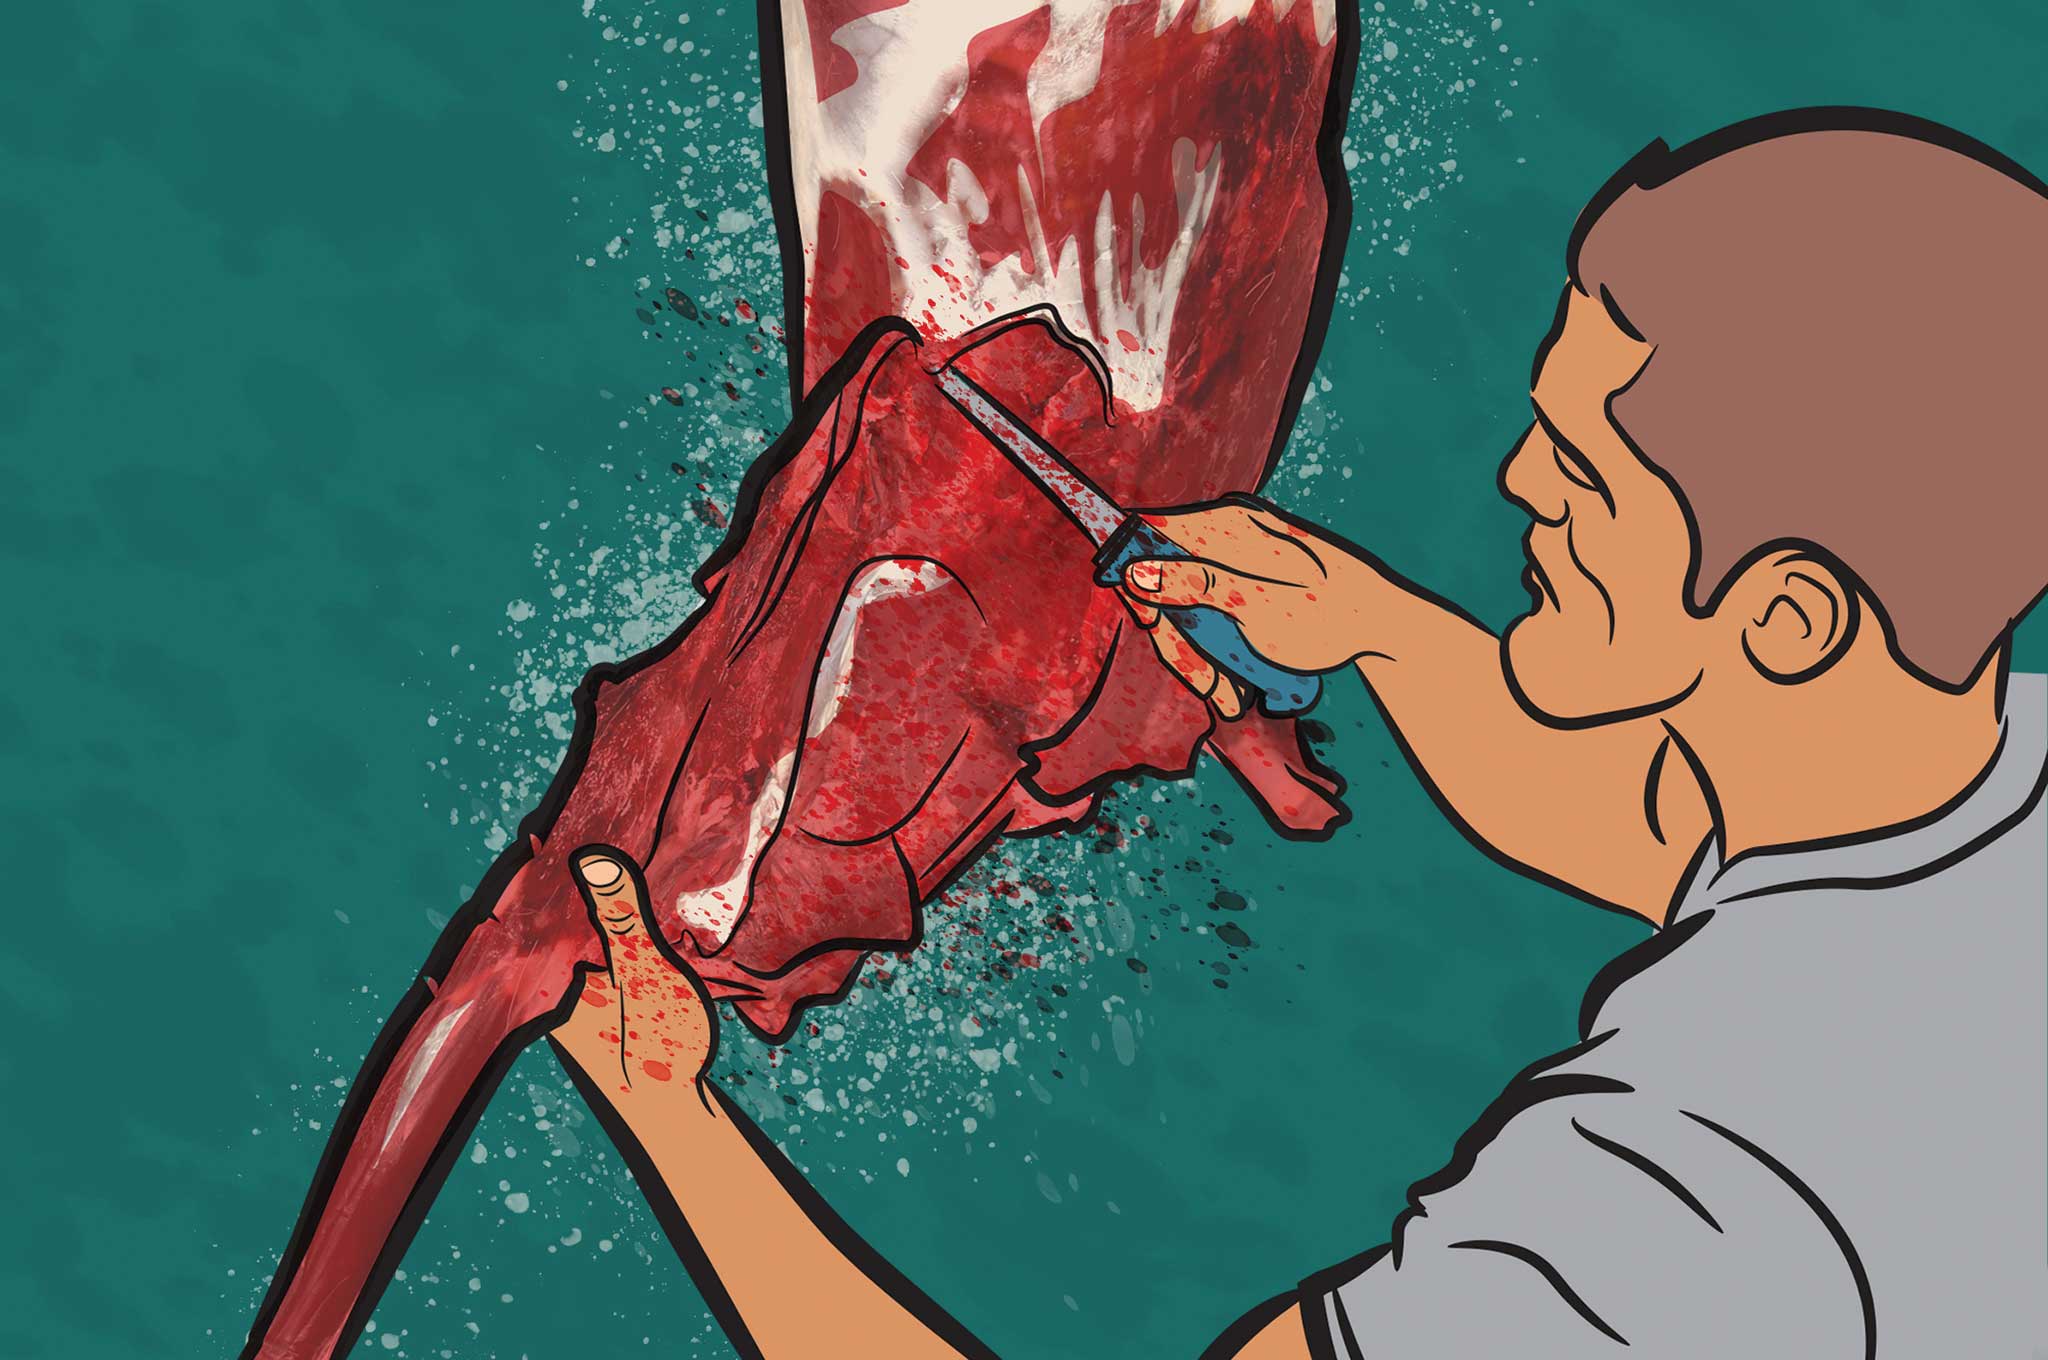
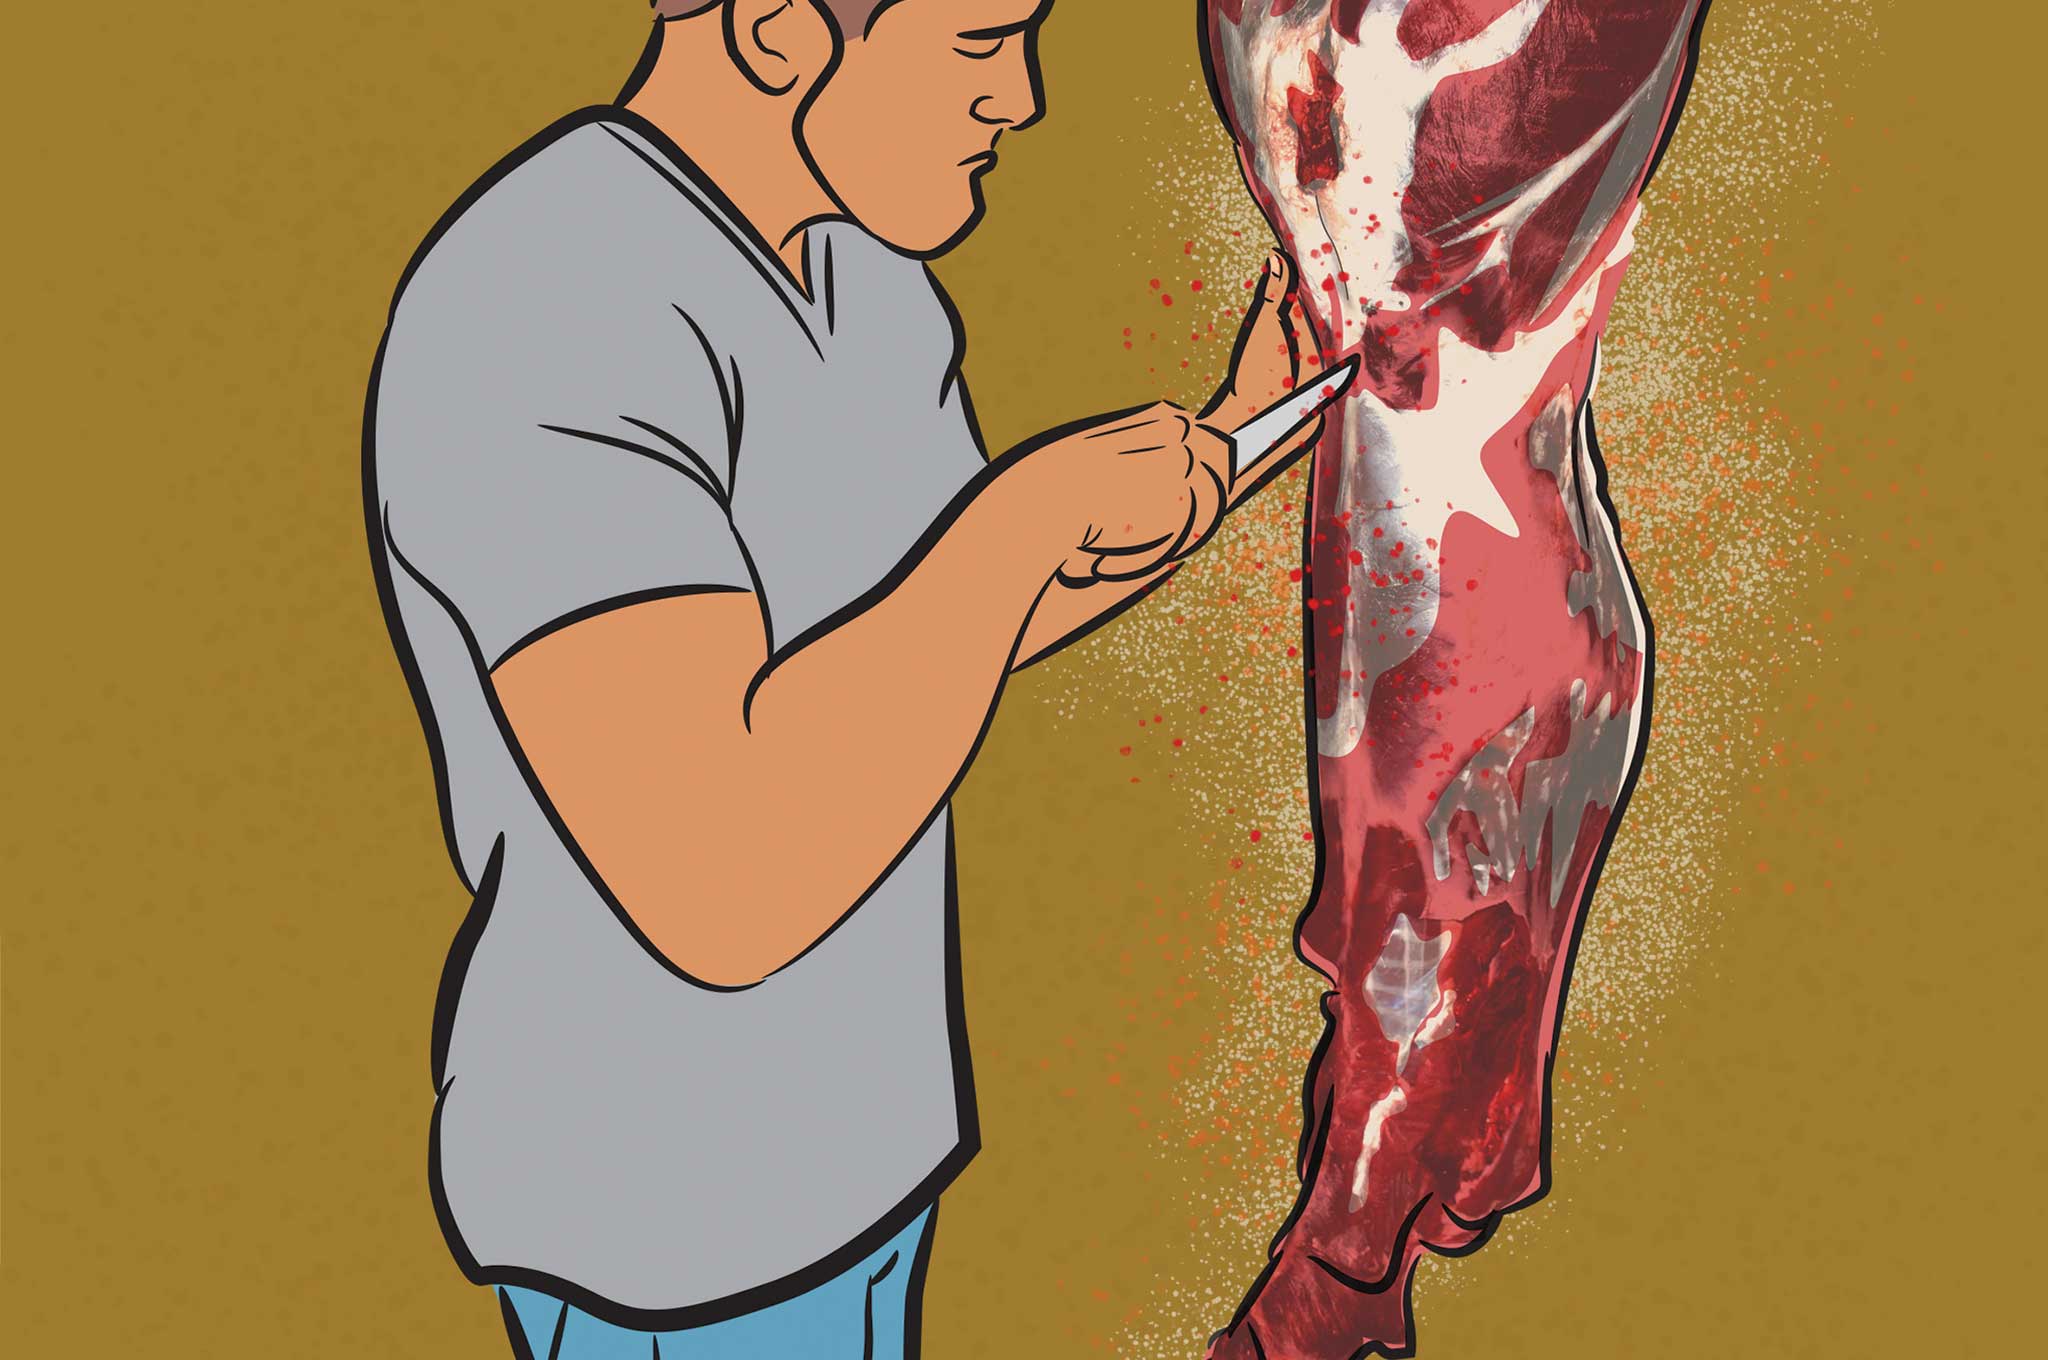
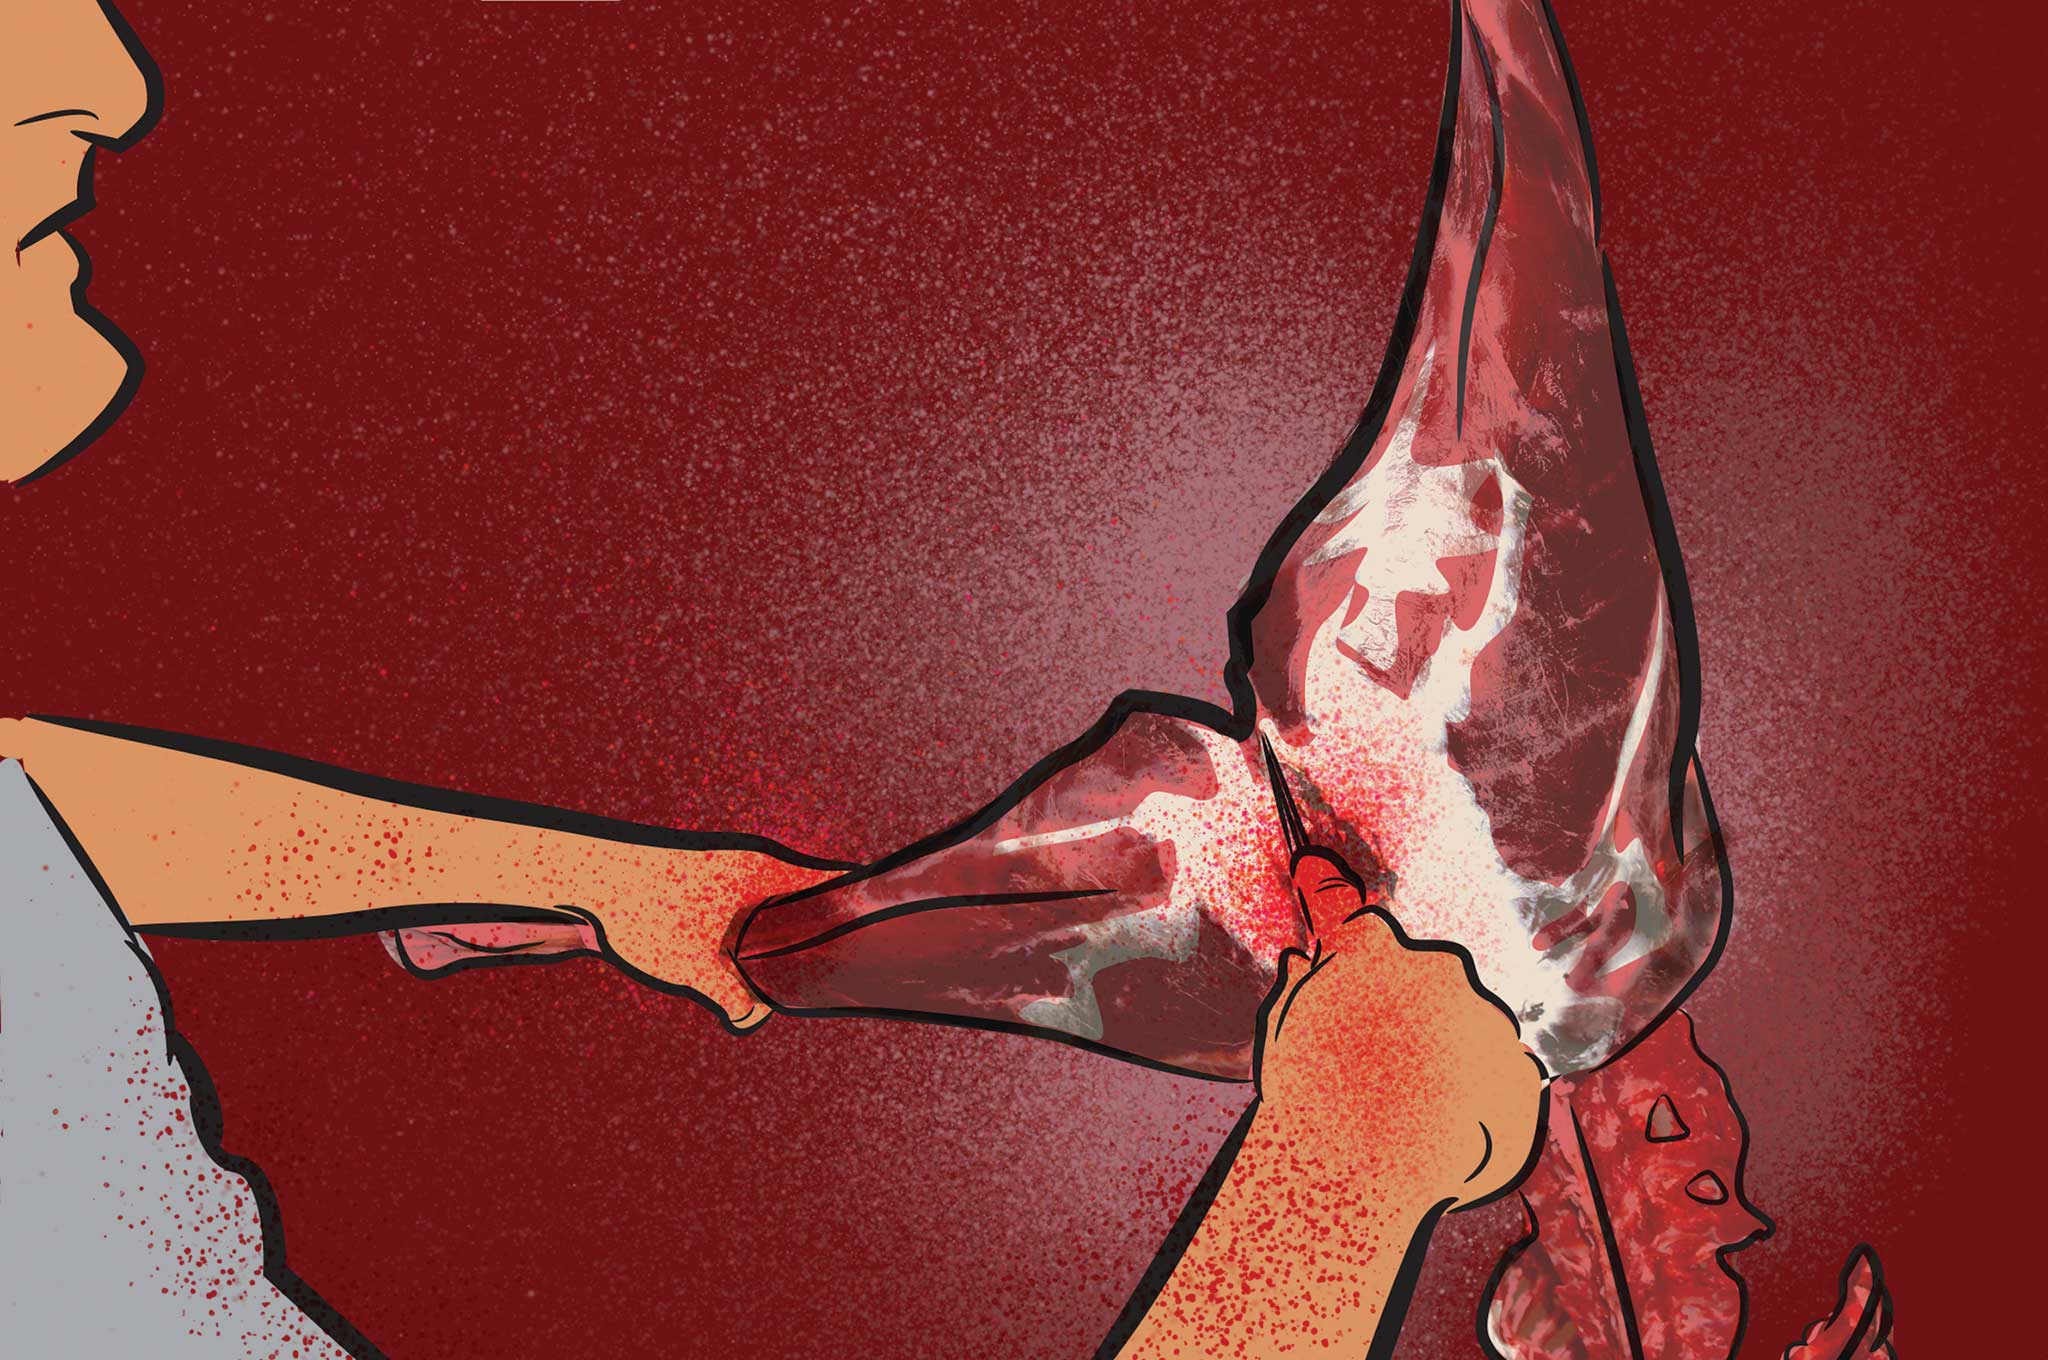
With the animal securely held in the gambrel, remove the hide from the rear legs, making incisions up to the knuckle. Peel the hide around and down until you reach the tailbone. Grabbing the tail and pulling away, it’ll easily detach by cutting through the joint; be sure not to cut through the hide. With the hide free of the rear legs, using your blade and some brute strength, pull the hide down until you reach the shoulders. The key is to cut toward the hide and not into the meat. For the most part, the hide will pull free with little knife work needed.
Skinning out the shoulders can be a frustrating task given the weight of the hide and curvature of the shoulder. The area where the hide goes under the armpit can be a difficult spot.
There are two approaches to making this task easier. You can cut through the hide at two points inside the shoulders, giving you three separate sections and more freedom to work. Keep in mind, though, anytime you cut through the hide, you cut more hair, resulting in more to clean up later. It’s usually easier to work the hide to the back of the shoulders and make an incision through the hide up the back of the leg to the knuckle. This lets you work the hide down and around each shoulder. Continue to work the hide to the base of the head. There’s usually no need for a saw — with a knife and some twisting action you can easily sever the vertebra.
The Gutless Method
If you’re miles deep into your hunting trip, you probably won’t want to drag the animal out whole. Your best option is to work the animal one side at a time, removing all the meat without disturbing the internal organs.
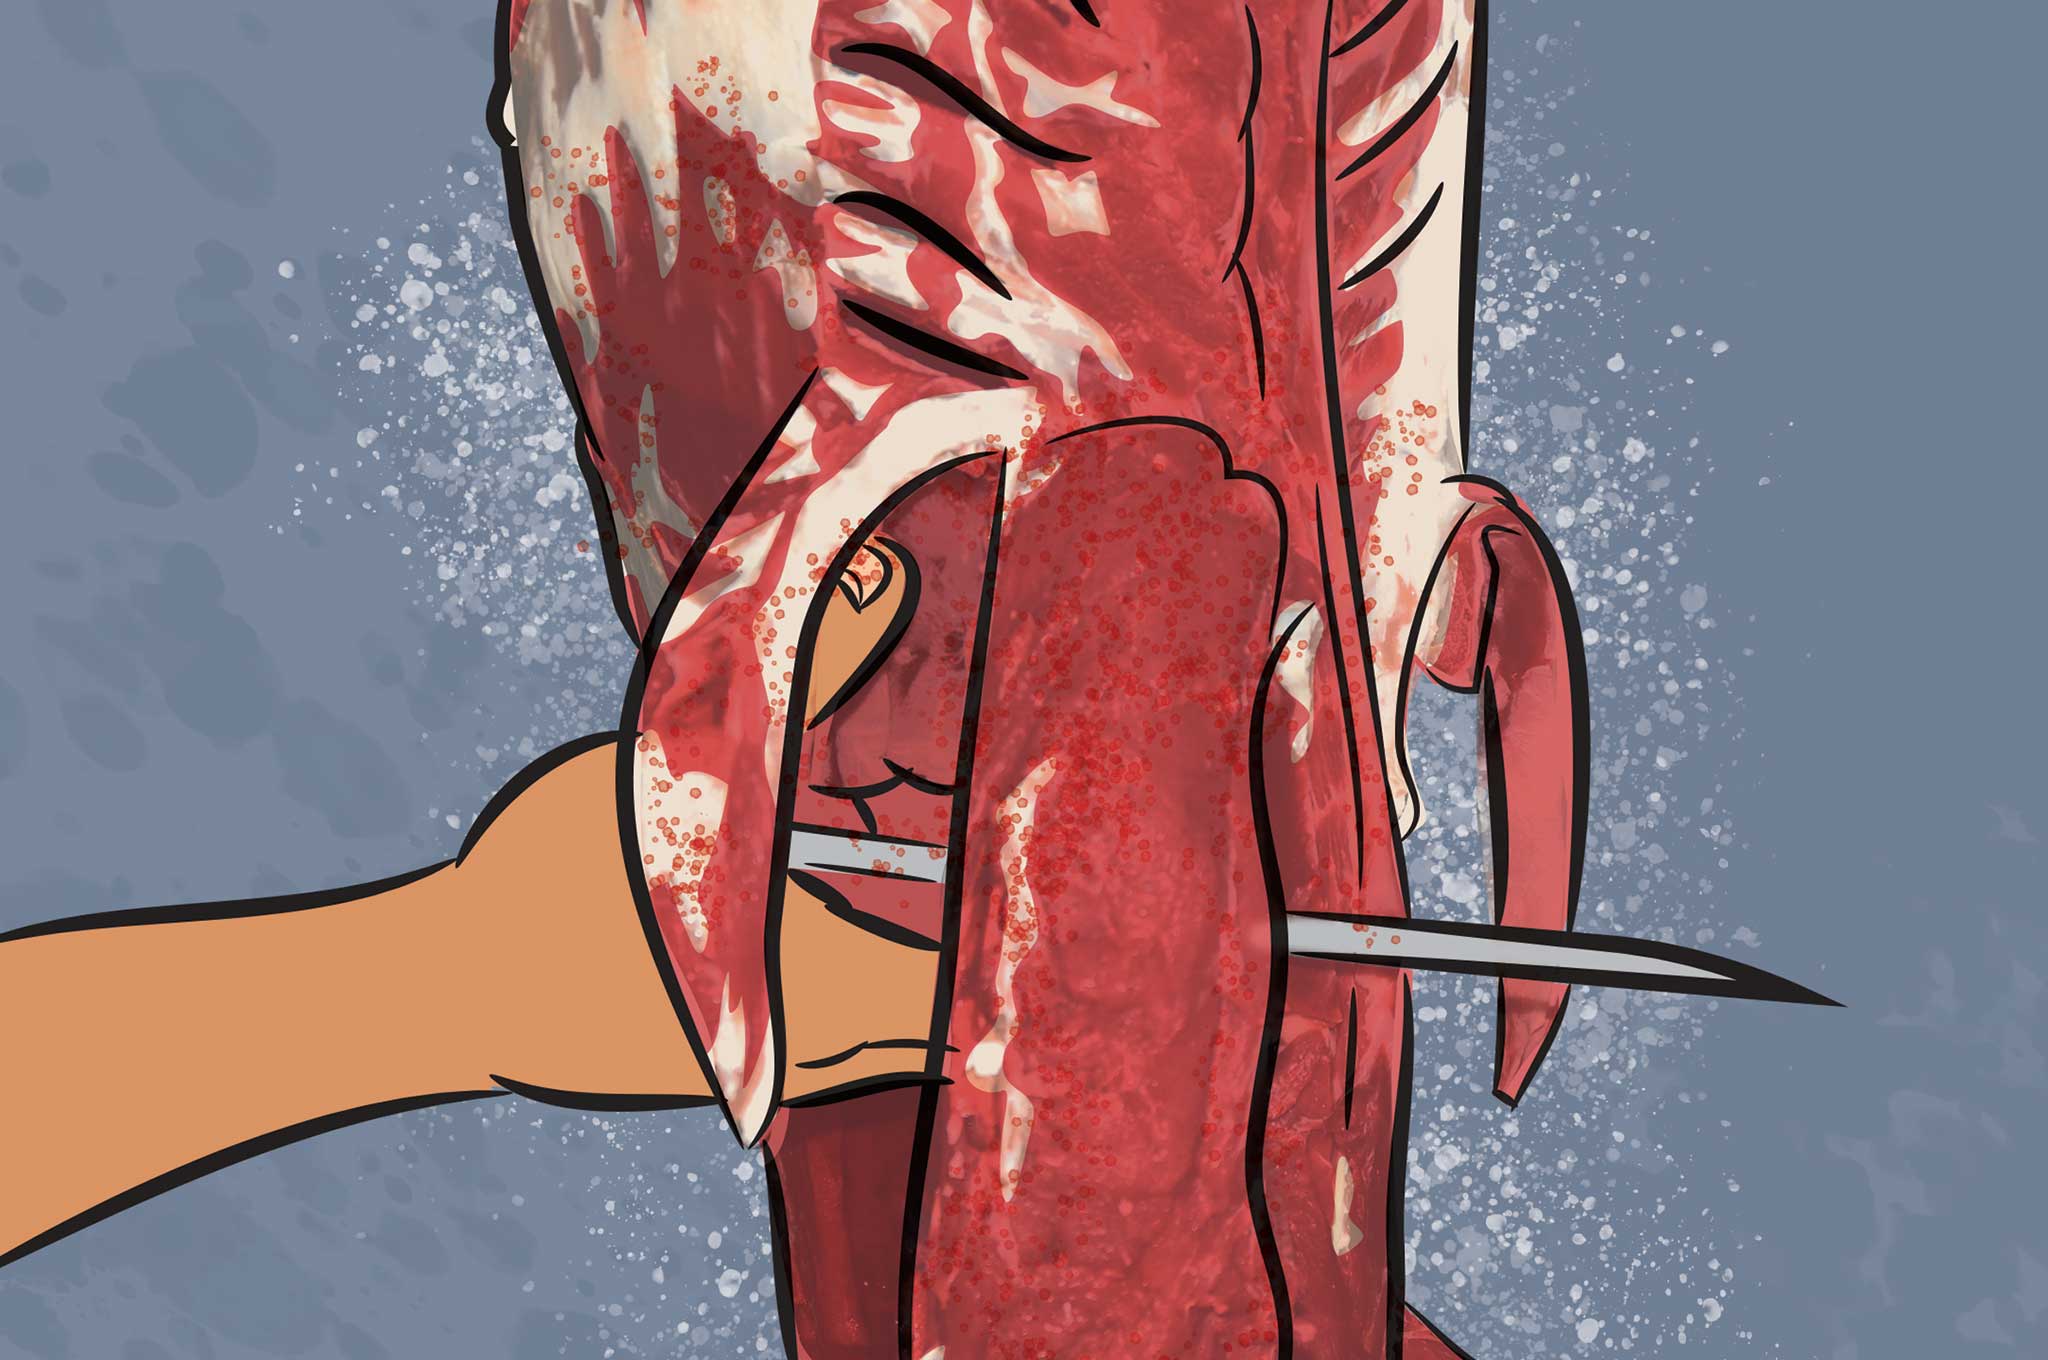
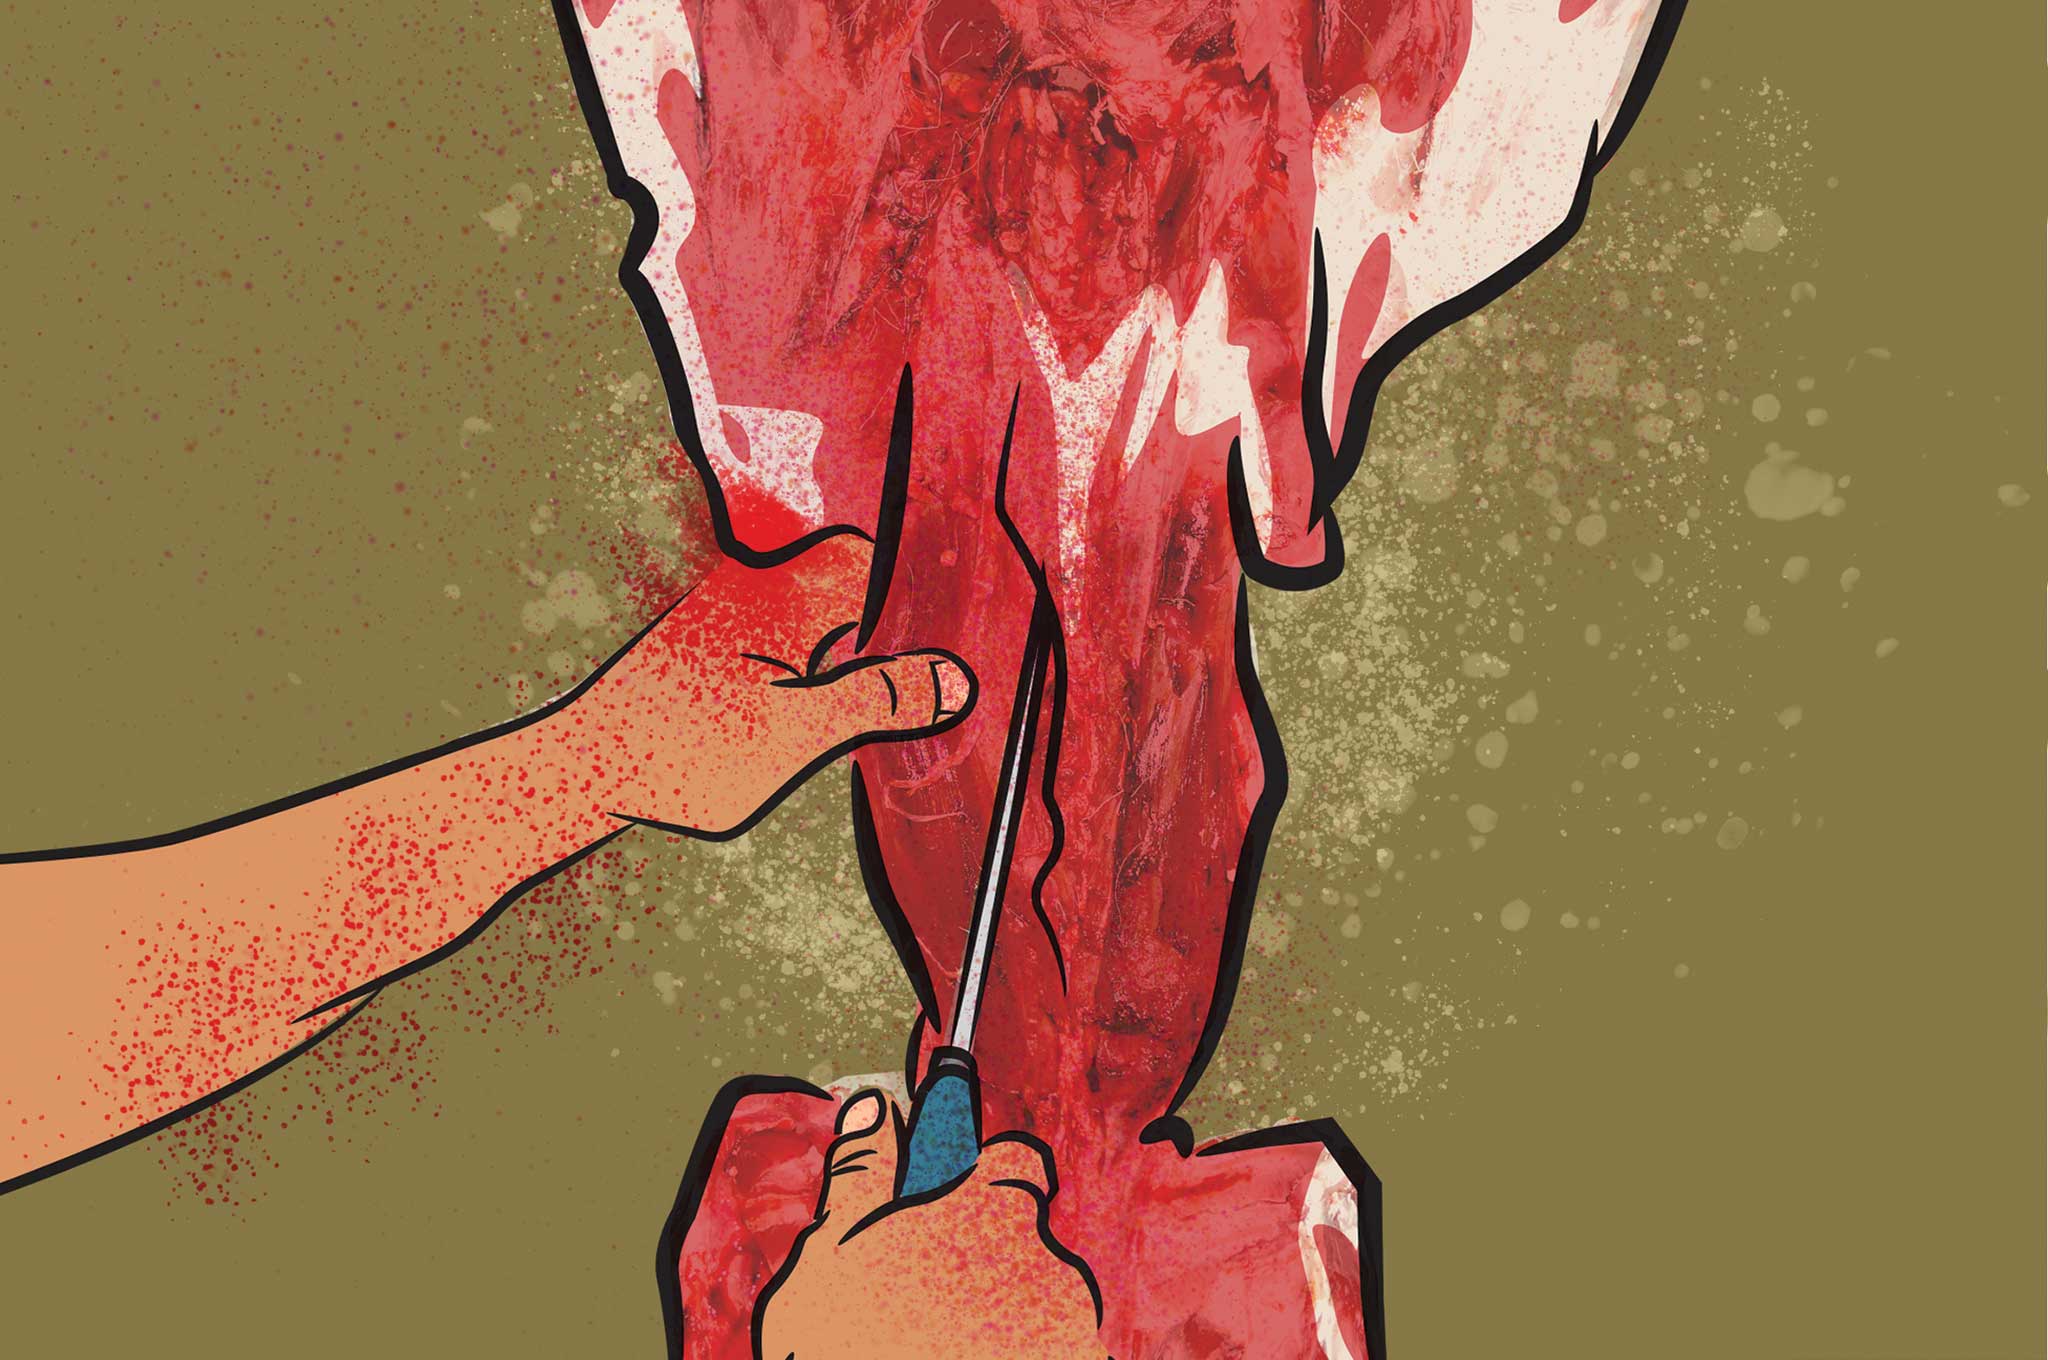
With the animal on its side, make an incision through the hide, along the backbone, and up the neck. When cutting through hide, it’s always best to cut hide to hair, that is, from the inside out. This helps prevent hair from getting on the meat, making it easier to clean and package later. Work the hide down, pulling and cutting as you go. In most instances the hide should pull free if the animal was recently killed and still warm. Start at the front shoulder, peeling the hide back as you would if the animal were hanging.
Work from front to back, peeling the hide and removing major muscle groups as you go. The hide will open like a flap, giving you complete access to the quarters, back straps, making removing the tenderloins easier. After all the meat is removed from one side of the animal, simply roll the animal to the other side and remove the hide and meat in the same order, front to back.
The Aging Process
Aging meat has been done for ages — for good reason. There are two main reasons to age your animal: concentration of flavor and tenderness. As meat ages, the natural enzymes in the meat break down the protein. This is simply a controlled rot, for lack of a better term. For this to happen properly though, you need to have the right conditions or you risk all your meat spoiling.
If you’re dealing with a whole animal and don’t have the luxury of a walk-in cooler, the key is temperature.
This author prefers the temperature to be no higher than 45 degrees F. Of course, if it’s warmer or you can’t hang the entire animal, you can age your animal in the fridge. Place the primal cuts on sheet trays lined with parchment paper then cover with plastic wrap. Age for up to five days if the animal is whole or quartered in the fridge.
Note: When aging meat in its quarters, you’ll lose a bit more yield since more surfaces are exposed and more trimming will be needed.
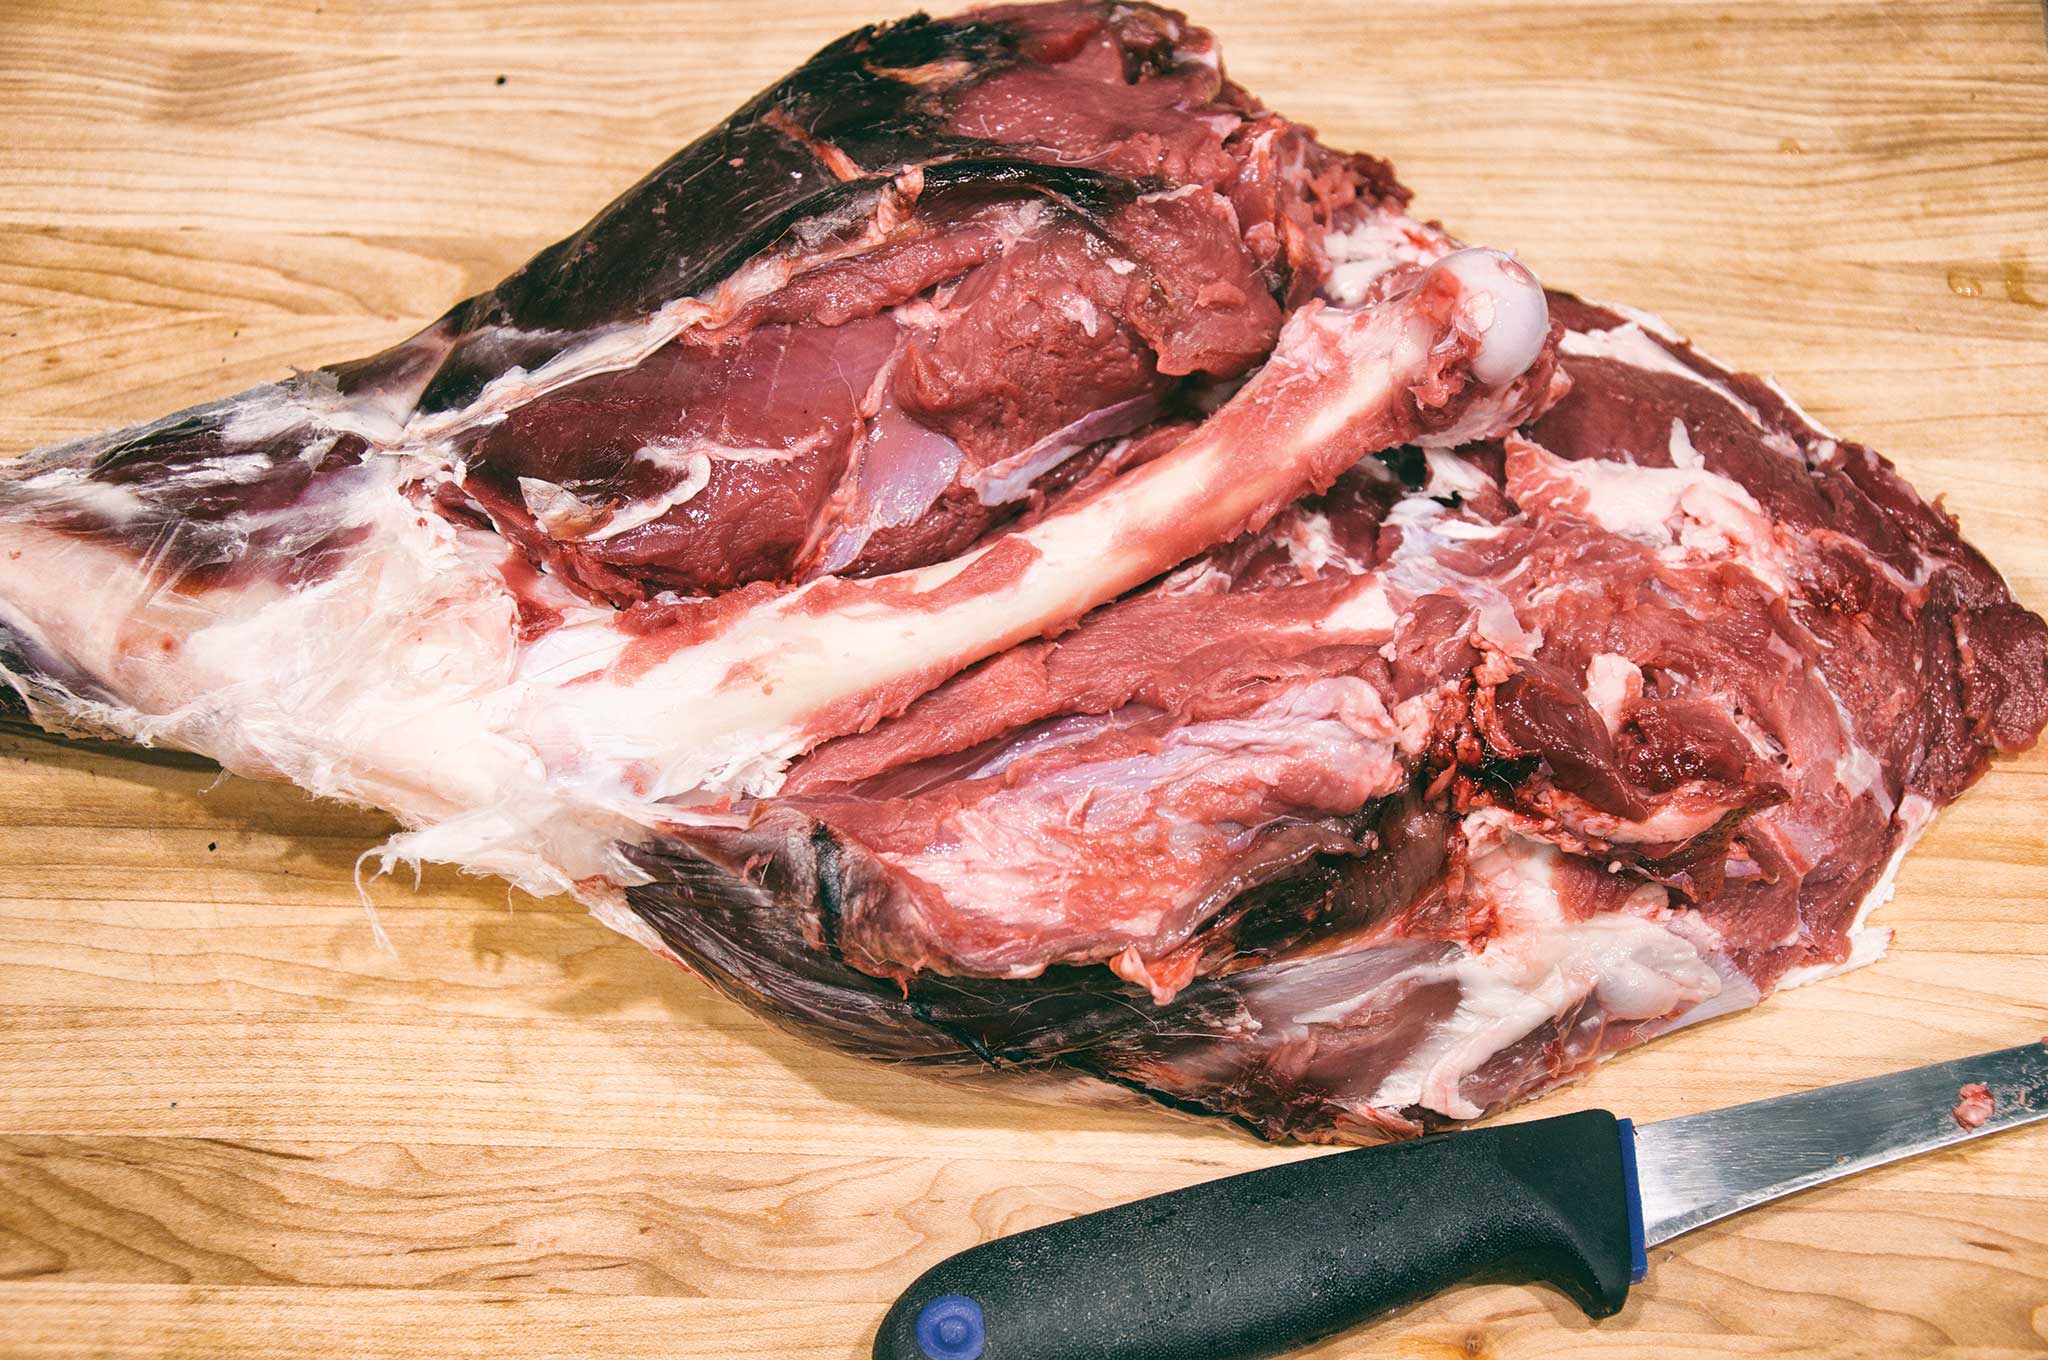
Butcher It
This is a personal choice, and the process will vary due to what’s needed. Some hunters turn both front shoulders into ground meat or sausage and leave the rest for steaks and roasts. Keep the meat in larger cuts, so roasts are fully trimmed and packaged and back straps are portioned in larger pieces rather than cut down to steaks. Larger pieces keep better in the freezer than smaller cuts, resulting in a better product months down the line.
When trimming and boning out the meat, you’ll be left with scraps. You can immediately turn this all to grind, but you might consider keeping a pound of trim set aside to use later in a sausage. It might come in handy to prevent you from over grinding a sausage mix.
Pack It Up
Vacuum-sealing machines have become so prevalent and inexpensive, they’re a no-brainer when packing meat. The clear bags are easily labeled, last longer, and the process is far quicker than wrapping cuts in butcher paper. [Editor’s note: If you decide to get one, see our buyer’s guide in RECOIL OFFGRID Issue 10 for some shopping advice.]
Industrial meat and even internet-ordered groceries mean we’re growing even further from the roots of the food chain. At least, if you’re reading this, you’ve considered the steps to eviscerate, butcher, and package your own game.
For some, taking game to a local processor is the easier route. But you may find that resource isn’t an option if the world goes to pot, so these skills will be valuable. You’ll have to rely on yourself to do the dirty work of a trade many people have long taken for granted. If the need arises in a survival situation, you’ll be much closer to self-sufficiency.
About the Author
Matthew Cosenzo is a graduate of The Culinary Institute of America, focusing heavily on field-to-table cooking. His passion for the outdoors combined with his approach to game creates a full circle experience. Cosenzo is always looking for the next challenge — be it on the range or in the field — to help him become a more efficient and educated hunter.
More From Issue 22
Don’t miss essential survival insights—sign up for Recoil Offgrid’s free newsletter today!
- EDC Tactical Pen Buyer’s Guide
- OG Buyer’s Guide: Puffy Jackets & The Layering Game
- What If You’re Caught in a Tornado?
- Megan Hine Q&A – Rethinking Survival
- Gas Masks 101
- Inside a Prepper’s Bug-Out Property
- Issue 22 Gear Up
- Prepping for and Preventing Winter Weight Gain
- Titan Ready USA HERC XXL Candle-Lit Oven Review
- EDC of the Survival Experts – Pocket Dump
- Field Dressing for Survivalists
- Aiming at Entry-Level AR-15s for Survivalists
Read articles from the next issue of Recoil Offgrid: Issue 23
Read articles from the previous issue of Recoil Offgrid: Issue 21
Check out our other publications on the web: Recoil | Gun Digest | Blade | RecoilTV | RECOILtv (YouTube)
Editor’s Note: This article has been modified from its original version for the web.
