In This Article
You fled your home several days ago when you received word of mass rioting heading your way. You haven’t eaten since losing your bug-out bag to a horde of attackers two days ago, but you managed to get away with a few cuts and bruises — and most importantly, your life. You’re cold, tired, hungry… and still at least 20 miles from your bug-out location.
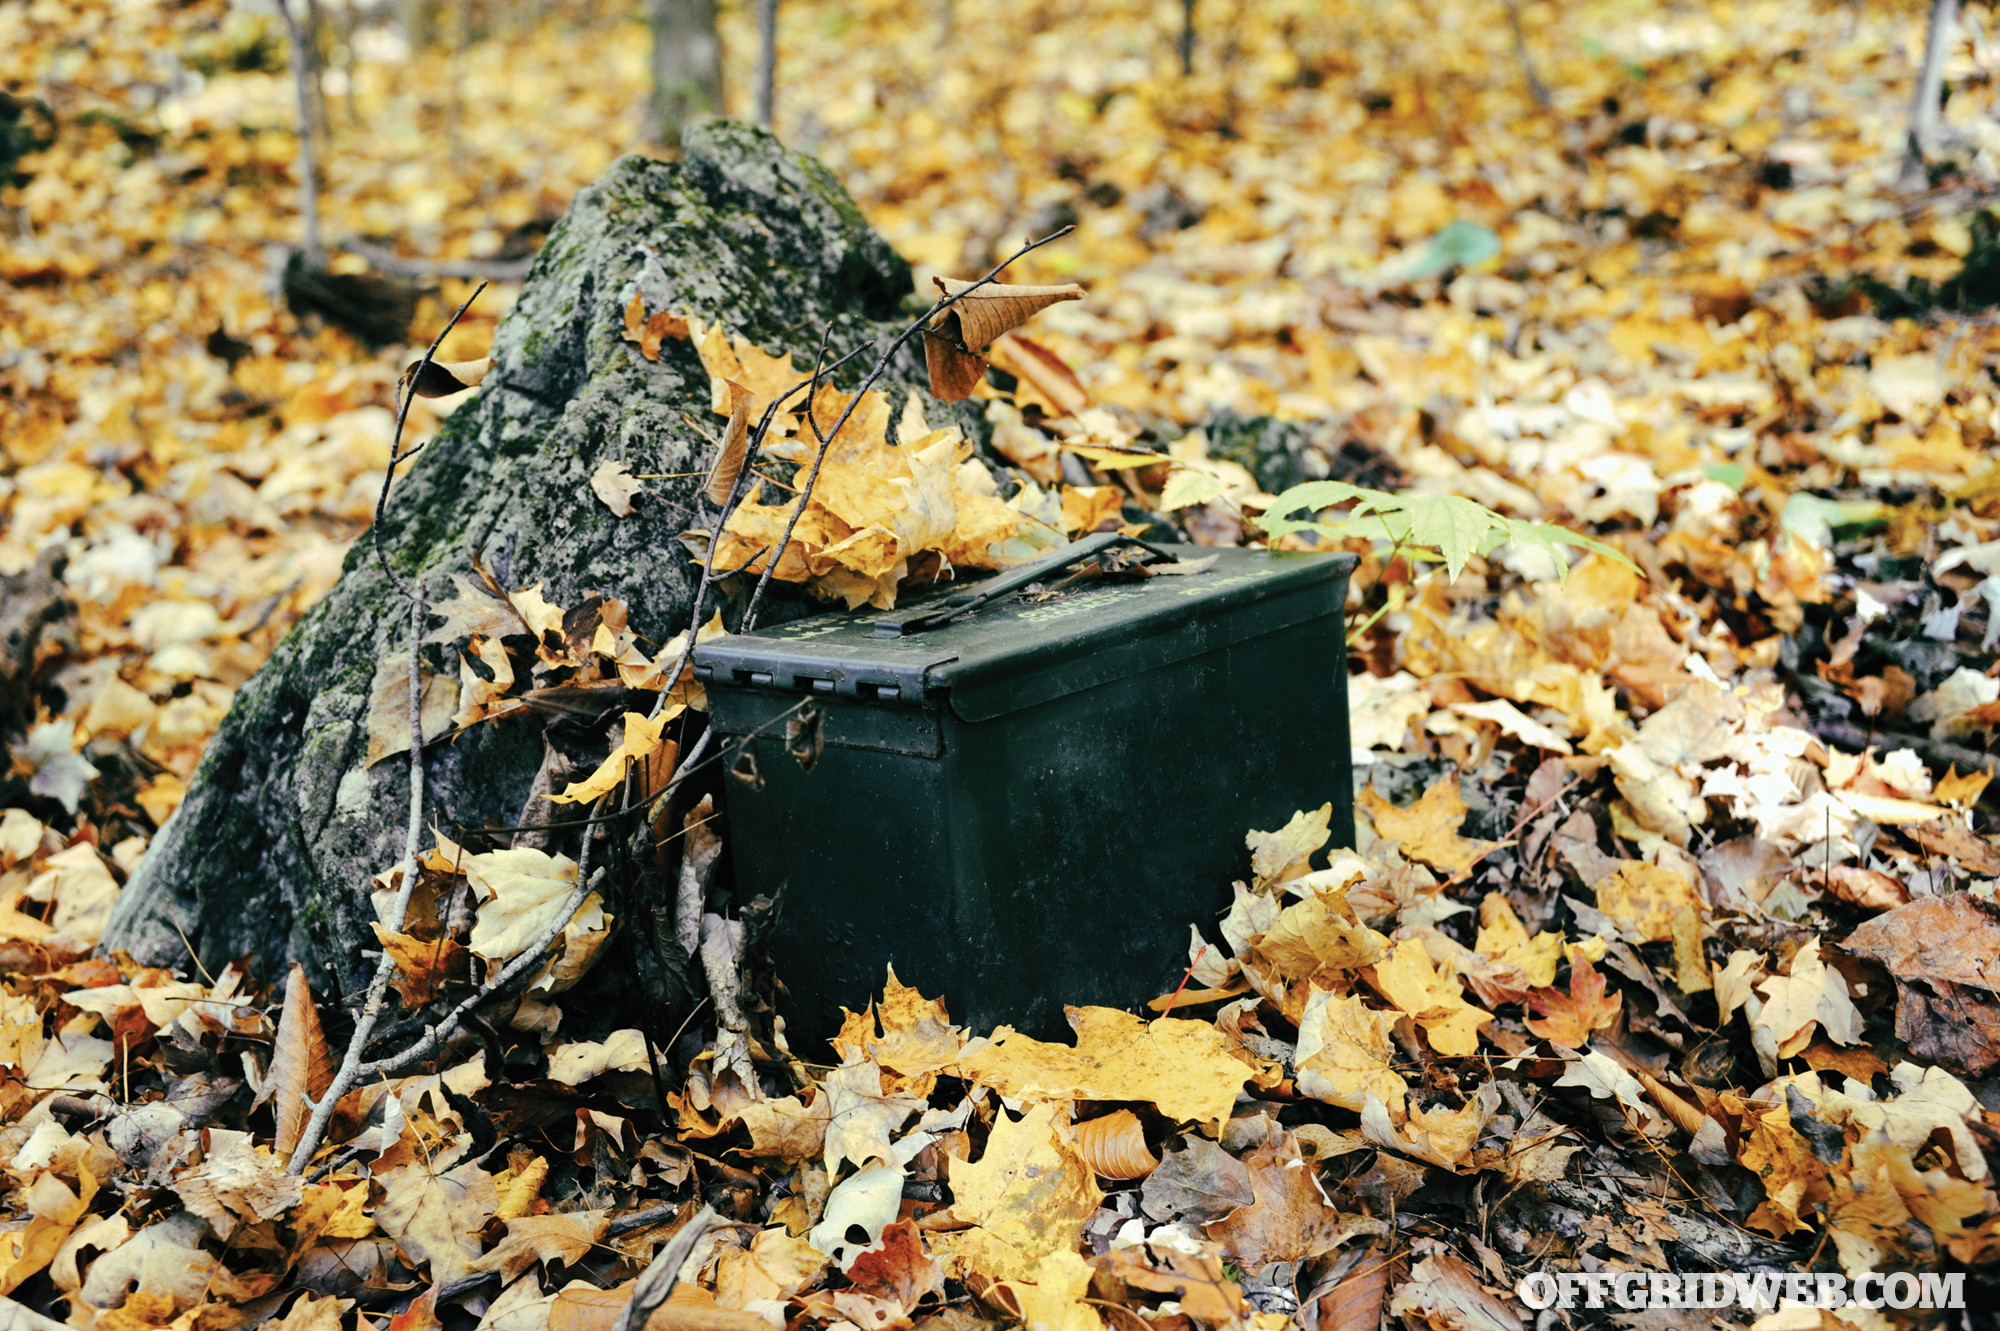
As you crest the next hill, your mood improves as you see how close you are to that proverbial X that marks the spot. Within an hour, you’ve dug up one of the caches you squirreled away along your planned route, and if your upturn of luck continues, you’ll recover the rest and replenish your supplies. You now have water boiling over a fire, almost ready to pour into a bag of freeze-dried food. You’re warm, dry, and just about ready to tackle the last leg of your journey. Morale is improving, energy is returning, and gratitude is at an all-time high because you’d taken the time to bury these important items. Who knows what’s become of those who thought they’d never encounter this situation and never bothered to stash some lifesaving tools.
A cache, pronounced “cash,” not “cash-ay,” is simply a collection of gear and supplies you’ve hidden away for future use. For the last few decades, they’ve traditionally been made using PVC tubing of various diameters. I was first introduced to the concept back in the mid-1980s in a book by old-time survivalist Ragnar Benson.
Other common cache containers include ammo cans and 5-gallon plastic buckets. The popularity of geocaching has led to the creation of many types of purpose-built cache containers in every imaginable size and shape, from small ones the size of a 35mm film canister to caches resembling a log.
The size of the cache container dictates what you can stash inside. Fortunately, many of the high-priority items we’ll want to cache aren’t that large.
What Can a Survival Cache Contain?
Shelter
One of the first survival needs you may need to address is protection from the elements. If you read the news recently, we had snow in all 50 states at the same time. In other words, don’t overlook the importance of staying warm. Items such as an emergency blanket take up very little space in a cache. A bivvy may be beneficial as well. A wool hat, cold-weather gloves, and a shemagh will help if you’re forced to bug out in the cold months.
![]()
Space permitting, consider tossing in a small tarp and cordage, such as tarred bank line or paracord. This will allow you to construct an expedient shelter to protect you from rain, wind, or snow. An extra pair of socks may also prove to be something you never thought you’d be so excited to see again, especially if you’re desperate for warm, dry clothing.
Water
Use a two-pronged approach to meeting hydration needs with your cache. A variety of companies make water pouches. You often see these in first-aid kits; they’re small, easily storable, and filled with purified water. Most are rated to last a few years. Depending on the company’s ratings, the pouches usually won’t burst if they freeze, though you should be careful to bury your cache well below the frost line anyway.
Cache enough water pouches to prepare at least a couple of meals as well as to hydrate you and those you expect to be with you. Two pouches equal one cup, and there are 16 cups in a gallon. Health authorities commonly recommend eight 8-ounce glasses (or a ½ gallon) per person, each day. It may sound like a daunting task to cache this much water, but it’s all about prioritizing — you’ll be thankful you did if it means the difference between life and death.
In addition to the water pouches, the second prong to fulfill your hydration needs would be to cache a small water filter and collapsible container. Check out RECOIL OFFGRID Issue 15 for our buyer’s guide on water filters. A receptacle for water, like the Aqua-Pouch from Survival Resources, folds flat, and takes up almost no space in a cache, but will hold a full liter of water when deployed.
Food
Storing food items in a cache can be somewhat problematic as you can’t rotate the supply like you would at home or in your bug-out bag, but that doesn’t mean you’re totally without options. What you put in your cache might be there for years, and it’s up to you to be cognizant of when it was stored and how long it’ll last buried.
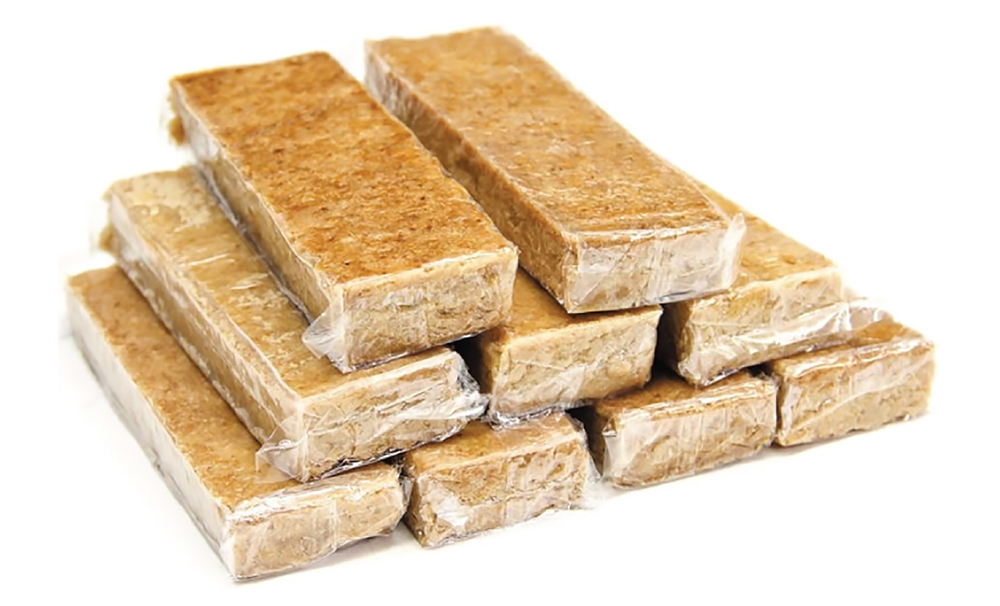
Stick with dehydrated or freeze-dried options. These require nothing more than hot water to prepare, and you can rehydrate the food right in the pouch. The amount of water needed is noted on the pouch, typically one or two cups. It isn’t absolutely necessary to use hot water. Cold water roughly doubles the time needed to rehydrate the food, but hot water does improve the taste considerably and won’t decrease your core temperature.
Depending on the size of your cache, a metal pot large enough to boil water as well as utensils could also be stored. Check out our portable utensil buyer’s guide in Issue 23.
Fire
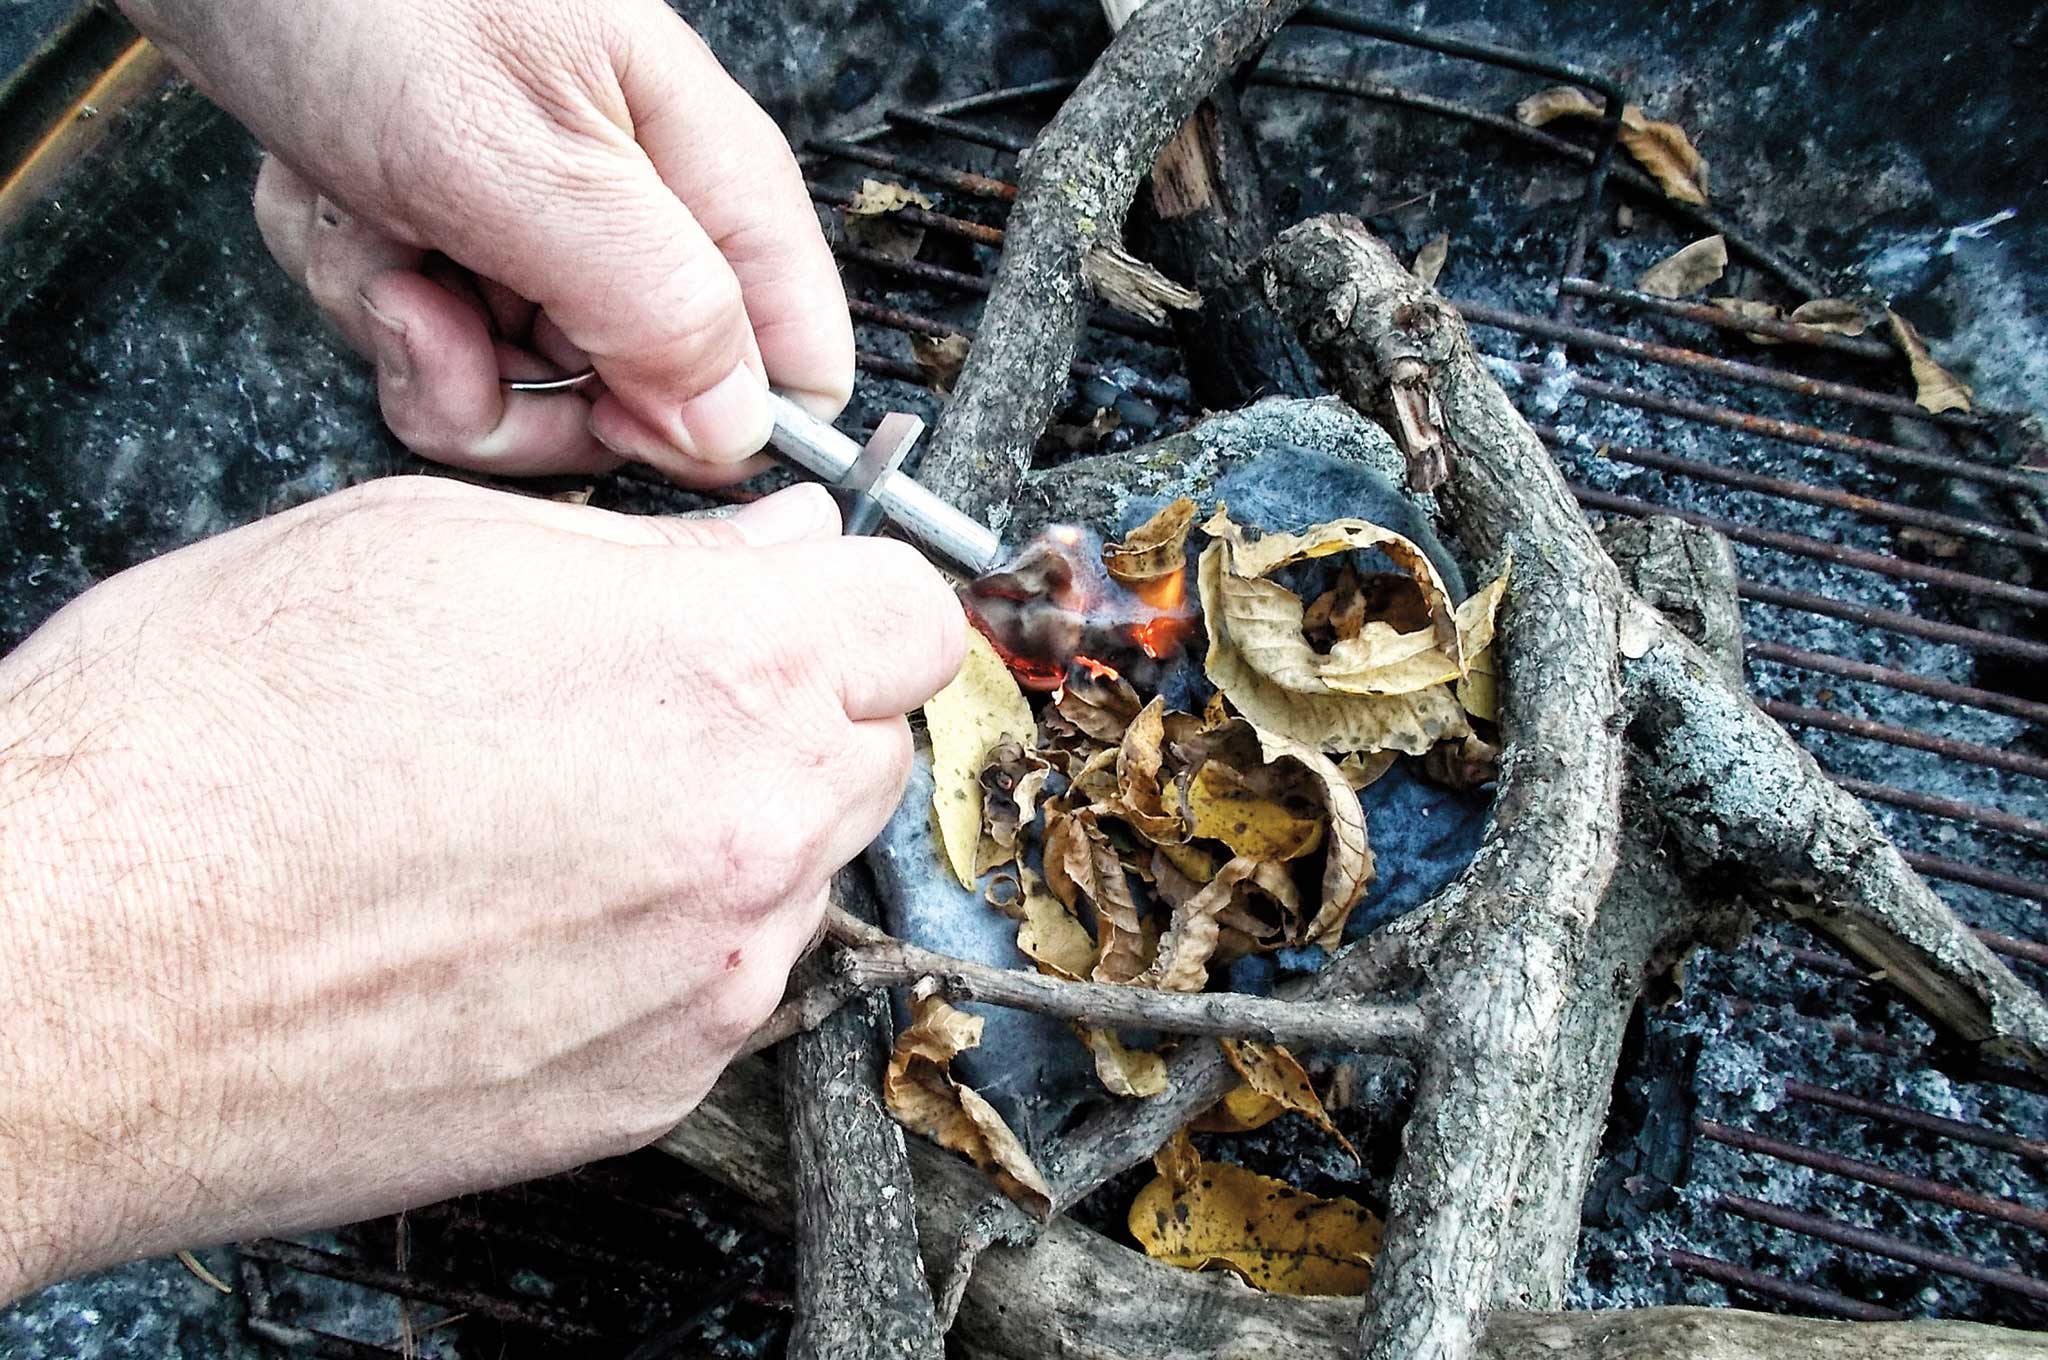
Fire is life. You’ll need a way to heat the water for your freeze-dried vittles, stay warm, dry out, and just generally keep your morale up. Store multiple ways to light a fire. Options include good quality disposable lighters like BICs, a waterproof container of strike-anywhere matches, and a ferrocerium rod with a striker. Waterproof matches should also be considered. Bottom line — have multiple methods to start a fire stored in case one unexpectedly fails.
Packing lighters in a sealed plastic bag will help reduce any chance of corrosion if your cache leaks, or having fuel from the lighters leak and affect other stored items.
In addition, pack tinder of your choice in a sealed container within the cache so it stays dry. Instafire is a great store-bought option, as are WetFire Cubes. A common DIY option is cotton balls smeared with petroleum jelly. You won’t want to deal with finding dry tinder if it’s pouring rain out.
Tools
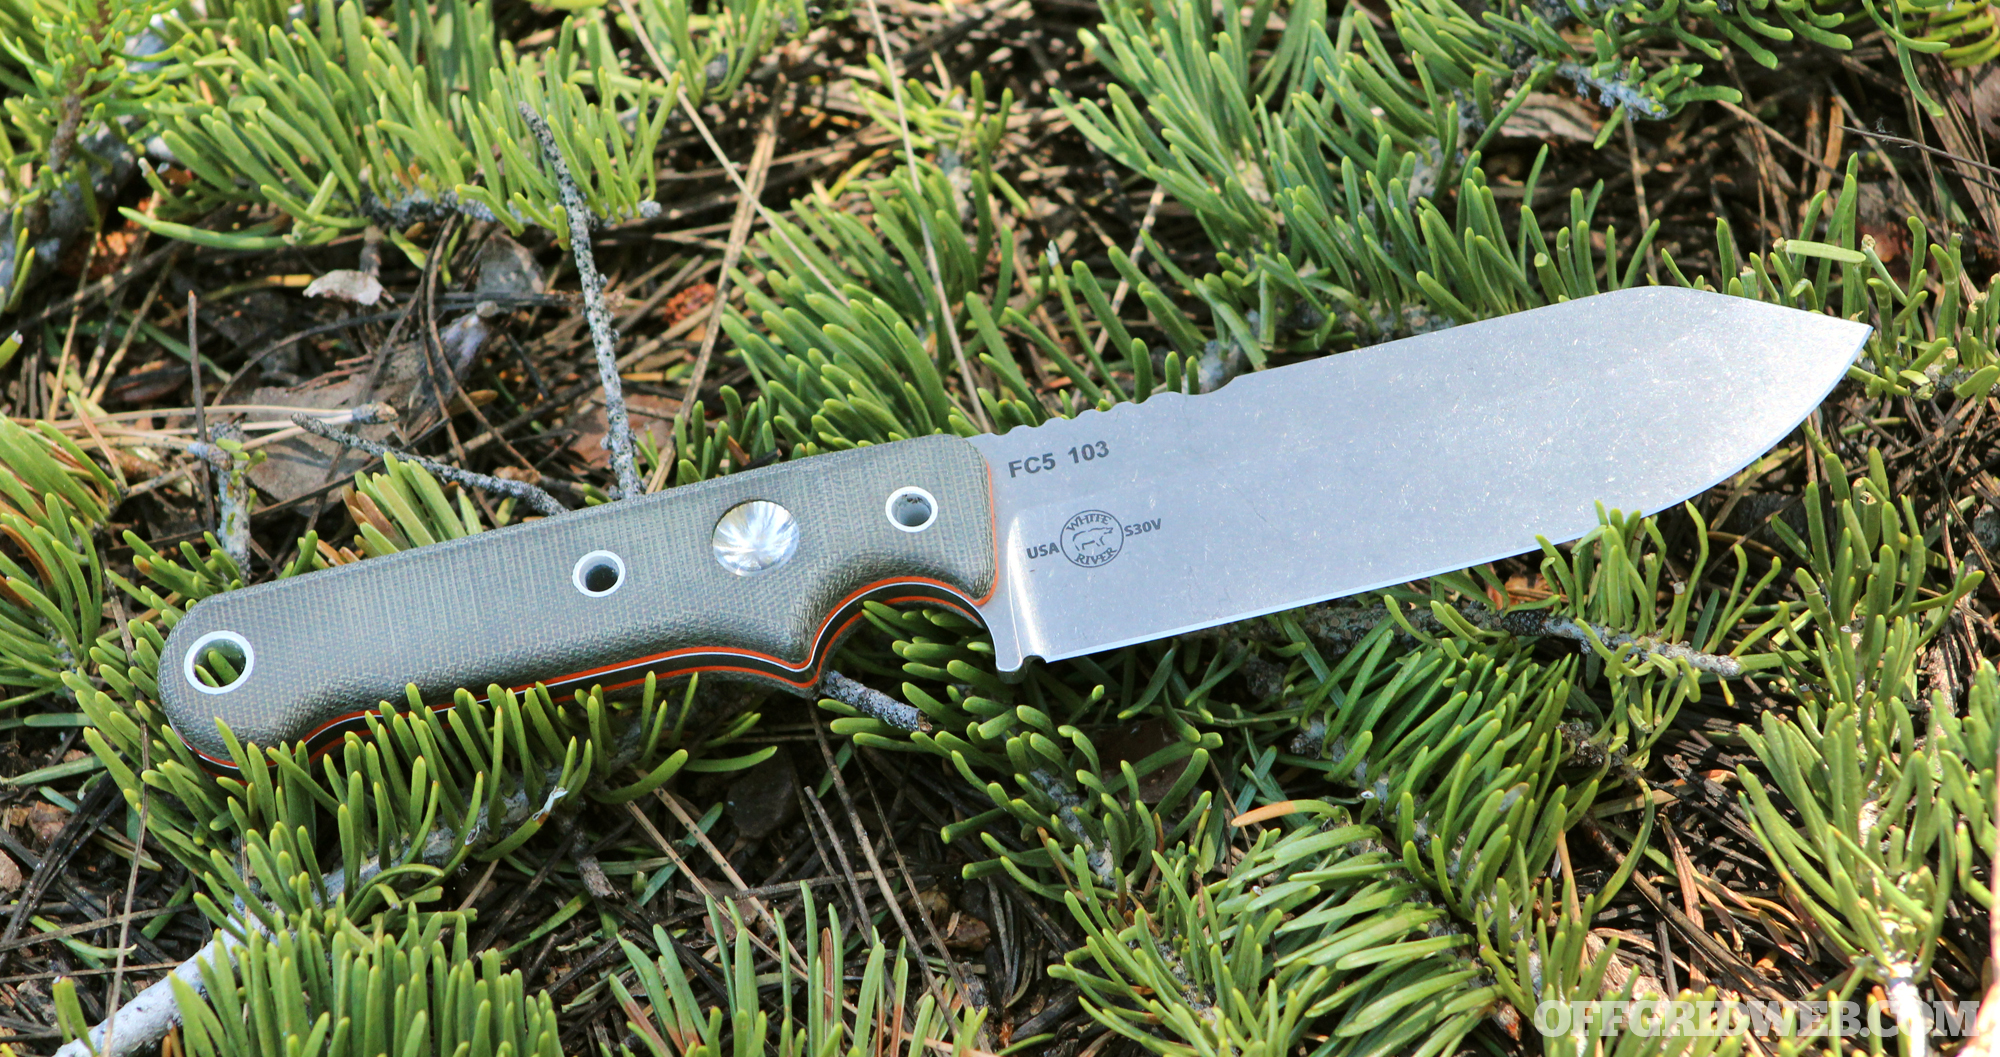
A good knife is one of your most valuable assets in a survival situation. Got a few? Stash one in each cache you create. Lighting is also beneficial, so think about storing some flashlights in your caches. Store the batteries separately from the light. Toss in a few chem lights as well. They glow very bright and don’t require batteries to operate; simply crack and shake.
First Aid
You, or someone with you, might very well be in rough shape when it comes time to access the cache. Adhesive bandages, gauze pads, and other basic first-aid items should store just fine. As for medications, if they’re kept cool and dry, most remedies will remain viable for many years, even after the stamped or printed expiration date on the package. Exceptions to this include nitroglycerin and insulin. For each medication you plan to include in the cache, do your homework and talk to a pharmacist or your doctor to determine just how long they’ll remain useful and under what conditions they’ll become toxic or ineffective.
You can also use a vacuum sealer (see Issue 10) to seal and protect items that you store in your cache. Items in vacuum sealed bags aren’t too pliable once they’re sealed, so give some prior thought to how you group your items and consider trimming bags to fit your items.
A cache is a great way to supplement your bug-out bag and other gear. Like most of our survival supplies, we hope we’ll never truly need them, but it’s reassuring to know it’s there.
Making Your DIY Survival Cache
Creating a PVC Pipe Storage Solution
Guide by Ryan Houtekamer
There are many reasons why you’d want to build a watertight storage container. Here we walk you through one method to make your own, small cache.
Tools and Parts Required
- Tape
- ABS or PVC pipe cement
- Handsaw
- Thick grease
- 2x plastic bags
- Test plug
- Sandpaper
- PVC or ABS pipe of required diameter
- PVC or ABS pipe endcap
- String/paracord
- Desiccant
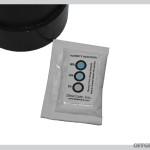
A few of the required materials are pictured above: 1. 1-foot ABS pipe 2. Desiccant package 3. ABS cement 4. Test Plug
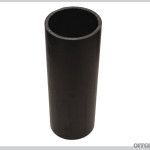
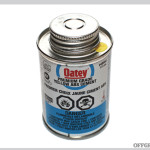
Your first trip should be to the hardware store to pick up some ABS or PVC pipe. We chose 4-inch-diameter ABS. It has a fair amount of space to store supplies, is easy to bury, and fits easily in hand or a bag. You’ll also need an endcap, test plug, and some PVC or ABS cement.
Black tube is ABS; white is PVC. For all intents and purposes for building a cache, you can’t go wrong with either. ABS is said to be a bit stronger and able to better withstand cold, but it’s really more a matter of using what’s available and large enough to store the contents you wish to cache.
These pipe segments are the main components of your storage system. You can cut or have a length of pipe cut to your preferred size at the hardware store, but for this cache project, we focus on a 1-foot length of ABS pipe.
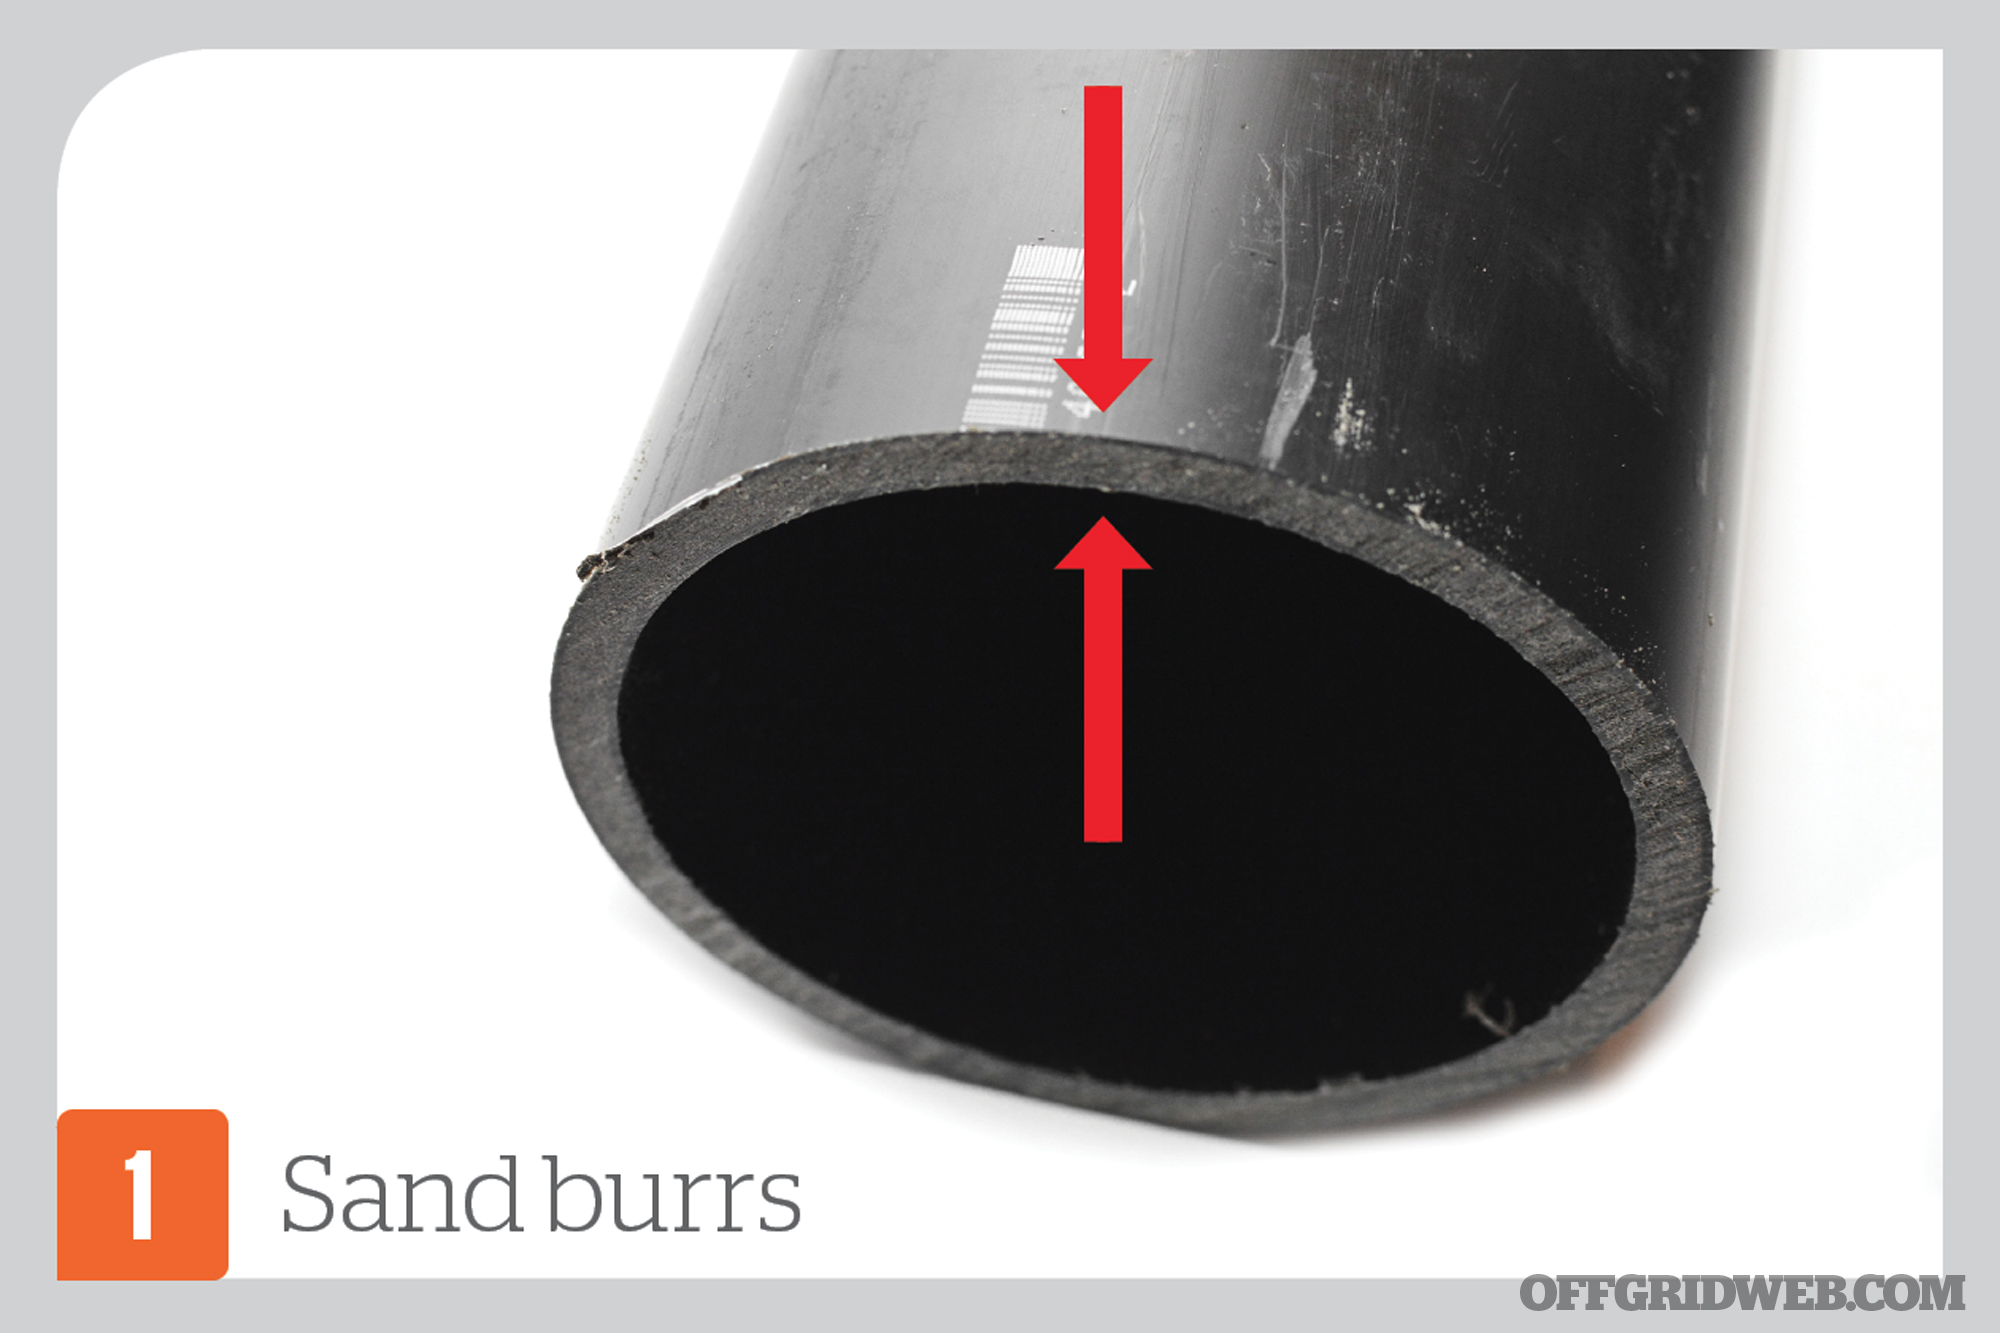
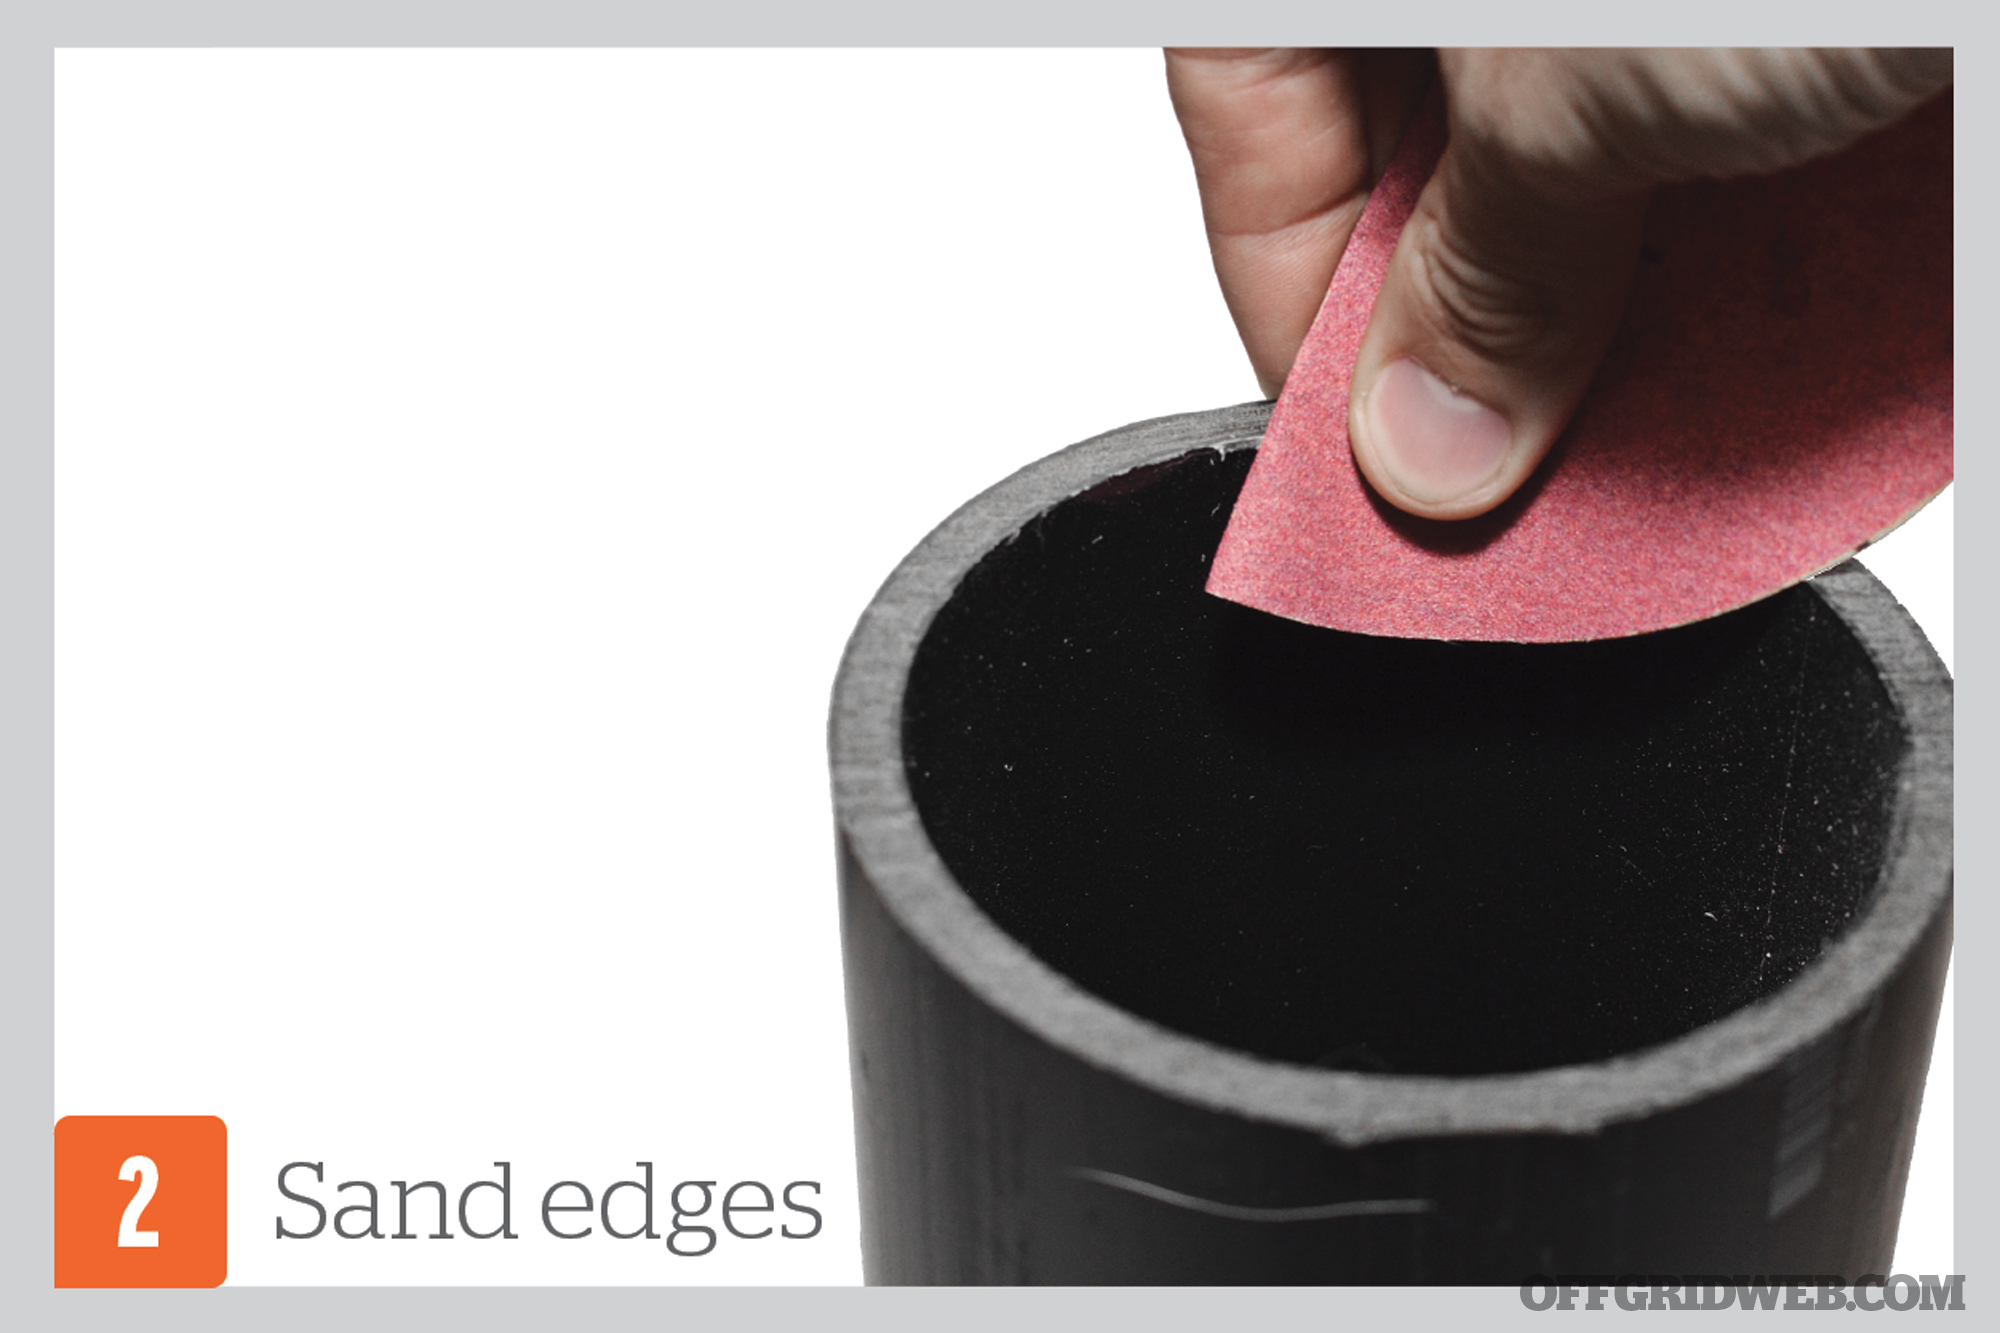
You can cut it yourself using a chop saw or handsaw. The taller your blade, the straighter the cut you’ll get. A hacksaw will tend to wander when you make the cut, so try using a regular handsaw for wood. Once you’ve cut your pipe, clean the edges of the pipe to ensure it seats well. Run a fine-toothed file or a piece of sandpaper over the outside and inside edge to clean it up. This will get rid of any burrs from cutting it and allow you to get a better seal.
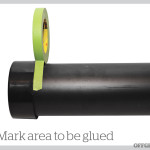
Next, test-fit your endcap onto the pipe and use tape to mark where it ends on the tube. This isn’t obligatory, but it ensures that you cover the entire area of overlap with adhesive. When taping something that you plan to remove, double over the end of the tape to make a small tab. This makes it much easier to pull off.

Take the cap off and run the brush from your can of cement around the inside edges of the cap. Do the same for the outside surface above the tape on the pipe. Don’t worry about getting adhesive on the tape since you’ll pull it off later. Remove the tape and slide the cap on. Give the cap a quarter turn, as this will help the adhesive spread out.

With the bottom capped off, wait until the cement has dried and start placing items inside the tube. The first thing you should put in the tube is the desiccant pack. This will help control any moisture inside the pipe. If you can’t procure a desiccant, you can improvise with a small sock filled with cat litter.
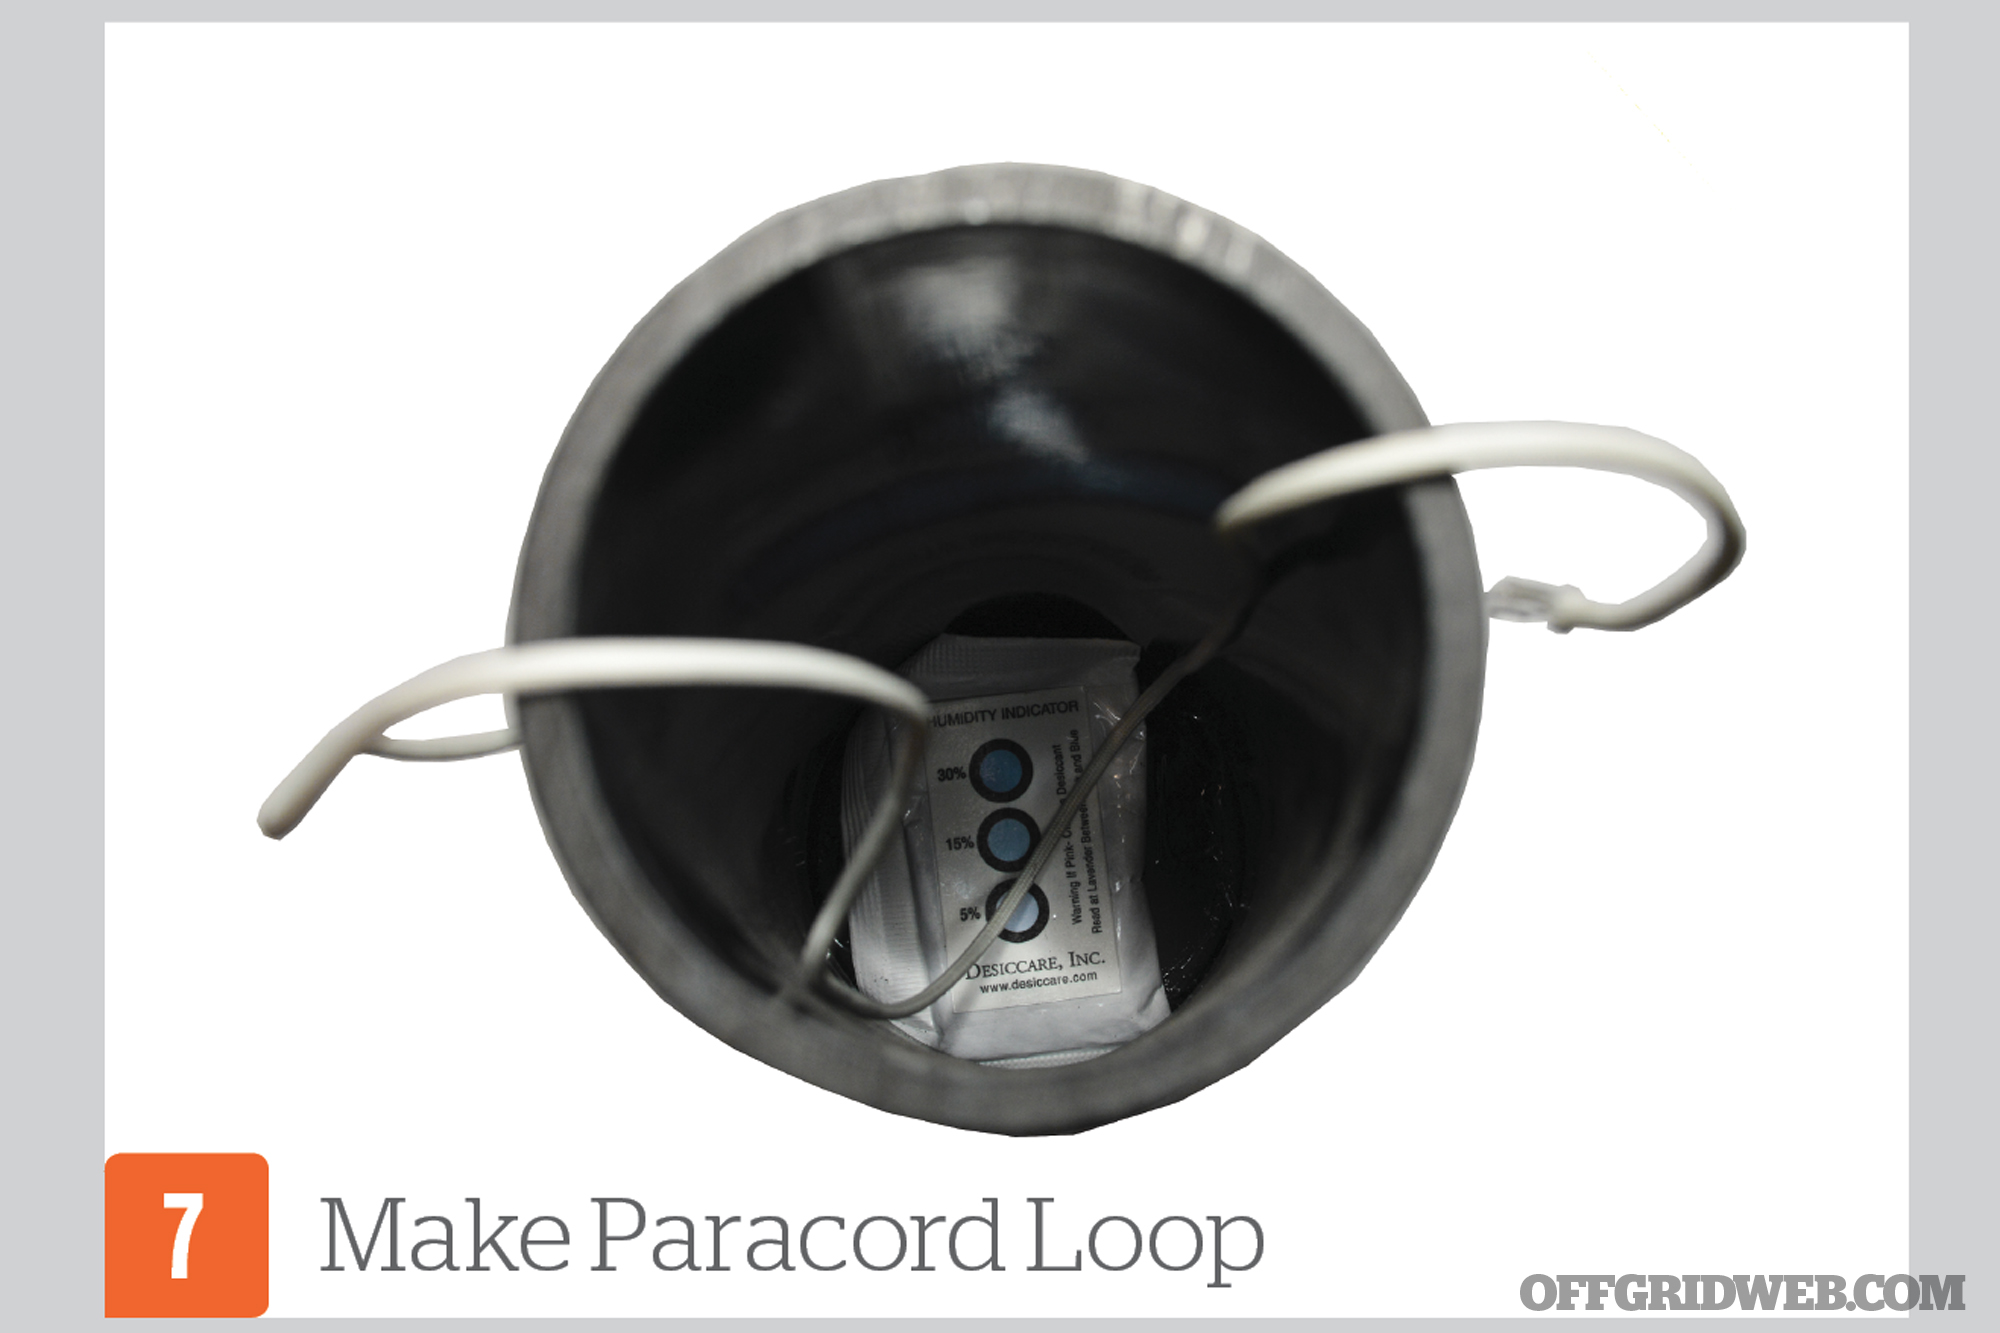
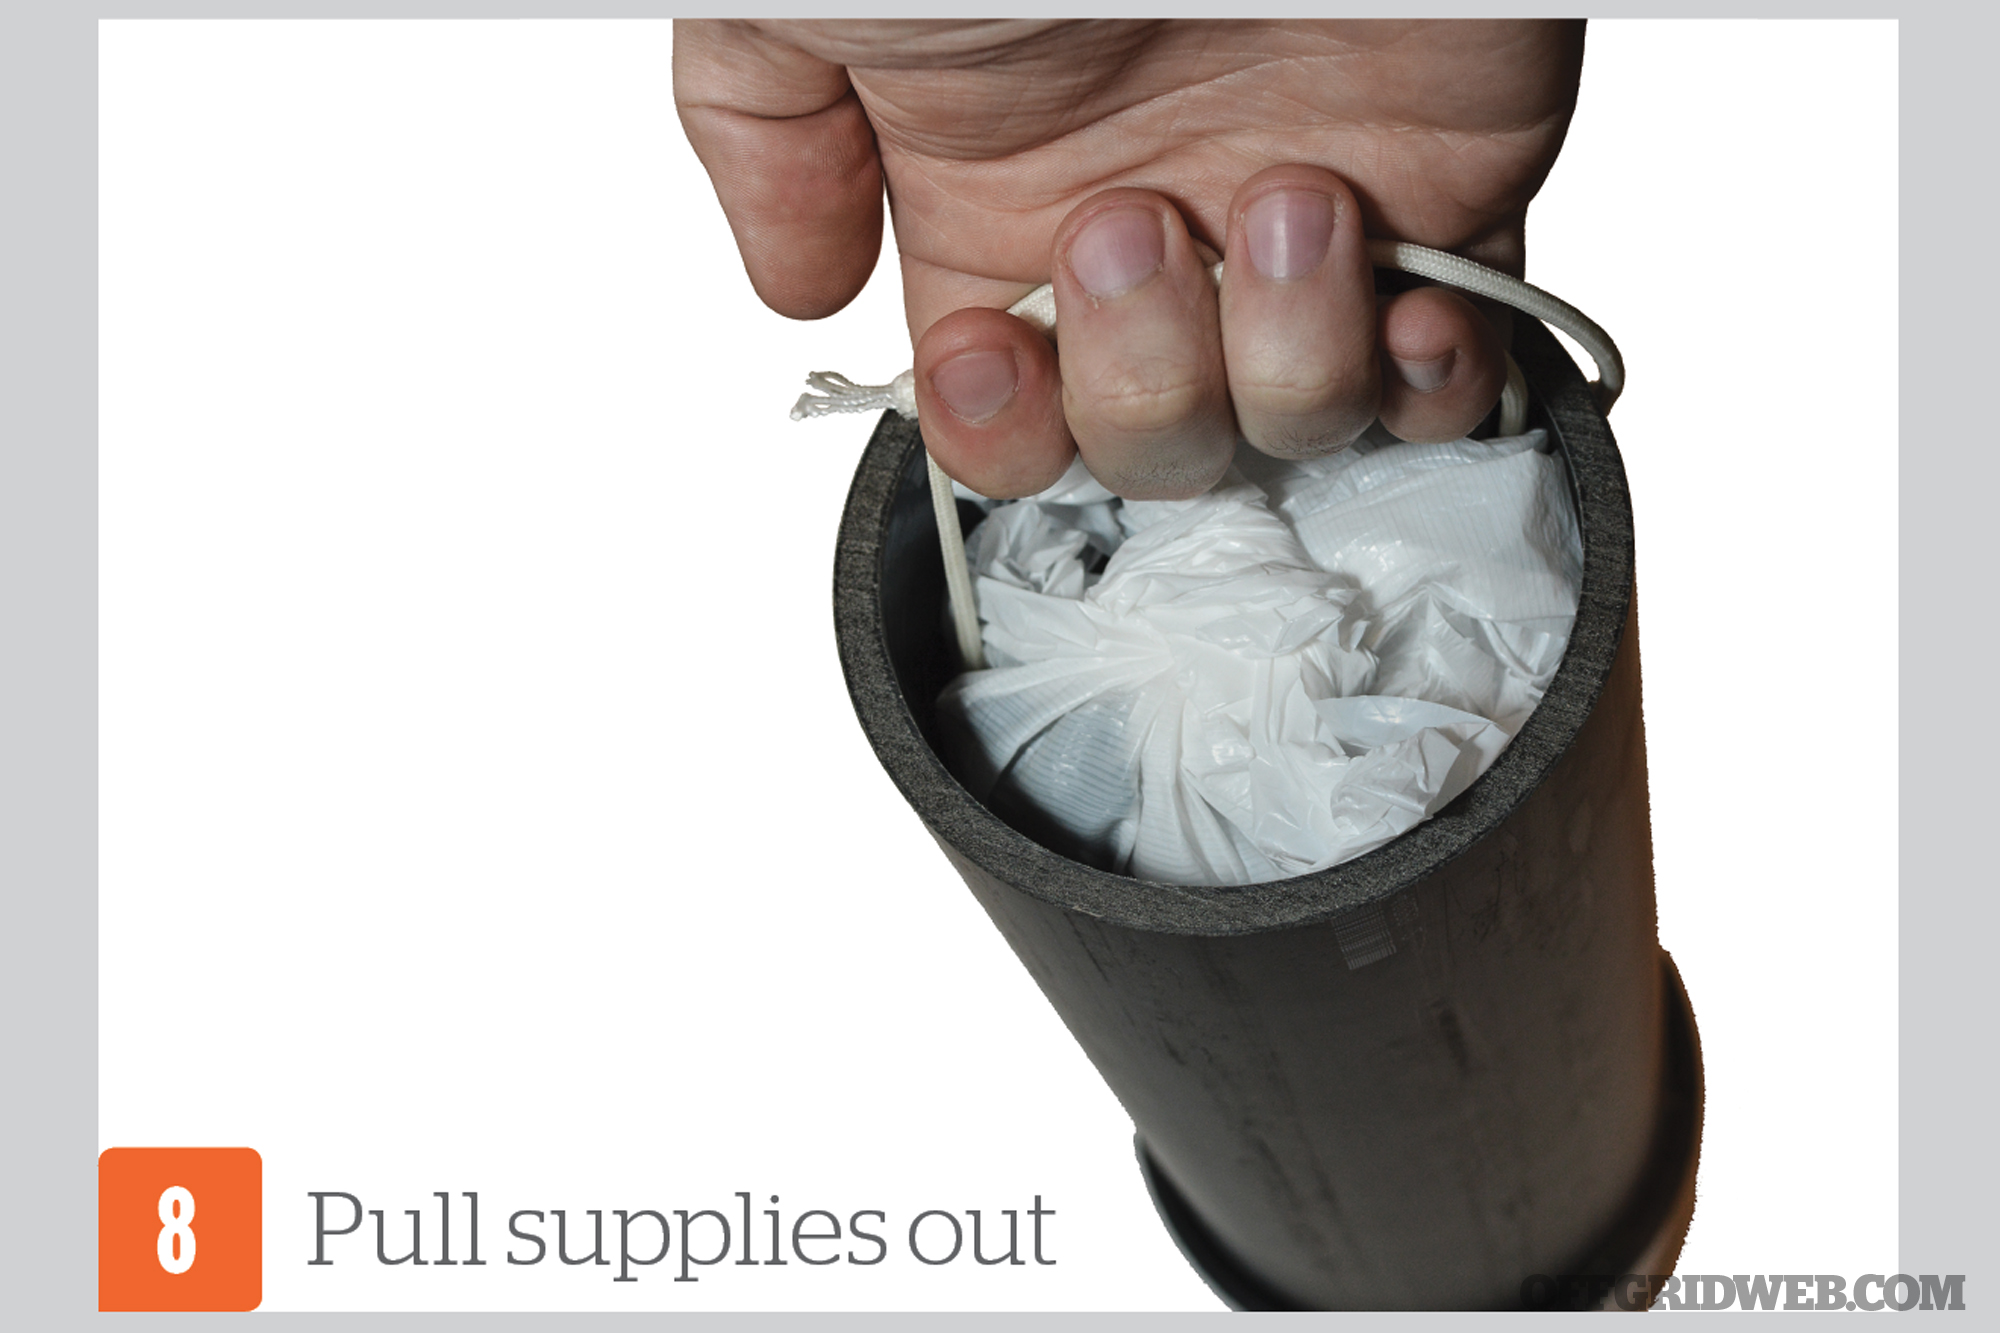
This next part is optional, but we definitely recommend it. Place your items in a bag and wrap a loop of cord around them, which will make much easier to pull the items out of the tube later (think of how some tubes of survival matches are packaged). We also toss another desiccant pack in the bag. Never hurts to ensure your contents stay dry.
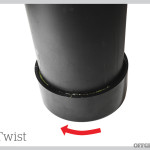
With your desired items stuffed in the tube, we need to seal it from the elements. This is where the test plug comes in. You may have seen other caches constructed using a screw-on PVC endcap. The issue with this method that you might need a wrench to open it. The test plug uses a butterfly nut that you can screw with your fingers to get a seal.
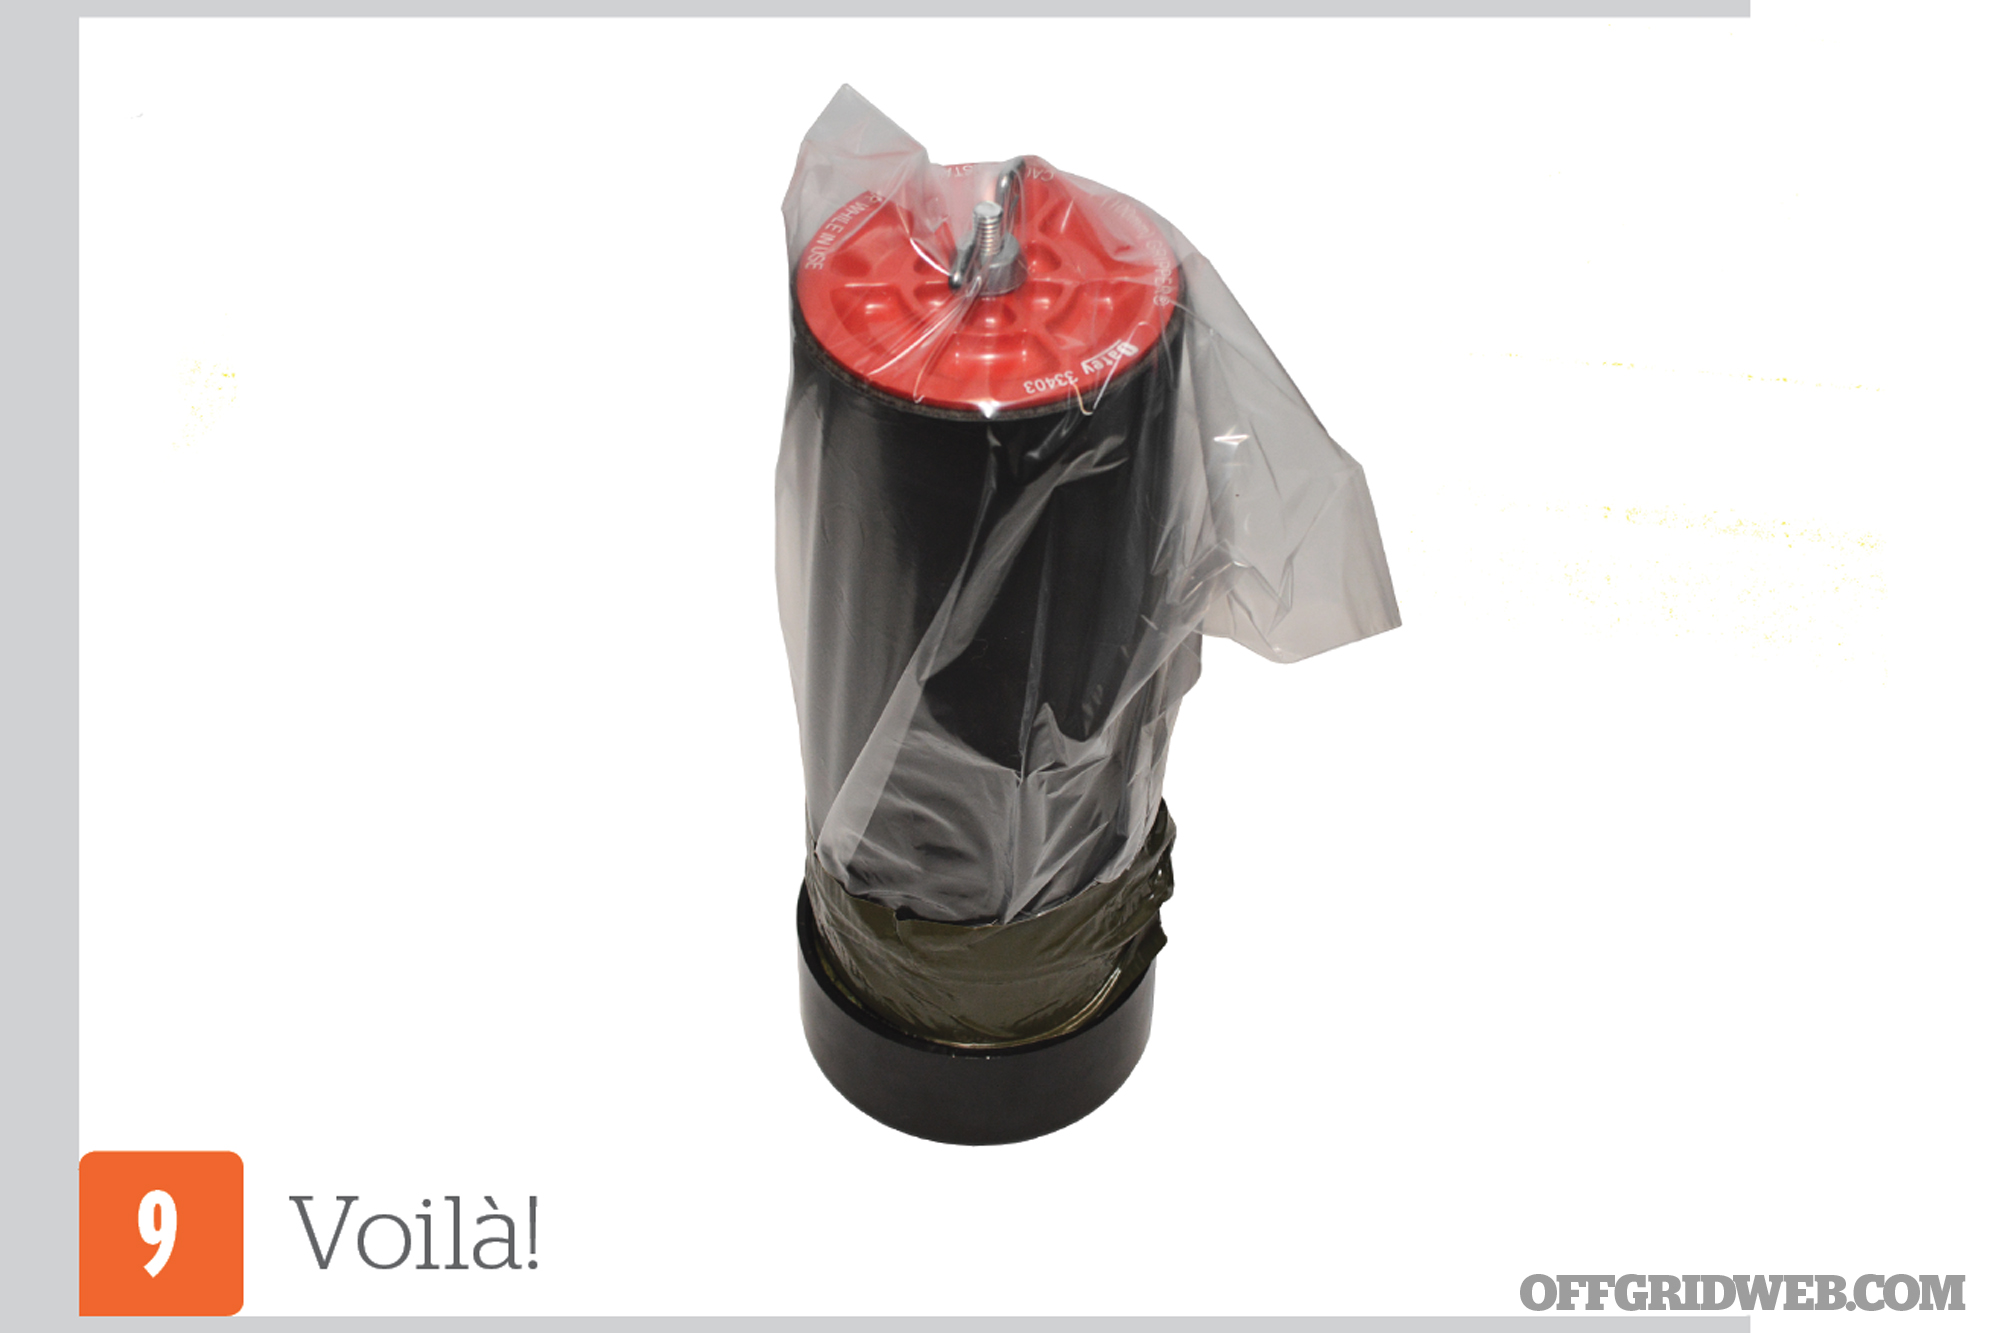
When you tighten the nut, it crushes the rubber seal, forcing it into the interior walls of the pipe. We recommend greasing up the metal parts heavily, though, to save you some grief later. For a bit of added security, take your last bag, toss it over the pipe, and then tape it to the pipe. This will keep any excess moisture from affecting the test plug and your metal parts. When you dig it up, you just need to tear through your bag and unscrew the top.
Selecting Cache Locations
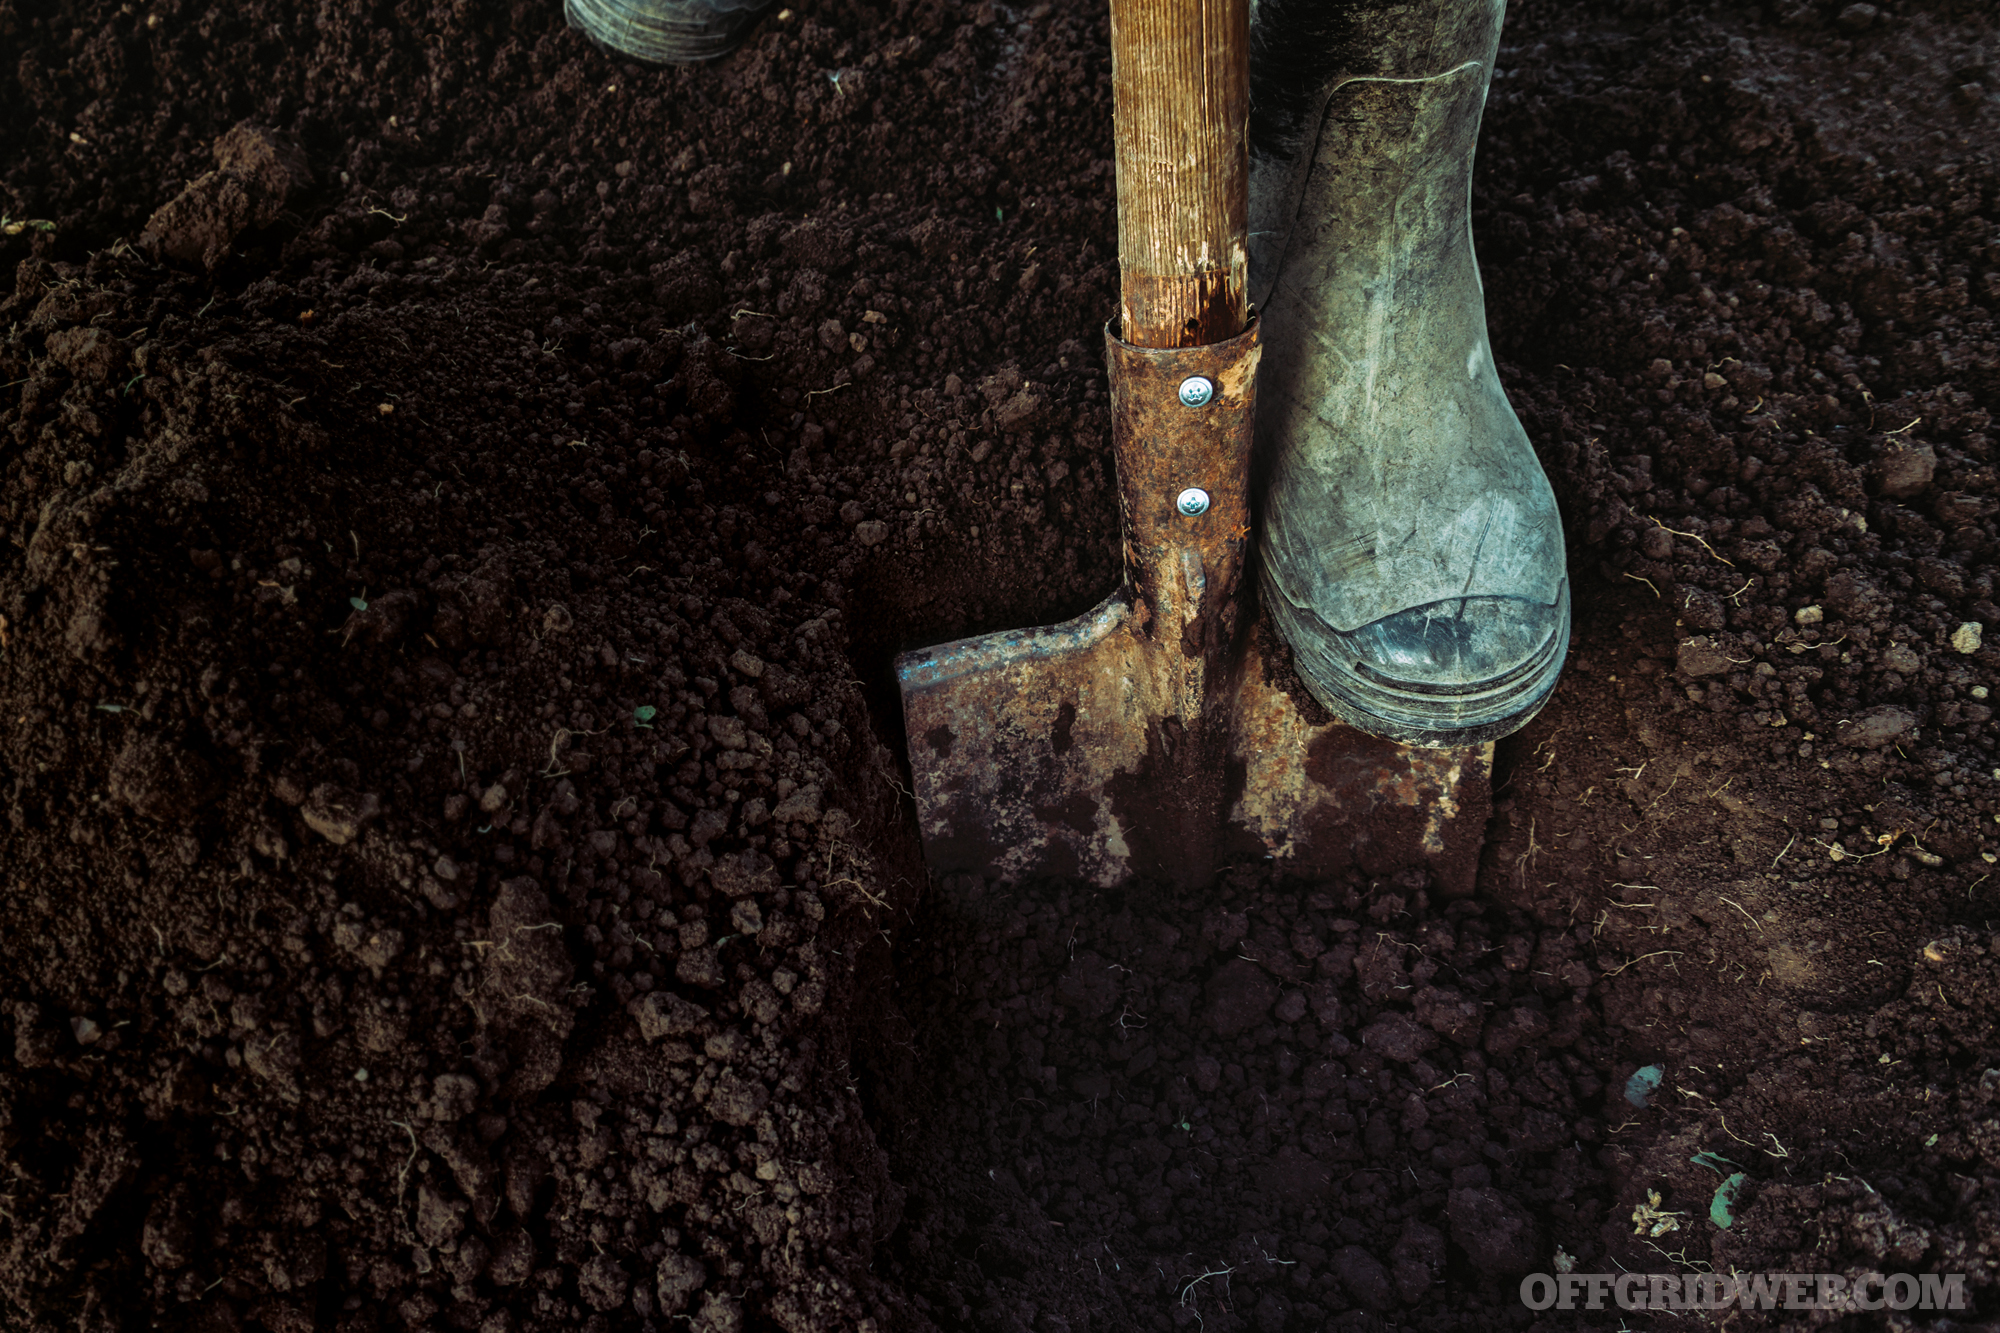
Once you’ve built a cache, you need to find a home for it. One of the best locations, of course, is hidden on property you own. If you own the property, there’s nobody to complain about digging holes. Next on the list would be property owned by someone you know and trust and who has given you permission to place a cache there.
The next option is public land. Here’s the thing, though — legalities. There may be a nice park down the street that has an out-of-the-way corner you like or you might fancy the area right beneath the headstone of a deceased relative, but if there’s a big patch of dirt that looks like it was recently dug up, some city employees or groundskeepers who routinely landscape and service the area might check if someone put something there they shouldn’t.
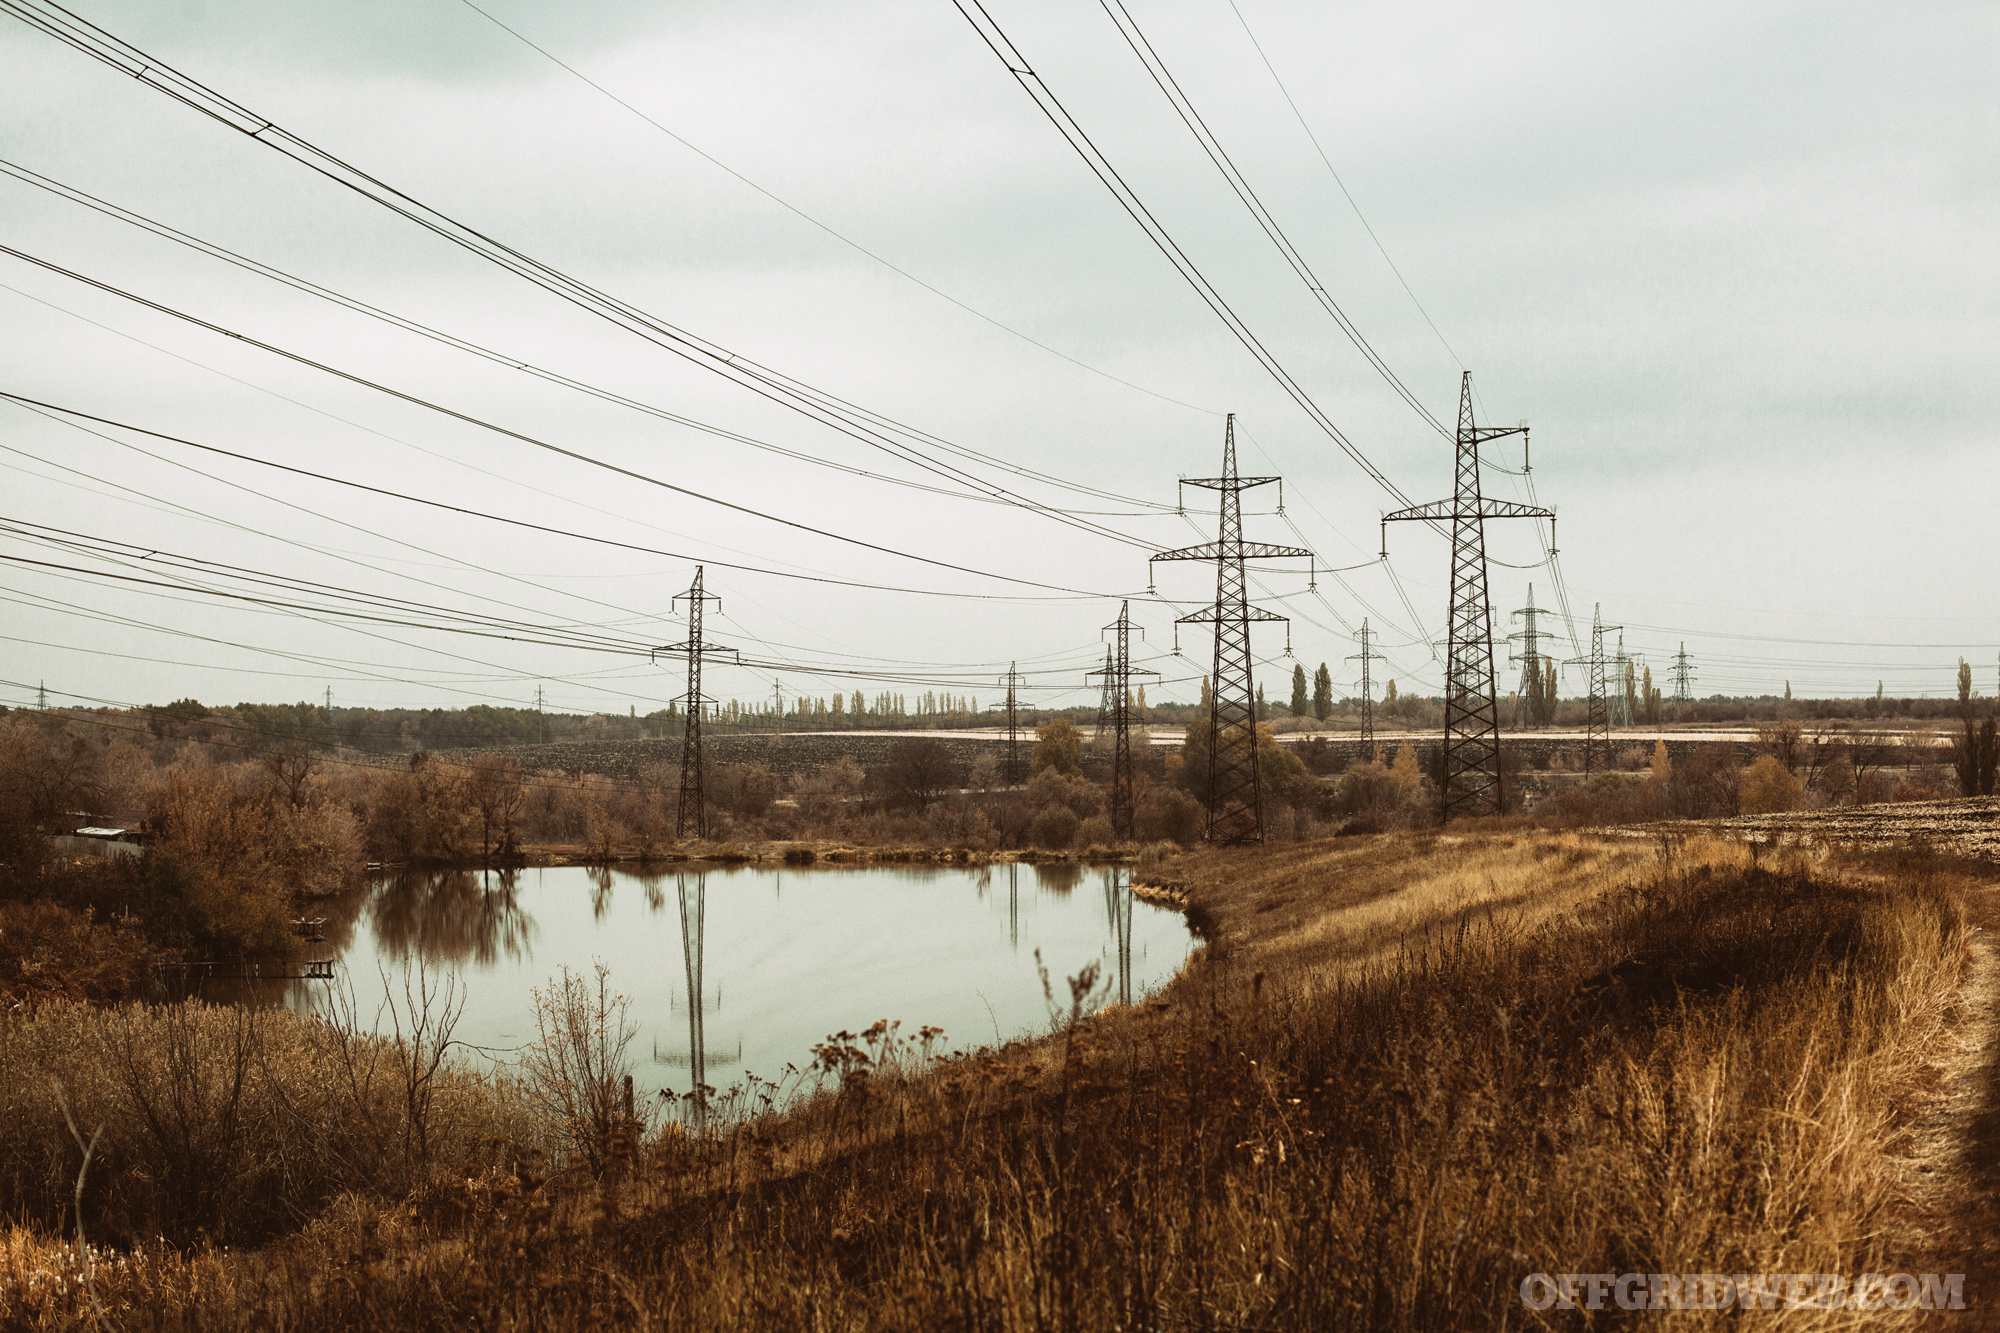
The trick is to find places that won’t be disturbed or look like an obvious burial site. You wouldn’t put that hide-a-key that mimics a rock in an area where it’s the only rock and sticks out like a sore thumb, would you? Even if you have that perfect place next to a power pole in an easement that gets little foot traffic, you’re likely prohibited from digging in public locations. But like Ed Calderon (featured elsewhere in this issue) would say, “What you’re allowed to do and what you can do are two different things.”
Think it through and determine what direction you’ll likely head in an emergency and bury caches along the way in areas that make sense. Do your research on the ownership of the land, any proposed future construction, or any other circumstances that could put you in jeopardy if your belongings are found. If you cache a firearm, you can imagine what would happen if someone finds it. If you feel you have to store in locations that flirt with legal ramifications, do so at your own risk.
Also, don’t be like Vern in Stand By Me, with only a general idea of where your jar of pennies was buried. Keep a map (and copies of that map) in your bug-out bags, vehicles, in your wallet, and anyplace else you can think of to help you easily locate your caches. Practice finding them to help become more familiar with those locations in case of an emergency. Sometimes geography, foliage, landmarks, and various other surroundings change over time. Think of all the times you’ve returned to a location a year later to find that it looks quite a bit different. What good are caches if you can’t find them? Check your locations at regular intervals to ensure your survival trove is still there.
Storage Units: The Ultimate Cache?
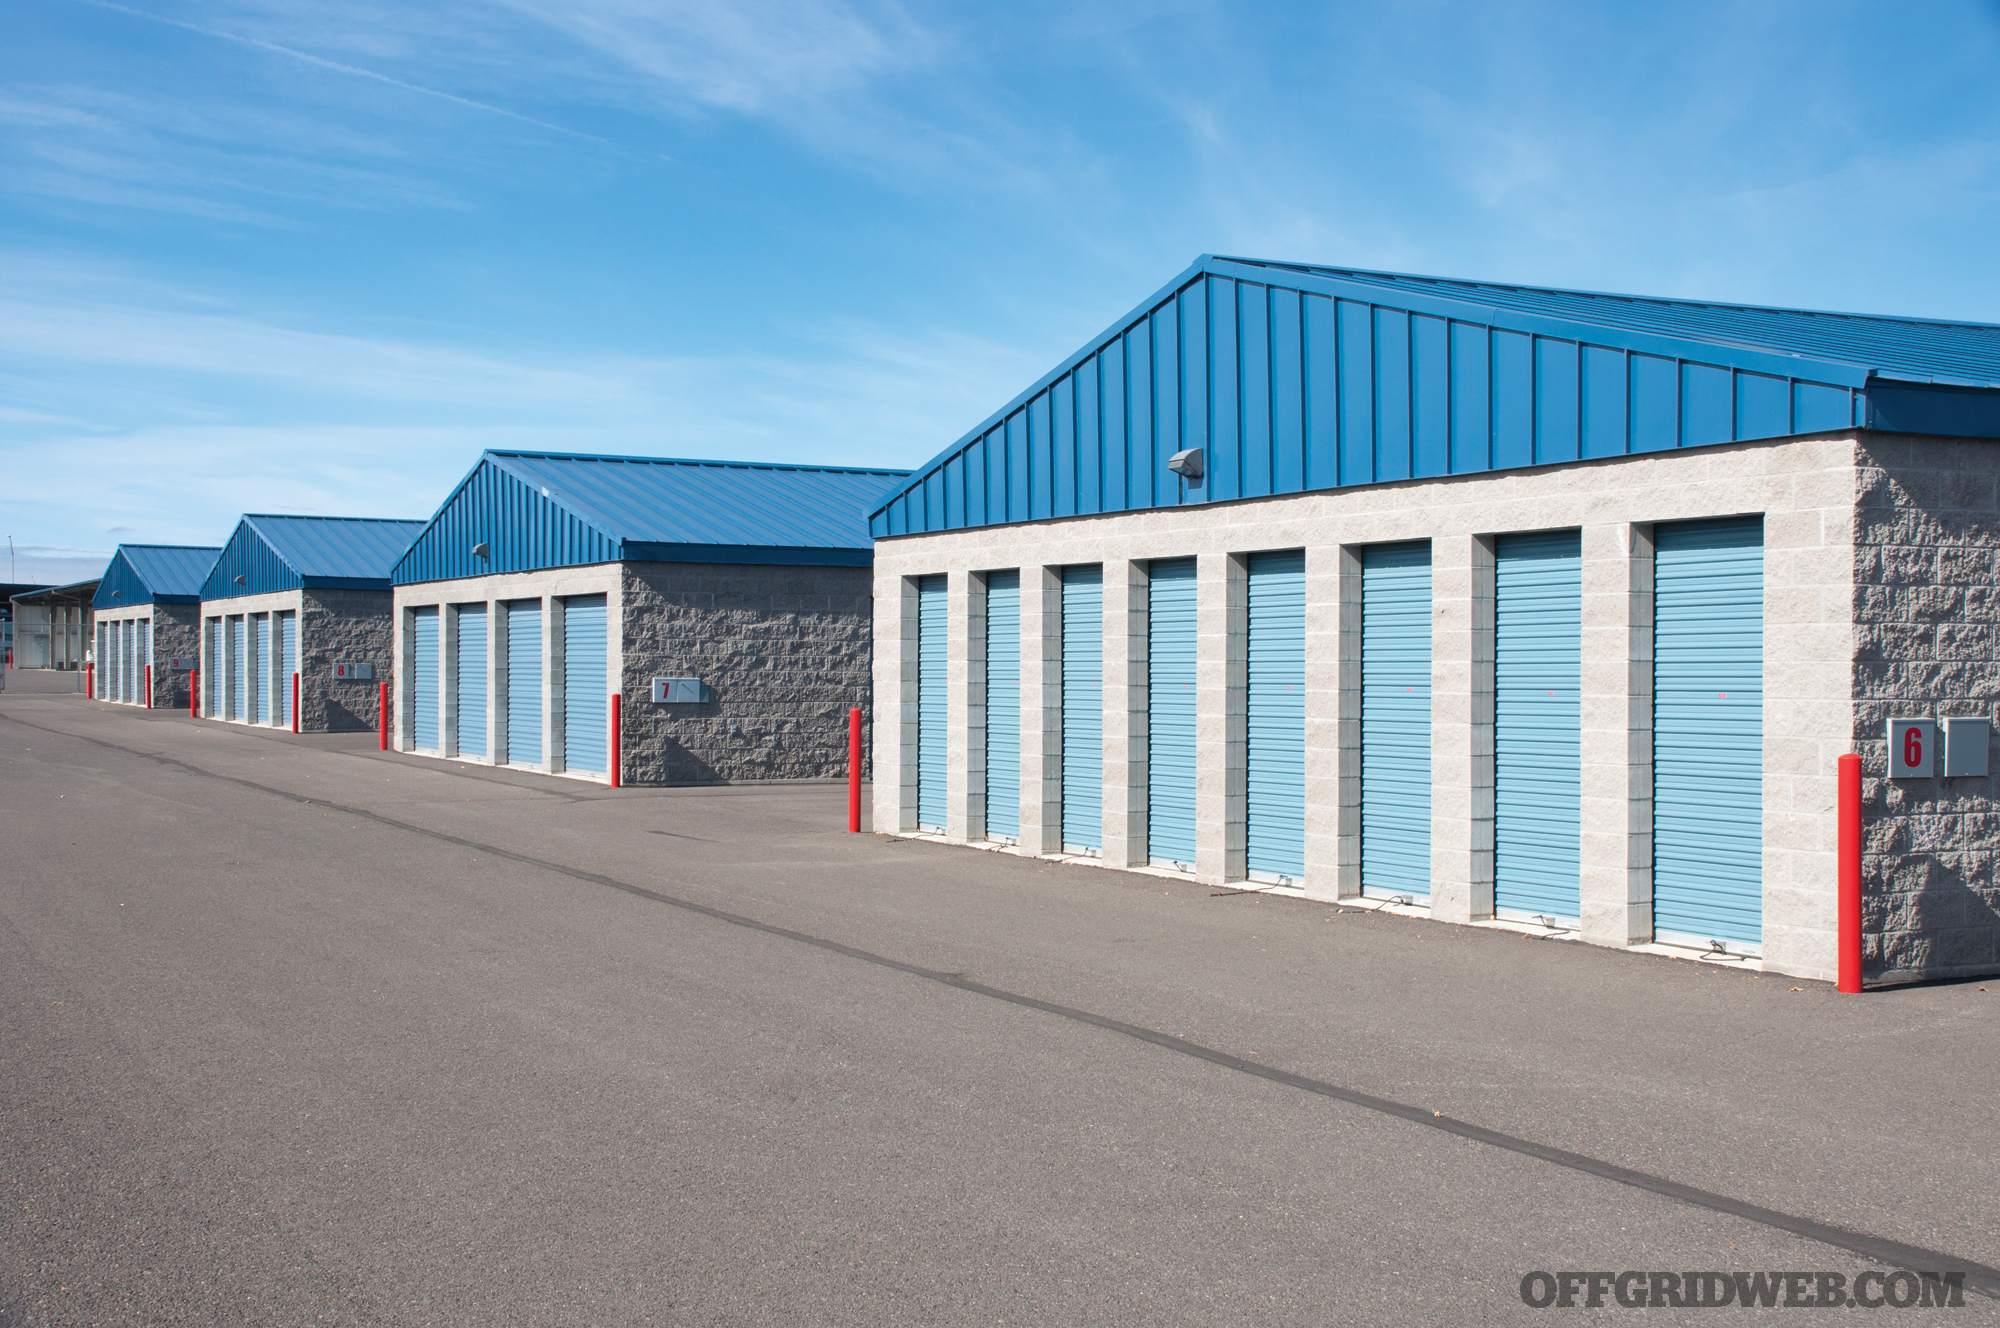
We know what you’re thinking. Self-storage places are usually in the heart of the city, and that’s exactly where you don’t want to be if things are falling apart. Look a little harder, and you’ll probably find storage places that are off the beaten path but still readily accessible.
Many people use a storage unit at some point. Why not have it serve double duty? Choose a location that would be along your bug-out route and that isn’t likely to be a bad area to visit in a crisis. Along with your old dishes and photo albums, store some survival gear and supplies. Make extra sets of keys to keep in various places so you won’t have a problem accessing it. This isn’t a perfect solution for everyone, but for those who can make it work, it might be exactly what they need.
More From Issue 25
Don’t miss essential survival insights—sign up for Recoil Offgrid’s free newsletter today!
- Rural Refreshments: Drinking Water from Non-Tropical Plants
- Book Review: The Savage by Frank Bill
- Heat on Tap: Cauldryn Fyre Water Bottle Review
- Edible Plants & Their Dangerous Doppelgangers
- Stormproof Backpack Buyer’s Guide
- Improvised Evacuation Methods
- Pistol Caliber Compatibility: Ruger PC Carbine Review
- Mykel Hawke on Breaking the Language Barrier
- Emergency Communications: Make the Right Call
- Buried Treasure: How to Build a Survival Cache
- Victim Proof: Defending Against Sexual Assault & Abduction
- Survival Lessons From South of the Border
- Pocket Preps: EDC Carabiner Buyer’s Guide
- Issue 25 Gear Up
- What If Your Child Disappears While Traveling?
Read articles from the next issue of Recoil Offgrid: Issue 26
Read articles from the previous issue of Recoil Offgrid: Issue 24
Check out our other publications on the web: Recoil | Gun Digest | Blade | RecoilTV | RECOILtv (YouTube)
Editor’s Note: This article has been modified from its original version for the web.
