Illustrations by Cassandra Dale
You woke up slowly, grudgingly, and in a state of confusion. It was so cold, shockingly cold. As you lay there, curled up and shivering on the bench seat of the old pickup truck, with only your jacket for warmth, you couldn’t quite reconcile the facts. It wasn’t too long ago that you very nearly had a heat stroke. And just 10 hours later, you felt as though you were going to freeze to death.
“How can all of that heat be gone?” you asked yourself, zipping your work jacket up to your chin and laying out spare clothing in your lap like a blanket. If only the truck would start, you lamented, wishing you could drive to safety (or at least run the heater for warmth). But the truck was beyond your skill to repair, and you were slowly starting to realize that the situation may have been beyond your skill to survive.
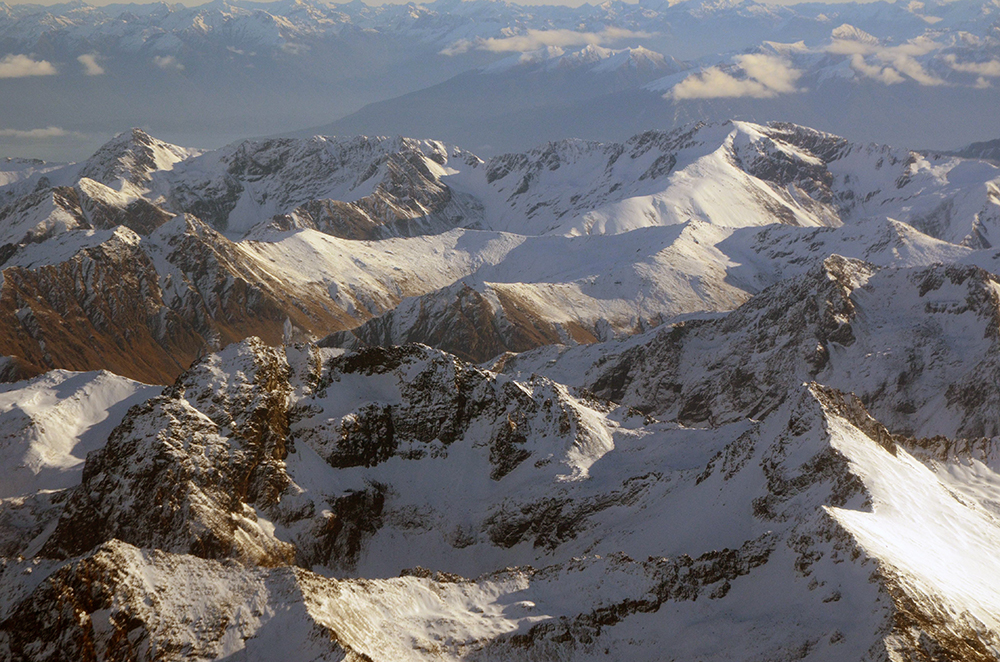
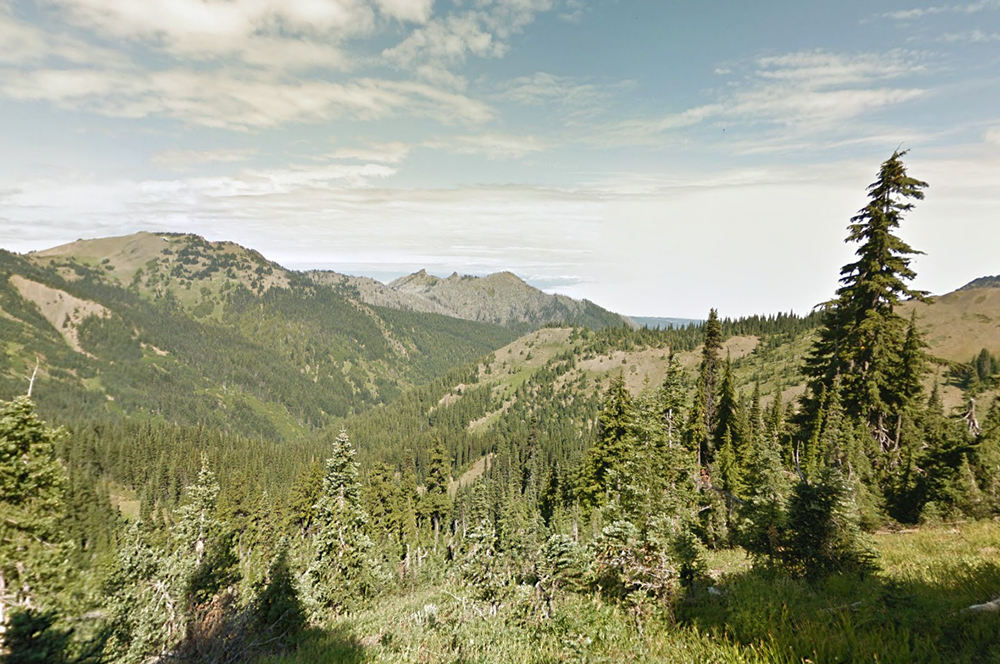
The desert is a harsh backdrop for any kind of survival scenario, and the life that does exist there is highly adapted to the climate. If we don’t play by the rules of this dry environment, our chances for outlasting the situation are slim.
So, in this edition of our What If? column, we pose the question: What if your vehicle breaks down, leaving you stranded in the desert?
To explore different approaches to survival in an arid landscape, RECOIL OFFGRID asked different survival writers to create a fictional story that contains real survival tips and tricks. Joining me for this installment is Jared Wihongi, a SWAT officer, firearms instructor, and defensive tactics teacher who holds a master rank in the Filipino combat art of Pekiti-Tirsia Kali. He has real-world experience thriving in sweltering conditions, having traveled the globe to instruct everyone from elite police units in Asia to special-operations forces in his home (and arid) state of Utah.
As for me, I’ve been teaching people how to survive almost everything for more than 20 years, and I’ve written multiple New York Times-bestselling survival manuals from my experience. As always, it’s an honor for me to be a contributor to the What If? feature. Now, let’s see if our character can hack it in the dry lands.
| The Scenario |
|---|
| Situation Type | Stranded |
| Your Crew | Just you |
| Location | New Mexico |
| Season | Late summer |
| Weather | Sunny; high 100 degrees F, low 55 degrees F |
The Setup: You’re a portly sales executive in your early fifties named Mark, about to depart on a long road trip back home to Wichita, Kansas. You dropped off your daughter, Laura, at her new home for the next four years: New Mexico State University. Despite the tears and laughs, the trip was a success, thanks to your trusted ’90 Ford F-150. Time to head home.
The Complication: The trip to the Las Cruces campus was fairly straightforward, as you just needed to make it there in time for freshmen orientation. But on the way back you decide to take a much-deserved detour: visiting Roswell. As a sci-fi buff, you’ve always been fascinated by the city’s love affair with UFOs. But after passing Alamogordo, you must have taken a wrong turn. Are you on U.S. Route 70, U.S. Route 82, or some unnamed county road? Every two-lane road is starting to the look the same.

The Google Maps printout isn’t helping, and even though your iPhone has a GPS fix, you’re not getting any data. So, your location on the screen is just a lonely dot, floating unattached to reality, in the middle of virtual New Mexico. Immediately, you regret not buying a Thomas Guide. To make matters worse, your truck’s temp gauges jump, and lights start blinking. You pull over. With nary a shoulder, you roll off the pavement onto the rocky dirt and slink to a stop. Steam billows from the hood. You think it’s the thermostat — but no way of knowing without checking for leaks and pulling everything apart. As the morning gives way to the afternoon sun, the temperature climbs. You haven’t seen another soul, rest area, or gas station in the last 70 miles. You’re officially stranded and lost in the desert.
The New Plan: Realizing that simply sitting in the hot sun with a broken-down truck won’t help your situation, you reevaluate your situation and your supplies. You don’t have your usual toolbox or spare parts. But you have the following:
- ’90 Ford F-150 and its parts
- Wallet, keys, CCW license, concealed carry Kimber Master Carry Ultra, TOPS MIL-SPIE 3.5 folding knife
- Fleece-lined, heavy-cotton Carhartt work jacket
- Luggage containing street clothes and travel-size toiletries
- Windshield sunshade
- Paper printout of Google Maps directions
- Small YETI cooler with a 16.9-ounce bottled water, two sandwiches, and a chocolate bar
- Jumper cables
- Spare tire and jack
- One 12-ounce can of dog food (found under the seat)
CQC Expert: Jared Wihongi’s Approach
You have to be freaking kidding me! Seriously?” I muttered to myself. I was familiar enough with my truck to know that this was a serious issue and wouldn’t be a quick fix. Oh well, it was what it was, and whining wasn’t going to change anything. I needed to focus my energy on the situation at hand … so what was my next step? It was 100 degrees outside and climbing. I needed to stay calm and figure this out, but time was of the essence.
I did a quick survey of my surroundings and the horizon. I was fully aware I was lost even before my vehicle broke down. So, outside of dumb luck, there wasn’t a good chance I would find my way out on foot, especially considering I hadn’t seen civilization for at least the last 70 miles. In the distance, I saw some mountains with greenery and the prospect of water, potential food sources, and high ground to get a phone signal. All of which I’d need if I were to survive any length of time.
I estimated it must be about a 10- to 15-mile hike. Not exactly the same as my walk to the mailbox, I thought as I looked down at my beer belly, but not out of the realm of possibility. After all, I used to play college football, and cardio wasn’t foreign to me.
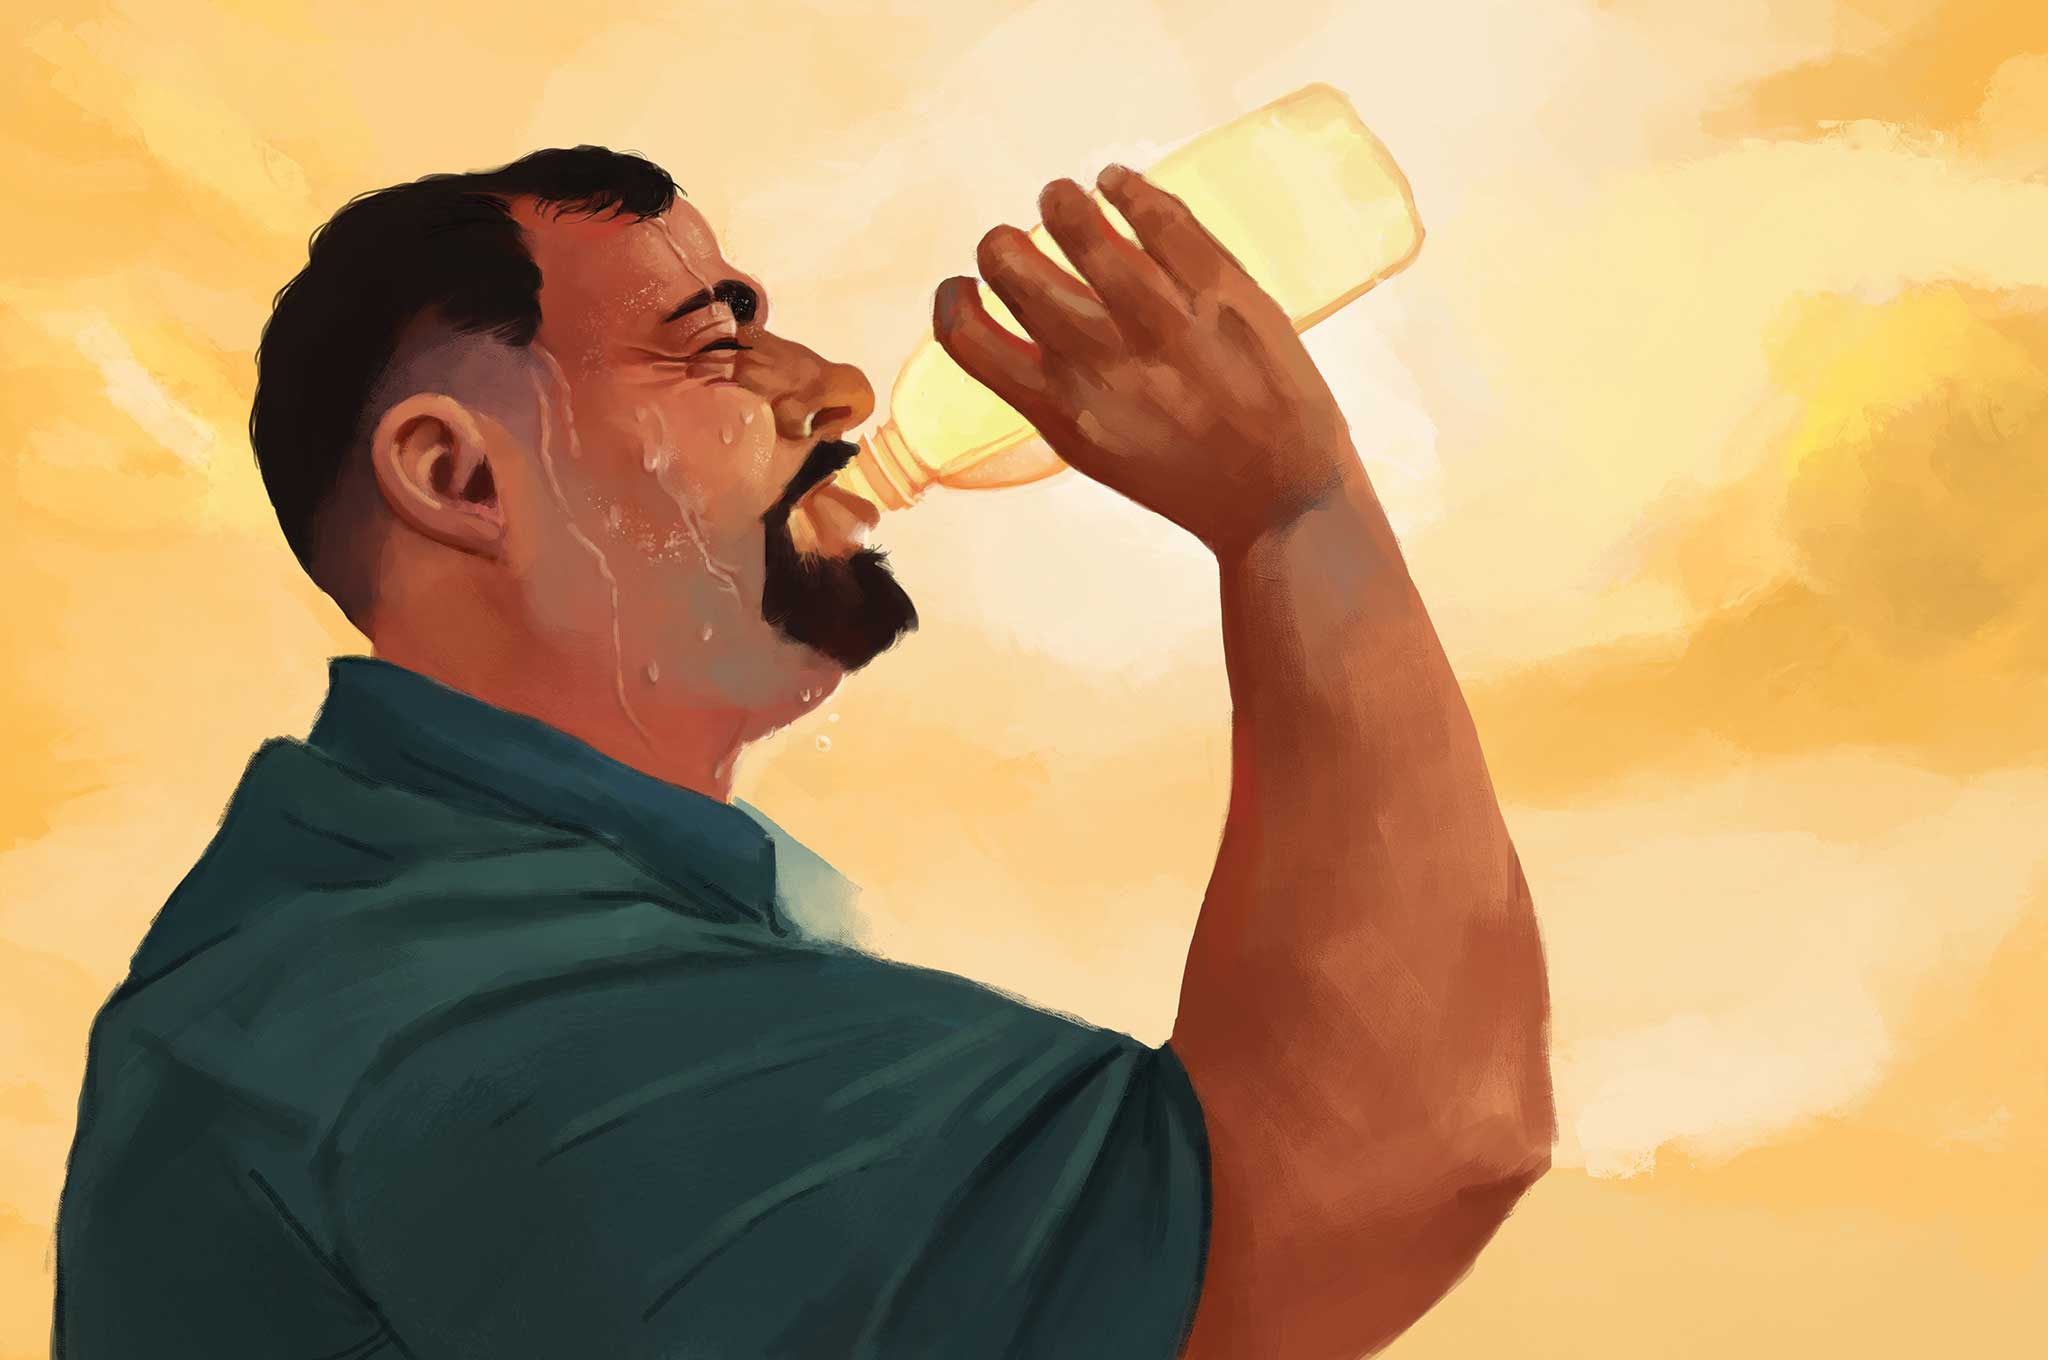
I took a quick inventory of what I had in my truck and put together a hasty survival kit in my travel backpack. The sandwiches and chocolate bar I brought for the trip would come in handy — I could stretch those over a day or two. Whenever my friends made jokes about all the weight I gained over the past 35 years, I told them I was saving up for the zombie apocalypse. Now those jokes seemed poised to become reality, sans the living dead. Luckily, much of this weight gained came from snacking while laying on my sofa watching episodes of Bear Grylls’ Man vs. Wild, so I figured I had a few ideas of what I needed to do. If there’s one thing I knew, it’s that my body would survive off its abundance of fat stores — but dehydration was going to be my biggest enemy. I’d have to stretch my one bottle of water out; take a sip every few hours or so.
As I finished assembling my survival kit, it hit me. I was already sweating profusely, and the day just seemed to be getting hotter. I came to the stark realization that I’d probably never reach those mountains. I needed to conserve my energy and hydration if I hoped to last more than just one day. What on earth was I thinking? I wasn’t the physical specimen I was 35 years ago, and with this plan of action I’d probably end up one of those people whose abandoned vehicle is found months, if not years, before my skeletal remains were discovered.
Change of plans: back to Boy Scouts 101, stay put and wait to be found. If I were to be rescued, I needed to stay hydrated and make myself visible.
First things first, I had to get my body temperature down. In this desert, every movement seemed to make me sweat more. The inside of my pickup was like an oven, and the pavement around my vehicle seemed to be radiating heat. About 50 yards off the road I could see a small rocky outcrop. I could use my windshield sunshade combined with some natural shade to get out of the heat.
Before I made the much shorter hike there, I used the spare clothes from my luggage to cover my arms and legs to protect my skin from the sun. I also grabbed a shirt to cover my head, as well as my mouth to help prevent moisture loss from breathing. I recalled a memorable episode of Bear Grylls peeing on his shirt and wrapping it around his head to further control the body’s temperature. Rather than get that drastic, I took my chances with some windshield washer fluid from my truck — though I didn’t want to get it in my eyes or ingest it, as it has some toxic content. Either way, it seemed the least disgusting of my two choices.
Next, I opened the hood of my truck and arranged some rocks to fashion a crude SOS sign on the road, with an arrow pointing toward the rocky outcrop I spotted. I also wrote a note on the back of an old maintenance receipt from my truck’s file cabinet (also known as a glovebox) and left it on the dashboard, detailing the date, time, and where I was headed. The last thing I wanted was to miss a potential rescue by a passing motorist or helicopter.
I quickly made it to the rocky outcrop — 50 yards was definitely smarter than 15 miles — and found a good spot to prop my windshield shade. As I started to cool down in the shade, I took a bite of my chocolate bar and started thinking through my next options.
I’d need to make myself visible from as far as possible if I were to stand a chance of being rescued. I needed to make a fire! Smoke by day and light by night; that seemed my best chance. I anticipated that it would start getting cold at night, so a fire would also help me stay warm. At sundown, with the temperatures more bearable, I’d try my hand at getting my truck back up and running. I’d also take a short walk to the highest ground within reasonable distance to see if I could get a cell signal or some data for my GPS.
As the day dragged on and broad daylight started to give way to dusk, I knew I only had a short period to work in the cooler hours before nightfall and darkness. I began to gather as much combustible material as possible, mostly dried brush and tumbleweed. I included some green brush to create as much smoke as possible in the daytime.
Next, I grabbed a couple of worn socks from my luggage to soak up oil and gasoline from my truck to help start the fire.
Then I got to work trying to figure out what was going on with my engine, now that it and the weather had cooled down. As I twisted and pulled on parts trying to diagnose the problem, it became more apparent that I’d never figure things out without my tools. Temper and stupidity got the best of me, as I slammed my hood shut out of frustration. Big mistake. My smartphone was on the engine bay; it fell to the road, breaking the screen and putting the phone out of commission entirely. Any hope of finding a signal was gone.
“Can things get any worse?” I thought to myself as I walked to some nearby bushes to pee. Just at that moment I heard the frightening noise I’d heard all too many times on TV… rattlesnake!
I glanced around and quickly caught sight of the serpent a few feet off to my side, well within the animal’s coiled striking distance. Thanks to what I used to think were unhealthy TV watching habits, I knew these are vibration-driven animals — so I remained still. The snake’s rattle stopped briefly and intermittently, but never completely, for what seemed like an eternity. The rattle told me it remained in alert and potential attack mode. I slowly drew the Kimber I’d kept in my waistband all day, took a steady aim at its head, and blam — direct hit.
Not knowing how long I would be stuck out there, I used my knife to remove the snake’s guts and whatever was left of its head, being careful not to touch any fangs or venom. “I’m sure it’ll taste like chicken, right?” I asked aloud, knowing full well snake meat wouldn’t and acknowledging that I was now talking to myself. I wrapped the body in a large Ziploc bag from my luggage and placed it in my cooler.
I piled the dried twigs and vegetation, slipping the gasoline-drenched sock beneath them. Connecting my jumper cables to the truck’s battery, I ignited the gasoline and got my fire going.
Looking at the bloodstain that was once the rattler reminded me that there were dangerous critters out there, so I opted to layer up with my extra clothing and Carhartt jacket and sleep in the cab of my truck. Not super comfortable, but a little warmer and safer than being out in the elements. During the night I got up occasionally to re-stoke the fire. It was ironic how cold the desert was when the sun was gone.
As morning arrived, I began adding green shrubs and an oiled sock on the fire to create more smoke. I kept the fire going as much as I could to signal my location.
Two days into this ordeal and it quickly became apparent that although my efforts at thermal regulation were prolonging my life, my food sources were certainly going to outlast my water sources. I had conserved my food knowing that eating would just make me thirstier, but my water was completely gone and I was starting to feel faint and have hallucinations. I tried to make peace with the fact that I wouldn’t last much longer out there, but my imagination started running wild with worry for my daughter. Just as I started to feel hope was lost, all the steps I had taken to survive began to pay off.
A BLM ranger saw the smoke from my fire and came to investigate. Following my SOS sign, he located me in the shade of what I thought would be my deathbed. I barely had the strength to thank him, rejoicing silently in the fact that I would live to see my daughter graduate from college. Although, next time, I’ll fork out the cash for a flight.
Survival Expert: Tim MacWelch’s Approach
Since I had no idea how long I would have to wait for another vehicle to appear, I decided to pass the time by sifting through my stash of supplies. There were so many things that I owned … that weren’t with me on this trip. But those possessions wouldn’t help me while they were sitting at home, so I decided to stop worrying about them. I focused on the supplies that would help right then.
In the blinding sun, I made a mental list of the goods, and then put on my sunglasses to scan the horizon in every direction. No buildings, no towers, no sign of human existence were to be seen, other than myself, the road, and the broken-down truck. There was no point in trying to walk anywhere. That much was clear. I didn’t have enough water to make it anywhere on foot, so I decided to stay with the truck. It’s big and easy for people to spot, I rationalized. I could even turn on the flashers while the battery lasted. And it was the only source of shade in a landscape devoid of trees.
Two hours had passed since my truck rolled to a halt on the side of the godforsaken road. Over and over, I tried to call and text virtually everyone in my phone’s contact list — to no avail. There was no signal.
I opened both truck doors, but there was no breeze to help with the growing heat in the cabin of the truck. I placed the shiny silver windshield cover in position to block some of the sun, but it didn’t help much. Sweat poured down my face and back as I sat there, constantly shifting my gaze from the side window to the rearview mirror. I looked at the road ahead of me, and the road behind, desperately hoping to see some kind of vehicle headed my way. But as the heat built up, there was still no one in sight. I decided that open doors weren’t enough of a signal of distress, and I wanted to save the battery to run the hazard flashers after dark, so I left the scorching truck cab and lifted the hood. It was hard to tell which heat was worse — the direct sunlight or the baking sensation inside the cab.

Opting for the cab again, since it at least offered a seat, I climbed back inside. I couldn’t shake the feeling that I was in some sick fairy tale; I felt the like the boy crawling into the oven of some gingerbread house witch.
After another hour, I finally had enough. The oppressive heat of the truck cab felt dangerous, and I was so hot and thirsty that I had stopped sweating. My pulse pounded and my head felt light as I climbed down out of the cab and walked around the truck looking for relief. There’s wasn’t any significant shade cast by the vehicle, and I began to contemplate whether I should crawl under the truck to get out of the sun. I dropped the tailgate to give myself a seat where I could do some further thinking, immediately realizing that the tailgate itself cast a small patch of shade. Crawling underneath, the hot ground began to cool and soon the temperature was a little more tolerable.
I tried again to call for help on my iPhone, deciding to power down when the battery reached 10 percent. Through sheer boredom and lethargy, I remembered my food. Realizing the sandwiches wouldn’t keep in the heat, I ate them both — only to find myself even thirstier. A little too late, I remembered something I had heard ages ago, in Boy Scouts or some other place. If you don’t have water, don’t eat. Whoever said it, they were right. My thirst had built from mere discomfort to a parched dry-mouth sensation. Down went the water bottle, still reasonably cool from the YETI.
My thoughts cleared a bit, sitting in the shade and feeling the water’s effect on my body. I went over the plan. If I still didn’t get any help, I’d run the flashers after dark and build a fire to catch people’s attention after the battery runs low, though I didn’t remember seeing any matches or a lighter when I inventoried my gear. The thought quickly passed from my mind, since the heat left me with no interest in making a hot fire right then. I watched the sun grow closer to the horizon — and I watched the empty road.
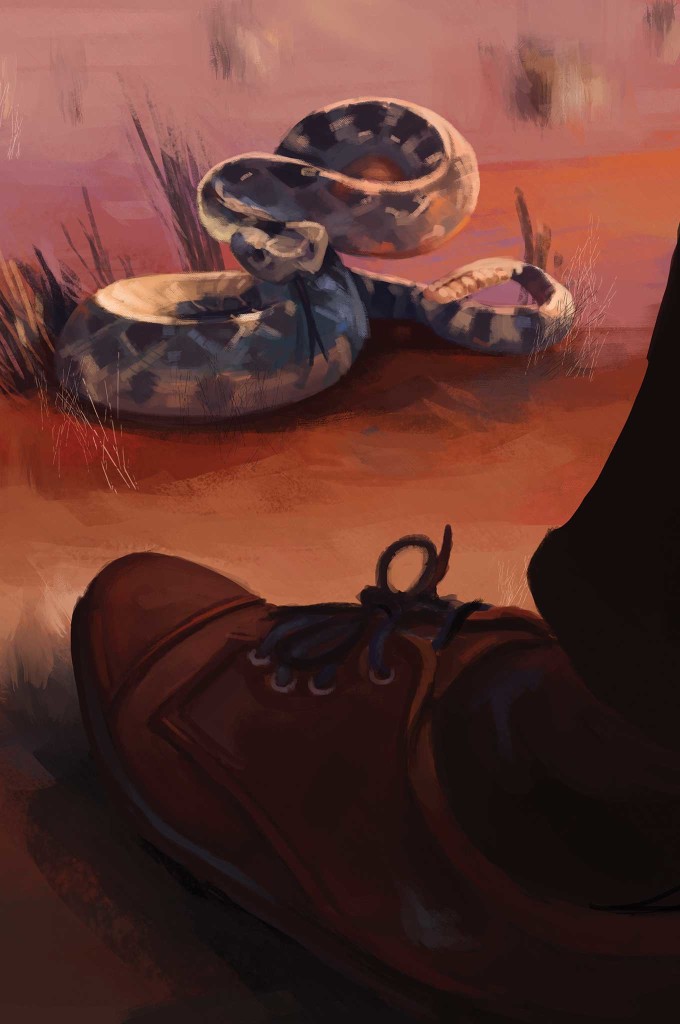
Eight hours had passed since the truck broke down, and the sun sank low. Finally, I had to answer nature’s call. It had been 12 hours or more since I had last urinated. I walked to a nearby bush and made a pathetic stream of strong smelling piss. I was done quickly, and glad of it. But sheltering in the sparse shade of the scrub bush was a rattlesnake.
It hadn’t made a sound as I released my urine, but as I backed away, it decided to give me a warning rattle. The tail shook, reminding me yet again that I was out of my depth and not welcomed in that place.
That was all I needed to incentivize me to try the engine again. My energy had returned a little as the air reached a more habitable temperature (and I began to think about sharing the terrain with rattlers), but the engine still wouldn’t turn over. I thought I might have 30 minutes of sunlight left, so I stood on the front bumper and peered at the engine’s parts and systems, looking for the weak link in the chain. As the shadows grew longer, I turned my phone back on to use the flashlight feature. Reaching down into the engine compartment, holding my phone for its light, my bad luck continued. The phone slipped from my clumsy fingers, and fell on the rocks below. Not only did the case come off, but the screen shattered. Tiny glass shards skittered across the stones and disappeared like insects into the cracks.
Climbing down from my perch, and reaching under the truck, I retrieved my phone — now broken and even more useless. As I knelt on the stony ground, holding the broken bits of my phone, reality started to gnaw at me. I had no way to reach out for help, I had no water left, and there were rattlesnakes around the area.
My thoughts of scavenging for firewood in the cool dark evening seemed more like a death wish and less like a survival strategy. Absent all day, the breeze began to move as the last rays of sunlight disappeared behind distant hills. At first, the cooler air was very welcomed. It felt like an air-conditioned room after a hot day, though it wasn’t long before a chill ran though me. I climbed into the truck, glad to be away from the wind (and the snakes). The remaining warmth of the vehicle’s metal was a mild comfort, and my head began to nod.
Lying down on the bench seat, I closed my eyes, thinking I would take only a moment’s rest. When I opened my eyes again, full darkness was upon me, along with a noticeable chill. I cursed my sloth, not knowing how many cars passed by me while I slept. I hit the button for the hazard flashers and opened the driver-side door. For several hours, I sat there. Finally, when the flashers grew noticeably dim, I closed the door and shut them off. Using my jacket as a blanket, I managed a few fitful hours of sleep. Dreams of a rattlesnake in my truck, and my shivering, finally woke me. I laid there feeling utterly defeated, taking stock of all my failures. All the “should haves” and “could haves” haunted me like desert ghosts, and I wondered what it would be like if I became a ghost myself.
As my thoughts turned their darkest, I noticed a faint light in the rear window of the truck. Dawn must finally be here, I thought. As I began to think about writing a will when I had enough light to see, new colors joined the light pouring into my truck cab. White light and blue, pulsed across the cab ceiling as I sat up. The sheriff’s deputy approached the driver-side door, and my uniformed savior asked if I needed help.
Conclusion
In the world’s toughest deserts, you might as well be on the moon. There’s almost nothing there to help you in that inhospitable set of surroundings, and if you didn’t bring the things you need to survive, you won’t find them out there.
For those who live in, work near, play in, or travel through desert terrain, you’ll want to load up your vehicle like you’re getting ready to colonize another planet. Bring more water than you think you’ll ever need, more food and first aid gear than you expect to use, more tools and spare parts than you know how to use, and everything else that you have in your bag of tricks. The desert doesn’t coddle the incompetent or forgive the foolhardy. She’s a brutal adversary, with a host of weapons at her disposal.
As my mom tried to explain to me about girls when I was a pimply adolescent — and what I’m trying to explain to you now about the desert — pretty is as pretty does. And to me, there’s nothing prettier than turning your vehicle into a rolling warehouse of survival supplies, especially before driving into remote areas.
Expert Advice
By Dr. Neal Olshan
When talking about the dangers of being stranded in the desert or caught in hot environments, experts always talk about the physiological effects of extreme or prolonged heat on the body. Rarely do they mention the psychological effects. Almost never do they mention the effects on the brain’s frontal lobe and executive functioning. In many ways, the effects would be like a pilot turning off the fuel pump in an airplane flying at 16,000 feet.
What is Executive Function?
It’s the ability to make complex decisions that could save your or someone else’s life. Around the time of puberty, the frontal lobe of the brain matures, allowing individuals to perform higher-level tasks. Think of executive function as the CEO of the brain that must analyze, organize, decide, and execute decisions. It’s crucial for survival, especially in adverse situations.
The Keys
The six major components of executive functioning are the following abilities:
- To analyze a task, situation, or threat
- To plan how to address the task, situation, or threat
- To organize the steps needed to carry out the task or remove the threat
- To develop timelines for completing the task or removing the threat
- To adjust or shift the steps, if needed, to complete the task or remove the threat
- To complete the task in a timely and safe manner
The Heat Factor
Picture this: You’re alive, but stranded in a desert environment. The heat is relentless.
You had been sweating a lot, but now you’re sweating less. Your companion comments that you look pale, and you realize that you’re feeling weak and nauseated. You realize that you’re having trouble making even simple decisions. There’s a sense of increasing anxiety, but you can’t focus on exactly what is wrong.
These are the unfortunate first indications of heat exhaustion that can lead to a heat stroke. The body’s mechanisms for handling the heat are beginning to fail, which, if not reversed, may lead to death.
The Centers for Disease Control and Prevention estimate that in the United States more than 600 people die every year due to extreme heat. Many of these deaths are a result of poor decision making, confusion, and severely impaired problem solving.
The Heady Effects
The following are effects of extreme heat on the brain:
- Fluids, including the cerebrum spinal fluid, are adversely affected when the body absorbs too much heat.
- The brain’s neurons begin to stop functioning.
- Increases in temperature damage the proteins or enzymes that are in the brain.
- The brain’s functions slow down and will eventually stop due to the enzymes becoming “denatured,” which means that they don’t work anymore. The next result is organ failure.
The Solutions
Suffering from heat exhaustion, on the path to heat stroke, demands action. The body temperature must be lowered immediately, as death could be a very real outcome. Here are some tips on what to do:
- Move to a cool, shaded place if possible.
- Once out of direct sunlight, remove as many clothes as possible.
- Apply cool, wet clothes to head, face, or neck. Spray with cool water. In the most dire scenarios, ice immersion or ice packs should be used if possible.
- Encourage the person to drink water, clear juice, or a sports drink, but don’t try to force them to drink liquids if they’re unconscious.
- Get professional medical help as soon as possible.
More From Issue 21
Don’t miss essential survival insights—sign up for Recoil Offgrid’s free newsletter today!
Read articles from the next issue of Recoil Offgrid: Issue 22
Read articles from the previous issue of Recoil Offgrid: Issue 20
Check out our other publications on the web: Recoil | Gun Digest | Blade | RecoilTV | RECOILtv (YouTube)
Editor’s Note: This article has been modified from its original version for the web.