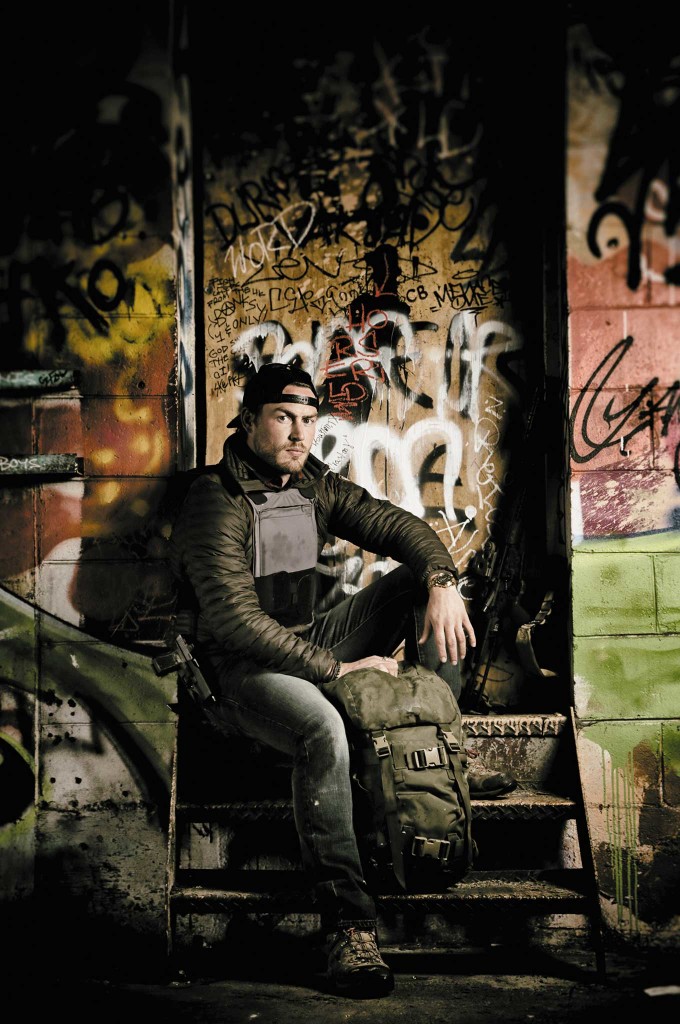
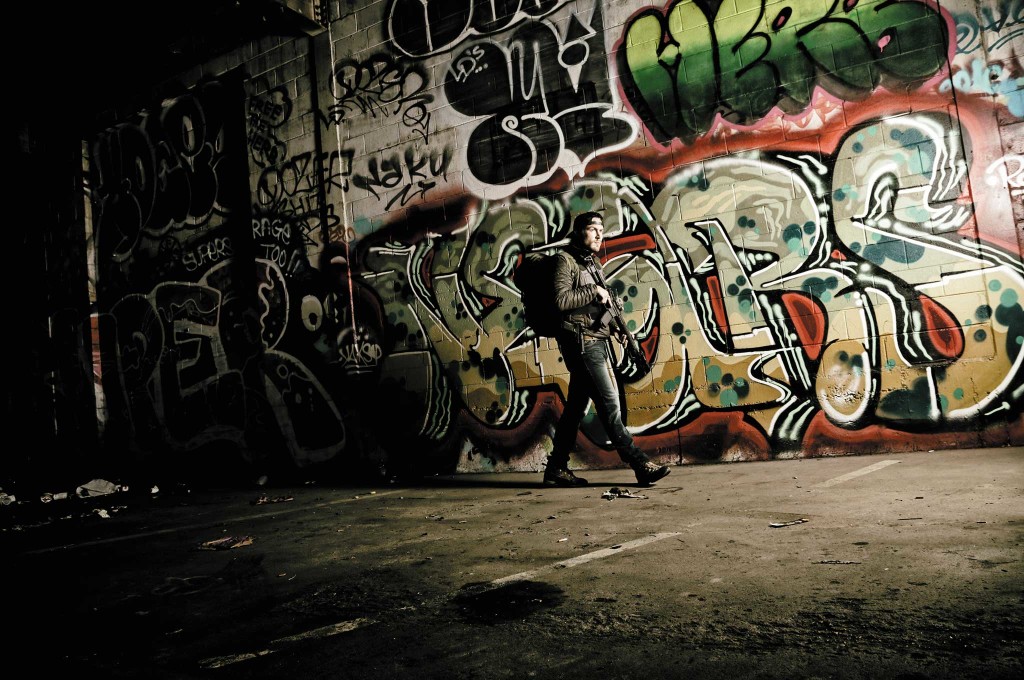
On television, we’re used to seeing Grady Powell face-off against the Earth and elements in far-flung locales, but meeting him stateside, it’s clear the man is at home in any environment our planet offers.
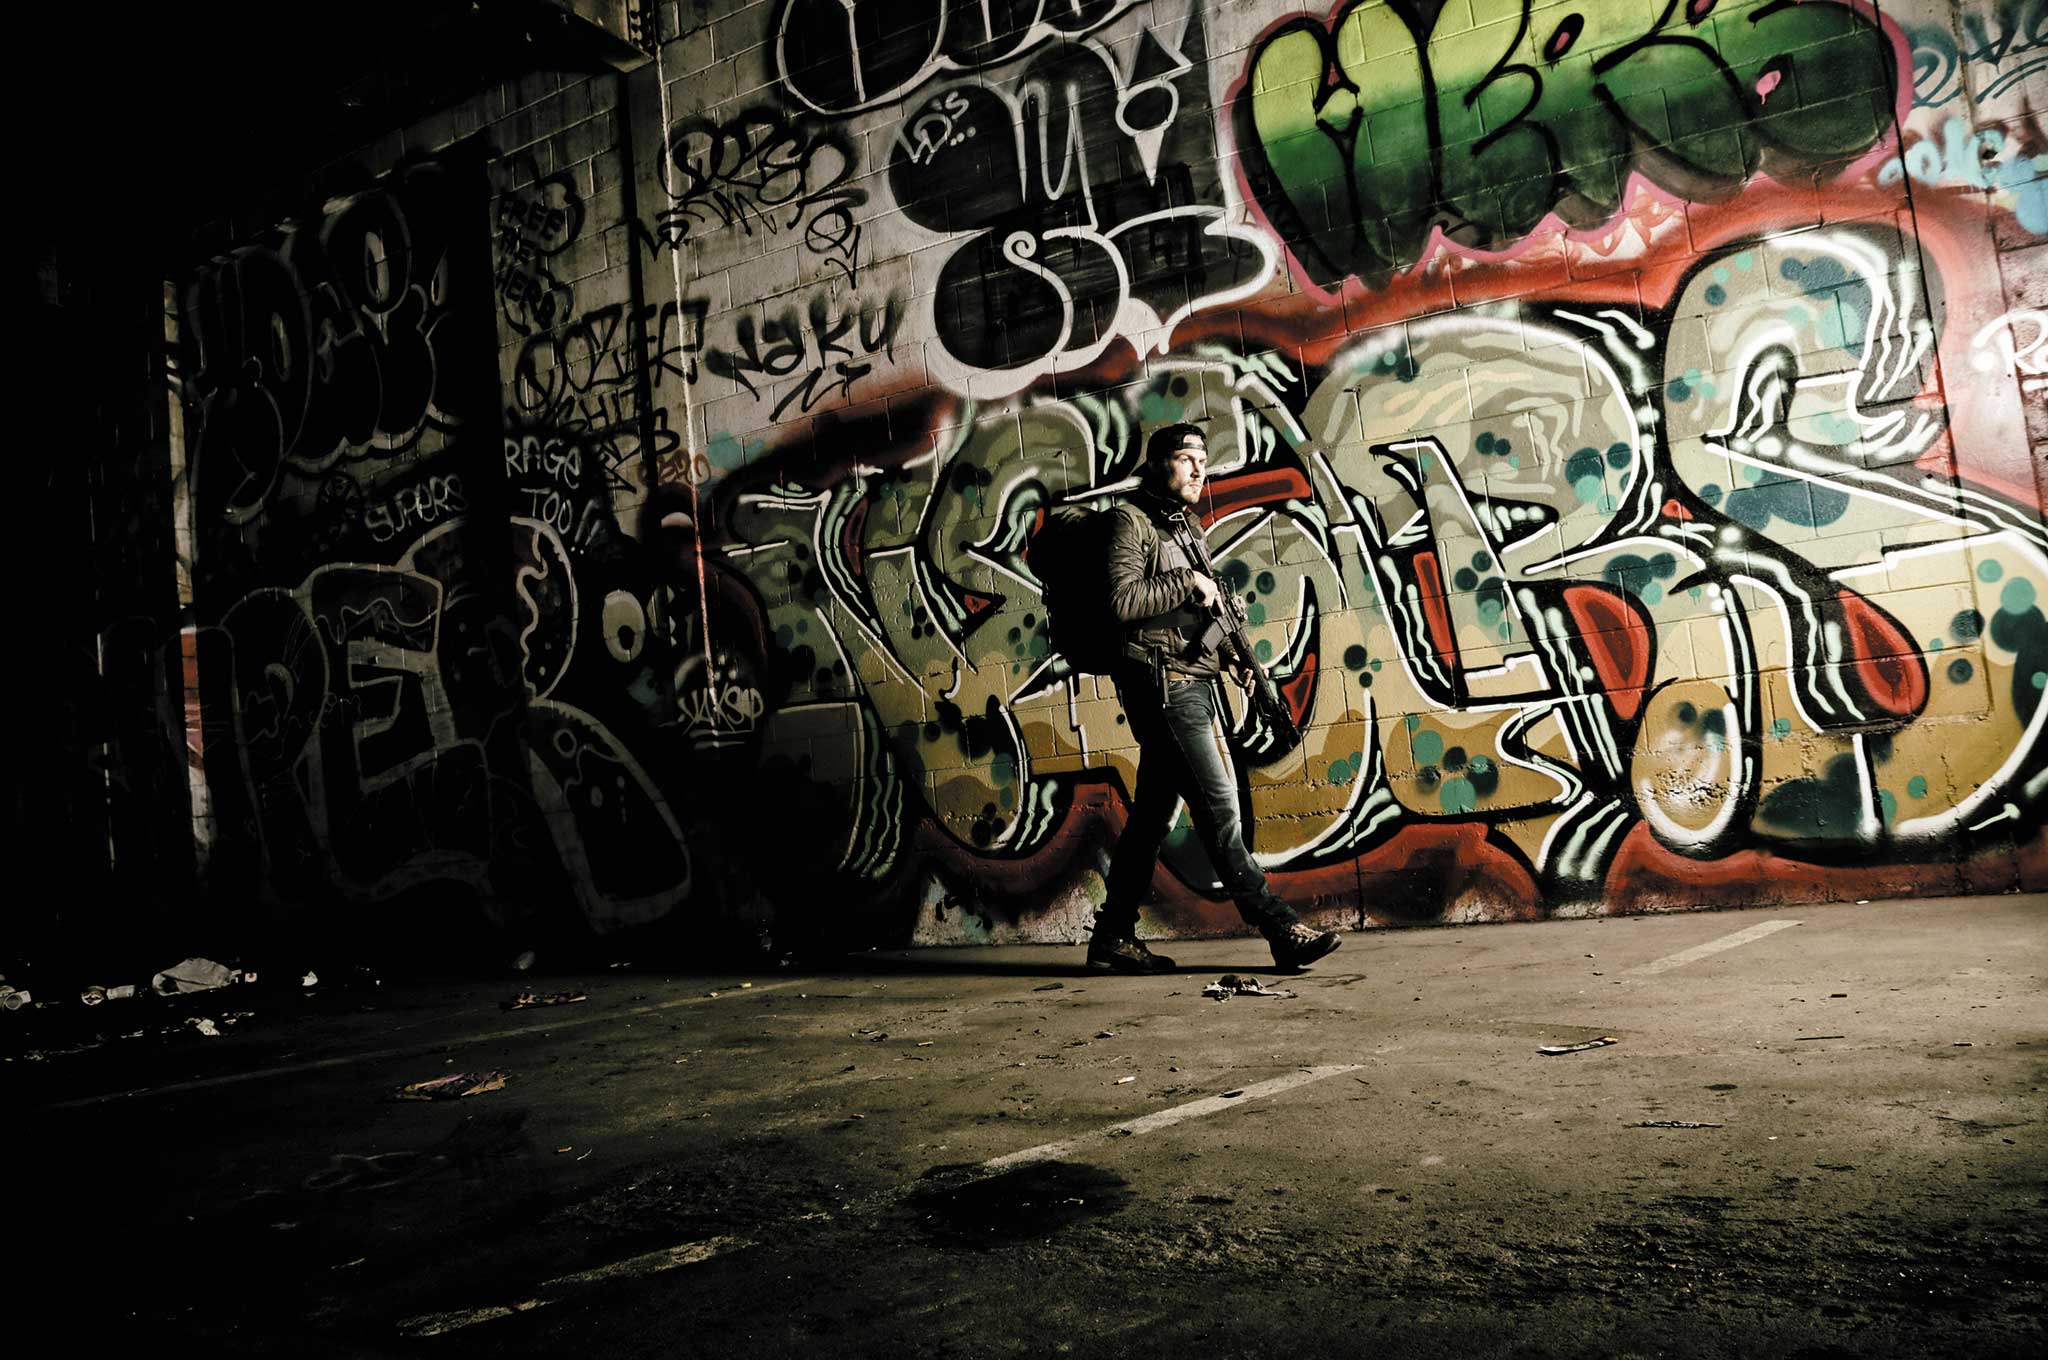
If there’s one thing Powell embraces when it comes to survival and prepping, it’s practicality. He’s ready to deal with life as it comes, no matter where it attacks — on the side of an Andean mountain, on a stretch of I-80 between Denver and Omaha, or on the sidewalk near his apartment in St. Louis.
His is a healthy regard for danger that lurks in everyday life, but it doesn’t stray into paranoia. Instead, his prepper wheels turn below the surface. Sure, his Ford F-150 FX4 is permanently stocked with a sizable bug-out kit, and he’s rarely without a sidearm, but the core of his prepper toolbox isn’t gear or skills, but his survival mindset.
He could’ve been born with this strong survival drive, it could come from his upbringing, or maybe it’s something that surfaced during his time serving in the U.S. Army’s Special Forces.
In high school, Powell learned about the role of the Special Forces in the Vietnam War. He recognized the signature Green Beret these elite soldiers wore as something he discovered in his father’s closet as a kid.
“That’s when I found out that my dad used to be a badass back in Vietnam,” Powell says. “He was a Green Beret with 5th Group.”
Years later, with the Global War on Terror in full swing, Powell gave up after three semesters of a full ride scholarship to the University of Missouri and enlisted in the Army. “My heart wasn’t in it,” says Powell. “What I wanted to do was go join the war effort and put the hurt on some bad guys.”
He made his decision, dropped out of school, signed his enlistment contract, and told his parents. Based on his enlistment test scores, the recruiters tried to persuade him to join the 18x program. It’s a direct path from the street into the Special Forces (S.F.). But Powell initially demurred, citing the desire to earn the Green Beret by rising through the ranks.
“I’m stubborn as sh*t. I’m pretty proud of my decision,” remembers Powell. “I said, ‘You know what, I appreciate it, but that’s not me. I want to earn it. I want to do it that way, I know what it means.'”
He was approached by the S.F. liaison team a few times and after consulting with his father, took the 18x route, a path that put him through some of the best, and most practical, survival training the U.S. government offers. He served two combat tours as a Green Beret in Iraq and Mali before landing roles as a television survivalist on Stars Earn Stripes, Ultimate Survival Alaska, and Dual Survivor.
When it comes to his role and fame as a TV survivalist, he’s caught in the middle. Like treating an addict with a little bit of the drug, Powell tries to walk the line between giving his television show producers the drama they want while trying to stay true to the tenants of effective survival craft. It’s not easy, and Powell understands his role to date on the screen is more about motivating than educating viewers. So, he plays along and uses his confessional time to deliver a get-off-the-couch message.
He’s more than just a pretty face with a trendy top-knot (he told us his show producers dictated his haircut in order “to be with the times”). We talked to Powell on the phone before meeting up with him in St. Louis. In person, the man is gregarious, free of guile, and devoid of pretense.
Interview
RECOIL OFFGRID: How did your military career begin? Was the S.F. selection and training difficult?
Grady Powell: I ended up blowing my knee out and had to go through a longer selection. Man, I’ve done training with broken bones. I had MRSA twice. But it was all about just the will to succeed. My mindset is that you’ll never know what you’re capable of until you do something you can’t.
That’s something that went through my mind every single day. ‘I can’t do this; something’s going wrong; I’ve got a broken bone; I can’t make it up that last hill.’ Well, f*ck that. If I say I can’t, I won’t. So I started thinking positively and challenging myself. I’ll never succeed or never get further in life if I don’t start challenging myself and making myself fail in order to succeed.
Where does that drive to succeed come from? Is it rooted in your survival drive?
GP: One of the courses we go through is SERE school — survival, evasion, resistance, escape. That’s where I found more of my survival mentality.
Any situation I’ve gotten into, whether it’s on a TV show or when I put myself out in the woods, the mentality is finding a way to get home. It isn’t always about building a fire with sticks. It’s about finding in your heart and in your mind what reason you have to drive on.
Did you have an experience that awakened, or allowed you to recognize, some deep internal drive to survive?
GP: I didn’t have any personal event that I had to dig deep for aside from the survival school. I saw guys break, and it was just a school. But I think the turning point for me was when I realized that anything is absolutely possible if you put your mind to it and you have that will to survive. It’s illustrated in Nick Rowe’s book Five Years to Freedom about his time in a POW camp.
He said if you’re captive, find something to celebrate every day. You find a crumb, a piece of bread on the floor; you find a way to make that the best thing that happened. Find the best of every situation. It even goes back to my family motto, it’s Welsh, ‘Edrych i fynw,’ It means looking up or always optimistic, regardless of the situation.
Is survival a mindset or a skillset?
GP: I think mindset’s far more important. People want the gear. They want to be the cool guy. They want the neat new contraption to make fire. That’s not going to get you home. That’s one thing that I didn’t like about the TV shows I’ve been in; they are about backyard survivalists. They’re not actual survivalists.
They are going and looking at books, getting some cool gear. Those things are necessary, it is necessary to practice that kind of survival. But survival is a mindset, before it’s a skillset or some gear you need.
How important is leadership and team building in survival situations?
GP: That’s one thing that I really do like about having been a Green Beret. One of our main objectives was to build armies with people who sometimes didn’t speak our language. Sometimes they didn’t even like us. We were able to work with any kind of person to get to a common goal.
In my survival mentality, I bring that along. I don’t know where I’ll be or who’ll be around when sh*t hits the fan. Organizing is about working with anyone in any situation. It’s a little bit too easy and unrealistic to only practice a survival plan with people who are 100-precent like-minded preppers.
Is kindness a strength or a weakness?
GP: That can go either way. I’ll put it this way — never start a fight, always finish it.
You worked with Chris Kyle on a show. Did you become friends?
GP: Chris Kyle was, hands down, one of the best dudes I’ve ever known. He inspired me to be a better veteran. He found in himself a place to help himself get over the issues he was dealing with by helping other people. That ultimately ended up being his demise. But it didn’t matter who they were, or what they were going through, Chris was going to try to help them out, because he knew exactly what it felt like. He’d gone through it himself.
Funny guy, super genuine. Exactly who he portrayed himself to be … The first time I met him, I didn’t know who he was. I knew who Chris Kyle was, but it didn’t click. I was just hanging out with this f*cking hillbilly from Texas until somebody else was like, “Dude, you know who that is?”
How’d you end up working together?
GP: Right after I got out of the military, I bought a one-way ticket to Europe. I didn’t want to become a statistic and be the guy who deals poorly with post-traumatic stress. My way of dealing with it was to buy a one-way ticket to Europe, backpack for a while, and go until I was happy again.
When I was in Germany I got the call to do my first TV show. I said no. Long story short, ended up saying yeah. Chris and I were competing against each other on an NBC show called Stars and Stripes. It was a military-based competition series where celebrities got paired up with ex-special operations soldiers. We competed in these military-style obstacle courses and mock missions. I actually ended up beating his ass.
What about doing one of those prissy pair-up shows when you have to help some debutante survive?
GP: Yeah, no way. That’s not about surviving, it’s about the drama. I’m like, ‘Don’t talk about it, be about it.’ I could sit back and make a bunch of money from shows like Dual Survival, sitting around and spinning sticks. But that doesn’t teach anybody anything. I want to teach people real, actual skills and the mindset that comes along with it.
Ultimate Survival Alaska was a fun race, but there was a lot of produced crap on it. In Dual Survival, yes I did everything you see but it’s produced and that is not real survival; that’s backyard survival. You’re taking skills that are necessary, but glamorizing them and just making a silly show of it. Survival is a mindset.
I want to show people there’s a way to dig deep inside yourself. People talk about the mind being the strongest muscle in your body; it’s absolutely true. Your muscles will quit before your mind does. And your mind can push your muscles a little bit further.
Are survival shows education or entertainment?
GP: A lot of it is entertainment. But if it inspires people to get up and do something, that’s what I’m all about. I spend a lot of time in front of a camera trying to express my mindset. But, I know a lot of people are there just for the 45 minutes of watching somebody suck in the woods.
Survival is not exciting. Survival is saving up. The conservation of energy and getting back home or getting to a location. Because you have to be putting energy in that equals or is better than the energy you’re putting out.
These shows can’t follow me around for two weeks and watch me just walk at night or slowly build a shelter. What they want to see is the grand scheme right away. They want to see this wild hunt. They want to see me diving off a cliff, which I wouldn’t do in a real survival situation. They want to see me build this crazy shelter that Robinson Crusoe would be proud of. So we do it, but I spend the energy doing it because I know I’m going to be getting out. It’s not like I’m going to die. It’s a TV show.
But, it’s a catch-22 for me. I want people to be more interested in the lifestyle, but at the same time, I’m showing them bad habits.
It’s the battle I’ve gone through quite a bit with producers. I always end up feeling like I kind of lost the fight because I try to be an honest person. Doing the TV stuff isn’t about money for me, it’s about the adventure and having a life story worth telling. My motto is you have one chance to write your story, make it one worth reading. I feel bad sometimes, because I feel like I’m portrayed as the guy who’s giving people bad advice. But at least I’m getting to them a little bit? I don’t know.
Were you a fan of survival TV shows? Did you watch them before you were in them?
GP: I did a bit. Mostly things like Bear Grylls. That’s what I didn’t want to do. I didn’t want to be the guy drinking my own piss when there’s a f*cking creek right down the way. Every show I’ve been on, some producer’s always trying to get me to drink my piss. And I tell them to f*ck off. They just want that stupid excitement that is completely empty, and it doesn’t do anything for the end viewer.
So I think, yeah survival shows are fun. They’re informational at times. But I want real. We’re talking reality TV, then make it real, man.
What most shows don’t show is all the downtime; the reality of survival where you’re just sitting there doing nothing for a long time because you don’t have the energy and you’re waiting for the opportunity to go catch an animal. Because opportunity is key in survival. You don’t want to pass up opportunity, but you also don’t want to go waste your time looking for opportunity. If you don’t know how long you’ll be out there and you don’t have water, yeah you’re going to need to go get water. But you’re not going to go running around trying to catch a f*cking cobra.
What threats do you prepare for?
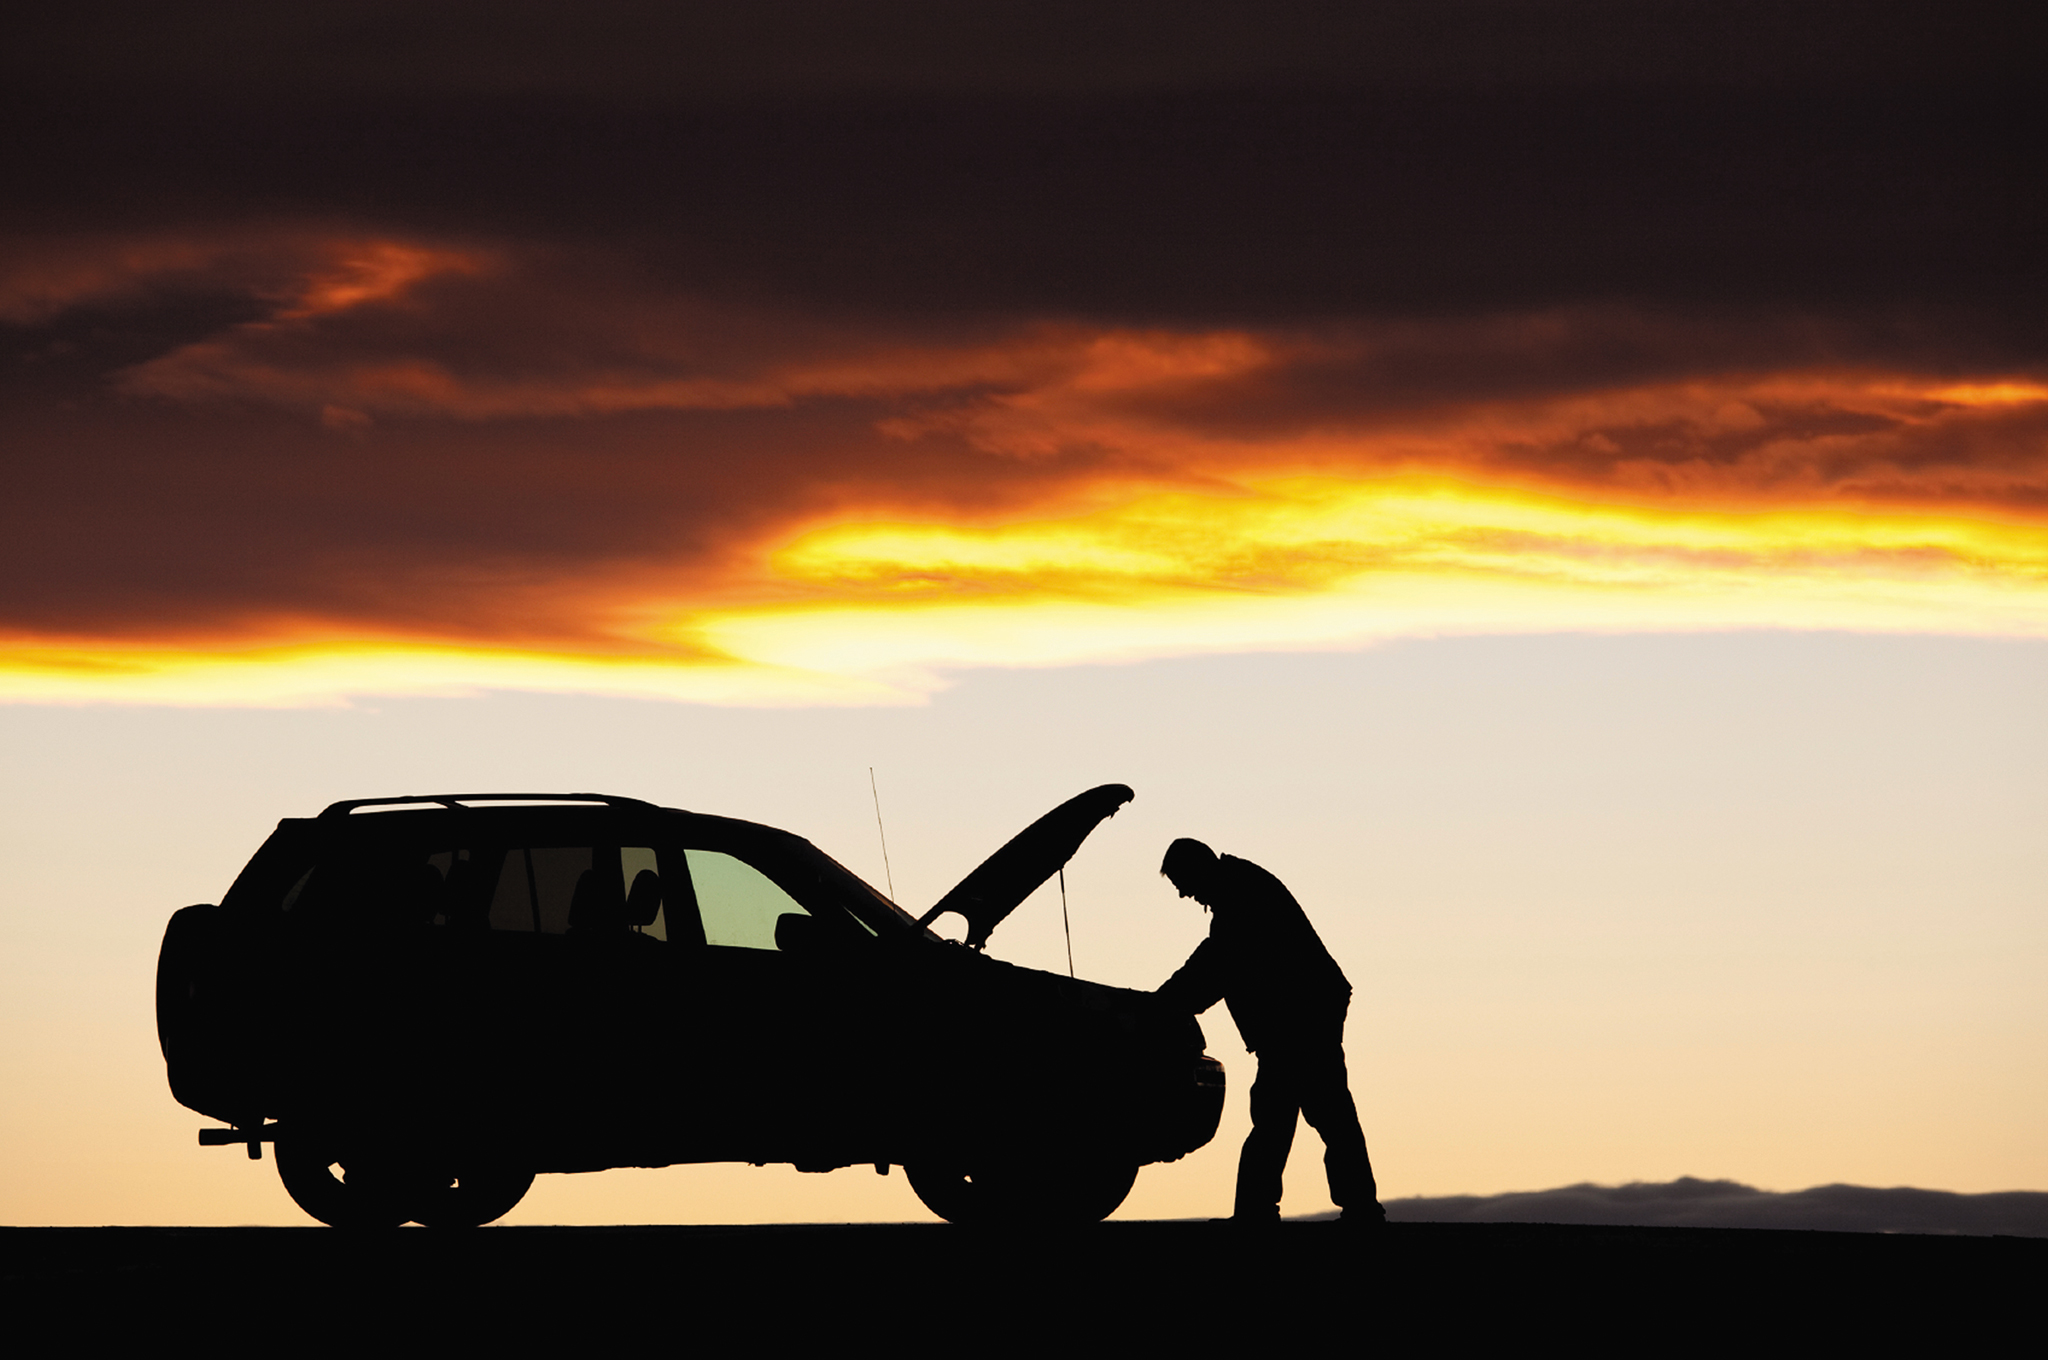
GP: Mine are mostly human threats. I live downtown. I drive everywhere I go. I had a show down in Georgia, and I drove myself. So I’m on the road a lot. My car is always full of what I might need. When you talk about everyday carry stuff, my EDC isn’t in my pockets, it’s in my truck.
I don’t go anywhere without a sidearm. Not necessarily going to tell everybody exactly what I have or where it is, but I’m prepared.
How can you tell someone’s going to be a threat?
GP: It’s mostly body language. You can pretty much look someone in the eye and know if they’re going to be trouble. It doesn’t happen so much to me, but I sit around and watch other people and how they’re being reacted to. I’m a 6-foot-3-inch, 210-pound man walking with my chest out and my head up. People don’t f*ck with me.
I see men and women these days making themselves into victims unknowingly by always being into their phones, or not being dressed to deal with a bad situation. I get it, you want to look sexy, but if you’re going to be downtown in an area where somebody was shot not that long ago, you probably don’t want to be wearing 6-inch stilettos. Even guys. It’s tough to haul ass in a pair of ostrich cap loafers.
And it’s not just about having a gun on you. It’s about being able to know where to go in a bad situation. Do you know the exits? Can you run away from someone?
Is your body capable of handling that situation, or have you been chowing down on McGrits for the last 20 years?
Anyway, you asked how do I identify people as threats. Well, you’ll see it. Good people with good intentions don’t typically sit in shadowy areas with their hoods up. If somebody has good intentions, that’s not where they’re going to be. Just avoid those spots.
What’s the difference between paranoia and vigilance?
GP: How each affects your life. Don’t let it stop you from being the person you want to be. Or being the person you should be for your family. Don’t let it keep you from being happy. Now, if being paranoid makes you happy, I don’t really have anything for you.
If there was just one or two things that people needed to do to be physically prepared for a survival situation, what …
GP: Great abs. Great abs open doors for you. Kidding. So this is kind of embarrassing. When I got off the first show, I was asked to do a cover of Muscle and Body magazine that went out in every G&C across the state. I’ve never been an aesthetic lifter. I’m more about functionality. I was like, ‘Oh cool I’m going to be on the cover of a muscle mag.’ Then the guy’s article was literally “Grady Powell doesn’t care what he looks like.” It was so bad, but it’s true.
You get one body just like you get one life. Take care of it. I drink a lot of beer, I eat a lot of red meat. I eat what I want. But I can still pick my girlfriend up and carry her out of any situation. I can still run a mile as fast as I need to. I can sprint like a m*therf*cker. I can get to where I need to go, and I can hold my own in a fight.
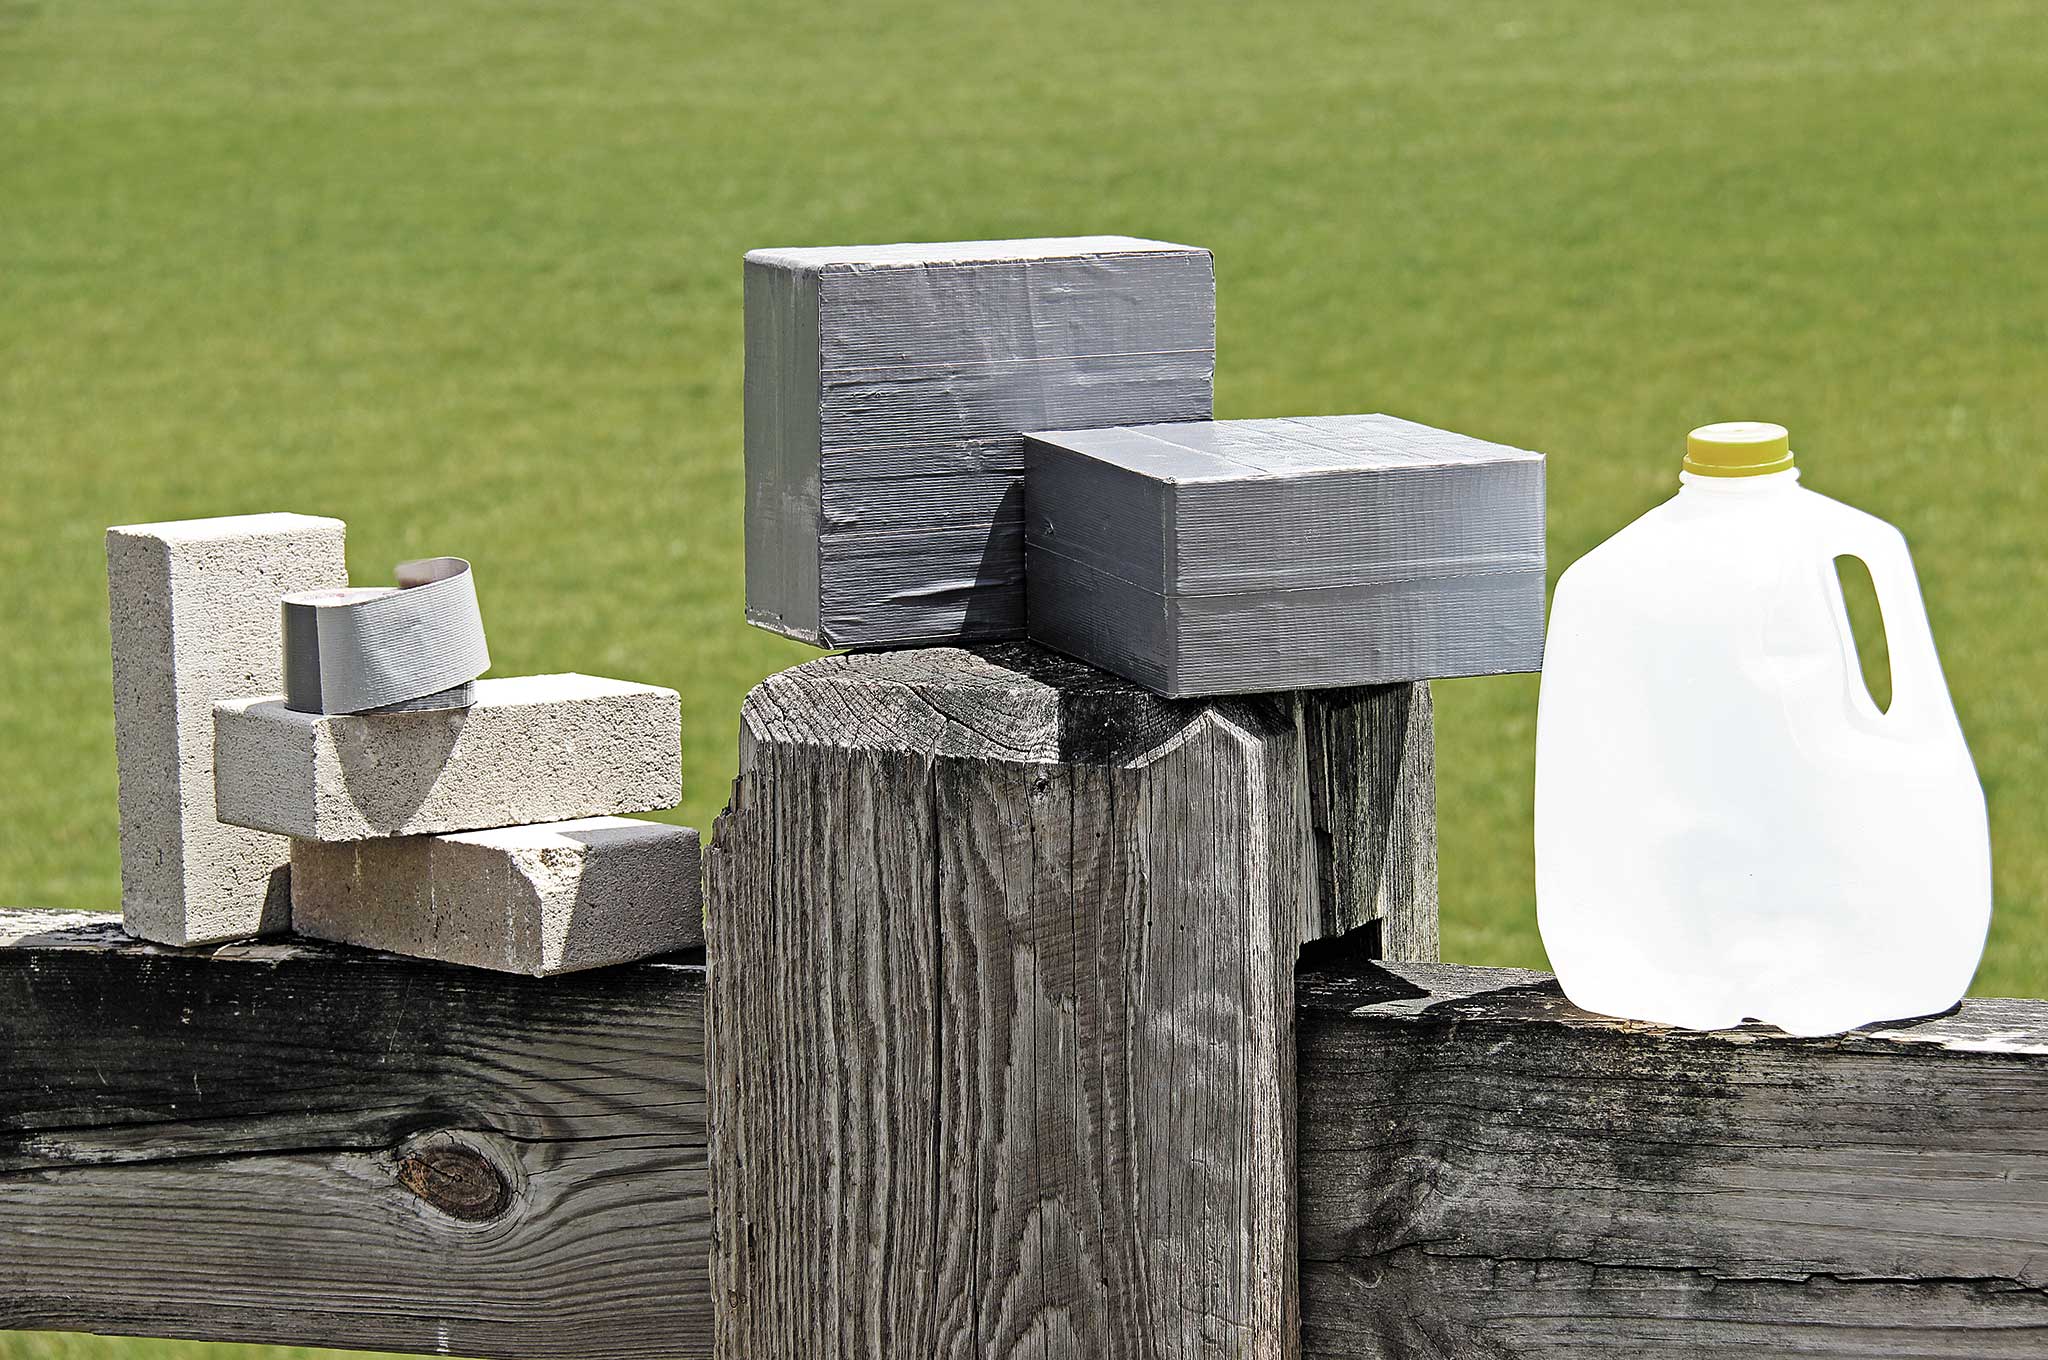
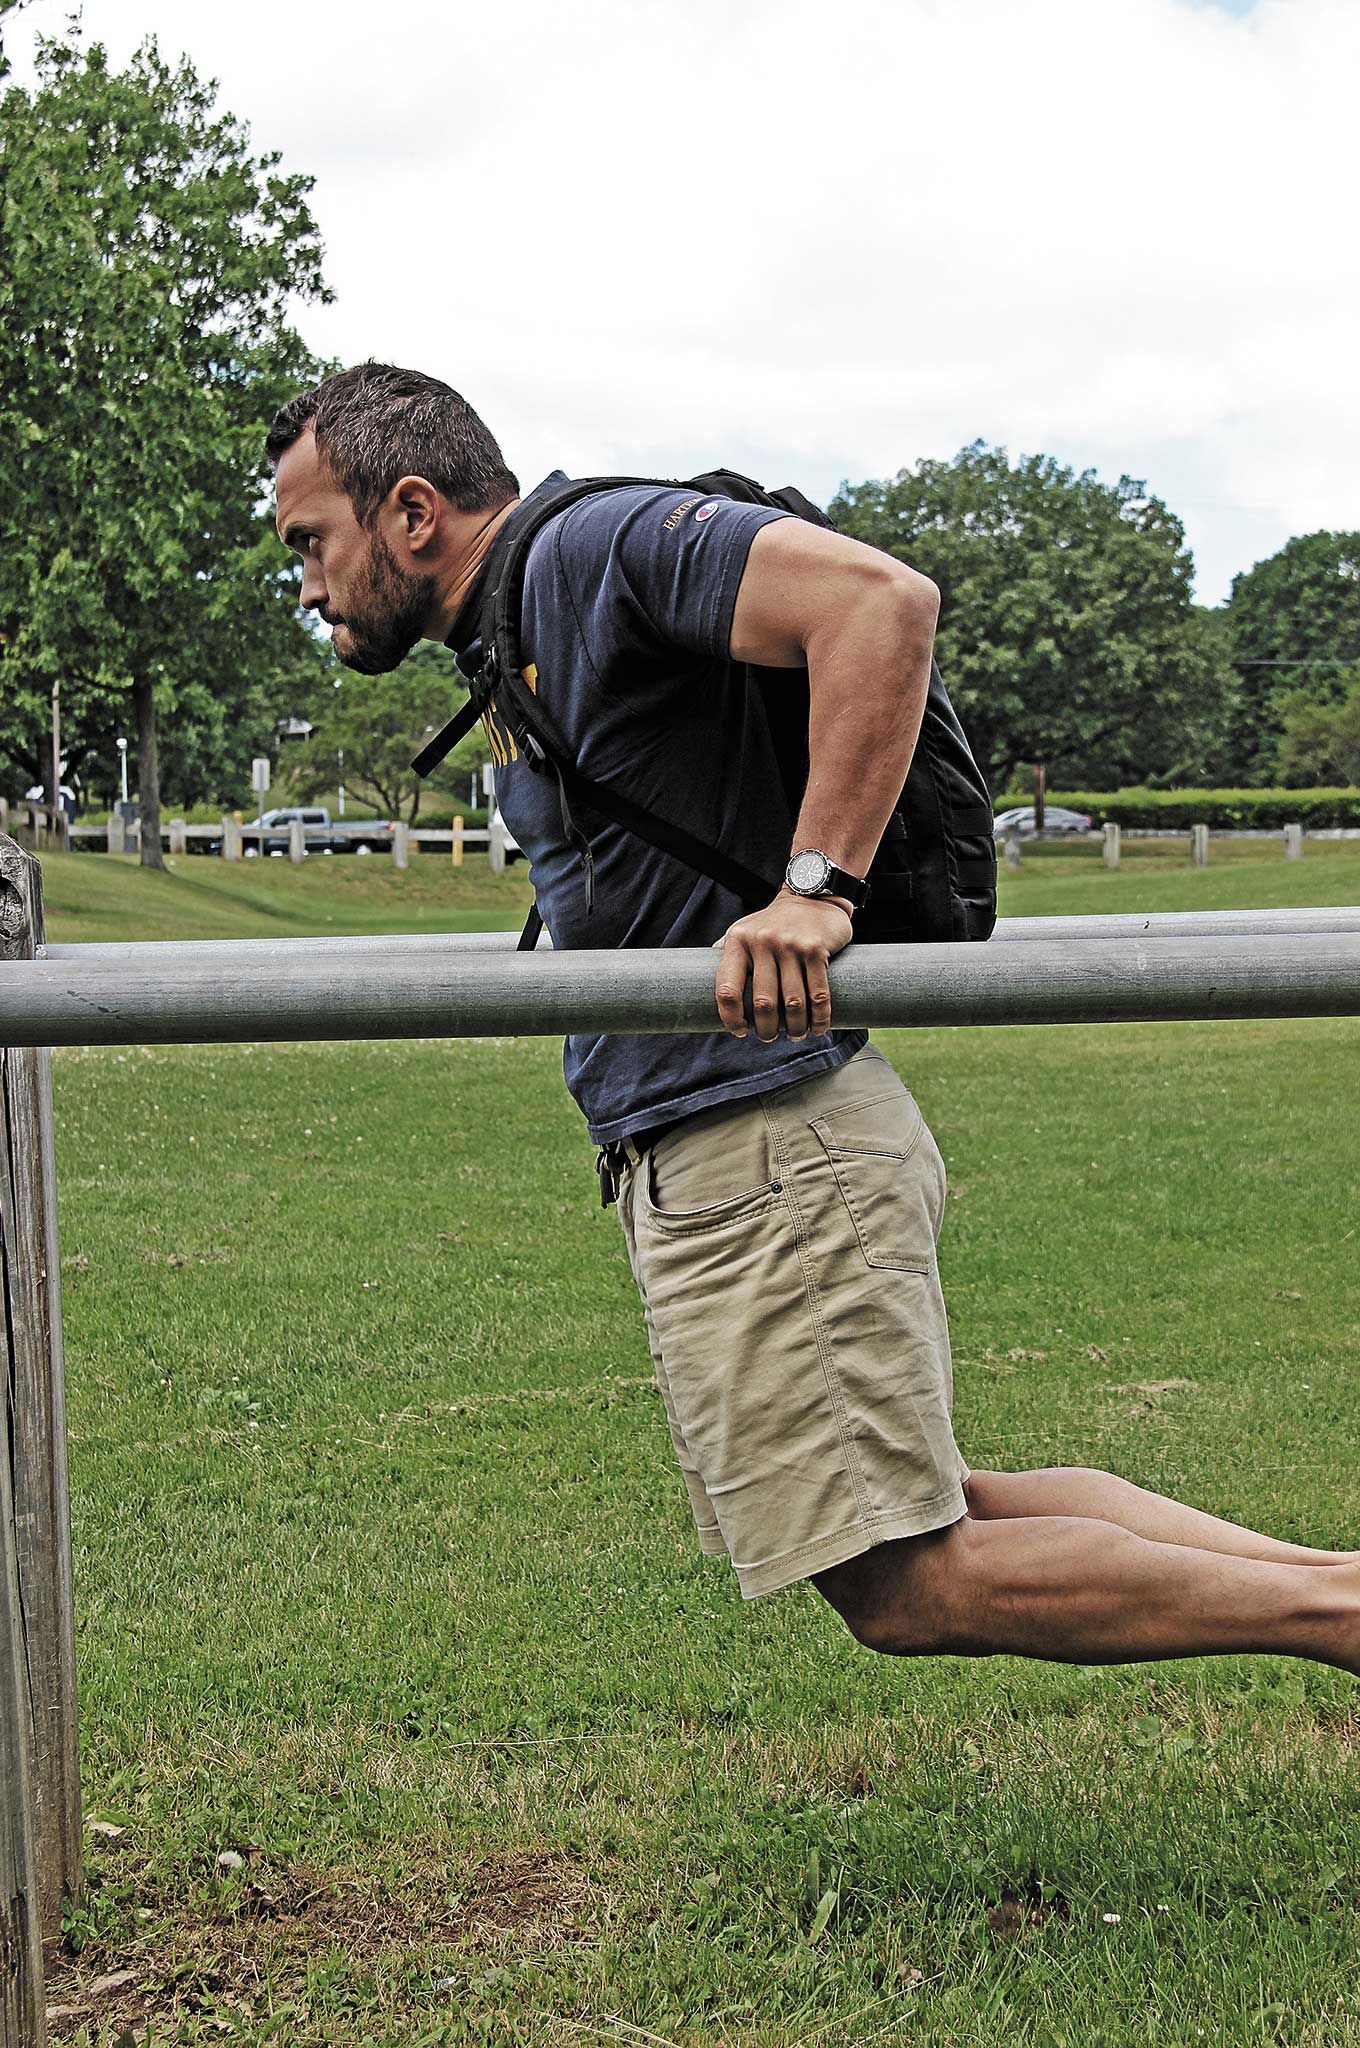
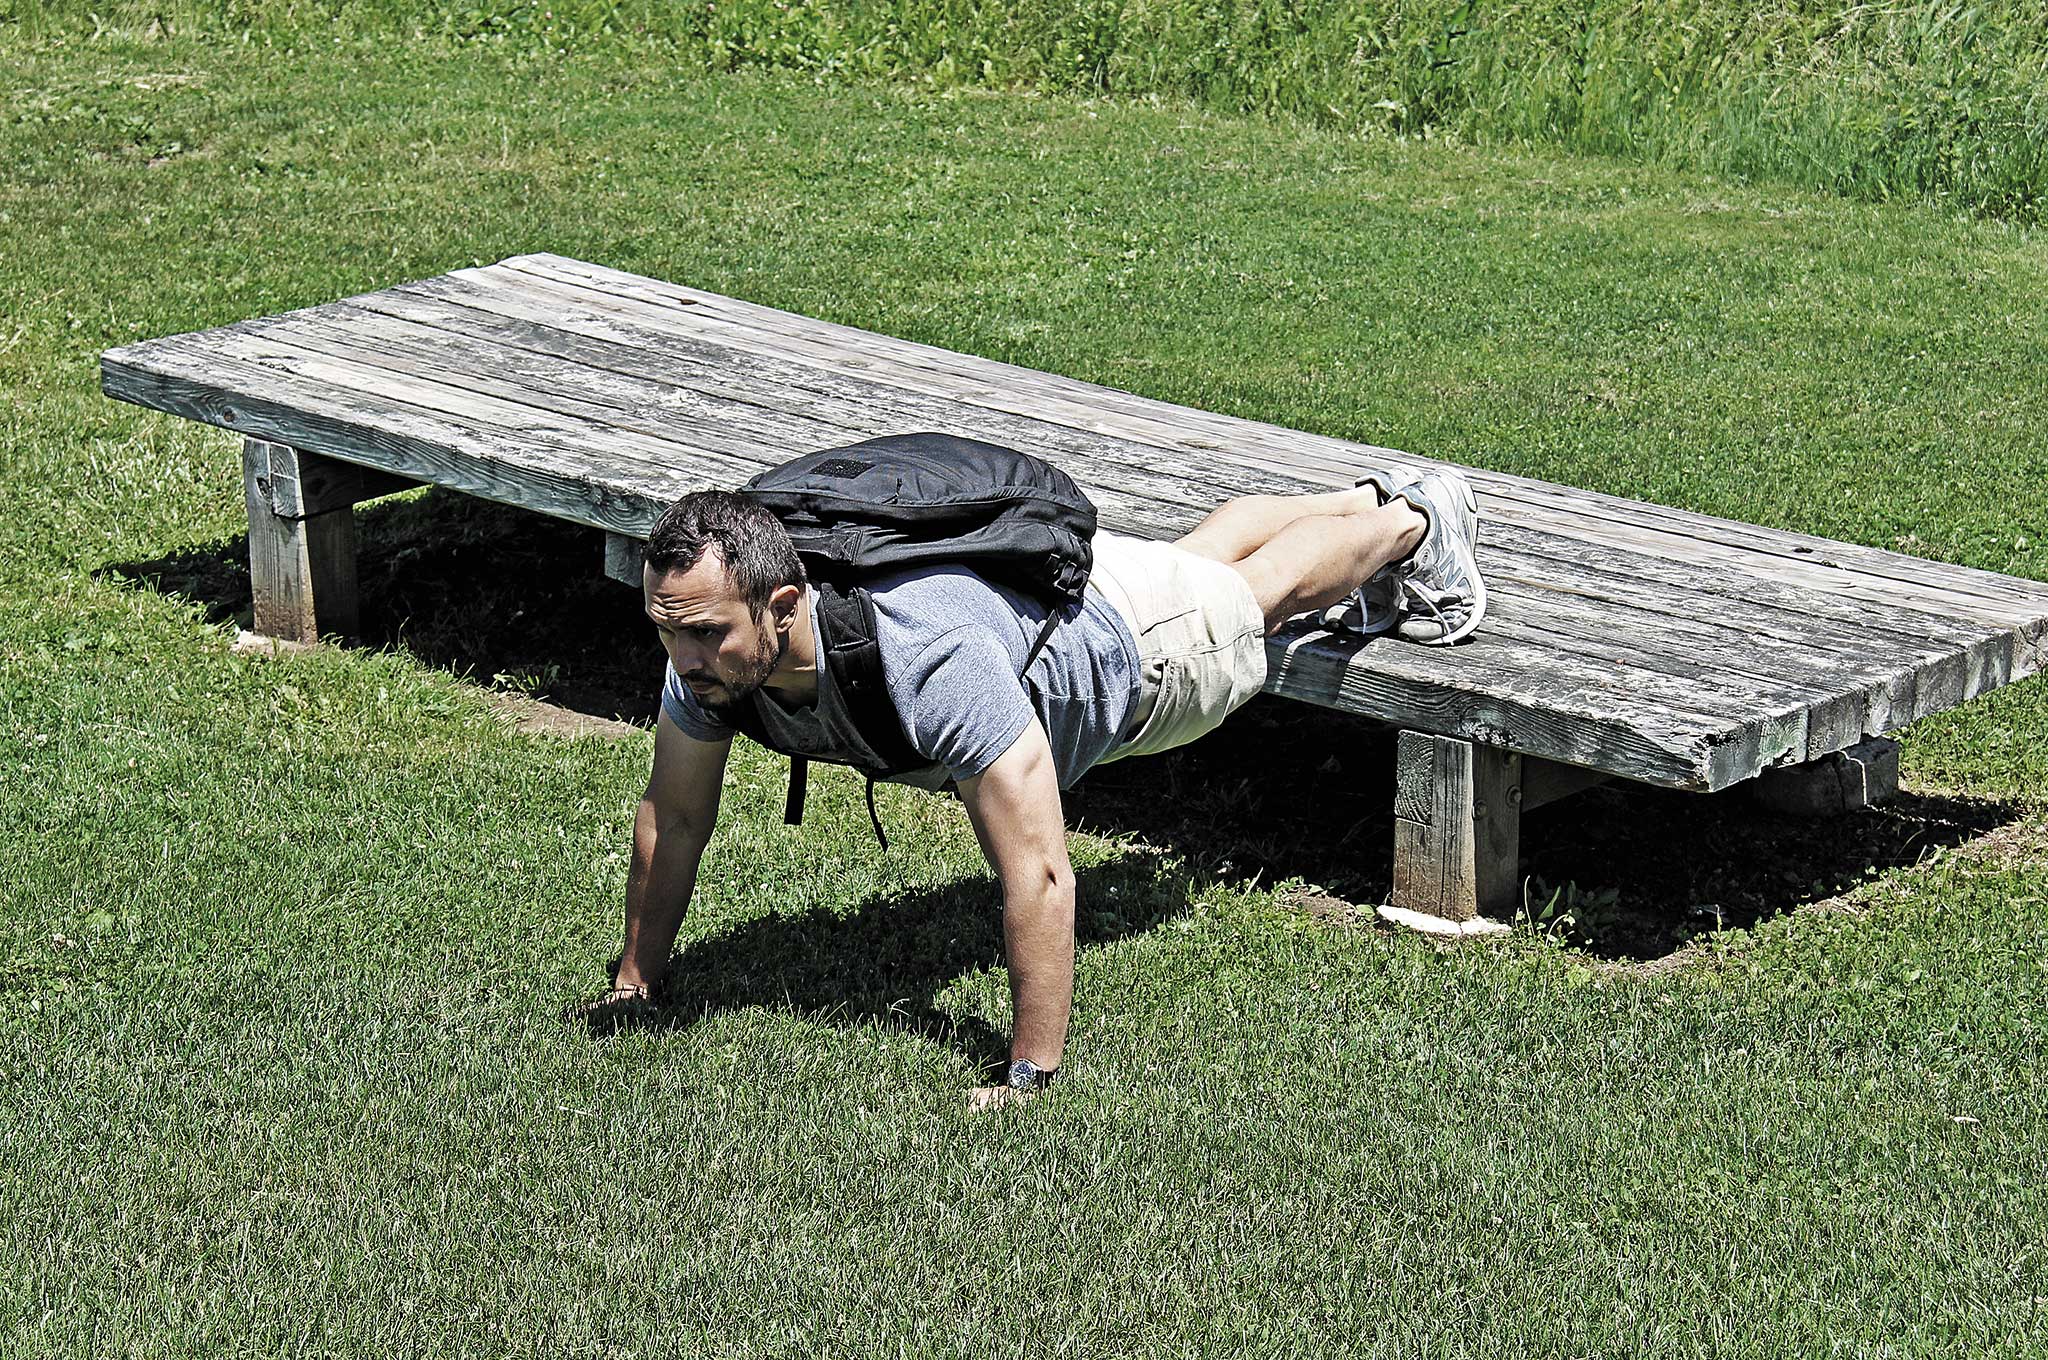
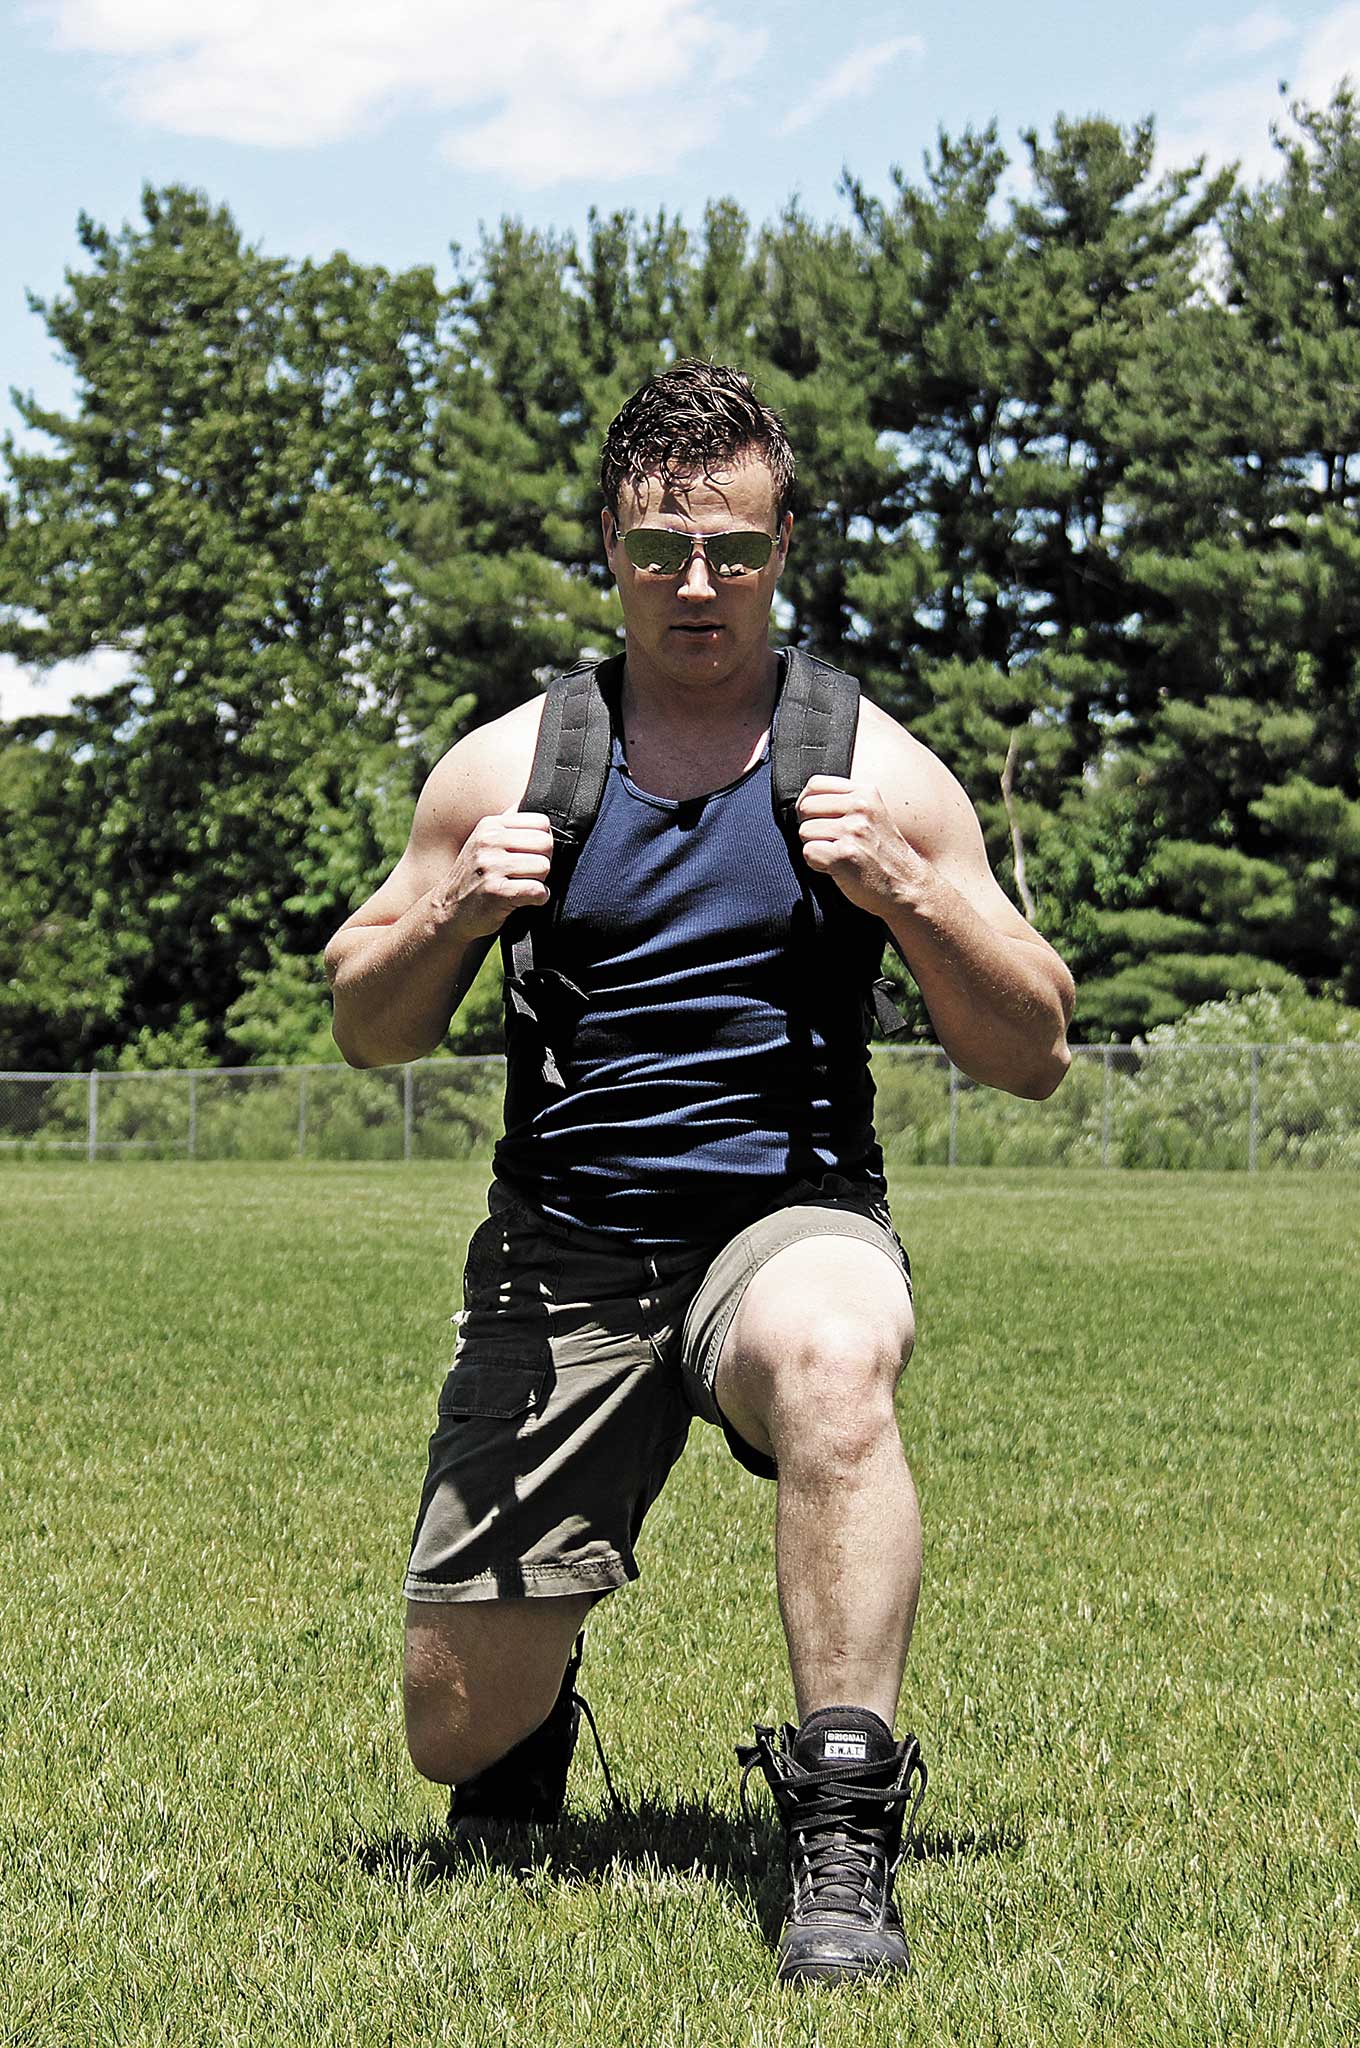
If you are in a survival situation and you aren’t close to home, or even if you are home and you need to get out, you won’t necessarily have gas, or some form of transportation other than the Goodyears on your feet. So be able to walk with whatever gear you plan on carrying plus some extra weight.
Have you ever been mistaken for Matthew McConaughey?
GP: My girlfriend’s going to laugh her ass off. Yes, but it was just the other day. This homeless guy at a gas station goes, “Hey yo, anybody ever tell you you look like a jacked-up Matthew McConaughey?” Oh thanks, bud. I usually get Jax Teller. That dude from Sons of Anarchy.
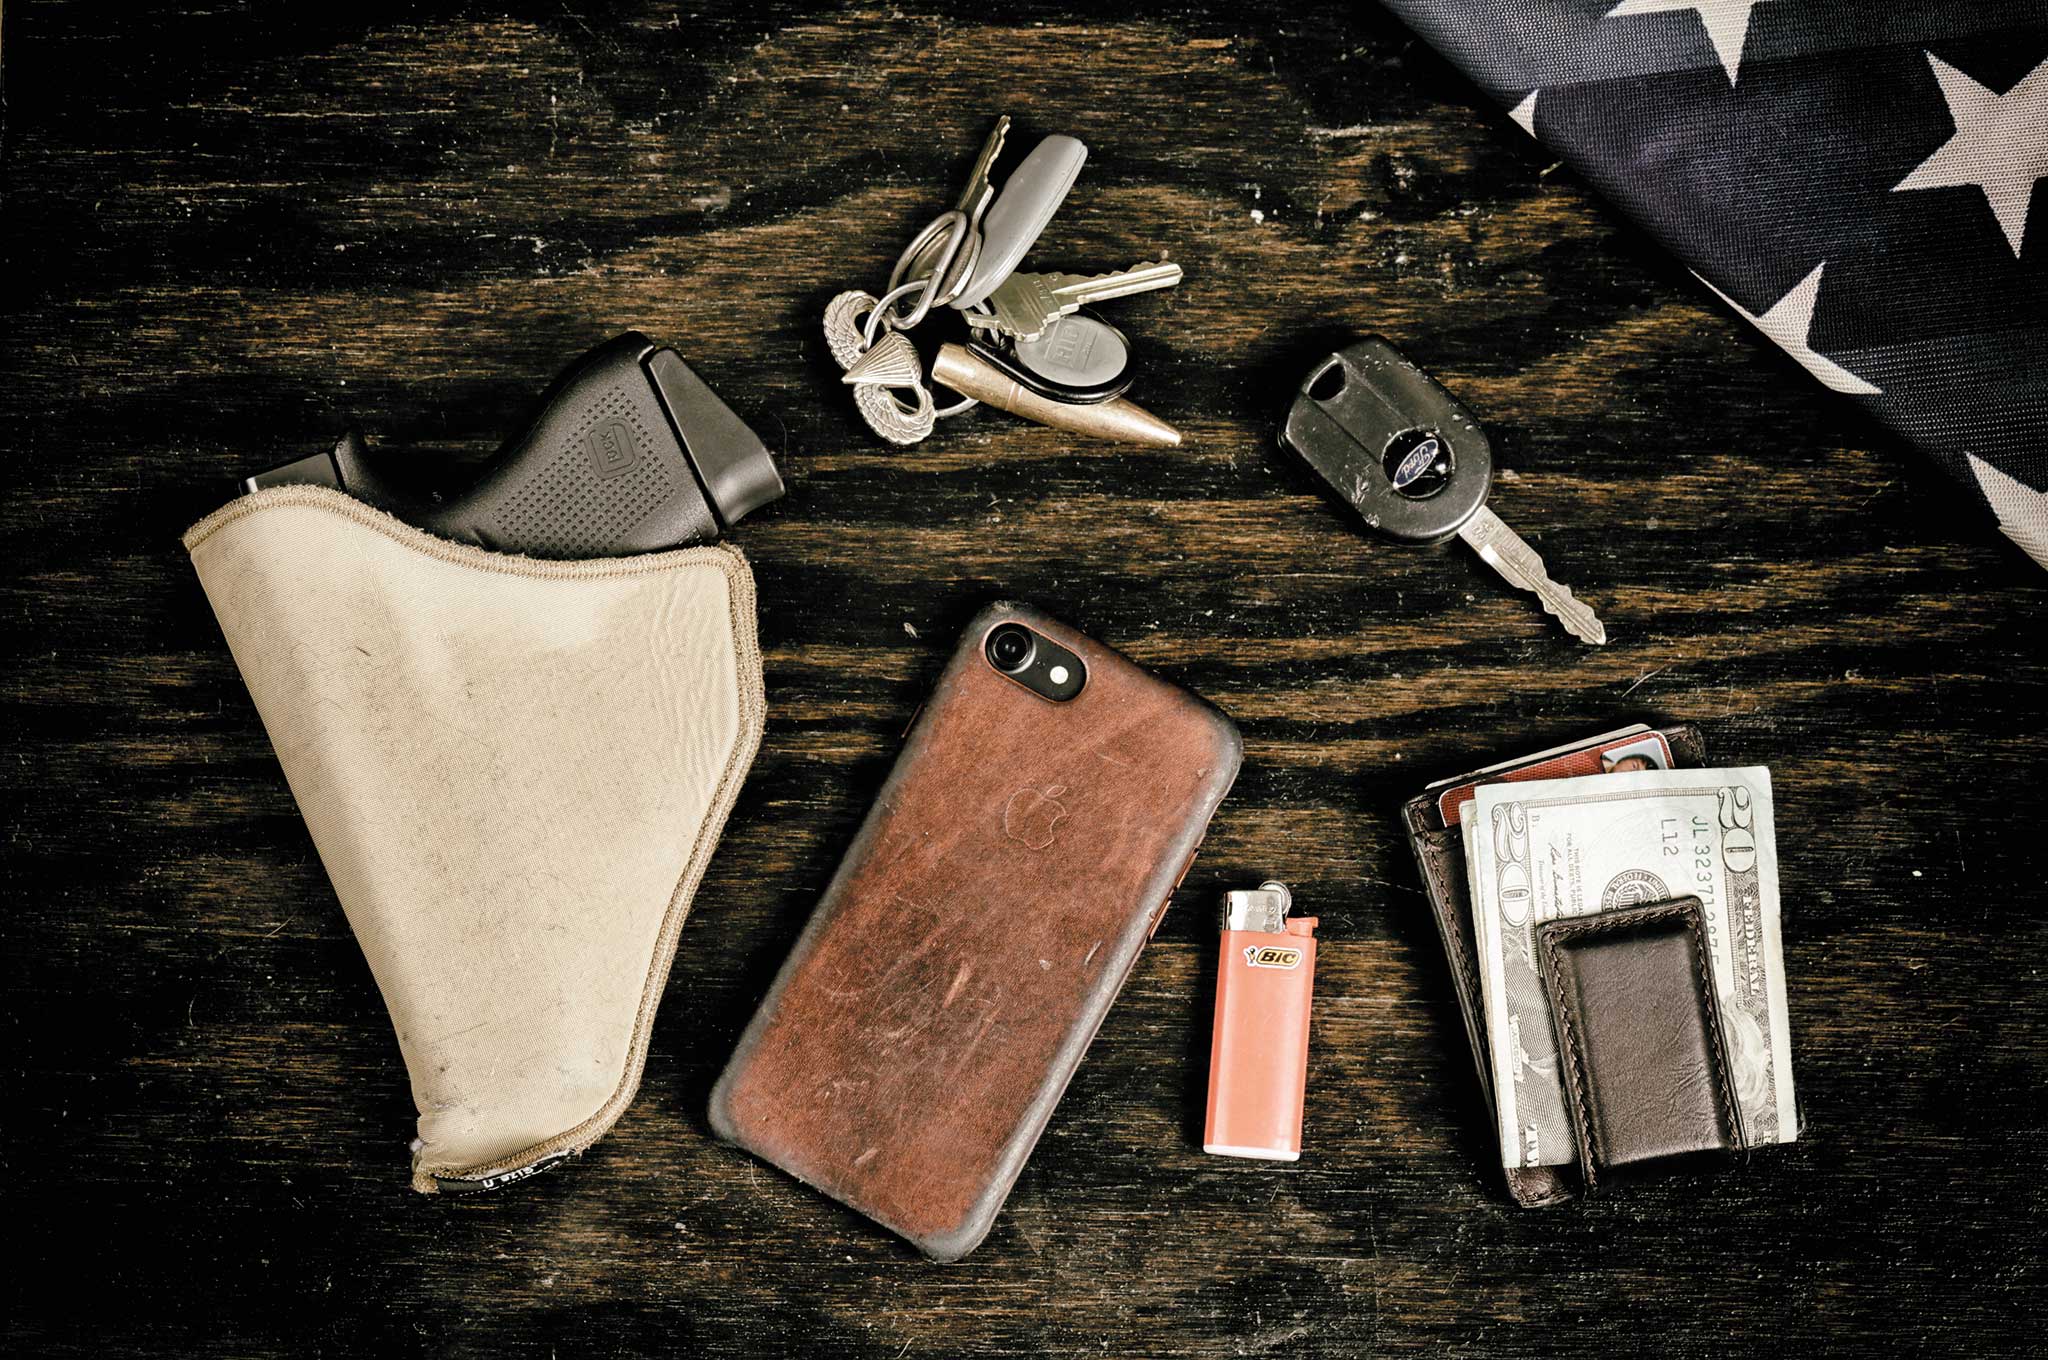
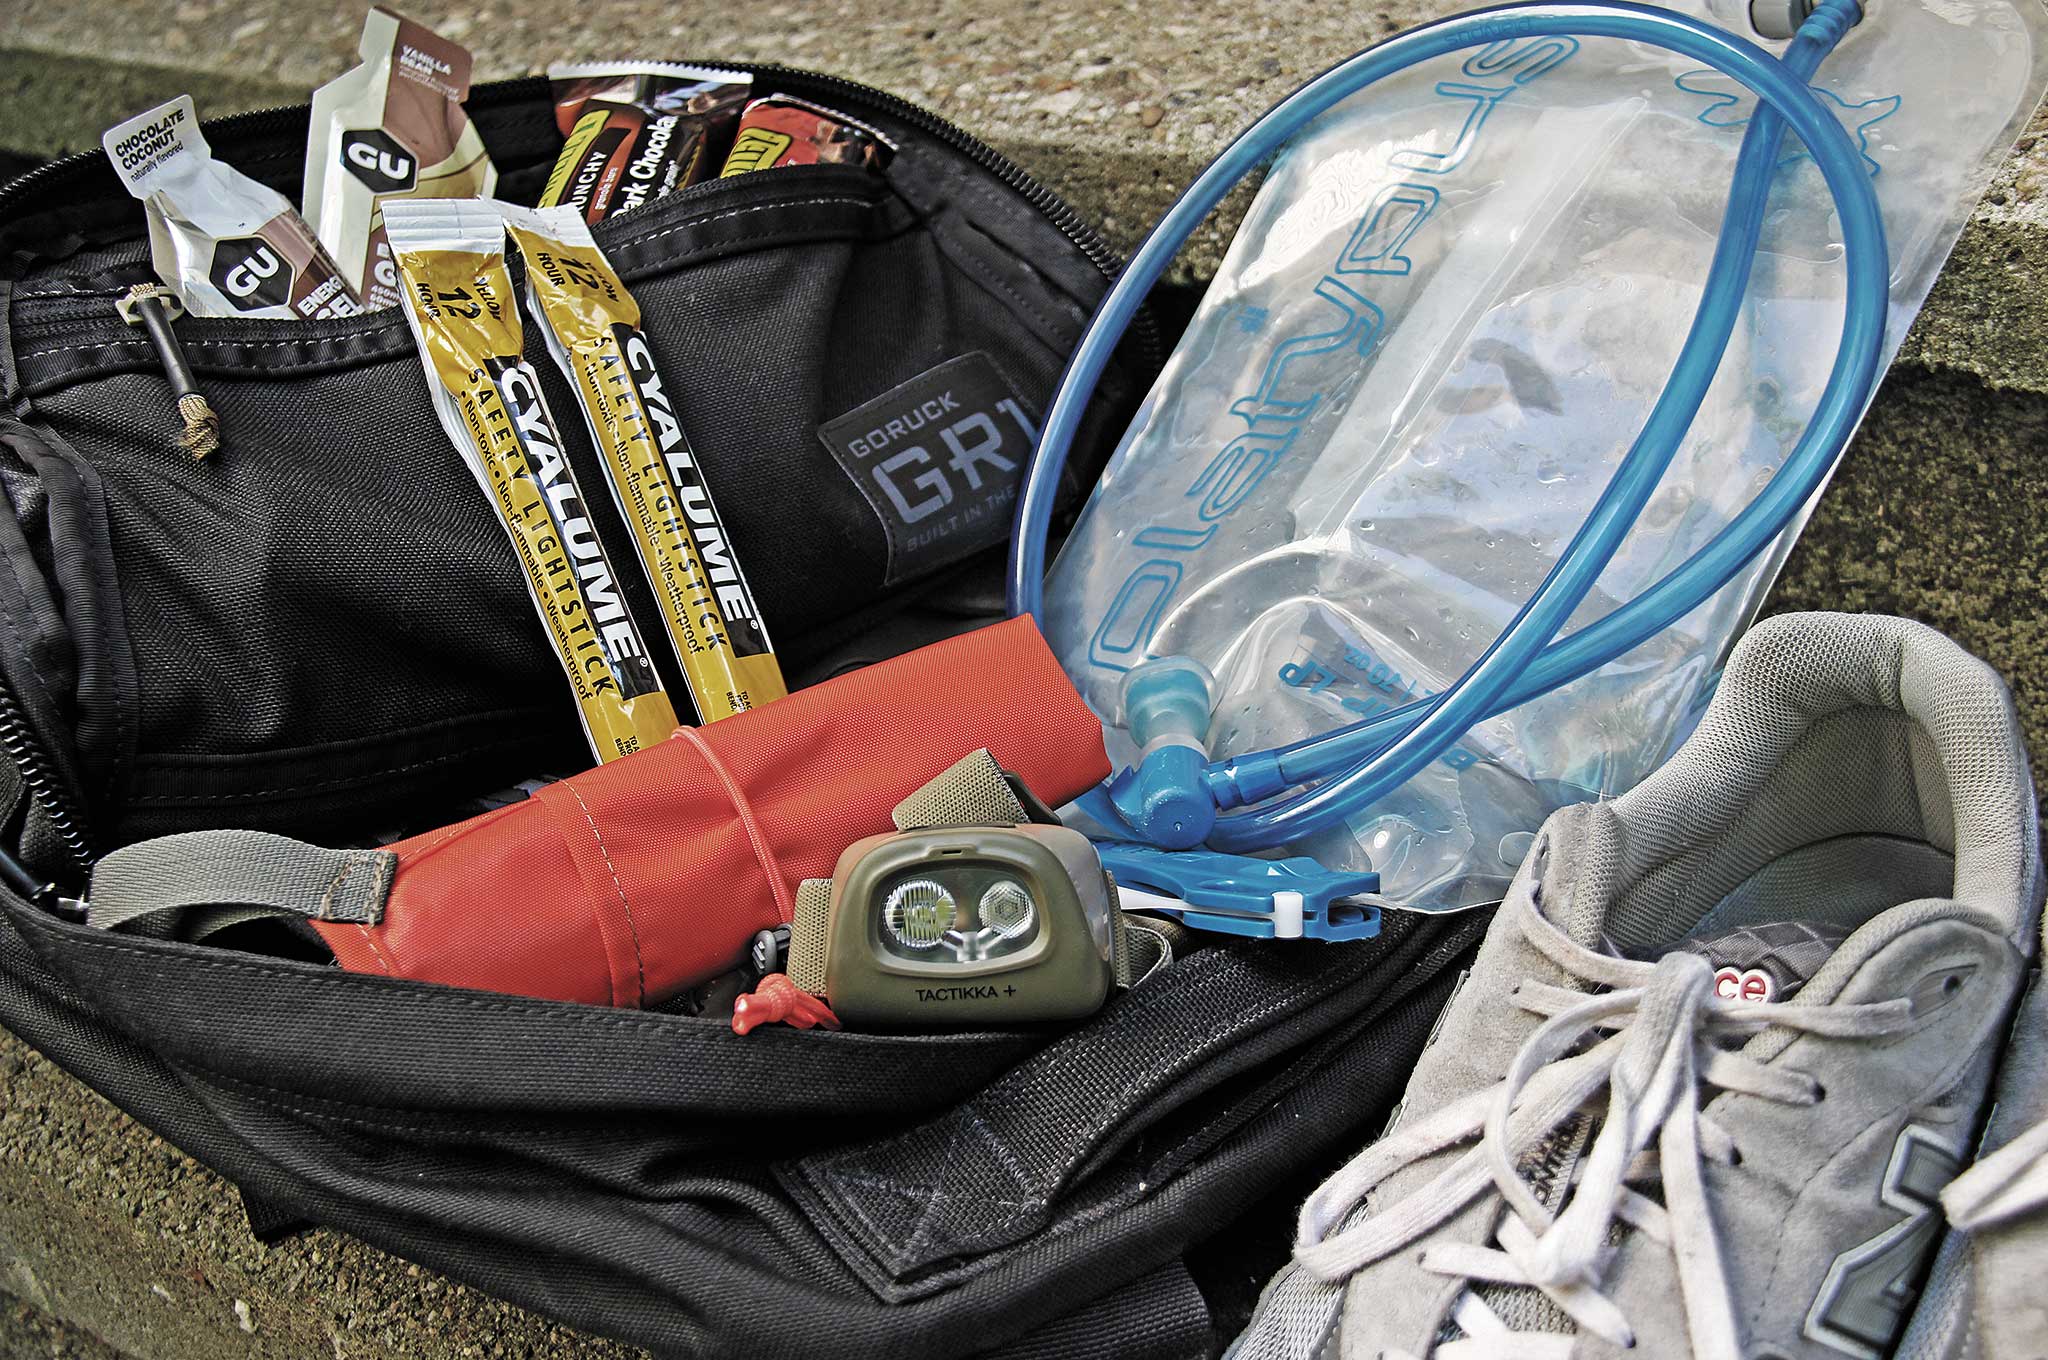
Grady Powell’s Everyday Carry
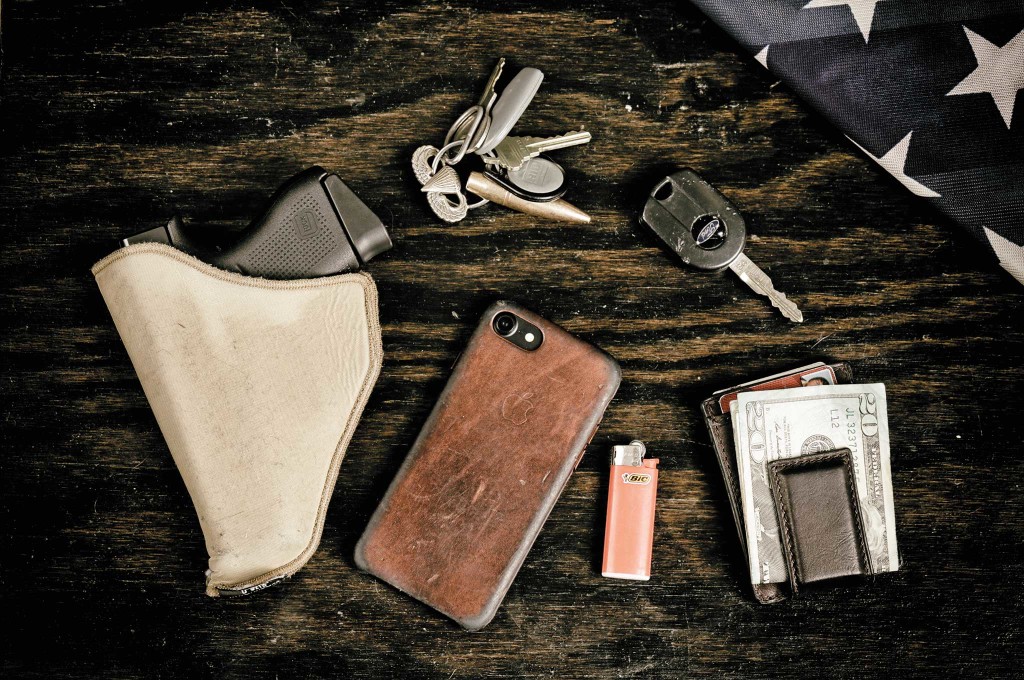
- Ford F-150 FX4 key
- Apartment keys
- iPhone
- Lighter
- Cash and cards
- Glock 43 in Blackhawk TecGrip IWB holster
- His real EDC/Bugout Kit is in back of his truck
Bio Box

NAME
Grady Powell
AGE
30
OCCUPATION(S)
Firearms instructor, survivalist, TV host
BEST SUMMER JOB
“Ran an exterior painting company with a friend. I got paid to swing from roofs and paint homes.”
FAMILY
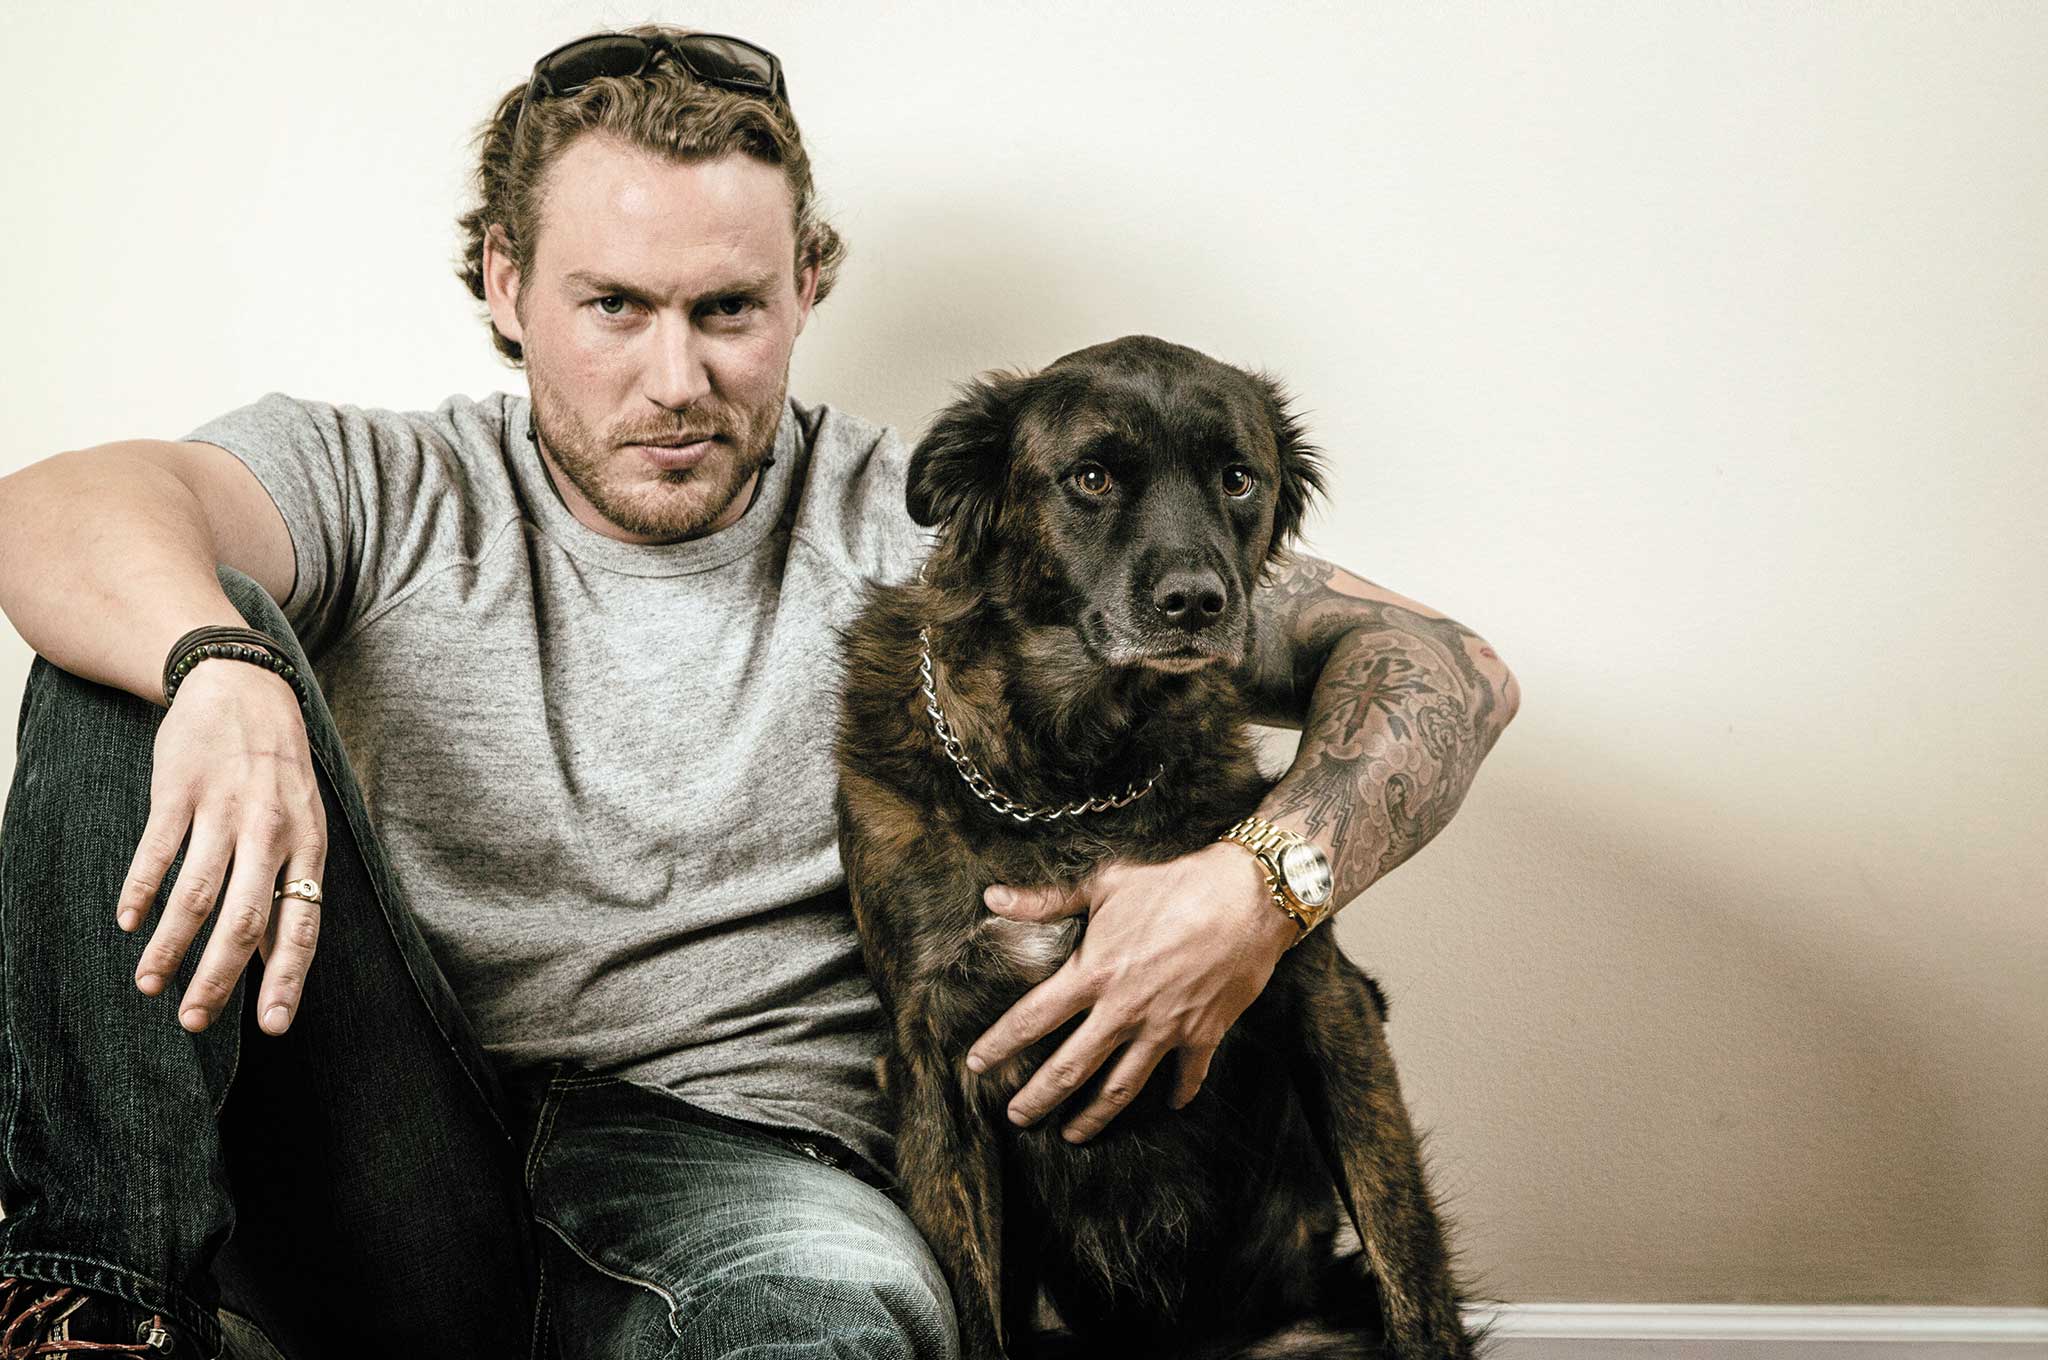
“Not married … yet. But, I was rescued by Bruce, my Dutch Shepherd mutt.”
HOMETOWN
“Born and raised in the middle of the map. St Louis, Missouri.”
EDUCATION
“Dropped a full ride to Mizzou to join the army. Best decision I ever made.”
MILITARY BACKGROUND
U.S. Army Special Forces (Green Beret)
Senior detachment weapons sergeant ODA 0313
FAVORITE QUOTE
“I live by two quotes, one to challenge myself, ‘You will never know what you are capable of until you do what you can’t.’ And one to inspire adventure, ‘We get one chance to write our story; make it one worth reading.'”
FAVORITE TV SHOW
Sons of Anarchy
FAVORITE FILM
Saving Private Ryan
LAST BOOK READ
Failing Forward
SCARS
“A scarless life was spent unchallenged. I f*cked up a lot.”
FAVORITE FIREARM
Glock 17
FAVORITE KNIFE
“Camillus DAGR. My own personal design.”
URL
www.facebook.com/thegradypowell
More From Issue 20
Don’t miss essential survival insights—sign up for Recoil Offgrid’s free newsletter today!
Read articles from the next issue of Recoil Offgrid: Issue 21
Read articles from the previous issue of Recoil Offgrid: Issue 19
Check out our other publications on the web: Recoil | Gun Digest | Blade | RecoilTV | RECOILtv (YouTube)
Editor’s Note: This article has been modified from its original version for the web.