In This Article
It’s sometimes said that “fate is not without a sense of irony.” Kawa Mawlayee is, arguably, a man whose life has been guided by fate. A native Afghan, born on September 11th, his family emigrated to America during the Russian invasion. Kawa eventually went on to serve as our country’s first Afghan-born Green Beret — a career that would take him back to his homeland under most ironic circumstances. From Kabul to America’s heartland and back to his birthplace, Kawa brings an incredibly unique perspective to survival, personal safety, and our nation’s engagement overseas. This perspective is what drives the principles of his company, 2Alpha Training Group, which he uses to help average Americans live a more prepared lifestyle and exercise their freedoms to the fullest. We recently had the opportunity to sit down and speak with Kawa about how he got here and where he’s going next.
Photos by Chris Hernandez
Escaping the Shadow of the USSR
RECOIL OFFGRID: We understand you were born in Afghanistan. Tell us about your family’s experience emigrating to the U.S.
Kawa Mawlayee: I was born in Kabul, Afghanistan, on September 11, 1978. Considering I’m Afghan, born on September 11th, and a Green Beret who fought in Afghanistan, my life story almost all makes sense somehow. My father’s side were all Afghan military. My mother’s side were all bankers. During the height of the Soviet Invasion of Afghanistan, the influence of the communist party in Afghanistan had caused great dissension amongst the Afghan military. A lot of soldiers, including my father and grandfather went AWOL and joined the Mujahideen to fight the Russians.
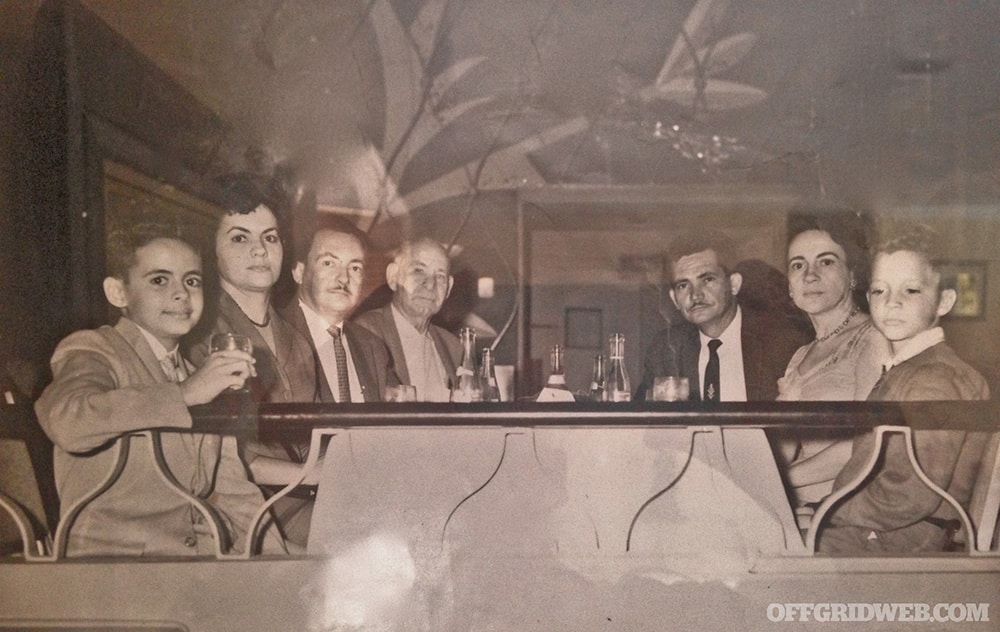
The plan was always to leave Afghanistan, but it got expedited when my father was killed during a firefight with Russian forces. His body was brought back to my family and buried in the famous cemetery behind the University of Kabul, where he remains to this day along with other family members. When we left, it was mostly my mother’s side of the family. My father’s side left soon after, but they went to the UK and Holland.
At the time of our departure, I was 3 years old, and my sister was a newborn. My grandfather made several trips from Afghanistan to deliver us to our new house in Pakistan. On one of those trips, it was my mom, my sister, and I. My grandfather, being a banker, was always in a nice suit with his face shaved. At the last Mujahideen checkpoint, two fighters boarded our bus, along with many other Afghans fleeing. They would routinely check for members of the communist party or ask for donations of money and food toward their cause.
They saw my grandfather with a suit and no beard and decided to interrogate him further. They took him off the bus and made him kneel in the dirt with AKs pointed at his head. They accused him of being part of the communist party or a sympathizer due to his appearance. Meanwhile, my mother (21 at the time) was watching all this from her seat on the bus. My grandfather provided proof of his employment as a banker and was able to convince them that he wasn’t a member of the communist party.
The two fighters told him that since he was a banker, he should donate some money to them. My grandfather was able to pull a few thousand dollars out of his pocket and hand it to them. We spent the next seven months in Pakistan waiting for our paperwork to be approved so we could come to America.
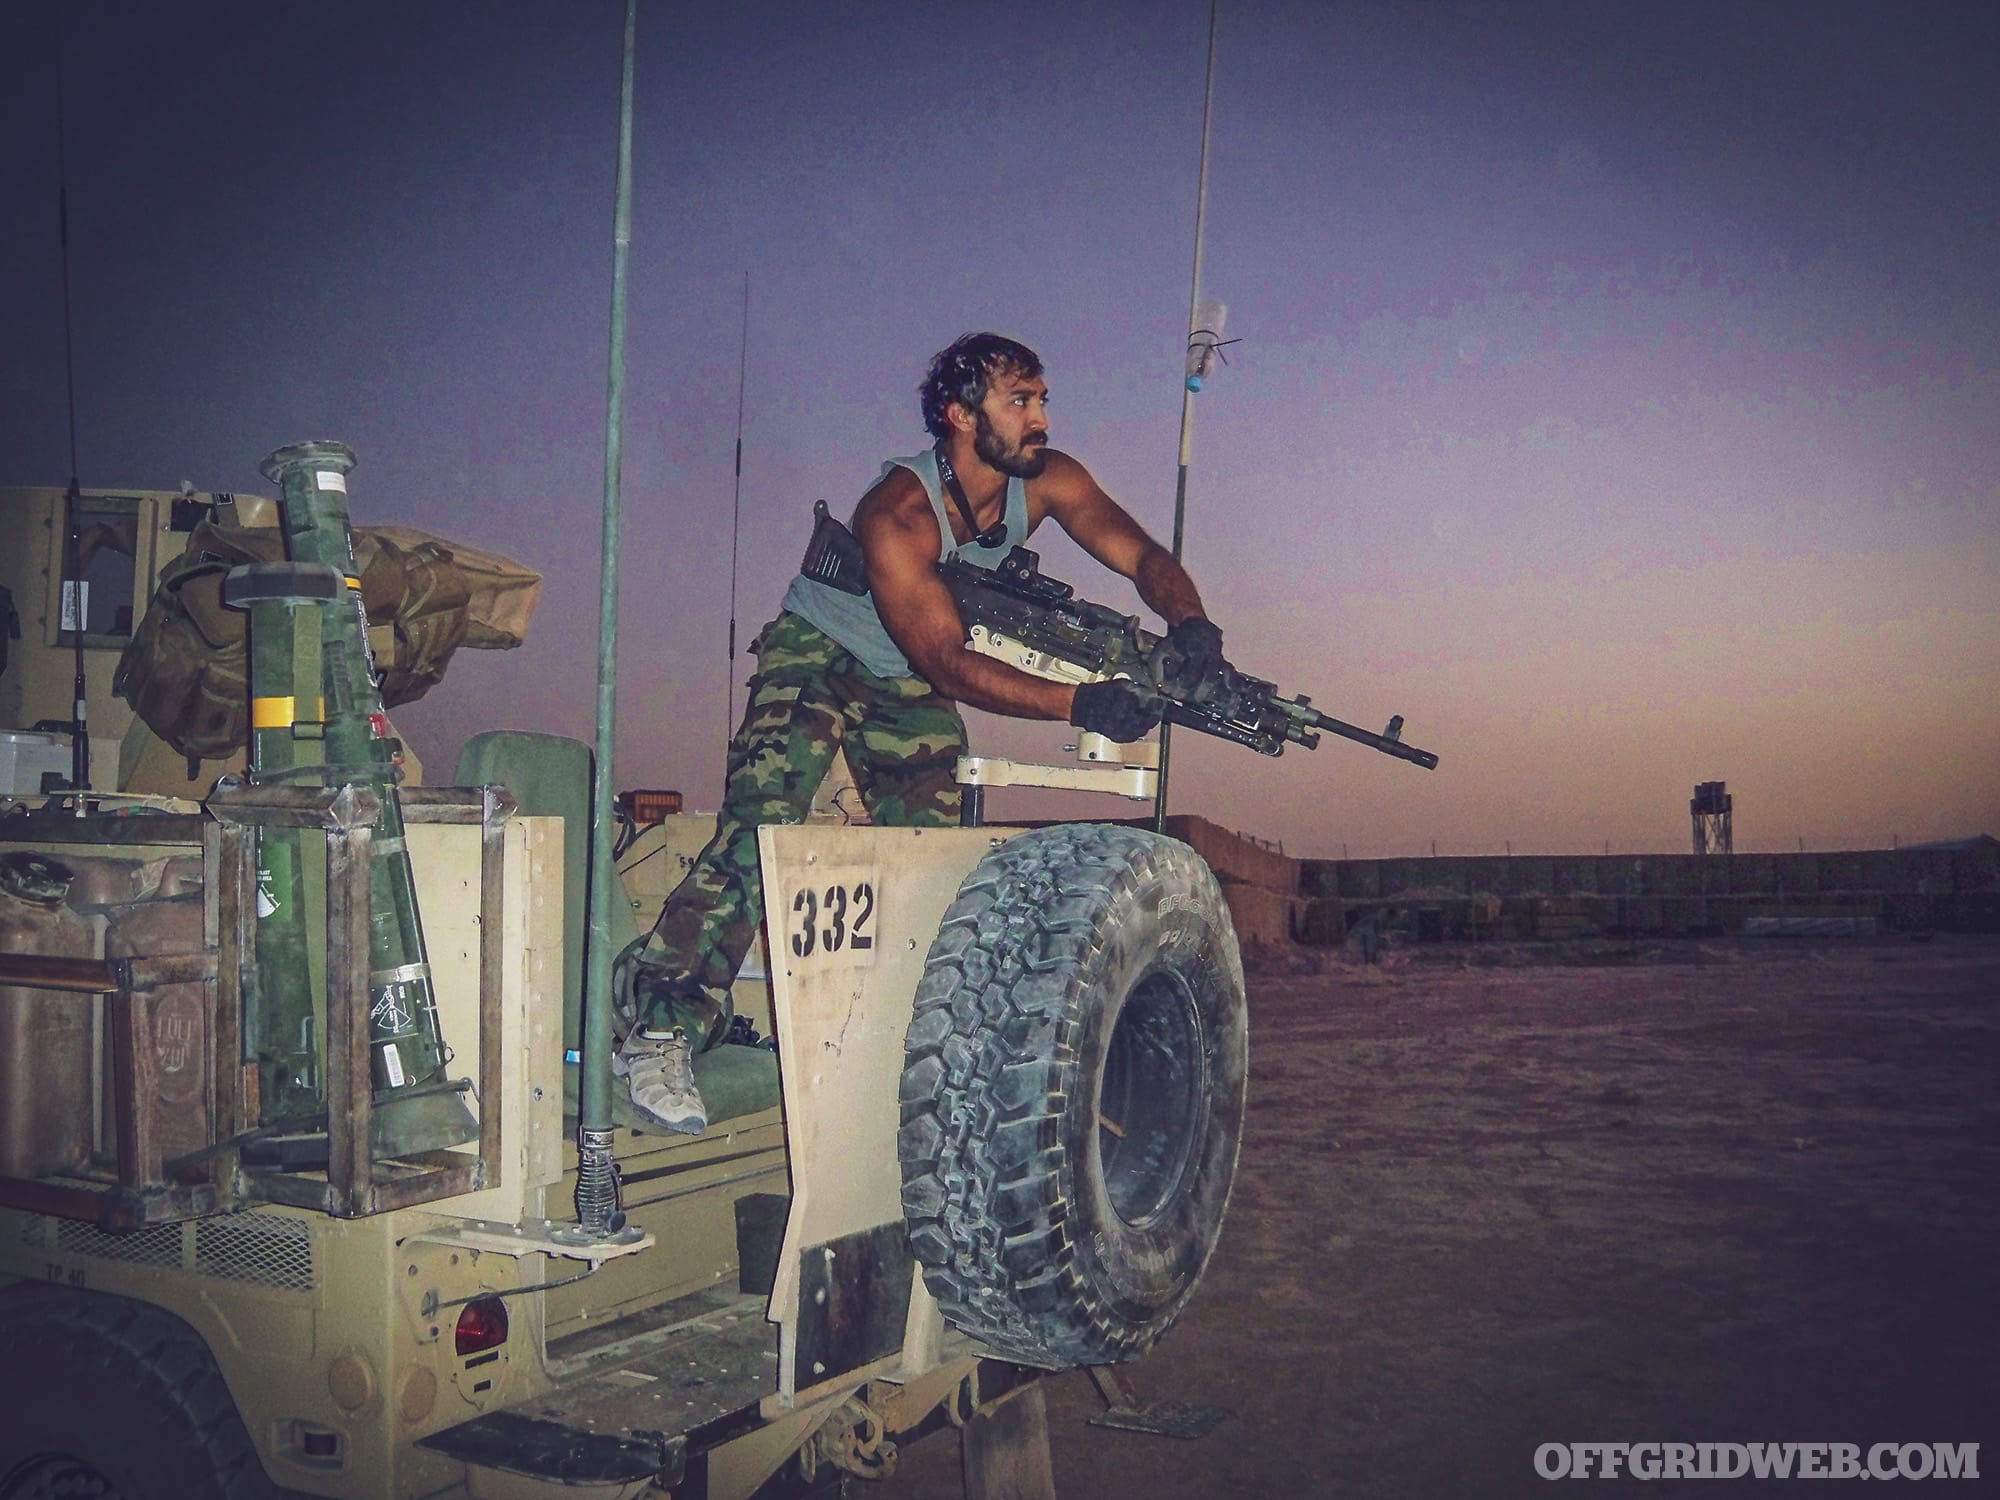
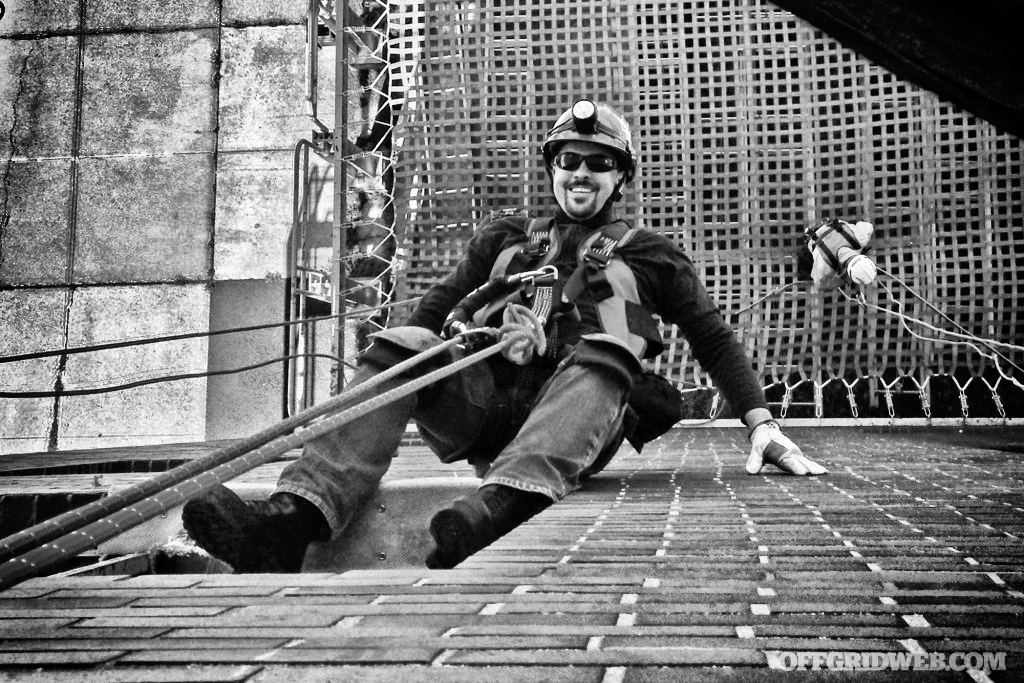
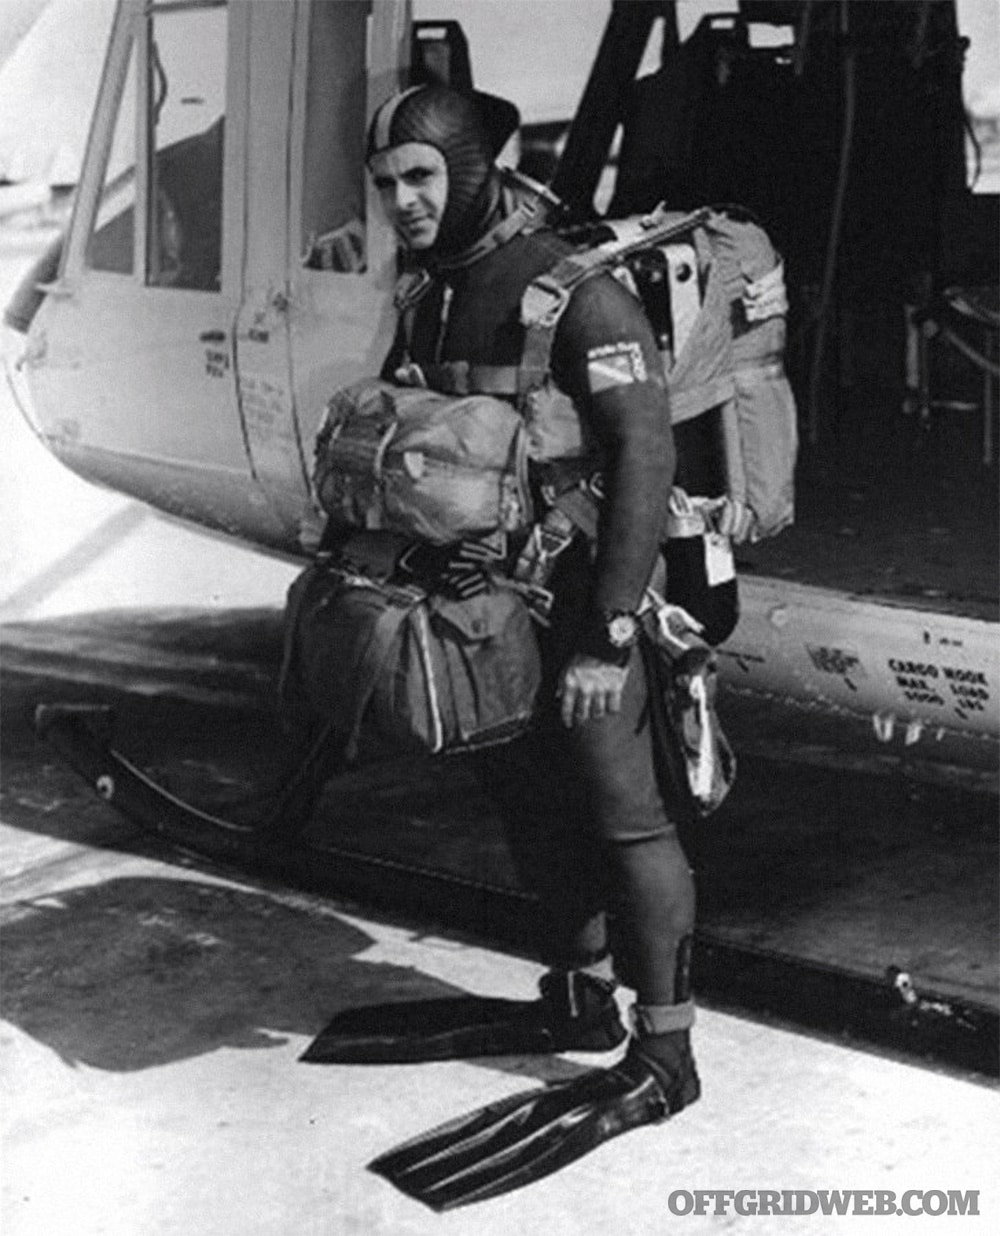
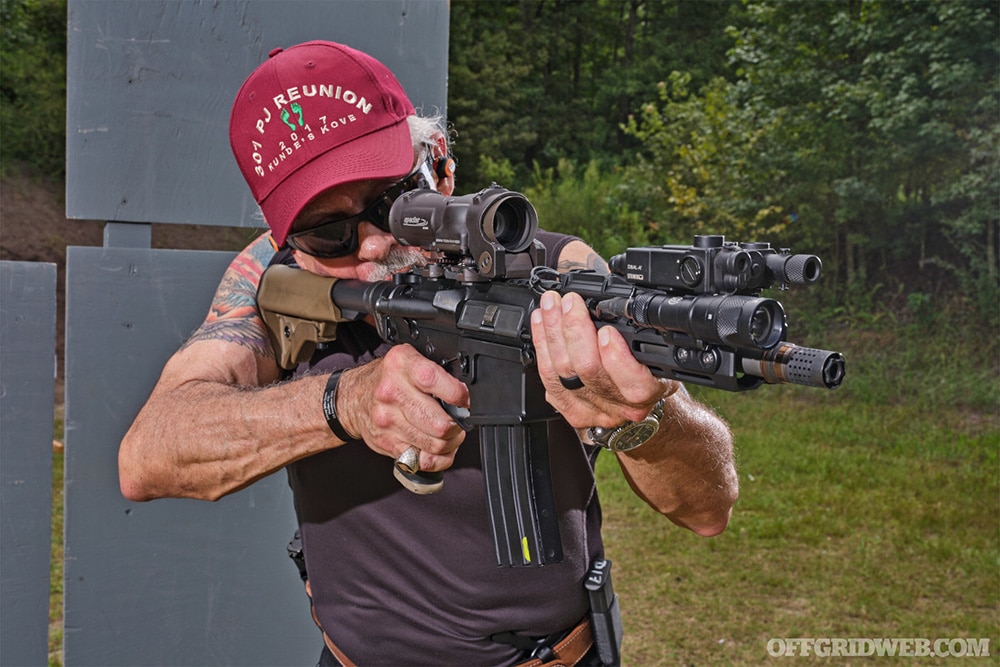
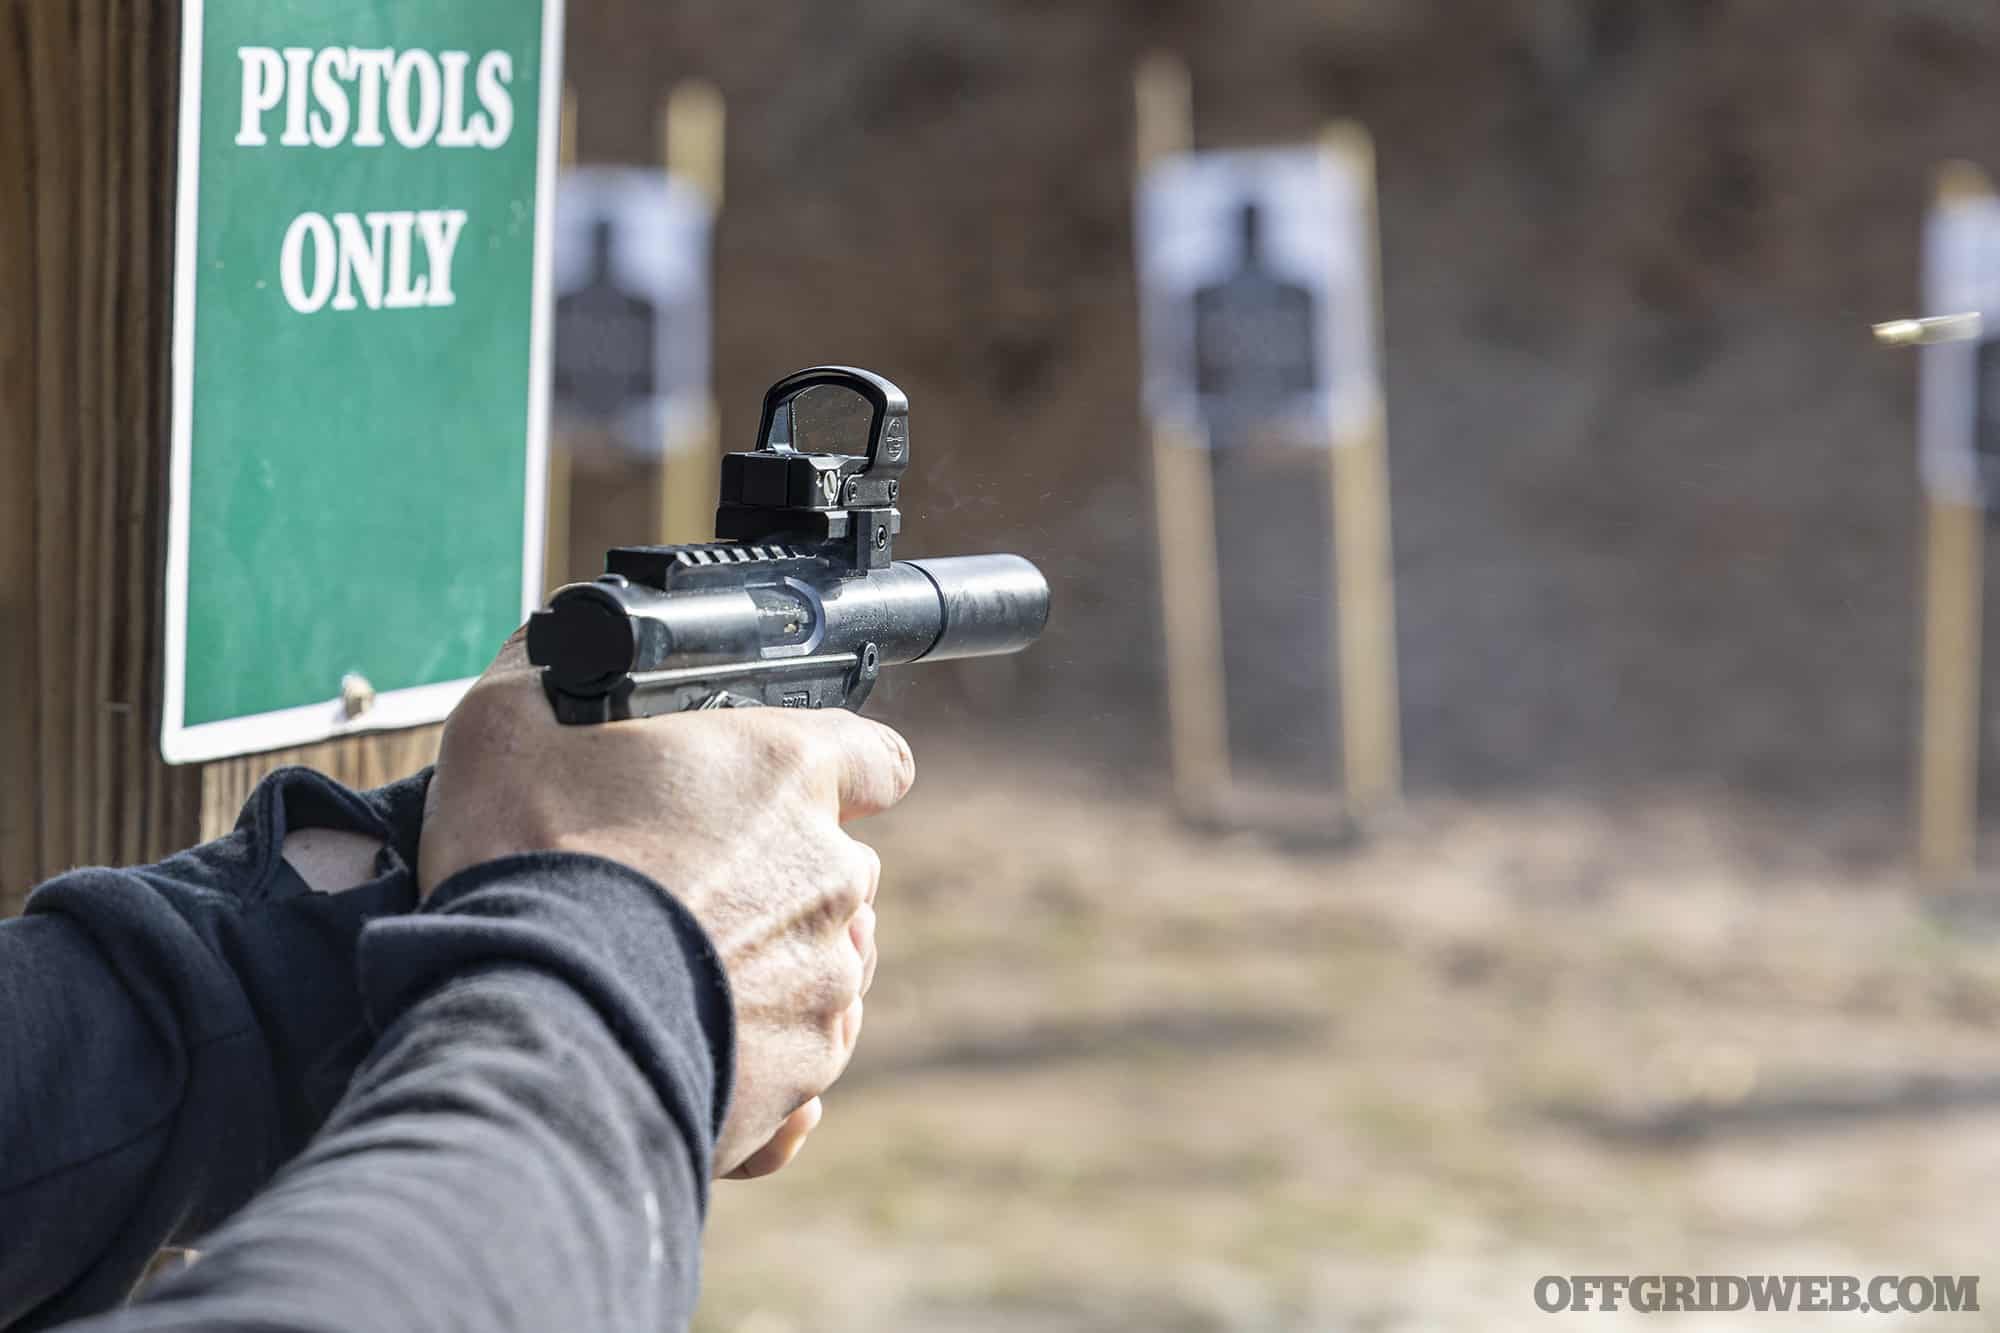
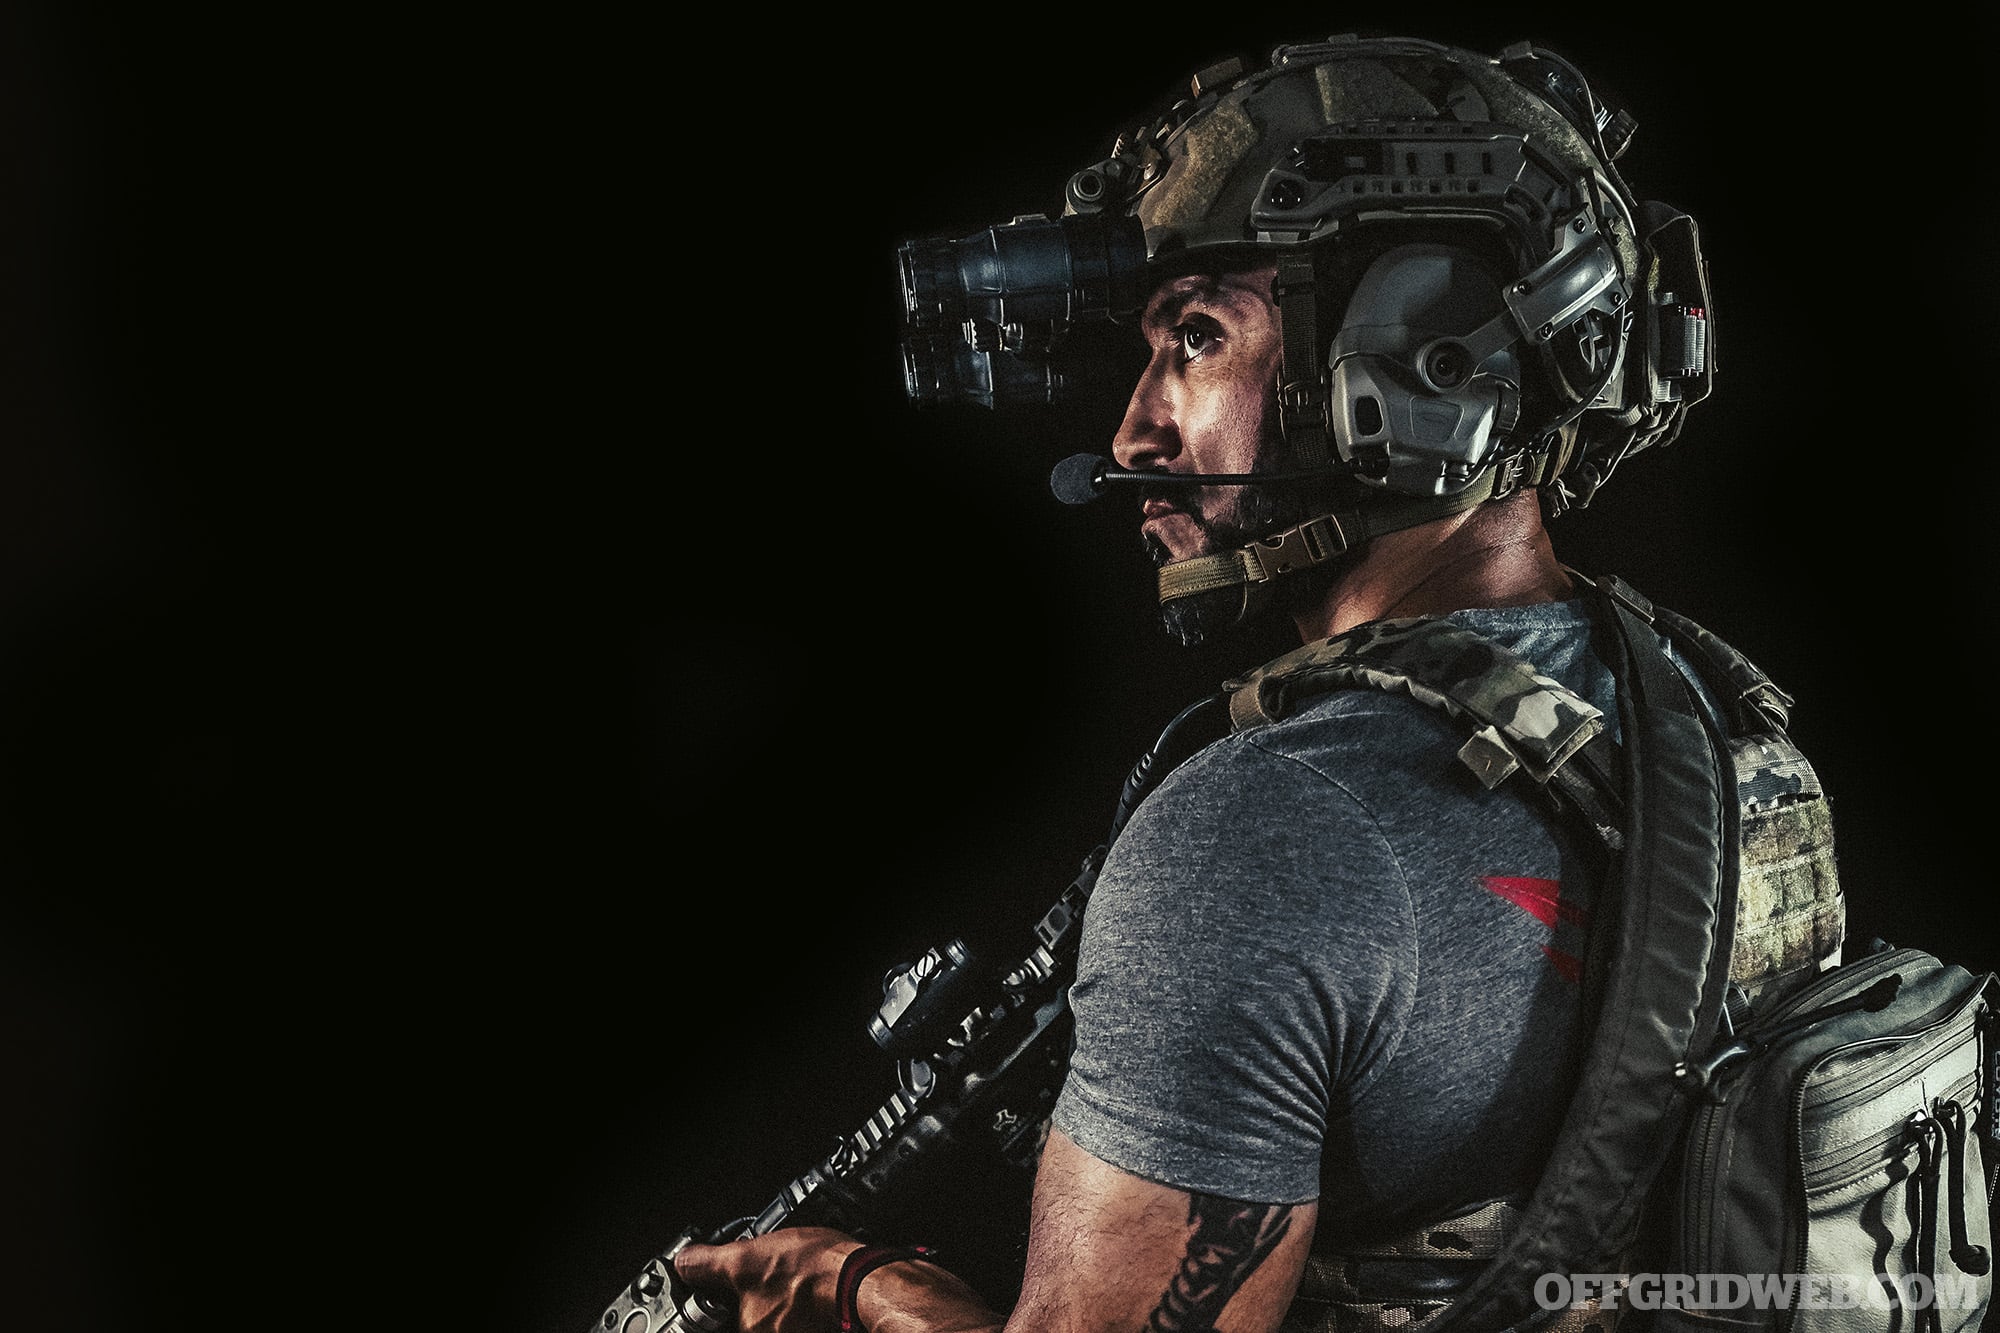
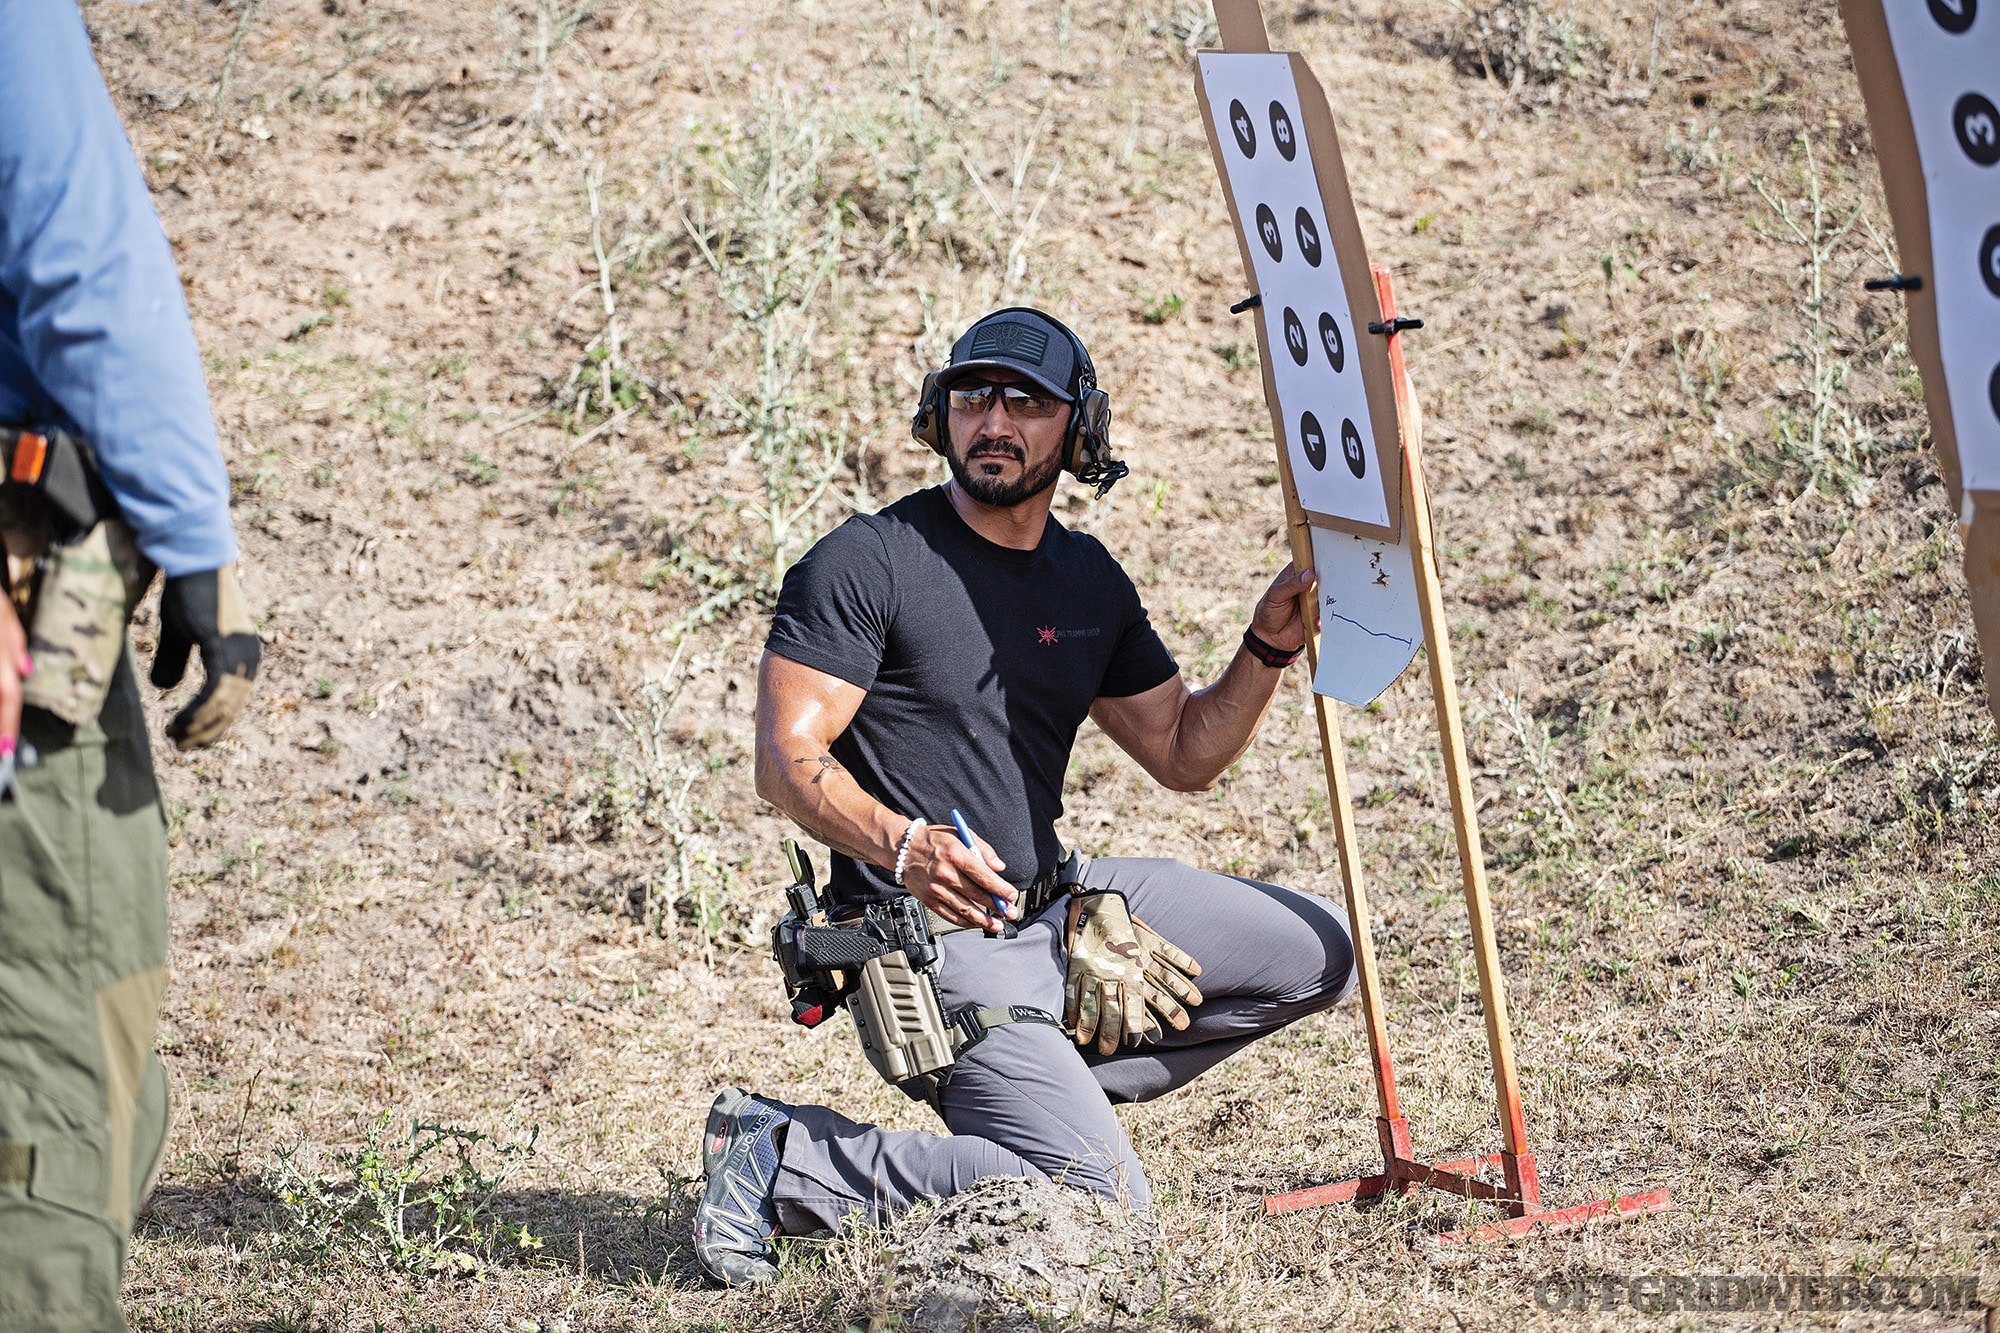
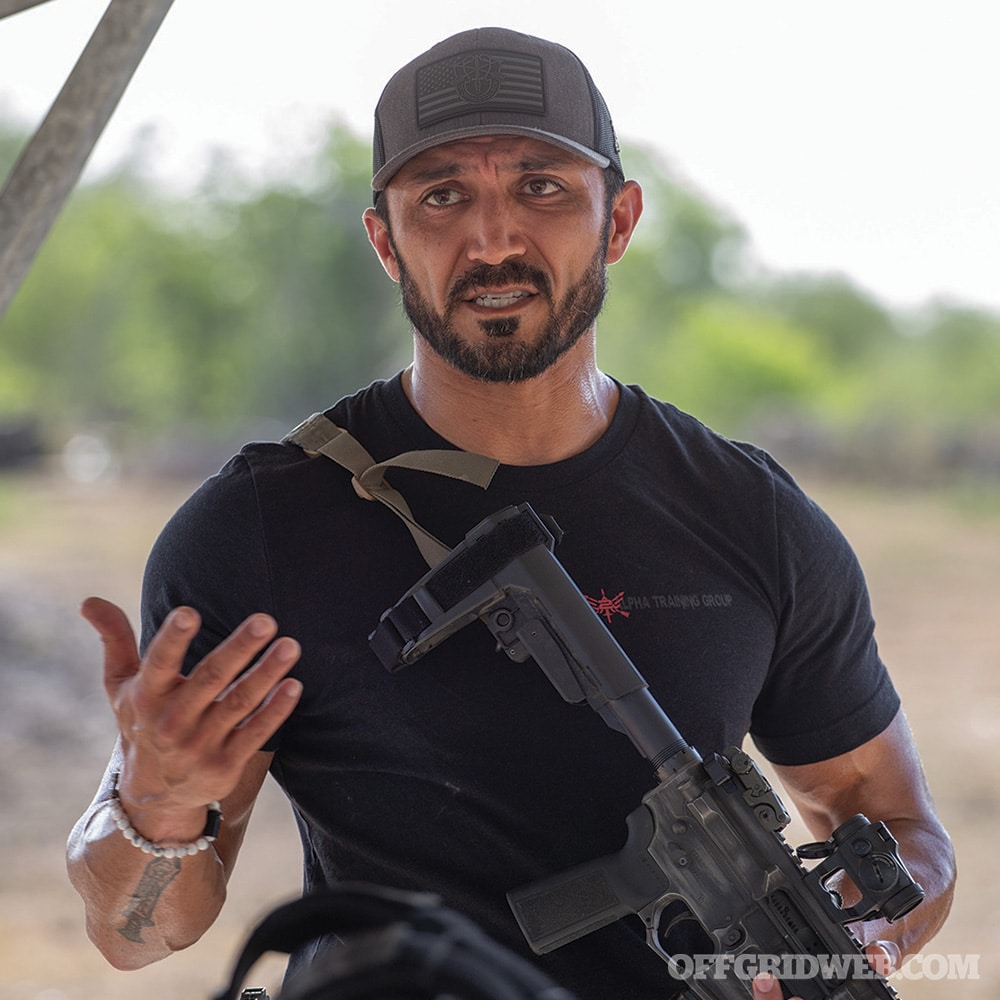
Above: Through his military career and beyond, Kawa has dedicated his career to improving and optimizing his skill-at-arms.
Where in the U.S. did you grow up?
KM: Once we left Pakistan, we flew to Lincoln, Nebraska, where my oldest uncle was already a foreign exchange student. We settled and started making a life for ourselves. My grandfather had made that Kabul to Pakistan trip four times, getting all his children and grandchildren out of the war zone. We were a very tight family who always came together for dinners and other gatherings. Lincoln, back in the early ’80s, was still very much a small Midwestern town — nothing more than farmers and college football. It was perfect for raising a family and growing up, but for fresh immigrants from Afghanistan, it was a foreign country with a strange language, customs, and traditions.
What kinds of challenges (if any) did you face growing up in American culture with parents who grew up with Afghan culture?
KM: I think with any new immigrants, there is always a stigma of being stereotyped or judged by our appearance and accent. I’m sure my mom and the other grown-ups had their fair share of experiences with that. Growing up, I didn’t face much of that kind of treatment since my sister and I were young and started speaking English fairly quickly. Throughout high school and college, there were several isolated incidents where other students would make racially charged comments or comments based off stereotypes. But for the most part, we were treated well by everyone. I grew up to realize that we were accepted and taken in with open arms.
From Marine Corps Infantry to Army Special Forces
What drew you to the idea of military service?
KM: There were a few things stirring in me that led me to my final decision to join the military. Since all the males in my family served in the military, I felt like it was in my blood. However, the primary reason I joined was due to an overwhelming sense of gratitude for our new lives. I wanted to repay the country that took us in as immigrants and gave us every opportunity to better our quality of life. In America, we had freedoms that most of my family never experienced before.
Tell us about the first part of your military career as an enlisted Marine. When did you join, what MOS did you hold, and what kind of deployment experience did you have?
KM: I joined the Marine Corps out of college in the year 2000. I wanted infantry, even though the recruiter saw my IQ and ASVAB scores and told me I should go into intel. I told him either give me 0311 infantryman or I’ll go across the hall to the Army.
When I joined the Marines, deployments were only defined by MEUs (Marine Expeditionary Unit), meaning that we would get on a Naval ship and sail across the world to conduct training exercises. In 2001, I went on the 31st MEU to places like South Korea, Thailand, Hong Kong, Philippines, Singapore, and Okinawa. In February of 2003, we deployed to OIF I for the invasion into Iraq. Our first firefight was an Iraqi Republican Guard ambush. My hand was trembling so bad, I couldn’t get my magazine into my rifle. My buddy had to grab my hand and tell me to take a breath. After that first firefight, something changed in all of us. It was like training kicked in, and we knew what to do each time. We suffered casualties, but it was from conventional methods, not IEDs or mortars like insurgencies. I saw people get hurt, die, and shut down … like literally lay their weapons down and say they’re done.
Halfway through the deployment, I got promoted to fireteam leader and was in charge of three other Marines. It was my first taste of leadership in combat. The third deployment was back to Iraq in late 2004 for Operation Phantom Fury in Fallujah. I was a Squad Leader in charge of 17 Marines, including “attachments” like sniper and mortar teams. I describe Operation Phantom Fury as the worst and best deployment I’ve ever had. It really taught me who I am and who I want to be moving forward.
When did you get out of the Marines, and what did you do between then and re-entering service with the Army?
KM: After we got back from Fallujah, I decided to get out. I wasn’t sure what I wanted to do just yet, but I needed a break. I left the Marines and decided that I was going to take a few months and clear my head. I loved the Marine Corps. I loved the infantry. I was good at it, but I was torn between staying in the infantry or going somewhere better. I eventually decided to join the Army and try out for Special Forces. I knew it wasn’t guaranteed and that if I failed, they’d send me to a conventional infantry unit. But I realized that Army Green Berets have the best mission set out of all the other Special Operations units. They are indeed the jack of all trades, with a specialty in unconventional warfare. Who wouldn’t want to be a Green Beret when you understand what they’re capable of?
Special Forces teams are known, in particular, for the ability to integrate with local forces in hostile countries. They undergo specific training in foreign language and cultural awareness to better execute their missions around the world. How did your Afghan heritage affect your SF training? Did it limit you to only operating in that part of the world? Did it provide any benefits or advantages along the way?
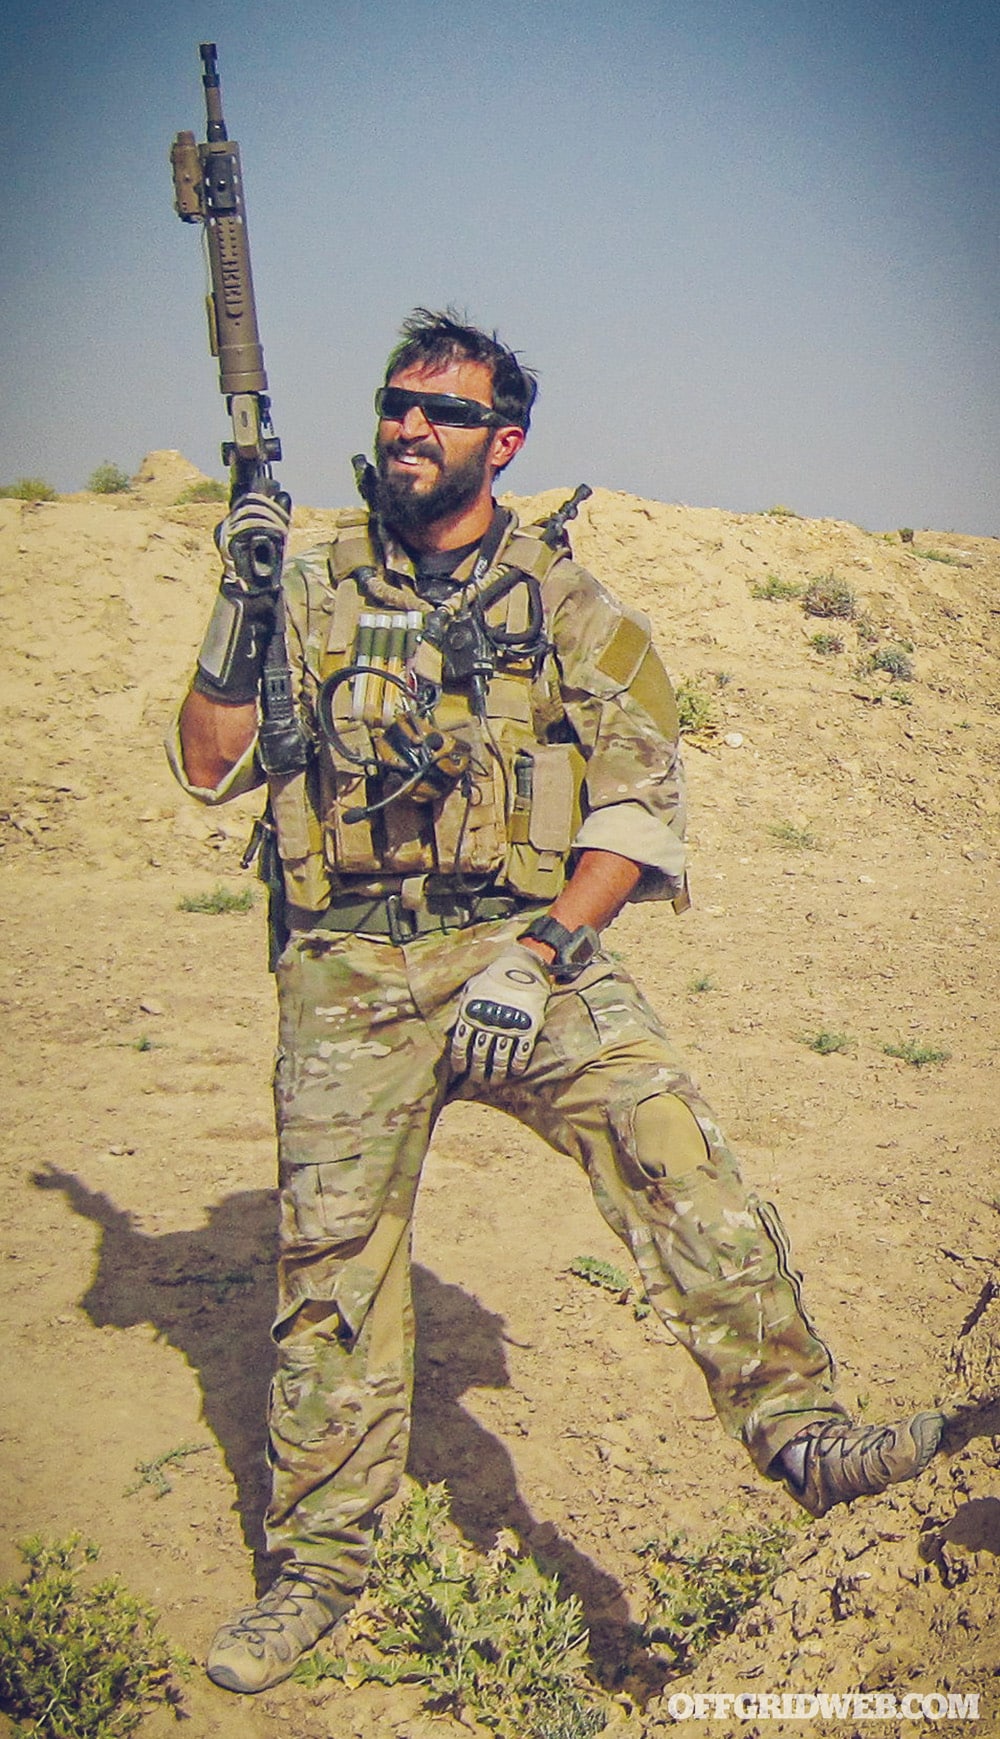
KM: Being Afghan, Muslim, and being able to speak Afghan Dari and Persian Farsi made me an asset that 5th Special Forces Group recognized from day one. They knew exactly what my career progression would look like in regard to training, schools, and missions. I got to do a lot of things that normal Green Berets didn’t get to. I did my best to relay my understanding of Middle Eastern cultures to other Green Berets so they could have some insight to how to conduct themselves in country. My proficiency in my languages meant that I could listen in on conversations and vet our host-nation counterparts. And once I let them in on the secret that I was from Afghanistan, it was like instant rapport was established.
Understanding Afghanistan
What do you think the U.S. got wrong about their expectations of military involvement with Afghanistan and subsequent withdrawal?
KM: Before I go into this answer, I want everyone to understand my stance on war. After seeing it in several countries now … I’m 100-percent against war. The only war I would support now is the one where a foreign country would dare invade U.S. soil. With that said, I believe we should have never been in Afghanistan in the first place. I feel the same about Iraq, Syria, and Yemen. We spent two decades fighting a war in a country with very little to no benefit to our country or foreign policy. Thousands of American soldiers’ lives lost. Almost 200,000 Afghans died. Hundreds of thousands had to displace. Other than setting up a puppet government and establishing a banking system, I’m not sure what all was accomplished in Afghanistan.
Afghanistan has never been held by any foreign occupation. Going back to before the days of Alexander the Great, Afghanistan was simple to occupy, but impossible to hold. Afghans have always been tribal. When there wasn’t a foreign occupation, they fought amongst themselves for territory and power. But when a foreign force did invade, they made peace treaties and joined forces to fight the foreigners. It happened to Darius of Babylonia, Alexander the Great, the Caliphate armies, Genghis Khan, Tamerlane, descendants of Attila the Hun, the Chinese Steppe Armies, the Indian Elephant armies, the Russians, the British, and now the U.S.
All that the people of Afghanistan know is how to fight against enemies far superior to them. You can’t simply convert 2,500 years of war-torn culture into a peaceful Western democracy in 20 years. As for the sudden withdrawal from Afghanistan, it was as backward as it gets when executing the last phases of a theater of war. The fact that we allowed so many Americans and Afghan counterparts to be stranded there without security or aid is mind-boggling. The fact that we abandoned $7 billion dollars’ worth of military equipment to fall into the hands of the Taliban and their foreign counterparts makes me almost believe that it was done with intention. Even a lowly Green Beret like myself knows that the non-essential people get evacuated first, then the equipment, and lastly the security forces. You can’t pin this on one man. You have an entire cabinet of very smart think-tank people who knew exactly how to proceed yet chose to do it this way. I think this withdrawal will go down in history as one of the biggest strategic fumbles of the American military.
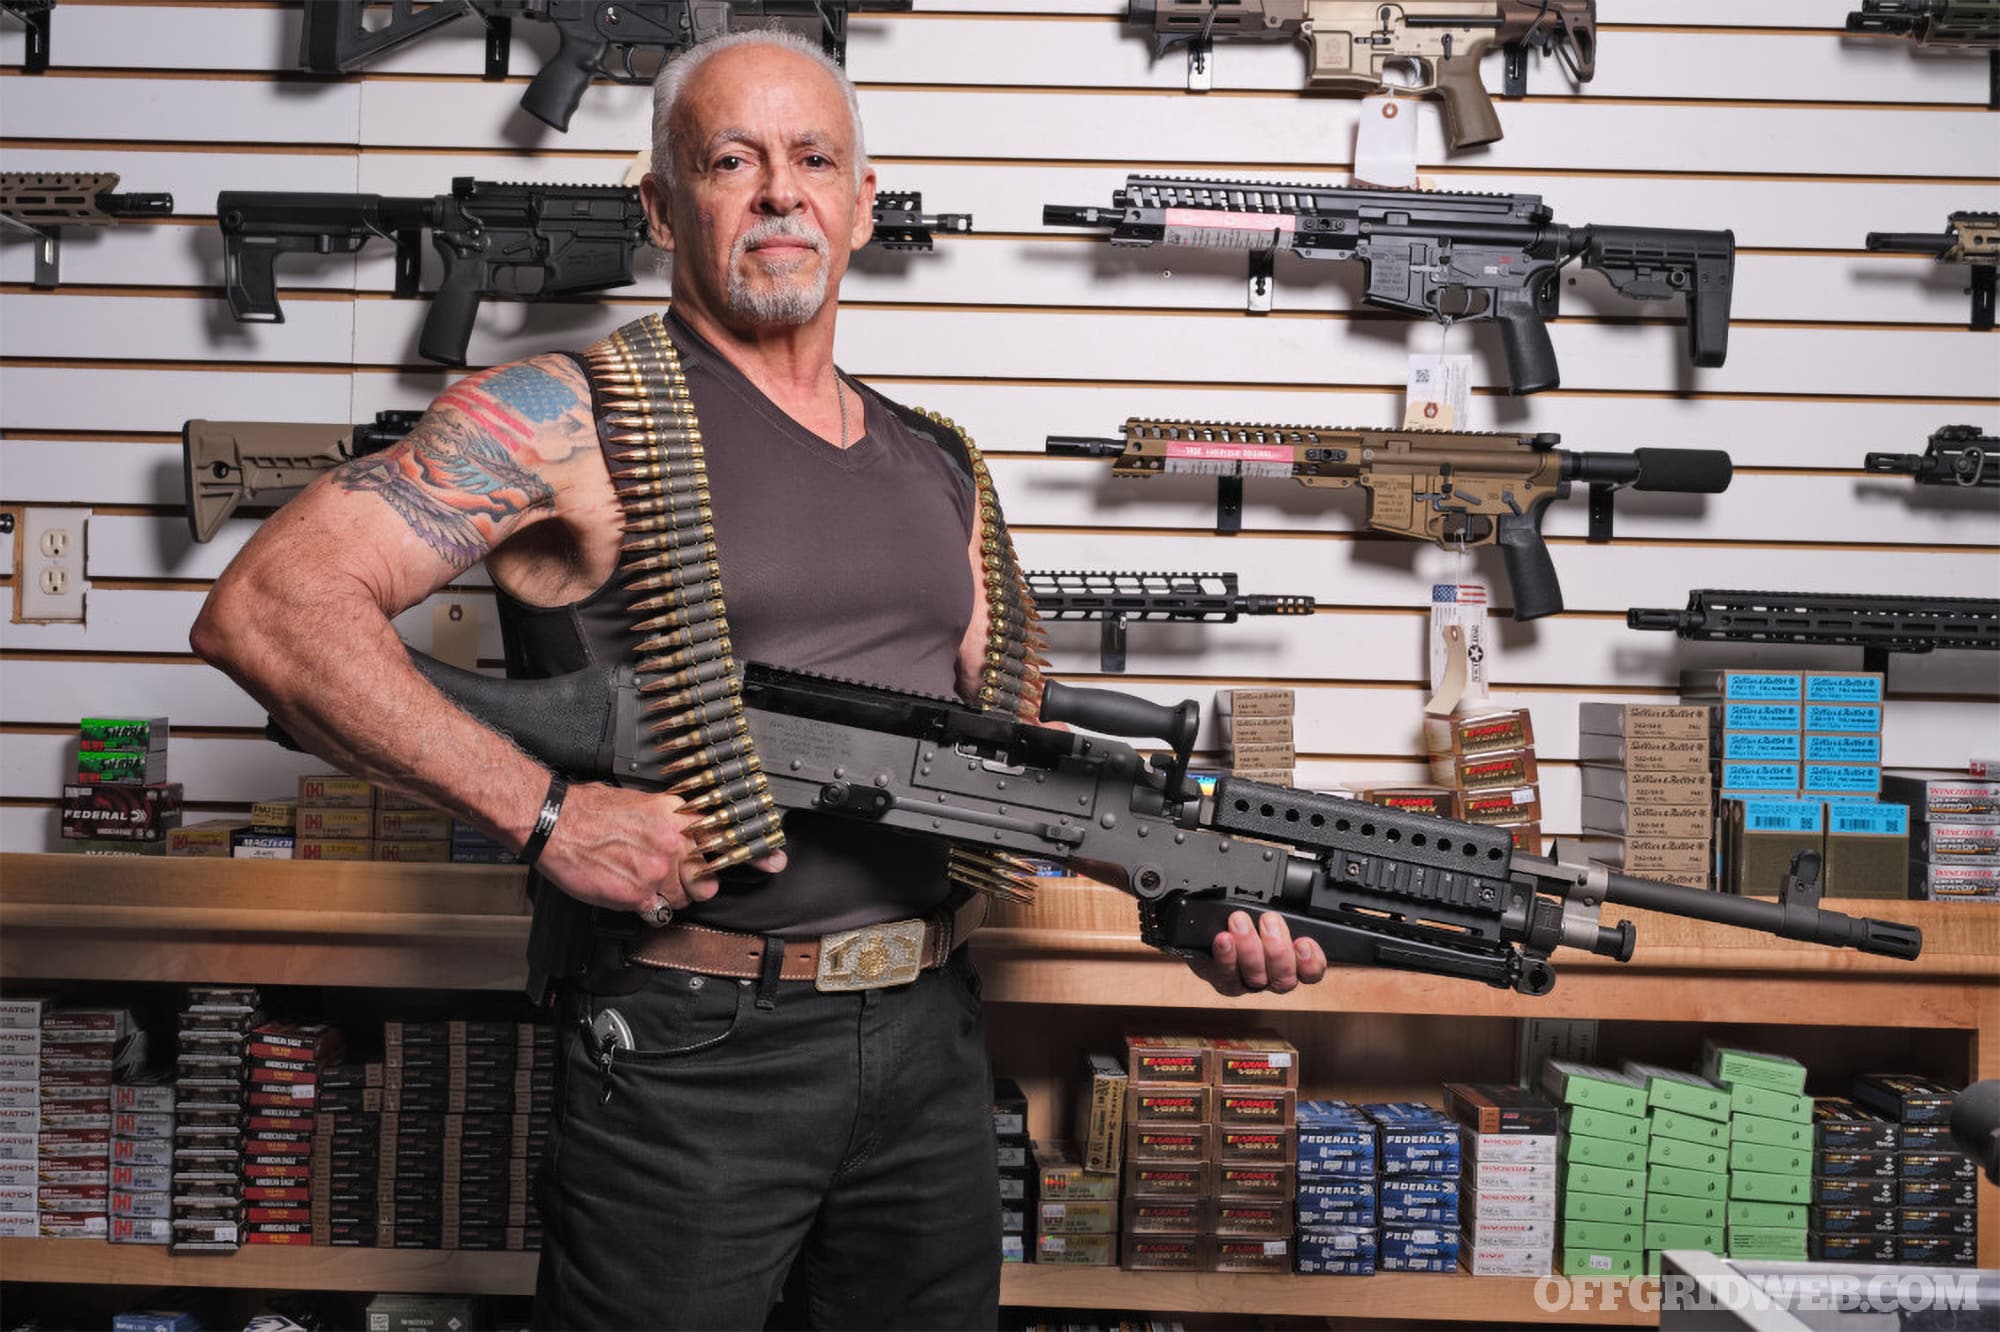
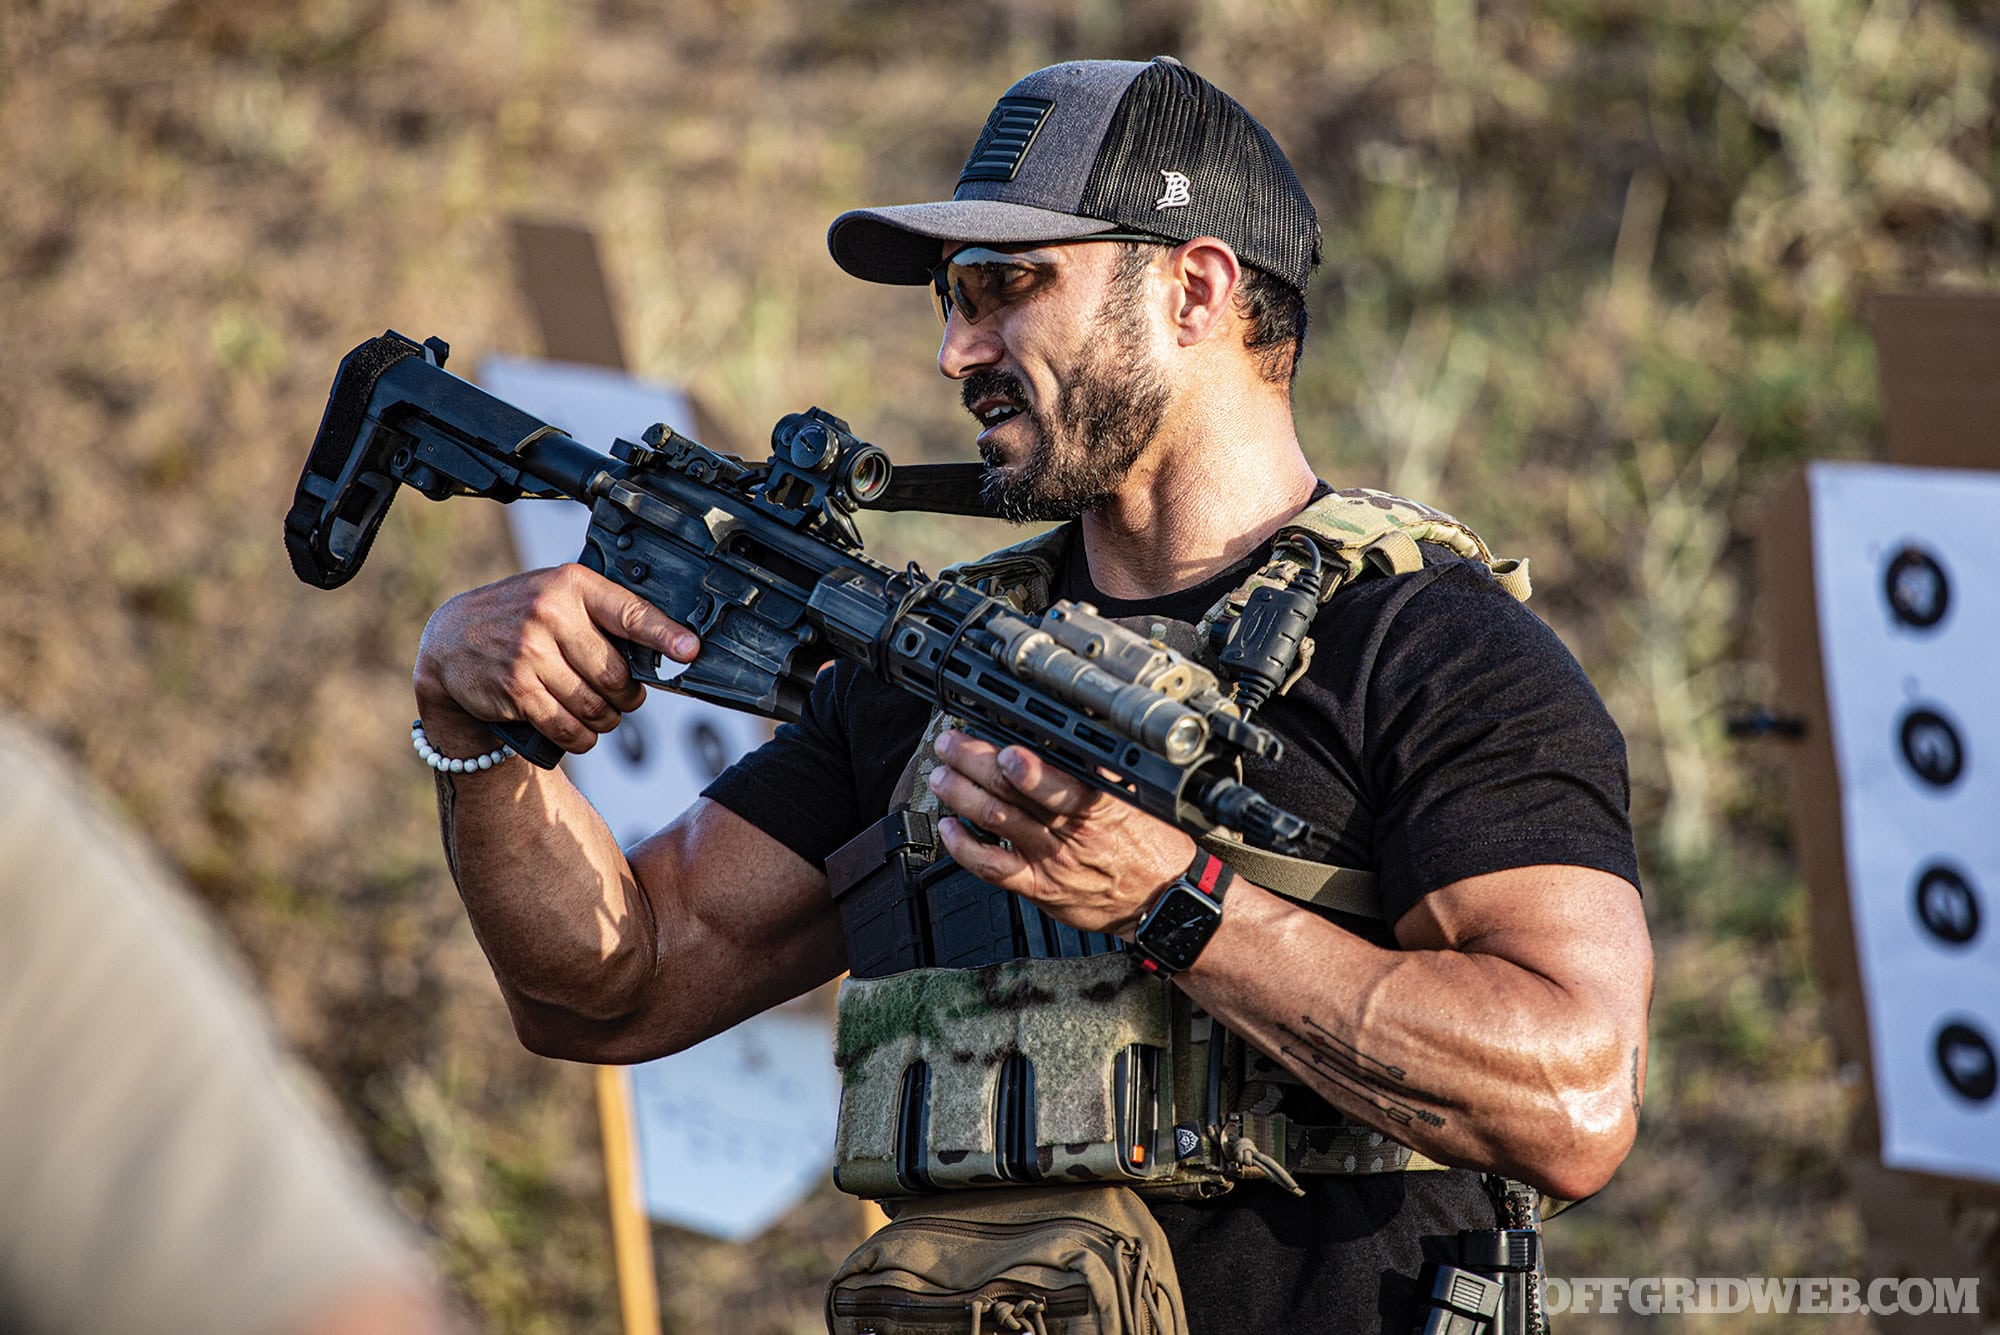
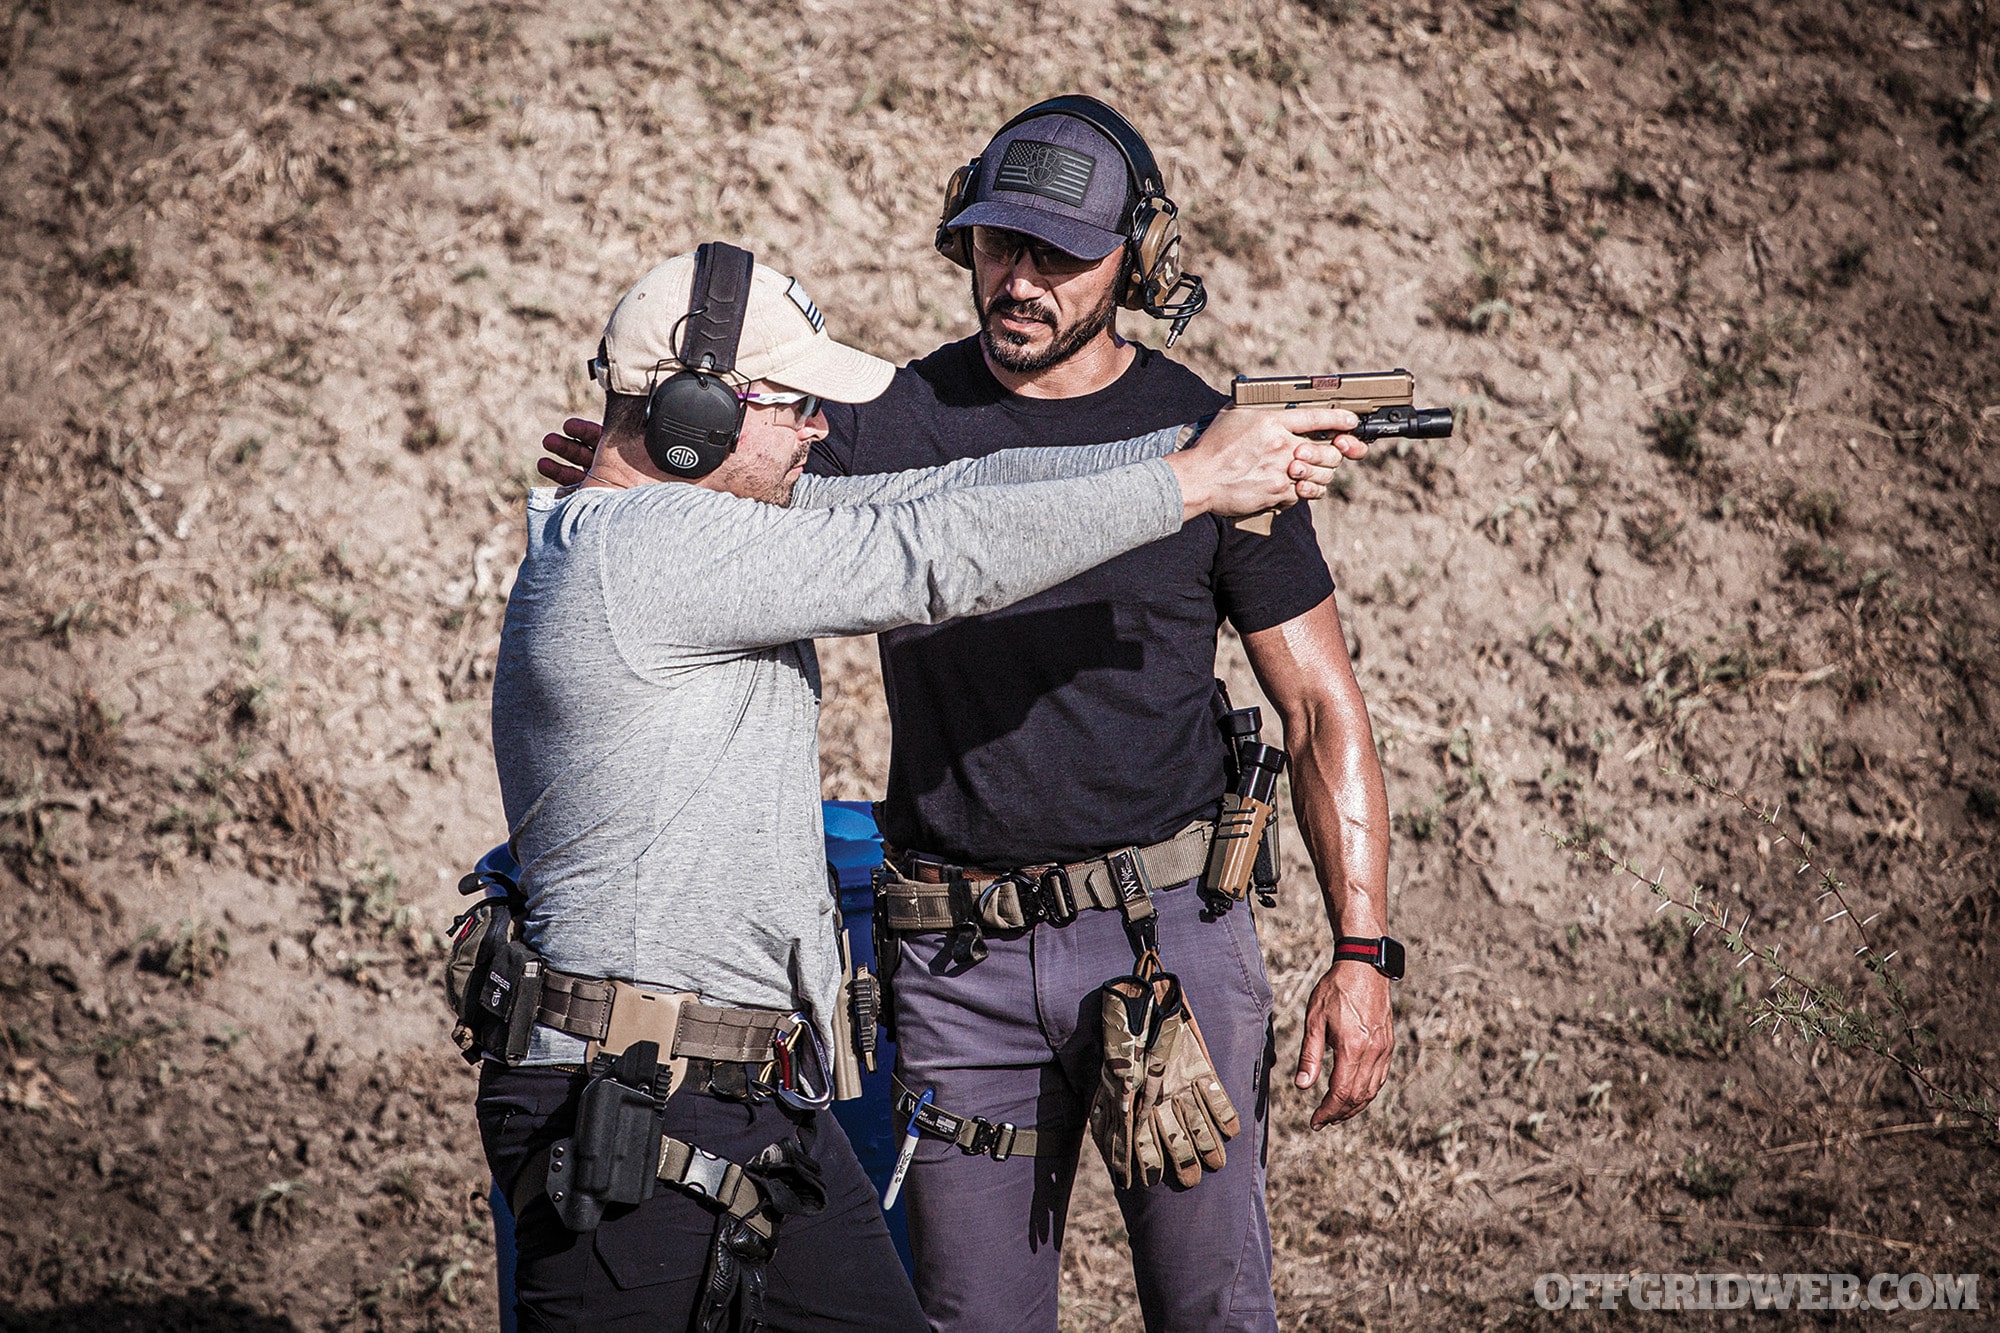
Above: Through his training company 2Alpha Training Group, Kawa continues to spread his knowledge and experience to military, LEO, and civilian shooters alike.
What do you think the biggest misconception is about Afghani culture?
KM: I believe it’s that the U.S. government and perhaps even the American people believe that the people of Afghanistan needed our help, hence why we (the people) stood by for so long and accepted the 20-year war there. The truth is the Afghan people never asked for help, nor would they. They are a proud people who have handled their own issues for centuries, if not longer. In addition, Afghanistan’s culture has gotten wrapped into the blanket perception of other Middle Eastern countries. Islam isn’t the driving force in Afghanistan, like it is in Iraq, Syria, Yemen, or Libya. However, due to the Taliban’s emphasis on extreme Islam, many people believe the Taliban is a religious group who want to incorporate Sharia Law. Their leadership’s goal is to control the future of Afghanistan, and they know that using Islam is the easiest way to recruit most of their fighters. The average Taliban fighter can’t even read, and most of them wouldn’t know the first thing about the Quran. Most of them do it because they feel it’s right, mainly due to sheer ignorance.
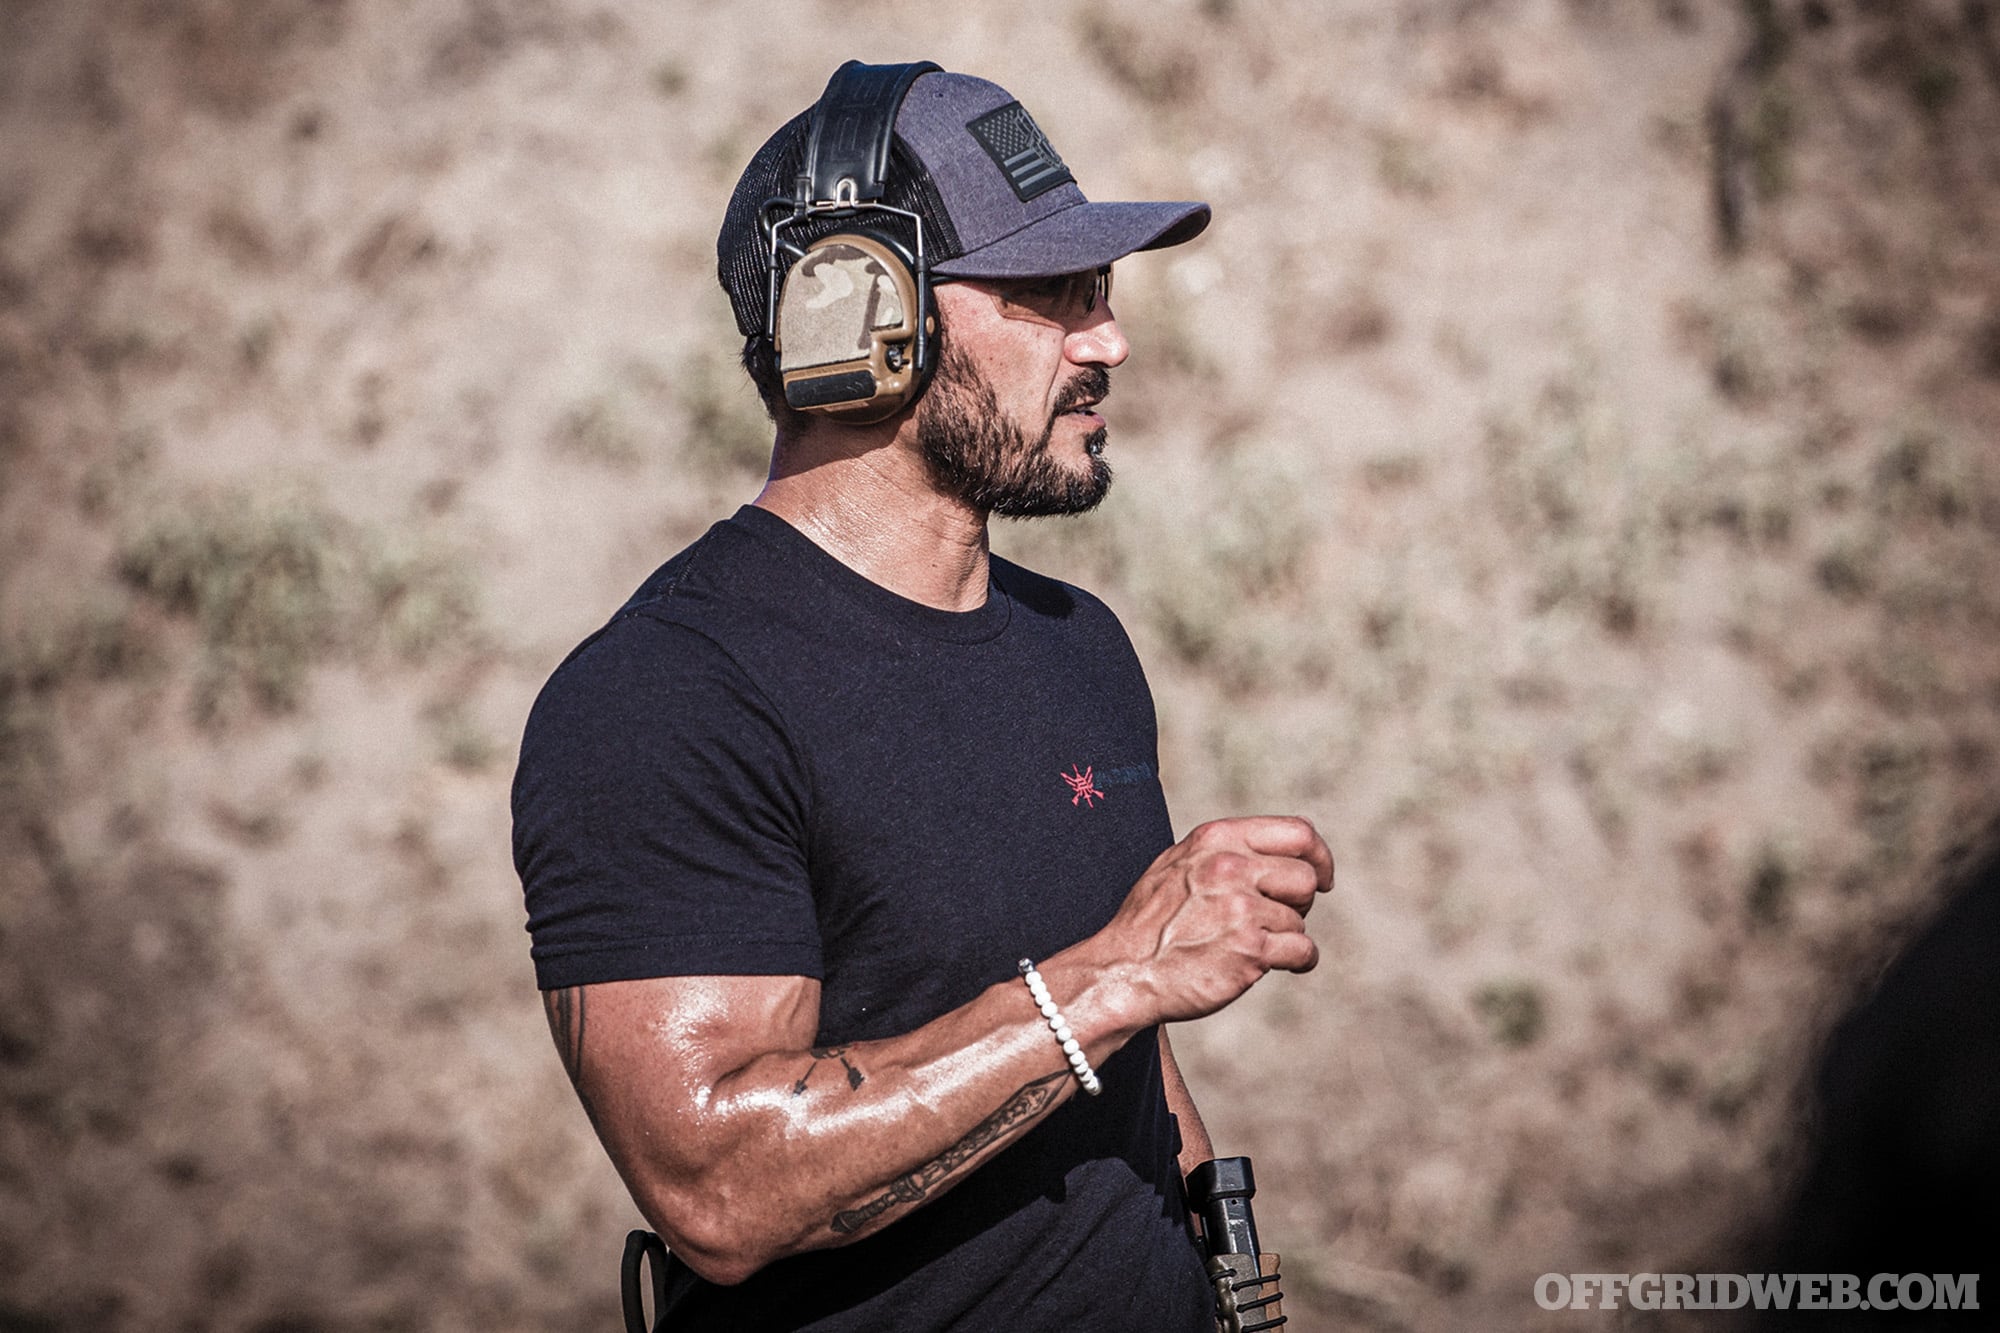
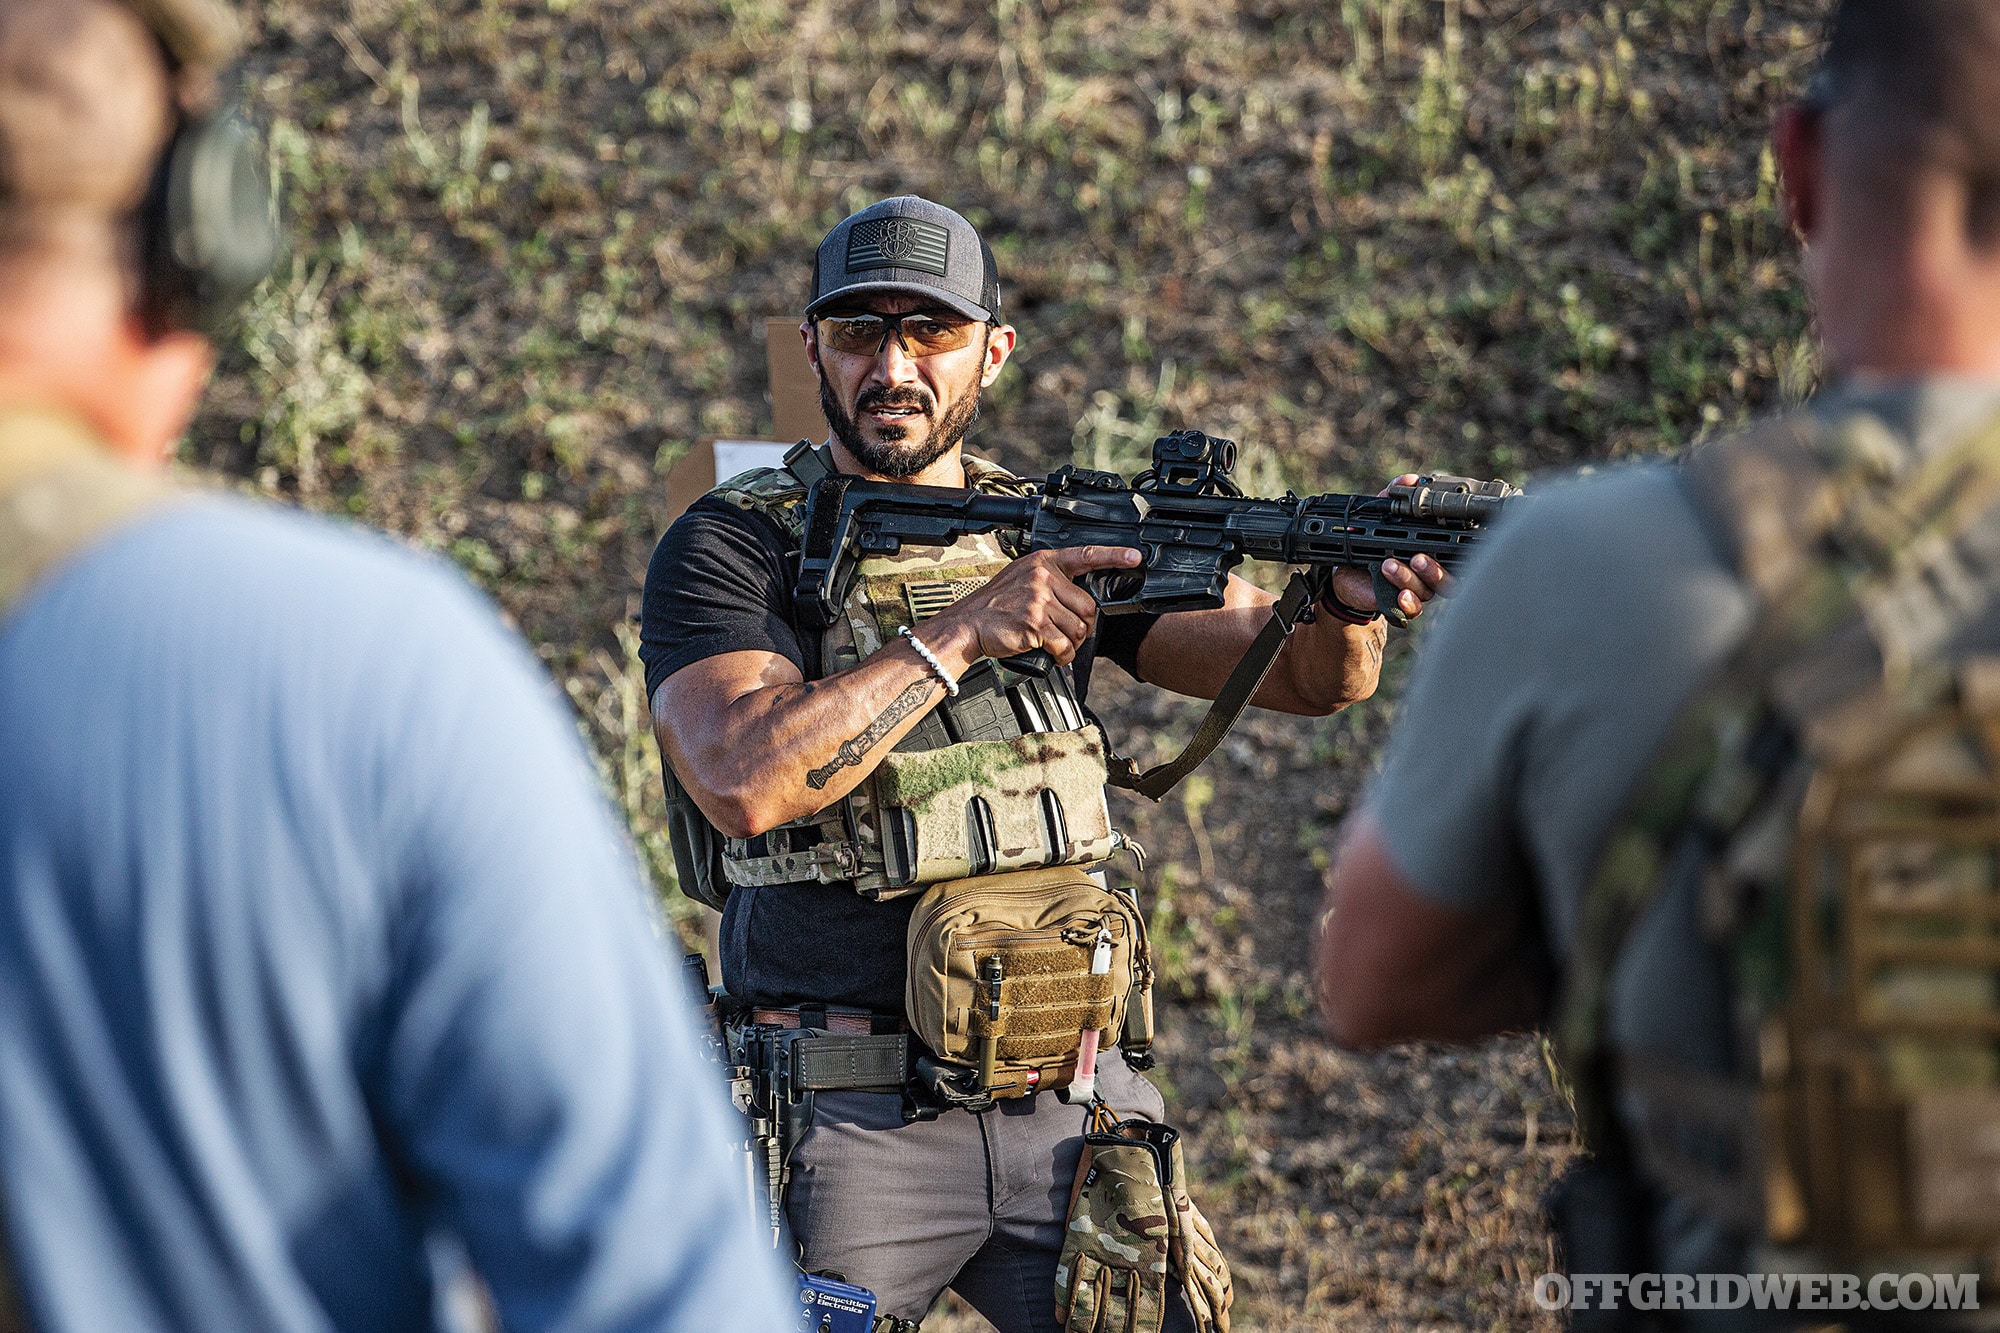
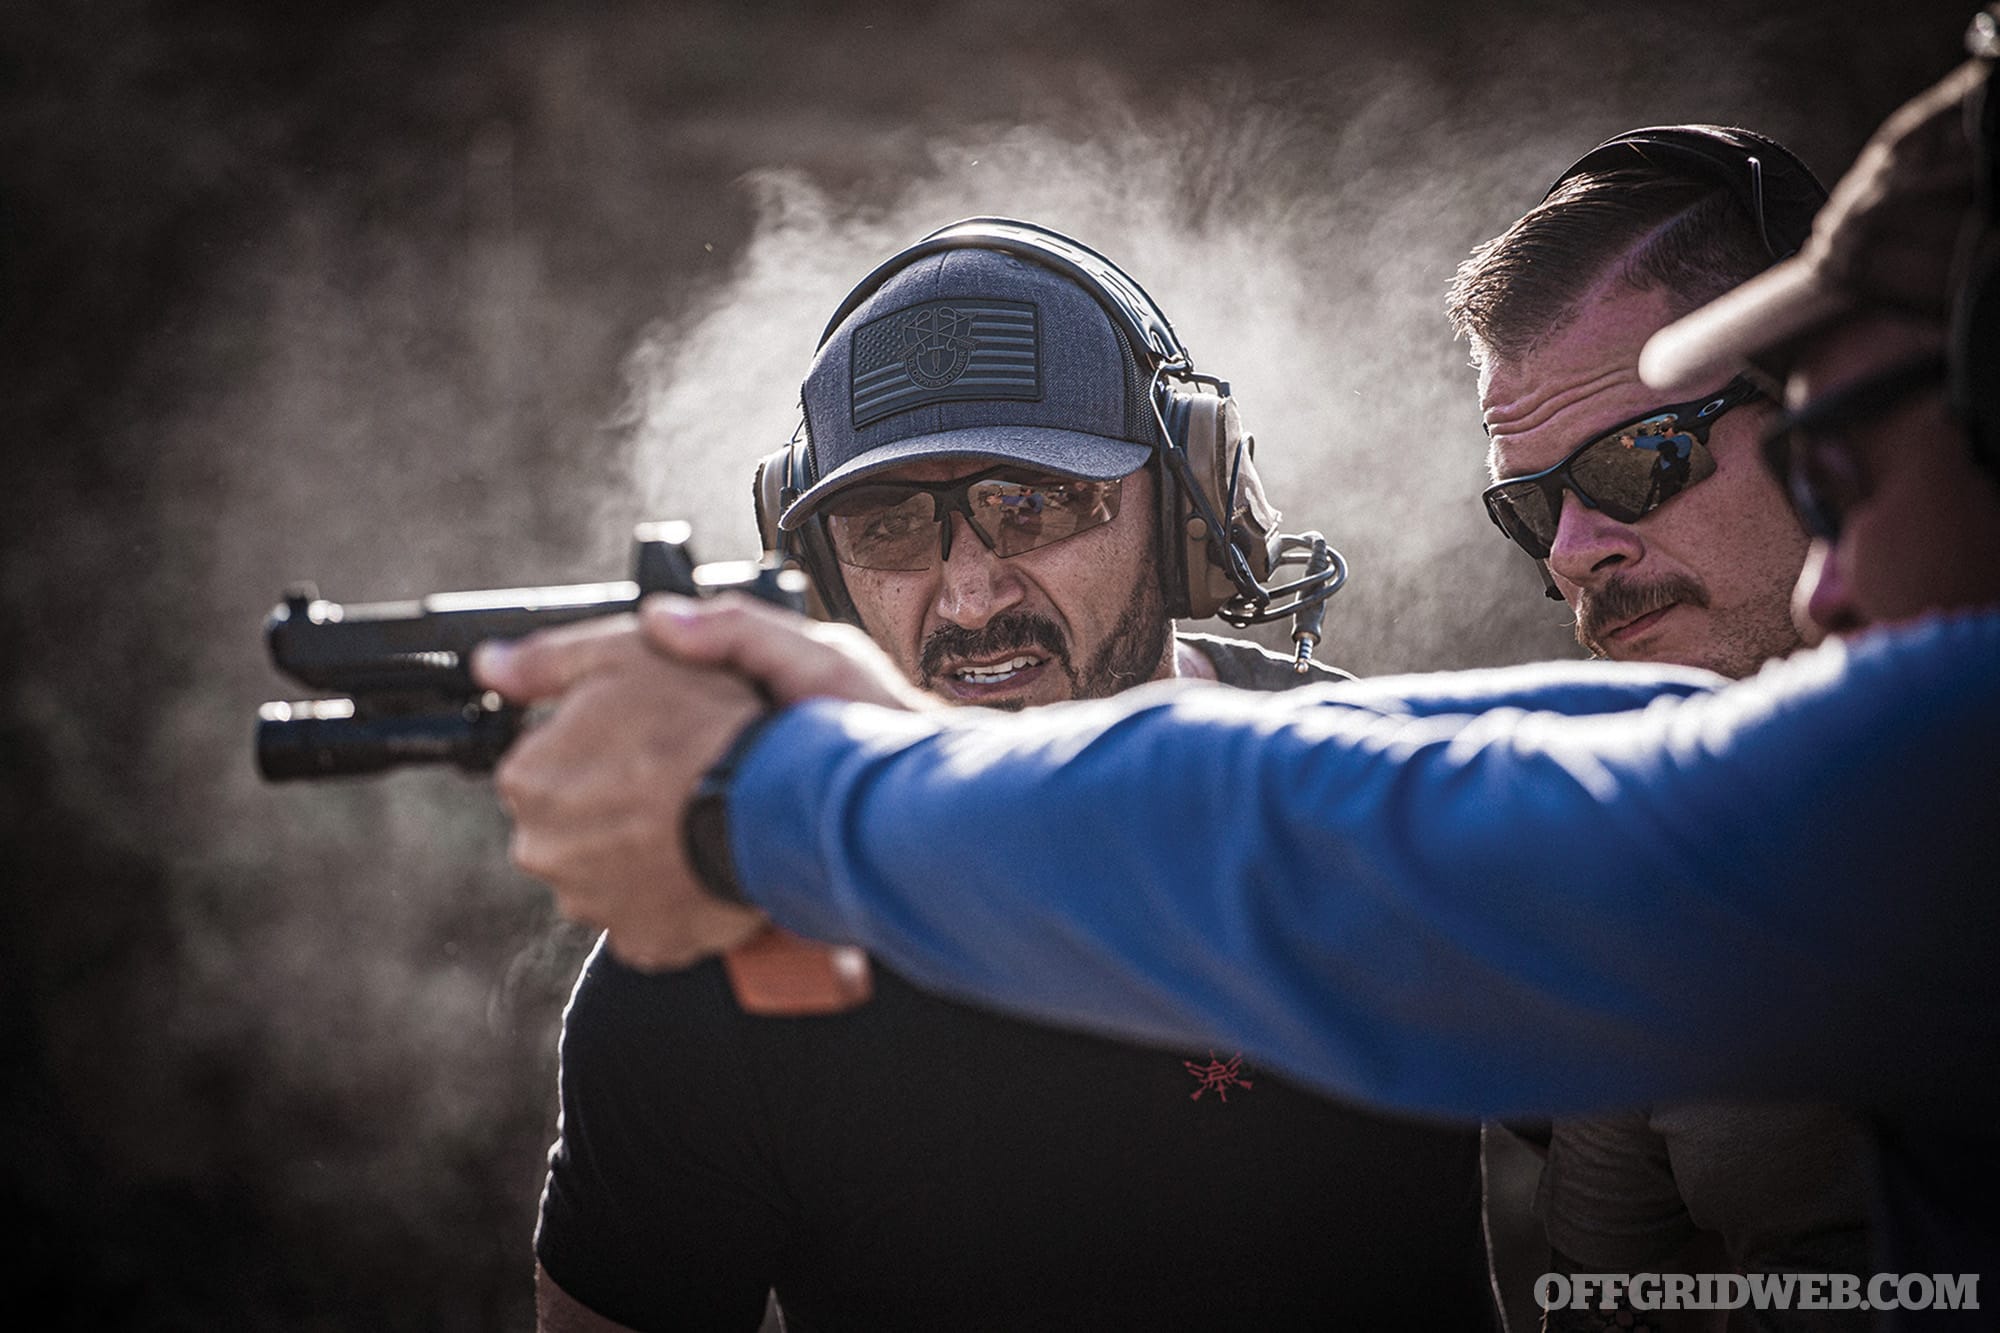
Above: Small-group training is a professional specialty for Special Forces soldiers, and Kawa brings this well-honed skill to all of his classes.
Preparedness Training for Every American
When did you get out of the Army, and what drove that decision?
KM: Technically, I’m still in the Army as of now. I didn’t decide to leave. The Army is kicking me out because I decided that I won’t be getting the COVID vaccine. I was ordered several times to reconsider, but I refused. On a unit level, they tried to help me by encouraging me to apply for a medical or religious exemption, but I refused those as well. Although I’ve taken plenty of vaccines in the military in the 21 years I’ve served, we also knew that these other vaccinations had a good track record. I know people personally who have died, have gotten extremely sick, and even two who have lost the ability to walk and developed seizures from the COVID vaccines. I simply refused the vaccine, signed my final counseling statement, and am now waiting for the Army to kick me out. I wish I was alone in this, but I know many other Green Berets from the Regiment that have made the same decision.
Based on your experiences overseas, what’s one lesson you’d like to teach the average American about emergency preparedness?
KM: Gun skills and fighting skills are great to have, but none of it matters if we’re inherently putting ourselves in a position where we lose situational awareness. Without situational awareness, it won’t matter how fast you can draw a gun. When we teach this at 2Alpha Training Group, we call this being proactive or being an Active Citizen. Being proactive in your situational awareness could give you enough data to help you mitigate or hastily exit a bad situation.
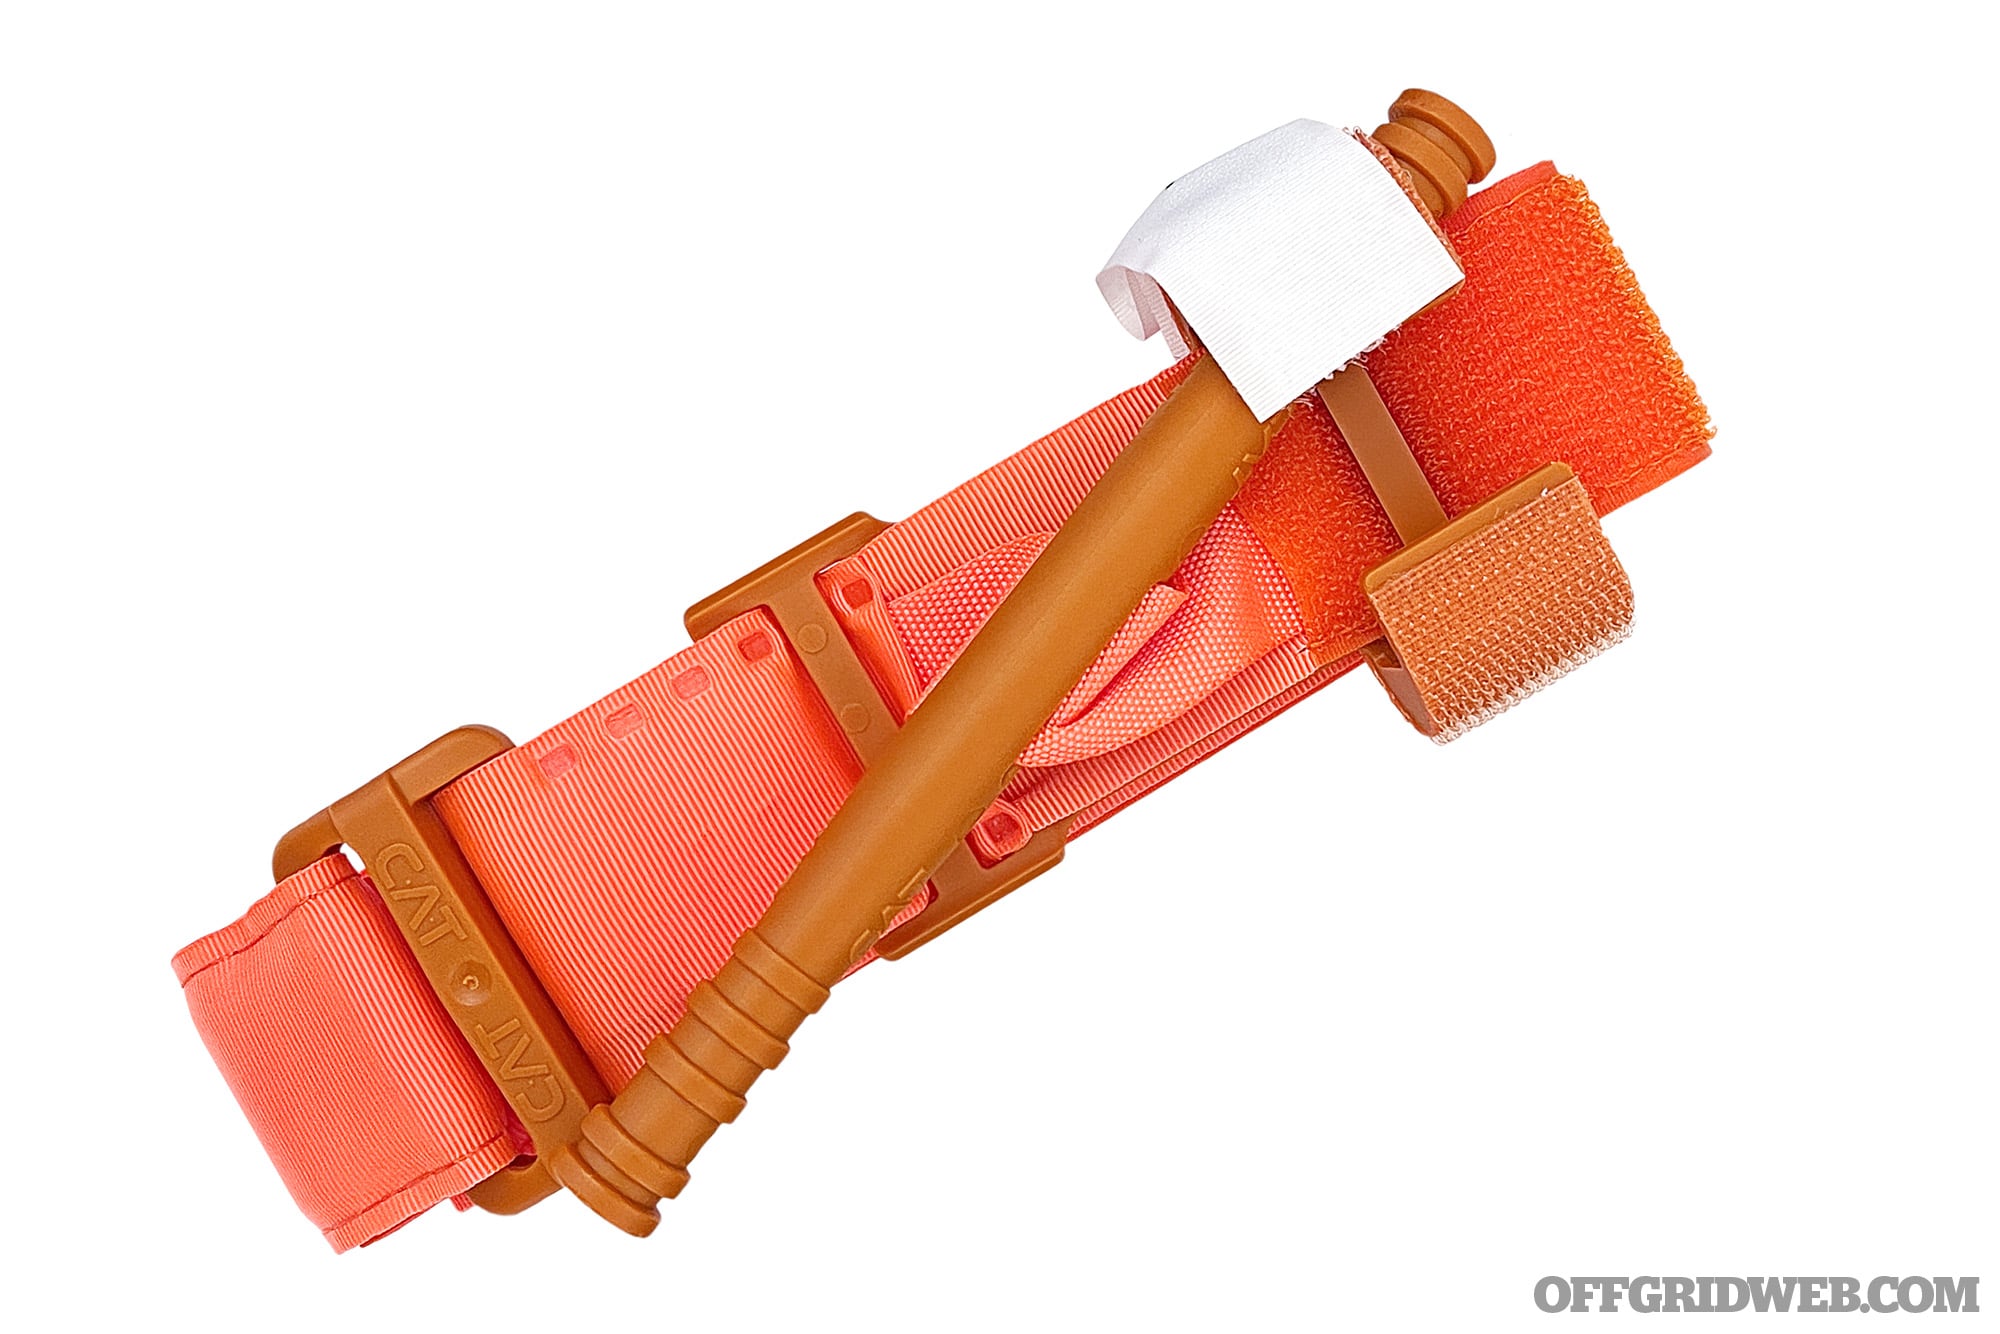
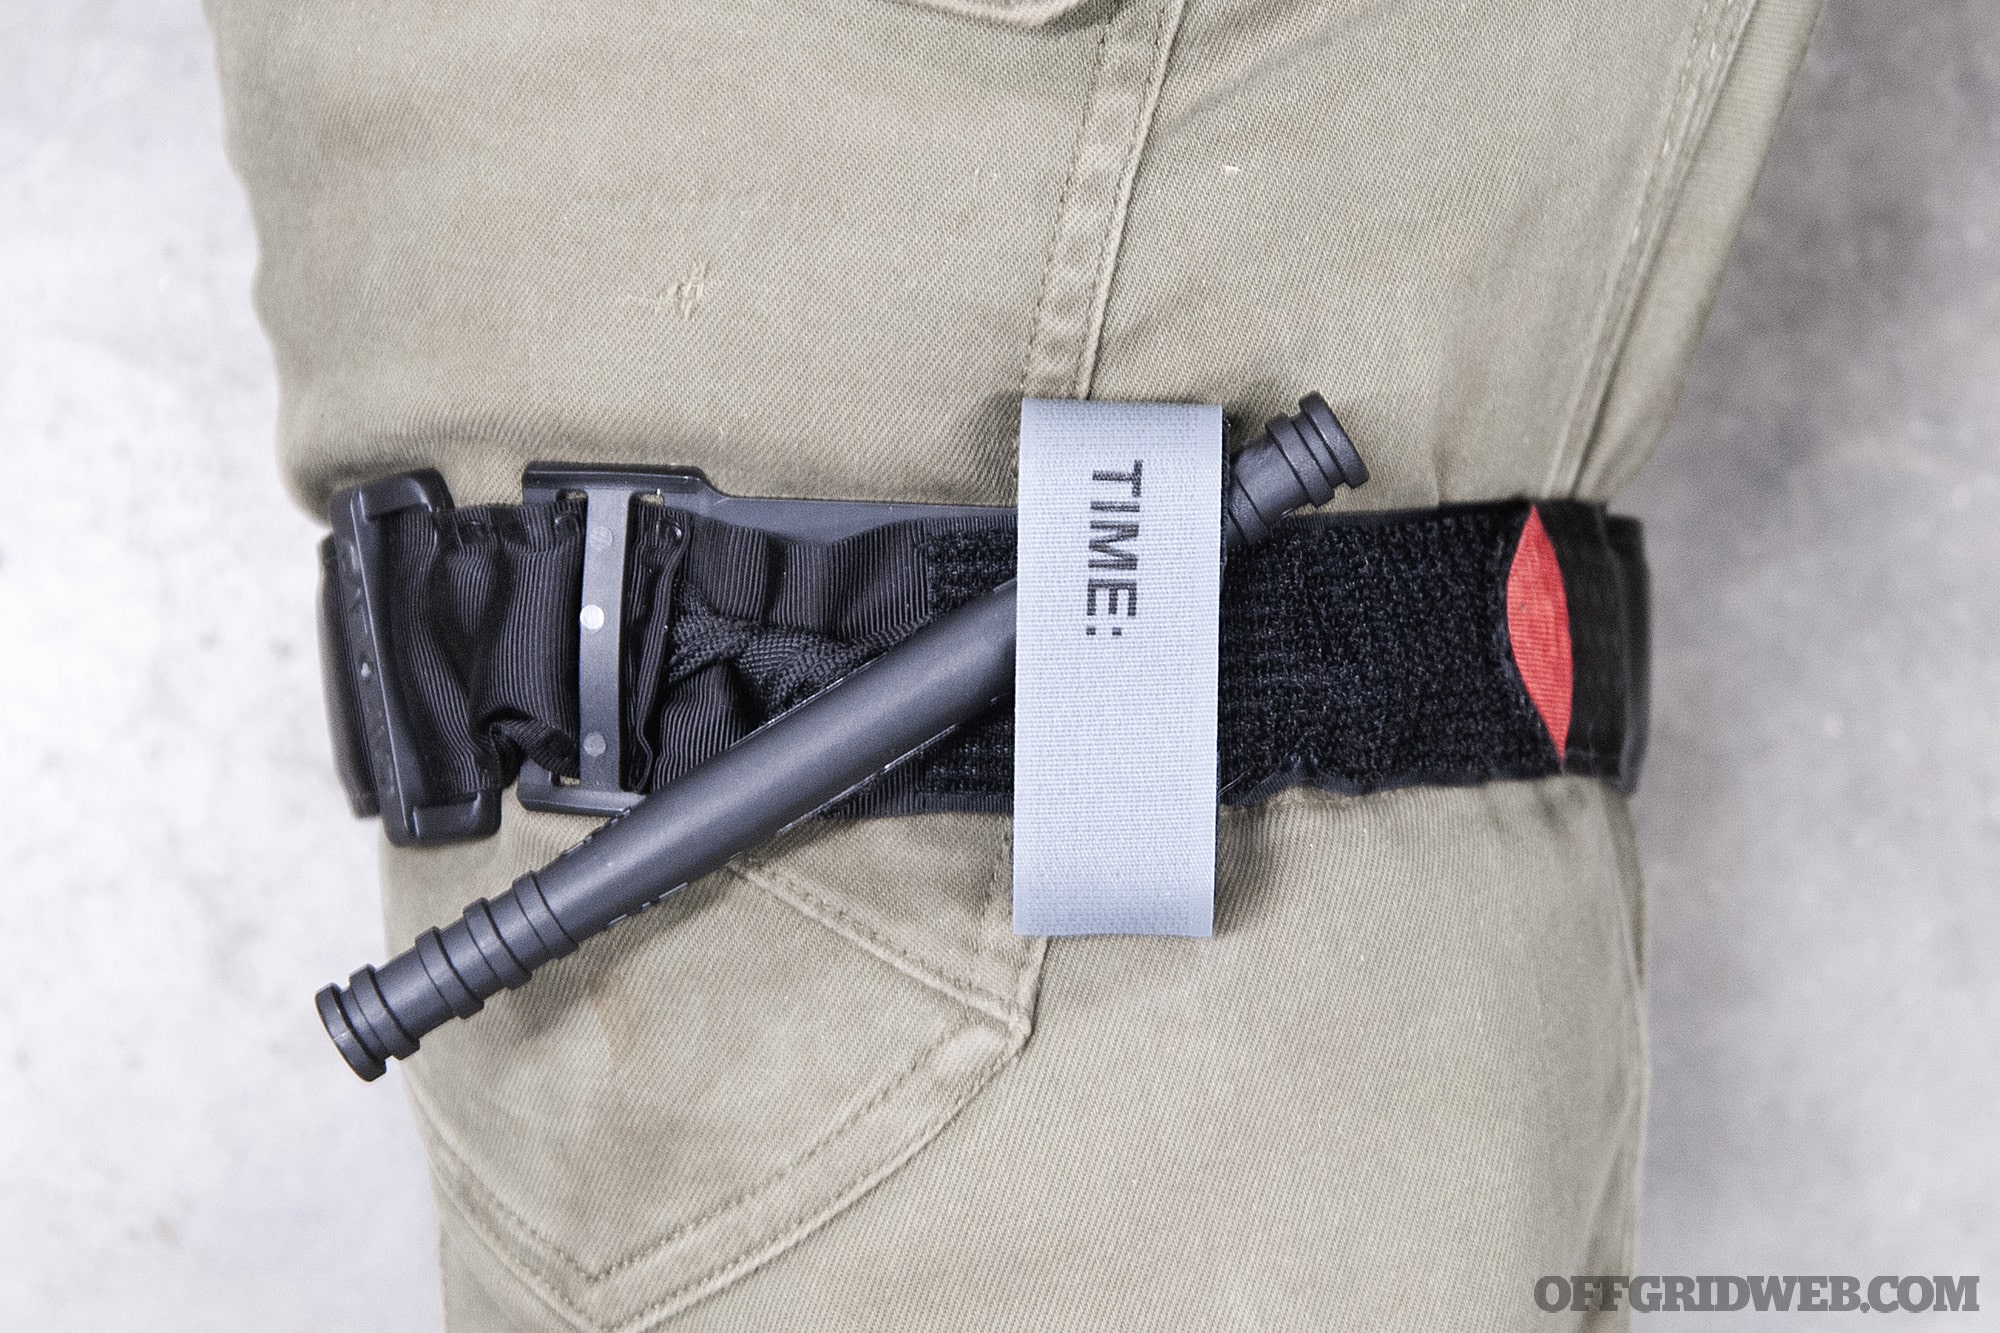
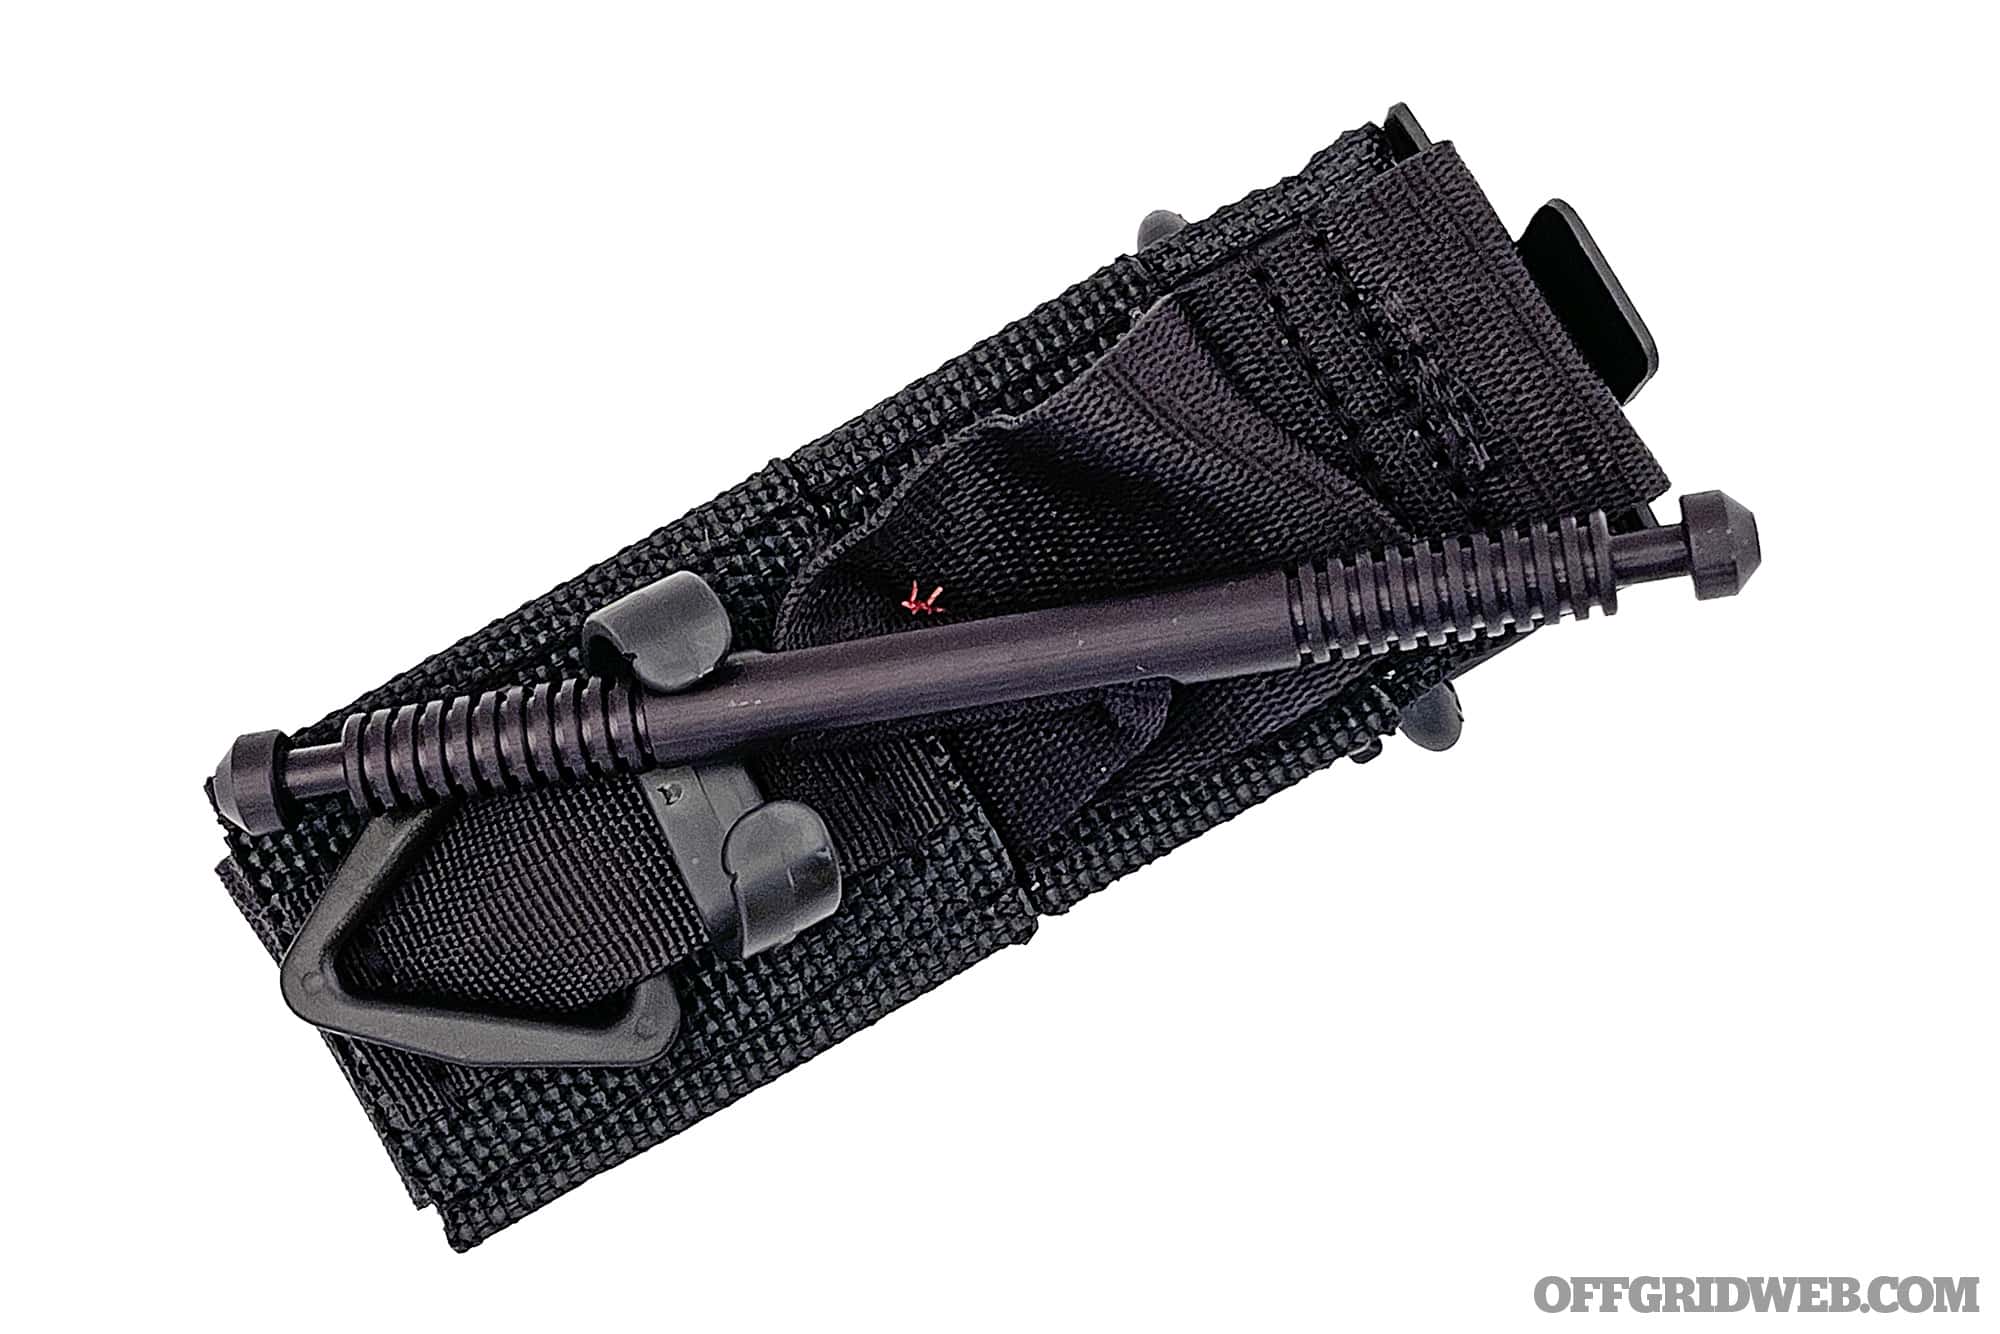
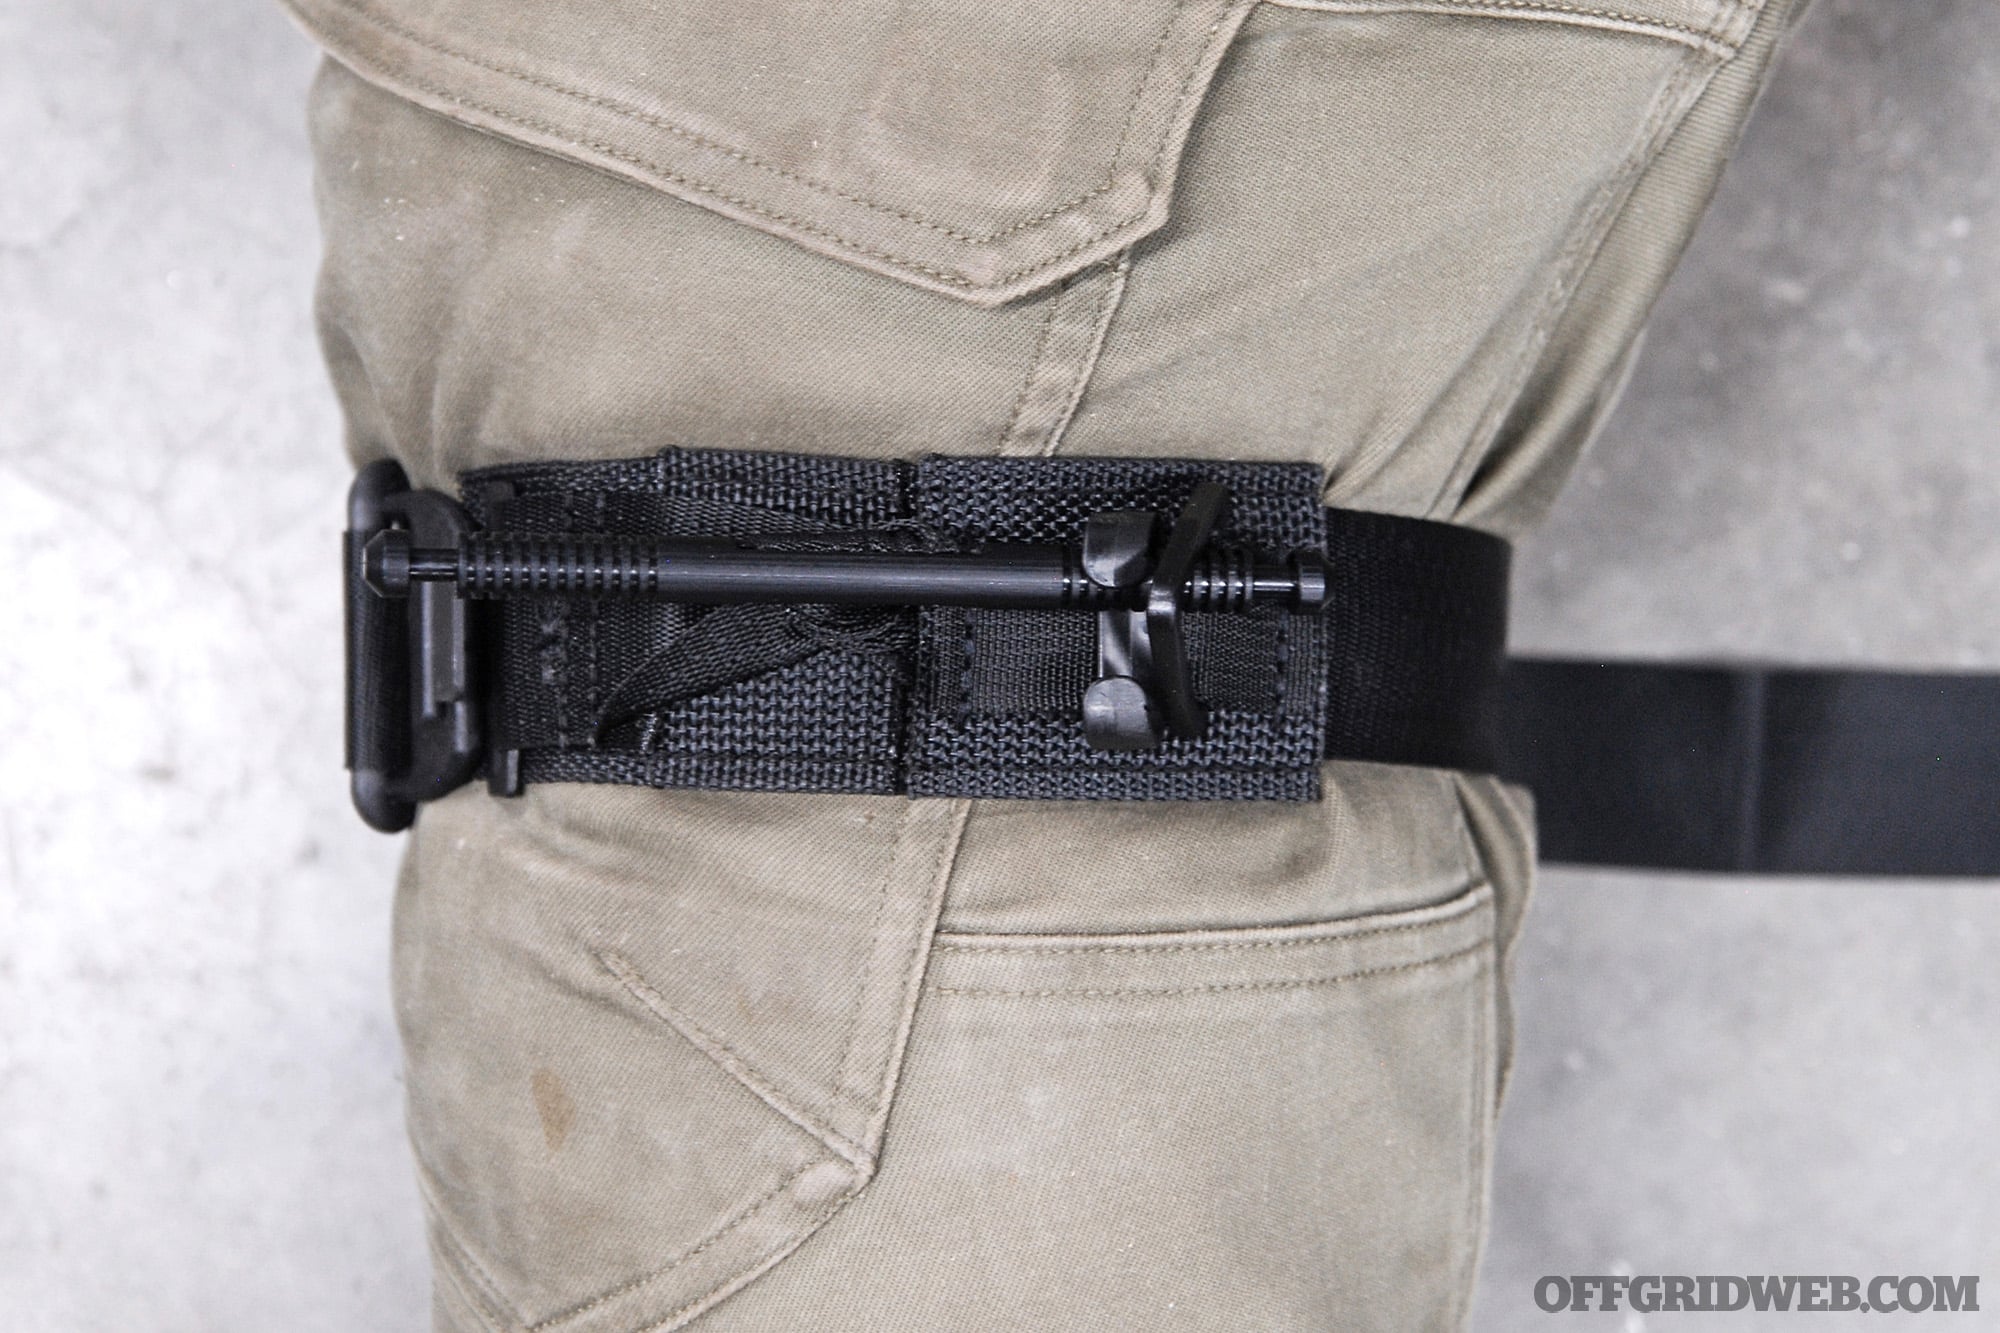
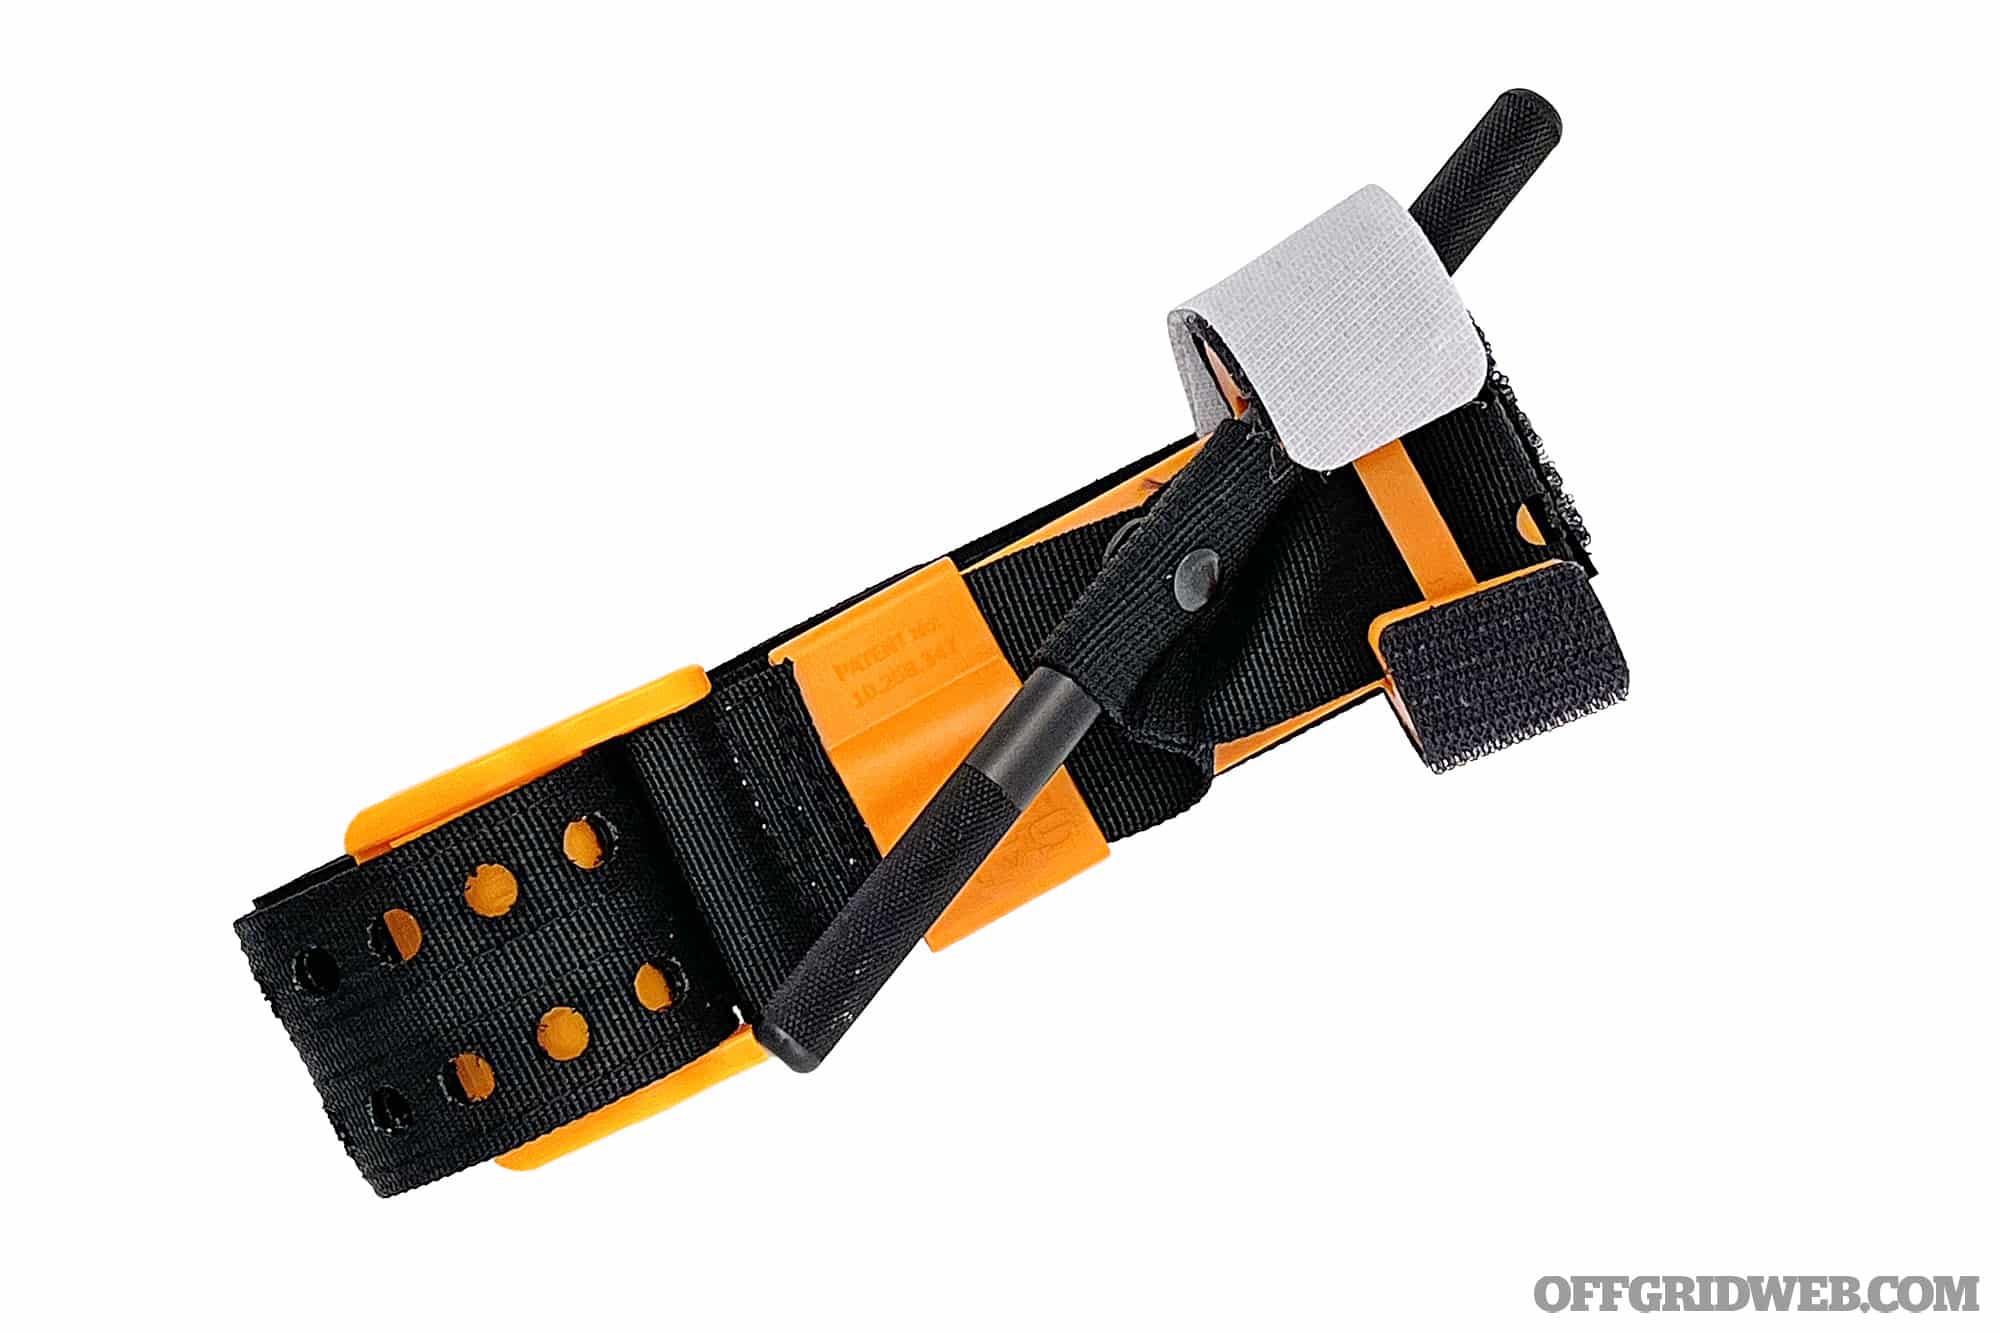
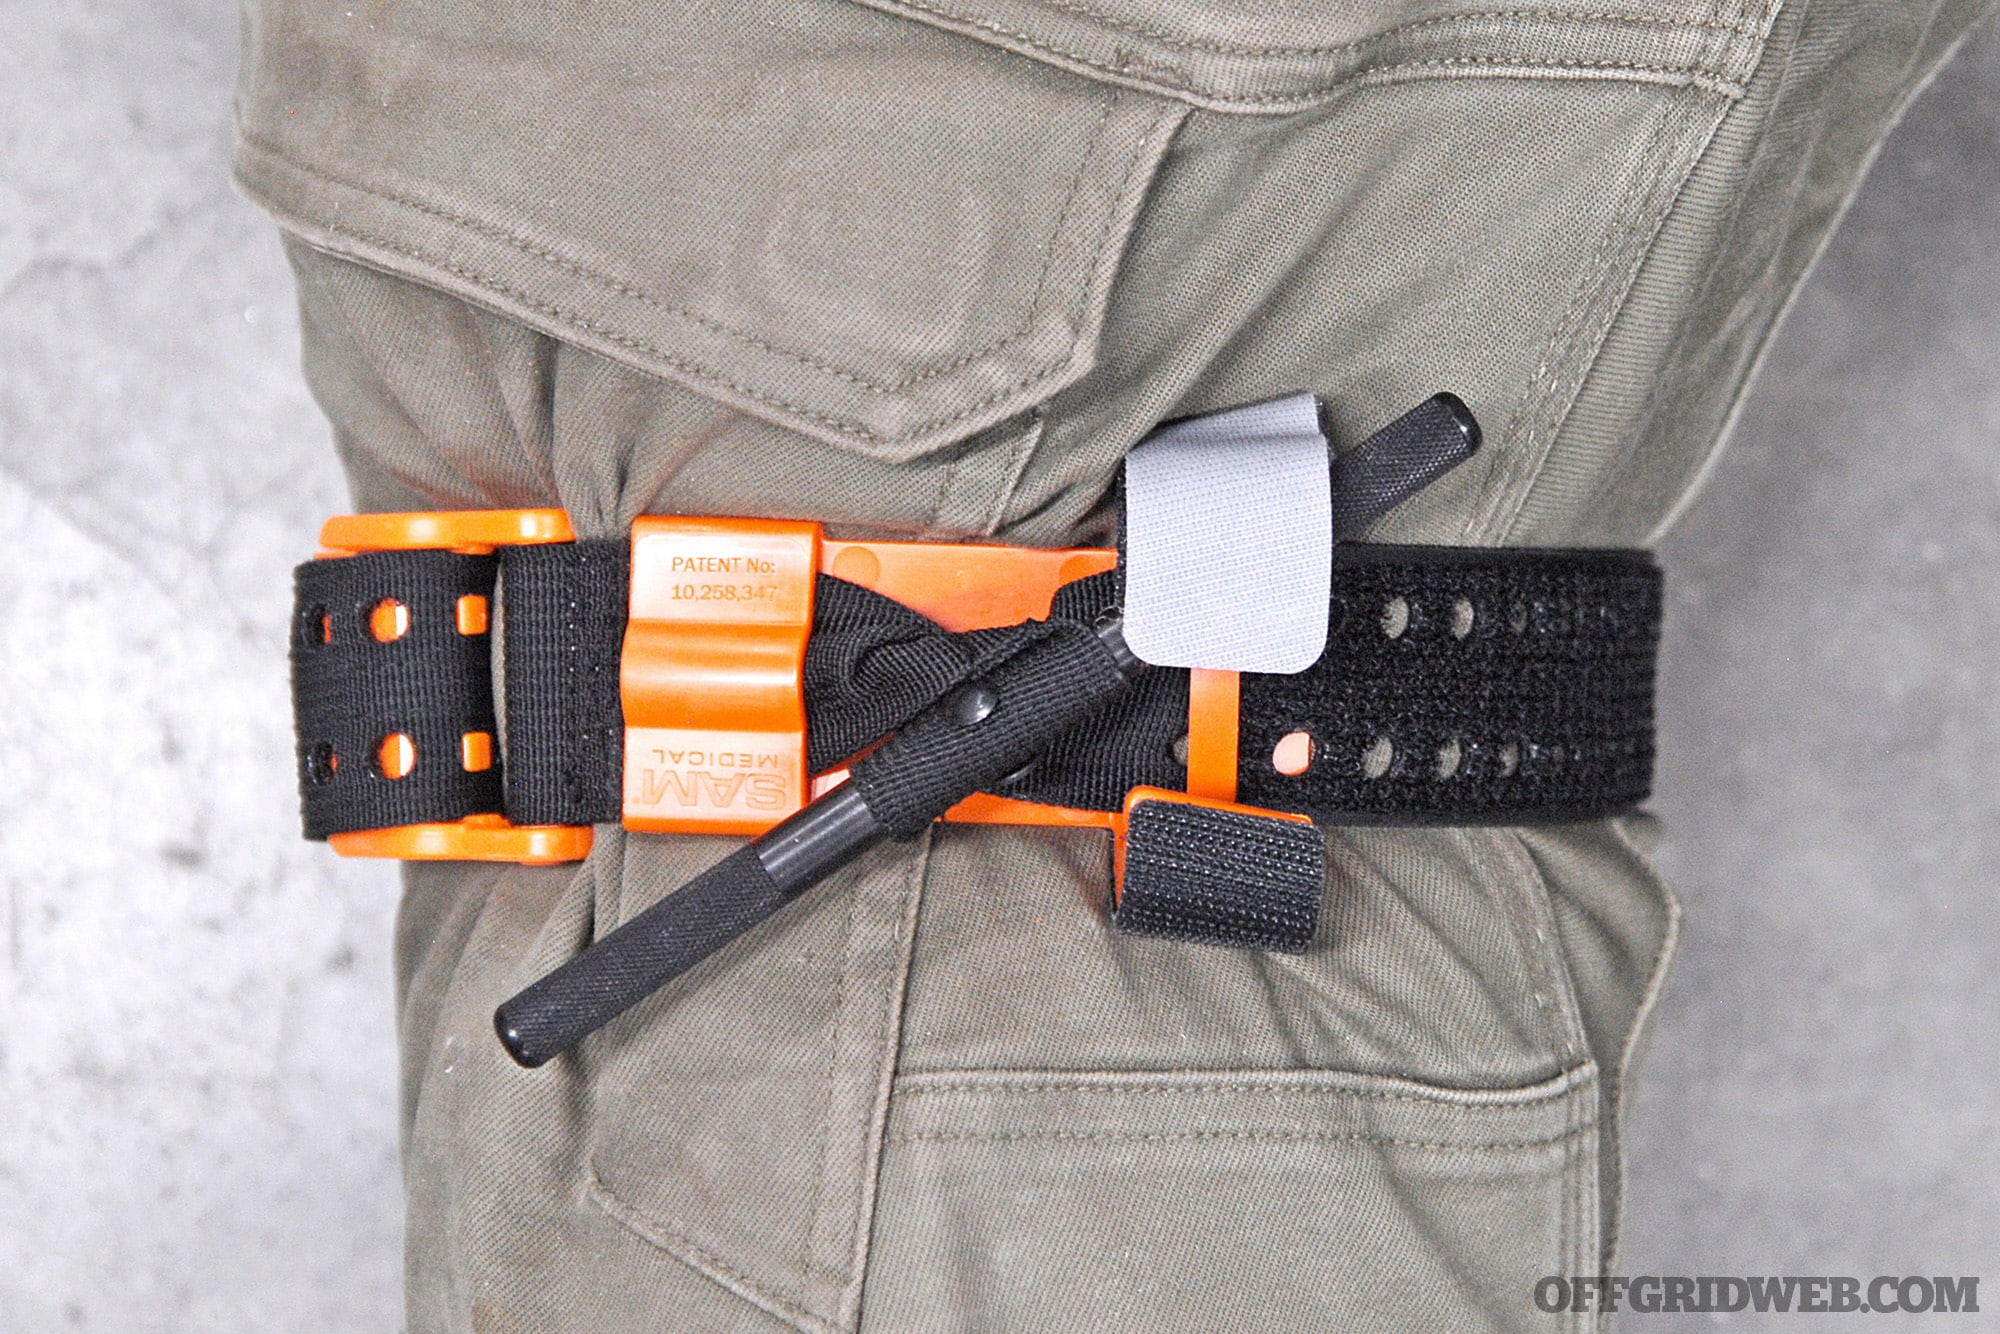
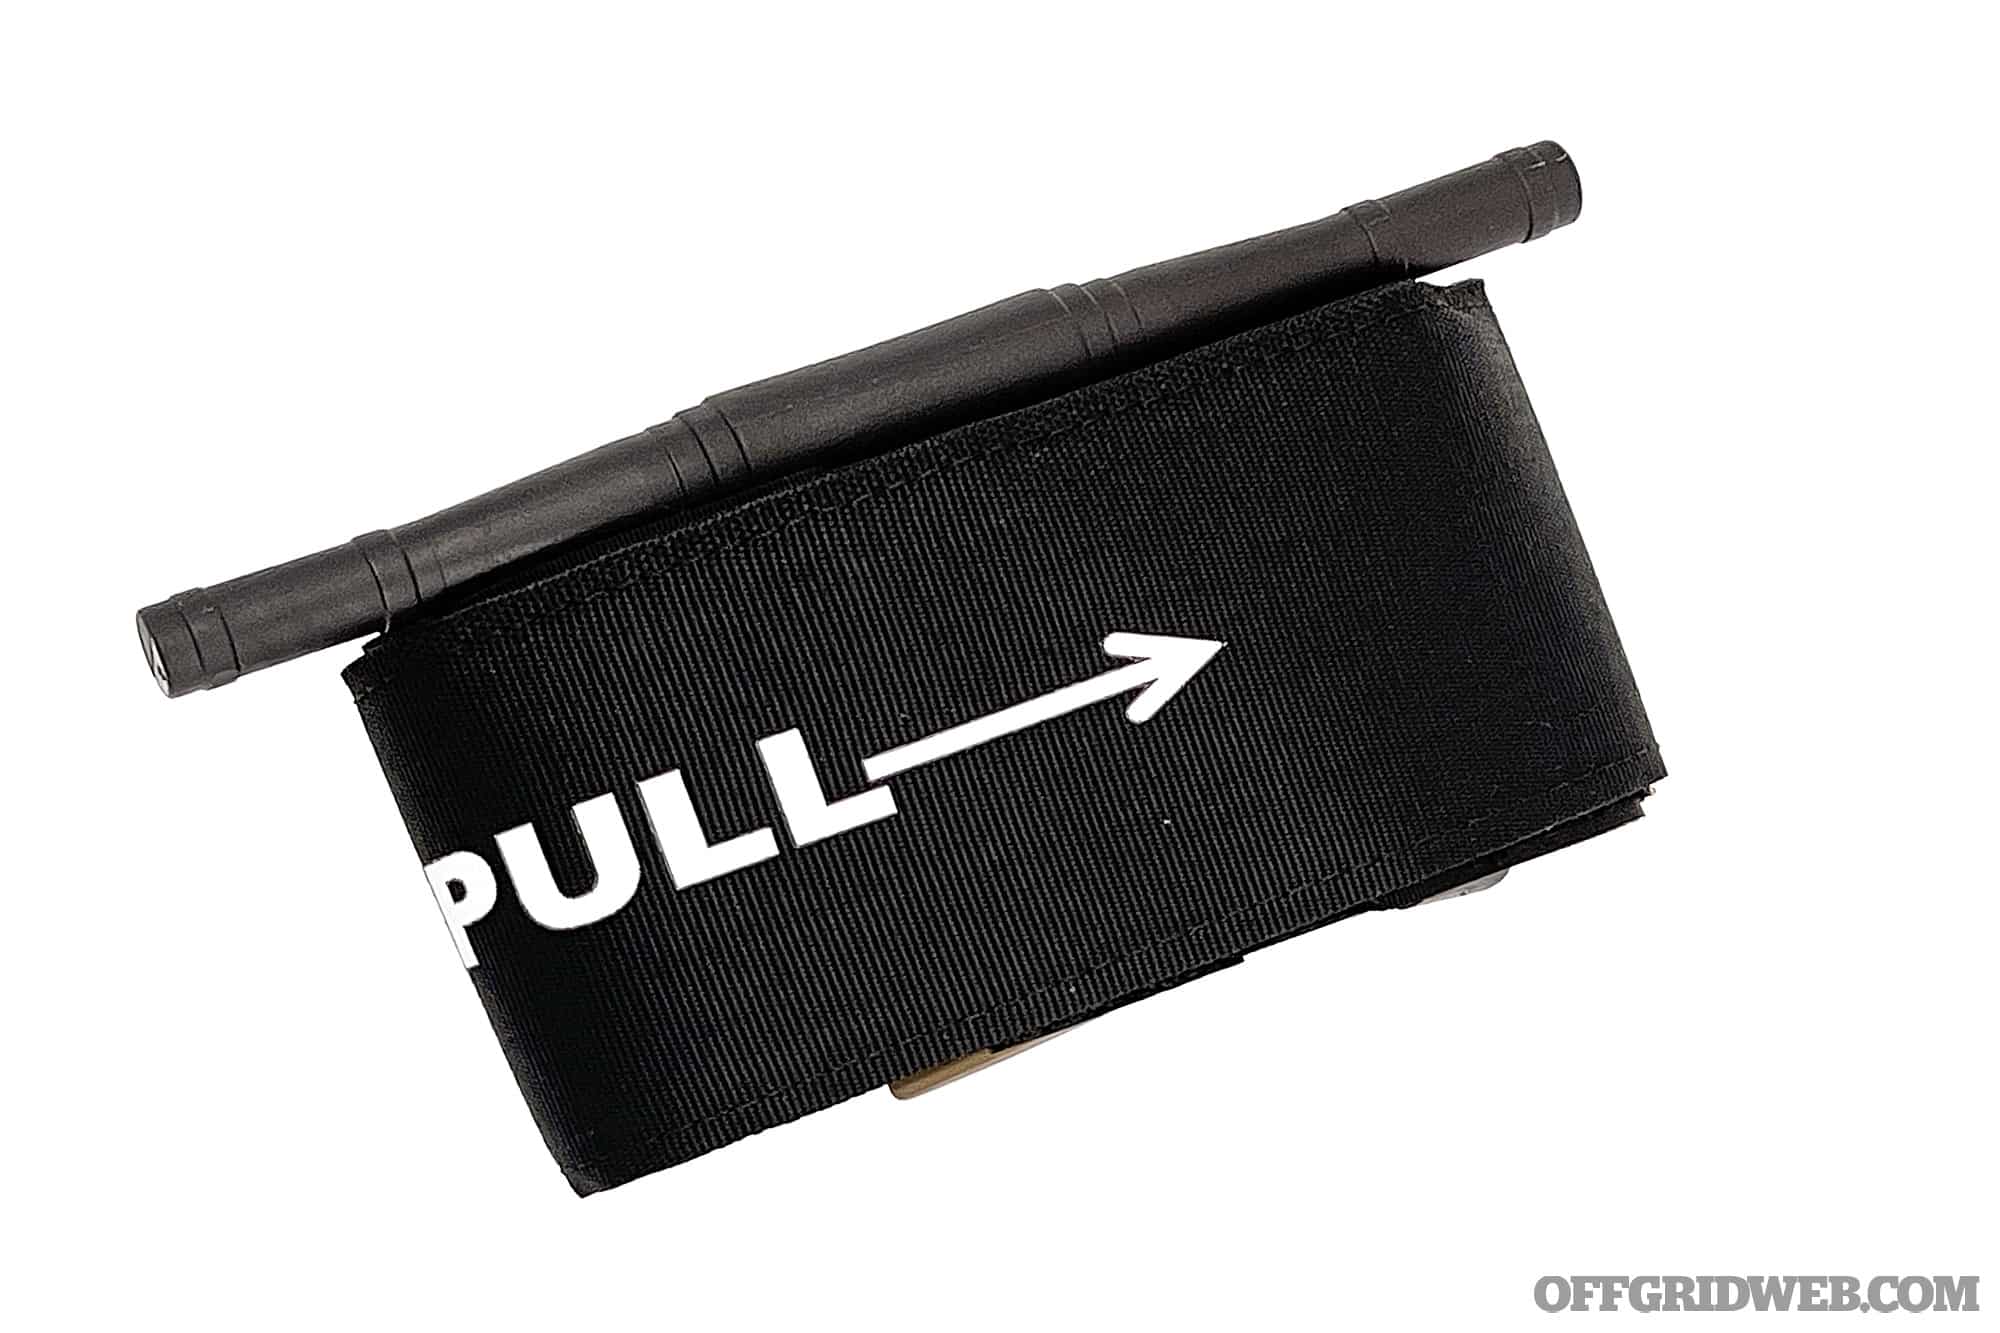
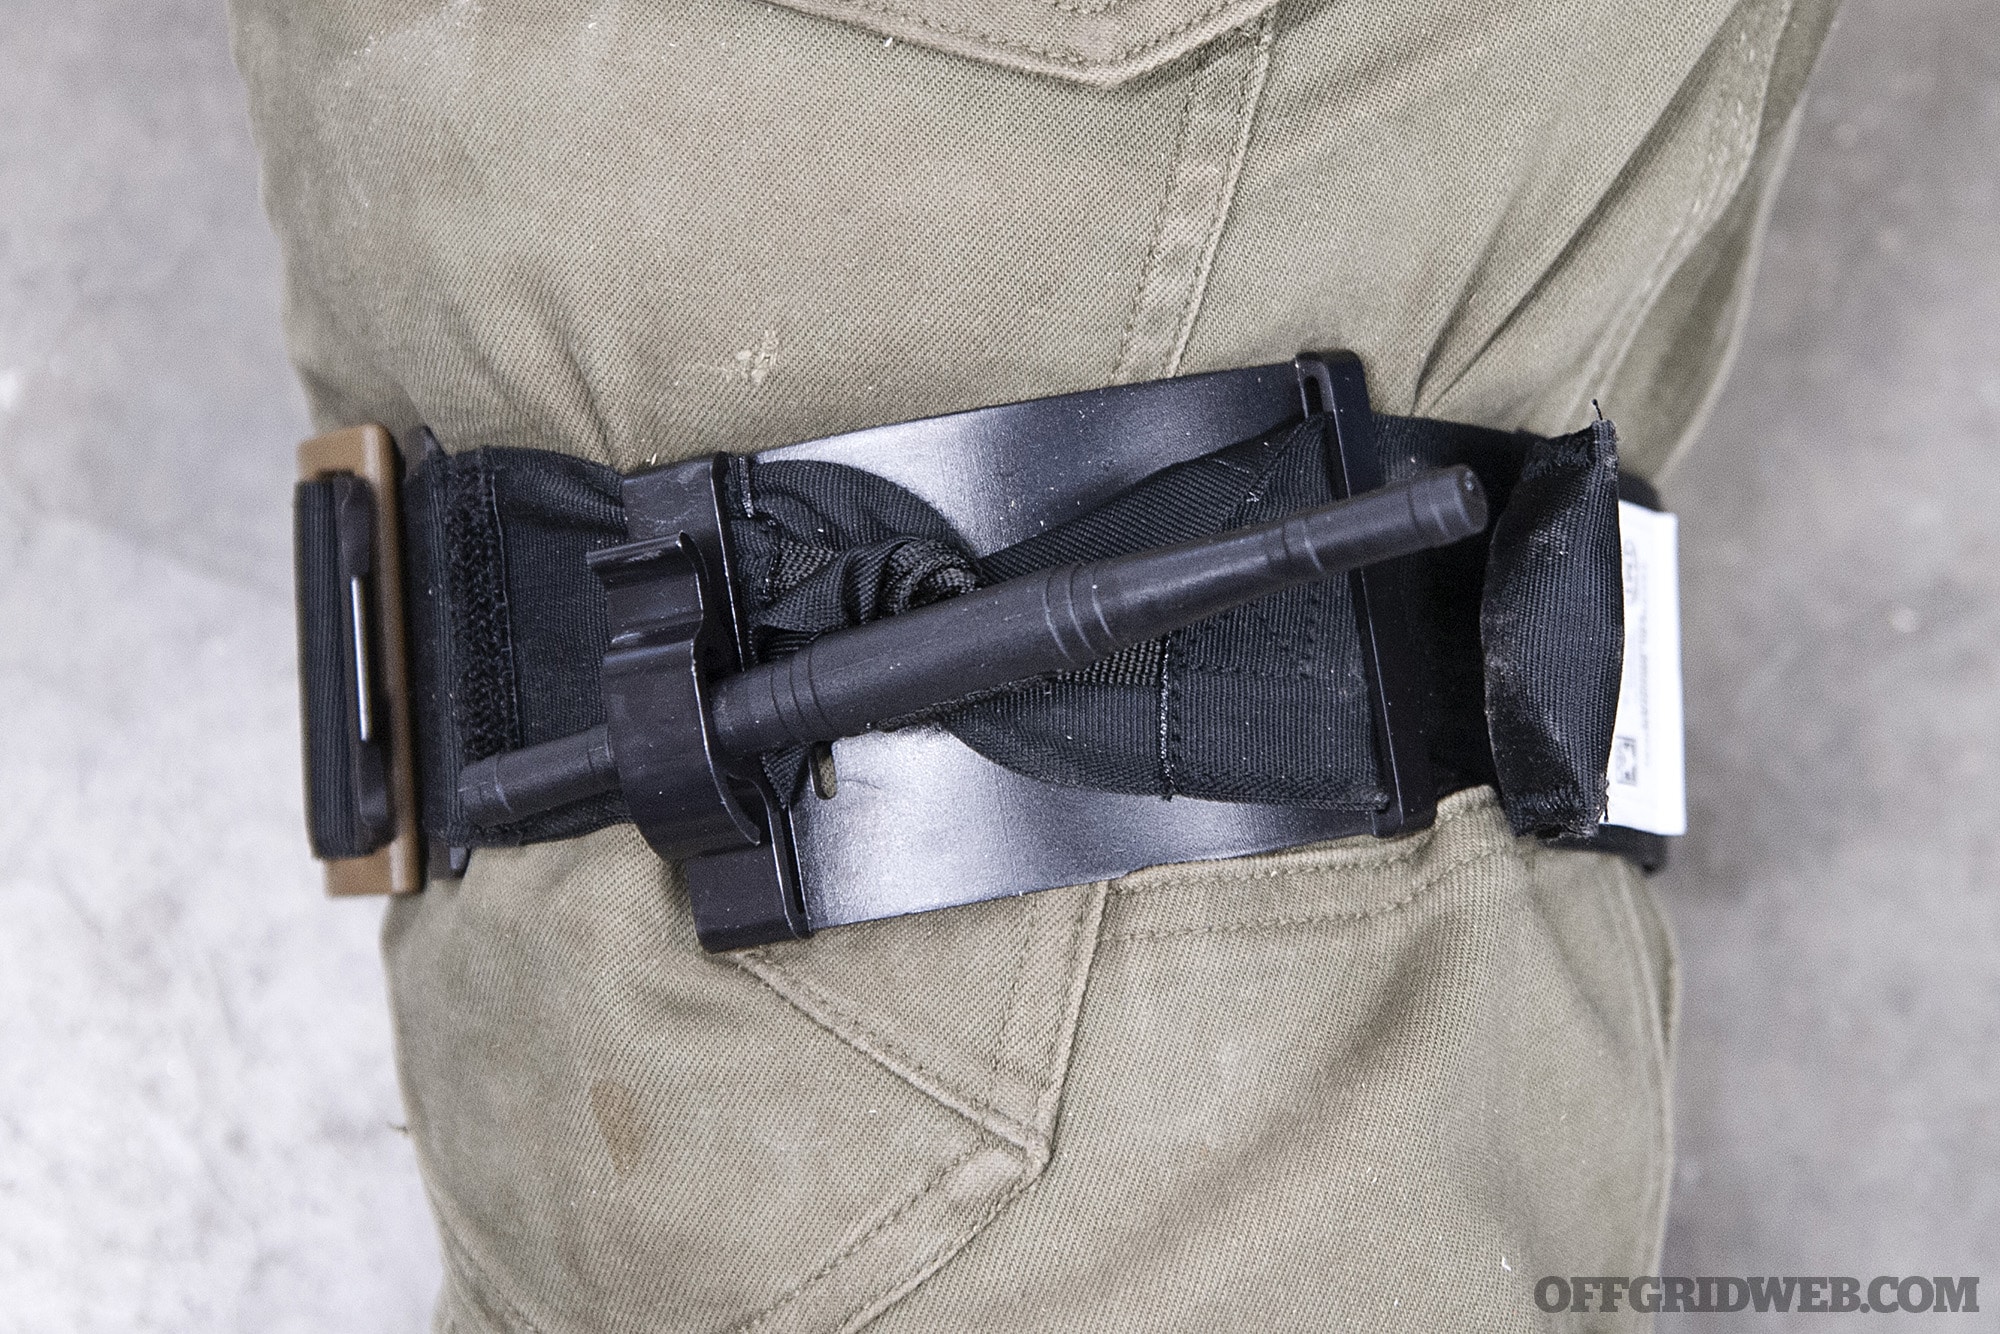
Other than SA, I highly recommend you seek medical training in your local areas. At the minimum, take some Stop the Bleed courses or CPR courses. The chance of you having to draw your gun is very slim, but the chances of you having to render medical aid to someone is far greater.

Tell us about 2Alpha Training Group, and what you guys do there.
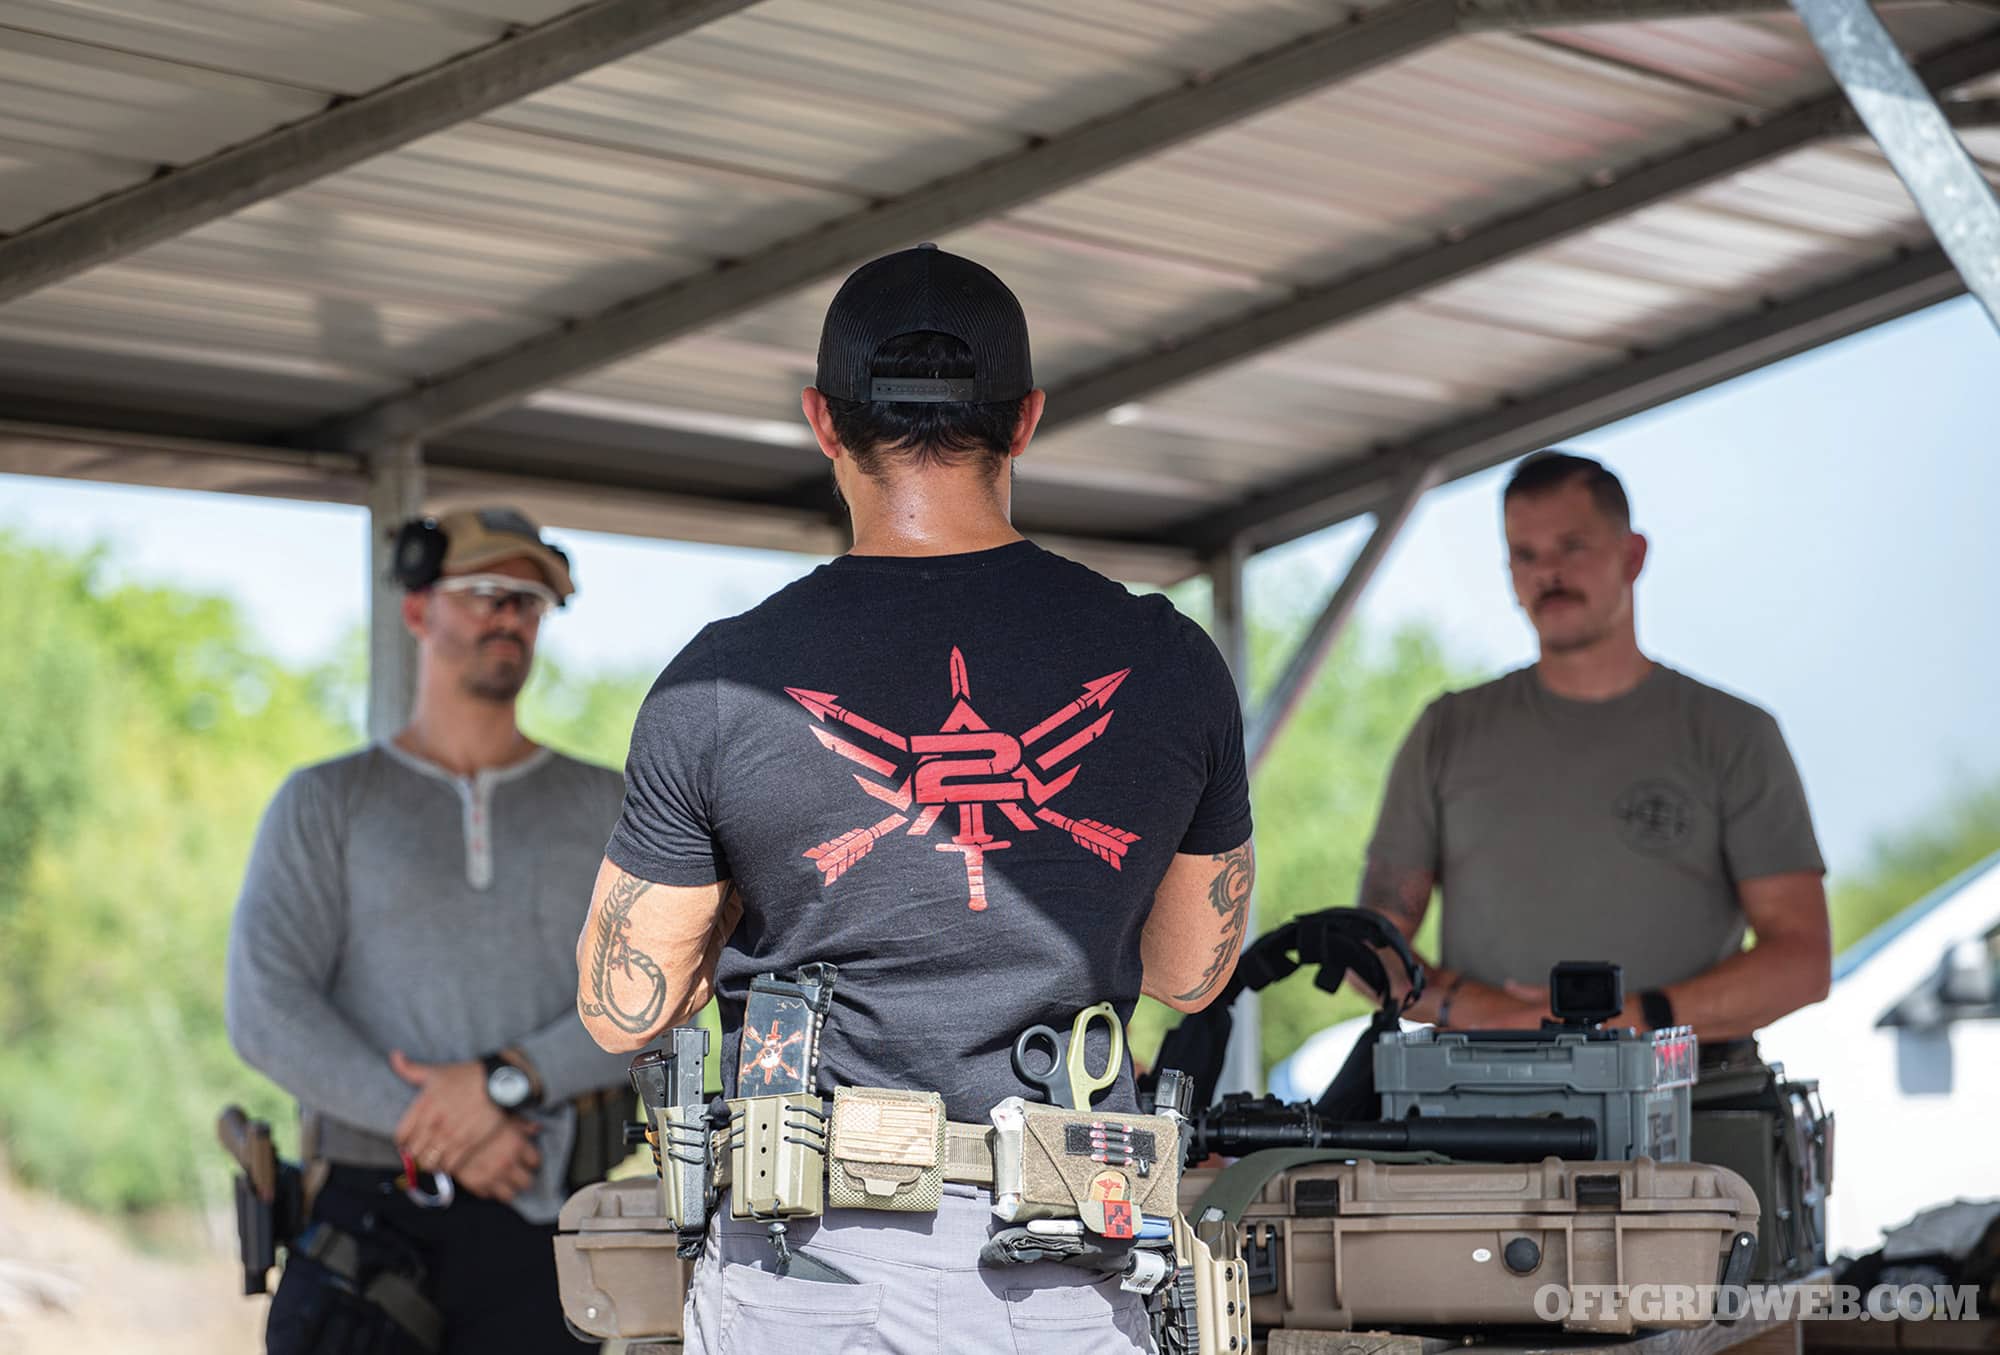
KM: 2Alpha Training Group is the firearms and tactics training company I started back in early 2017. I spent several years as cadre at SFAUC (Special Forces Advanced Urban Combat) for 5th Special Forces Group, which drove me to hone my shooting and tactics skills. I also got good at public speaking and delivery of curriculum. In 2015, I decided to start an Instagram page with 15-second shooting videos. I kept that page private for the first six months due to still being in deployment status. Once I got to SFAUC, I made the page public so others could benefit from those videos.
I started hosting local classes for civilians. Fast-forward five years and now I have two main instructors as well as a few guest instructors that I routinely use to teach around the country. We offer a wide variety of mobile courses from the fundamentals to very advanced protocols, lowlight tactics, concealed carry tactics, team CQB/VCQB, one-man CQB, and even medical courses. Lastly, we consult for film, TV, and video games. I recently just got back from Spain where I was the military advisor on Guy Ritchie’s new movie The Interpreter with Jake Gyllenhaal. We also have a major project we’re currently working on that will change the way people access our instruction and the way they train on their own. Hopefully, we’ll be able to launch the project sometime in the second half of 2023.
Internet trends and fads seem to have a big influence on people’s gear choices these days. Are there any gear trends you wish would disappear, or new ones you’d like to start?
KM: The evolution of gear is a perpetual cycle. I think most civilians look at Special Operations as the standard for gear and try to emulate that on their own. That allows smart people to come up with ways to evolve gear which, if successful, gets the attention of Special Operations. The cycle is mostly a positive one, but it has pros and cons. I think abdominal pouches for medical purposes are a brilliant addition to our plate carriers using real estate that beforehand, was useless. Now we can have an entire medical fold-out pouch in our lap without having to take off range belts. The one thing I’d like to see go away is drop leg holsters. Holsters that get attached to the leg are completely obsolete. Drop holsters coming off your range belt with a thigh strap are ideal, especially since more and more manufacturers are finding ways to allow for those holsters to swivel and not get bound up on the leg.
About Kawa Mawlayee
Age: 43
Hometown: Lincoln, NE (now residing in Houston, TX)
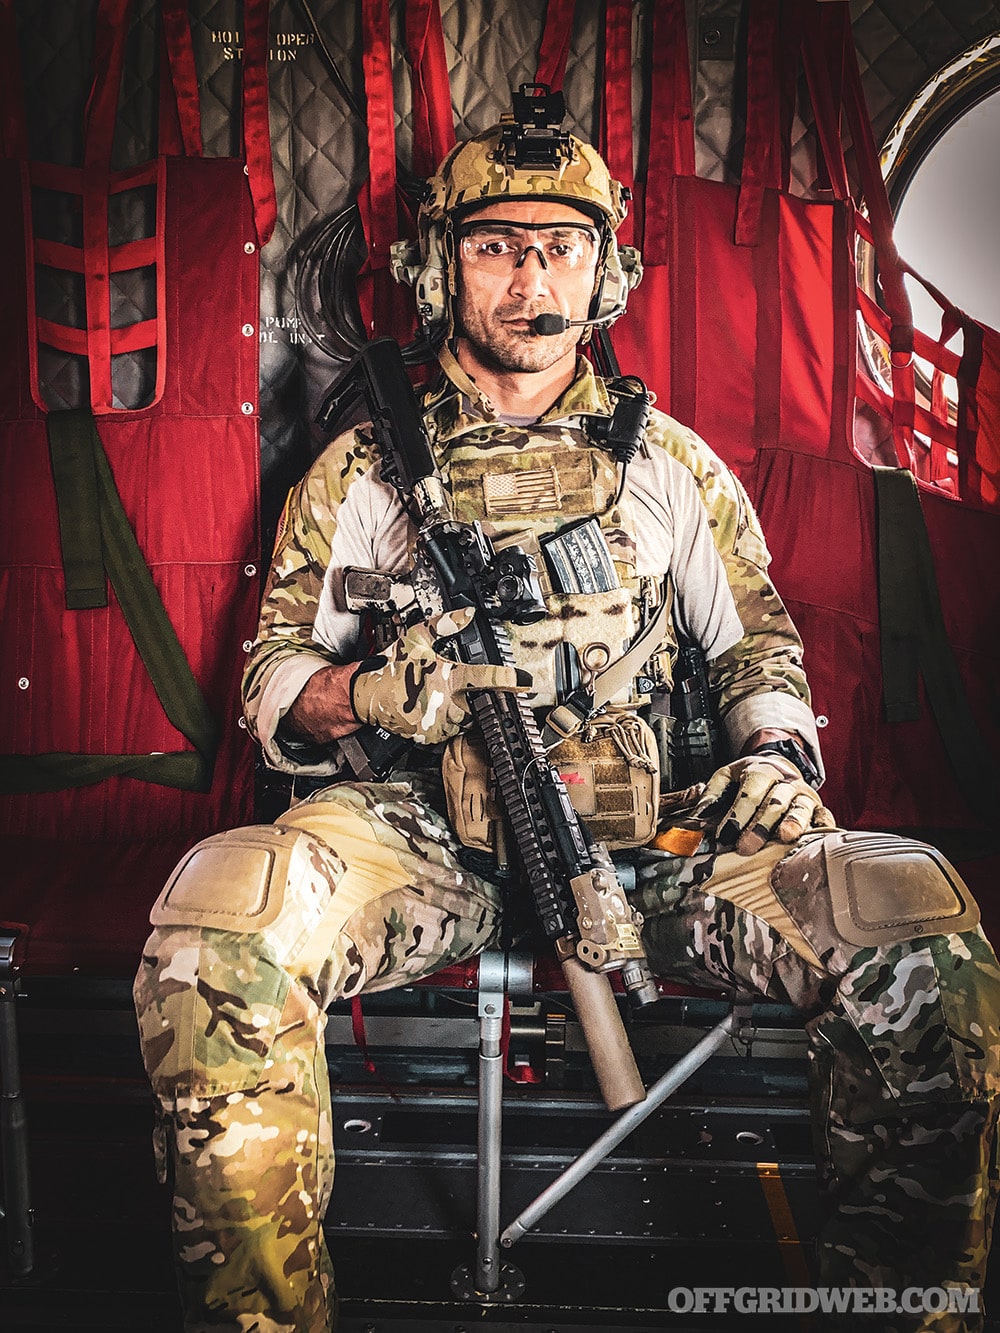
Military experience: 21 years total — 5 years in the Marine Corps infantry, 15 years in Army Special Forces
Favorite quote: “The possession of great power necessarily implies great responsibility.” — William Lamb (French Revolution, 1817)
Favorite food: Mantu, an Afghan dish using wontons stuffed with seasoned ground beef, caramelized onions, and mashed potatoes. It comes with a special sauce that’s drizzled on top.
Favorite movie: Braveheart
Favorite gun: Favorite rifle is my 12.5-inch Gladius from Cobalt Kinetics. Favorite pistol is my stock Glock 19X.
Recommended reading list:
- Afghanistan: A Military History from Alexander the Great to the War Against the Taliban by Stephen Tanner
- The Ministry of Ungentlemanly Warfare by Damien Lewis
- Anything Star Wars (I’m a big SW nerd)
URL: www.2alphatraininggroup.com
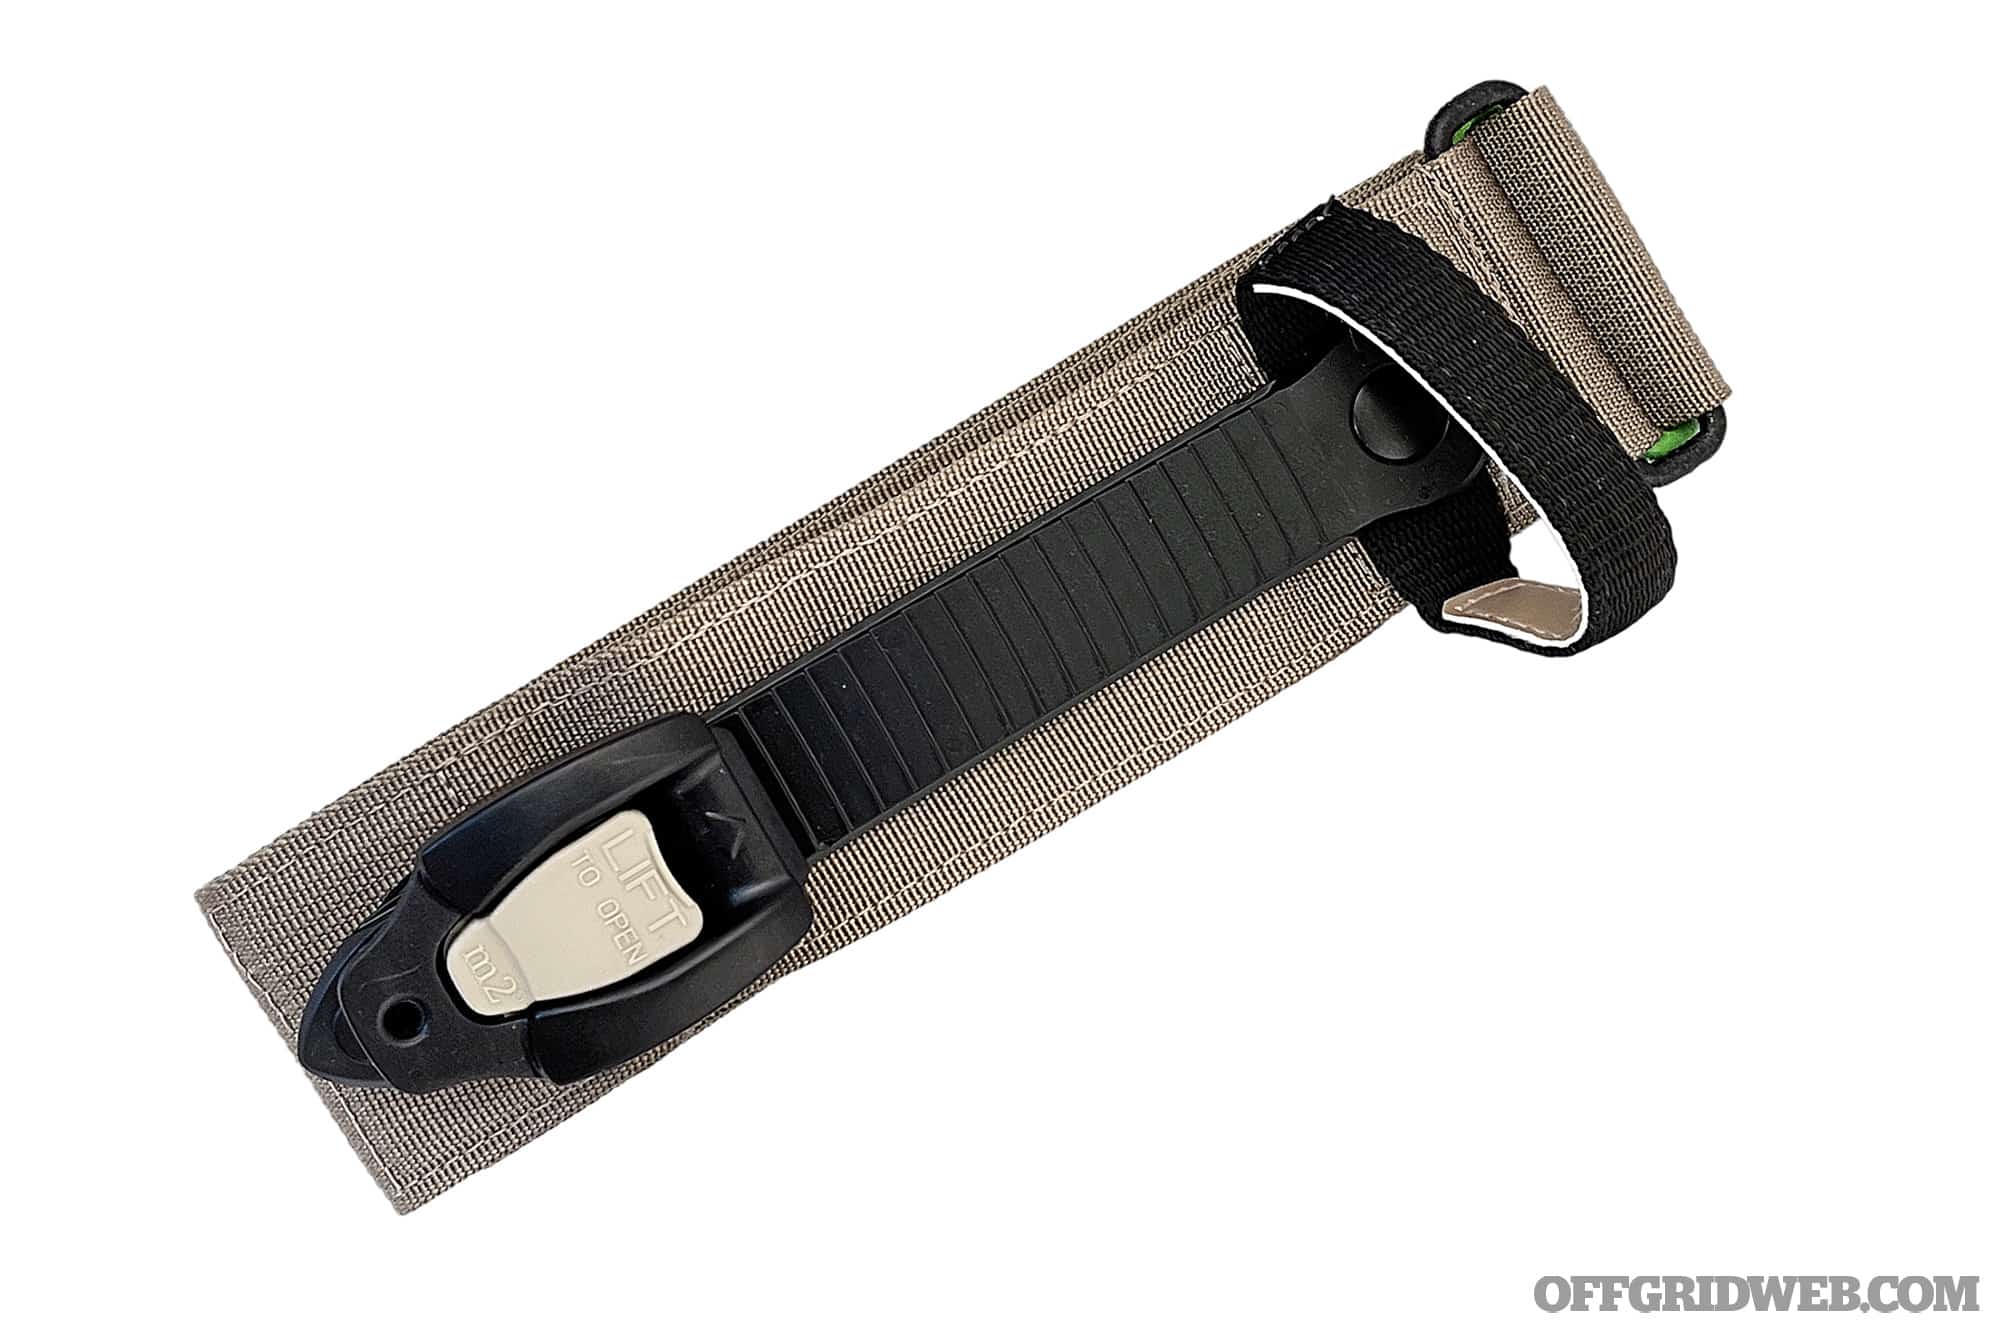
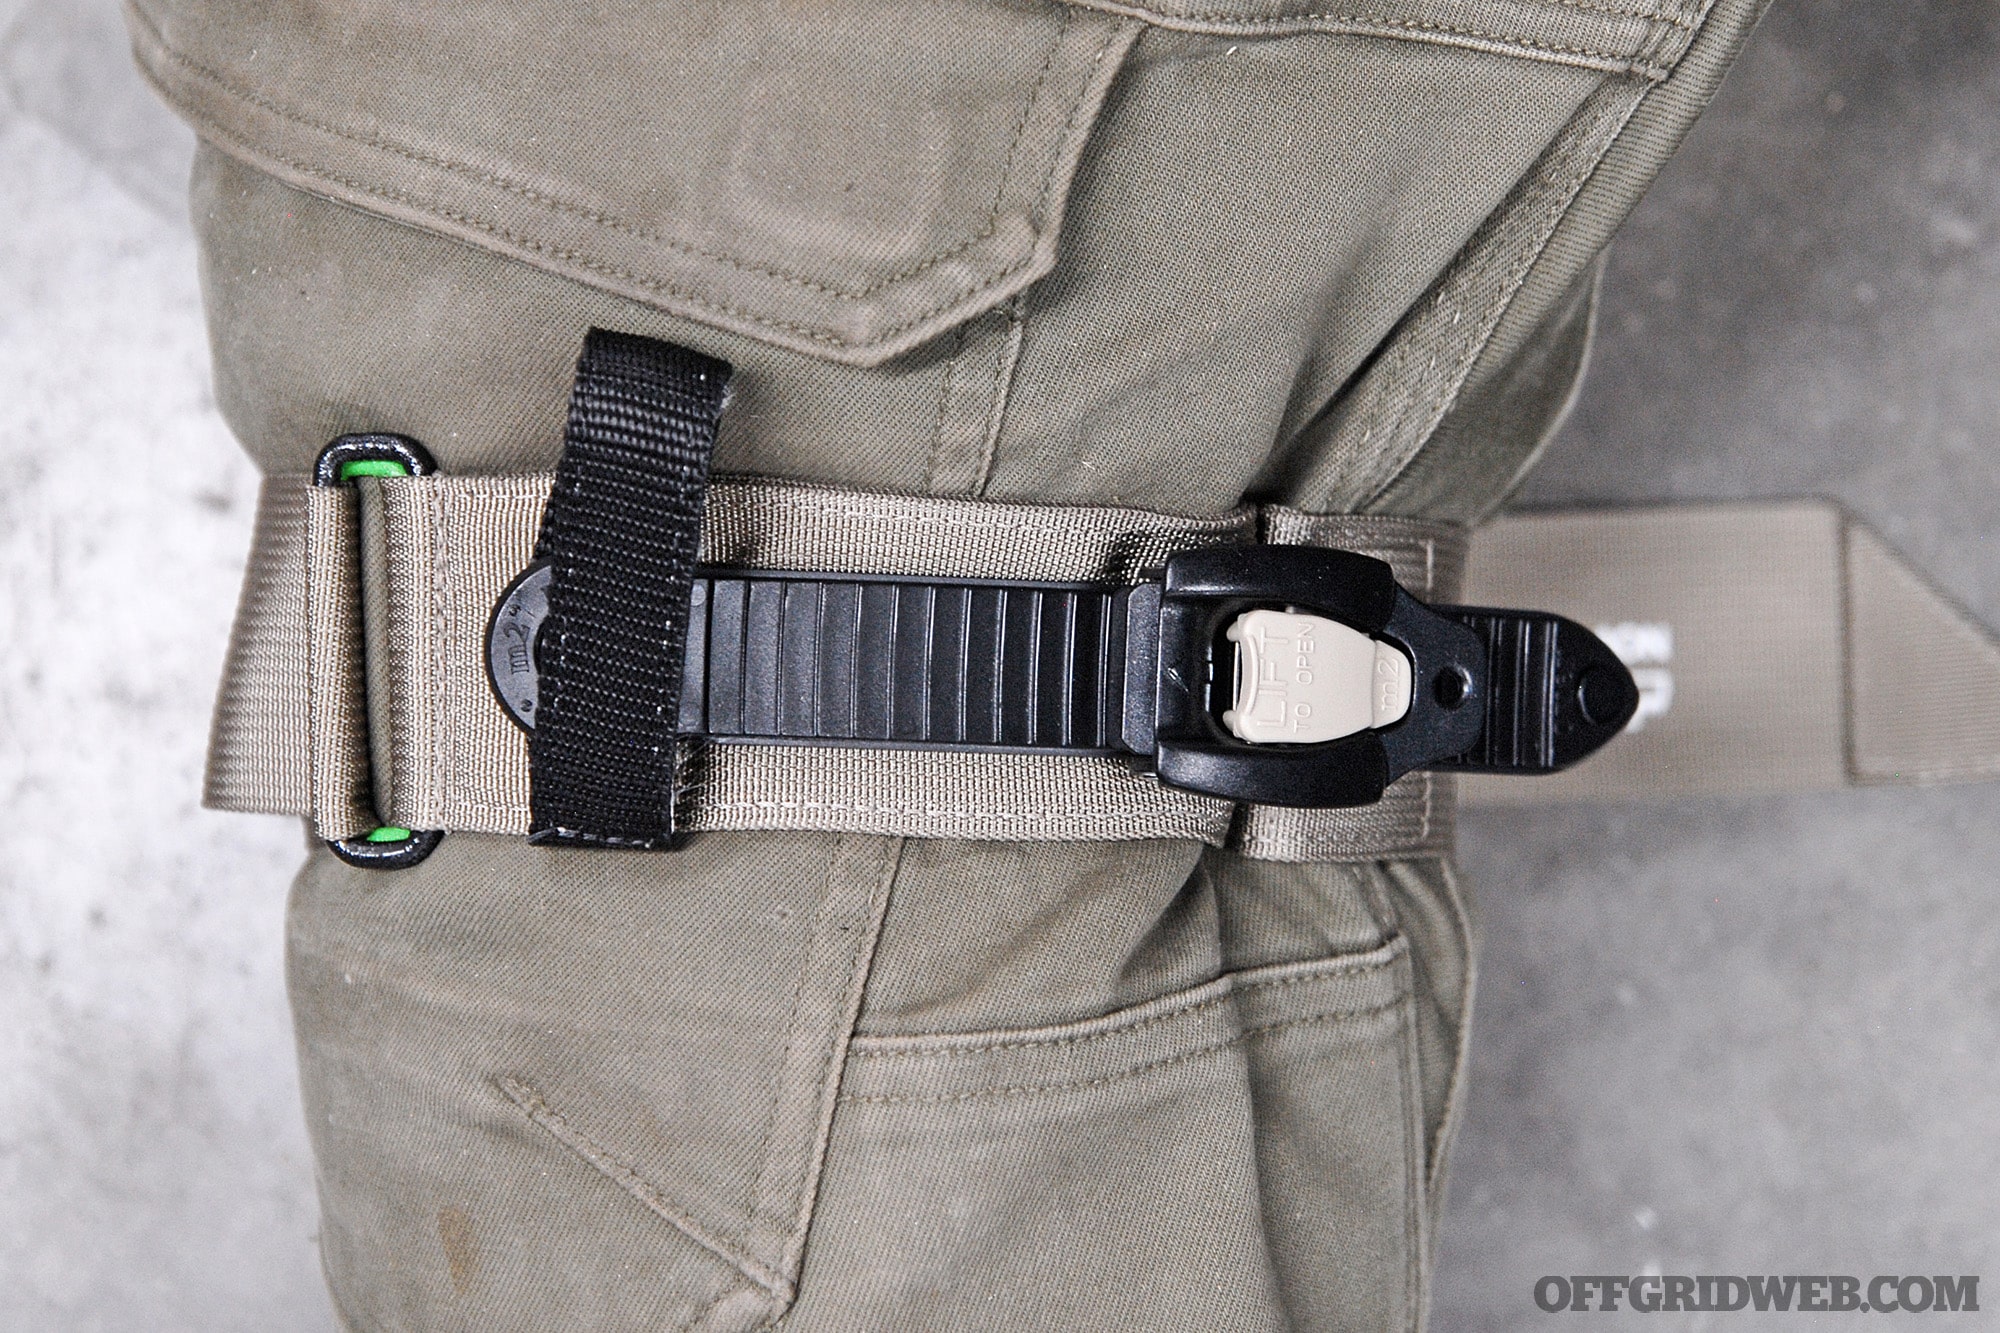
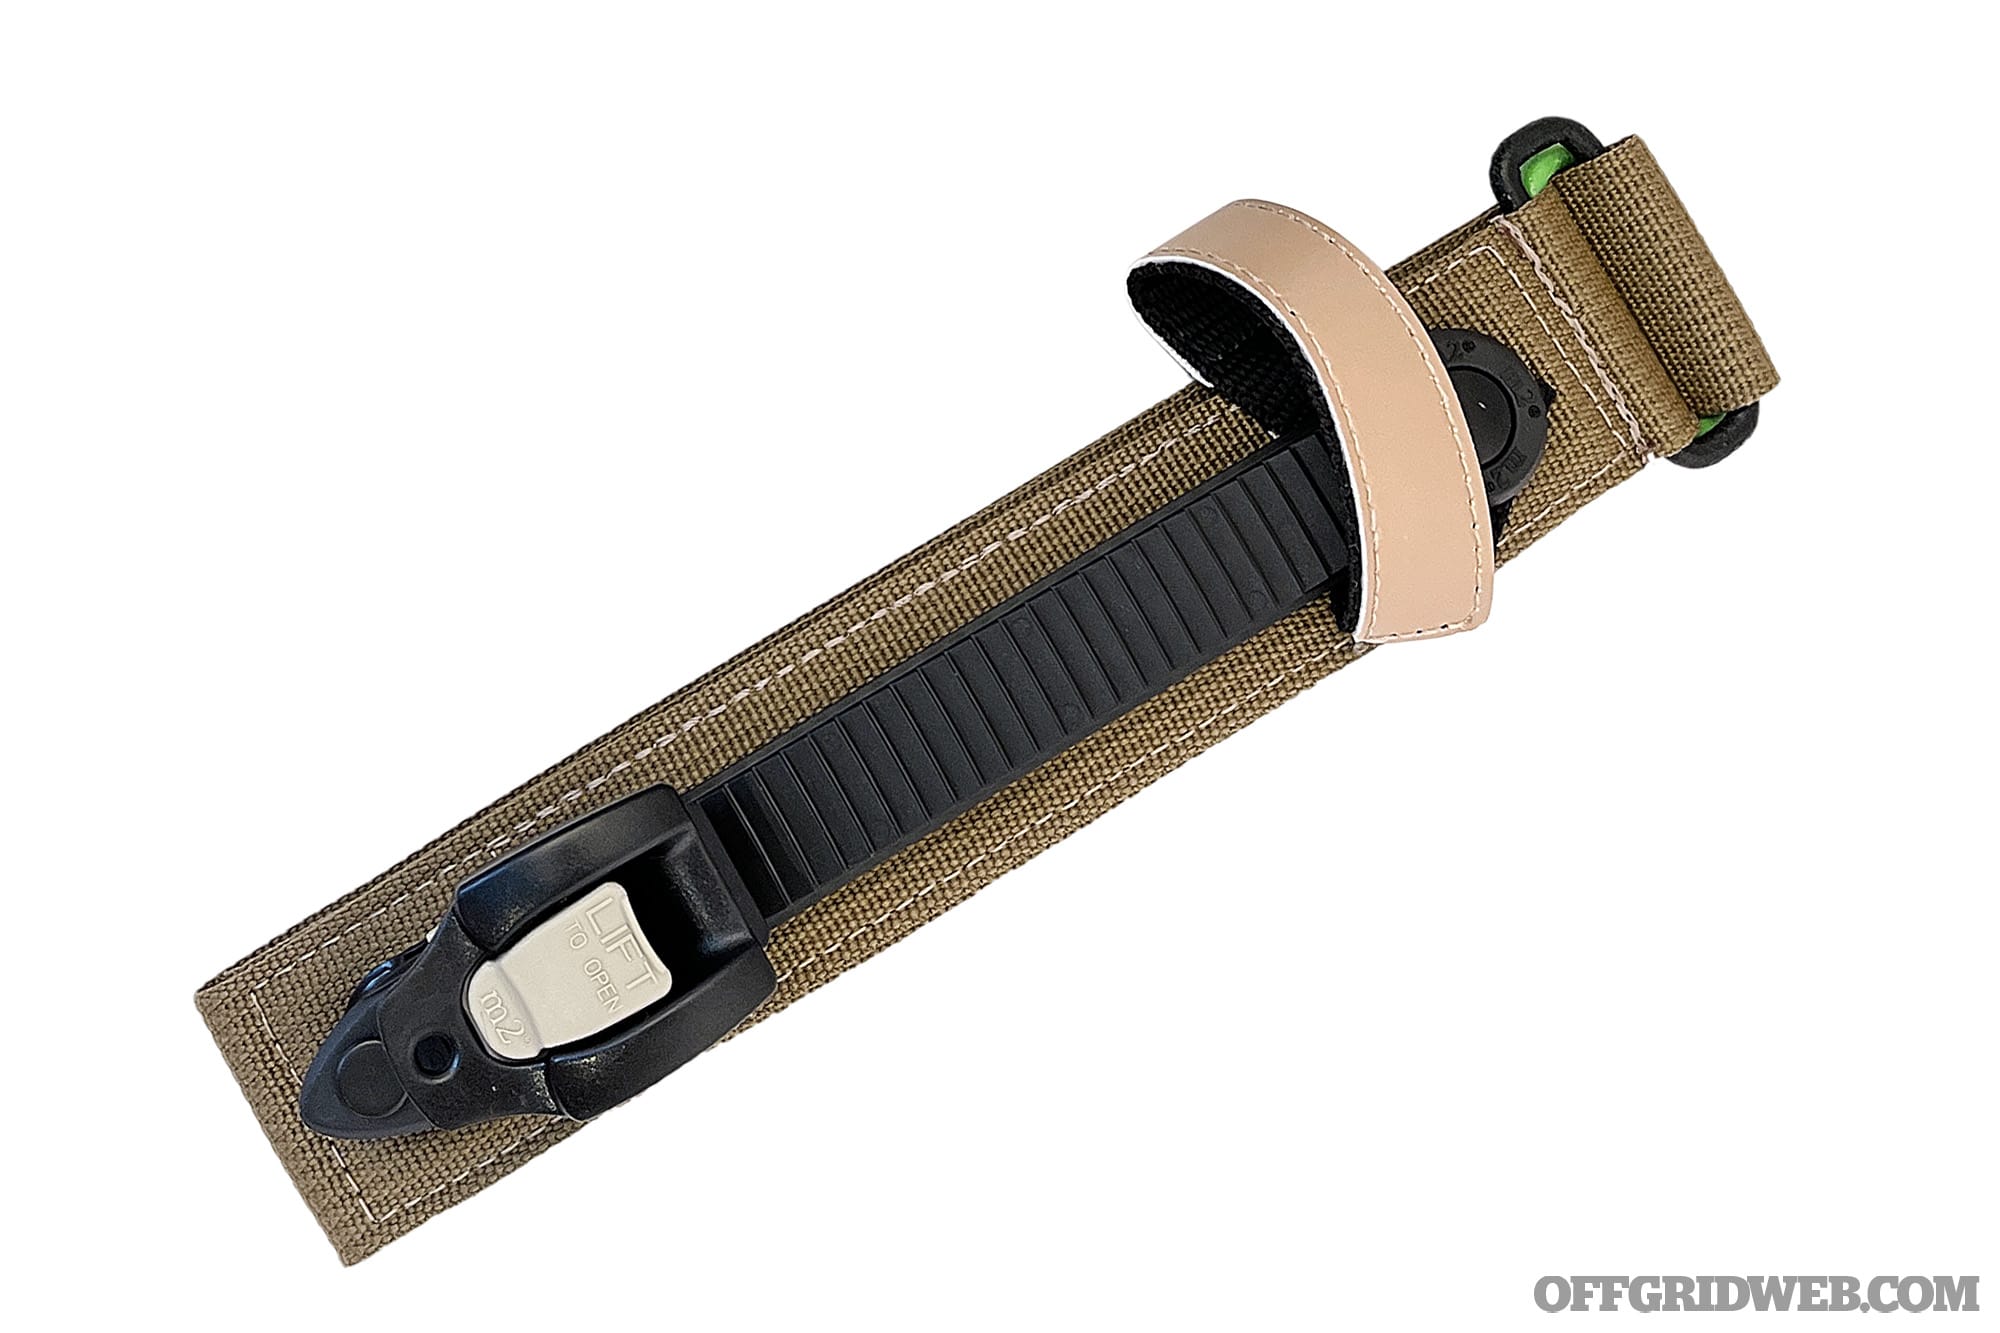
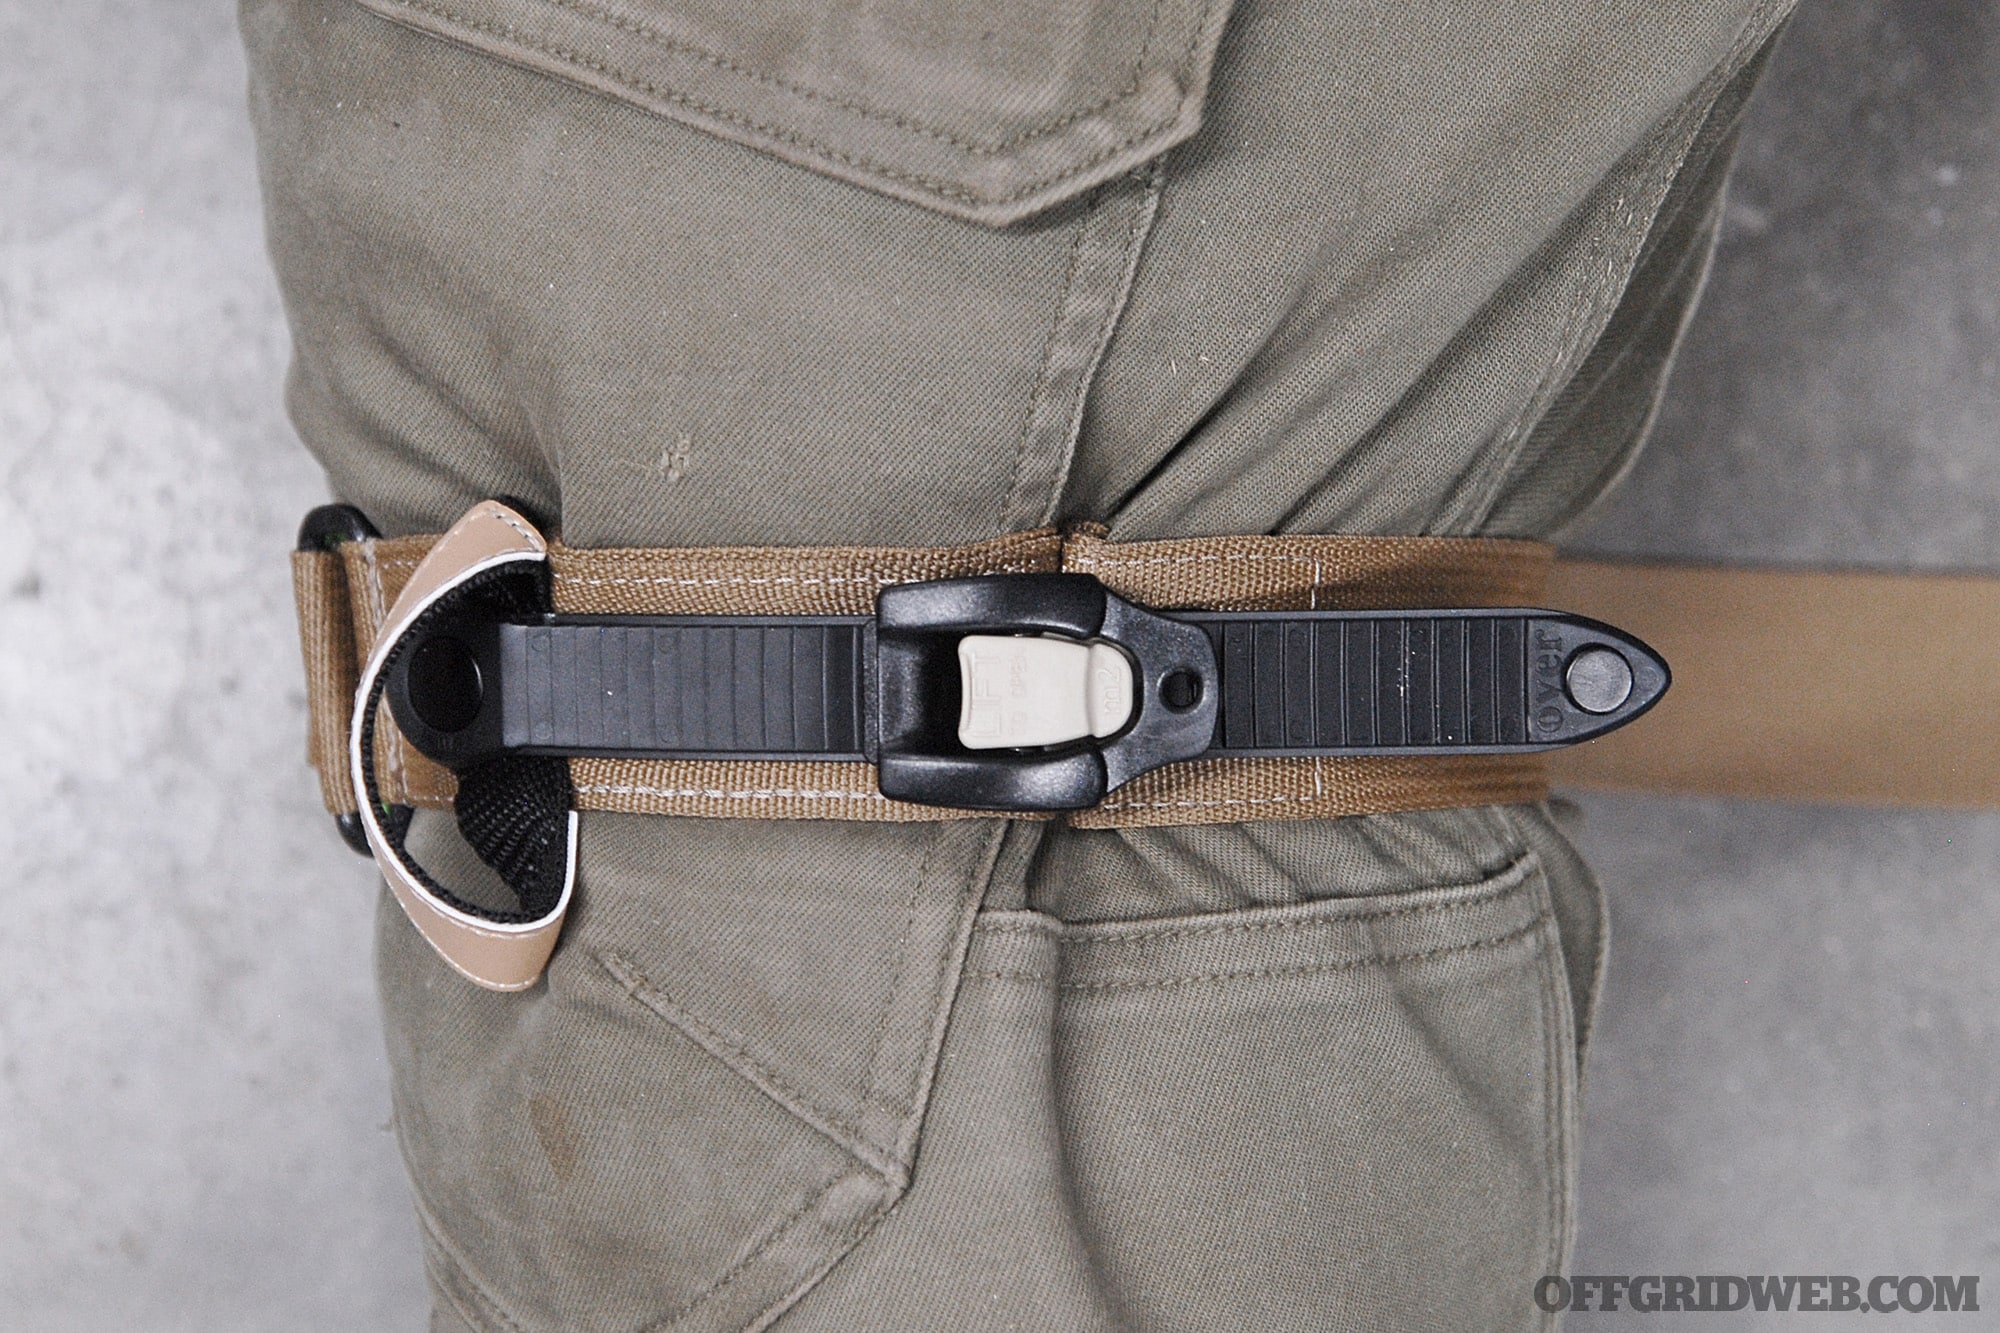
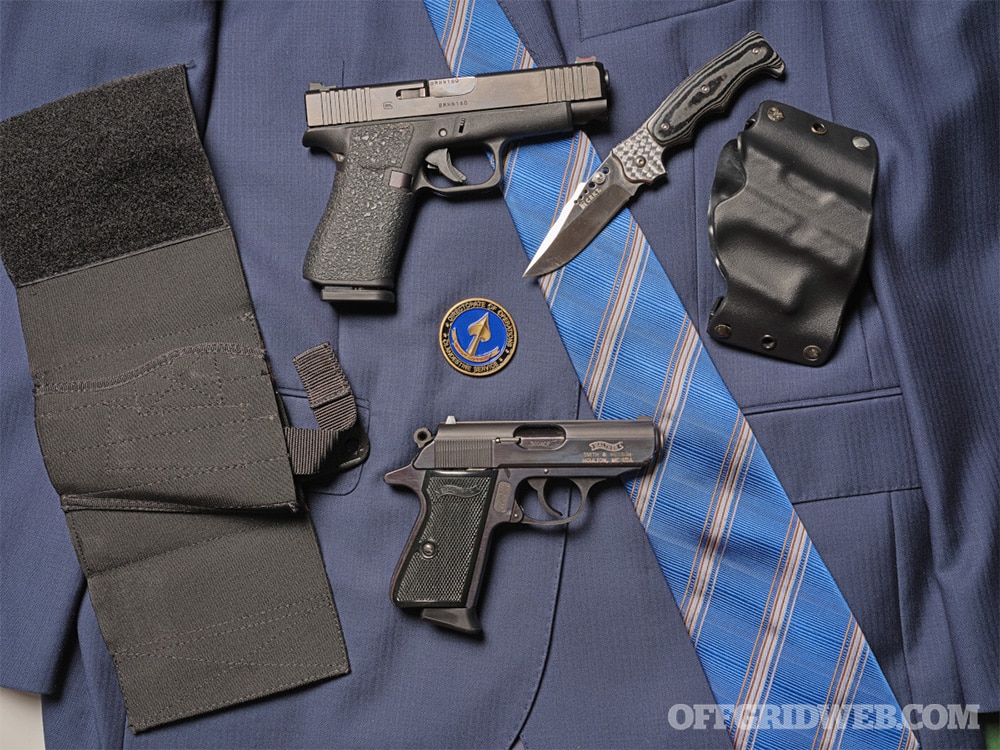
Kawa’s EDC Gear
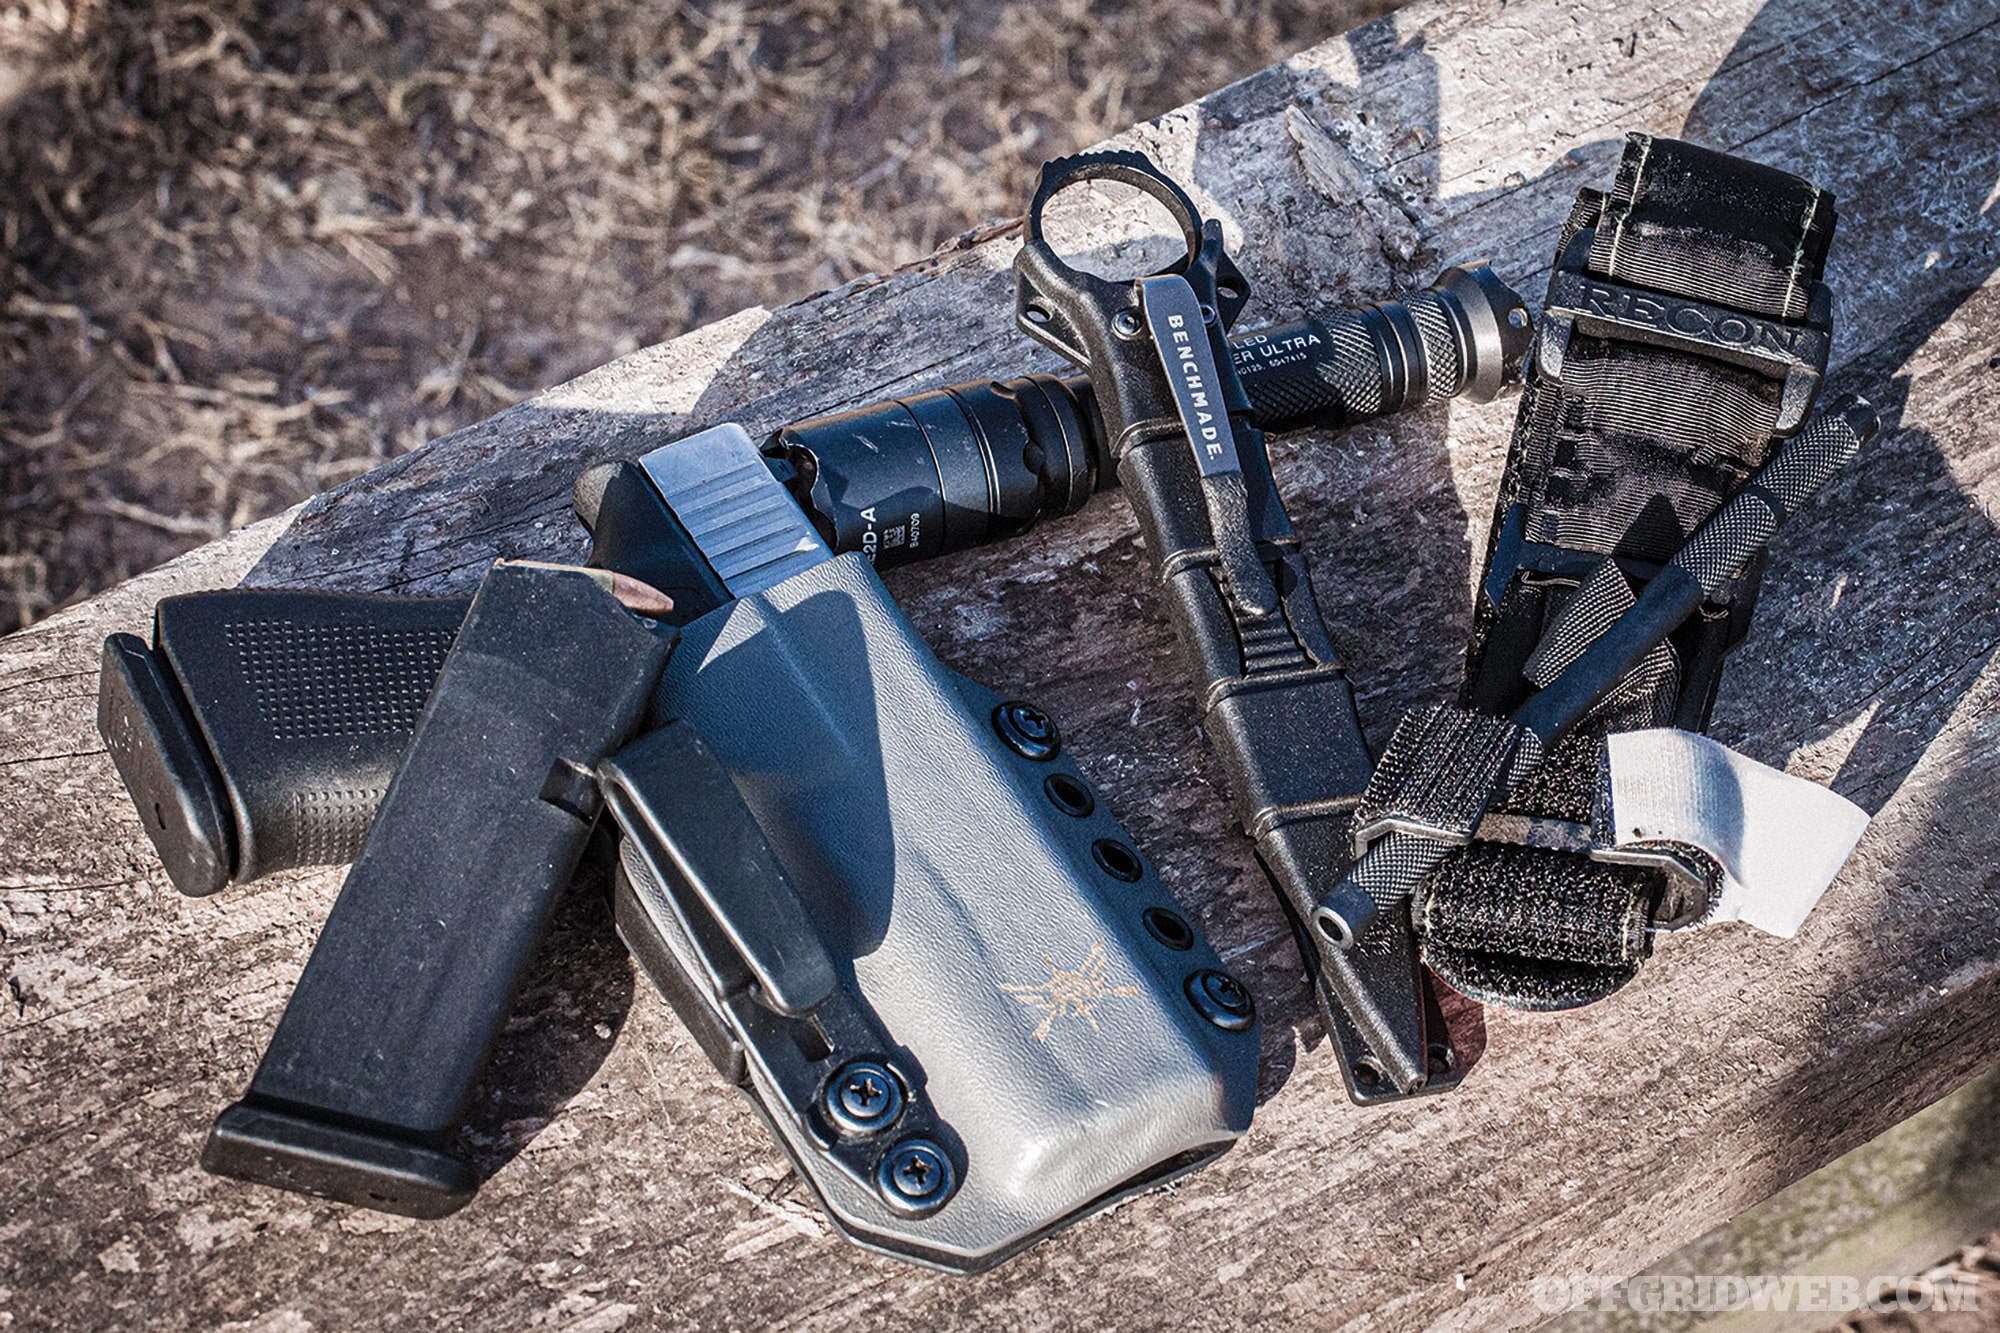
- Glock 43X with extra mag
- Benchmade SOCP dagger
- SureFire E2D Defender Ultra flashlight
- Converted Jansport backpack with Grey Man Tactical rigid MOLLE panel, Cobalt Kinetics 7.5-inch folding AR pistol, three mags, trauma medical pack, shears, two TQs, daytime and nighttime recognition signals, AA and CR123 batteries, IR and red chemlights, phone charger, lighter, and iodine tablets