If you ever find yourself near large bodies of water, it’s important to be a strong swimmer. However, even the strongest swimmer gets tired eventually, so you’ll need a backup plan in case you’re stranded in water for an extended period of time. Having a life jacket or other flotation device on hand is wise, but if that’s not an option, you’ve got to make do with what you have… your pants.
This technique shows how to turn your pants into an instant life preserver, tying off the legs and scooping air in to inflate them. It has been used by the military, scouts, and lifeguards for many years, but if you’re not confident in how to do it already, you should learn ASAP.
This technique actually kills two birds with one stone. It removes an article of clothing that might otherwise weigh you down and impede you treading water, and it also provides extra buoyancy to help maintain your flotation—both things that will help conserve your energy and keep you safe.
A few extra tips not mentioned in the video:
This technique can also be done by swinging the pants’ waistline into the water quickly from above, instead of scooping air with your hands.
The pants in this video are military-issue ACUs, made of special polyester/cotton ripstop material that’s ideal for this technique. Many other types of pants (including denim jeans) will work reasonably well, although they’ll probably leak air faster.
If you’re wearing shorts or your pants are leaking, you can blow air into your shirt’s neck while it’s still on to achieve a similar result. Just keep the back of the neck tight against your neck, and keep the arms underwater.
Try to keep the fabric wet by splashing water over the top, as the moisture should help prevent air from seeping out as quickly.
It’s not as easy as it looks! Practice it while you can safely do so. You don’t want your first time trying this out to be a life-and-death scenario.
When was the last time you hand-wrote and mailed a letter? Aside from unavoidable legal documents, it’s probably been a while. We’d also be willing to bet you haven’t listened to music off any cassette tapes, or recorded TV with a VCR recently. How about developing photos on film, or making an album of 3×5 prints? Most people don’t bother. Many of us don’t even own many physical books anymore, since it’s easier to condense them all onto a single handheld device.
You may see where we’re going with this—in this digital age, the concept of physical hard copies seems to be going the way of the dodo bird. Although the idea of only storing all your mail, music, photos, videos, and books in “the cloud” may seem like an easy and worry-free plan, it leaves you wide open to losing some of your most meaningful possessions in an instant. For all its convenience, digital data is by definition ephemeral—zeros and ones that are here one second, and gone the next.
The internal platter of a computer hard drive is quite fragile, but can store decades of precious data.
Now, we’re not some sort of luddites who advocate burying physical printouts and reel-to-reel tapes of everything you’ve ever owned in a secret bunker. However, unless you’re ready to permanently lose your favorite songs, letters from your family, or the priceless photos of your children, you’d better wisely prepare for the loss of your digital assets. Just like any other form of disaster preparedness, the time to start getting ready is right now. That’s why we’re going to show you how to backup your data before SHTF.
Backup Types
So, when it comes to saving your digital files, documents, emails, photos, and other data, there are two main categories to be aware of: onsite and offsite. These main categories are just as they sound—onsite is at your home, office, or wherever you normally store the data for day-to-day use, and offsite is any other location. Any I.T. guy worth their salt will tell you that every backup plan should involve BOTH onsite and offsite data storage. That way, if your home or office is wiped out, you’ll have the data stored elsewhere, and if the Internet goes down and you can’t access offsite cloud-based backups, you’ll still have access to your files at home (or work).
Now we’ll break it down further to subcategories: full, differential, or incremental. Each has its pros and cons, as listed below.
Full Backup: saves 100% of your data (i.e. every file on your computer) each time you choose to back up. For example, backing up your entire computer hard drive once a week.
Pros: Simplest method to set up, and easiest method to restore data from.
Cons: Extremely slow and time-consuming, uses lots of storage/disk space.
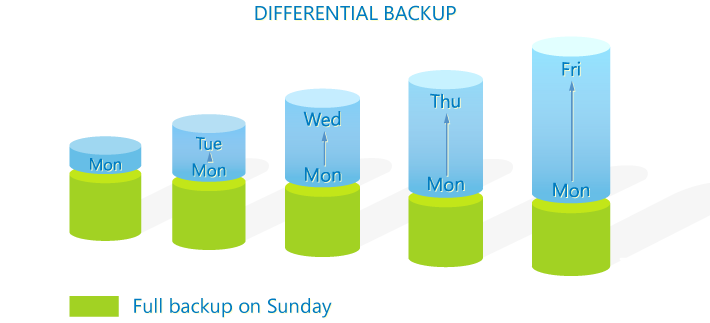
Differential Backup: a single full backup, plus a backup of only the files that have changed since the last full backup. (Illustration courtesy of the CodeTwo Admin’s Blog.)
Pros: Much faster than a full backup, and takes up less storage/disk space.
Cons: The size of each differential backup grows (and becomes more time-consuming) until a new full backup is created.
Incremental Backup: a single full backup, plus a backup of only files that have changed since the last differential backup. (Illustration courtesy of the CodeTwo Admin’s Blog.)
Pros: The fastest of the three methods, and uses the least storage each time.
Cons: Most prone to failure to restore data properly, as it requires all increments to be present. Restoring is also time-consuming.
We recommend choosing at least two different combinations from this list. For example, an onsite full backup (like an external hard drive that you update weekly or monthly) AND an offsite incremental backup (like a cloud-based online backup service that updates automatically every few hours). Obviously, you can add more methods for additional security, but these two choices would be a very good start.
Backup Media & Devices
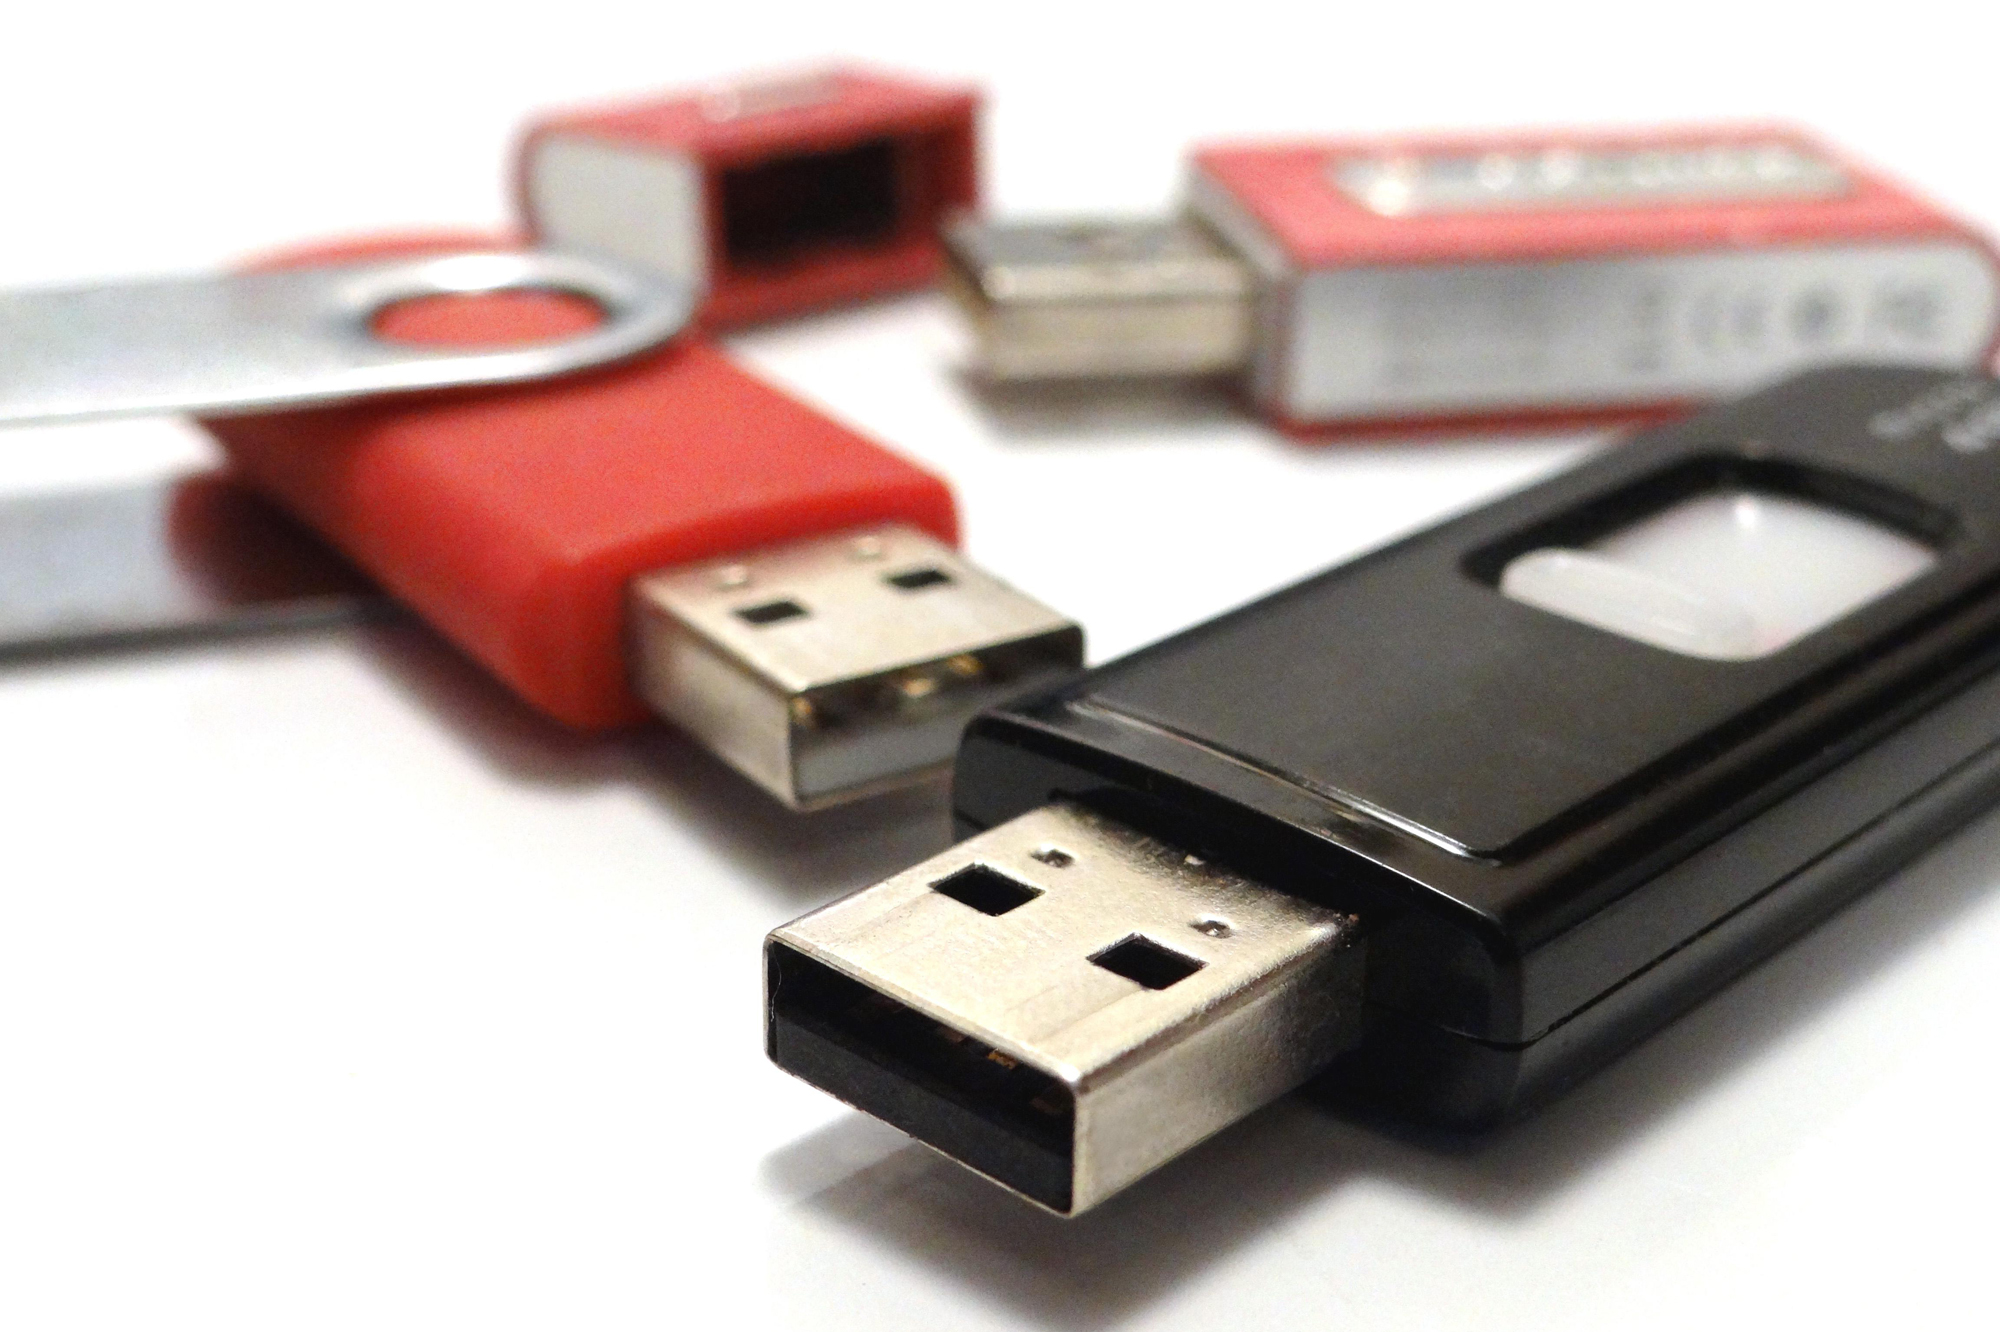
Thumb drives, flash drives, or USB keys lack moving parts and are often highly durable.
Now that we’ve discussed the theory behind how to choose backup types, we can discuss the more practical side: what to use to back up your data. This means either physical media, like thumb drives, DVDs, and hard drives, or remote cloud-based backup services such as Carbonite, DropBox, or Google Drive. Below, we’ll address the pros and cons of several types of backup media, to help you choose which are best for your situation:
Flash Memory (memory cards, thumb drives, and solid state drives/SSDs)
Pros: Compact, extremely durable (some can even survive impact, liquid submersion, and magnets)
Cons: Generally have less storage space than hard drives, cost more per gigabyte of space than hard drives
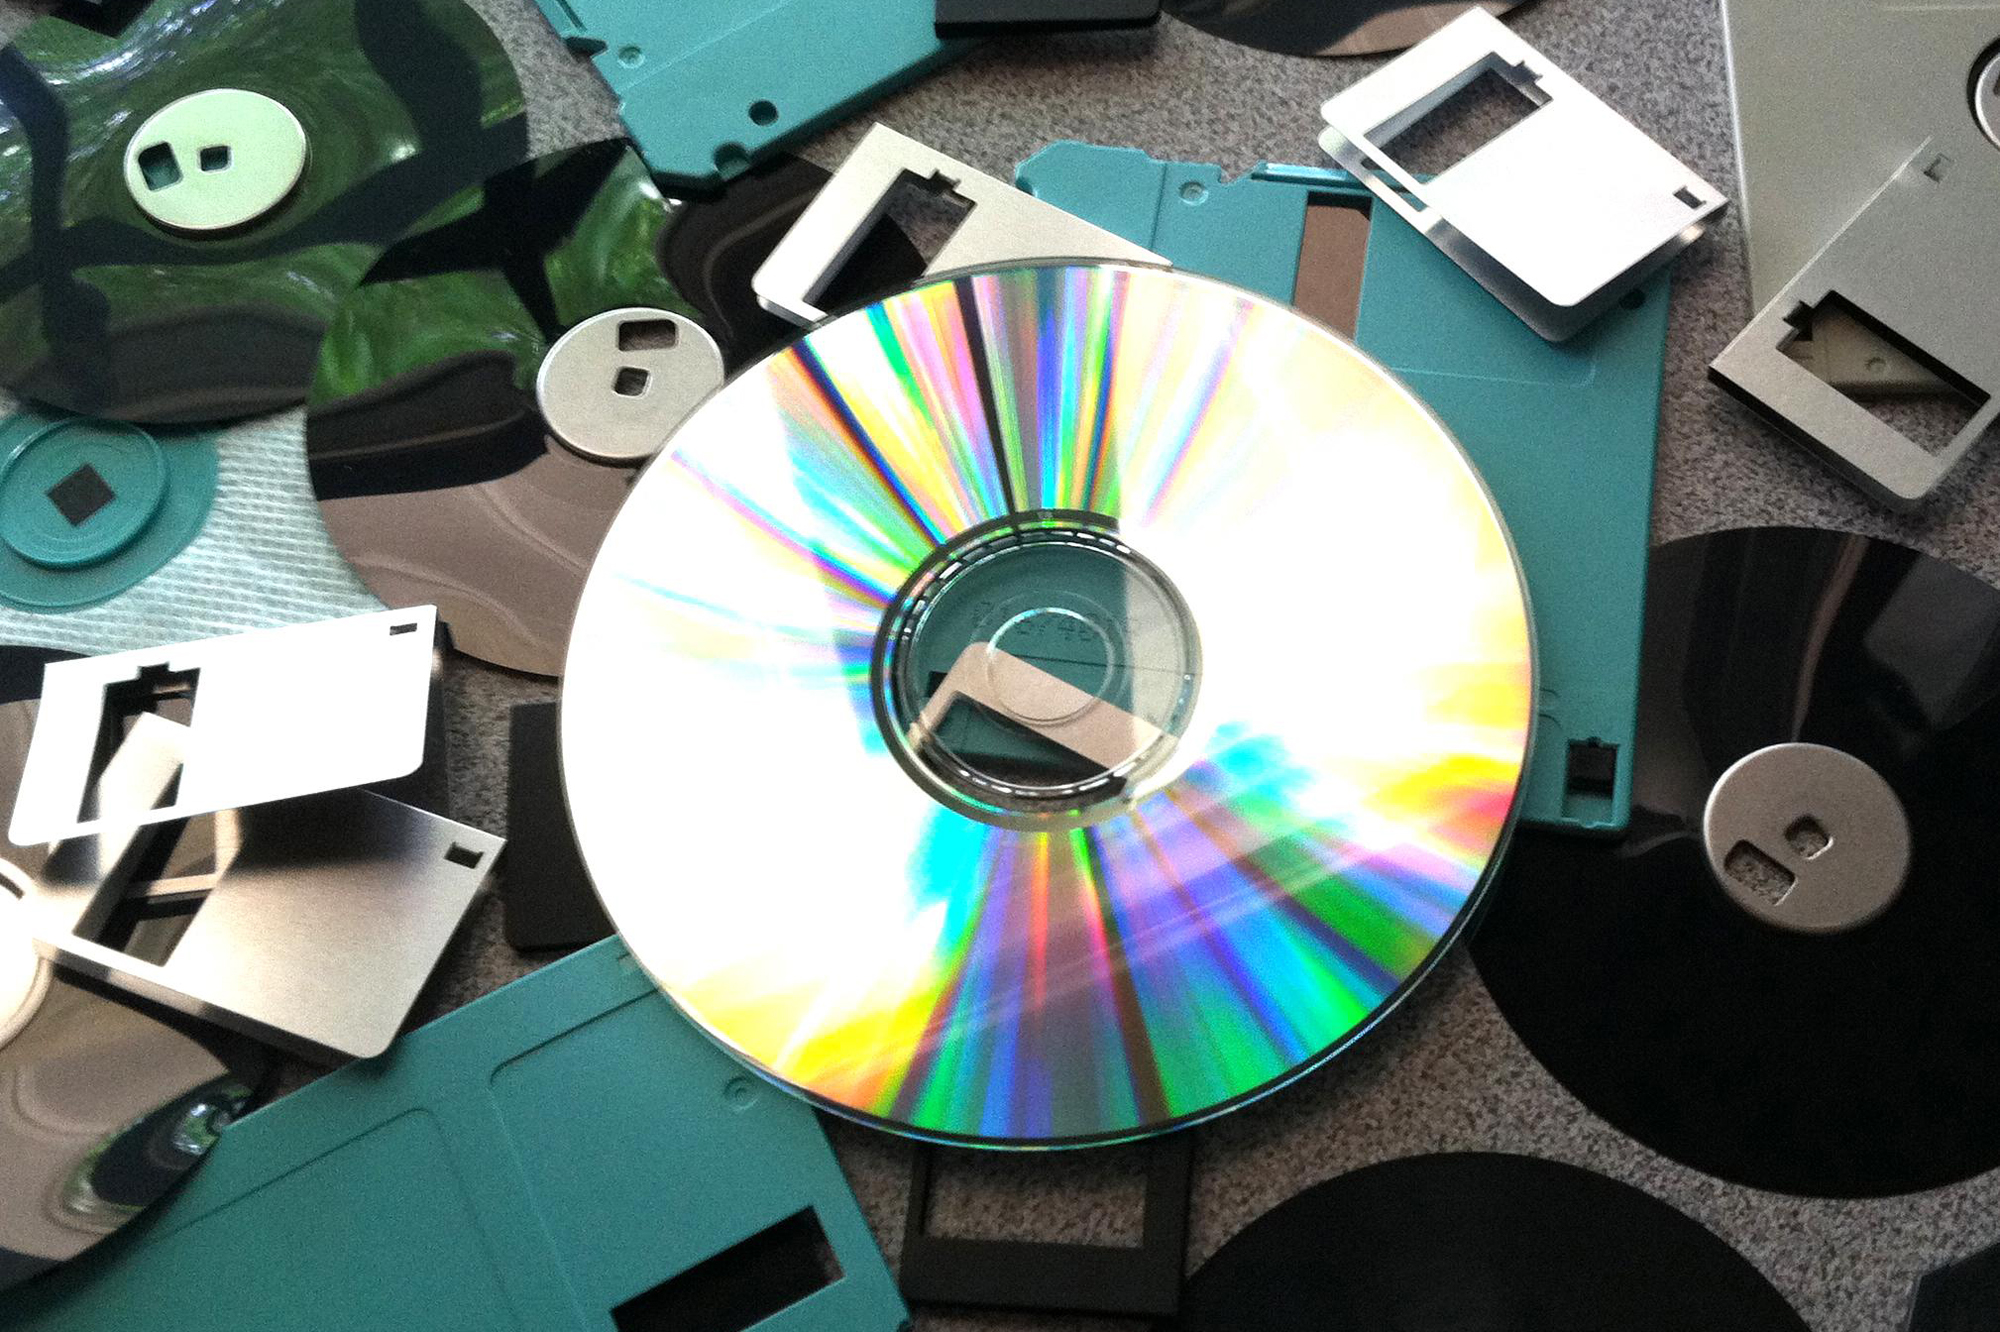
The DVD and other optical media formats are rapidly going the way of the floppy disk: obsolete and forgotten.
Optical Discs (DVDs, CDs, or Blu-Ray)
Pros: Inexpensive, relatively compact and lightweight
Cons: Very fragile, obsolete format (many new computers no longer have disc drives)
Hard Drives: Internal (bolted inside your computer tower or case) or external (inside a separate, portable case)
Pros: Very inexpensive per gigabyte, fast file transfer speed, external hard drives are portable
Cons: Fragile (susceptible to impact and magnets), prone to unexpected catastrophic failure, will likely be obsolete within 10 years (being replaced by flash-based SSDs)
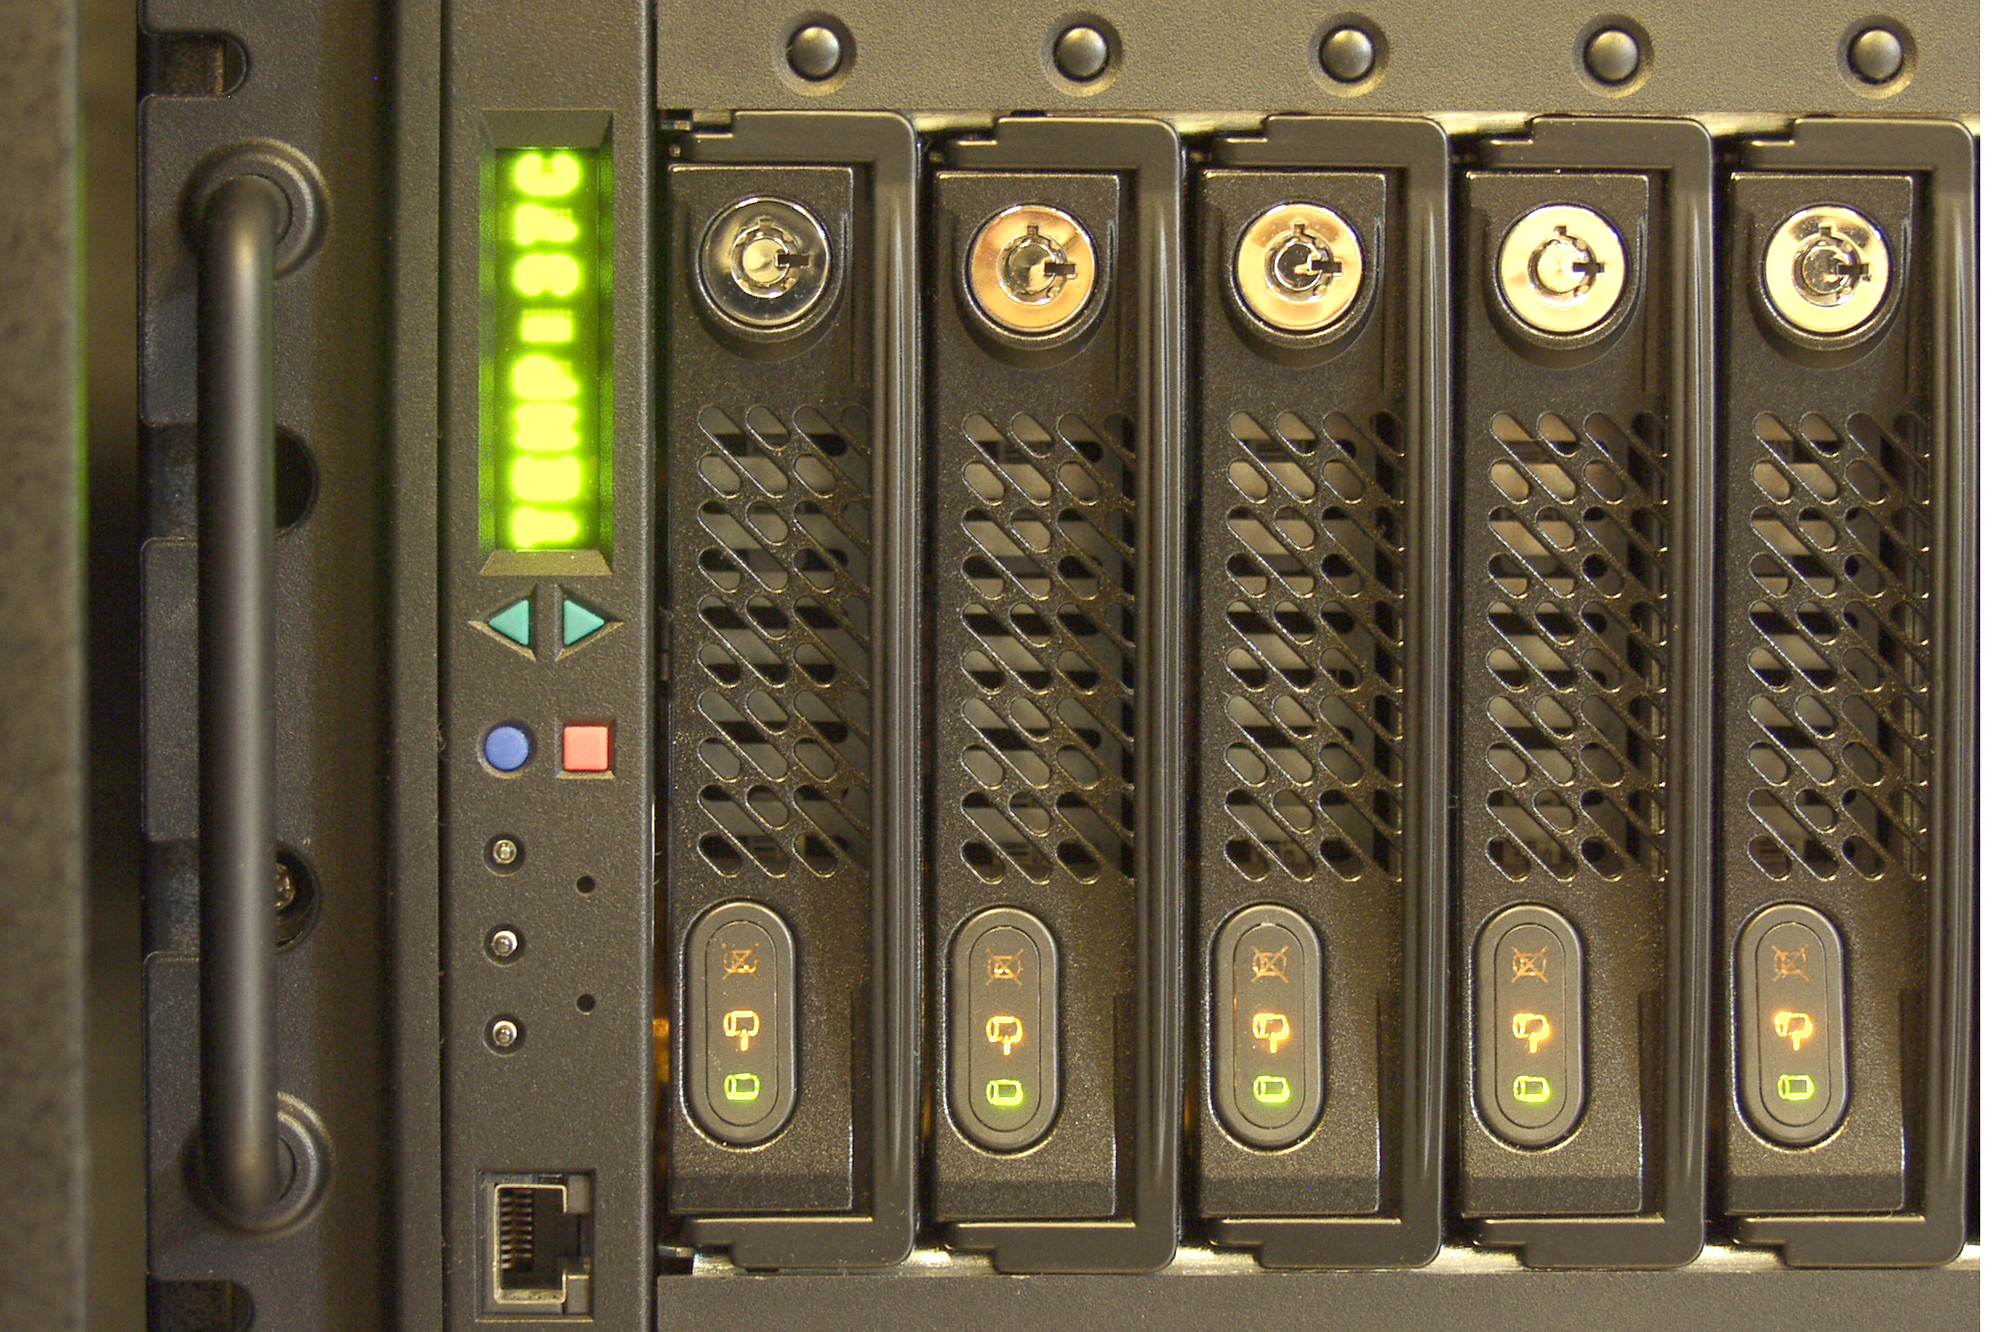
A file server often contains many hard drives running in parallel. This redundancy yields better reliability.
Commercial-Grade Options: Tape Backups, FTP File Servers, and NAS (Network Attached Storage)
Pros: Feature many redundancies, fast transfer speed, often Internet-connected for remote access from anywhere, often feature backup power sources
Cons: Expensive (can cost thousands of dollars), complex to set up, complex to maintain, susceptible to hackers if connected to the Internet
Cloud-Based Online Backup Services (Carbonite, DropBox, Google Drive, etc.)
Pros: Remote location, easy access from any Internet-connected device, no maintenance or upkeep required
Cons: Typically require a monthly fee, insecure (susceptible to hackers and surveillance), impossible to access without Internet connection
Conclusions
If you’ve read this far, good for you—by thinking about backing up your digital files, you’re already miles ahead of the average computer user. Most people don’t give backups a second thought until it’s too late, and they run the risk of learning a very hard lesson. If you don’t want to be left empty-handed after a single hardware failure, house fire, or home invasion robbery destroys all your digital assets, you’ll start backing up your data early and often.
Backup your data ASAP, or take the chance that your discs will get burned… literally.
We recommend you choose AT LEAST three of the media types above to back up any important files you may own, and make sure AT LEAST one of those media types is offsite. So, here’s an example of a safe and easy 3-tier backup plan:
External 2-Terabyte (2TB) hard drive, always on your desk and plugged into your computer, set to complete a full backup once a week. (Onsite full backup, hard drive, approx $80)
128-Gigabyte (128GB) USB thumb drive, stored in your bug-out bag in the trunk of your car, manually plugged into your computer and fully backed up once a month. (Offsite full backup, flash memory, approx $30)
Cloud-based backup service, set to incrementally backup daily over the Internet. (Offsite incremental backup, online service, approx $100 per year)
There you have it. You can easily have all your important files backed up in 3 locations for under $250, and never have to worry about losing your digital files again. That’s what we’d call a cheap insurance policy. If you want to take it to the next level of security, you can also encrypt your files, to make it virtually impossible for anyone else to access them. Encryption adds more steps to the backup process, but it’s crucial, especially if you’re storing sensitive data offsite.
Start backing up your files today, or run the risk of losing them forever. The choice is yours.
In a survival scenario, a motorcycle could certainly be a good option for transportation. However, it’s loud, heavy, and requires a fair amount of practice to ride. Conversely, a bicycle has none of these flaws, but instead it’s slow and tiring to ride for long distances. What if the advantages of both these vehicles were combined? Well, a company called Motoped has done just that. We first spotted the Motoped at SEMA by the OPTIMA Econoline van, and were immediately interested to learn more about this rugged motorized bike company.
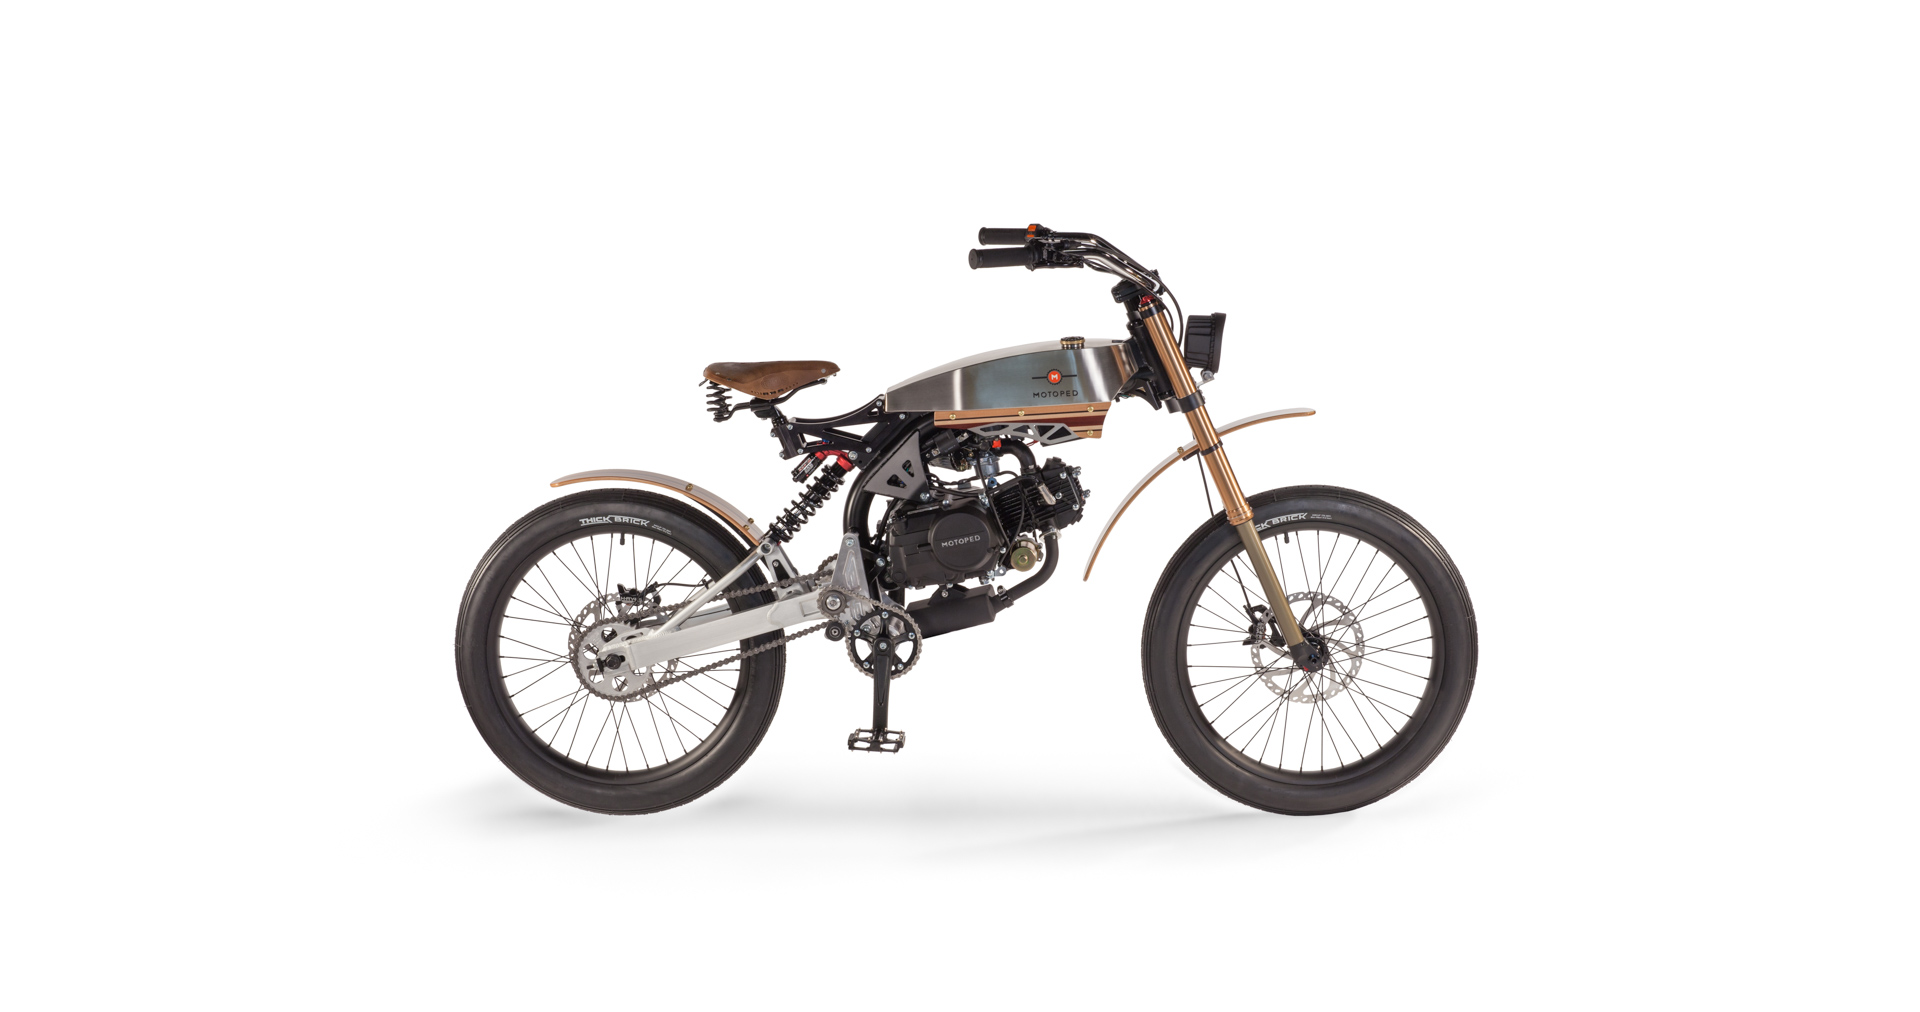
The Motoped Cruzer has a cool urban look that would appear right at home in a big city.
The concept of a motorized bike is nothing new per se, but Motoped certainly takes a new approach to this mode of transportation. They offer three different bikes: Cruzer, Pro, and Survival. The Cruzer is the sort of street-oriented motorized bike you may have seen before, but with some unique wood, leather, and bare metal elements that give it a sort of beach-cruiser-meets-steampunk look. Next, the Pro resembles an ultra-lightweight dirt bike, complete with rugged fairings and knobbly tires.
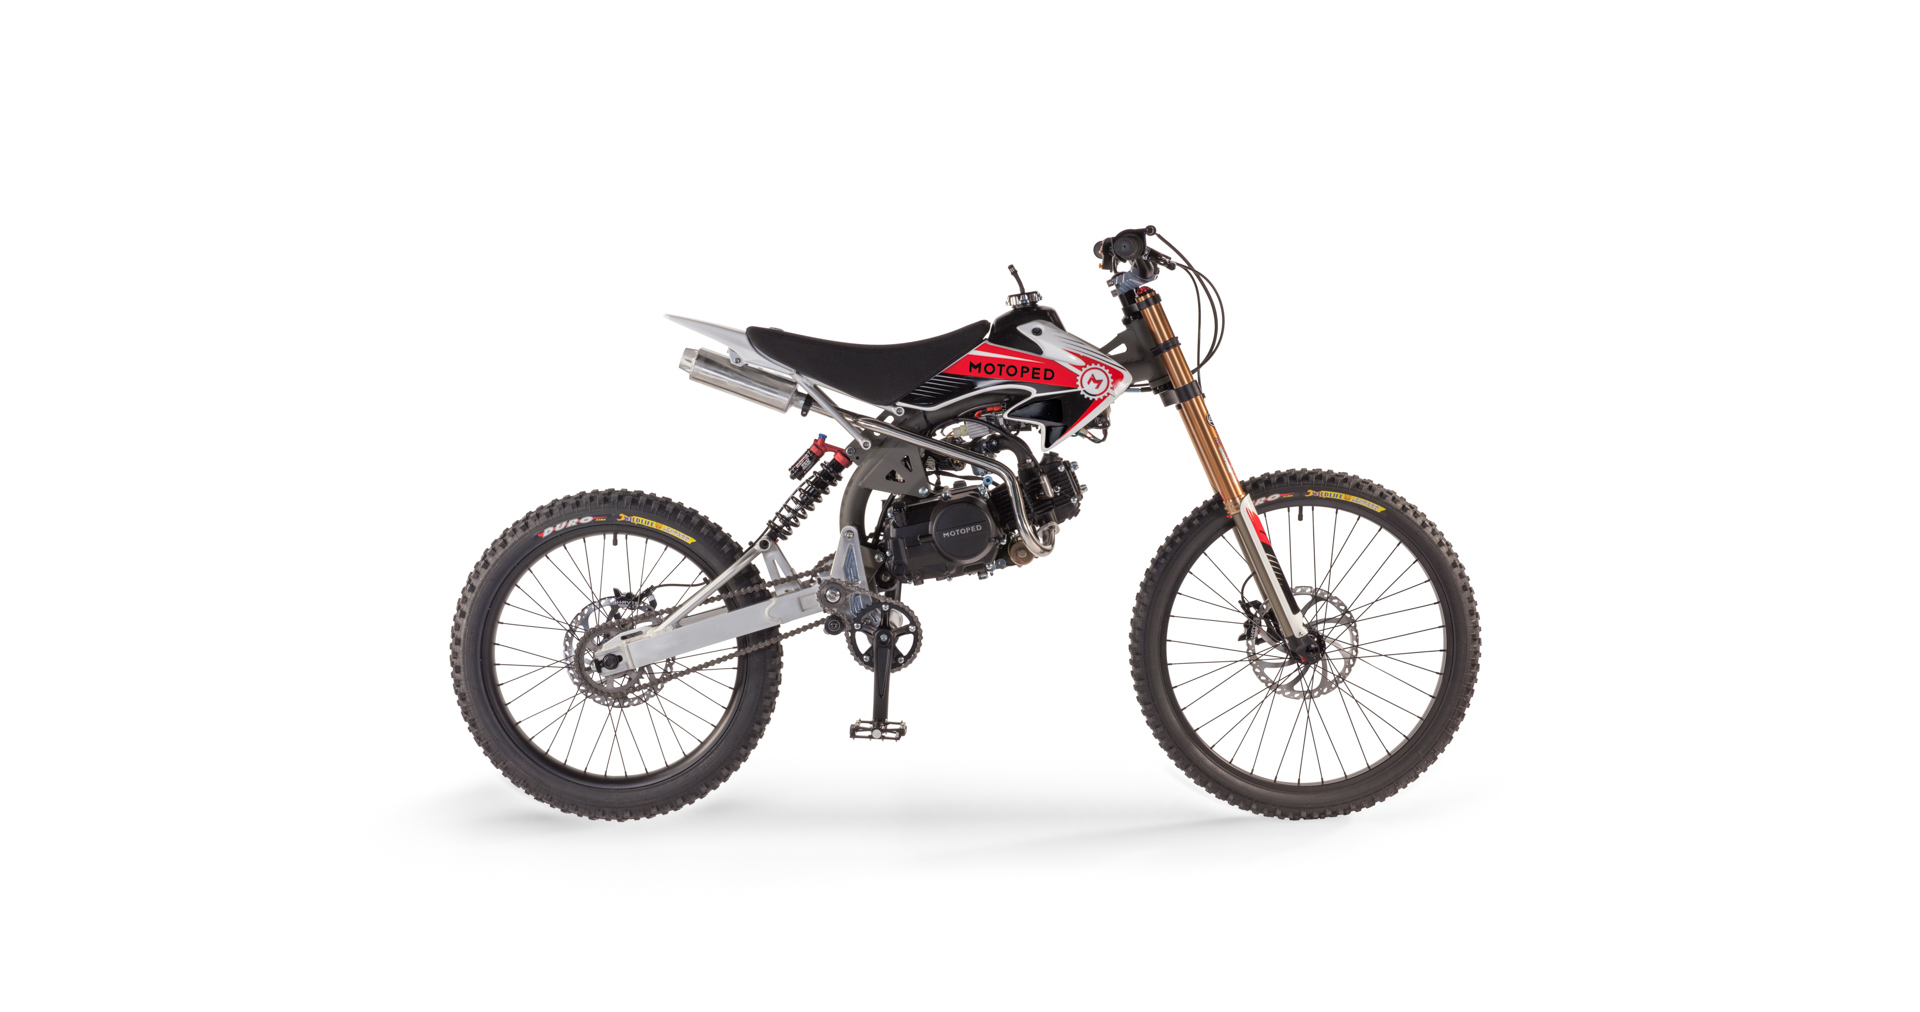
The Motoped Pro echoes the styling on a motocross bike, but on a lightweight and maneuverable frame.
Finally, there’s the Survival, which is the bike that really piqued our interest. It features off-road-ready design, a universal gear rack, and two side-mounted fuel tanks that can extend the bike’s range to up to 300 miles. All Motoped bikes offer a 49cc 2-horsepower motor and fully automatic 2-stage transmission standard, but the Pro and Survival bikes also offer a more powerful 125cc 7.8-horsepower motor as an option. You can even install your own motor with up to 155cc, as long as it uses a standard E-22 Honda-style frame bolt pattern. Of course, you can still pedal the bike normally when you need to do so.
The Motoped Survival bike is ready to handle just about any terrain, and it’s loaded with two extra fuel tanks.
Any of these three Motoped models can be ordered fully-assembled, partially assembled (minus an engine), or as a DIY kit in a box. The bikes’ MSRP ranges from $2,299 for a Cruzer DIY kit, to $3,799 for a fully assembled Survival Bike with 125cc engine. They might not be cheap, but they combine the best aspects of bicycles and motorcycles, and they’re just downright cool. We definitely hope to get our hands on one someday for a full review!
To learn more about the Motoped line of bikes, check out their web site: Motoped.com.
There’s no doubt about the appeal of a “man cave”, or a place that’s totally isolated from the outside world, and packed with snacks, cold beverages, tools, guns, big-screen TVs, and the like. However, it’s also not the most practical use of space, and many of us don’t have the extra room in our houses or garages to build one.
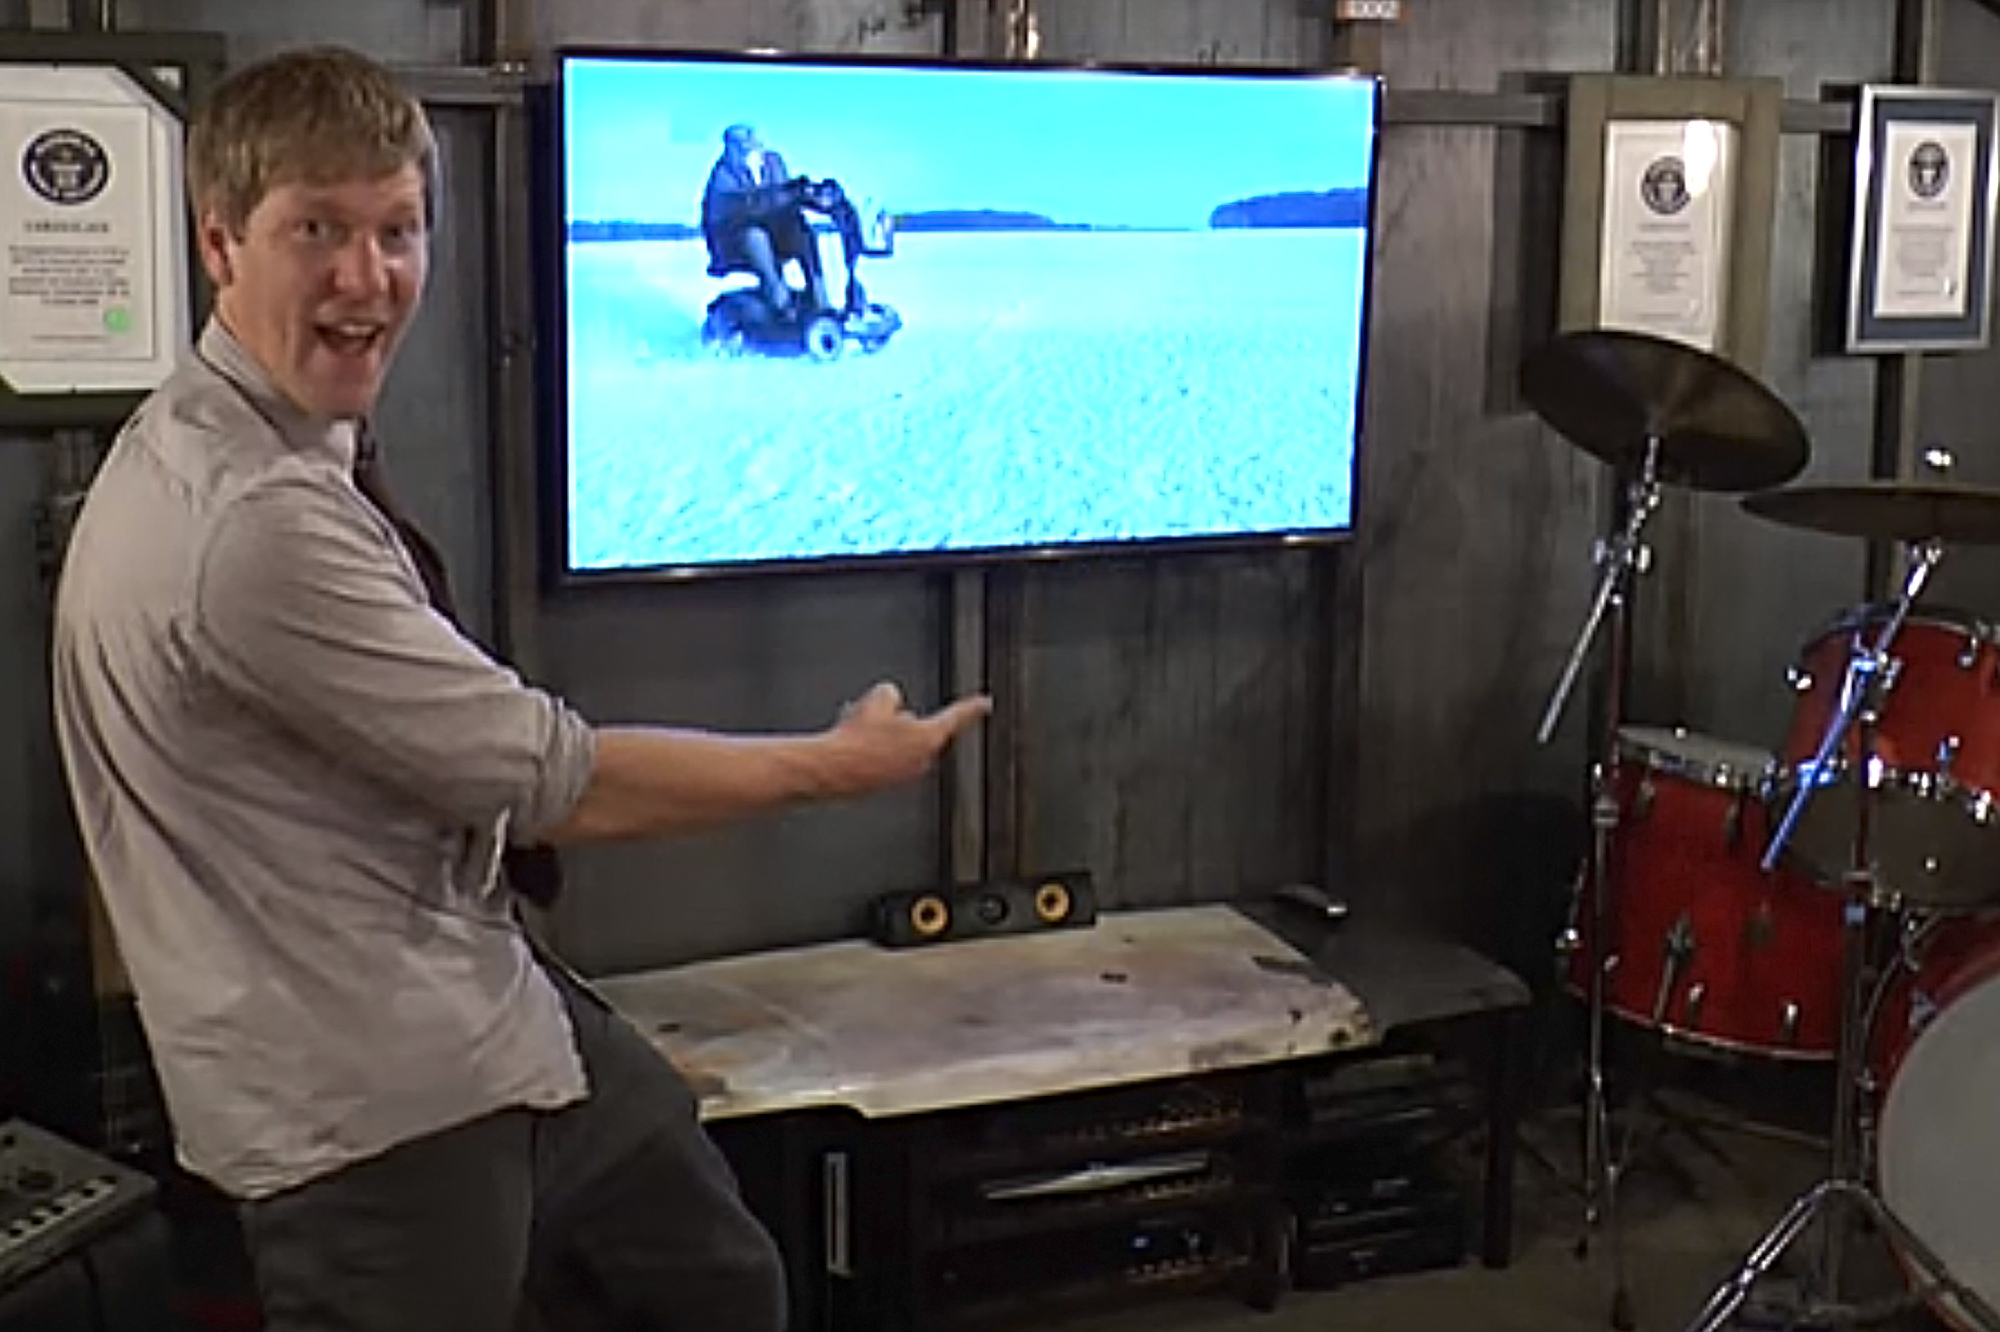
Fortunately, British YouTube channel host Colinfurze came up with a way to build a man cave that serves two purposes—manly getaway, and underground survival bunker. It might be expensive and eccentric, but we’d say that’s an awesome idea.
In the video below, Colin discusses his motivation for tearing up his back garden and building a bunker, and also shows off the end result. It certainly looks like a cool place to hang out, regardless of the state of the world outside.
Light can be an effective weapon in the dark. It can help illuminate dim corners so that no surprises jump out at you. But should something (or someone) leap toward you, having a flashlight with a striking bezel could give you an advantage. A blast of bright white light in the face of a night-adjusted foe could momentarily blind him, giving you enough time to deliver a powerful defensive blow and create space to escape.
A striking bezel is essentially the rim on a flashlight’s head that helps protect its lens, but is shaped like a pointy crown. Some can be subtle with minimal ridges, while others look like a circle of steel teeth (which could get you unwanted attention from authorities). Keep in mind you don’t always need sharp bezels to do damage. After all, getting hit in the face with a tactical flashlight is essentially like getting hit with a small aluminum baton. But with a striking bezel you can do more soft tissue damage and draw blood faster that can then get in a bad guy’s eyes, further limiting his vision.
So, in this installment of HighLights, we take a look at a selection of tactical flashlights to shine some light (pun totally intended) on the various striking bezels available out there. Some of these torches are small enough to be carried daily, while others are comfortable in a toolbox or slung on the outside of a bug-out bag. Some use throwaway batteries, while others use rechargeables — and one can even switch between the two types. Read on to see which one “strikes” your fancy.
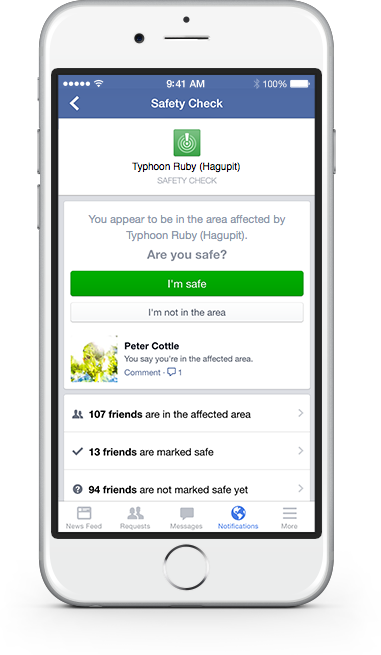
Utilities such as Facebook Safety Check can be helpful during localized emergency situations.
Although some people may scoff at social media as a time-waster for self-absorbed teenagers, it has also proven to be a helpful tool when disaster strikes. Rather than posting memes, selfies, or photos of your cat, now you can instantly share your location with your friends and family, or let them know you’re OK with the touch of a button.
Leading the way for other social platforms, Facebook has implemented a feature called Facebook Safety Check, which automatically sends a message to all account holders within a known disaster area, asking “are you safe?” Users can then hit “I’m safe” or “I’m not in the area” to notify their friends. In addition, Facebook allows users to view how many of their friends are in the affected area, how many have been marked safe, and how many haven’t responded.
Alex Schultz, Facebook’s Vice President of Growth, said in a recent post, “Communication is critical in moments of crisis, both for the people affected and for those far away who are anxious for news. People already turn to Facebook to check on loved ones and get updates during times like this, and we created Safety Check to make these connections even easier.”
While the Facebook Safety Check feature was originally launched in October 2014, at that time, it was only used in the event of natural disasters. More recently, however, it has expanded into other types of disasters, such as the November 13th terrorist attacks in Paris. This was the first time the feature has ever been used for something other than a natural disaster, and Facebook states they plan to activate it in future “serious and tragic incidents” from now on. In addition to putting friends and family members’ minds at ease, its GPS location abilities could even be helpful to search and rescue operations or first responders.
So, what do you think of this feature—would you use it in a disaster? Give us your feedback in the comments below.
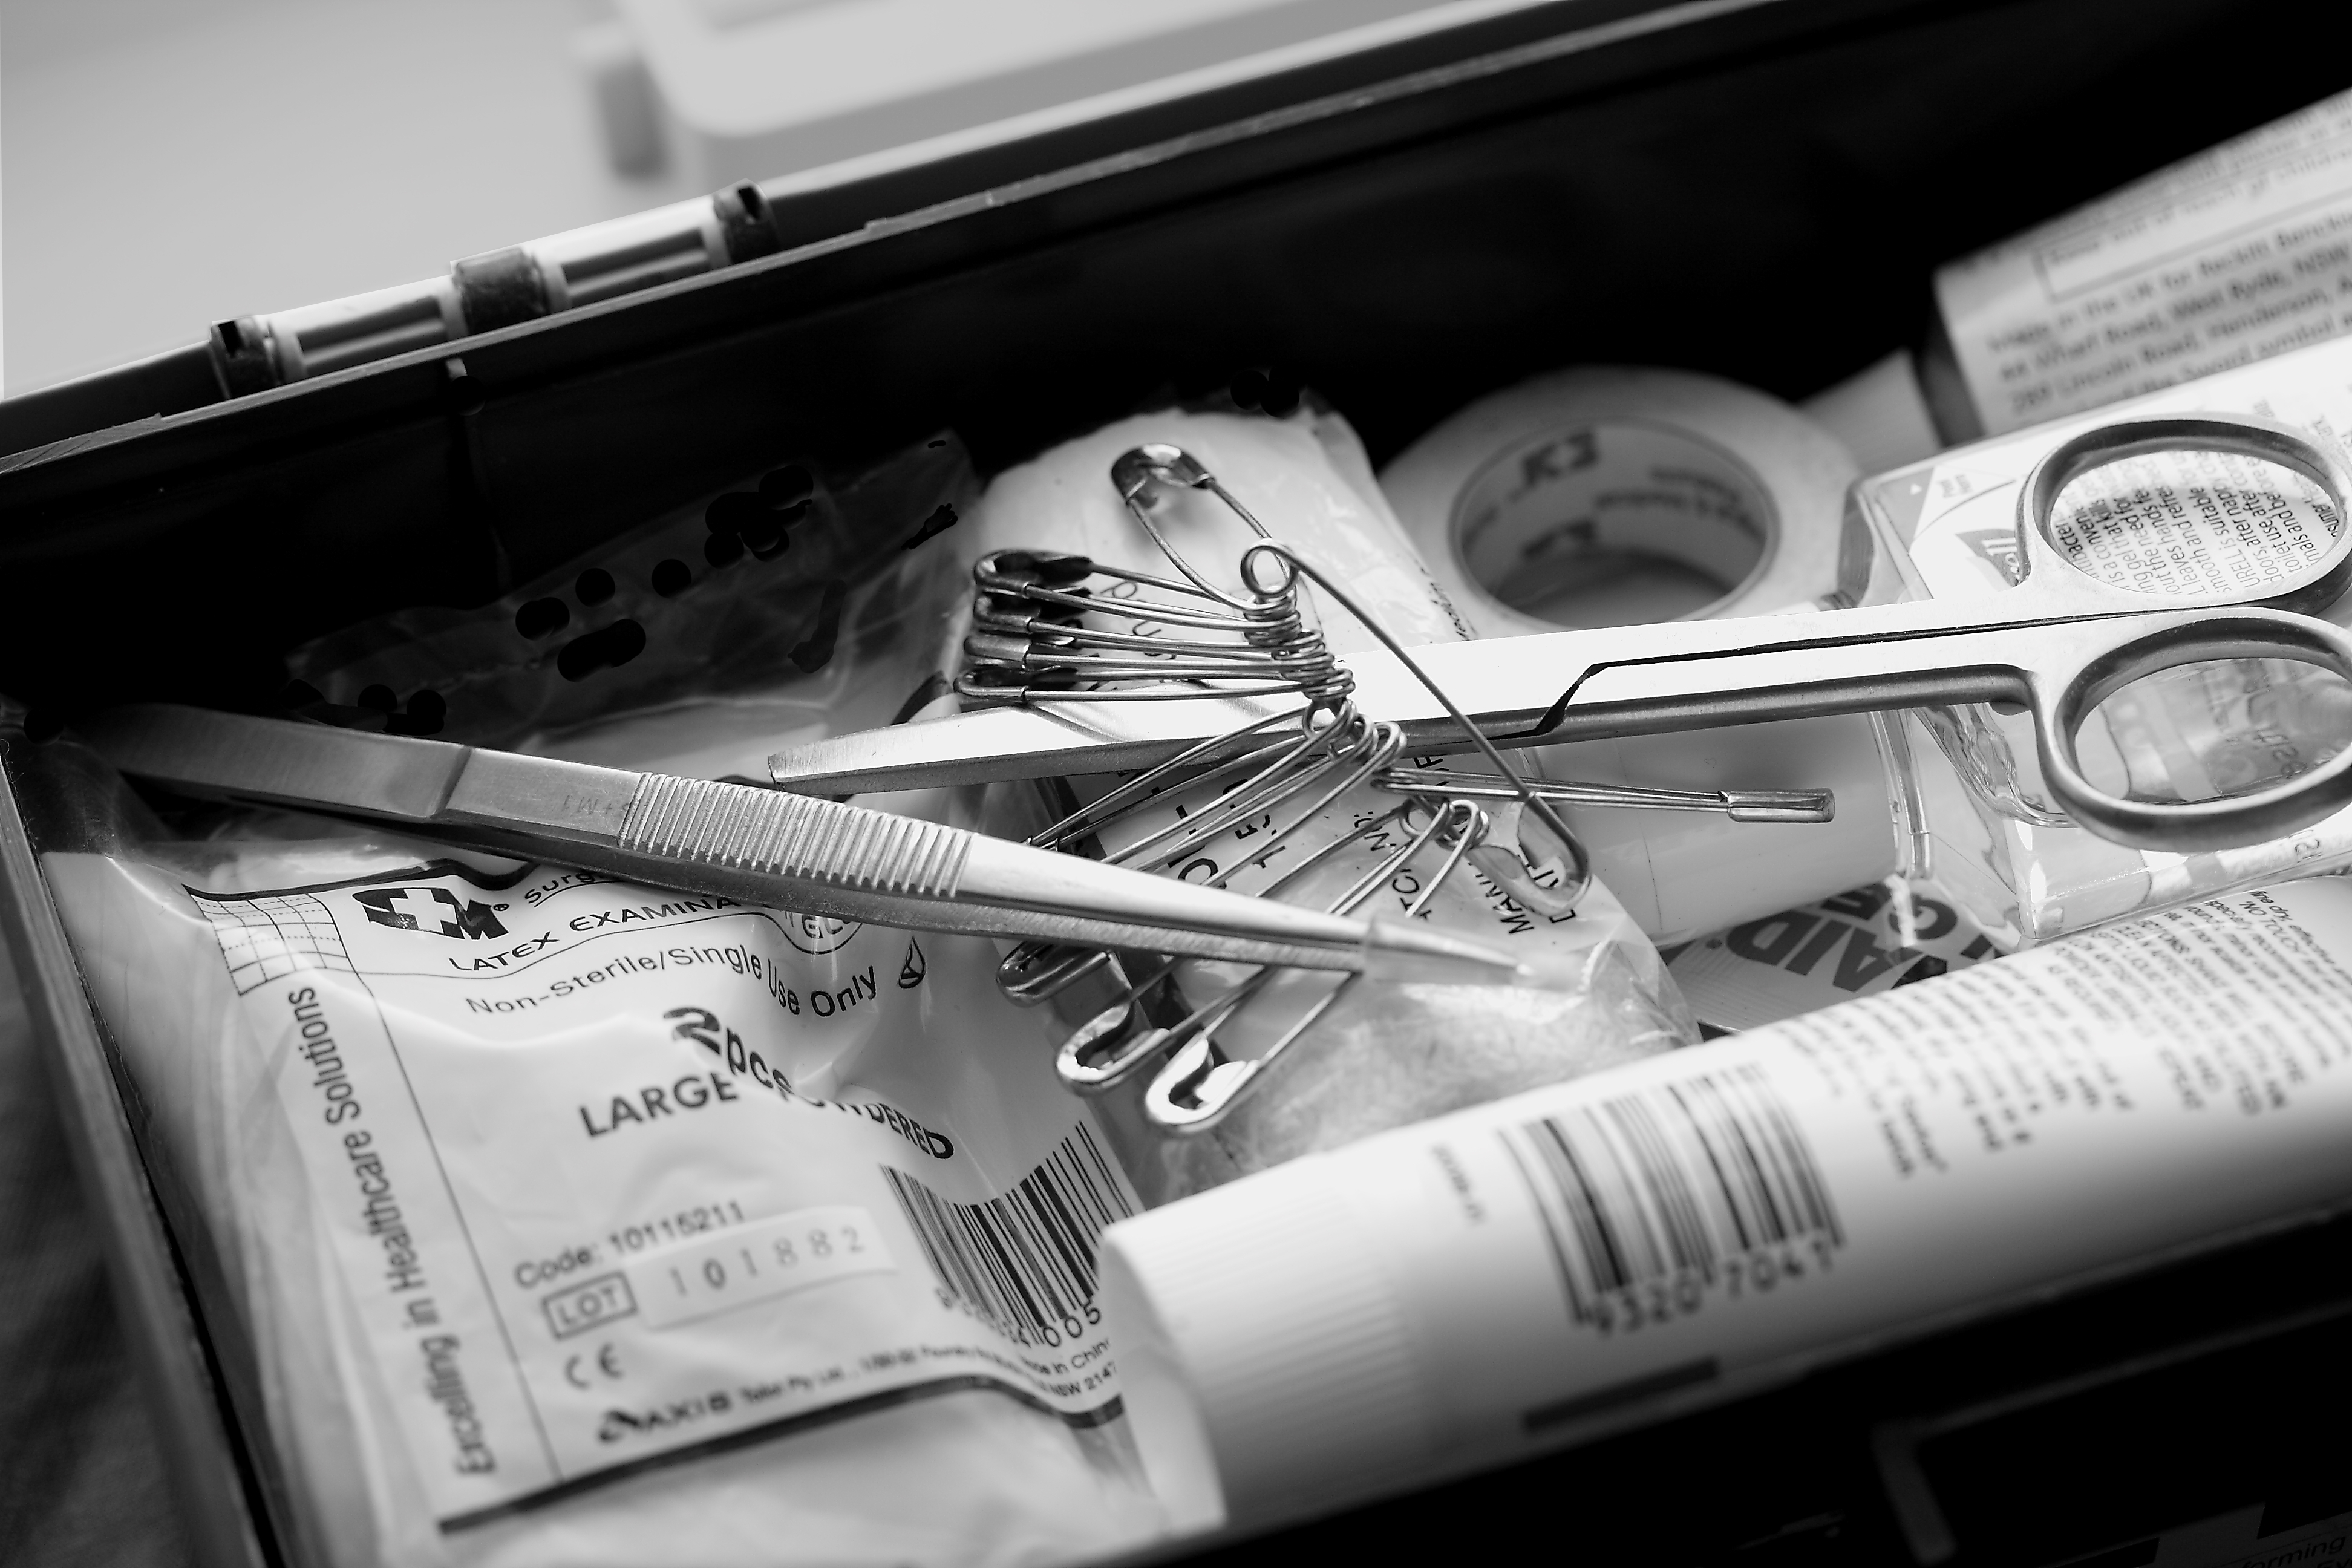
Most of us understand the importance of first aid, but unless you’re working in the medical field or using your knowledge every day, it’s easy to fall behind on key techniques. As with much of the medical field, these techniques are always changing, so it’s crucial to brush up periodically—you never know when your knowledge could mean the difference between life and death.
Thanks to recent research studies, first aid techniques such as the use of a tourniquet are now being seen in a new light.
The team at LifeHacker recently came up with a helpful list of six parts of first aid training that may have changed since you learned them. We’ve summarized them below, but for more details, check out the full article on LifeHacker.
CPR: the “ABCs” (airway, breathing, chest compression – in that order) have been re-ordered to “CAB”, or chest compressions, airway, then breathing. Some researchers have even claimed that mouth-to-mouth breathing is unnecessary, recommending hands-only CPR.
Tourniquets: although they have been discouraged in the past due to risk of limb damage, research has found the rate of complications is lower than initially thought. You should still only use them if you can’t stop bleeding with pressure, but don’t worry so much about losing limbs from a properly applied tourniquet.
Poison Control: some first aid classes in the past suggested inducing vomiting if someone ingests a toxic substance. Don’t do this, as it could cause more damage depending on the toxin involved. Call Poison Control immediately and follow their advice.
Severed Digits: Don’t just put them directly on ice, as this can damage the flesh, making reattachment surgery impossible. Wrap them in cloth, then put them on ice.
Seizure Victims: Some people think putting items in their mouth for them to bite down on will help. It won’t. Cushion the victim’s head if possible (but don’t hold them down), stand clear, and call 911.
Heimlich Maneuver: It’s now recommended to hit the victim’s back with the heel of your hand before using the Heimlich maneuver. This helps dislodge foreign objects.
In our consumer-driven world, assaulted by product placement and marketing at every turn, many of us have developed a disdain for ads. However, every once in a while, an ad really gets it right, and properly represents things we care about. These rare ads leave us thinking, “man, that was cool”. This 1-minute commercial for Washington-based axe builder Northwest Axe Co. is one such ad. It’s artistic, poignant, and meaningful… and it makes us want to go out into the forest and chop some wood.
Even the narration reads like poetry (see below for a transcript), and it’s no surprise. Production company Splendid Fix says it was inspired by American poet Walt Whitman’s “Song of a Broad Axe”.
Wood. Steel. Welcome the hard-faced lands, where no monuments exist to heroes, but in common word and deed. Generations before us held this broad edge, longing for its brisk, short crackle. Echoes resound through vacant wood, calling to me. For not even the greatest city endures. It cannot keep me any longer. It is this I carry with me into the wilderness: an old ruin made new.
It may not be packed with #hashtags or marketing buzzwords, but we’d say this ad is definitely effective at making us want to pick up a handcrafted axe. Do you agree?
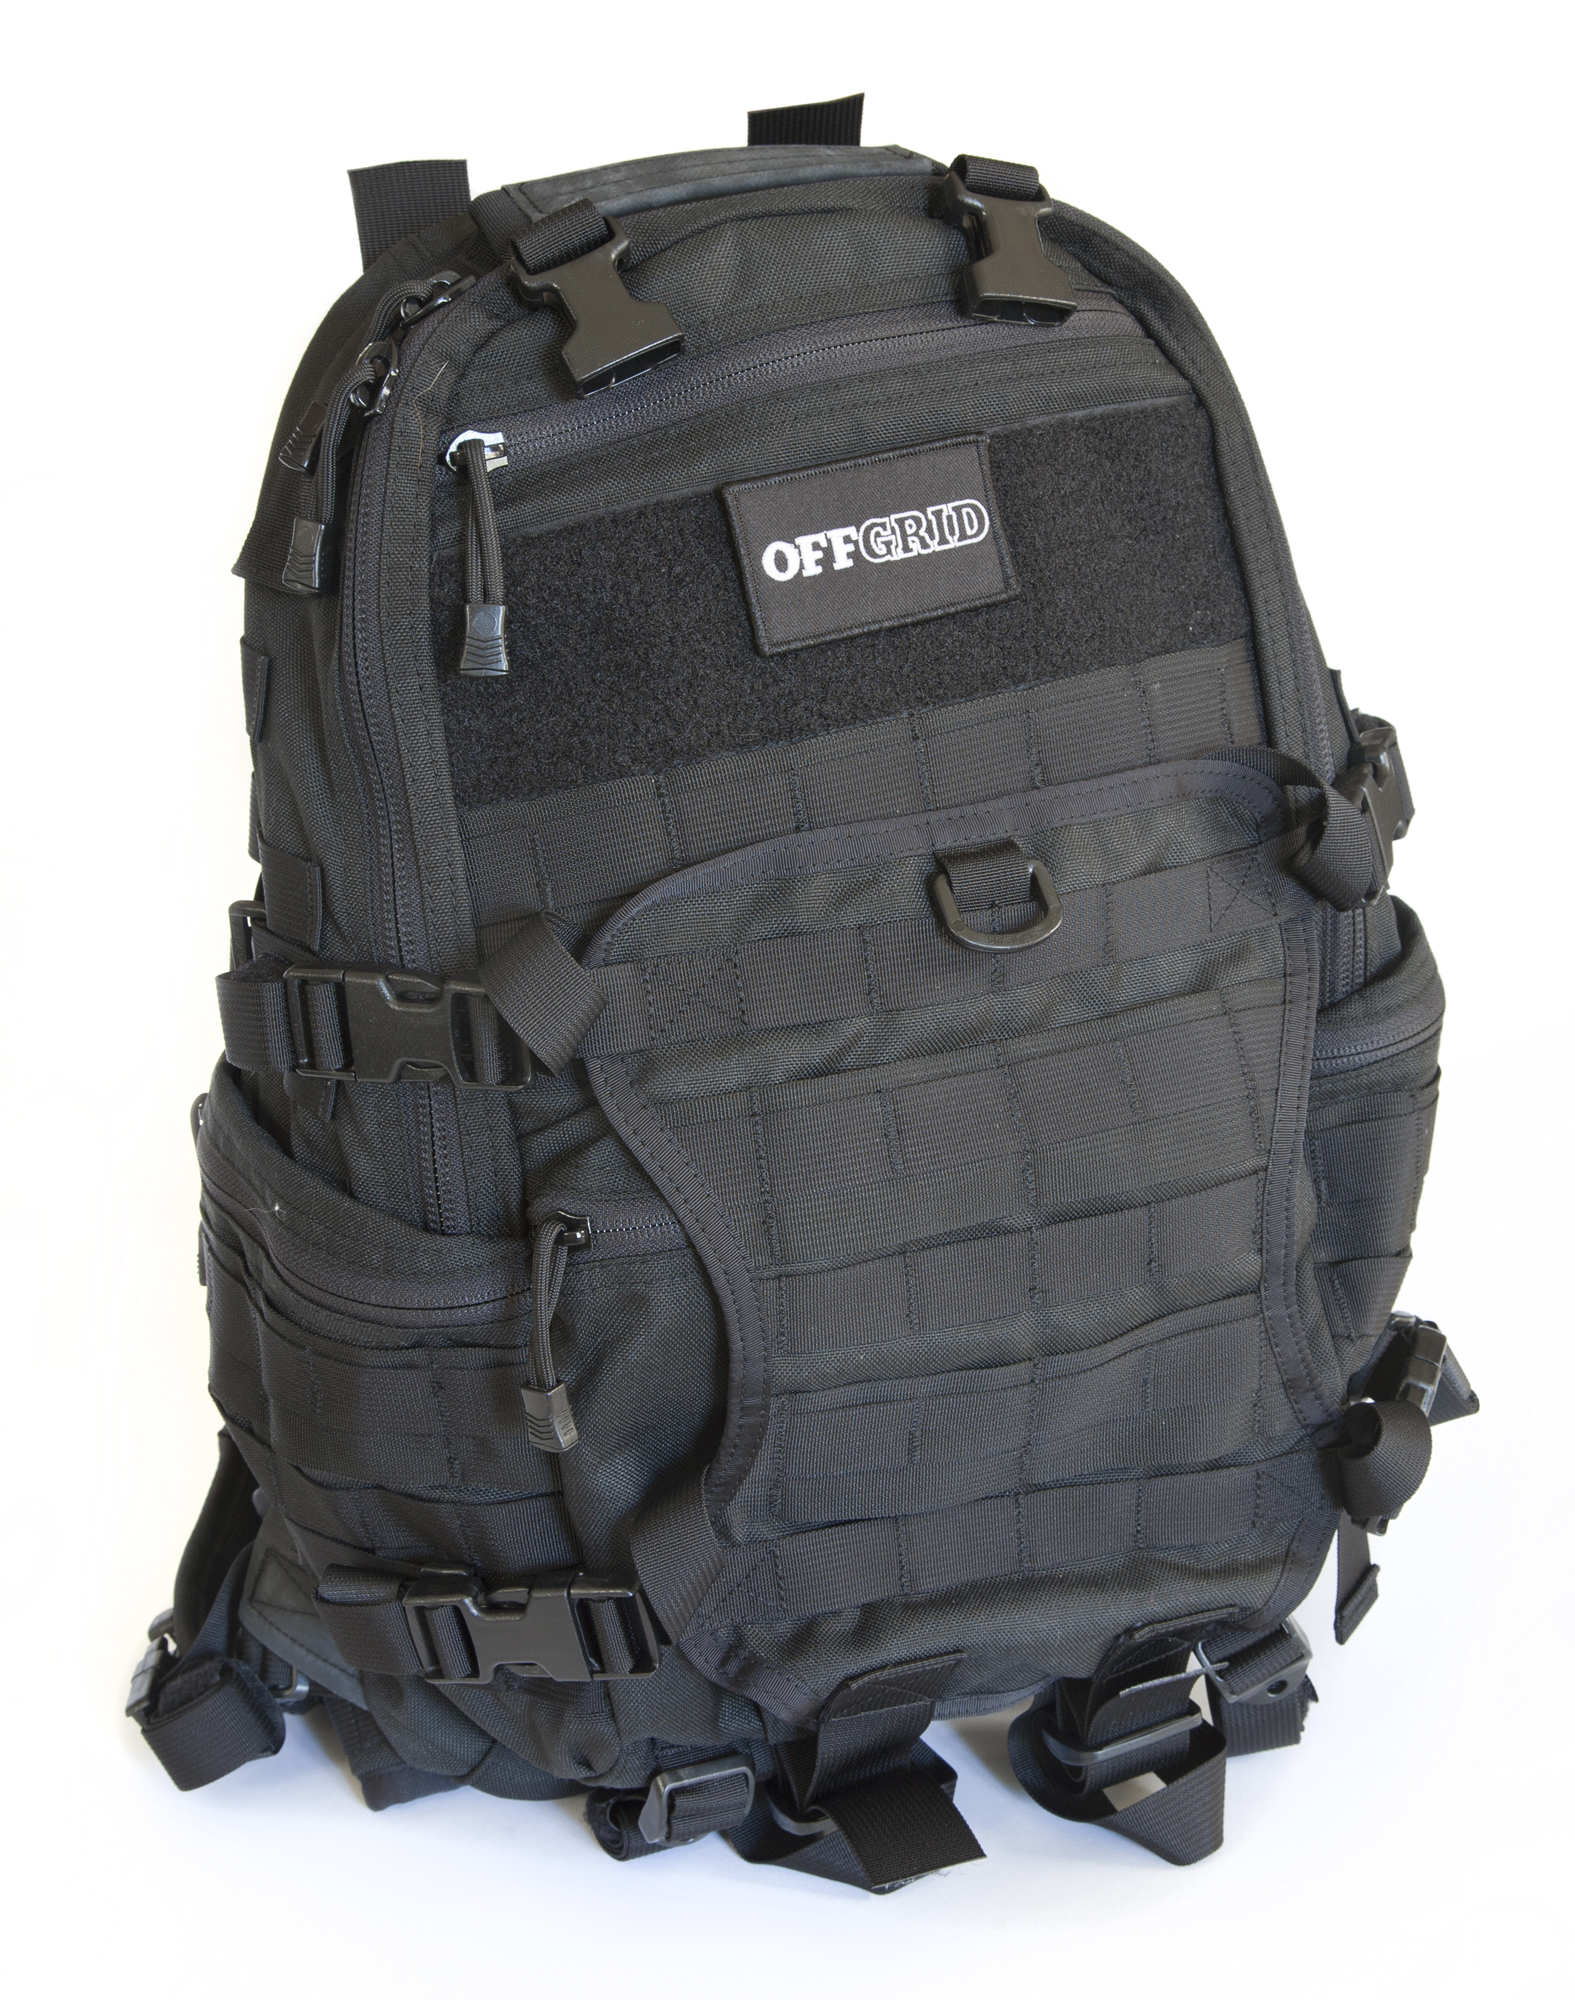
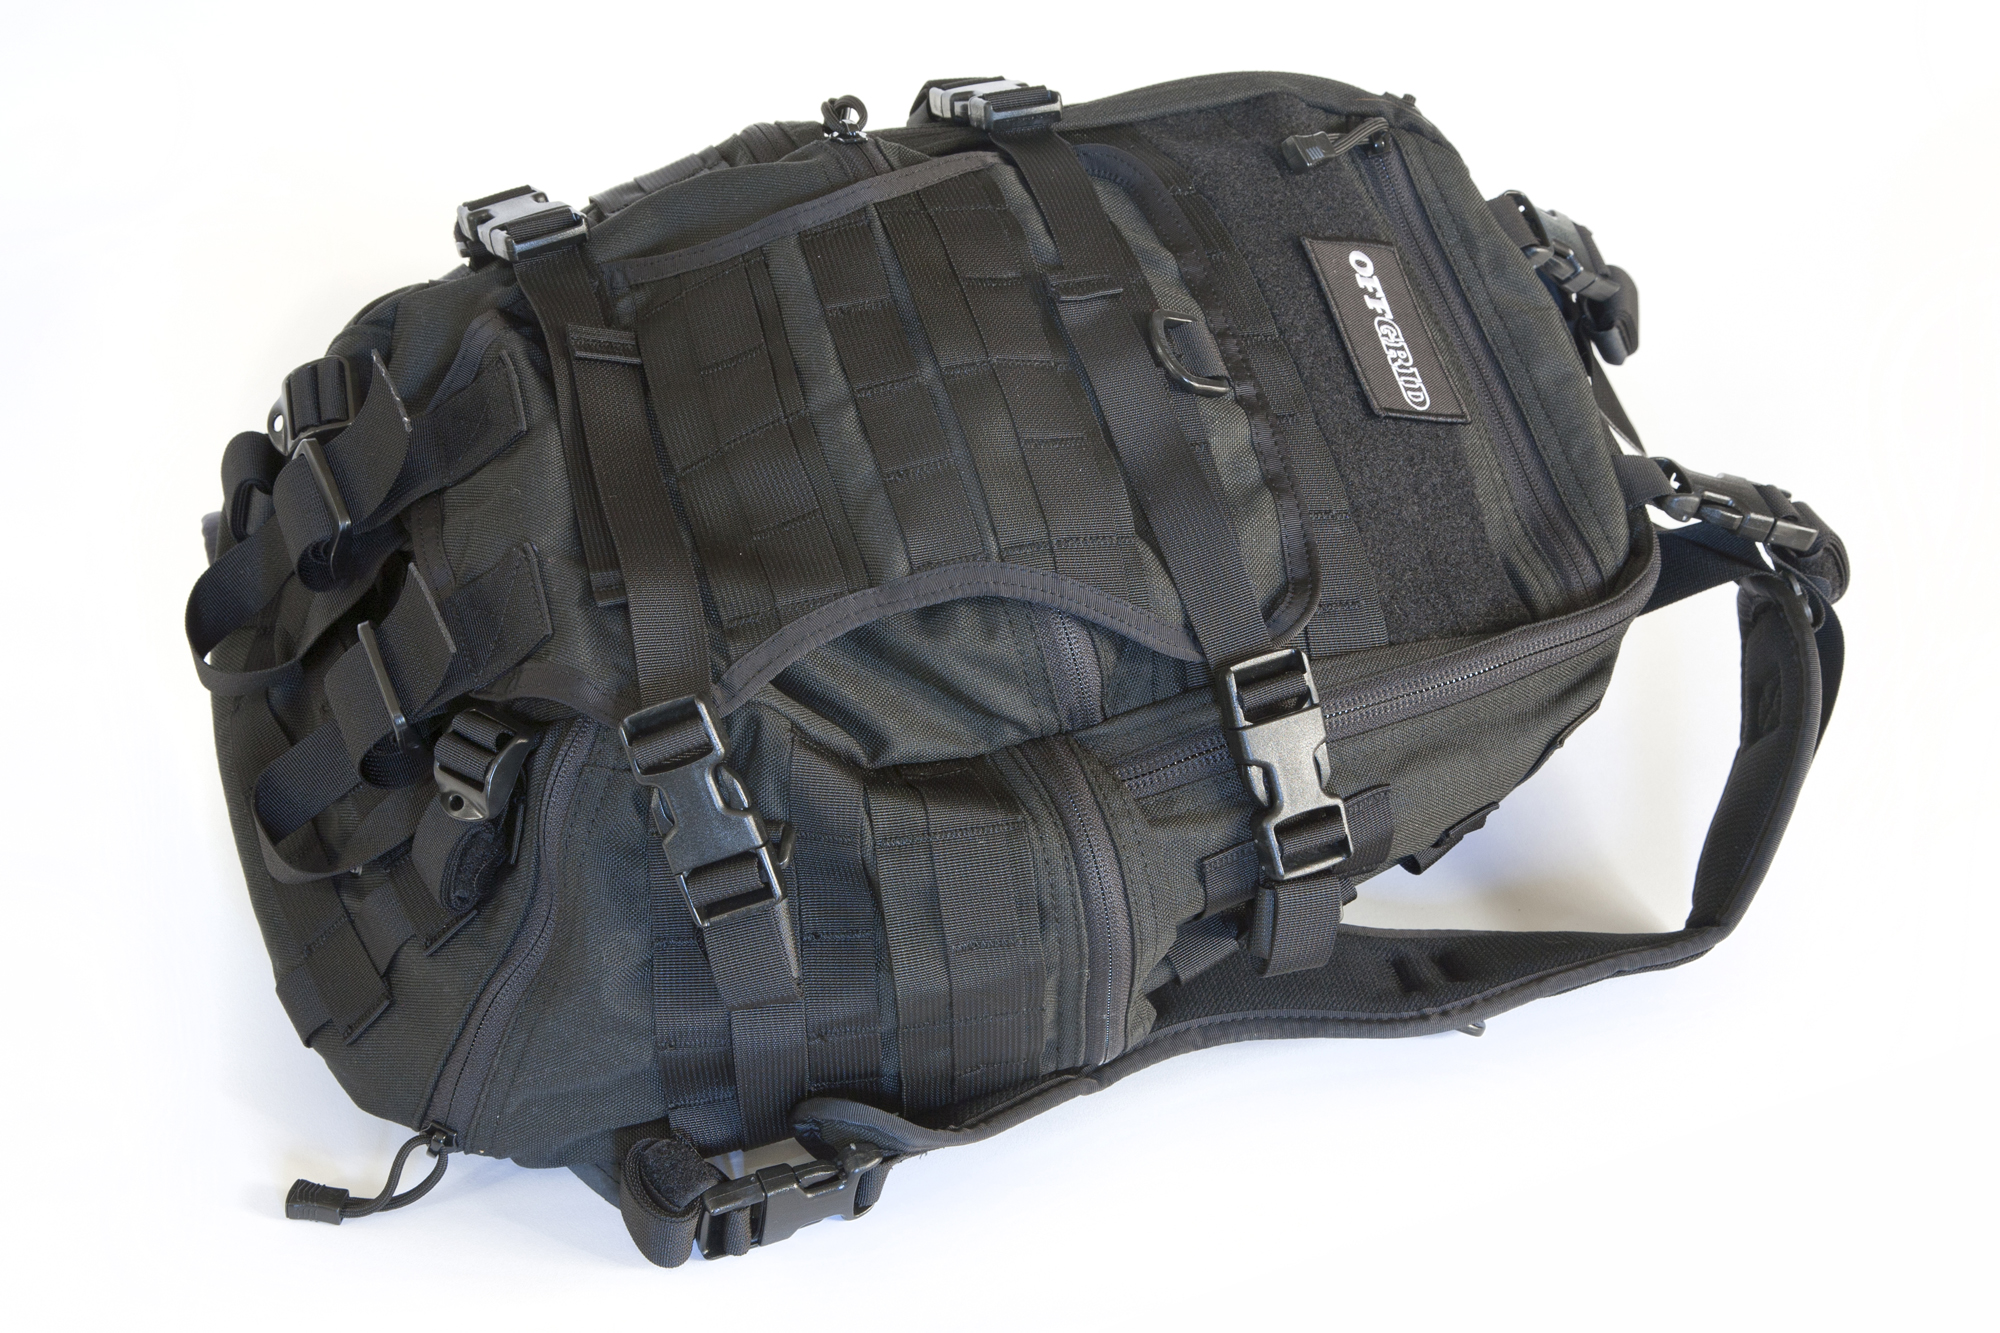
The core of any everyday-carry or go bag is just that: the bag. You can agonize all day long about what to include in your kit, but if the bag itself is an ergonomic hindrance under pressure—or worse yet, it breaks—you’re going to have a bad time. Since you don’t want to be stuck pushing around your bug-out supplies in a wheelbarrow like some deranged hobo, it’s paramount to survival to have a backpack you can trust completely.
Triple Aught Design (or TAD) has made a name for itself by producing apparel and gear that’s built to last. Even their name indicates this detail-oriented philosophy. TAD states on their web site, “Engineers and machinists use 000 (triple aught) as shorthand for a thousandth of an inch, which has been the high standard of precision tolerance for over a century. Inspired by that ideal, we apply thorough design, high attention to detail, and strict tolerances to ensure our products meet your most rigorous needs.” In this market flooded by outsourced products manufactured by the lowest bidder, it’s nice to see a homegrown company focusing on the details. Every stitch has its purpose.
About eight years ago, TAD introduced the FAST Pack EDC, its first backpack design. The EDC’s success eventually spawned a second smaller pack design known as the Litespeed. The EDC provides about 50% more interior storage space than the Litespeed, and has a few additional pouches that help it be better-suited for carrying a wider assortment of gear. These two rucksacks are the only models offered by Triple Aught Design, and both have gone through several design revisions over the years. So, we decided to pick up the EDC, and test it out.
FAST Pack EDC Specs
The FAST Pack EDC is a full-size daily-carry backpack, with a 1800 cubic inch (31.1 liter) interior volume. Exterior dimensions are 12″ x 22″ x 7″ (30.5 x 55.8 x 17.8 cm), and unladen weight is 72 oz (2 kg). It includes the following features:
1000-Denier Invista Cordura Fabric
Hypalon Reinforced Top Handle
External Zippered Hydration Pocket with Top Access Water Bladder Port
Two Removable Compression Shoulder Straps with D-Rings
Horizontal Sternum Strap
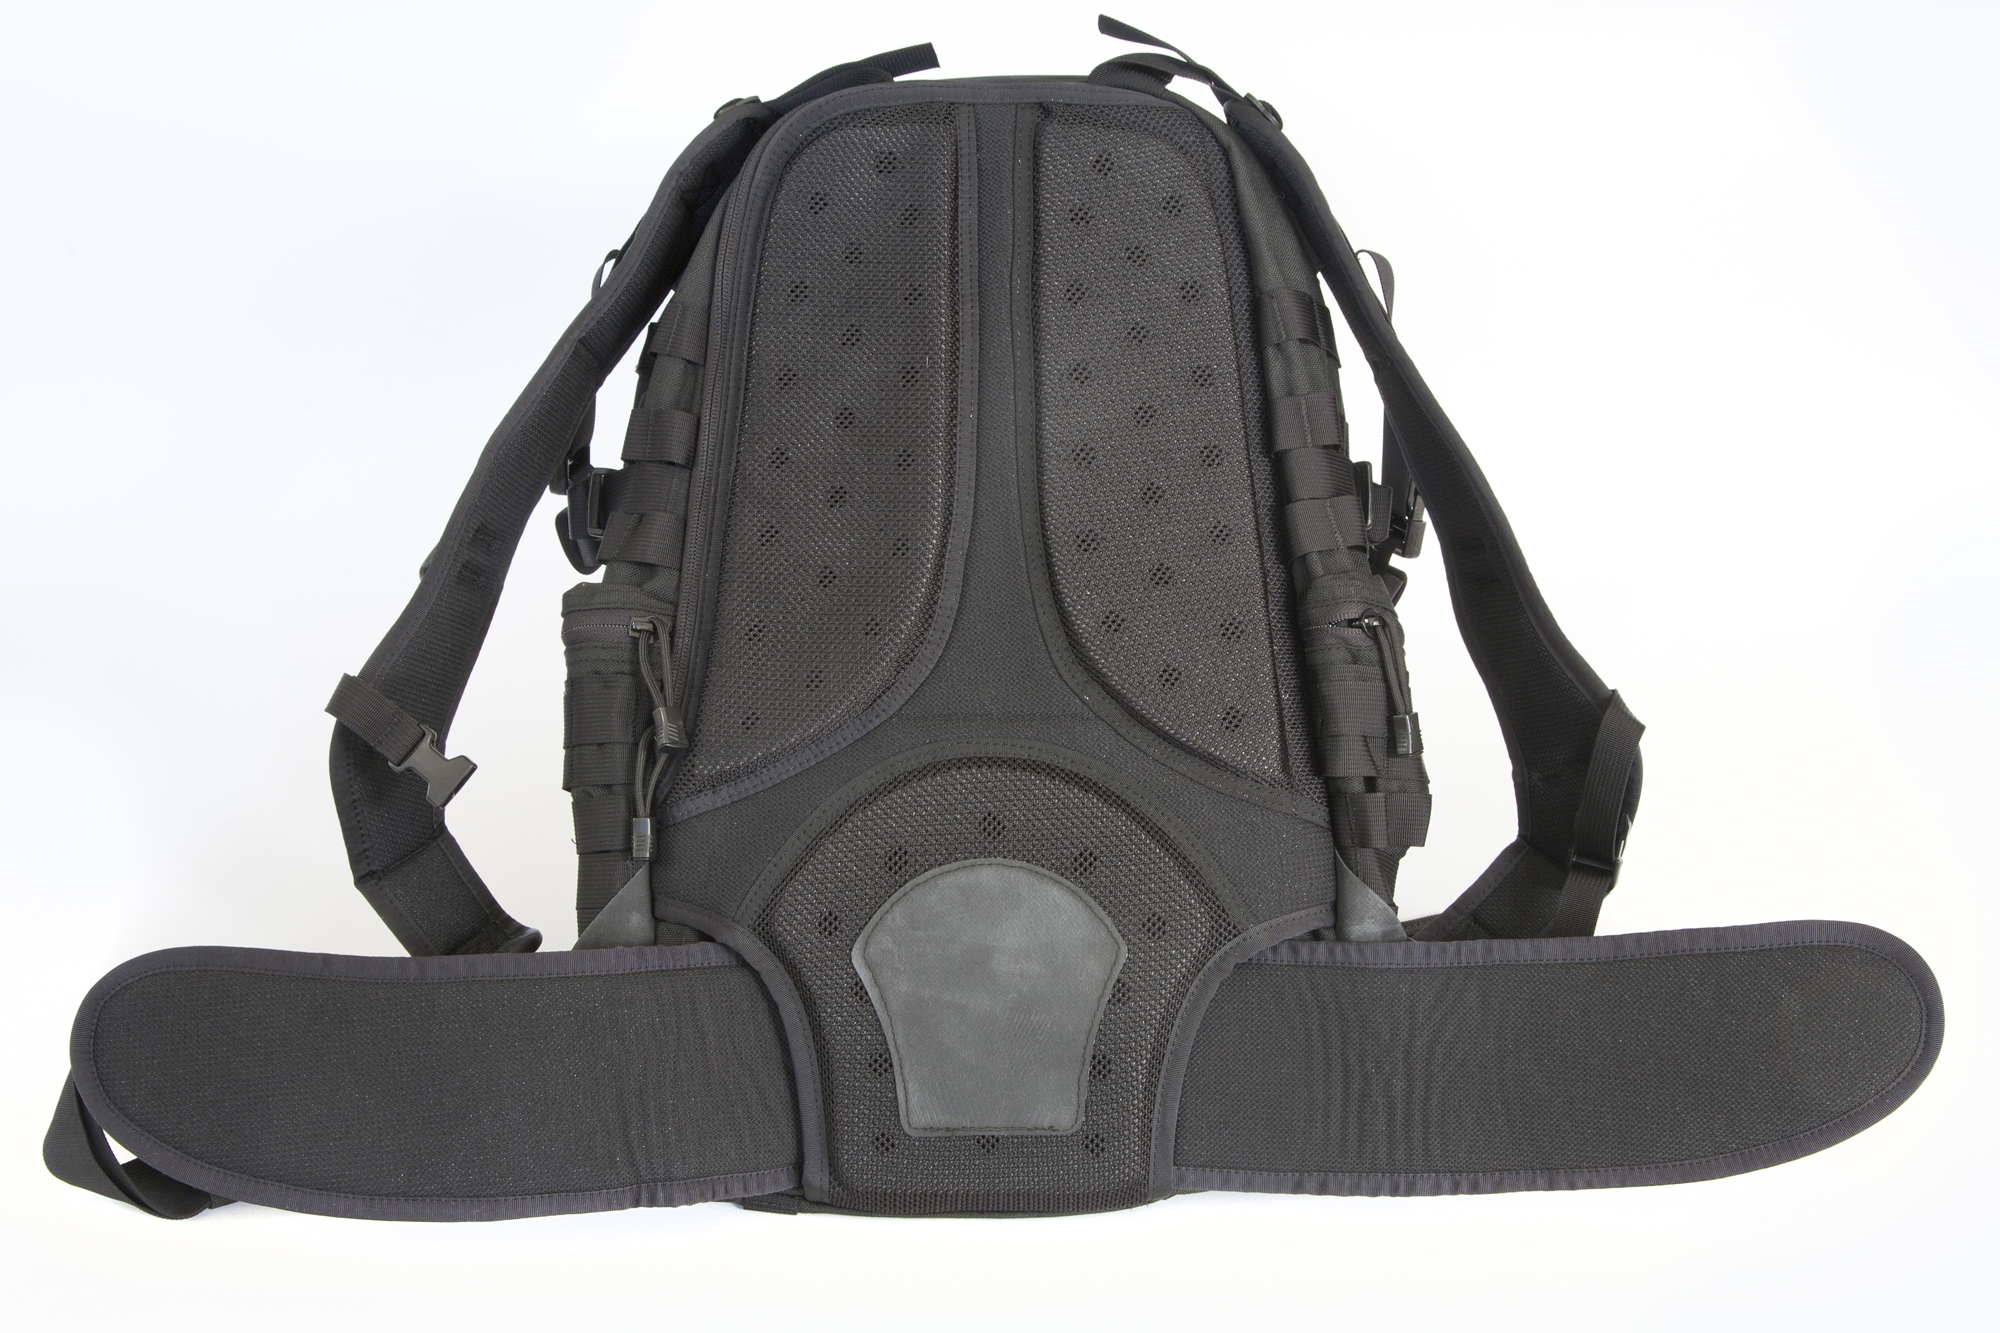
Removable Closed Foam Cell Padded Waistbelt with Webbing
Removable Transporter Tail
Removable HDPE Frame Sheet
Triple Aught Design Signature Flashlight Cave
ITW Nexus Buckles and YKK #8 and #10 Nylon Coil Reverse Zippers
This backpack is made in the USA, and sold at an MSRP of $325. It is available in black, Coyote Khaki, or Foliage Green.
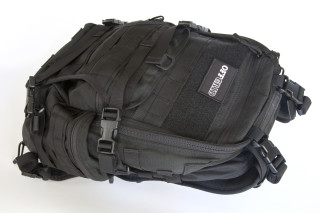
The Exterior
Immediately upon picking up the FAST Pack EDC, we were impressed by the quality of the materials used. You can tell this pack was made to take a beating, with its thick Cordura fabric, sturdy ITW buckles, and quality YKK zippers. The use of name-brand components is reassuring, as it tells you each part of this pack has had actual thought put into its design. Then again, you’re definitely paying for this luxury—the FAST Pack EDC’s $325 MSRP is almost enough to buy two comparable backpacks from some of TAD’s competitors.
Slinging the backpack over our shoulders for the first time, we found it to be reasonably comfortable, but a bit finicky to adjust. First, you’ll need to set the sliding adjusters at the top of the shoulder straps, then set the compression straps’ length and buckle them in place over each shoulder. While these buckling compression straps seem somewhat redundant most of the time, this design allows you to retain a jacket or sleeping bag across the top of the pack, which is handy. There are two more compression straps on the bottom of the bag, which serve the same purpose.
Adjustable compression straps buckle over the shoulder straps.
From a comfort standpoint, the other thing we noticed is that the padded portion of the shoulder straps doesn’t reach all the way over your shoulders, only to just above the collarbone. This isn’t a big deal until the pack is fully loaded down, at which point the non-padded portion tends to dig in and cause discomfort. We really wish the entirety of the straps were padded (although TAD will change this with their latest revision, more on that later). However, the padded waist belt is extremely comfortable, and we appreciate that its pull-through mount permits quick removal when the waist strap is not in use.
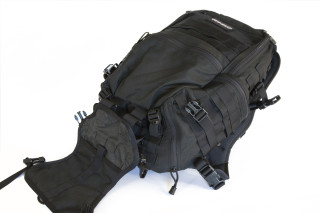
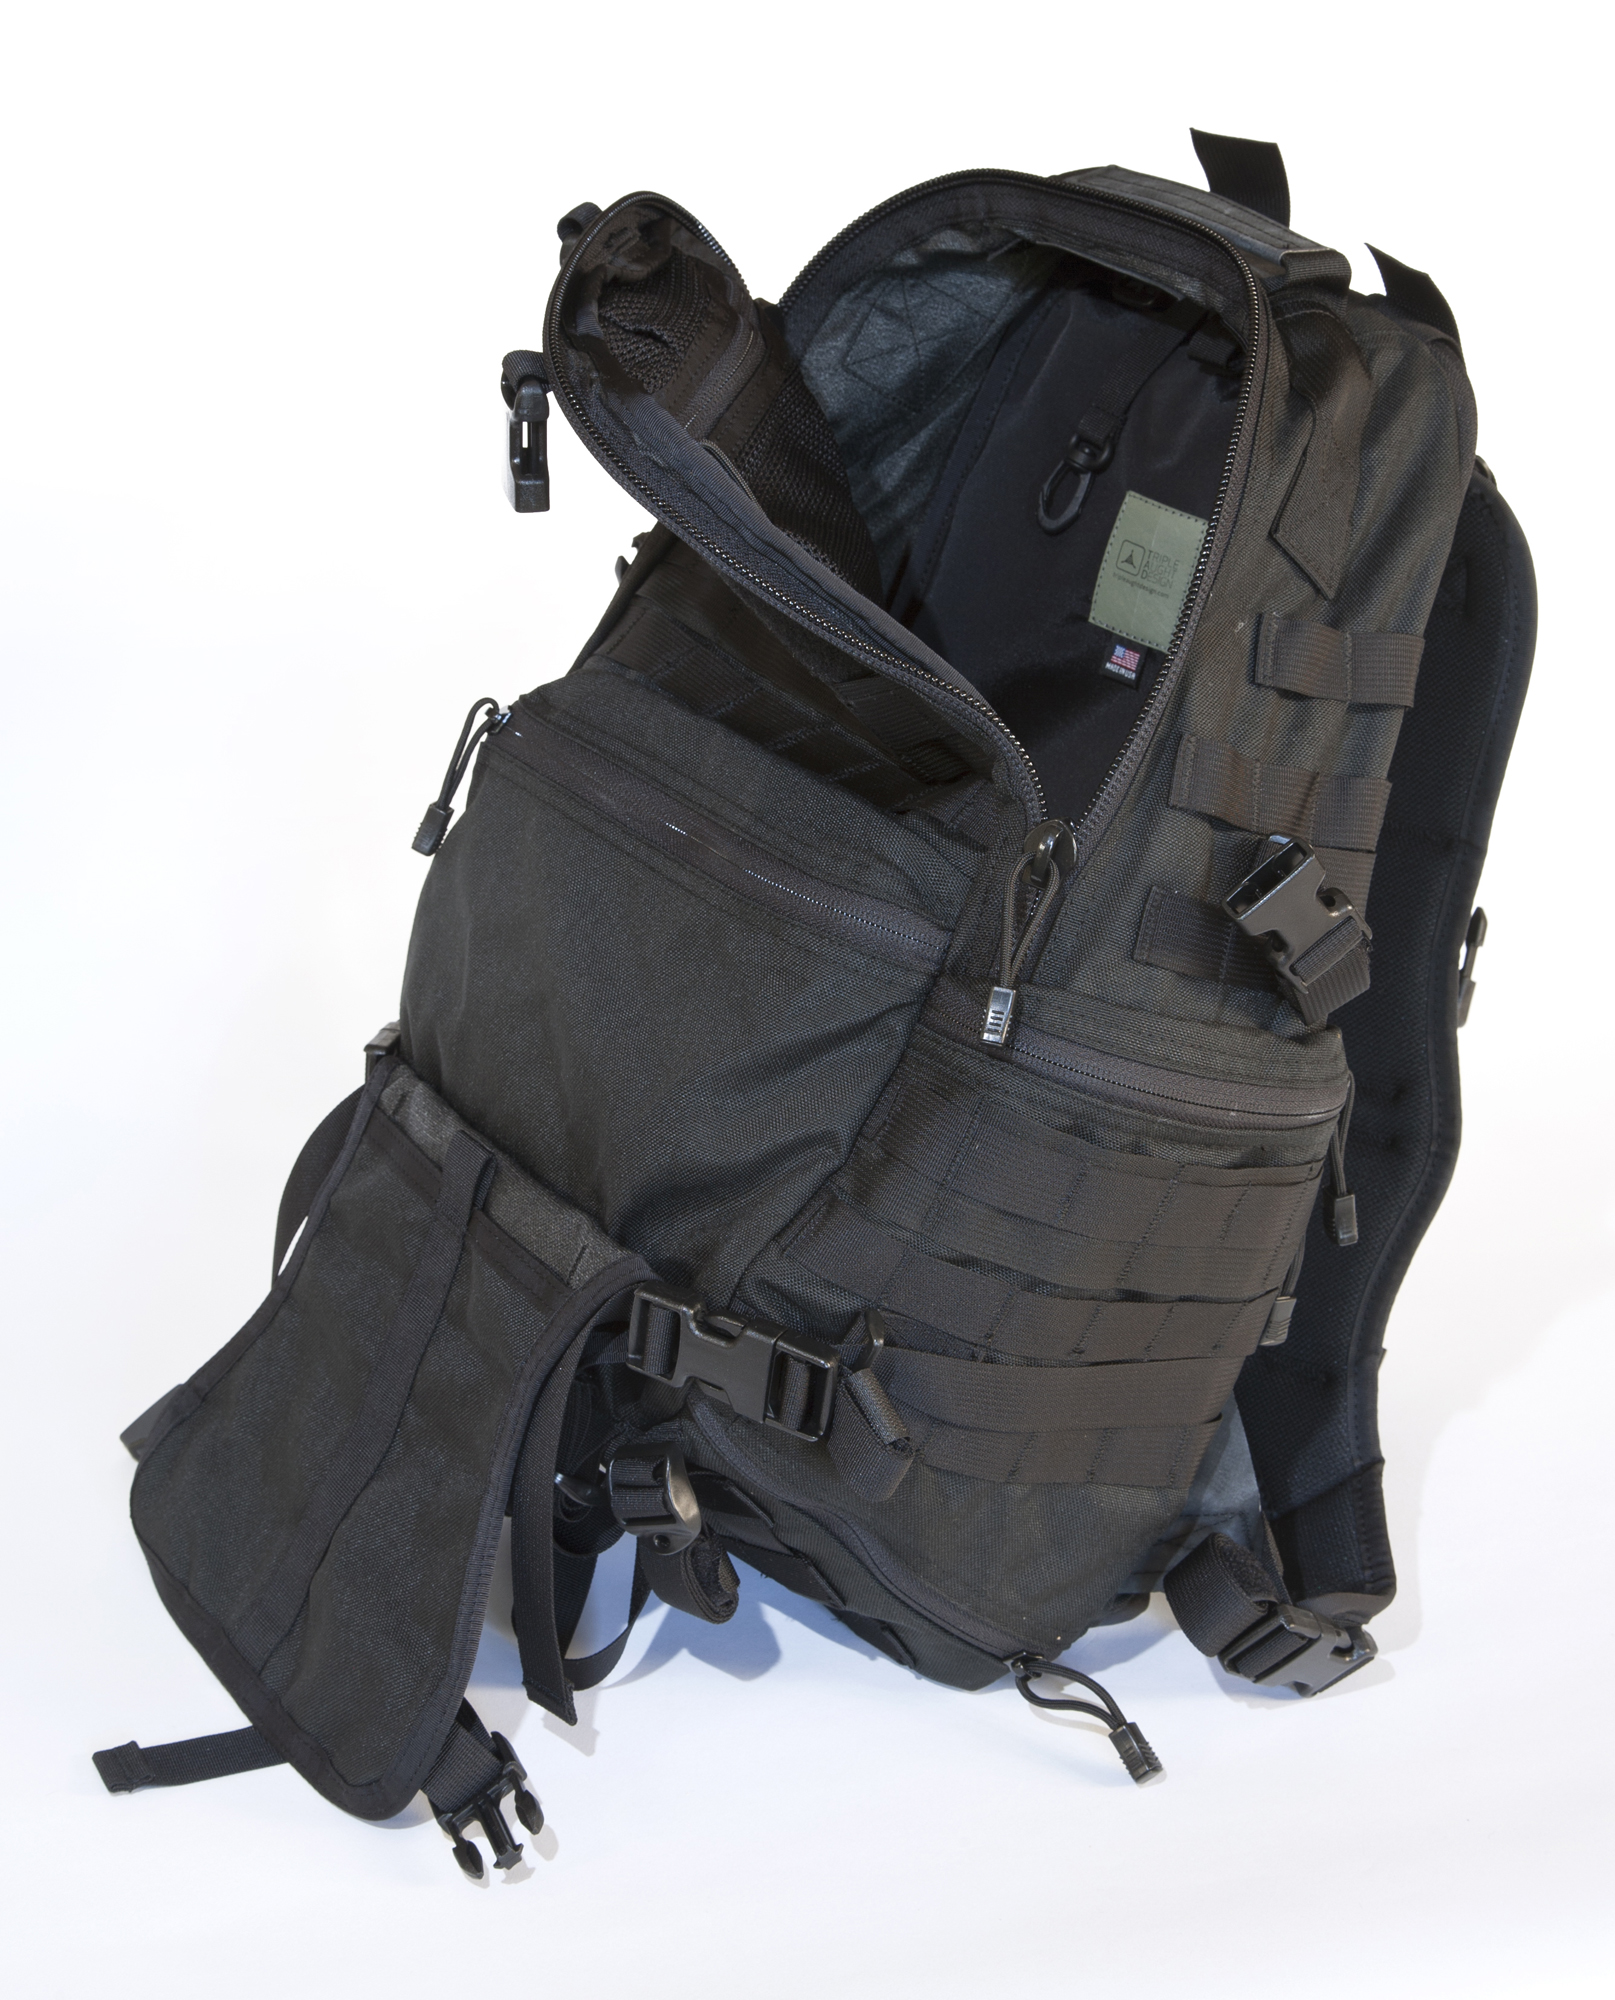
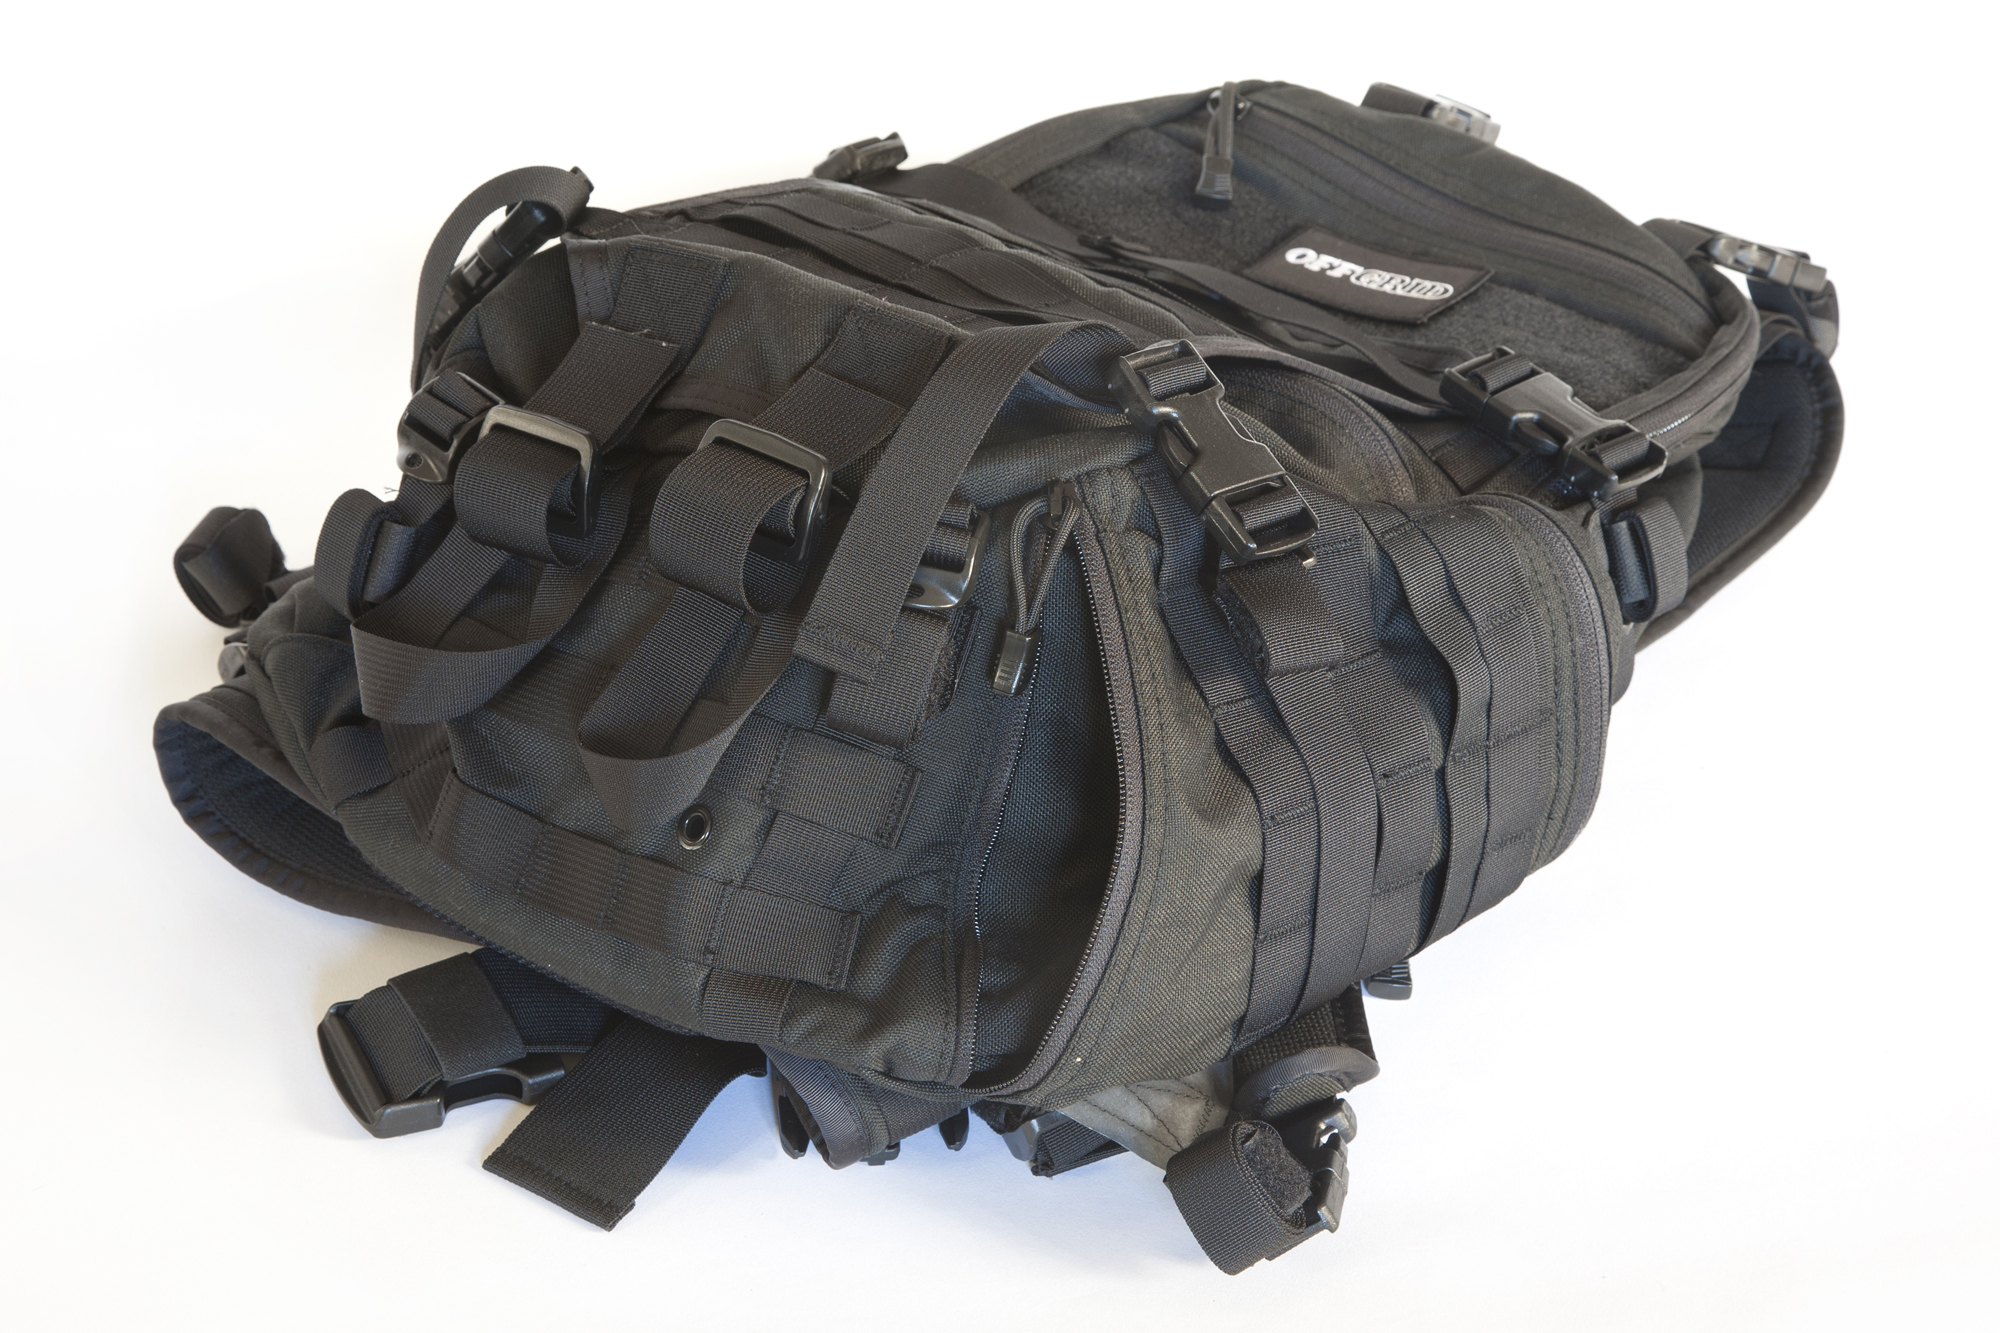
On the opposite side of the pack, you’ll find TAD’s signature “Transporter Tail” (seen above) attached with two buckles on each side, and two straps at the bottom. This removable panel is covered in PALS webbing, allowing for expansion with MOLLE-compatible gear, and it can be detached and reinstalled inside the pack’s main compartment if you prefer. When you detach the four side buckles, the Transporter Tail also hangs down like a beaver tail, allowing for vertical storage of long items like rifles, fishing poles, or skis.
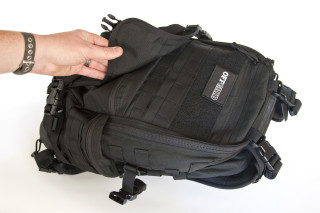
The rest of the FAST Pack EDC’s exterior is covered in more PALS webbing, including additional 2-inch webbing that’s compatible with quick-detach Tek-Lok mounted sheaths and holsters. Other notable exterior features include a section of Velcro for morale patches (such as our favorite OG patch) and sturdy paracord zipper pulls.
The Interior
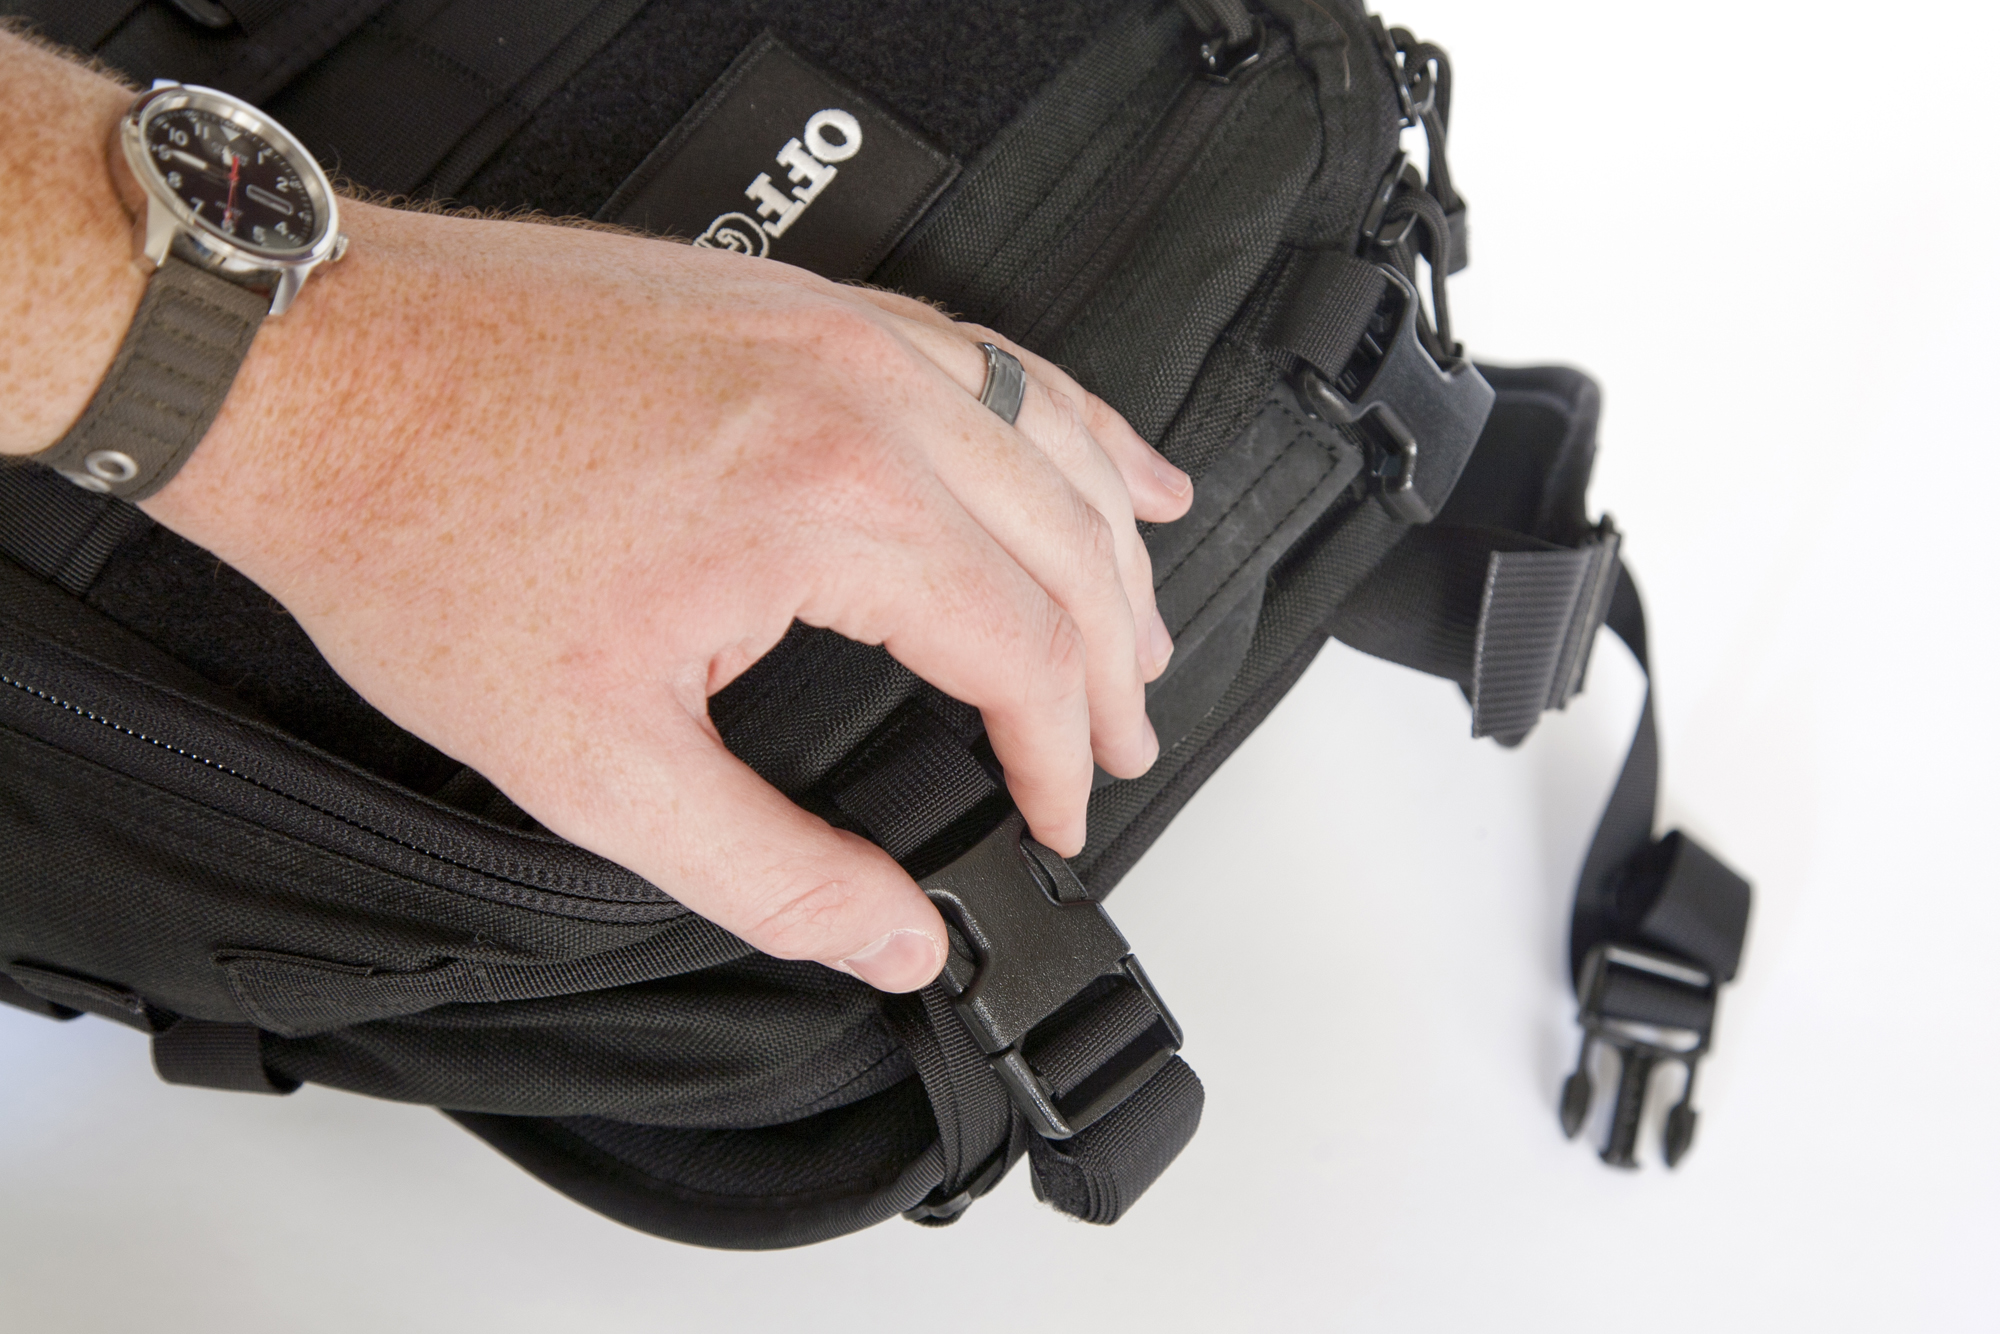
Now that we’ve talked about the FAST Pack EDC’s exterior, we’ll get into the compartments. Starting at the top, there’s an admin pocket above the Velcro patch, and it includes an organizer for pens and other small items. Another zippered pouch lies below it, behind the Transporter Tail. Each side of the pack has a zippered accessory pocket, but the right-hand accessory pocket also has a secondary zipper at the bottom. TAD calls this a Flashlight Cave, and it can easily be opened while the pack is worn. This allows quick access to a flashlight, knife, or keys, especially when those items are clipped to the pouch’s internal D-ring with a gear retractor.
See the unzipped pouch? That’s the opening to the Flashlight Cave.
An externally-zippered hydration pouch supports all major bladder systems, and provides a Hypalon-reinforced top exit for the tube. Finally, we unzipped the main compartment, noting that it only opens halfway down the pack. We generally prefer full-size packs with full clamshell opening, since they can be flat-packed on a bench or table top, but others may prefer the EDC’s top-loading half-clamshell style.
Inside the main compartment, there’s a zip-up mesh pocket for smaller items, and buckles for the aforementioned Transporter Tail (in case you want to put it inside the pack, rather than outside). A small plastic hook provides an attachment point for keys, but its construction is nowhere near as sturdy as the pack’s other buckles, and seems like an overlooked detail.
We were disappointed to see that the FAST Pack EDC lacks more internal pouches in the main compartment, such as a laptop pocket. That said, we’ll probably end up moving the Transporter Tail inside this compartment, since it can retain a laptop or tablet, and it provides PALS webbing for mounting extra MOLLE pouches.
Conclusions
All in all, the FAST Pack EDC is a very good backpack with a few notable flaws. Here’s a breakdown of our Pros and Cons for this pack:
Pros:
Excellent build quality with name-brand fabric, zippers, and buckles.
Compression straps at the top and bottom help retain bulky items.
Flashlight Cave provides access to tools without removing the pack.
Comfortable and easily removable waist belt.
Made in USA.
Cons:
Price. $325 is a lot of money for a pack under 2000 cubic inches.
Shoulder straps. The padding is marginal, and is totally absent where it’s needed most.
Main compartment only has one pocket, and lacks a laptop pouch.
Half-clamshell opening isn’t optimal for loading.
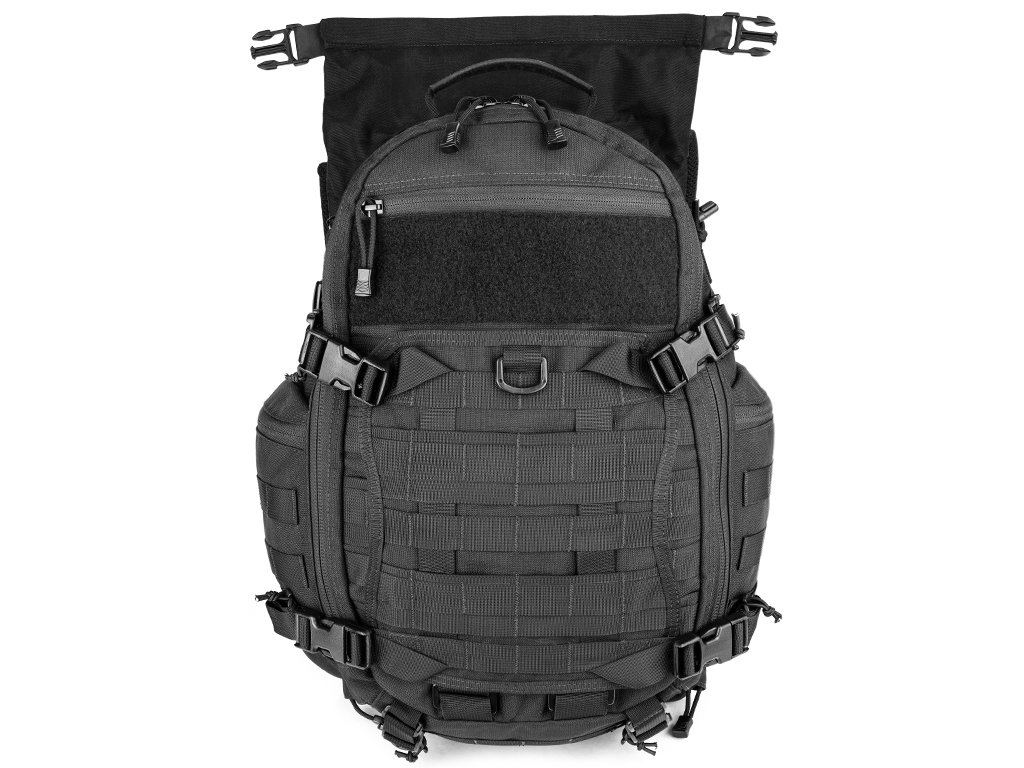
Now, remember how we mentioned Triple Aught Design has a tendency to redesign its existing products? A few weeks after we got this pack, TAD announced the release of a completely redesigned version for 2015. This new version has a number of alterations, including full clamshell opening and a significantly improved fully-padded strap design—both features we were hoping for!
The 2015 update increases the MSRP slightly to $340, but we’d have gladly shelled out the additional $15 if we knew a new model was on its way. The fact that our pack is no longer top-of-the-line has us feeling a bit remorseful, like a customer who walks out of an electronics retailer with the latest and greatest laptop, only to find out a new model made it obsolete the next day.
The new FAST Pack EDC 2015 Edition, with weather-resistant roll-top closure.
Instead of immediately replacing the pack we tested with the 2015 model, we wish TAD would have continued to offer the “old” design at a discounted price alongside the new one, providing an option for budget-minded customers. Regardless, we’ll do our best to get our hands on a 2015 EDC pack for a follow-up review, and tell you firsthand if the updates make a difference.
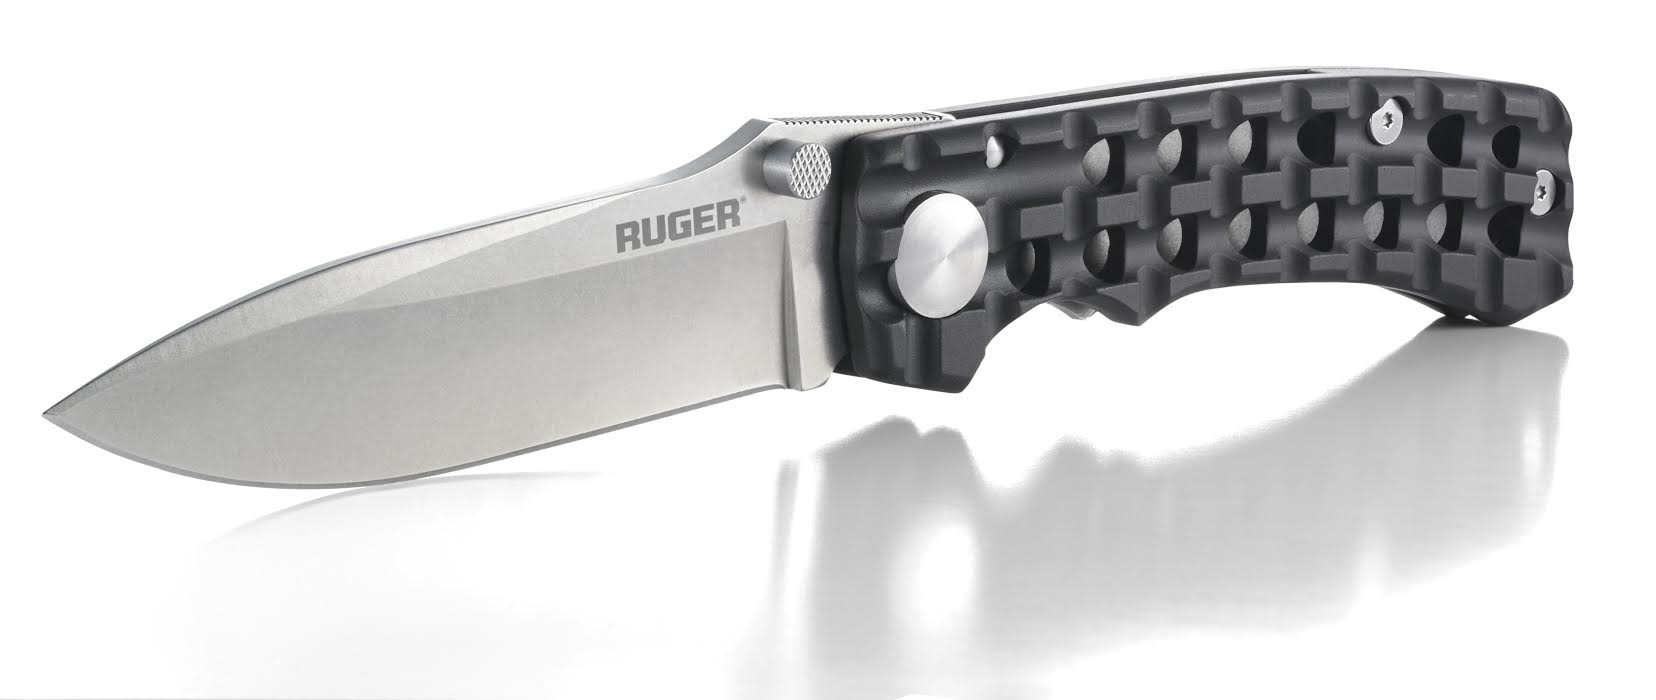
If you’re a fan of Ruger firearms, you know they’re designed to be rugged, reliable, and affordably priced. With this same mentality, Ruger has ventured into knives, partnering with master knife-smiths at CRKT to develop a line of new blades that fit the Ruger name to a T. These knives feature a wide array of sizes, shapes, finishes, and purposes, all of which have been inspired by aesthetic details of Ruger firearm designs. And, since they’re being manufactured by CRKT, you know they’re going to be razor sharp and built to last.
The first design that caught our eye is the “Go-N-Heavy”, which is a liner-locking folder designed by Bill Harsey. Its knobbly anodized Sure Grip handles certainly look the part, and its stonewashed 5” drop point blade with inlaid Ruger logo has a clean appearance.
Next up is another design by Bill Harsey: the “Accurate”. Appropriate for its name, this straightforward hunting knife resembles the classic fixed-blade designs many of us grew up around. Its satin-finished 4.4” plain-edged blade and rubber-overmolded grip aren’t overly flashy, but the red inset Ruger medallion is a nice subtle touch.
To view more of these Ruger knives from CRKT, visit Ruger.com/CRKT.