
In This Article
Guerrilla is a Spanish word that roughly translates to “little war.” Its indication of diminutive scale doesn’t apply to the size of the battle, but rather to the size of the fighting force — a small unit up against a large opposition. In modern context, this type of imbalance is often referred to as asymmetric warfare, and its significance has been proven in countless conflicts throughout history, from the Global War on Terror to the American Civil War. Each instance has reinforced a single lesson: never underestimate the effectiveness of a small, highly motivated group of fighters.
Timothy Lacy has accrued a wealth of experience in the field of small-unit tactics. While enlisted in the U.S. Army, he served in a Scout Platoon and frequently led reconnaissance missions into enemy-controlled terrain. Later, he switched to a role in law enforcement, where he surveilled gang members and drug dealers. Lacy also spent 13 years working as a private security contractor, protecting VIPs in warzones and training indigenous militia and police forces to defend against insurgents.
Rather than settle quietly into retirement, Lacy eventually returned to his home state of Arizona and applied his skills to a new mission. In 2014, he founded Guerrilla Mentor to teach ordinary Americans about the value of small-unit tactics. Members of our staff have already attended two of his courses, Rural Reconnaissance (featured in Issue 41) and Hostile Encounters (review coming soon). Each class reinforced individual survival skills, including shooting, movement, navigation, observation, and planning. The curriculum also demonstrated the challenges of delegating tasks, communicating, and accomplishing objectives with a tight-knit group.
Despite his imposing resume, Lacy doesn’t fit the gruff soldier stereotype. He’s a soft-spoken family man whose kids showed up to play after class, and whose wife cooked a tasty meal for students at the campsite. His scholarly gray beard and friendly demeanor might even lead you to believe he’s a schoolteacher. In a manner of speaking, that’s exactly what he is — a mentor and educator for the underdog.
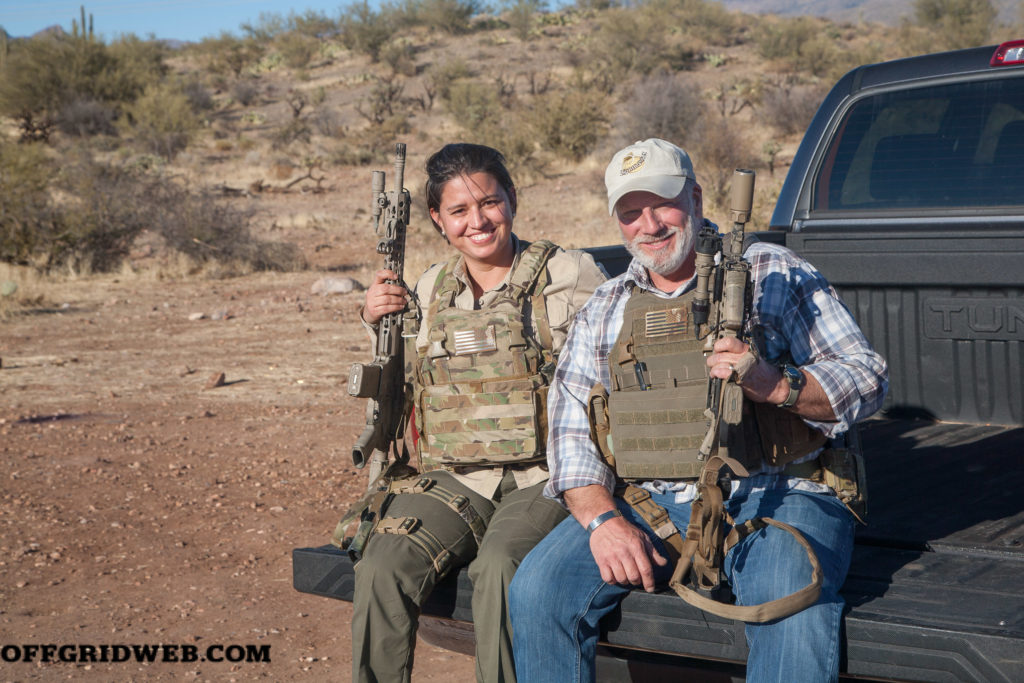 Above: Tim believes preparedness is a task for the whole family. His wife, Cecilia, and their children often appear at Guerrilla Mentor classes to lend a hand.
RECOIL OFFGRID: Tell us a little about your upbringing. Were survival lessons or outdoorsmanship part of your childhood?
Timothy Lacy: I was an Air Force brat until my father retired and moved us from the Phoenix area up to Show Low, Arizona. My dad was an avid outdoorsman, and we always spent our family vacations camping or hunting. After moving to the White Mountains, my brothers and I were in the forest almost every day, exploring and hunting. I spent a great deal of time with my dad stalking game and learning survival lessons.
What led you to join the military? What was your job while you were in?
Timothy Lacy: I had always dreamed of being a soldier and serving my country. My family has always been very patriotic, and believed it was our duty to serve. All of my brothers and I served in the U.S. military.
I enlisted in the Army as an 11B, Infantry Rifleman. I loved being a grunt — the lifestyle suited me. I discovered I had a knack for being stealthy, and so did my squad leaders. I soon found myself in the point element along with my friend Hector on nearly every patrol.
This led me to eventually join an Infantry Scout Platoon, and I felt like I was truly in my element there.
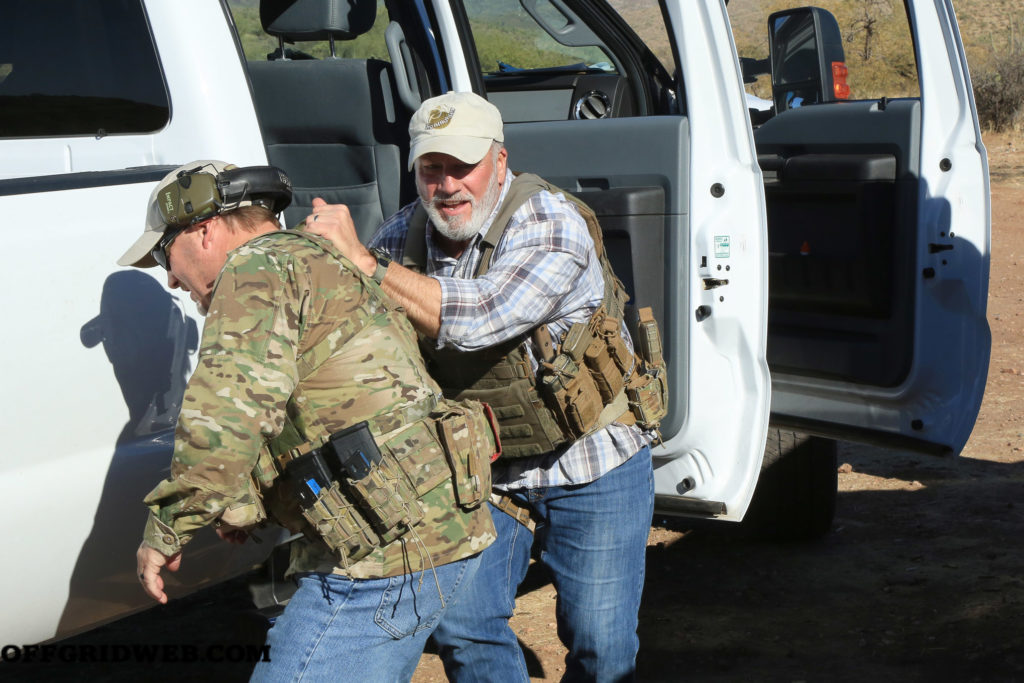 Above: Showing students how to forcefully move a VIP out of a disabled vehicle at a Hostile Encounters class.
You mentioned previously that, after the military, you went into law enforcement and then private military contracting. What did you do in law enforcement and how did your military experience shape your work there?
Timothy Lacy: After the Army, I attended the police academy and worked for two different law enforcement agencies — municipal and county. I spent the majority of my career with the Sheriff’s office where I became a Patrol Sergeant. I was on the Gang Task Force, Counter Narcotics Team as well as a law enforcement sniper. My military experience greatly shaped my work there. The discipline carried over and fit well. My squad members were probably tired of my weapon and uniform inspections, but they were, in my opinion, the best deputies in the state. The infantry, scouting, and reconnaissance skills I learned were a huge asset in assisting me throughout this time.
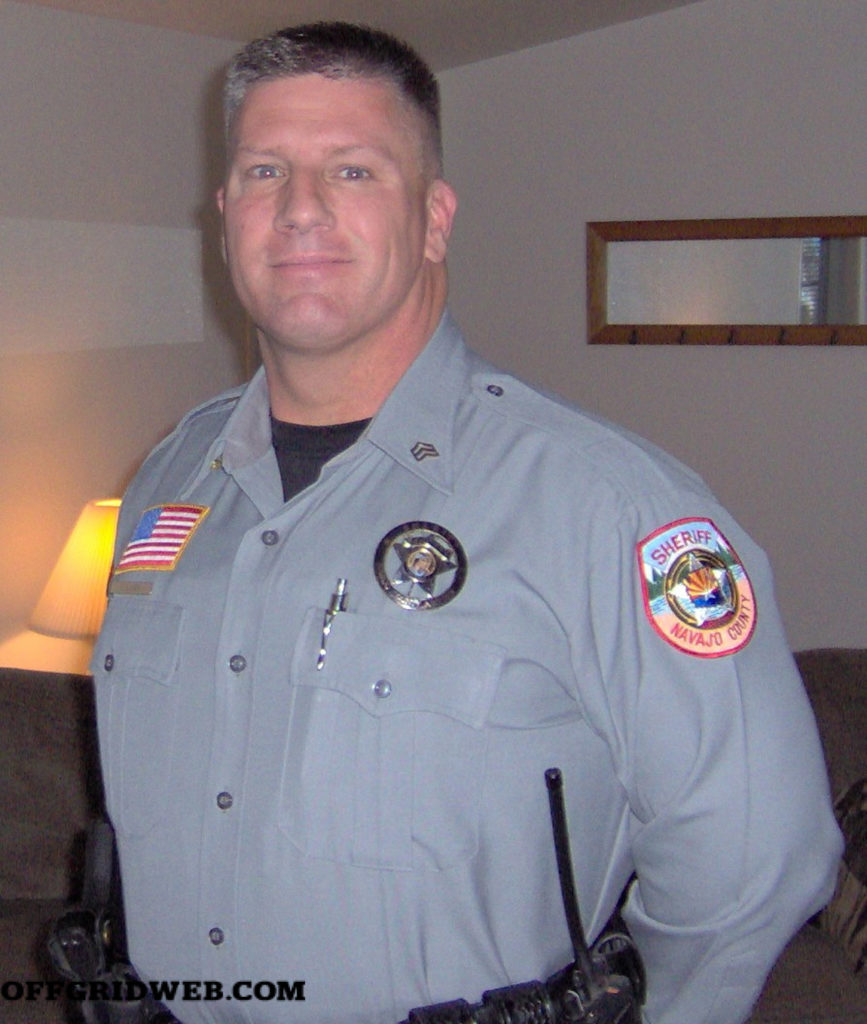 Above: In uniform with the Navajo County Sheriff’s Office
When did you make the transition into security contracting? What regions and roles did you work in?
Timothy Lacy: I made the transition from LEO to security contracting in 2006. I worked with a small European group in parts of Europe. I then went to work for DynCorp as a Police Mentor/Advisor in Afghanistan. After a year with Dyn, I got hired by Xe/USTC/ Blackwater and worked on the Afghan Border Patrol (ABP) Program. I later worked for another small company training and living with Afghan Militia/Guard Force personnel. Afterward, I was a Protective Security Specialist for IDS (a Constellis subsidiary) doing high threat protection for U.S. Department of State folks. I left Afghanistan in 2015, and continued doing short-term contracts both stateside and internationally until 2019.
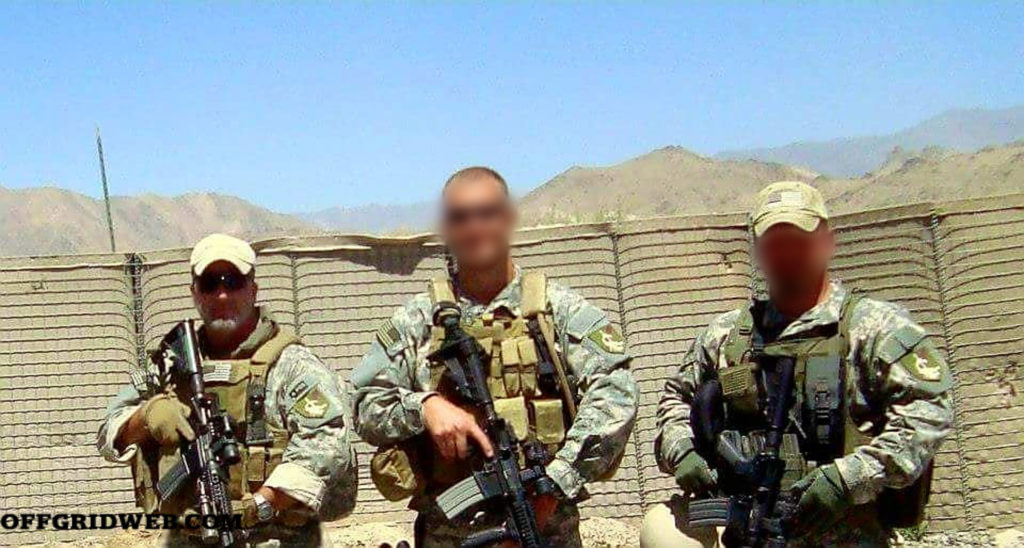 Above: “I’m the tall guy on the left.” Wardak Province, Afghanistan, 2009
Explain the origin of Guerrilla Mentor, and the reasoning behind the name.
Timothy Lacy: I started Guerrilla Mentor around 2014 as a small training company. I felt the need to pass on some of the knowledge and experience I had gained over the years. Guerrilla Mentor became an LLC in 2017. I chose the name based on my wartime experiences training indigenous personnel who were paramilitary.
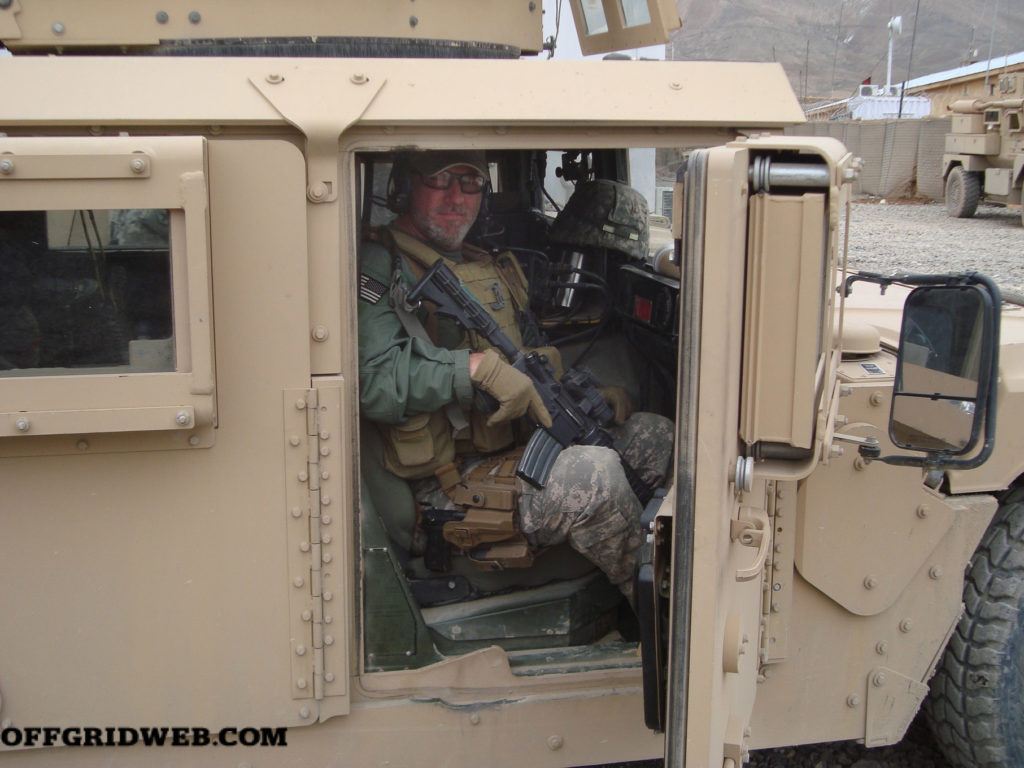 Above: Riding shotgun in a Humvee, Afghanistan, circa 2008
President Biden recently said, “If you wanted to think you need weapons to take on the government, you need F-15s and maybe some nuclear weapons.” Based on your experience with asymmetric warfare, what’s your response to this statement?
Timothy Lacy: I would have him study any counter-insurgency that the United States has been involved in. While we have some of the best military technology and weaponry on the planet, it isn’t getting the job done. We can see it in the resurgence of hostilities in Iraq, Afghanistan, and all over the world. F-15s and nuclear weapons are no match for weak rules of engagement and a determined opponent.
 Above: Working in Tora Bora, Afghanistan, circa 2012
We’ve seen some heated debates on social media about civilians practicing military-style tactics and wearing military-style gear. Some say it’s beneficial preparedness, and others say it’s unrealistic role-playing. What’s your take?
Timothy Lacy: I believe that every able-bodied American man and woman should not only learn these things, but I see it as their duty. It’s our duty to preserve our Republic. There are many skills that help us — not only martial skills. Gardening, medical, and the like are all very valuable. As for military-style gear, I tell prospective students that they don’t need any cool-guy gear or clothing. If you want to wear military-style gear, go for it.
What can the average American do to prepare for the kind of widespread violent conflict we’ve seen in certain cities around the country?
TL: People need to train for it, both physically and mentally. If they have no experience, then they should seek out competent teachers. We have a large number of combat veterans with a lot of knowledge to share — you just need to find one who is willing to help. And you need to be willing to pay for good teaching.
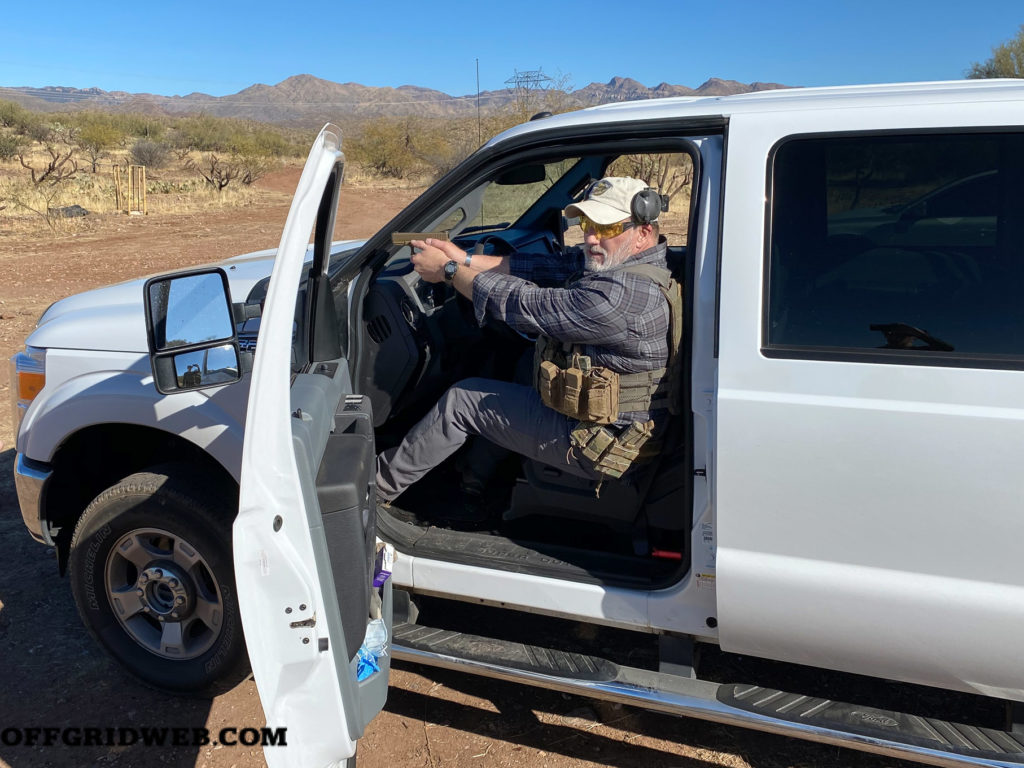 Above: Demonstrating how to shoot while seated in a vehicle during a Hostile Encounters class
It’s also essential to prepare mentally for violent confrontation. There are too many people who still have the mindset of “it’s not happening here in my front yard, so it’ll never happen here.” It’s past time to wake up and realize that violence can occur anywhere.
There’s a common misconception that survival is a solitary activity. How do you dispel the lone-wolf mentality and teach students to work together?
Timothy Lacy: If you’re going to attempt to be a “lone wolf,” I believe you will soon discover it’s nearly impossible to survive for long. I try to illustrate the need for a team or tribe to my students. After conducting some drills during a class, they catch on quickly that doing it alone is pretty much a myth.
Tell us about the importance of radio, spoken, and nonverbal communication for small unit tactics.
Timothy Lacy: Communication is key when working with one or more teammates. In all of my Small-Unit Tactics and Reconnaissance classes, silent hand and arm signals are taught and utilized extensively. If verbal communication is used, it’s very hushed. The ability to move and communicate silently is invaluable, as stealth is one of your greatest assets. If a team has electronic means of communication, then we combine these with other methods. In the Advanced Reconnaissance course, a field antenna is put up and regular commo checks are conducted.
Explain the difference between a reconnaissance patrol and a combat patrol. How should gear and tactics differ for each type?
TL: Reconnaissance patrols are there to obtain information concerning the terrain, enemy, resources, and so on, and to accomplish that mission without being compromised. The standard reconnaissance team (RT) doesn’t carry enough ordinance to execute a prolonged fight, so they must rely on stealth. The equipment varies depending on the mission. For reconnaissance, you generally have tools for enhanced observation, such as spotting scopes and binoculars. You may or may not be wearing armor or any ballistic protection.
On a combat patrol, you are looking for a fight. You carry more ammunition, wear ballistic protection, and may carry a small patrol or combat pack as opposed to the larger rucksacks carried by reconnaissance patrols.
What would you say to folks who feel like patrolling skills don’t apply to urban or suburban environments? Are any of the methods or techniques adaptable for prepared city-dwellers?
Timothy Lacy: I adhere to the philosophy that if you don’t patrol it, you don’t own it. In other words, if you don’t know what threats are in your area, it’s difficult to prepare for those threats. Whether you’re in an urban, suburban, or rural environment, it doesn’t matter.
Of course, there are differences in patrolling styles. In a city, you don’t want to walk around clothed in full camouflage wearing field gear, just as you wouldn’t conduct rural reconnaissance dressed in bright clothing. The methods of surveillance and counter-surveillance differ as well. But the core principles of patrolling and reconnaissance remain the same.
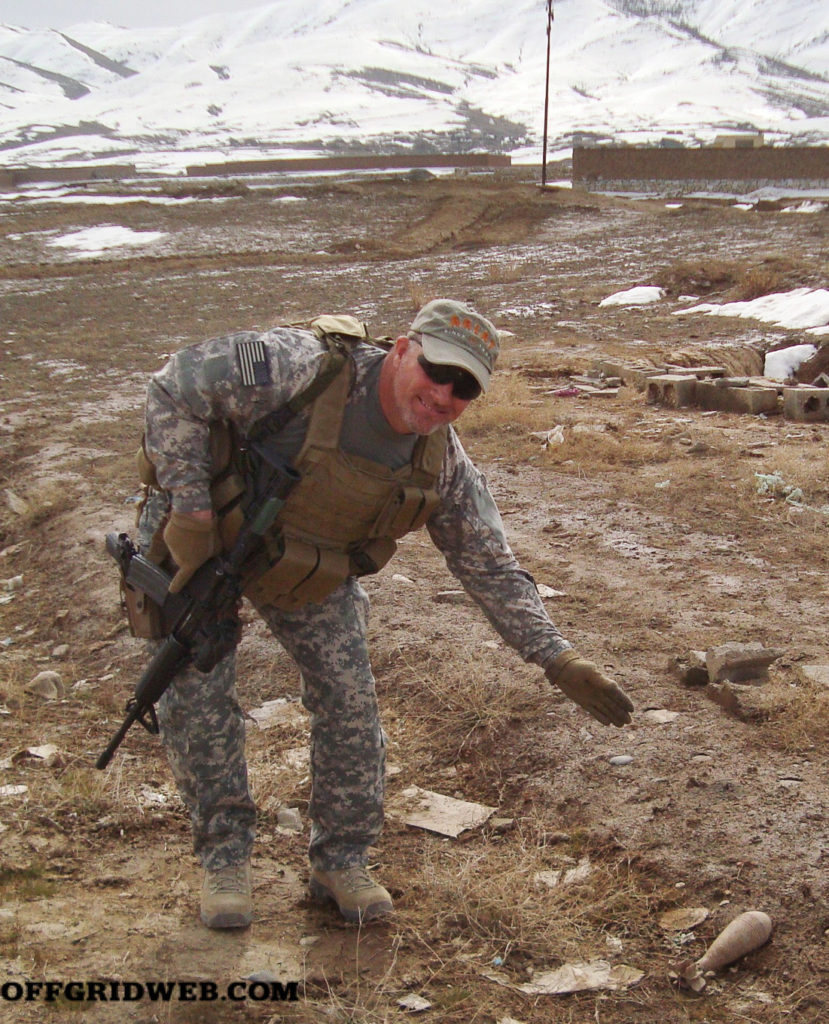 Above: Pointing out unexploded ordnance, 2010
Are there “non-combat” mental or emotional skills that you think contribute to making a good scout?
Timothy Lacy: Absolutely. I think a good scout needs to be physically strong, but even more importantly, they should be emotionally and spiritually grounded — not given to outbursts of anger or short-fused. Scouting requires patience and a keen eye for attention to detail. When a scout starts slacking off, the consequences can be fatal, not only for the scout, but for their teammates as well.
Let’s talk about rucksacks/bug-out bags/72-hour bags. What items should always be carried, and what items should be left at home? How much gear is too much?
Timothy Lacy: As far as bug-out bags are concerned, I keep mine packed in a smaller bag like a sling bag. I also mimic as closely as possible the loadout I carried in my go-bag while doing high-threat protection overseas. I cover the basics:
- Extra ammunition in magazines, usually three rifle mags and two pistol mags
- A good knife, fixed blade or folder, and a multi-tool
- At least one civilian smoke grenade
- Trauma kit
- Signals kit containing a section of VS-17 [high-visibility] panel, Rite in the Rain notepad and pen, infrared strobe, signal mirror, and permanent marker
- At least one bottle of water, plus some food (usually Clif bars or something similar)
- An emergency Mylar blanket for shelter
My 72-hour pack alternates depending on what I’m doing. In town, it’s a civilian backpack that blends in well; in the woods, it’s a medium ALICE pack or a Crossfire DG3. I carry the essentials for security, shelter, medical, signals, food, and water. I try to keep it as light as possible, depending on the season.
I just finished an Advanced Reconnaissance Course that ran from Friday to Sunday where I carried a three-liter CamelBak, poncho liner, Gore-Tex bivvy bag, Therma-Rest sleeping pad, extra socks, underwear and T-shirts, grid fleece top, fleece cap, binoculars, night vision scope, four stripped-down MREs, cordage, small spade, hygiene kit, and a field antenna.
All of this was packed inside of a USGI large ALICE pack.
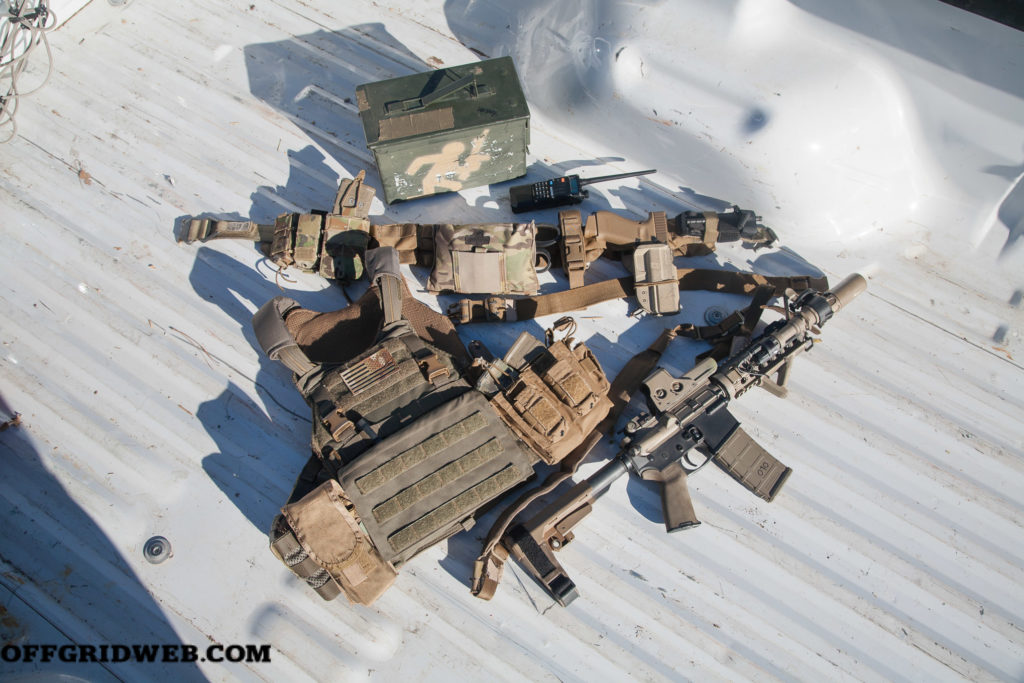 Above: Tim’s Gear Loadout:
- Mayflower SCARAB plate carrier with a Paraclete dual M4 magazine pouch, TYR Tactical triple M4/pistol magazine pouch, and SureFire flashlight in a HSGI utility pouch
- VTAC Cobra under-belt with a LBT MOLLE padded belt, two TYR Tactical pistol magazine pouches, TYR Tactical M4 magazine pouch, LBT IFAK pouch containing Dark Angel Medical trauma kit and shears, HSGI utility pouch with multi-tool, issued Uncle Mike’s Kydex holster, and a tourniquet.
- Glock 19X
- 10.5-inch AR pistol with DPMS lower receiver, LMT upper receiver, SB Tactical SBA3 pistol brace, Knight’s Armament Picatinny rail, Magpul Angled Fore Grip, SureFire Warcomp and Warden blast diffuser, SureFire M3 weapon light, EOTech 552 optic, MaTech backup iron sight
- Baofeng UV-5R radio
At the Rural Recon class we covered in Issue 41, you reinforced the importance of effective camouflage. What tips do you have for camouflaging skin, clothing, and other gear?
Timothy Lacy: Camouflage is extremely important to the success of your mission. I prefer using camouflage face paint as it covers well and doesn’t interfere with breathing like some of the spandex face coverings do. As a young Infantryman, I learned to put insect repellent on my face prior to the face paint as it helped it go on much easier. I always camouflage any exposed skin and wear gloves.
I rattle-can spray paint items to break up their outline and shape and to subdue snaps or buckles that may have become worn and shiny. I also paint my weapons to blend in as well.
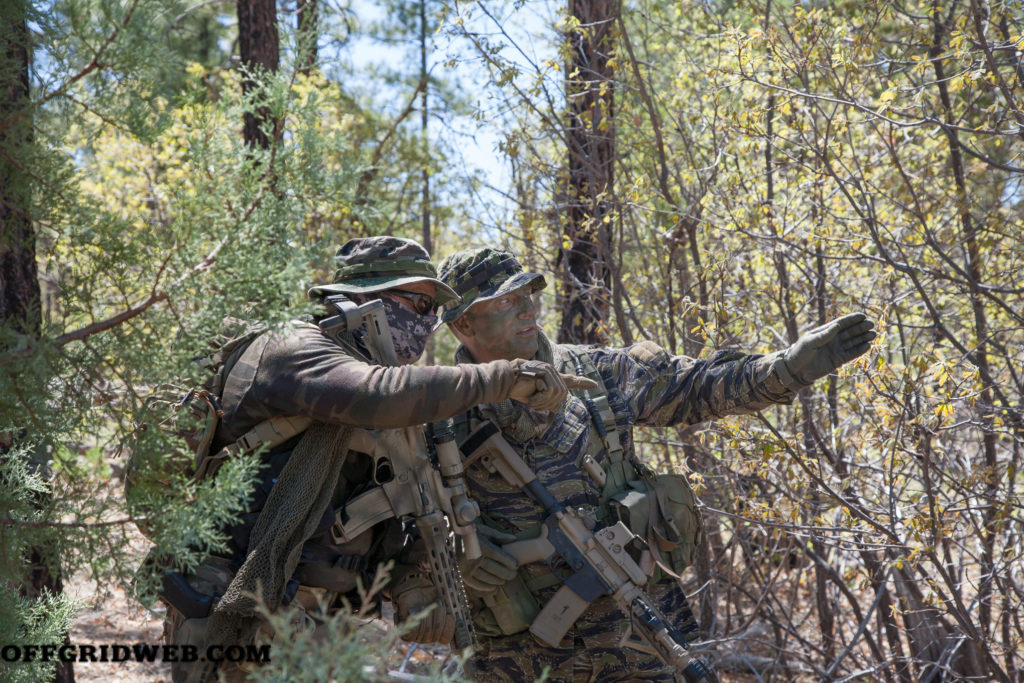 Above: Helping a student plan his approach to a linear danger area during a Rural Reconnaissance class
As for clothing, I generally wear military pattern camouflage such as Tiger Stripe and MultiCam. Sometimes, I just wear commercial hiking clothes in earth tones like browns and greens. I often have students ask what to wear — I always tell them to get earth-toned or camouflage clothing, no black. You don’t need the latest Gucci-flage to blend in.
I also carry and very often wear a ghillie cape and boonie hat with jute attached.
What’s one common challenge you’ve seen students experience during classes, and how have you helped them overcome it?
Timothy Lacy: There’s a belief or misconception that you need to have a ton of gear, or the latest fad in tacti-cool clothing and equipment. I demonstrate that as a “guerrilla,” you really don’t need it. If a guy shows up with a piece of equipment that doesn’t match the other “cool-guy” gear, I let him run that gear — if it functions, it ain’t wrong. Guerrilla fighters have been spanking standing armies for many years, carrying little more than the clothes on their backs, a rusted old rifle with little ammunition, and maybe a meal.
The other challenge is teaching them to work together as a team. Students are always surprised at how quickly they can learn to work together, even while conducting some of the more complex live-fire drills.
How can preparedness duties be shared within the family? What are three survival skills you’ve learned that you think every family should be proficient in?
Timothy Lacy: Every member of the family needs to be a participant, regardless of age, or physical ability. There is always something they can help with, be it training others, gardening, handling livestock, mechanical skills, medical care, or communications/radio skills.
I put martial skills at the top of my priority list. The ability to protect myself and my loved ones is essential to securing all other skills.
Next is the procurement and treatment of water and food. Knowing how to process wild game, grow your own food, and purify water is very important.
Next is medical skills, from treating major trauma to the common cold. It should be on everyone’s list.
The evacuation of Kabul airport in Afghanistan is ongoing as we speak. What’s your reaction to the situation over there, and what can the average American learn from it?
Timothy Lacy: As far as the evacuation is concerned, this could have been avoided by keeping Bagram Air Base open and secured. The place is massive, and the military along with civilian air assets could move far more people rapidly than the Kabul Airport can handle. And it’s far more strategically located.
Having spent seven years in Afghanistan, I have mixed feelings about what is happening. Pretty much anyone involved in the training and mentoring of the Afghan National Army (ANA), Afghan National Police (ANP), or Afghan Border Patrol (ABP) knew this was most likely going to occur. Precious few Afghans had any concept of Afghanistan as a nation. To them, it’s all very tribal-oriented — it’s what they know. The lack of discipline and loyalty amongst the Afghan forces is also no secret, so it comes as no surprise at all to see them fold and crumble.
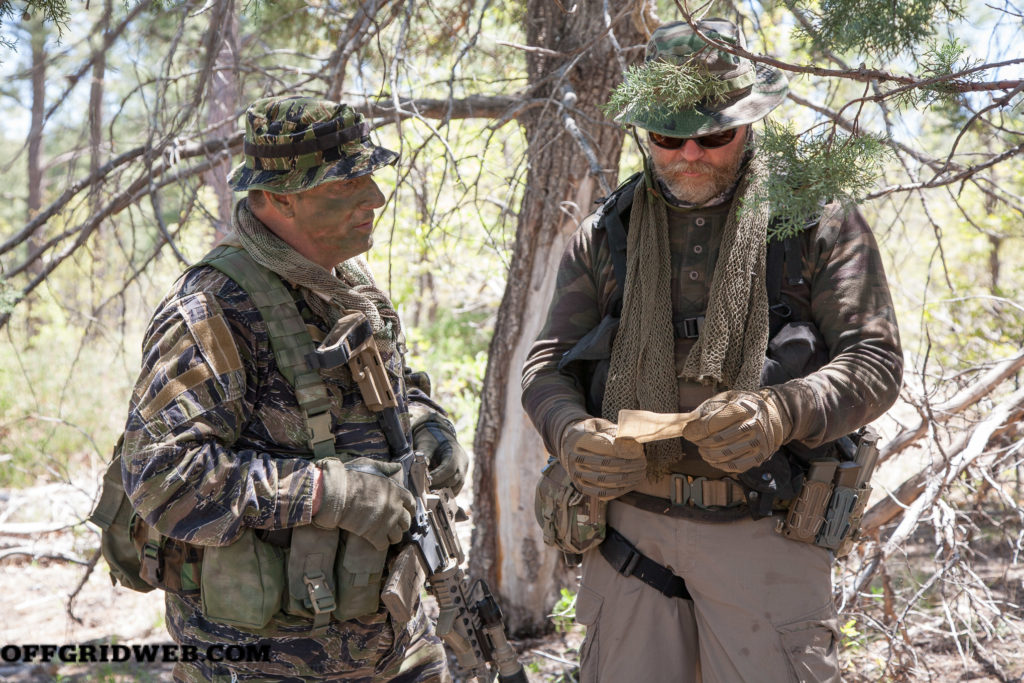 Above: Reviewing notes taken while surveilling an objective during a Rural Reconnaissance class
I do hope that many of the interpreters I worked with can make it to safety. But as I told several of them, I don’t want them to be my neighbor; I want them to stay and fight to make Afghanistan a better place.
For the average American, I would tell them to always have a plan to escape. Have contacts in place to assist you with the successful implementation of your plan. Always have the mindset that no one is coming to save you — you have to be responsible for your training and skill set.
What does the future hold for Guerrilla Mentor?
Timothy Lacy: We shall see. I’d like to continue teaching and training. I truly hope that what I teach will enable students to successfully deal with whatever life throws at them.
[Photos by Patrick McCarthy, Tom Marshall, and Courtesy of Timothy Lacy.]
Timothy Lacy
 Age: 58
Hometown: Show Low, Arizona
Family Status: Married with four children
Military Experience: 8 years U.S. Army 11B Infantryman
Law Enforcement Experience: 16 years
Childhood Idols: My dad
Favorite Drink: Water
Favorite Quote: Actually, it’s a Bible verse. “And I looked, and arose and said to the nobles, to the leaders, and to the rest of the people, ‘Do not be afraid of them. Remember the Lord, great and awesome, and fight for your brethren, your sons, your daughters, your wives, and your houses.’” – Nehemiah 4:14 (NKJV)
URL: facebook.com/guerillamentor
Instagram: @guerrilla.mentor
MORE SURVIVOR SPOTLIGHTS ON OFFGRID
- Brady Pesola: Ensuring a Safe Passage for Veterans.
- John Nores: The Patron Saint of Mother Nature.
- Jeff Franklin: The Commando Whisperer.
- Tom Marshall: The Inside Man.
- Mike Glover: Redefining Survival.
- Byron Rodgers: Superior Security Specialist.
- Michael Rozin: Leave Nothing to Chance.


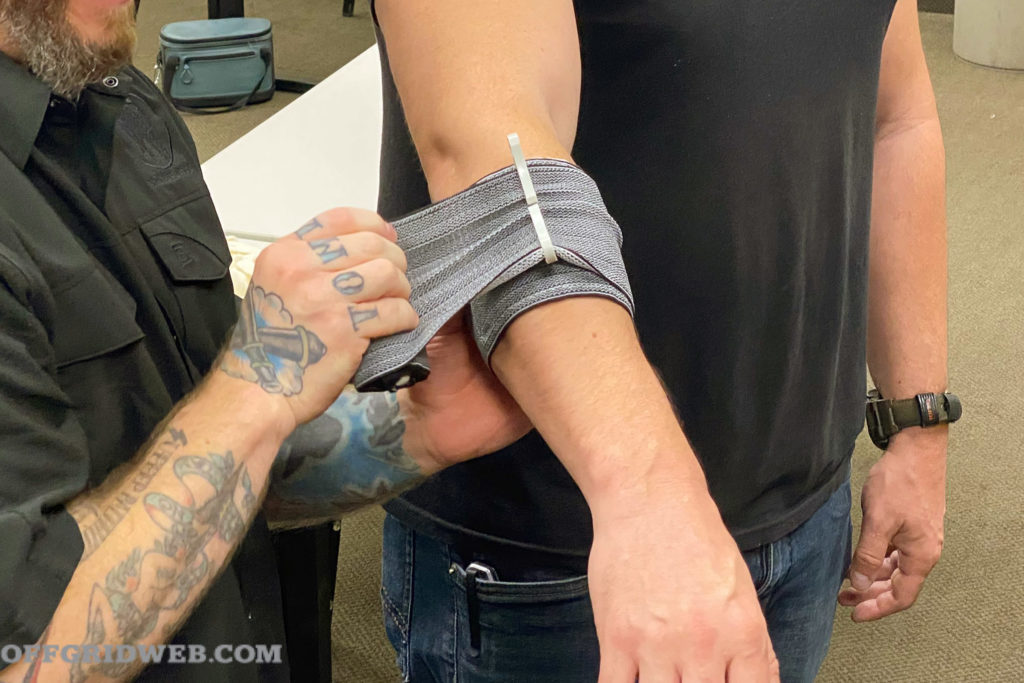 Above: Every student had the opportunity for hands-on practice applying tourniquets, packing simulated wounds with hemostatic gauze, and wrapping compression bandages — essential techniques to stop blood loss.
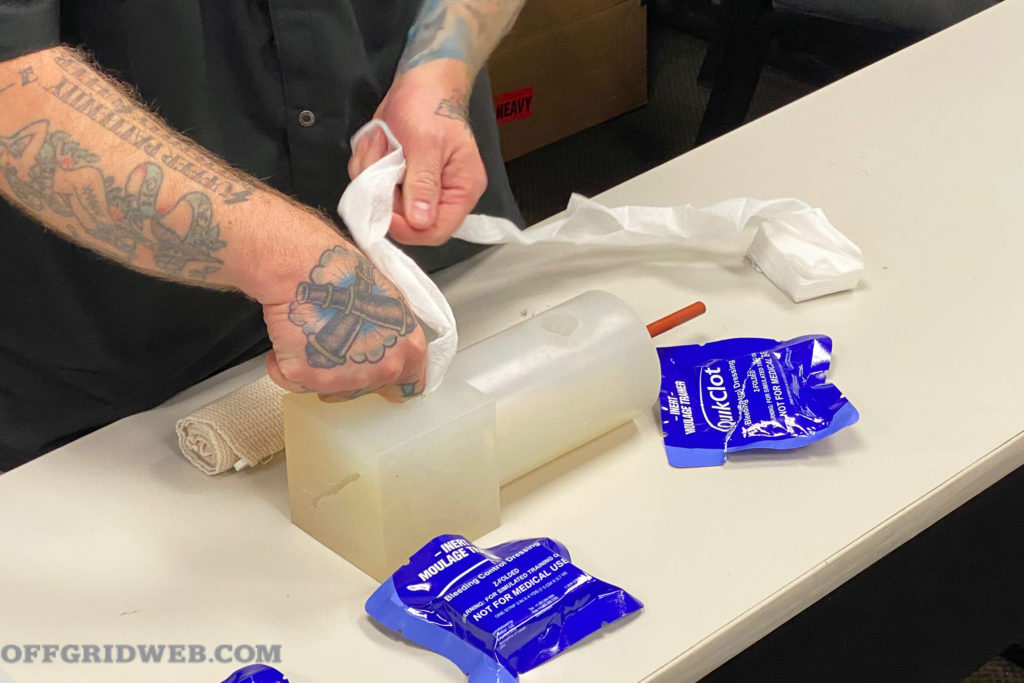

 Above: The PAMAX Tactical LION is designed such that even dropping it right at your feet poses no risk of frag or direct injury. Just make sure you’ve got eyes and ears on.
 Above: The LION Blank Firing Device consists of a machined aluminum body with two detachable bases: aluminum for commercial use and a larger stainless steel one for law enforcement.
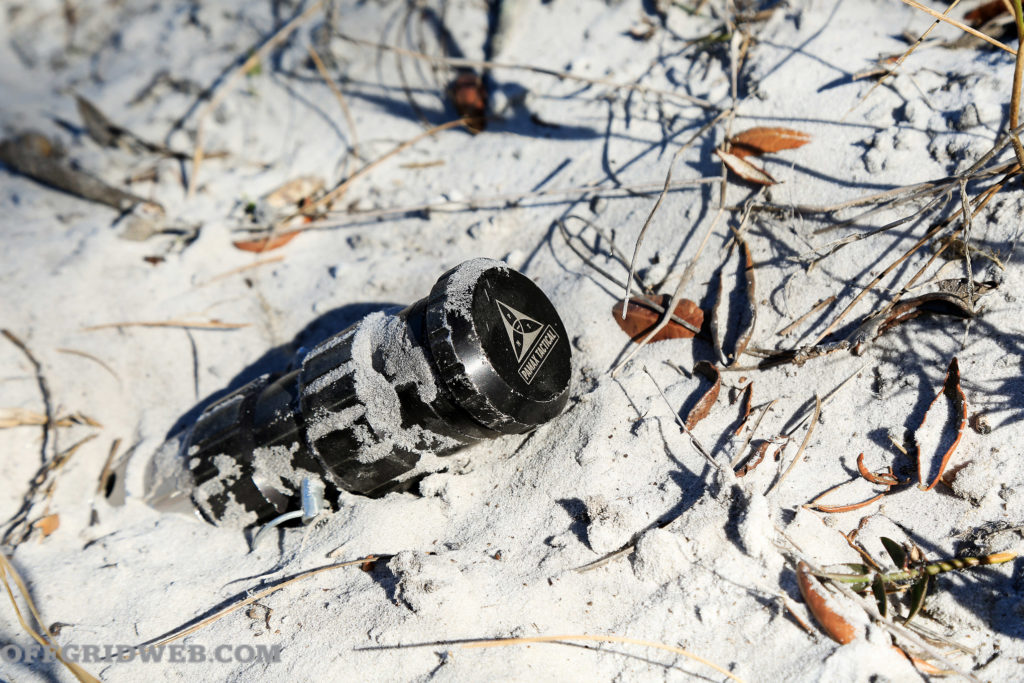 Above: Even when we actively packed it with wet Florida “sugar sand,” the LION functioned with 100-percent reliability.
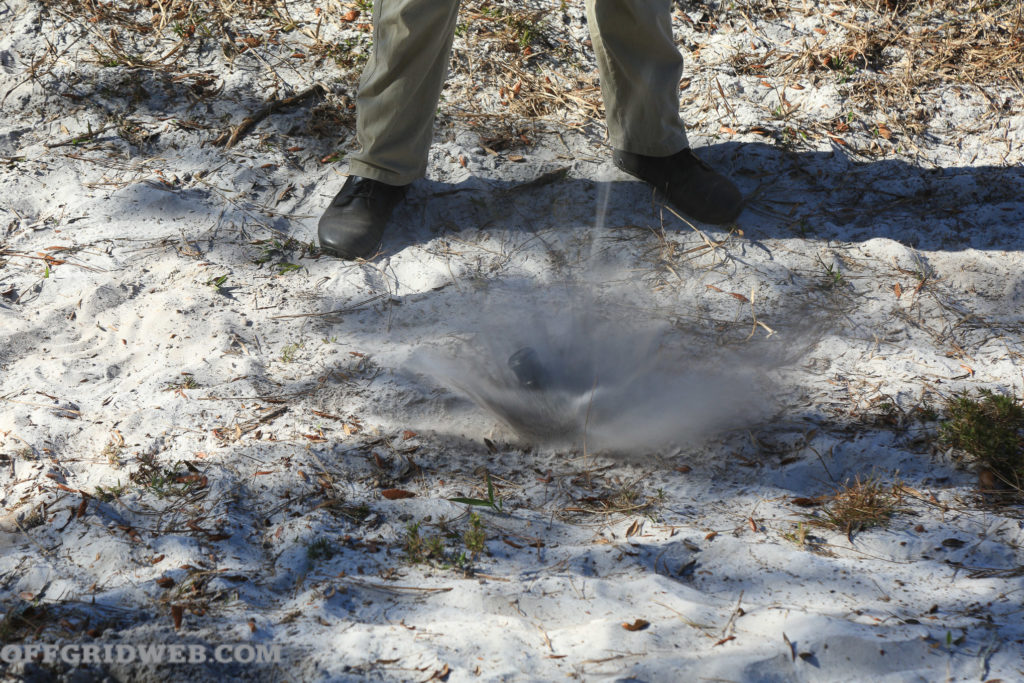
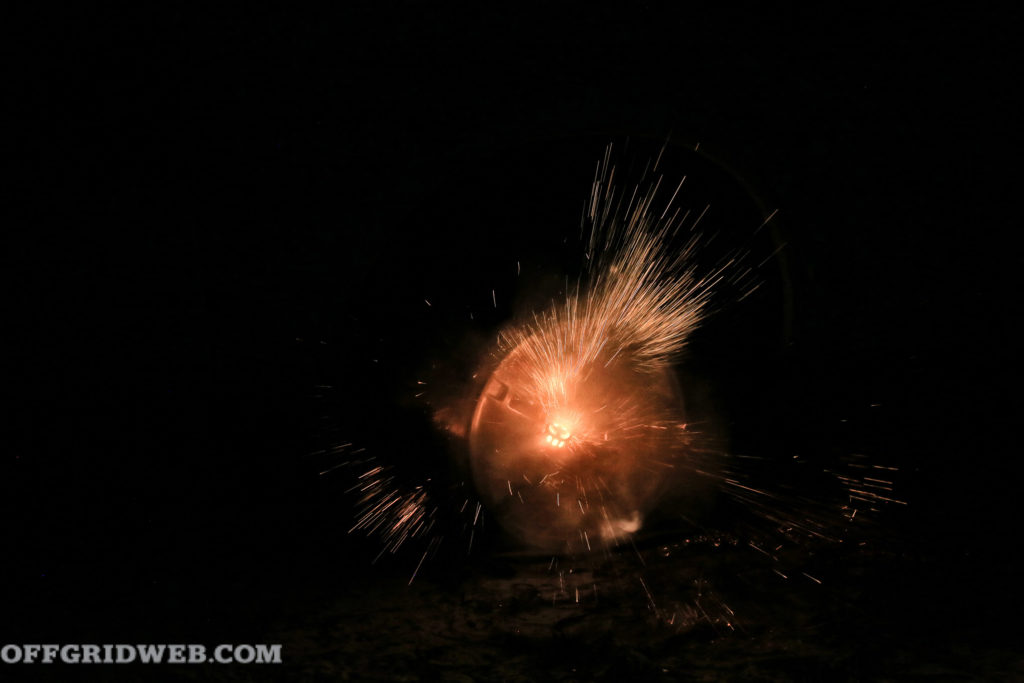 Above: Depending on the size and type of blank used, the LION is capable of producing significant flash and moderate concussion.
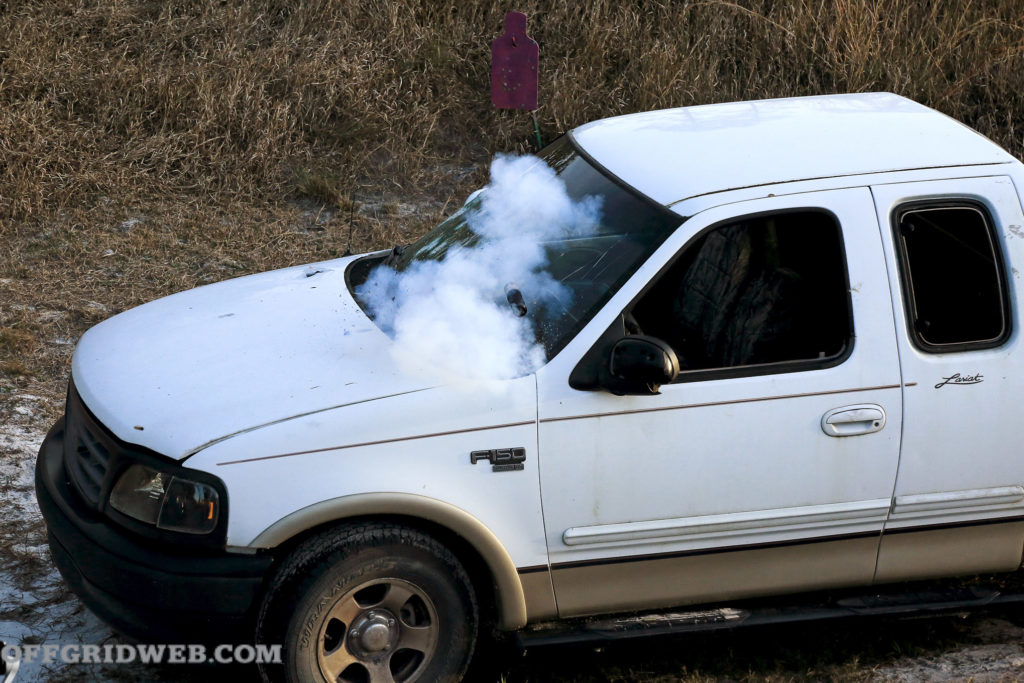 Above: With black powder blanks, the LION creates both smoke and sound diversion.
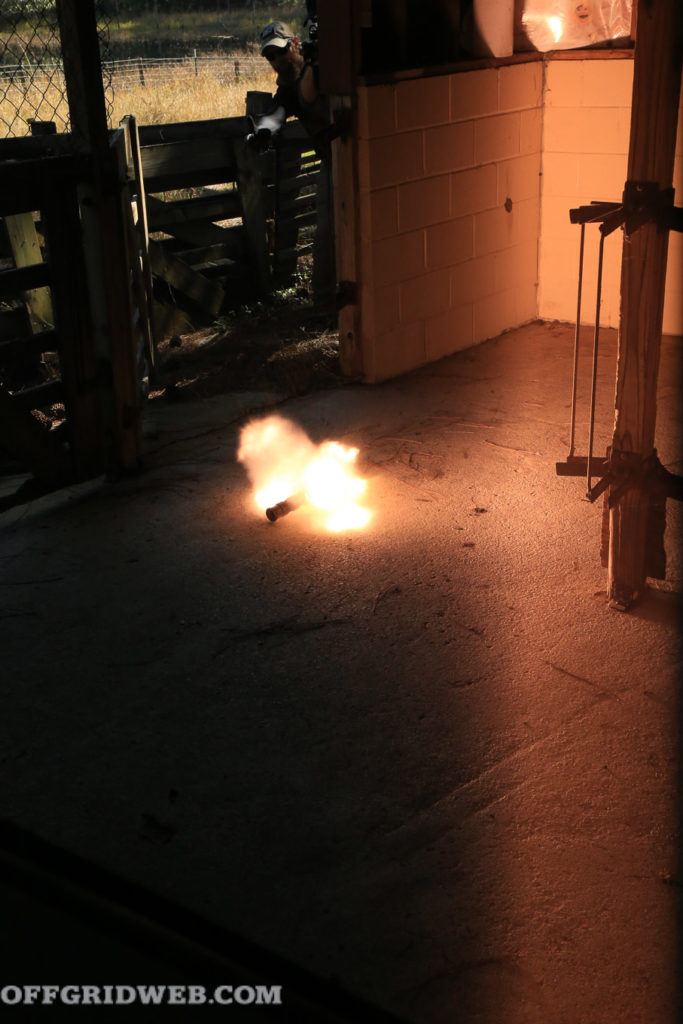
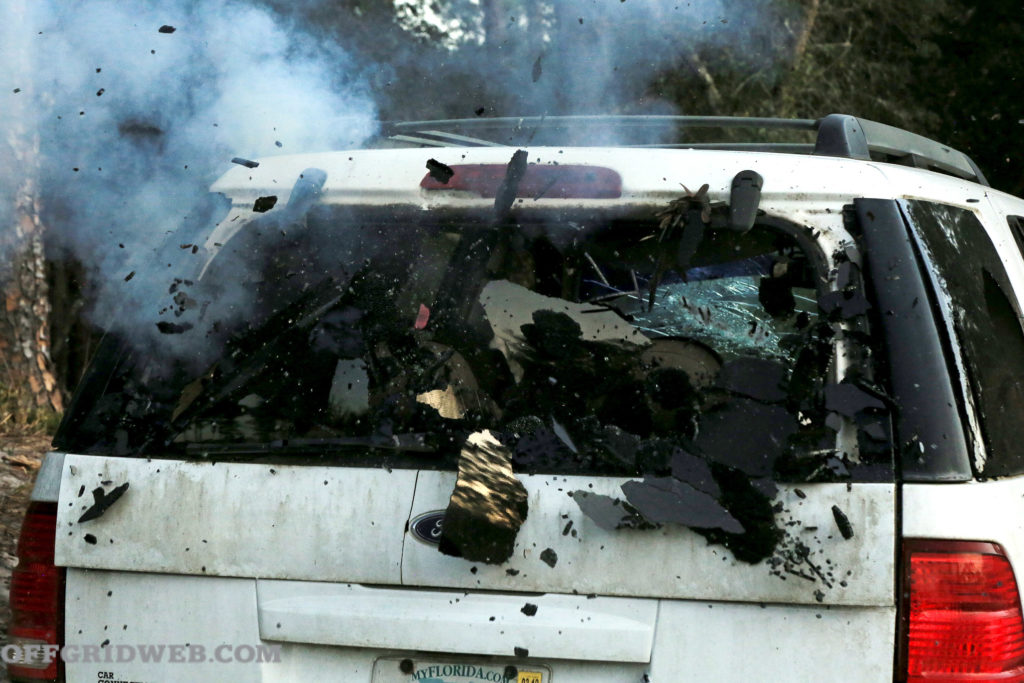 Above: We were able to use the LION to shatter this truck’s rear windshield but found that on flexible surfaces like safety glass and auto body panels, throwing technique was a factor for reliable detonation.
 Above: Samer Scher
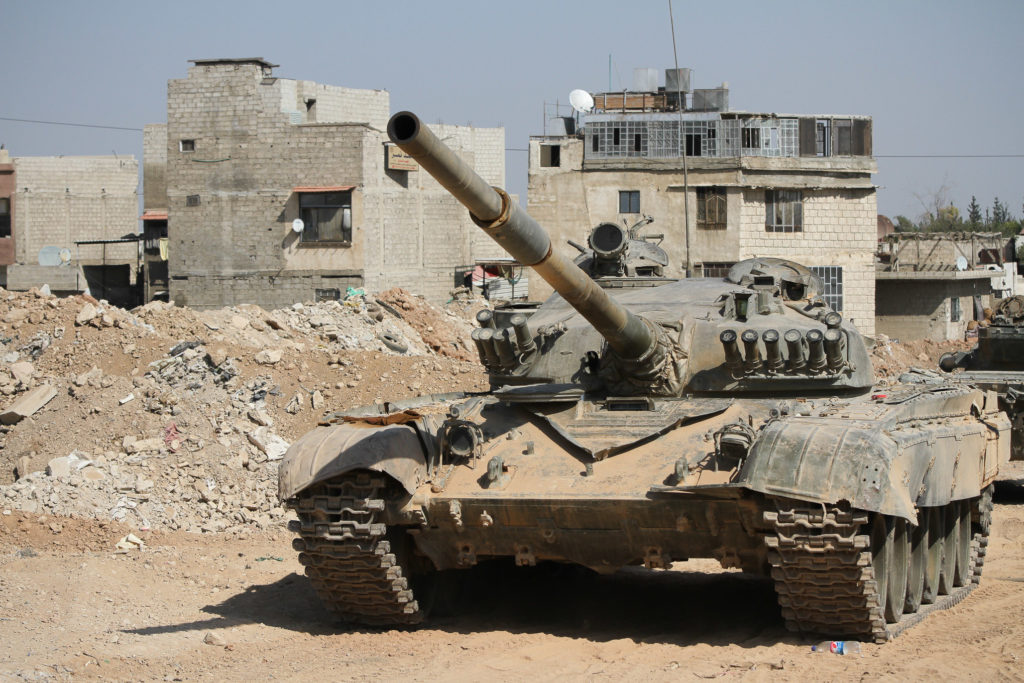 Above: A Syrian National Army tank near the combat zone in Damascus, September 2013.
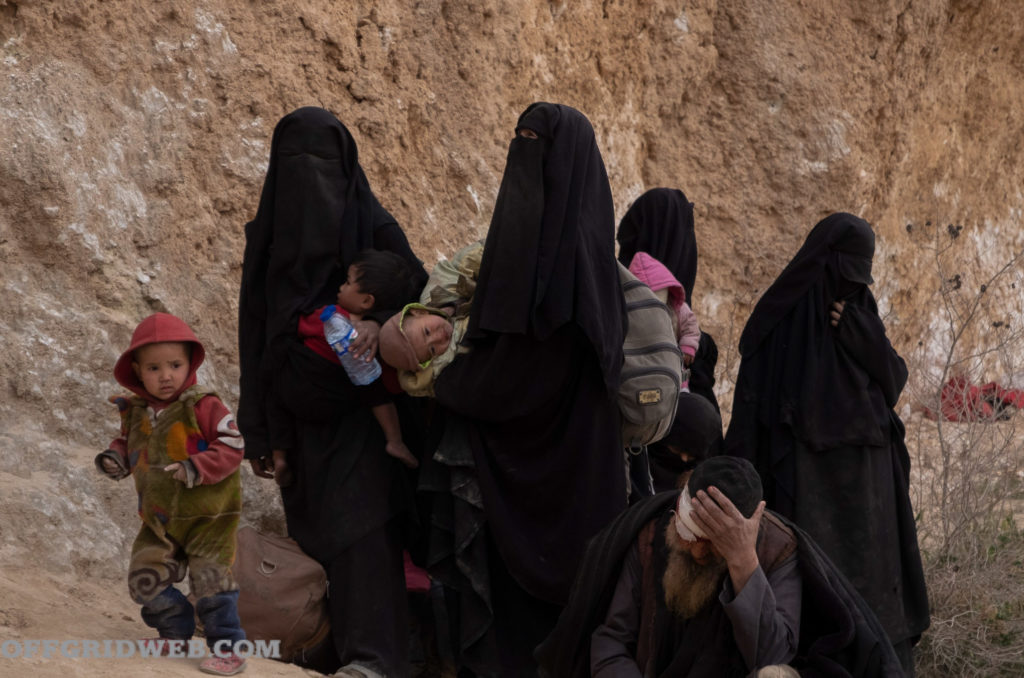 Above: Rebels in the fight against ISIS and the Syrian regime. Photo courtesy Rojava Information Center.
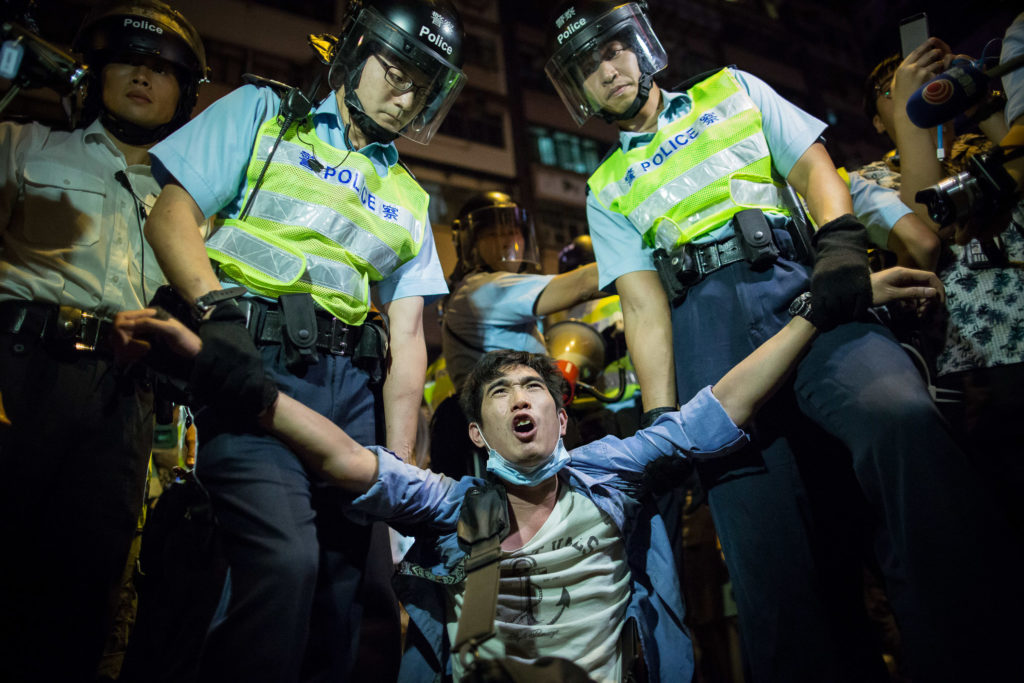
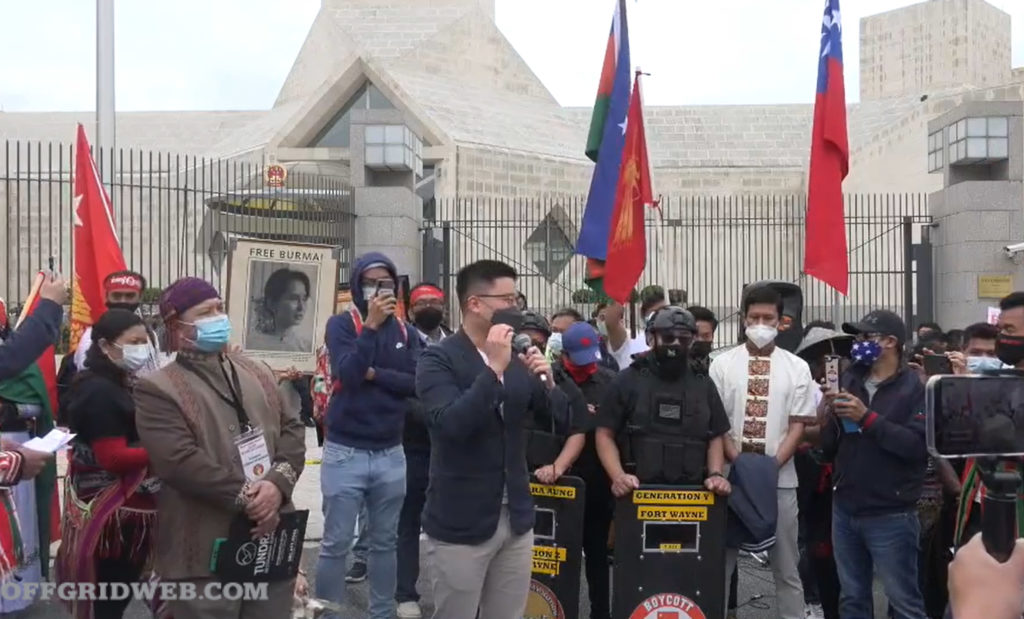 Above: M Tu Aung outside the Chinese Embassy in DC in April 2021, protesting the military takeover in Burma. Above: Photo by Hollie McKay
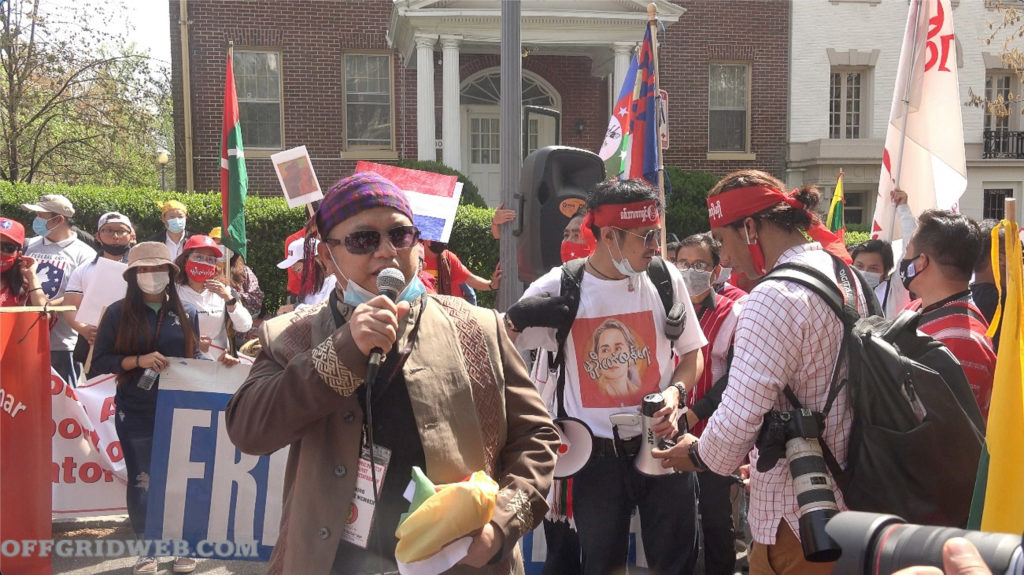 Above: Photo by Hollie McKay
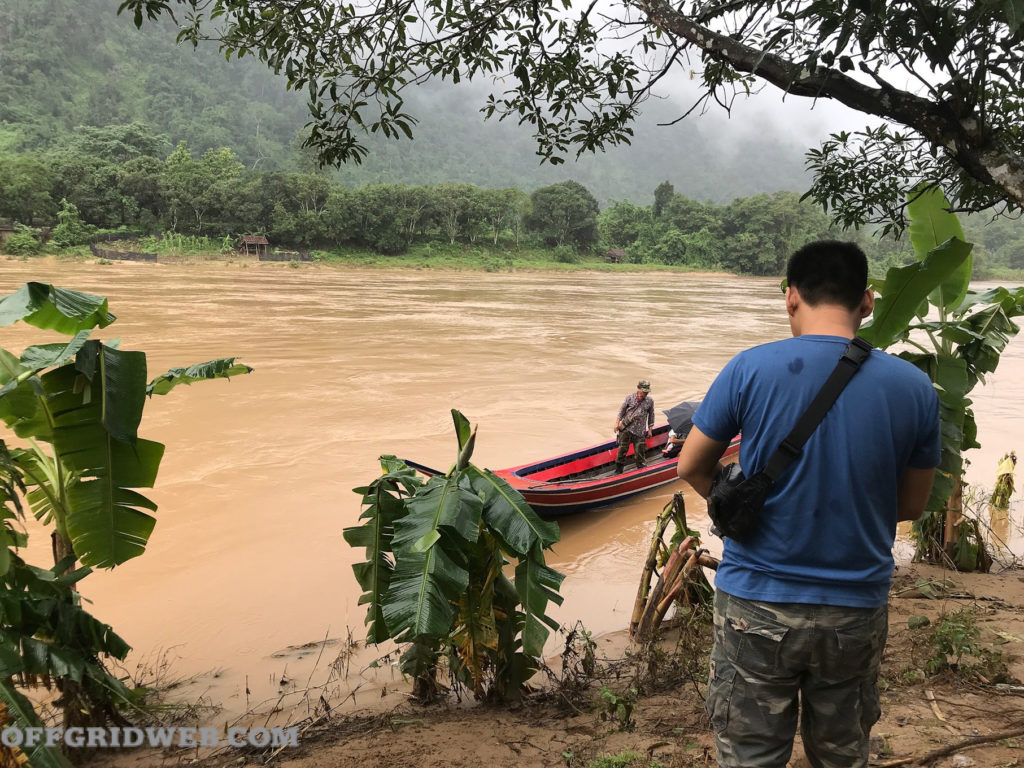 Above: Photo by Hollie McKay
 Above: Photo by Hollie McKay
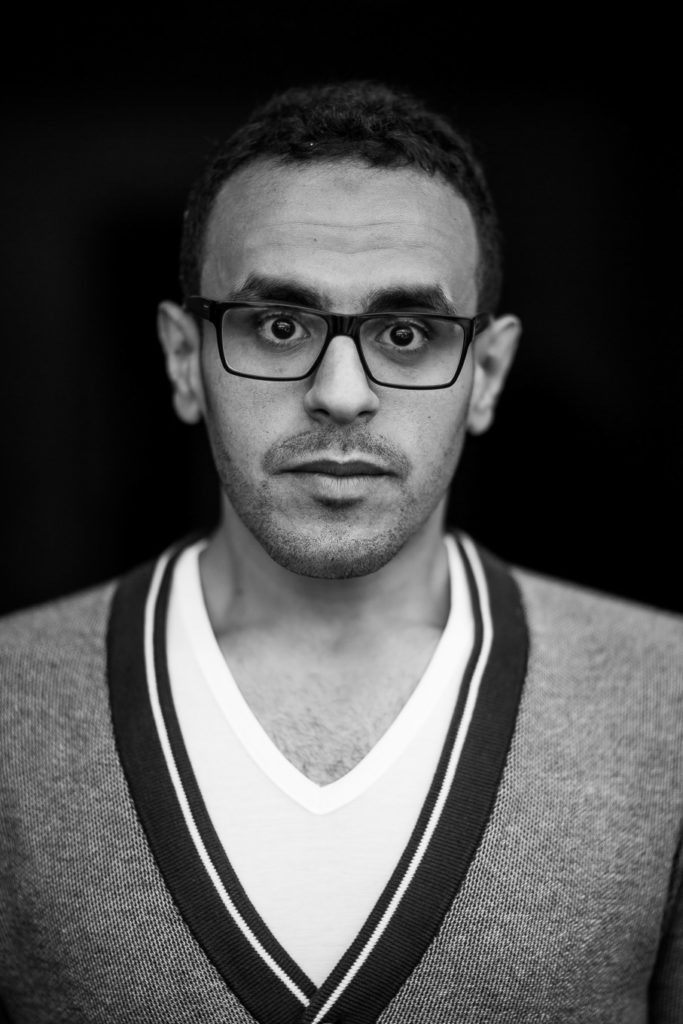 Above: Mohamed Soltan poses for a photo at his sister’s home in Fairfax, Va., on Friday, August 21, 2015. Soltan spent over two years in jail in Egypt including a year on hunger strike. (Photo by Zach Gibson / The New York Times)
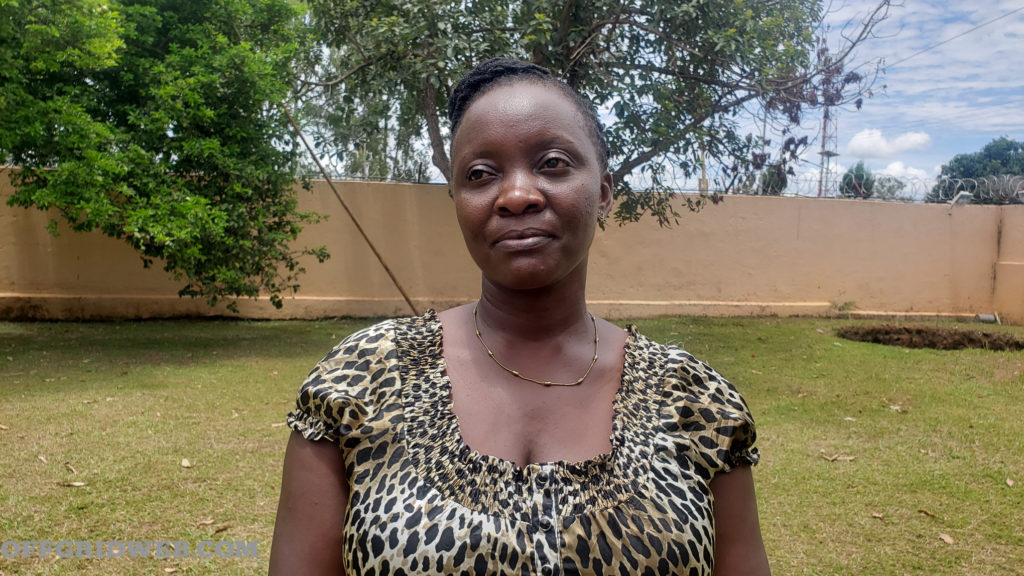 Above: Victoria Nyanjura


 Above: Even the best-equipped medic can run out of supplies off the grid.
 Above: Yarrow on gauze.
 Above: Dental bleeding after extraction may be controlled with tea bags and pressure.
 Above: Witch hazel and gauze squares.
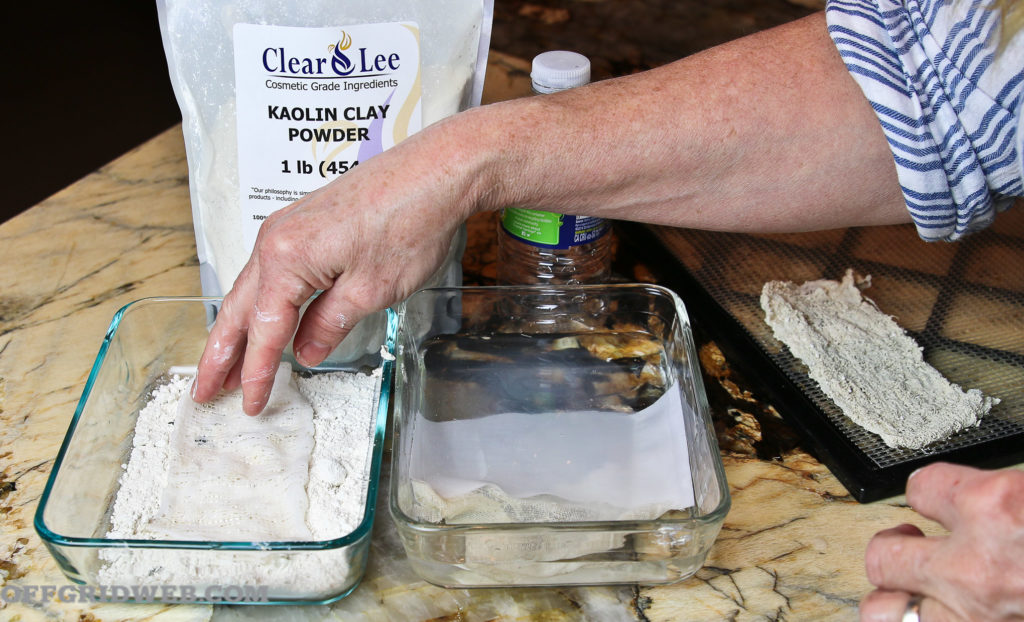 Above: Dip gauze in water and coat with kaolin powder.
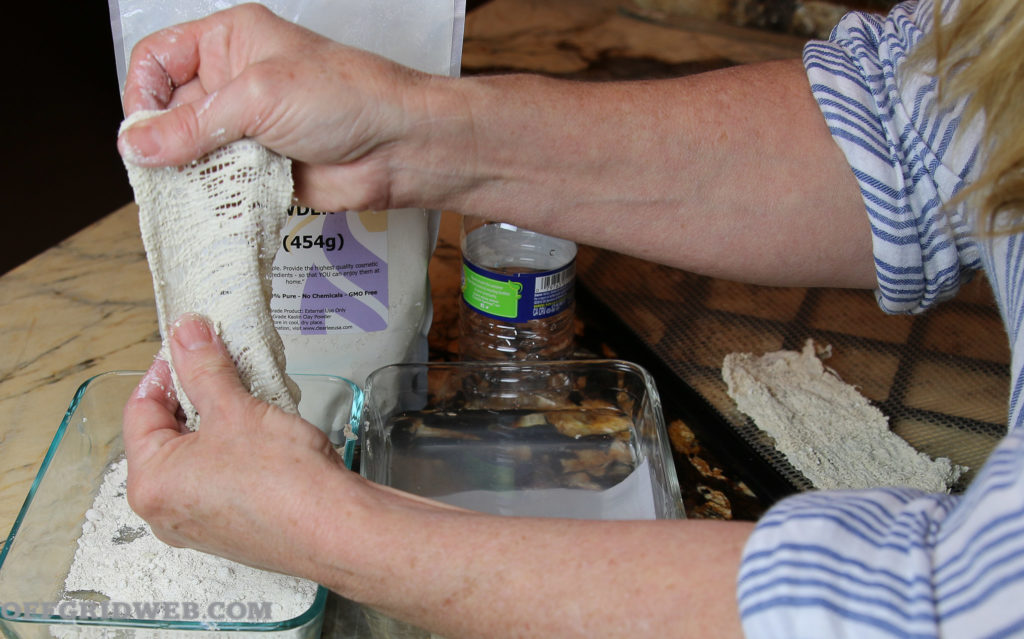 Above:
 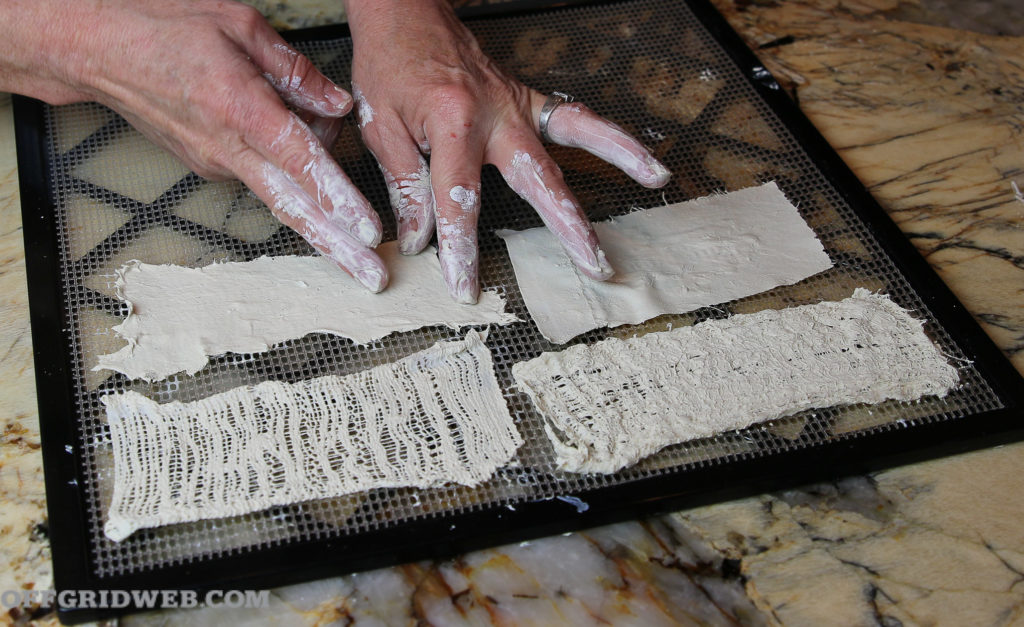 Above: Spread out wet dressings onto a drying rack.
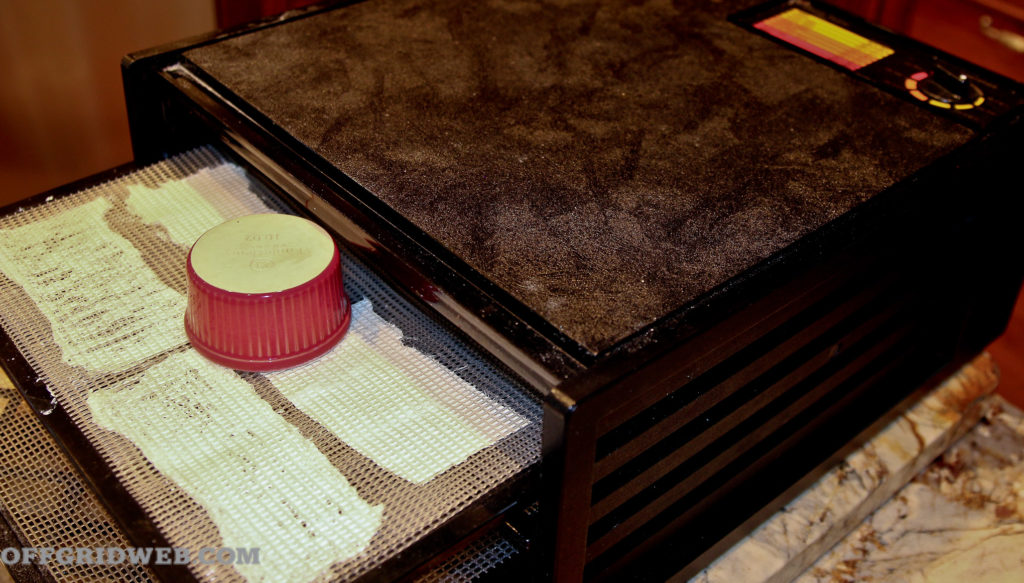 Above: Place wet kaolin gauze into a dehydrator at 105 degrees.
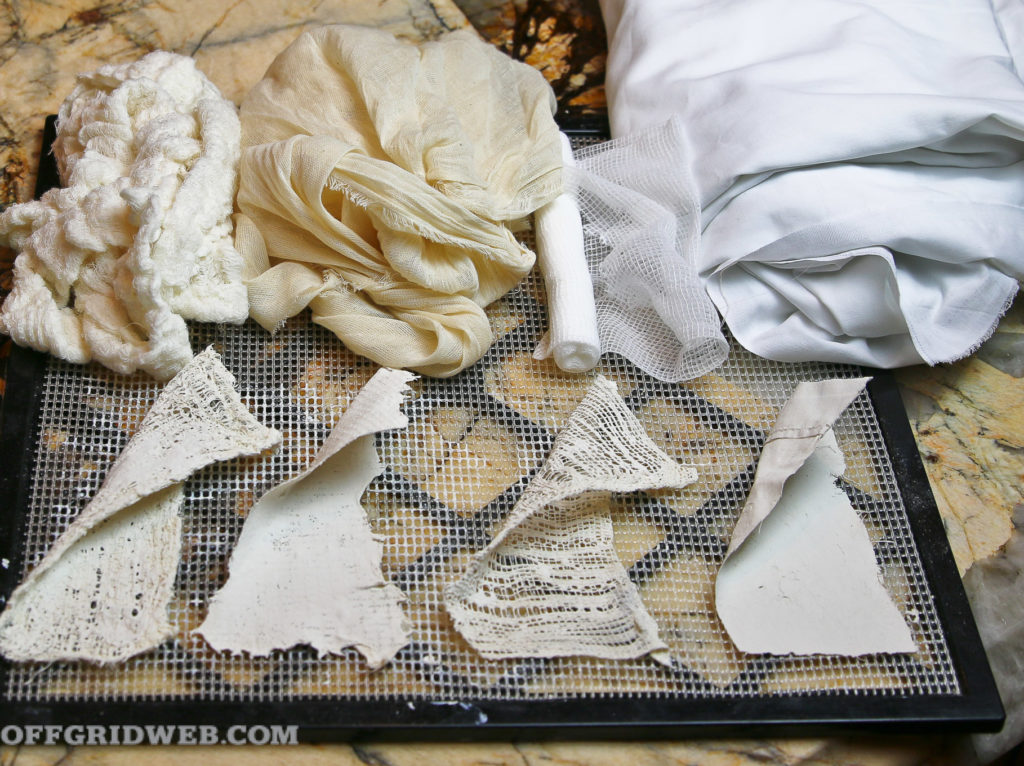 Above: These photos show a few fabrics used to improvise kaolin dressings.
 Above: Ice packs help constrict smaller blood vessels.
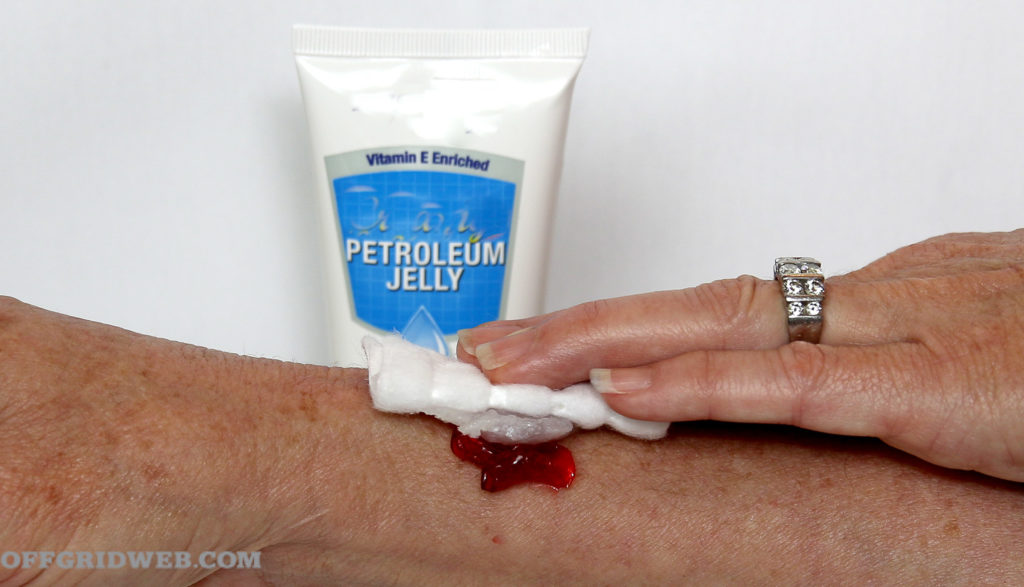 Above: Petroleum jelly dressing on simulated wound.
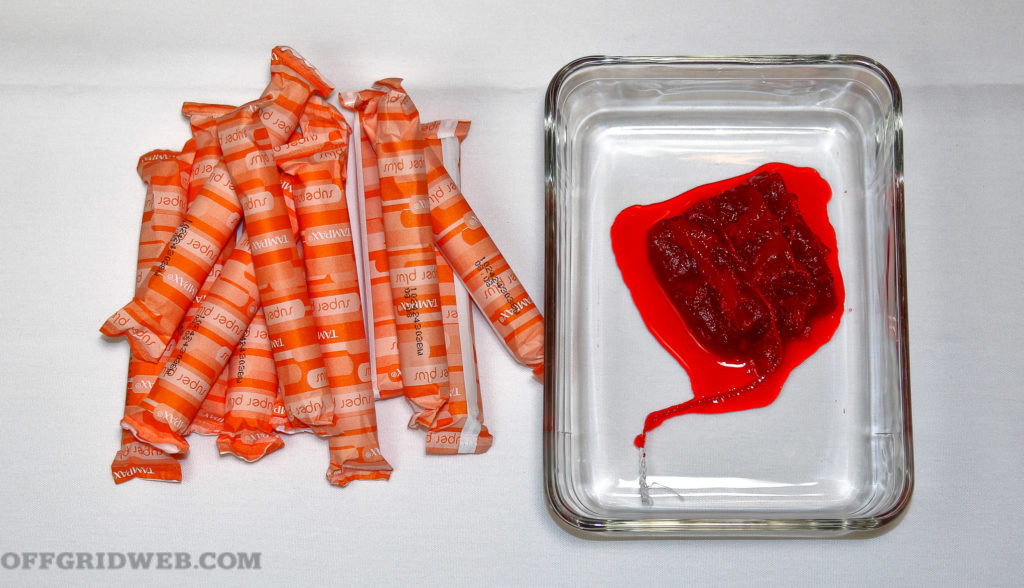 Above: The tampon would just conceal the bleeding, not stop it … Just because you don’t see a hemorrhage doesn’t mean it isn’t happening. A saturated tampon can only hold about 20cc of blood.
 Above: Enjoying a break on the Koh Nang Yuan viewpoint after kayaking from Koh Tao, Thailand.
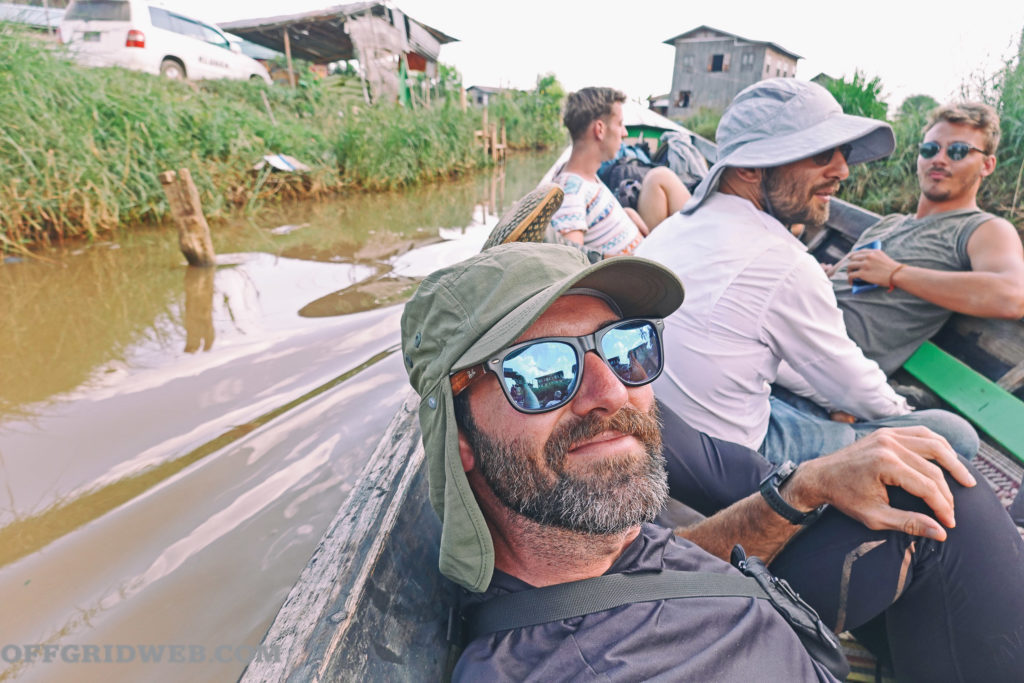 Above: Taking a longboat across Inle Lake from Kalaw, Myanmar.
 Above: Heading toward the train tunnel to the Nine Arches Bridge in Ella, Sri Lanka.
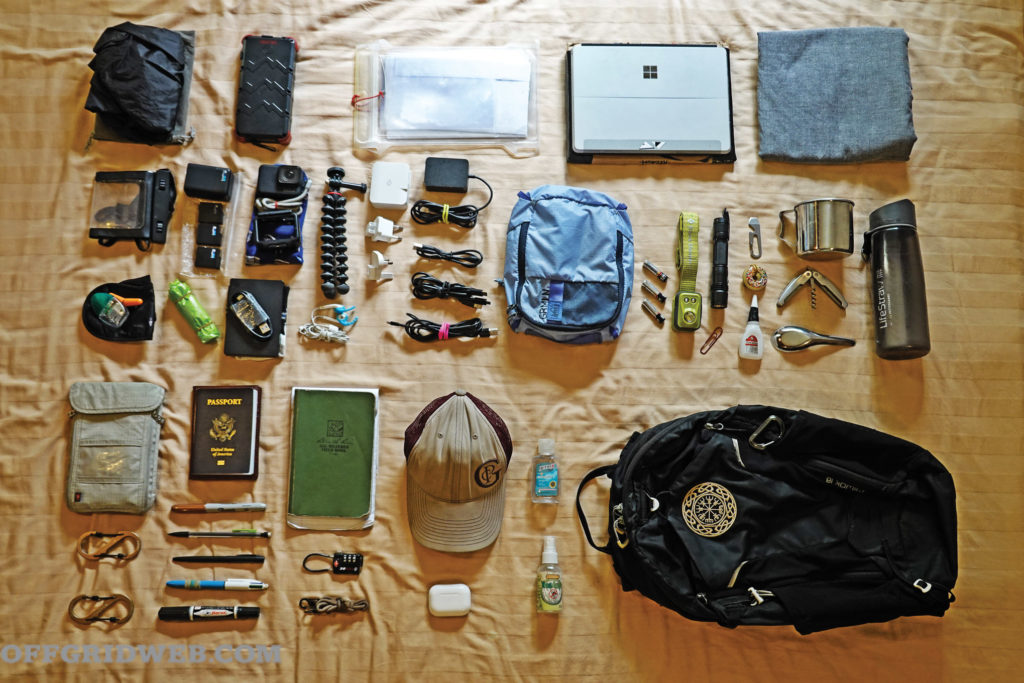
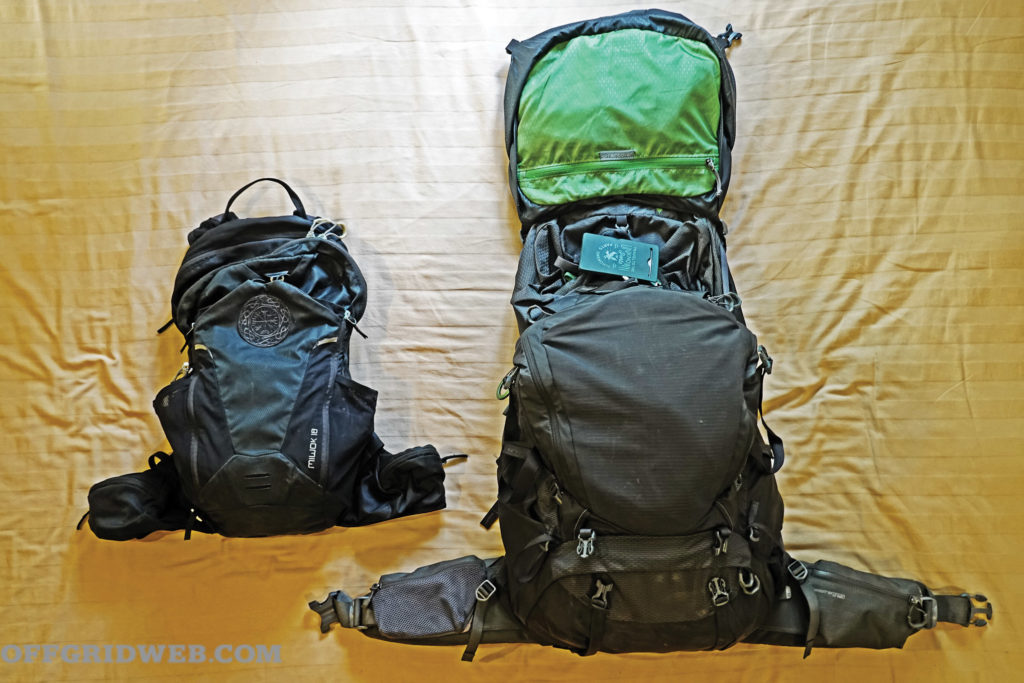
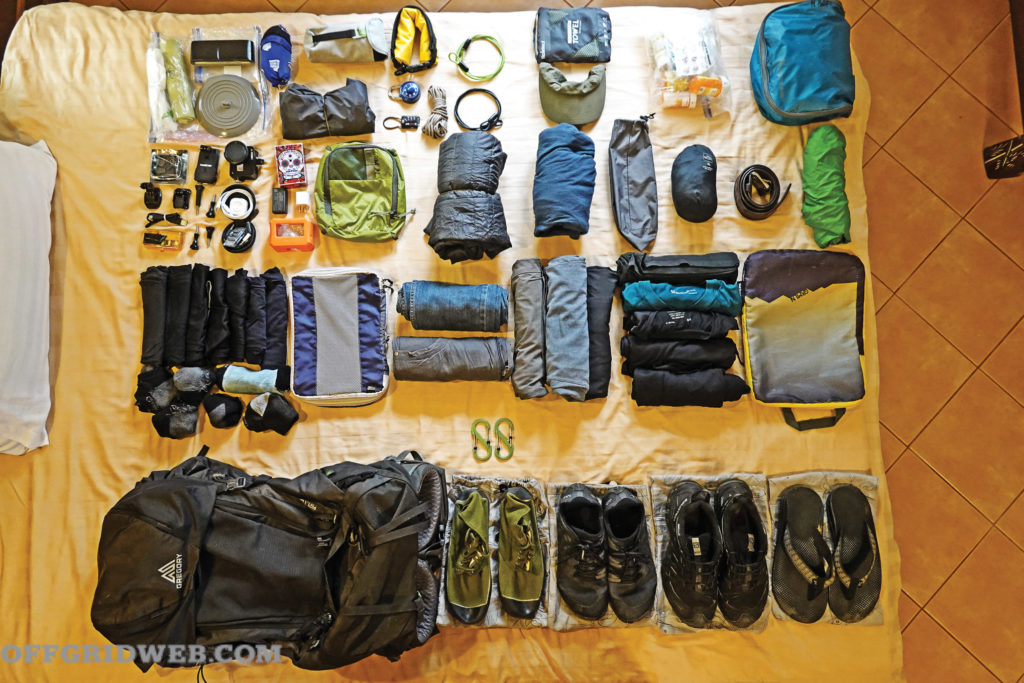 Above: Layout of the main pack contents, which includes everything necessary to reset at the end of the day and sustain months of adventure. A detailed breakdown of all the contents can be found at: grmlnglobal.com.
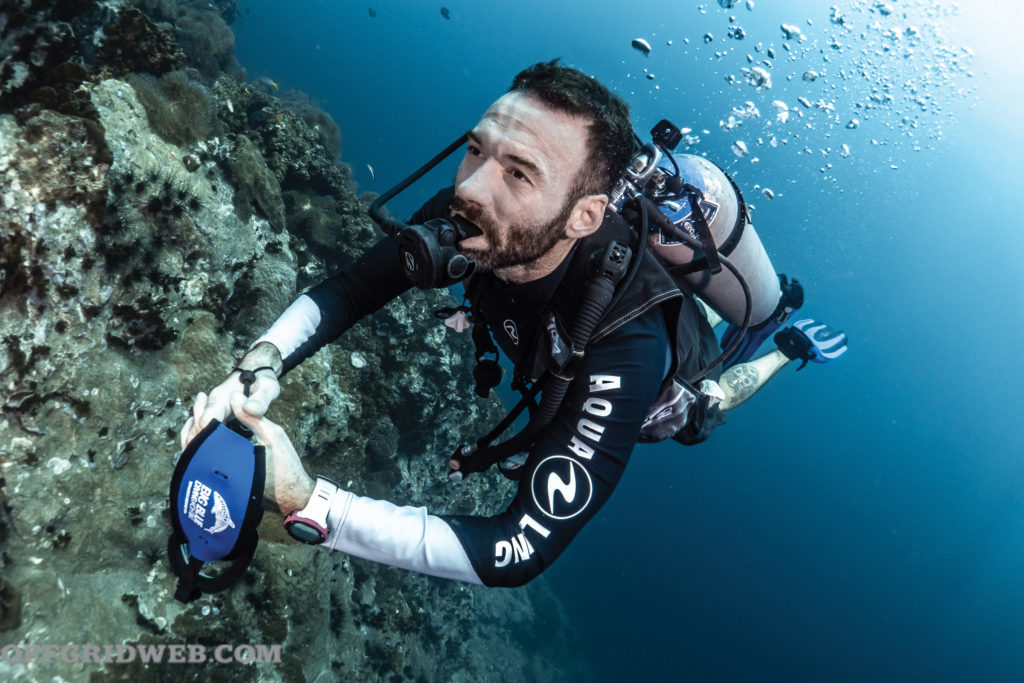 Above: Diving in the Gulf of Thailand.
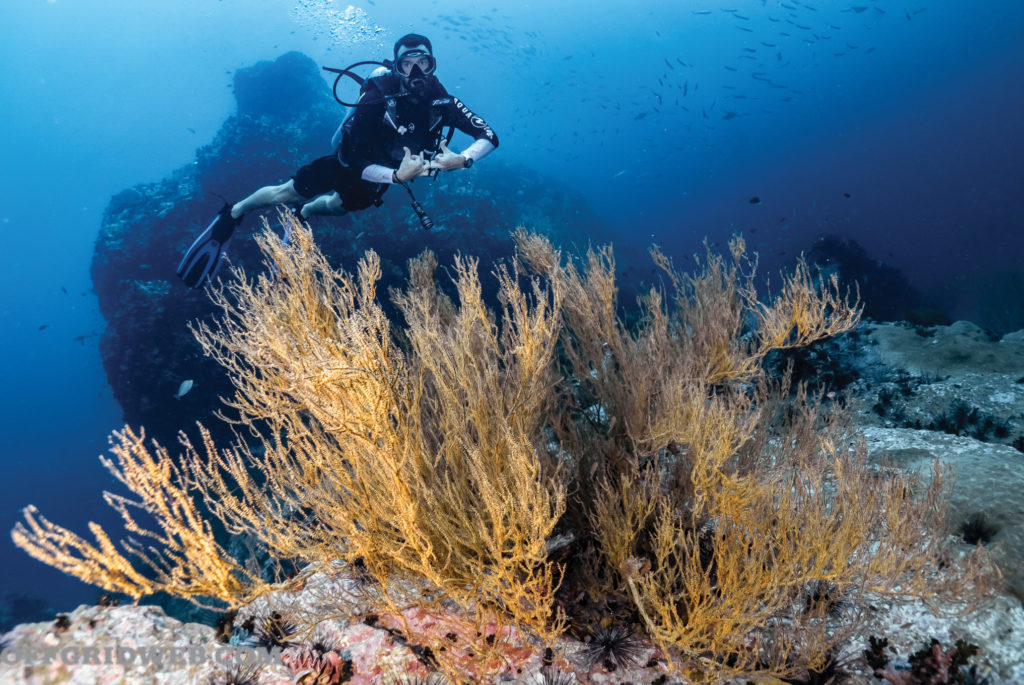 Above: Exploring the depths of the Andaman Sea.
 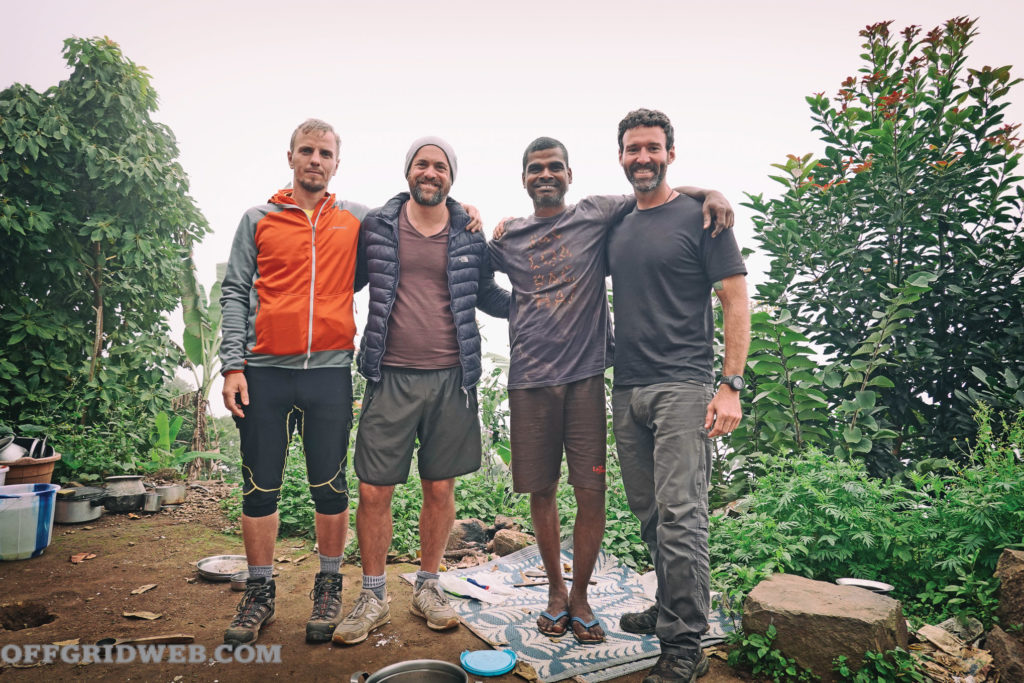 Above: Bucky stands with friends next to a retired scientist in Vattakanal, India. The gentleman kindly invited Bucky and his companions into his home for coffee and conversation.
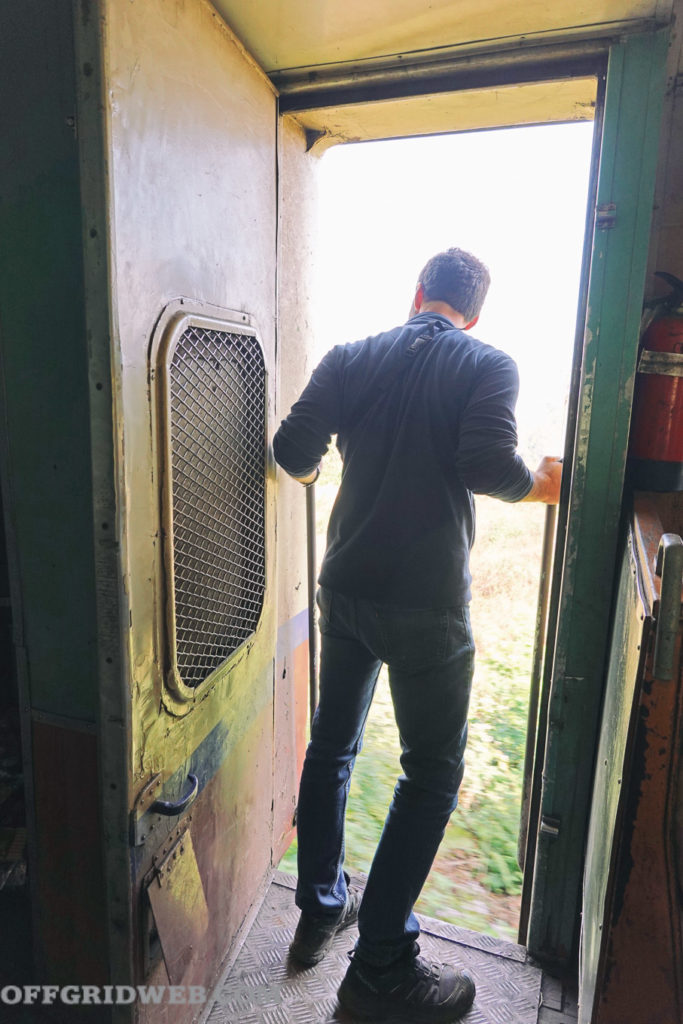 Above: Watching the ground get further away while crossing the Goteik viaduct while en route to Mandalay from Hsipaw, Myanmar.

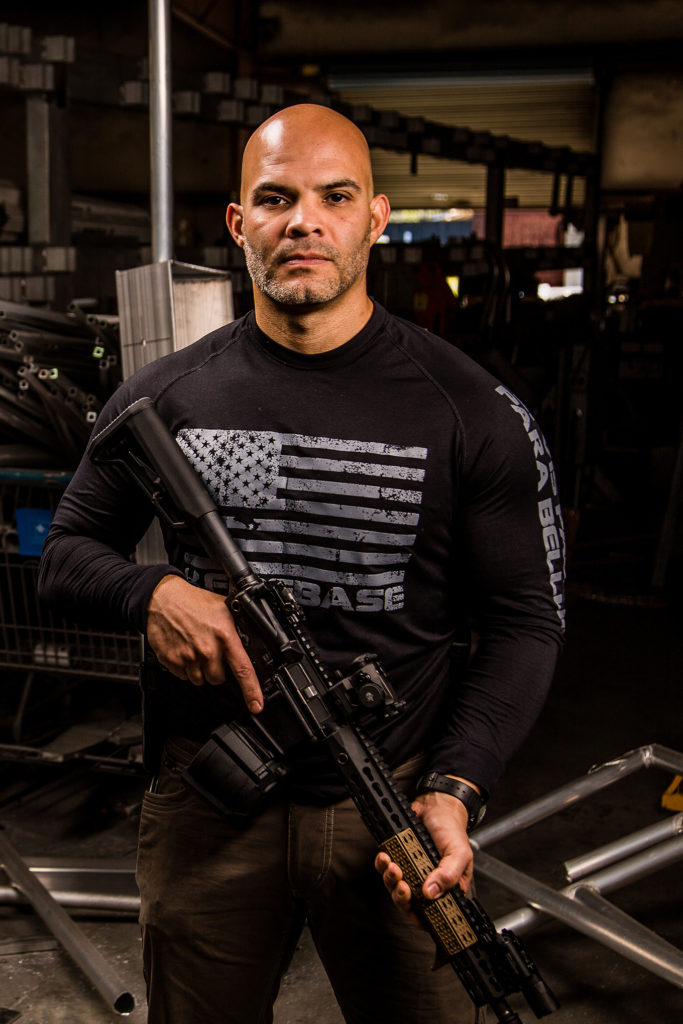 Danny Pritbor, director and owner of Firebase Combat Studies Group, currently serves as a Department of Defense contractor. Danny’s career spans over 29 years with service as a U.S. Marine, law enforcement SWAT officer, Department of Energy and Department of State contractor, federal agent, and private security consultant. He’s served worldwide in various war zones and high-threat areas. His company partnered with Panoplia to develop a nine-hour, online training program called Soft Skills and Tactics. It consists of three parts, nine lessons with 45 topics covered. In conjunction with the online course, Firebase offers a two-day security training program that consists of lecture, hands-on, and a field training exercise with stations that push participants to take charge, make decisions, and problem solve. For more information on the online SST program, please visit to panoplia.org. You can also reach Danny at


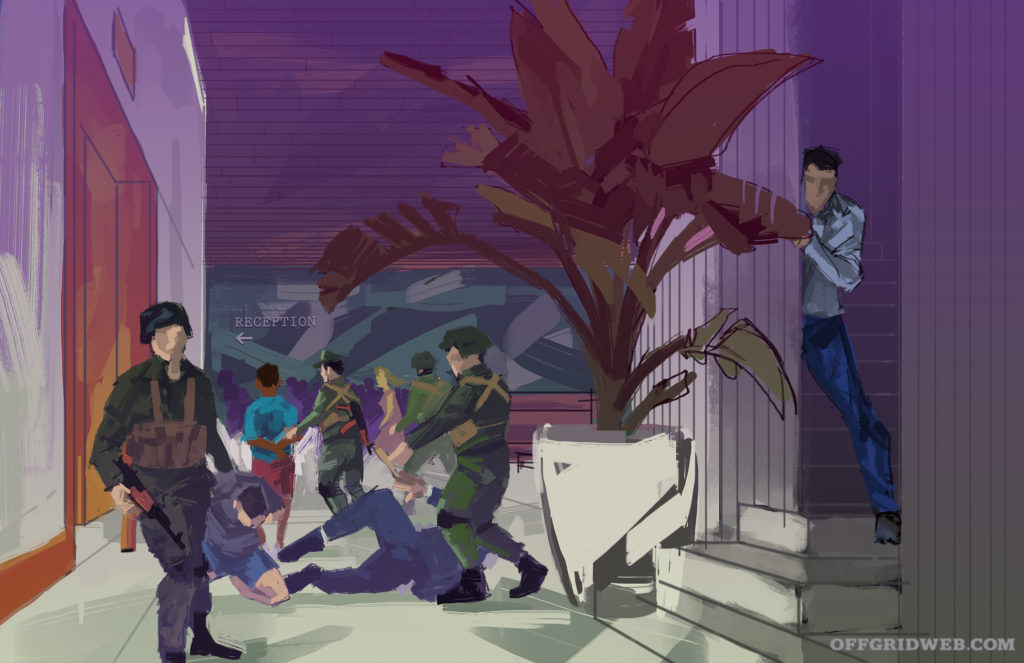
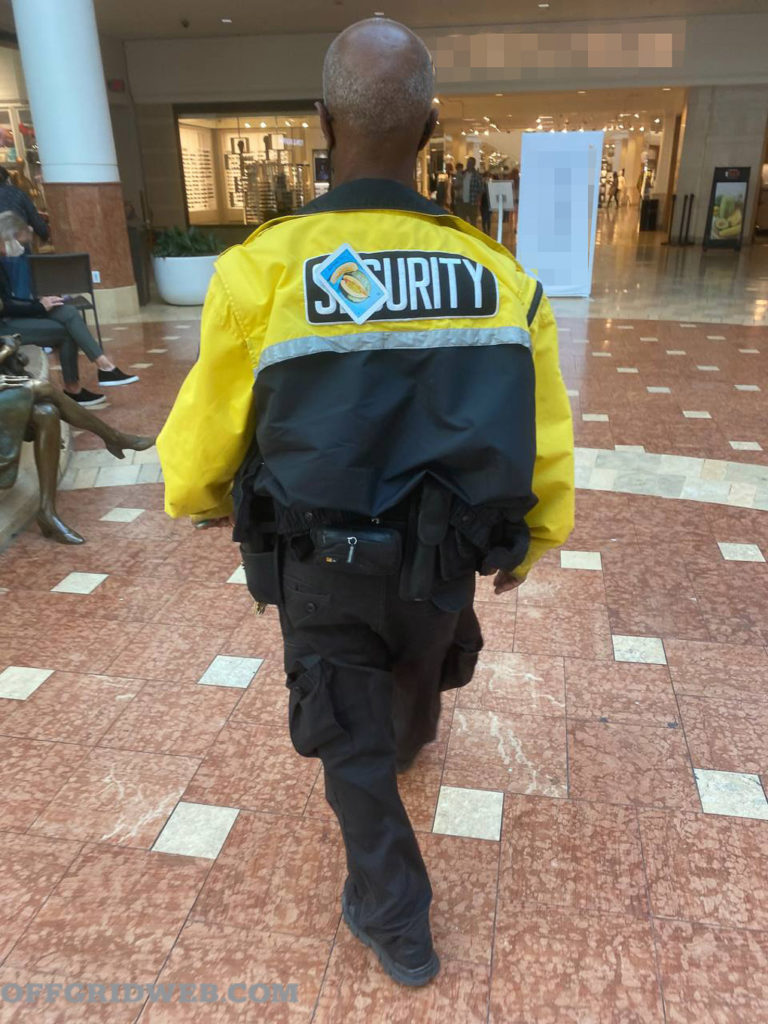
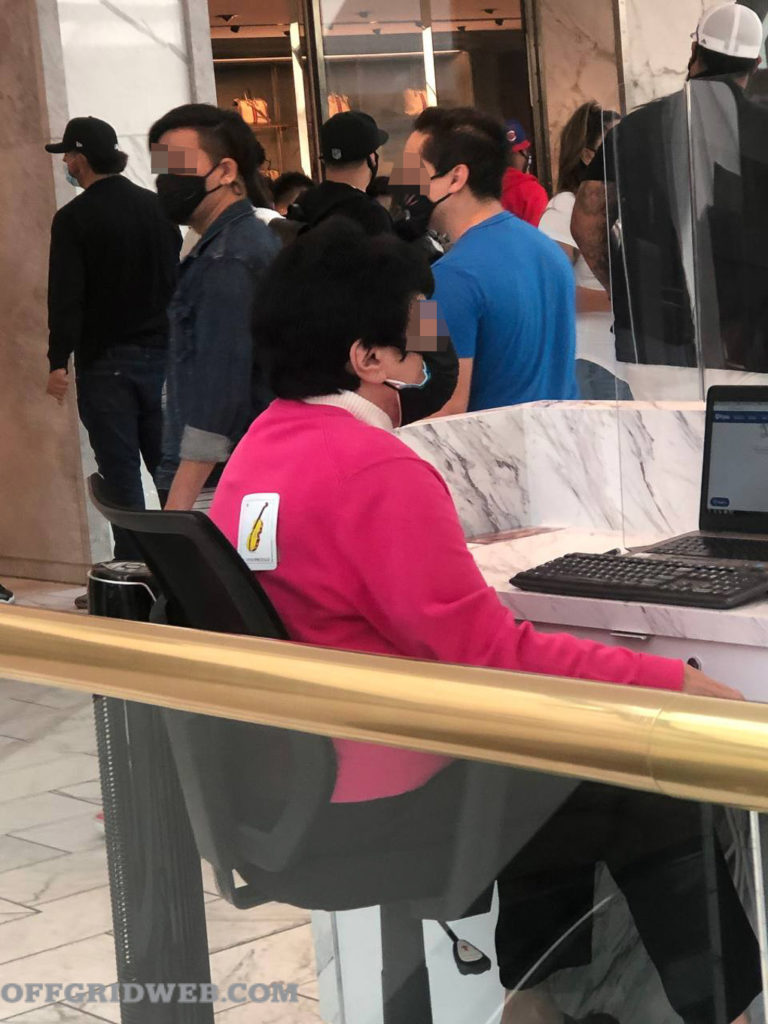
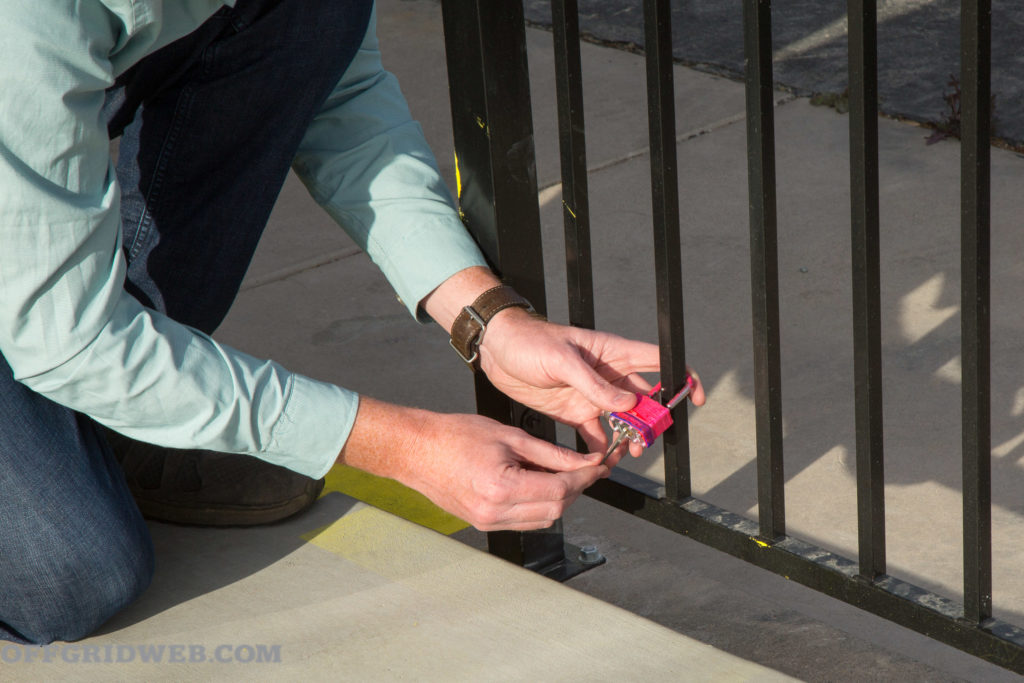 Above: Instructors attached a dozen pink locks throughout the mall. Students had to remove them without arousing suspicion, which posed a challenge in the crowded space.
 Above: Students used social engineering skills to ask for cash donations from strangers. All funds were donated to charity at the end of the class.
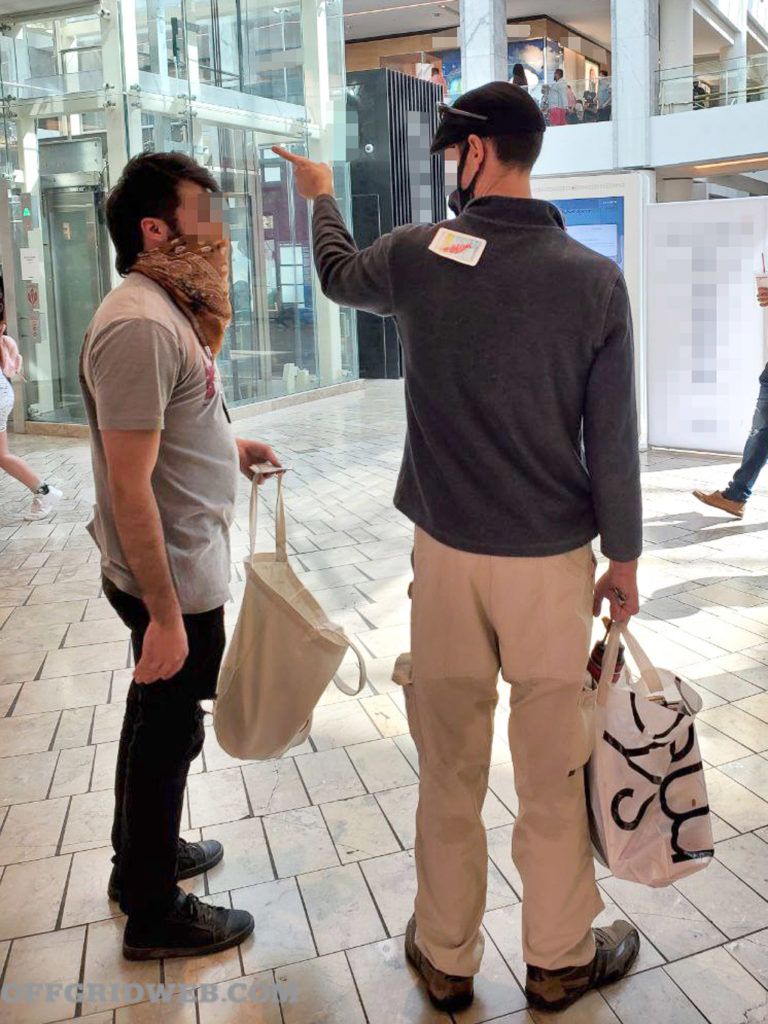
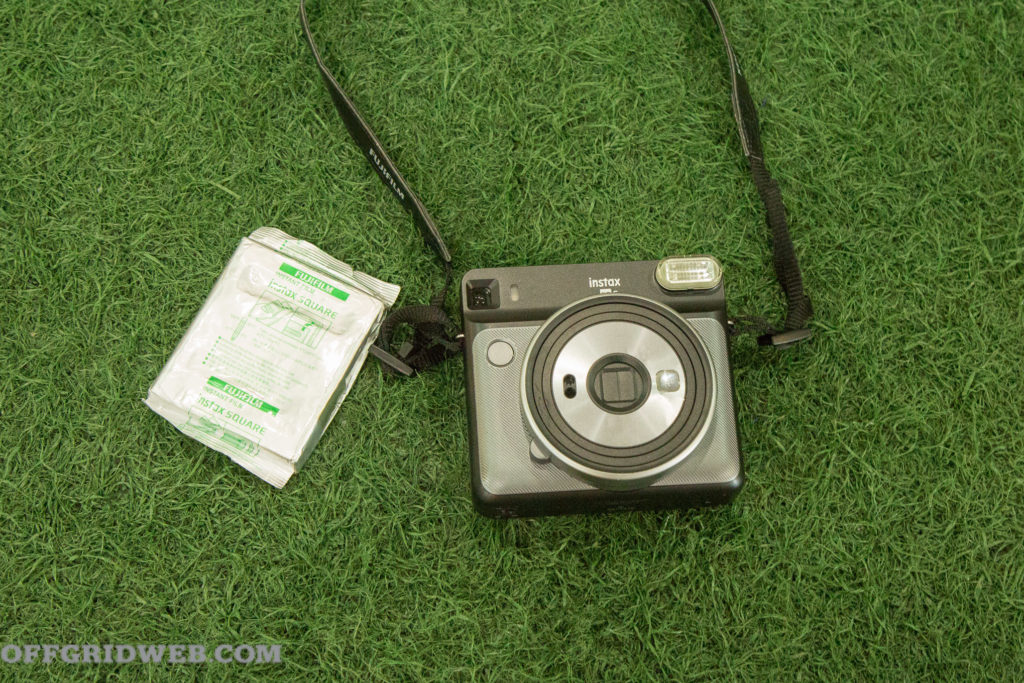 Above: Calderon says a Polaroid camera is like a money printer in some urban areas. Offer to take photos of strangers, then ask for a small fee in exchange for the printout.
 Above: Cultivating a non-threatening appearance is beneficial. Wear layers of clothing so you can quickly change your appearance if anyone comes looking for you.
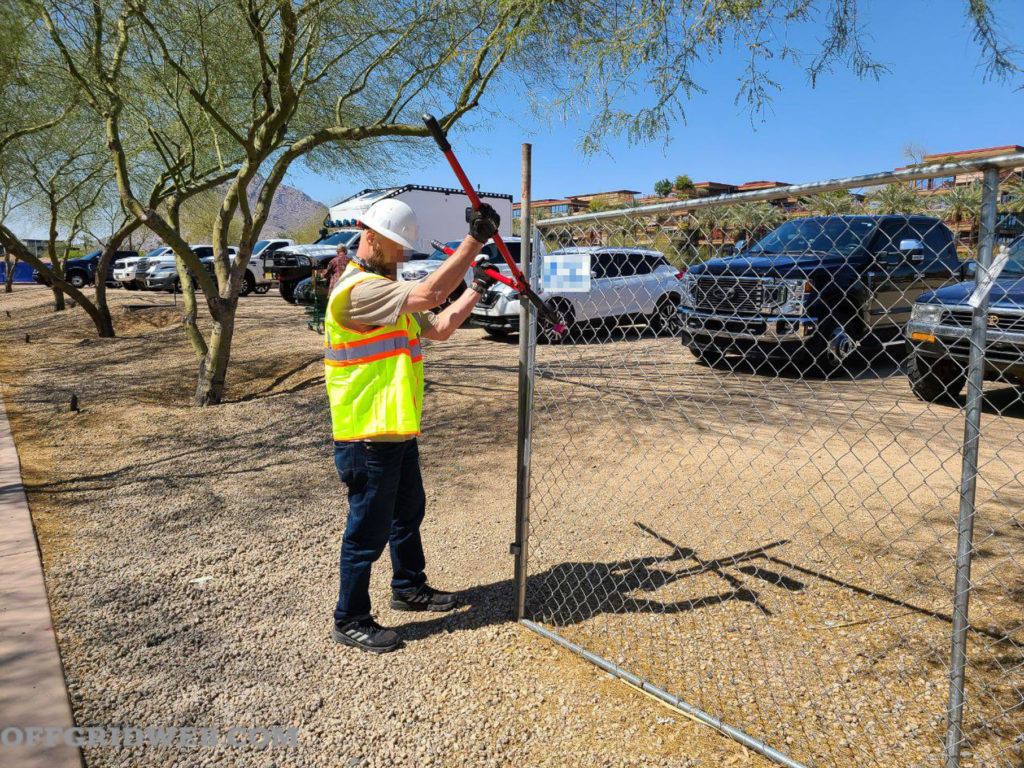 Above: One team of students proved the effectiveness of a brazen “act like you belong” strategy by pretending to be a maintenance crew as they removed locks with bolt-cutters.
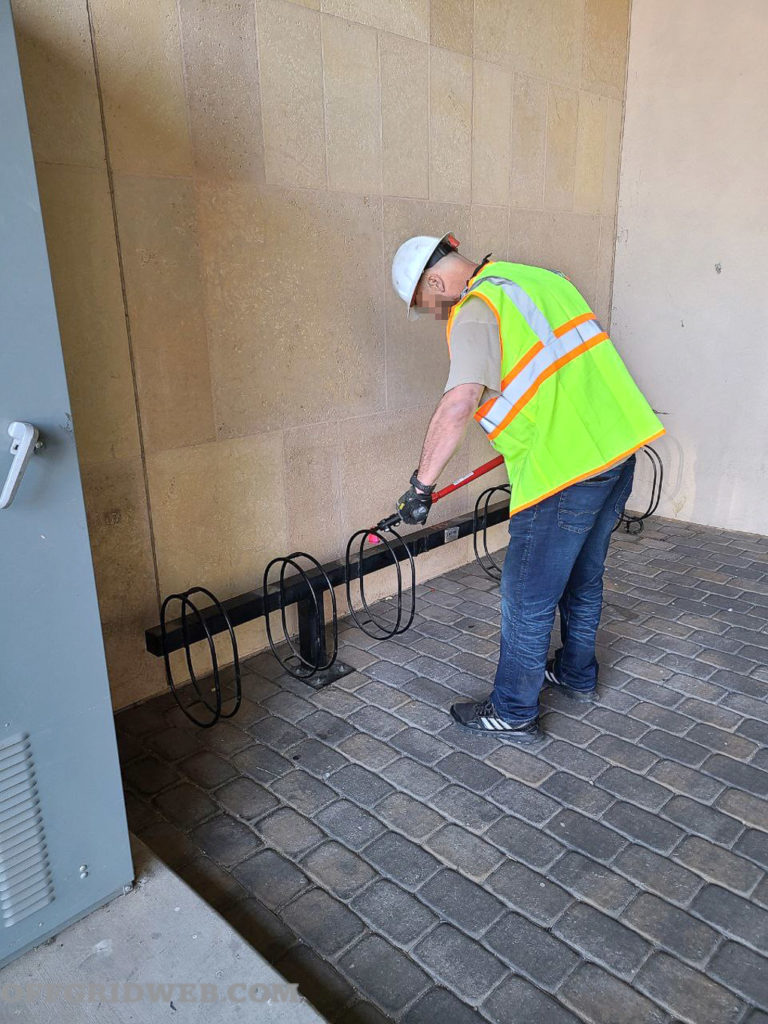
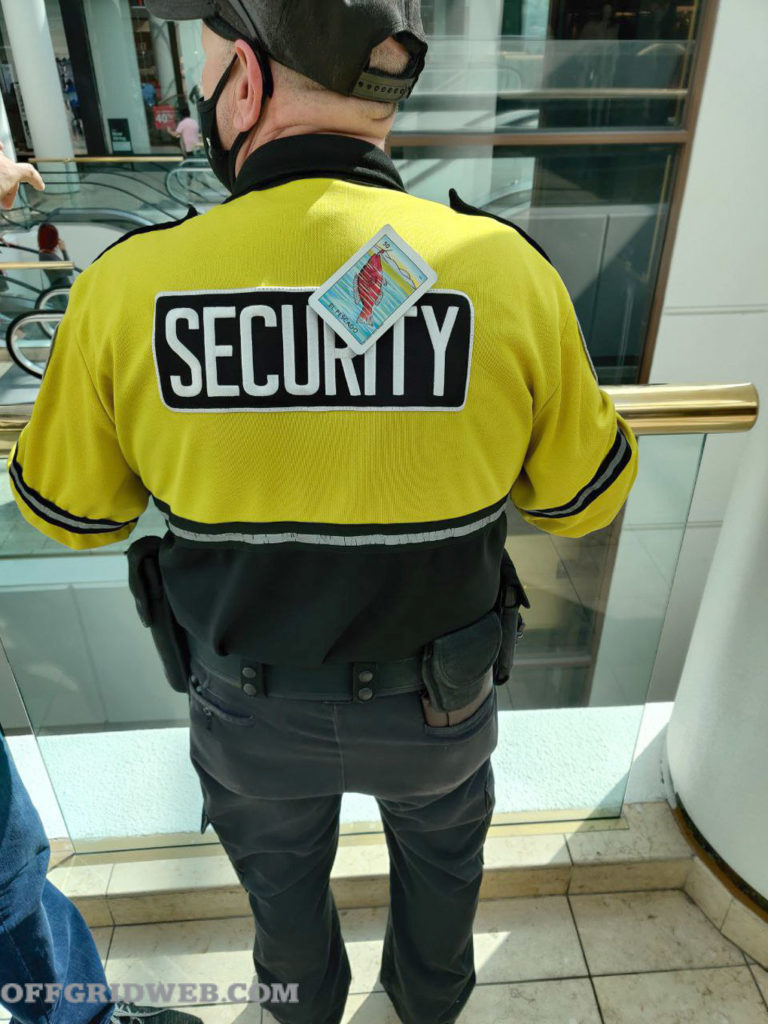
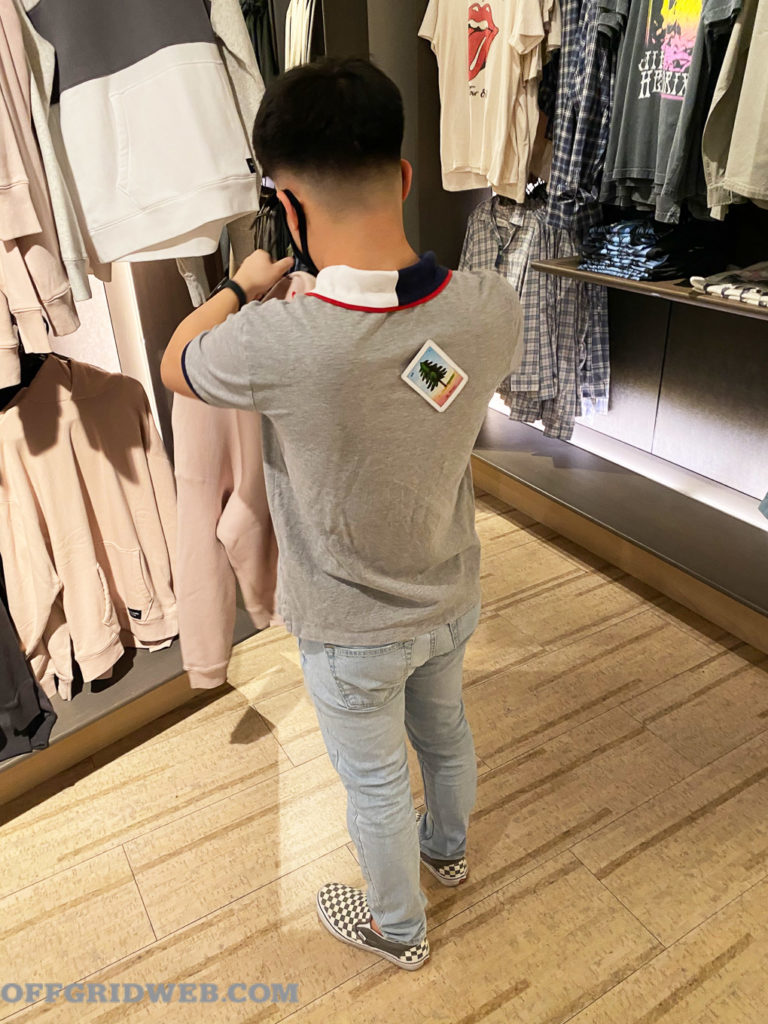
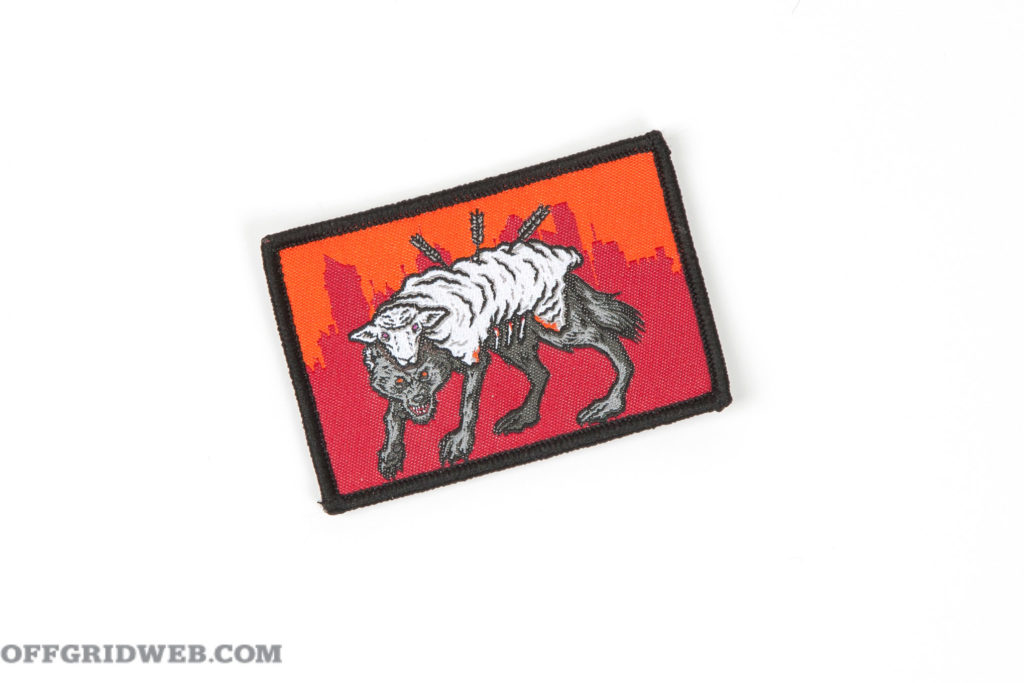 Above: At the completion of the class, each student received a patch depicting a wolf in sheep’s clothing — a lasting reminder of the adaptability of urban predators.