In This Article
“When torrential water tosses boulders, it is because of its momentum. When the hawk breaks the body of its prey, it is because of timing,” wrote Chinese philosopher Sun Tzu.
Writing allegorically about opposing forces, the author of The Art of War continues to offer ageless lessons for surviving widespread threats driven by flooding, the greatest weather-related cause of drowning deaths throughout the United States and the world. Whether it’s around your home or hits when you’re traveling on vacation, floods can happen in any terrain — coastal areas, mountain river valleys, or urban cityscapes.
By understanding the nature of water’s awesome momentum, and by learning to accurately gauge the timing of ever-changing flood speed conditions, OG readers can learn to adapt to a deceptive killer that destroys without regard for property or life.
Water Recognition
The first key in developing your own flood philosophy is to trust your eyes and judgment, recognizing the constantly changing reality before you and taking action.
Unlike the threat posed by terrorists, government emergency management officials have no problem defining flooding as the intrusion of water into historically dry areas. The form this takes can be broken down in several flooding challenges, depths, flows, and longevity depending on the season, topography, and infrastructure of the region and population density. Hazards include contamination of drinking water, power failures, commercial and governmental system interruption, overwhelmed hospital services, and limited transportation, fuel, and food supplies.
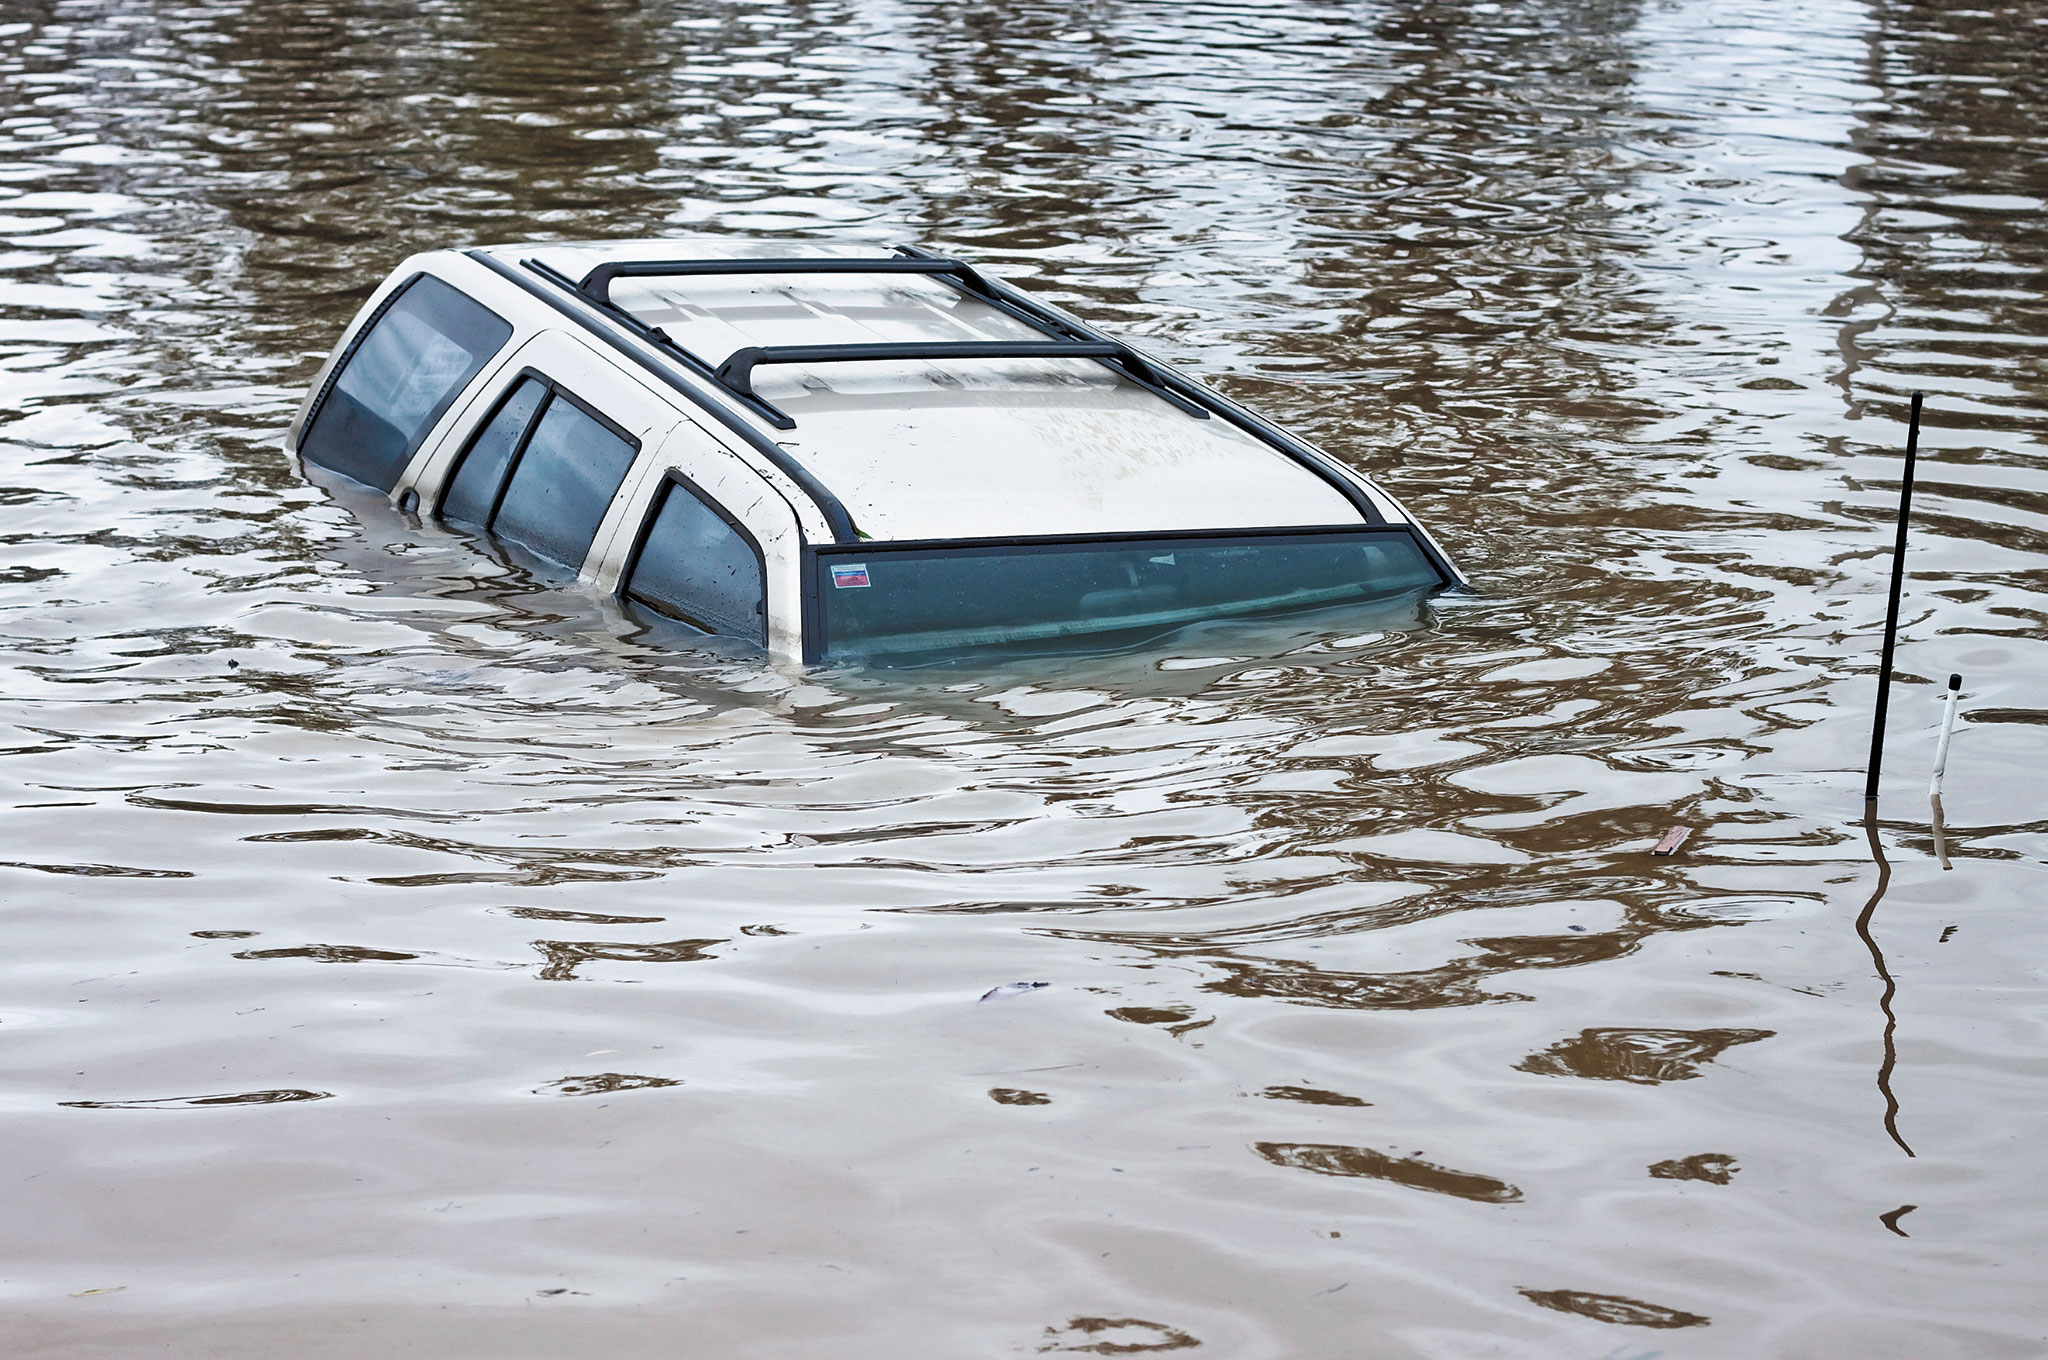
Don’t become complacent if your neighborhood appears high and dry. Small-scale flash floods and road washouts claimed the lion’s share of flood victims during 2015. Most U.S. flooding deaths this past year were from people attempting to drive or wade through slow-moving waters. Regardless of traffic lights, water will always claim the right of way against cars, trucks, and even trains. “Tossing boulders” is literally true.
As of press time, three major regions throughout the country are still recovering from a brutal series of late 2015 widespread flooding events, each illustrative of the complex dangers:

Utah: One-and-a-half inches of rain in a dry area near the Arizona border triggered a flash flood funneled through a recreational area, sweeping away two vehicles and resulting in the deaths of 12 members of a group who stopped to observe the rising waters. A flash flood warning had been issued hours earlier when the rain struck far upstream.
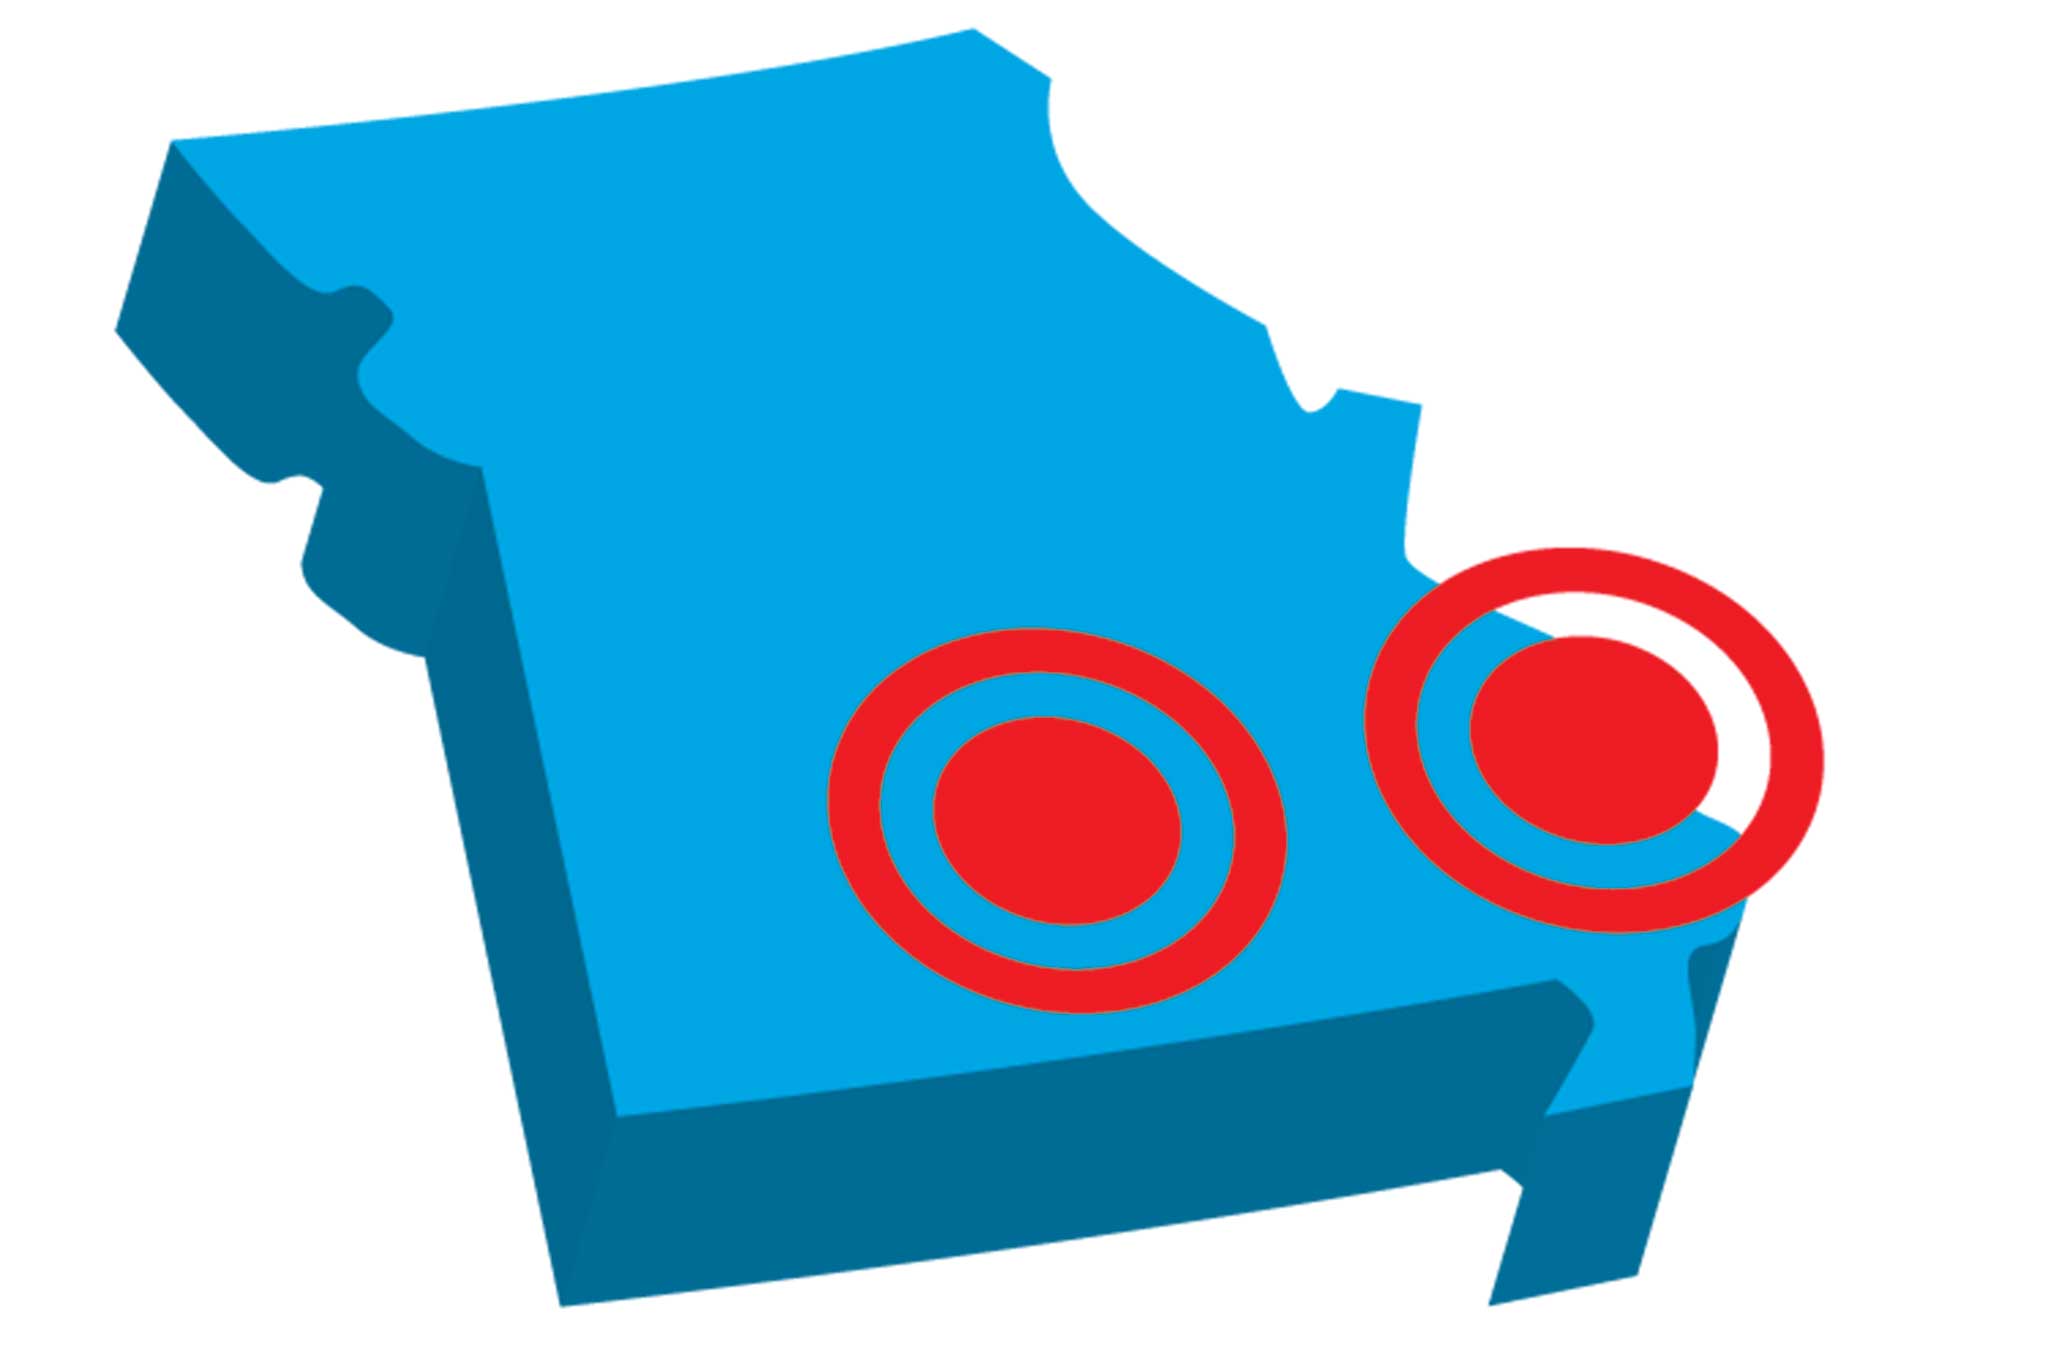
Missouri: Like a slow-moving train, a bulge of rainwater rolled down the Mississippi, challenging levies along Cape Girardeau and pulsing through the lowlands, claiming 14 lives, most of them in their vehicles. Four visiting foreign military members were lost near Fort Leonard Wood when their vehicle was swept away on a flooded roadway. Two were found in the vehicle and two downstream.

Texas: The nation’s fourth largest city, Houston, couldn’t soak up almost 3 feet of rain in less than one week. The outcome? Approximately 20,000 evacuees, $1 billion in damages across 28 counties, 20 deaths in Texas and Louisiana (where an additional 3,500 homes were damaged). A record 15 inches of rain was recorded in a single day in Texas on November 1, 2015, causing widespread flooding from a series of tornadoes.
Flood Categories
Flood conditions fall into eight categories, and may combine during storm events, depending on local topography and infrastructure:
Flash Flooding: This typically develops within six hours of the trigger event, causing a rapid rise of water — whether rain-related or by levy failure. This occurrence is especially notorious in the Western United States among the dry, hard-packed arroyos and coulees favored by campers and hikers. A dry, low-lying creek bed may barely trickle at sundown then surge to a raging torrent at night. In older urban areas, concrete spread above substandard storm drains can pool water for days, and multiple storms can compound the flooding with force sufficient to move cars.
River Flooding: The National Weather Service issues minor, moderate, and major flood warnings along areas prone to flooding from overflowing riverbanks caused by heavy rain, dam failures, snowmelt, or obstructions. A record flood is a historical event, often misunderstood in the media, and described as a 100-year event. That doesn’t mean it occurs once a century. Instead, this simply refers to the 1-percent chance that a record flood can occur in any given year.
Burn Scar Floods: In the dry, steep, arid western lands where wildfire burns off protective vegetation, soil properties may prevent rainfall from being absorbed and filtered like normal runoff before entering stream flows. These burn scars can occur anywhere, but are most often associated with the mudflows and debris-strewn storm water runoff once soils become saturated, sloughing off topsoil and placing those downstream at risk of damage or coverage.
Ice Jams or Dams: Rivers, streams, and creeks in the upper USA and Alaska may experience record floods resulting from frozen sections of river forming, breaking up and moving down current, combining with debris to obstruct or restrict flows into a strainer. The stop-and-go effect of these melting jams may also trigger surges or even flash floods downstream when the ice releases. Dangers associated with the unpredictable ice jams include environmental alteration of riverbanks, spreading of flows, and blockage of navigation. Paddlers take heed of these “strainers” (like fallen trees or rebar from broken concrete), which can block objects, but maintain the flow of water — they can pull a canoe sideways or keep you pinned underwater.
Snowmelt: Northern tier states and mountainous regions are most susceptible to snowmelt flooding, though the release can be more predictable when the spring thaw commences. Hunters and fishermen who cross creeks may return to find rivers waiting. Prepare to spend the night or work upstream or downstream until you locate a safe crossing point. Time to break out the contour maps and hope your fanny pack has overnight food and shelter.
Coastal Floods: Cyclones, hurricanes, and tropical storms bring to mind high winds and destruction, yet the highest percentages of deaths are due to flooding, according to emergency management officials. Pacific storms target the Northwest during the May to November hurricane season, while Atlantic storms brew from June through November. Northern coastal areas can get hammered by nor’easters through the winter, driving floods across large coastal areas and inland where the threat of flooding is sometimes unexpected. Gulf Coast storms may track into interior eastern states before flows force the storms into the Atlantic, pounding inland coastal states with bands of rain.
Storm Surge: Coastlines measuring hundreds of miles long can be inundated by storm surge and erosion, washing out familiar roads overnight and putting a nice pothole in your evacuation route. They are also known to chase you well inland, destroying coastal plains neighborhoods, creating mandatory evacuations and trapping those who choose to stay or were unable to get out.
Storm Tide: This increases water levels based on lunar pull, adding 4 feet or more depending on the region. This can increase the dam effect of high waters, trapping flood conditions. If a tidal surge can reach 10, 15, or even 20 feet, the storm tide will make a bad situation worse, and will cycle through on a four-a-day cycle in many Gulf coastal areas. The flow can cause saltwater intrusion within agricultural lands or upland freshwater reservoirs.
Dam Failure: The Federal Emergency Management Agency (FEMA) and national dam inventories identify more than 80,000 dams throughout the United States, with one-third of those posing a “high” or significant threat to life and property if failure occurs. While weather-related events offer some warning period to anticipate and evacuate downstream areas, others may fail with little warning from causes including prolonged rainfall, landslides, earthquakes, or erosion. Human causes include improper maintenance or design, negligent operation, sabotage, and terrorism.
Before the Flood
Acquire Intel: Take advantage of flood mapping information maintained by county, state, and federal offices. However, local knowledge is often best. Talk to the folks in your city works department or at your water management district. Identify your property in relation to flood zones and understand how the area’s warning systems are issued in public service announcements. Also, FEMA publishes a Flood Insurance Rate Map (FIRM) to show locations of low-, moderate-, and high-risk properties. Each year about 25 percent of flood claims come from areas outside of the high-risk area.
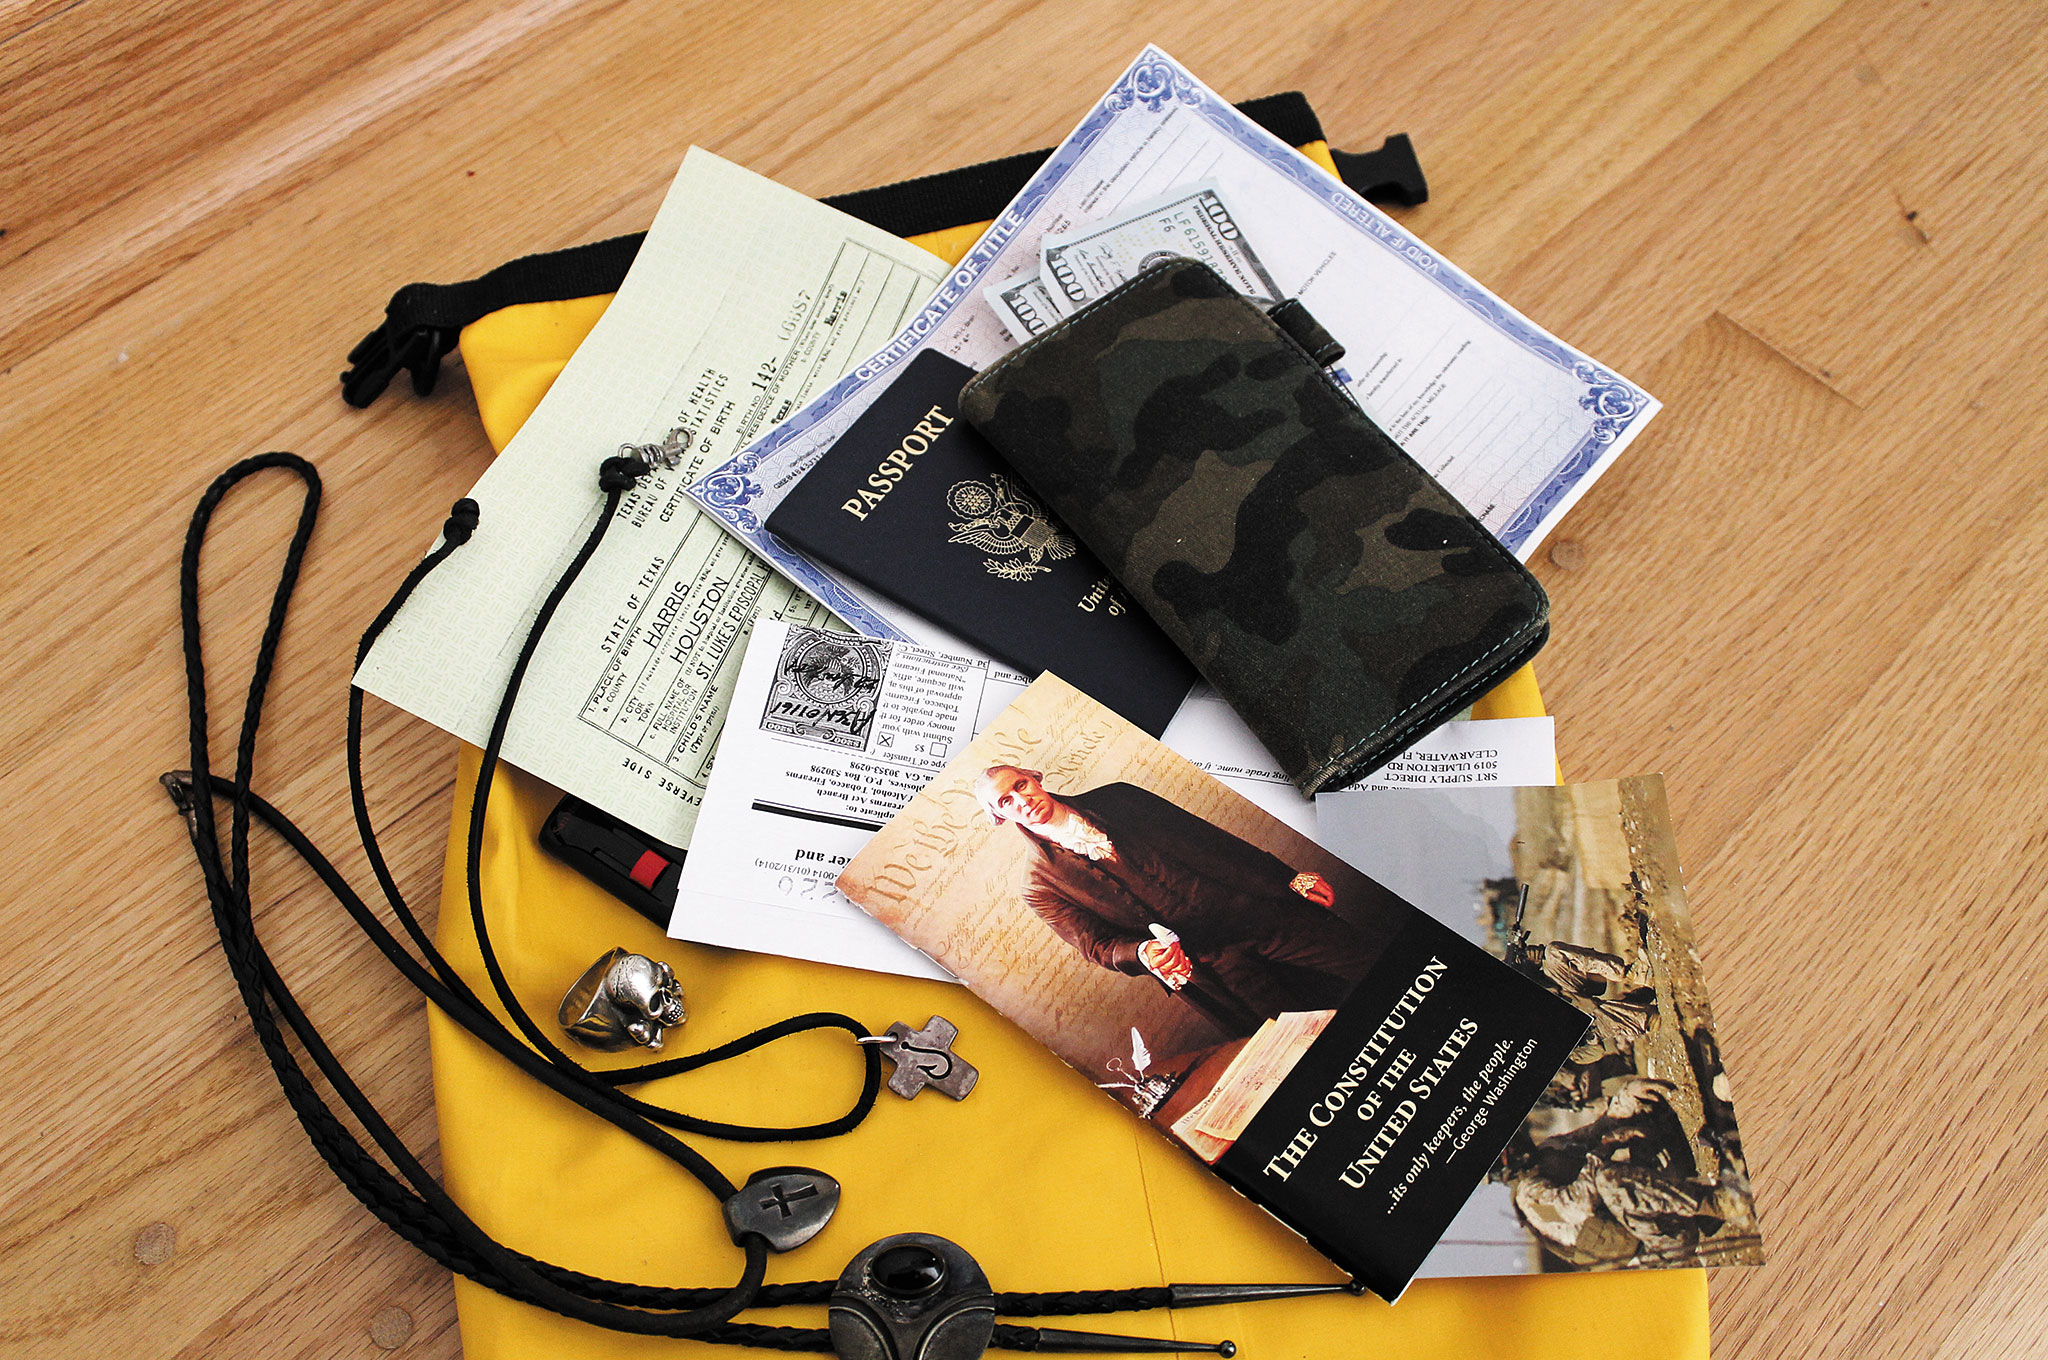
Cover Your Assets: Whether you have federal flood insurance through the National Flood Insurance Program or special homeowners or renters policy riders, identify the costs of this and review details of the coverage with your property manager, agent, or attorney. The object is to protect your possessions by documenting the value, descriptions, and serial numbers. Maintain this file electronically and in writing, and keep a copy in a separate location like a safe deposit box. Include photographic inventories of all valuables or video files with oral or written references to times.
Create a Plan: While everyone’s emergency response will be different, there are some general guidelines one must consider. The big important one is to develop a household flood preparation plan consisting of phased steps (e.g. waiting out a rain event, evacuating, and eventually returning home). Purchase handtools like saws, axes, and shovels. Stock up on items such as rope, empty sandbags, wind screenings, and heavy plastic tarps to deal with flood-related damages. Be sure to include primary and secondary evacuation routes.
Train, Train, Train: Like those fire drills we practiced in grade school, running through your emergency response plan with your loved ones is important. These dry runs should include educating your family about the dangers of driving in flood conditions and of stranger dangers — from “hitchhikers” in distress to looters looking for an easy score. Train accordingly.

Get Comms: Clearly identify family communication plans and responsibilities, including remote meeting points and staging areas at school, shelters, and offices. Reliance on smartphones could end poorly in the event of widespread disaster, so radios pre-tuned to your family’s station are invaluable.
Stock Up: Any prepper worth his weight in MREs knows that your home should always have a long-term food cache. This should include safe drinking water, as well as sanitation kits for sterilization due to the potential for infection from contaminated flood waters.
Grab a Paddle: Consider storing a canoe capable of ferrying relatives, injured neighbors, or pets to and from safe zones. This investment offers a last-ditch escape route. Equip the canoe with various essentials, such as spare paddles, flotation vests, and lengthy bow and stern lines. If there’s room, pack a bug-out kit that includes buckets, rubber gloves, an emergency alert radio, and hip waders (the more puncture-proof, the better).
Long-Term Mitigation: If you have the financial means, consider making permanent modifications to your home or business that include elevating electrical panels per code, waterproofing entryways or doors, anchoring fuel tanks, and installing pumps for basements or low-lying floors.
During the Flood
No amount of planning and practicing will be the same as the real deal, but if you’ve done the aforementioned prepping, you’ll be better prepared to deal with the flooding specific to your region.
Bugging In: If you’re waiting out high waters, put those sandbags to work. But be realistic about what you can accomplish, and pace yourself to prevent injury.
Maintain constant communication with friends and family members. Monitor weather bulletins and emergency broadcasts. Keep children calm through various means: place them in charge of pets, have them read their favorite books, give them small jobs to handle, and reassure them that those drills you practiced will reduce the risk of harm. Encourage positive thinking and celebrate minor successes. Get rest when possible.
Bugging Out: If it appears that an evacuation order is pending or the situation has hit a stage in your exit plan that requires you to bug out, prepare to follow your family’s predetermined emergency response without waiting for visual confirmation of floodwaters. Disconnect power sources, shut off utilities, and plug sinks and drains to prevent sewage backups and contamination. Don’t attempt to drive through moving water
.
Trapped?: If you waited too long and are now trapped indoors, move to the highest level — but don’t climb into an enclosed space like an attic, as rapidly rising water can box you in. Climb to the roof as a last resort, but protect yourself with proper clothing, food, and drinking water. Bring lights or signage with you to alert search teams. Don’t attempt to operate any generators or stoves indoors.
If you’re trapped in a vehicle, get to the car’s roof and wait for the floodwaters to recede or a rescue team to come.
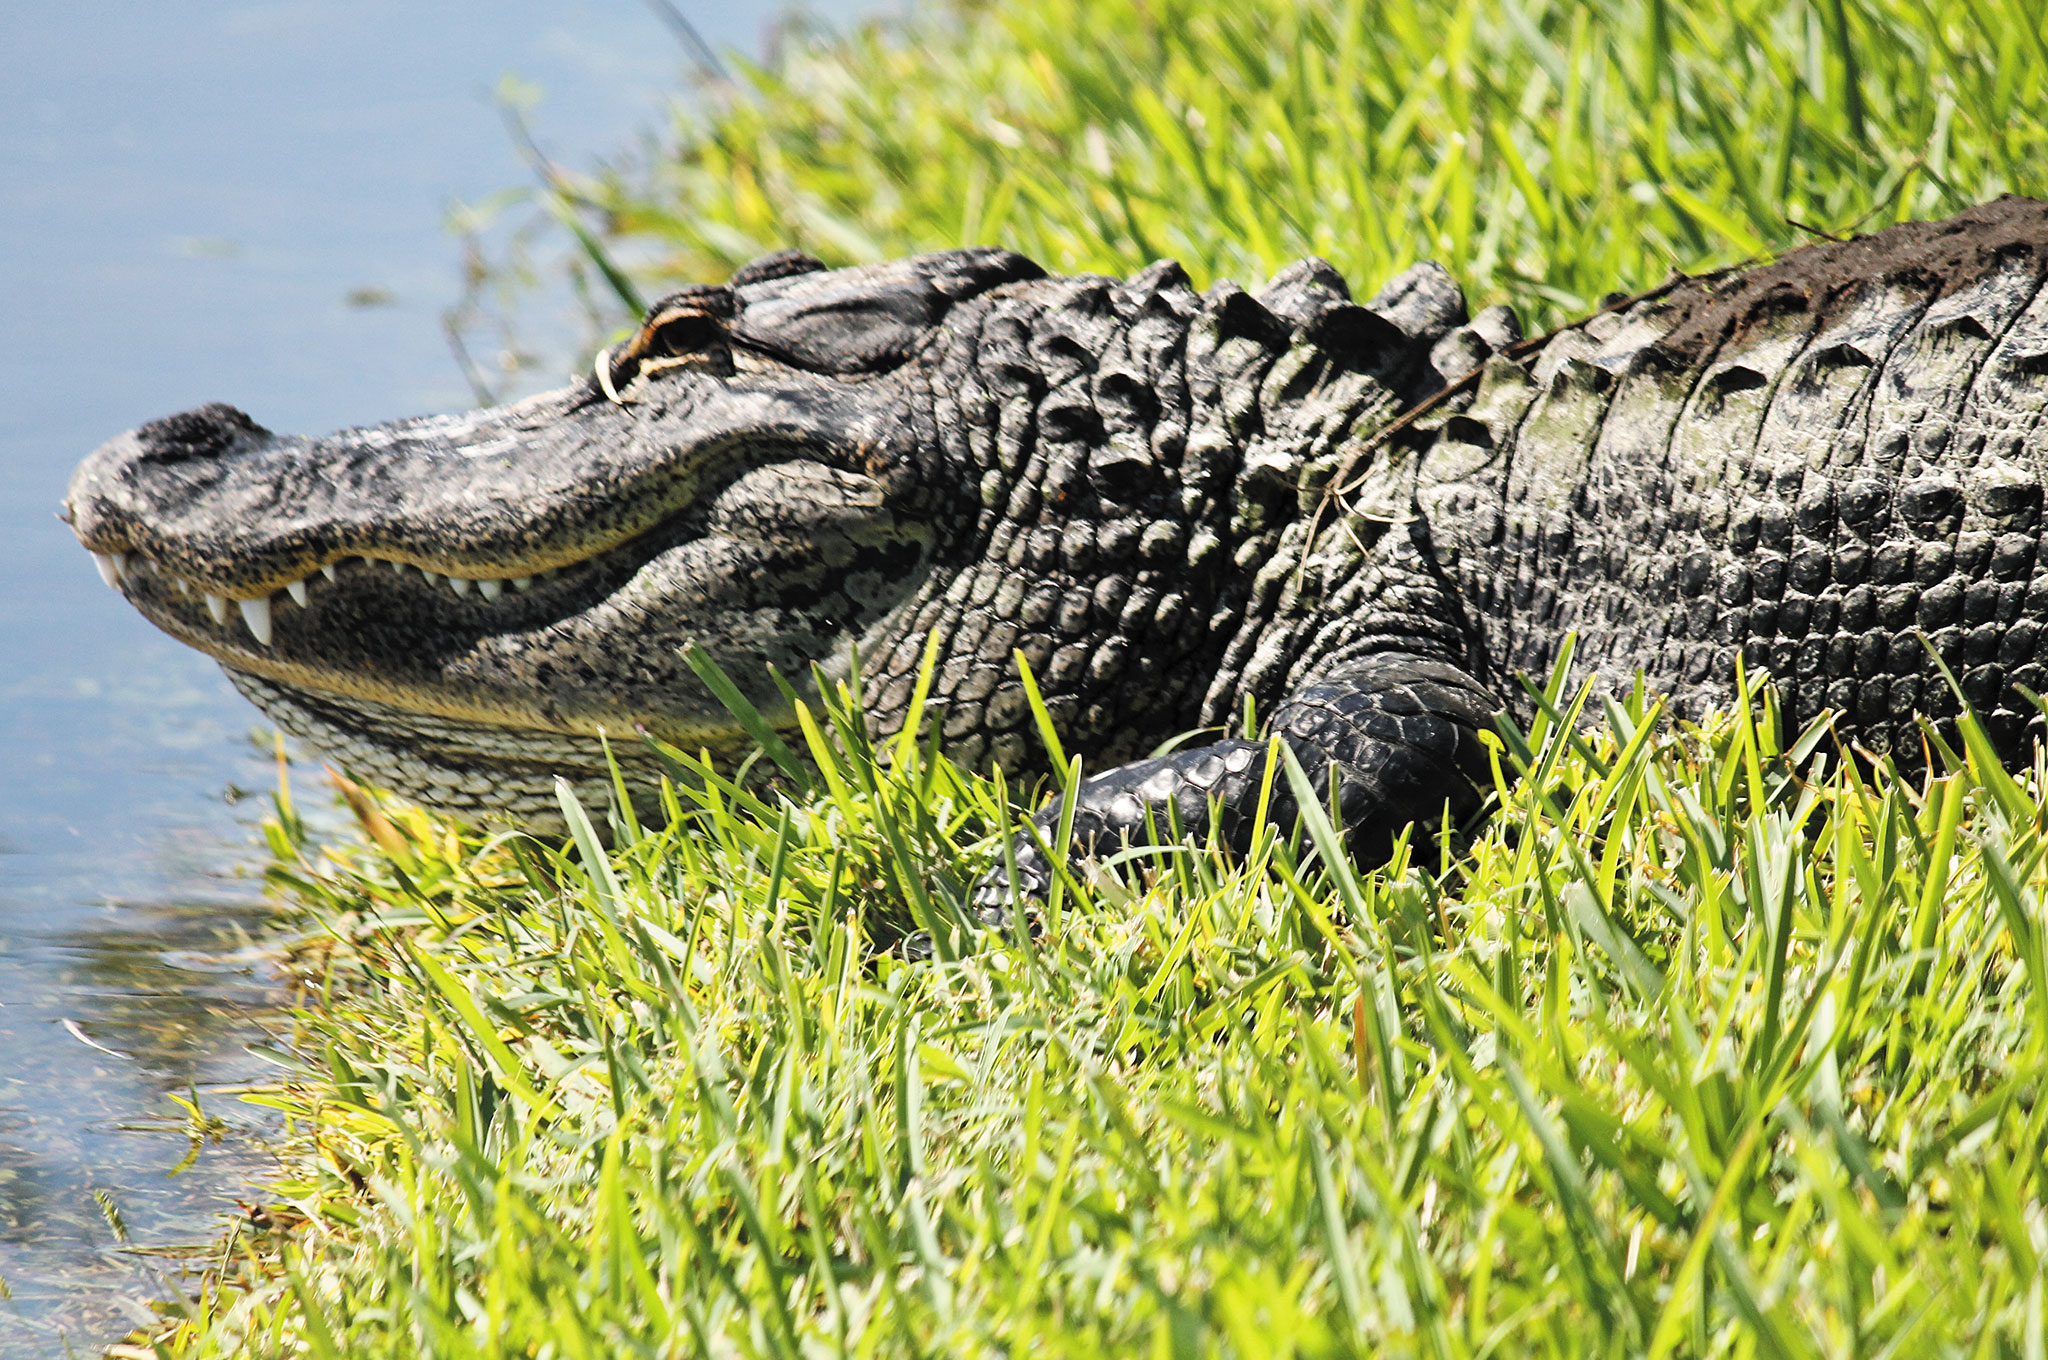
If trapped on open ground, seek the highest elevation and protection possible, watching for and reporting downed electrical lines and water-swept debris. Waters may be contaminated with fuel, sewage, or sharp objects. Also look out for hazardous wildlife, such gators, snakes, or strangers with ill intent.
After the Flood
What if you were hit with raging waters and preparations paid off? Let friends and family know your status. Don’t let people handle tools or repairs when unsafe or seemingly distracted. And be prepared to deal with unseen risks, such as anger, depression, and mental and physical exhaustion.
Depending on the damage, you’ll follow five steps: air out, move out, tear out, clean out, and dry out to safely prevent mold, mildew, and dangerous materials from posing a threat to your recovery plan. Continue to monitor the past storm status and disaster declaration status for your area in the event you are eligible for public disaster relief.
Approach your home with extreme caution, almost as a hazardous area, with proper rubber boots, gloves, protective goggles, and a respiratory mask, depending on conditions. Protect yourself from electrical shock, mold contamination, and any structural weakening or broken glass and debris. Identify areas for debris storage and a systematic plan for safe cleanup.
Don’t resume electrical or utility usage until deemed safe to do so. Avoid standing water, as well as using water utilities until given assurance by the authorities it’s OK to resume.
Document all damage prior to cleanup with photos and video and follow up your claims adviser to recover.
Conclusion
Amid the death and destruction throughout South Carolina last year, a North Charleston woman was trapped in her home by flood waters, only to go into labor with no way to drive or to be reached by paramedics. With more than 2 feet of rain washing out roadways, emergency rescue personnel responded with an open cockpit kayak, ferrying her to safety from her home to a waiting ambulance. Nine hours after arrival, the mother delivered baby Elijah before planning her return home.
Bug-Out Boats
When streets are waterlogged, the American Red Cross and many disaster response teams still rely on shallow watercraft to find victims and provide help. While a kayak can provide solo or even tandem transport, the openness of canoes have traditionally transported supplies and injured team members in flood conditions. Also, check out our feature “Up SHTF Creek Without a Paddle” in RECOIL OFFGRID Issue 11.
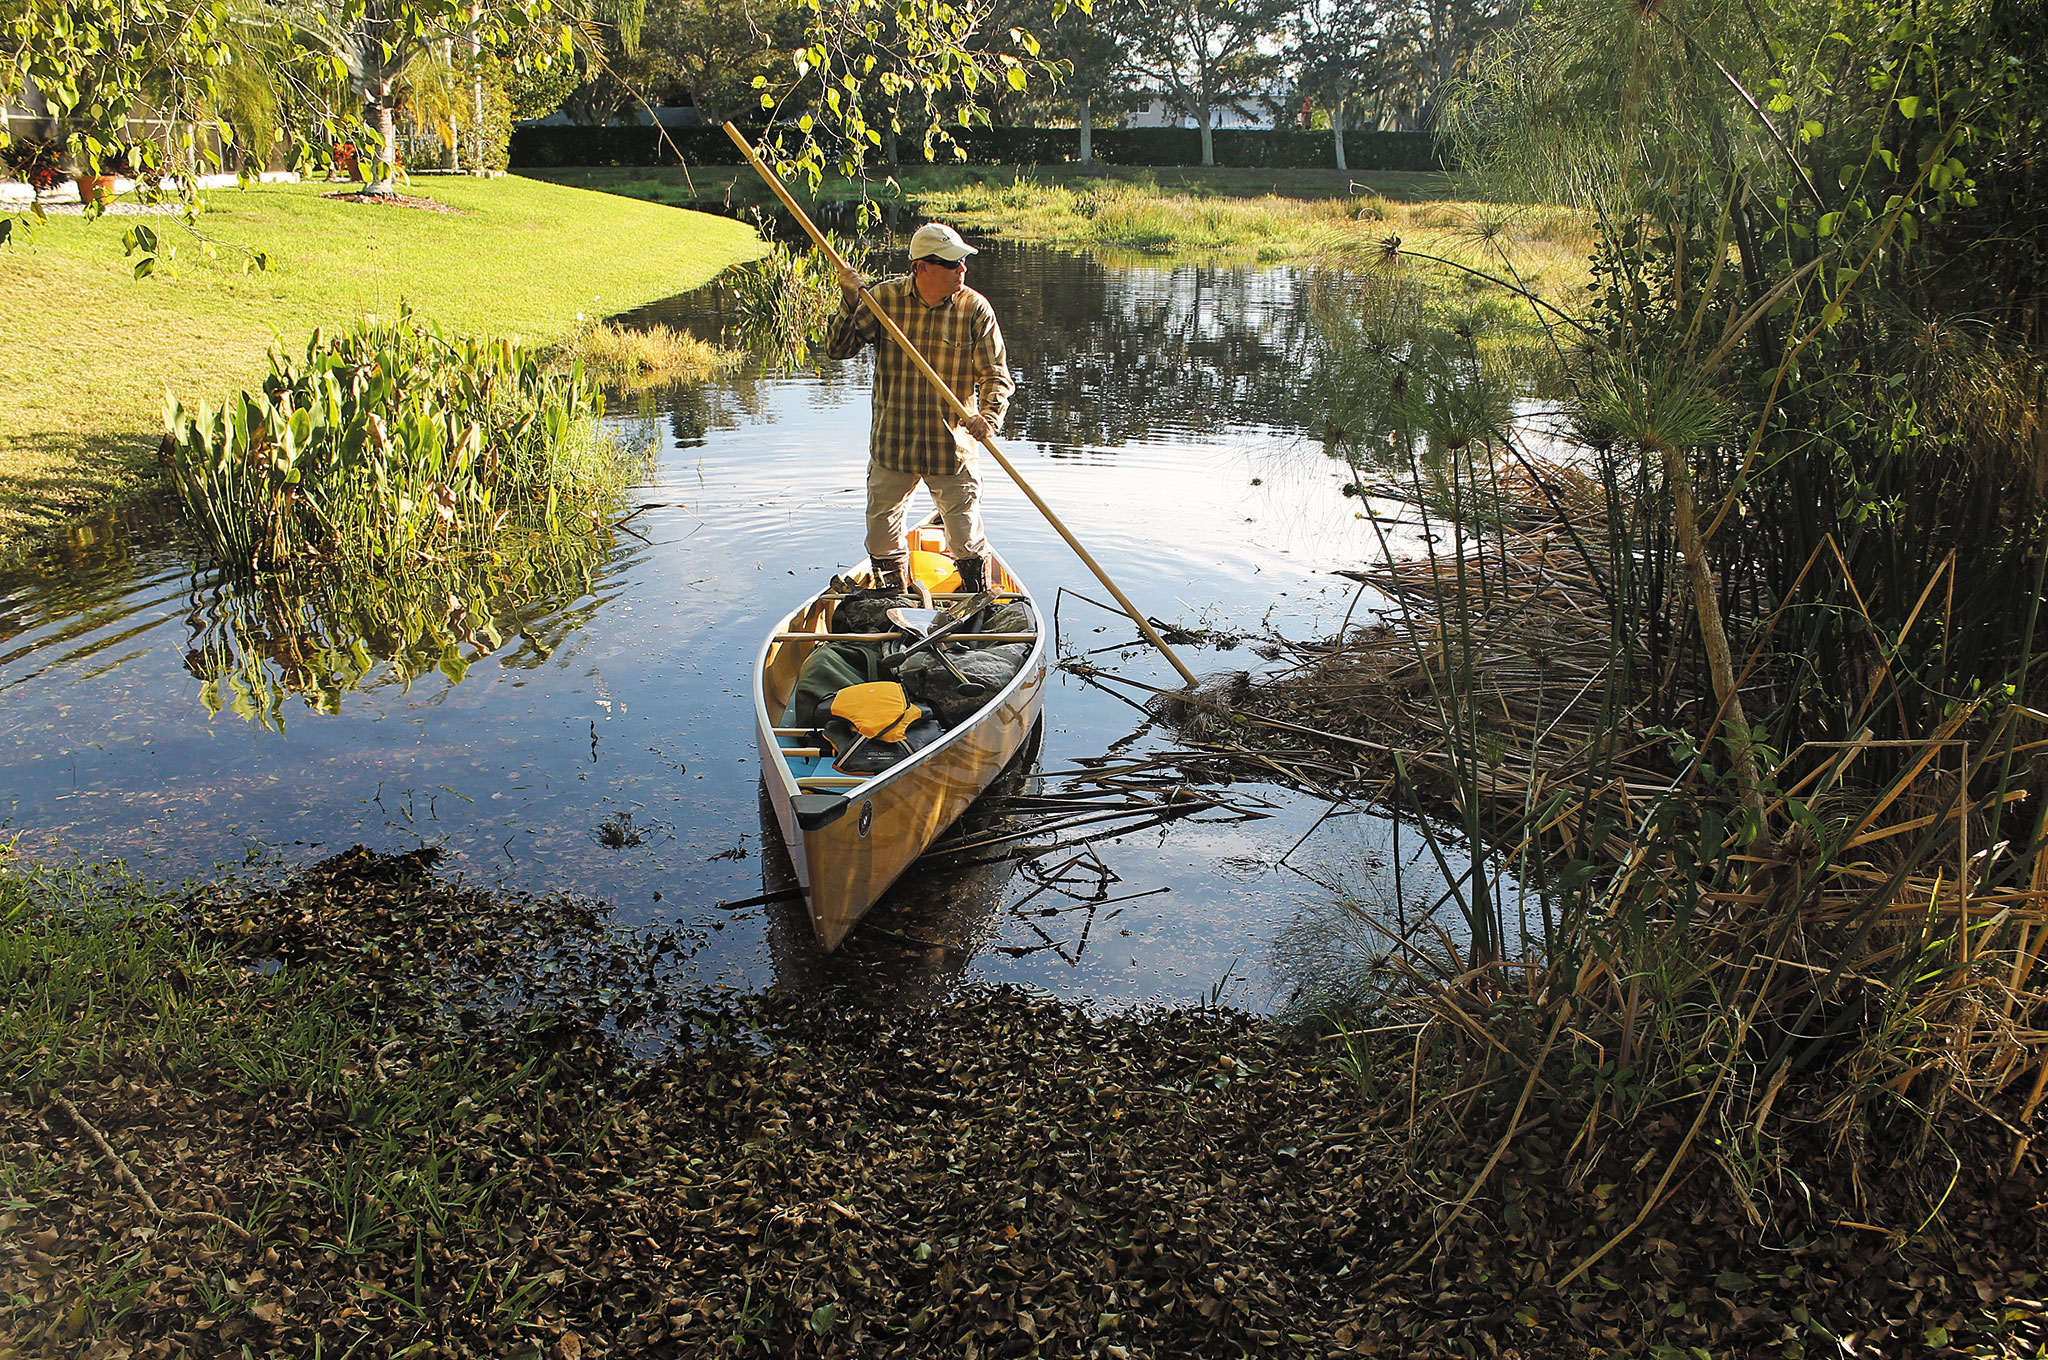
Avoid the ultralight Wee Lassie-class boats for emergency transport and opt for recreational or even “freighter” canoes with substantial beam, good stability, and larger carrying capacity. Instruct passengers to stay centered and low in the canoe and to not step or stand on the gunnels when entering or exiting. Launched from a home, a truck bed, or a luggage rack, a canoe can be maneuvered with lightweight paddles or a push pole of at least 10 feet (against light or moderate wind and water currents). Also, bow and stern lines can be used to pass the canoe between two homes, like a clothesline.
Once on land, a canoe can be flipped for temporary waterproof shelter and used in combination with a tarp and a small campfire or mini-stove.
A canoe can also house a good bug-out kit; it should be stored centrally and trimmed for balance. A quick checklist should include:
- Hip waders for entering and exiting
- Food and drinking water
- Disinfection/sanitization kit
- Mini-tent, rain fly with mosquito netting, tarp, cot, and insect repellent
- Toiletries, bucket, and bleach
- Alternate layers of clothing, footwear, gloves, hat, and glasses
- A backpack or duffle in the event gear must be stowed and the canoe portaged overland using the padded shoulder yoke
- Headlamps, break chem lights, and illumination for low-light travel
- A bundle of camp and handtools for entering or exiting your home and making a camp
- Hand pump, sponge, and rubber gloves
- Pocket knife, fixed blade, and compact firearm
- Cash, family band radios, VHF radio, mobile phone, solar chargers, hand-crank NOAA weather radio
Turn Around
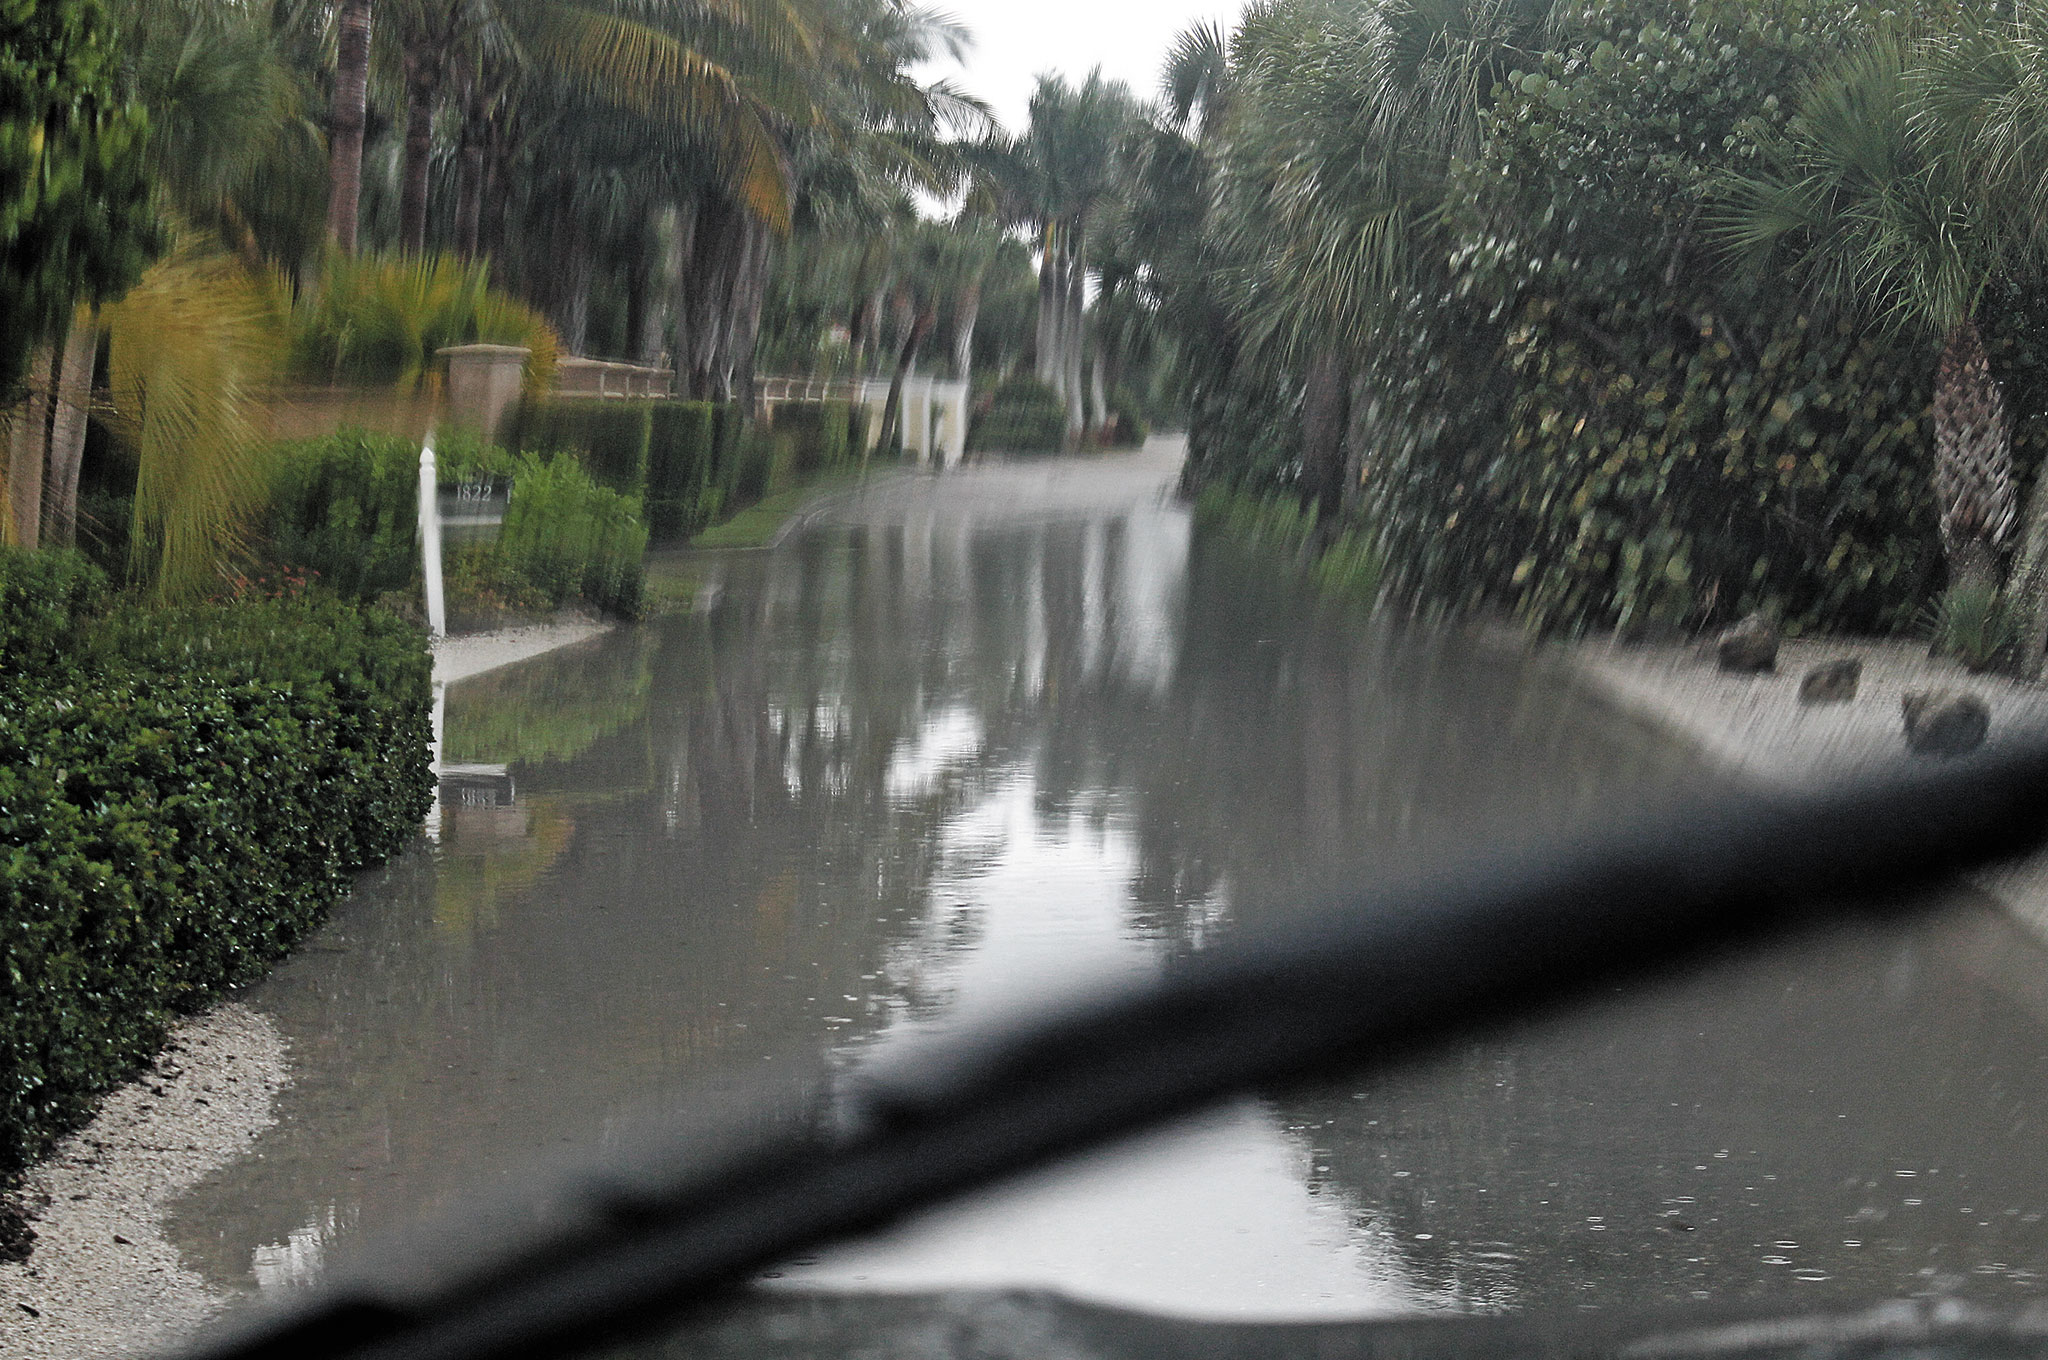
We said it before and we’ll say it again: Don’t try to drive through water. Drivers and car passengers now account for more than half of flood-related drownings, according to the Centers for Disease Control and Prevention. Because of this, federal officials launched the “Turn Around, Don’t Drown” campaign to warn people who might underestimate the power of water. Even a foot of moving water can sweep a car away.
Many deaths are attributed to drivers who bypass barricades to check on their property during a flood. Striking even moderately deep waters can cause temporary water blindness, panic, and loss of control. Disoriented drivers might also tragically attempt a wide K-turn or U-turn, which could lead them off the shoulder and into roadside ditches that are swollen with storm flow.
After many years spent crossing flooded pasturelands, where no roadway exists, this author advises getting quickly into reverse when safe to do so, then keeping the engine revving to prevent water from entering the exhaust. By reversing through the waters, the rear of his vehicle parts the waters, spreading out a bow-like wake and keeping his engine intake high and dry.
About the Author
David Martin is a Sarasota, Florida-based fishing guide, an NRA firearms training counselor, and a kayak and canoe survival skills pioneer. Holding disaster response certifications from the Department of Homeland Security, he’s worked in hurricane response, storm water environmental utility, and emergency management comprehensive planning. He can be reached at davidhmartin@me.com.
More From Issue 13
Don’t miss essential survival insights—sign up for Recoil Offgrid’s free newsletter today.
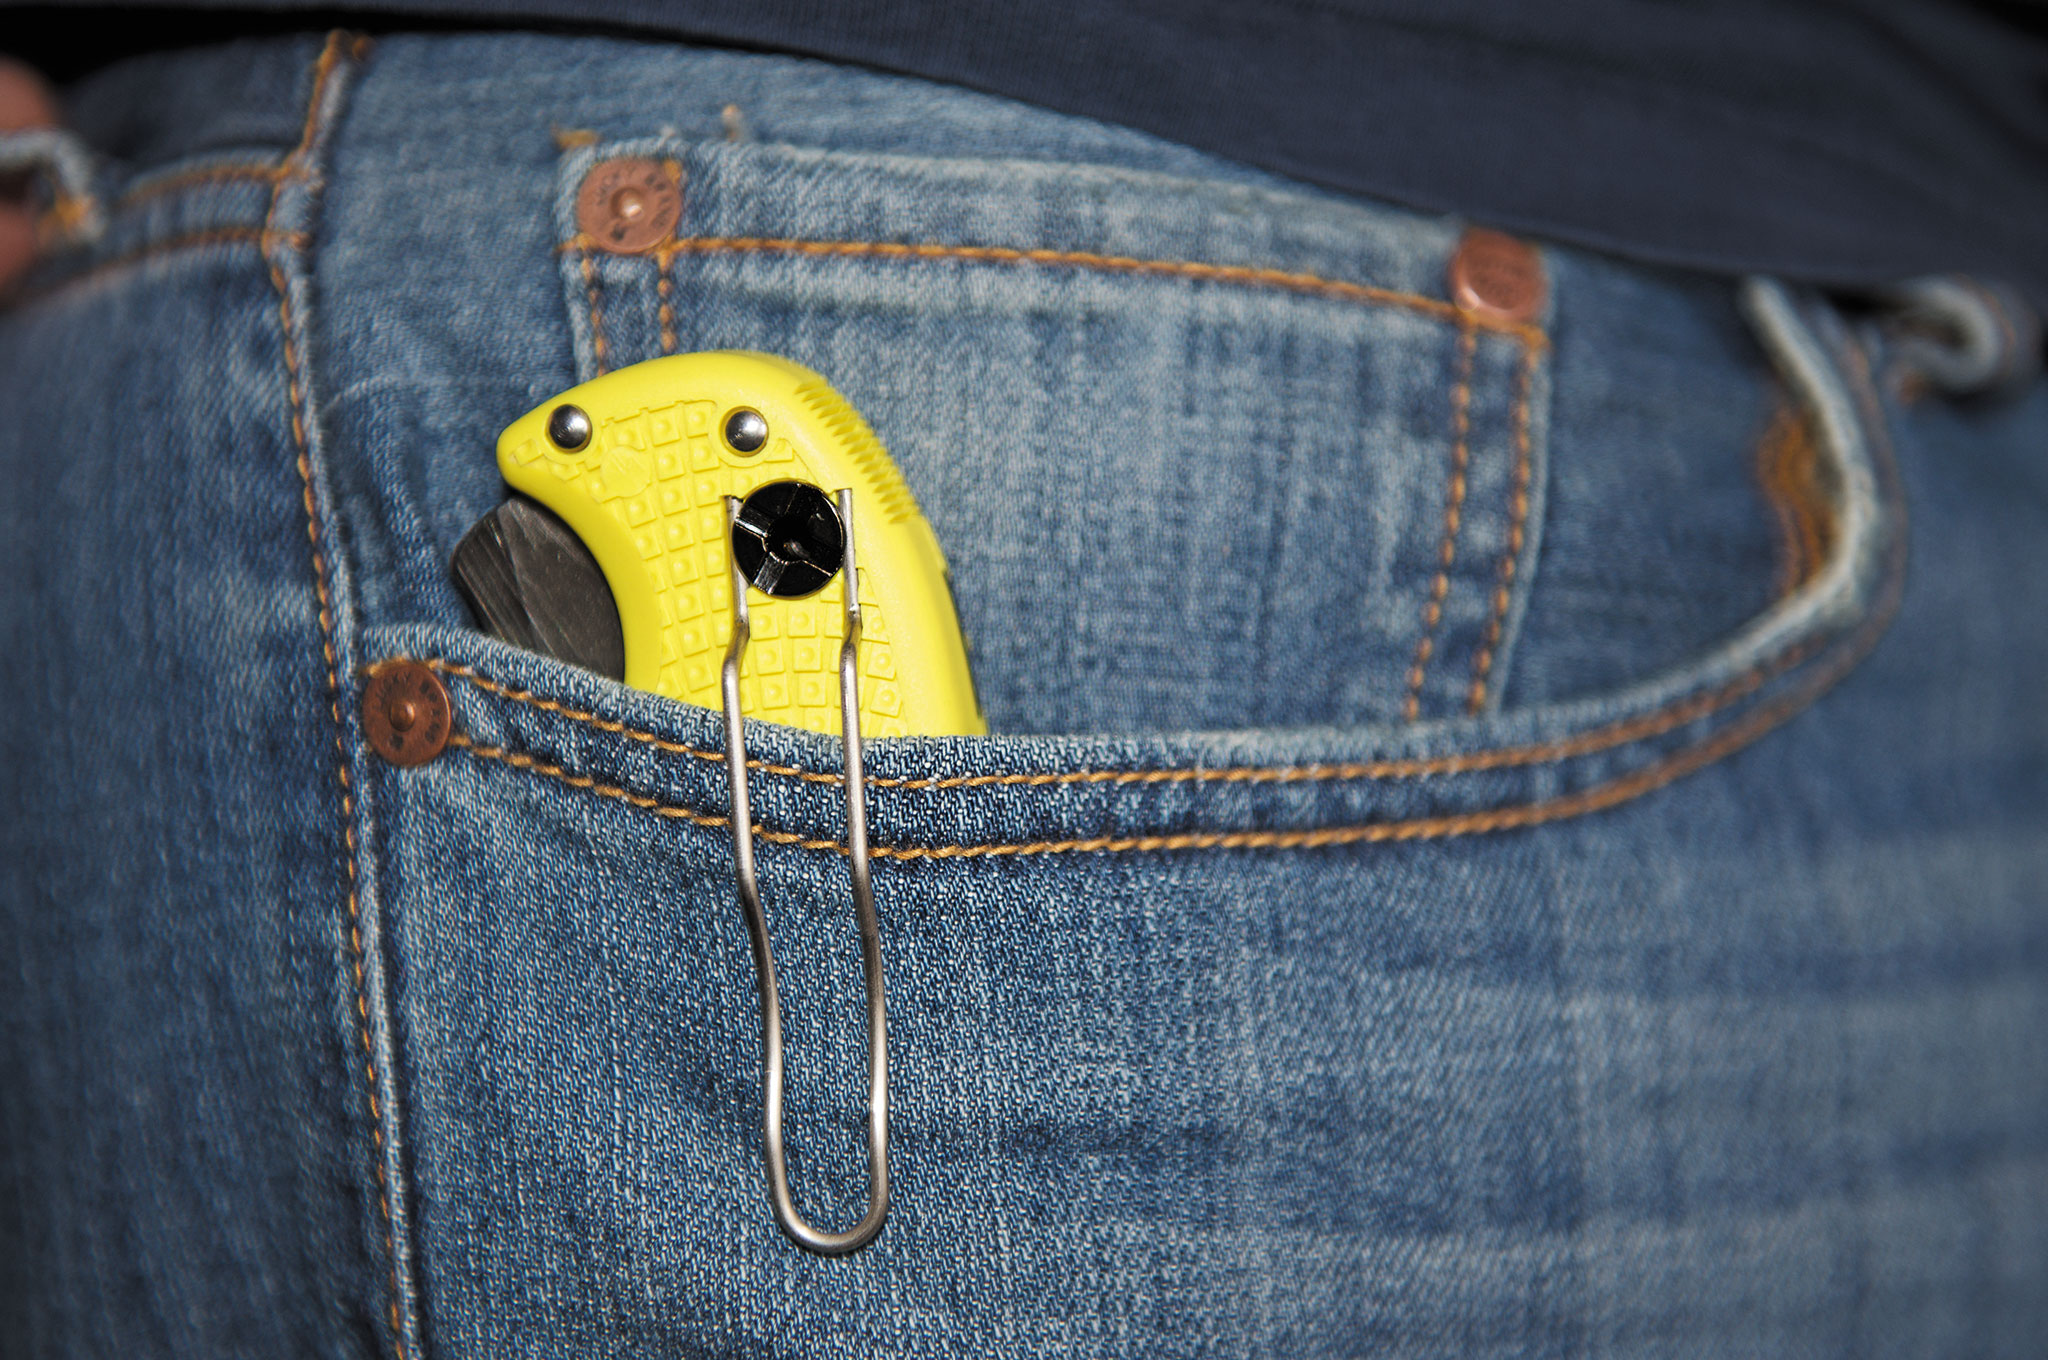
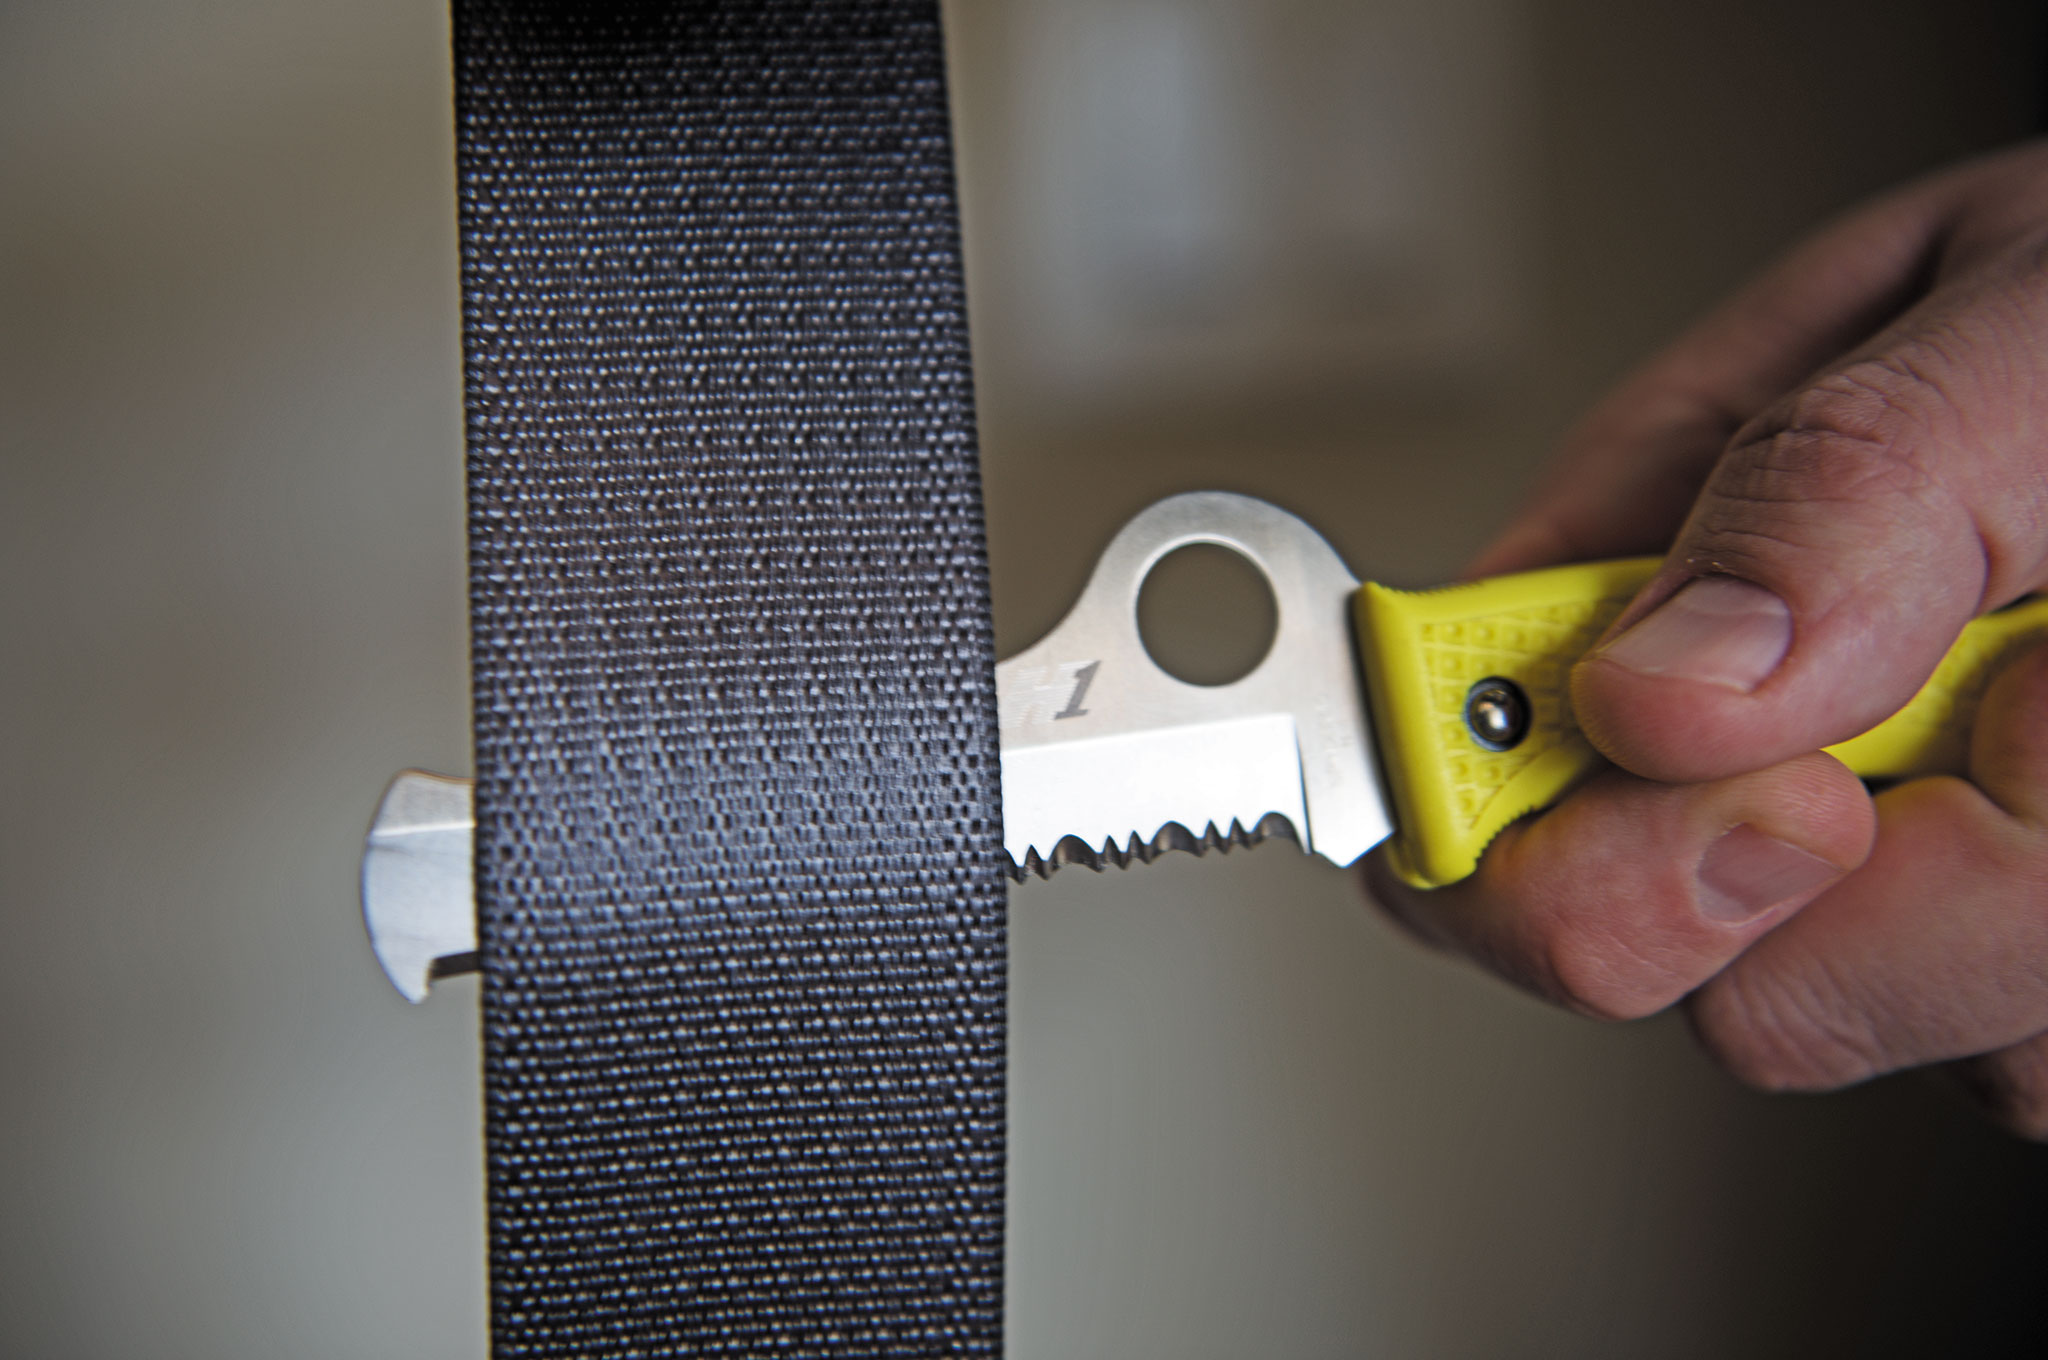
- Review: Spyderco Assist Salt Knife
- It Pays to Be a Fitness Generalist
- A Guide to Portable Solar Charger Kits
- The Psyop Way
- Survival Swap Meet
- 1975 Pinzgauer – Work Horse
- Cutting-Edge Combatives
- Old News, New Tricks
- What If You’re Trapped by a Major Flood that Threatens to Drown You and Those Around You?
- Polymer-Bodied Flashlights
- Tom Clancy’s The Division – Pixelated Pandemic
- Raging Waters
Read articles from the next issue of Recoil Offgrid: Issue 14
Read articles from the previous issue of Recoil Offgrid: Issue 12
Editor’s Note: This article has been modified from its original print version for the web.