In This Article
Backpacks are a topic of endless debate and speculation within the survivalist community. What’s in your bug-out bag? Do you have a go-bag in your car? What about a get-home bag at the office? Is your every-day carry bag stocked with survival gear? These are all questions we’ve heard discussed ad infinitum on blogs, forums, social media pages, and at in-person gatherings. There’s nothing wrong with this line of thinking — we’ve written plenty of articles about packs, and even established our Bag Drop column as a recurring feature to delve further into various configurations. However, it’s easy for a laser-like focus on this subset of load-bearing gear to distract us from the fact that there are other viable options for carrying supplies.
It’s no secret that many common practices in the civilian preparedness realm have been derived from the armed forces. Here, too, there’s a lesson we can learn. Take a look at military loadouts around the world, and you’ll notice a common theme — operators aren’t rushing into dangerous environments with nothing but a weapon on a sling and a backpack crammed with all their remaining gear. In a high-intensity battlefield setting, it’s more than a little impractical to take a knee, unshoulder a pack, and dig around for a full magazine, tourniquet, or radio. When those items are necessary, they’re necessary immediately.
Backpacks are great for long-term sustainment gear, but the most critical items in any loadout are always worn on the chest, flanks, and waistband for immediate accessibility. This is a universal constant in military units because of its proven effectiveness, and you’d be remiss to overlook its relevance to emergency preparedness, even in non-combat situations. Carrying gear on the waist via a battle belt will be discussed in a future issue, but for now we’ll focus on the upper body.
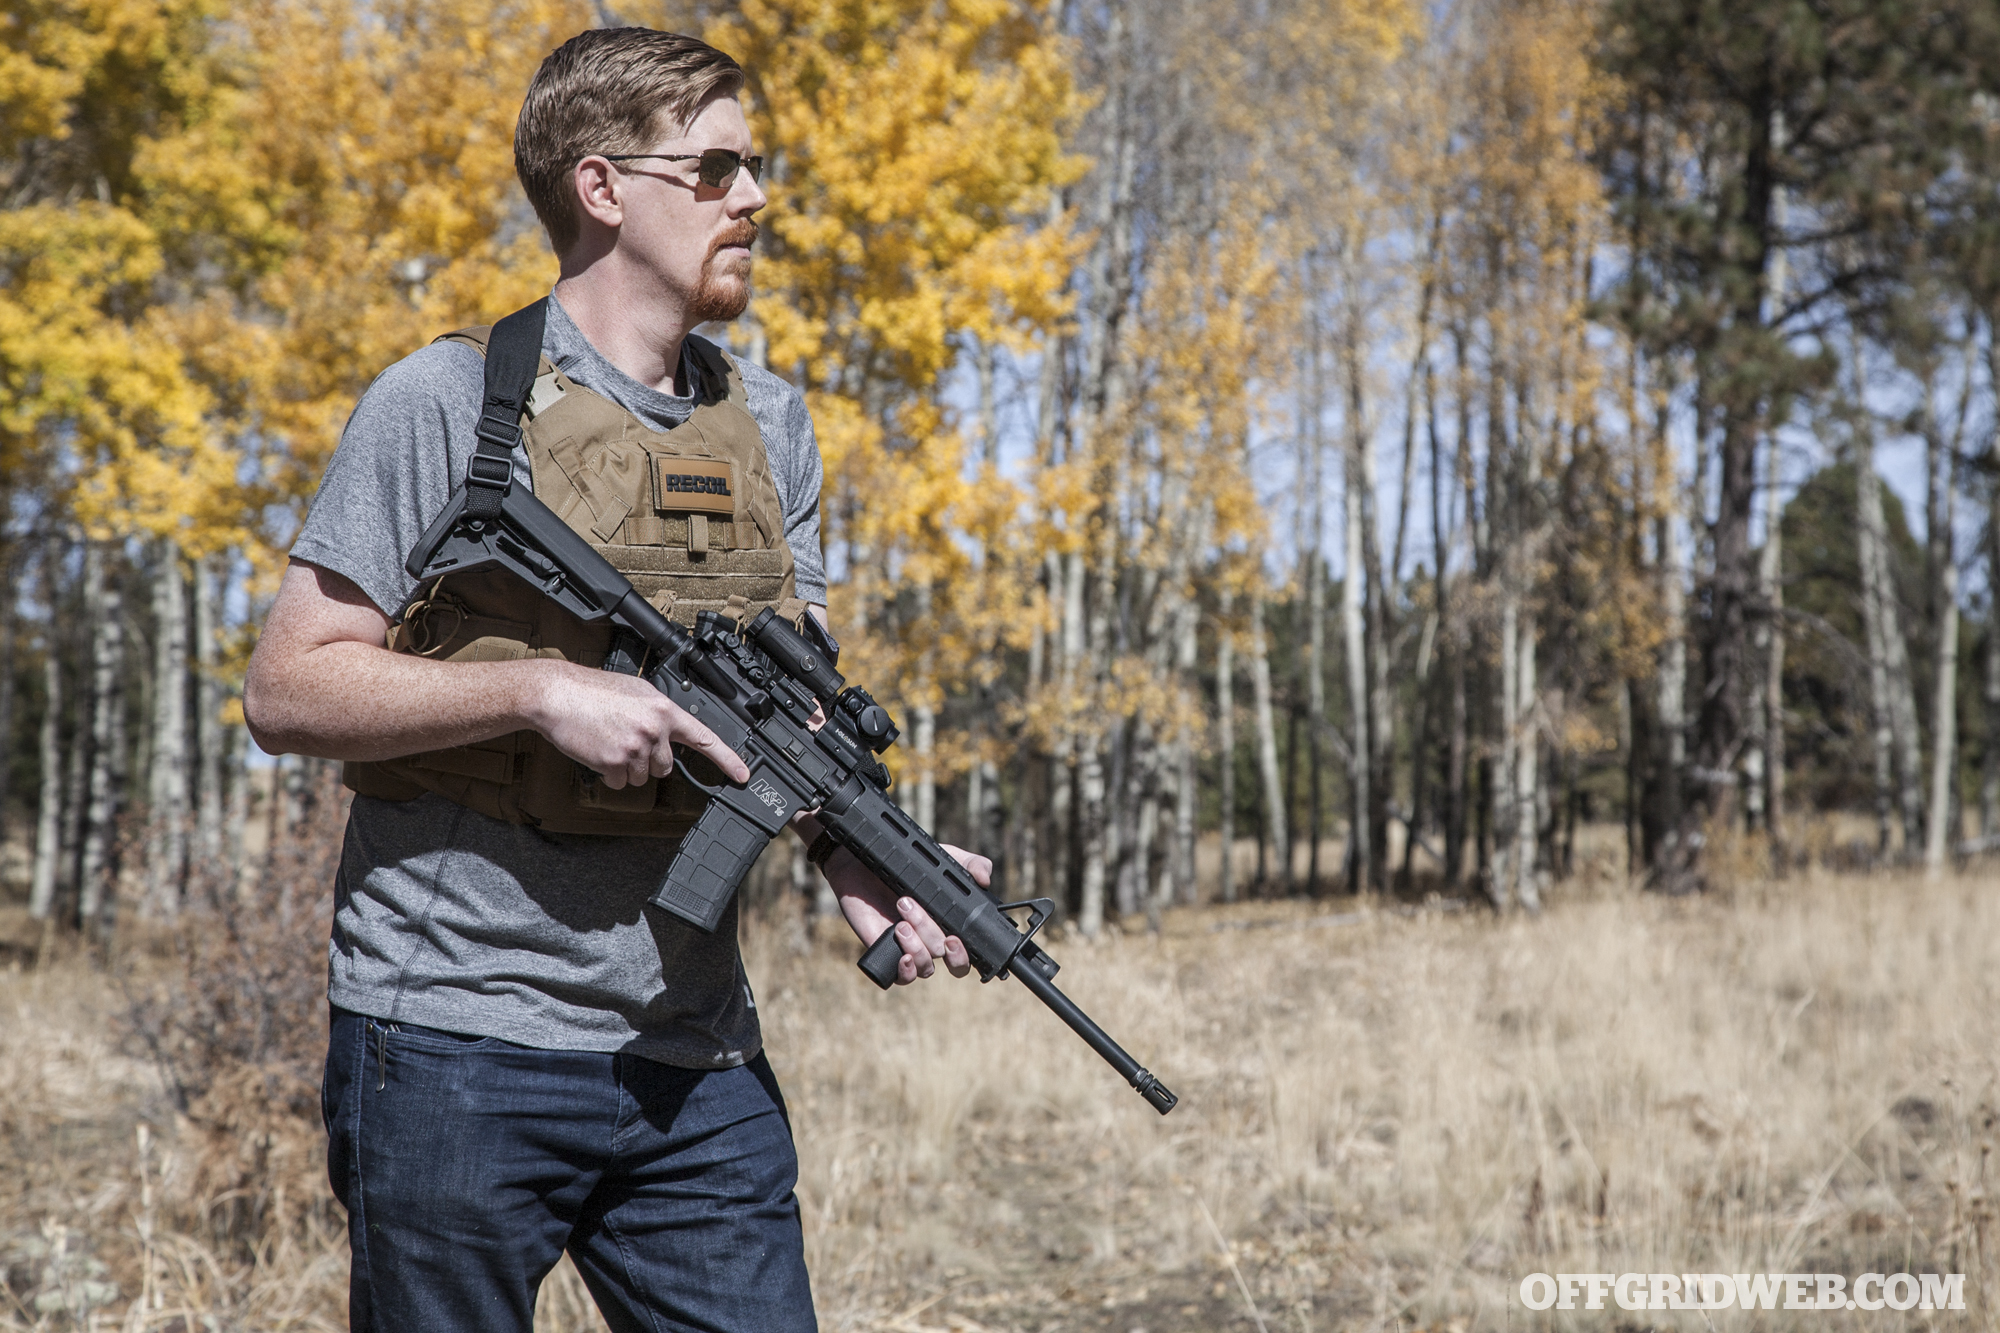
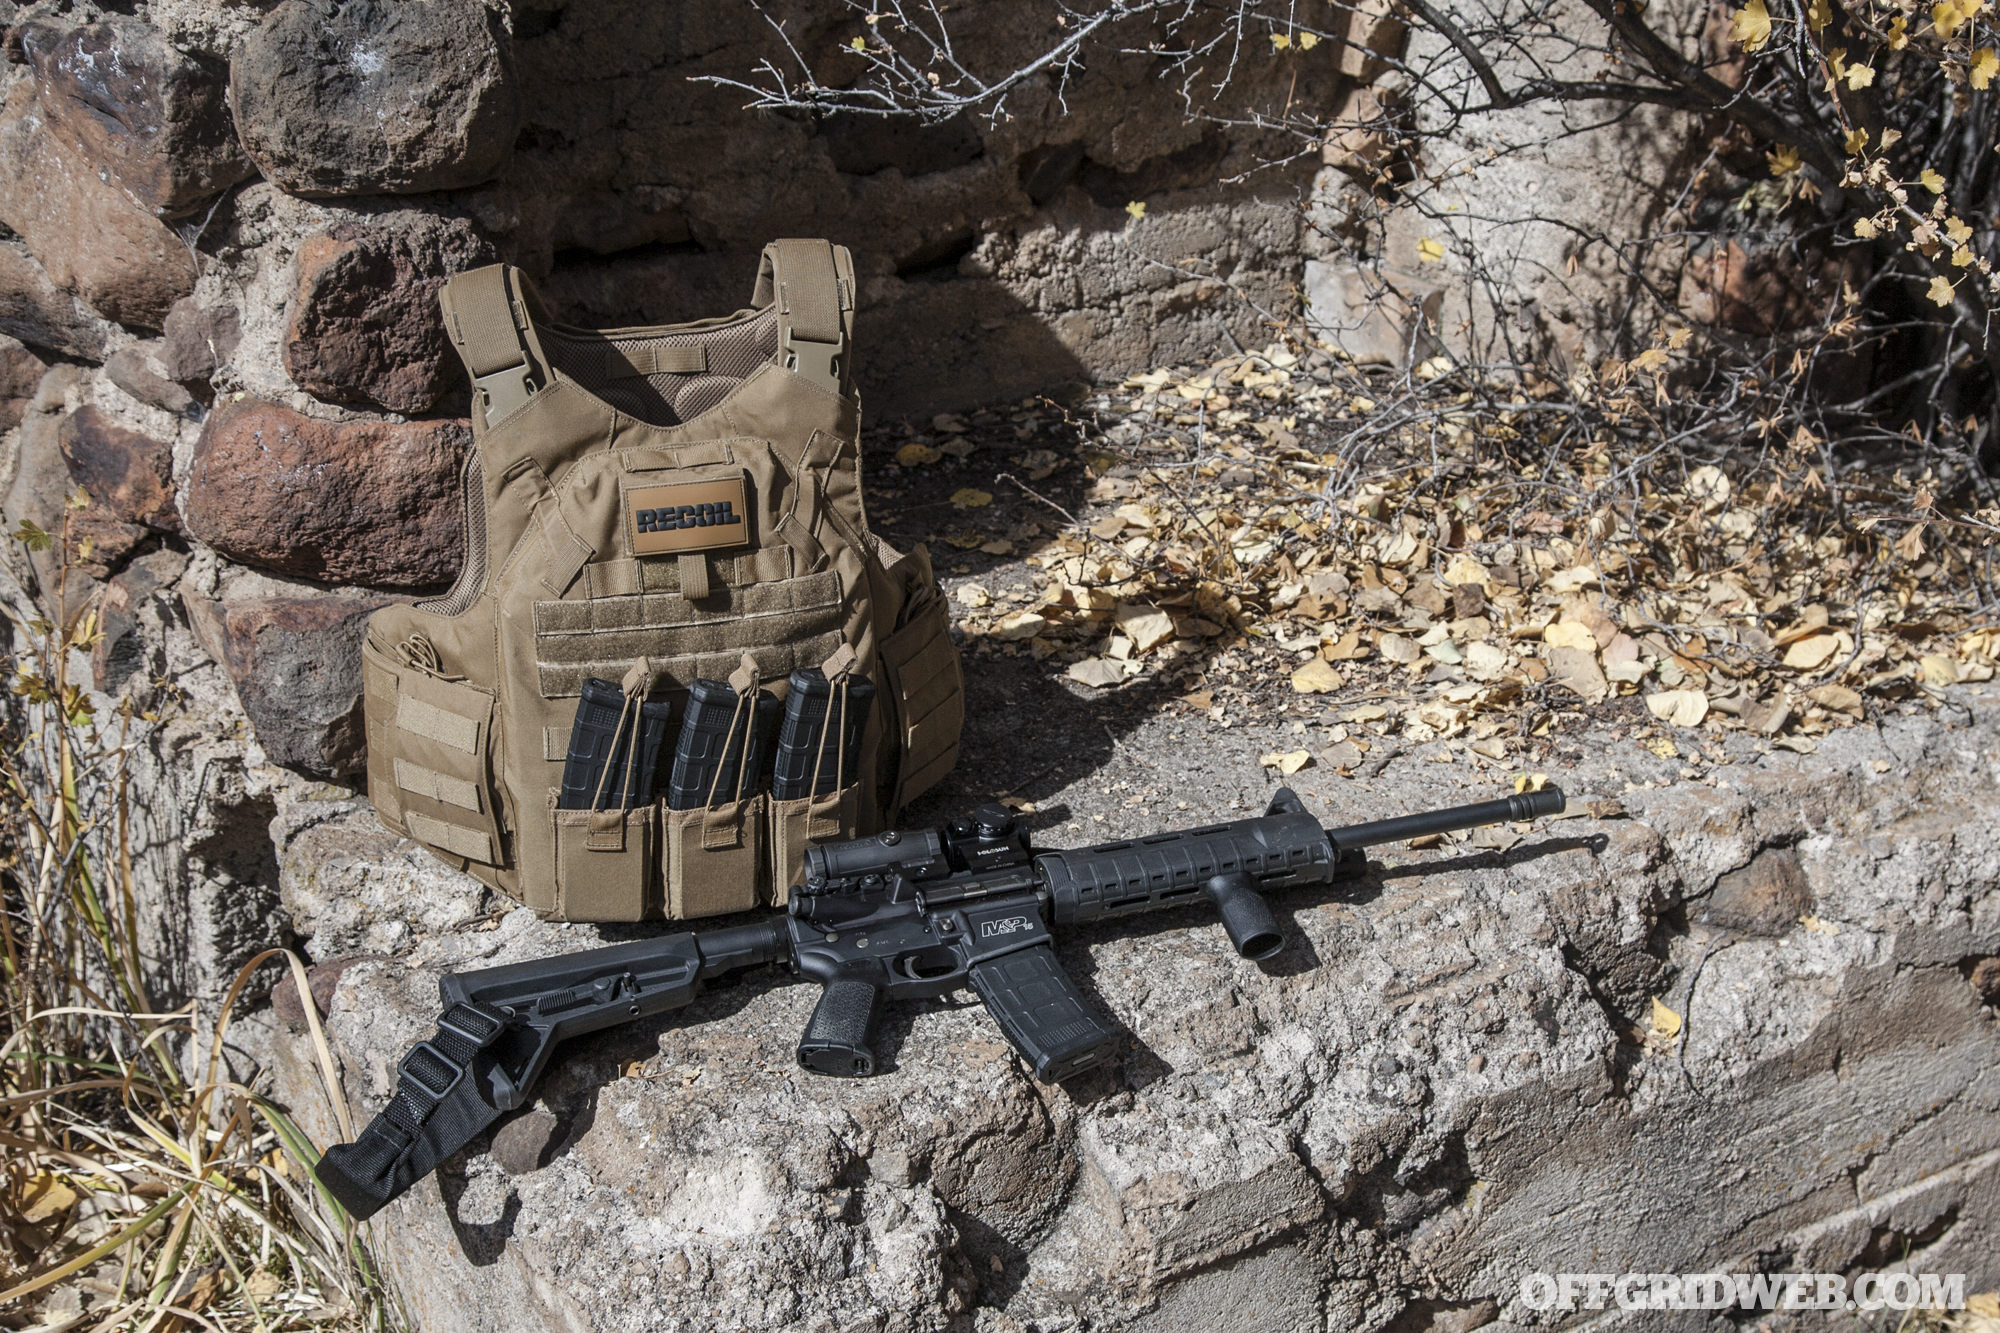
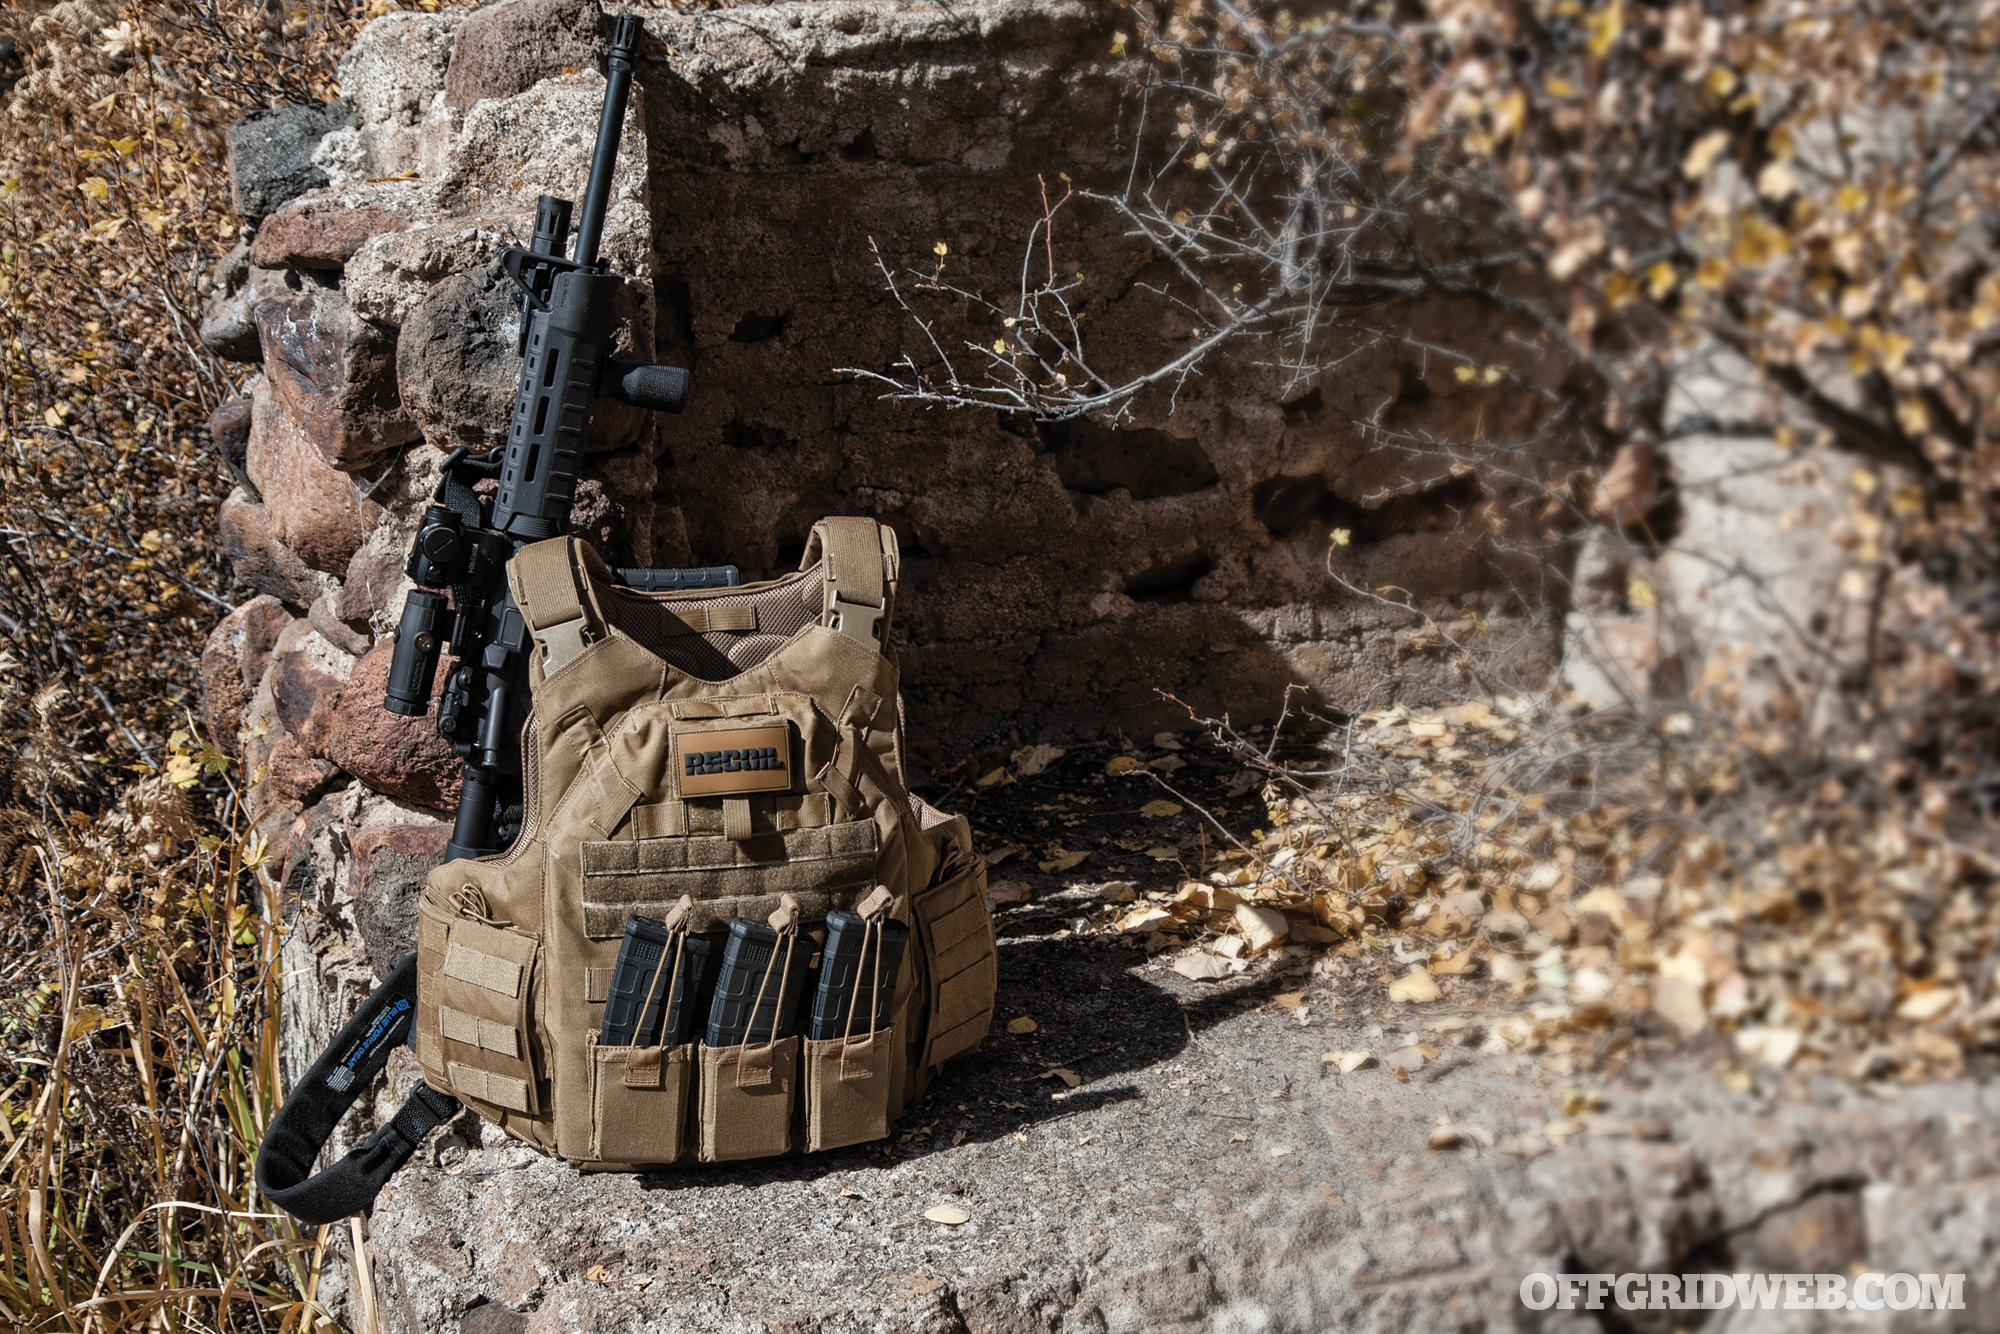
There are three subcategories of load-bearing gear to consider: plate carriers, vests, and chest rigs. Read on as we take a look at some examples and discuss each system’s pros and cons from a survivalist perspective.
Plate Carriers
We’re about to blow your mind. Plate carriers are designed to … wait for it … carry plates. Their core purpose is to serve as a container for armor, whether it’s hard rifle plates, soft Kevlar inserts, or a combination thereof. If you’re in a situation where you’re going to be shot at, especially by rifle rounds, you’re absolutely going to want to be wearing some form of plate carrier. But most PCs are designed to carry far more than armor — they’re a modular host for a full array of combat and survival gear.
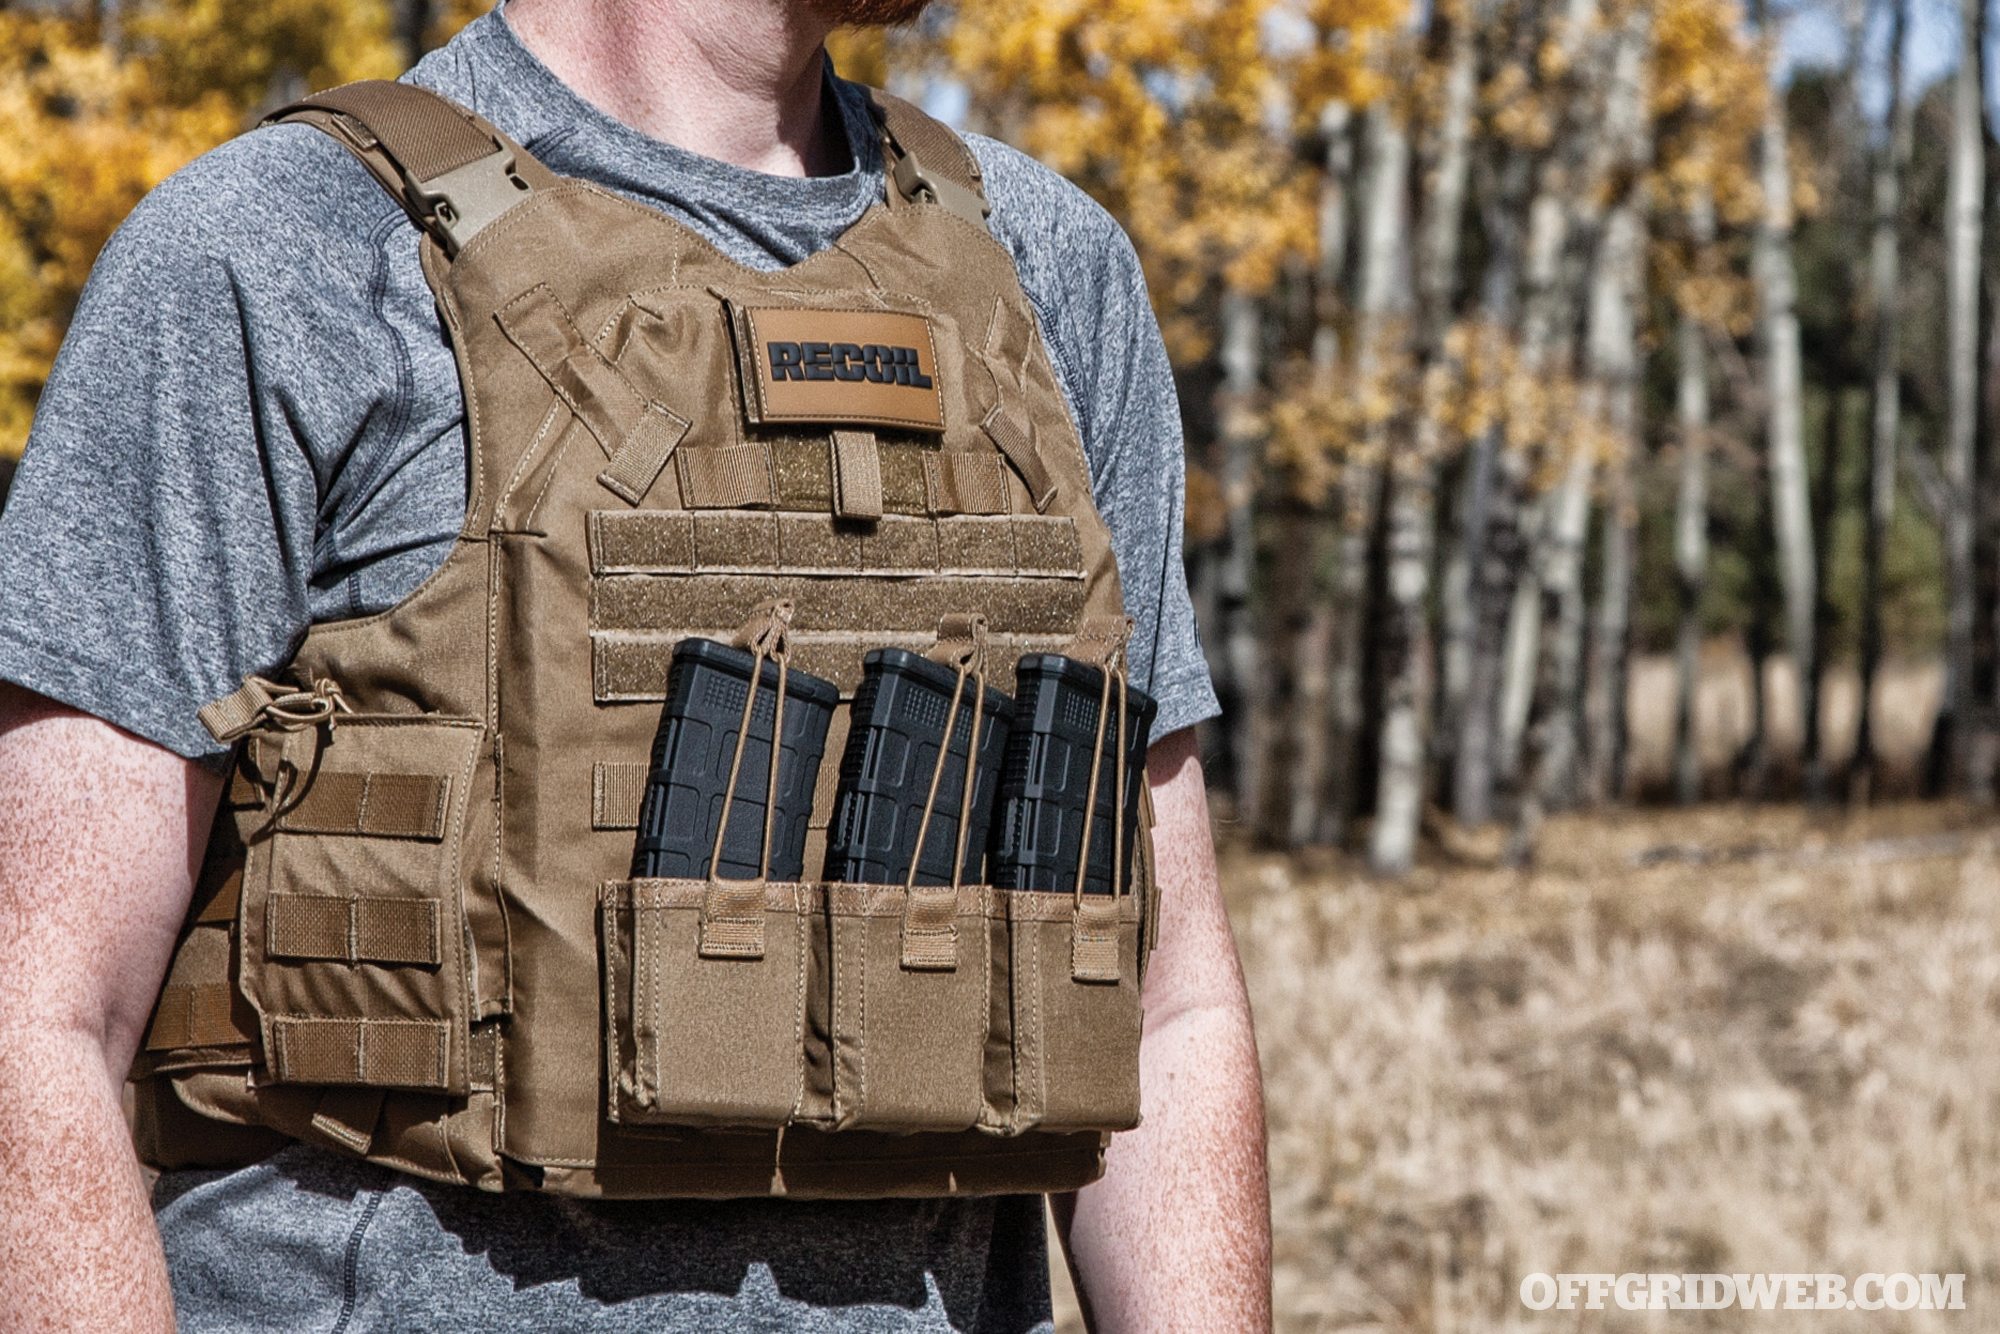
Generally, PCs will consist of front and rear plate sleeves that fit one or more of the standard plate sizes. The most common of these is approximately 10 by 12 inches, a commercial approximation of the military-spec Small Arms Protective Insert (SAPI) medium size (9.5 by 12.5 inches). There are many larger and smaller options available, as well as variations in cut (shape), profile (curvature), and thickness. Be sure to get a carrier that fits the plates you select if you buy these items separately. The plate sleeves are connected by an adjustable cummerbund that fits around the torso, as well as adjustable shoulder straps.
Many plate carriers come with built-in pockets and pouches for magazines, comms gear, and other small items. Virtually all feature PALS webbing, allowing the user to achieve a near-infinite array of configurations by adding MOLLE-compatible accessories. Think of a PC as a blank canvas — the front can be used for gear you need in a fight, while the back can house items for your companions to grab, such as signaling devices or spare medical gear. You can even set it up with a hydration system or attached backpack, but keep in mind that extra weight adds up fast.
Pros:
- Offers a means of carrying gear, but more importantly, a means of protecting your vital organs
- Most systems are highly modular and expandable, adapting easily to various tasks and weapon platforms.
Cons:
- Protection comes at a cost — prices range from several hundred dollars to several thousand, depending on the features, armor, and accessories you select.
- Weight adds up quickly and can seriously impact your mobility and endurance.
- Depending on the plate size and cut, it may become more difficult to shoulder a rifle comfortably.
We sourced a pair of plate carriers from TYR Tactical that demonstrate the range of variation within this category.
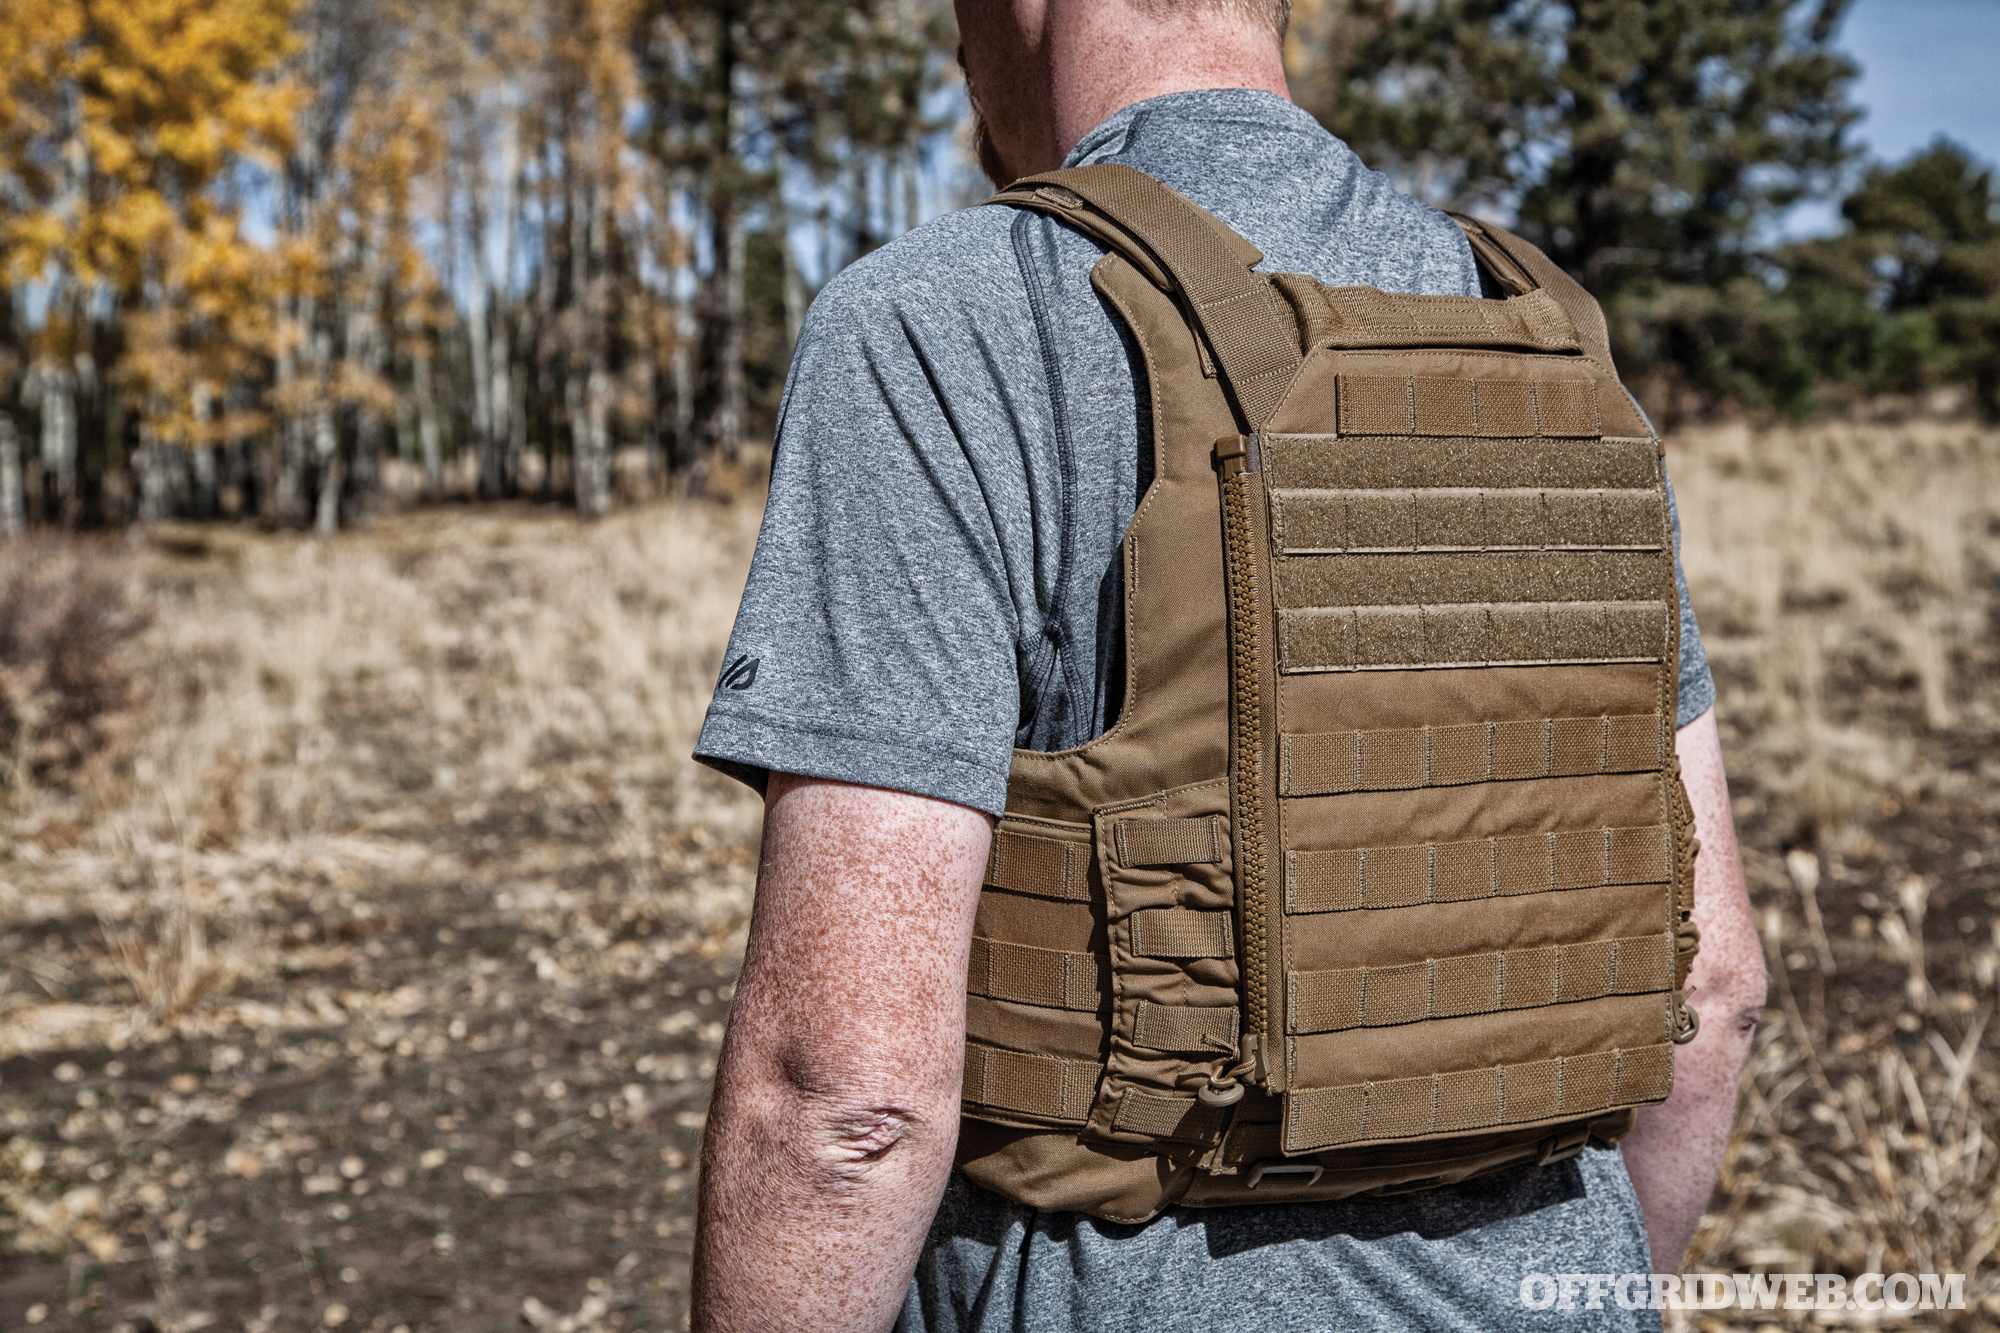
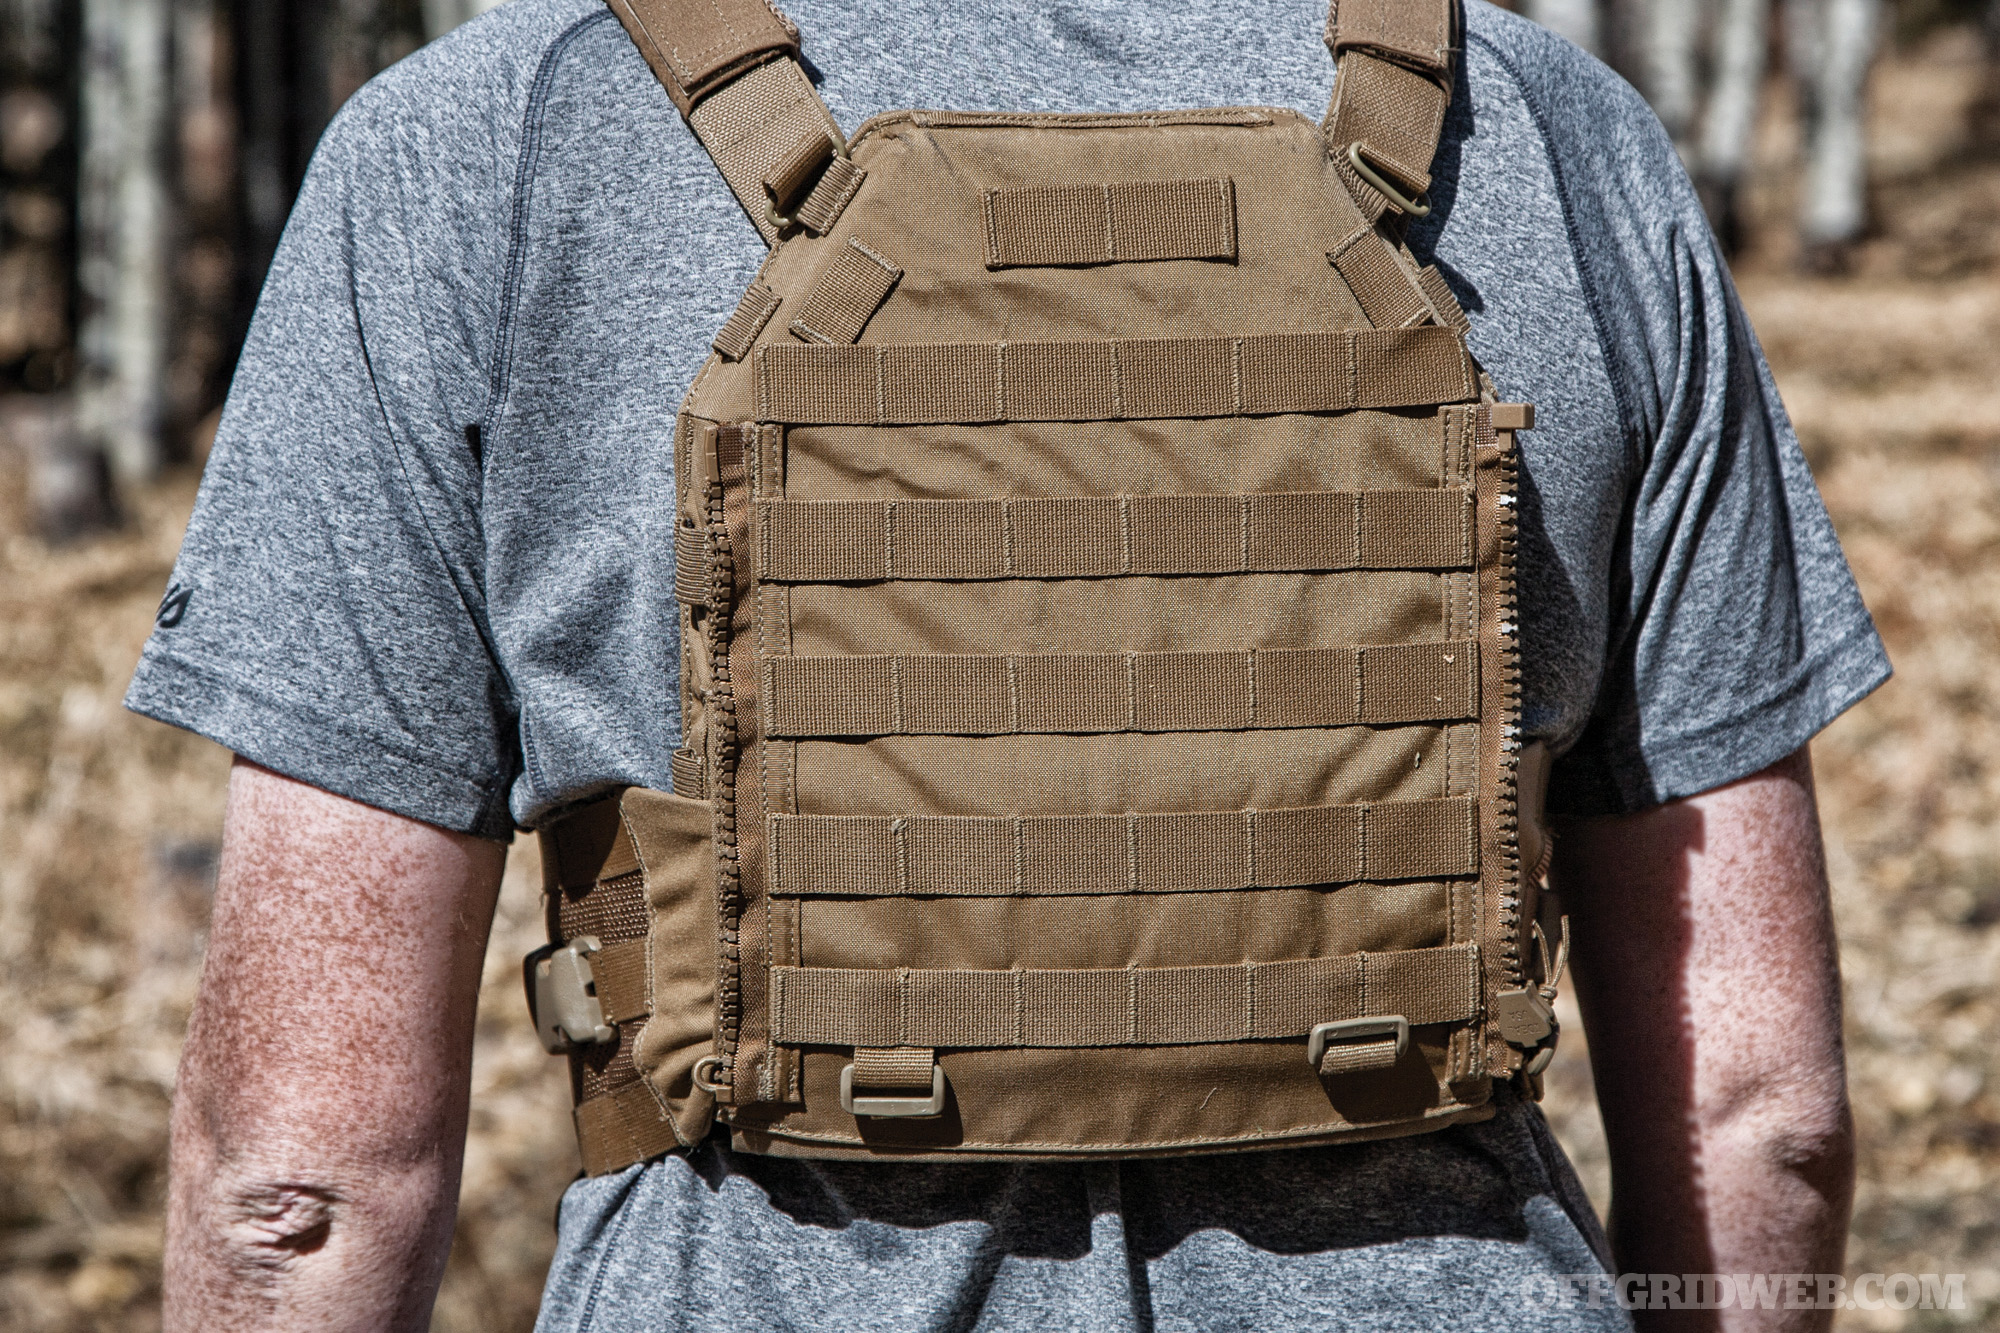
EPIC: 360-Degree Protection
On one end of the spectrum, there’s the EPIC, a comprehensive system that’s a hybrid between a ballistic vest and a traditional plate carrier. It comes standard with TYR T52/SP soft armor that meets NIJ Level II specifications and can be worn without plates for protection against handgun calibers. This soft armor extends from the collarbone area down the torso and through the cummerbund, encircling the wearer on both sides.
Sleeves on the front and rear can accommodate various styles of rifle plates atop the soft armor — the pictured carrier is set up for 11×14 TYR HA3/7 dual-curve ceramic plates. These plates meet NIJ Level III specs when worn in conjunction with the soft armor, but the company labels them “Level III+” and says they’ve been proven to defeat 5.56x45mm M855 steel-core rounds at 3,051 feet per second.

Above: A central cutaway buckle pulls four wires that decouple the shoulder and side buckles for one-handed removal.
The TYR Tactical EPIC plate carrier features a Ballistic Vein that provides rigid structure and support for this dual-armor system, as well as antimicrobial spacer mesh to maintain airflow to the wearer’s skin. In the event of a medical emergency, there’s also a four-point cutaway feature that simultaneously releases the shoulder and cummerbund buckles to remove the carrier in seconds — just pull up and then down on the tab at the sternum. The chest, cummerbund, and replaceable Zip-On back panel are all coated in generous amounts of PALS webbing. Every piece of this carrier, including the soft and hard armor, is made in the USA by TYR Tactical using domestically sourced materials.
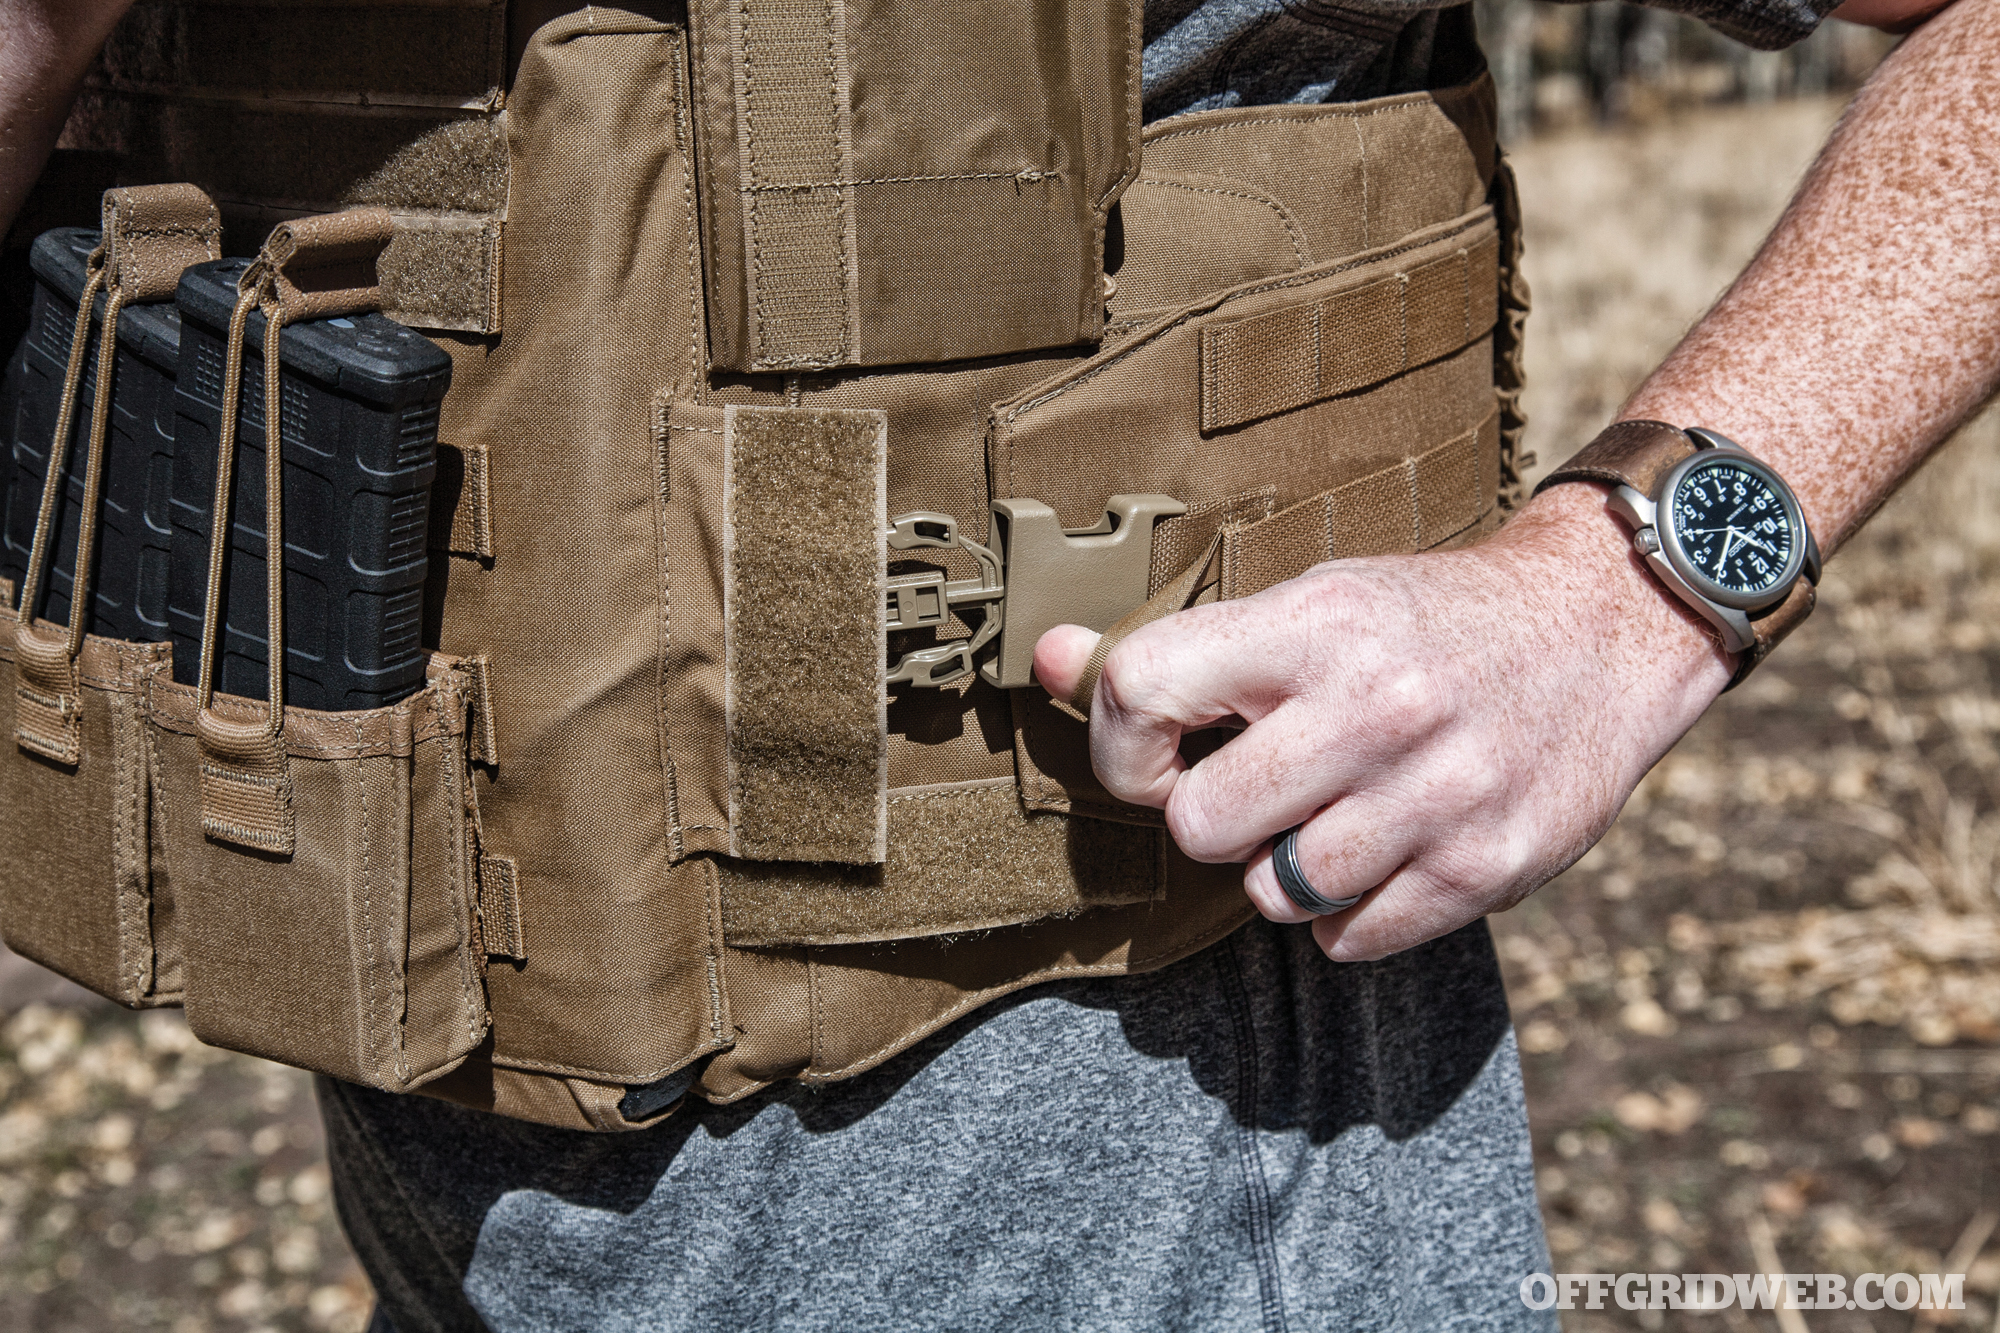
Above: To close the cummerbund, pull up the cover flap to reveal the side buckle, then pull firmly forward on the thumb loop until the buckle clicks into place. Hidden elastic in the lower back area lets the cummerbund expand and contract.
Given the massive amount of Kevlar integrated into the EPIC and the extra large 11×14-inch plates in this sample, we were surprised by how easy it is to wear. The weight is certainly noticeable, but the Ballistic Vein distributes it well. The most prominent drawback we noticed is that the soft armor and large shoulder buckles tend to interfere with shouldering a rifle. We feel this setup would be best-suited to defending a static position, or other relatively sedentary uses where protection is crucial and fatigue is less of a concern. Regardless of application, if maximum protection and heavy load carriage are priorities for you, the EPIC or similar system provides a comprehensive answer.
Above: Zippers on the back panel allow for the installation of modular Zip-On panels, backpacks, or hydration carriers.
TYR Tactical EPIC Plate Carrier Specs
Soft Armor
T52/SP Level II (pictured) or TXP3A Level IIIA ($100 option)
Hard Plates
TYR HA3/7 Level III+ (pictured); can also be configured for 9×12 to 11×14 SAPI/ESAPI or Cercom/Ceradyne plates
Expansion Points
PALS webbing, two side pockets with hook and loop closure, Zip-On back accessory platform
Colors
MultiCam, Coyote Brown, Ranger Green, Black
Weight
19.2 pounds (XL carrier with 11×14 plates and soft armor, no accessories)
MSRP
$2,593 as tested ($1,496 for carrier with Level II armor, $496 per Level III+ plate, $35 per TYR Tactical Happy Mag pouch)
PICO-DS: Lightweight Mobility

Toward the other side of the plate carrier spectrum, there’s the PICO-DS. This PC is considerably smaller and lighter than the EPIC, and forgoes the ballistic-vest-fusion concept to focus on simplicity and weight reduction. It can be configured with sleeves that accommodate hard armor plates ranging from small (9.75 by 12 inches) to extra large (11.75 by 14.65 inches) in several profiles/thicknesses. The breathable poly mesh cummerbund provides more airflow to the sides, and features a simple hook and loop closure under the front panel. Low-profile shoulder pads increase comfort during long periods of wear. In addition to PALS webbing on the front, back, and sides, four Quick Attach Surface Mount (QASM) buckles make the carrier directly compatible with TYR Tactical Chest Racks — as well as those from a number of other companies. These chest rigs can be disconnected from their shoulder straps and clipped onto the plate carrier, making it possible to quickly transition from chest rig to PC if a scenario dictates a need for armor. Likewise, different removable front flaps can be set up dedicated to different purposes or weapons. You could swap your loadout from AR mags and med kit to pouches full of food and fire-starting supplies, with just the two buckles and some Velcro required to change.
The pictured PICO-DS is configured with a pair of 10×13 TYR HA3/7 plates and T52/SP soft ballistic inserts to achieve the same Level III+ rating as the EPIC, albeit with a smaller coverage area. It has also been outfitted with three Combat Adjustable mag pouches and a Lower Abdomen Platform, offering additional soft armor and gear storage space. As with the EPIC, the PICO-DS carrier, armor, and accessories are made in the USA.
We found the PICO-DS to be exceptionally comfortable, offering a good balance between protection and weight. Although the large 10×13 plates are arguably on the small side for this author’s 6-foot-5 frame, they’re far easier to wear while sprinting or shouldering a rifle. This carrier would be ideal for high-intensity scenarios where increased agility and endurance may be worth the trade-off in armor coverage.
TYR Tactical PICO-DS Plate Carrier Specs
Soft Armor
T52/SP Level II (pictured)
Hard Plates
TYR HA3/7 Level III+ (pictured); can also be configured for 9.75×12 to 11.75×14.65 SAPI/ESAPI or Morgan Level III plates
Expansion Points
PALS webbing; QASM buckles; Zip-On back accessory platform; front and rear lower attachment points for pouches, belts, or abdomen/groin panels
Colors
MultiCam, Coyote Brown, Ranger Green, Black
Weight
13 pounds (Large carrier with 10×13 plates and soft armor, no accessories)
MSRP
$1,969 as tested ($696 for carrier with Level II armor, $496 per Level III+ plate, $37 per TYR Tactical Combat Adjustable mag pouch, $170 for lower abdomen armor)
Vests
While the protection offered by rifle plates is undeniable, so are their inherent compromises — high cost, added weight, and reduced mobility. These factors can be diminished, but never fully eliminated. Survival is always a matter of calculated risk, so it’s essential to carefully consider the realistic likelihood of facing a scenario where hard armor is a necessity. If that likelihood is low for you, it’s worthwhile to take a look at some alternative options.
Like a plate carrier, a vest offers considerable load-bearing capacity on the front, sides, and back of the torso. Many are preconfigured with an array of pockets and pouches; some offer partial or complete coverage in PALS webbing to allow for individualized setups. Since there’s no thick rifle plate on the back, vests can also usually be worn with a backpack or while seated in a vehicle without discomfort.
Although a true vest won’t offer pockets for rifle plates, it may feature integrated soft armor — this would be considered a ballistic vest, sometimes improperly called a “bulletproof” vest. Even if they’re not lined with Kevlar, the majority of tactical vests can be worn over separate soft armor for protection against handgun calibers, shrapnel, and sharp objects. This is common for law enforcement officers who need a quick way to put on additional load-bearing gear atop their everyday equipment.
Keep in mind that vests aren’t just relegated to the tactical market. They’re also common among fly fishermen, photographers, construction workers, and countless other hobbies and professions. See Issue 30 for Tom Marshall’s review of the Klim Arsenal vest, which was designed for endurance motorcycle racers. Depending on your needs, one of these designs may be a better fit.
Pros:
- Offers similar or even greater gear carrying capacity than a plate carrier
- Available in a wide range of styles and configurations, including many outside the tactical realm
- Generally affordable, especially in non-ballistic configurations
Cons:
- Many are loaded with non-removable pockets and pouches that may not fit your needs, or floppy straps and buckles that get in the way
- Can become nearly as bulky and cumbersome as a plate carrier without the advantage of hard armor
Blackhawk Omega Elite
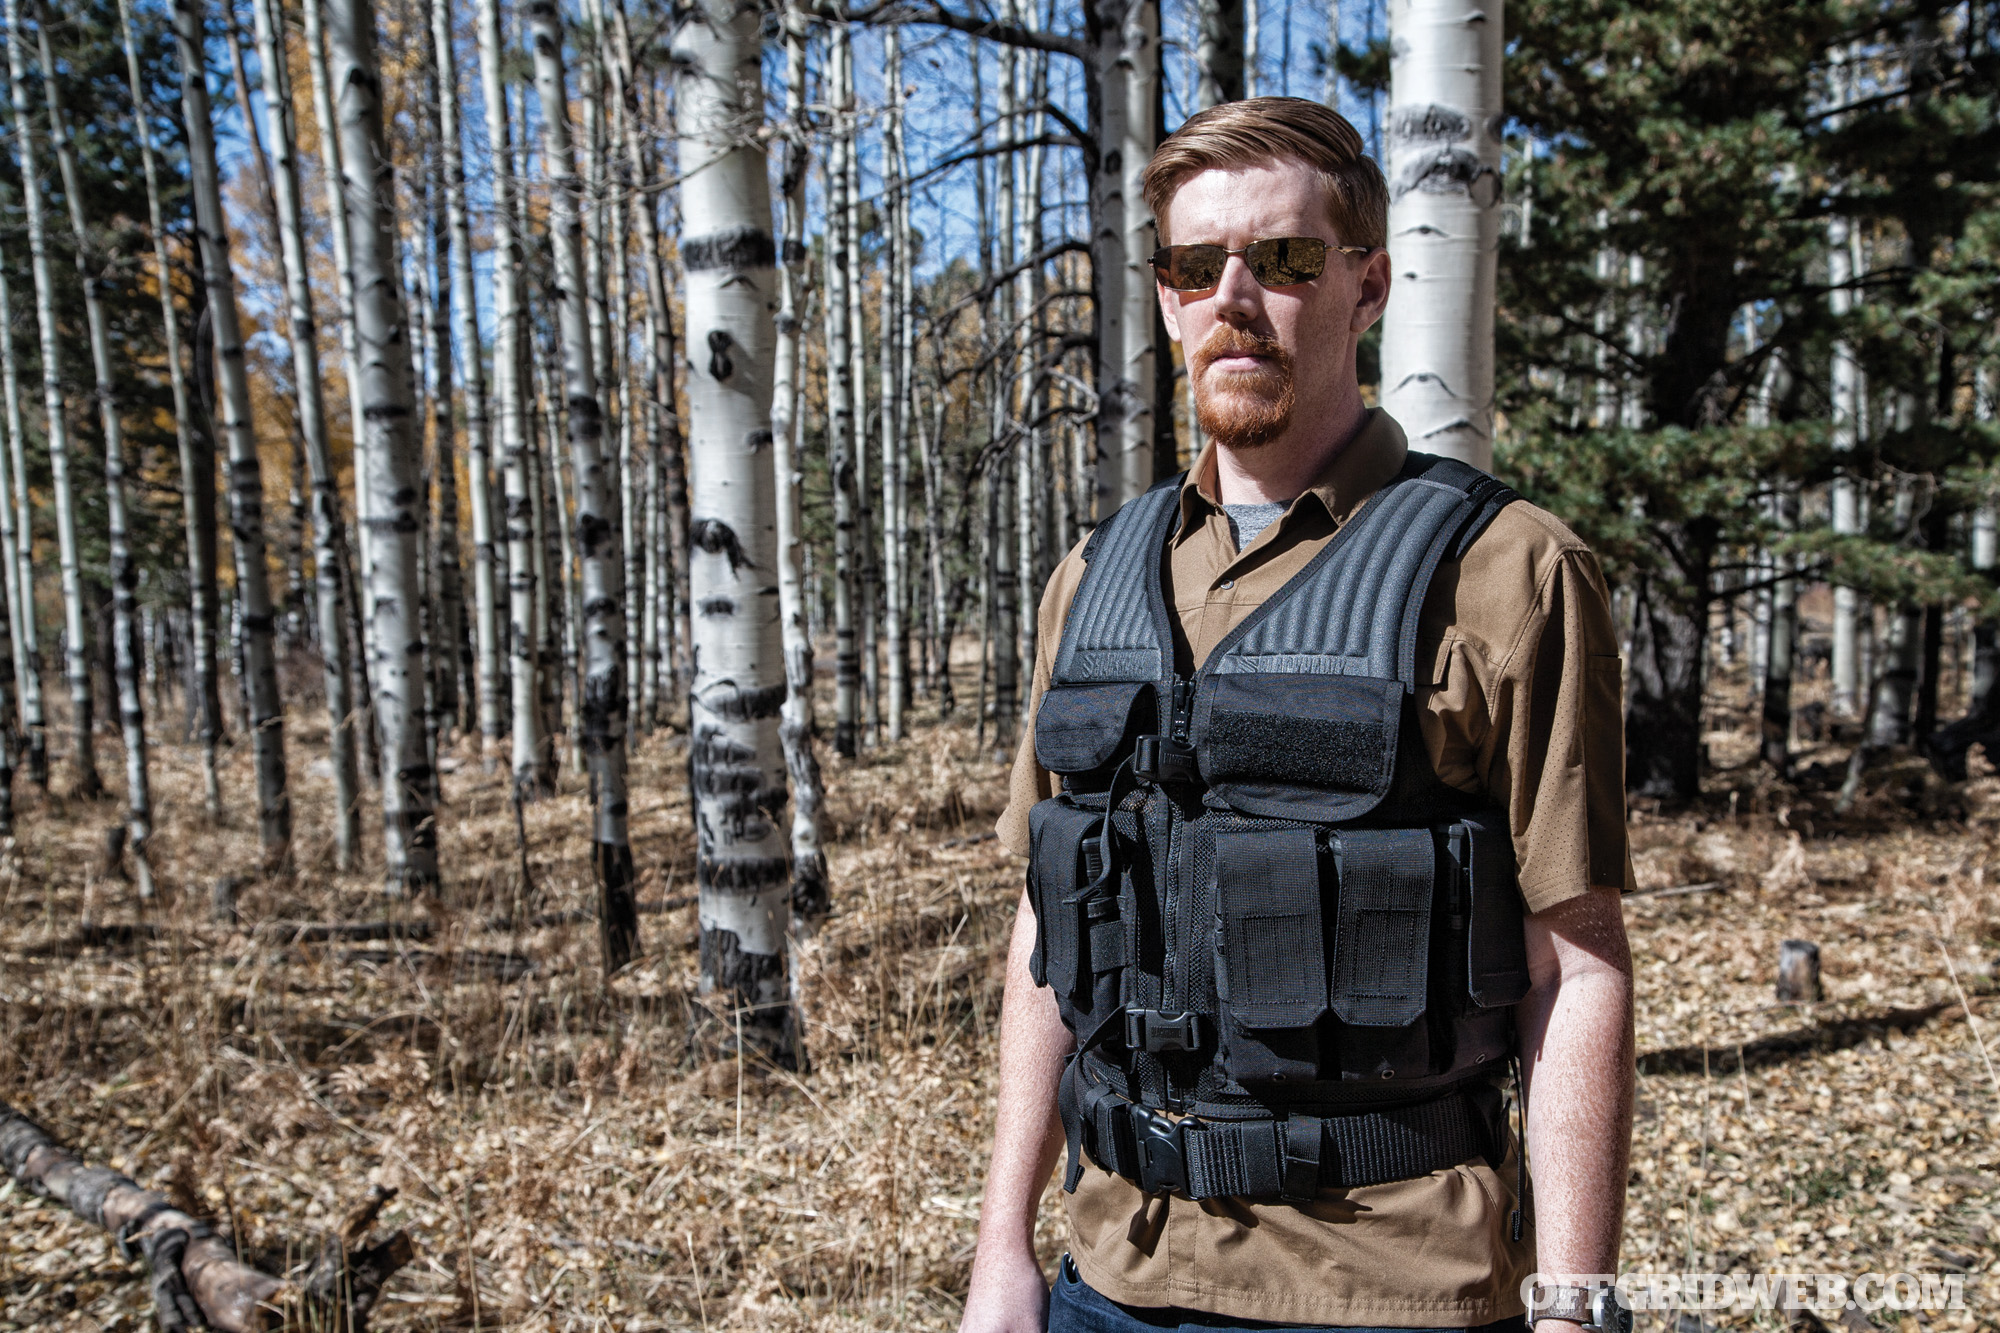
This tactical vest is constructed from heavy-duty nylon mesh with a solid back panel covered in PALS webbing, padded shoulders, and a zip-up front with dual buckles. It features a total of 10 pockets — two internal zippered document pockets, two chest pockets for accessories, and six large magazine pockets. The mag pockets will each hold two 30-round AR magazines with room to spare. Length and girth are adjustable to accommodate a range of torso sizes.
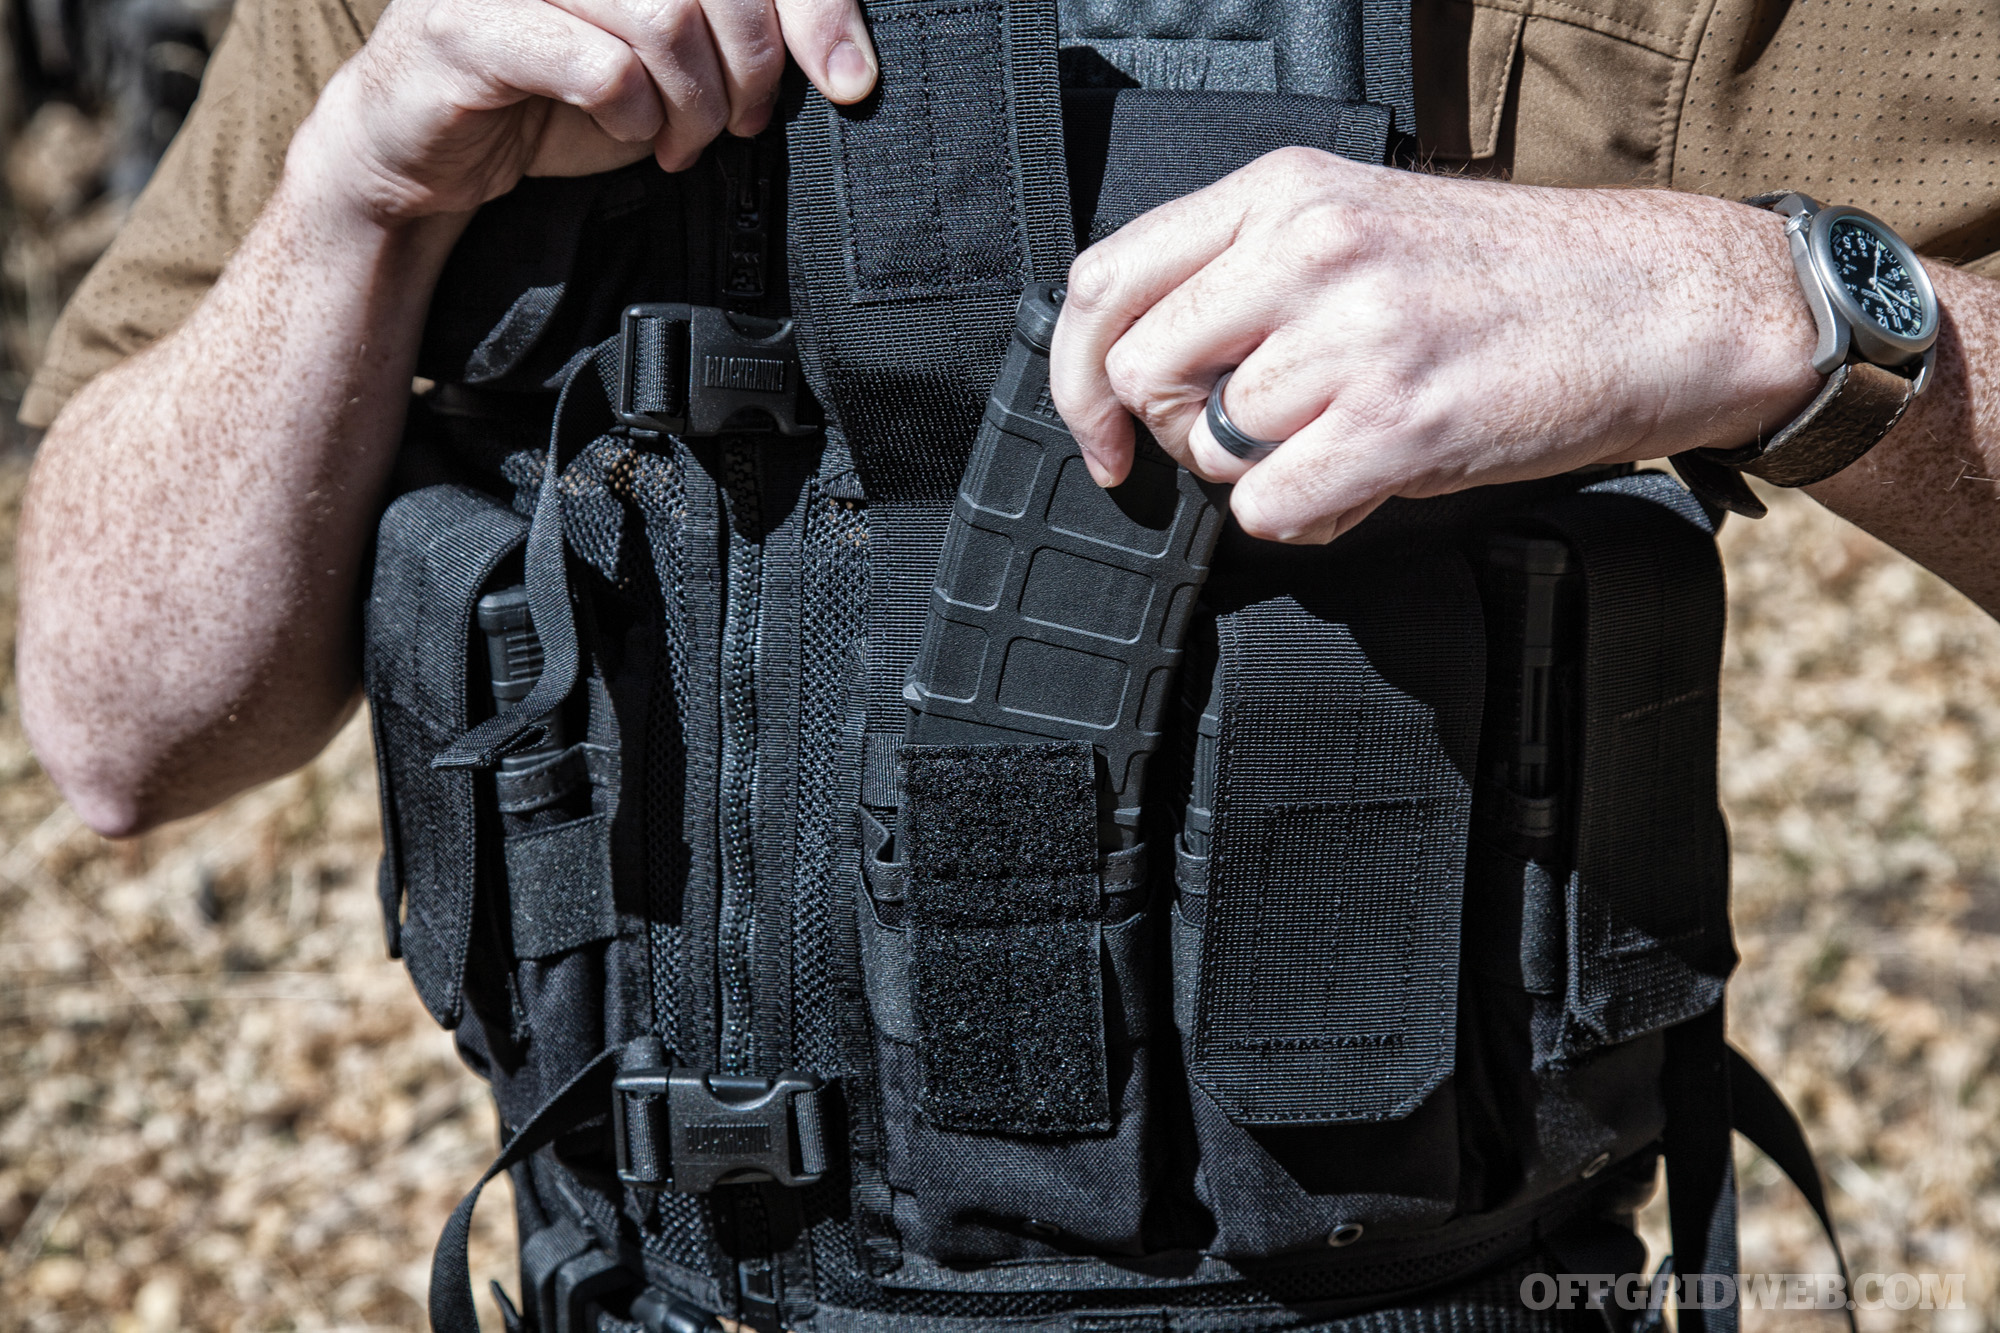
Above: The front pouches can contain up to two 30-round magazines apiece.
Blackhawk designed the vest to be worn with a web belt, and it has a series of belt loops along its base for this purpose. These could be attached to a wearer’s existing belt, but adjusting all six hook-and-loop strips would make that a time-consuming process. It’s preferable to pair the vest with its own belt, such as this matching Blackhawk Military Web Belt made from 2.25-inch-wide nylon.
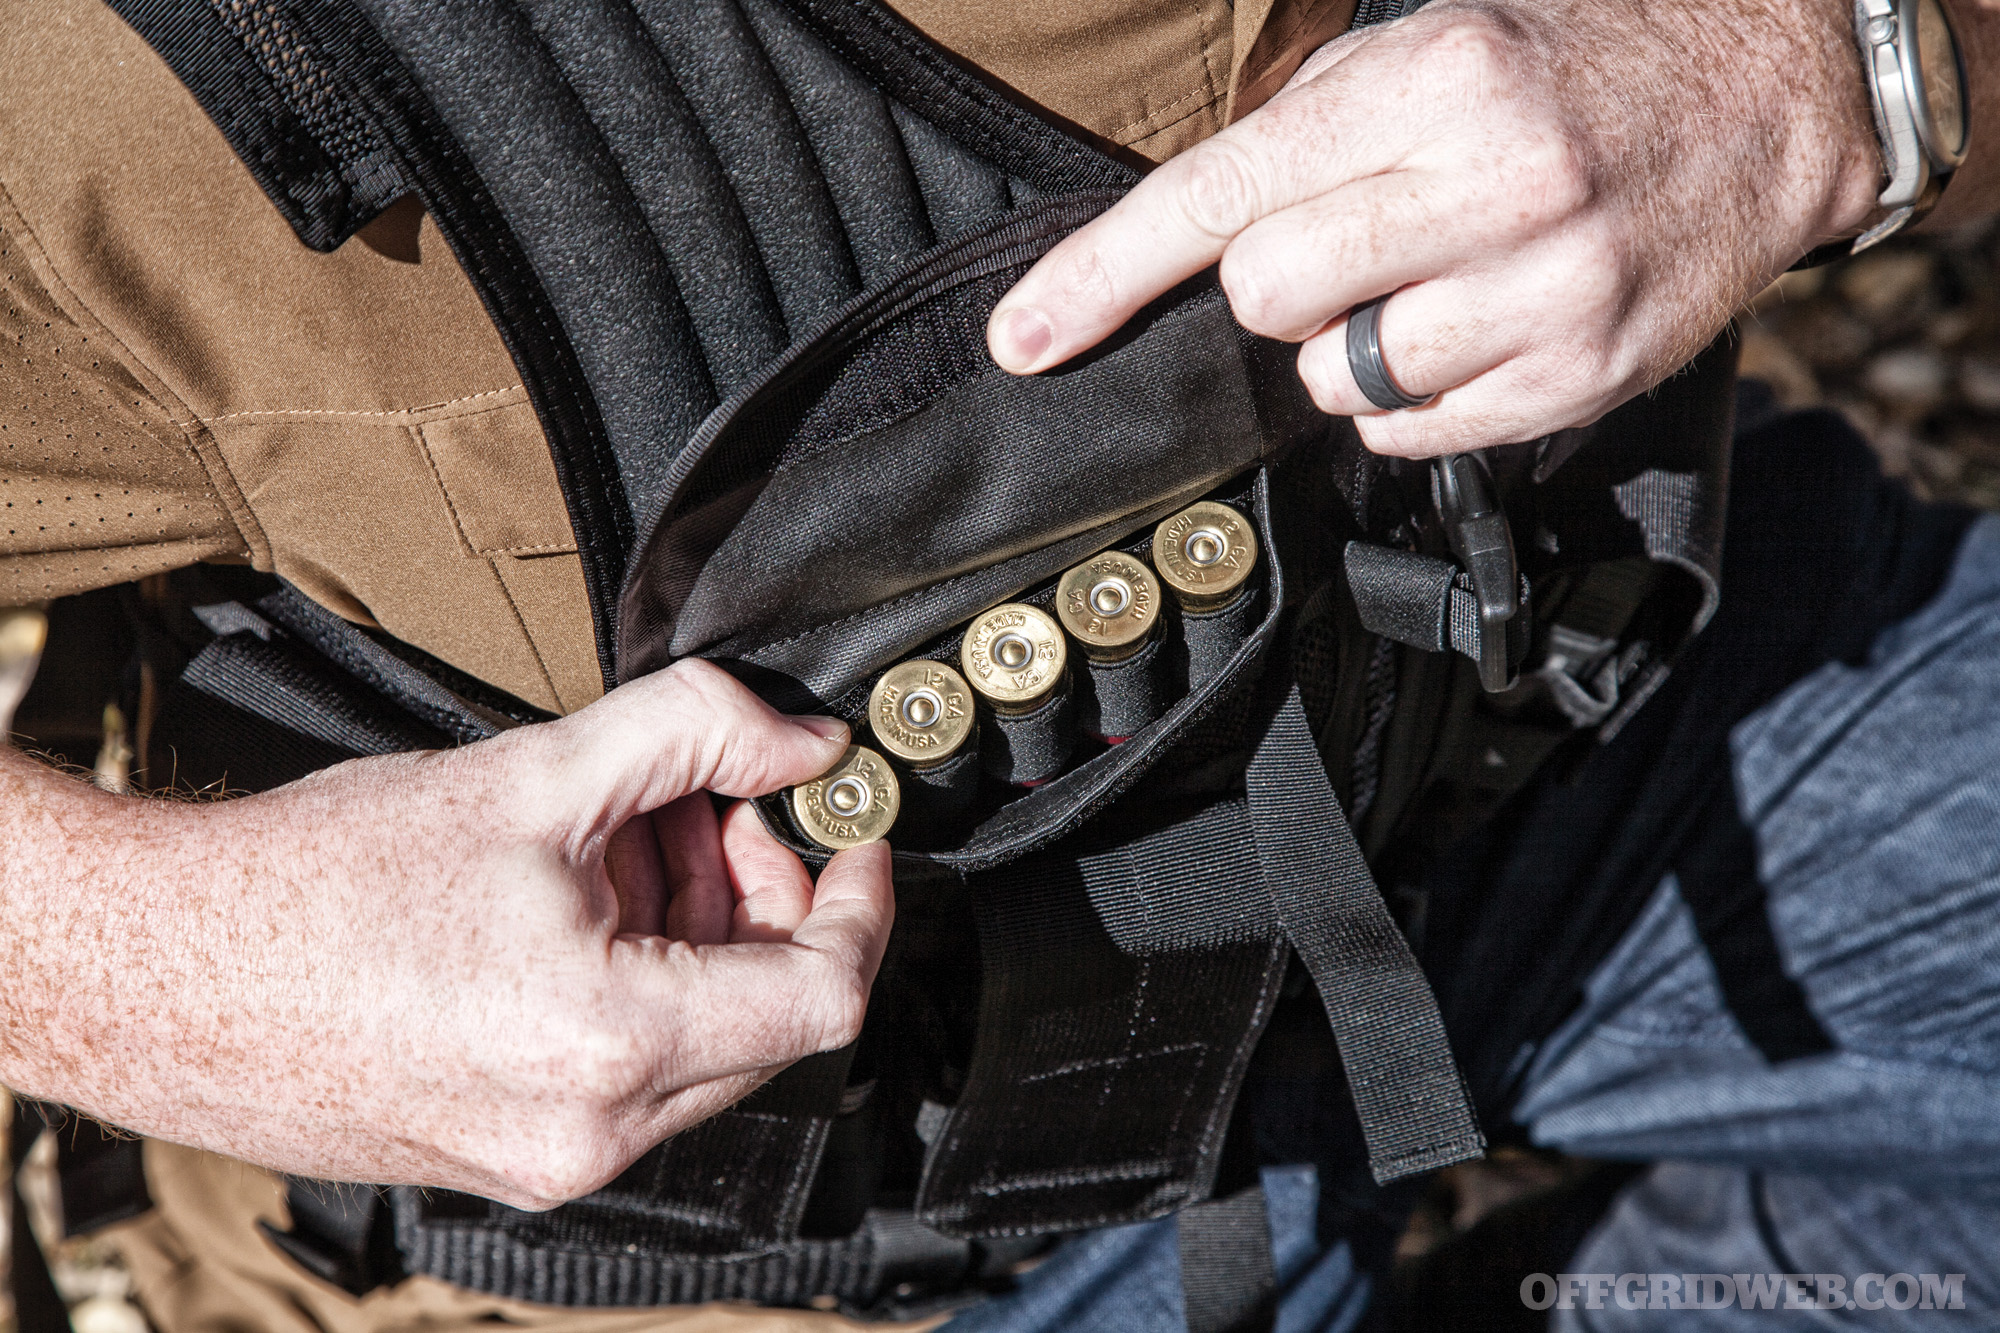
Above: One of the top pockets features a hook-and-loop area with a removable shot shell holder.
Although this vest is made from a mesh base, its large coverage area and many solid portions — including the entire back panel — caused it to feel stifling during heavy physical activity. Despite Blackhawk’s statement that it was “designed with input from elite operators,” several elements felt awkward, such as the overly long cinch straps dangling from the sides, the permanently attached belt loops, and the front buckles that can’t be pulled tight enough to sit flush. Blackhawk has apparently acknowledged these issues, since this vest is no longer listed on the company’s website.
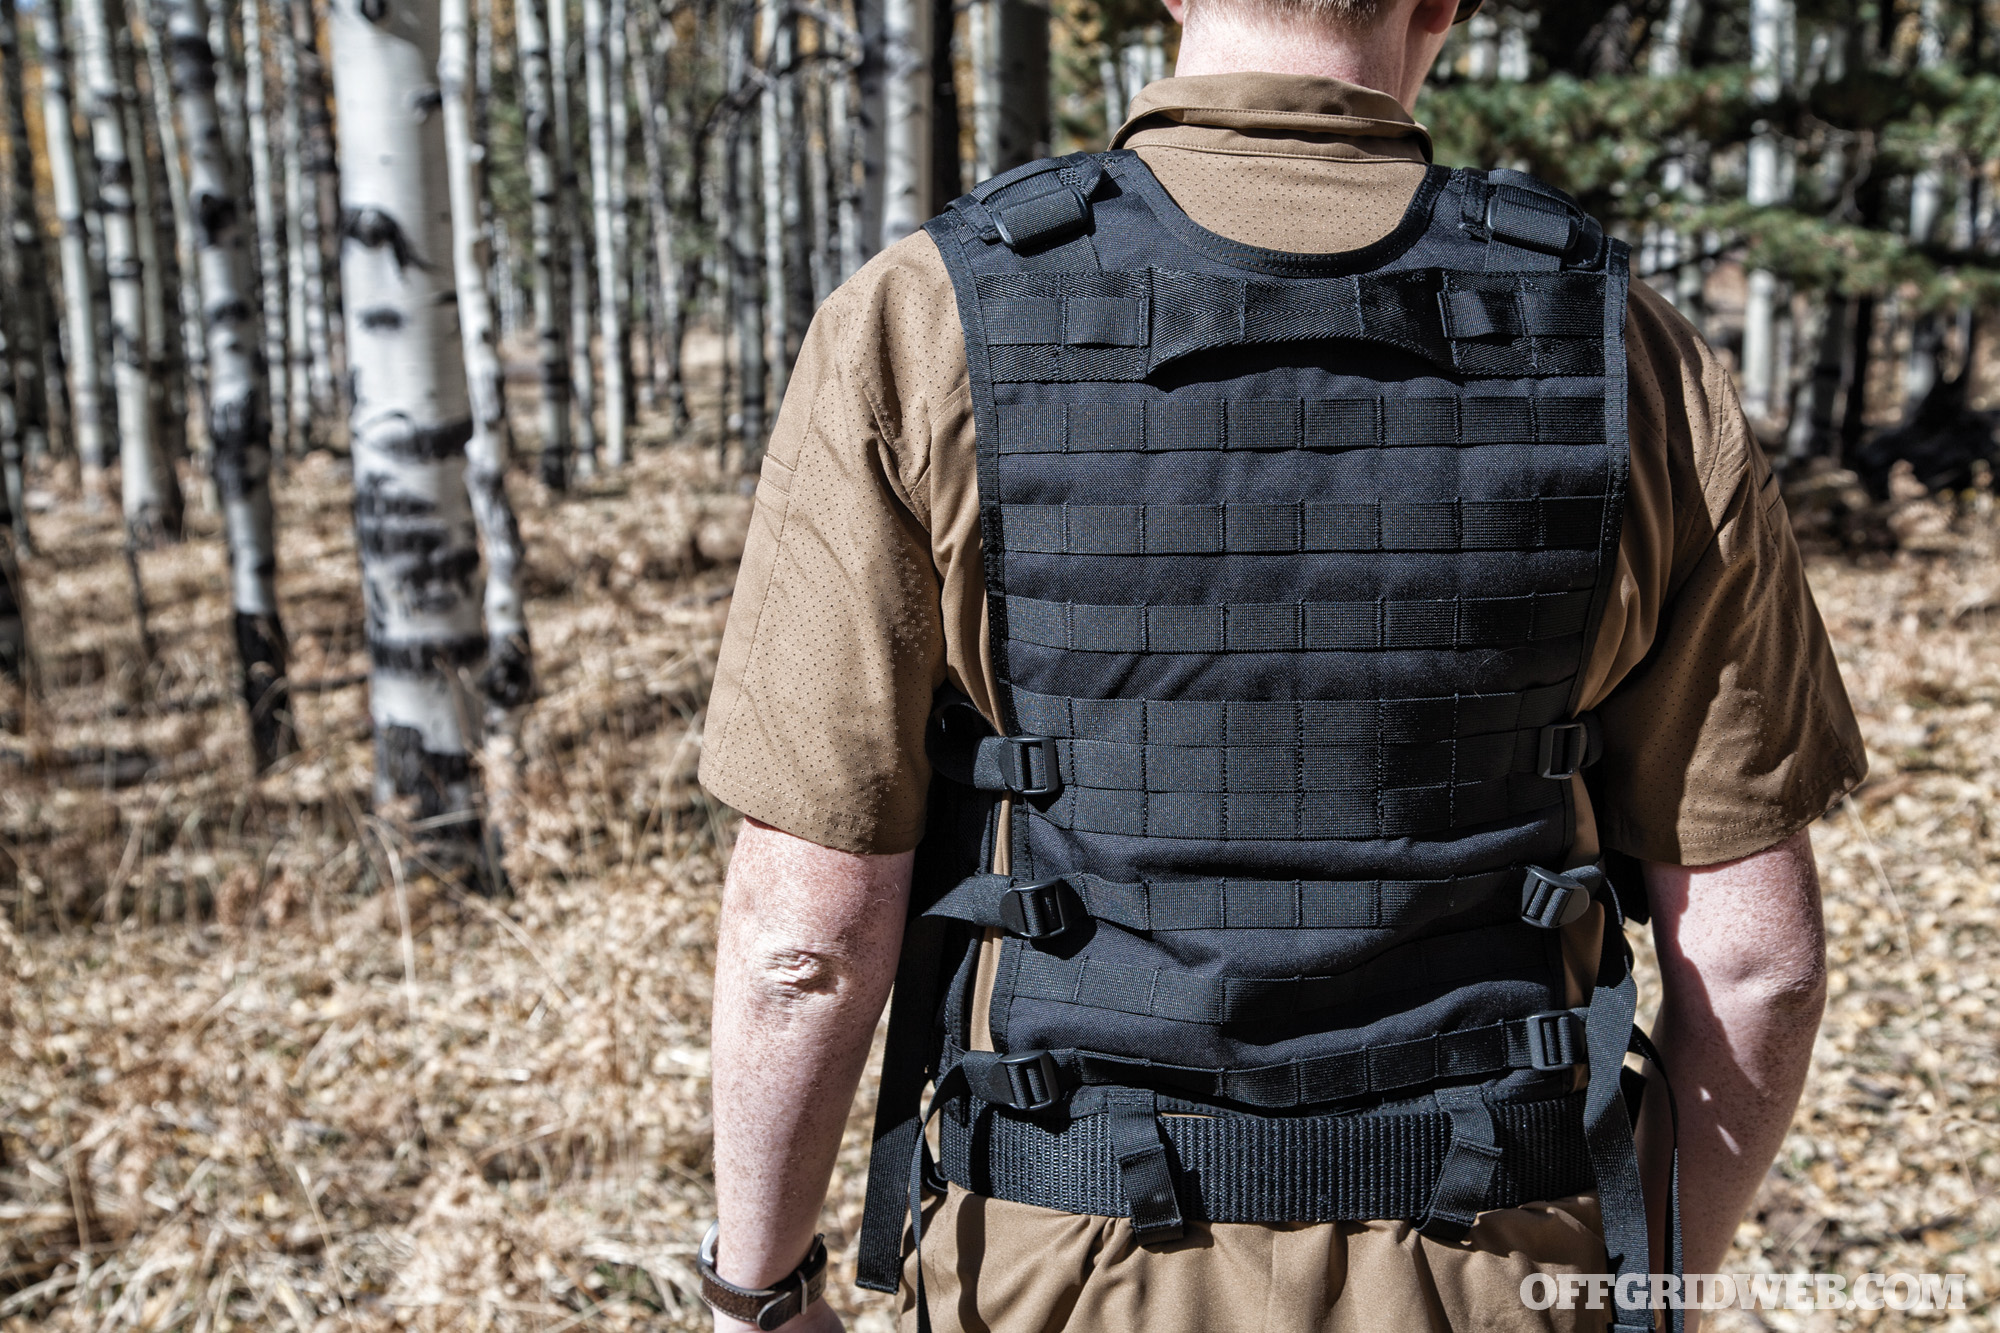
Above: There’s tons of real estate on the back panel for attachment of MOLLE-compatible accessories.
Blackhawk Omega Elite Vest Specs
Expansion Points
Six double mag pouches, two chest pockets, two inner document pockets, belt loops, PALS webbing on back panel
Colors
Black, Coyote Tan, Olive Drab
Weight
4.2 pounds (vest with Large belt)
MSRP
$214 as tested ($184 for vest, $30 for belt)
Buy It On Amazon:
Chest Rigs
For the ultimate in high-speed-low-drag mobility, you’ll want to pare down your gear to the core essentials. Depending on your circumstances, that might mean spare magazines, medical trauma gear, radio equipment, navigational tools, and/or other defensive items such as pepper spray — items you’ll be using frequently while on the move, or those you might need at a moment’s notice. The minimalist solution for carrying this gear is known as a chest rig.
Some chest rigs sit closer to the sternum and others are designed to fit around the midsection, but the common theme is that they’re lightweight and one-sided. Chest rigs generally feature a simple yoke around the neck and shoulder blades, and a second strap around the back. Most modern rigs include a mixture of built-in pouches and PALS webbing, but the earliest designs were solely composed of magazine and/or grenade pouches. Chest rigs gained popularity during the Vietnam War, where Chinese Type 56 magazine carriers were used extensively by Vietnamese troops and often commandeered by U.S. special operations units such as MACV-SOG.
One of the biggest advantages of a chest rig is most noticeable when it’s not in use. These systems can be easily stowed in a backpack, complete with all the gear they contain — not such an easy task with a fully loaded vest or plate carrier. As a result, many users will pair a stripped-down plate carrier and a chest rig. If the risk of incoming fire is low and mobility is of utmost importance, such as during long-distance scouting missions, the chest rig can be worn alone. If a need for armor arises, the rig can be strapped on over the plate carrier or, as with the TYR Tactical QASM system, attached directly to the carrier itself.
Pros:
- A minimalist choice that won’t impede your ability to run, climb, and shoot
- Packs down for quick access during an emergency
- Can be worn with other load-bearing gear, such as backpacks or plate carriers
Cons:
- BYO armor — these are solely a load-bearing tool
- Expansion options are the most limited of any of the three categories. Some rigs are single-purpose, with no expansion capability whatsoever.
Blue Force Gear Ten-Speed M4
Above: Strong elastic holds magazines and other odd-shaped accessories in place.
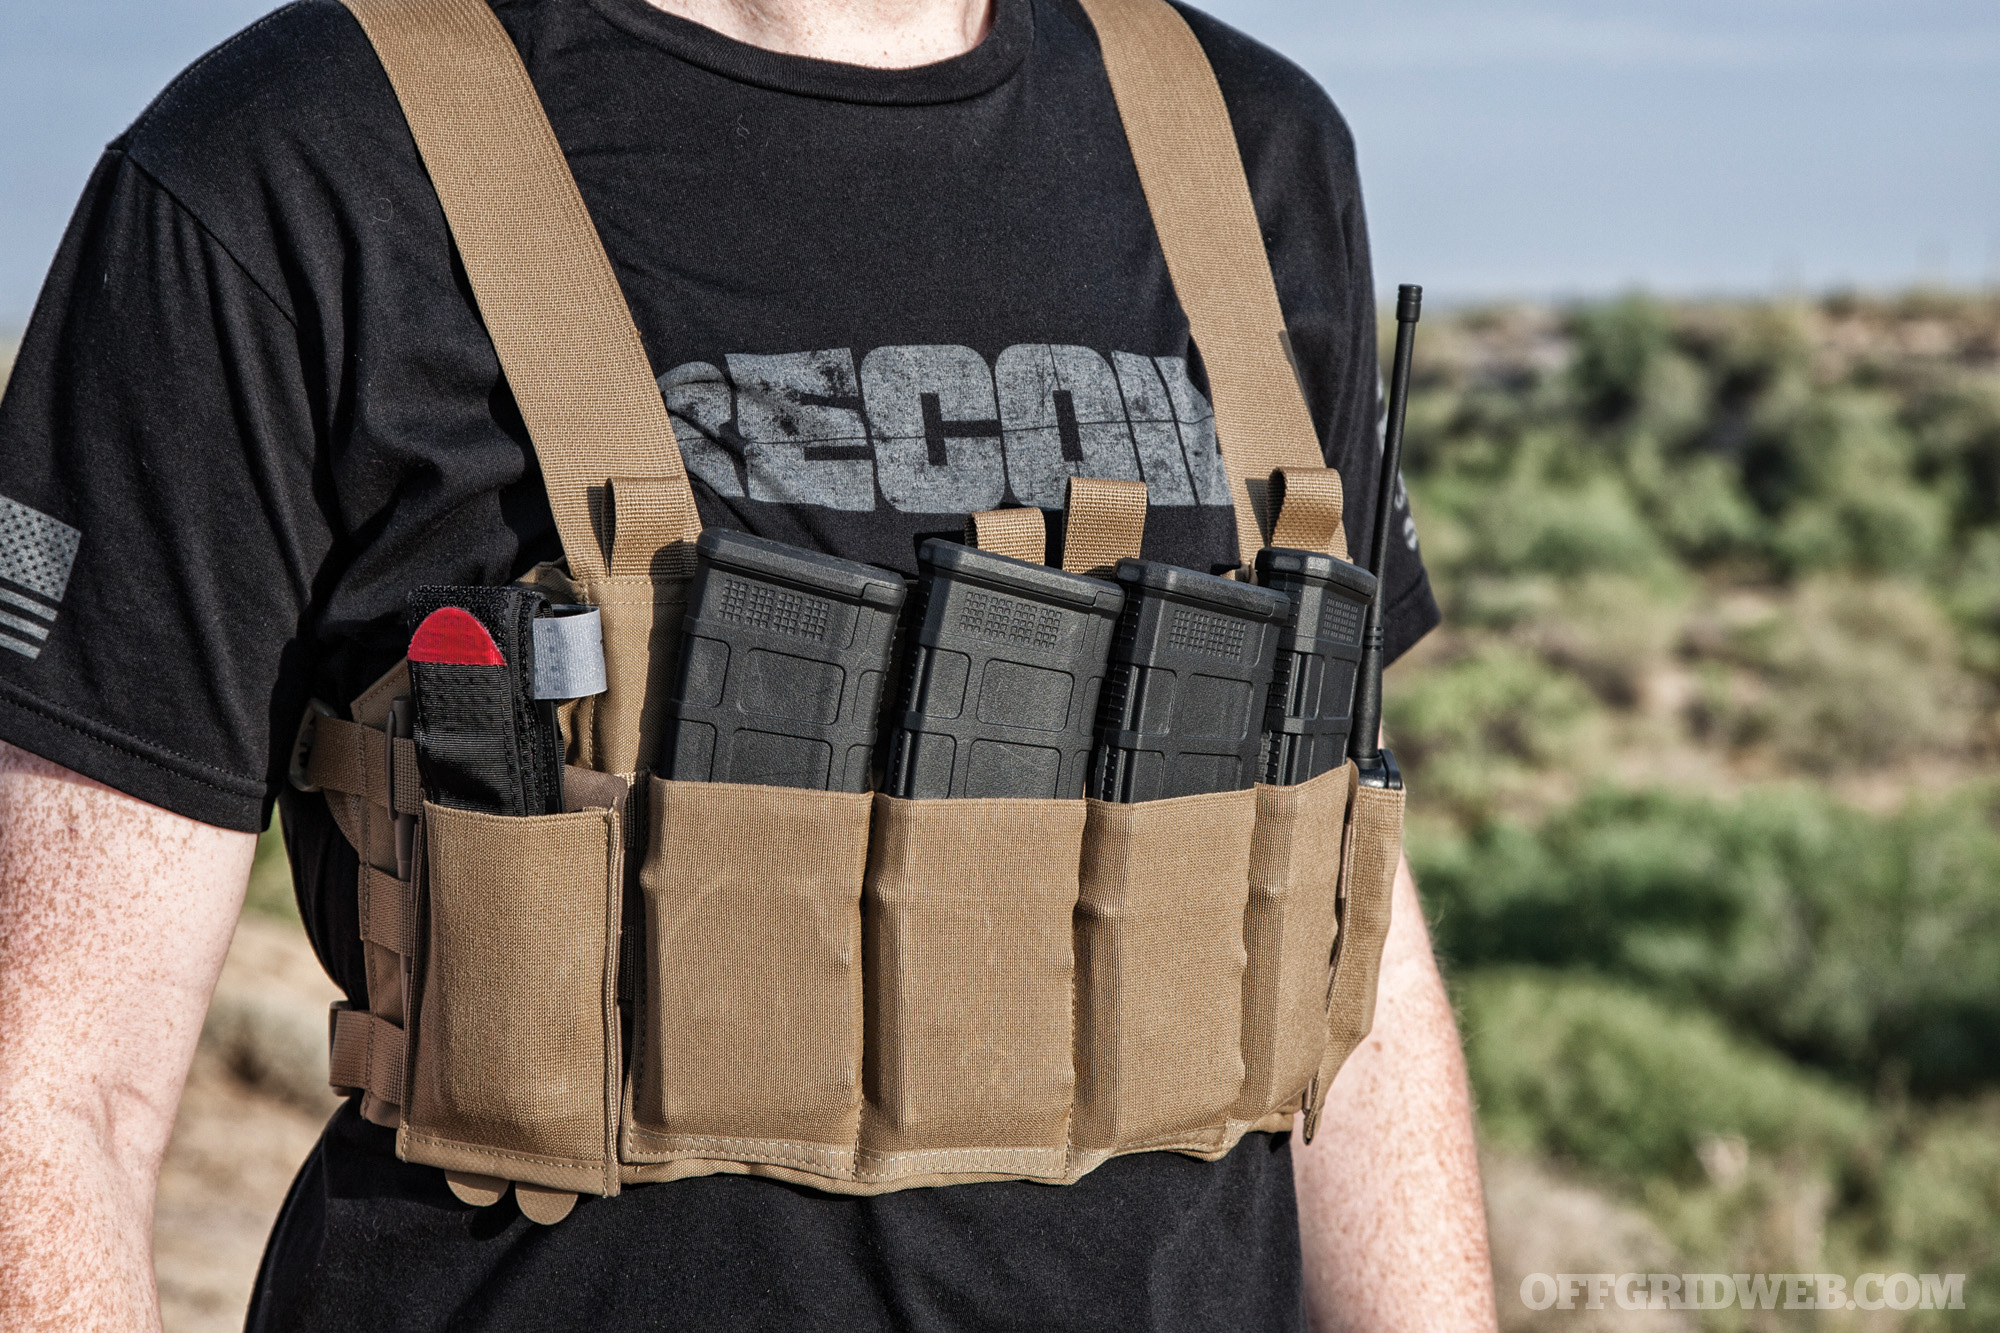
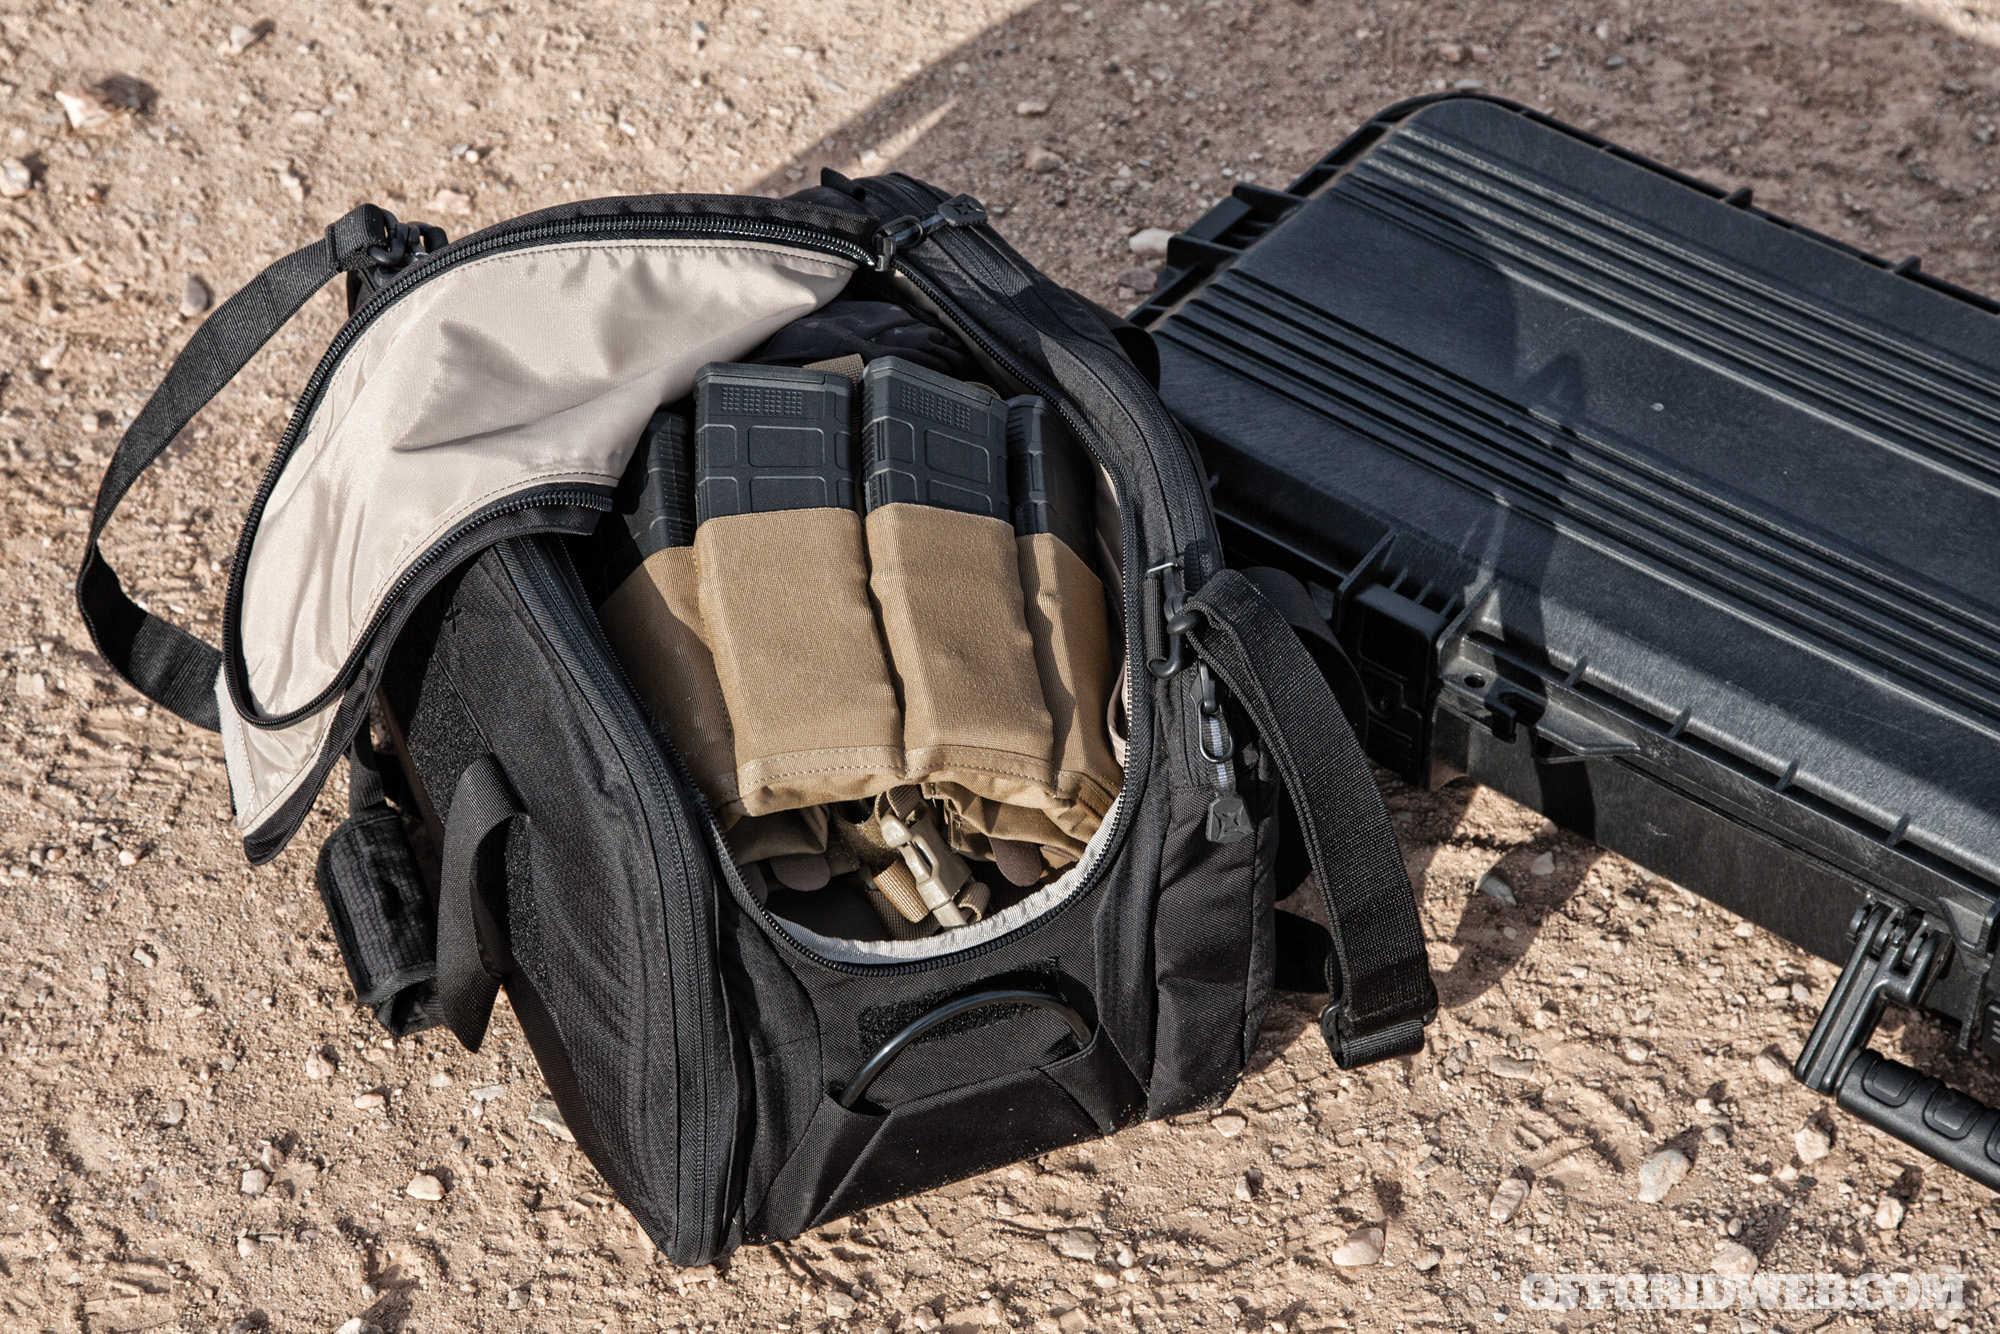
In the already minimalist realm of chest rigs, the Ten-Speed M4 from Blue Force Gear still manages to stand out as one of the most stripped-down options. The company calls it an “ultralight fighting load,” and for good reason — unloaded, it weighs less than three quarters of a pound. It comes with four built-in Ten-Speed pouches composed of durable stretch fabric that tightly grips anything they contain, whether that’s an AR magazine, a tourniquet, a radio, or a multi-tool. When these pouches are empty, they sit almost completely flat against the chest rig. Even if they’re fully loaded with 30-round mags, the entire carrier rolls up to fit into a small backpack with ease.
Above: At the top of the shoulder yoke, this hook-and-loop section can be used for ID patches or as a drag handle for casualties.
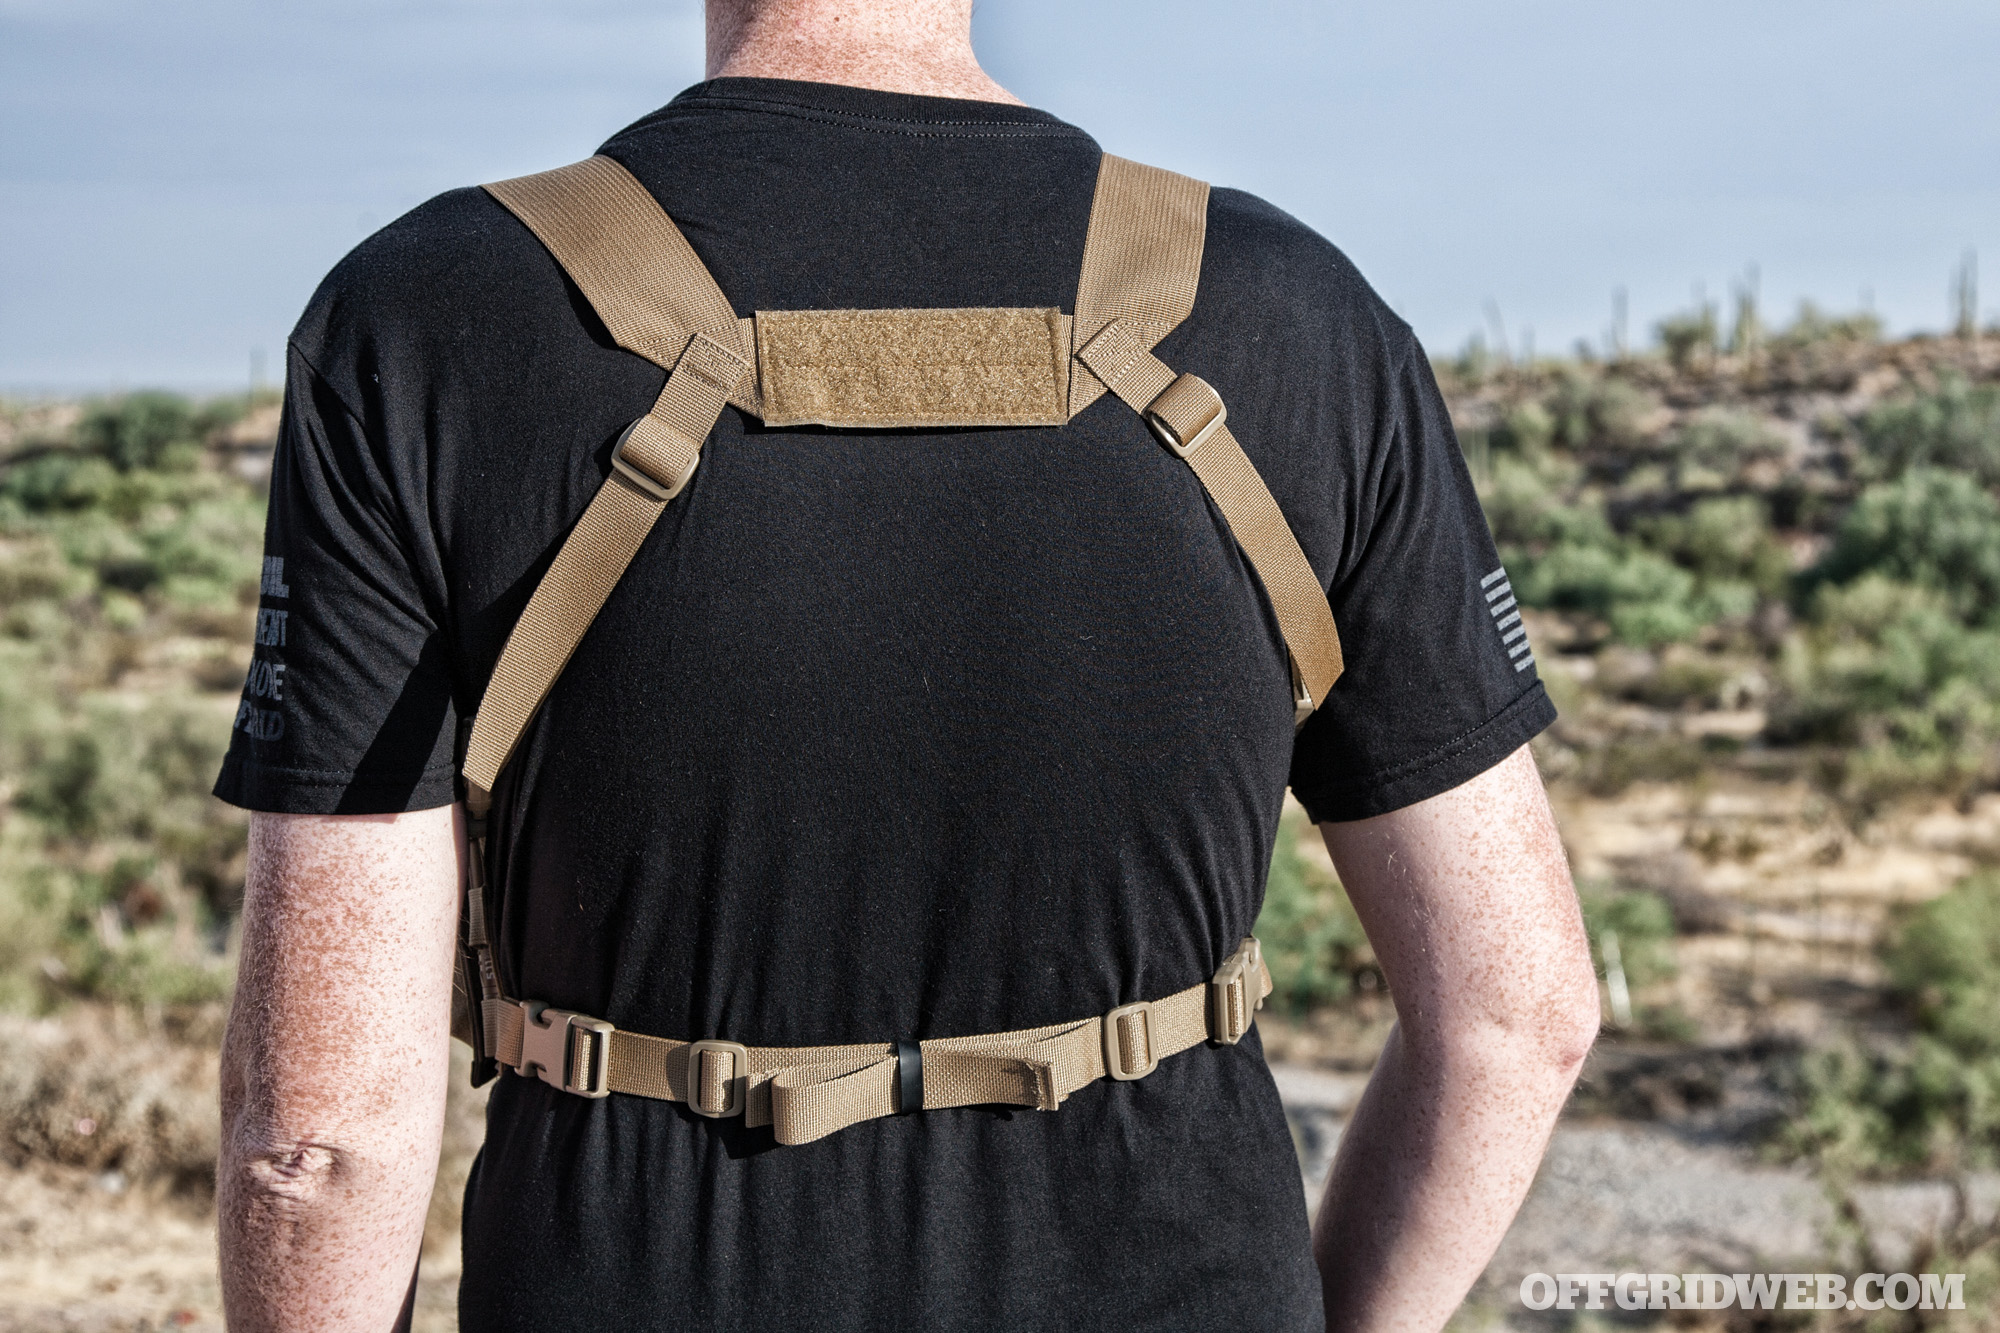
The shoulder harness and back strap are plain nylon webbing without any form of padding, but they’re wide enough to be worn comfortably without digging in. The chest rig also features a map/document pouch sealed by a hook and loop closure at the top, as well as two fields of additional PALS webbing for expansion. We used these regions to add two more MOLLE-compatible Ten-Speed M4 pouches, bringing carrying capacity up to six 30-round mags (or four mags, a radio, and a tourniquet). Even then, there’s still one open column of PALS webbing at each end for small items like a knife, pen, or flashlight.
Above: The Ten-Speed M4 chest rig easily fits into a range bag or backpack.
The entire purpose of a chest rig is to serve as a lighter, lower-profile alternative to a full-featured plate carrier or vest. If not for those advantages, you might as well go for more gear capacity and armor. In this regard, the Ten-Speed M4 excels. The only notable downsides are related to the elastic pouches — it’s challenging to load them one-handed, and they’re not as durable as traditional pouches made from thick Kydex-reinforced nylon.
For more photos and details on this chest rig, check out our web-exclusive review.
Blue Force Gear Ten-Speed M4 Chest Rig Specs
Expansion Points
Four elastic mag pouches, map/document pocket, PALS webbing
Colors
Black, Coyote Brown, MultiCam
Weight
0.86 pound (chest rig with two additional mag pouches)
MSRP
$150 as tested ($90 for chest rig, $30 per extra mag pouch)
The Perception Problem
After reading all this you may be thinking, I’ll just strap on head-to-toe tactical gear to maximize my preparedness if a bug-out situation arises. There’s an obvious problem with this — you aren’t the only person on Earth. Like it or not, it’s wise to remember that others’ perception of your gear may have just as much of an impact on your safety as the gear itself. Backpacks are common and socially acceptable in most environments — you might assume someone passing through a city with a large backpack is a through-hiker or homeless person. But how would you perceive someone moving through that same environment with a kitted-out plate carrier, chest rig, or tactical vest? And how might first responders or law enforcement personnel perceive this, especially during an unfolding disaster? Even if that individual isn’t carrying a visible weapon, there’s no denying that it paints a totally different picture than a typical rucksack or satchel.
As Ed Calderon wrote in his article on gray man principles in Issue 35, “If your clothing is going to be a conversation starter, you’d better have good answers at the ready.” This is a critical point you must consider as you approach this category of load-bearing gear. In a sparsely populated wilderness setting, your appearance may not matter much; in densely populated suburbia, it may quickly earn you the label of a “suspicious person” or vigilante. Of course, if society has collapsed and anyone you encounter is likely to be a murderous cannibal, an innocuous appearance no longer matters. But if that’s your primary consideration, you’re in dire need of a reality check.
Fortunately, there are some steps you can take to lessen concerns about outward appearance. The first course of action is to look at concealable, low-profile setups that can be worn under a baggy shirt or jacket. Many companies offer plate carriers and chest rigs that fit this description, although you’ll be limited as to how much gear you can carry while keeping them concealed.
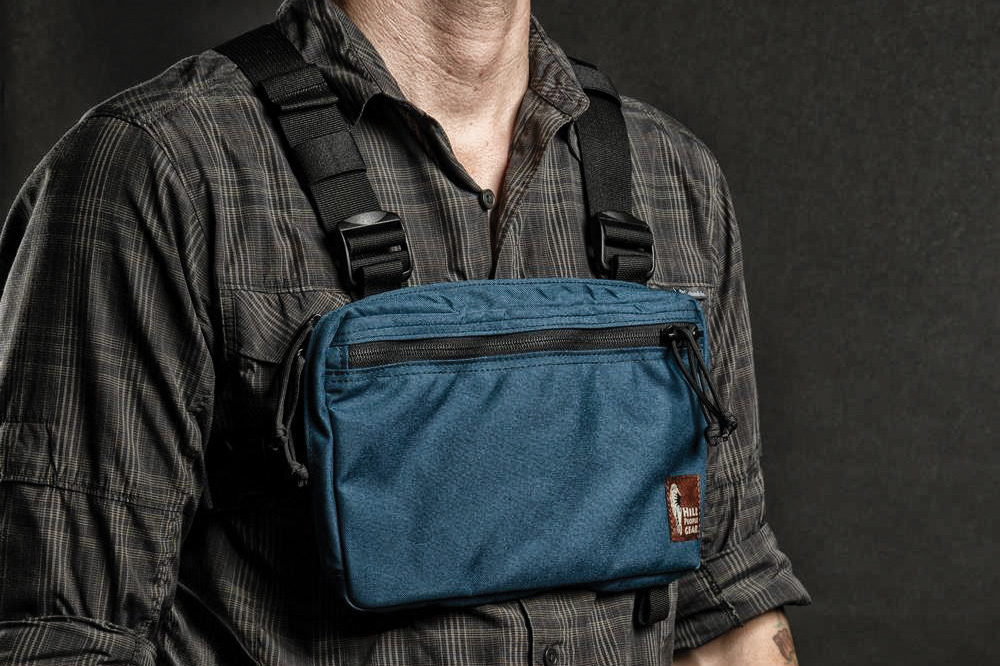
Another option would be to choose an innocuous-looking setup that doesn’t appear overtly tactical — the Hill People Gear Runner’s Kit Bag is a great example of this. With a teal exterior, it looks like something you might find at REI. Lastly, as mentioned earlier, you can carry a backpack or duffel bag and stow your load-bearing gear inside, but that’s only viable if you’re moving through an environment where you’ll have a few seconds to put it on before SHTF.
Conclusion
We often think of the gear we carry as a critical variable in survival situations, yet overlook the importance of the way we carry that gear. No matter what type of load-bearing system you choose — be it a backpack, satchel, plate carrier, vest, chest rig, or stylish fanny pack — don’t forget its impact on the accessibility and organization of your gear. The last thing you need in an emergency is to be unable to access life-saving tools because they’re buried, scattered, or hard to find.
Also, take the time to test your load-bearing gear during intense physical activity. Go for a run, practice rifle and pistol drills at the range, scale a wall, crawl on your belly, sit in your car. These actions will provide a realistic assessment of how comfortable your gear is, as well as confirmation that you’re physically fit enough to make it work during a real emergency.
More on Chest Rigs, Body Armor, and Tactical Gear
- Plate Carrier Types: To Each Their Own.
- Upgrading the Tyr Tactical Pico-DS.
- Arbor Arms Minuteman: A Plate Carrier for Athletes.
- Plate Carrier Setup: How to load out your plate Carrier.
- A Chest Rig for Every Occasion.
- The Fenris Chest Rig takes cues from Heat.
- Dank Robber Chest Rig, by Unobtanium Gear.
- Bulletproof Vest versus Plate Carrier.
- EDC, Range, and Battle Belts: Defining the Difference.
- Comparing AR-15 Magazines: Best of the Best.
- AR-15 Magazine Pouch Faceoff: Caddies, Pouches, and More.

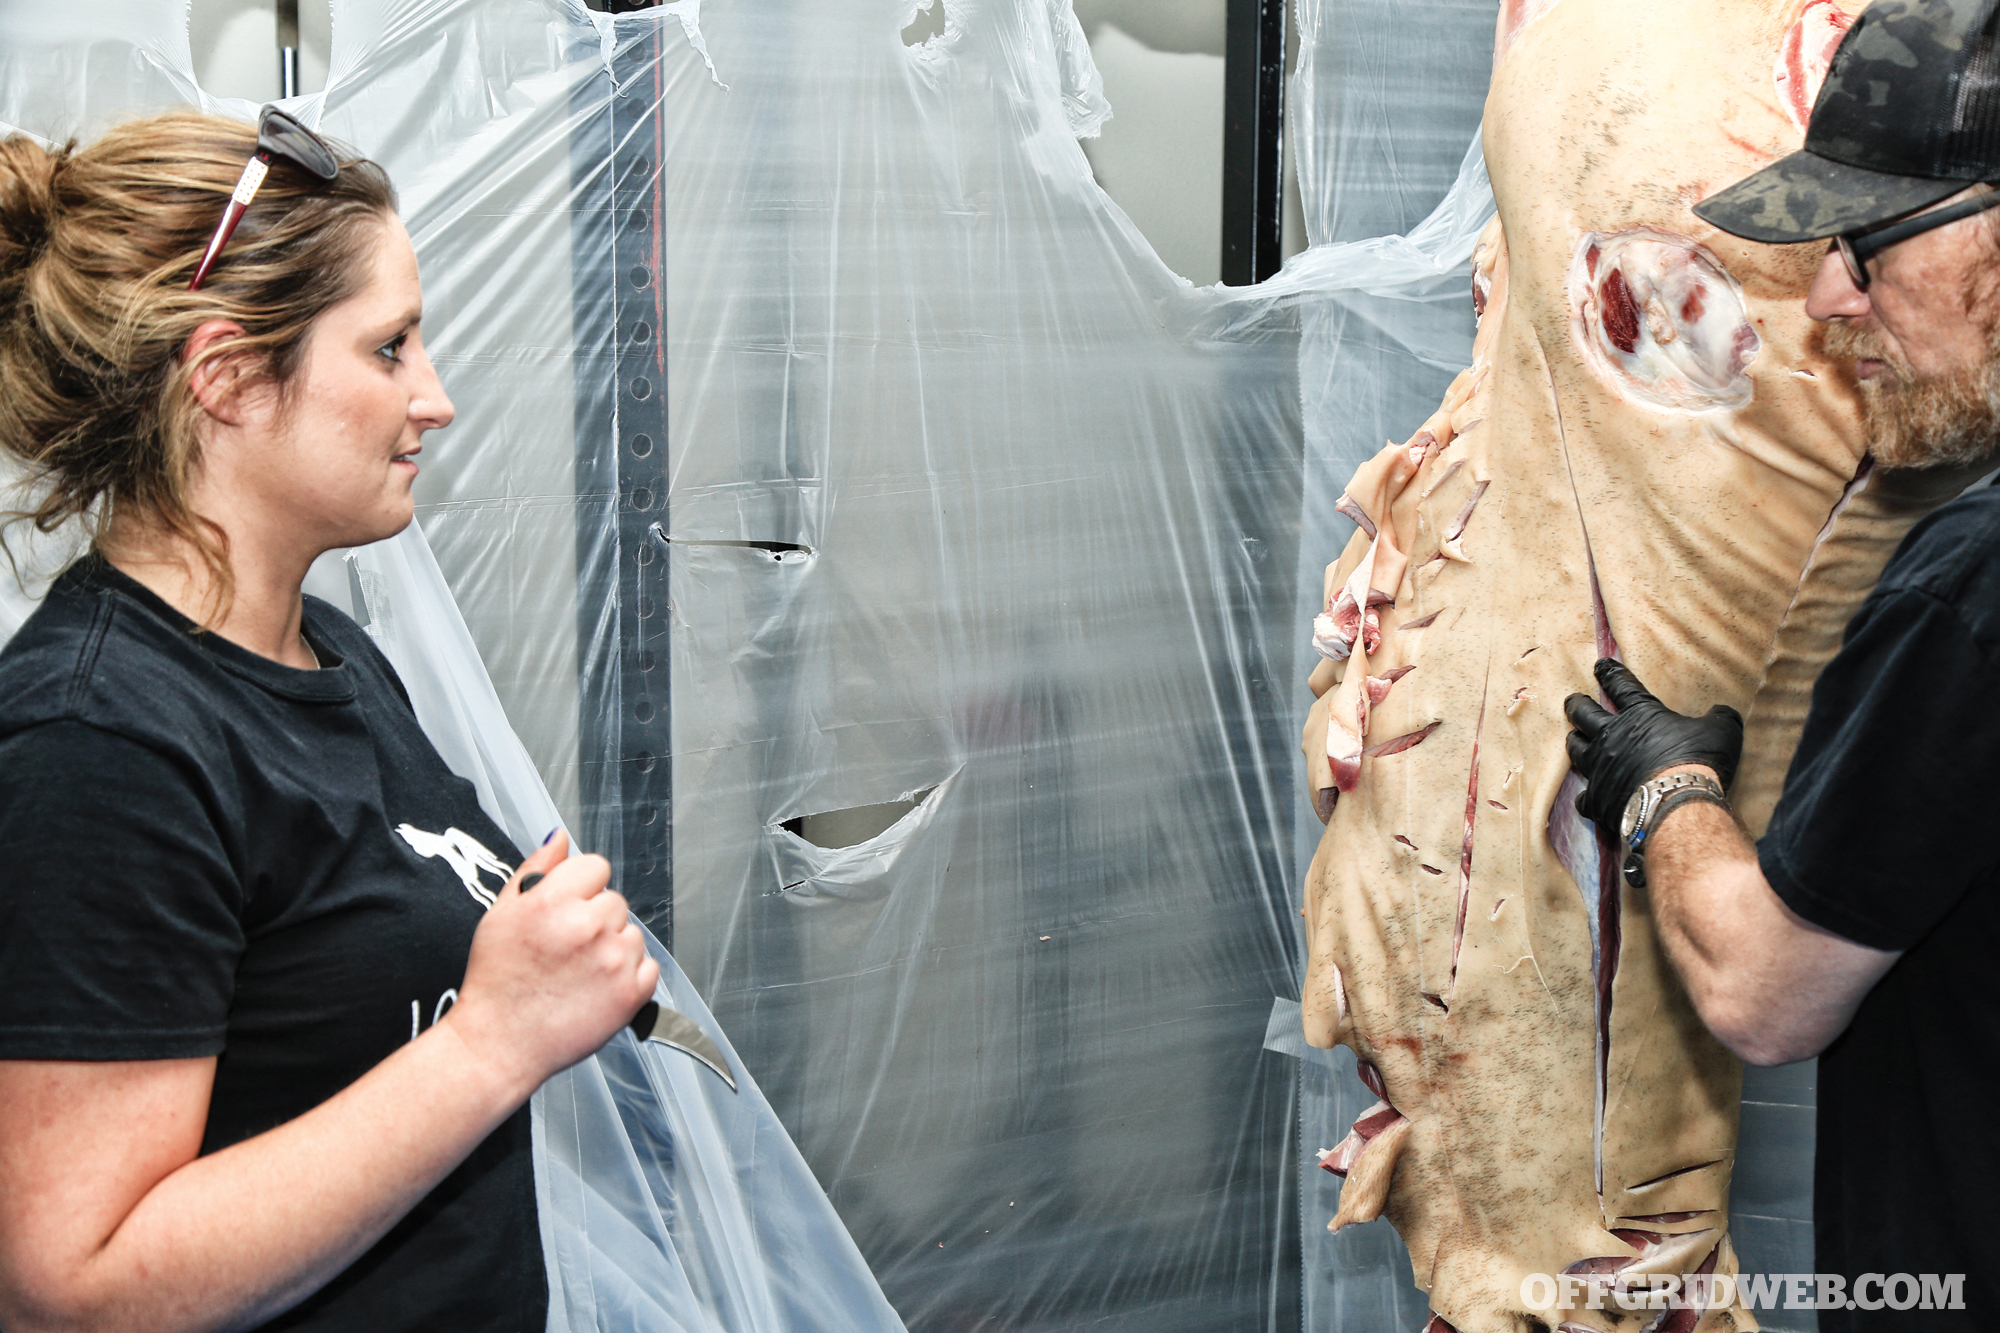
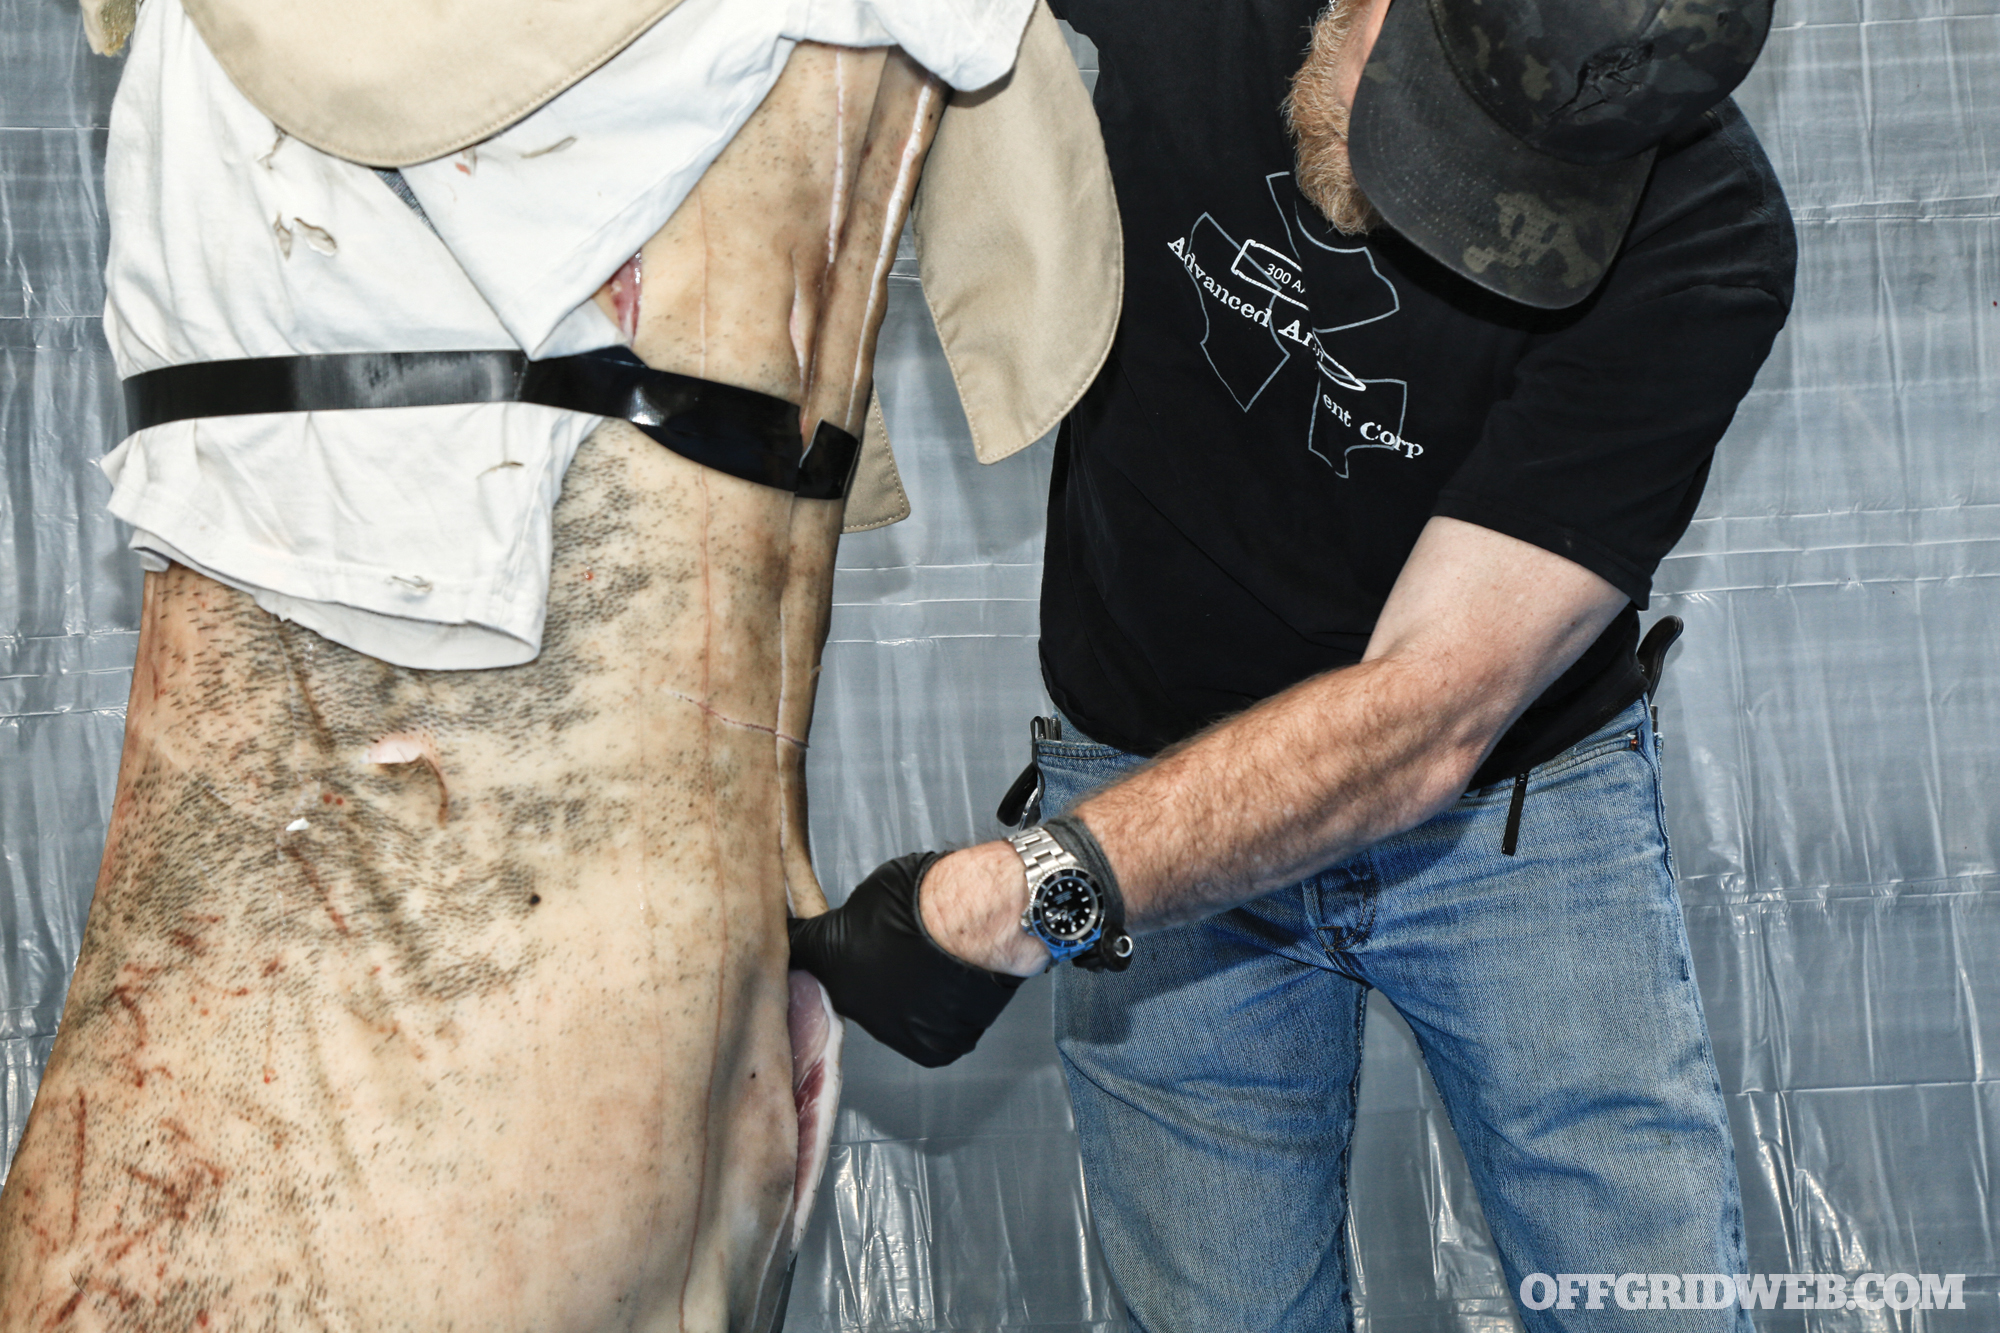
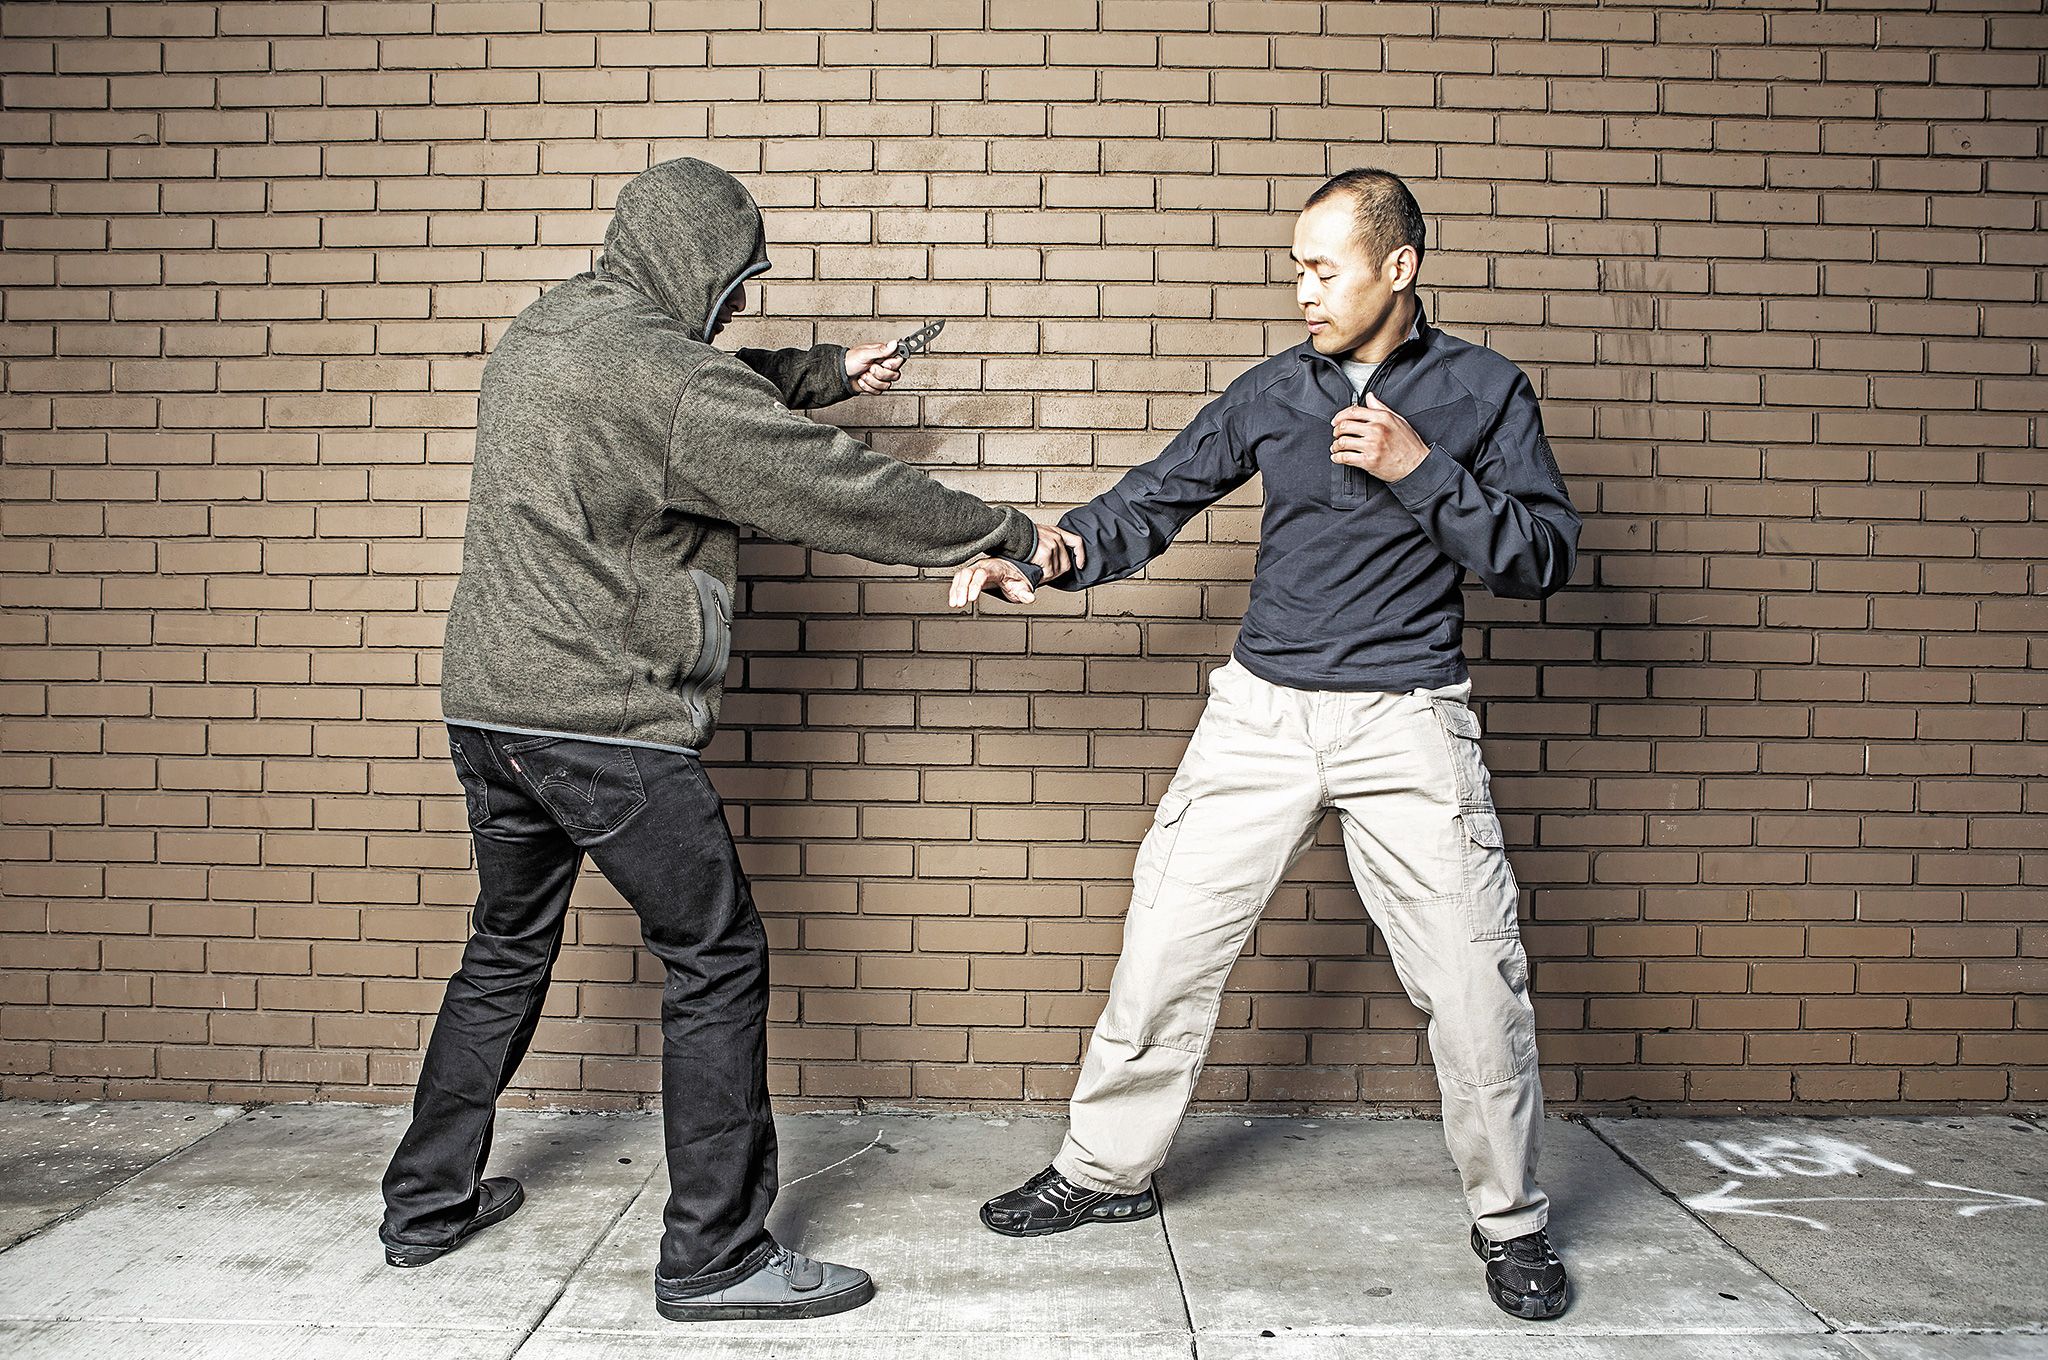
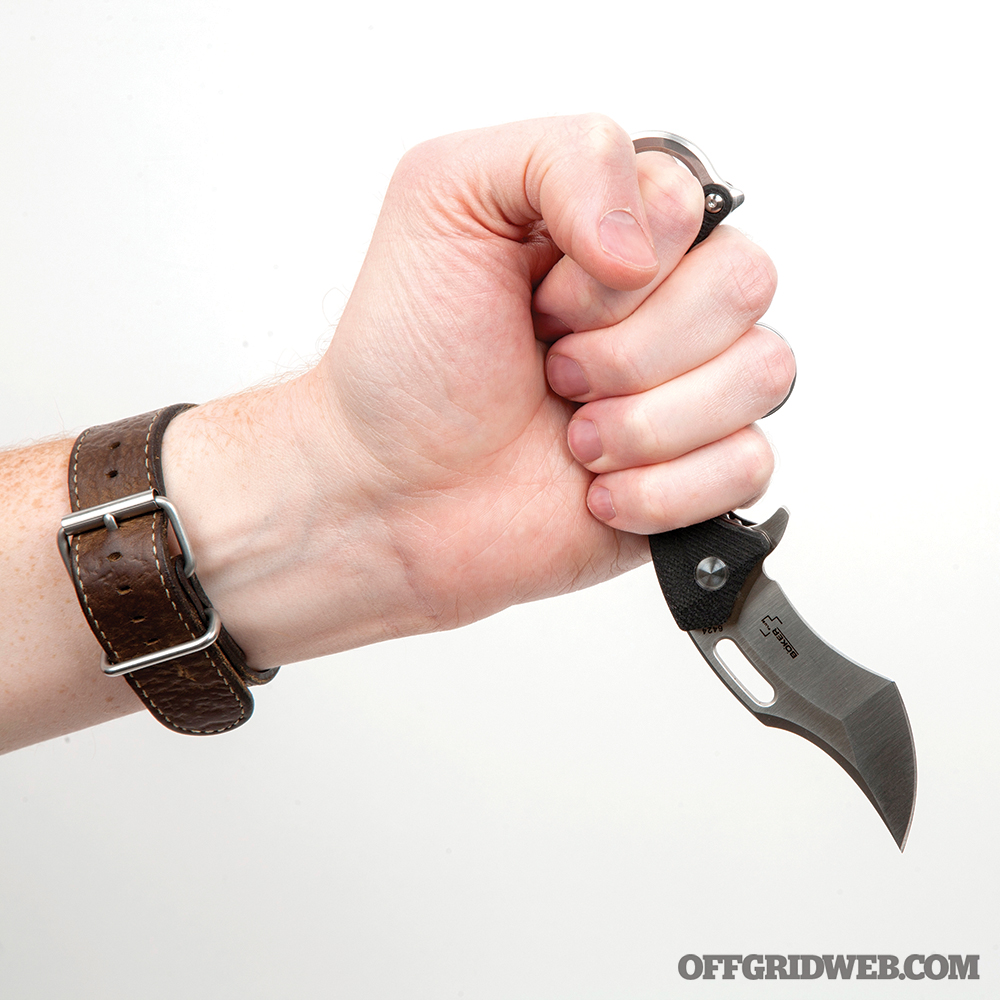
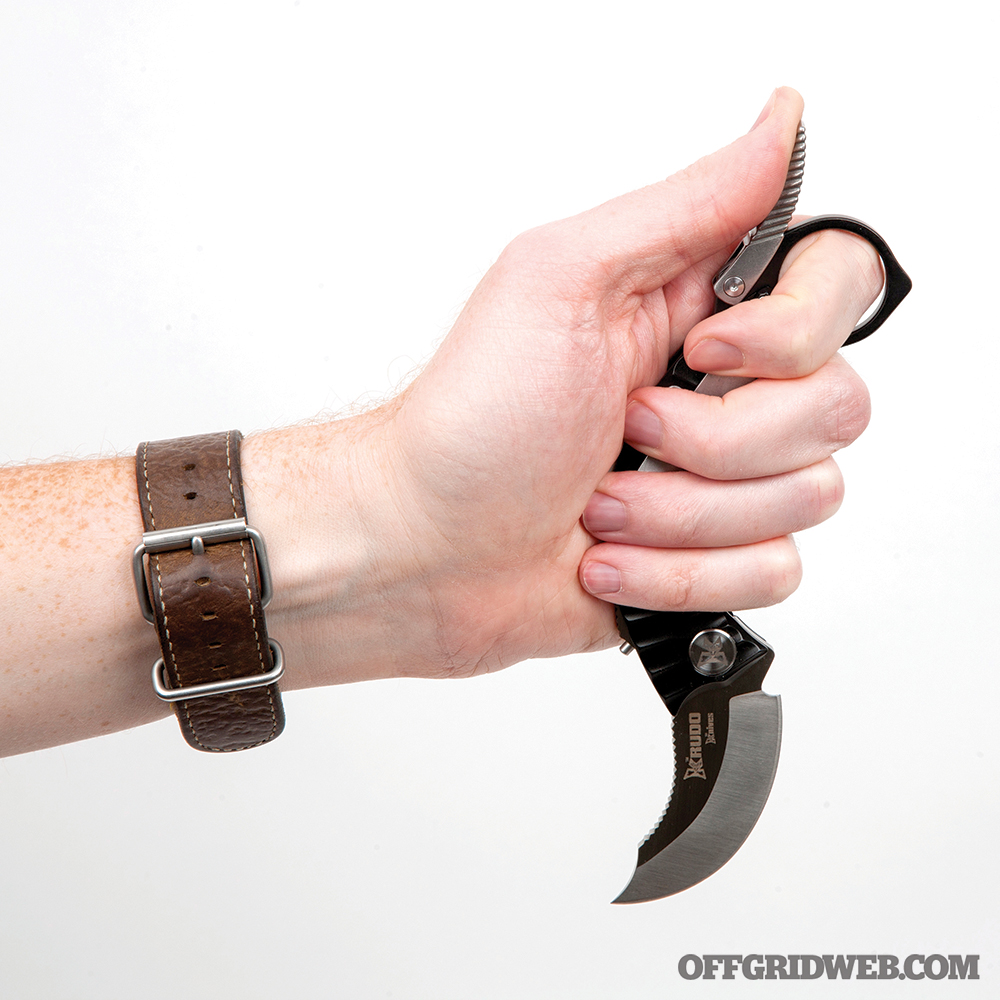
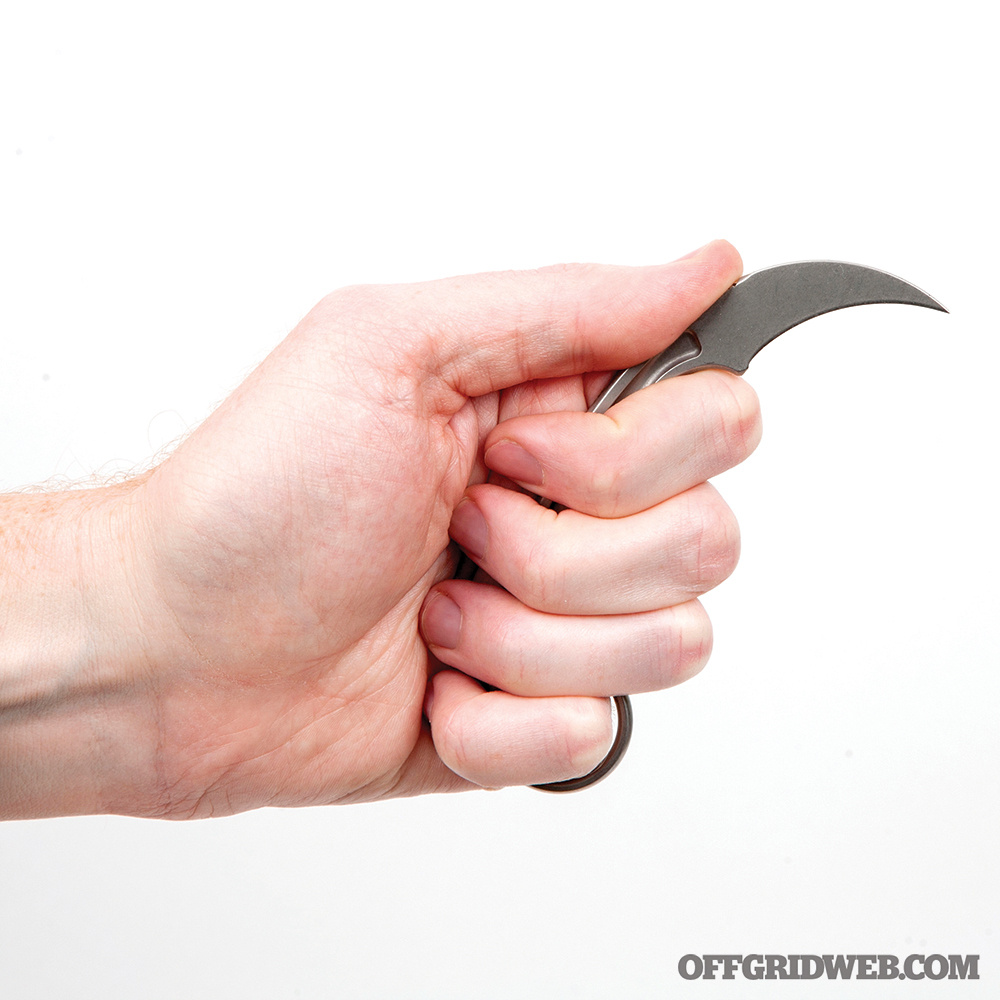
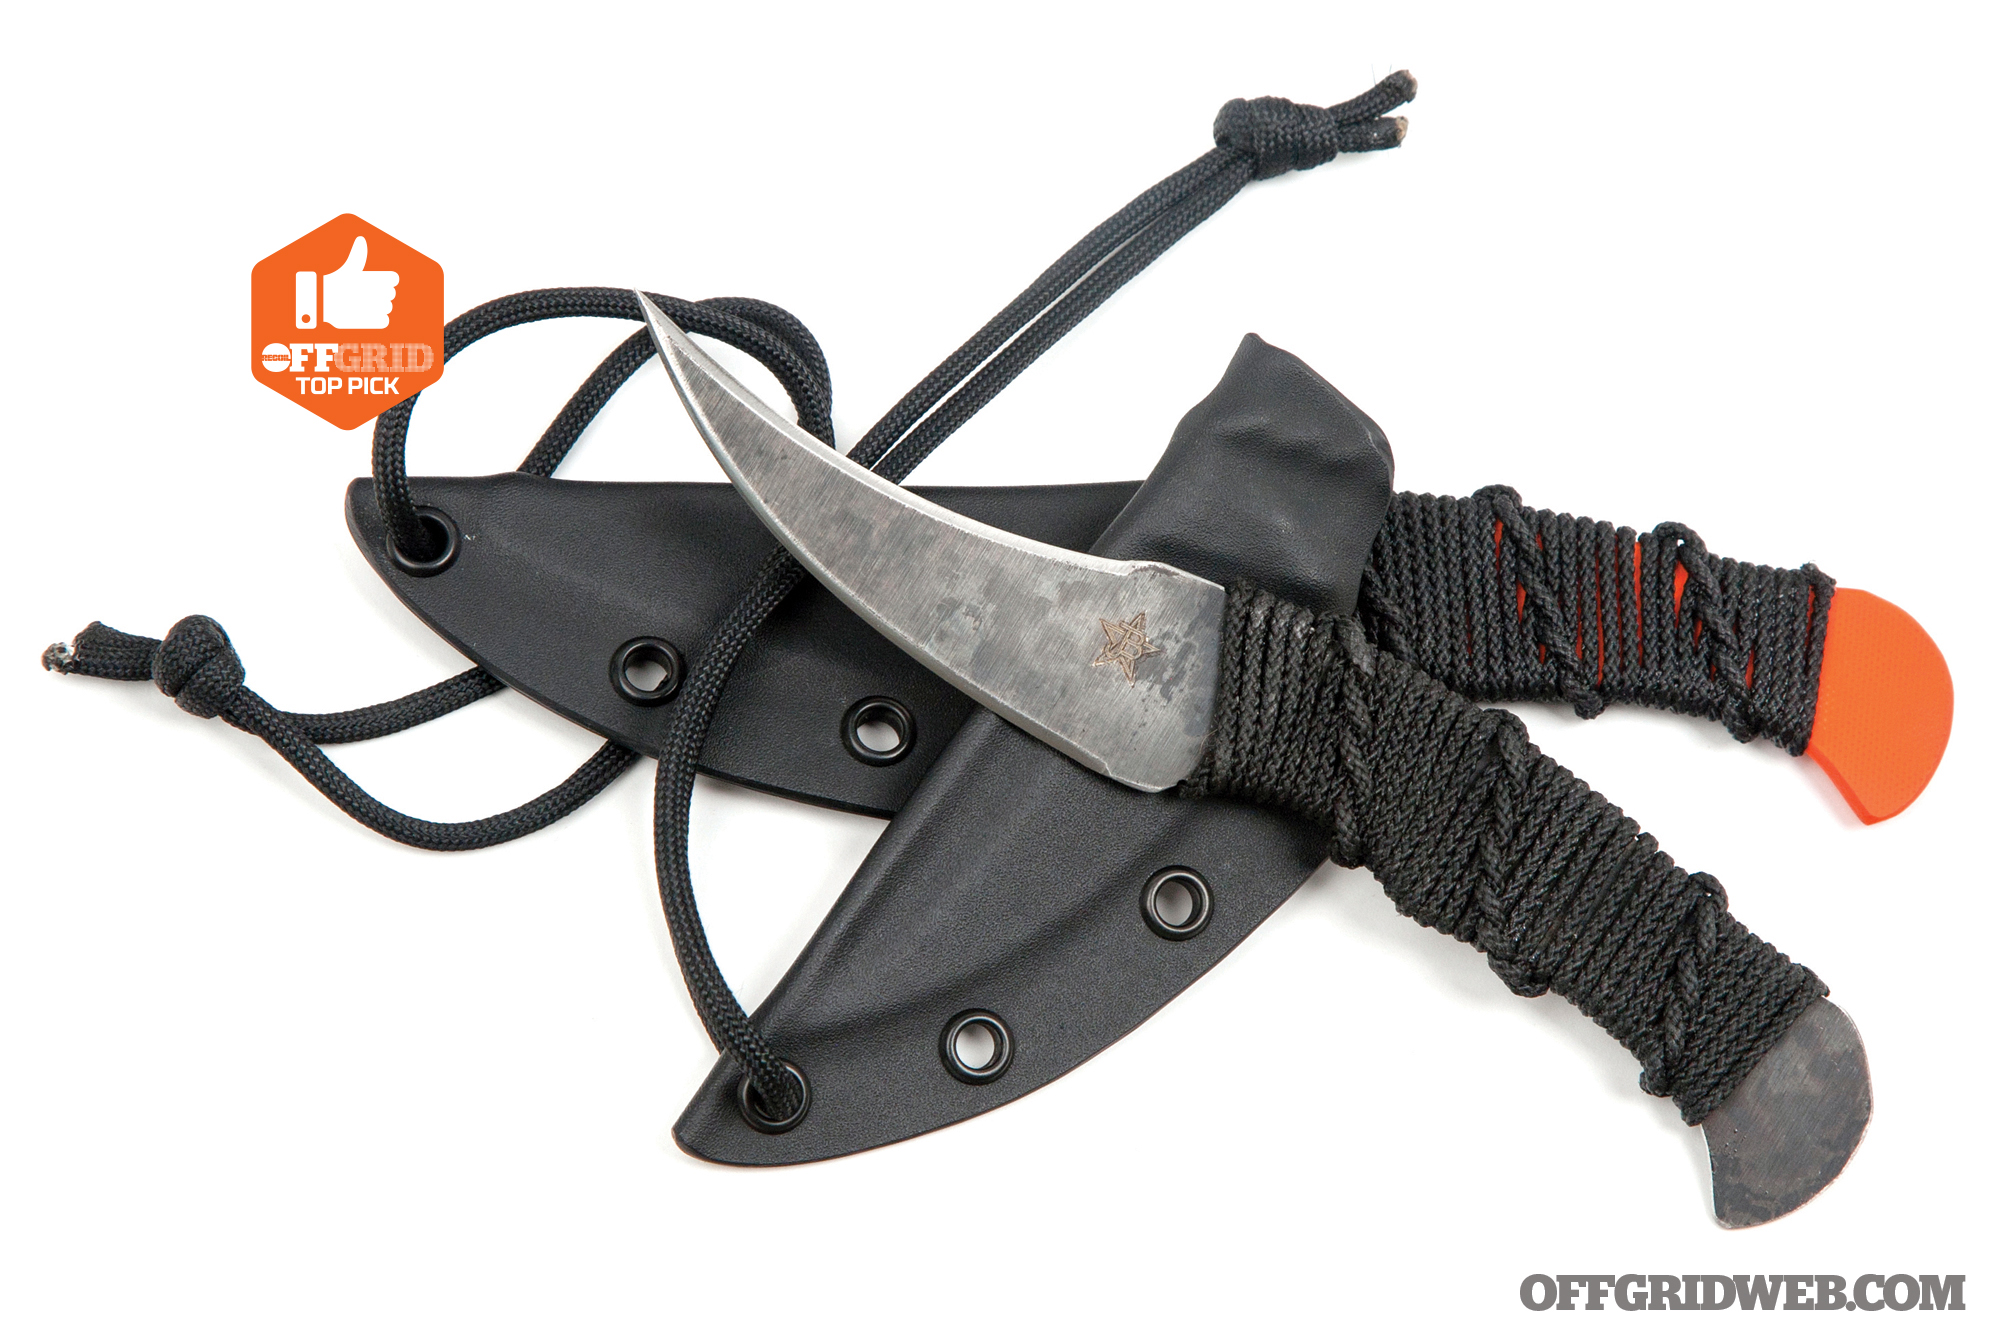
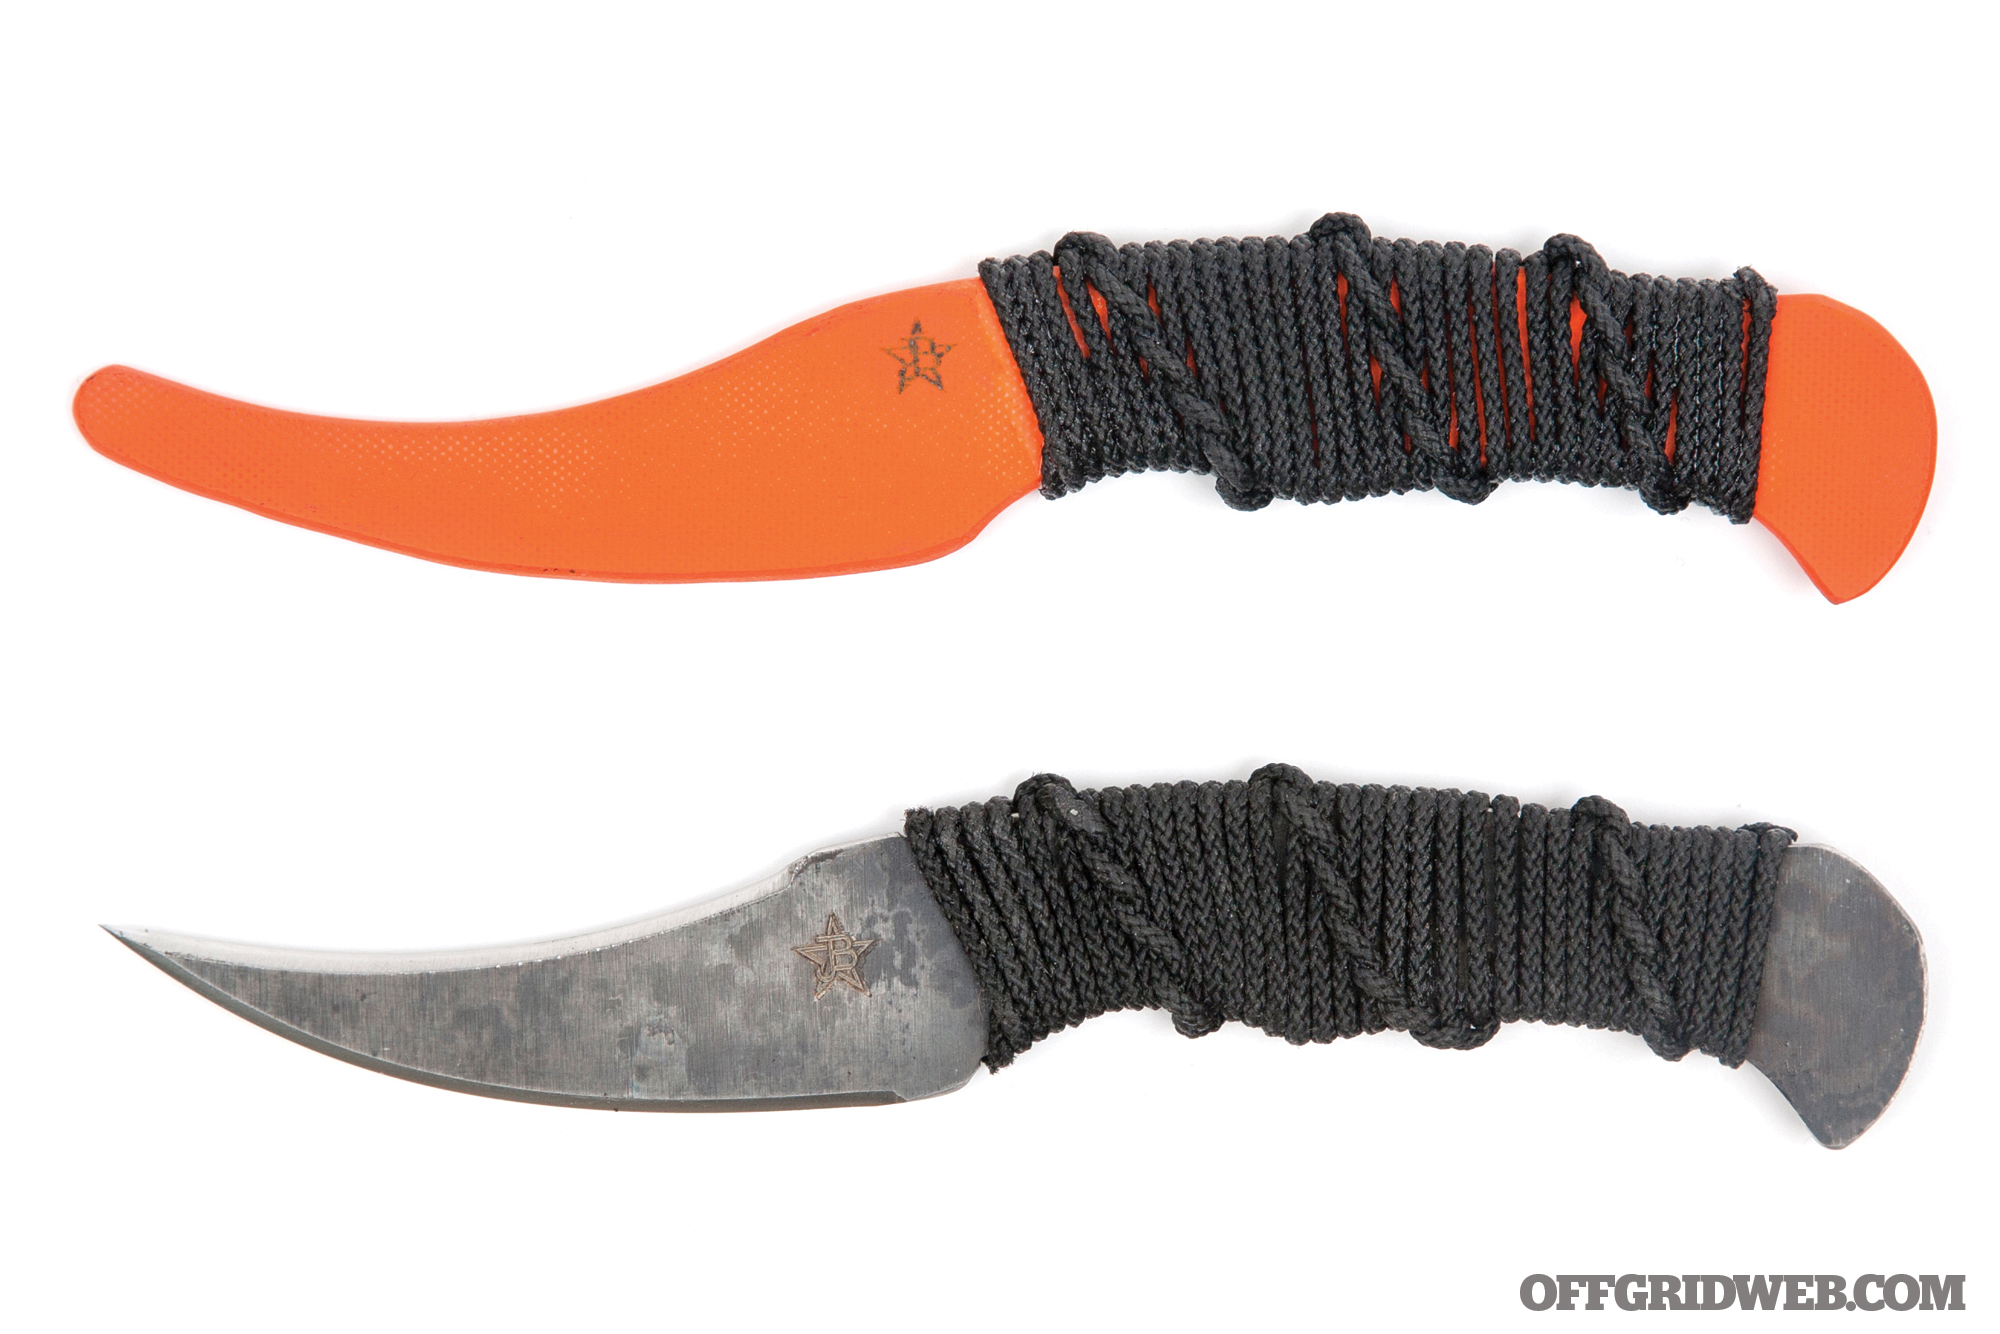
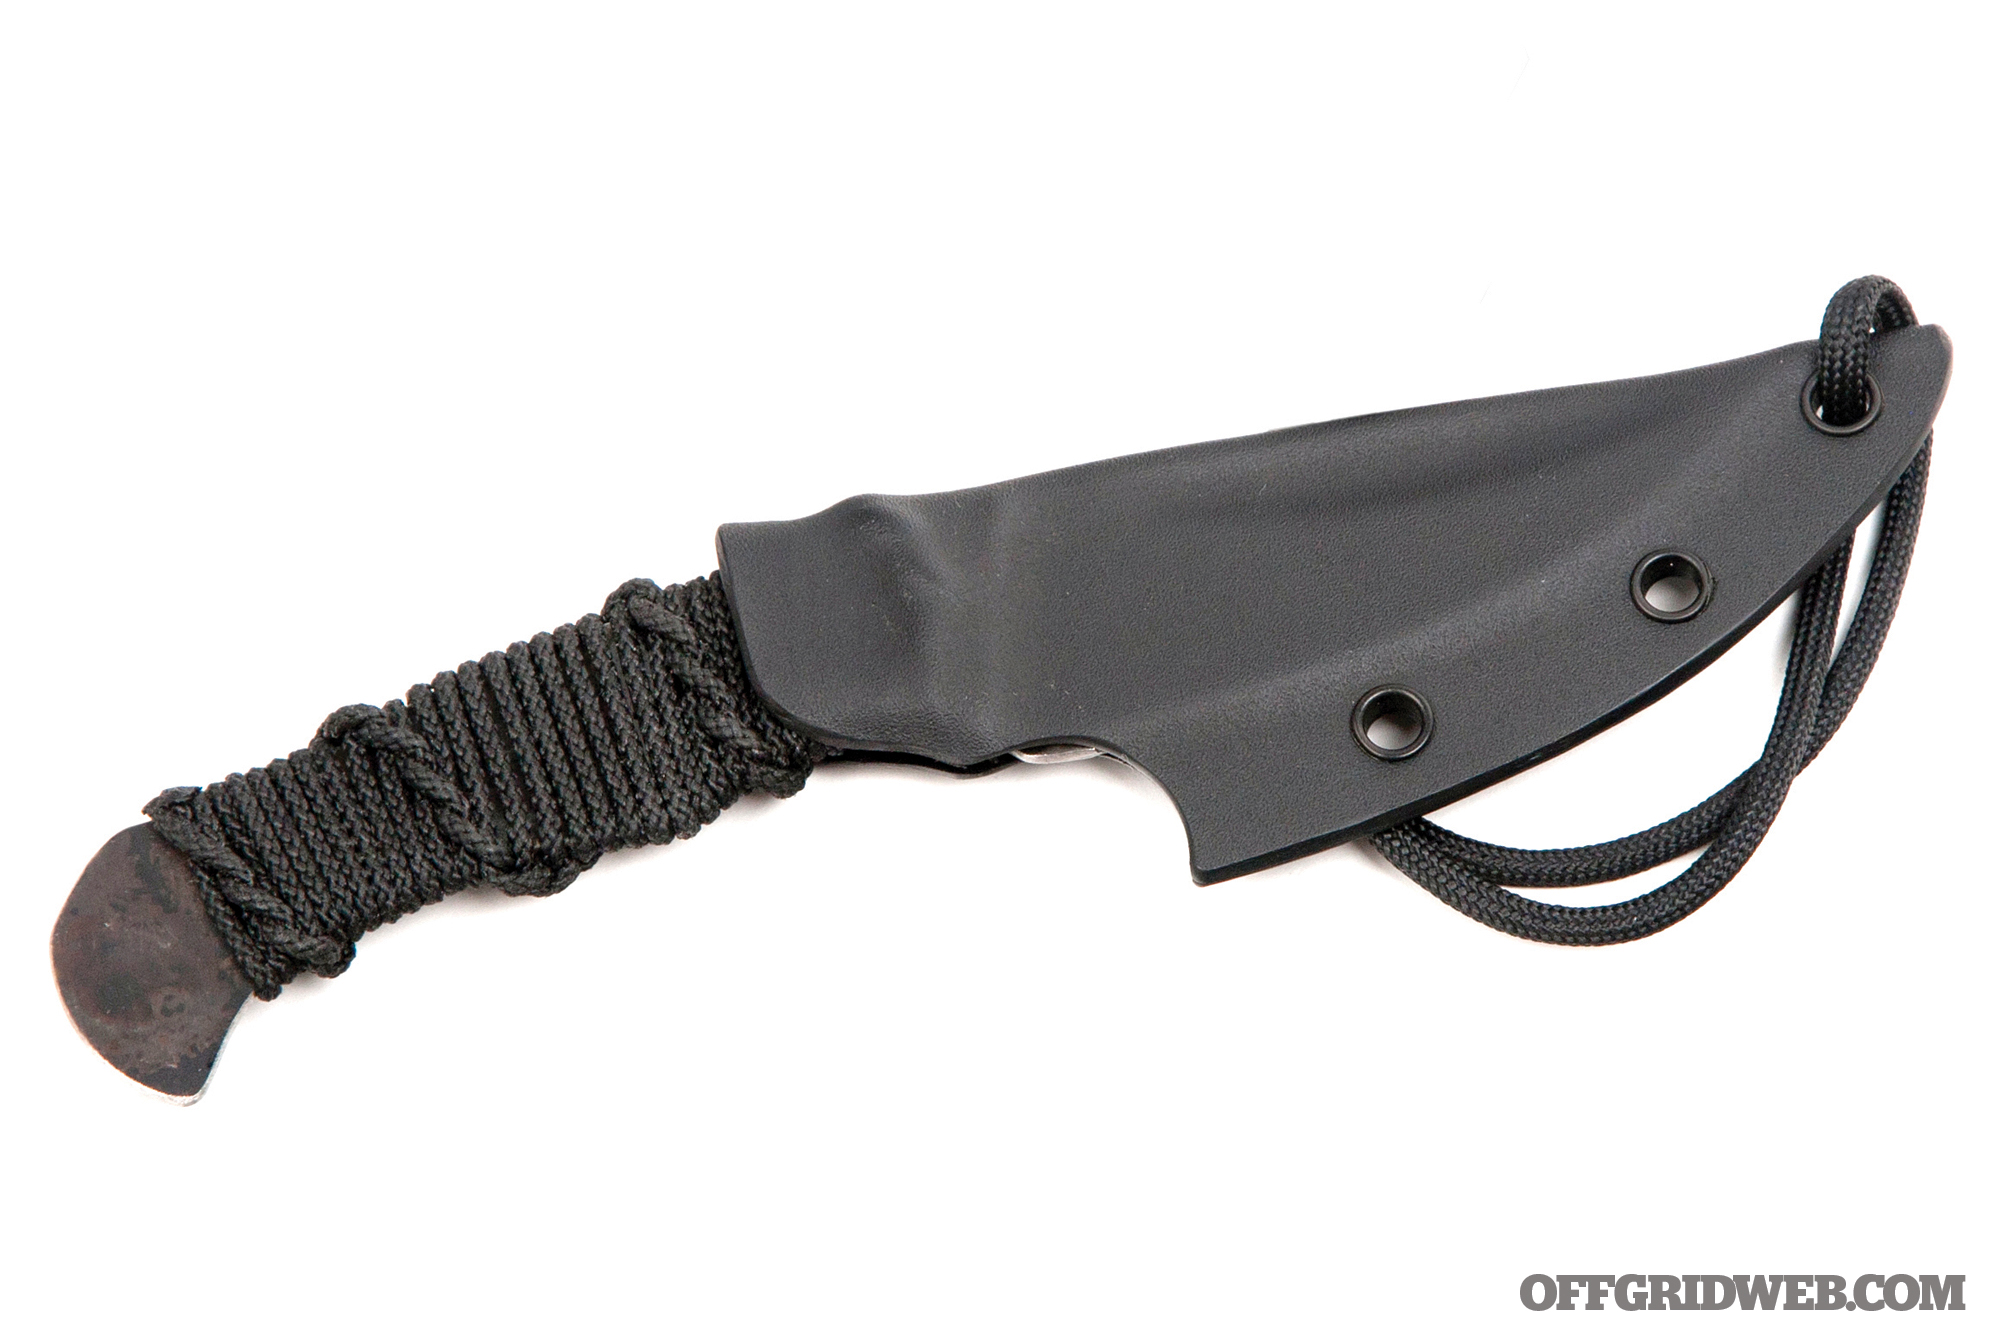
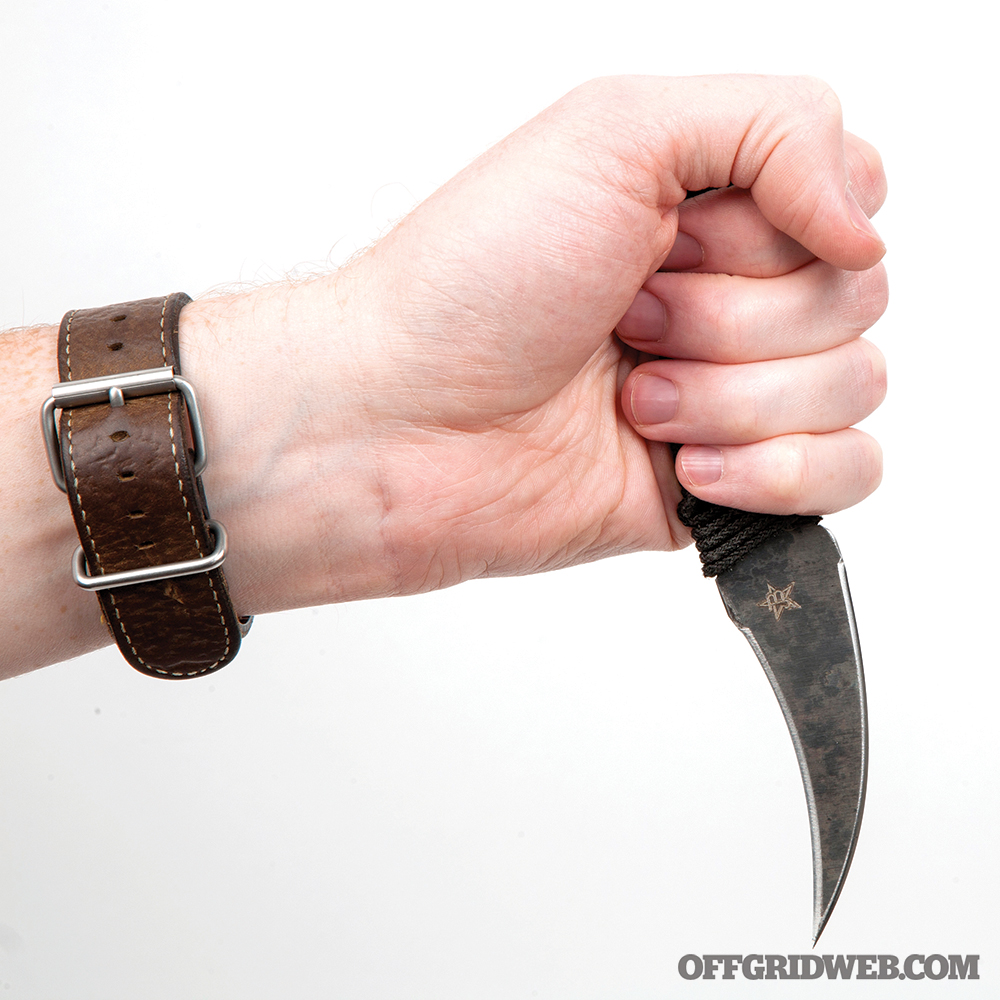
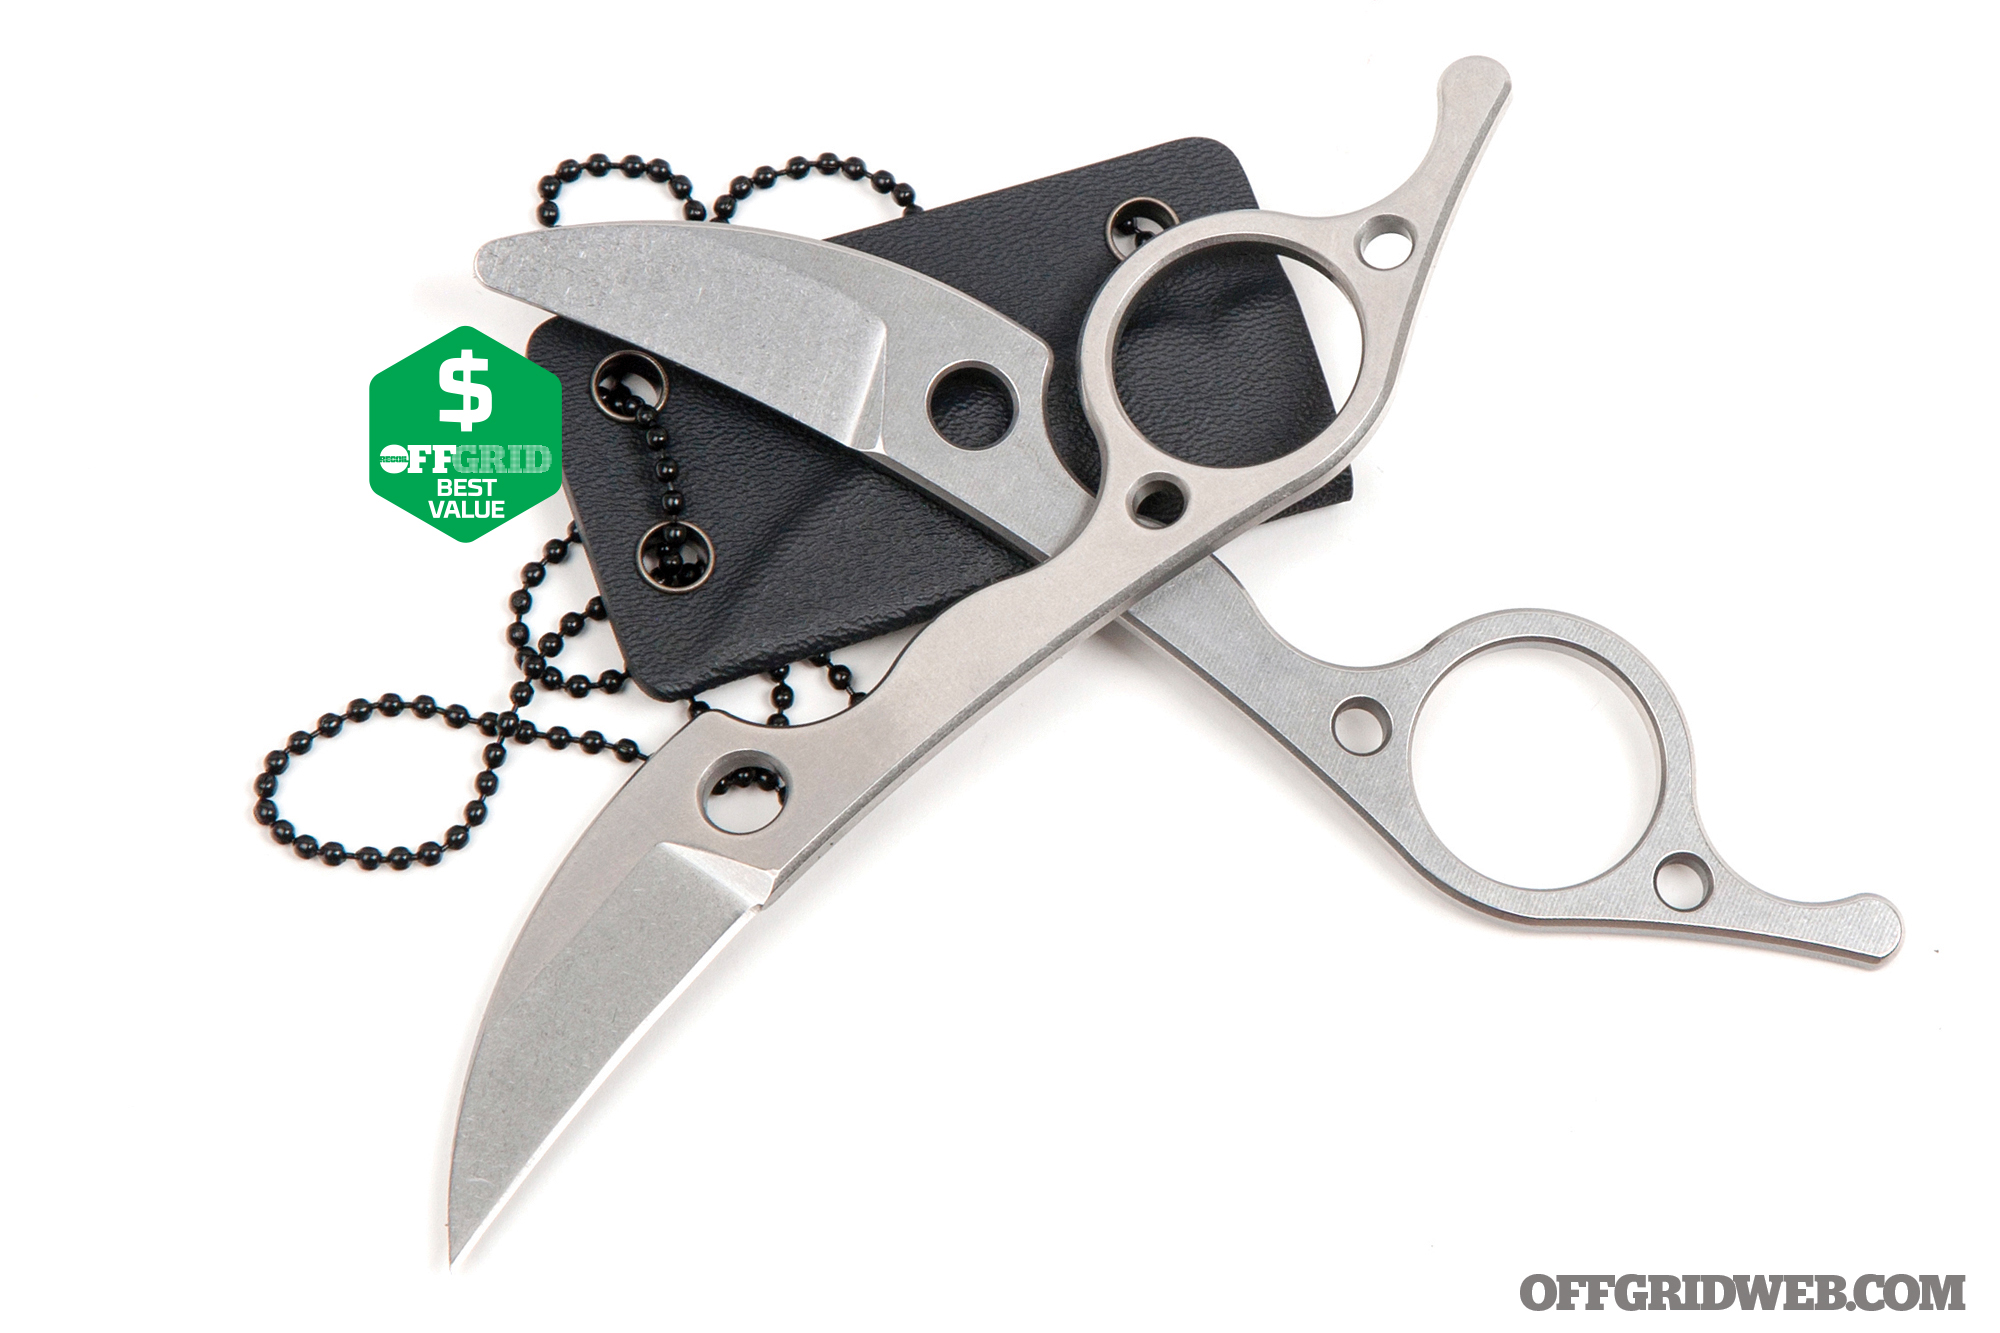
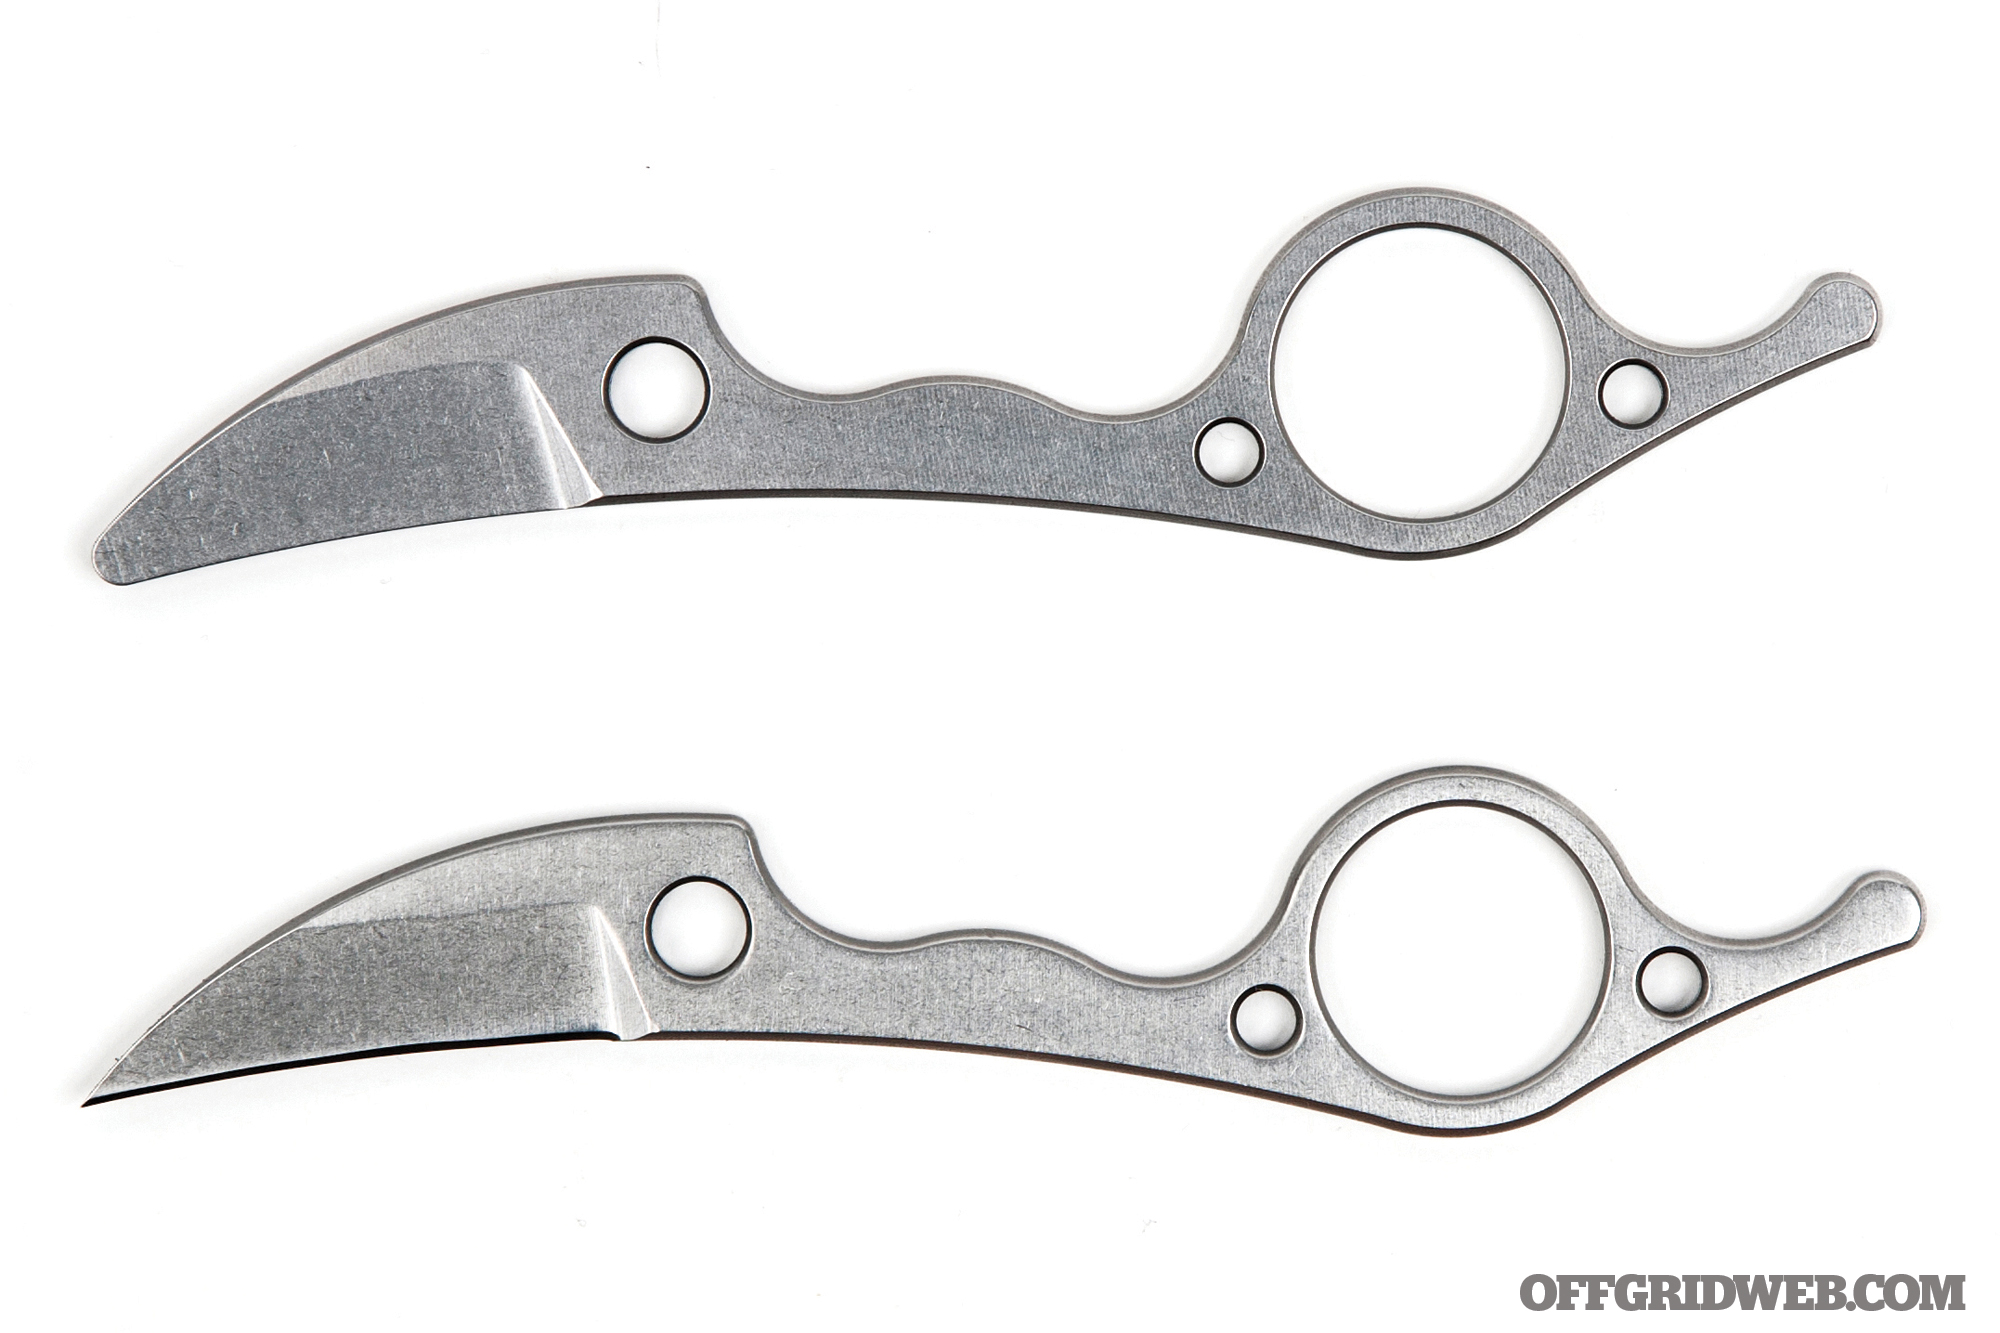
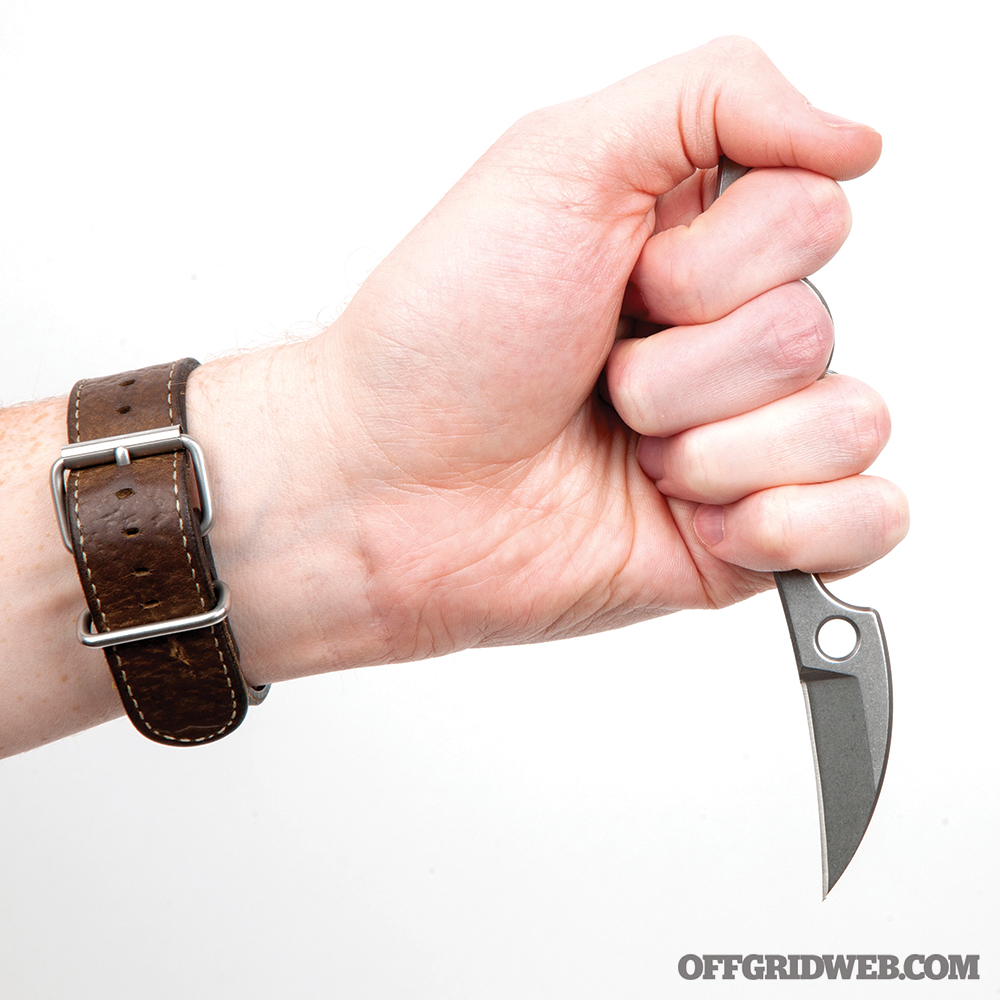
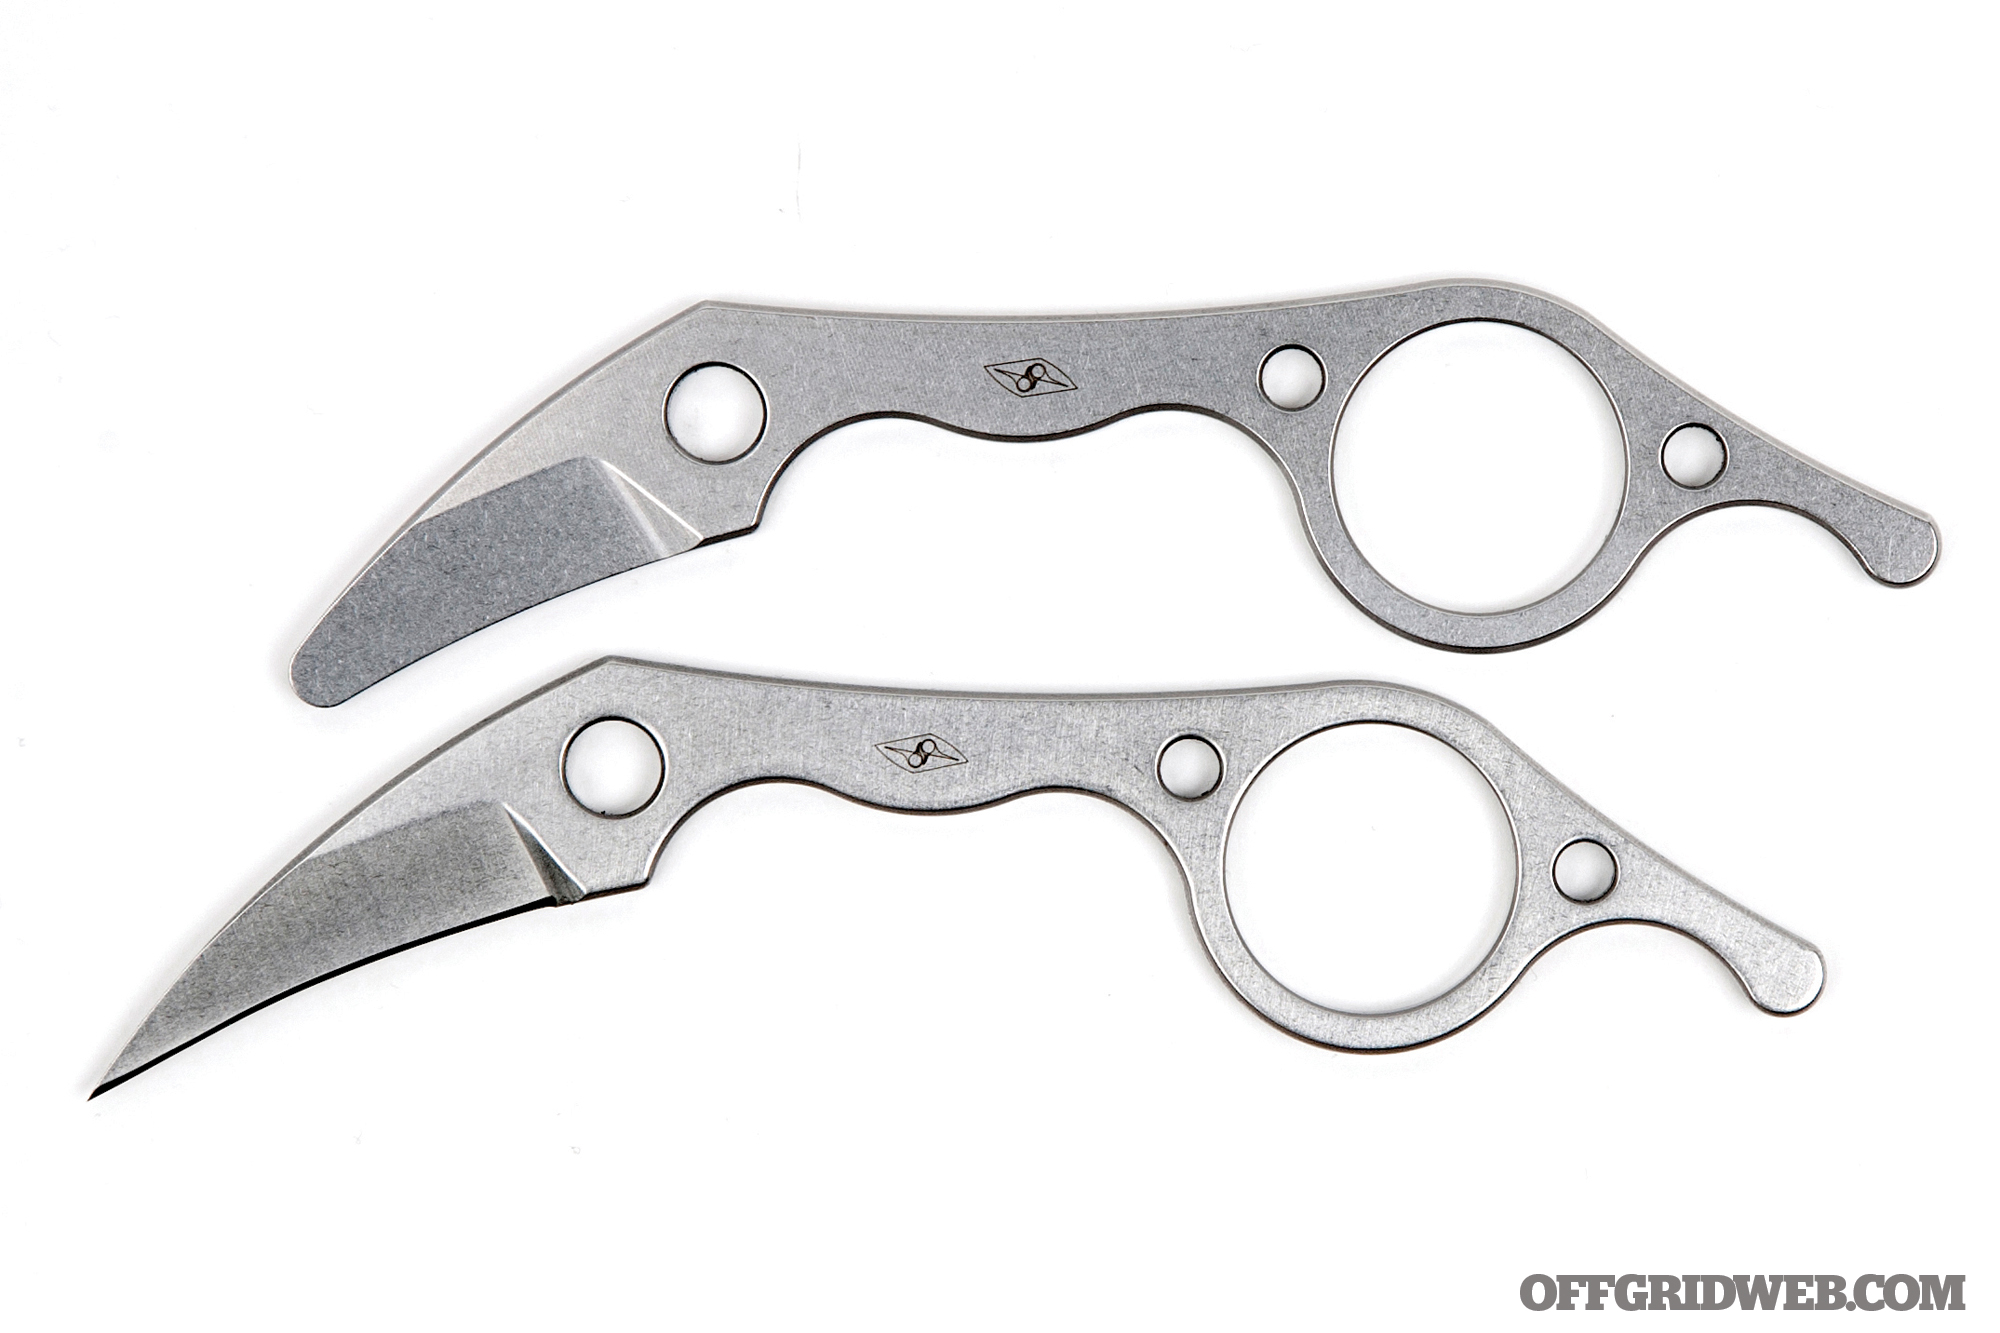
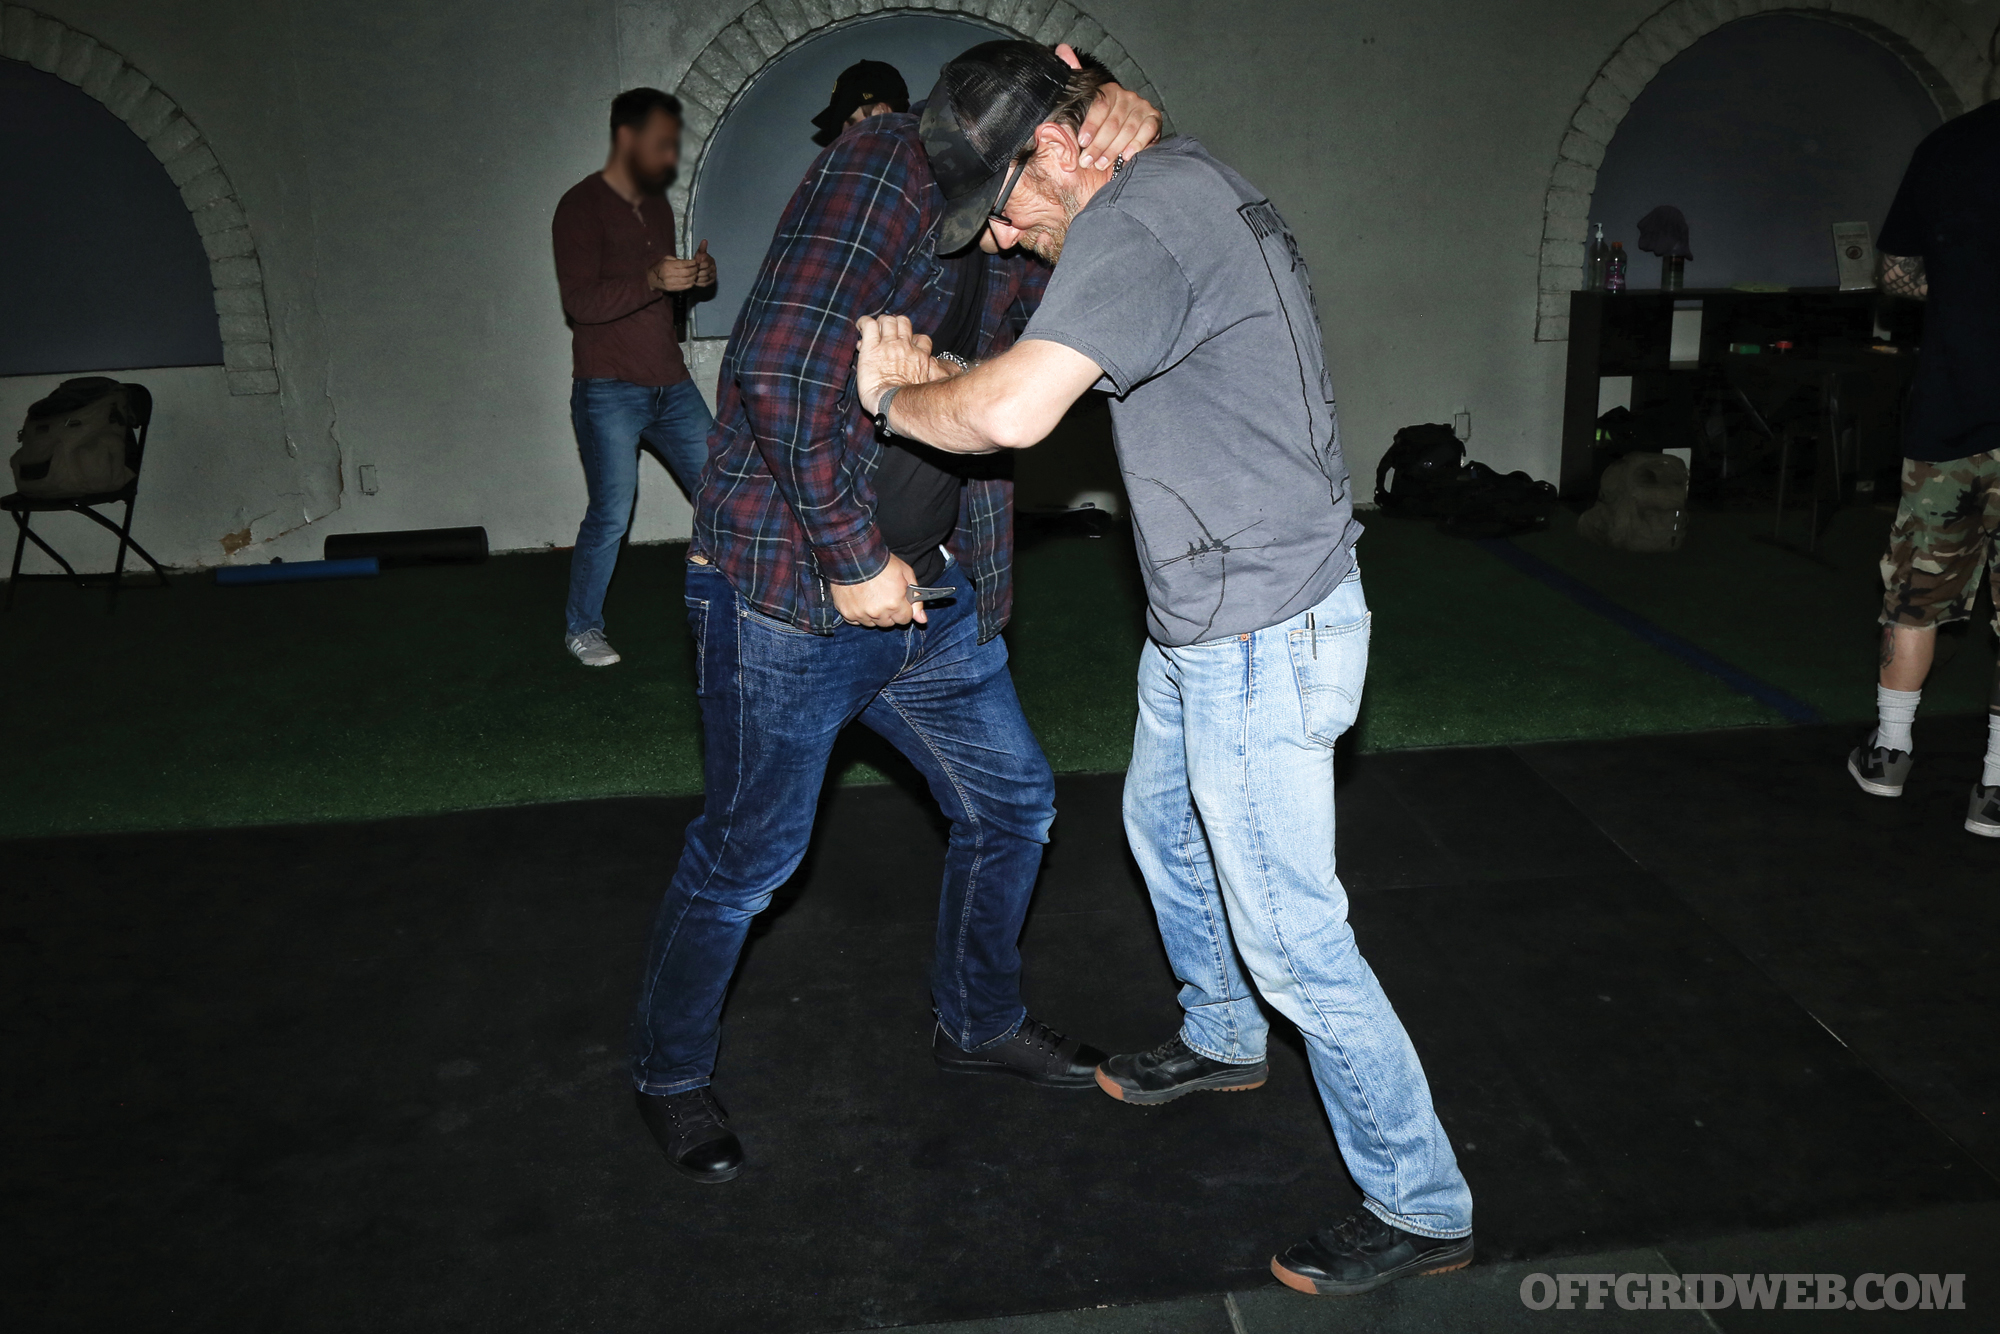
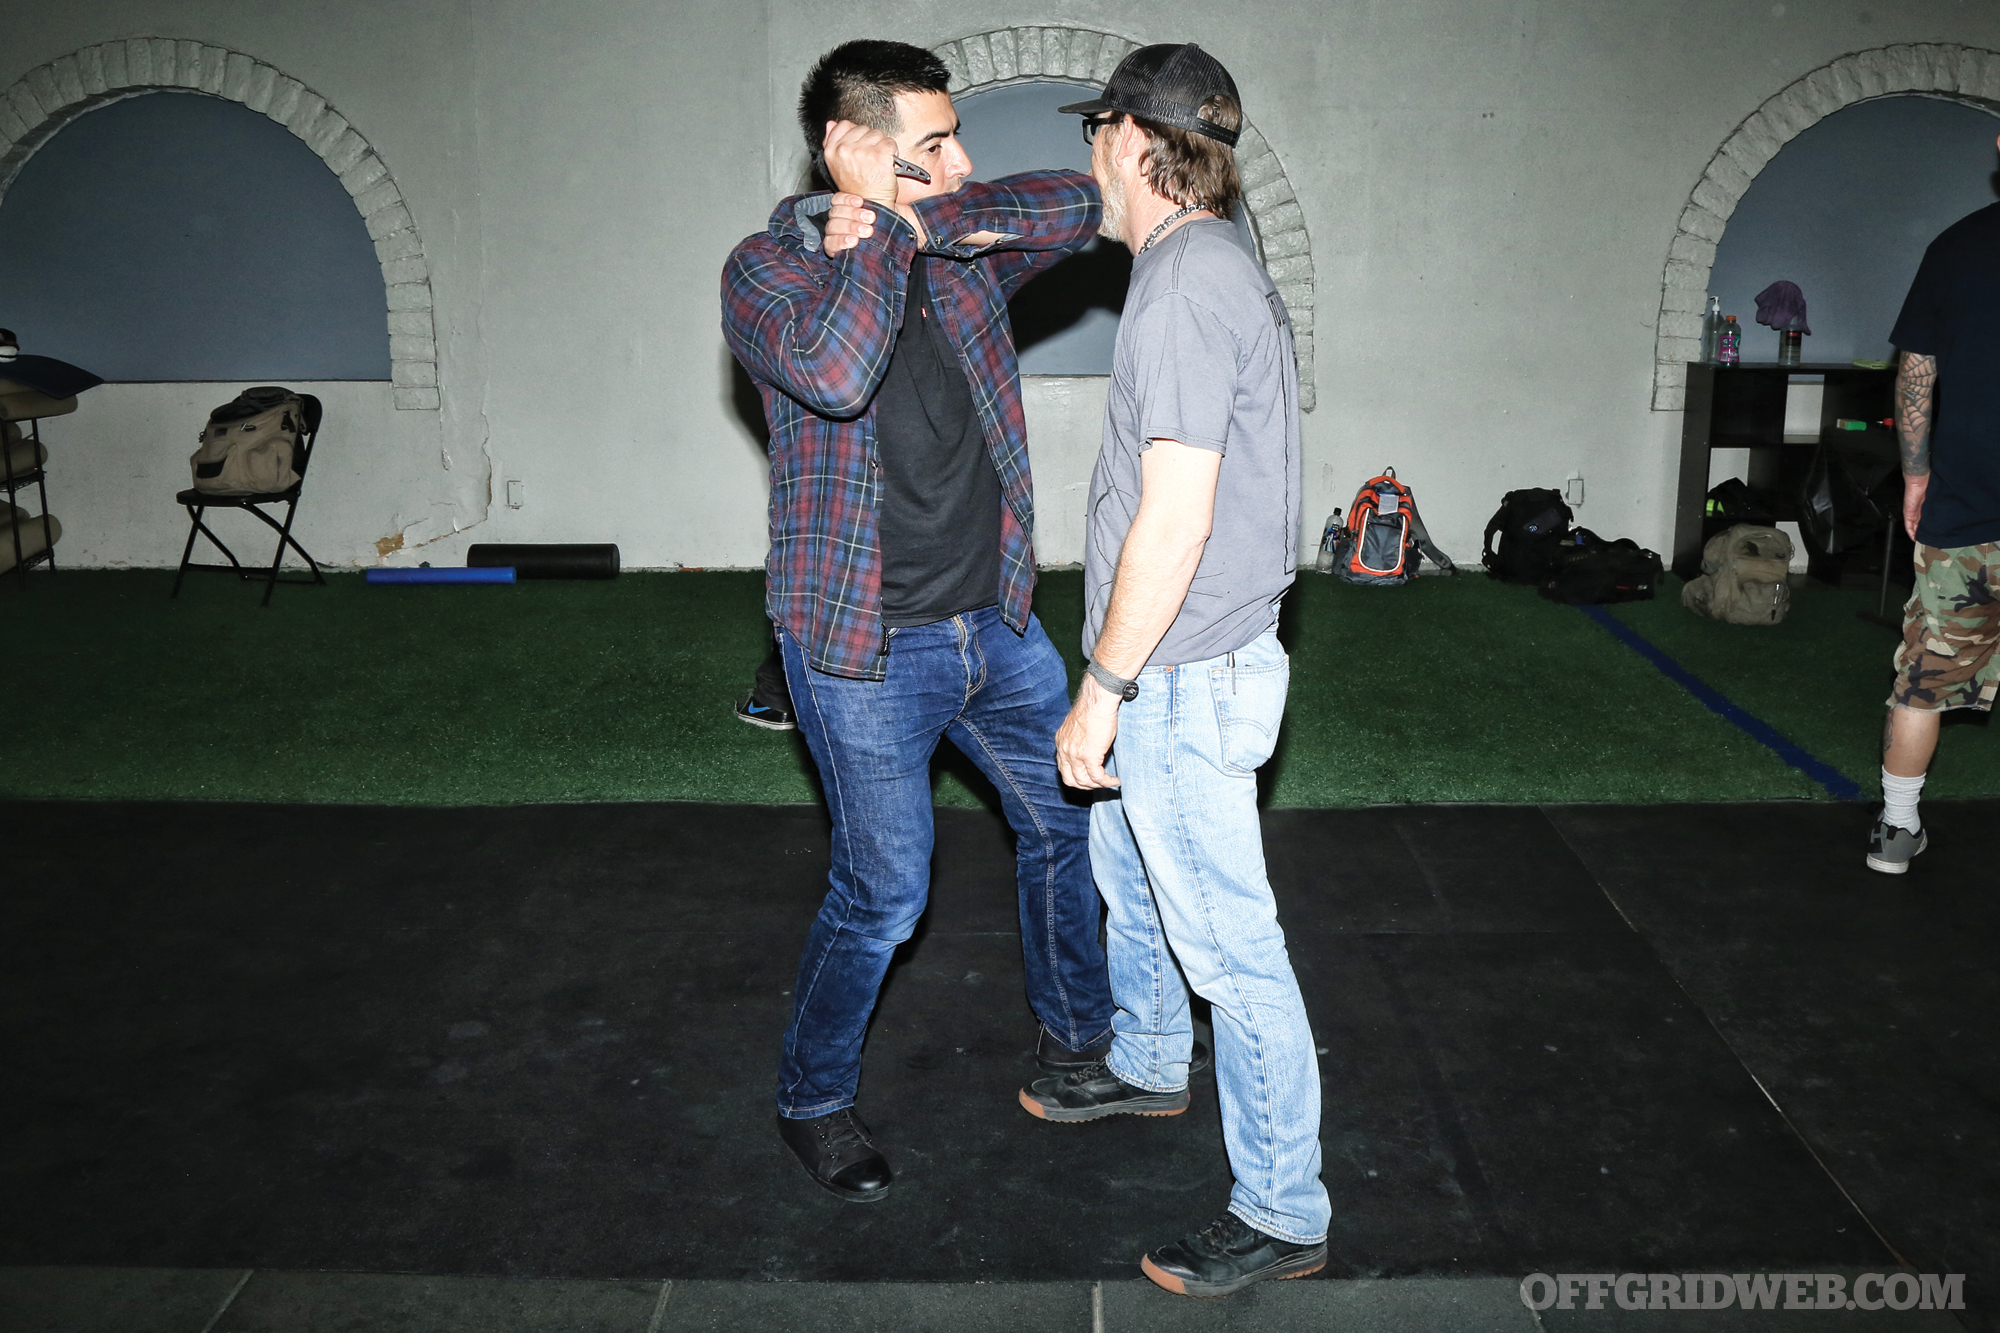 Above: Attack angle #1: tip-down stab from the top to reach the subclavian artery
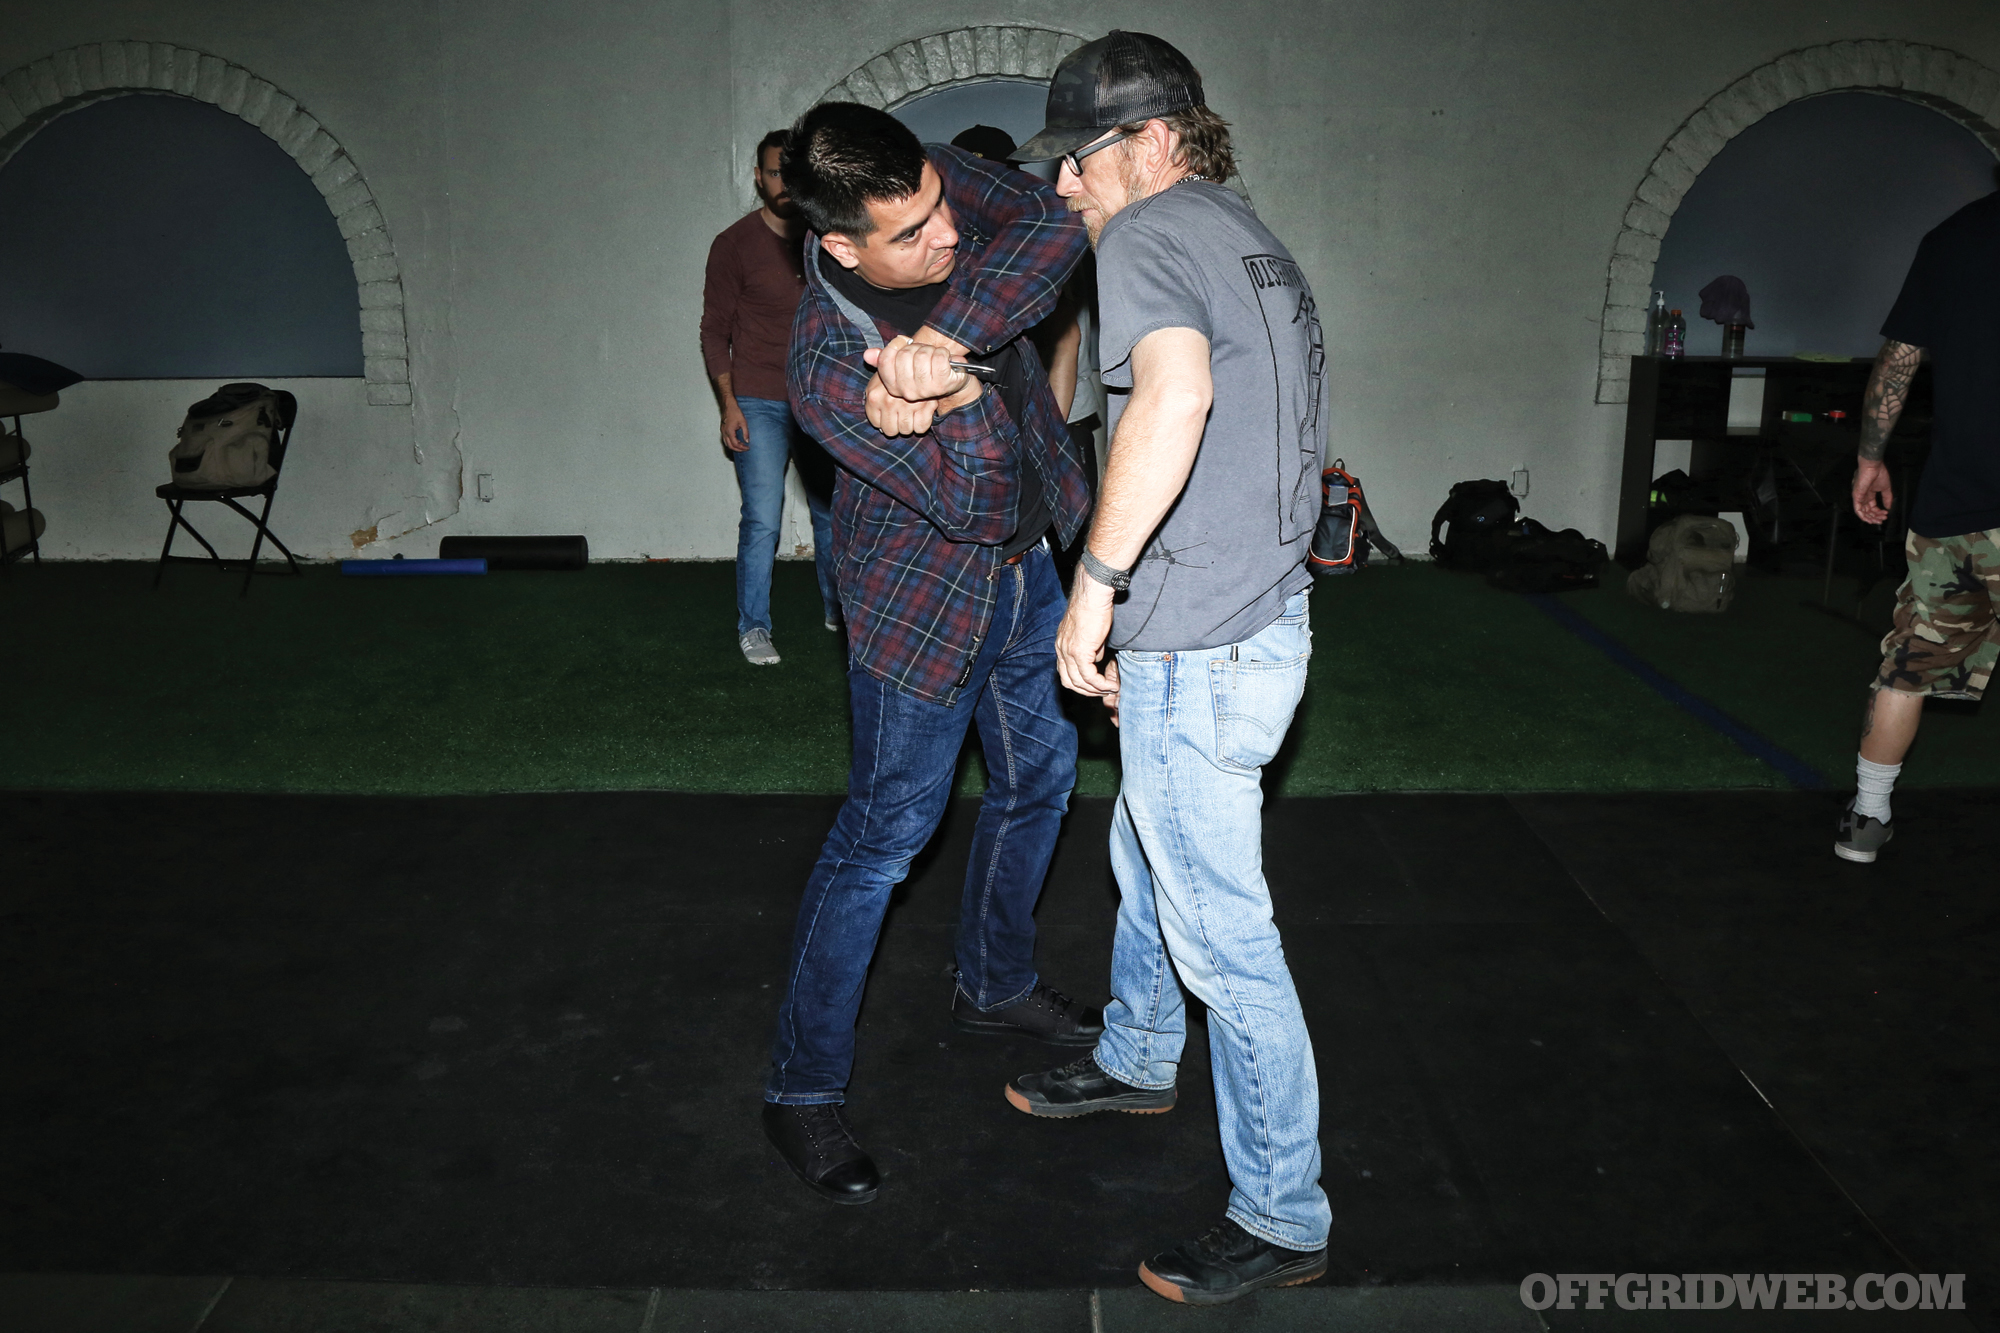
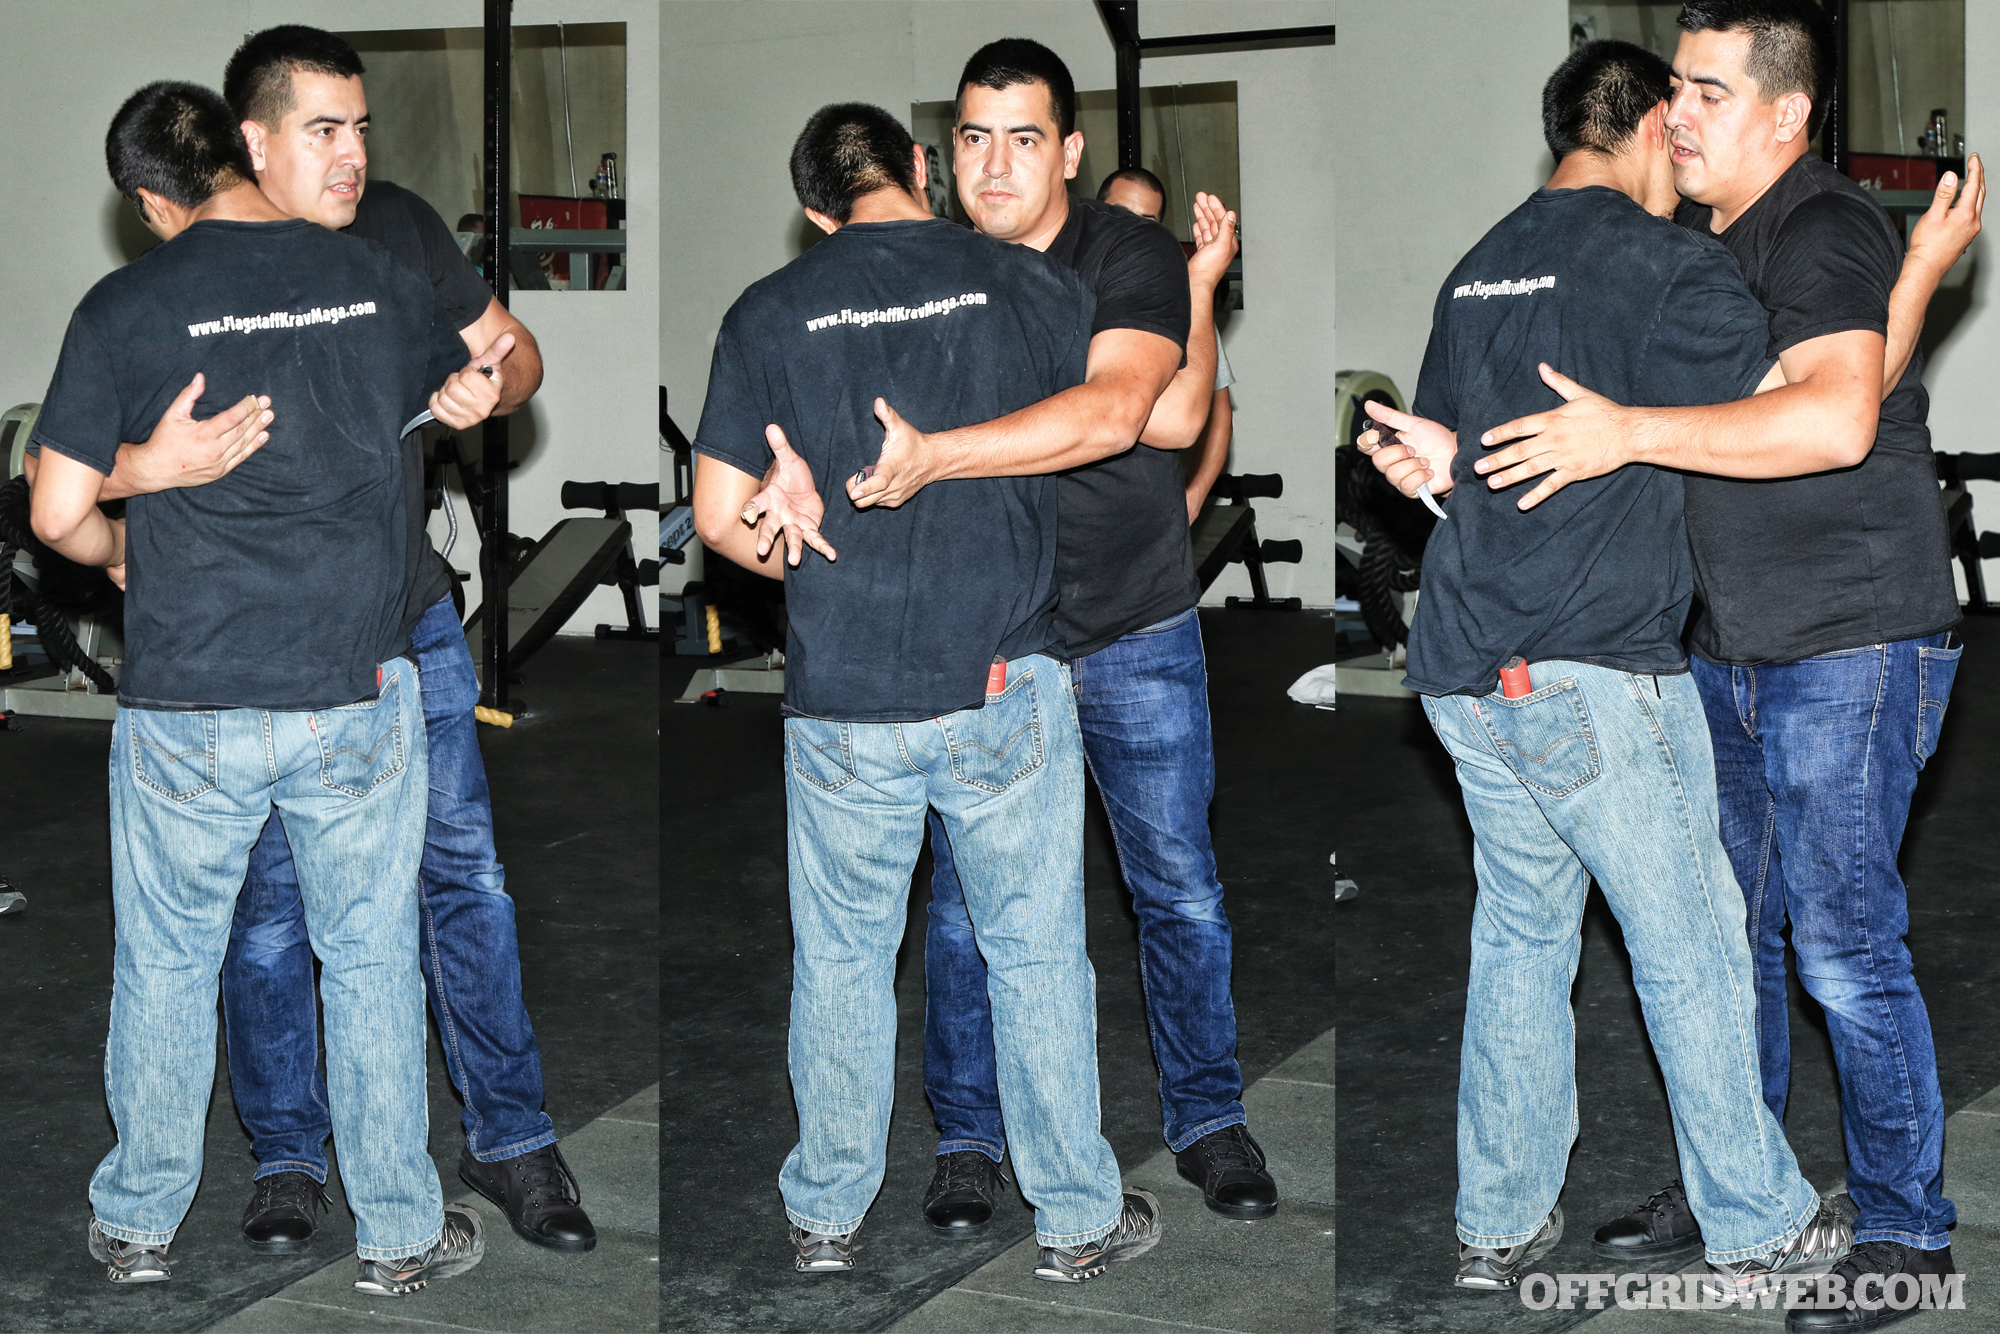
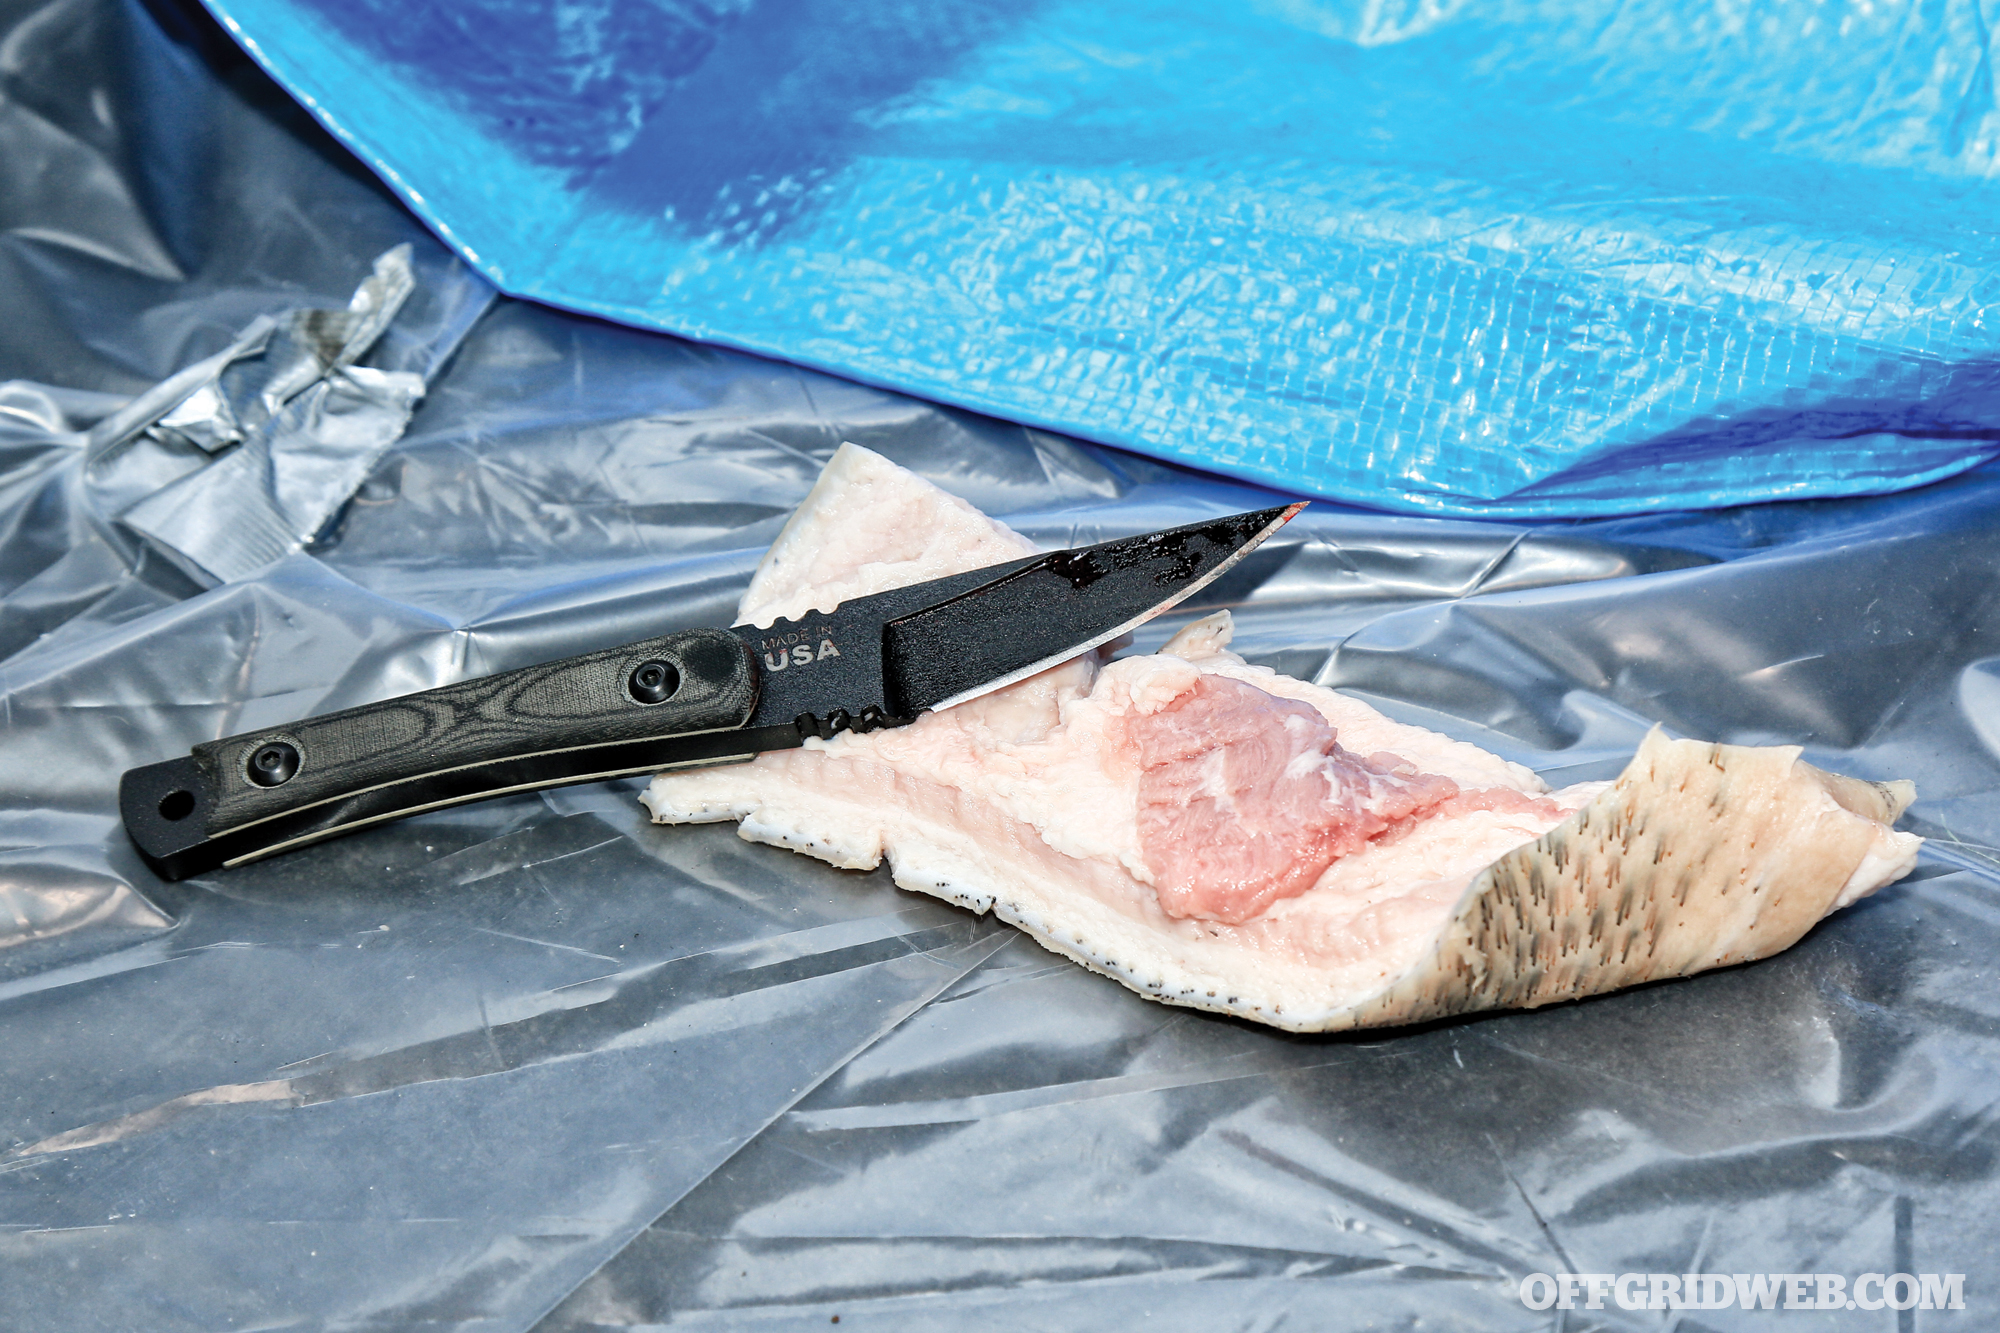
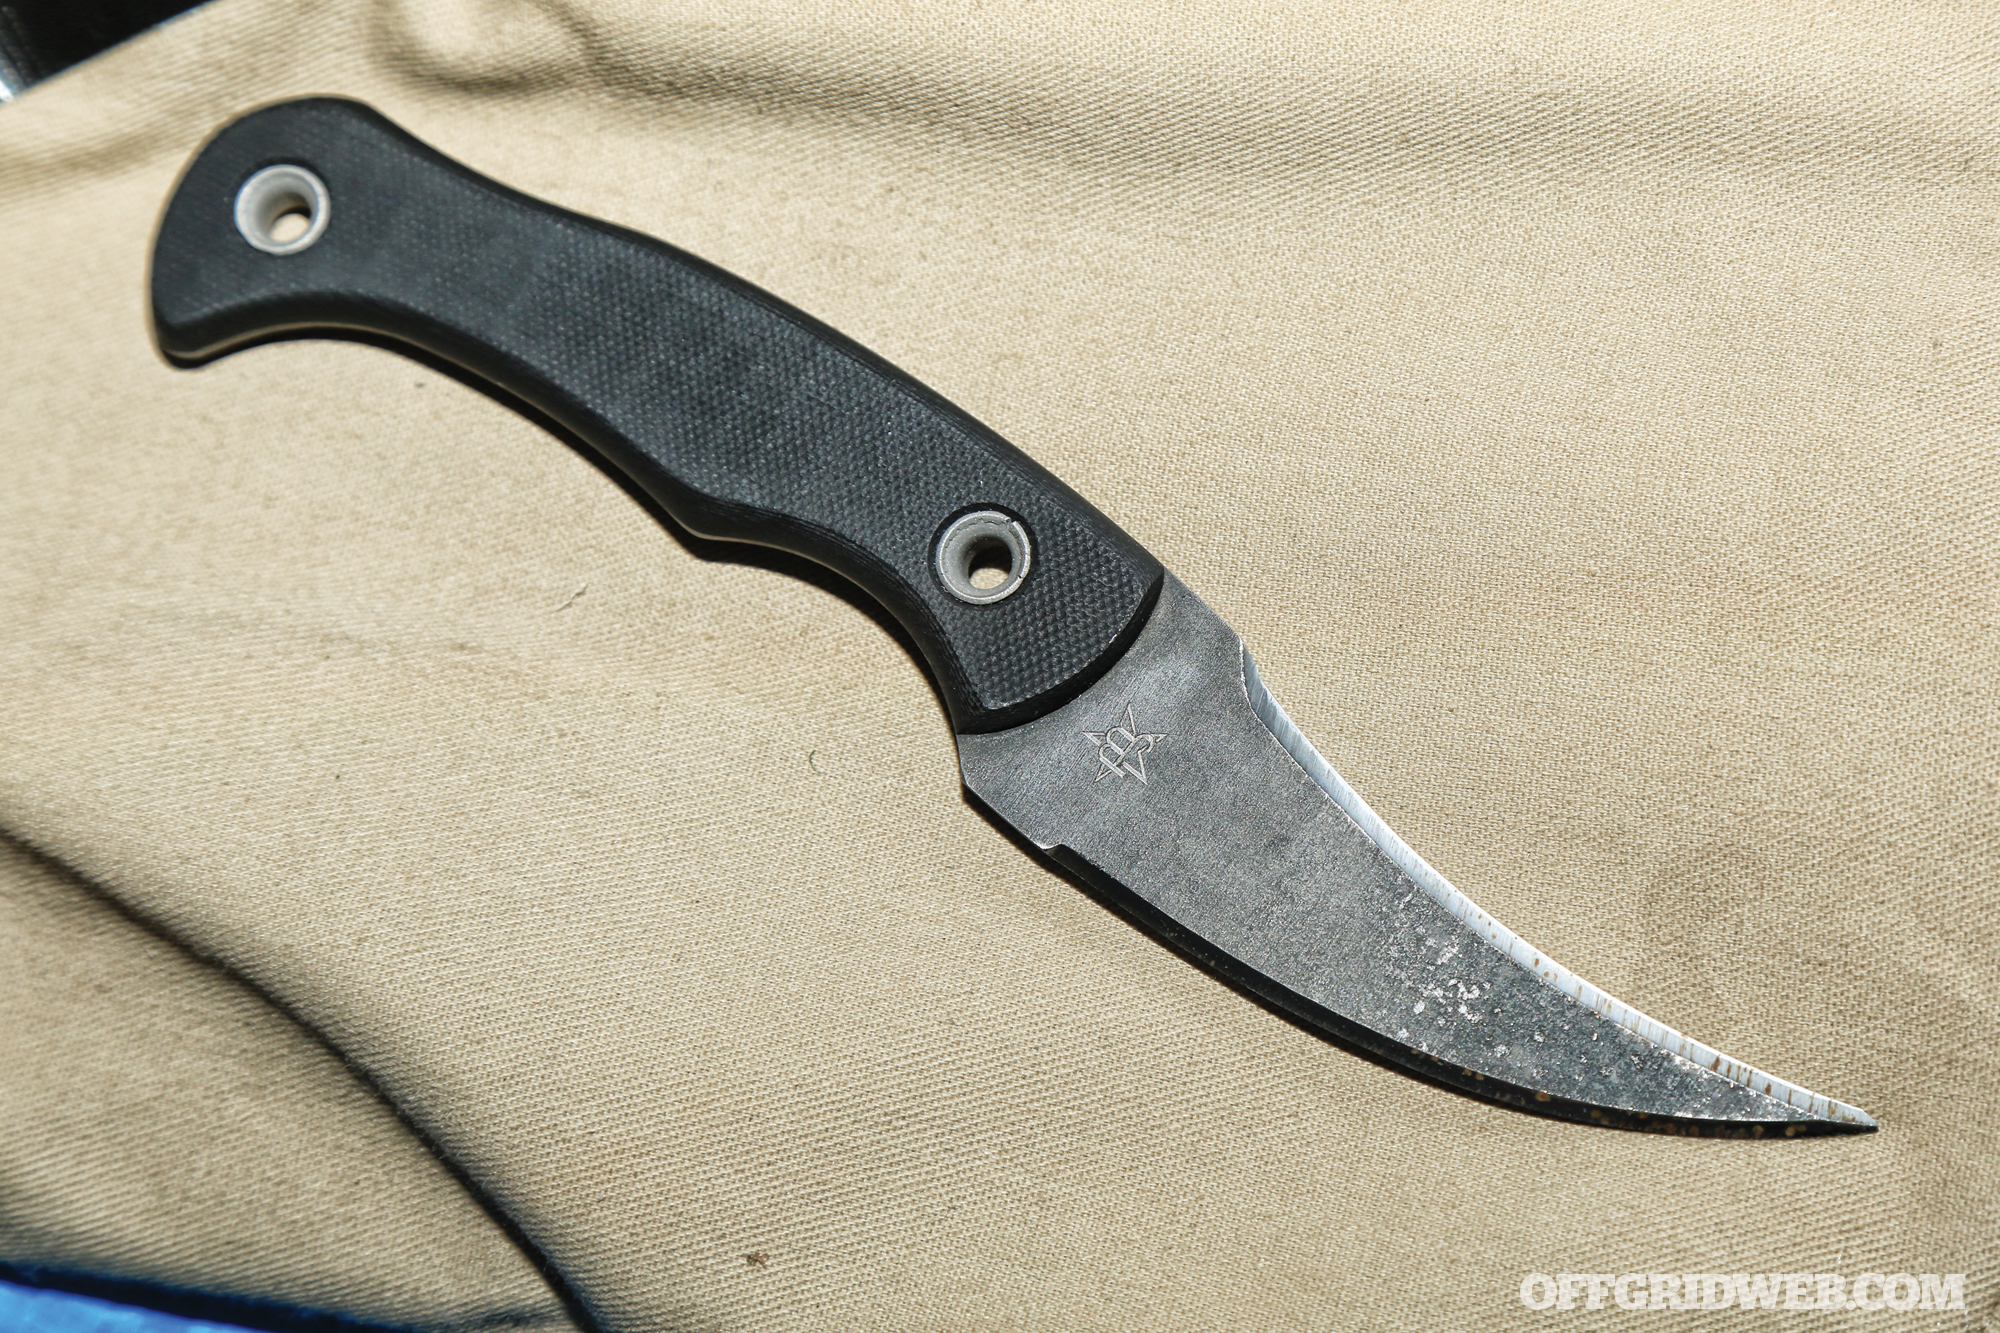
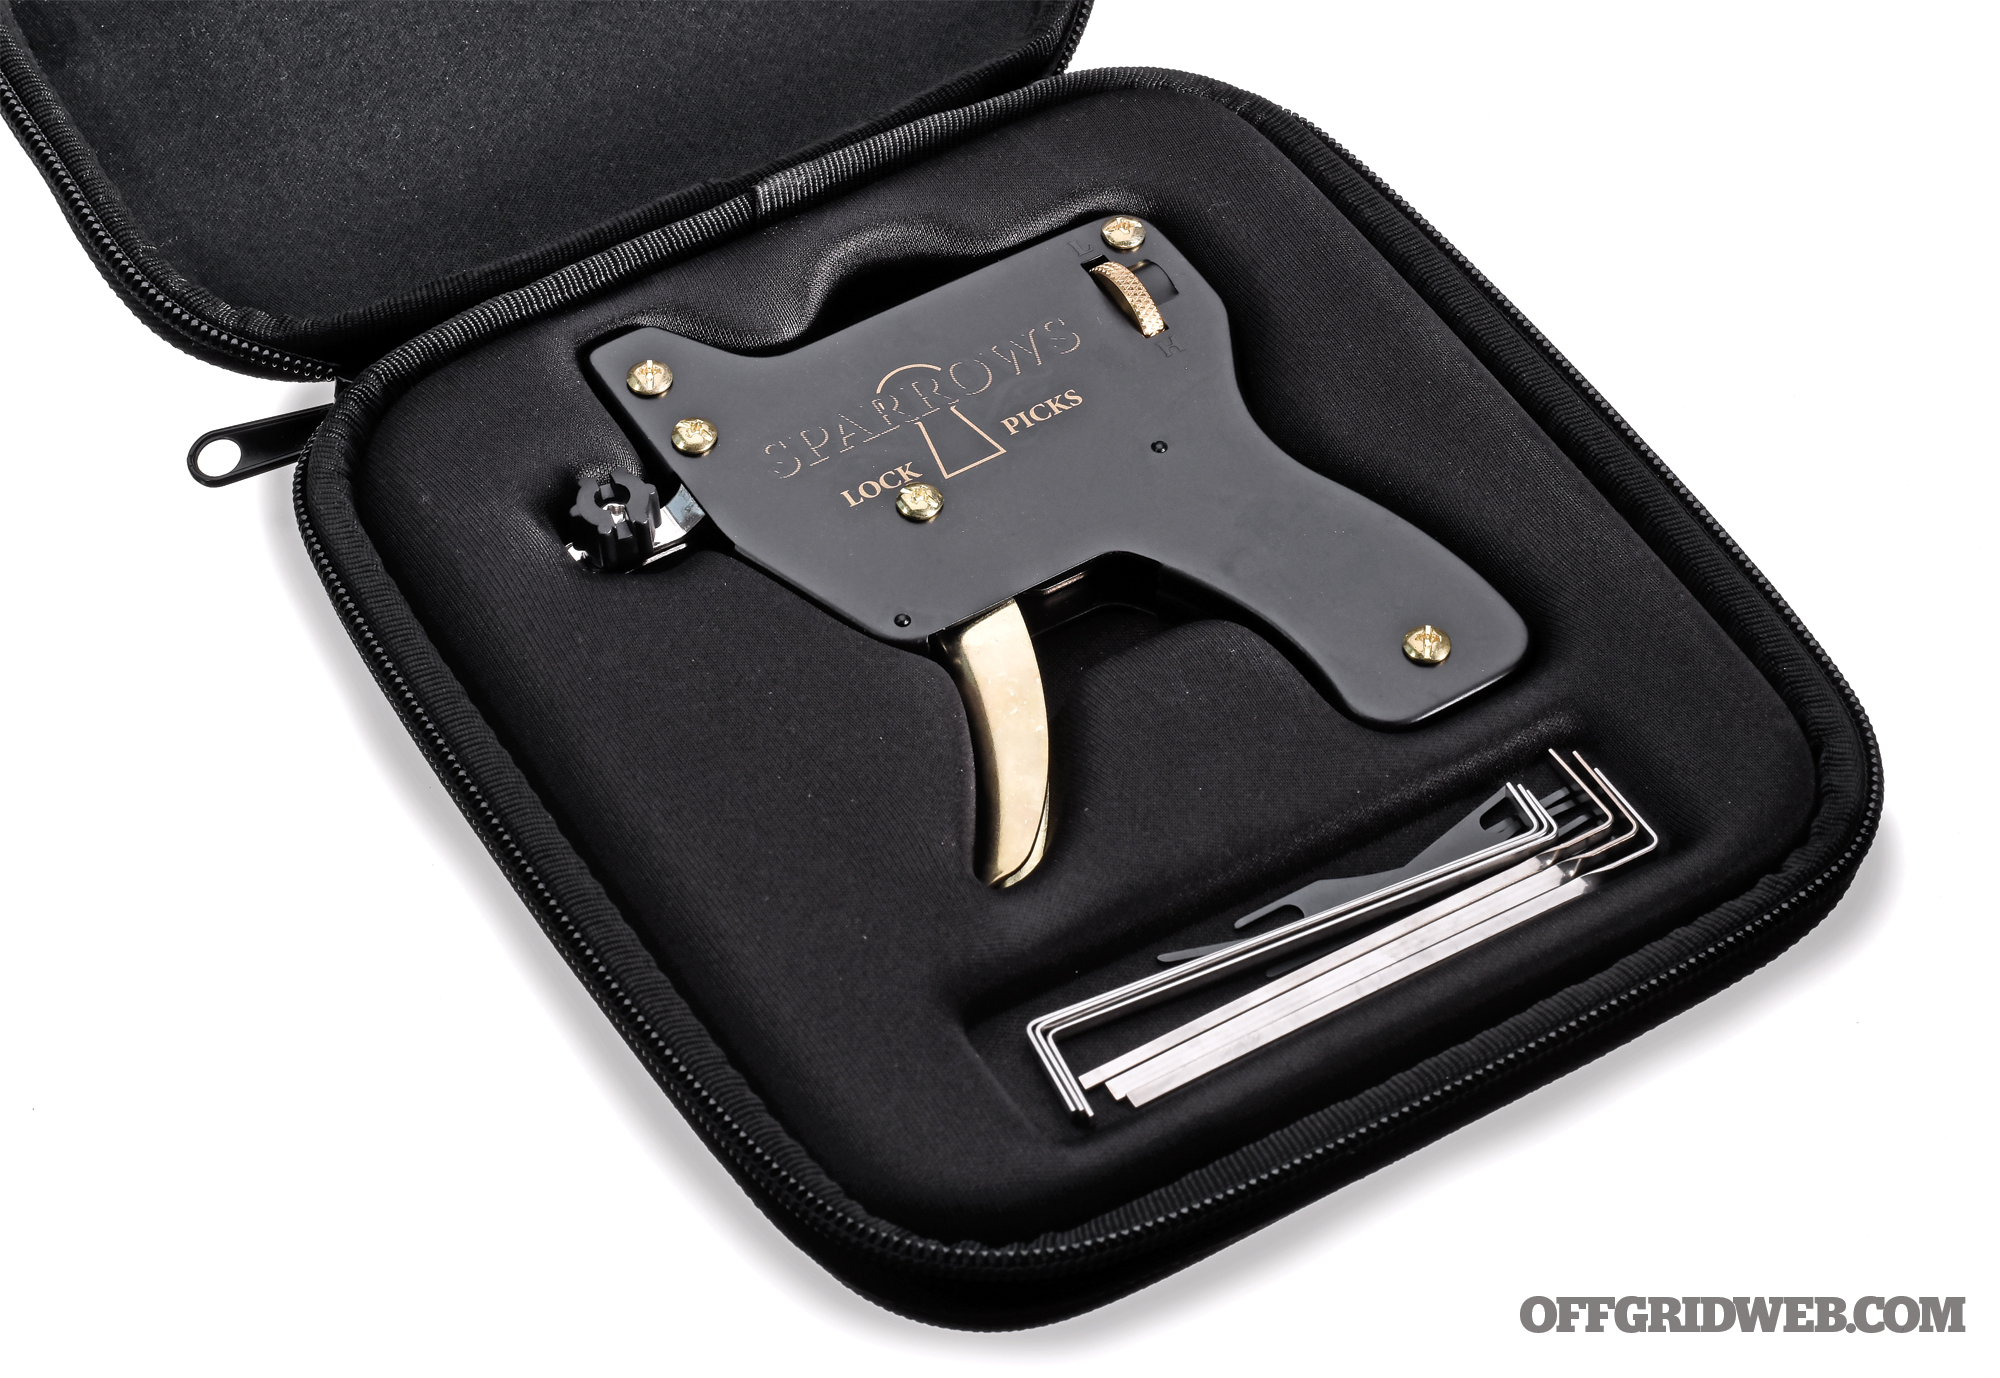
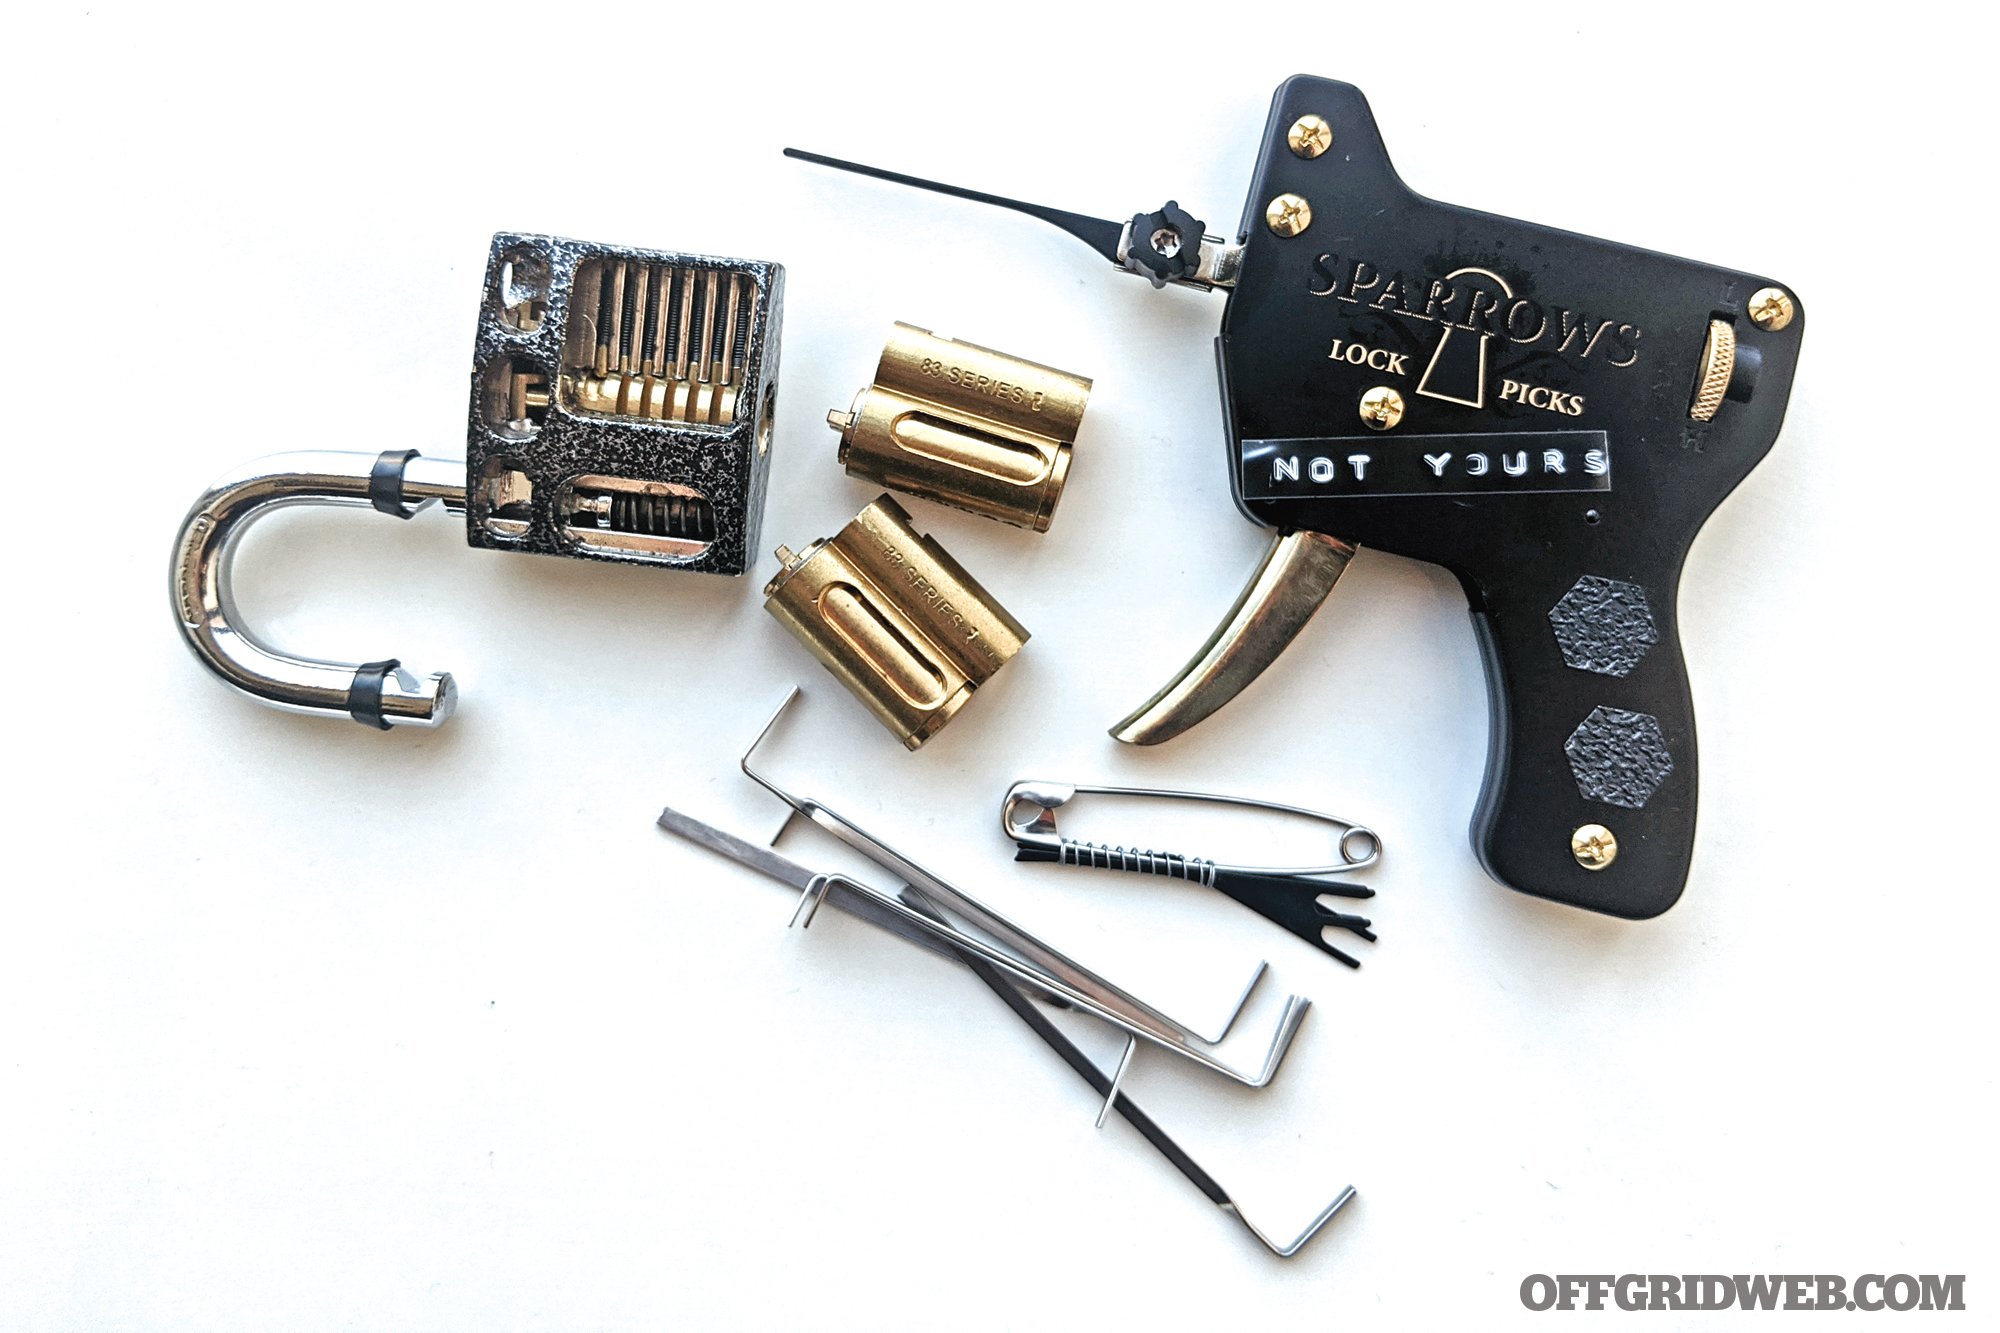
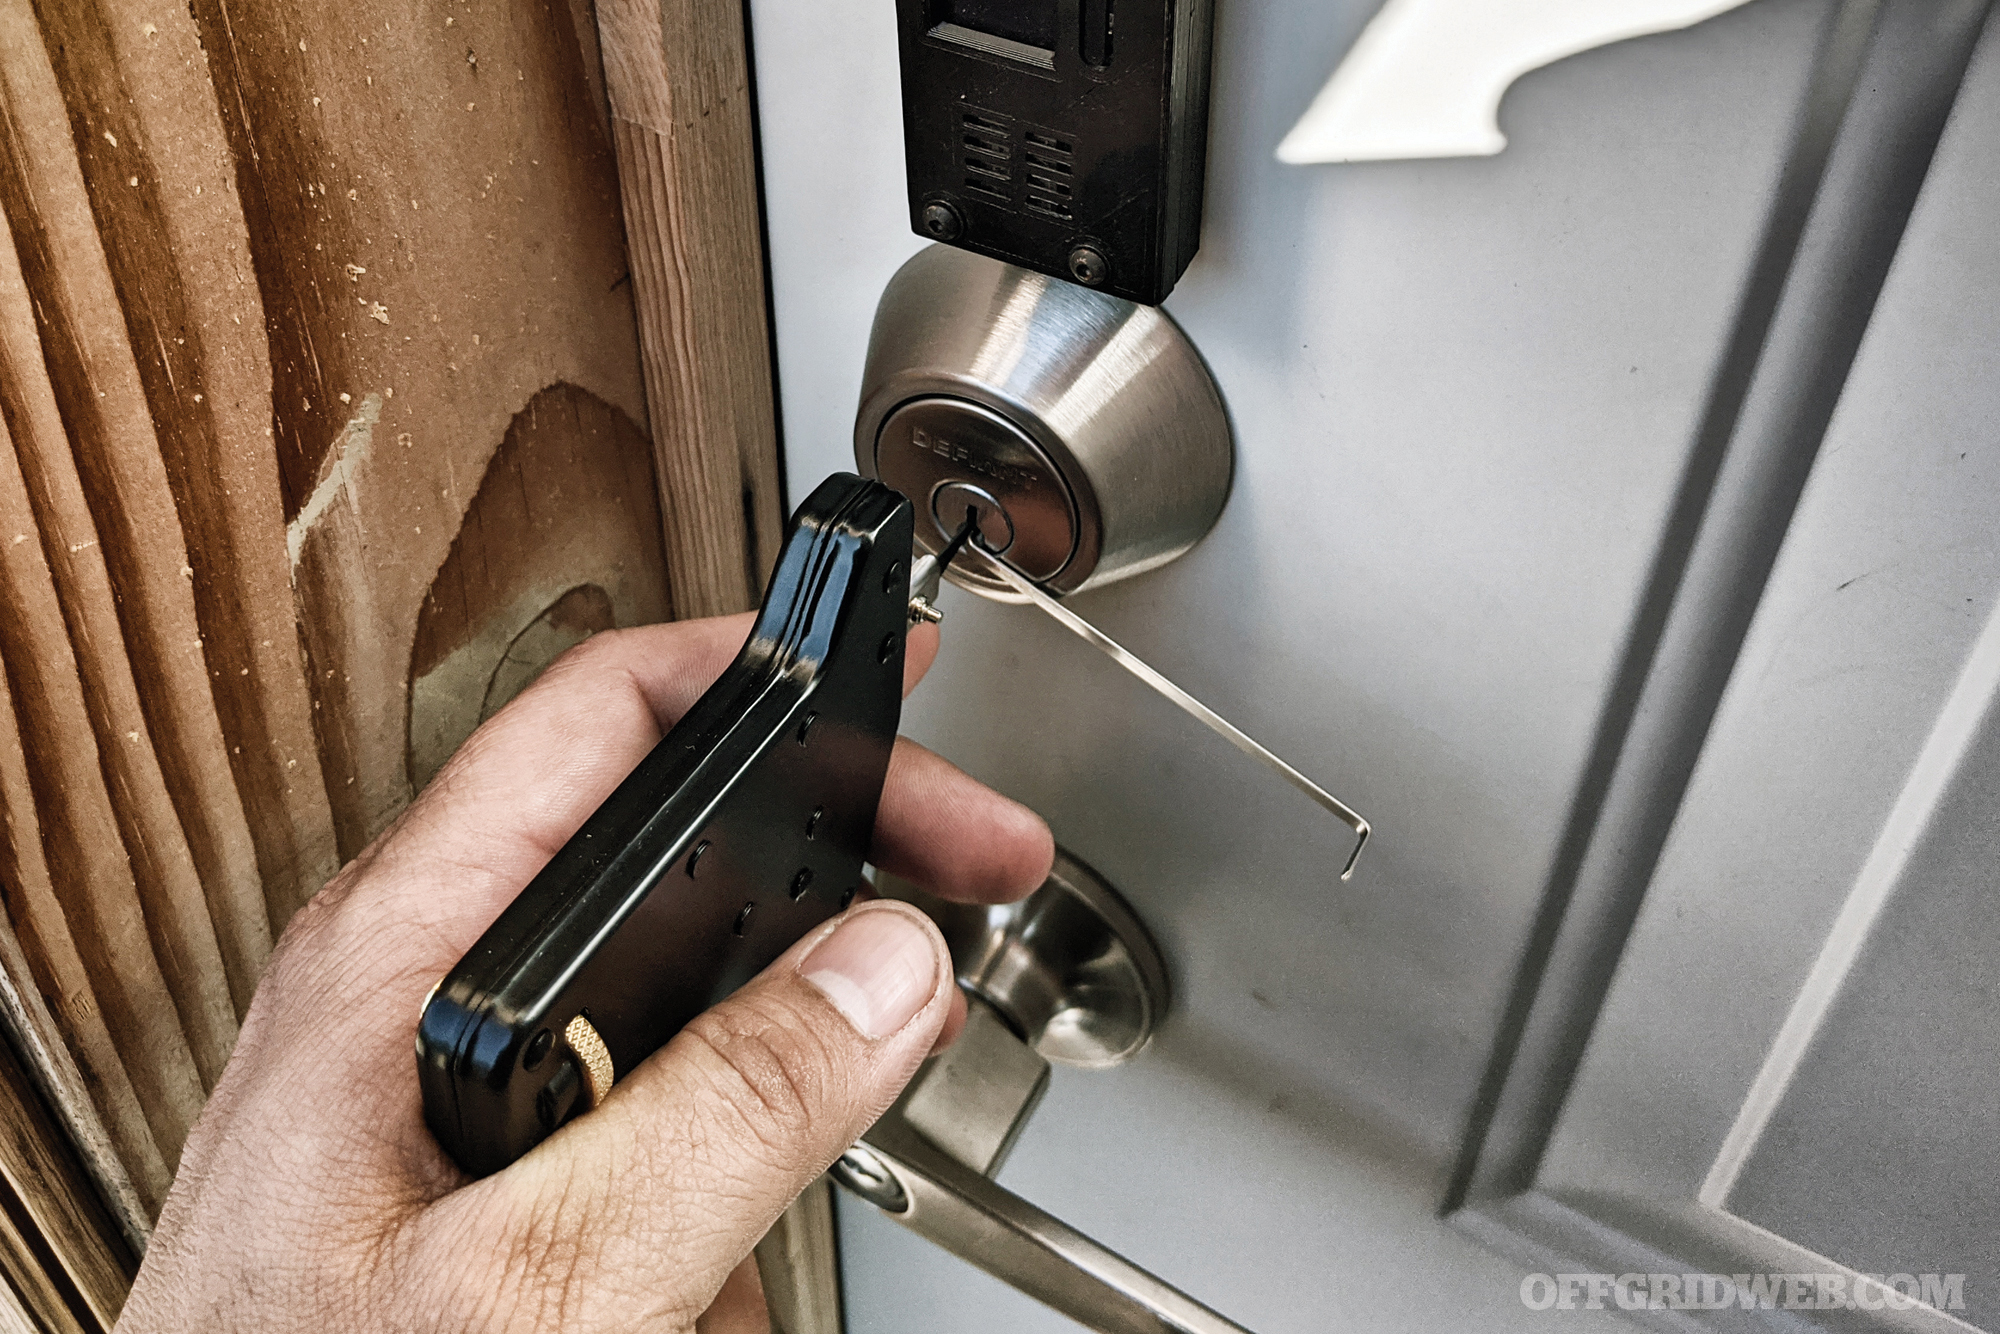
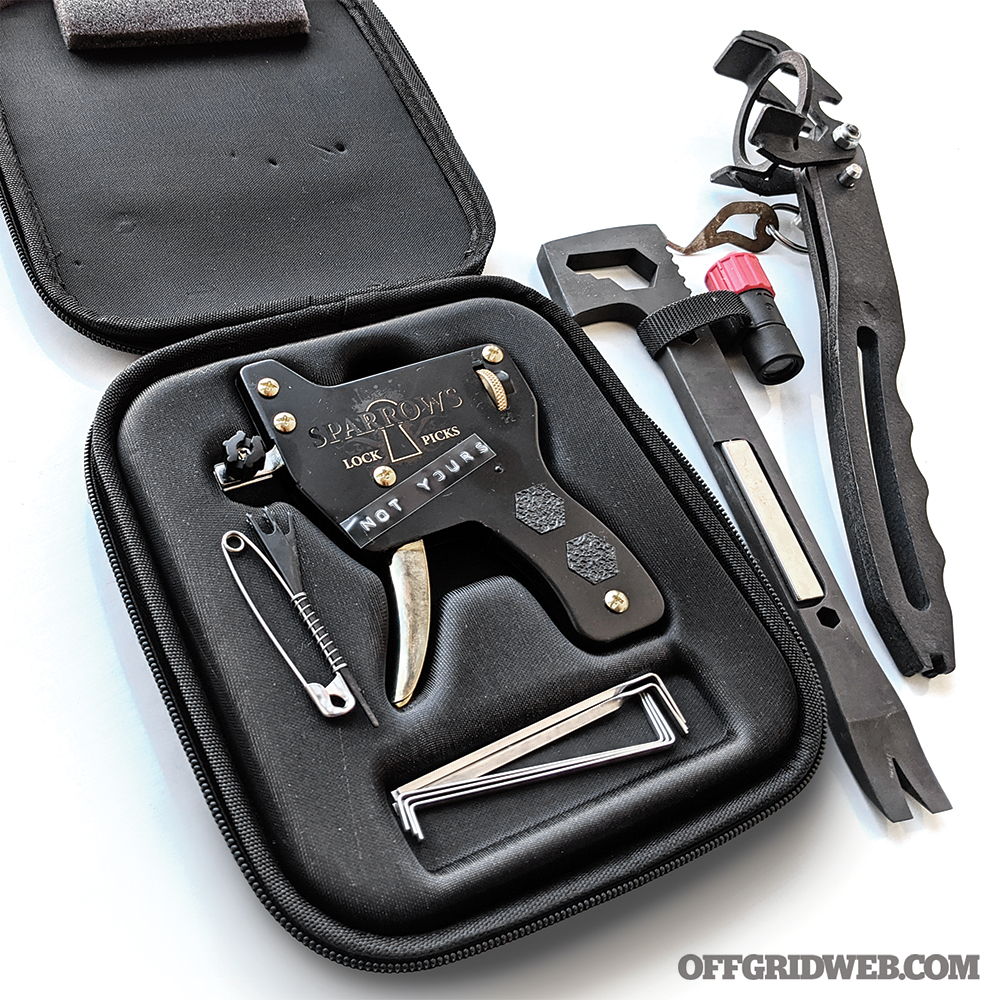
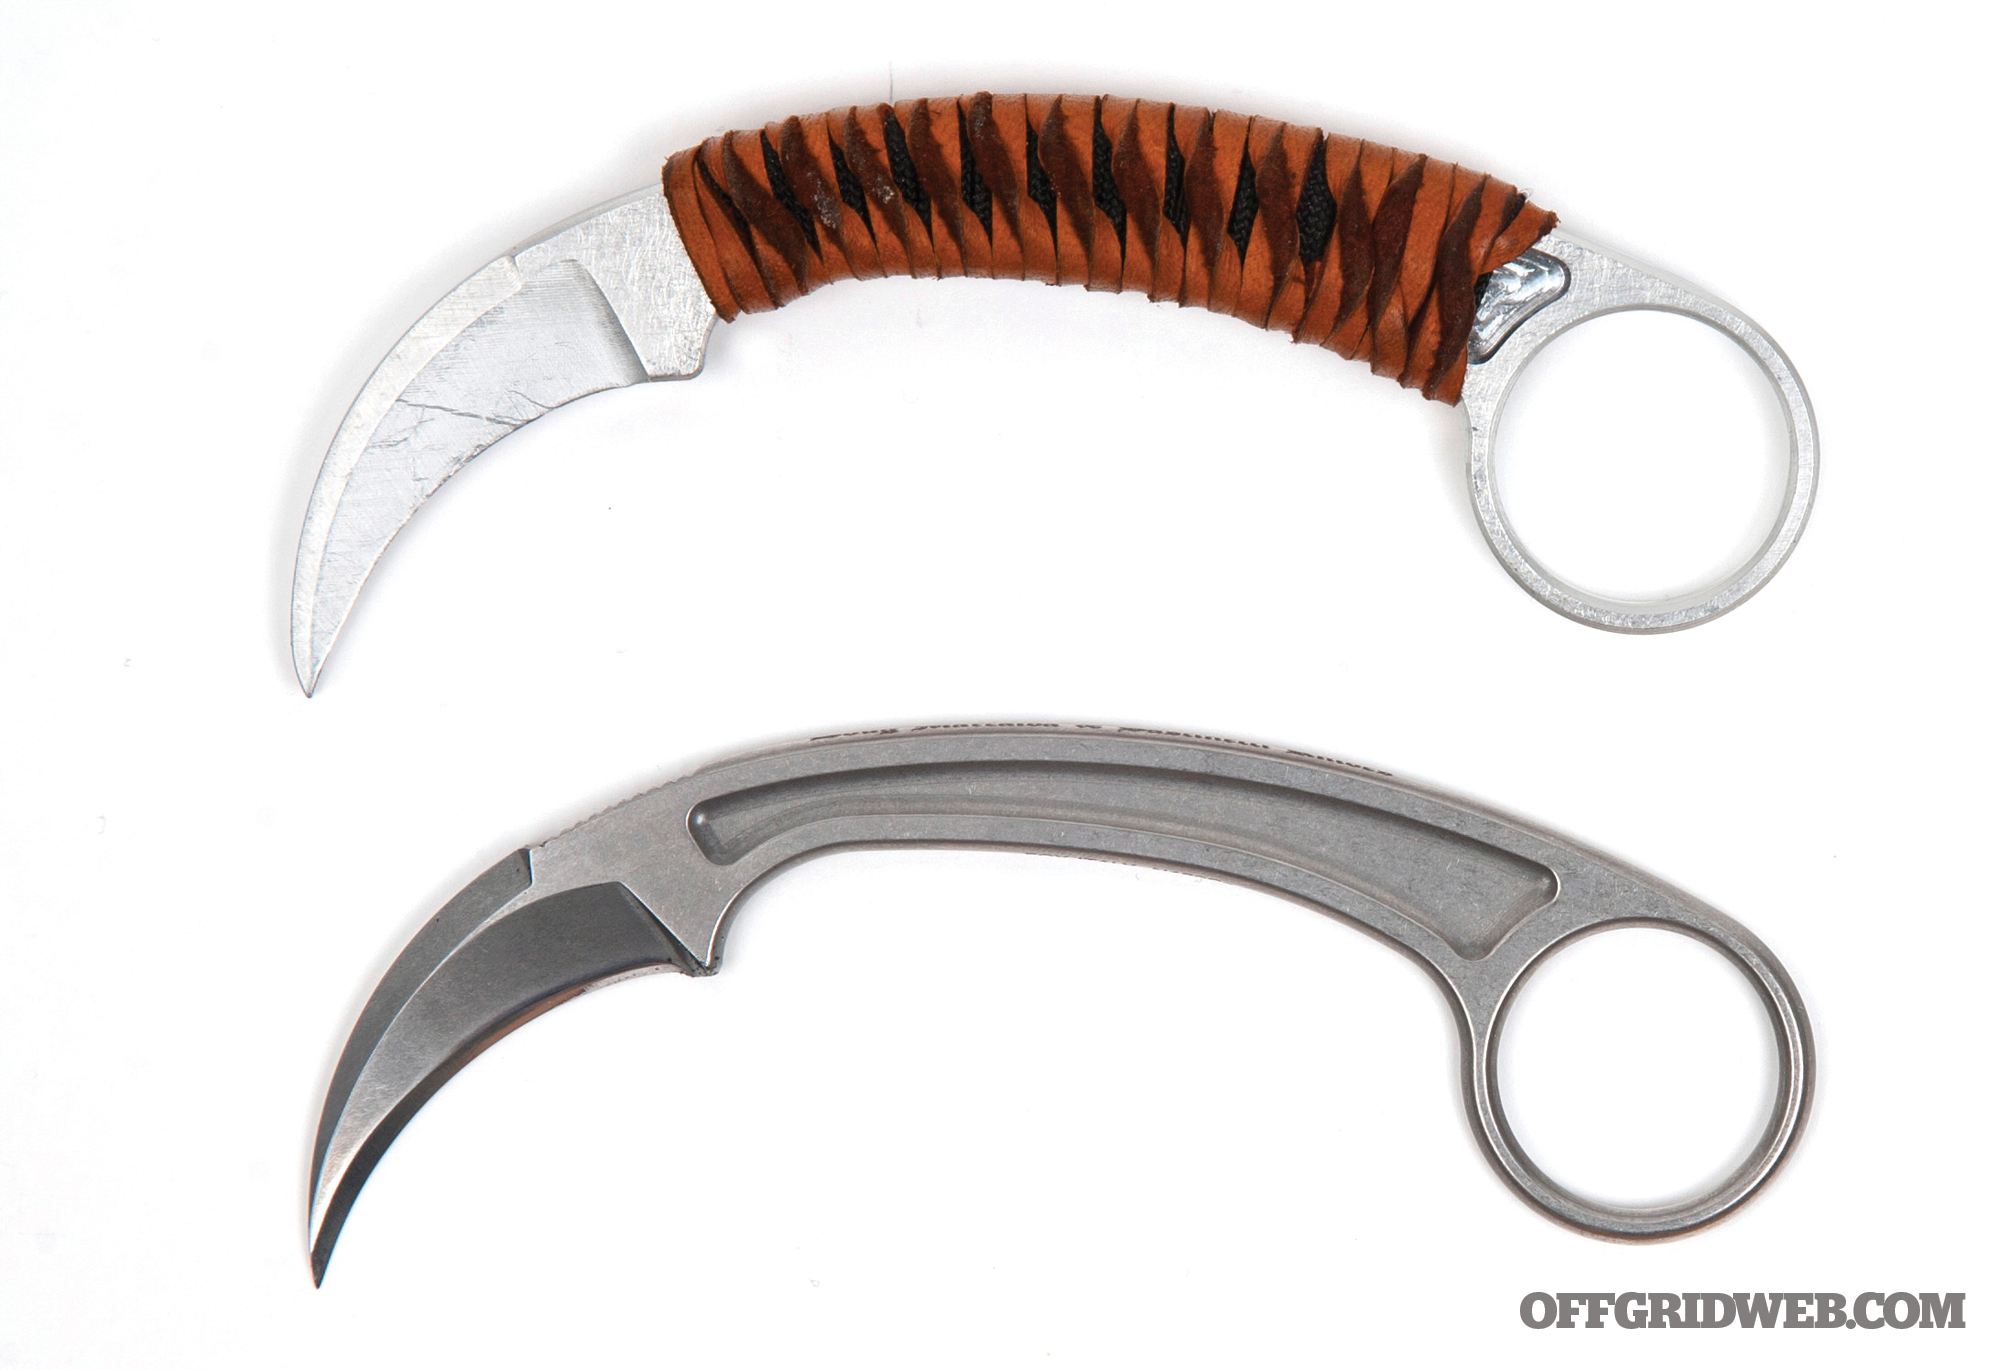
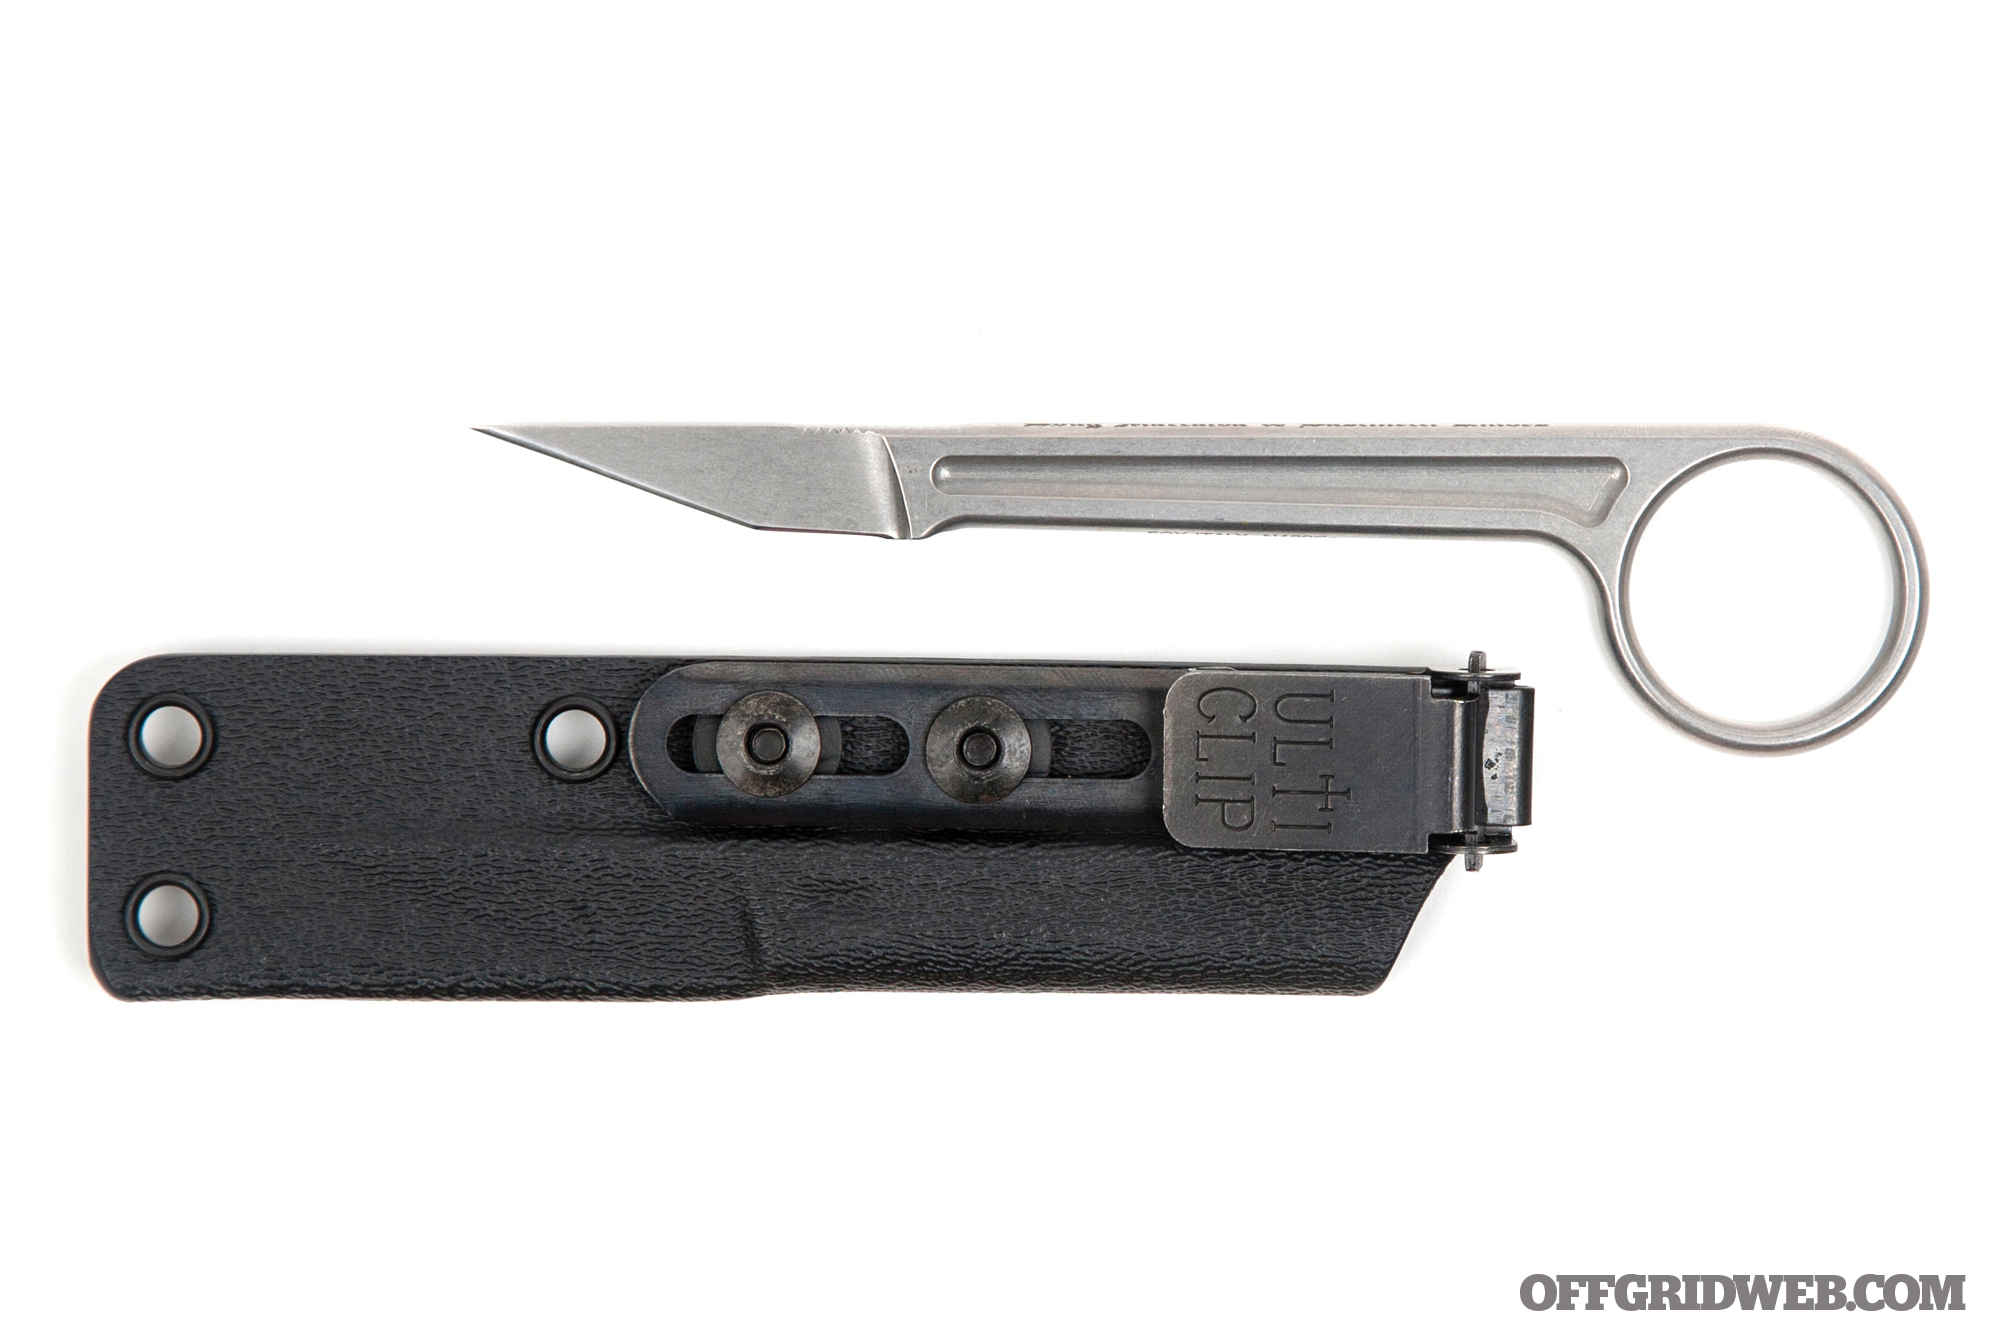
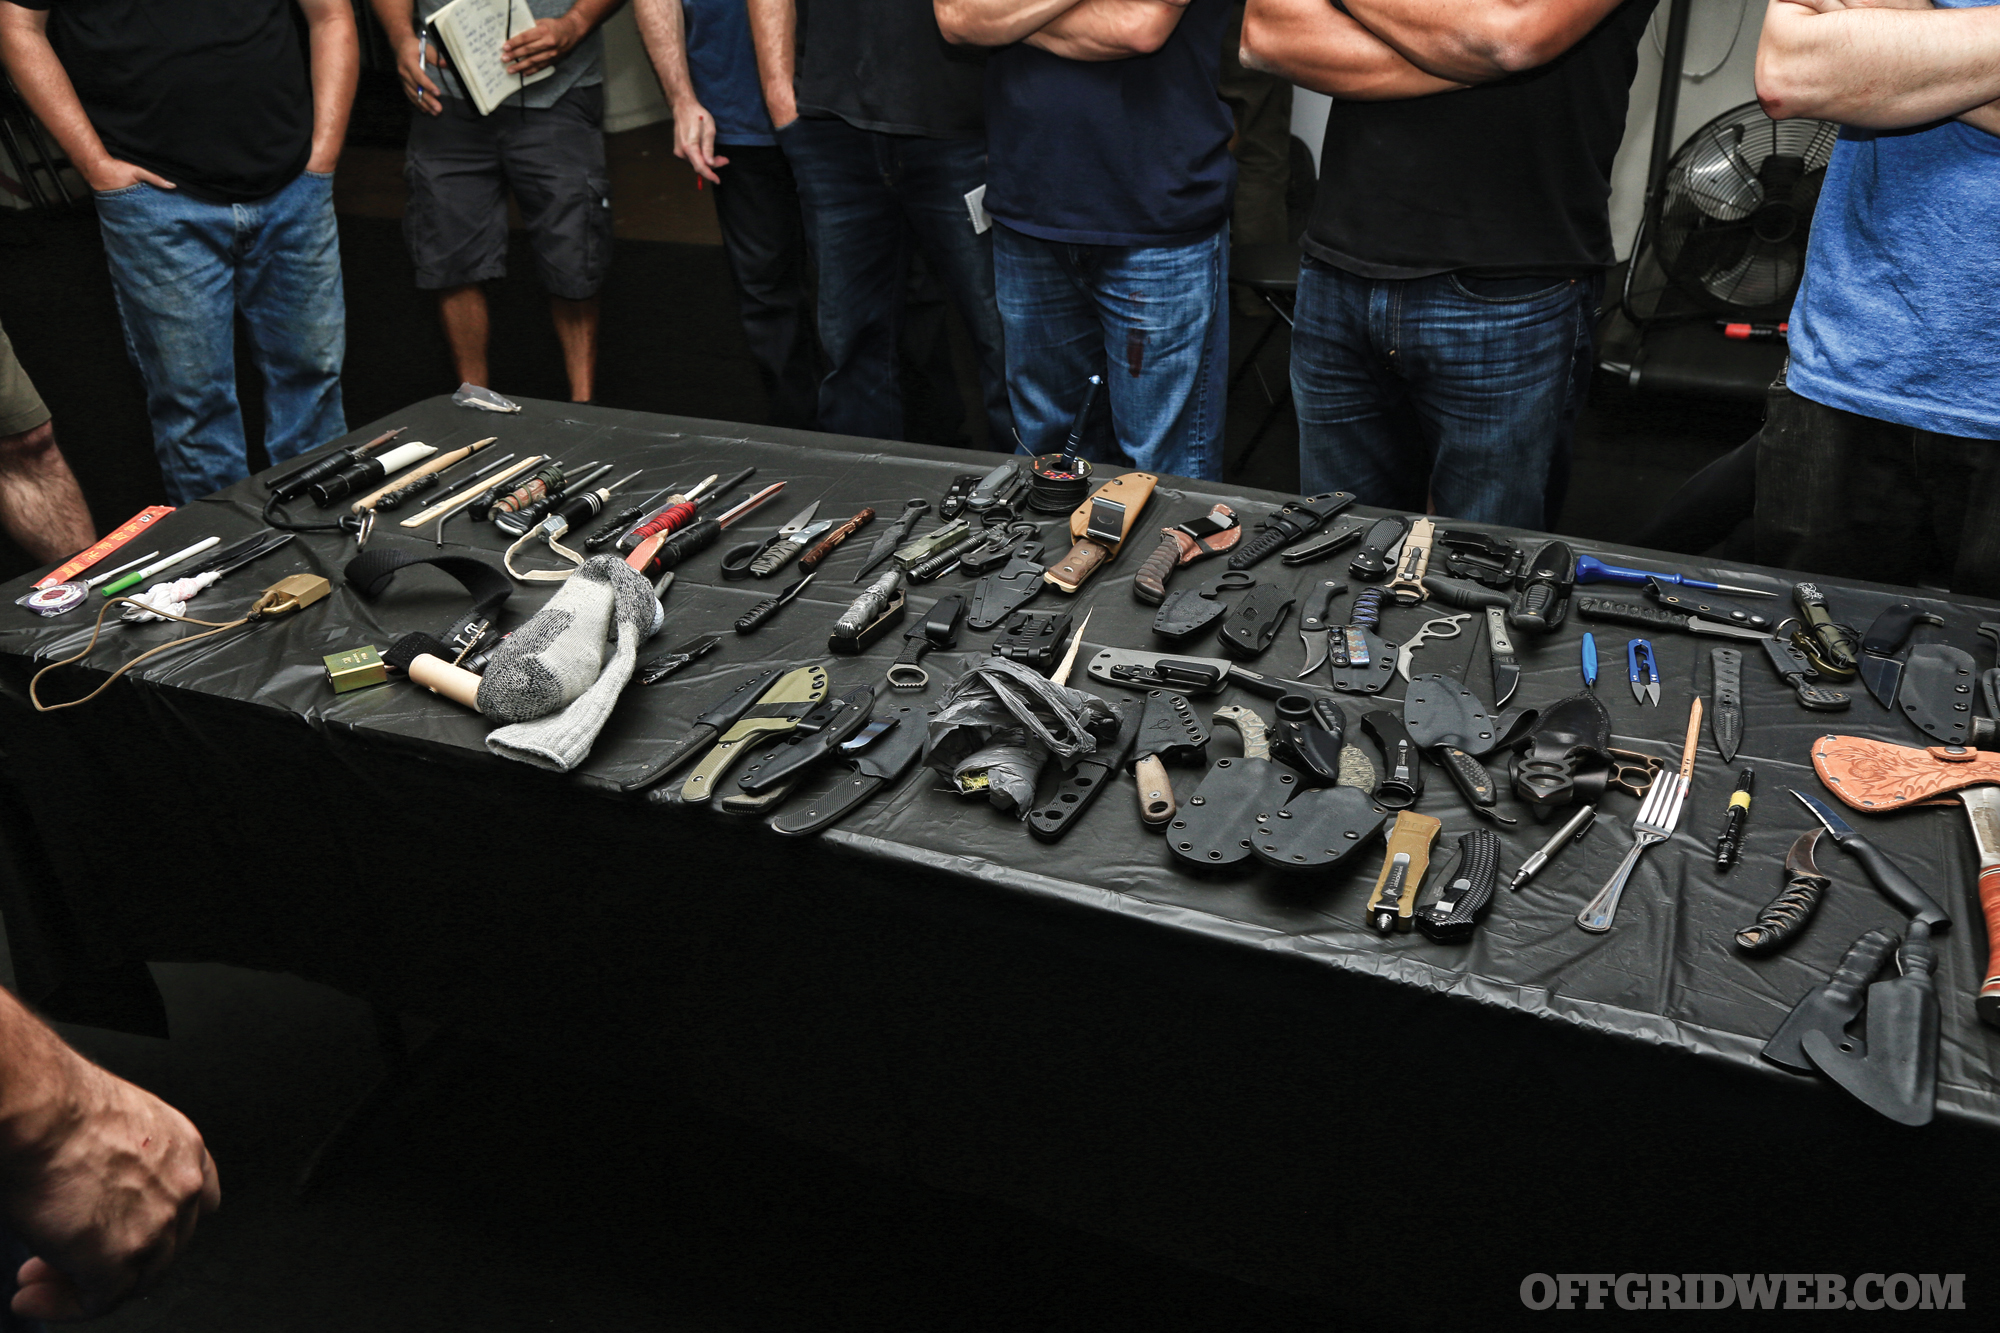 Above: The eclectic and mischievous collection of tools put to the test during Organic Medium Entry.