Editor’s Note: The following article was originally published in Issue 11 of our sister publication CONCEALMENT. For more articles on concealed carry, EDC gear, and tactics, go to RECOILweb.com.
The choice to carry a knife as a means of self-defense brings with it the responsibility of learning how to use it, but just knowing how to do something doesn’t make you good at it. Skill comes from repetition through dedicated training. Attending a couple edged-weapons seminars might give you a base knowledge, but it won’t make you proficient with a blade. You must incorporate that knowledge into a regular training regimen to hone your skills.
The great thing about blade training is it can be done pretty much anywhere. Unlike firearms training, you don’t need a designated training area. You don’t need to worry about noise and backstops, and your neighbors aren’t likely to call the police if you do it in the backyard.

The greatest challenge with solo blade training is knowing where to start. Once you know how to train on your own, the possibilities become endless. The information presented here will give you some good starting points to help you develop a consistent solo training program that will sharpen your edged-weapons skills.
Shadow Shanking
Shadow shanking is the edged-weapon equivalent of shadow boxing, with a little urban slang mixed in. It’s the act of fighting with an imaginary opponent to develop technique, timing, lines of motion, and muscle memory. It’s one of the most useful training methods for learning and training basic movements and movement patterns. There are a few different ways to implement shadow shanking into your training regimen.
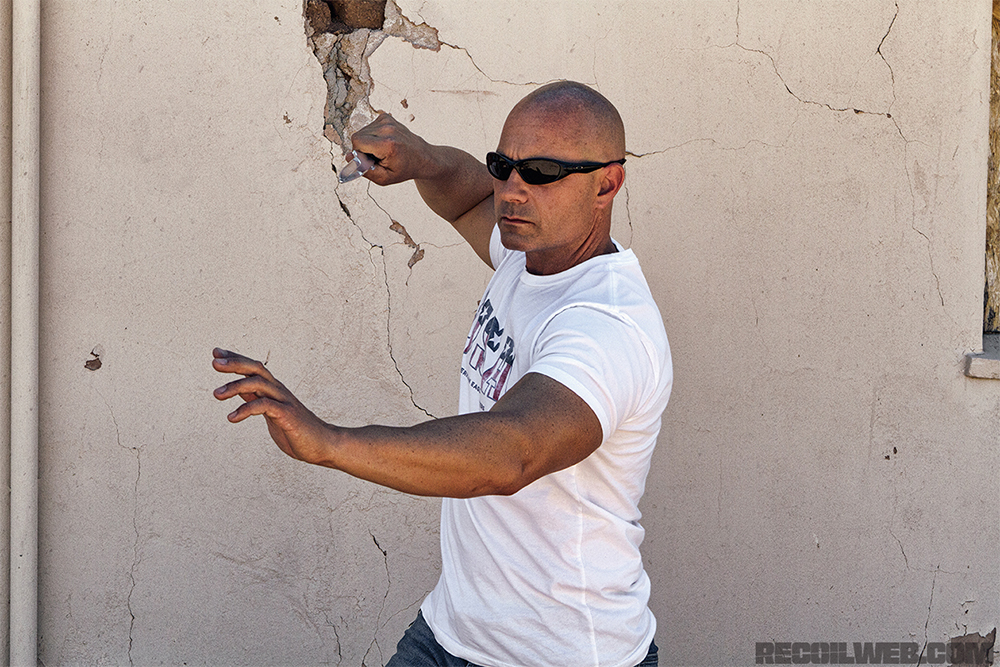
Above: Shadow shanking is the edged-weapon equivalent of shadow boxing. When done with the proper progression and mind-set, it can be a valuable training tool.
Working the Basics
This is how you build your foundation. The best way to set this up is to stand in front of a mirror and watch yourself perform the movements. You might also want to draw a large asterisk on the mirror with lipstick or a grease pencil to give you a visual reference for the various angles of attack. You can then follow these lines with your blade.
We tend to be very unaware of ourselves. Seeing yourself moving in a mirror helps you develop a mind-body connection. It’s the reason gyms and martial arts schools are covered in mirrors. Use the mirror to correct flaws and solidify proper technique until your body knows what the right motion feels like. Go back to the mirror frequently to reinforce proper technique.
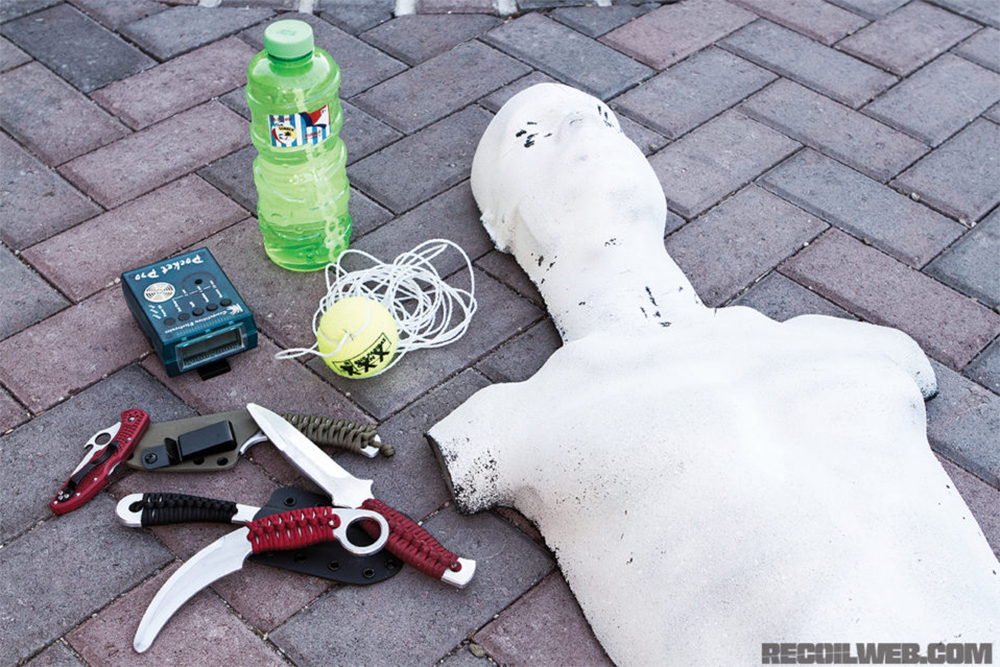
Above: Some solo training tools pictured here include aluminum training blades, a shot timer, a tennis ball on a string, bubbles, and a Rubber Dummies 3D Silhouette Target.
Free Flow
Another form of shadow shanking is free flow. This is where you develop your ability to flow from one cut or thrust to another using the most efficient path for each angle of attack. Start with preset combinations to engrain paths of motion into your central nervous system. As those combinations become more fluid, you can begin linking the lines between various combinations until you’re able to free flow without thinking.
The Ghost
Visualization is the key to fighting the ghost, a cool name for an imaginary opponent. To fight the ghost, you have to imagine an opponent as vividly as possible, seeing his every move through your mind’s eye. Visualize his attacks and react to them using footwork, evasions, defenses, interceptions, and counters. Imagine how he’s reacting to your movements and respond accordingly. This variation of shadow shanking is the most challenging, but the benefits you reap from it are invaluable.
The Training Post
The training post is one of the oldest and simplest combat training tools known to man. Historically known as a pell, this solid wooden post was used to practice striking, cutting, and thrusting with the sword, shield, and spear. It was the ancient swordsman’s equivalent of a boxer’s heavy bag, and its use is recorded in historical documents dating back to the 1st century.
The training post is a vital piece of solo training equipment. Delivering cuts and thrusts against the air is great for developing basic technique, but the resistance of a solid target is necessary for conditioning the mind and body for impact. Just like a heavy bag, using the training post will strengthen your muscles and increase connective tissue resilience. Striking a solid post will challenge your grip and expose weaknesses in your technique.
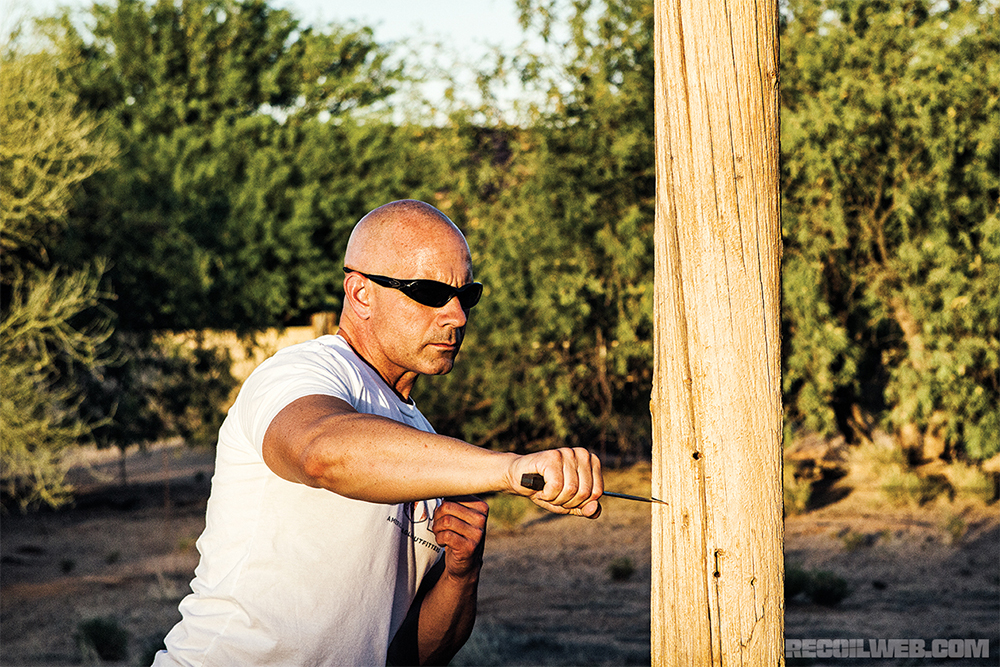
Above: Historically known as the pell, the training post is the ancient swordsman’s equivalent of a boxer’s heavy bag.
Training on a post requires very little logistics. A 6-foot pole with a sturdy base is all you need. A solid, dead tree can work just as well. It’s also a good idea to add some target markings like lines and circles to aid with working your cutting angles and thrusting accuracy.
Proper safety precautions are necessary when working the post. Wear safety glasses to protect your eyes from flying pieces of wood. If you’re going to use a live blade, it’s a good idea to wear Kevlar-lined gloves to protect your hand in case it rides onto the blade during a thrust, especially if your blade doesn’t have a substantial guard.
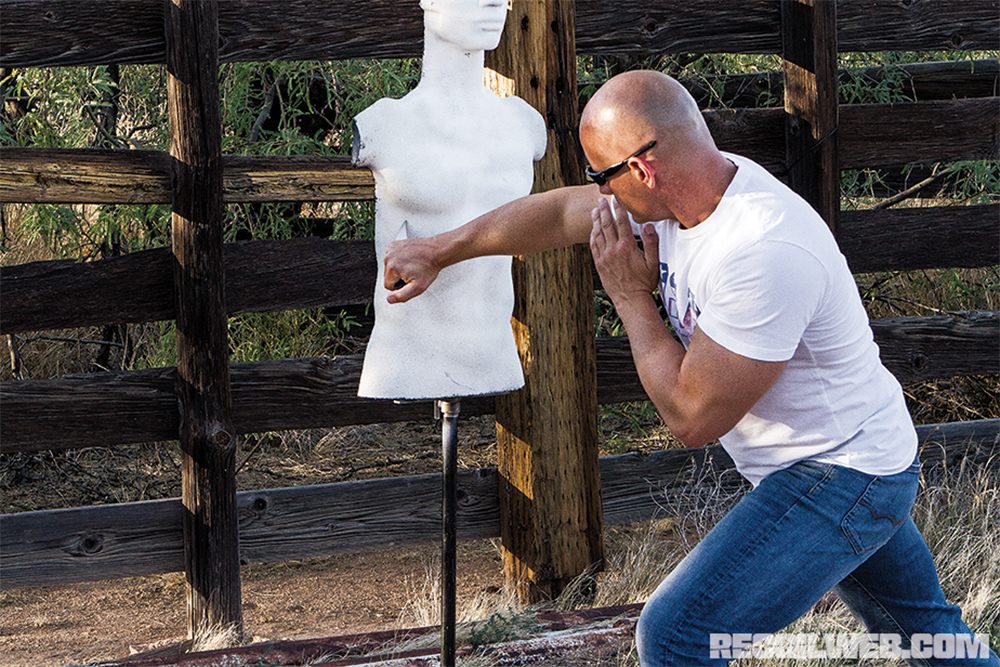
Your Best Buddy “BOB”
Century’s Body Opponent Bag is one of the most useful combatives training devices available. The vinyl skinned, lifelike mannequin provides all the shapes and contours of a human head and torso, making for a realistic, target-rich training environment. BOB isn’t very practical for live-blade training, at least not if you want to keep him around for a while. A synthetic or aluminum training blade, or a homemade “stubby” (knife-shaped, hard foam cutout wrapped in electrical tape), are your best options for blade work on BOB.
When training on the BOB, focus on targeting and precision. Work the eyes, neck, throat, lungs, and abdomen with various thrusts and cuts. It’s easy to forget you have two hands during weapons training, so take advantage of the liveliness of the BOB and emphasize the use of both hands by incorporating empty-hand strikes, checks, and grabs with your live hand (the hand not holding the blade). Move around the mannequin and work as many angles as possible.
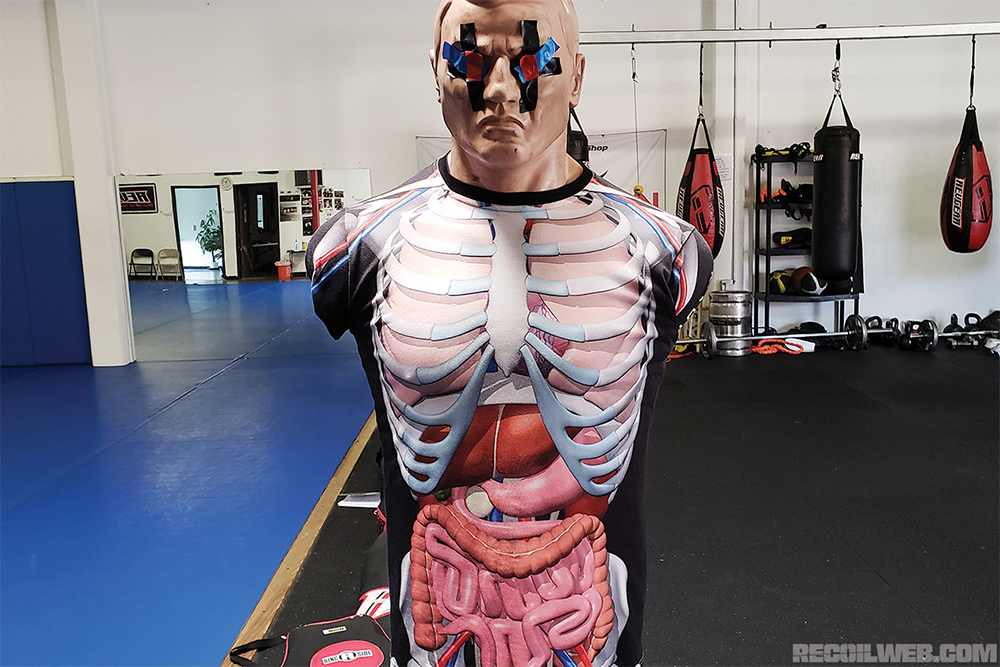
Above: The Body Opponent Bag is one of the most useful combatives training tools. Shown here with the Dionisio Zapatero anatomical rash guard for vital target identification.
Another way to up your game on the BOB is with anatomical drilling. This form of training involves the use of a Dionisio Zapatero anatomical rash guard in conjunction with the BOB. The purpose is to identify the anatomical location of vital targets on the body in order to increase your ability to recognize target landmarks. This particular method was developed with the input of this author and popularized by Scott Babb in the Libre Fighting System.
Rubber Dummy Mayhem
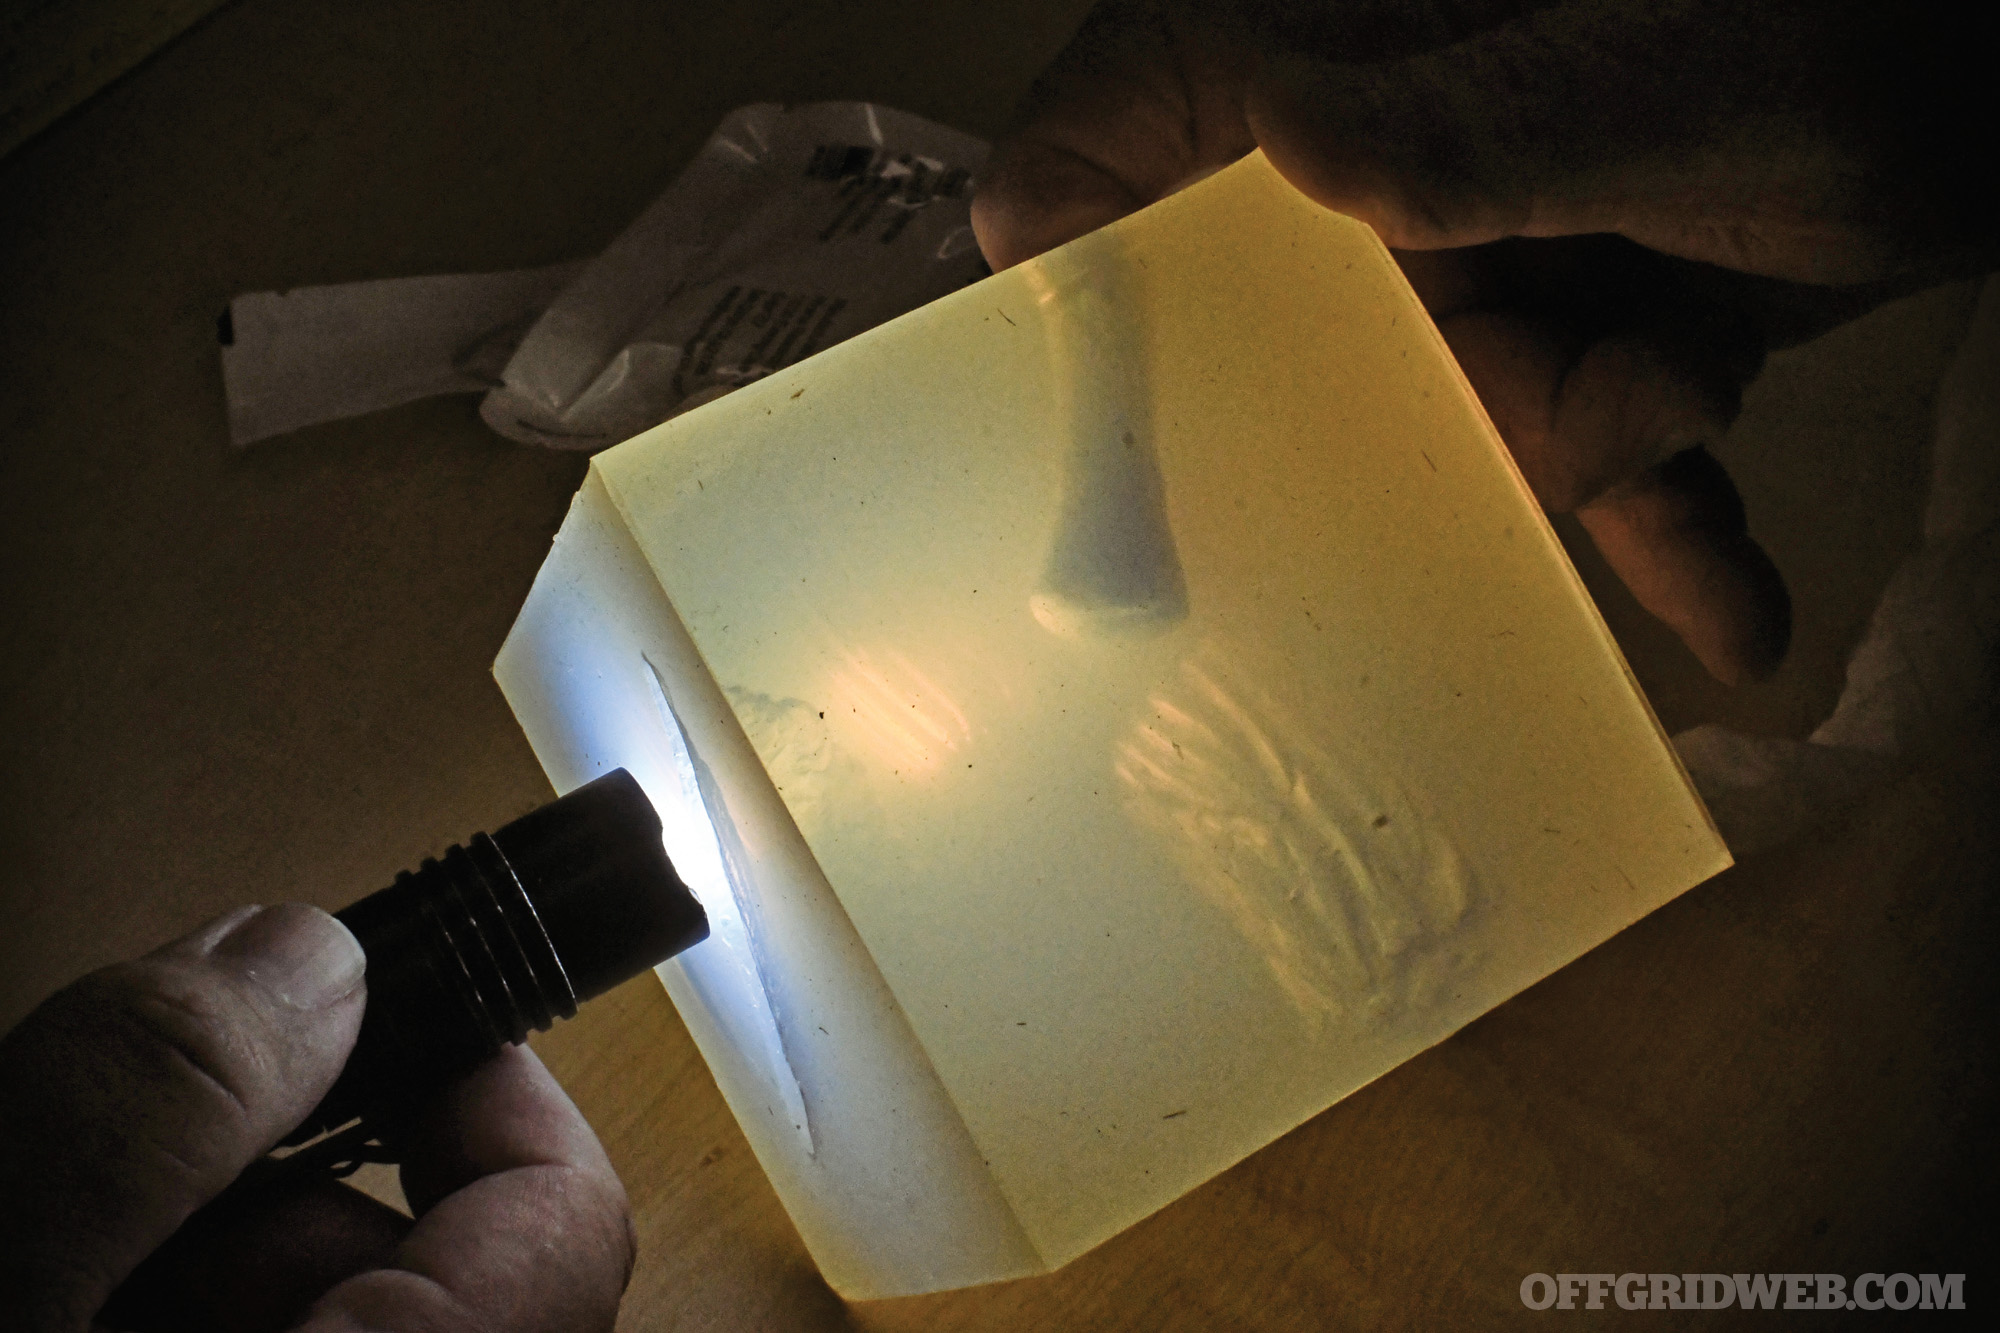
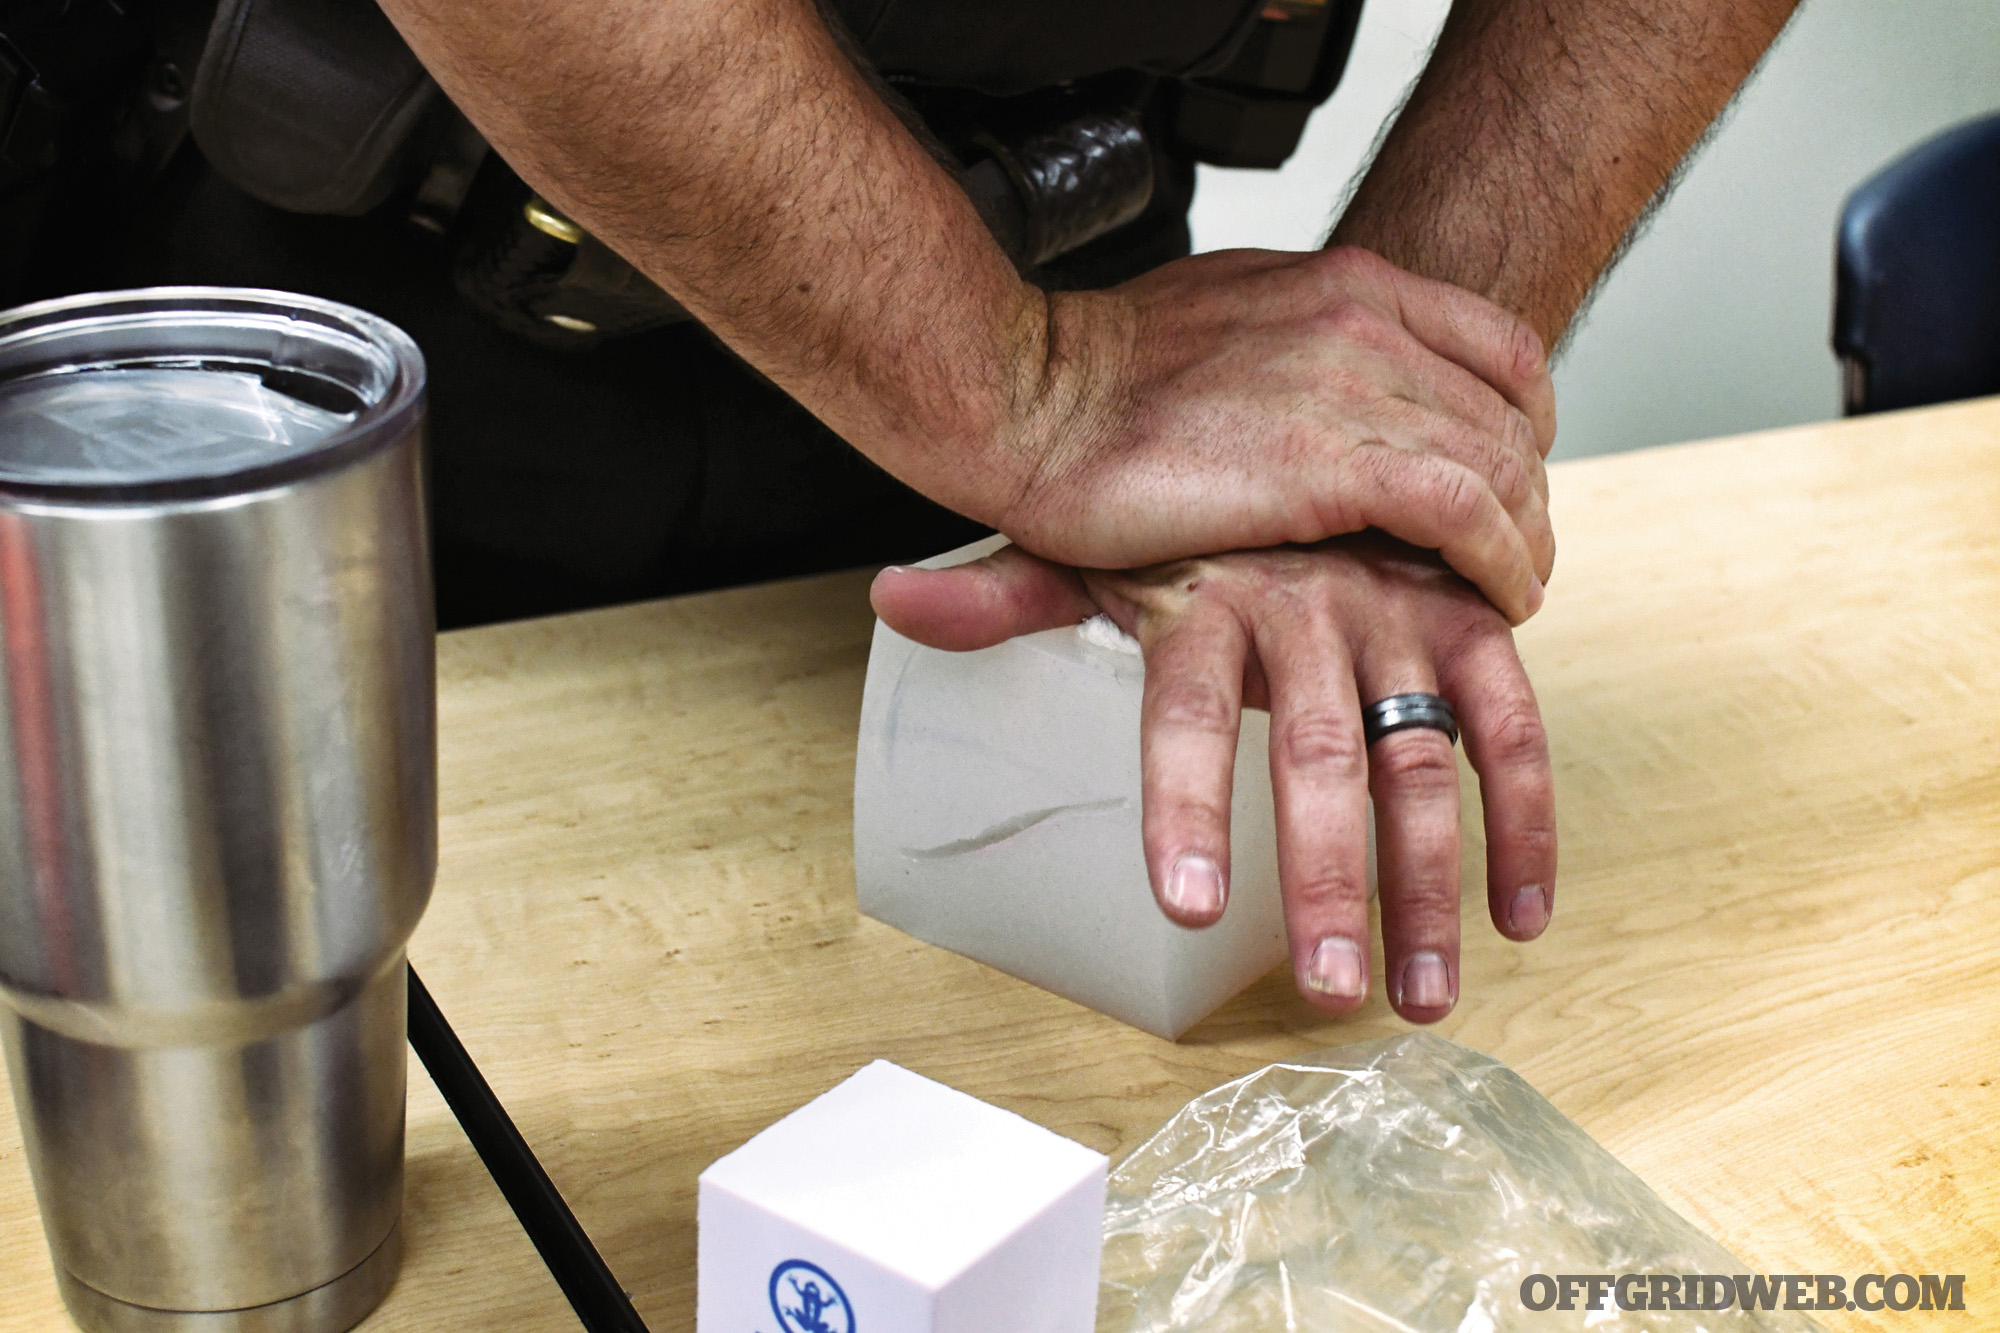
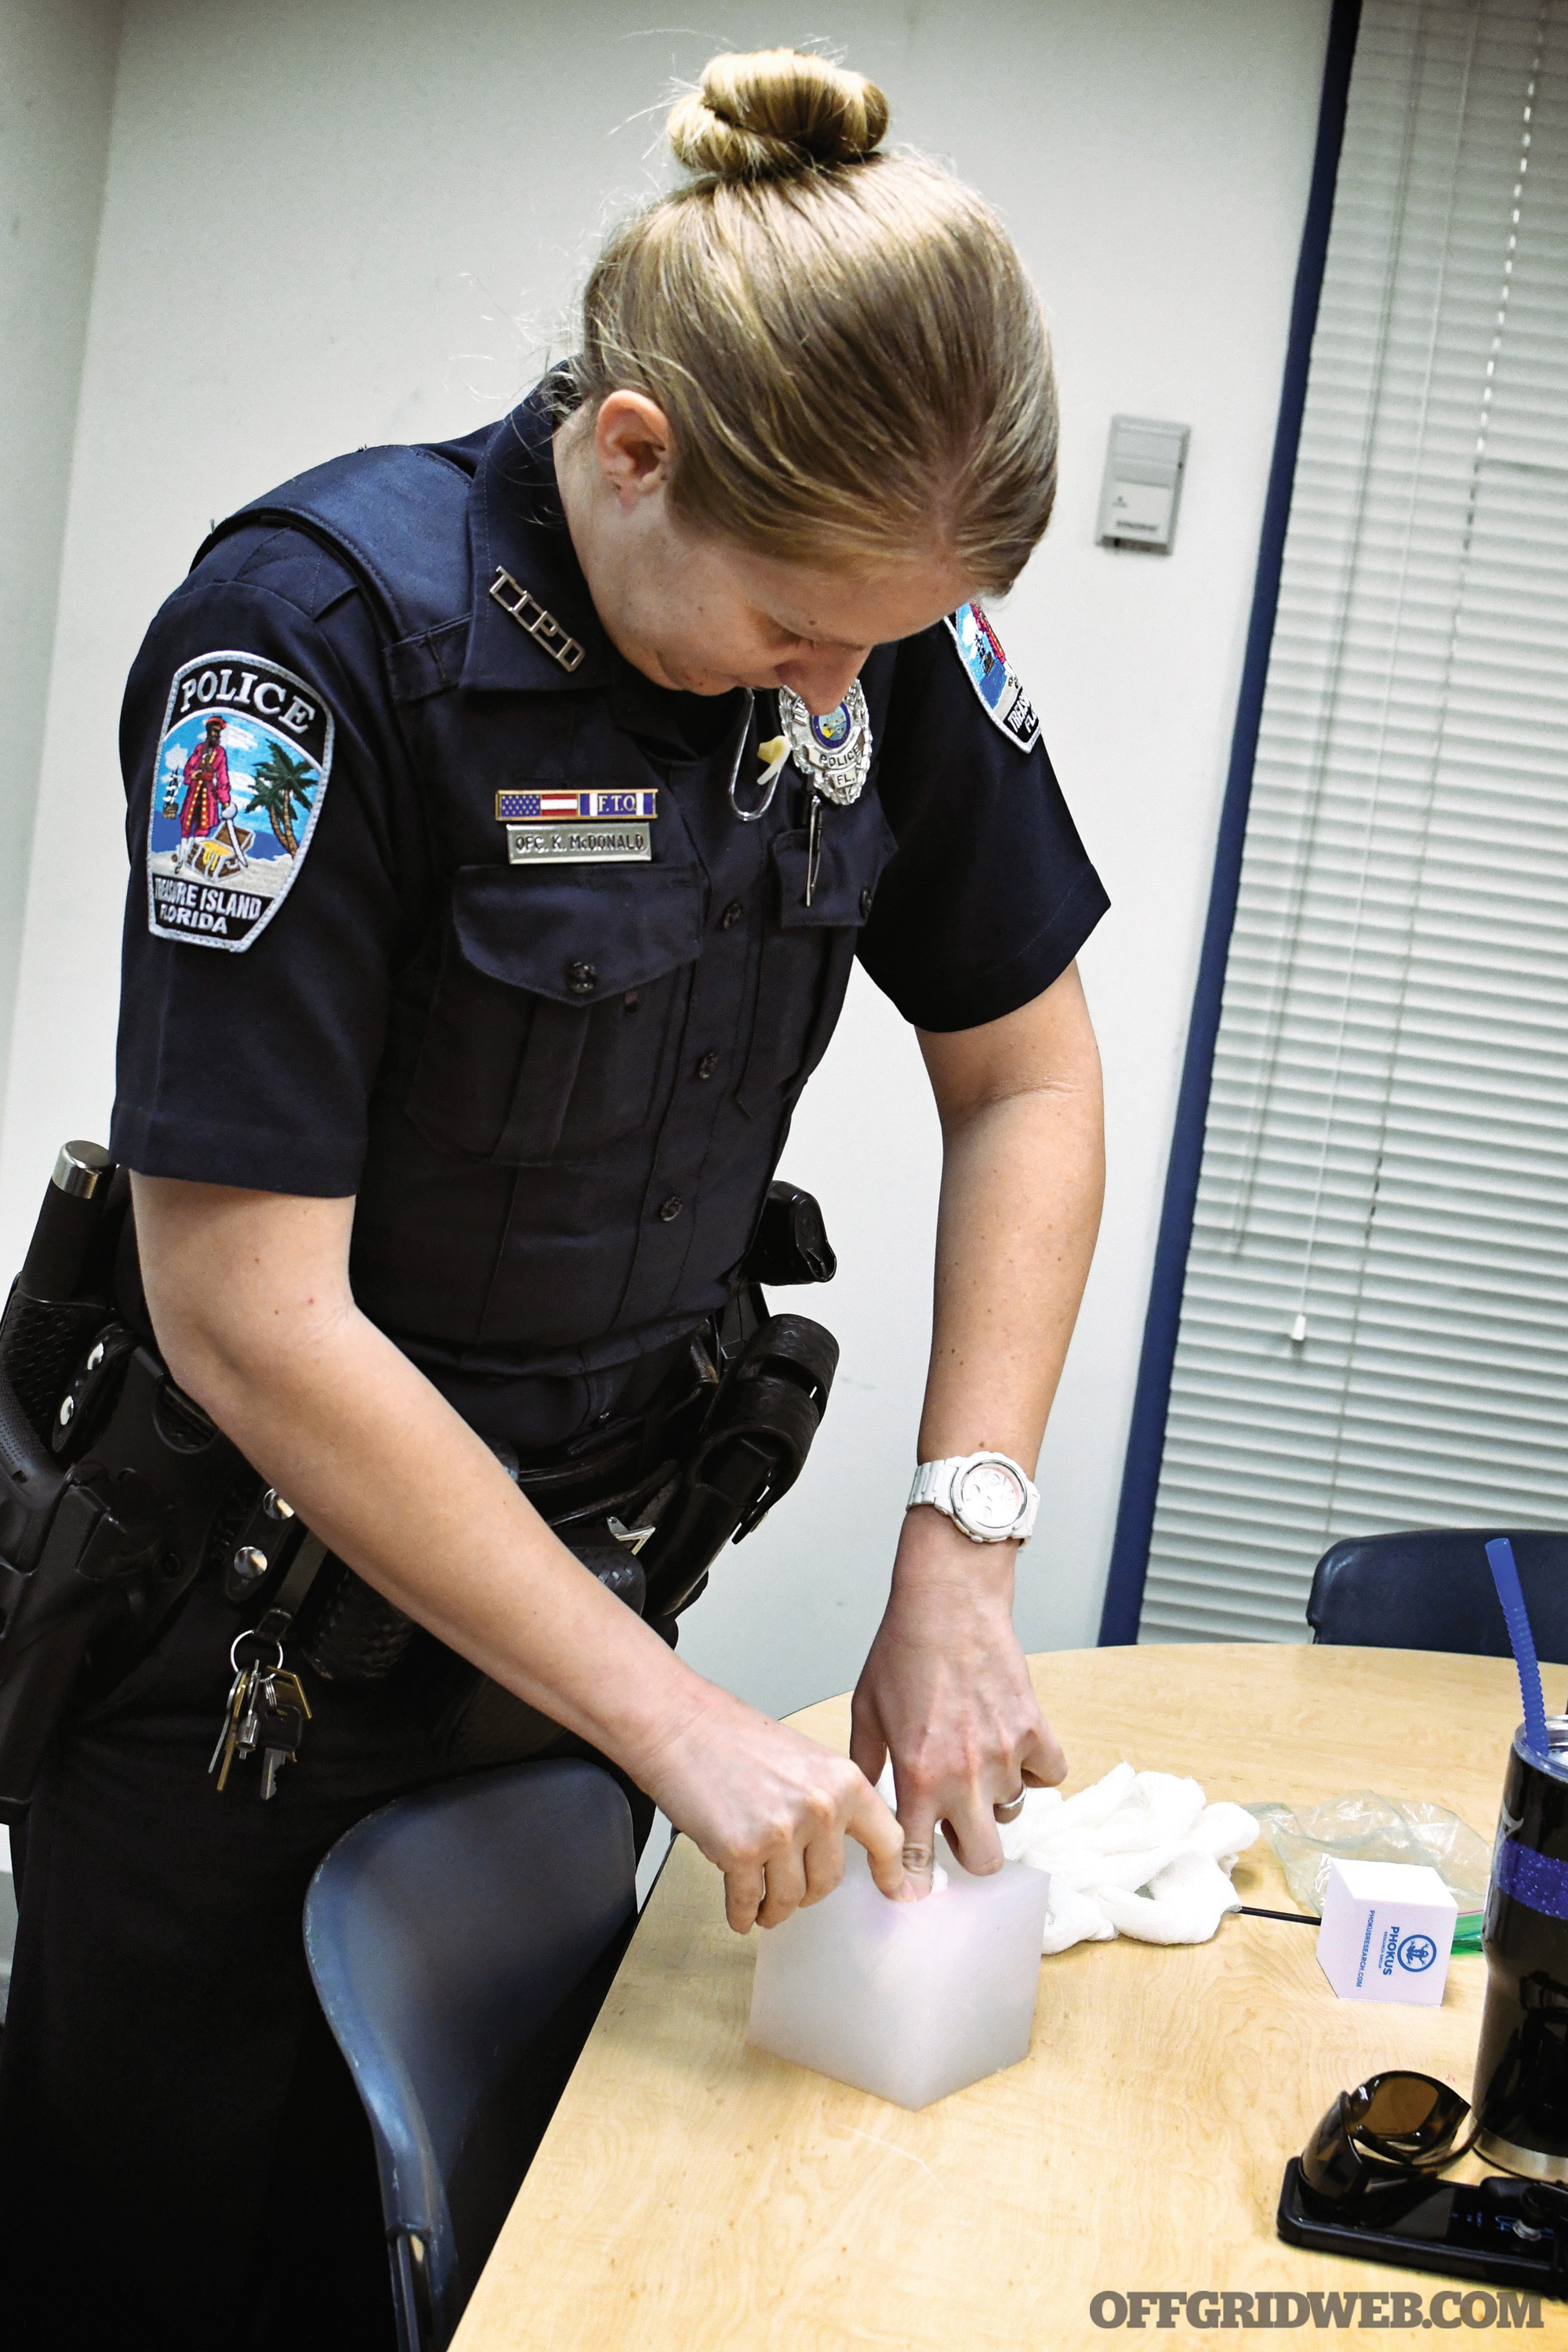
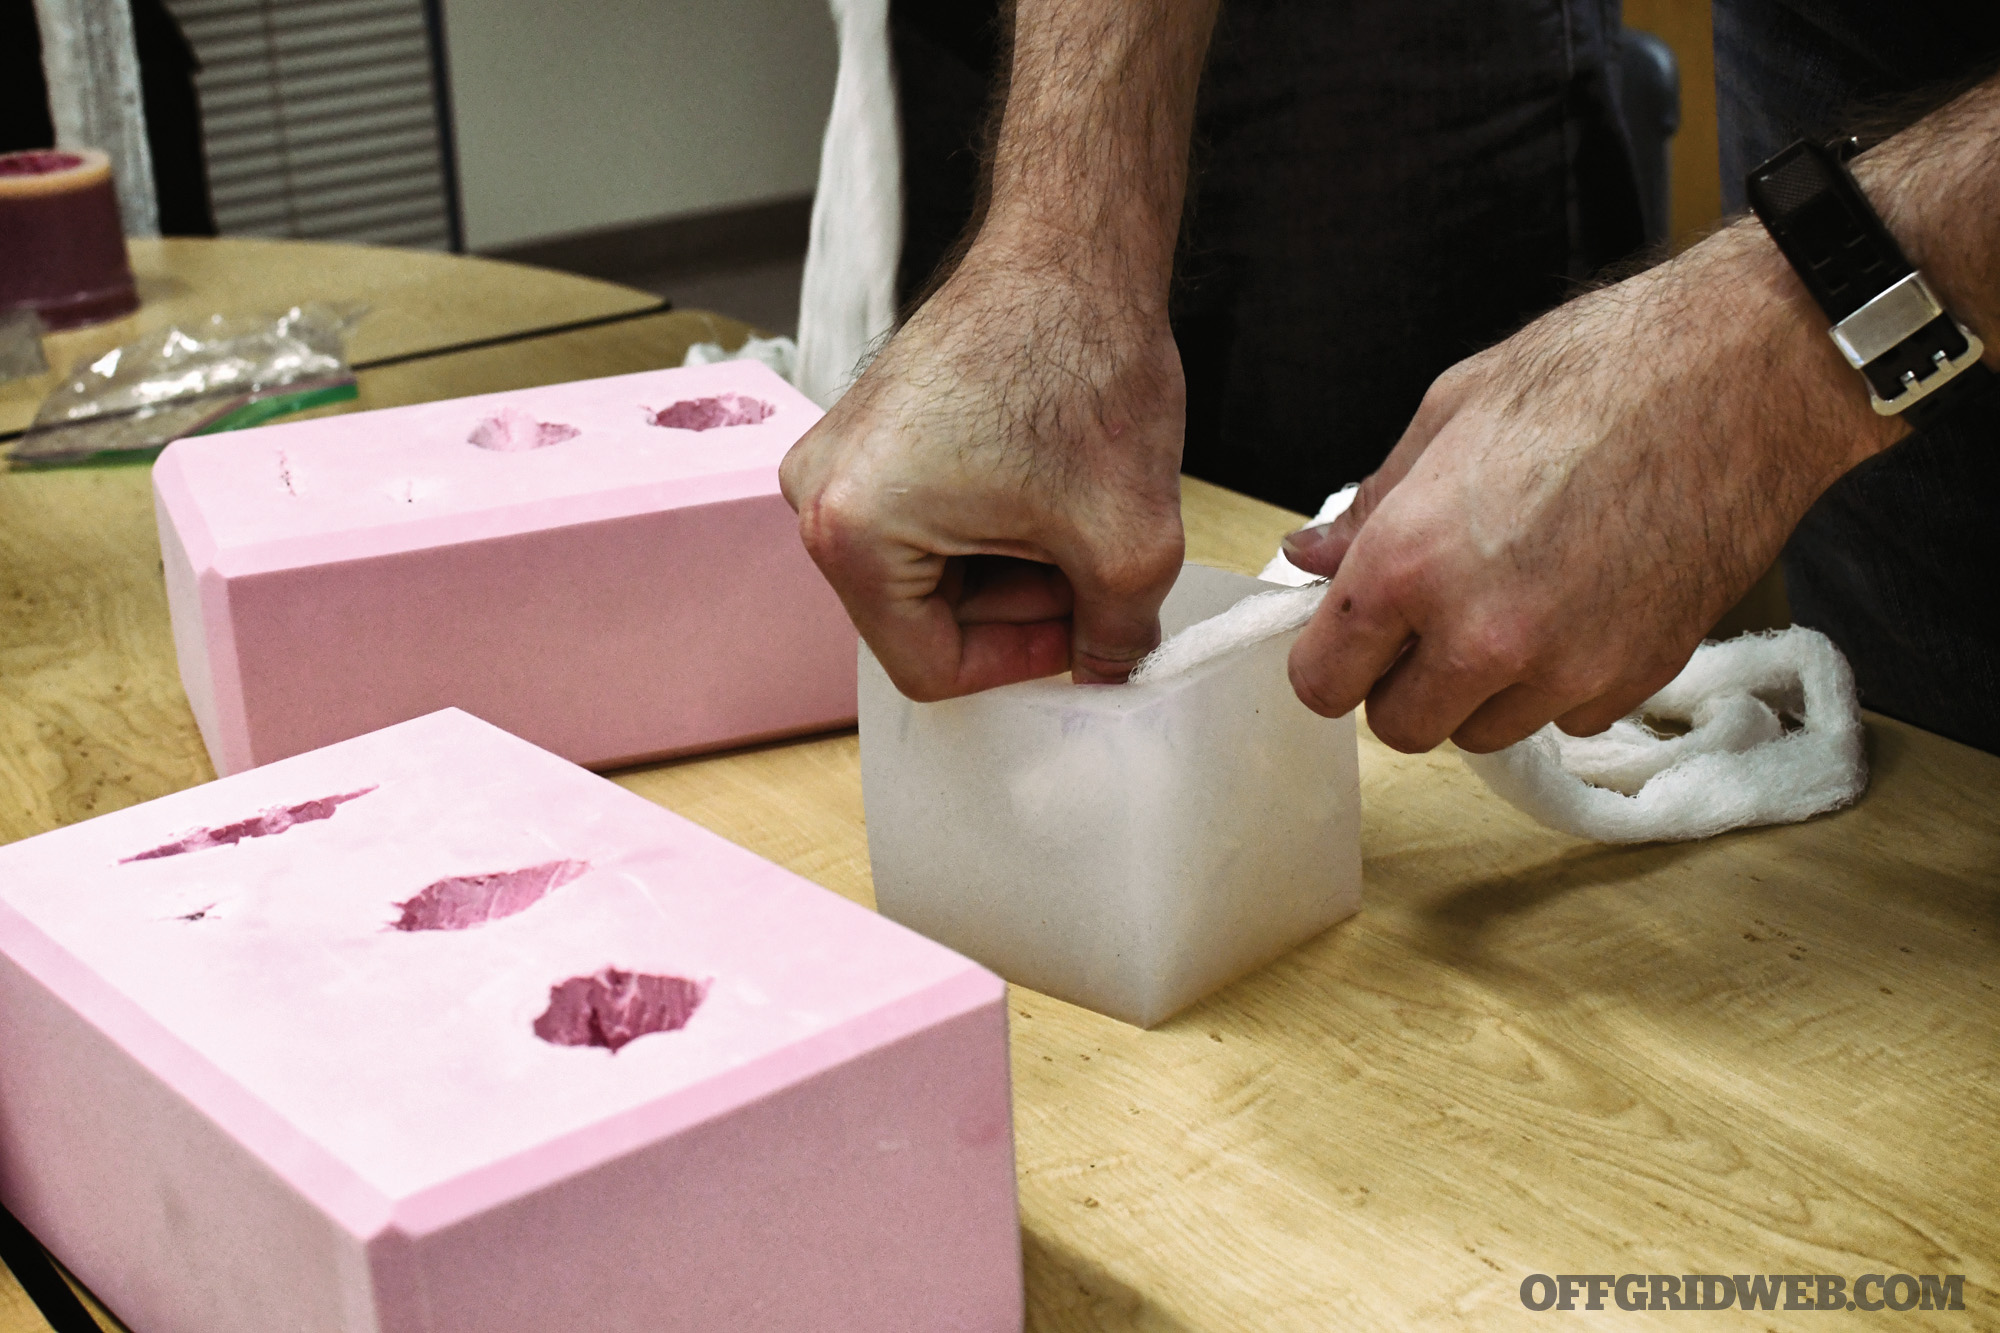
The Rubber Dummies 3D Silhouette Body Target is a self-healing rubber target designed for close-quarters firearms application, but has proven effective for edged weapons training as well. Filipino martial arts practitioners have long employed used automobile tires in various configurations to practice stick and blade combatives.
The Rubber Dummy puts a modern twist on this solo training concept with its three-dimensional human shape and tire-like, hard rubber texture. The Rubber Dummy combines many elements of the training post and the BOB into one training device. The Rubber Dummy can withstand the abuse from a live blade, while offering human target features. Cuts and stabs leave visible markings on the renewable “skin” (applied with spray paint), yielding instant feedback.
Above: The Rubber Dummy combines many elements of the training post and BOB into one device, able to withstand the abuse of a live blade while offering human target features.
Speed Drilling
Speed drilling is a broad category of solo training with many variations. The purpose is to develop speed, efficiency, and accuracy. For solo training, using a programmable shot timer in conjunction with a suitable striking target, such as the ones mentioned above, works extremely well. The idea is to program the shot timer using delayed start and perform the action within a set par-time parameter. Striking a target that makes an audible sound, like a balloon or X-ray paper will signal the shot timer to record the split, letting you see your actual hit time.
Speed drill progression should look something like this: Begin drilling from a ready position with your blade in hand and address the target at the sound of the beep. Then, perform the drill from a neutral position with the blade in hand. Next, deploy the blade from its carry location and engage from a ready position. Finally, deploy and engage from a neutral position.
Speed drilling with the aid of a shot timer adds stress and challenges you to leave your comfort zone. It pushes you to the edge of failure, so you can recognize how fast you can move without compromising your accuracy or control of your weapon. Always use training blades for these types of drills.
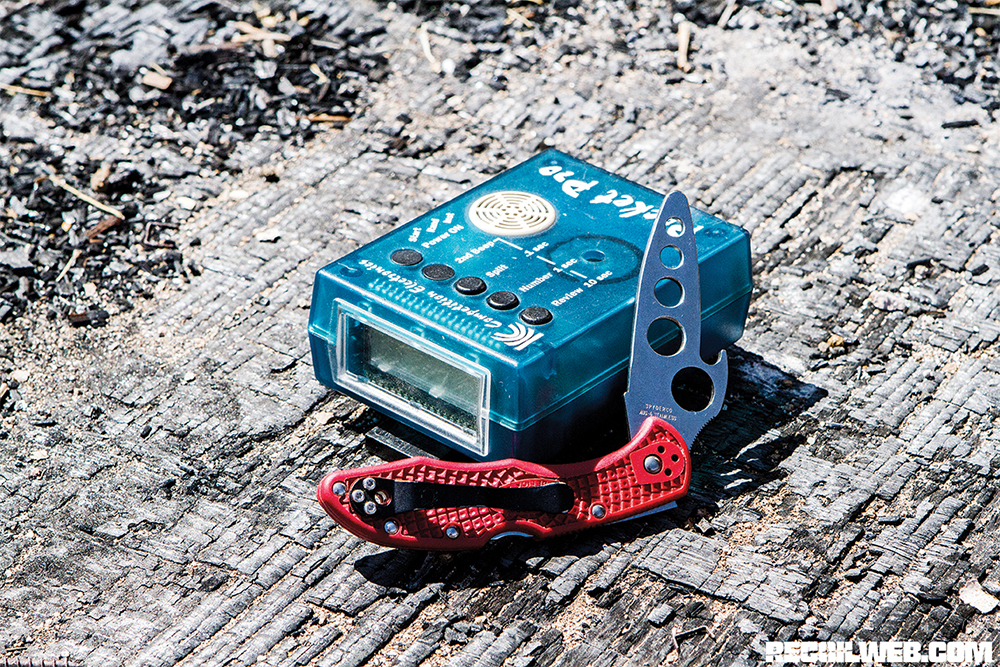
Above: A programmable shot timer and a quality training blade are excellent tools for developing speed and accuracy.
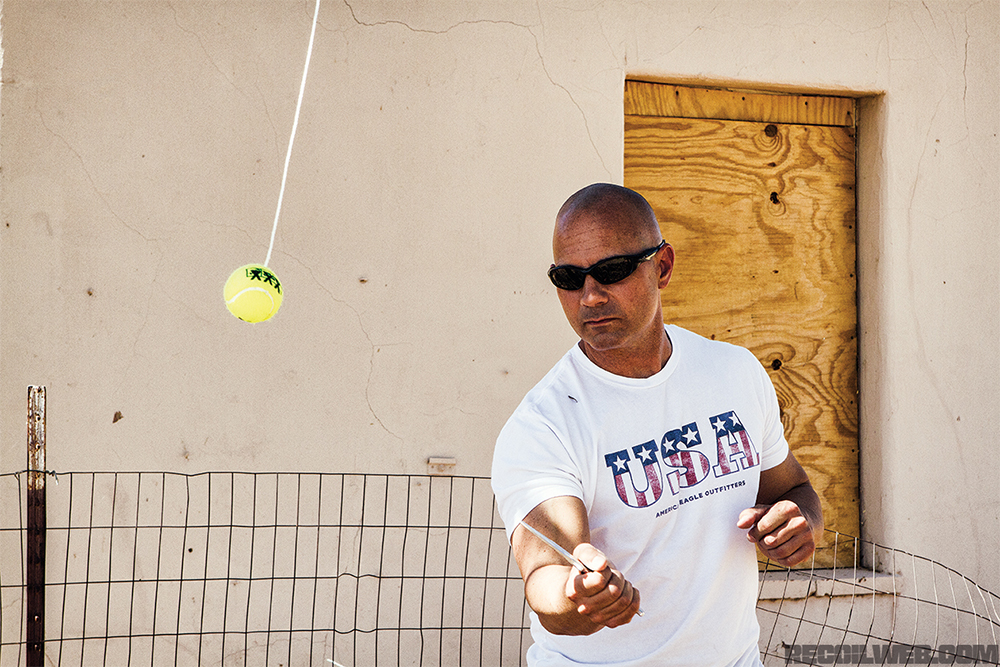
Ball on a String
Striking a simple ball on a free-hanging string can be one of the most challenging solo drills for edged-weapons training, and it’s also one of the cheapest and easiest tools to set up. Attach a ball to a string and hang it up — that’s it. The weight and size of the ball and the length of the string are variables you can vary to change the level of difficulty. Let the ball swing freely and work your cutting and thrusting angles as the ball swings toward you. Don’t forget to include footwork. That’s about all there is to this simple but effective drill.
Bubble Buster
Who hasn’t at some point in their life run around poking bubbles out of the air with their finger? It was fun when you were a kid, and it’s even more fun with a knife. Borrow your kid’s bubble machine and go to town. You’ll have random targets floating all around you, so you’ll have to move up and down, side to side, back and forth, and turn around. If a bubble hits you, it means you’ve been tagged, so keep moving and pop them before they land on you. The one caveat is you have to be precise with your blade, no wild swinging or flailing about.
Putting it All Together
The less effort involved in setting up a training drill, the more likely we are to do it, especially when we’re limited on time. The training tools and drills presented here take very little effort to set up. Most can be left in place wherever you set them up, meaning you can quickly visit them and get in some quality repetitions within 5 or 10 minutes. Practice makes permanent, so focus on getting quality repetitions.
Physical preparation is only half the equation when it comes to any deadly force issue. Mental preparation is just as important, if not more so. You must train your mind to deal with the emotional trauma that comes with a violent physical assault. Rather than mindlessly performing countless repetitions, consider incorporating visualization into your solo training. Work through various attack/response scenarios in your mind as you do your drills. This will help prepare you to perform under stress and reduce the likelihood that you’ll freeze during a violent encounter.
Training Resource Links
About the Author
Chad McBroom is a 21-year veteran law enforcement officer with most of his time spent in the tactical unit. He has spent over 30 years studying various combative systems and focuses on the science of close combat. Chad is the owner of Comprehensive Fighting Systems, and offers training in empty-hand tactics, edged weapons, impact weapons, and firearms tactics.
comprehensivefightingsystems.com