Print Back Issues Print issues of our magazine are only available for a limited time on shelves and newsstands. Individual copies of recent issues can be purchased on our web store, but once all the available copies of an issue are sold, that issue will be removed from the store. So, if you missed an issue on the newsstands, get it online while you still can.
Digital Back Issues Although print issues are only available while supplies last, digital versions are always available for purchase. Every single issue of RECOIL OFFGRID is available in digital form, with all content from cover to cover, exactly as you’d see it in print. You can view these digital copies of the magazine on almost any electronic device:
If you’ve got an iPad or tablet, it’s a great way to carry all your OFFGRID issues.
Zinio: cross-platform app for most devices, including PC and Mac desktop/laptop computers (recommended if you want our magazines on all your devices)
Kindle: Amazon Kindle e-readers or Kindle app on smartphones/tablets
Nook: Barnes & Noble Nook e-readers or Nook app on smartphones/tablets
A complete list of these platforms, plus print subscriptions and gift subscriptions, is available here: OFFGRIDweb.com/subscription. If you want to be sure not to miss future issues, a subscription is the way to go.
Looking for a Specific Article? Many (but not all) of our print articles are eventually converted and re-published here on OFFGRIDweb.com. If you’re looking for a specific article you remember reading in print, check the Magazine section here on our web site, or use the search bar. It may be available for free.
Need Assistance with Your Subscription? If you experience any problems with your RECOIL OFFGRID subscription or billing, please contact our customer service team at:
Email: offgrid@gundigestservice.com Phone (in the U.S.): 800-873-7896 Phone (Canada/International): 760-294-6390
Ask an infantry soldier what their most important piece of gear is, and you might be surprised. While a guy fresh out of basic might evoke Full Metal Jacket with a response about his rifle, more often than not an experienced grunt will say that it’s his boots.
The condition of your boots — and subsequently, your feet — will make or break you for any outdoor venture, training excursion, or bug-out situation. You can still fight without a weapon. But if you can’t walk, you’re effectively just another casualty sucking up the team’s attention and supplies.
To find out more we broke in two very different boots: a hunting boot and a tactical duty boot. We also asked a professional footwear designer for his insights on getting the most out of our footwear.
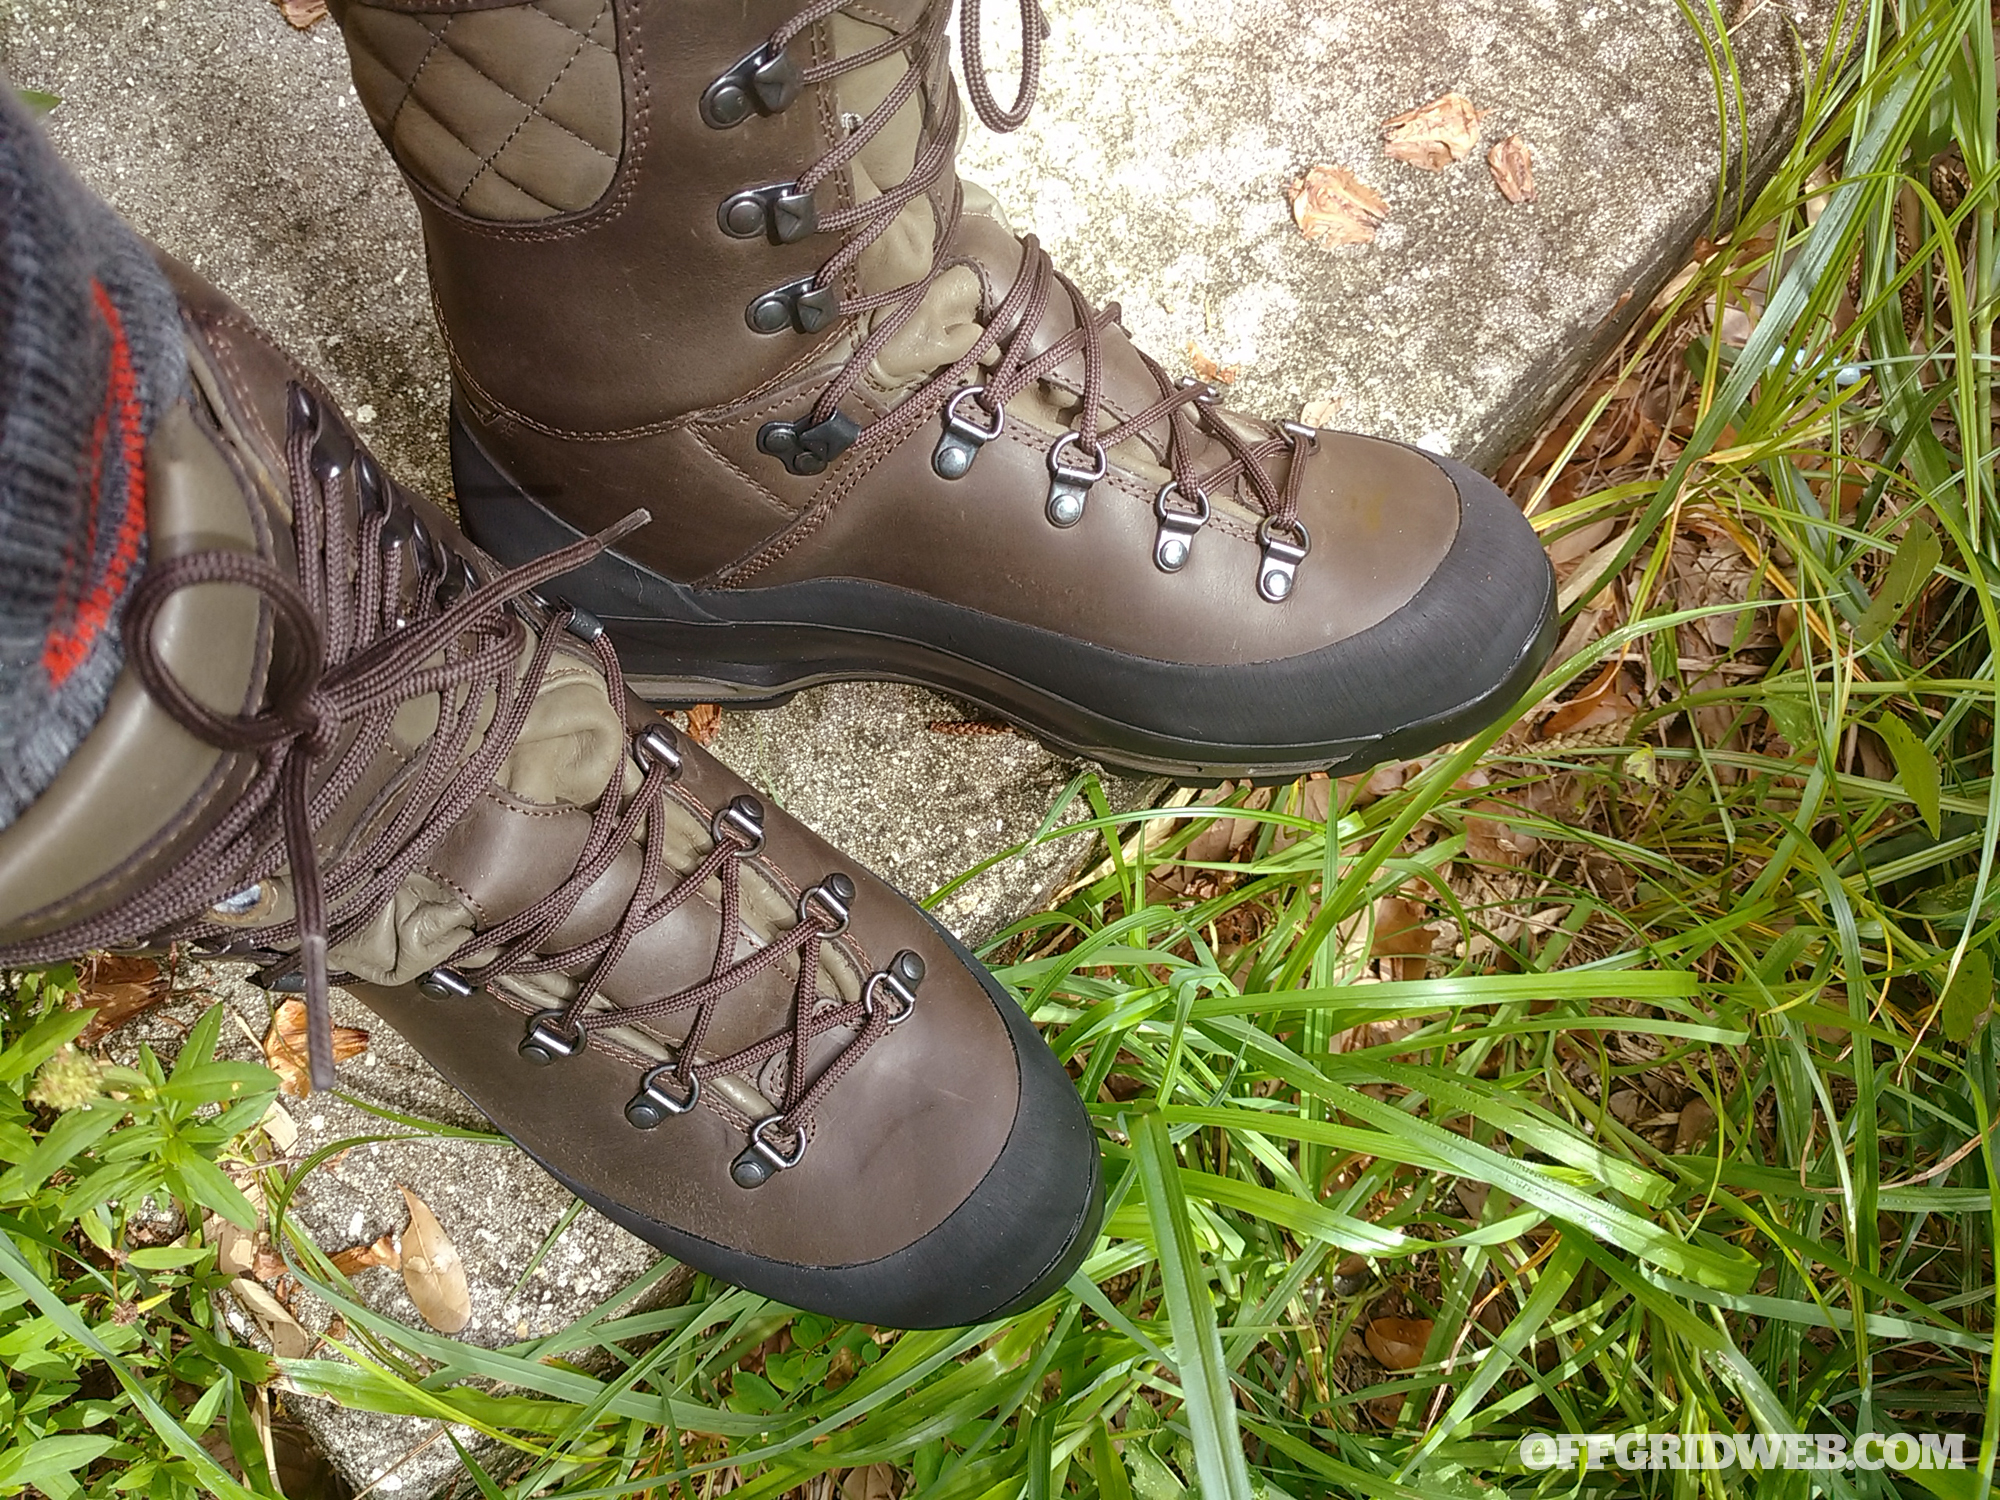
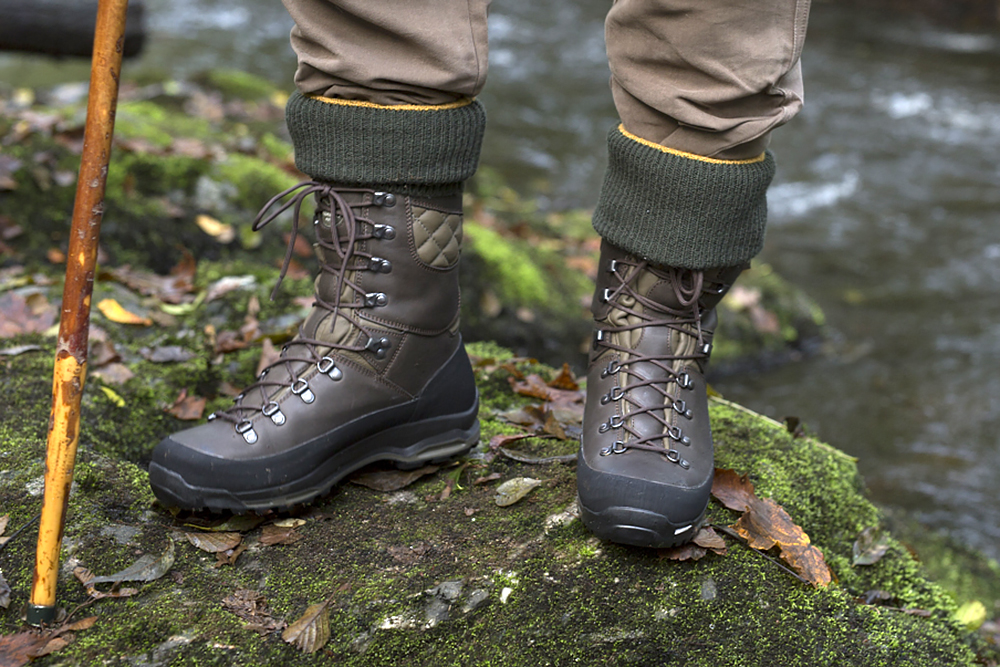
Hunting Boots: Le Chameau Condor LCX
At first, we weren’t sure what to think of a French-made boot. But keeping in mind that we love their fries, and remembering Ricky Bobby’s sudden revelation in Talladega Nightsthat crêpes are in fact just really thin pancakes, we decided to give them a shot.
Turns out that Le Chameau has been hand-crafting hunting boots since 1927. The company actually pioneered some of the leather-lined rubber boot styles we’re used to wearing on duck hunts in wet marshlands, or during invasive-boar hunts in the Florida Everglades.
We noticed a few things right off the bat. First, they’re about 30% lighter than most of the comparable hunting boots we’ve used. This is thanks to their use of an ultra-lightweight injected midsole, which makes a big difference at the end of a long day in the field. Second, there are the absolutely badass rubber outsoles designed by Michelin. Yes, the same Michelin that makes high-performance car and truck tires — another French company. The sole is incredibly grippy and slip-resistant, a plus if you’re having to walk over slick rocks in shallow water, or scramble up loose scree on a mountainside.
The break-in period for these boots was probably around 100 steps. This sounds completely ridiculous, although it’s slightly less ridiculous than the 10-or-so steps the manufacturer told us it would take. It sounds crazy but it’s true.
Le Chameau said that this is accomplished due to their upfront work and decades of experience in designing boots. In particular they said that it’s possible due to a large heel flexion notch and a loose middle eyelet construction, allowing the boot to flex where it wants to flex. We would normally call BS… but then we experienced it for ourselves. We still can’t understand how they did it.
In hindsight it might have been poor planning to research break-in methods using a boot which really didn’t require any additional break-in time. Unlike old-school leather Red Wing Iron Rangers which require dozens of foot-miles to break in, the Condor LCX was quite simply already there. However, in our defense, we really didn’t believe the hype when we were first told about the lack of break in.
Choosing the Right Socks
What we can talk about for this boot, however, is the socks to use with it. We spoke with Lead Designer Benjamin Chapuis from Le Chameau for his insight:
Never use cotton socks for hunting or bug-out situations. Cotton absorbs moisture and takes forever to dry.
Use wool to stay warm and still wick away moisture. Look for Merino Wool for softer, finer fibers. Combine this with polyester fiber if they are required to dry overnight. These materials are more expensive but they’re worth it.
Use synthetics if your feet sweat a lot because they wick moisture away better than natural fibers.
Turn the sock inside out and check the denseness of the fabric loops. Smaller, denser loops will hold up longer for cushioning and absorption.
Thicker socks tend to wear longer. The thickness can also help improve the fit of a very slightly large boot. Or, a thicker pair of socks in the morning and a thinner pair after lunch when your feet have swelled a bit might be something to consider.
Seams should be flat so they do not create more points of pressure on your foot.
Socks should have elastic stretch so they hold to your foot and do not slip down into piles in your boot.
The fit should be snug, but not tight. Any bagginess or extra length between heel and toe means it’s too big.
Duty Boots: Tactical 8 / Garmont Bifida
Finally, a fighting man’s boot! For sure, we thought, this boot will give us blisters just like grandpa used to have. The Bifida boot from Tactical 8 was designed as a multi-terrain tactical boot — basically an updated version of the classic Vietnam jungle boot.
Although this boot is affordably priced, we were pleasantly surprised by the sturdy Vibram outsole and all-day wearing comfort. An asymmetrical cuff helps with the stability, and differential ankle pads securely lock the heel in place for precise fitting in support. From what we could tell these features allow the boot to feel extremely secure, without an uncomfortable stiff feeling like we’re used to with lesser boots.
We tried to break it in using the oldest method known to man — simply wearing it around the house. Lazy Saturday watching college football? Break-in time. Quick trip to the grocery store? Weirdo-in-aisle-6-wearing-the-combat-boots break-in time.
Blister Avoidance
By combining many short-duration periods of wearing and walking in the boots, we were able to loosen up the fit and lacing to exactly where we wanted it before ever setting foot on the trail. The key to all of this, of course, is planning ahead. Manufacturers usually recommend at least two weeks of wearing prior to a long ruck. So don’t order boots one week before your planned father-son first ascent of Black Friday Deals Mountain at the Mall of America.
Although the Bifida didn’t have quite the non-existent break-in period as Le Chameau’s Condor LCX, we were still pleasantly surprised that we didn’t have any foot pain or blisters. In part this is because we made sure to have a good starting fit. For both boots in this article, we ended up going down half a size below what we normally wear, so don’t ever feel locked into a certain size just because you’ve worn the same size Wolverines for decades.
Last, for breaking in (and long-term wearing) of both the Bifida and the Condor LCX boots, we used socks from Smartwool. They recently released a hunting-specific line of wool socks and were kind enough to provide some more tips on choosing the right sock. We hope these tips and reviews help you when selecting or breaking-in your next pair of boots, whether they’re for the mountainside or the job site.
About the Author
Andrew Schrader is a licensed professional engineer and is certified by the U.S. Army Corps of Engineers as an Urban Search and Rescue (USAR) Structures Specialist. His company, Recon Response Engineering LLC, advises state and federal government organizations on the subject of urban search and rescue and building collapse. He recently assisted the U.S. Department of State’s Italian Consulate in the development of their post-earthquake response and rescue protocol. Website: www.reconresponse.com Instagram: @reconresponse
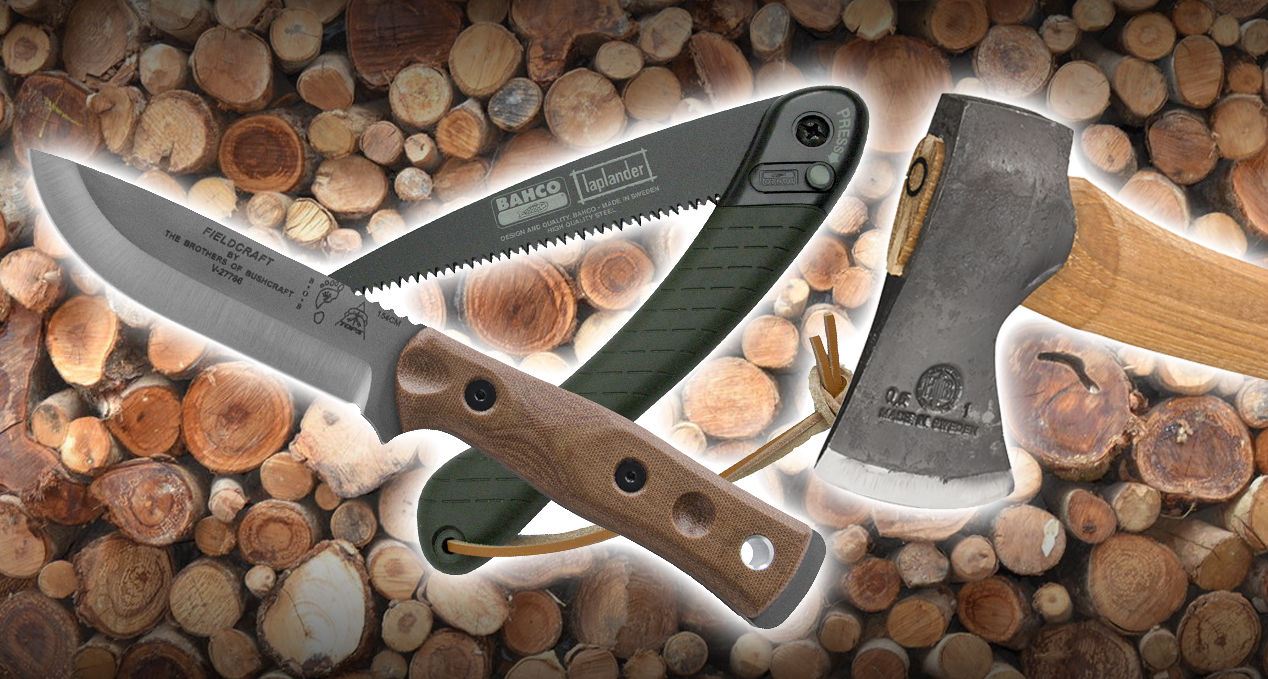
A few months ago, we created a poll that asked what cutting tool (or tools) you carry on your outdoor adventures: axe, saw, or knife? Unsurprisingly, most of you carry at least two of these items. Here’s a more precise breakdown of our poll responses:
98% carry a knife
71% carry an axe
60% carry a saw
While we’re not shocked by these results, we’ve often wondered why such a relatively small number of survivalists carry saws. Some of this is likely due to surrounding environments — you probably won’t need a saw (or an axe) in areas where trees are sparse, such as arid desert or arctic tundra. However, some survivalists may also overlook the importance and value of a good-quality saw, or might not know how to find a saw that fits their needs. It’s not quite as straightforward as picking a good camp knife.
Like the grind of a knife blade, saw tooth patterns can make a huge difference in cutting performance.
In the 36-minute video below, Michael of MCQBushcraft takes on the “Bushcraft Basics” of saws. He starts with some terminology, such as kerf, rake, set, gullet, and fleam. He also discusses what makes a saw ideal for bushcraft purposes. Unlike in carpentry, you won’t be cutting dry, clean wood — you’ll be working on wood that’s often green, moist, and full of sap. There are other considerations, such as the balance between speed and precision, and the type of cuts you’ll be performing.
As Michael admits, there’s a lot of information to take in if you’re not familiar with saws. However, if you’re patient enough to watch the whole video, you’ll learn quite a bit about how to choose a bushcraft saw. Michael carries a small Bahco folding saw, but it’s not the only tool he relies on for cutting wood in the forest.
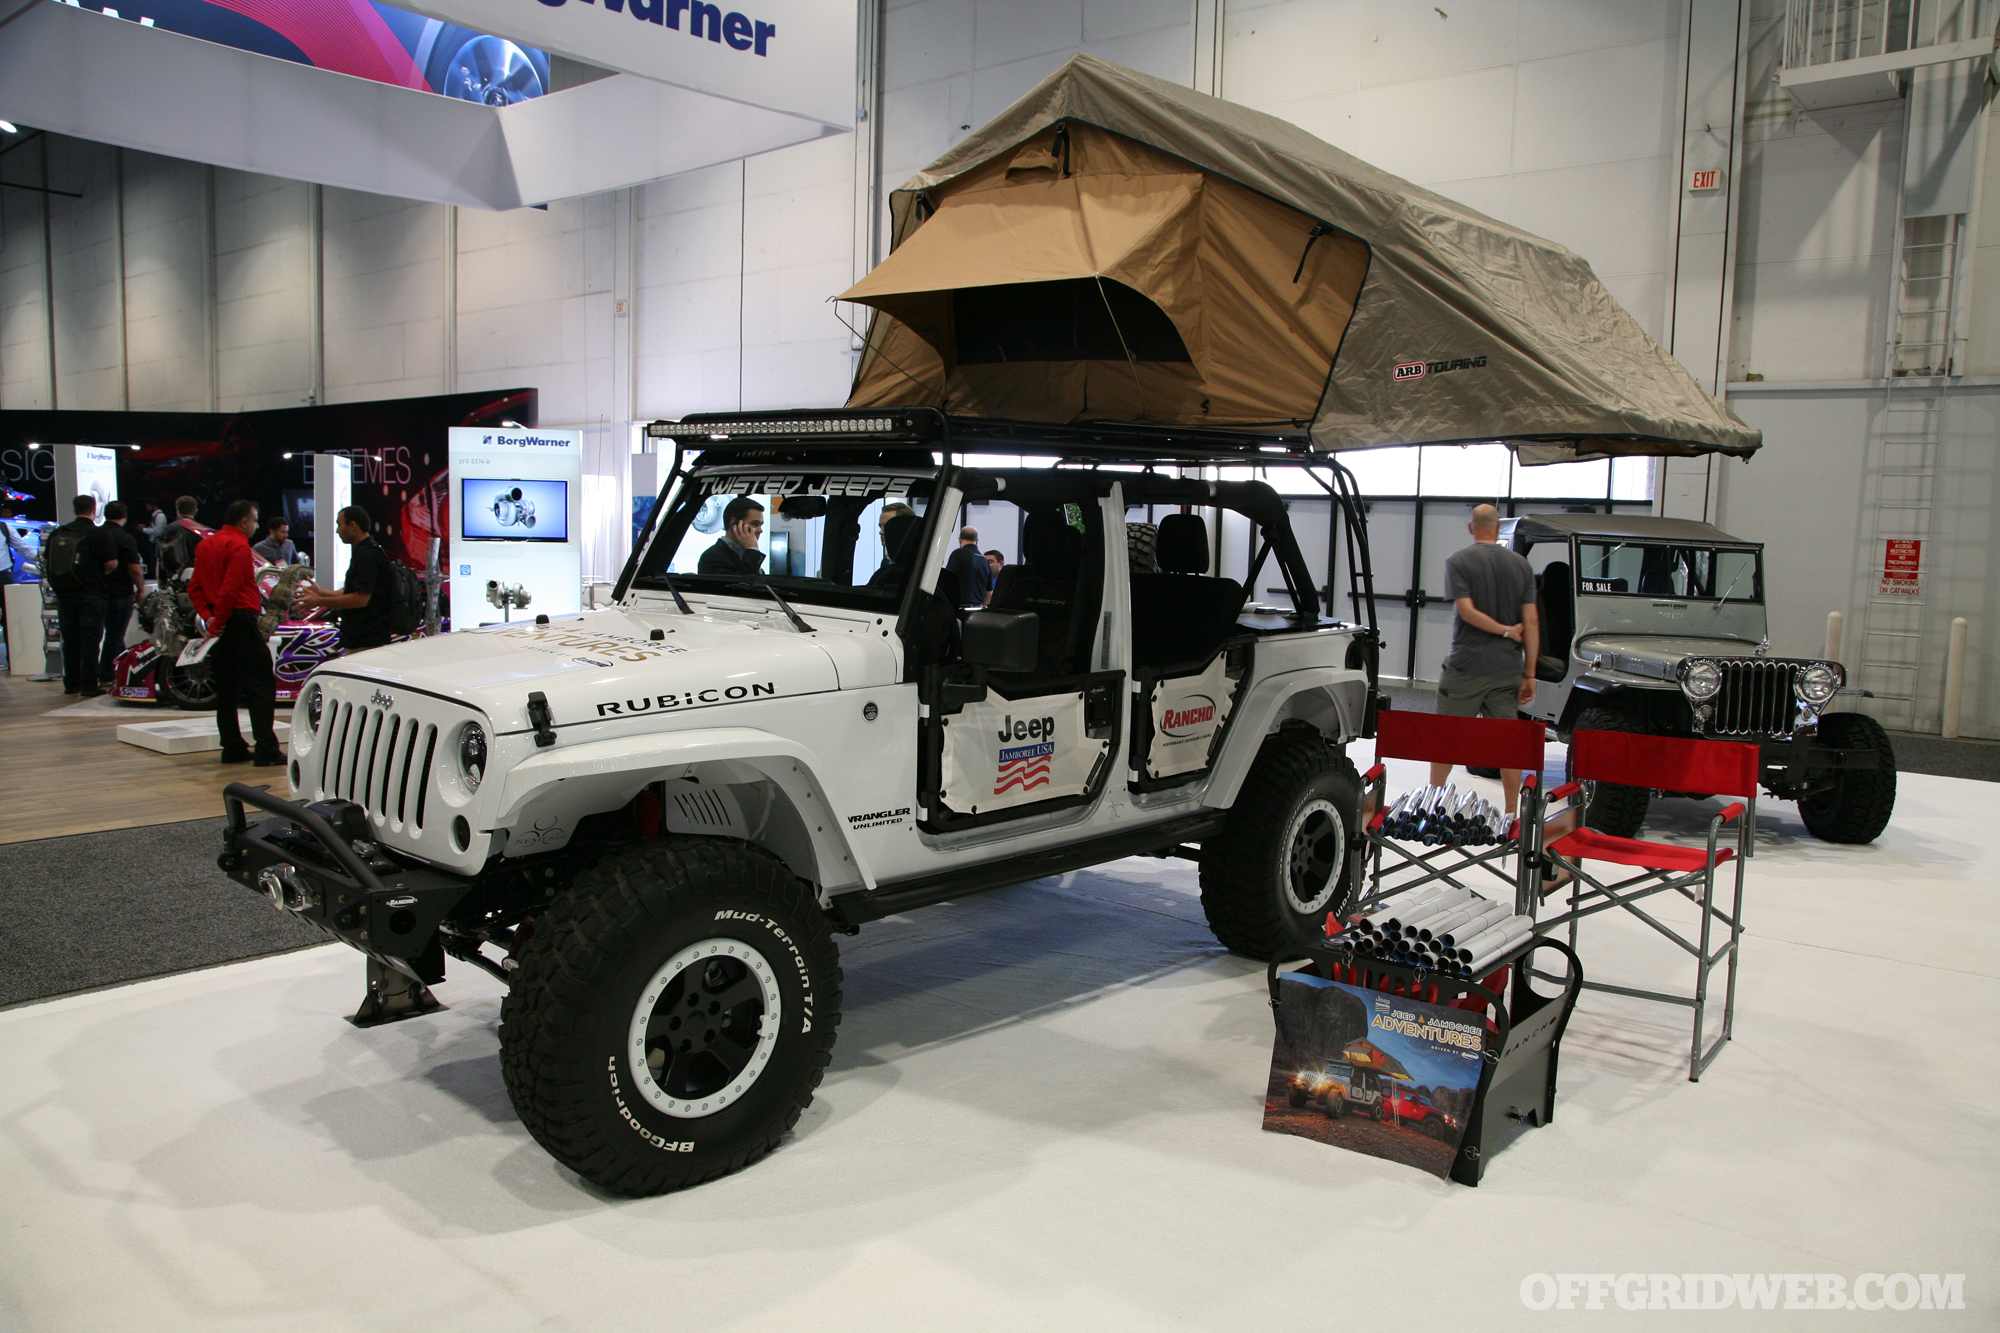
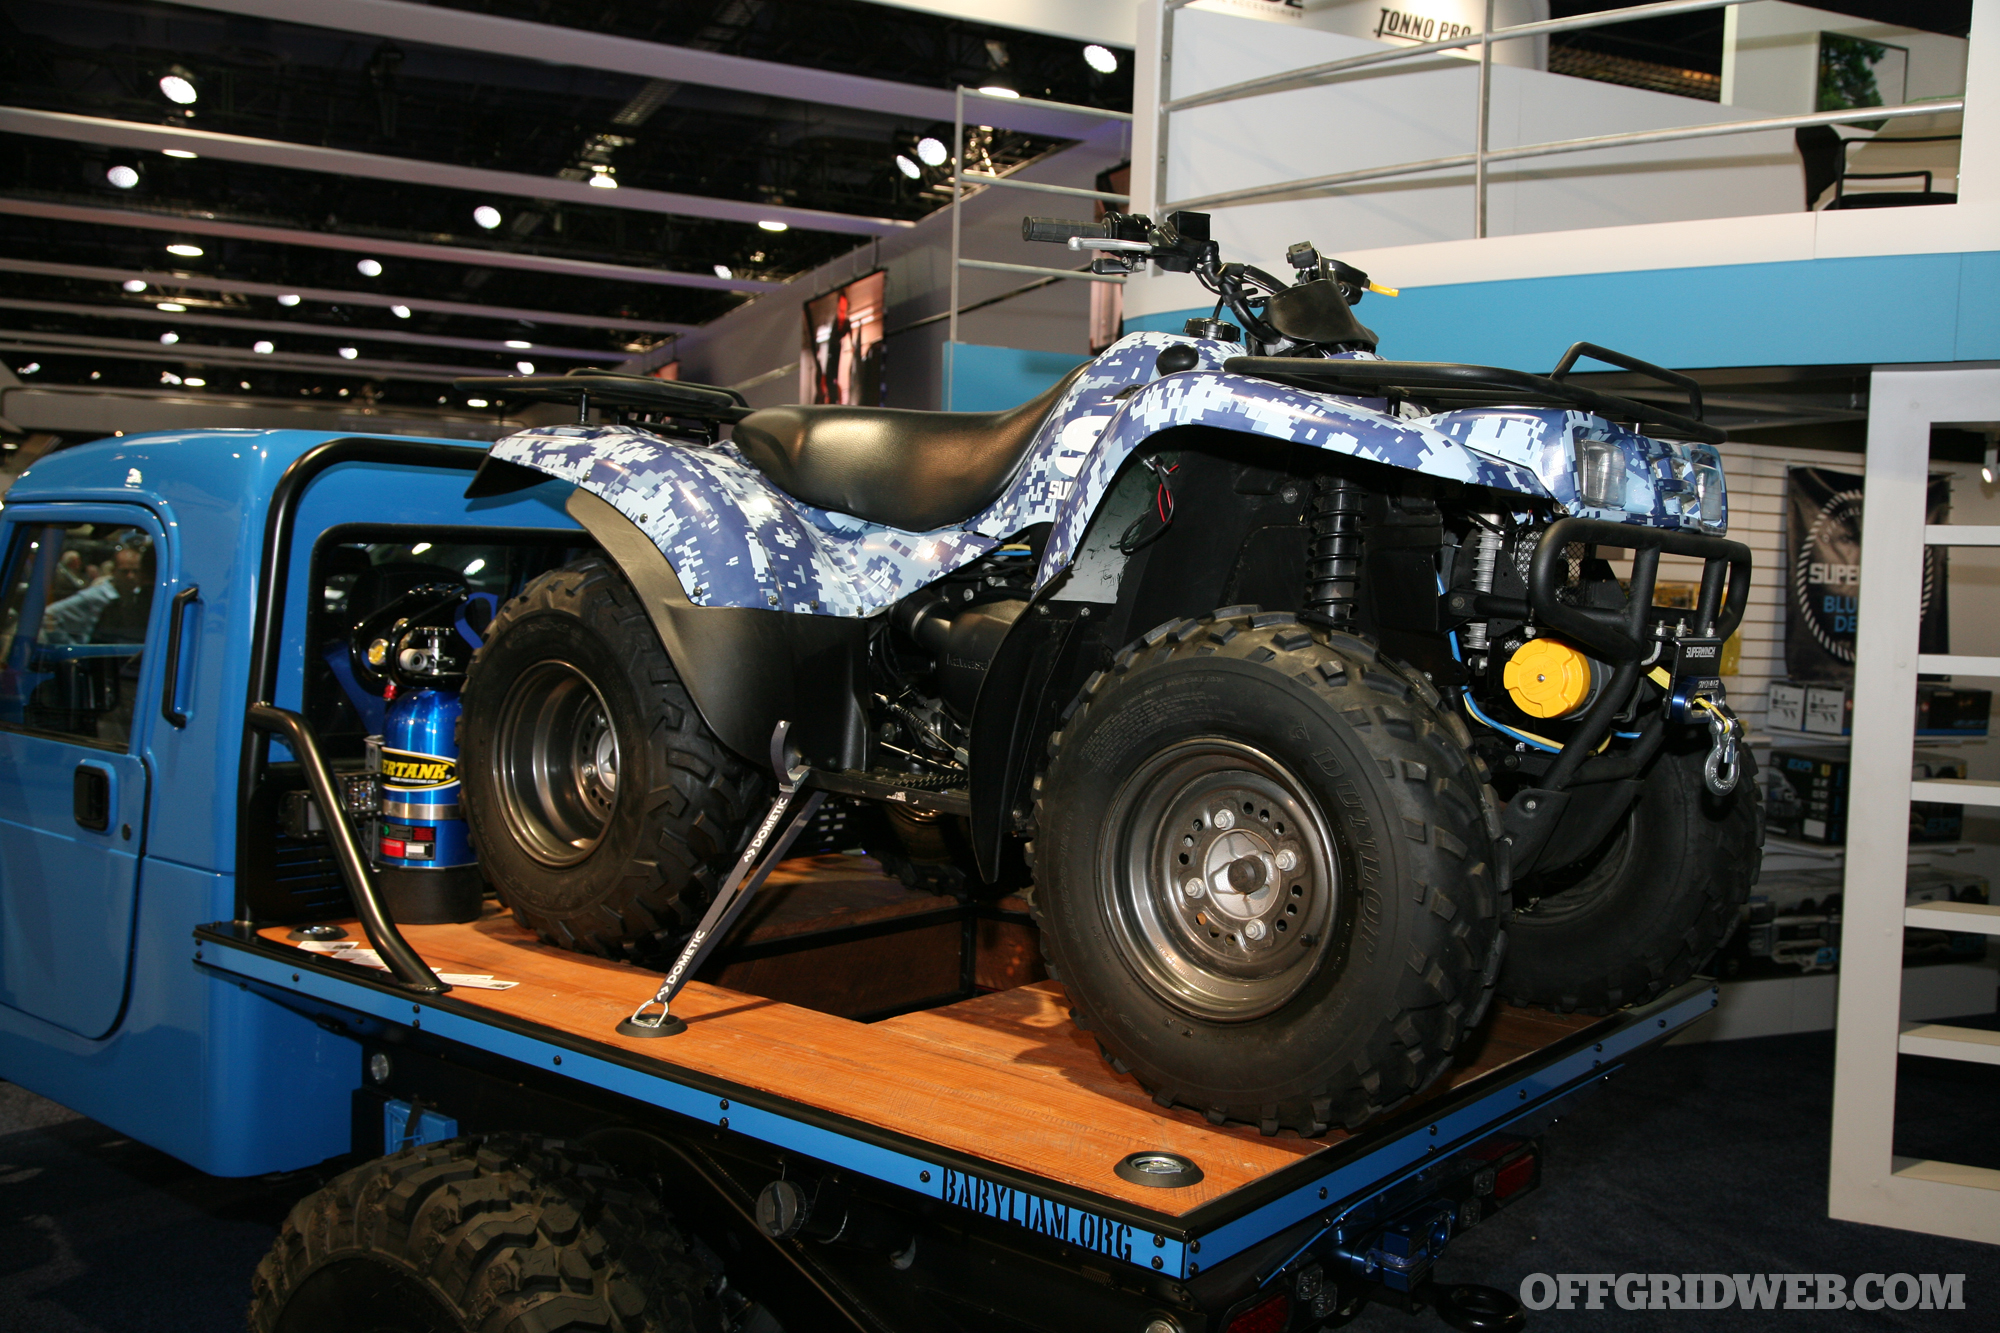
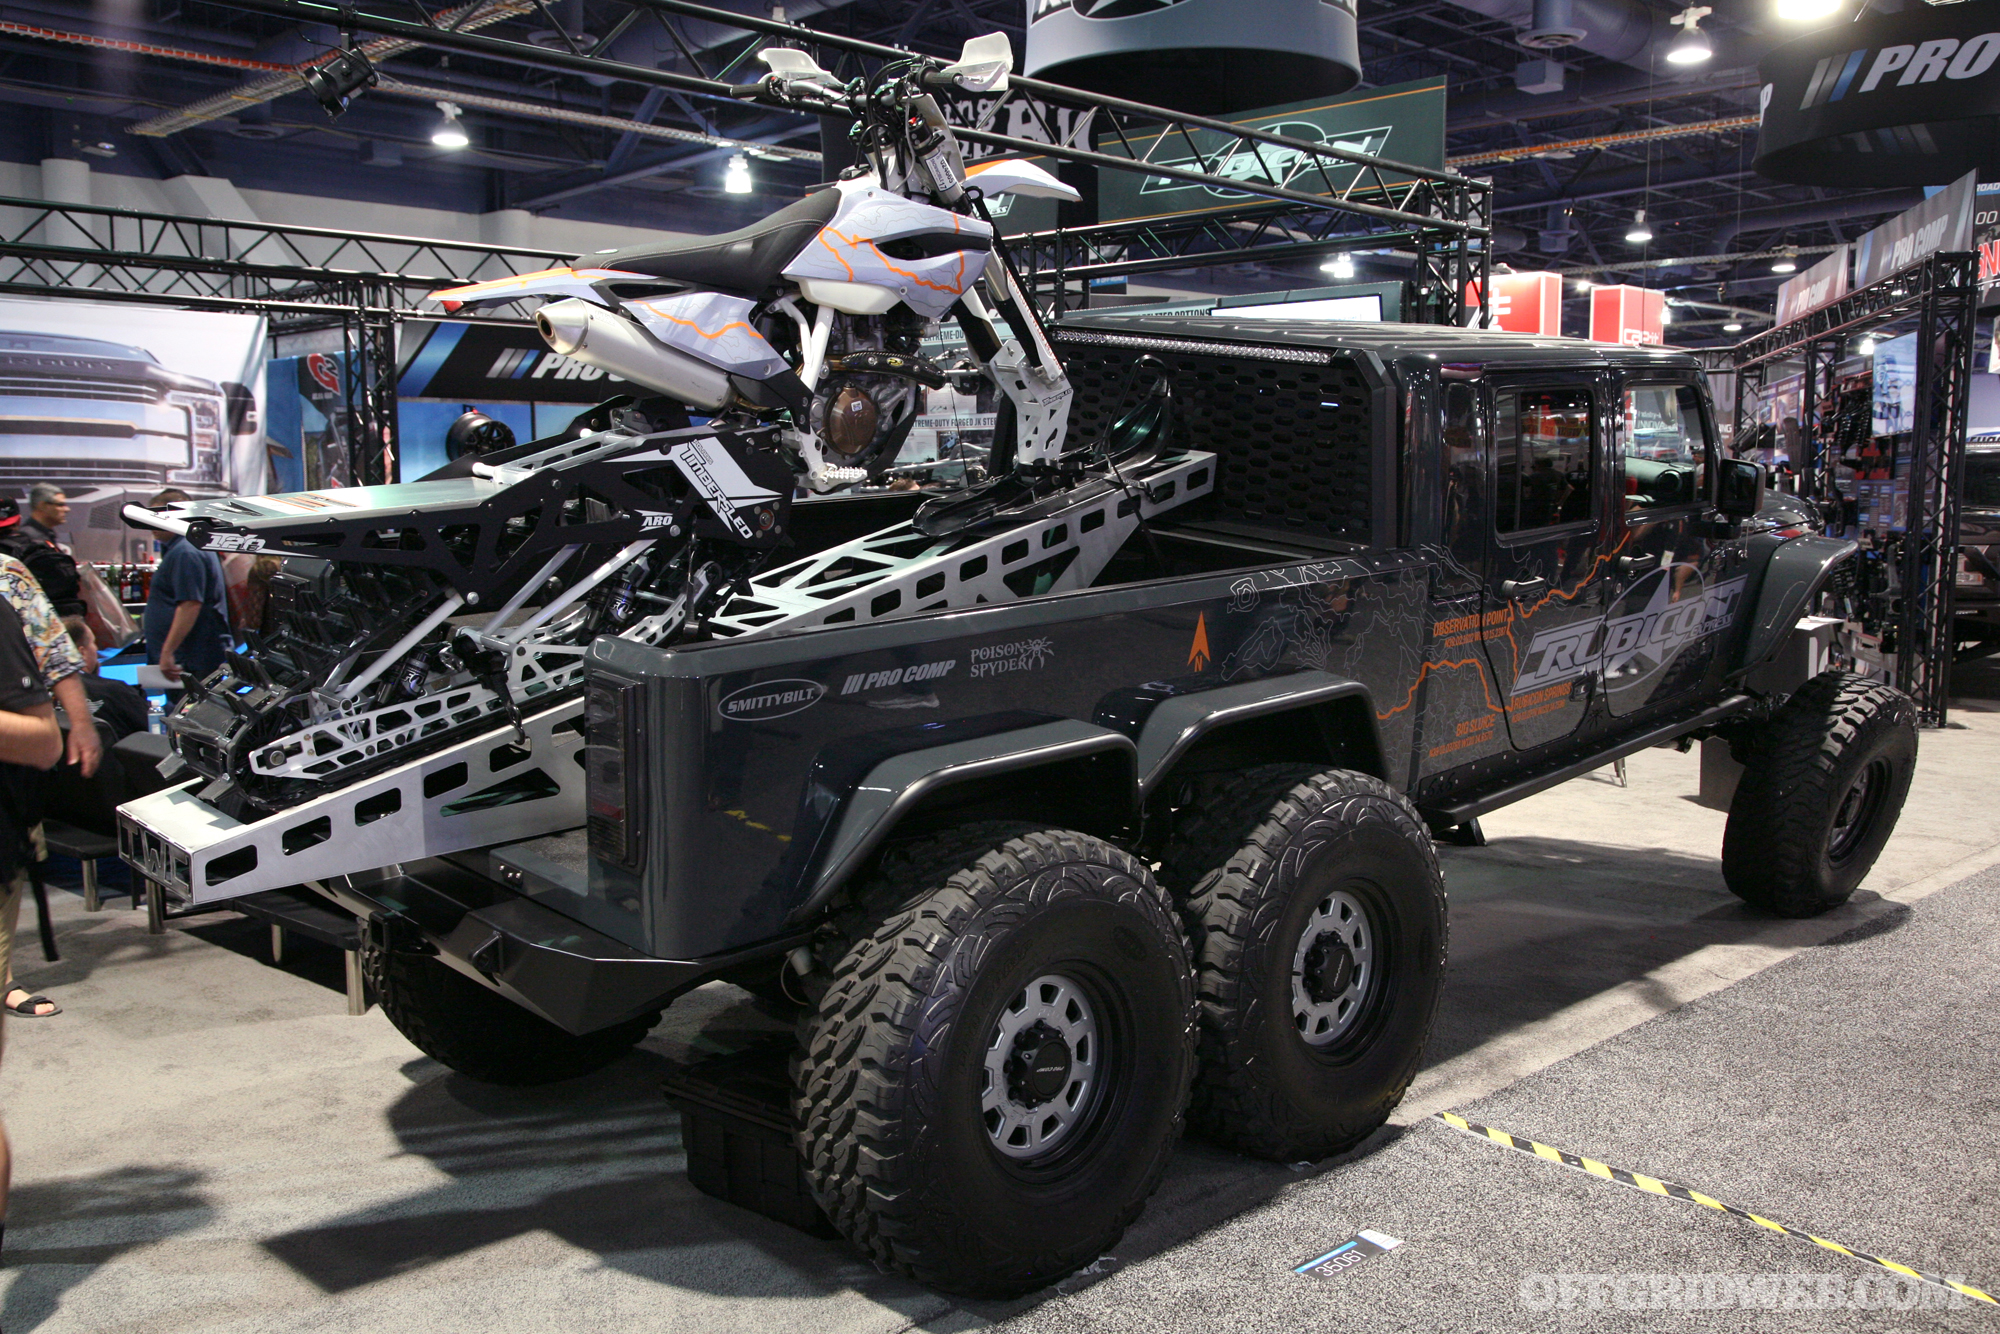
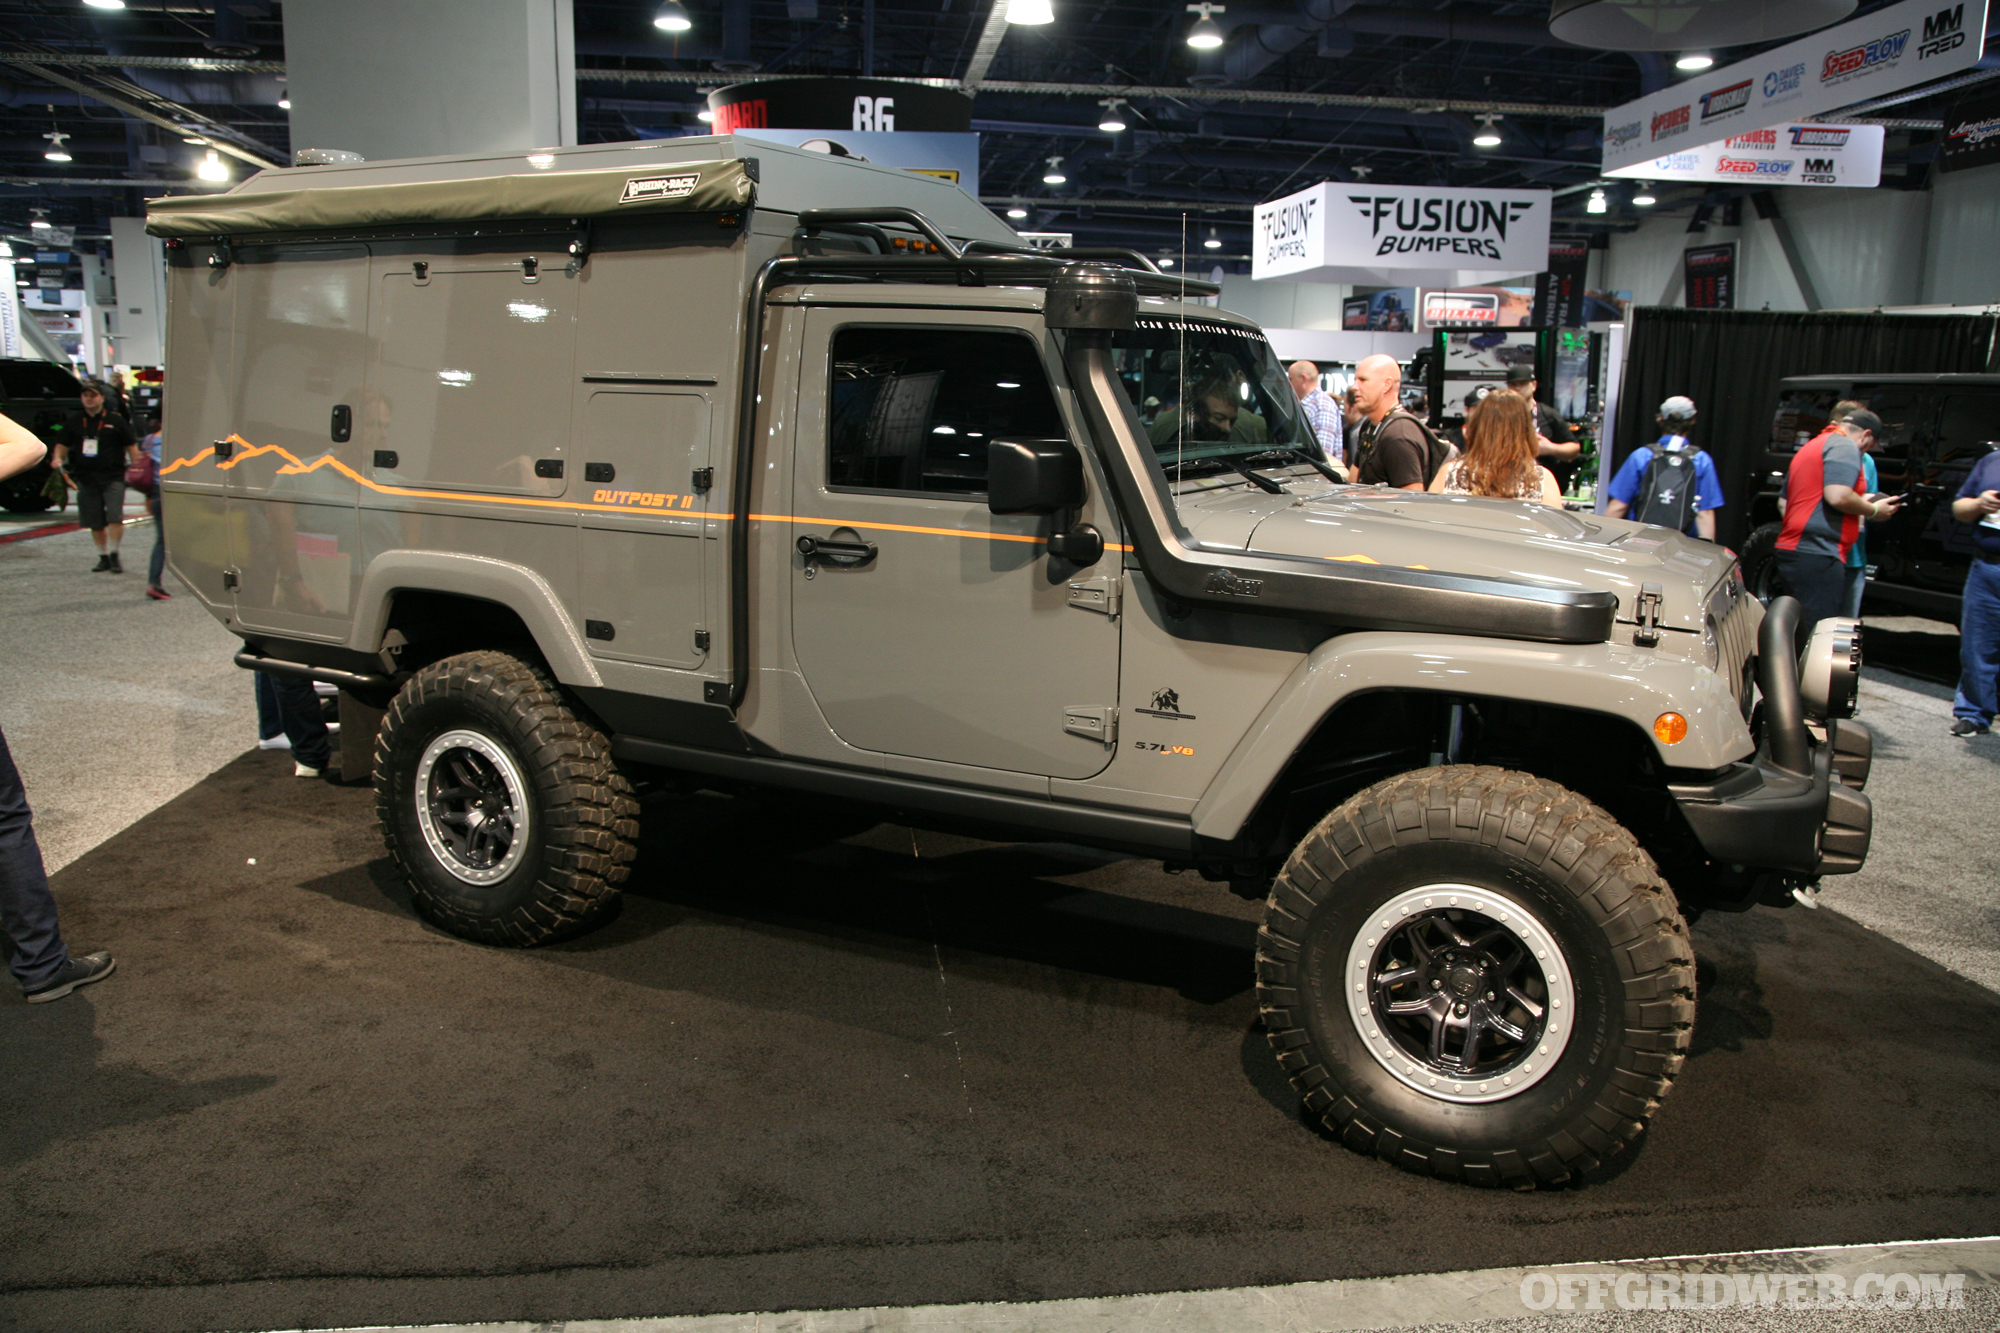
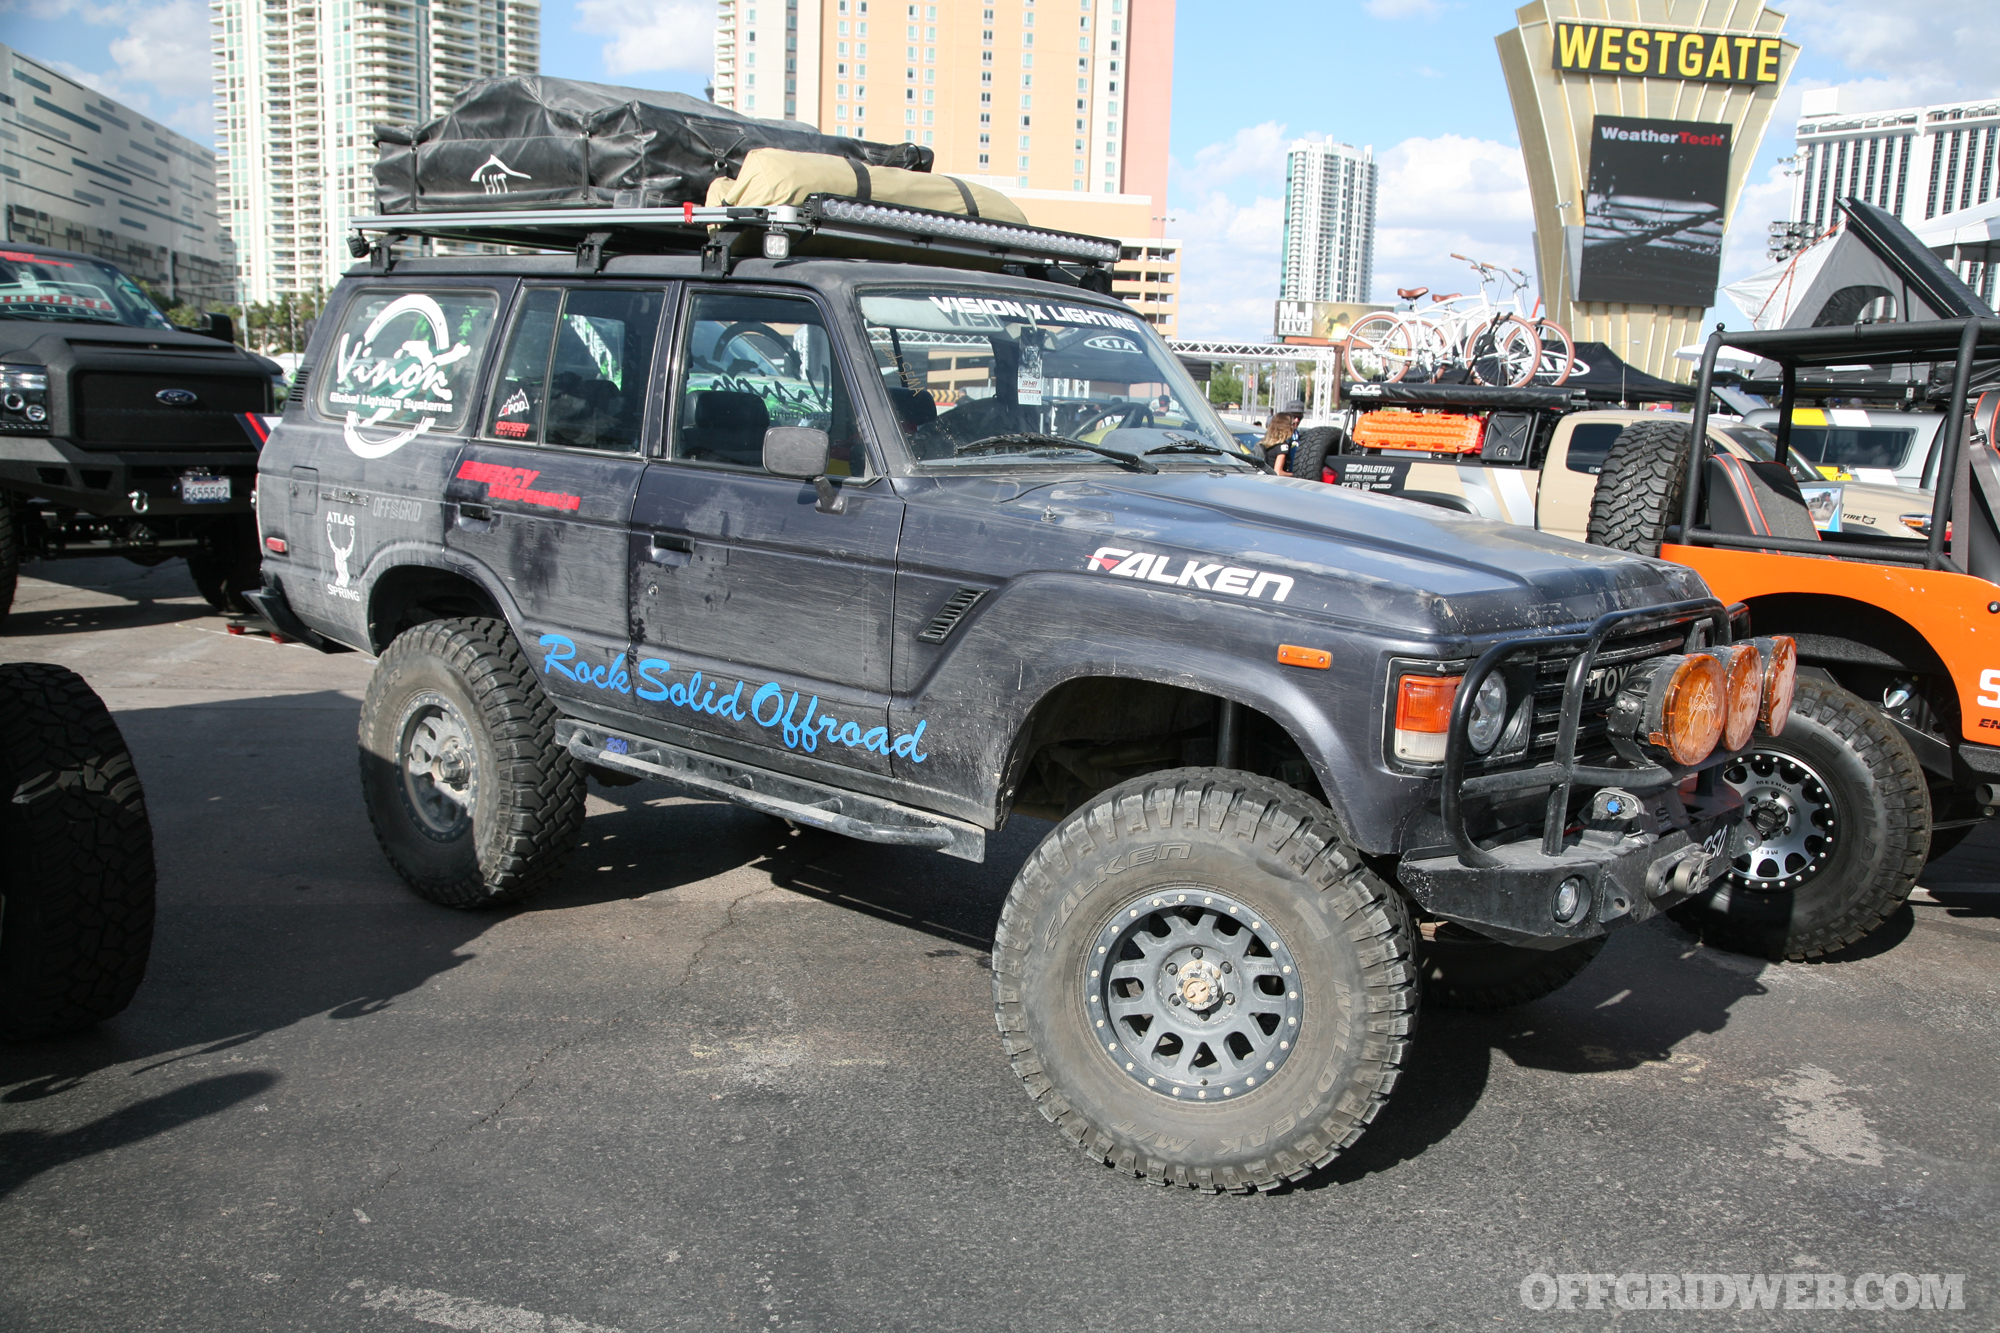
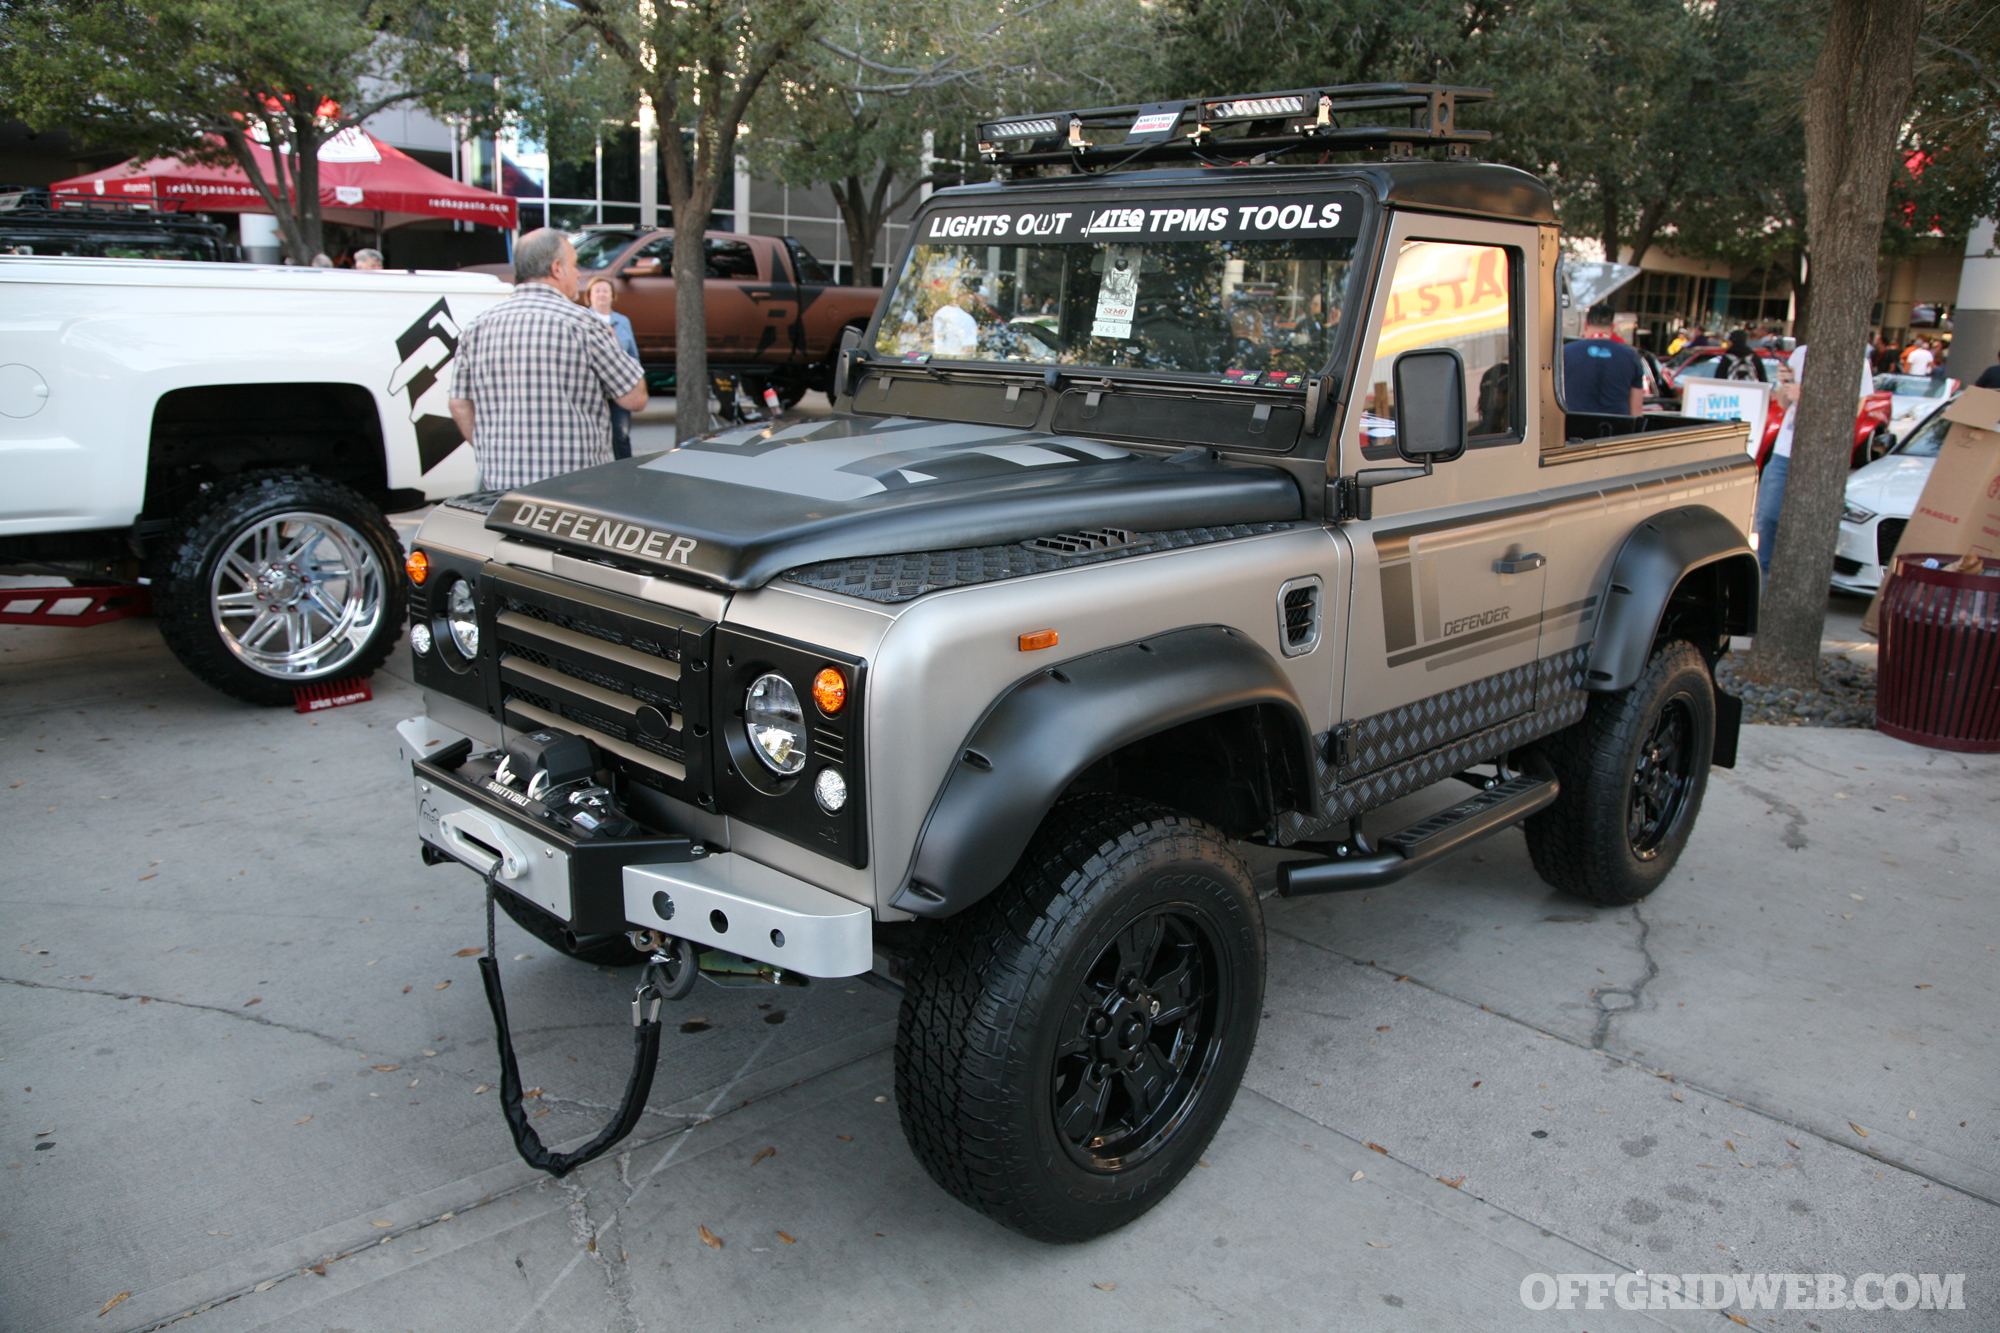
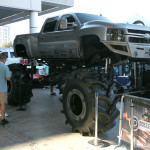
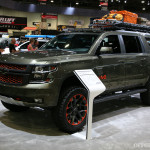
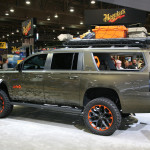
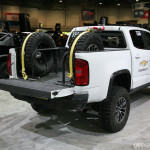
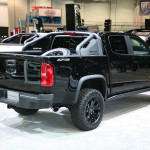
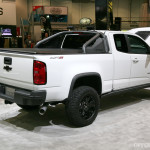
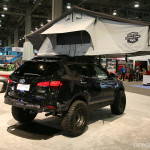
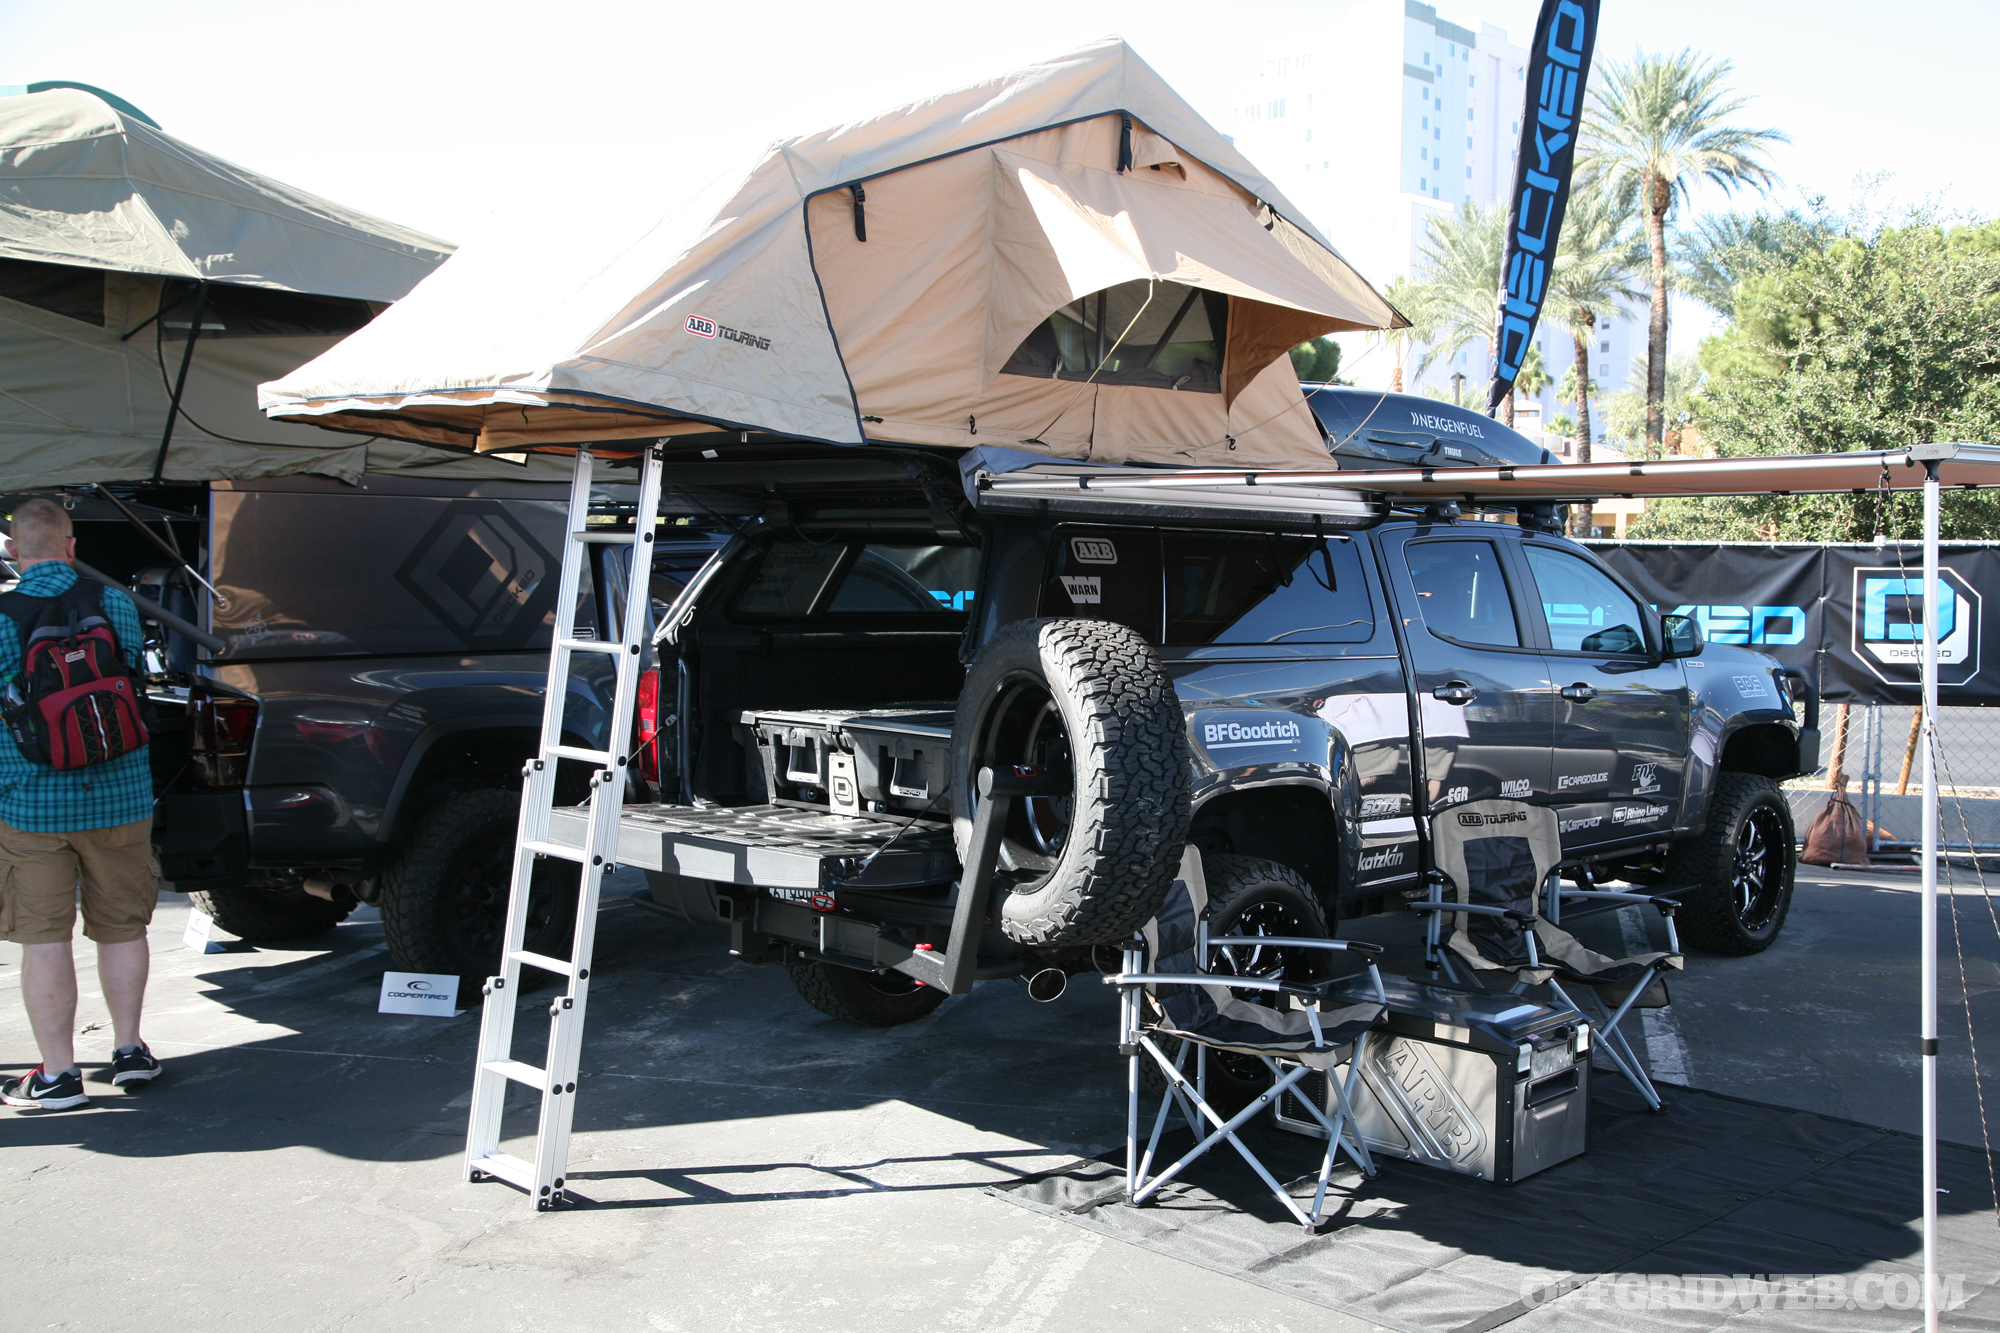
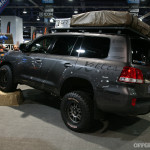
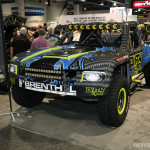
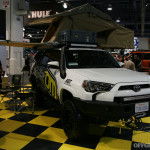
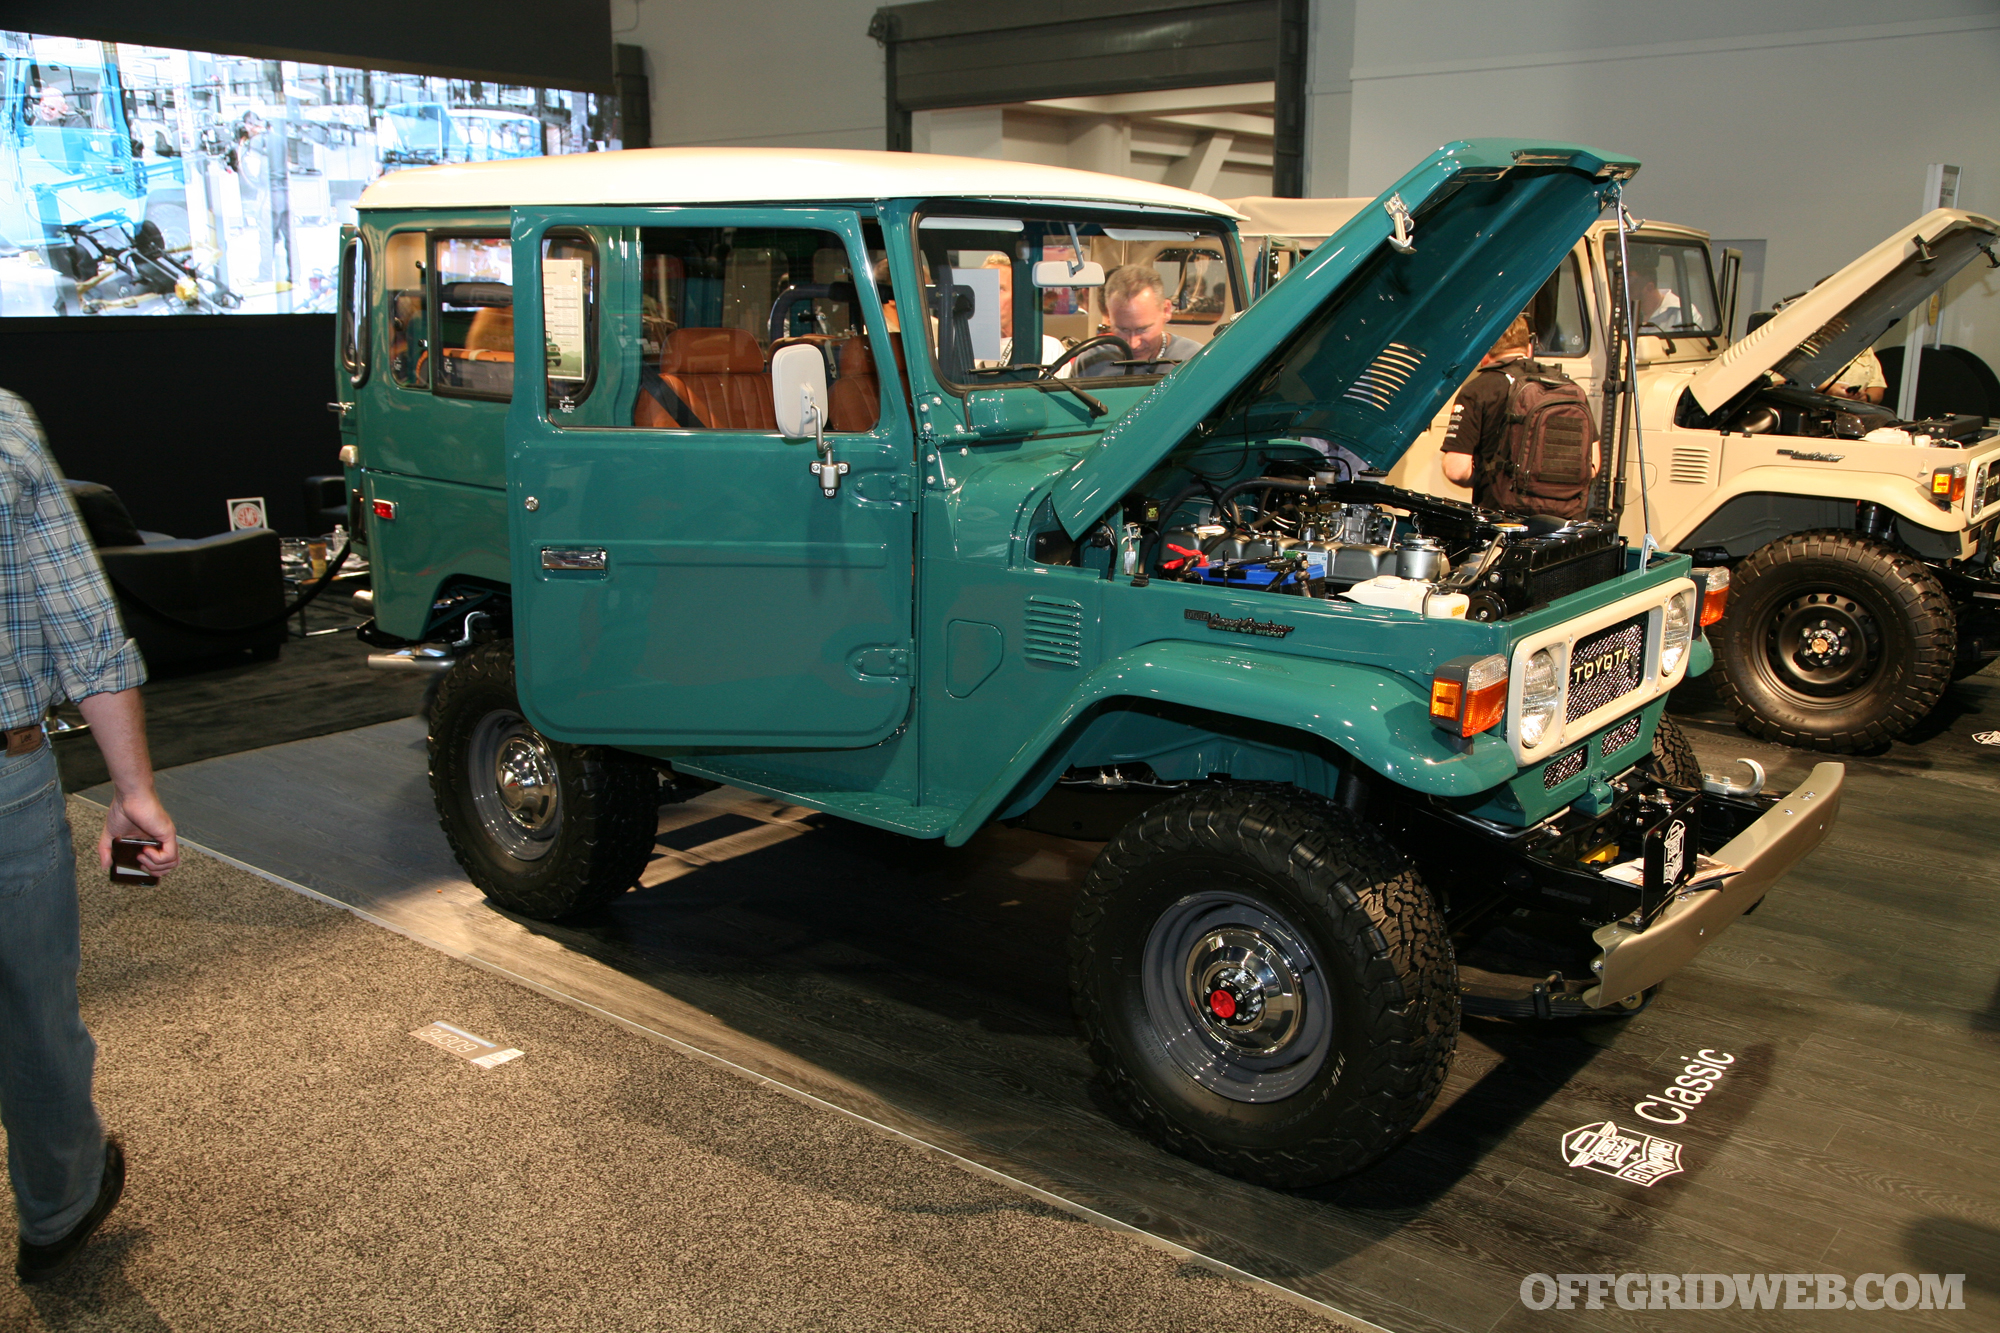
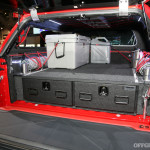
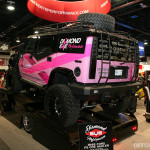
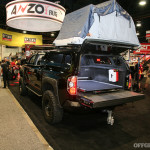
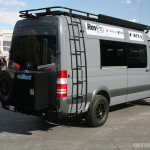
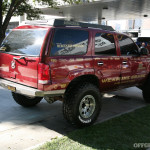
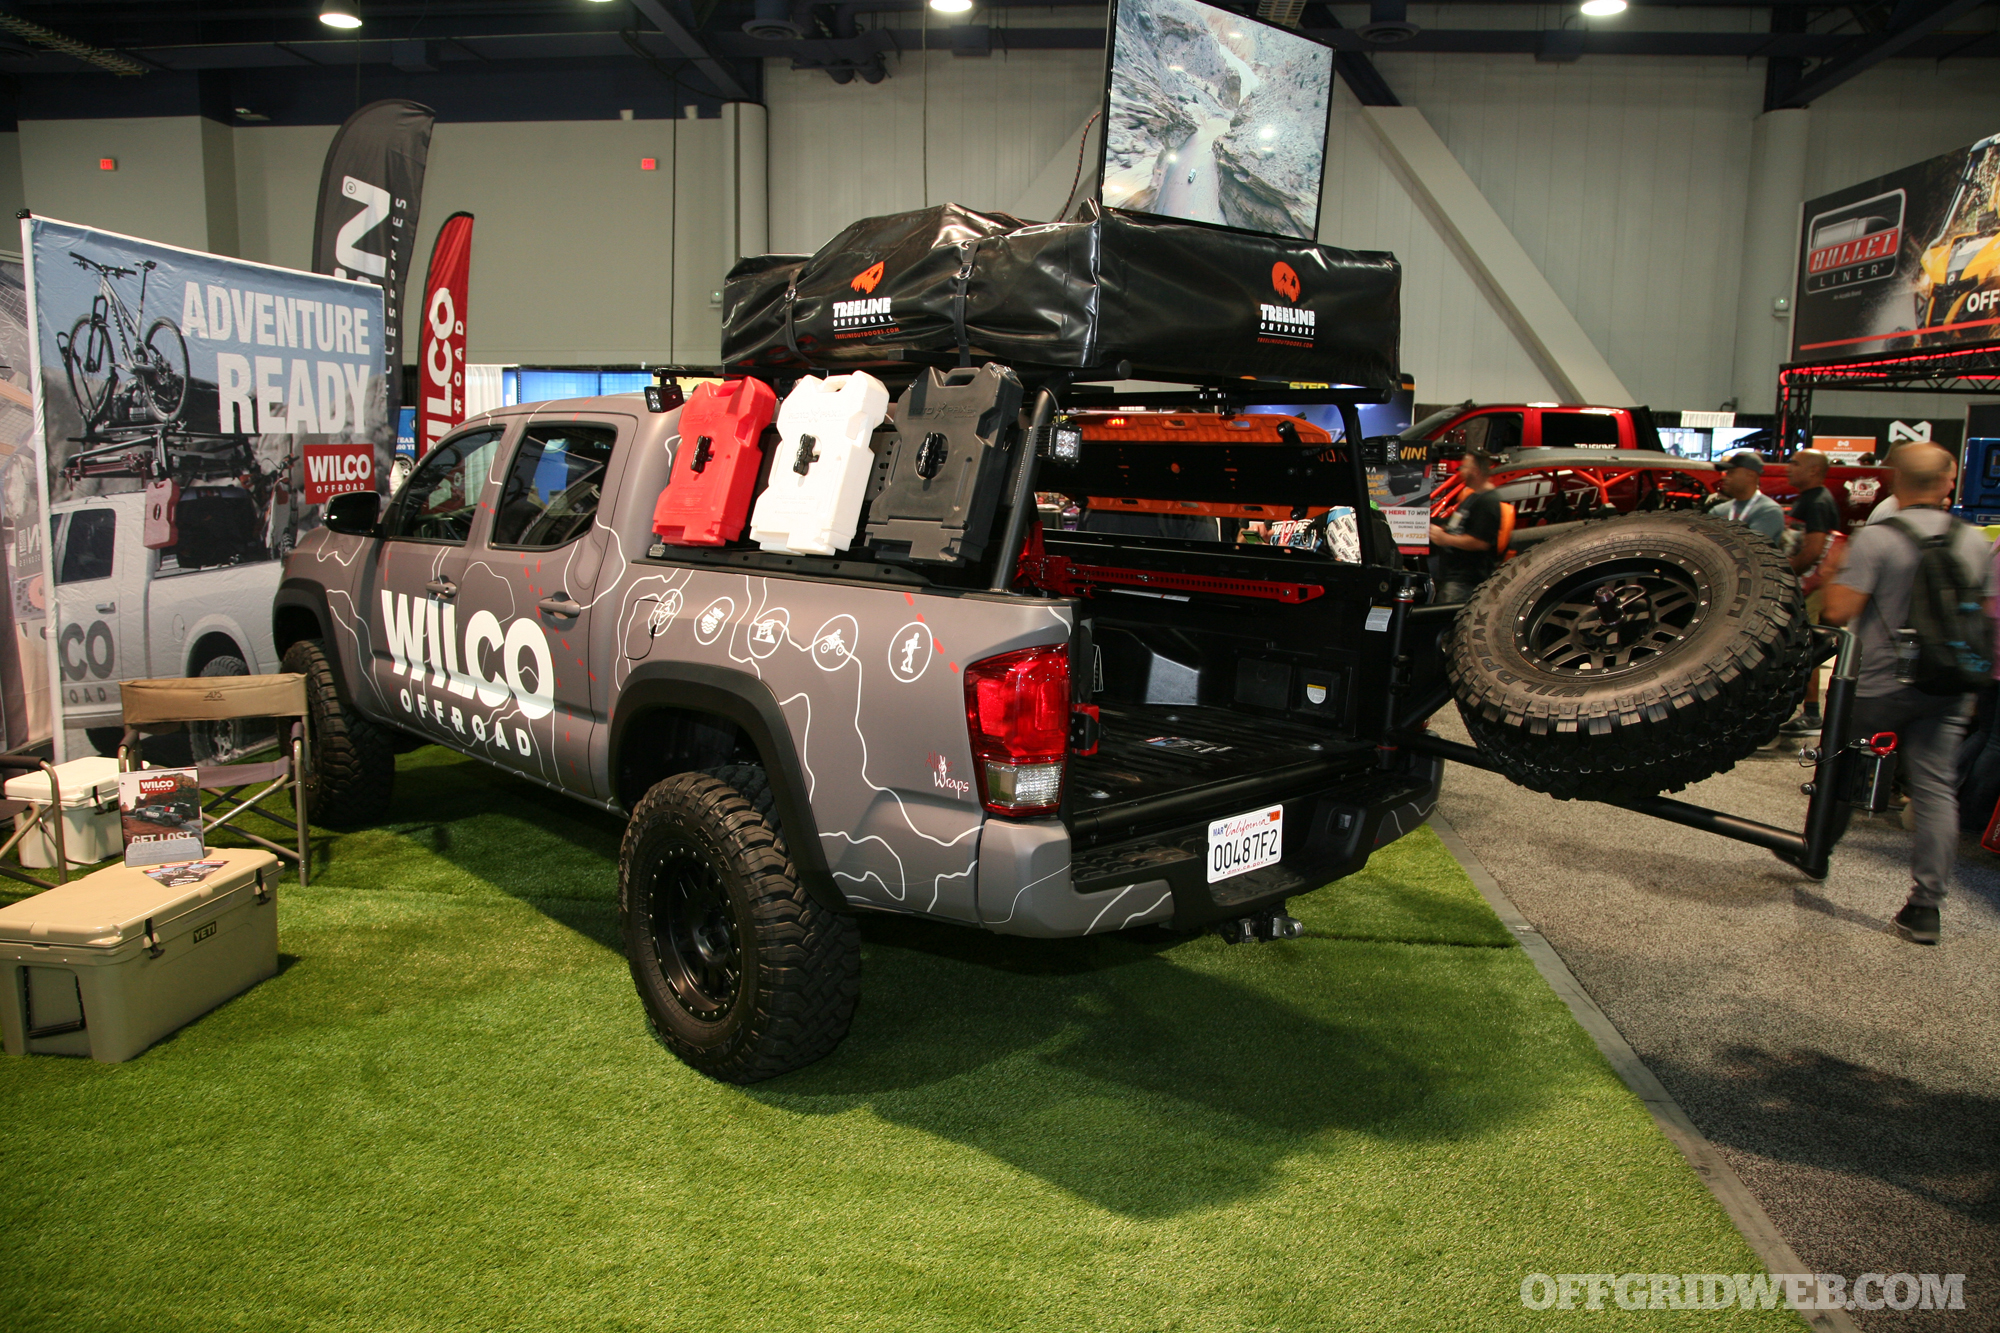
Yesterday, we posted a gallery of some of the off-road vehicles we saw at SEMA 2017 — bug-out trucks, SUVs, camper vans, and even a few modified all-wheel-drive cars. There’s certainly a lot to see, so check it out if you haven’t already: Bug-Out Trucks of SEMA 2017.
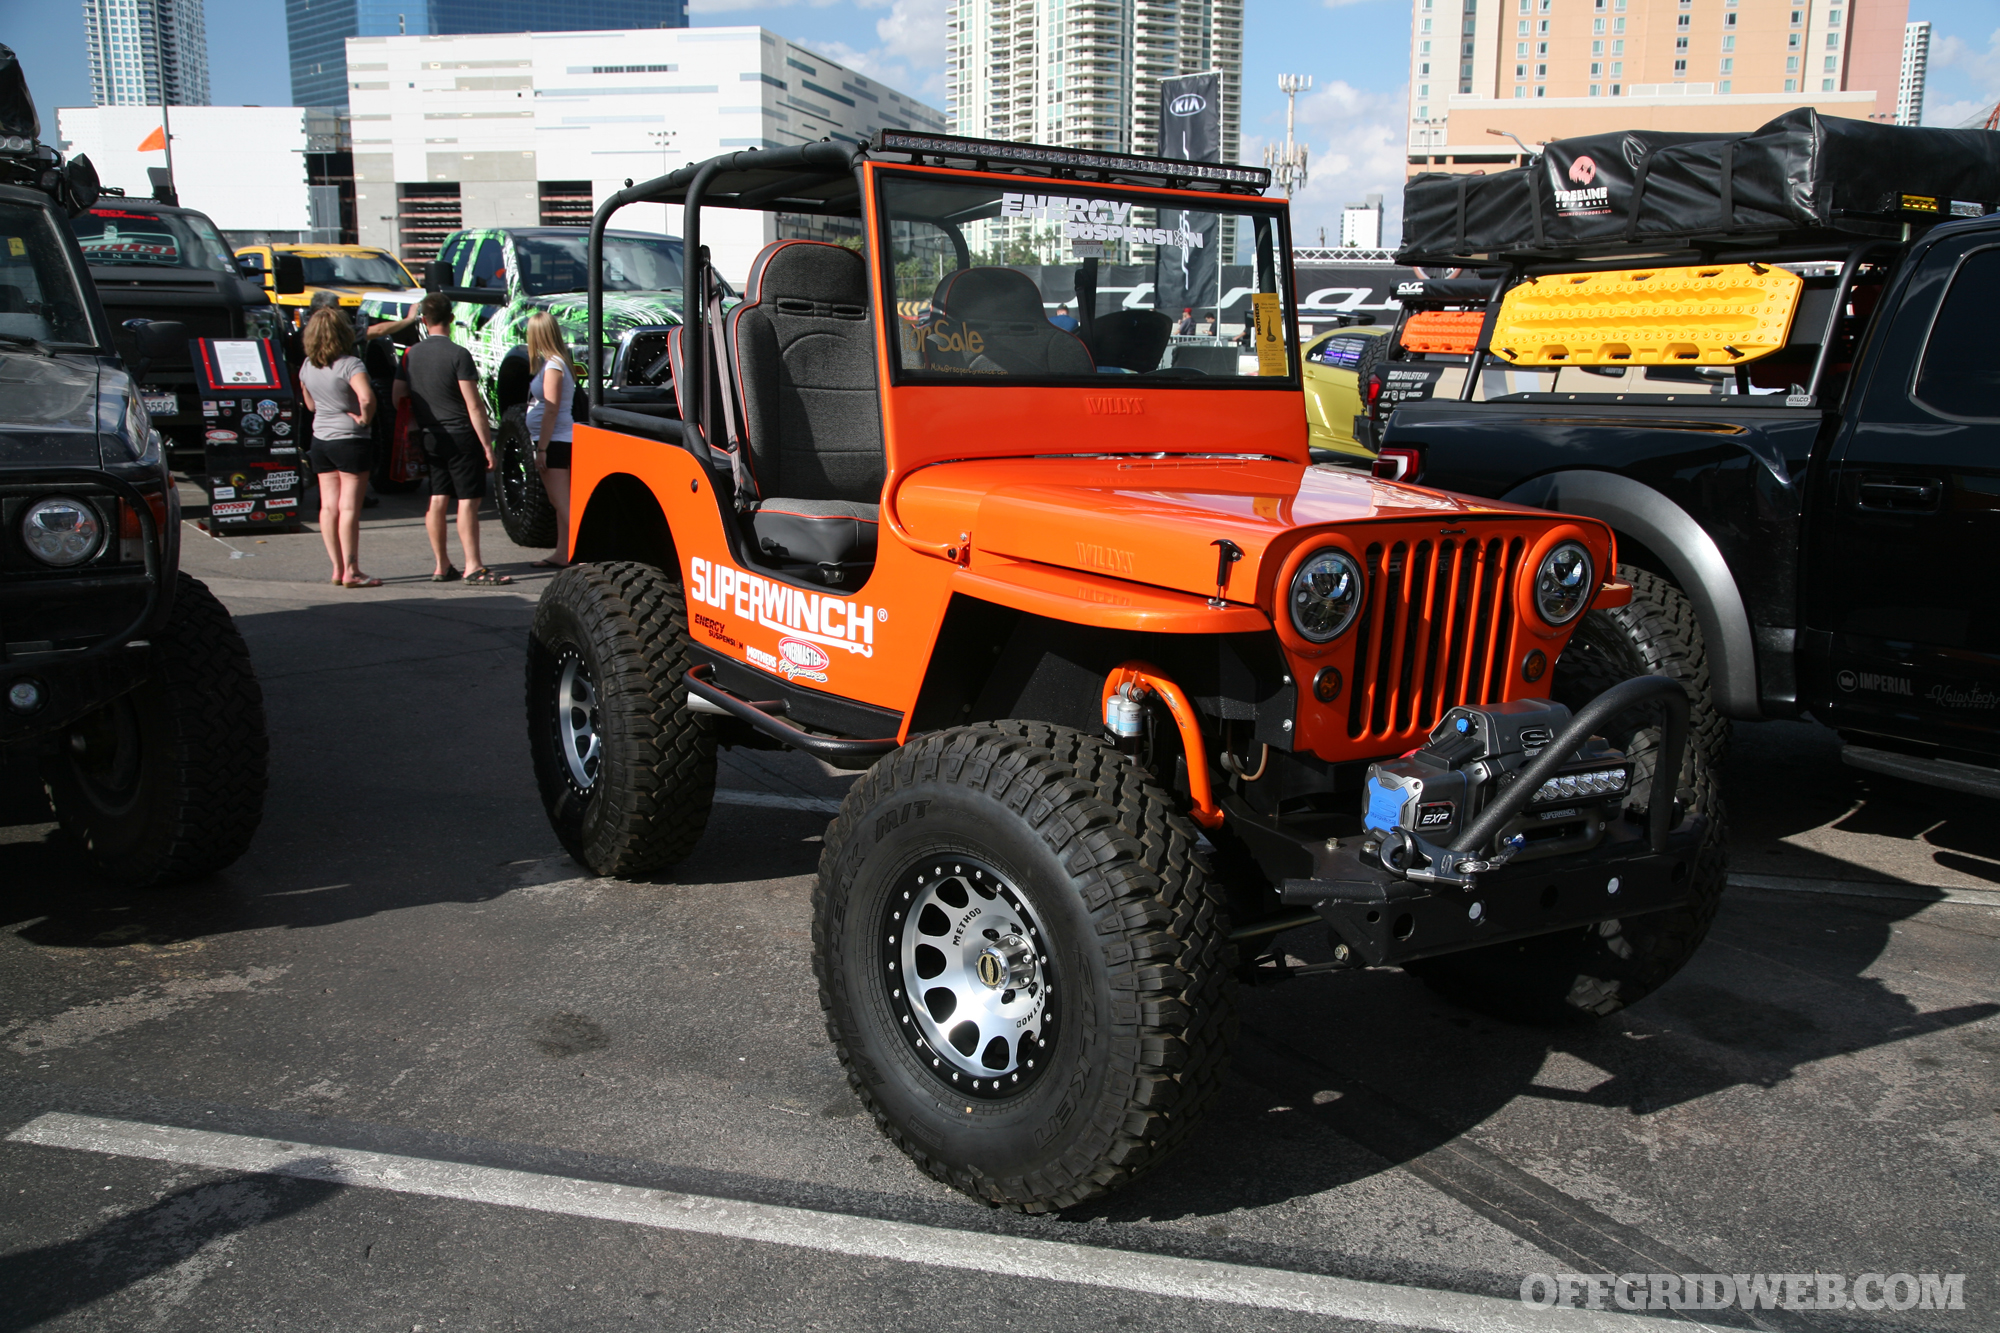
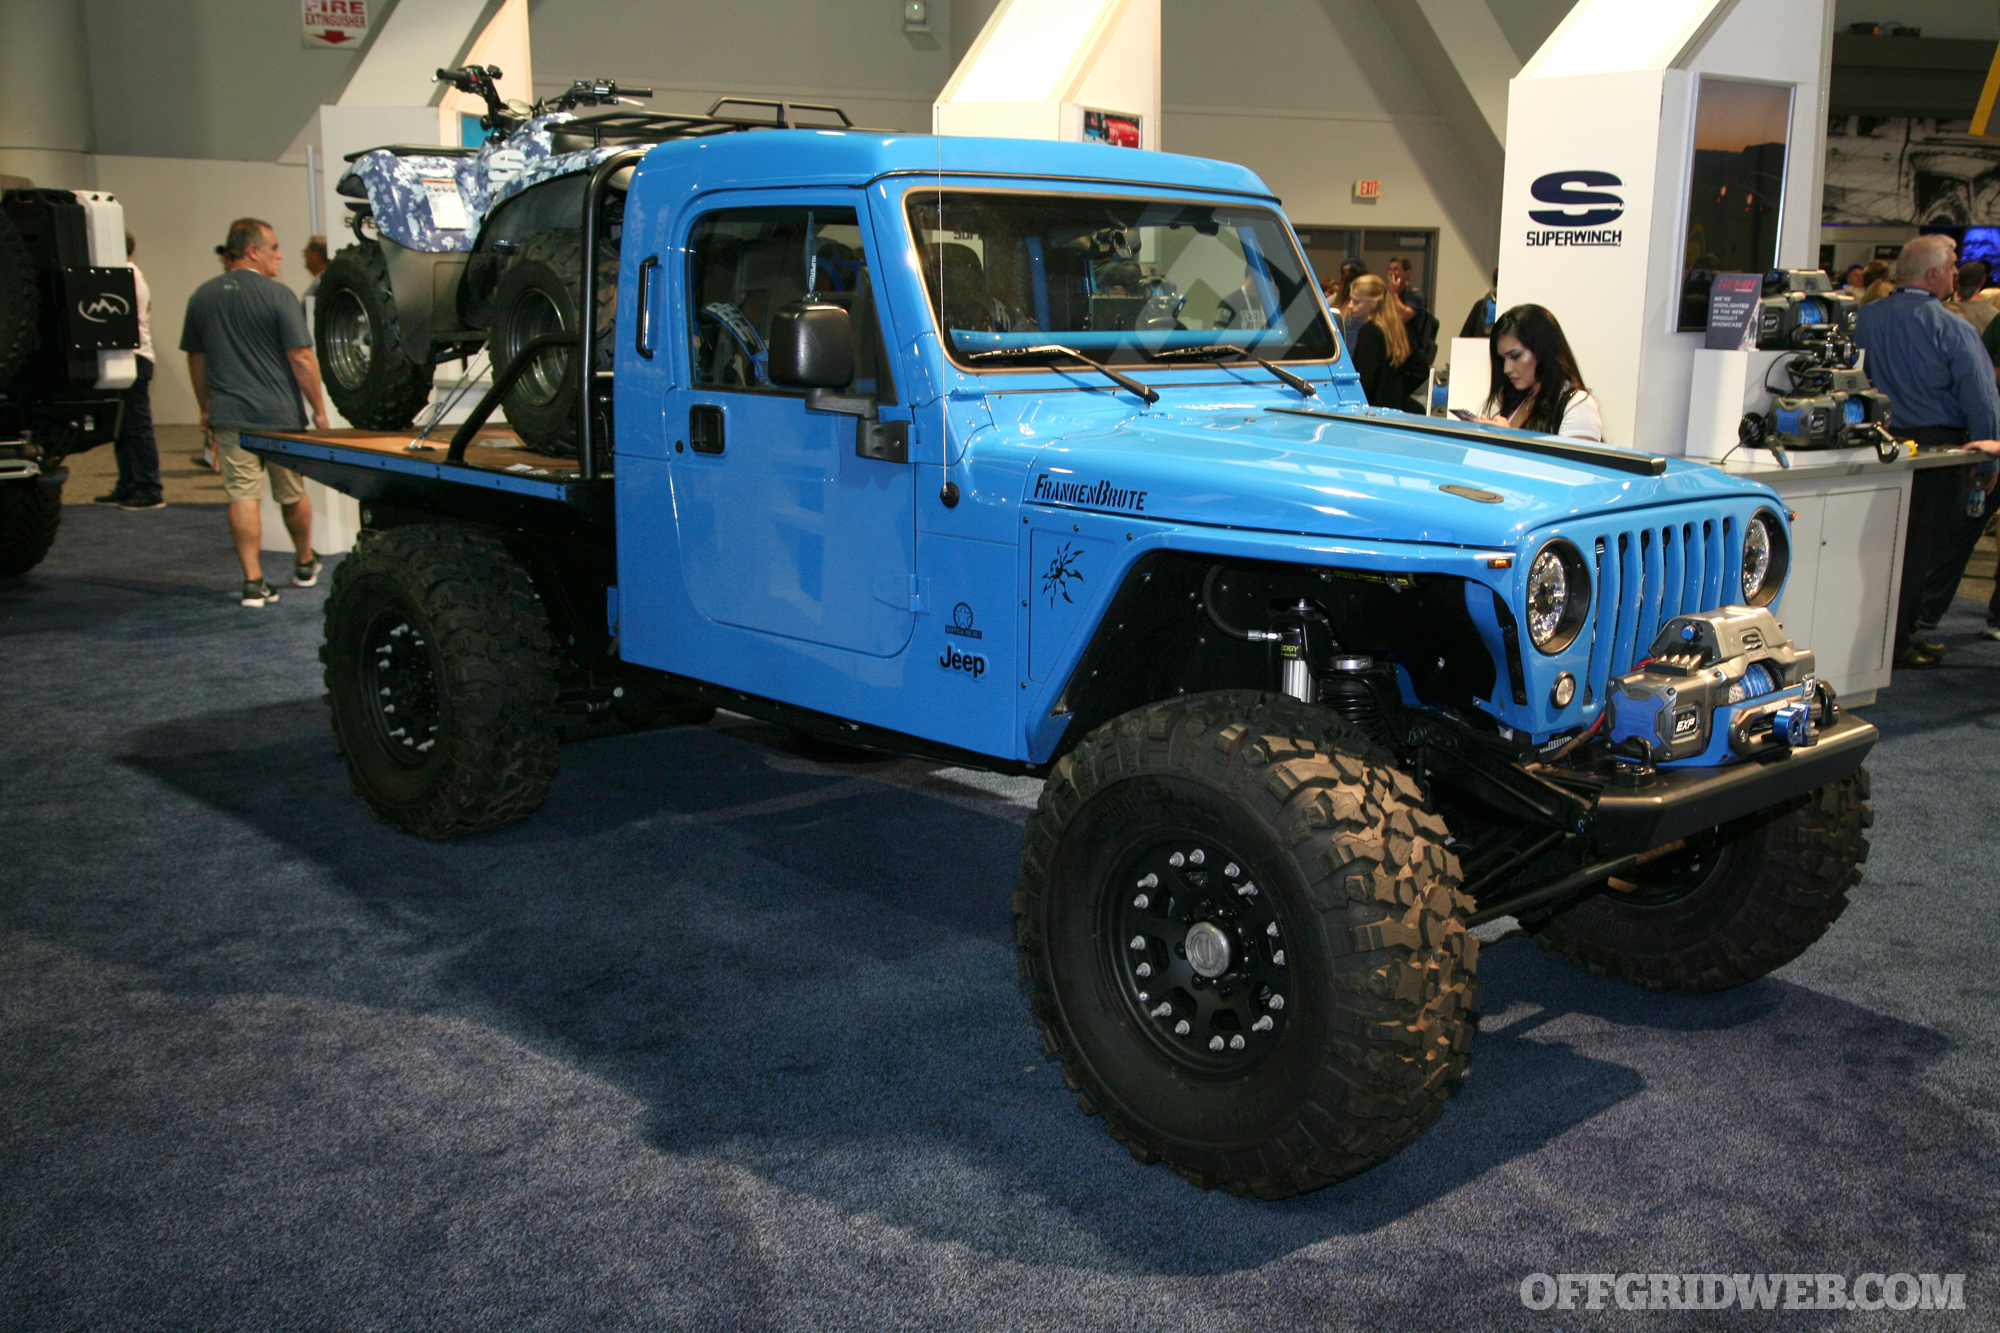
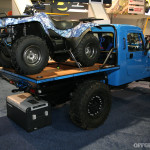
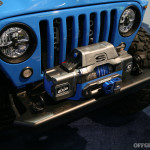
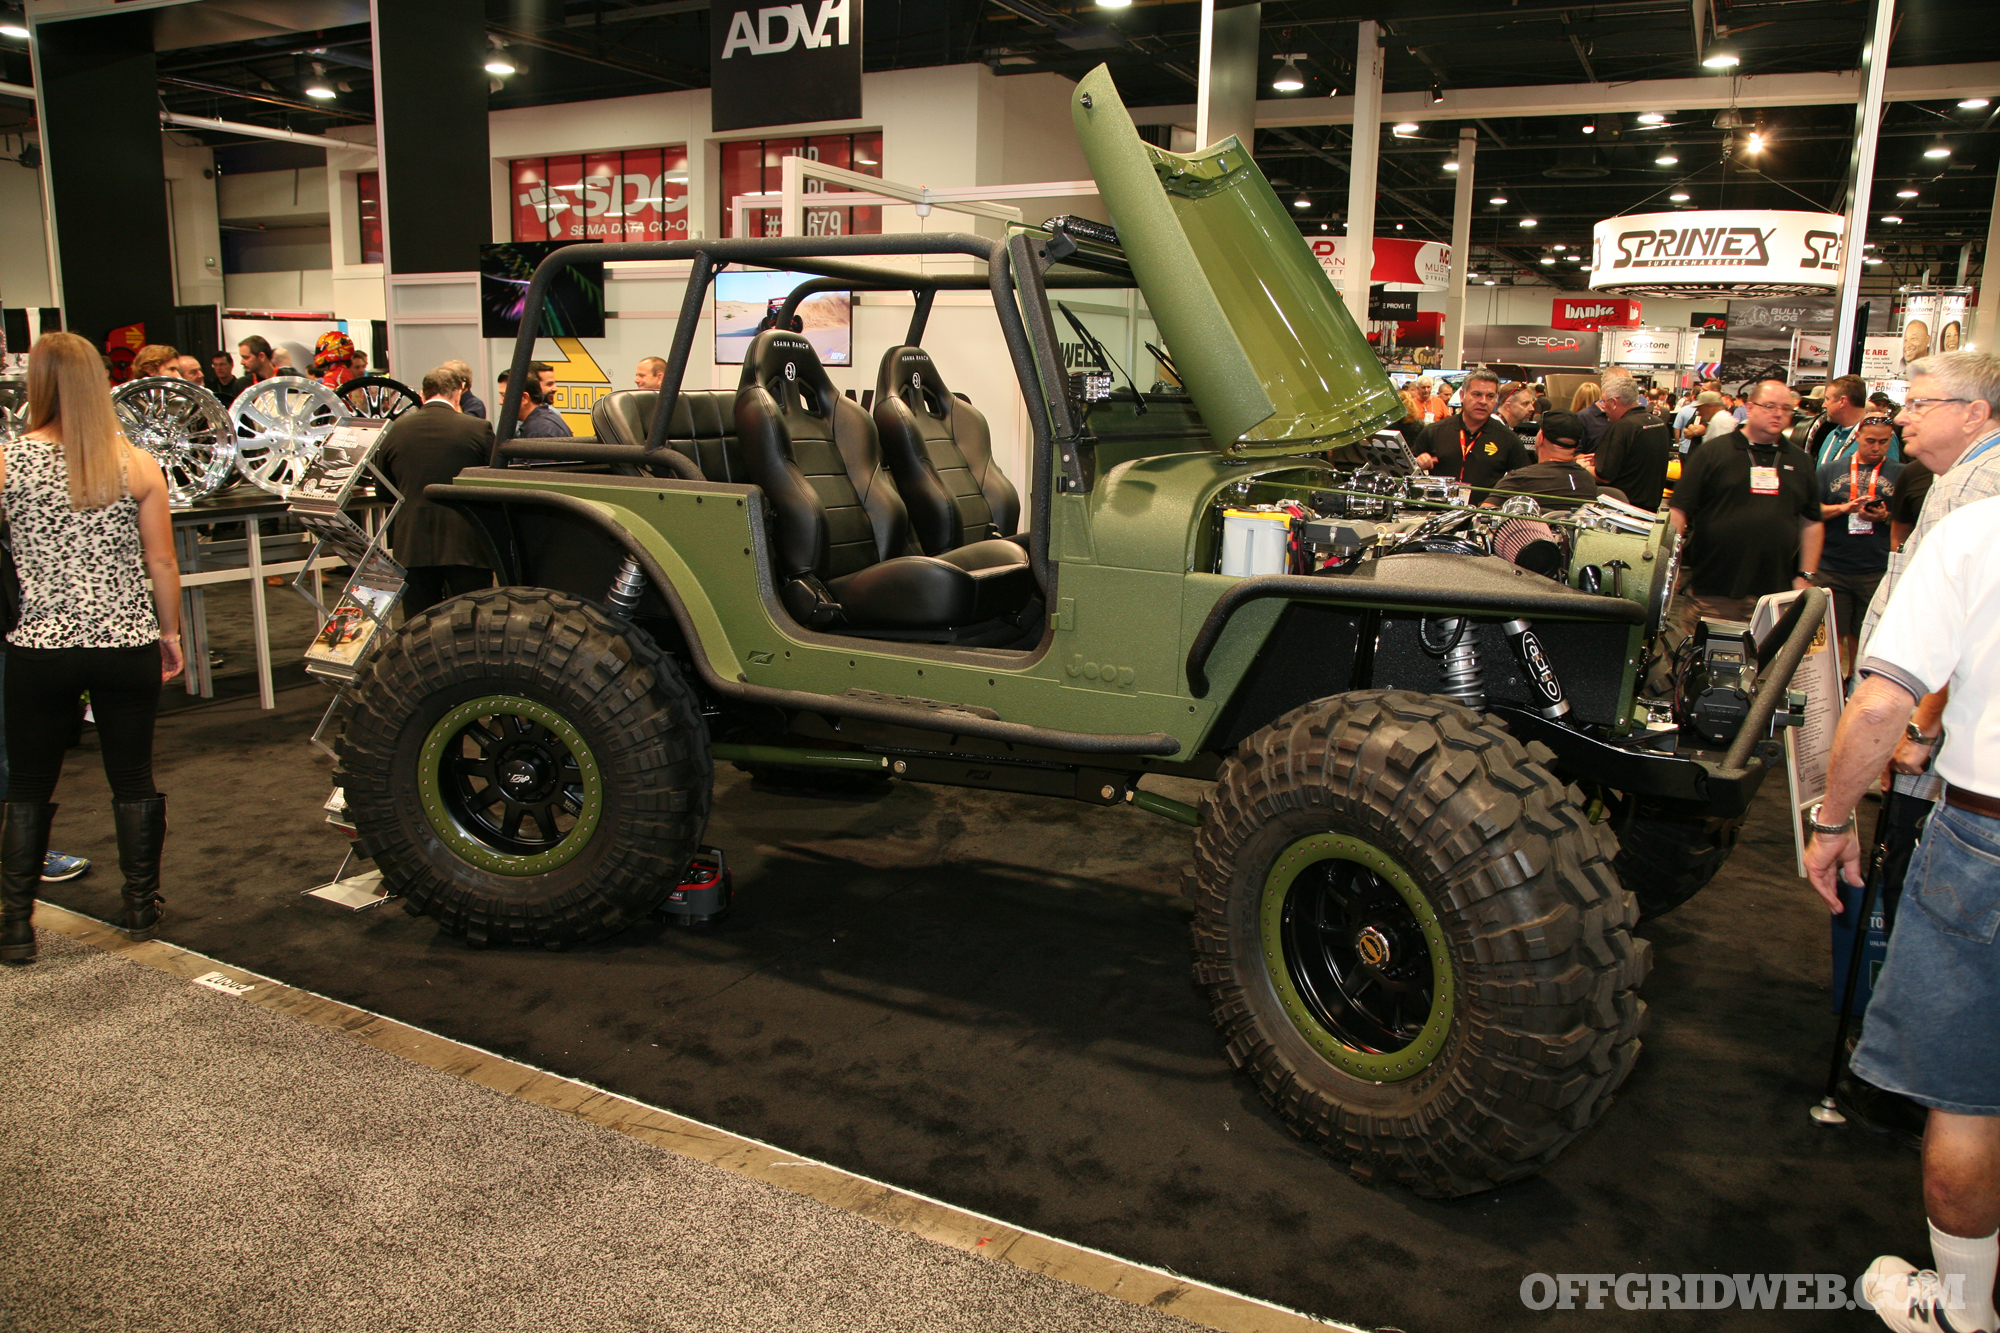
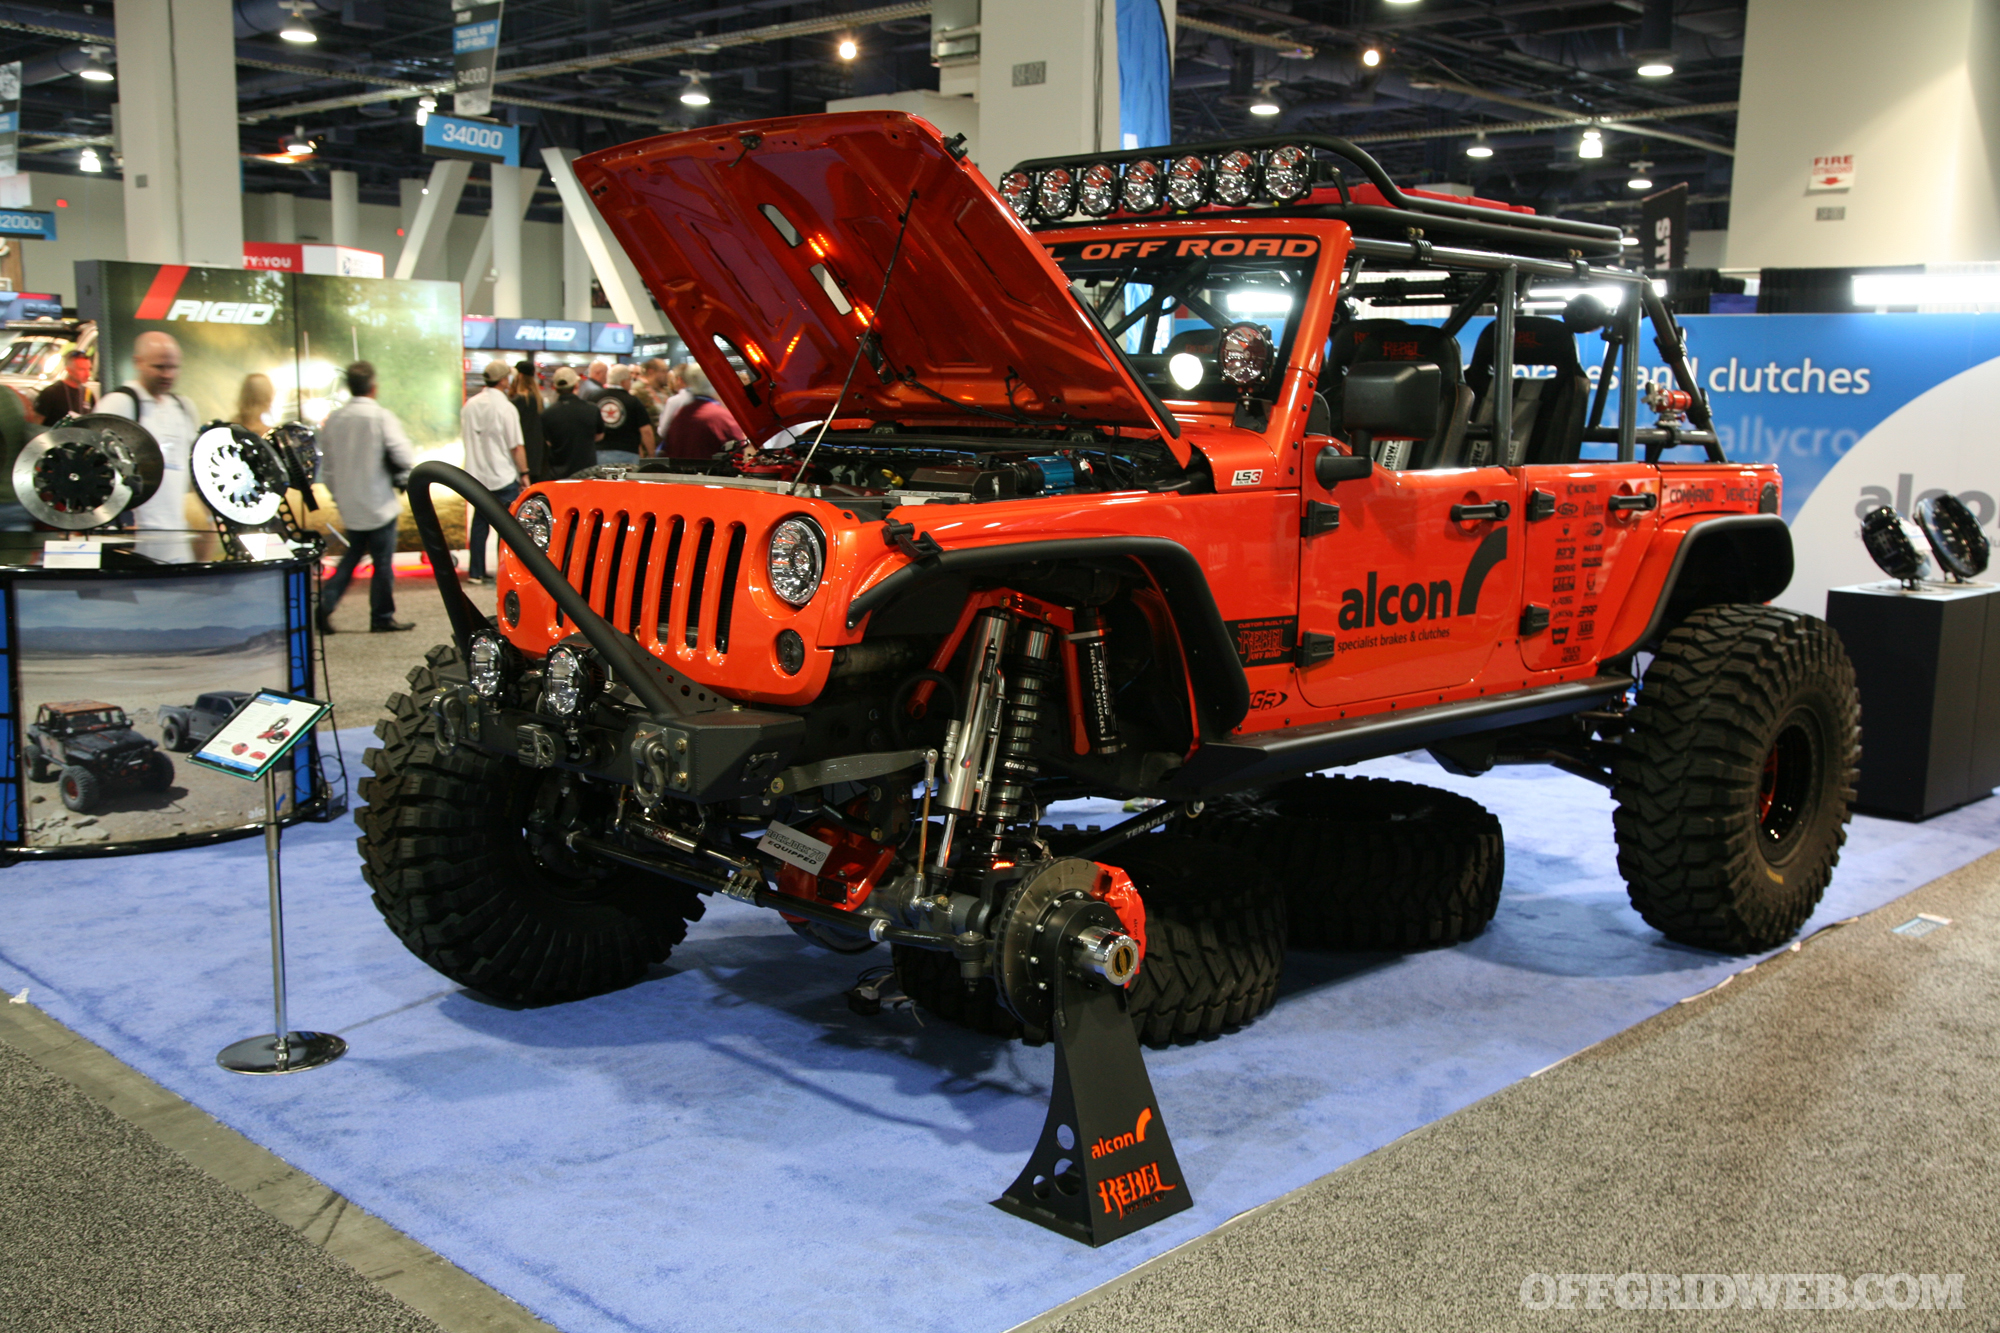
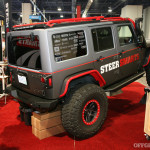
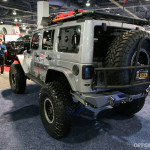
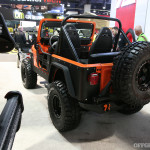
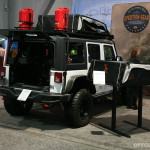
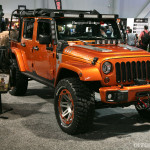
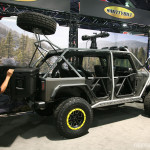
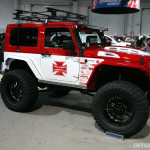
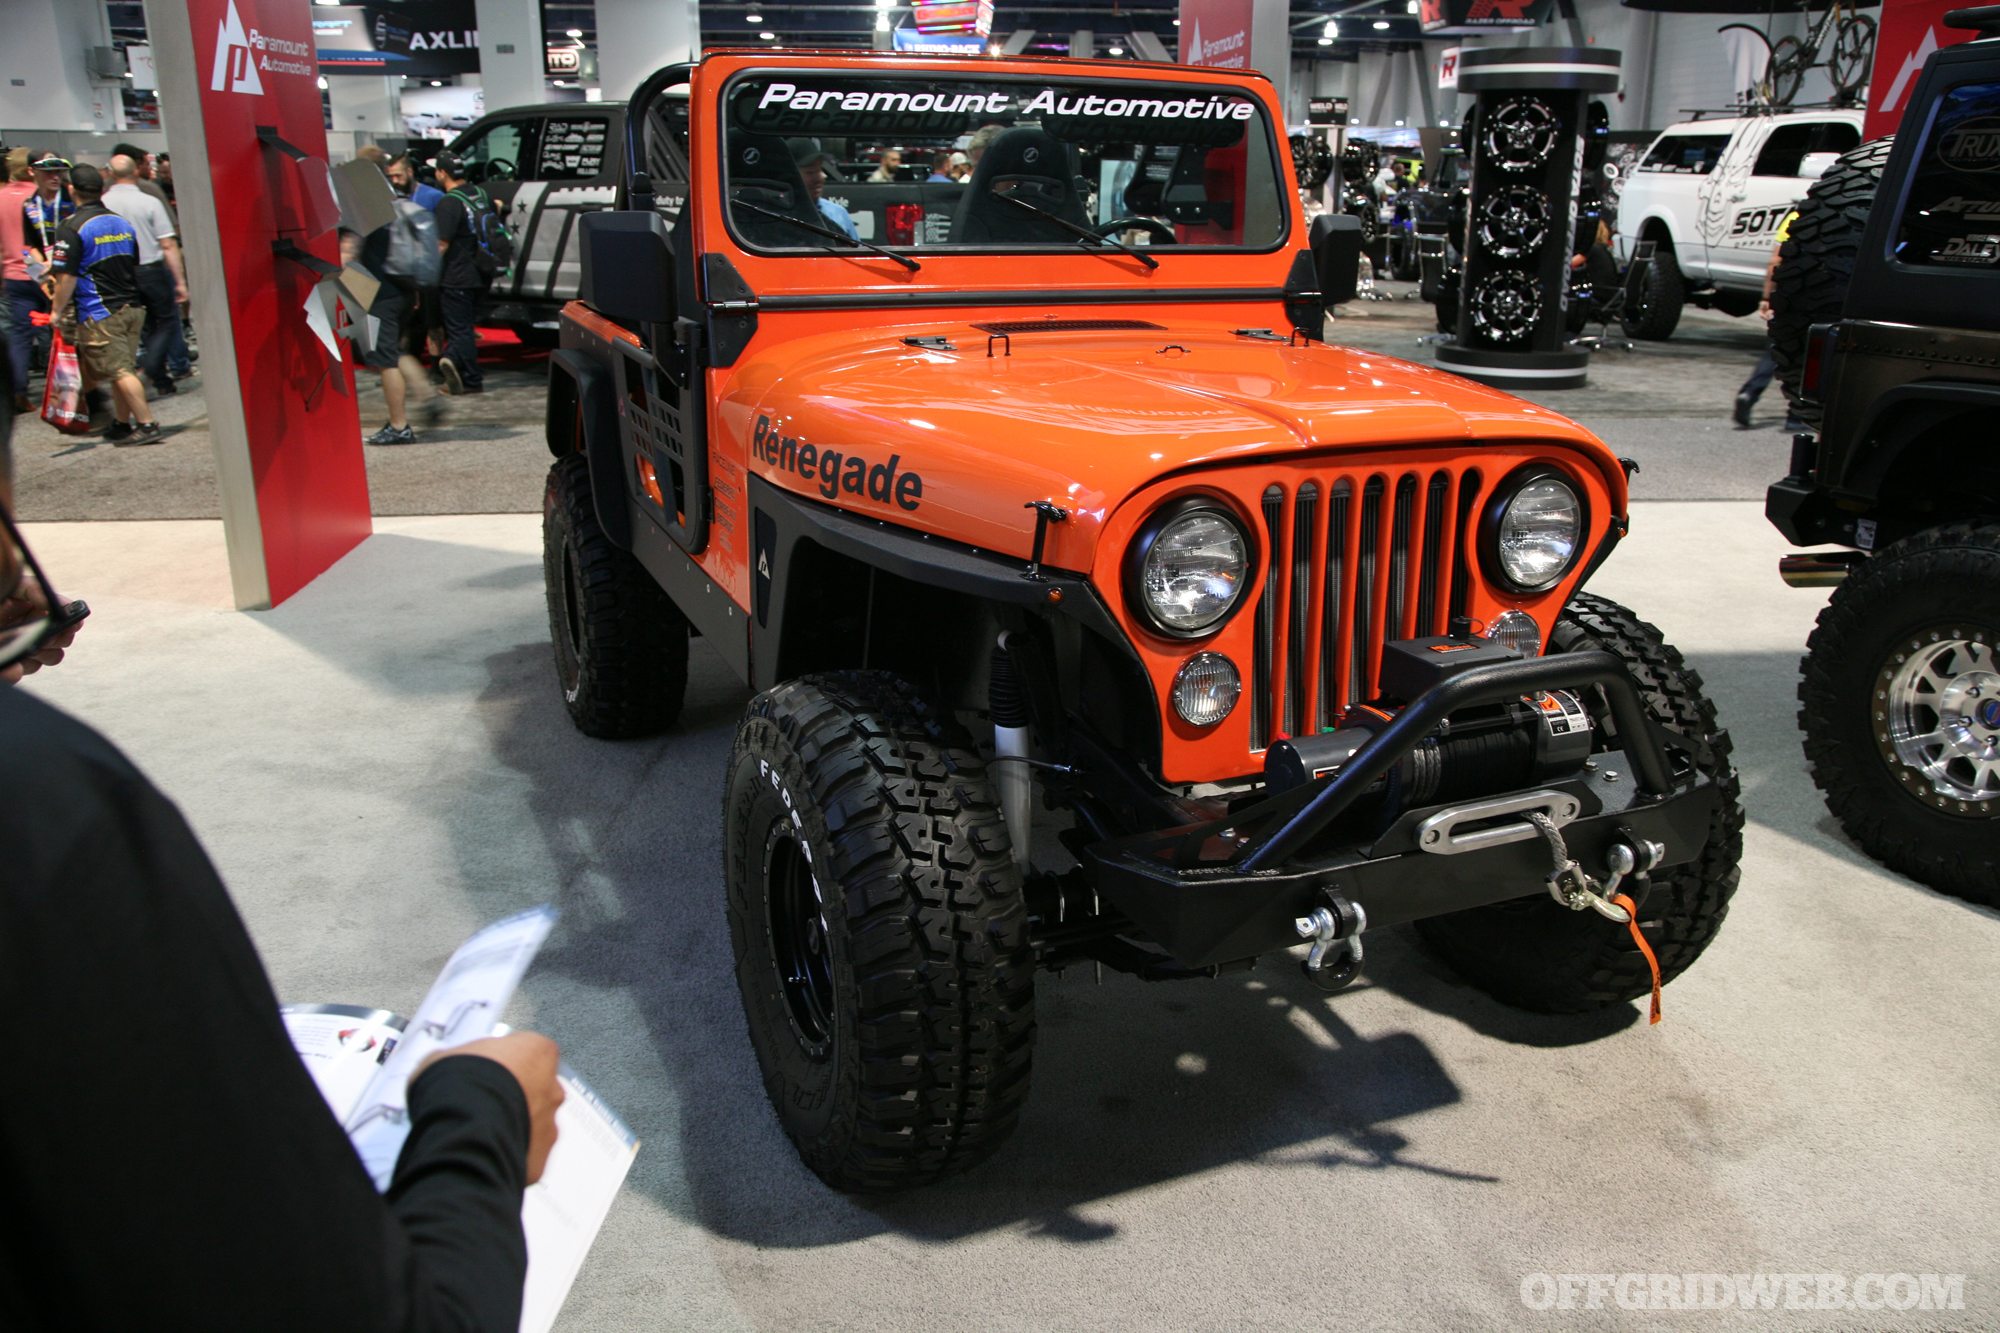
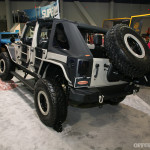
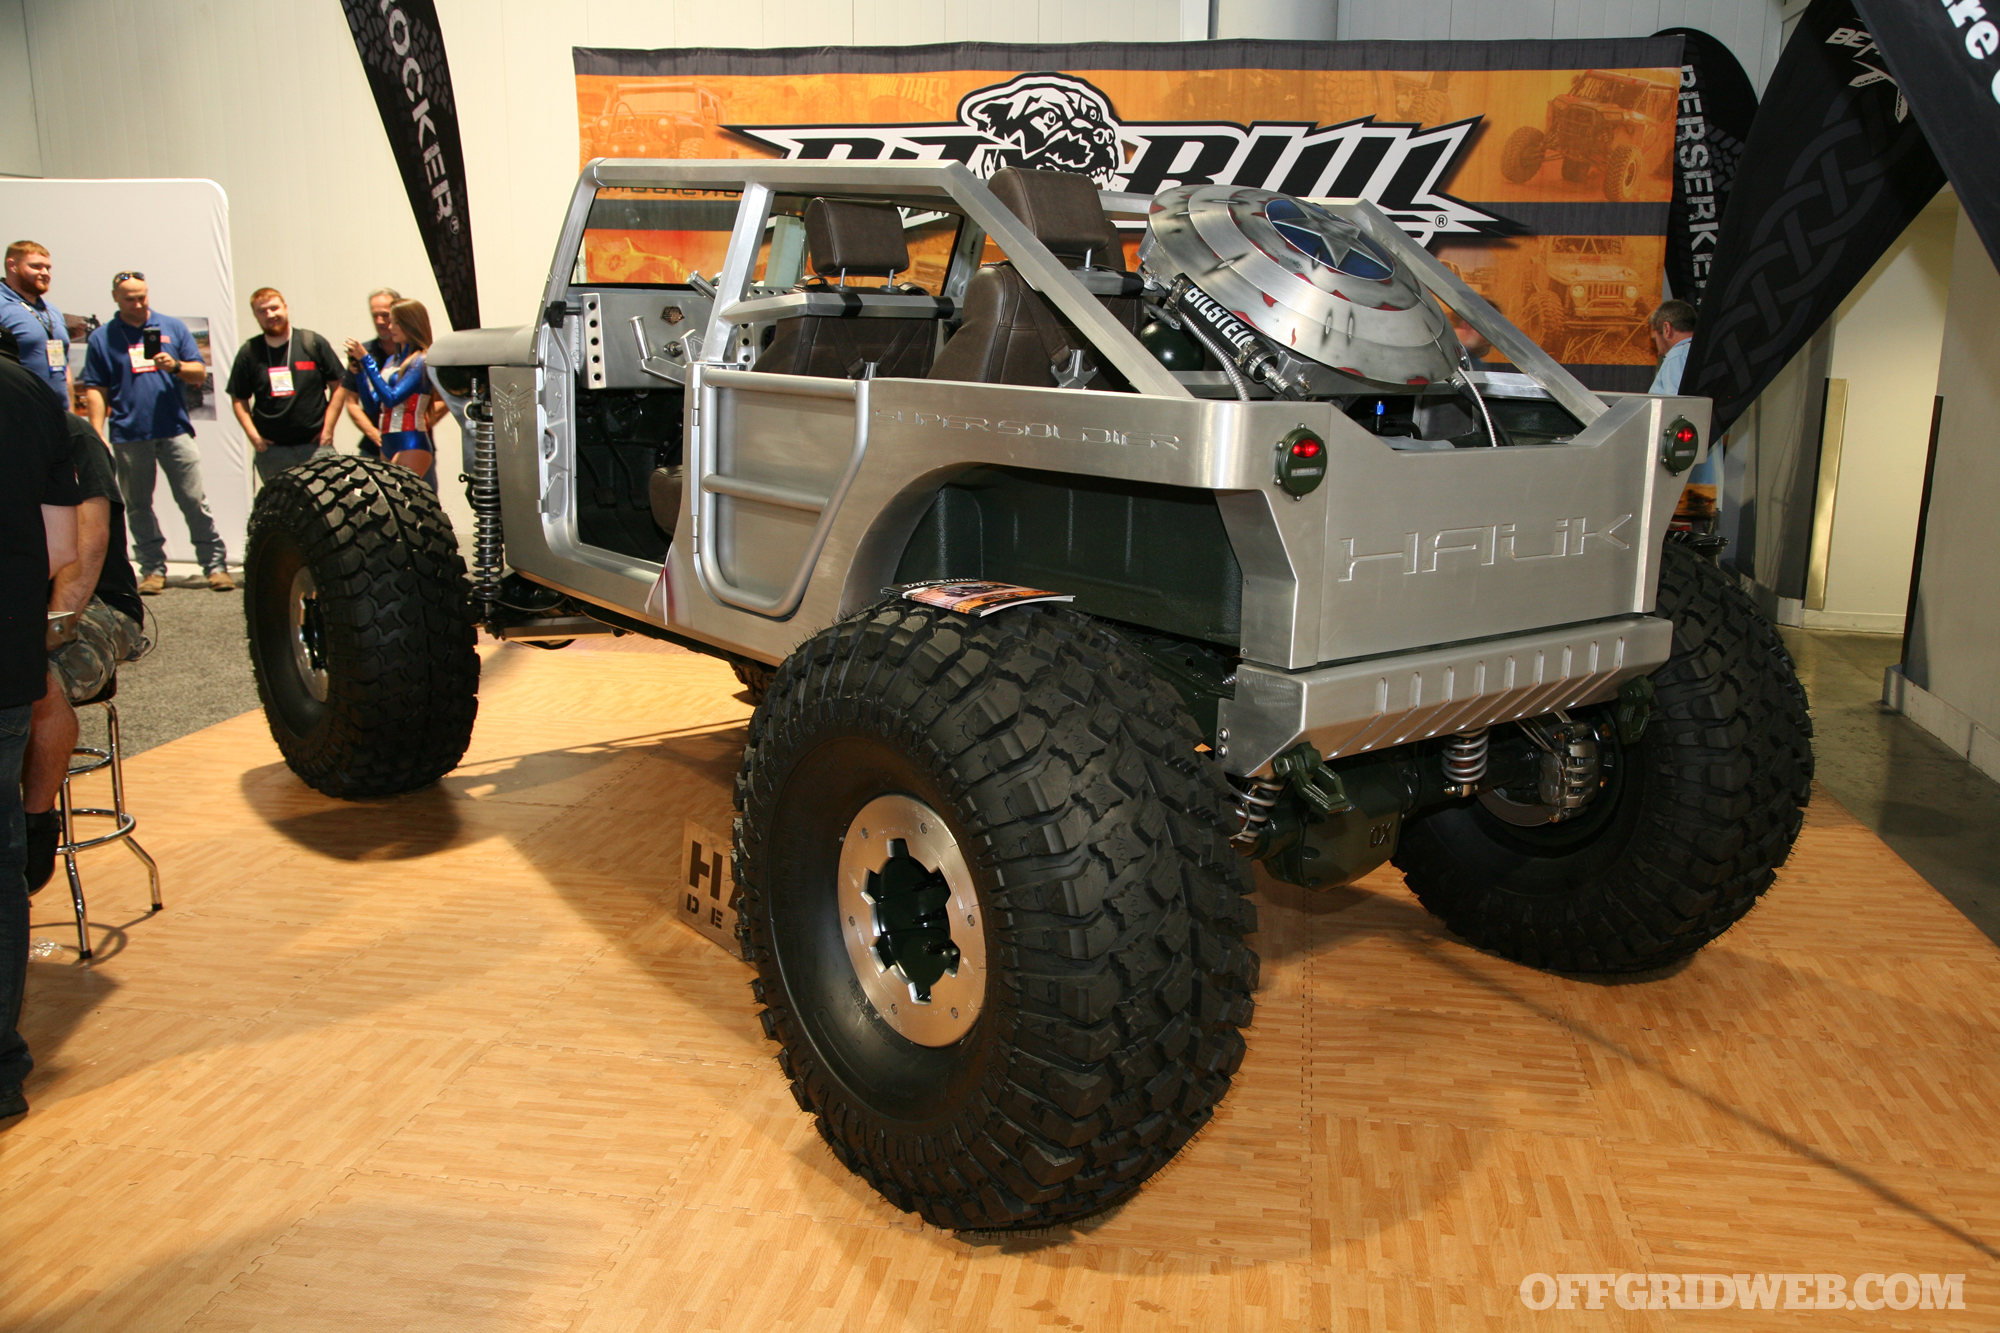
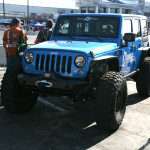
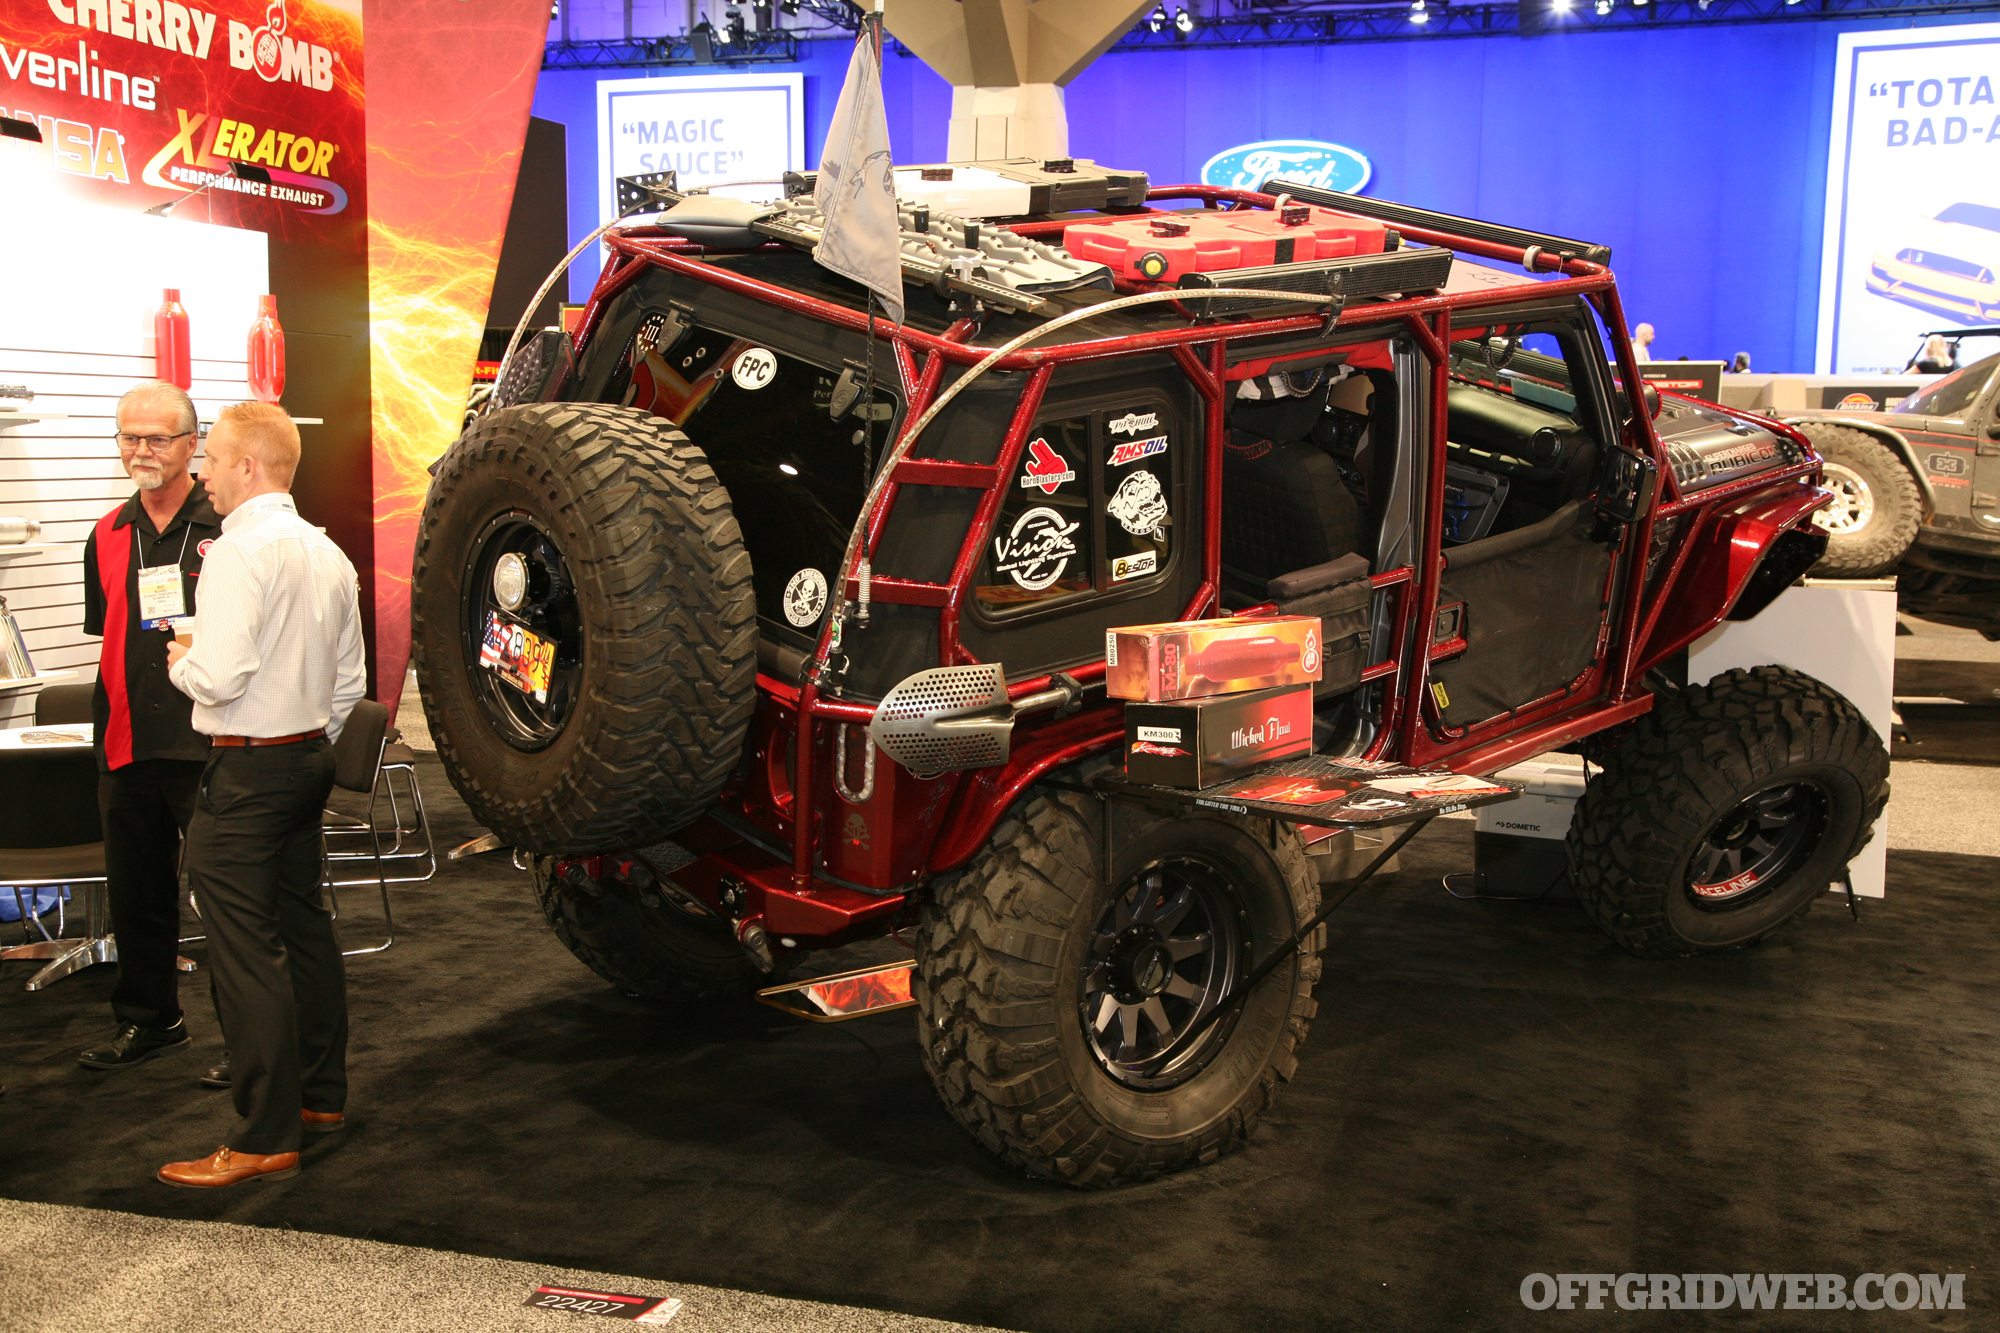
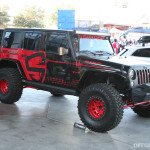
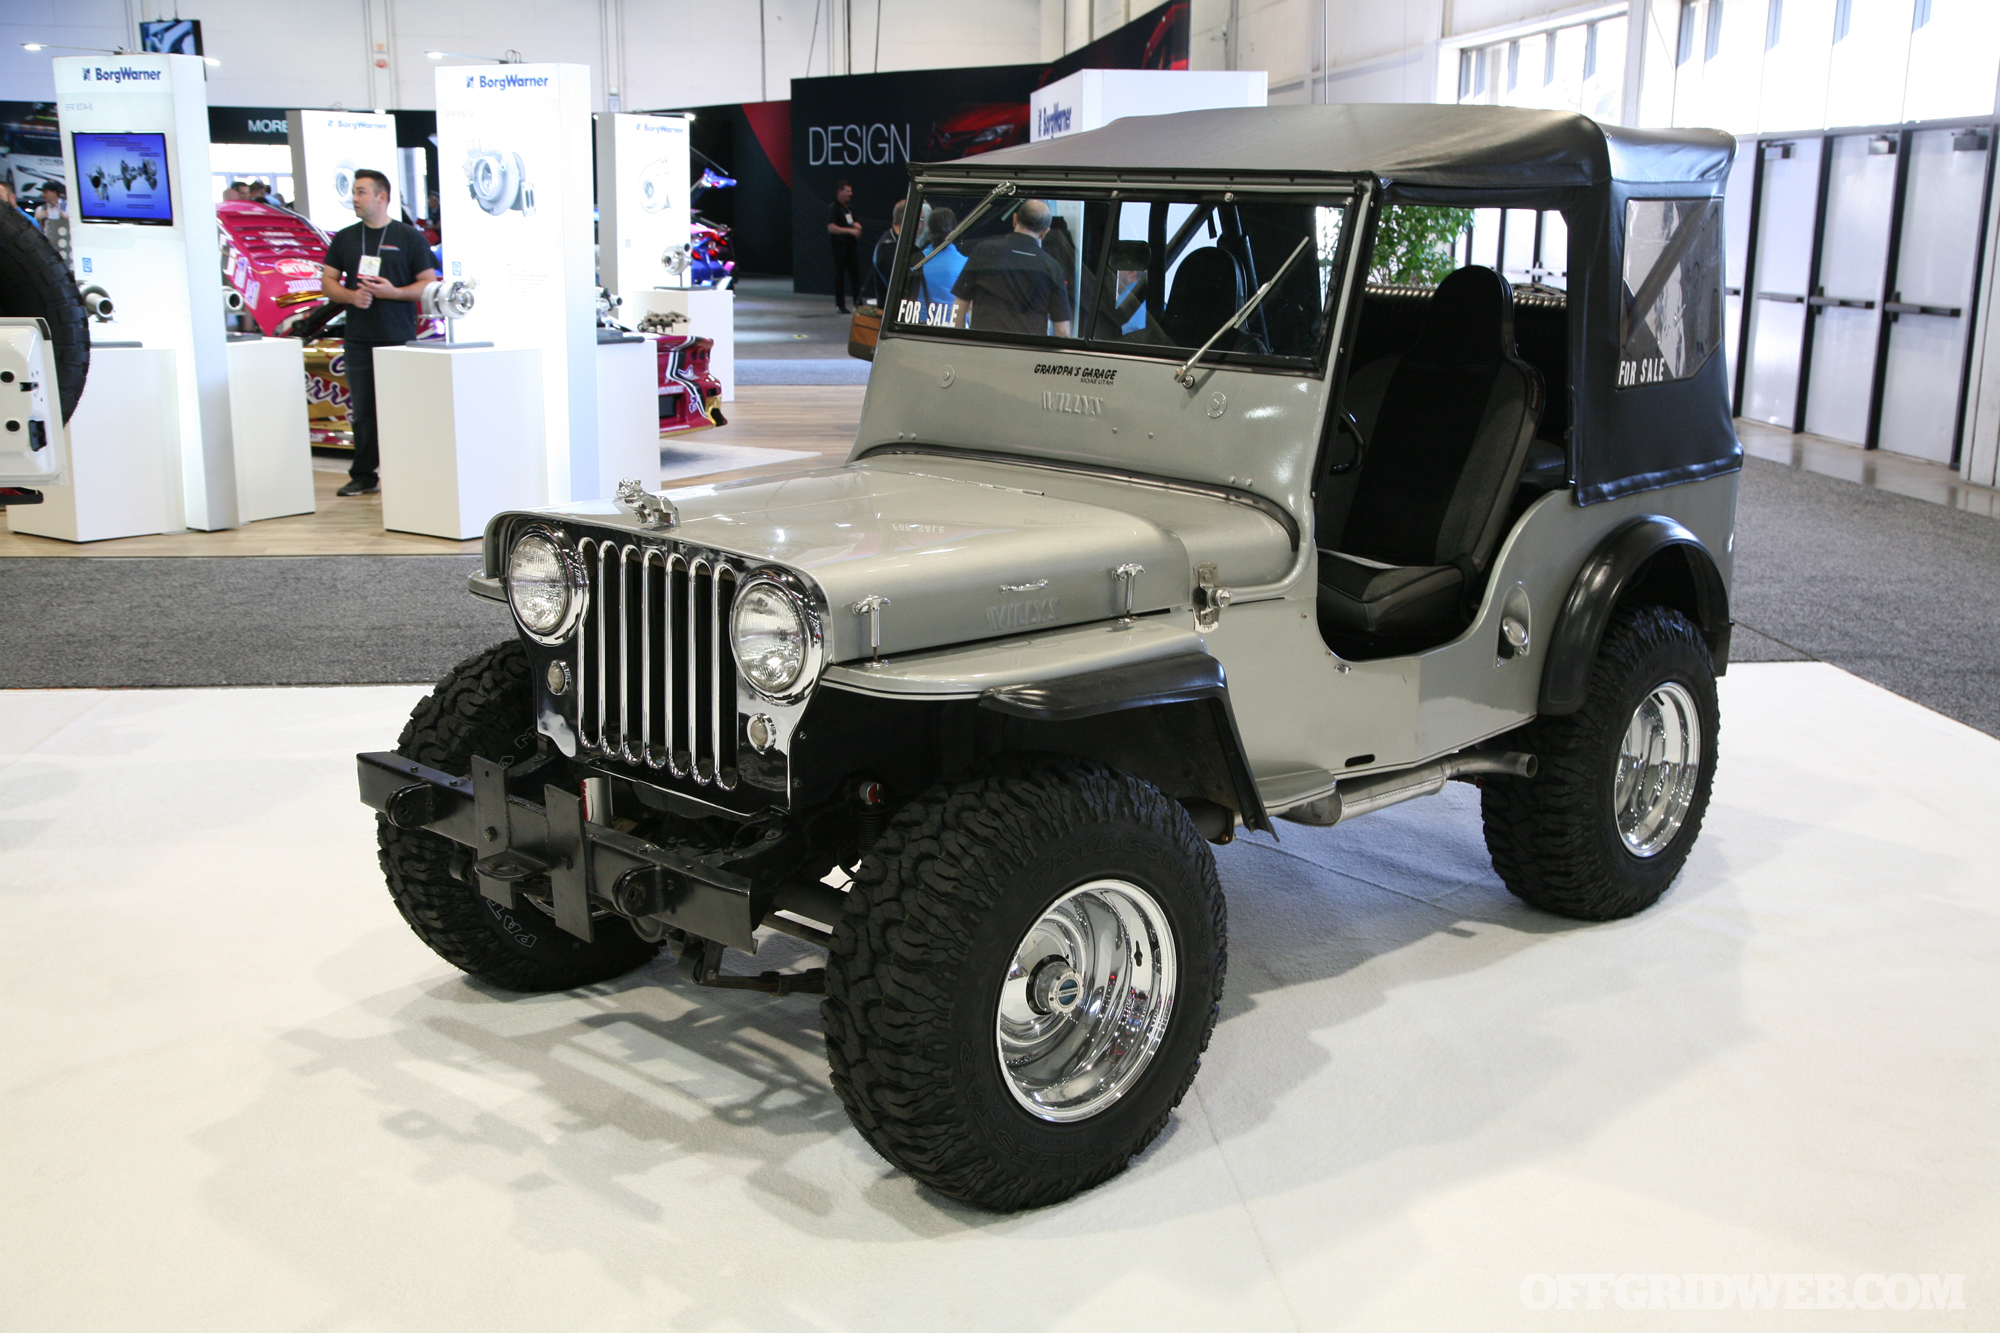
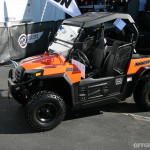
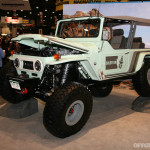
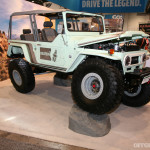
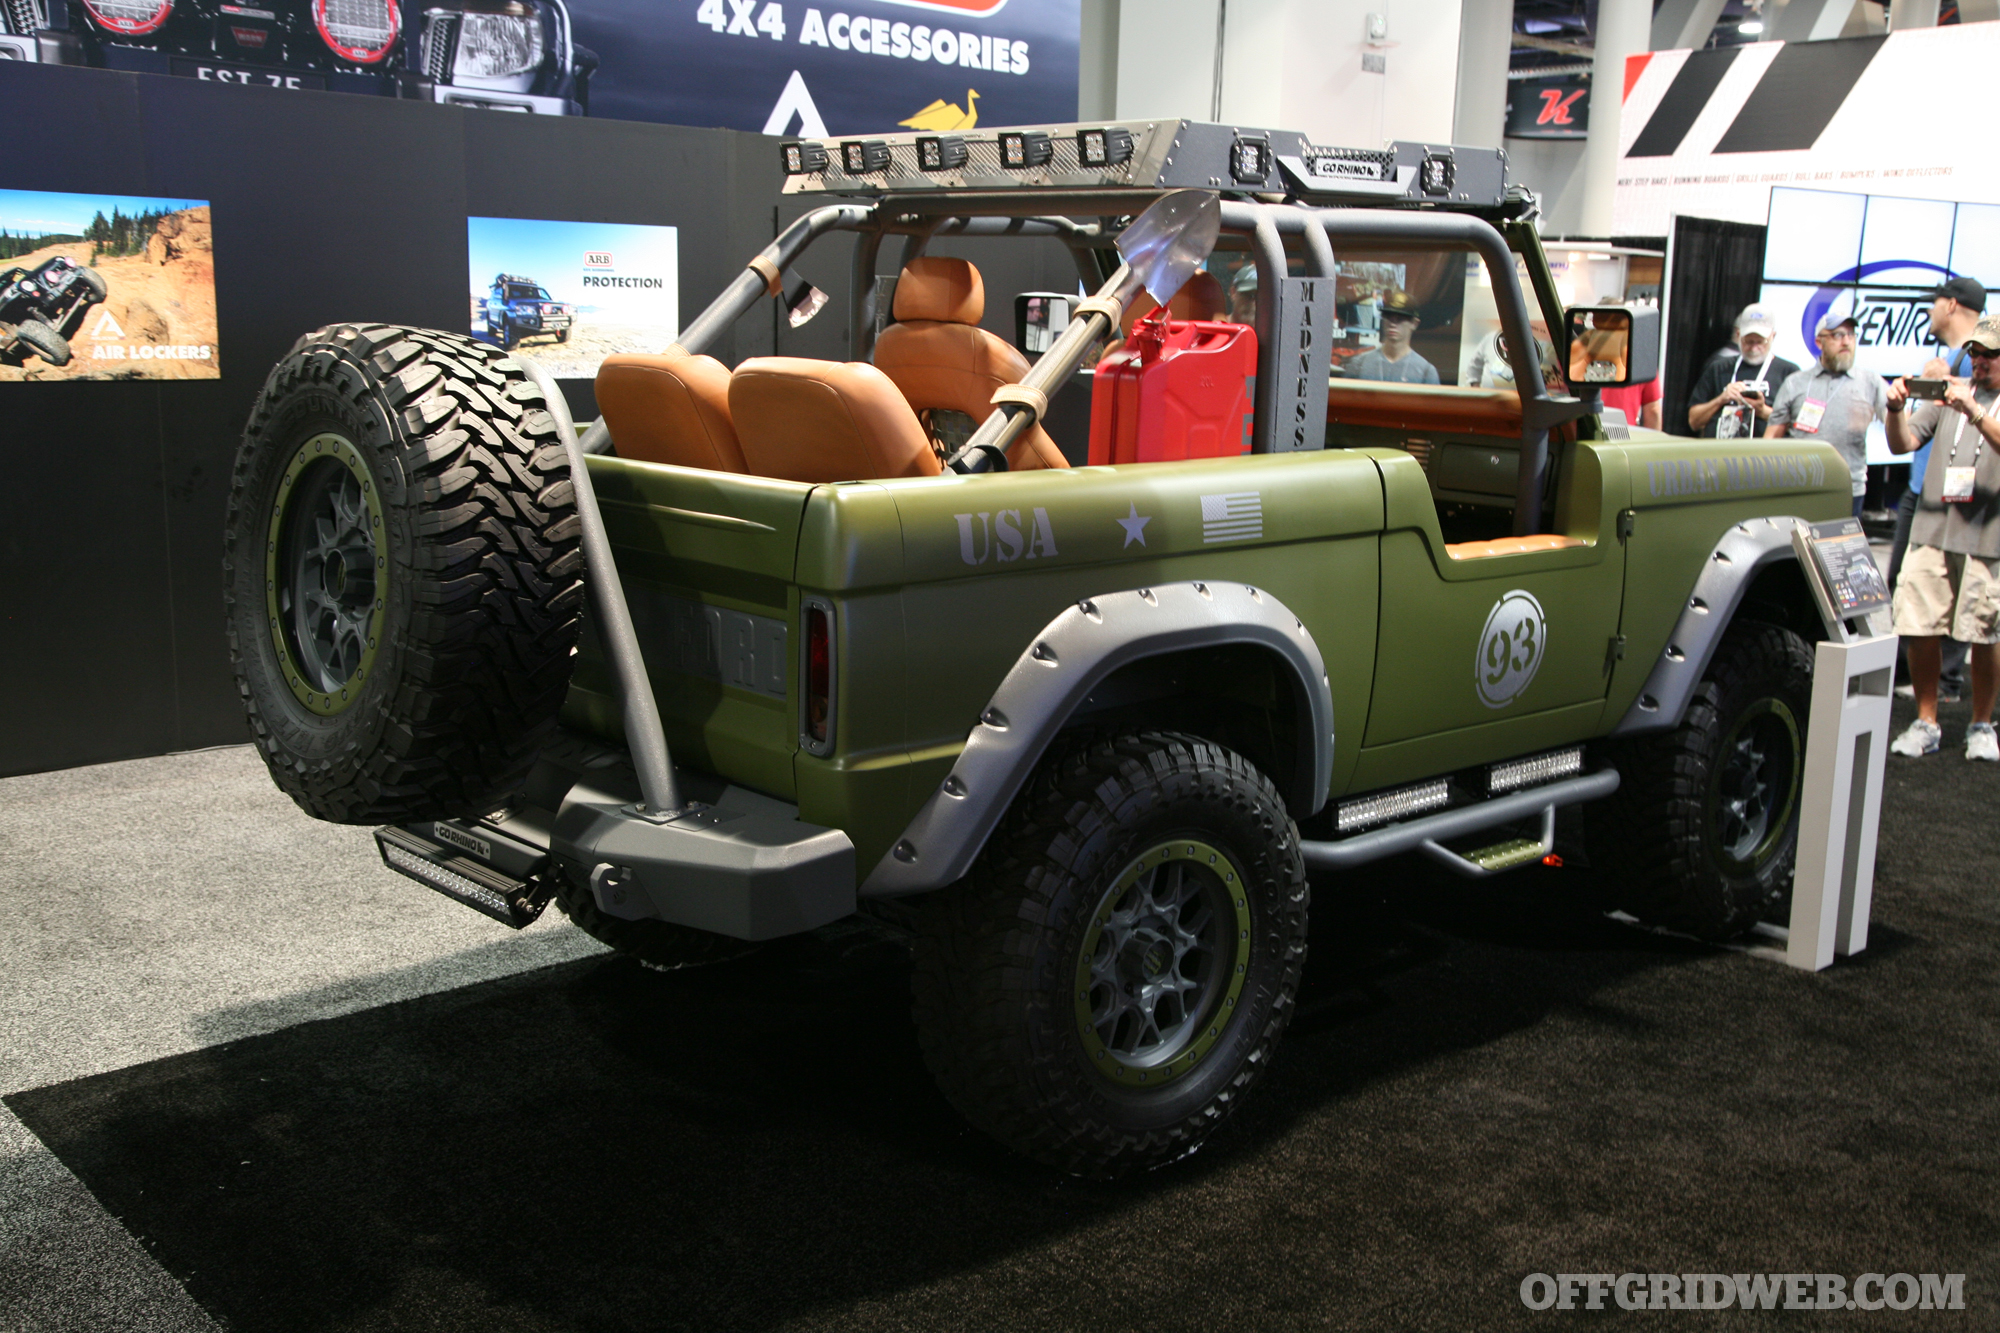
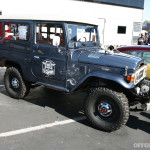
Those of you who are Jeep fans may have felt a little miffed to see that gallery’s total lack of Wranglers, but don’t start writing us angry emails just yet. Today, we’ve compiled a gallery that’s full of more than 50 custom jeeps, from factory-fresh 2017 models to restored WWII-era classics. We also included a few UTVs (a.k.a. side-by-sides) and motorcycles at the end of the gallery.
Make no mistake, this isn’t your granddad’s water filter. It is, however, one of the fastest and highest-capacity portable water filters this writer has ever seen.
The IN-CASE Water Filtration System was designed by Rich Gilbreath, one of the owners of a mom-and-pop prepper store called SHTF and Go, located in Burlington, Wisconsin. According to the manufacturer, when the IN-CASE is used properly, it’ll remove 99.999 percent of all bacteria, cysts, parasites, and heavy metals. And it does so with a flow rate of almost 1 gallon per minute. Weight and transportation issues aside, you could take a 55-gallon drum to your local pond or creek and fill it with filtered water in about an hour.
What it Does
The IN-CASE uses an electric pump to pull water through a prefilter, then forcing it through a silver impregnated ceramic filter with silver-activated charcoal. From there, the water is pushed through an ultraviolet (UV) sterilizer and then ionizing resin, which takes care of any heavy metals that might be present in the water.
The 12-volt DC pump is powered by three 10-watt solar panels that attach to the outside of the filter case. One panel is permanently attached, and the other two are affixed with strong magnets. The system is foolproof in that the panels can only be installed one way. The panels are light, flexible, and add almost no weight to the system. The 30 total watts generate about 1.5 amps. You can let the panels soak up the sun all day long and operate the pump at night using the internal battery. The pump is maintenance-free, with an expected life span of about 10,000 hours.
The battery will operate the filtration system under normal conditions for about six hours. As a bonus, there are two USB ports so the battery can be used to charge a cell phone or other devices. The battery is rated for about 1,000 charges. If needed, it can also be charged using the included international wall charger.
Survival is all about redundancy, and the IN-CASE has that in spades. If the sun isn’t shining, there’s a dynamo crank that’ll generate the juice needed. If that fails, there’s also a stainless steel manual pump option.
Under normal operating conditions, the IN-CASE will pump and filter about 50 gallons of water per hour. The output rate is slightly lessened when the UV system is employed. The UV light also uses more electricity, which means the battery will last three or four hours as opposed to six. There are two power buttons on the outside of the case. The top button is for the UV light, and the bottom is for the pump.
If a leak develops inside the unit, an alarm will sound.
Assembly
The IN-CASE requires a little assembly before the first use. However, there’s nothing that requires tools. When the unit arrives, it’s ready to take out into the field. Everything can be assembled while sitting on a riverbank or the shore of a pond.
The battery must be plugged into the charge controller. If you take the IN-CASE when traveling by air, you’ll need to disconnect the battery in order to be TSA compliant.
Everything is unpacked and assembled. The manual push-pull pump is located at the back of the unit with the knob on the left side.
The ceramic filter is packed inside its stainless steel housing, but needs to be unwrapped before using. Remove the housing and pull the filter from inside, peel off the plastic protective coating, and attach the filter to the housing base. The ceramic filter will need to be cleaned on a regular basis, though the frequency will depend upon how dirty the source of water may be. A distinct reduction in the system’s output and speed will indicate when the filter needs attention. Simply remove the filter and clean it with the scrub pad included with the system.
Toss the water intake out into the pond. After priming, clean water begins to run from the output hose.
The intake and output tubes are simple press-fit attachments. The intake tube runs approximately 20 feet, and the output is about half that length. The prefilter slides over the stainless steel water pickup. Tie the lanyard tight, but make sure you can loosen the knot to remove it for cleaning and storage. The prefilter can be rinsed out when it becomes dirty. If it becomes misplaced or torn, virtually any fabric can be used, as the purpose is merely to limit the amount of dirt and debris that could enter the filter. The IN-CASE comes with one prefilter.
Attach the solar panels to the outside of the case, drop the intake into water, and you’re ready to go.
Use
The 20 feet of intake tube means you can stand on shore and toss the intake out into the pond or body of water without having to immerse yourself in it.
The electric pump cannot pull water more than 10 feet vertically, so in those situations the manual pump must be used. The manual pump may also be used to prime the electric pump, but this isn’t absolutely necessary.
The power switches for the pump are located on the side of the unit. Push both buttons in, and the pump will start up. Once water has filled the ionizing chamber, turn on the juice. Of course, the pump will require electricity, so either the sun must be shining or the battery needs to be charged.
The pump does make noise, but isn’t very loud at all, especially with the case closed. It sounds similar to a toy windup boat. If noise is a concern, you can use the manual pump to provide clean water with very little sound.
Once the unit is running in earnest, water flows from the output almost as fast as a kitchen faucet. It’s clean, clear, and ready to drink.
We took the IN-CASE to a local pond for some real-world testing. The assembly took about 20 minutes, but most of that was spent on one-time operations, such as unpacking and assembling the ceramic filter. Once the unit is fully assembled, it may be stored and transported that way.
After assembly, putting it into operation consists of tossing the intake hose into the source water, putting a container at the end of the output hose, and turning the unit on. We primed the pump manually to test that function and found it took a fair amount of effort to draw the water through about 12 feet of hose and the filter. Not impossible, but it was a bit of a cardio workout.
Left side is the filtered water, and right side is the source water.
The water in the pond was predictably dirty, and the water flowing from the output hose appeared to be as clear as normal bottled water. It tasted, well, like water is supposed to taste. The IN-CASE doesn’t lend any sort of aftertaste to the water, unlike chemical purifiers such as chlorine tablets or iodine drops. We suffered absolutely no ill effects from consuming the filtered water, either.
The largest drawback to the system is the weight. While the unit packs nicely into the case, at 30 pounds it isn’t something that’ll be easy to lug around during a bug-out. The IN-CASE is, however, perfect for a family or group who needs a reliable method of producing clean water in large quantities.
Another reason the IN-CASE Water Filtration System might be best suited for a group is the price. It currently retails for $1,799, not much more than a large manually operated purifier.
All in all, it’s a very impressive system filled with redundancies. Each unit is assembled by hand, and Rich insists customers call him upon receipt of their units so he can walk them through the assembly process. That level of customer service isn’t seen very much nowadays.
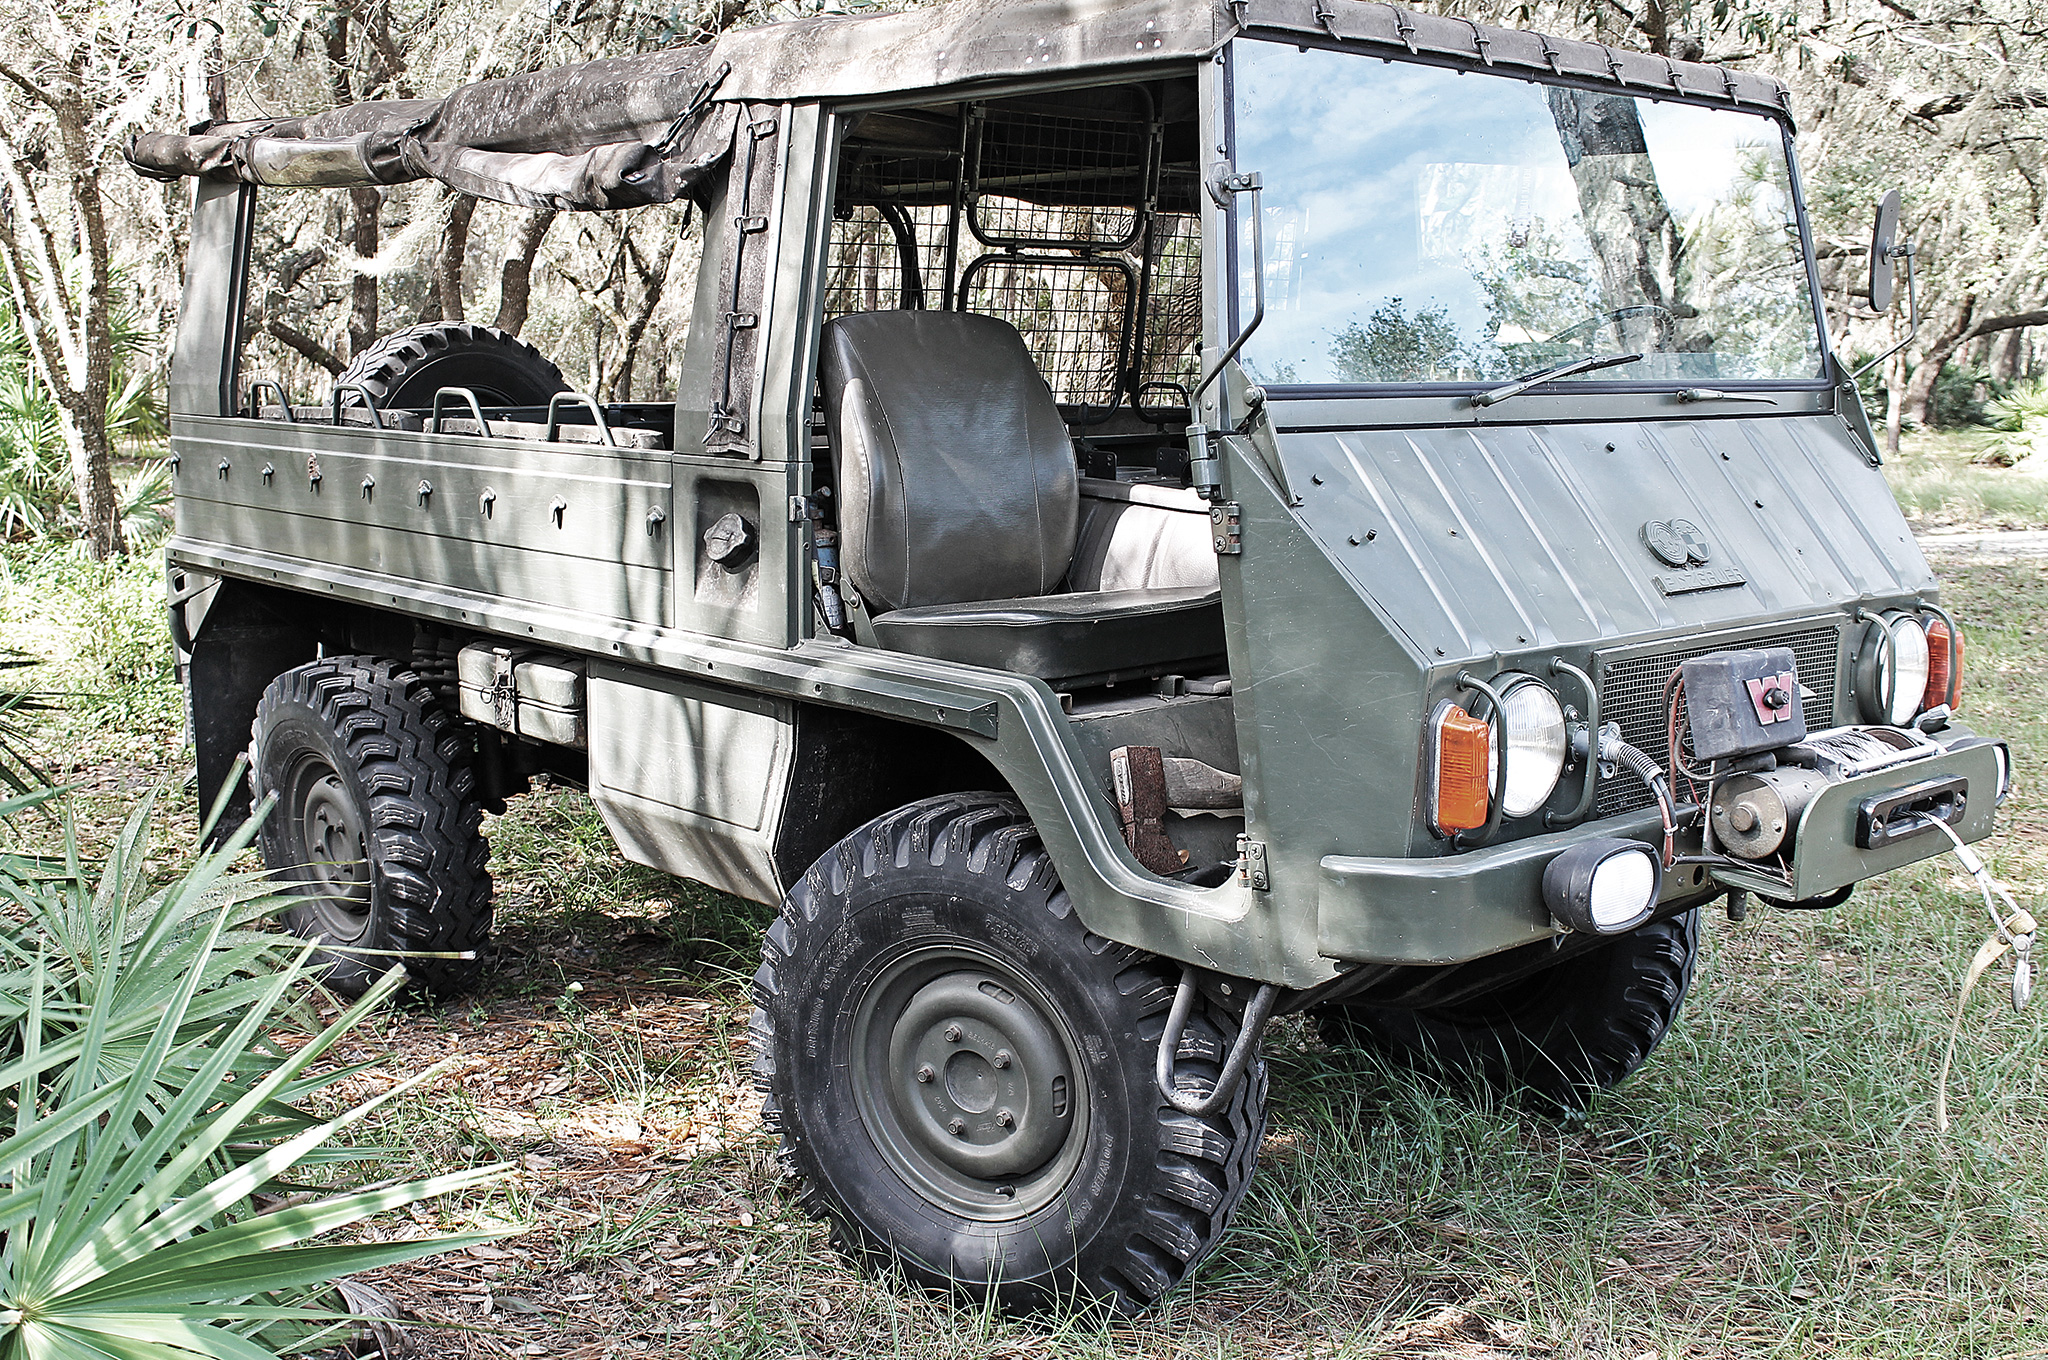
Sturdy and agile as the Alpine mountain horse she was named after (and not the cattle breed that shares its name), the Pinzgauer was born and bred in the European Alps during the early 1970s, then proved worldwide militarily from desert to jungle rivers for decades. These early generation Pinzgauers — now old enough to be exempt from certain U.S. non-EPA import equipment requirements — were gradually decommissioned and released from service by Swiss and Austrian military forces, driving demand throughout the United States and the world.
Today, a vast yet scattered network exists among thousands of knowledgeable off-road Pinz enthusiasts, gathering everywhere from the Colorado Rockies to the Hawaiian Islands. Though on rare occasions you might find a street-legal Pinz tucked nicely into an average parking space, Pinz owners universally own a second vehicle for daily or long-distance driving and preserve the Pinz for hunting, special touring, or work as ranch vehicles. Increasingly, the demand is ratcheting up among savvy preppers looking for a relatively affordable world-class vehicle designed to remain decidedly low-tech, field-maintainable, and (perhaps most important to survivalists) resilient. On that fateful day when all other land transportation grinds to a panicked halt, Pinz drivers claim they’ll keep on rolling — along with 11 of their closest amigos.
So when a well-used, low-profile 1975 model was discovered recently, we here at OG jumped at the chance to introduce this high-mobility all-terrain vehicle to our readers. During the process, we discovered some tips that will help our readers select and plan their own bug-out vehicle layout.
Go Hard or Go Soft
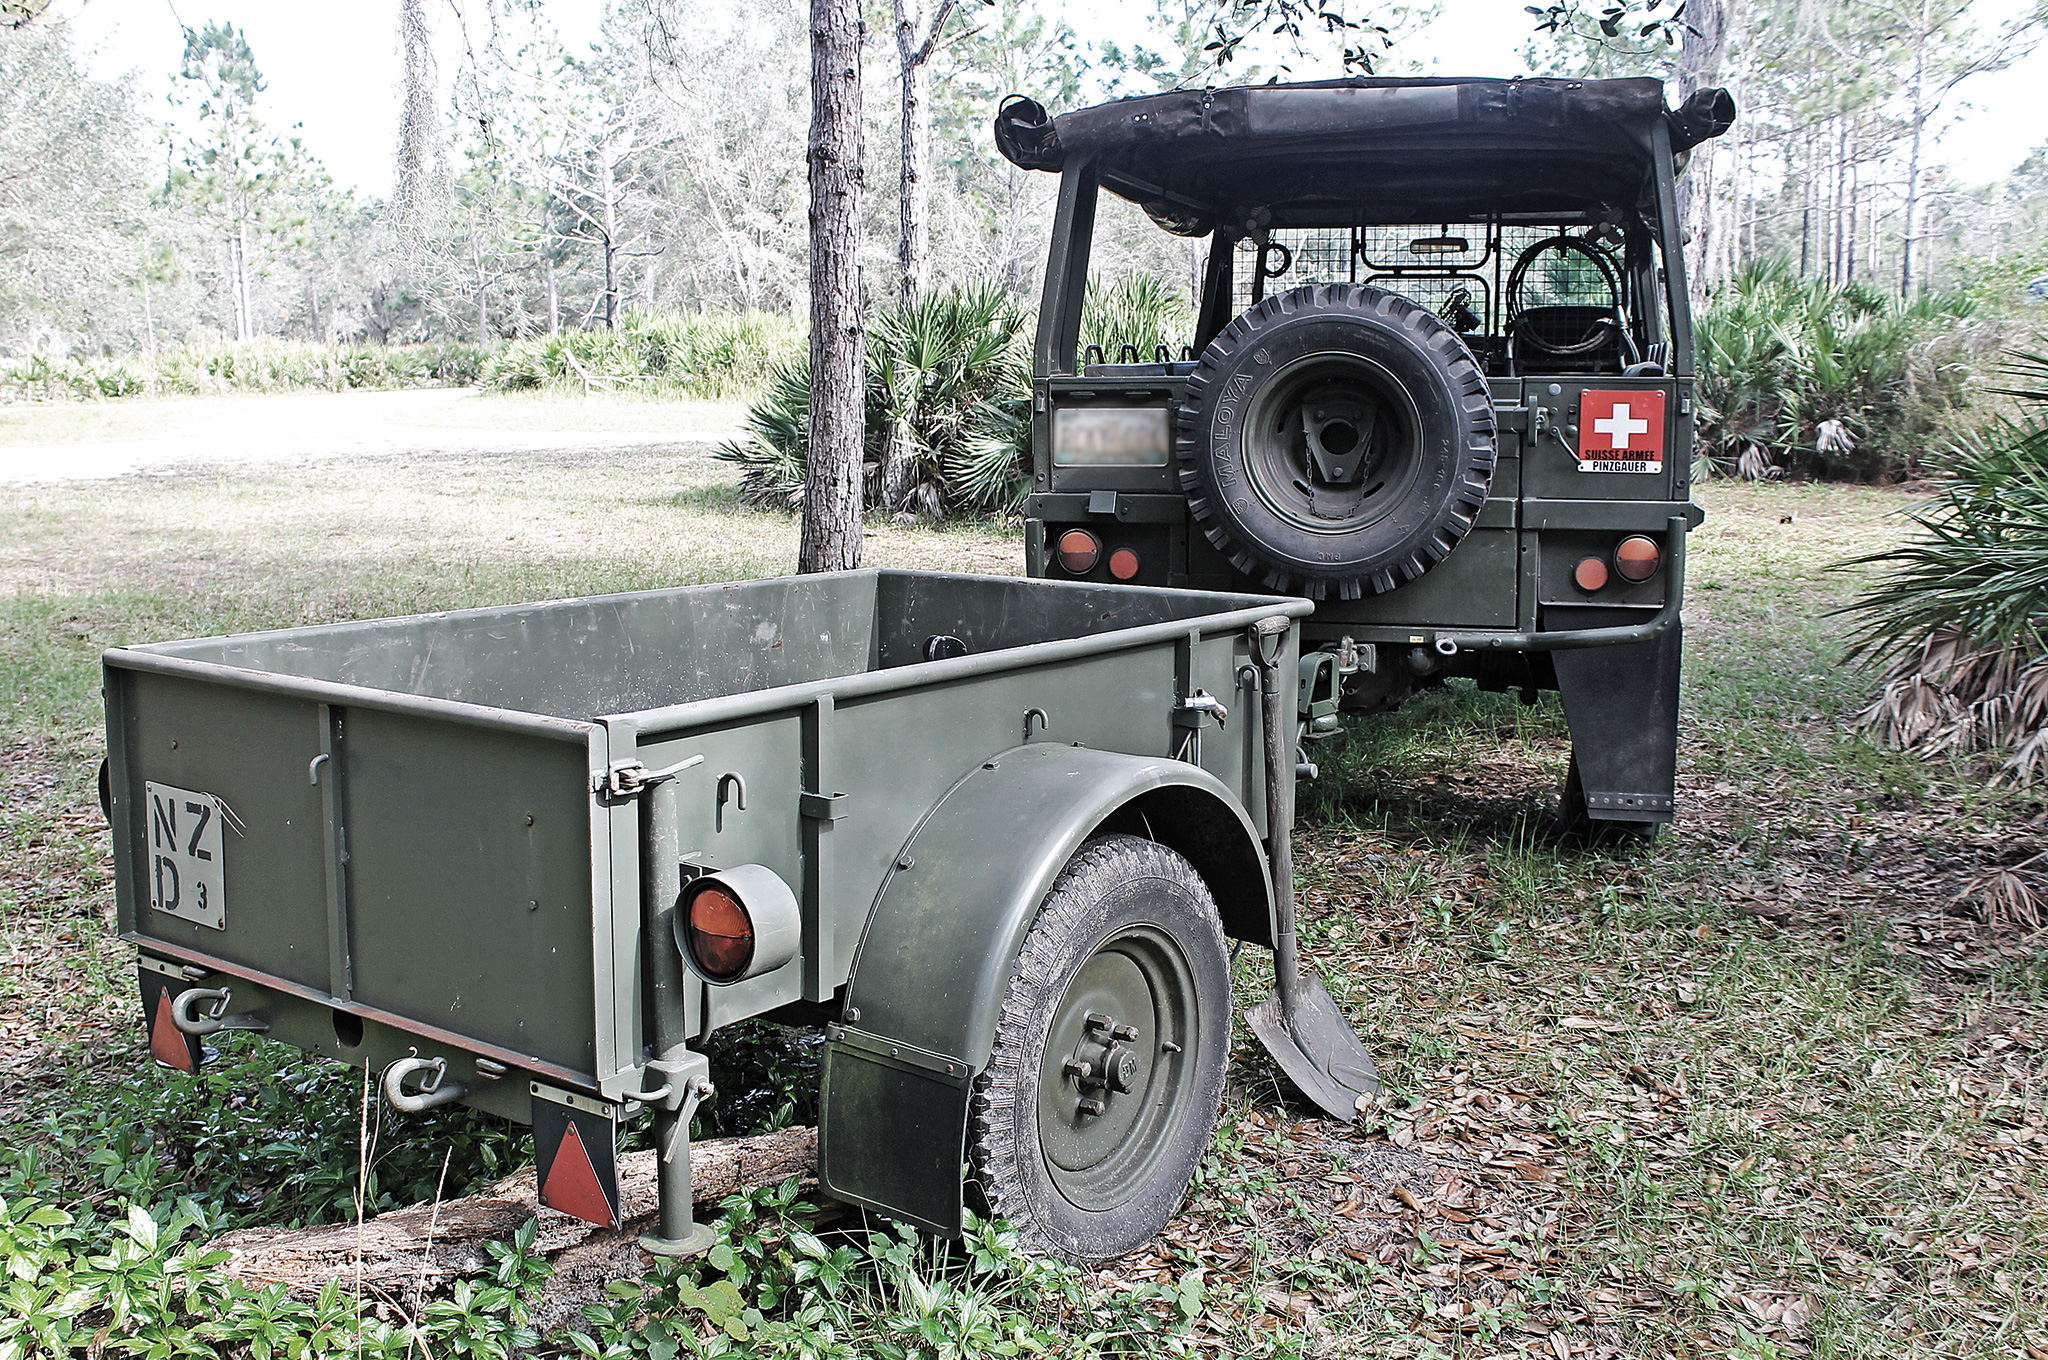
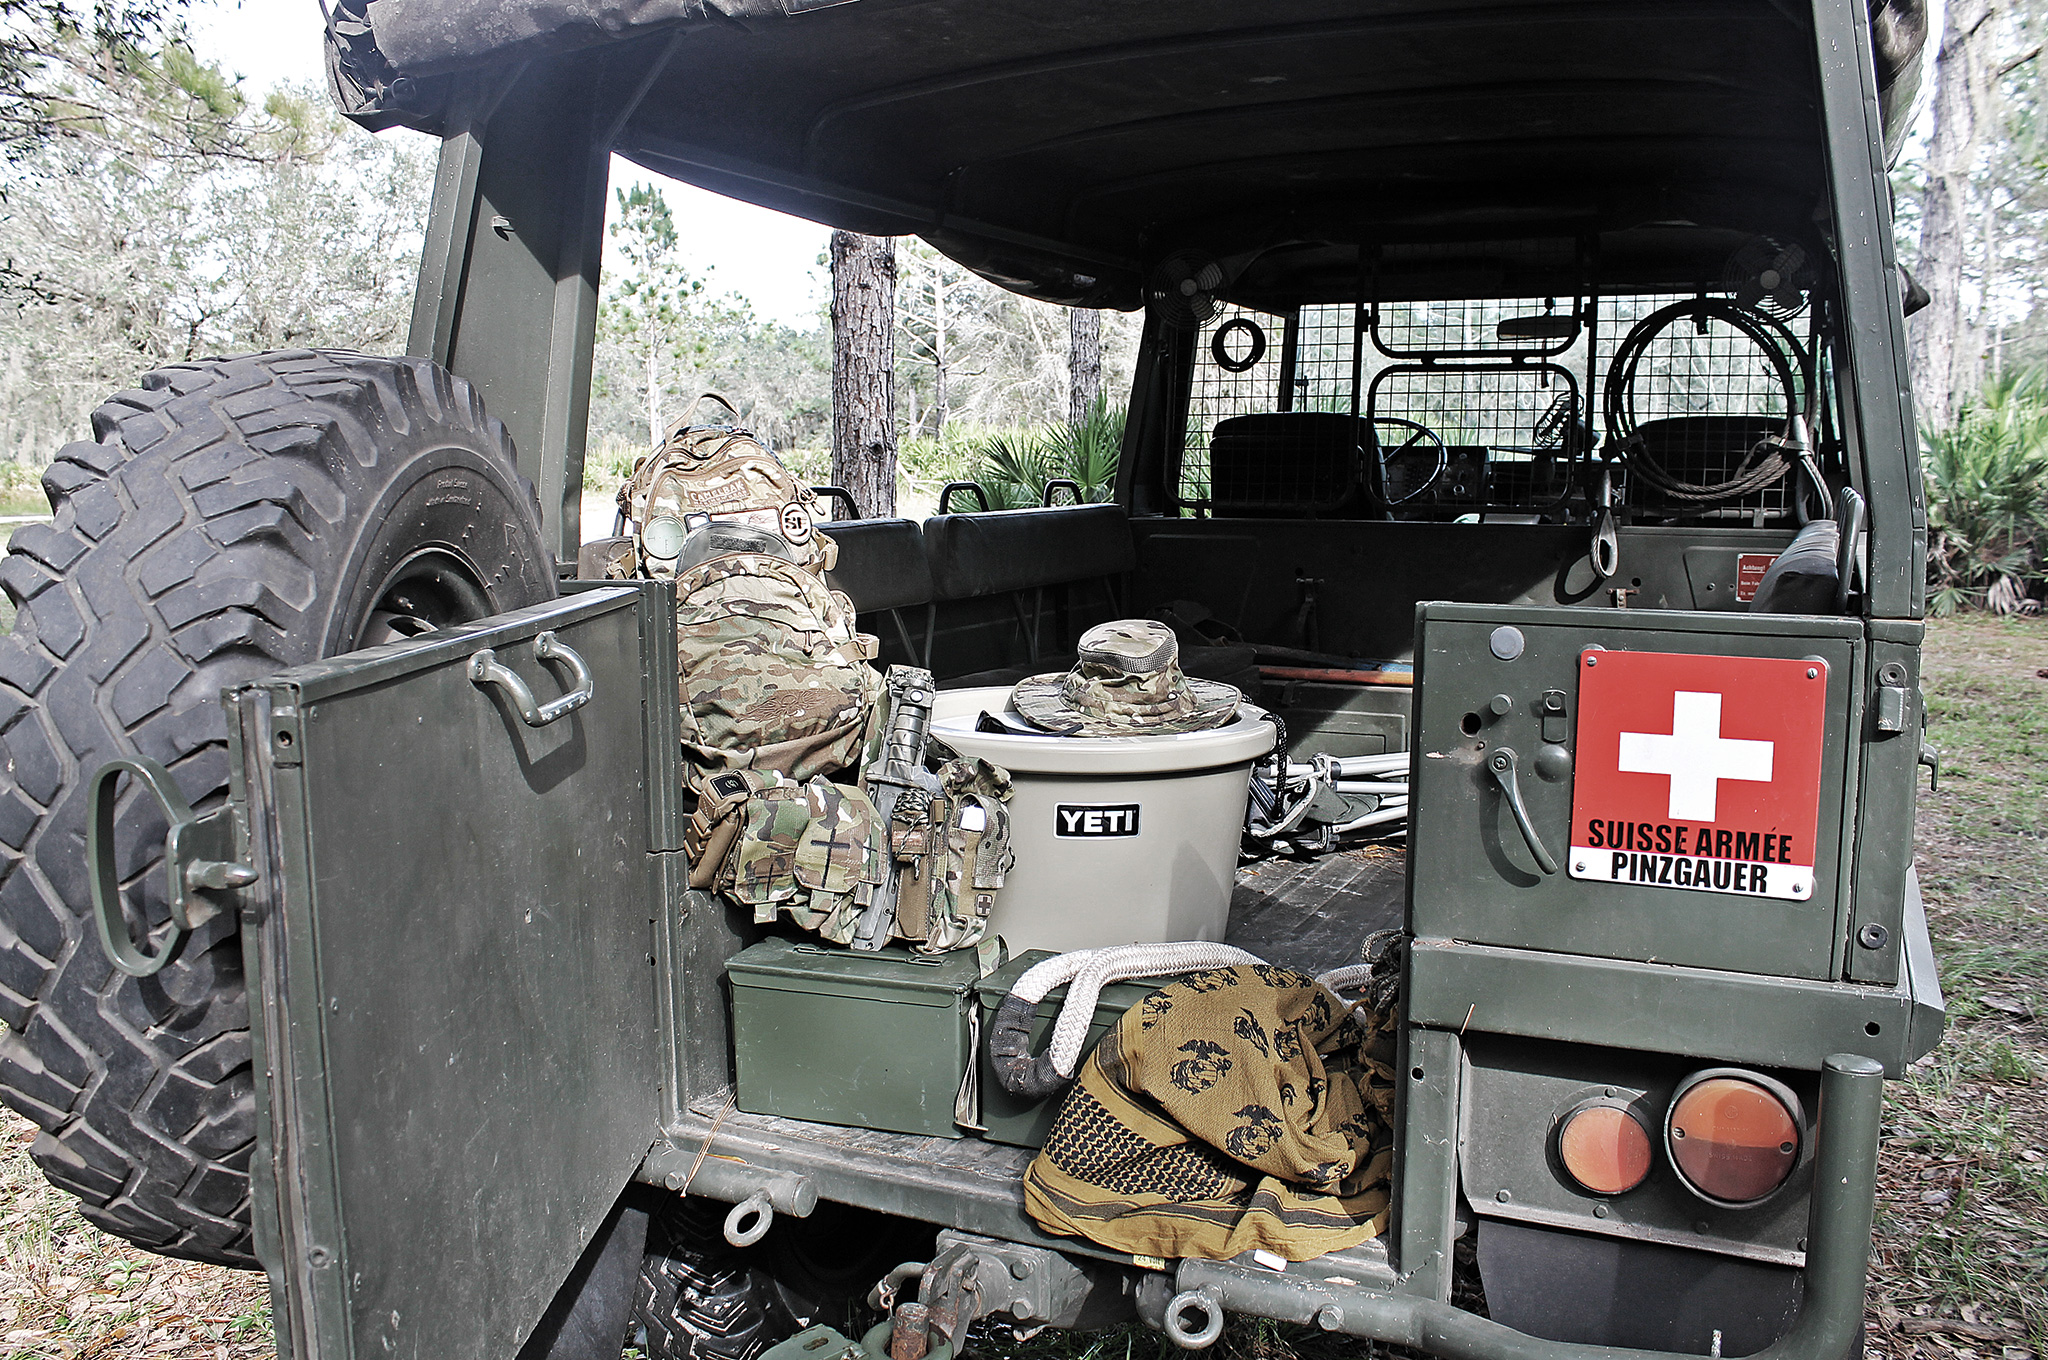
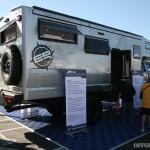
We located this Pinz parked on a southwest Florida ranch, the site of a private shooting resort. A breeze blew openly through the rolled-up canvas canopy roof and sides that marked the Pinz as a 710M model. This model was the four-wheel-drive version, but there are many six-wheel-drive 712 models available, which can sometimes be found with snowcat-style tracks. Pinz owners told us the six-wheel version provides a nicer road ride, but the four-wheelers are more nimble in tight quarters. The Pinz is available in the rare 710K van model with a sheetmetal roof and hard-panel sides, which is more ideal as a bug-out vehicle considering a soft top is a security risk and vulnerable to cold weather.
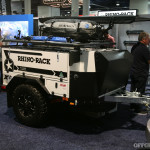
Optional trailers feature locking hubs to prevent roll away on slopes. They can hold a week’s worth of supplies, leaving more room for loved ones and your survival group inside the vehicle.
Depending on condition, a Pinz 710M four-wheel soft top might range from $8,000 to $14,000. The 712 six-wheeler could cost anywhere from $12,000 to $20,000, says Dan Fanning of the 35-member Rocky Mountain Pinzgauers, one of the largest Pinz clubs in the United States. Other vehicles currently located online can command higher prices with add-ons and customizations.
No Smashing Pumpkins
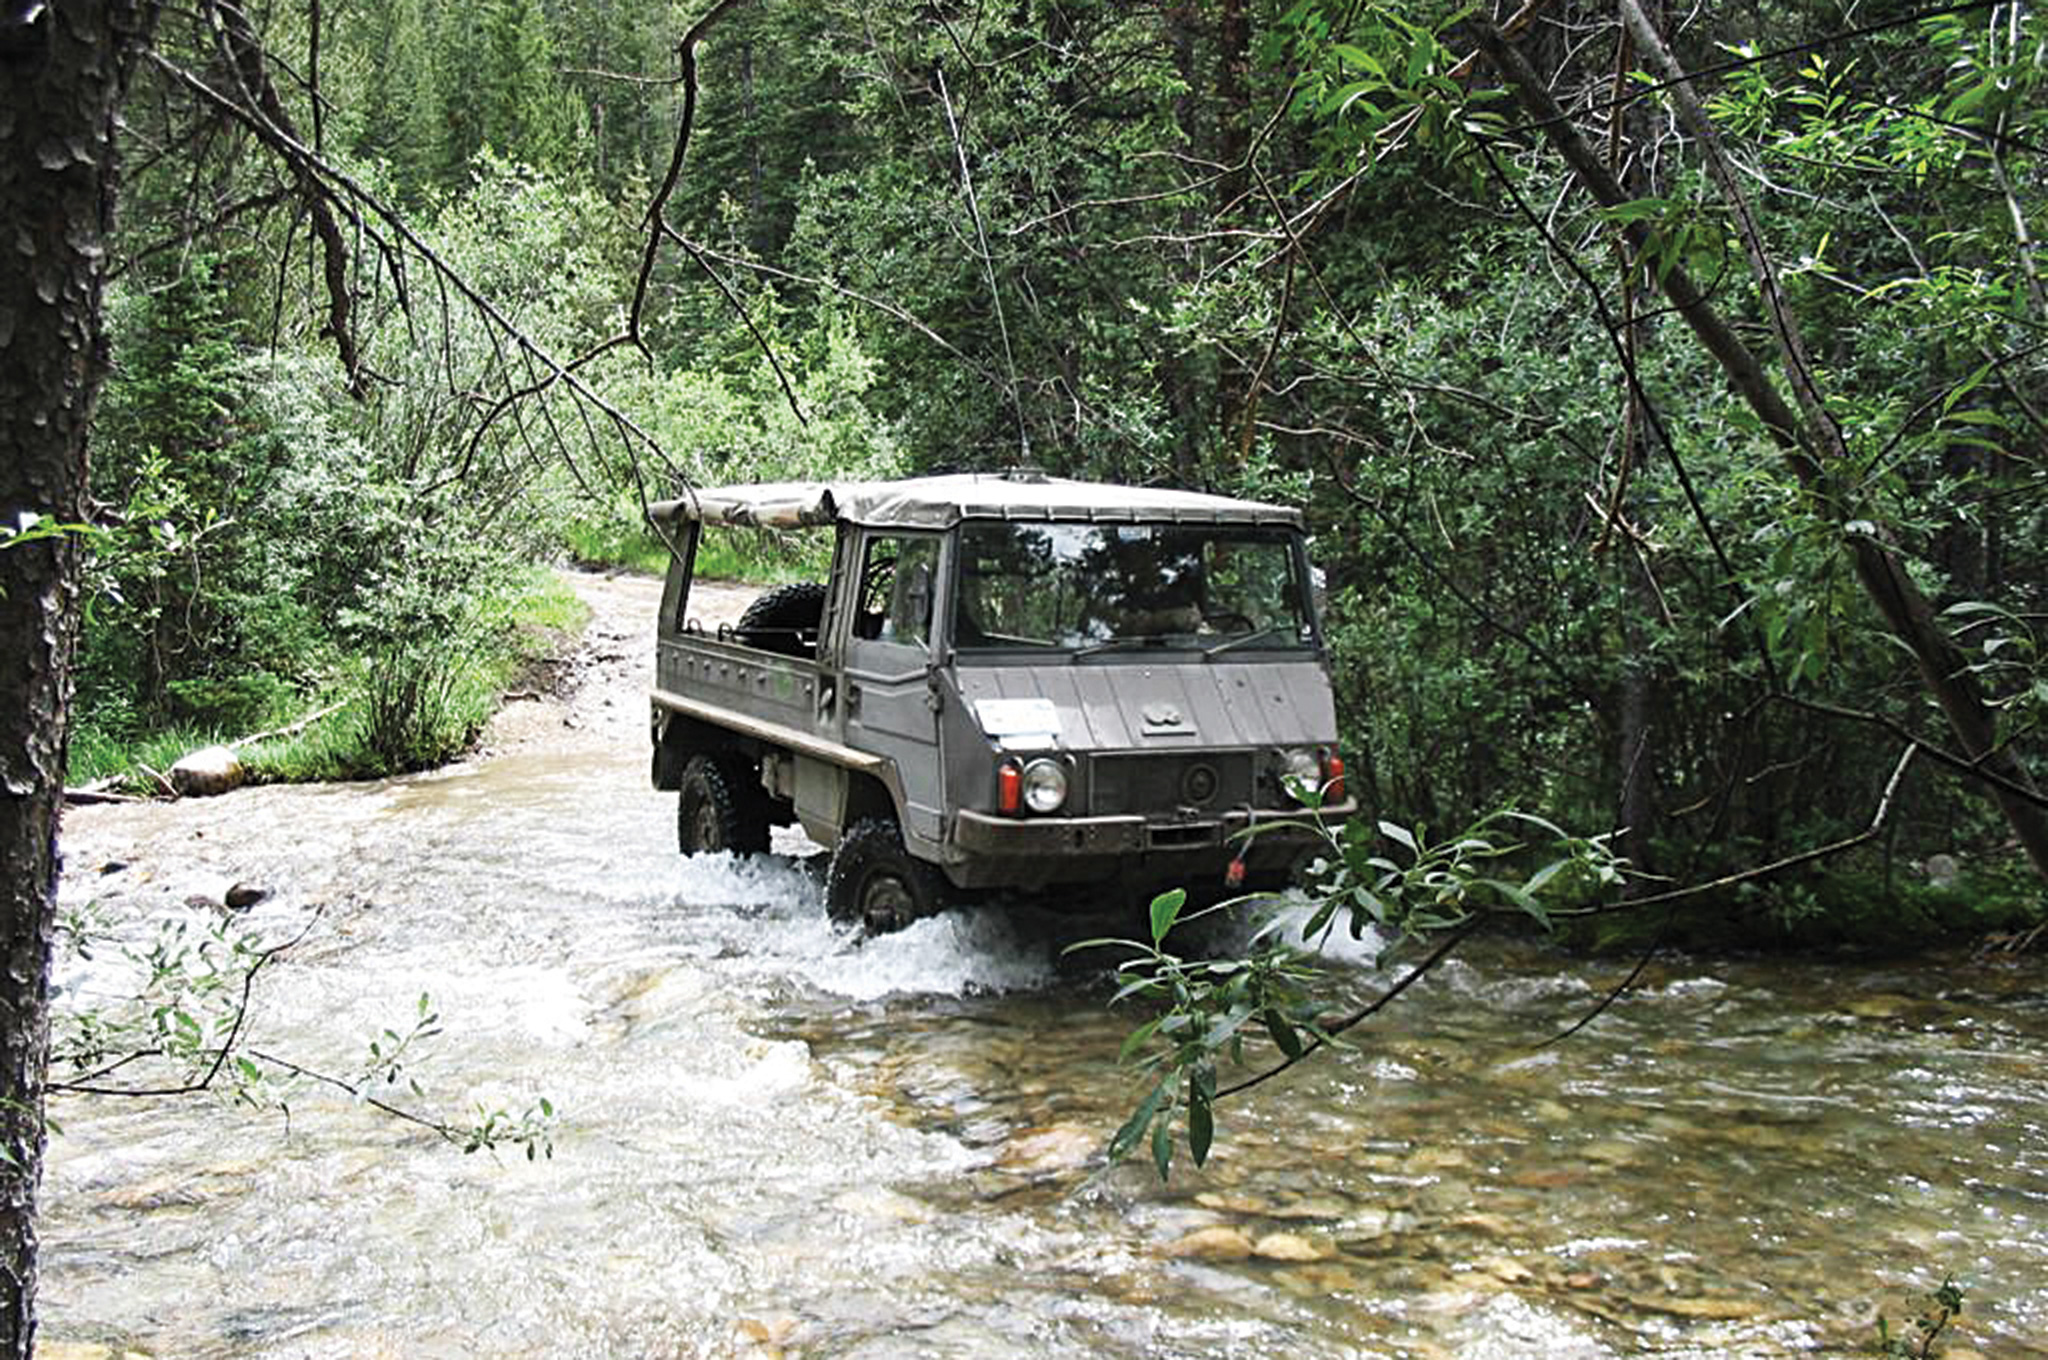
The torque-friendly Pinz was known for its ability to keep going in high water experienced during summer monsoons, owing in part to the momentum maintained by shift-on-the-fly capabilities. This kept a ranch owner’s family high and dry with 360-degree visibility for wildlife and livestock viewing. The Pinz punched through creeks, easily plunging down steep embankments and up far sides.
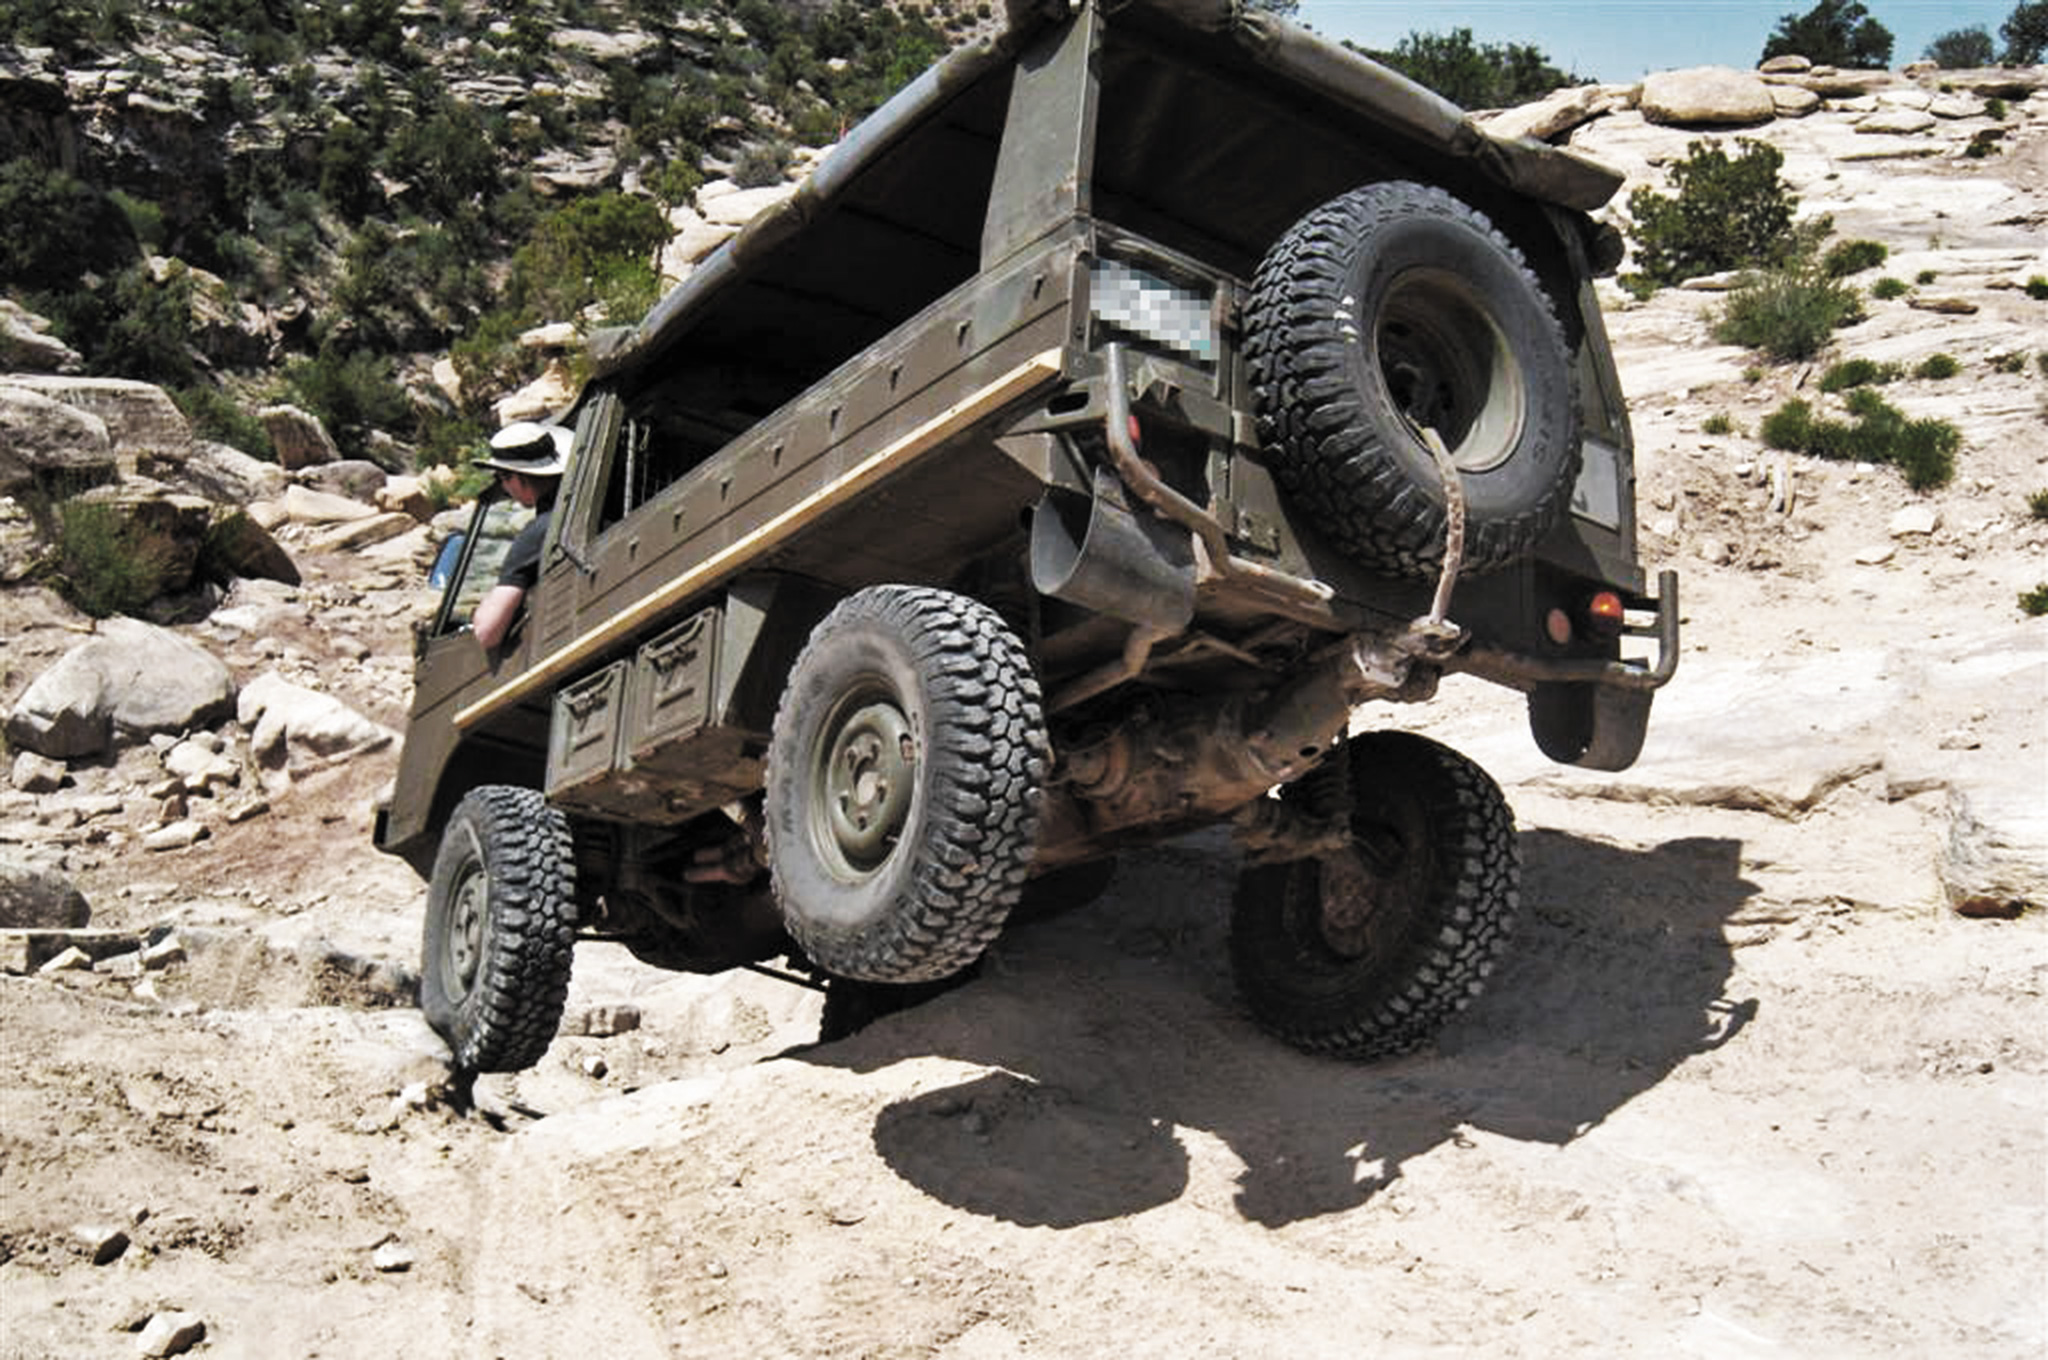
This could be in part because of its complete absence of front and rear center axle “pumpkins” common on 4×4 trucks. On other vehicles, these can leave you high-centered, meaning one or some of your tires aren’t touching terra firma because the underbelly is caught up on steep trails or boulders. Without pumpkins, a Pinz is far less likely to get high-centered. One look fore and aft reveals amazing 45-degree approach and departure angles, with almost 15-inch ground clearance in a narrow and nimble radius that appears no larger than a Jeep.
To create the amazing clearance and space, Austrian Steyer-Daimley-Puch engineers placed the forward-mounted motor in a slightly offset angle, situated beneath a removable cowling between driver and shotgun seat. The 2.5L aluminum four-cylinder inline block is air cooled by an enormous fan, making 92 horses at 133 lb-ft of torque at 2,000 rpm, drawing upon dual, two-barrel Solex36 NDIX carbs, similar to the Volkswagen engines of the early 1970s. (This engine was consistently produced from 1971 through 1987, while later and even current models went to a turbodiesel VW engine.)
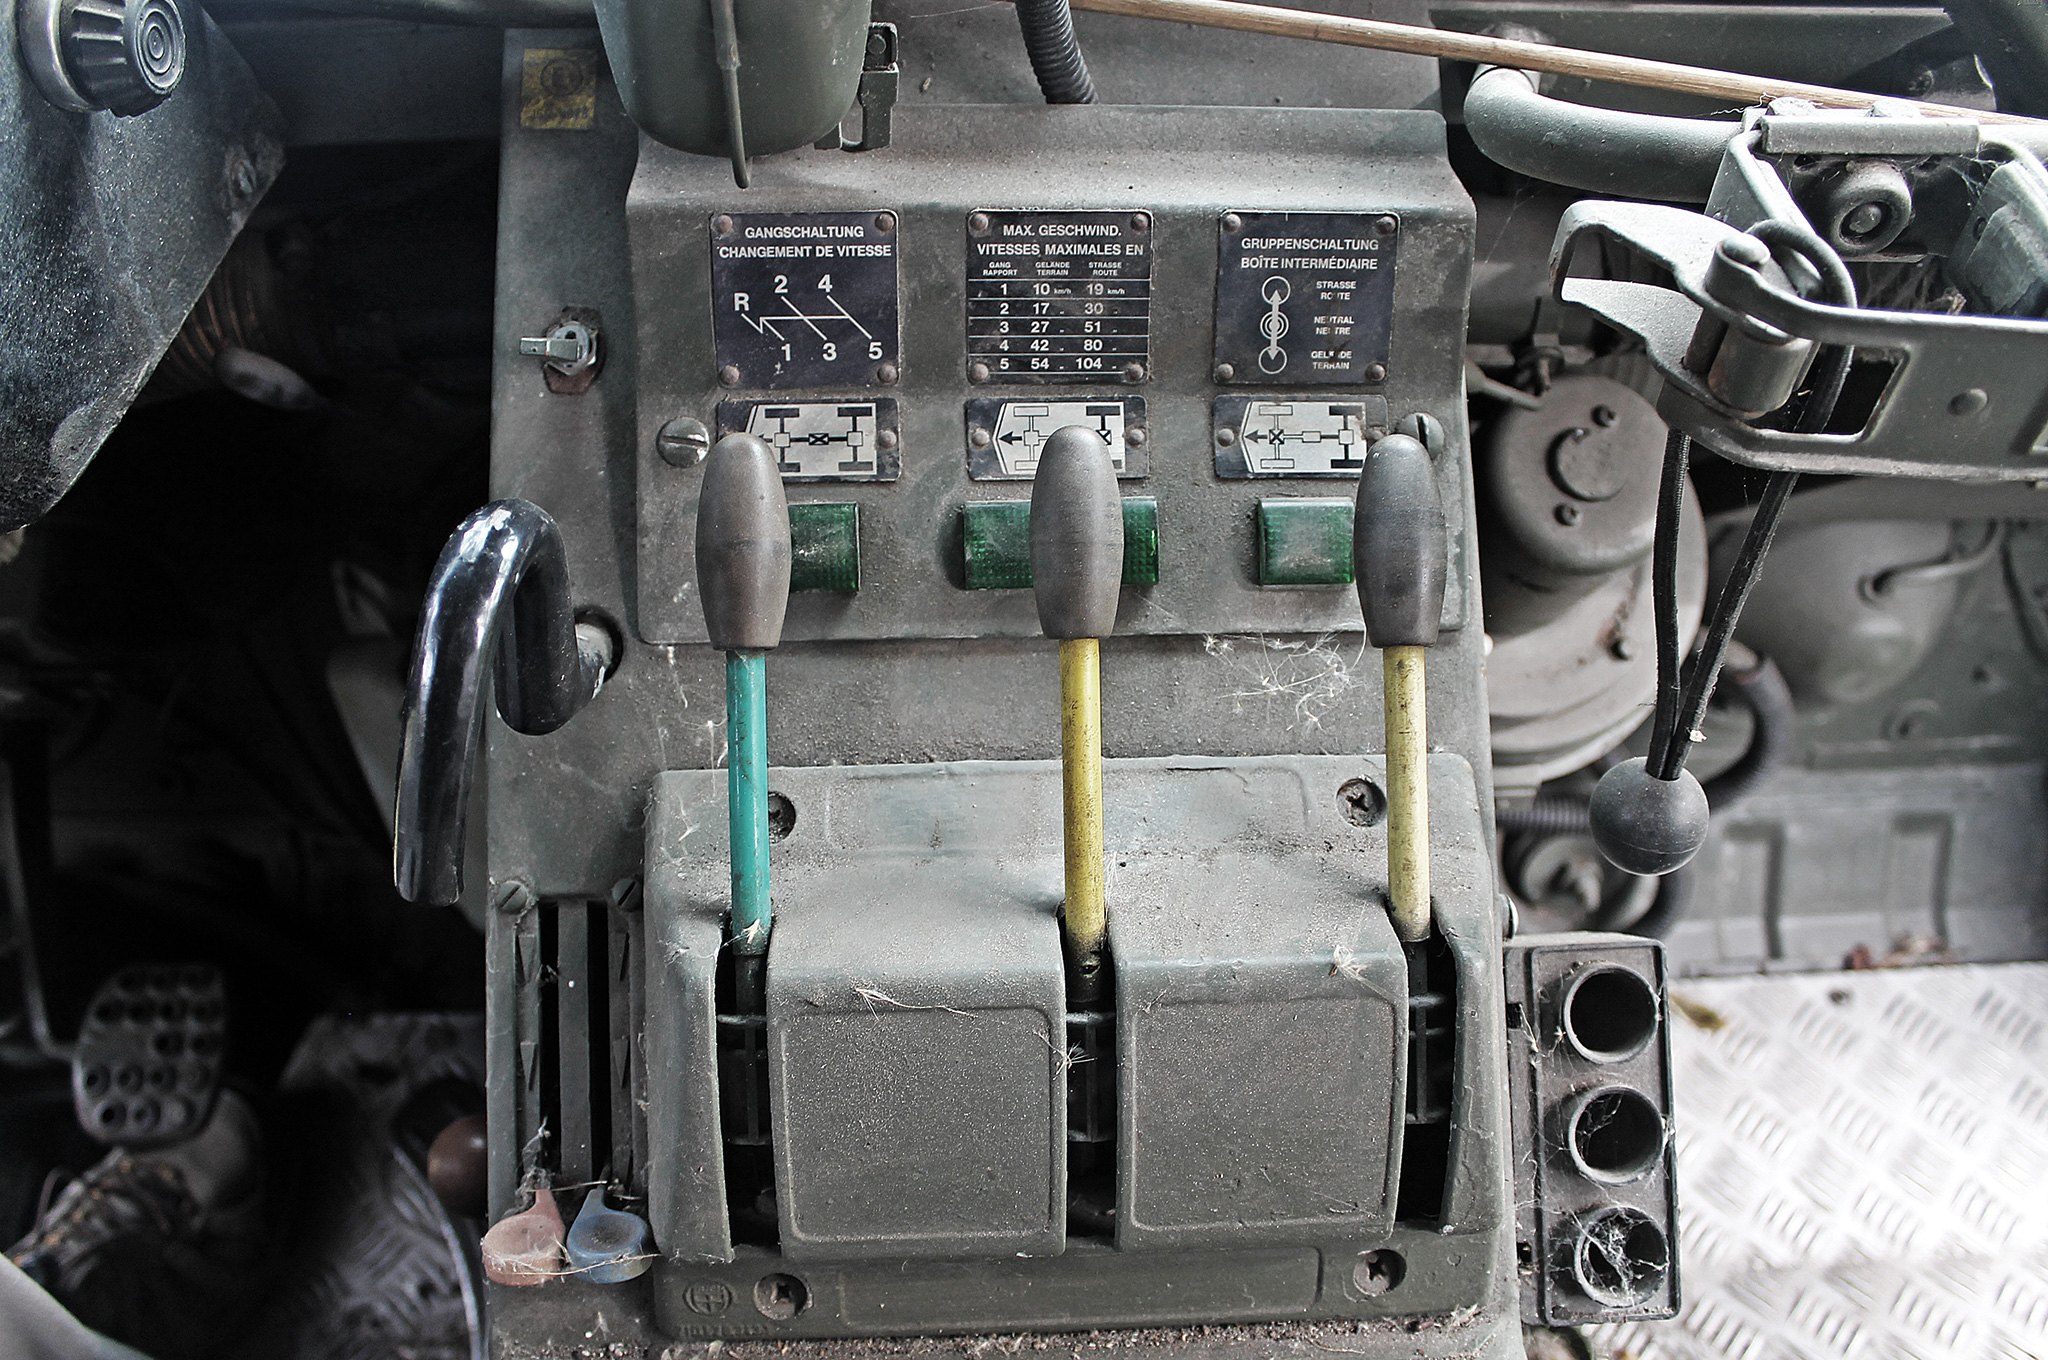
Advanced for its time and still solid by today’s standards. the hydraulic shift-on-the-fly levers allow for four-wheel drive and the locking of front and rear differentials.
The Pinz features a five-speed manual transmission with a short driveshaft fitted into a two-speed transfer case just forward of the rear axle, effectively providing the driver with 10 forward speeds and two speeds in reverse. They’re all closely meshed and geared low, starting with a 5.33:1 first gear ratio and no overdrive. This allows the Pinz to cruise at 60 mph, making about 15 to 16 mpg on a 20-gallon fuel tank for a max range of about 300 miles, although off-road usage in low range will seriously reduce that. A floor shift lever took us through the five speeds, while a shorter high and low-range control lever was close at hand.
Owners speak of the famous Pinz “backbone” as a massively overbuilt housing containing the drivetrain and forming a support system for the chassis. The suspension is a swing-axle type, with portal units taking power directly from the differentials to the wheels. The differentials may be locked. Dual rear coil-springs provide a secure and sure-footed connection on uneven or rain-rutted inclines. Power steering isn’t included, preventing over-steerage and eliminating one more thing to go wrong. Six-wheel-drive models make use of leaf springs.
This Austrian workhouse can climb mountains, brave high water, and endure blizzard conditions. Photos courtesy of Rocky Mountain Pinzgauers.
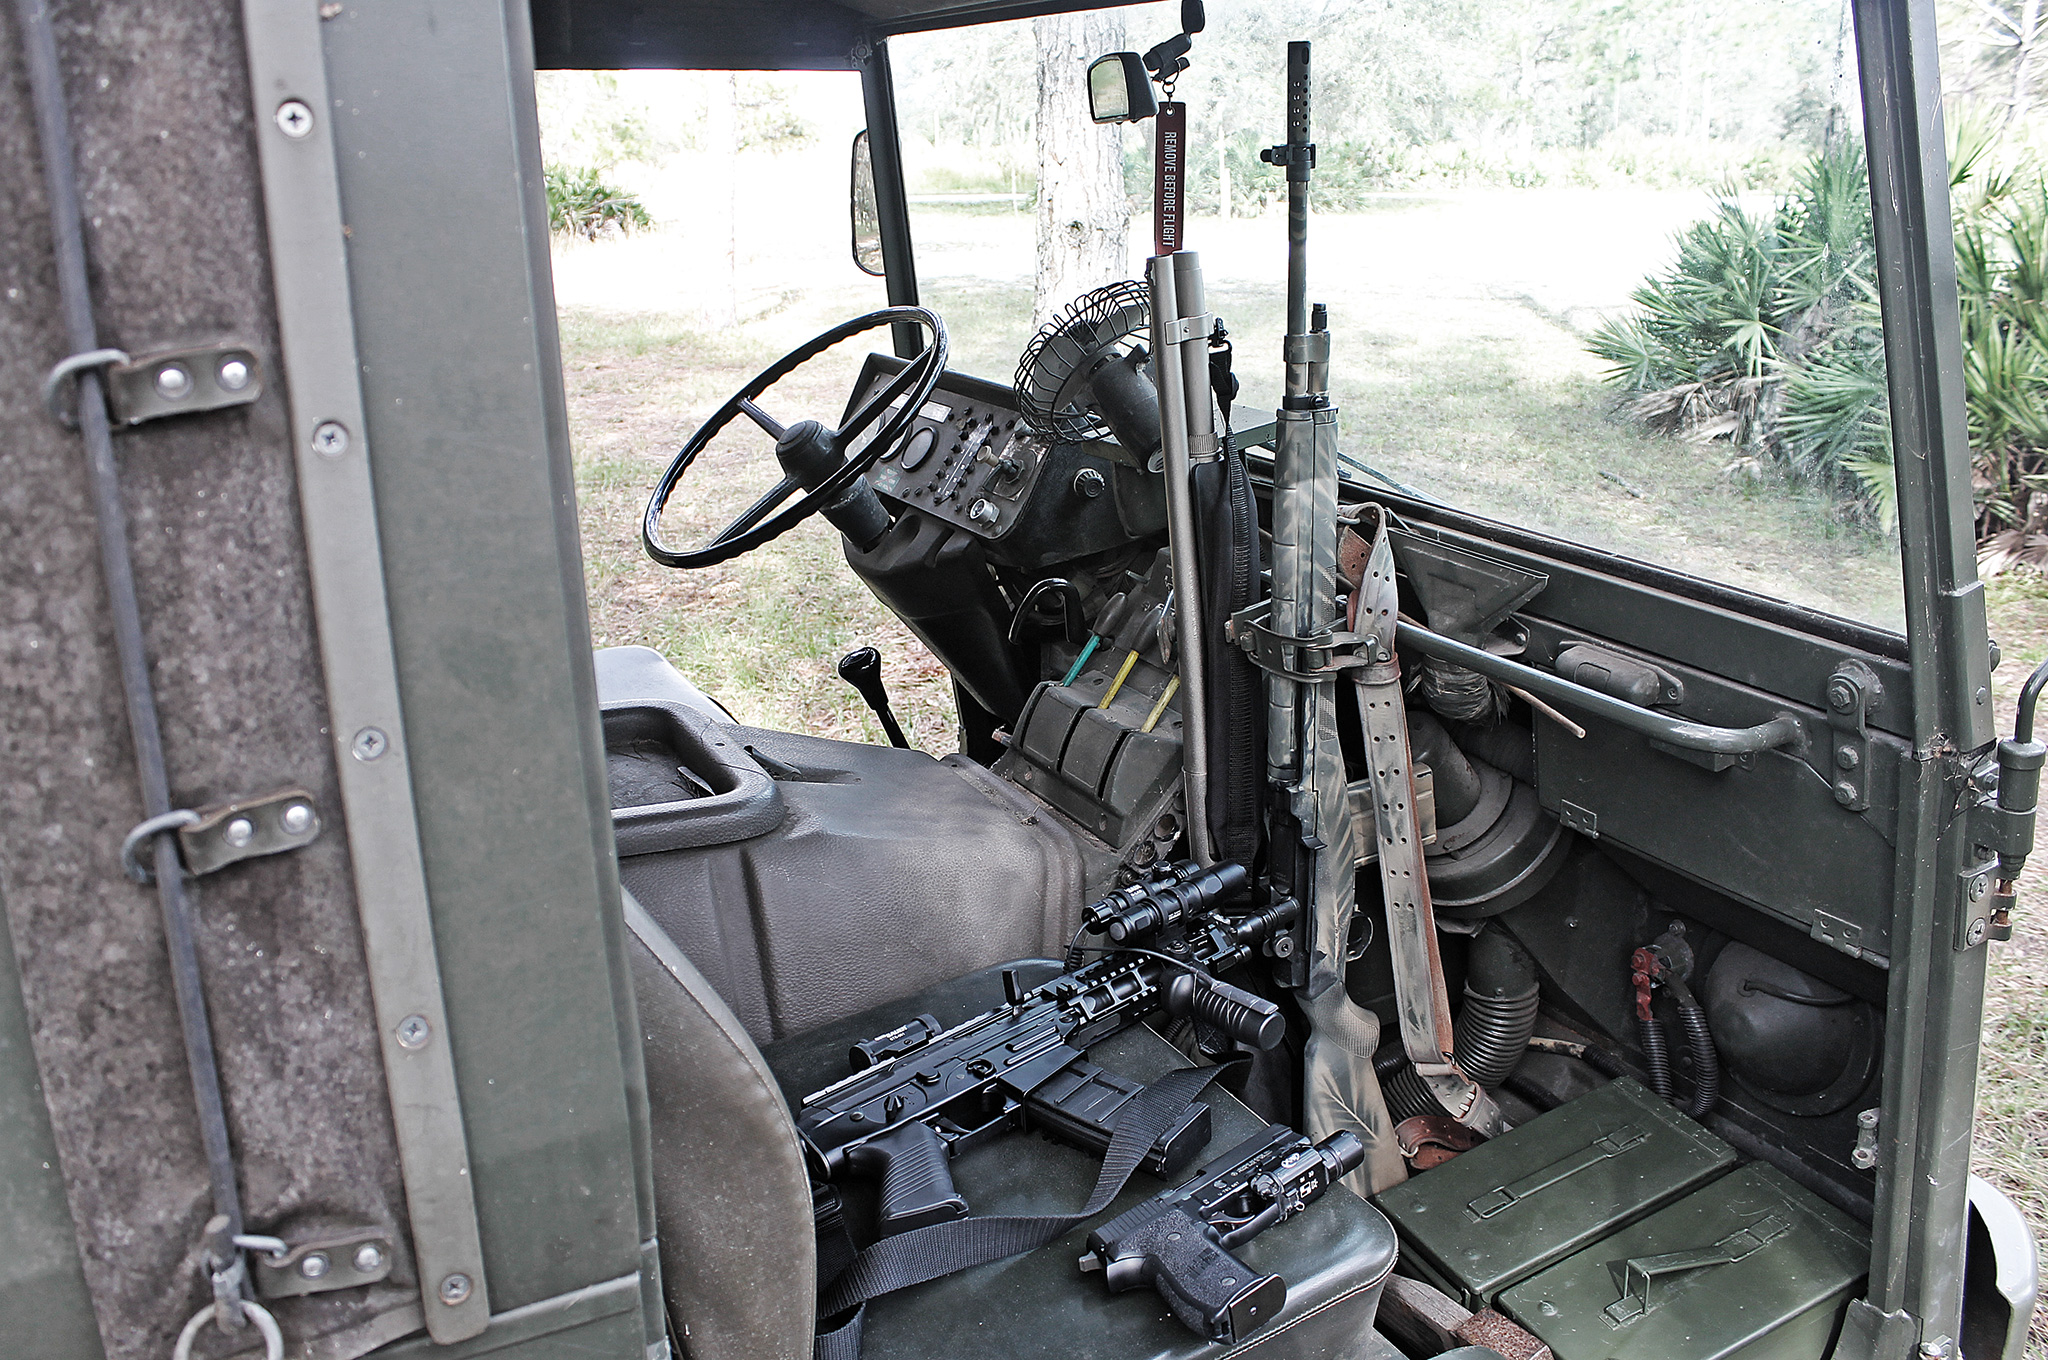
The hydraulic transmission was “revolutionary for its time” because it allowed the driver to shift into four-wheel drive without exiting the vehicle to lock out external hubs, Pinz enthusiasts say. Pointing out the three levers located centrally on the dash at the driver’s right hand, one owner said the first lever enables the driver to engage the forward two wheels on the fly without losing momentum on steep grades. The second and third levers enable the driver to lock out the front and rear locking differentials for the ultimate in troop or utility transport, respectively.
An external dual-battery compartment provides easy maintenance access via a 24-volt system. The access is consistent with the design philosophy, complemented by a series of circuit breakers and no electrical fuses, including an ignition system sealed against water. Electronics consist largely of the coil, a generator, and spark plugs.
The driver and passenger compartments are separated by a removable series of heavy-gauge wire fence-like panels that don’t impede visibility or airflow. Cabin circulation is improved thanks to multiple fans. The rear compartment bench seats are accessible through a rear swing-out half-door. The rear backs of the bench seats may be folded down to provide a flatbed for transporting pallet-sized equipment. In keeping with its military heritage, the spartan interior is devoid of any nonfunctional frills.
Worldwide Application
The Rocky Mountain Pinzgauers have assisted authorities during snowstorms by serving as medical transports and emergency search vehicles, Fanning says. But for fun, the group stages “treffens” or gatherings throughout Colorado and even in out-of-state detours like Moab, where owners navigate rocky passes, climb slabs of granite, and punch through snow.
Having acquired his first Pinz 20 years ago, Robert Rainek of the Milwaukee-based North American Pinzgauers said he originally had no idea how dependable and bombproof the Pinz were until he attended some off-road demos in Leadville, Colorado, where the Pinz ran side by side with Jeeps, Hummers, and Land Rovers. He now has 50 and is constantly impressed with the level of maintenance the surplus Pinzs arrive with when they are located, traded, or resold.
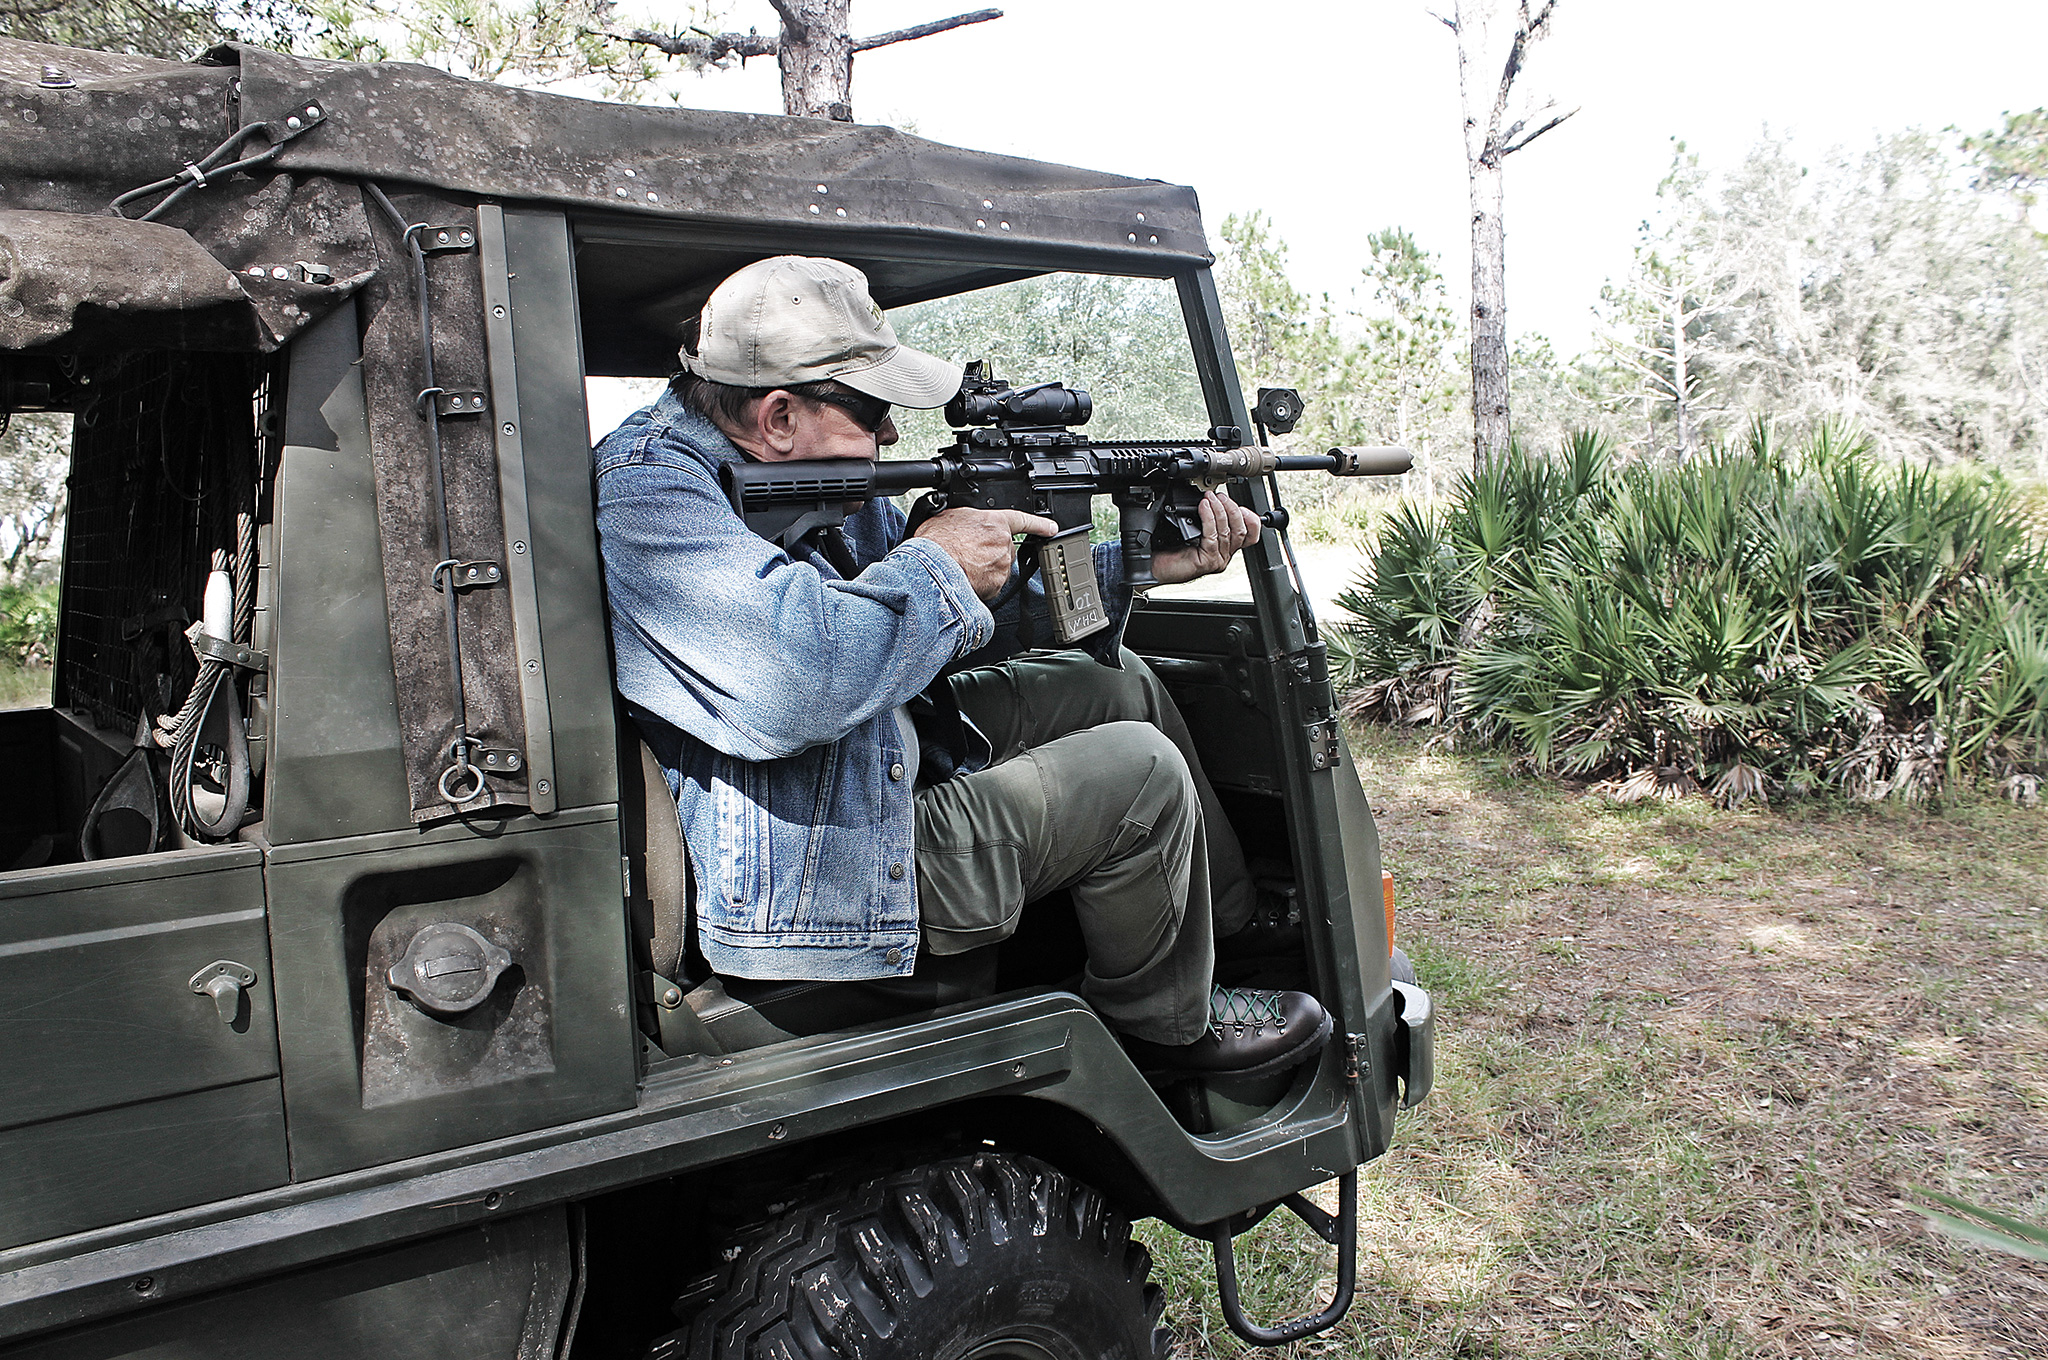
The Pinz’s open-door policy makes entering, exciting, and protecting your ride pretty easy – even with a 16-inch Colt AR and SureFire suppressor in hand. Though it also leaves your cargo unsecured and you more exposed to the elements.
“Now the preppers aren’t looking for something too fancy,” Rainek said. “Just something sort of low key. Many people are amazed that the vehicles were so advanced, even by today’s standards. These saw extensive use from North Africa to the Middle East, Australia, and throughout Europe.”
Rainek said potential buyers were concerned about the engines overheating in the desert. Fanbelts were undone on test models and the engine still did not overheat, he said. And these have higher ground clearance than military Humvees, he said, due to the portal axles, even with the standard military tires, while many opt for Super Swampers and other upgrades. We have long looked to the Swiss and to Austria for excellent weapons system engineering and innovation, and like a true world-class weapon, the Pinz has proven itself around the world — from tropical terrain to snow-capped mountains.
If you’re looking for a conversation starter, the Pinz draws a crowd. If you’re looking to get away from the crowd, you might not find anything more sure-footed except the Alpine horse. But then you won’t be able to bring a dozen of your closest friends, shouting in your best Austrian accent, “Get to da Pinzgauer!”
MAKE & MODEL
1975 Pinzgauer 710M (soft top)
ENGINE
2.5L four-cylinder, air-cooled aluminum block
HORSEPOWER
92 at 4,000 rpm, with 132 lb-ft of torque at 2,000 rpm.
TRANSMISSION
Five-speed transfer case, with two-speed high and low range for 10 forward speeds and two reverse speeds
WHEEL BASE
86.6 inches
FUEL CAPACITY
20 gallons
APPROACH ANGLE
45 degrees
DEPARTURE ANGLE
45 degrees
RAMP BREAKOVER
152 degrees
SEATS
(driver, front passenger, 10 in rear)
Upgrades:
Can you acquire something old, indestructible, and somewhat unique without the risk of being labeled a member of “a cultlike following?” Pinzgauer owners don’t seem to mind, and increasingly these drivers are launching vehicle clubs, social media pages, and regional rallies, driving the desire for more modifications. The most popular upgrades for a Pinzgauer are:
Ignition system: An improved aftermarket distributor cap and fully water-shielded wiring consistent with mil-spec protection can ensure starting capabilities in the harshest conditions. It’s all compatible with the stock 24-volt dual battery system.
Winch: Capable of being placed fore and/or aft on the Pinz, a winch can be used to assist with ascents, descents, or recovering stuck vehicles.
Step assists: This improves one’s safety while entering and exiting the high-riding vehicle. The looped steps are aftermarket single steps to be placed forward of the cab. The center-step assists fit centrally near the hub of the stock wheels and are said to not interfere with mobility or traction.
Weapon storage: No bug-out vehicle is complete without weapon retention systems.
Other considerations: The no-brainer is a tire upgrade, but there are other options, including but not limited to a toolkit (including winch gloves, tall jack, and tow strap), tire pump and repair kit, and extra fluids.
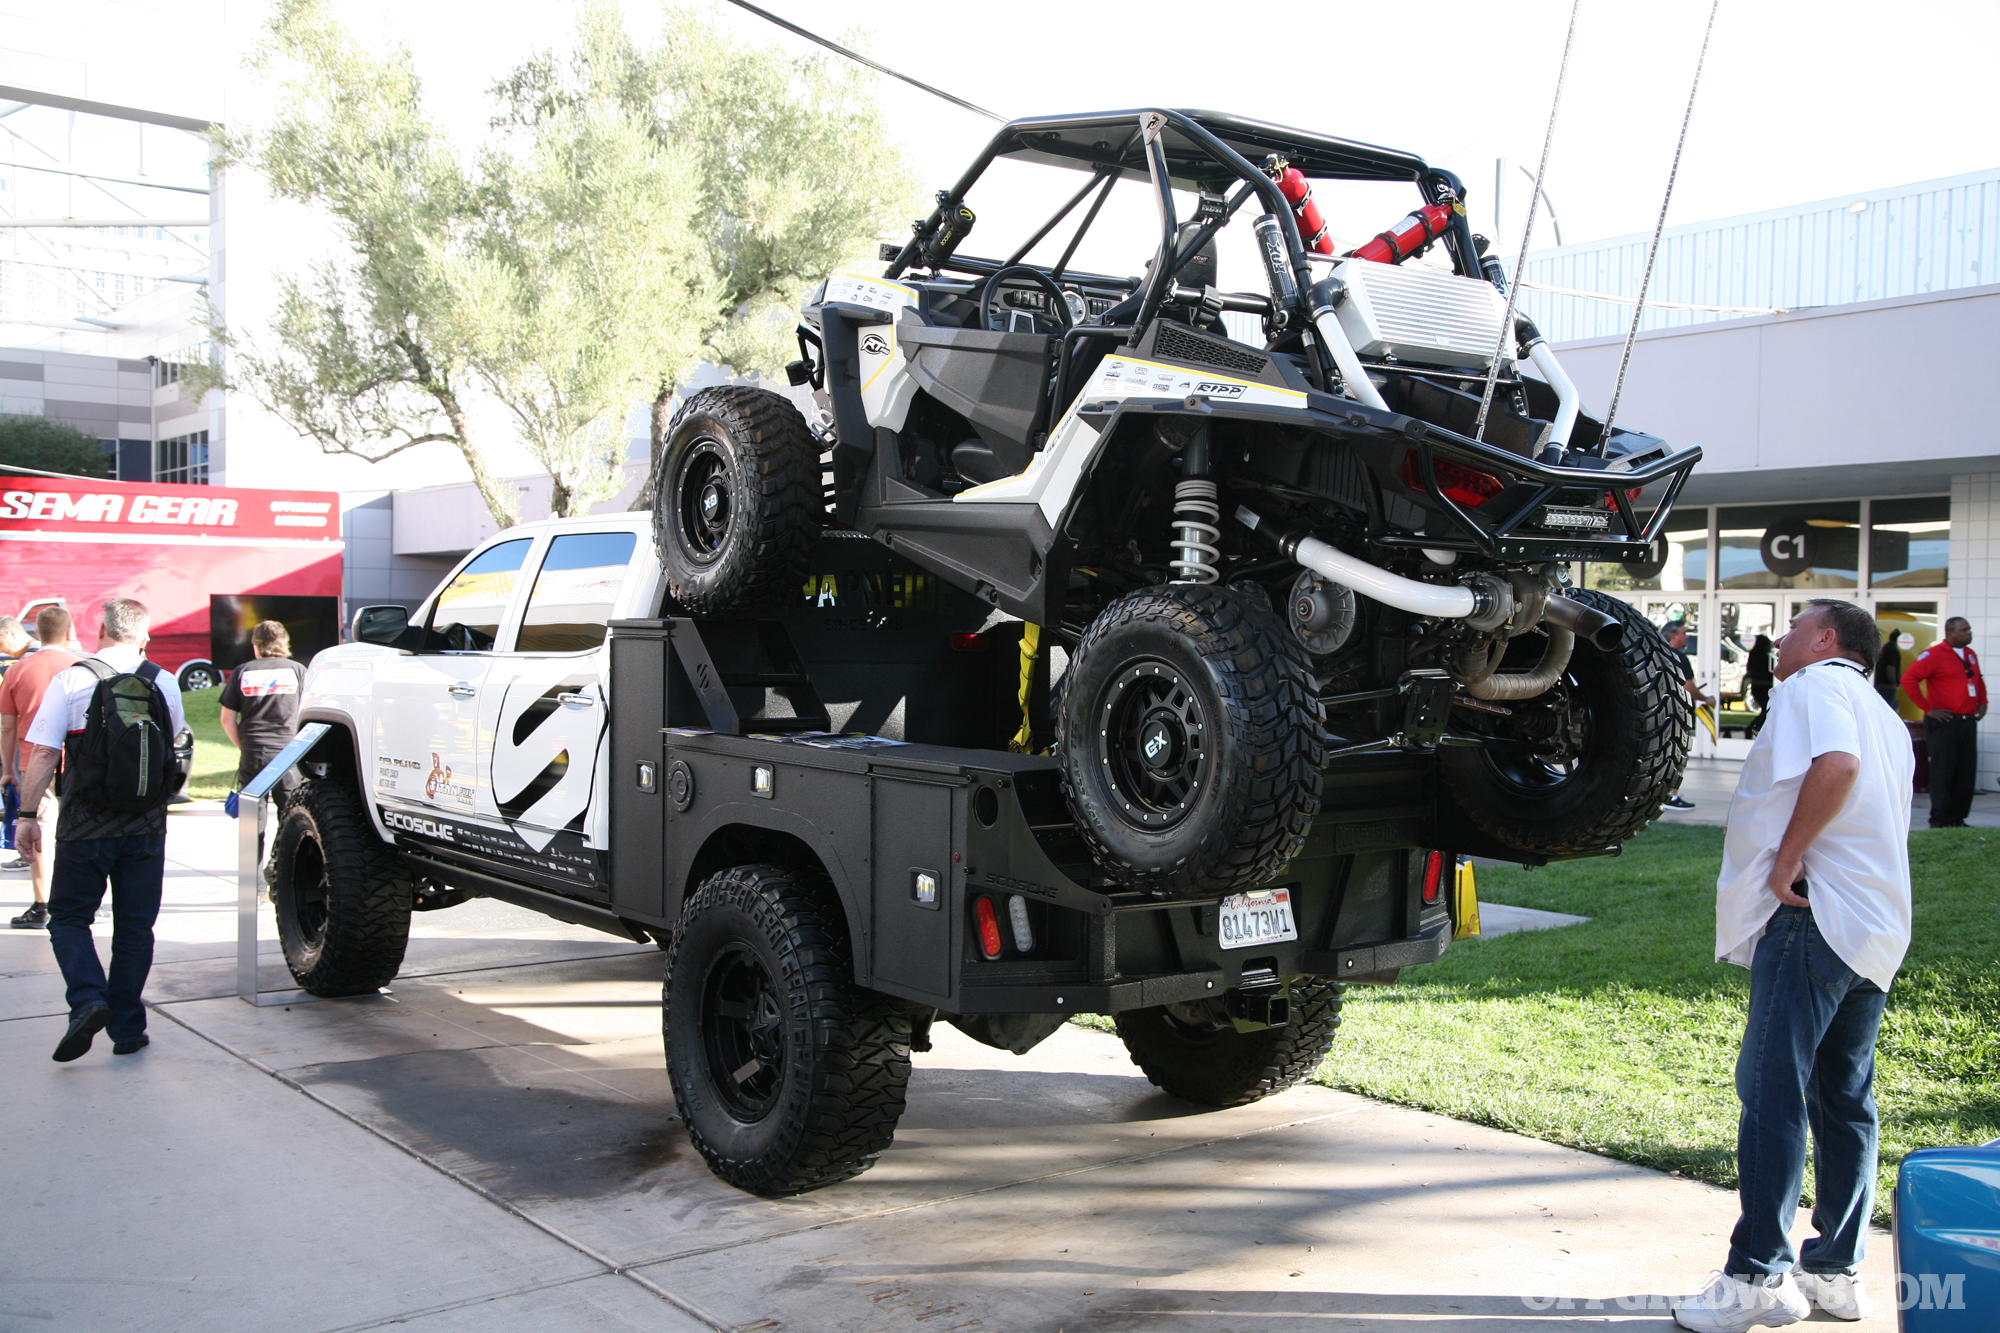
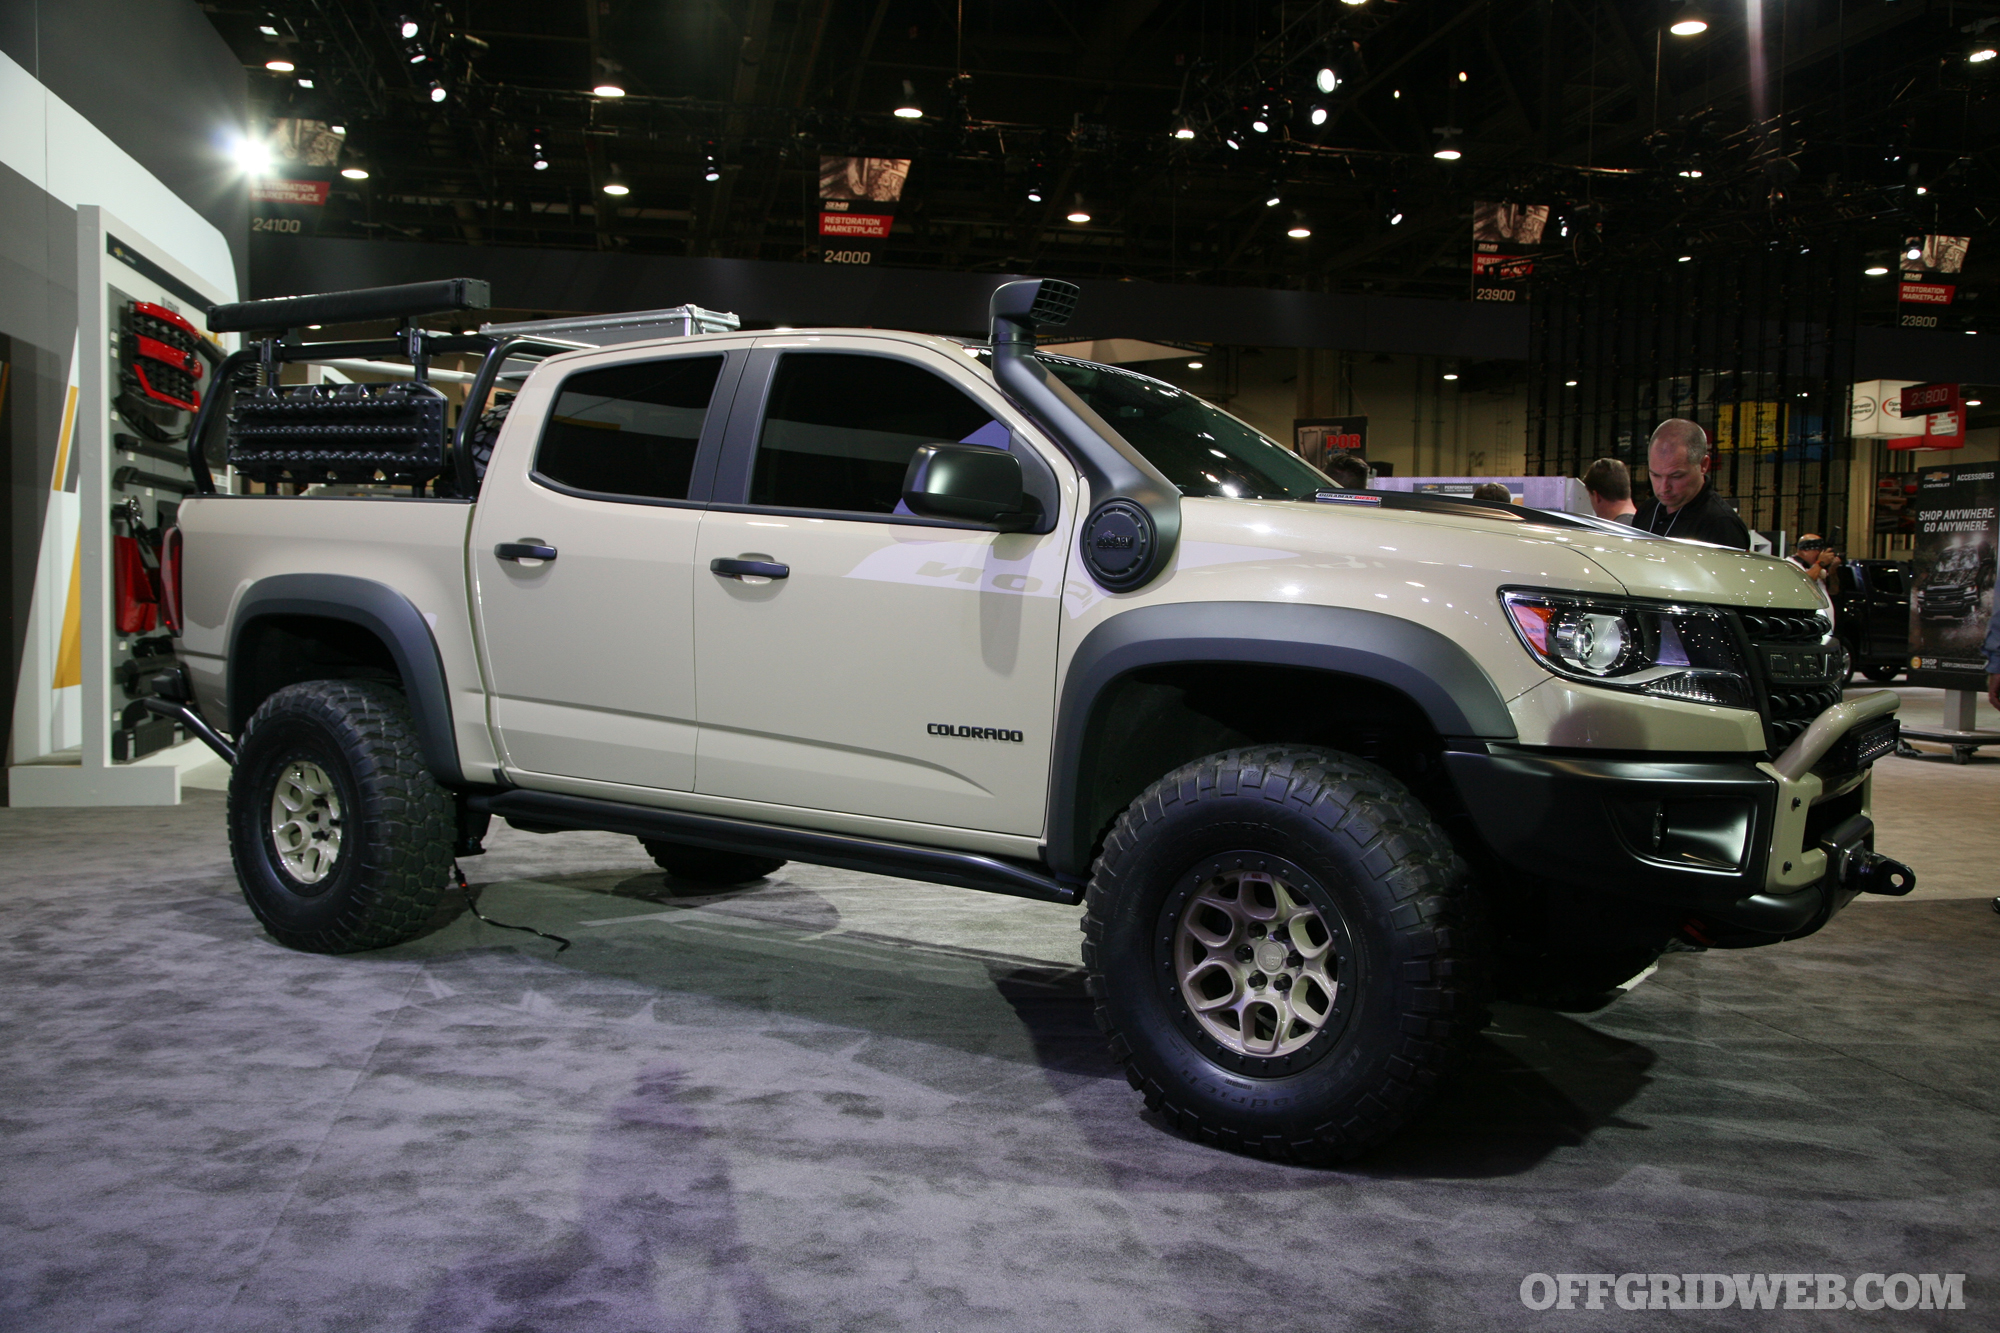
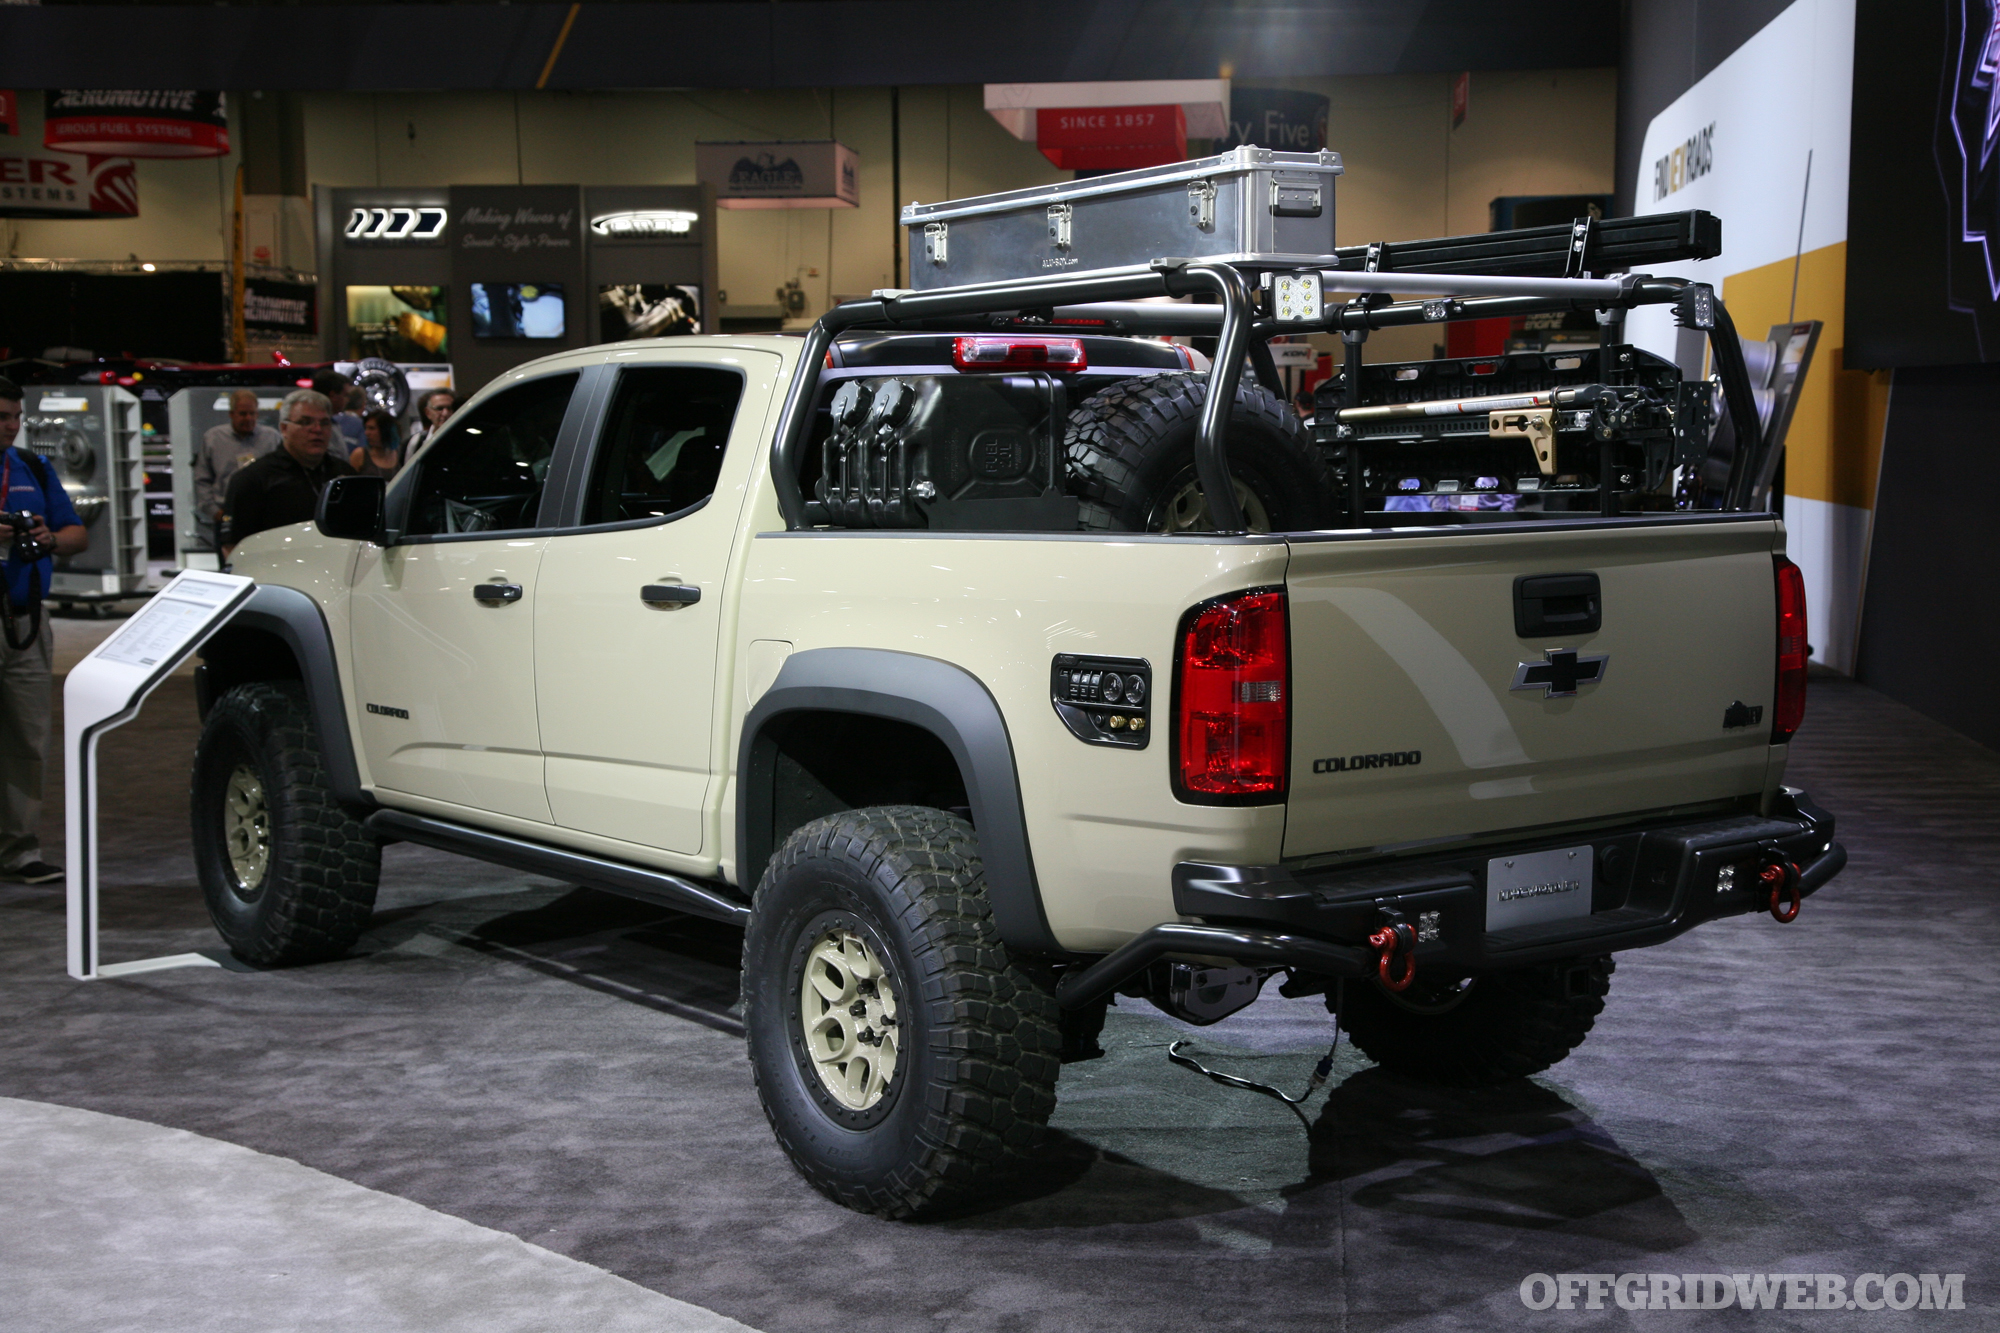
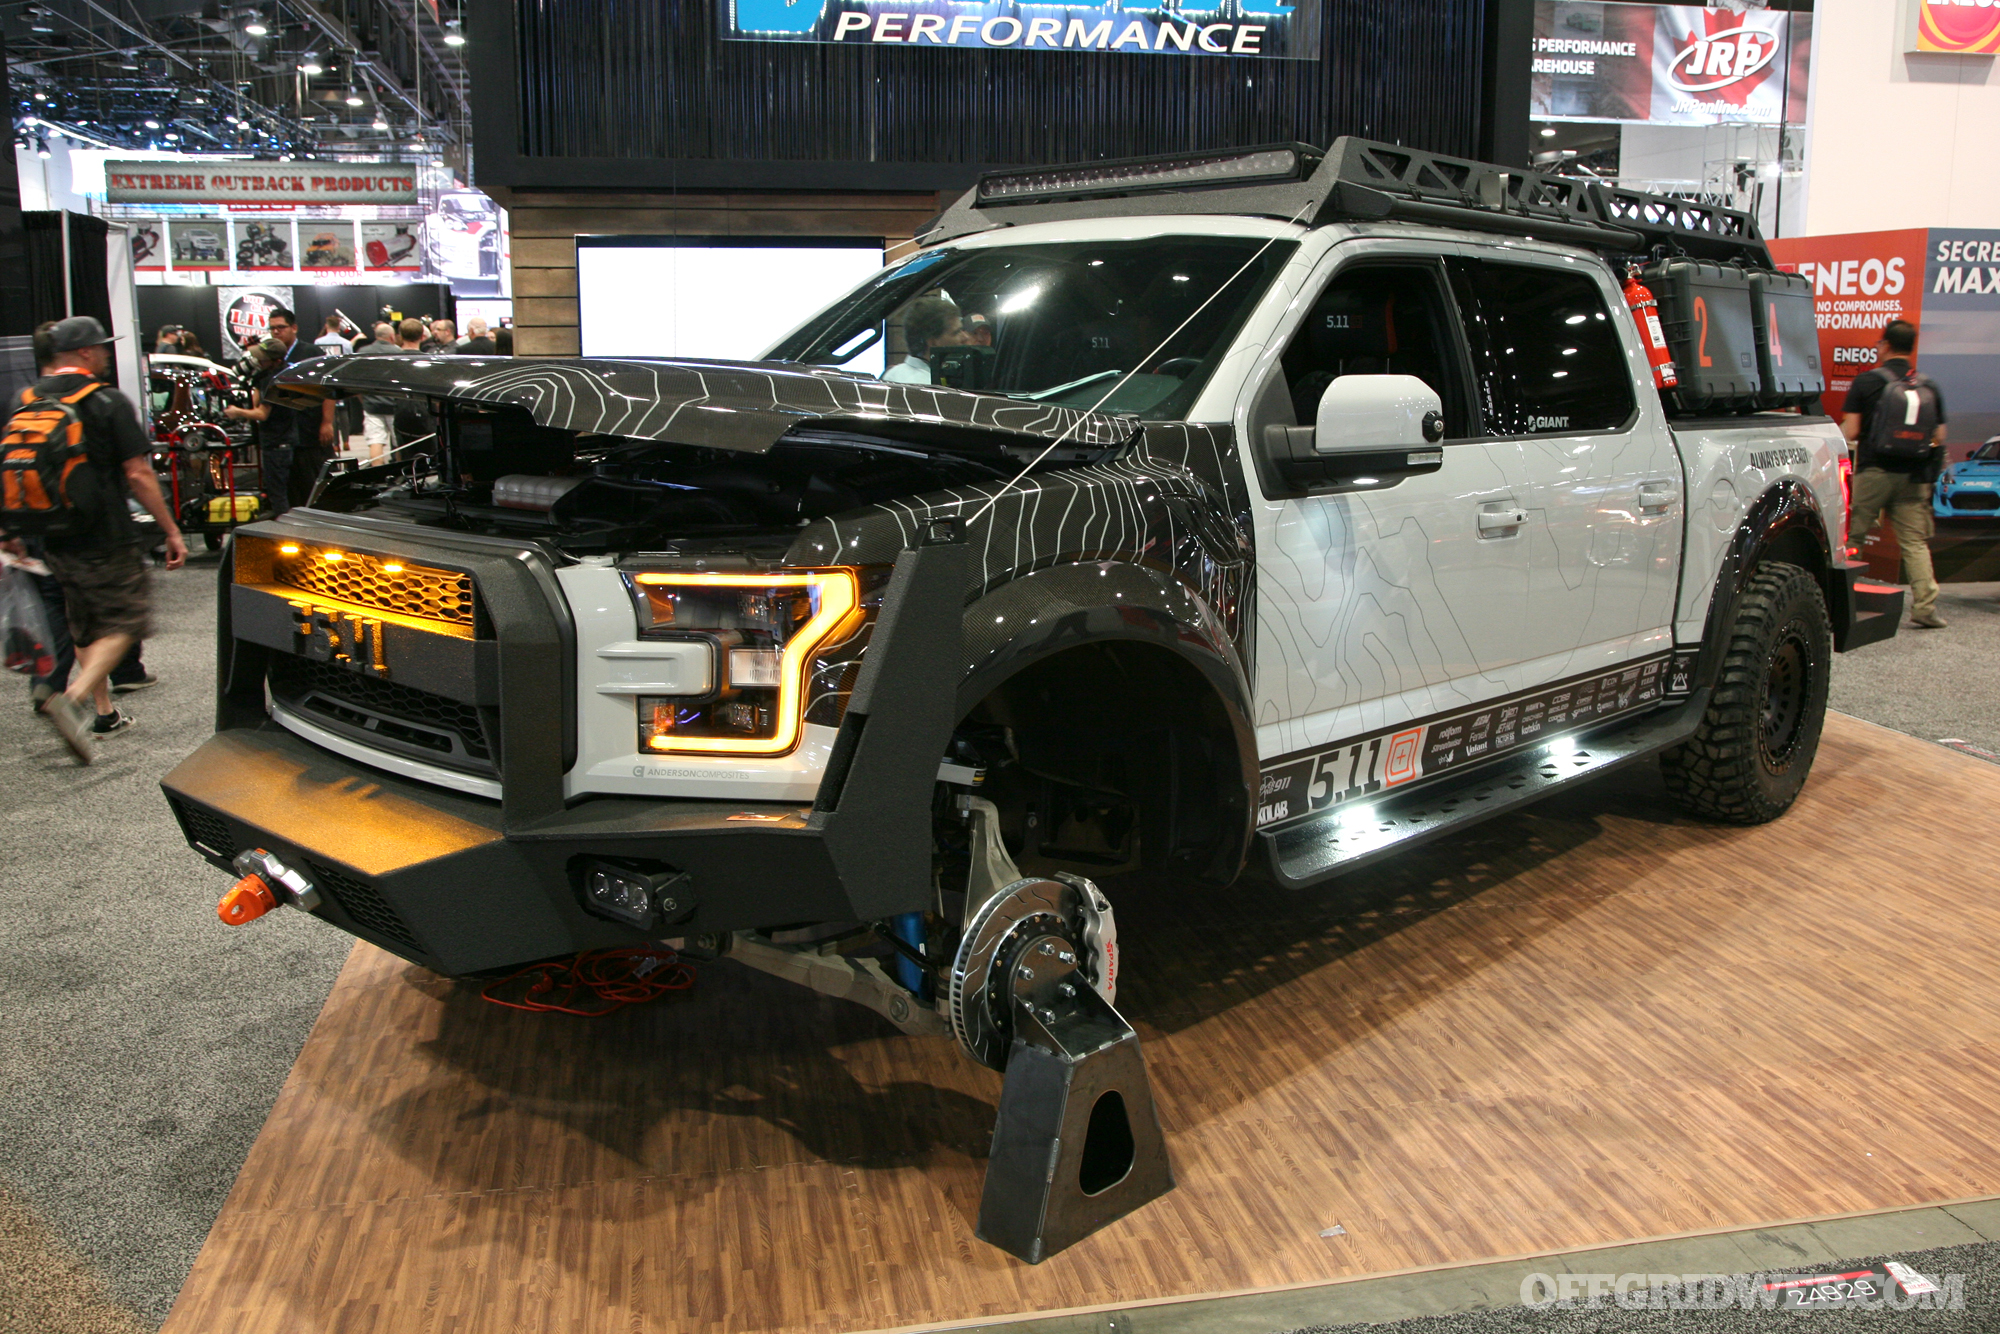
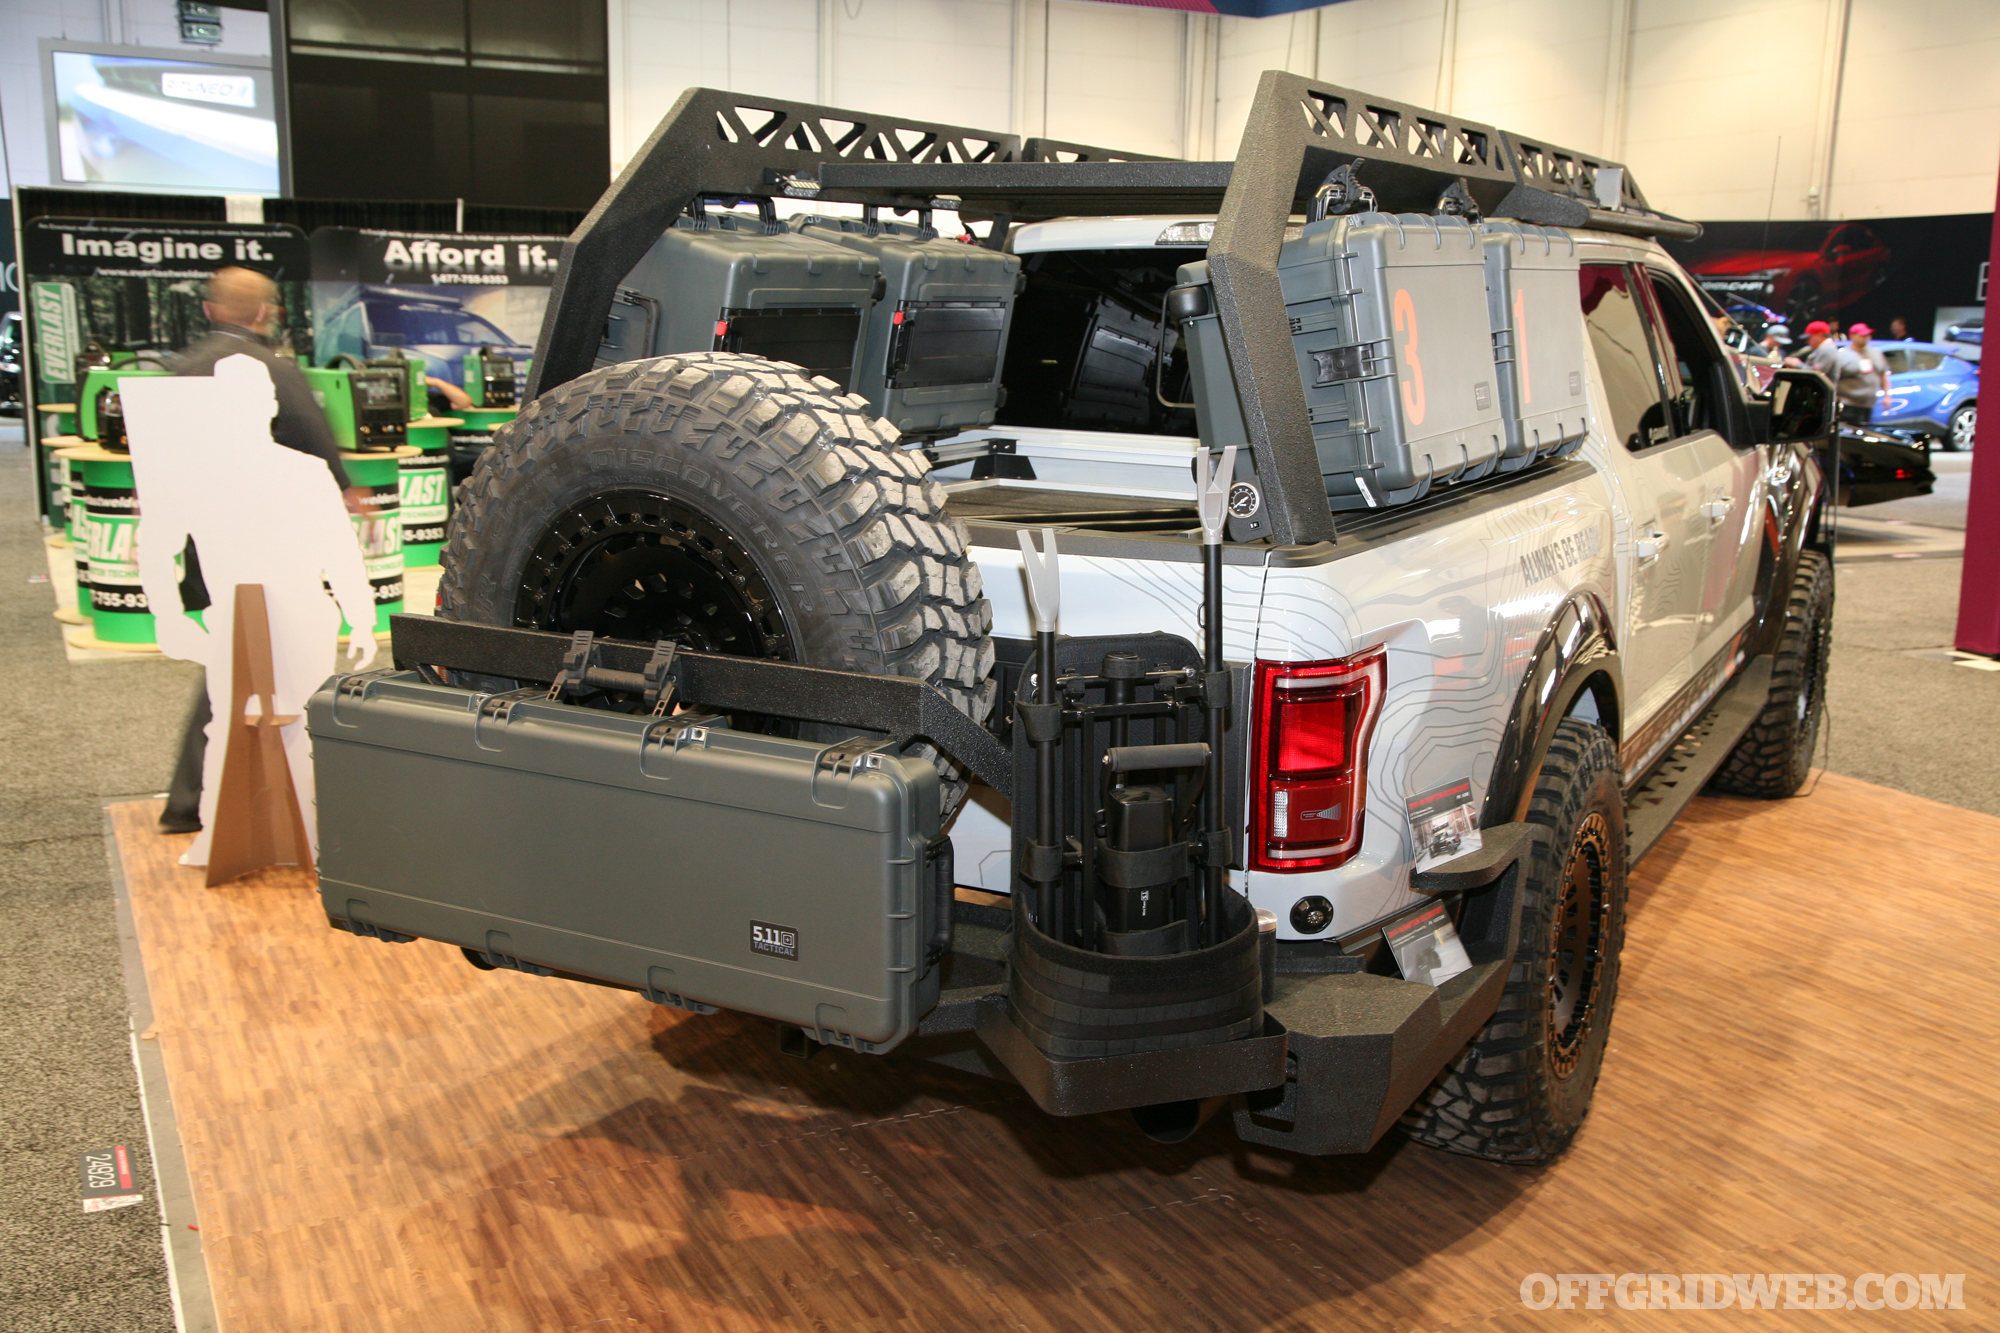
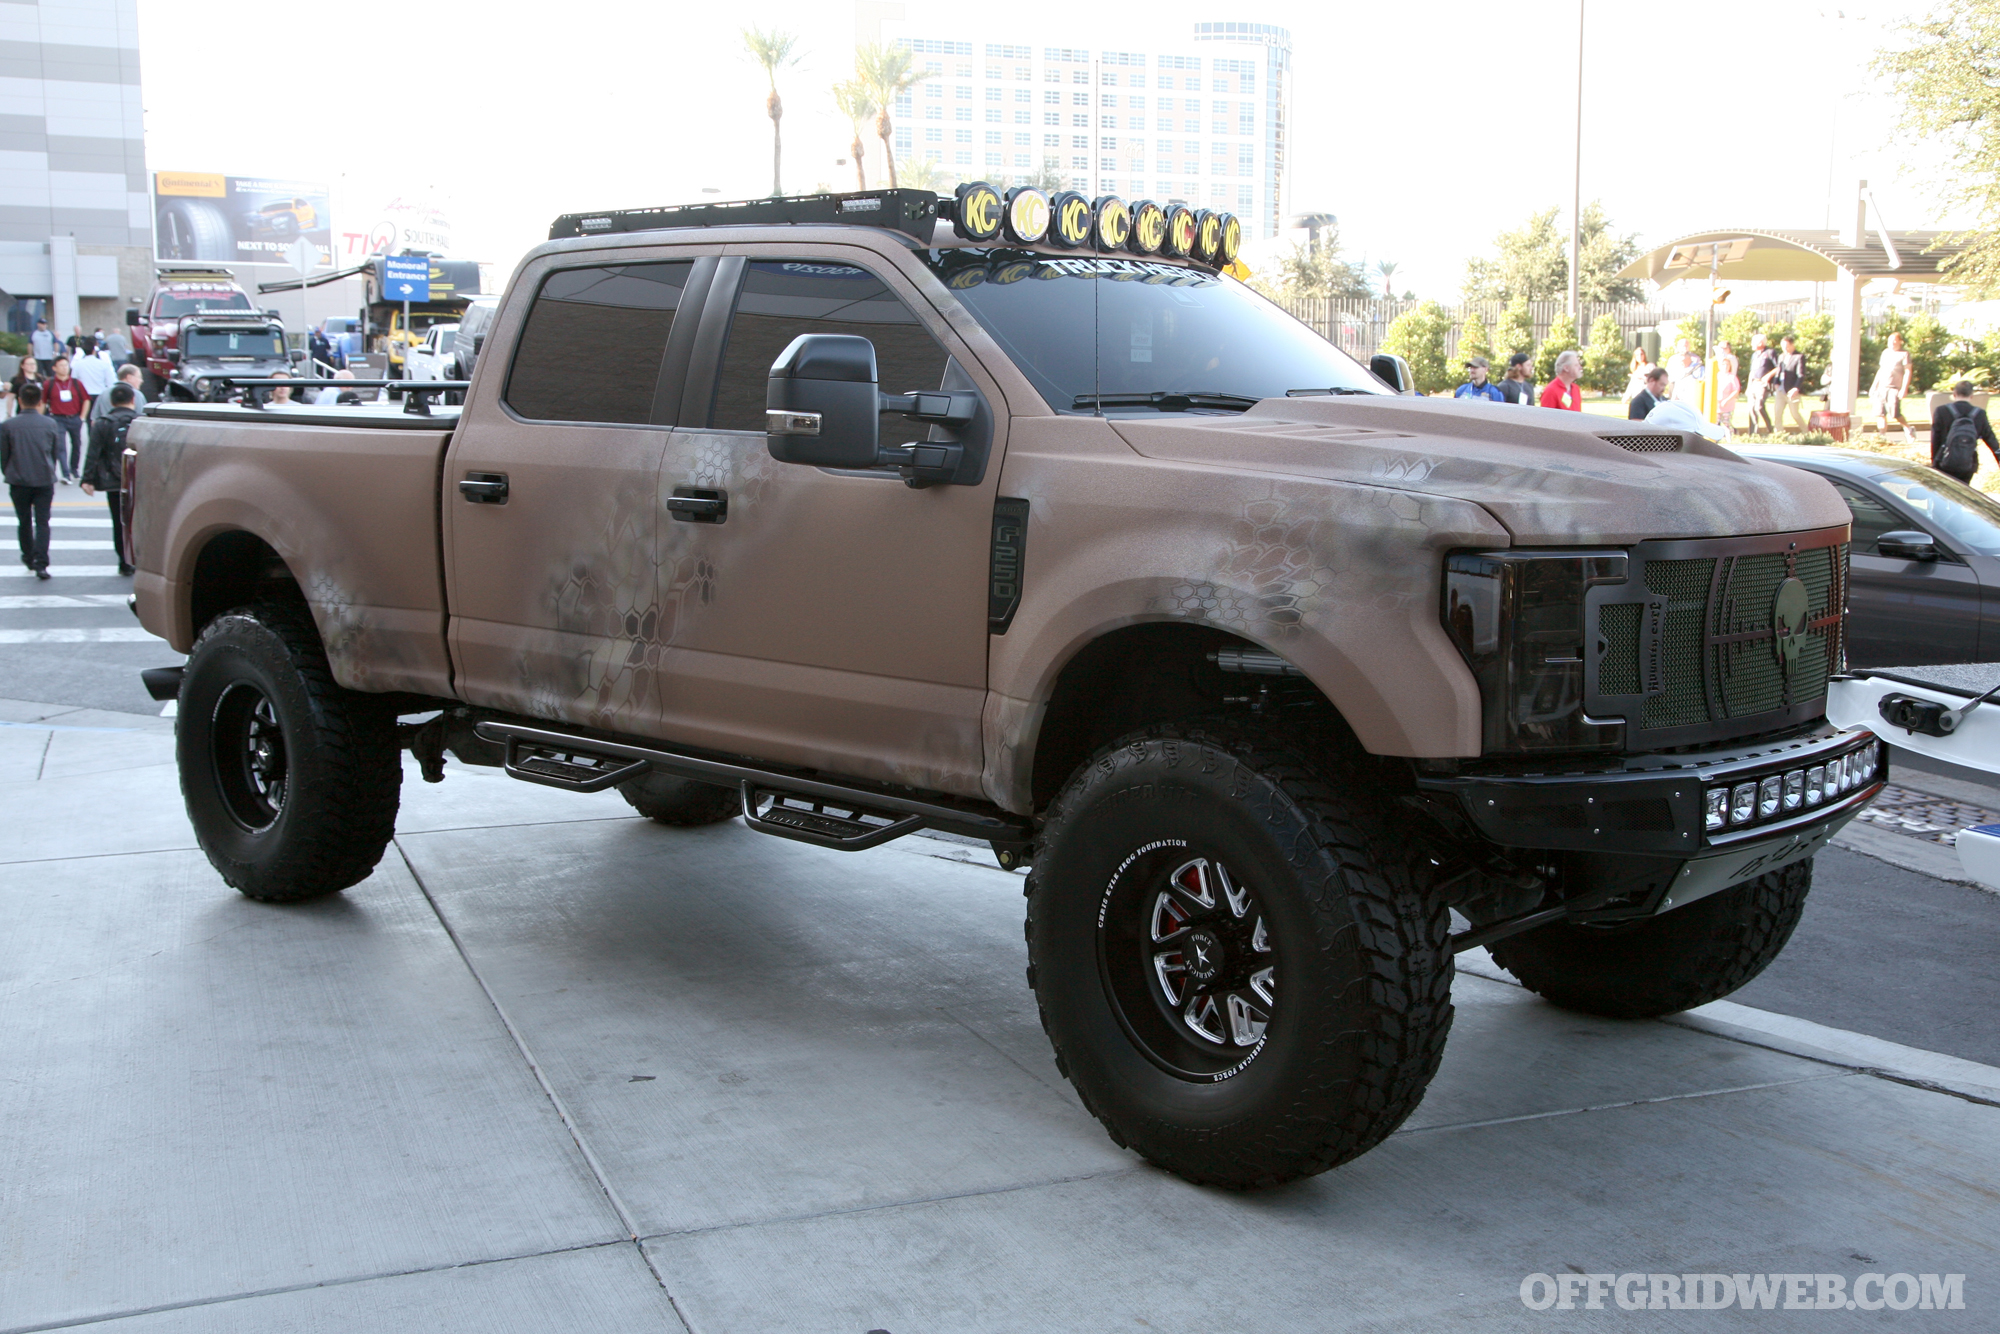
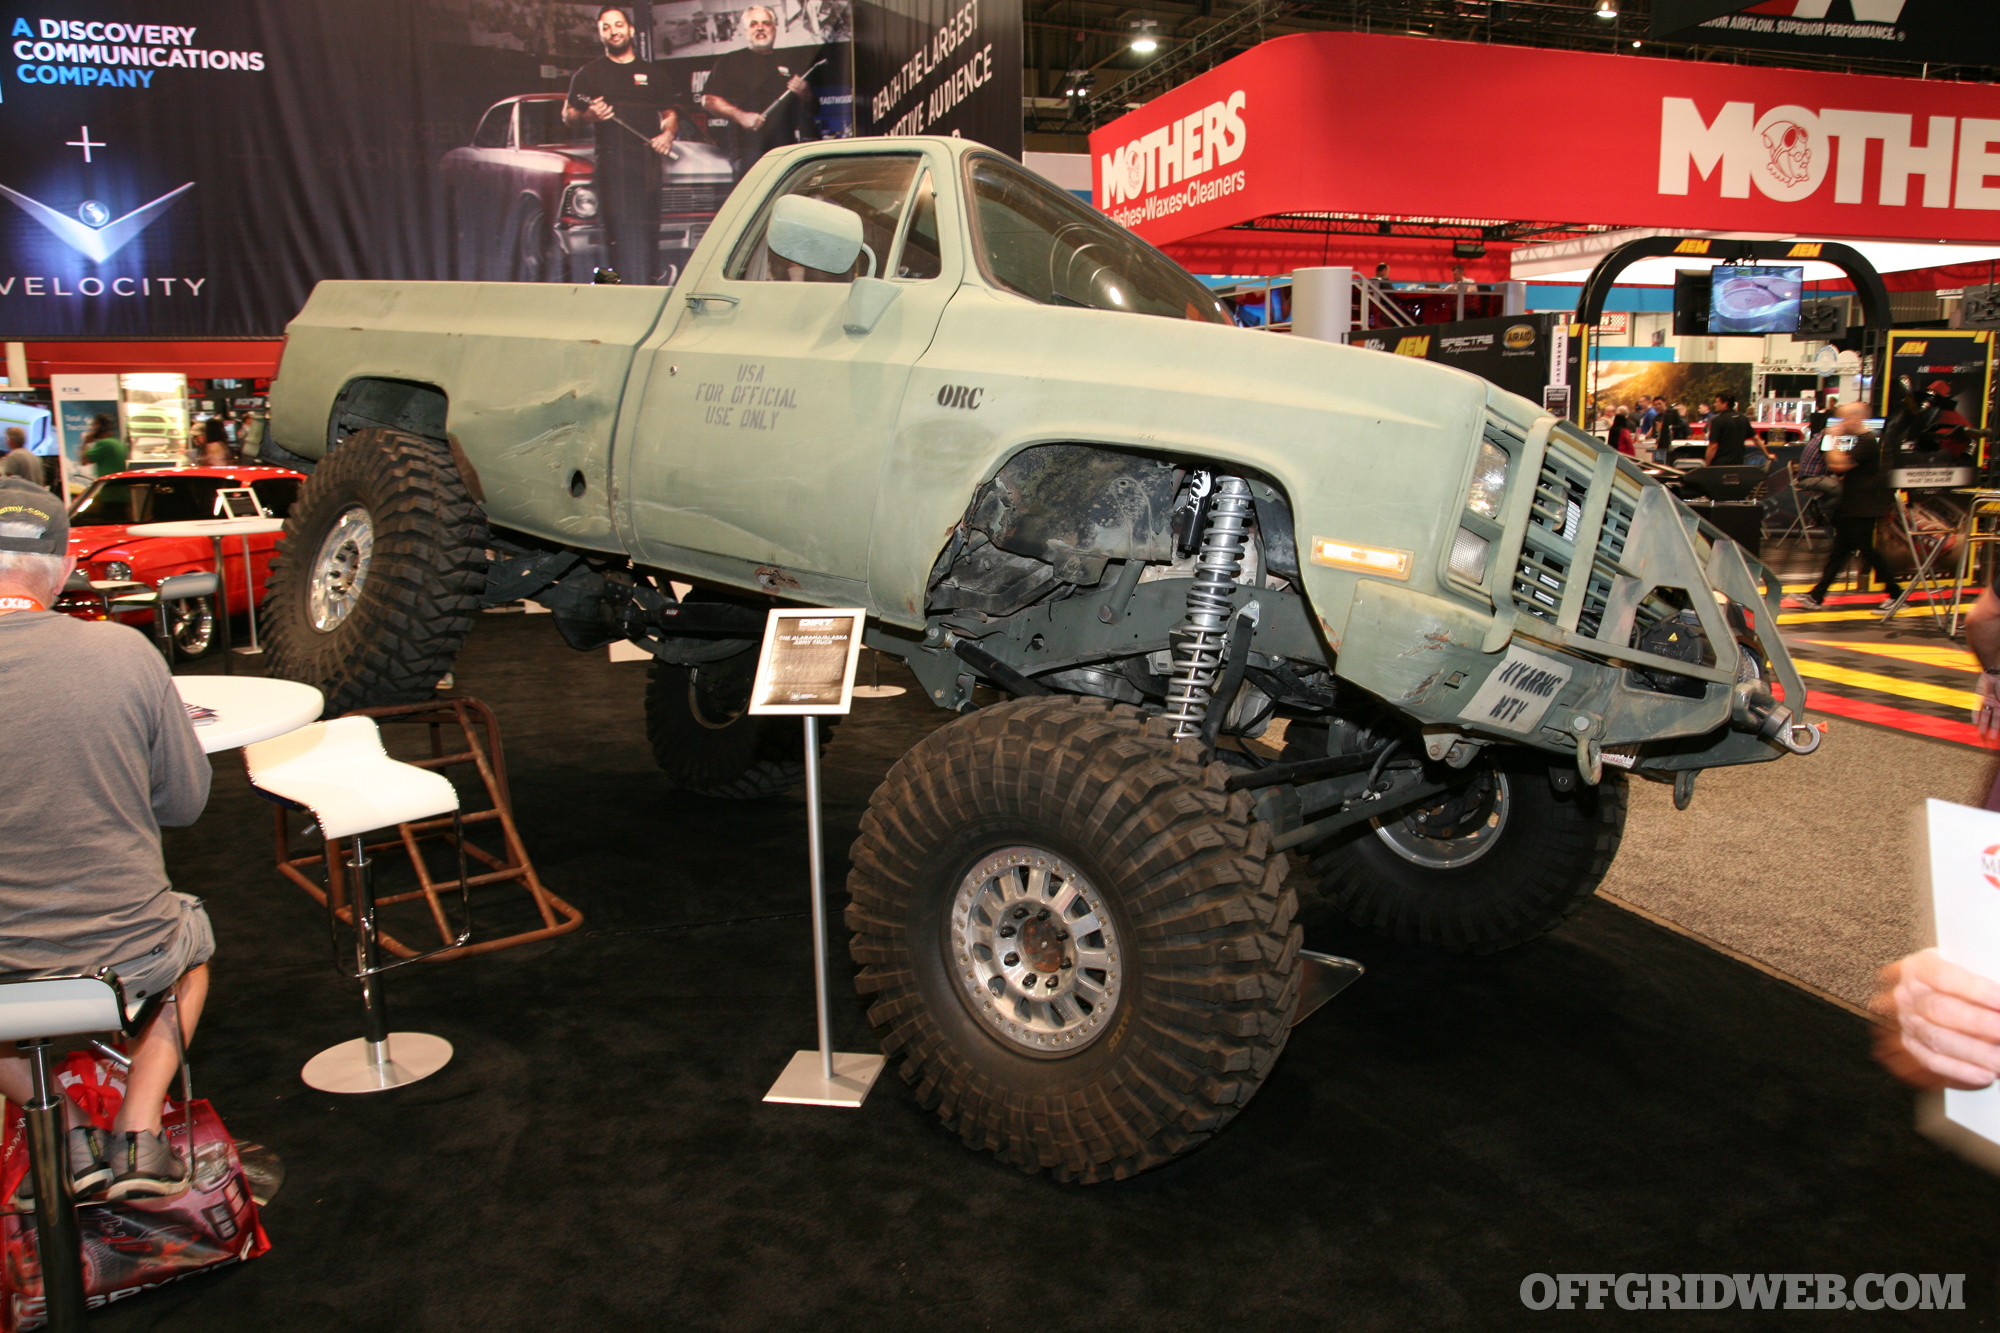
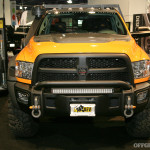
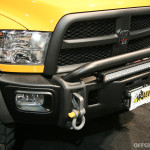
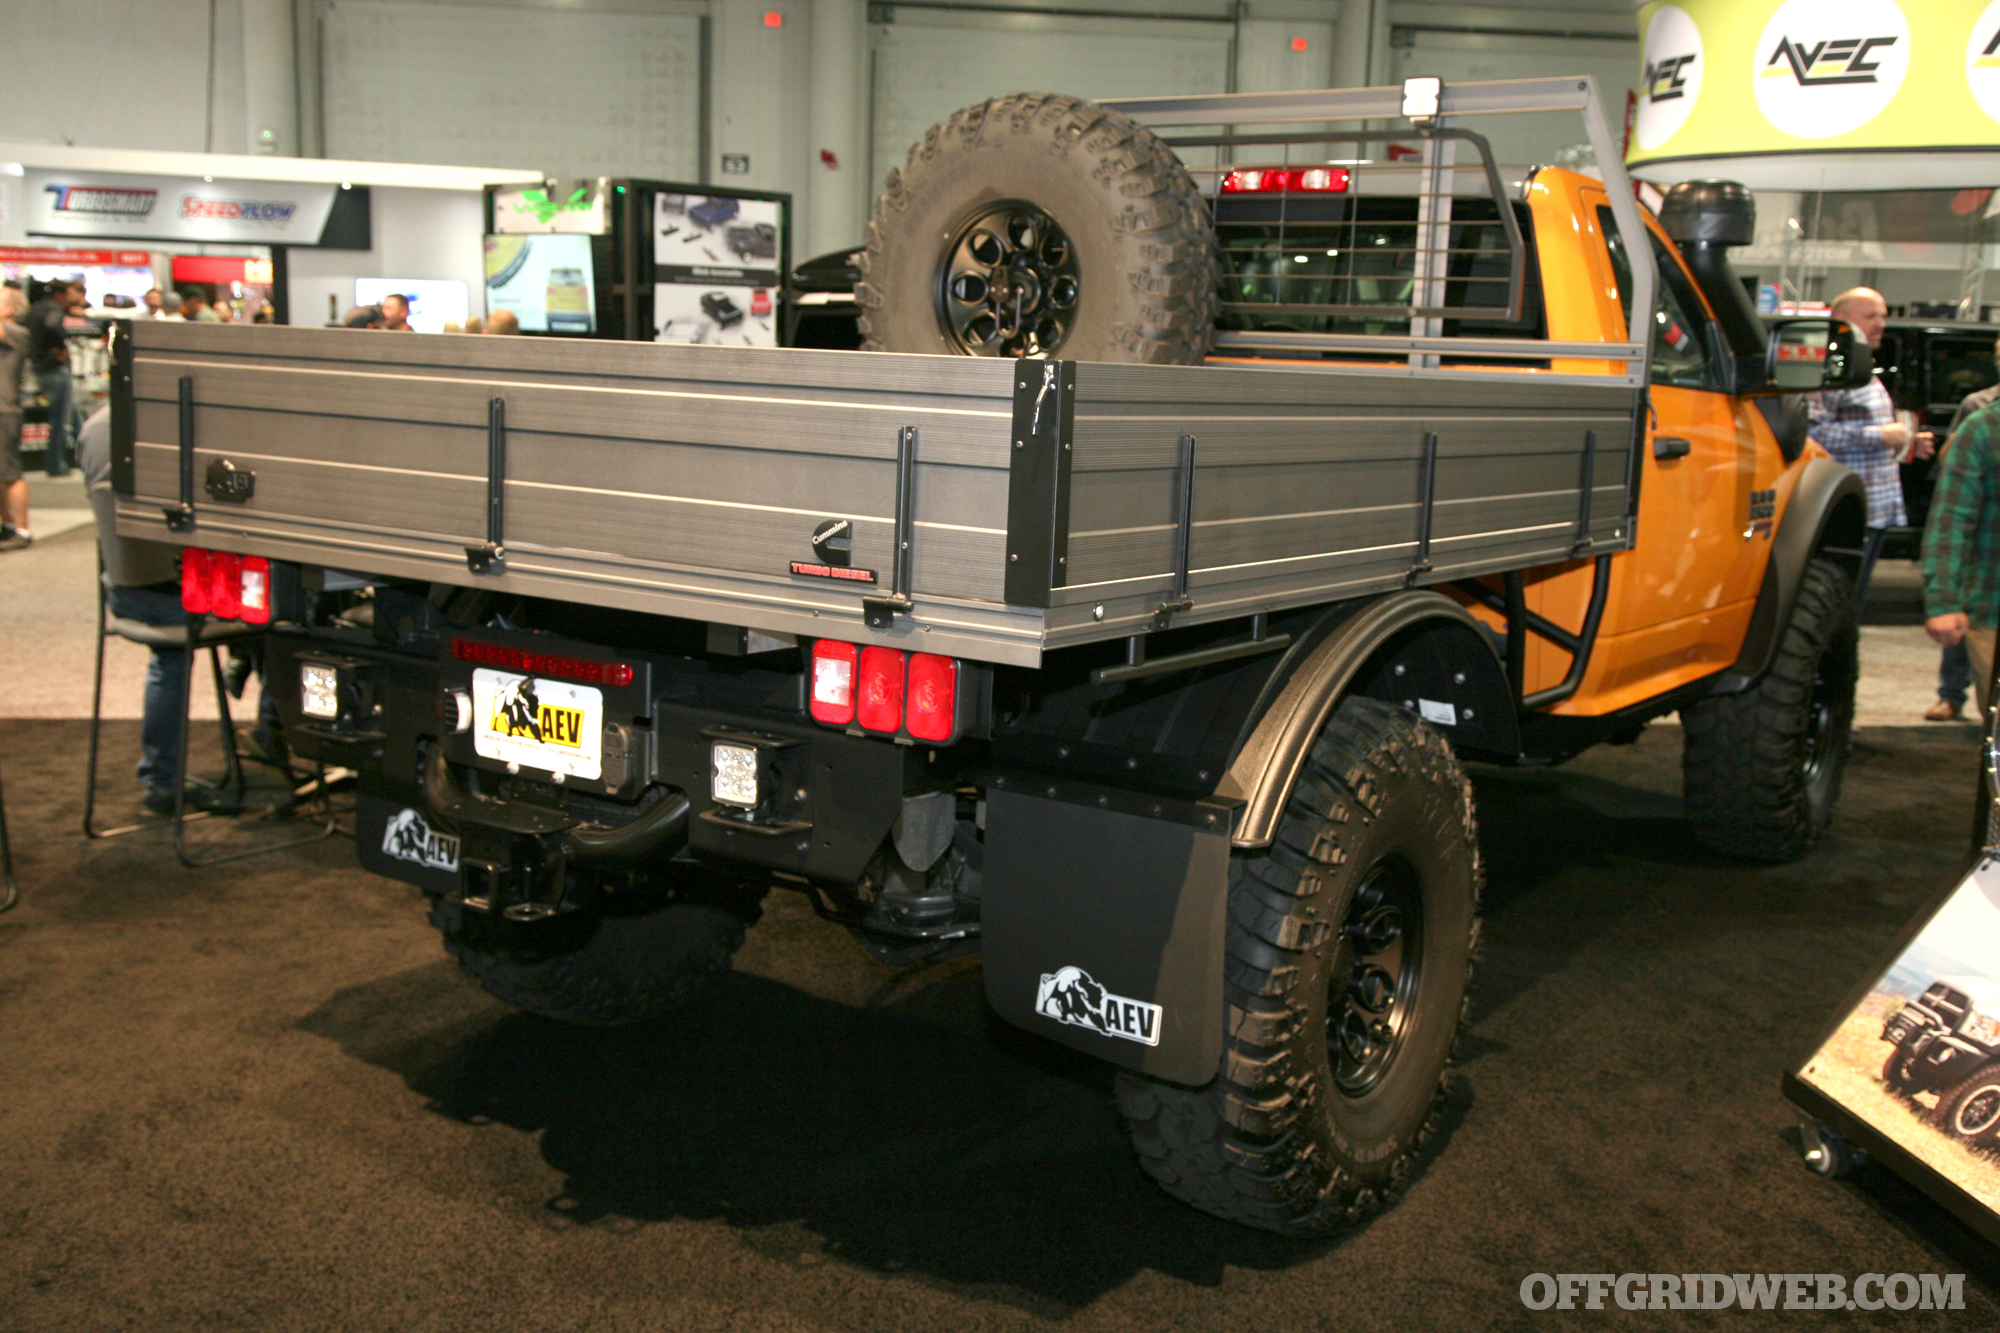
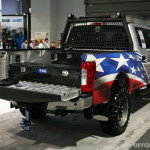
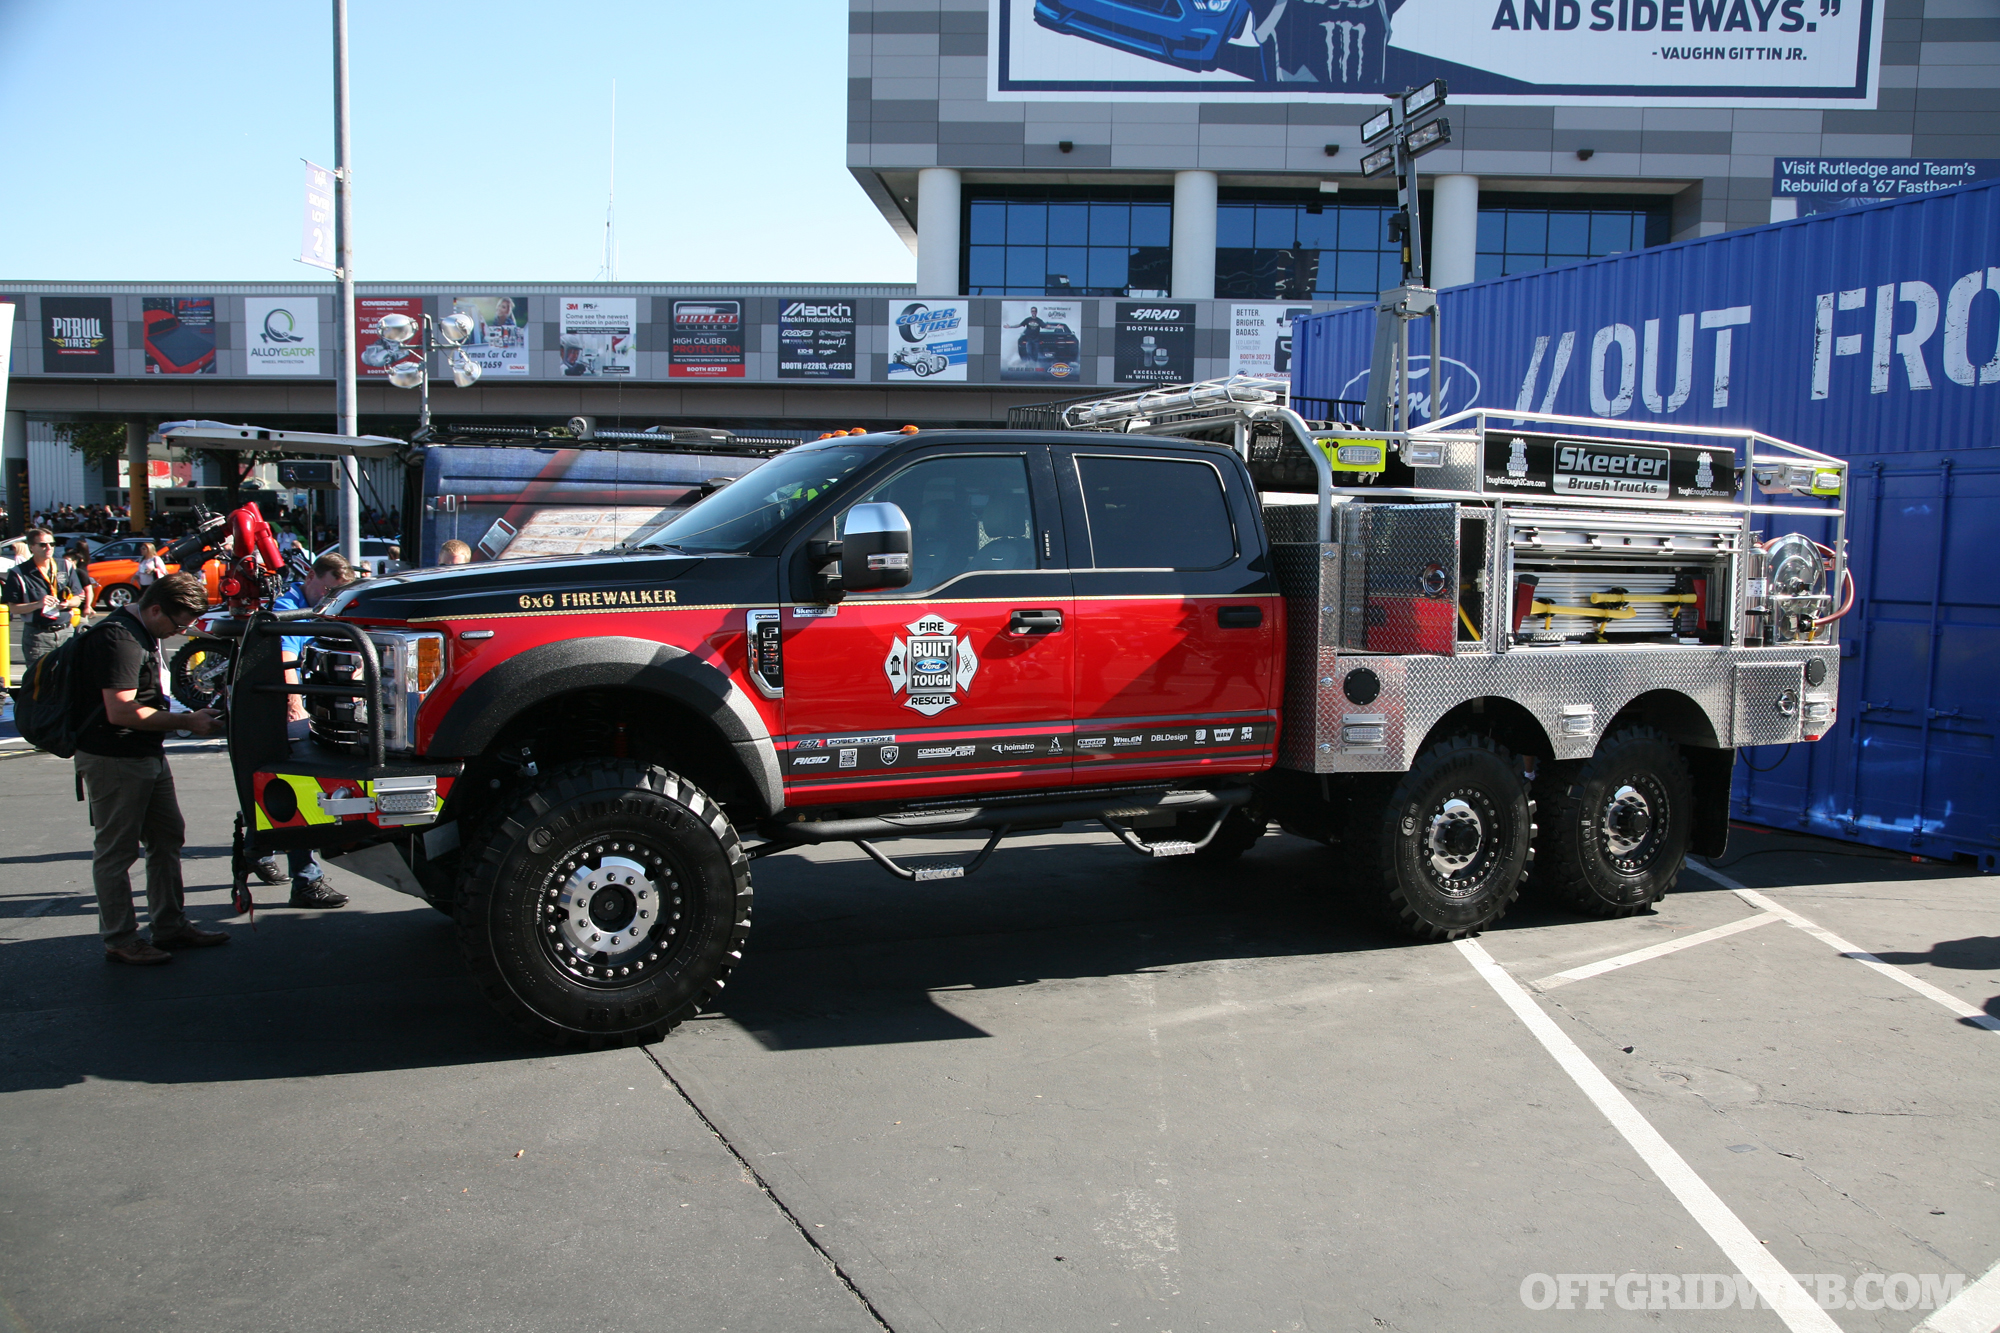
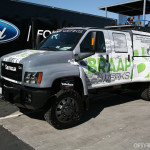
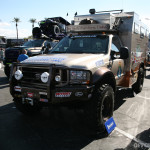
If you’re interested in cars, trucks, SUVs, Jeeps, ATVs, motorcycles, or any other sort of vehicle on wheels, the SEMA Show is the place to be. This massive automotive trade show takes place at the Las Vegas Convention Center each November, and is jam-packed with thousands of custom vehicles of every size and shape.
Many SEMA builds aren’t exactly what we’d call subtle or practical.
The SEMA Show is not open to the general public, so you’ll need to be part of the automotive industry or a member of the media to get in the doors. Fortunately, we fall into the second category, so we’re able to snap some photos of what we saw there. There were plenty of hot rods, classic cars, tuned imports, and other vehicles, but considering the theme of this publication, we obviously gravitated towards bug-out trucks and SUVs.
We’re always pleased to spot truck builds that clearly see real-world use.
We returned from the show with more than 200 photos, so we’ll share the first batch of bug-out-worthy truck builds (and some that aren’t) in the gallery below. You may notice there aren’t any Jeeps in this gallery — there were so many custom Jeeps at the show, we’re going to publish them separately in another post tomorrow.
Now, we’ll let the photos do the talking. Enjoy! (If you’re on a slow connection or a cellular device, you may want to come back to this later — it’s very image-heavy.)
Historically, Damascus blades have been integral to the stories of many legends, and it’s easy to see why. The legendary steel forms a unique pattern that is easily visible to the eye. Additionally, Damascus is said to be strong enough to cut through a rifle barrel. Whether or not you believe the legend is up to you, but one thing is for sure: a Damascus blade knife is a worthwhile investment. Check out these Damask Co. Fixed Blade Knives that beautifully blend appearance and strength.
Available in a variety of styles, from a curved edge to a double-sided blade, each blade is a work of art. Clocking in at 10 inches in length and just under a pound, these fixed-blade knives feel great in the hand and will hold their edge through whatever test you put them. Each blade features a unique composite handle made from a variety of materials, and comes complete with a sheath for safe storage and carry. And because each blade is hand-made, you can be sure they will be forged properly. They’re perfect for your next hunting trip, or just to carry with you as a safety measure.
These practical Damask Co. Fixed Blade Knives are available now for just $97.99, which is a savings of 30% from their original price. A knife like one of these is sure to impress your friends, whether on display or in action.
In our upcoming article on boot selection and break-in, we’ll cover some of the important points to consider before taking your boots on their first high-mileage adventure. However, as anyone who’s had large sections of skin slough off at the end of a hike can tell you, your sock material and selection is just as critical to success as the boots themselves. Today, we’ll be addressing that topic.
We spoke briefly with John Ramsey, Director of Sock Development for Smartwool, to help understand the considerations required when choosing a pair of socks.
RECOIL OFFGRID: Tell us about the new hunting line from Smartwool. Is there a difference in materials or construction between this line of socks and your other lines? It seems like the same concepts that make a good hiking sock would apply directly to a hunting sock.
JOHN RAMSEY: The new line has similarities to Smartwool’s performance socks, but here are the features that make Smartwool’s hunt socks different:
Achilles strap: specifically designed to protect heel in hunting boots.
Flex zone: reduced bulk on inside of sock where your foot creases/bends when field dressing a kill or otherwise crouching.
Ankle cushion: thinner cushion on ankle bone, where otherwise it rubs!
Flag on inside of cuff. Like all of Smartwool’s performance socks, they are made in the USA, but these are the first to feature the flag!
Do you have recommendations for a type of sock to wear with hiking/hunting boots, and what about thickness? We usually wear heavy socks and are used to that. Would there be any reason that someone would want to use a lighter sock with boots?
JR: It depends on the type of hunting you are doing. If it’s a more active hunt — tracking big game and doing a lot of hiking — a thinner pair might work better for less bulk in the boot. However, if you are sitting in a bluff or tree stand, you might want a thicker pair to provide more warmth.
What sort of adjustments to the socks might end-users want to make? Everyone knows how to put socks on, but are there certain points of the sock to have aligned with certain parts of the foot?
JR: Choose the correct size and the fit should take care of itself! Otherwise, make sure that the Achilles strap is lined up with your Achilles and the toe box is aligned with your toes.
Does any kind of a “break-in” period apply to socks like it does to footwear? Or should socks be 100% comfortable out of the box?
JR: 100% comfortable out of the box! As a matter of fact, Conrad Anker, a world-famous mountaineer, pulls a fresh pair of Smartwool socks out of the package for summit day on Everest.
Andrew Schrader is a licensed professional engineer and is certified by the U.S. Army Corps of Engineers as an Urban Search and Rescue (USAR) Structures Specialist. His company, Recon Response Engineering LLC, advises state and federal government organizations on the subject of urban search and rescue and building collapse. He recently assisted the U.S. Department of State’s Italian Consulate in the development of their post-earthquake response and rescue protocol. www.reconresponse.com Instagram: @reconresponse
We’ve all encountered reckless or oblivious drivers on the highway, and thought, that person is going to get someone killed! Unfortunately, that’s often the case. More than 2 million people are injured and 32,000 killed in motor vehicle crashes each year, according to the CDC. This makes driving one of the most (if not the most) dangerous activities we participate in each day, from a statistical standpoint.
The following infographic from Teletrac Navman shows the most dangerous highways in the United States, based on the average annual number of deaths per mile. It also goes into even more depth, revealing the deadliest city on each highway, most common dates and times of fatalities, and the most common causes of these crashes. There’s a lot of information to be learned here, so check out the most dangerous roads in your region so you can know what to look out for. Click here to download a full-size version of this infographic.
If you’d like to learn more about ways to prepare for dangers on the road, check out these previous articles: