In This Article
Kidnappings have become a cottage industry in many countries. Some are conducted by disorganized criminals conducting random roadside abductions. Others are far more sophisticated and entail everything from assailants posing as local police officers to surveillance being gathered on potential targets far in advance of an actual abduction. A ransom exchange or revenge killing between gangs is often the motive, but there have also been reports that black-market organ harvesting, sex trafficking, and ritualistic killings are also involved. Even if you’re an upstanding individual with no involvement in the criminal underworld, this doesn’t guarantee your safety. In March 2023, four Americans were kidnapped by armed men after traveling to Tamaulipas, Mexico for a medical procedure — tragically, two of the four were killed and a third was seriously injured. A victim’s chances of survival decrease with each passing moment, while the severity of their incarceration is simultaneously increasing. If you’re alone in a country widely known to have rampant kidnappings and you only have a moderate understanding of the language and geography, do you have a plan on what to do if you manage to escape captivity?
The Kidnapping Scenario
Situation Type
Escape from a kidnapping
Your Crew
Yourself
Location
Central America
Season
Fall
Weather
Humid; high 88 degrees F, low 63 degrees F
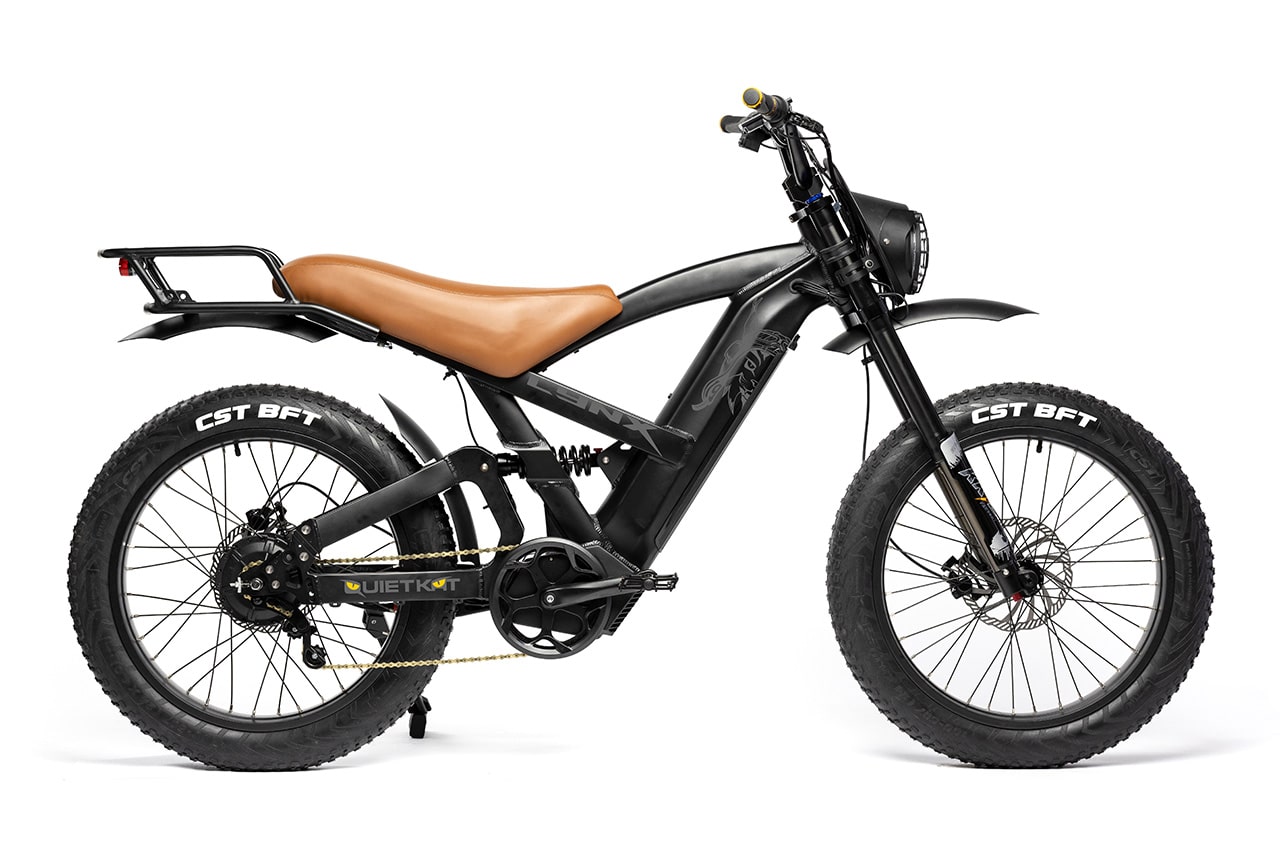
The Setup: You decide to take a two-week motorcycle trip from Southern California down through Central America to go sightseeing, sleep out under the stars, and periodically stay in hotels when the situation calls for it. Although you don’t have any acquaintances down that way, you have enough understanding of the language and local customs that you feel you’ll be able to travel safely. You bring your passport, your driver’s license, a sleeping bag and tent, water and snacks, a cell phone with prepaid SIM card, a few changes of clothing, and enough cash to hold you over for the trip. You know that gangs, cartels, and corrupt police can be a problem in this region of the world, but you have a map with the bad areas marked off so you know where not to travel. Overall, you expect your contact with locals will only be for food, lodging, directions, or other local accommodations.
The Complication: While riding down a long stretch of highway during your fourth day of travel, you continue to head south. Late one afternoon, you see two vehicles quickly approaching behind you. You figure it’s just locals looking to pass, so you pull into the right lane. As the first vehicle passes, it swerves in front of you and quickly brakes to the point you skid into his rear bumper. The other vehicle stops only about a car-length behind you. Two masked men emerge from the lead vehicle with pistols, snatch your keys from the ignition, and order you to the ground. The individuals in the other vehicle seem to be acting as security, watching behind them to see if anyone’s coming. Since there is no one else around, and you’re clearly surrounded and outgunned, you realize that attempting to fight or flee right now is likely to get you killed. You decide to cooperate, at least until an opportunity to escape arises. You hope these are just local thugs looking to steal your belongings and leave you on the roadside.
One of the assailants puts his knee on your neck while the other vigorously searches you head to toe. He finds and destroys your phone with the heel of his boot and also removes both your shoes. He empties your pockets and orders you into the trunk of the vehicle at gunpoint. You realize the situation has gotten much worse, but feel you have no alternative but to acquiesce to the commands. After about a 30-minute car ride in the dark, which you can tell is traveling over both paved and dirt roads, you suddenly stop. After being pulled from the trunk, you see you are now at an isolated home somewhere remote. It doesn’t appear to be in the vicinity of any other homes, and you count a total of five men in the two vehicles you were confronted by. They do not vocalize anything that helps you understand their intentions. You’re brought into what appears to be a smaller house behind the main house. As you enter, the building is sparse, with nothing more than a bucket and small tattered mattress in the corner.
As one of your captors handcuffs your left wrist to a pipe on the wall, you realize you’ve been kidnapped by individuals who may or may not be cartel-affiliated, but they’re definitely in the business of doing this regularly. You know the longer you wait, the more severe your level of incarceration will become, potentially culminating in your death. After about 45 minutes, the sun has gone down and you no longer hear voices outside. The house only has one window, which has been boarded shut from the outside. Aside from the handcuff, you are unrestrained at the moment, but you sit and debate whether you should try to escape, risking making too much noise. You don’t know if there are guards posted outside who could see you flee the compound.
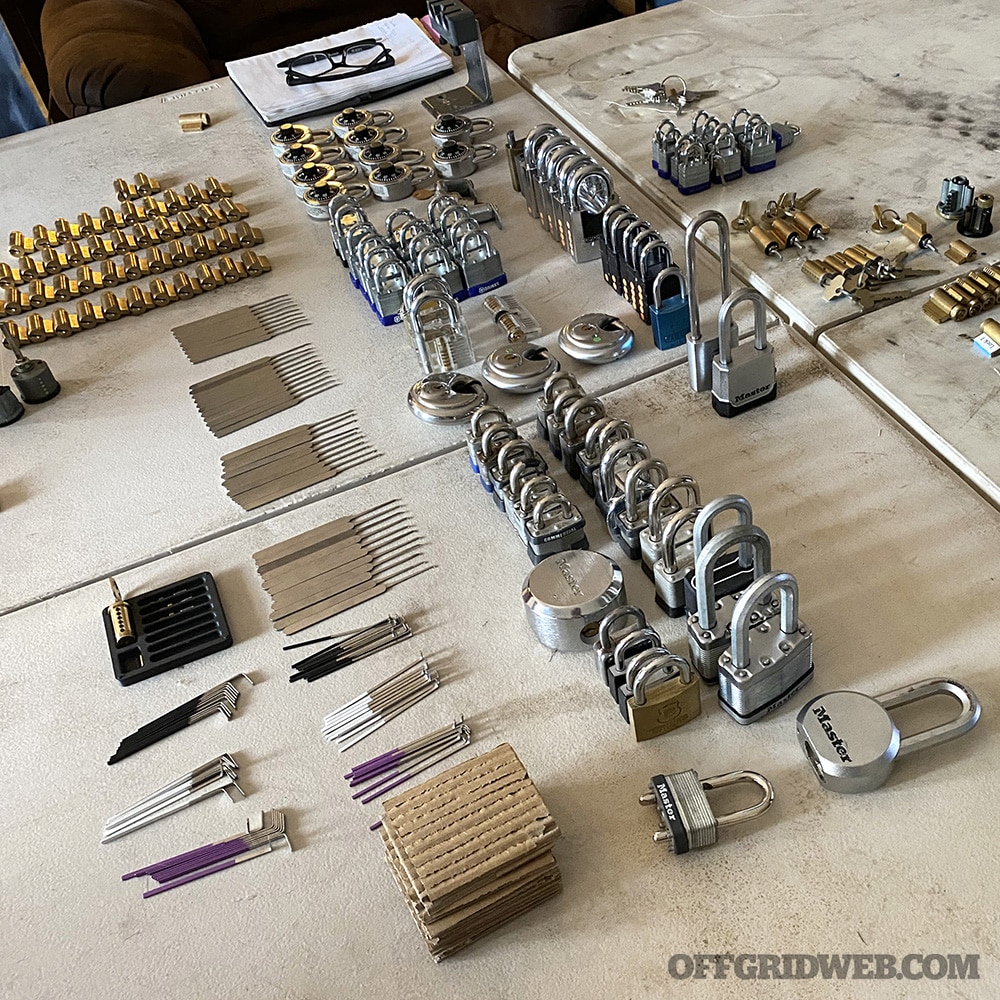
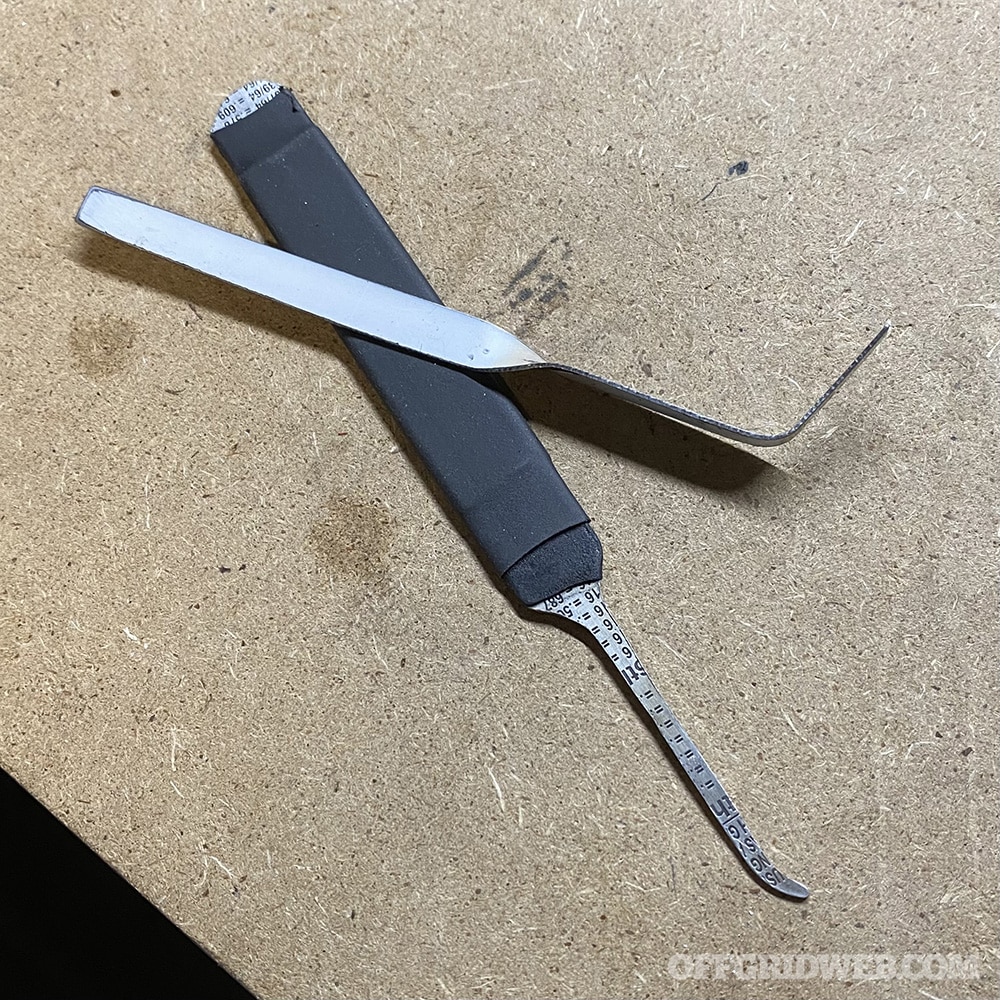
Another hour goes by and an individual enters to leave you a bottle of water. While the door is open you can see that it has an older slant-style latch. You kept an emergency prepaid debit card inside your sock, which you still have on. You may be able to use the card to bypass the latch if you feel the opportunity is there. As for the handcuff, you tucked a metal shim into the stitching inside your riding pants before the trip, knowing there was a small possibility of encountering exactly this type of situation. The cuff wasn’t double-locked, so you feel confident you’ll be able to get it open with your shim. After the individual leaves, you decide it’s now or never.
With some trial and error, you are able to shim the handcuff and open the door latch. Looking through the crack in the door, you don’t see any individuals or hear any voices, but the two vehicles are still parked there. After listening and watching for a few more minutes, you decide you can make a run for it. You are in a foreign country, don’t know where you are exactly, and aren’t sure how to report your situation. Where do you go? Should you head for the closest highway and flag down a passerby without knowing if they’re connected to your kidnappers? Should you try to reach the nearest embassy or police station? Head for the border by hitchhiking, even though you no longer have your ID? Blend into the local populace until you feel the coast is clear? Where do you go and how do you report your situation to someone back home?
Detective Cory Fechtelkotter’s Approach
Preparation: Traveling presents all sorts of risks that can be avoided by simply staying at home, but you would miss out on the very experiences that make life worth living. A completely safe life isn’t necessarily a fulfilling one, especially if tainted by regrets over adventures never attempted. That said, you needn’t fling yourself headlong into danger without a thought of the consequences to have a good time. Taking steps to ensure your safety during your travels will not only protect your physical well-being, but reduce any anxiety you might reasonably have from visiting someplace unfamiliar.
The first step is to do your homework on where you are heading. Geography, climate, culture, economics, politics, and current events are all things you need to study before traveling someplace new. What you need (both in terms of equipment and knowledge) isn’t universal from one place to the next, so it must be figured out ahead of time. Even though things like water, food, and shelter are “needs” everywhere, the ease or difficulty of obtaining any of those things can vary dramatically, even within the same country. What you should prioritize to keep yourself safe in a culture friendly to tourists, but with poor sanitary conditions, could look much different than a place that has reliable infrastructure, but locals who mistrust outsiders.
Even if the place you’re visiting is somewhere you’ve been before, it’s worth doing some research to see what has changed since your last visit. Change is constant, and very often it’s not for the better. Localized issues, such as political upheaval, a stagnant economy, conflict with a neighboring country, or natural disasters are obvious concerns, but in an increasingly connected world, a problem in one corner of the globe can quickly become a problem everywhere.
After all, in 2020, there was widespread political violence across the world, to include traditionally stable “first world” countries, over the death of just one person in Minneapolis, Minnesota. While the global effects of local incidents like the death of George Floyd are impossible to predict, it’s vital to understand that attitudes of people toward foreigners can shift quickly, and that can have unexpected consequences for a tourist. Imagine how much more dramatic the global reaction could be to an unpopular foreign policy by your own government, and it immediately becomes clear why staying current on international affairs is so important. Being familiar with these issues can give you some insight into the possible dangers and likely motives of attackers you could face during your trip.
Once you’ve done your research and given careful consideration to these factors, you can make informed decisions about what you truly need. Attention to local laws, however, can limit certain options. A firearm or blade makes perfect sense in a region known for violent crime, but being caught with such a weapon (let alone using it) can have life-changing consequences in a place where such weapons are outlawed. If the potential need for use of a deadly weapon is so high that you would choose to risk spending the rest of your life in a third-world prison in order to carry one, you might consider a trip to someplace safer. However, that doesn’t mean you should just stay at home or choose to be completely defenseless when you travel. Empty hand skills, physical fitness, familiarity with improvised weapons, and even a simple flashlight can offer a degree of protection even in the most restrictive locales.
Regardless, preparation largely comes down to developing plans for probable and serious issues ahead of time. Many of the adversities travelers encounter come not from the problem itself, but from the failure to anticipate the issue.
On Site: Despite the potential issues, you’ve done your homework and are as reasonably prepared as you can be for your solo adventure. Traveling alone is inherently riskier than traveling with a group, but there are still options to mitigate your risk. Communication is particularly important. Even though they may not be able to immediately come to your aid, having a way of letting others know things are amiss can get help on the way.
One tried-and-true method for everyone from mountaineers with satellite phones to latchkey kids returning to an empty home after school, is the scheduled phone call. Simply put, you routinely contact a trusted person at a predetermined time, and if they don’t hear from you, they know something is wrong. With this method, your contact needs to know exactly what to do if they don’t hear from you. What you expect of them might vary depending on your travel plans, but a call to the embassy is probably a good place to start regardless of the country. Additionally, you must keep your contact in the loop about any deviations from your plan, so there isn’t a panic with unnecessary calls to the authorities because you simply forgot to call.
Another more passive method of communication is a tool popular with wilderness adventurers and helicopter parents alike — tracking devices. Over time, these devices have become smaller, less expensive, and increasingly reliable. You could use several, keeping them in your bags, vehicle, and clothing. If your point of contact back home is paying attention and sees the trackers stop working, stray from the planned route, or separate from one another, they might know it’s time to seek help (and potentially even know where to send it).
Each method has advantages and disadvantages, and both are heavily reliant on technology, so a layered approach is advisable. It’s also worth researching local resources. Even in the third world, you can find well-regarded local travel guides to help you formulate your travel strategy and to serve as a local point of contact, even if you choose to travel alone. Having someone local who speaks the language, understands how to deal with local public safety, and can act on your behalf is far more effective than someone thousands of miles away trying to handle everything by phone.
Crisis: Even with sensible planning and an abundance of caution, things can still go sideways. When confronted with armed attackers who clearly have the upper hand, it’s time for a rapid and realistic analysis of the circumstances. You can’t know the motive of a kidnapper for certain, but the research you did before your trip can give you some clues and help you make an educated guess. In places known for terrorism, the gloves are off. I’d fight as hard as possible, no matter what the odds, even if death was almost certain. In a circumstance like that, where death is inevitable, it’s better to go down fighting than be the helpless victim of a taped and broadcasted execution later on.
On the other hand, regions where kidnappings are primarily a means of obtaining ransom money present some other options worth looking at. If I believed the goal was ransom, and resistance seemed likely to get me seriously hurt or killed, initial cooperation might be the least bad choice given the circumstances. This can seem counterintuitive, because generally speaking, letting anyone take you to a secondary location is something to be avoided at all costs. That said, if they have the clear advantage, you have no effective form of fighting back or escaping, and your research makes you think it’s just a money grab, fighting may not be in your best interests. There’s no honor in a suicidal last stand if a more realistic chance of survival could crop up later.
Just because you initially cooperated doesn’t mean you have to stick to that strategy. At the end of the day, the initial choice to go quietly was based on an educated guess of their motives, not certainty. You have no way of knowing for sure if they will actually let you go, even if the ransom is paid. The kidnappers could demand more money, or just kill you once they have what they want. Alternatively, they could release you without getting any money at all if they believe holding you is too much hassle and killing you is more trouble than it’s worth, but you don’t want to count on that. After all, they could just kill you to hide that they kidnapped you in the first place. The point is, they’re criminals and they don’t follow rules, so you can’t ever know for sure. Since you only surrendered earlier because resistance was impossible, you should take whatever other opportunities present themselves as they come. Now, even though the odds may still be against you, success is actually possible.
The research you did ahead of time is essential in this moment. If you’re familiar with the environment and climate, you could realistically consider hiding out in the wilderness until you think making your way towards civilization is safe. Knowing about landmarks in the region and basic land navigation skills can help you find your bearings even if you don’t know exactly where you are at first. If you’ve determined locals are generally helpful to travelers and hold criminals in low regard, you could make a beeline for the nearest road or town. The opposite, however, could be the case, which is why it’s essential to study up ahead of time. One way or the other, eventually you’ll have to interact with people, so timing it right and having some understanding of the local language will be essential. Whatever you do, act decisively. Once the opportunity comes, there’s no guarantee another will present itself. Even if there is another chance, it may not be as good as the original.
Protective Specialist Mel Ward’s Approach
Everything I do in life I do with a “leaving the wire” mindset. The military beat this into me, so I’ll use that as my excuse as to why I treat going to Home Depot virtually the same as going to Honduras. We live in an age of medication shortages, six-hour waits for tow trucks, brazen daylight assaults, and cities filled with people who would rather stand by and stream footage of crimes to social media than intervene to help the victims. This is compounded by increased latency for EMS and police response. These days, I don’t prepare to go it alone; I f*cking count on it.
In that frame of mind, I lay out my trip. A two-week motorcycle journey to Central America and back is no small undertaking. Right from the jump, I wouldn’t take a bike and I wouldn’t do this alone. I know. I’m a big puss. Now that you’ve shamed me with your silent judging, I’ll ignore my own advice and press on for those of you more adventurous than myself.
For starters, do yourself a favor and check out the Live Universal Awareness Map app (aka Liveuamap). This app will give you critical security updates in various regions of the world. Set your region and then adjust accordingly if the town you were planning on overnighting in just became ground-zero for a violent uprising.
As with any trip, I conduct a map reconnaissance. I use two apps: OsmAnd and Maps.me. Both are great, offline map apps, but I still bring paper maps. Whether I use my road atlas, a gas station map, or custom-printed topos from USGS.gov or mytopo.com, I like to be able to put a finger on something and do some figuring on the hood of my truck.
For a basic map recon, I will mark my route, my alternate route, and all my overnights; the town, the hotel, the campground, etc. As I look at the entirety of my route, I will familiarize myself with the towns and terrain along the way in case of unplanned stops, mechanical failure, or navigation issues. I also want to pin the following: hospitals, clinics, fueling stations, airports, train stations, bus terminals, embassies, consulates, and humanitarian efforts like NGOs (non-governmental organizations). I like to make note of the terrain, water in the area, and even public and private land boundaries. I also want to know about the weather where I’m going for that time of year. Things like temperature, flooding, and storms should be on my mind.
I will try to at least predetermine my accommodations ahead of time. This allows me to research places to stay before I get there. I can read reviews, speak to staff on the phone, and get a general sense of whether this is a safe and honest place to stay. I simply want to avoid rolling into an unfamiliar town and staying at a motel that could be the local nexus for drugs and prostitution.
When I stay in hotels, I like to get a room on the second floor near the stairs if possible. I don’t want to be on the first floor in case of an attack or active shooter. Any threat must pass through the lobby at some point. The second floor also allows me to get out rapidly in case of a fire. If the stairs are blocked (I’m not taking the elevator) I can go through the window if needed. I will also pack either a simple door wedge/stopper or something like a Travel Safety Lock. These are devices you can insert between the door and jam that will prevent someone from opening your door even if they have the key.
Further, because I’m traveling outside the U.S., I’m looking at travel advisories from the State Department as well as the CDC. I want to know if a country I may pass through is having anything from a military coup to a malaria outbreak so I can plan accordingly. Speaking of countries, I will want some idea of the local languages and dialects of the regions along the route. I have a fair bit of Spanish stored away in my memory banks, (gracias, señor Aleman), but what if I need Portuguese? Bone up with an app like Duolingo. While you’re downloading that, also grab Microsoft Translator. I prefer it to Google Translate, and it works offline. As always, assume everything you enter into an app like this is stored somewhere and the data is then sold.
Once complete, I give my wife and kids a printed itinerary and maps of where I’ll be and when I expect to be there. I will make sure they have recent photos of me, copies of my passport and driver’s license, and anything else that may help them to identify me for authorities should it come to that. I’m also going to give them a schedule of regular check-ins. They will, at least, receive a text every four hours without fail. If I miss a check-in, they try to reach me until they get a hold of me. If I miss two check-ins, they are alerting authorities or otherwise taking action to expedite the discovery of my whereabouts.
There are a couple ways I like to check-in. First, I’m simply going to text them or call them with where I’m at and how things are going; the plan for the next day’s journey, etc. In lieu of a cell signal however, I’m going to pull out my Garmin inReach device. Get whatever you can afford, but getting something like a satellite phone, or inReach, gives yet another redundancy if hardline, cellular, and Wi-Fi is unavailable.
Whether you get the inReach Mini 2 or the Montana 700i, you’re going to be able to do something very important: send text messages via a satellite network. With the inReach, these texts can also include location and map data. Not only will your family know you are OK, they will also see exactly where you are. If something emergent happens you can also press the SOS button on these devices. This will launch a precomposed text that will alert a 24/7 monitoring service and provide your GPS coordinates.
Prior to going wheels-up, I need to ensure my transportation is solid. I’d rock new tires for the bike so the rubber is fresh and chance of failure likely reduced. Fluid changes, battery testing, and belt/chain checks would be automatic. Though I do most of my own maintenance, for something like this, I would take the bike to a shop just to have another set of eyes to identify any potential issues that could arise.
When my wheels are sound, I’m going to start thinking about gear. A trip of this length demands heavy-duty riding gear. I’m not doing this in board shorts and flip-flops. I want riding clothes so if I lay the bike down on some goat path I thought was a road, I mitigate injury as much as possible. And speaking of injury, one of the first things I’ll pack is my med kit/trauma bag.
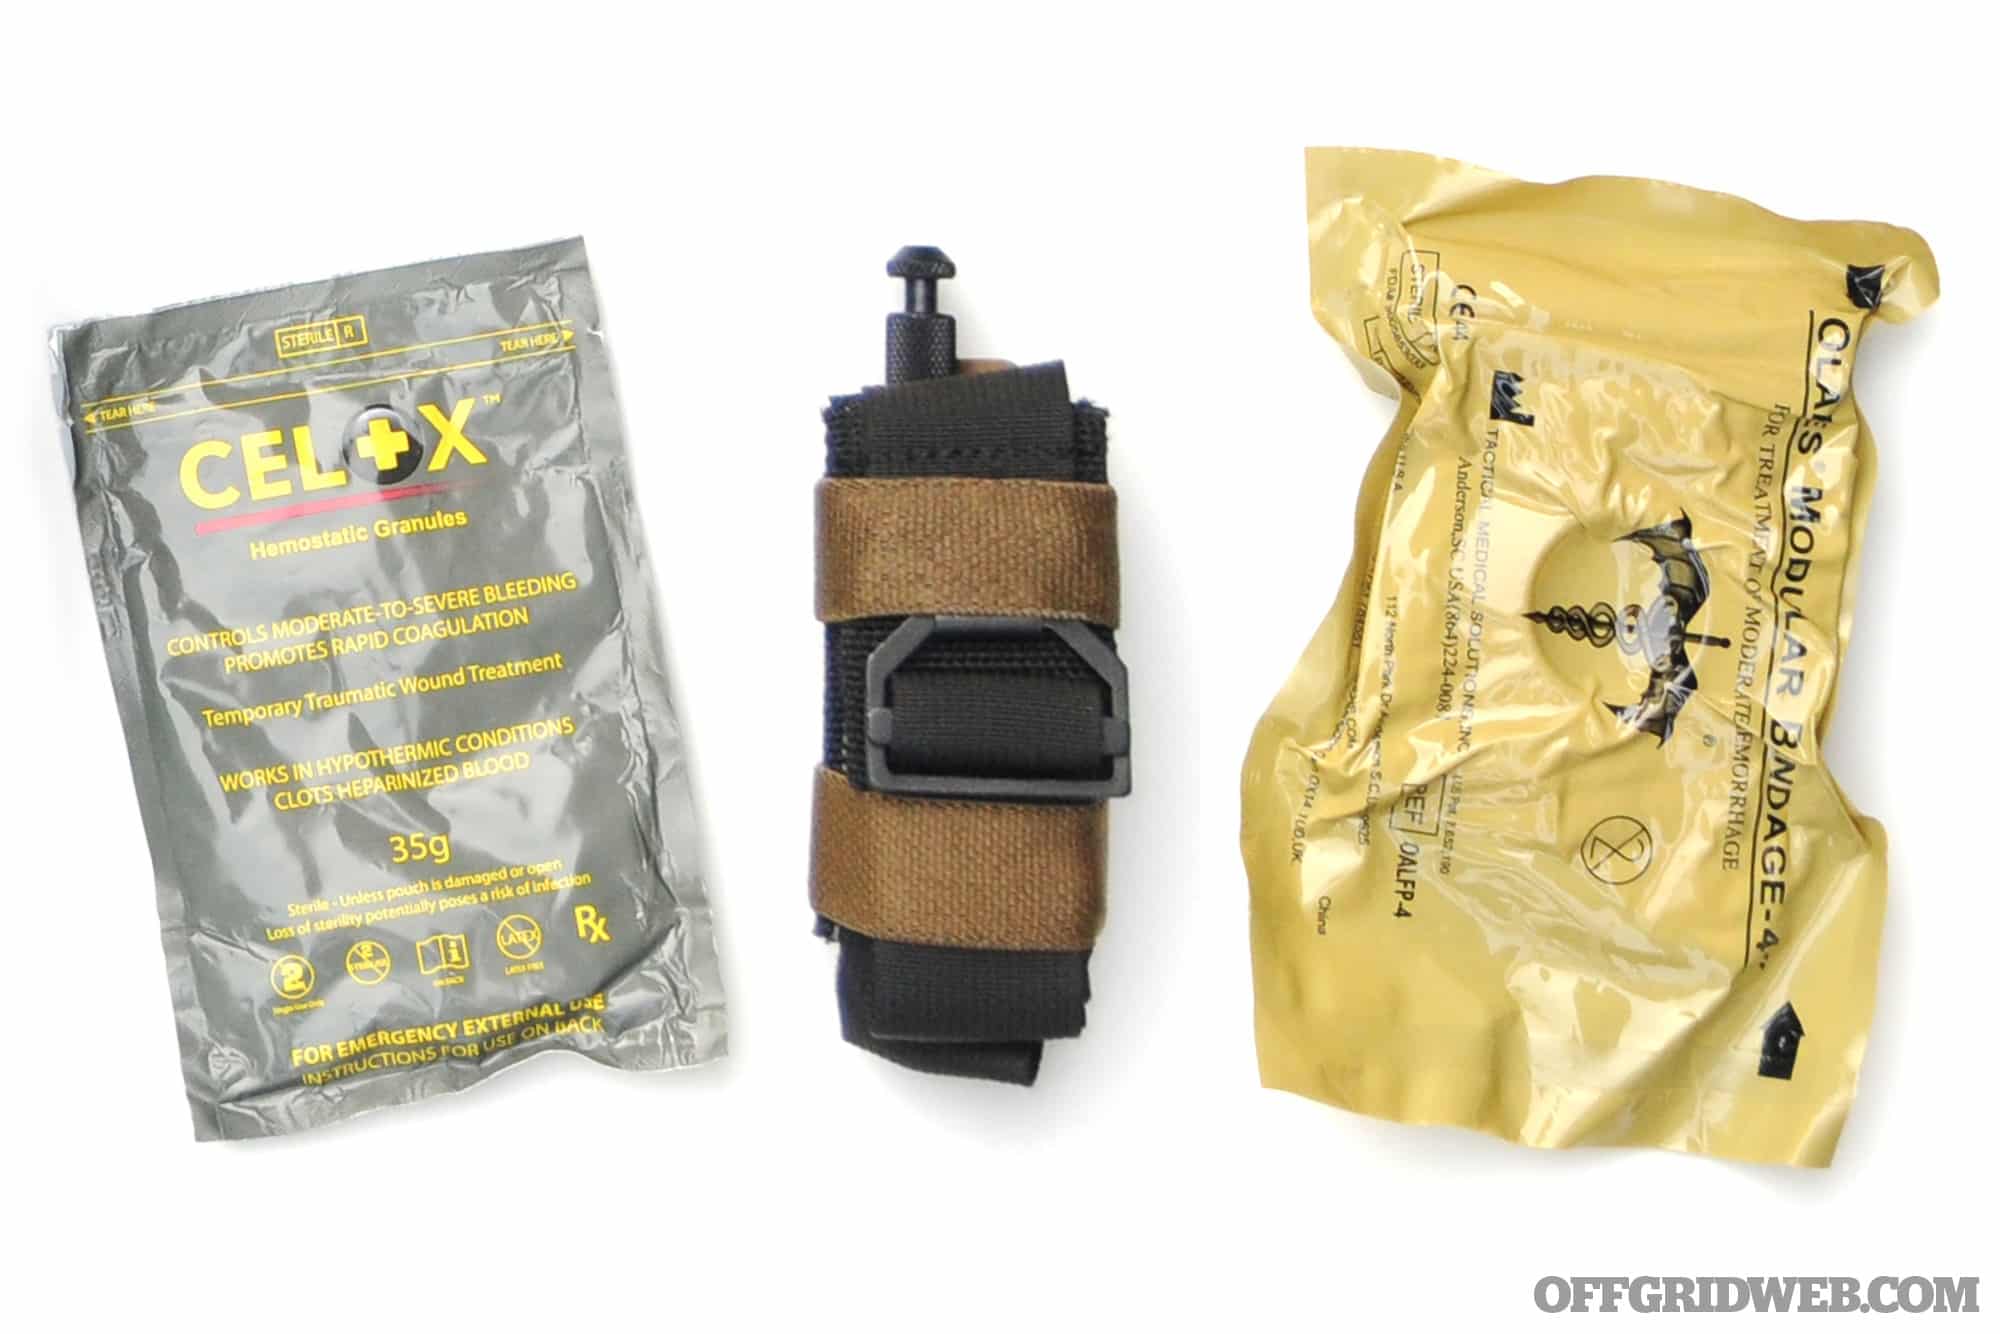
Given distance and duration, I want more than an IFAK. I keep North American Rescue trauma kits in all my vehicles. NAR calls these Combat Casualty Response Kits (CCRK). These are squad medic bags loaded to treat several casualties. I augment these with, at least, two additional tourniquets, ACE wrap bandages, and bottled saline or hydrogen peroxide for wound irrigation and cleaning. Fully loaded, they aren’t very heavy and will fit in a saddle bag or around your waist.
I will also consider bringing my antibiotic kit from contingencymedical.com. These are relatively inexpensive given that I will have the ability to run a course of antibiotics myself if things get bad. The kits require a brief, online medical history in order to provide the necessary prescription. You also get access to a physician via tele-health for advisement on use with your chosen package. The bags are small, lightweight, and provide additional insurance I like to layer into my plans.
Speaking of insurance. I will make sure whatever I’m carrying for health insurance includes international coverage and a medevac clause. Check your policy. If your health insurance doesn’t, or won’t, cover these items, try something like Travel Insured International. You can add on medevac coverage fairly cheaply to augment your existing plan.
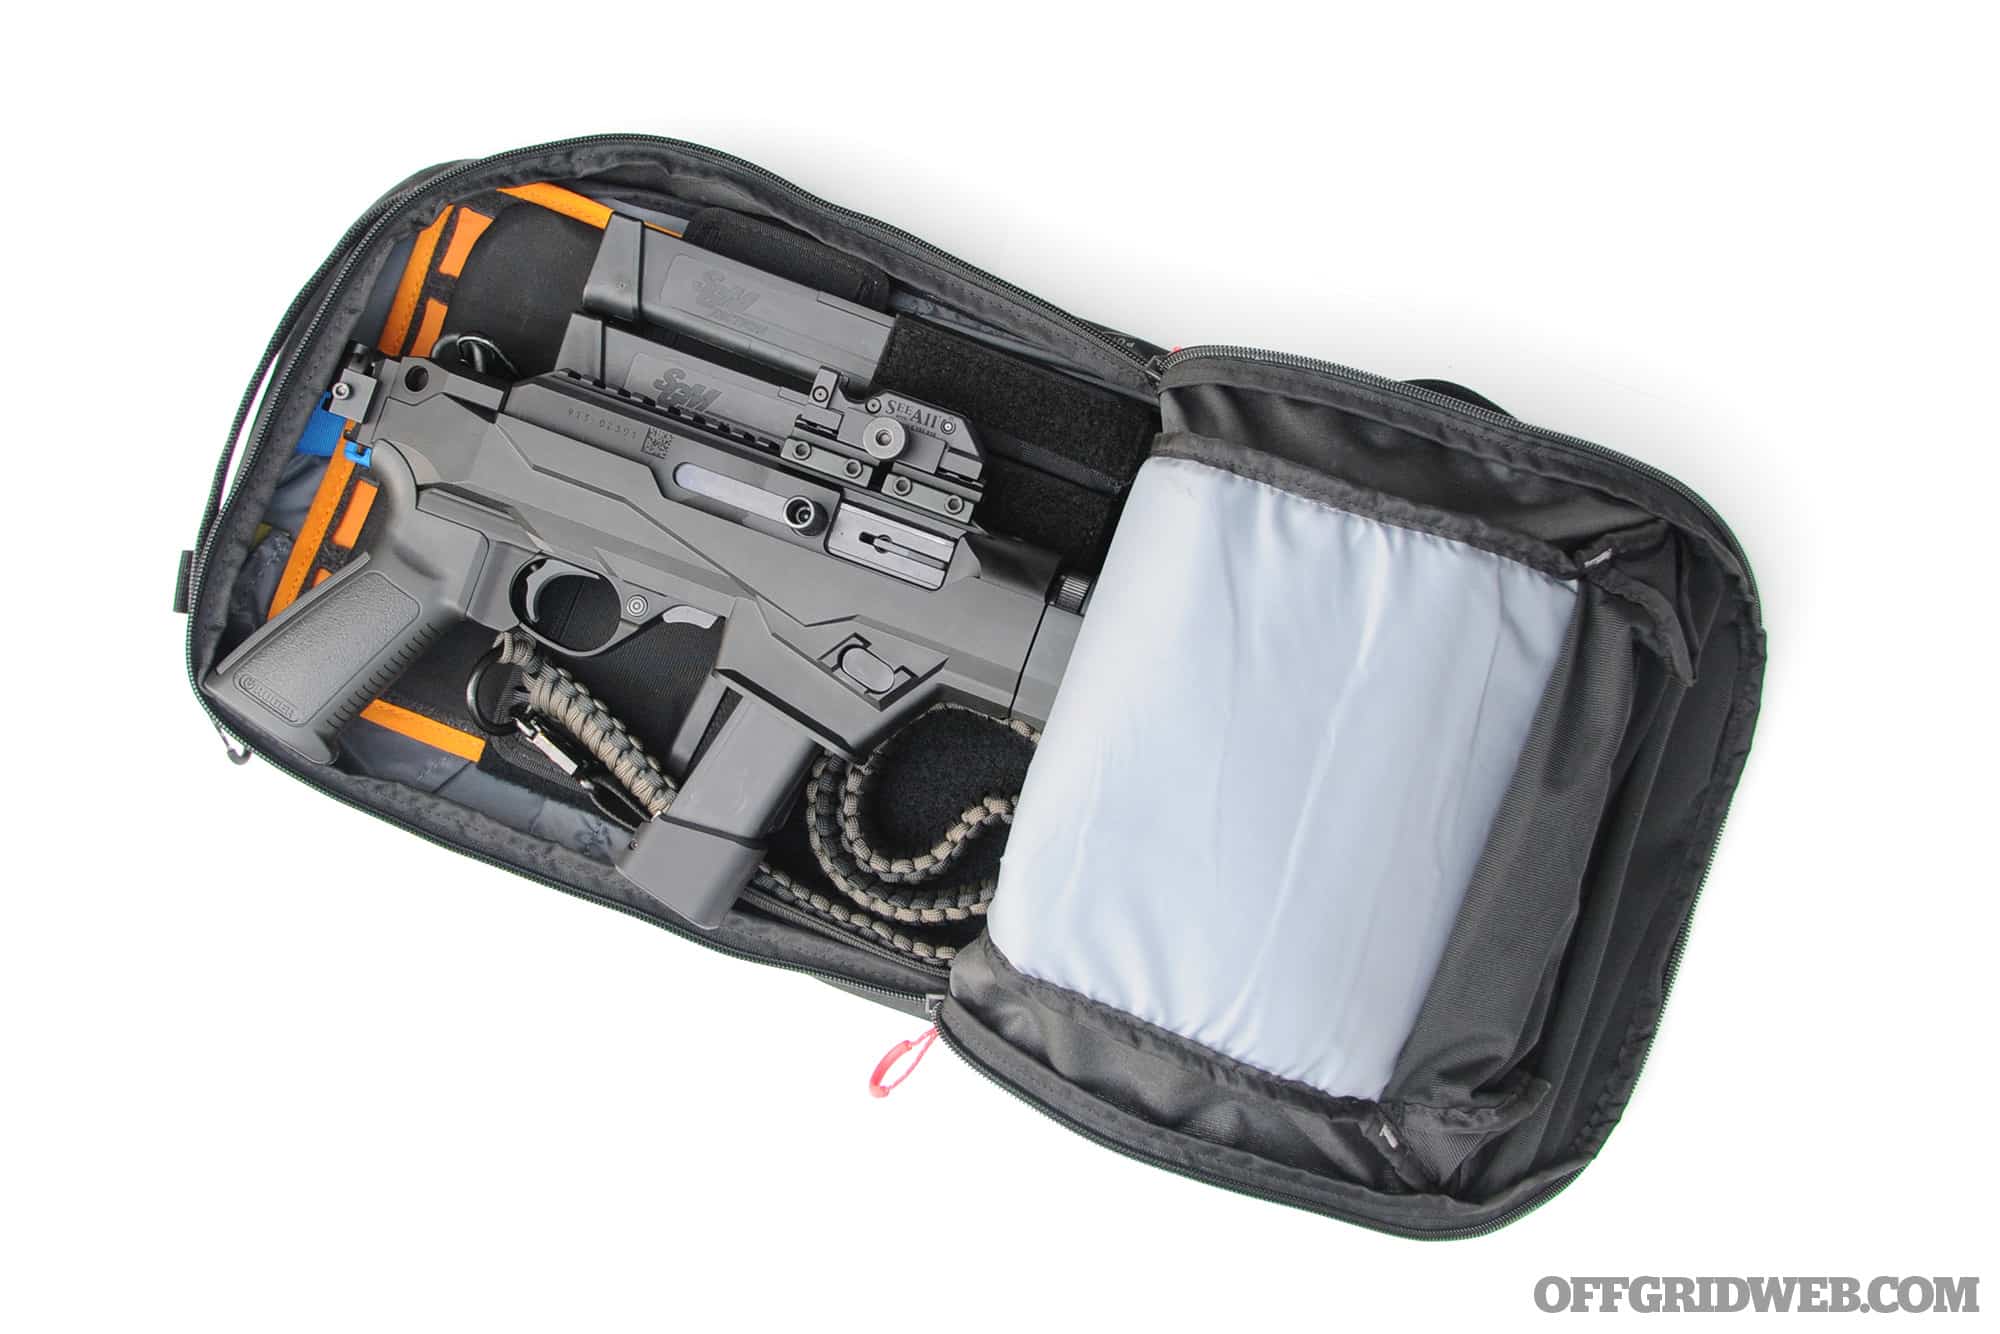
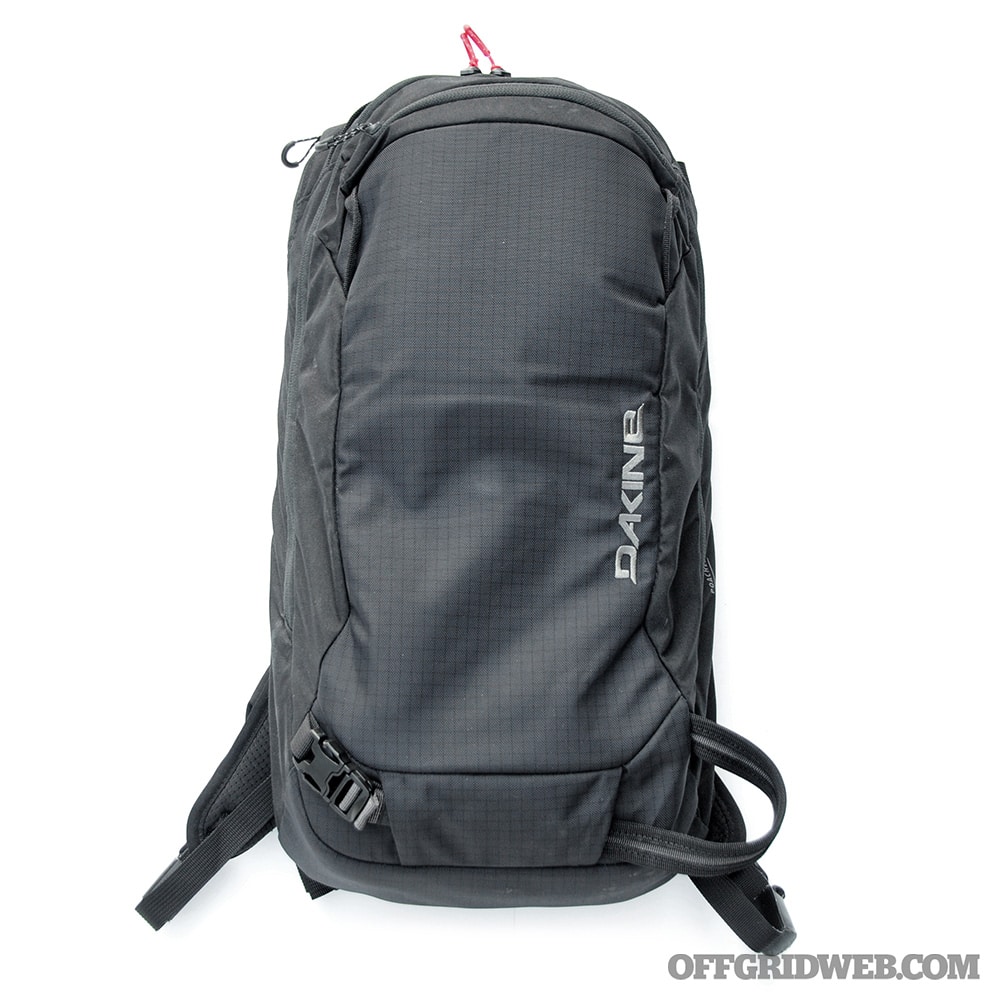
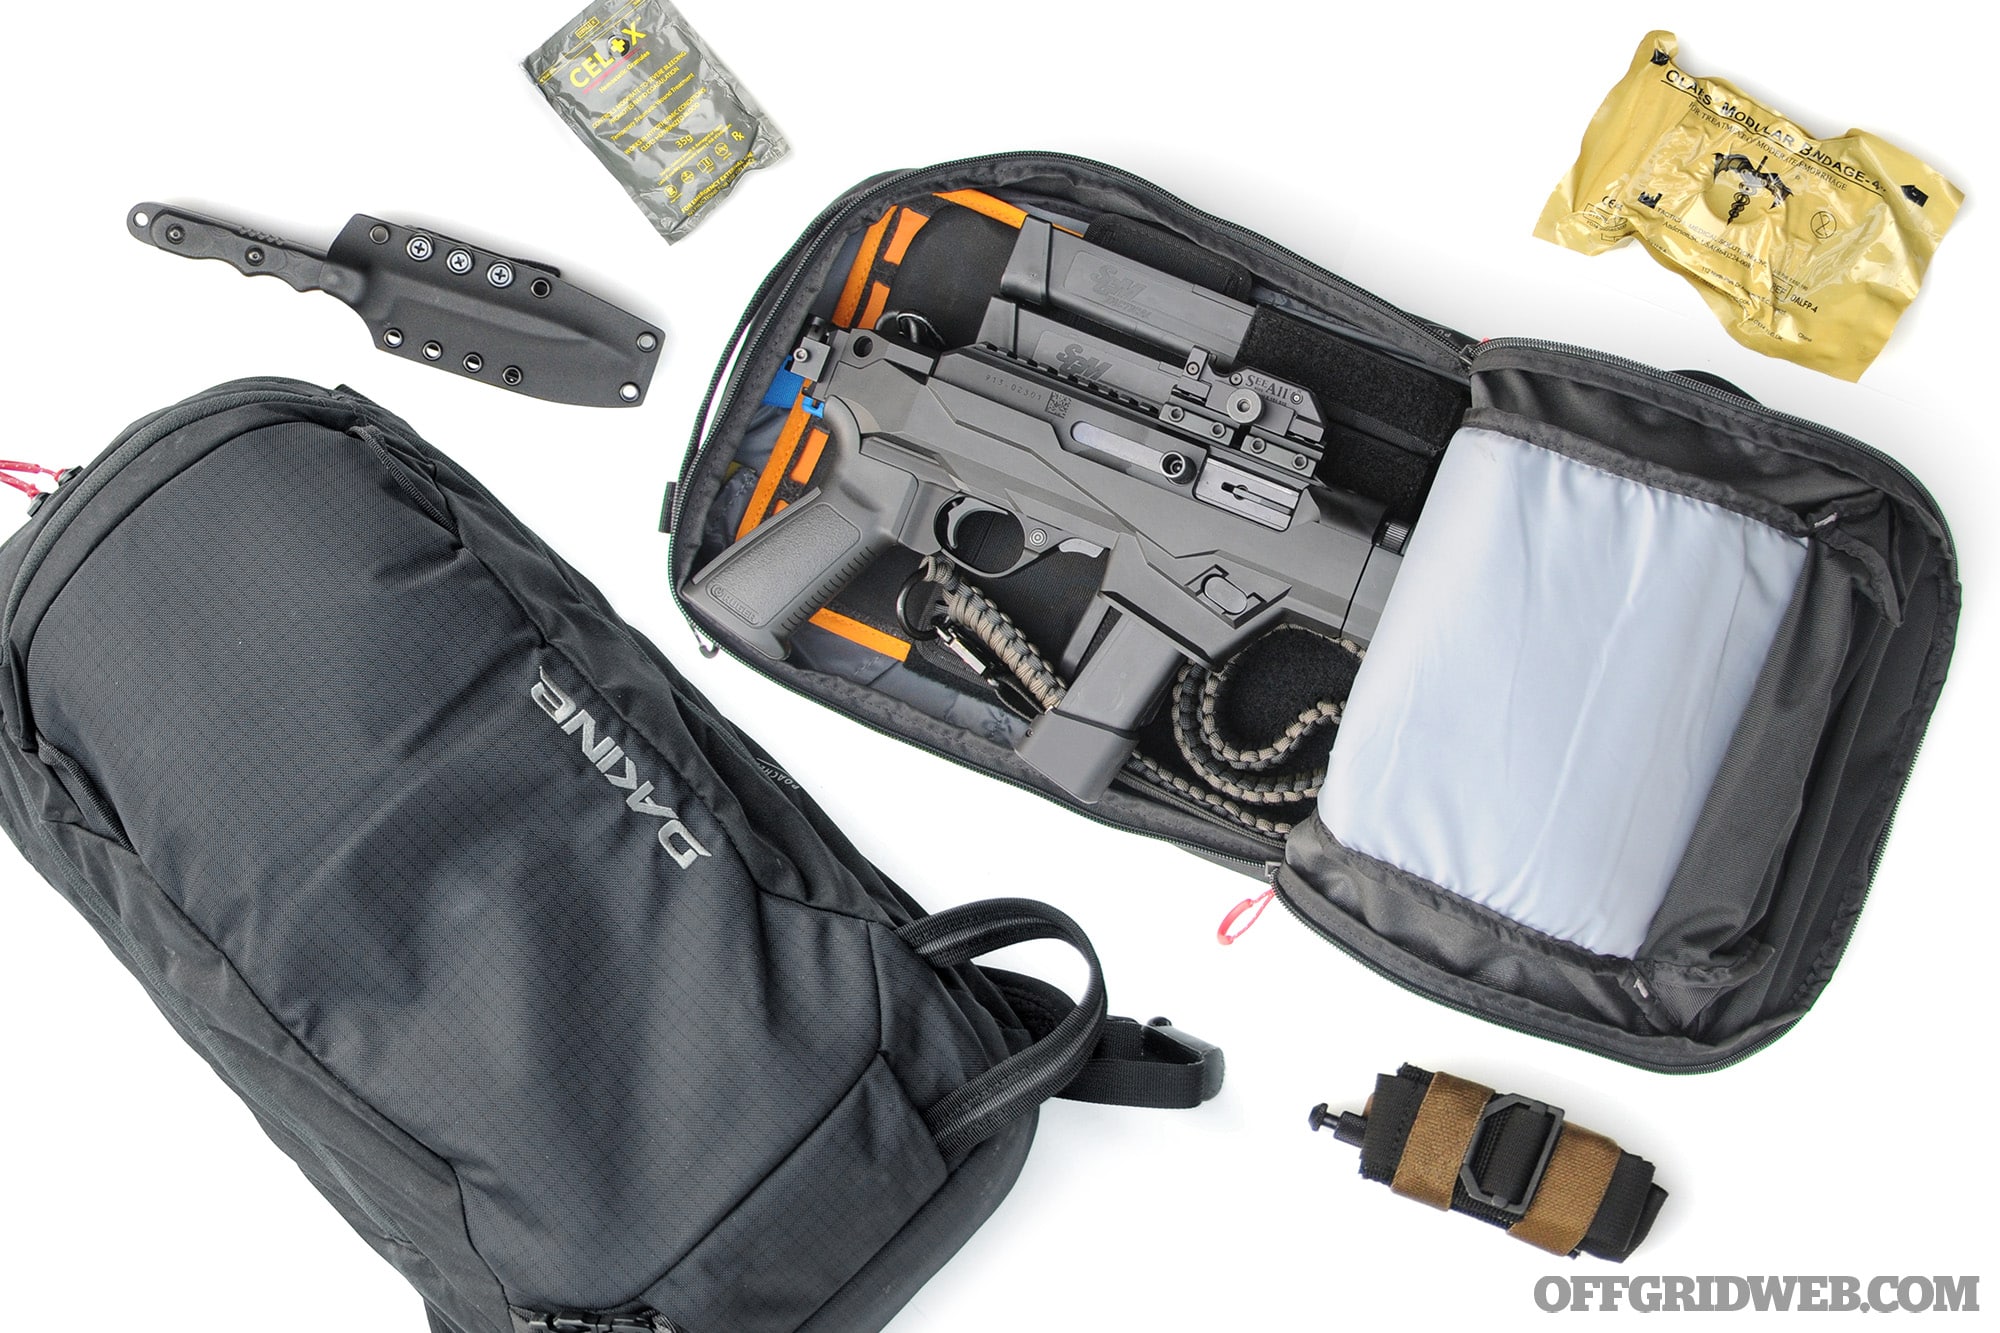
I’m next going to pack a couple small bags with me beyond the med bag. I want my Viktos Kadre backpack. I’ve been running this thing hard all over the world now for a year or two and I like it. It’s tough, not too big, not too small. It unzips completely flat, will carry a rifle if you need it to, but doesn’t look tacticool as long as you don’t get a mil-color like Coyote Brown. I just roll with black. In here I’m keeping clothes, chow, water, a tourniquet with mini-IFAK (chest seals, combat gauze, Z-fold gauze), and whatever else I think I need as I Mad Max-it down to Central America. I have evacuated a country with this thing on my back, so I trust it.
What I don’t put in here are sensitive items if I can help it. I plan on this bag getting stolen, lost, destroyed, etc. When it goes, I don’t want my wallet, ID, passport, money, and medications in it. I want sensitive items on my person if possible. I will use a money belt or kangaroo pouch. There are numerous options, but I’m after something that is slim and can hold my passport, cash, etc., under all my layers.
I’m creating redundancy lines by doing this. The most important gear is always on my person. Slightly less important goes in the backpack. Even less critical items might stay on the bike. I always maintain the notion of just me on foot running the Mogadishu Mile because that is usually the worst-case scenario I can think of.
Weapons? I have to be careful here. In some parts of the world, even a pocket knife can get you in trouble. Check laws ahead of time. Personally, I would not bring a firearm. Remember the kid who crossed into Mexico on accident with some rifles? Ouch.
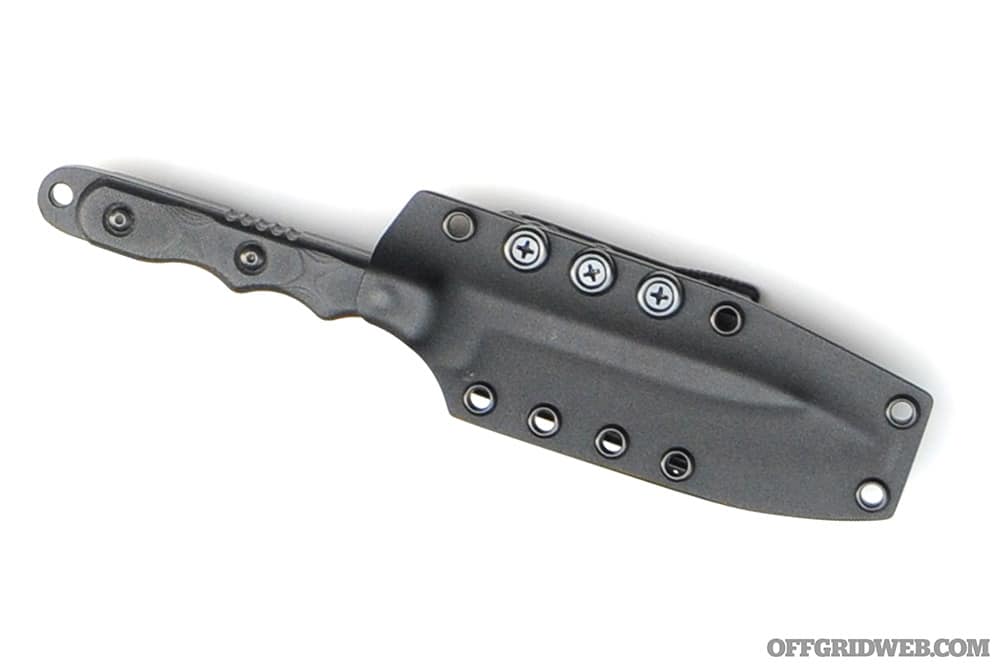
I would keep a blade very small, very useful, and very concealed on my person. Have an old Leatherman laying about? Snap off one of the blades so you have an inch and a half or thereabouts. I know this is kind of nerdy, but these are very thin and you can slide them into the waistband of your underwear or sew in a small pocket to carry it. Consider adding a handcuff key and lock shim as well.
Best-Laid Plans: Despite my efforts in preparing for this trip, I still must have my head on the proverbial swivel. Try as I might, I won’t blend in. You might. Hopefully you do. You can use this to your advantage and at least not draw immediate attention to yourself. You’ll still be seen as someone not from there; an outsider, still a potential target. Be mindful of those who approach you unsolicited. They really could just be curious and helpful or they could be estimating your worth to rob, kidnap, or extort. Plan for the latter and be pleasantly surprised by the former. If a beautiful local woman takes a sudden interest in you and invites you to a secondary location, be extremely careful — this is a classic setup.
My personal security strategy doesn’t include being mistaken for a local in this part of the world. I’m a 6-foot-4-inch gringo. I don’t blend in anywhere, save perhaps a trailer park. What I can do is look and act confidently. Not arrogantly. My demeanor says, No, I’m not from here, but I’m not a rube either. I take care of myself, appear fit, am friendly, but also mindful of everyone and everything in my battle space. How I carry myself matters. These are very subtle signals I radiate to those around me. I also need to be wired to receive similar signals from those in my orbit. My strategy is simple: present a target that is too much work to bother with.
All SERE (Survival, Evasion, Resistance, & Escape) graduates will tell you Rule number one is don’t get caught. I will enjoy my trip, but I’ll also passively what-if every step along the way. I am constantly trying to minimize vulnerabilities and stack advantages. Whether it is sitting facing the door in a restaurant or allowing myself turn-out space in traffic, I’m constantly positioning for advantage, deterrence, and readiness.
Despite all this, I am still one person alone on a motorcycle a thousand miles from home. No matter how much I prepare, or what color my belt is in Brazilian jiujitsu, when a handful of guys suddenly shove guns in my face and tackle me to the ground on the side of the road, I’m very likely going for a ride. Now preparation flows into execution. Like a log in a river, I’m going with the current whether I like it or not. My job now is to stay above water.
Taken: Cut off, crashed, and surrounded, now is the time to restart the process of mitigating vulnerabilities and stacking strengths. If it is indeed looking like a kidnapping and not a simple accident, I’m hitting the SOS button on my inReach. Again, this will launch a precomposed text message and grid coordinate to an emergency monitoring service. If I can get that sent before this really gets ugly, I’m off to the best possible bad start.
As it stands, were it one guy trying to grab me, I may strongly consider taking an opportunity to ditch him. Two guys will be a problem for anyone. Five? Forget it. If five guys in two vehicles crash into me and pull security while doing it, then it’s likely they are heavily invested in my successful abduction. I will assume these are professionals, at least in one sense of the word, and will cooperate.
All the advantages are now theirs so I will play the hand I’m dealt. This isn’t just a period of high stress for me, but my attackers as well. Acknowledging the futility in resisting, I now want this to go as they expect it to. Fingers are on triggers. Maybe somebody in the crew is new and learning the ropes? Maybe one of them is high on amphetamines? I’m not willing to find out. Not yet. Not before I know what they want. If it was just the bike, the cash, the credit cards, I’d probably be asleep already. Without any additional information I will assume I am the commodity they want to steal.
This means I may have value to them, but it will only go so far. The moment I am more trouble alive than dead is likely my last moment. I speak a fair bit of Spanish and will listen and obey. I will pretend to speak less than I do. Pretending to speak no Spanish is too farfetched for a gringo this far from home. I remember my check-ins. Soon I will have missed one, then two. Now is the time to do as I’m told and gather information on my captors. I want faces if they don’t bag my head. I want accents if they don’t muff my ears. I will name each in my mind by their physicality, voice, or demeanor: Shorty, Angry Man, Quiet One, etc.
Now is the time to reverse the polarity on the confident foreign traveler who can handle himself. That obviously didn’t work. Now I’ll become passive. I will instill in them a sense they will get no trouble from me. This will help me potentially avoid beatings for acting like a tough guy. I cannot afford a broken hand or cracked ribs. I need to remain as whole and ready to escape as possible. I also cannot appear too soft. This could have the opposite effect I’m after. If too much weakness is shown, it may draw their contempt. Make no mistake; I’m juggling chainsaws now.
Likely, I will be bagged and gagged. If they are smart, they’ll double-bag me or use tape over my eyes — a single sandbag or burlap sack can be seen through. They should muff my ears. My hands should be bound behind my back. I would expect my ankles to be hobbled; a short rope long enough for me to shuffle, but not so long I can run. Everything of value or use will be taken. They should not leave me anything; eyeglasses, watch, pen, nothing. Were I them, they would be stripped naked and left bound, bagged, gagged, and muffed. If I am left in any condition short of what I described, they have made mistakes and I have advantages to work with.
I’ll keep my mouth shut unless asked a direct question. I need to listen, pay attention, and remember as much as possible. I already know roughly where I am on my journey. I will mark my mental map. If I can still see, I’m looking for anything tall enough to be seen from a distance: a mountain, cell tower, anything. Depending on how far we’re about to travel, it could be used to determine my position later. I mark the time if possible. As I go into the trunk of the vehicle, I take note of anything useful: tire iron, jack handle, or tools. I also check if the trunk has an interior release. Most newer cars have this standard. Probably not the move right now, but good to know.
As the drive begins, I count to 60 by thousands. One-one thousand … two-one thousand. On it goes. If I can keep track of how many times I hit 60, I can estimate the duration of the drive. The other crucial thing to track will be turns. I can feel the car take rights and lefts. I need to mark these in my mind for later so I can take a guess at where it is I end up. As it happens, we don’t seem to go too far before the car stops. I am isolated, locked in a small building behind their safe house, and cuffed to a pipe. This is good for me as it gives me time to think, recover from the shock of what has happened, and gather more information.
In this scenario, I don’t want to try and bolt for the door right away, but I also don’t want to wait around for days. I have some idea of where I am currently. If I wait too long and let them move me from safe house to safe house, I may not be able to determine my location thereafter. I also don’t want to be around long enough for them to drug me. If that happens, my ability to think and act decisively is gone. So, if I’m given a chance to run, I’ll take it.
I need to try and establish any patterns they may have. Are cars coming and going? How frequently do they check on me? If I can be patient and give this a few hours to mature and gather data, I can gauge when the opportune time to run may be. Very late at night is ideal. I’ll have cover of darkness and even kidnappers get tired and lazy. After it seems the last guy has ensured I’m not going anywhere, I go to work on the cuffs. The handcuff key I concealed in my shorts? Now is the time. It cost me virtually nothing, but will save my life in this instance. Again, I’m layering advantages in every action I take during preparation and execution.
I free myself from the cuffs and check the door security. Fortunately for me, they weren’t expecting a guy with handcuff keys in his tighty-whities; thus, the hasp on the door is easily bypassed. Outside, I orient myself. I want to see where the cars are parked and find the road we came in on. I have only the faintest idea where I might be, so I don’t want to just launch off in one direction and end up in the desert miles from anywhere. My best chance is to find the road used to access the house and retrace our route in.
I’m going to stay off the road, but keep it in sight. This is called handrailing. I can use this for roads, rivers, power lines, or anything else I can use to navigate while remaining concealed. I need to put as much distance between myself and my captors as possible and will not trust any person or vehicle in the immediate area. It’s entirely too likely they’re aware of this local enterprise and will simply turn me in to avoid running afoul of whatever cartel or organization run these types of operations.
If the road is difficult to define in the dark, I can always listen for road noise and look for power lines. They often run right alongside roads, especially in rural areas. If there was any distinctive terrain in the area, such as a mountain; then between that reference point, power poles, and having paid attention to time and direction during my abduction, I can now at least make educated guesses to get me back to the highway.
I can work the route back by reversing the rights and lefts I focused on while in the trunk. Going back to exactly where they took me is dicey, but the general area should be an acceptable risk. I cannot afford to get lost and need to find the highway I was taken on to orient myself. If the bike is still there, I can get eyes-on and decide whether to go for it or move on. It has supplies in the saddle bags I could use and may yet be rideable. If I was fortunate enough to activate my Garmin’s SOS, this area will also be where any help would eventually focus on.
If, by some miracle, it’s road worthy I am on my way to the nearest phone, embassy, consulate, major hotel chain, or high-profile business. I will trust nothing or no one immediately local to the area. If the bike is not rideable, I quickly gather any supplies that may still be present and handrail the highway to the nearest of these destinations. If the bike is gone, then I’m doing the same thing just without the benefit of my supplies.
I must assume they will actively hunt me and act accordingly. I’ll stay off roads, but keep them in sight to navigate. I will use terrain and foliage to obscure myself from the roads where possible. When things are this bad, I will only move under cover of darkness. If I can’t make it to a phone before the sun comes up, I will look for a ROD (Rest Over Day) site. This can be a grouping of large rocks, trees, ditches; anywhere a potential threat would not frequent. With the sun up, I should be able to at least identify where I’m headed when I move out again at sunset. It could be a town in the distance, more power lines to follow, or a terrain feature I recognize from my map reconnaissance.
This is escape and evasion and it sucks. If I have made it this far, I need to be as careful as possible and not undo all this effort and risk by becoming complacent. I may already be out of immediate danger, but I must stay in the fight, so-to-speak, until I am wheels-up on a plane back home. I will continue my evasion protocol, moving at night and resting by day, until I get to a location where I can safely make a call.
Even if I found myself in a town during the first night of evasion, I need to be exceptionally careful. The town’s proximity to the abduction location could easily mean the locals are compromised to some degree. I will assume local police are part of this kidnapping outfit’s security. This is particularly likely if a cartel is involved. If this were the case, I would stay out of thoroughfares and possibly try to identify a fellow tourist and borrow their phone. If I’m the only gringo dumb enough to be on vacation here, I might look for a public phone that can be used without seeming out of place.
My first call is to my wife to get the home front spun up and working a recovery effort on their end. Specifically, at the very least, they need to be prepared to prove who I am to authorities: recent photos, passport number, photocopy of my identification, etc. I would then make calls, or have them made on my behalf, to my local embassy or consulate bypassing any local or regional authorities entirely. From here I would take directions from consular personnel as long as I felt I could follow them safely and without unnecessary exposure.
I could also try any NGOs I identified during my preparations. I’m looking for anything with a presence that is unlikely to be involved with those who abduct foreign nationals. I might even try a major hotel chain in the nearest big city. By speaking with a concierge, I could potentially get the word out as to my location and disposition. Getting this call out is crucially important, but I’m not out of the woods. It could potentially take hours or days for someone to come and get me. It could also take even more time if I need to make my way far enough out of the compromised area to a safe location or rendezvous point.
Once the cavalry has been notified, I need to consider whether I hunker down somewhere or keep moving. Ultimately, I will be meeting someone so I’ll need to roughly be in that place at the predetermined time. Atmospherics at my current location, and distance from the abduction site, will dictate what exactly I do, but I’m likely going to float some and not dwell too long in any one place. I will only occupy the rendezvous site shortly before the pick-up time, so I don’t compromise it by waiting there all day.
At this point I am attempting to look like a tourist again and not someone who has been on the run for hours or days. I need to find a bathroom and clean up a bit if possible. Easier said than done. I want public places with people, but I need to be wary. The more who see me, the more who could report my location to the very group I’m on the run from.
It’s likely that I will not know whoever comes to pick me up. I would give anyone I contact a simple number combination. I can use this to verify they are affiliated with whomever I spoke with. If four guys show up looking for me, I need to know if they’re the rescue team or the cleaning crew from the gang that took me. When they make contact via the protocol we established on the phone, I can simply greet them with, “Two.” If they say, “Five,” I have a warm and fuzzy feeling they are who they say they are as our predetermined number combination added to seven in this case.
This is a lot of work on my part. I plan this trip like I would plan a mission as I did years ago. My goal is to constantly account for what could go wrong and have a contingency, or two, in place to help me deal with it. I’m ready for mild to wild. If nothing goes wrong, or something mundane occurs like a flat tire, then great. I don’t need much in the way of planning and contingencies to help me deal with that. Anyone can do that on the fly.
Ninety-nine percent of the work and forethought I put in is for the 1-percent event. Truly, it is only that 1-percent scenario that matters to me. Compared to being hunted and caged like an animal, everything else is an easy day. Everything I do is designed to prevent it from coming to pass. If it does happen, I’ve taken the steps I can to deal with it. My mindset is everything. I am not just leaving the house. I am leaving the wire. I owe this diligence to myself and I certainly owe it to my wife and family.
Conclusion
Finding yourself a prisoner of criminals in a foreign country is a situation many would consider absolutely hopeless, and understandably so. And for many, it probably is. They’ve never even imagined it was possible, so they’re overcome with shock, and then become resigned to their fate. The surprise, more than the actual circumstances, is what cuts their legs out from under them. Survivors, however, have a different mindset. They do their homework, they take steps to avoid being a victim, and constantly mentally rehearse what they would do in worst-case scenarios, so they can think under pressure. Most importantly, they refuse to simply give up and accept death — they keep trying until the bitter end. The deck may be stacked against you, but as long as you keep your cool and remain determined, you’ll always have a chance.
Don’t assume if you’re captured that you’ll be traded for a Russian arms dealer, but don’t give up either. Billy Hayes (of Midnight Express fame) managed to escape from a Turkish prison island, blend in with locals, and make it all the way into Greece to be returned home safely. That being said, you need to educate yourself about your surroundings ahead of time and be hypervigilant when you’re in-country to increase the odds of making it out of a bad situation.
Meet Our Panel
 Mel Ward
Mel Ward is a husband, father, and combat veteran. He served in Afghanistan and Iraq with 2nd Ranger Battalion, 75th Ranger Regiment. Over the last 16 years, he has worked in the security industry. He’s an advocate of preparedness and believes self-reliance is not an option, but a duty.

Cory Fechtelkotter has been a police officer in northern Arizona for 14 years, serving in a wide variety of roles including patrolman, rangemaster, field training officer, recruit training officer, school resource officer, crisis negotiator, and detective. As a detective, Cory has investigated everything from financial crimes (extortion, fraud, and counterfeiting) to major crimes including sex offenses, crimes against children, and homicide. Cory has successfully negotiated the surrender of multiple barricaded homicide suspects and served as a member of the Arizona Peace Officer Standards & Training Patrol Procedures Subject Matter Expert Committee, where he helped update academy curriculum for topics such as behavioral health crisis response and off-duty officer safety. Cory’s passion is firearms training, both as an instructor at the local academy, and as a lifelong student of the nation’s top firearms instructors.


