In This Article
“Is this line secure?” — Well, for most of us, the answer to that has traditionally been “no” — at least outside of work. However, in recent years, there has been a proliferation of encrypted communications applications available for computers and mobile phones. These applications take advantage of the adoption of digital, packet-based communication standards for cellular systems (i.e., LTE) or wired/wireless internet connection to provide a plethora of communications functions. Thanks to secure messaging apps such as Signal, users can send secure text messages, share files, or even have voice or video calls — all encrypted and, ostensibly, impervious to eavesdropping from unwanted third parties. Big promises, right? However, not all apps are created equal.

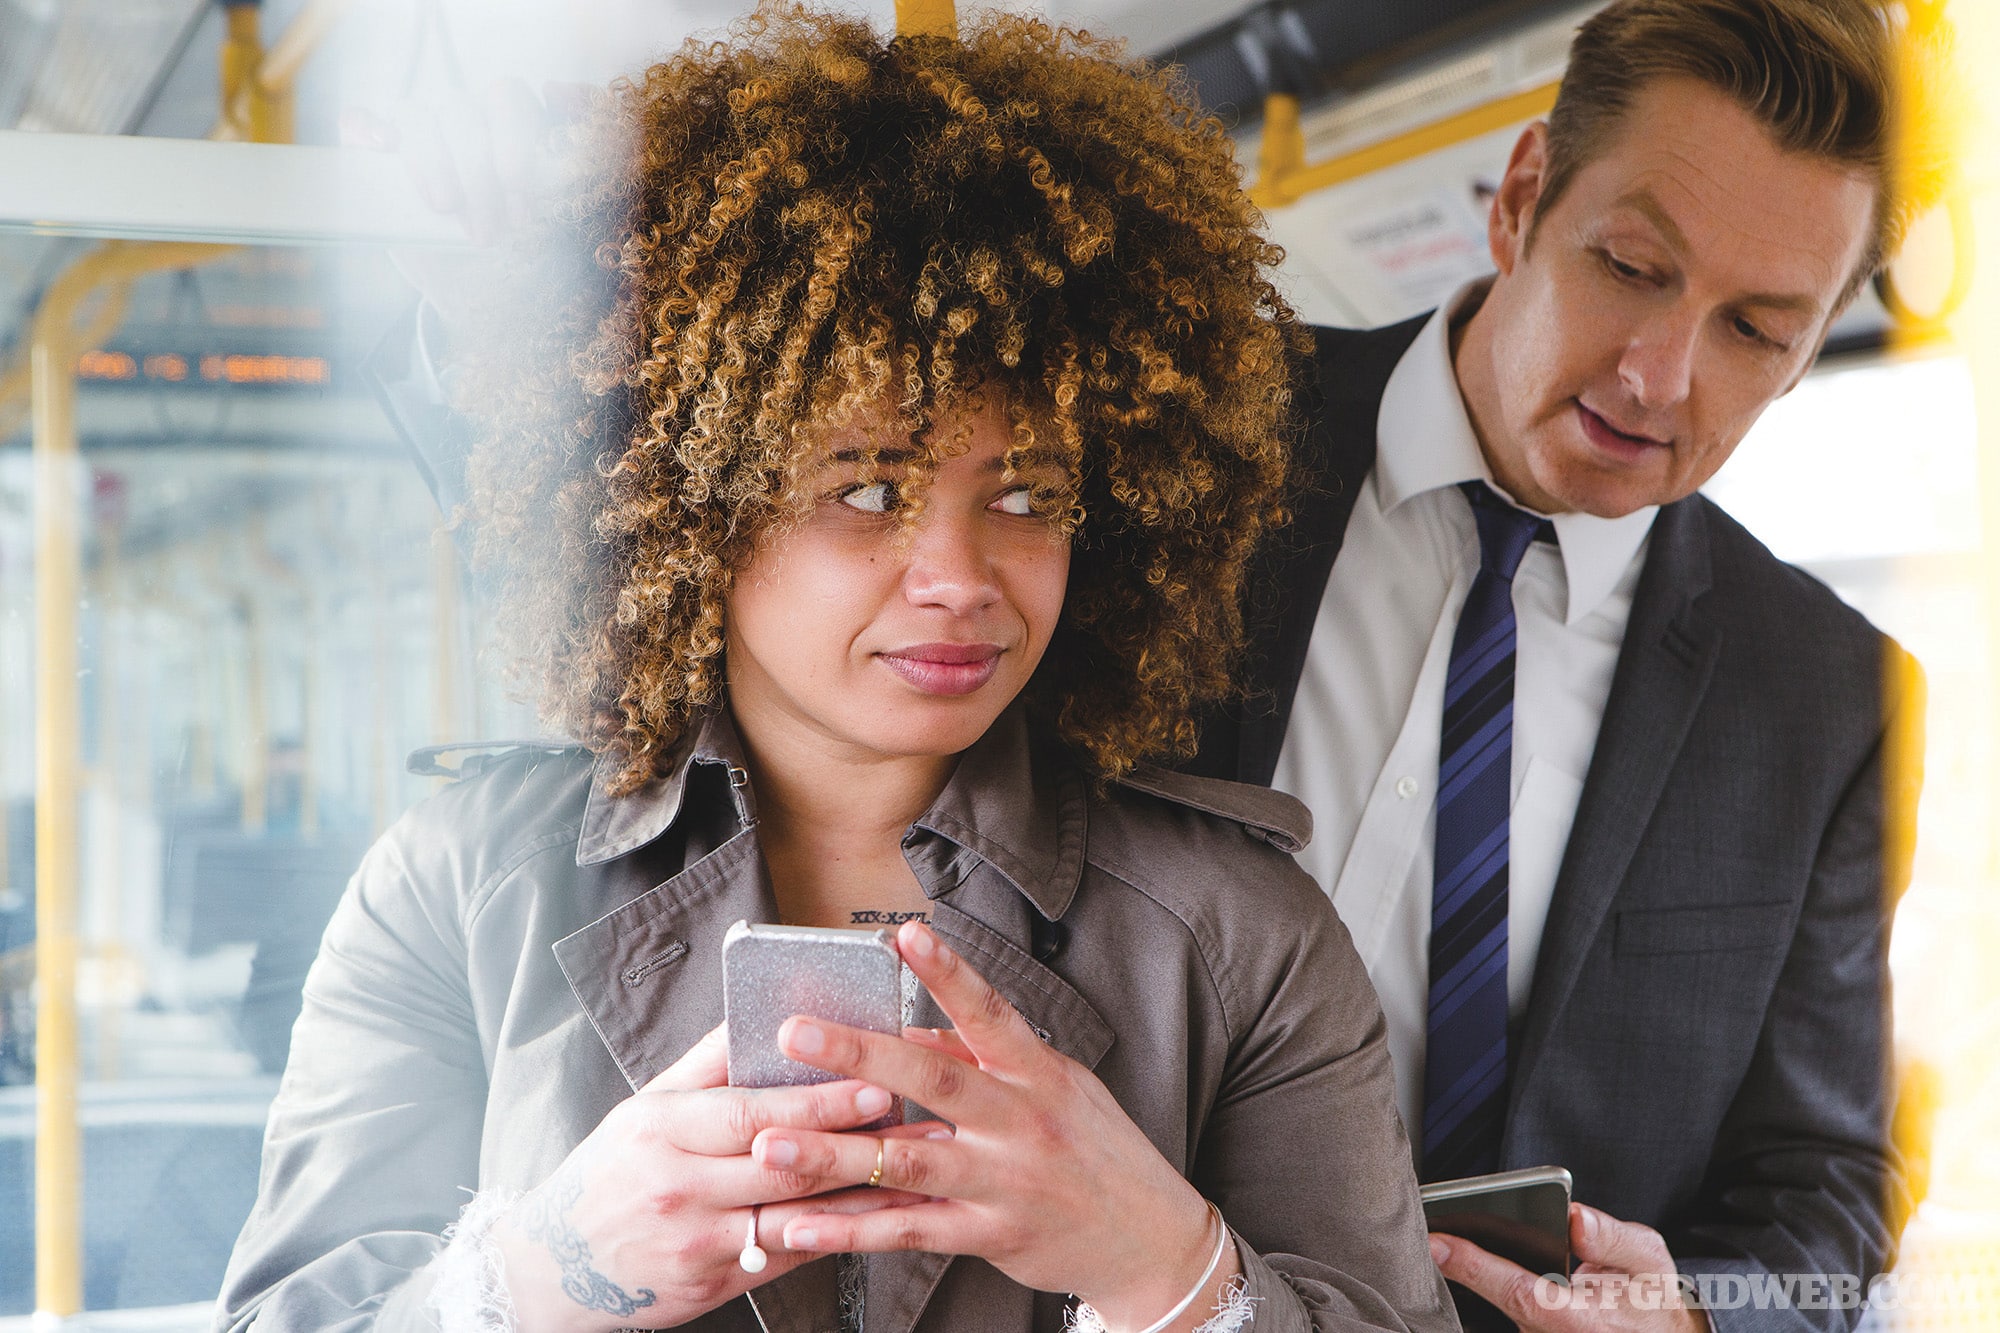
Above: Cell phones are not just a modern convenience, but a powerful tool for communication in a variety of scenarios.
In this article, I’ll explore criteria for evaluating a “secure” communications app, describe a few of my favorites, and briefly cover findings discussed in a leaked FBI assessment regarding the challenges posed by many popular encrypted chat apps to law enforcement and the intelligence community.
What Makes a Good Secure Messaging App?
There are many factors that go into a selection of an application for communications security (COMSEC). Some of these relate directly to the security and safety of the app itself, but some are more general.
The first, most general requirement is if it’s something that you can easily get other people to adopt. It takes two (or more) to communicate, after all, and if no one else is on the platform you select, or the barrier to entry is too high, then you’re not going to have too many people to talk to. This may or may not be a major issue for some people, however, if you’re protecting some communications more heavily than others then those ones stand out as more important and worthy of dedicated resources to attack. A good user experience (UX) and cross-platform support go a long way toward fueling adoption, especially among the less technically inclined people in your life.
The second requirement is that the application needs to provide end-to-end encryption. This means that every conversation needs to be encrypted the entire time data is transiting between two devices, such that not even the provider of the service is able to decrypt the transmission in order to read your messages or listen in on your calls.
Third, the application should utilize well-known and vetted cryptographic libraries. Ideally, the application itself should be open source to allow for independent, third-party vetting. Additionally, the application-level protocols used by the platform should be well-documented and described so that independent security researchers have the best opportunity to assess the strength and correctness of the system in question.
What Should Be Avoided
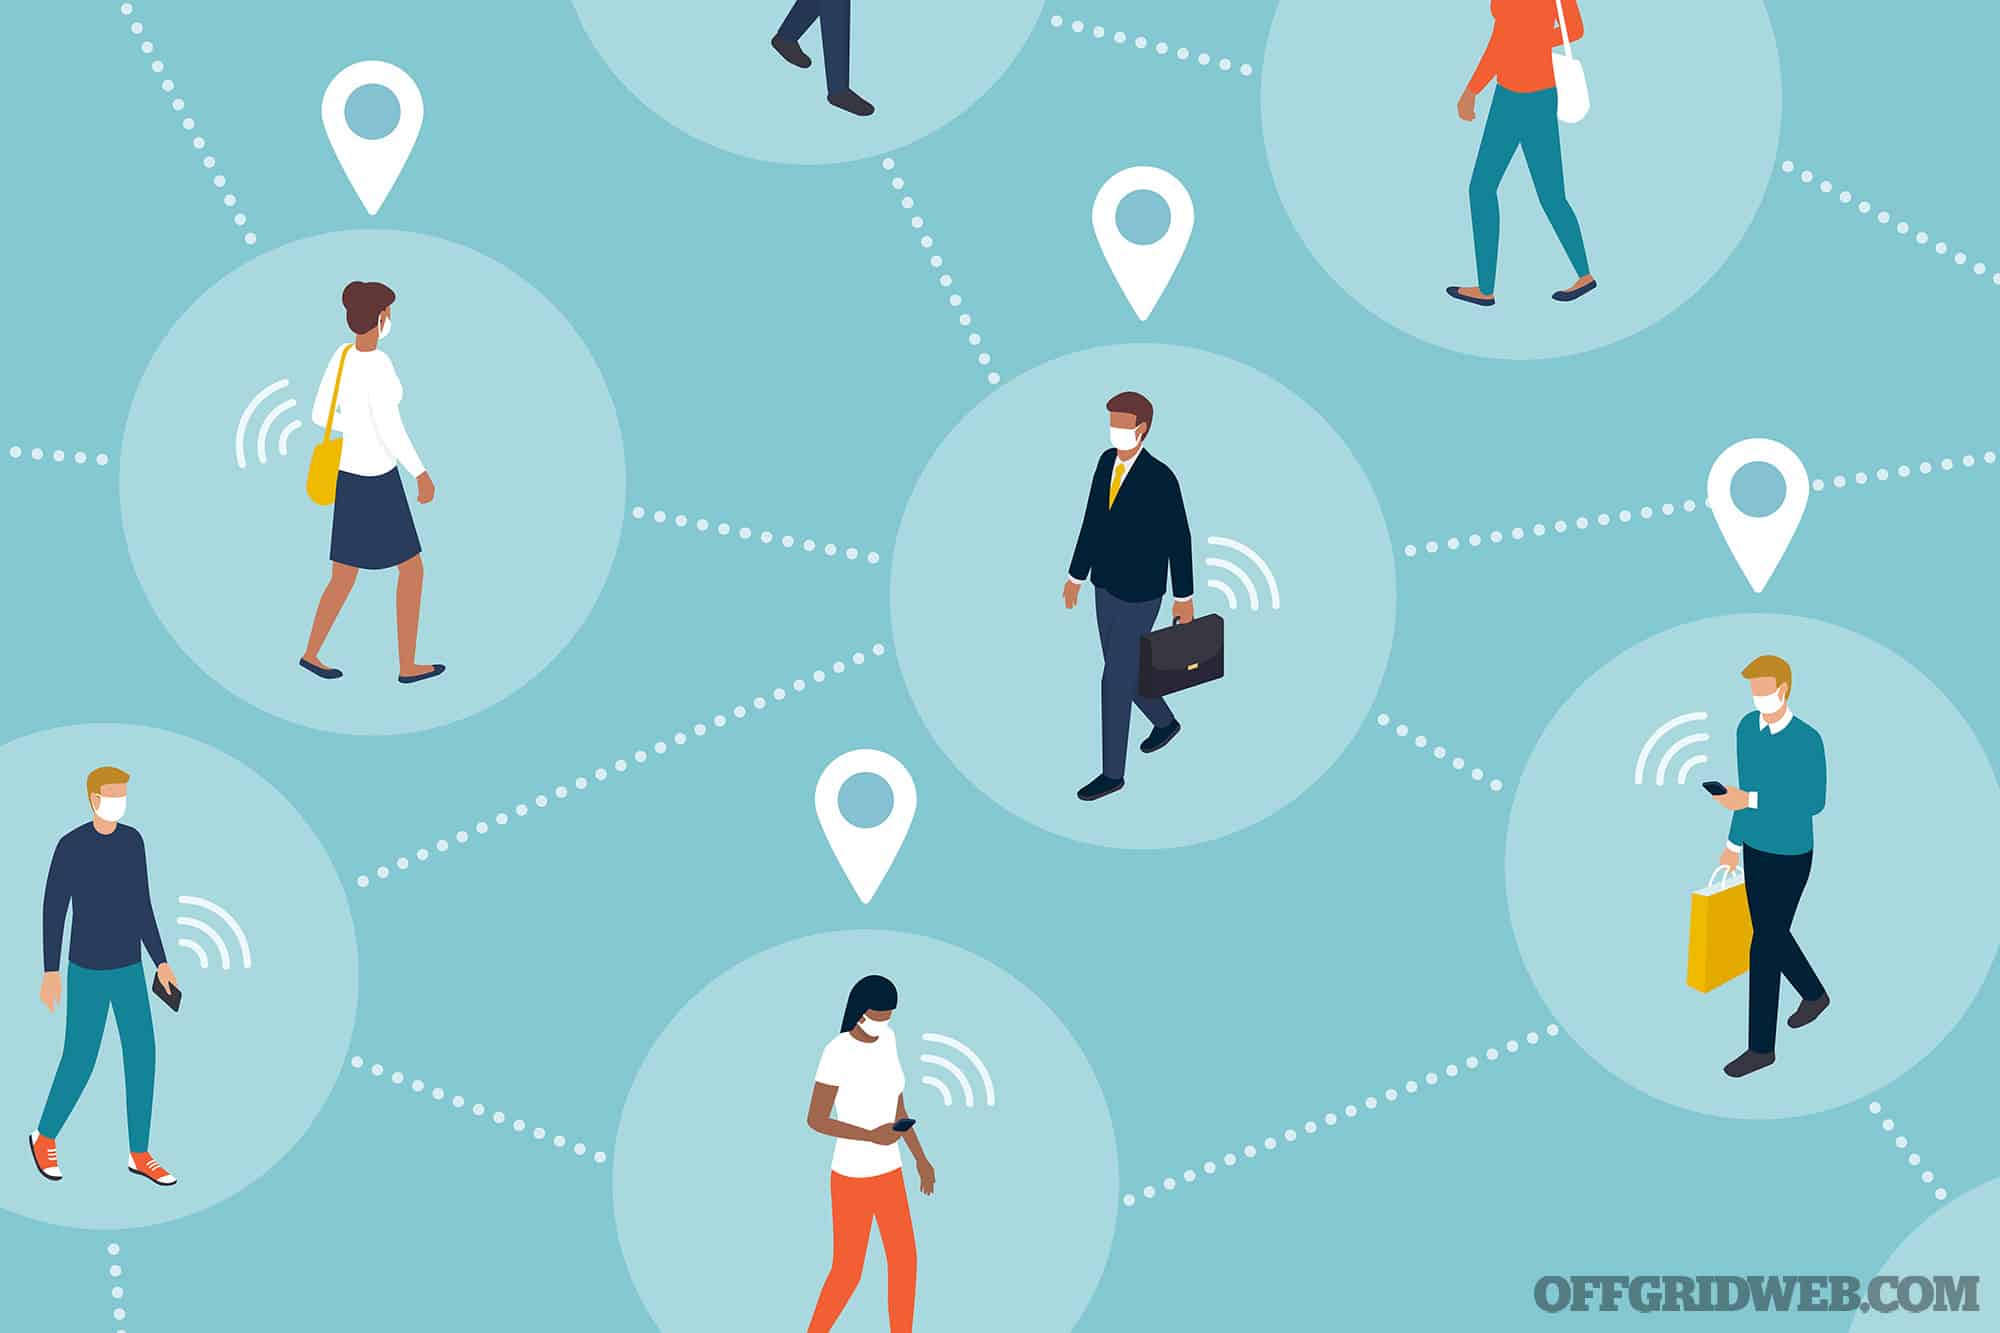
Above: Tech-savvy malicious actors can use messaging signatures to map out your entire personal “network” of friends and family, without even reading messages themselves.
Applications you’ll want to avoid will have anti-features such as:
- Exchanges between users are not end-to-end encrypted.
- Call content, and not just signaling, go through a centralized service.
- The application provides both encrypted and unencrypted chat capabilities and the unencrypted chats are the default.
- The application is provided, owned, or funded by a corporation or other entity that you deem untrustworthy.
So, What’s the Deal With Encryption Anyway?
Encryption is like ballistics — it’s weaponized math. Depending on the particular function that needs to be provided, encryption schemes such as AES, RSA, ECDSA, DH/ECDH, etc. utilize properties about numbers and their relationship to each other, as well as various transforms and operations to secure digital communications. Foundationally, we’re provided with the following core functions:
- Confidentiality (keeping secret things secret), which is what most people associate with the concept of encryption.
- Integrity (ensuring that data isn’t tampered with, and that we know if it is).
- Authentication (everyone and everything is who they say they are).
- Non-repudiation (we should have a high degree of certainty who the sender of a message is and they can’t claim it wasn’t them beyond a shadow of a doubt).
- You use encryption every day whether you know it or not. Any time you browse to a web page with “HTTPS” in the title, you are leveraging multiple encryption schemes:
- The server provides an RSA certificate containing its public key to prove its identity.
- An AES key is generated and shared to secure the connection.
- The key is securely exchanged via Elliptic Curve Diffie-Hellman Ephemeral (ECDHE).
- SHA256 is used to provide integrity checking for the packets to ensure that nothing has been tampered with or broken in transiting.
Cryptosystems such as PGP (Pretty Good Privacy) or the open-source clone GPG (GNU Privacy Guard) make you do most of the work by hand. Systems like HTTPS make it all automatic. Encrypted chat apps will use a similar process to HTTPS in order to provide the same level of protection. Most of the time you shouldn’t ever have to think about it.
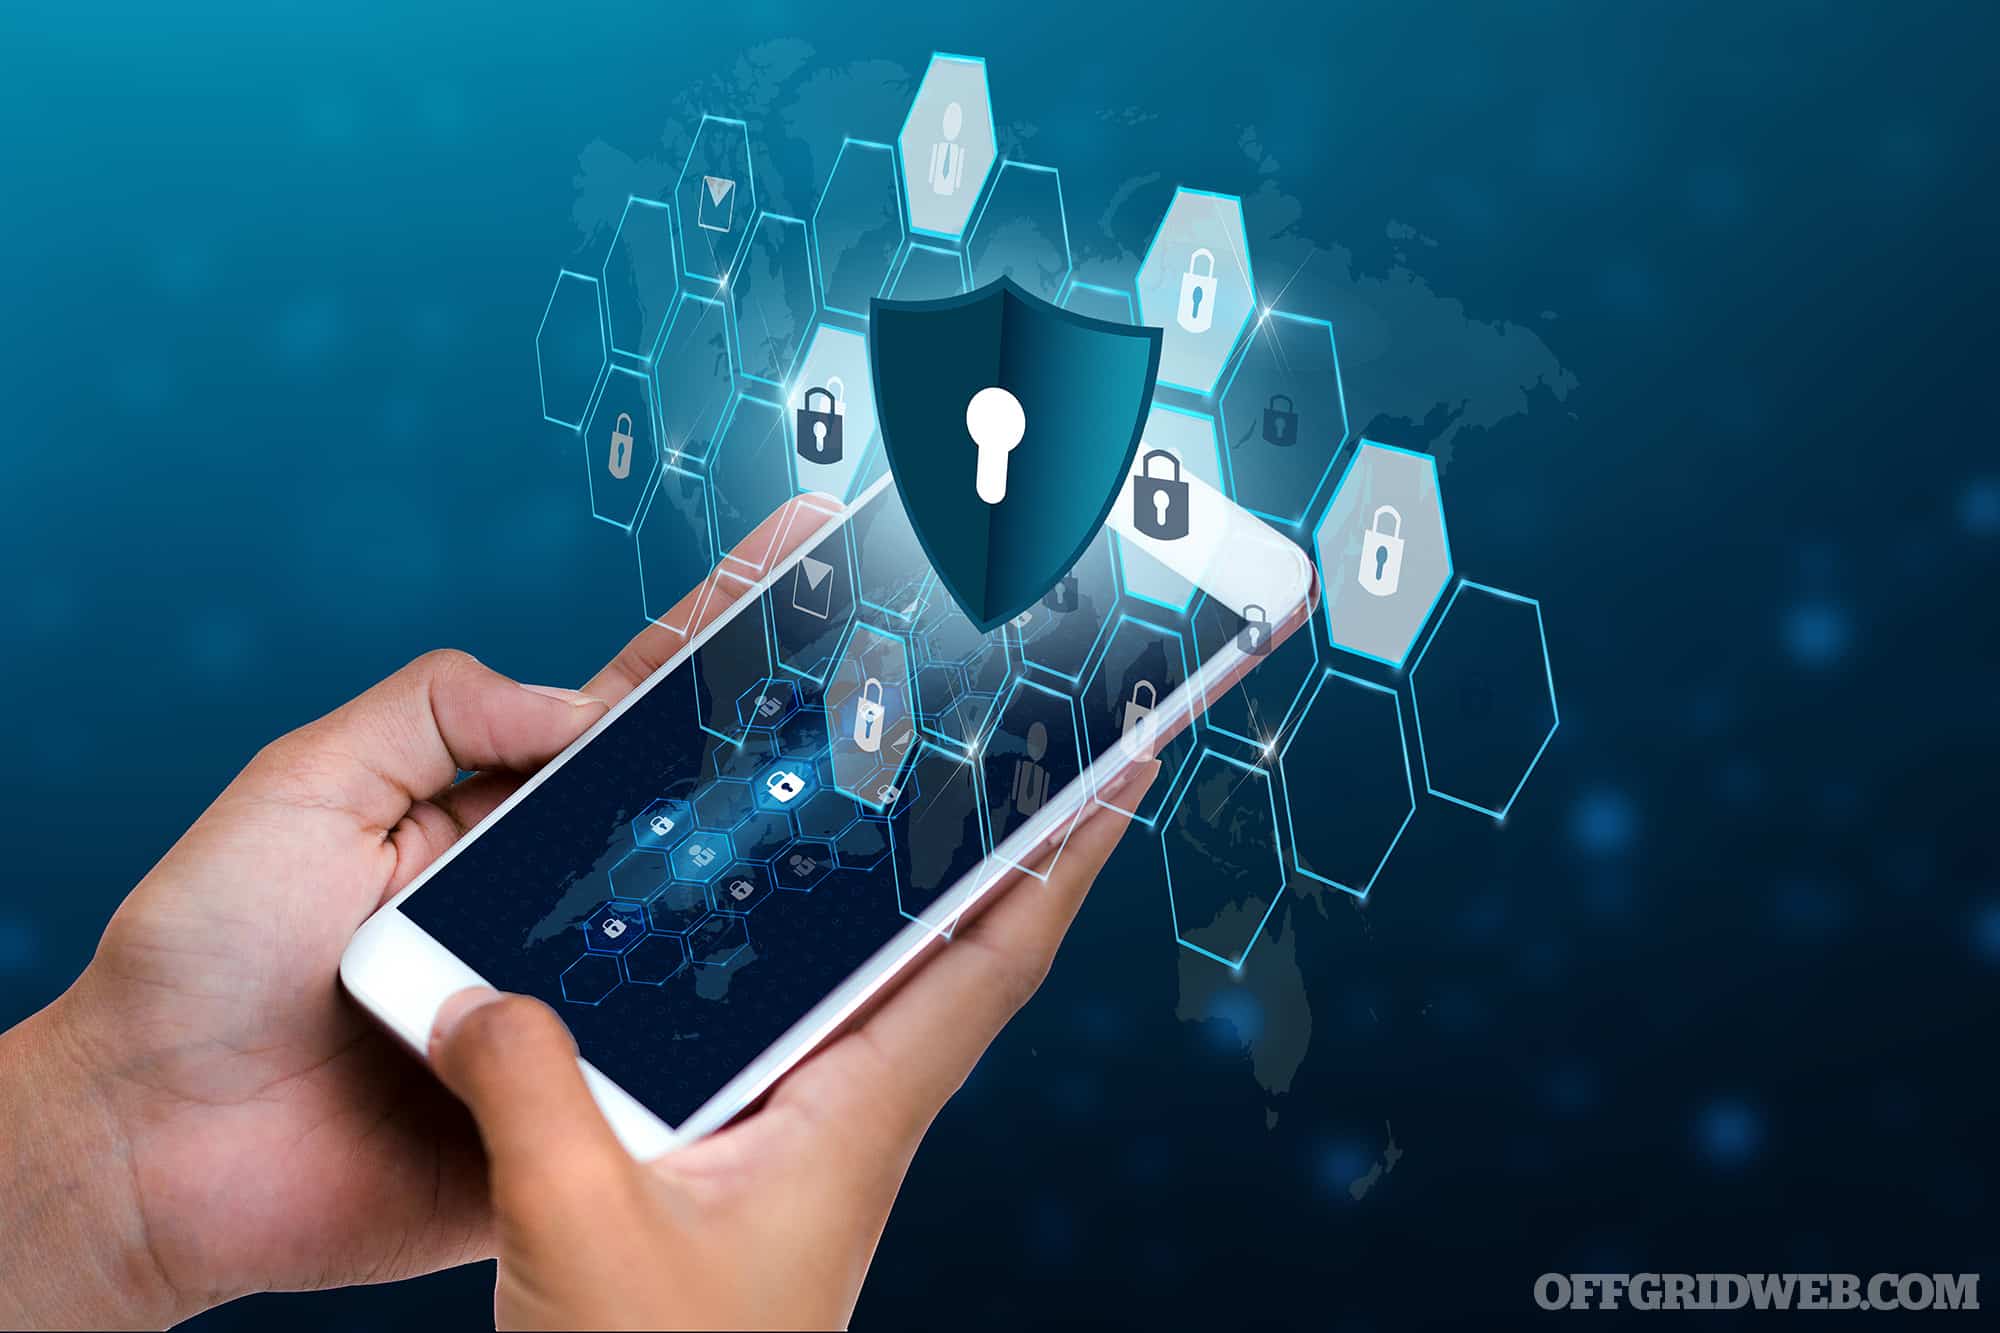
Above: Law enforcement, military, and intelligence services have all come to rely on secure messaging to coordinate operations and share critical information.
My Top Secure Messaging Apps
I’m a cyber security professional who works in the world of FIPS (Federal Information Processing Standards) 140 and Common Criteria certifications. These certification schemes essentially help to ensure that products that provide or use cryptography do it in a manner approved as good enough for the U.S. government and military, and that products meet certain minimum-security standards. That’s a long way of saying that I think about this sort of thing for a living, and that’s not something that I can just switch off for my daily life. Given that, here are my top choices for secure communications applications and why.
Signal
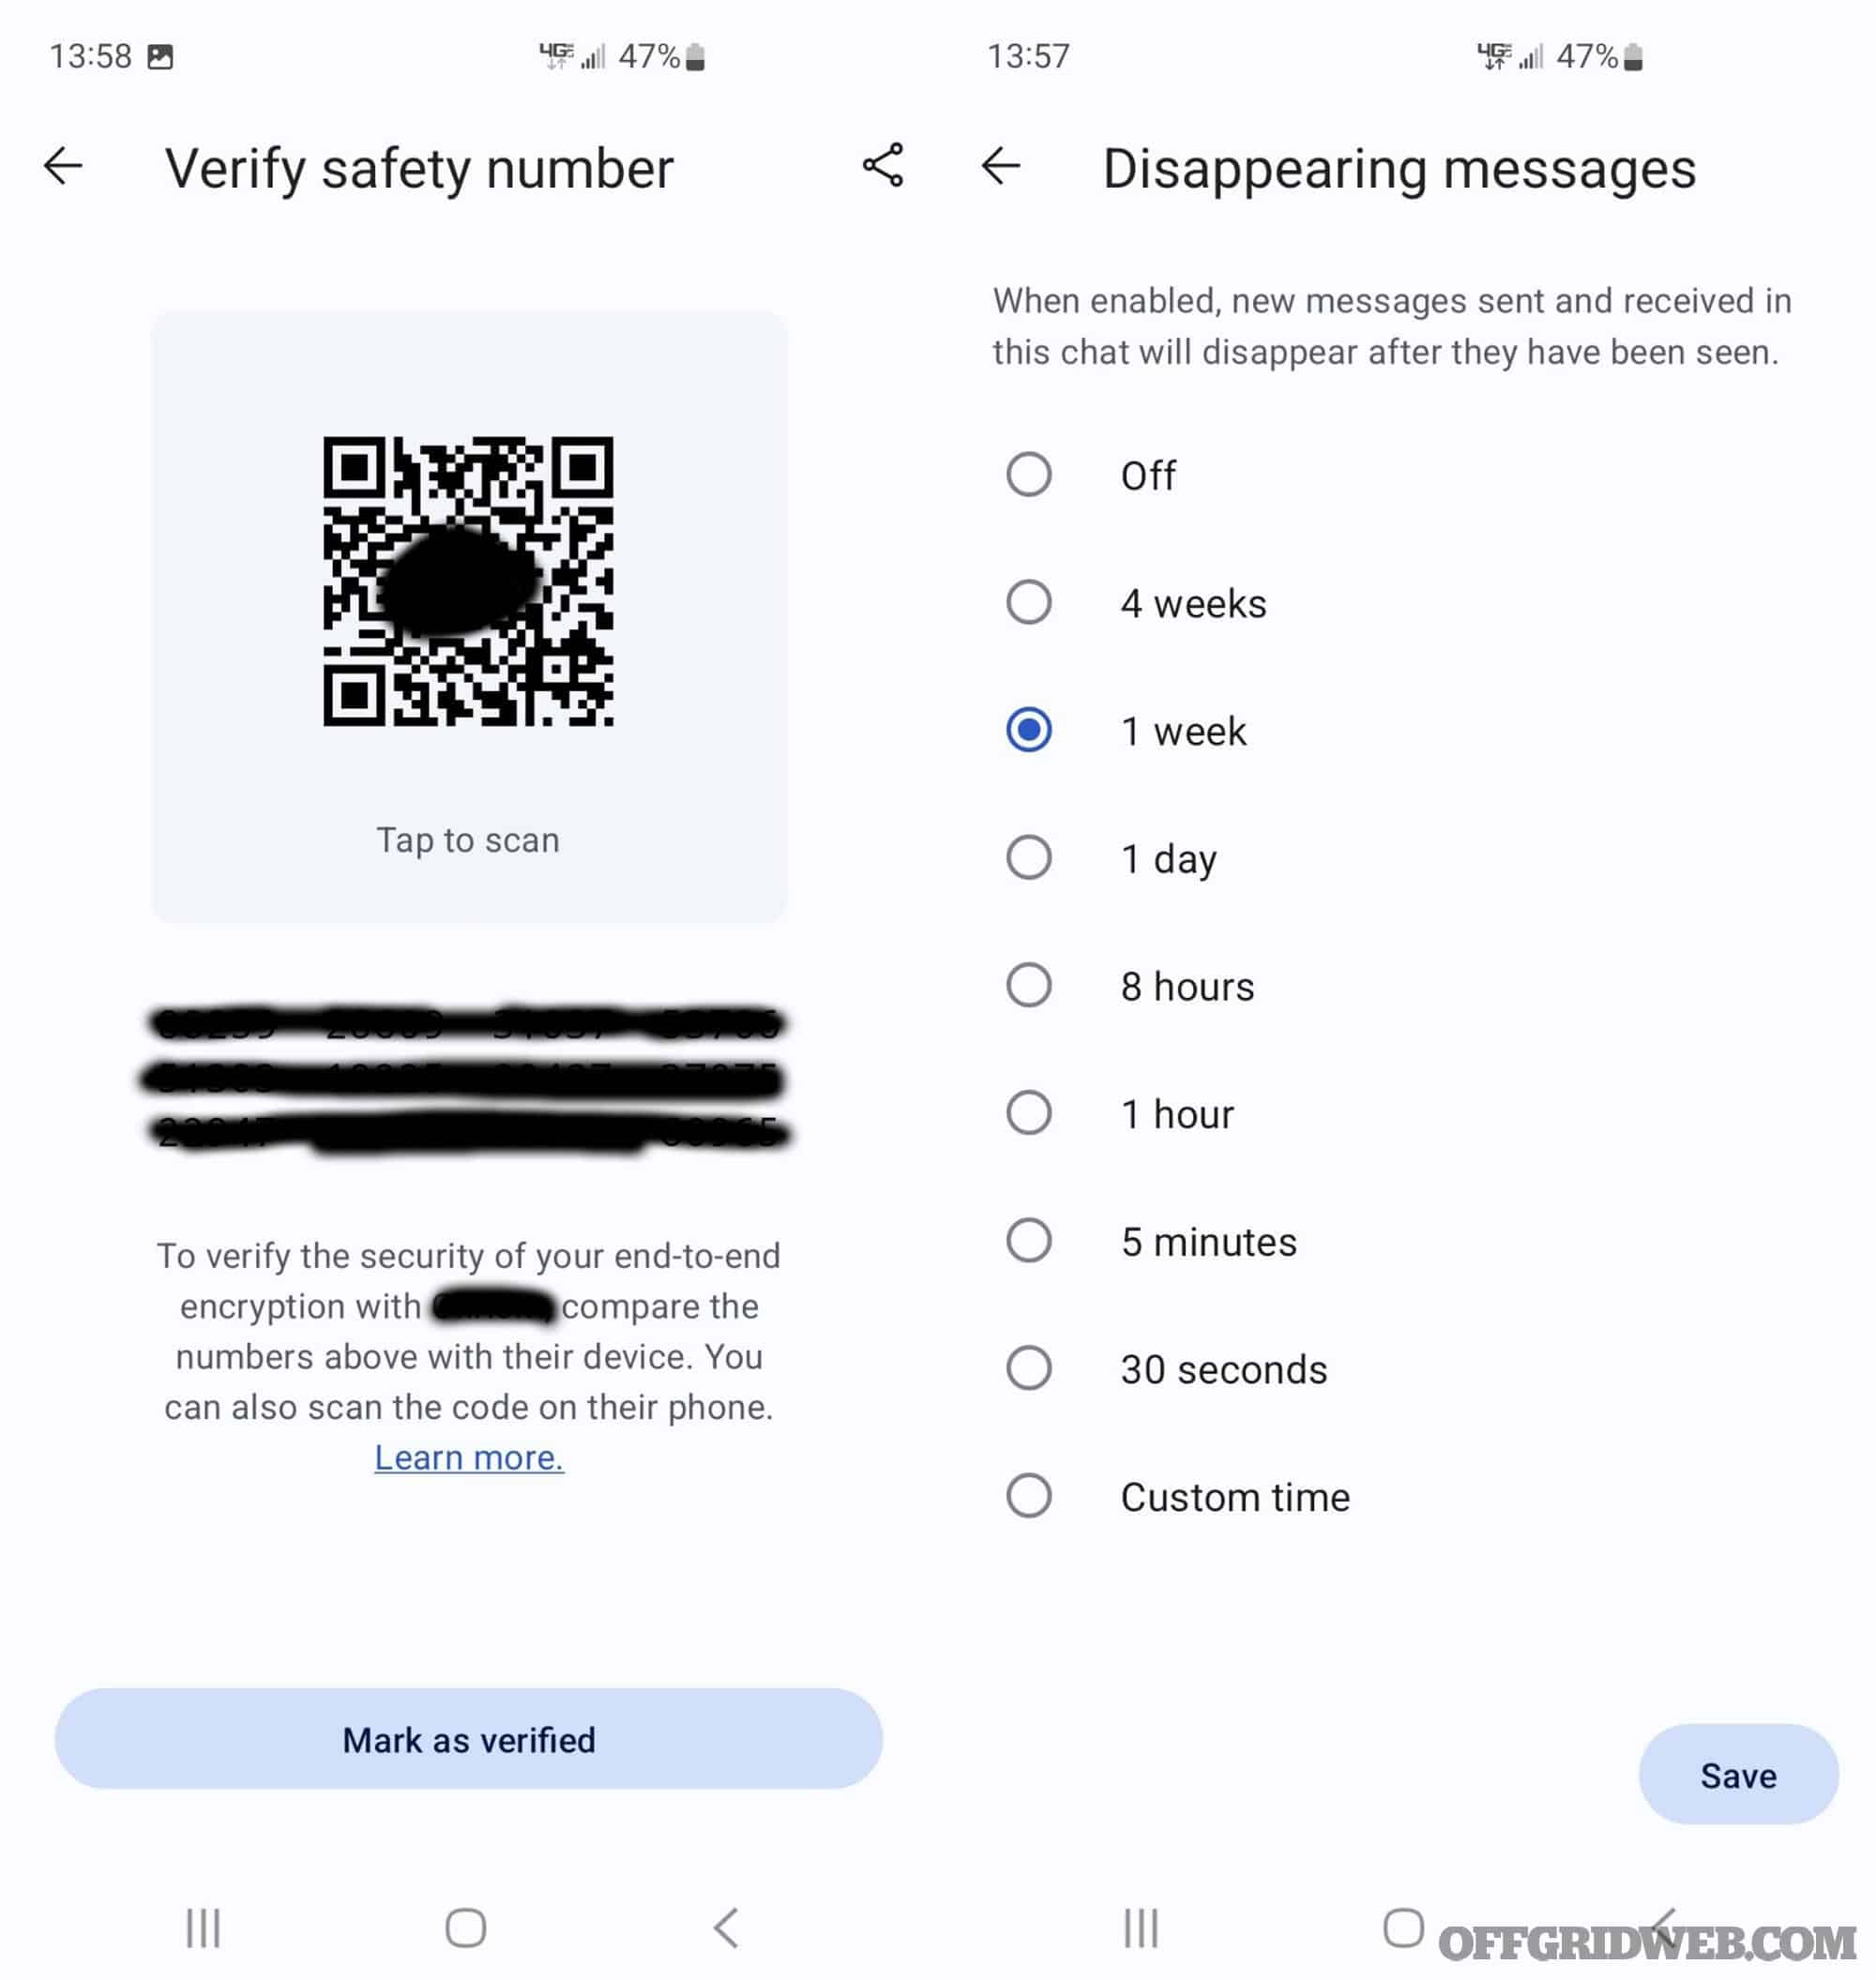
Above: Signal uses safety numbers to verify that you’re talking to the person you think you are. These are meant to be verified in person or through a secure side channel. Most people fail to do this, however. Changing phones will cause your safety numbers to be regenerated. Signal, and other apps, also allow you to set data retention for your chats. In this group chat, all our messages and shared media are deleted after one week.
If you know of any highly regarded secure chat app, it’s likely Signal. It’s been around since about 2014, and I’ve used it since then. It’s endorsed by Edward Snowden (for what that’s worth) and has fairly wide adoption. I have my wife, my parents, my sister, and most of my friends all using it. It allows me to have secure voice and video calls from my Android phone to family and friends who use Apple products, with quality almost as good as Apple’s FaceTime.
So, how does Signal stack up against our criteria? Well, as I’ve already mentioned, it’s easy to get other people to use it so that I’m not just securely talking to myself. The development is open source, and the cryptographic libraries used are well vetted and tested. The Signal Protocol is well described and has been thoroughly vetted for design weakness. People are always trying to break Signal but, despite some misleading headlines, there haven’t been any major wide-spread successes. In terms of the end-to-end encryption of data-in-transit, Signal is a rock. Additionally, Signal can be installed directly (on an Android device) without having to go through an app store.
One of the major benefits to Signal is that their servers really only keep basic information about when a user is online or not, nothing else. This lack of metadata, combined with strong end-to-end encryption, make it a great system. Signal does have a few down-sides that I would be remiss if I didn’t mention, however.
First, user identity is strongly correlated with phone numbers. And traditionally, new signal users are announced to existing signal users who have that phone number in phone contacts. This has been a source of contention between the Signal developers and members of the security community on one side and privacy advocates on the other. From the perspective of the privacy advocates, some people, such as women in abusive relationships, who may be attempting to install Signal in order to communicate without their partner’s knowledge, are put in danger by the fact that if the abuser has Signal, he’d be alerted when the woman sets it up and attempts to hide it. If you fall into that category, then beware.
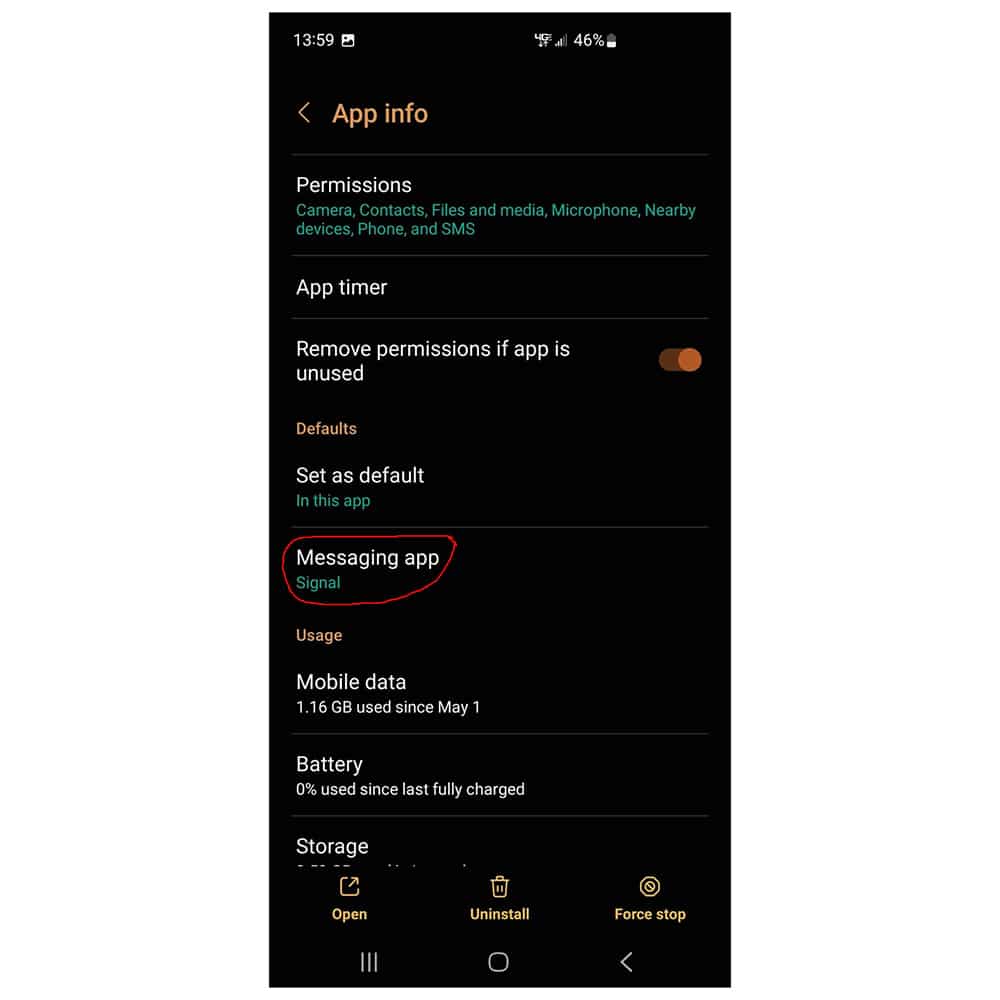
Above: Android will allow you to use Signal as the default message app. All your Signal messages and regular SMS will be handled similarly. When sending unencrypted SMS in Signal, the text input will notify you of this fact.
The second issue with Signal isn’t so much with Signal as it is with users. Signal will generate a privacy number when two users begin communicating. Deleting and reinstalling Signal, or, more commonly, getting a new phone will result in a new privacy number. Users are meant to verify privacy numbers in person or through some otherwise-trusted, out-of-band method, in order to establish identity. In practice, almost no one does this, leaving them open to potential spoofing attacks. Like I said, this isn’t really Signal’s fault because they’re providing the mechanism, but most people don’t use it most of the time. I’m guilty myself.
Keybase
Keybase is very different from Signal and isn’t really an alternative to it, so much as it is an alternative to systems like Slack or Telegram. I’ve used Keybase since it was launched, and I really liked it for reasons around establishment of identity with PGP that are too nerdy and in-the-weeds to get into here.
It makes the list because I believe that Keybase is an excellent choice for providing secure messaging and file sharing when working with a group. It allows you to set up teams, then create multiple different chat topic channels for that team. It provides secure file storage (personal and team) and allows you to share files. Unlike Signal, it doesn’t provide voice or video calls, however, it does provide for shared voice memos. Like Signal and other apps, you can set certain messages to “explode” or adjust your retention policy, so that even if an endpoint is compromised, highly sensitive messages may have been automatically deleted after a certain time period and become unrecoverable.
Drawbacks to Keybase include many associated with all social media, that is public user profiles and the opportunity for OSINT analysts to perform network analysis to discover who is associated with whom and identify a COG (center of gravity) for a given network based on the strength of associations. This is a matter of managing your group’s OPSEC to not be publicly following each other, if that’s part of your security concern.
The user experience is pretty good, and it’s multi-platform. File sharing is a chore with the mobile app, and this works much better from a desktop, but it supports all major platforms (Windows, Mac, Linux) and devices (Android, iOS) so adoption isn’t difficult. It’s a much better option than, say, Slack, for organizing a mutual assistance group (MAG) or similar organization, and providing a primary means of communication while mitigating censorship found on other platforms.
Threema
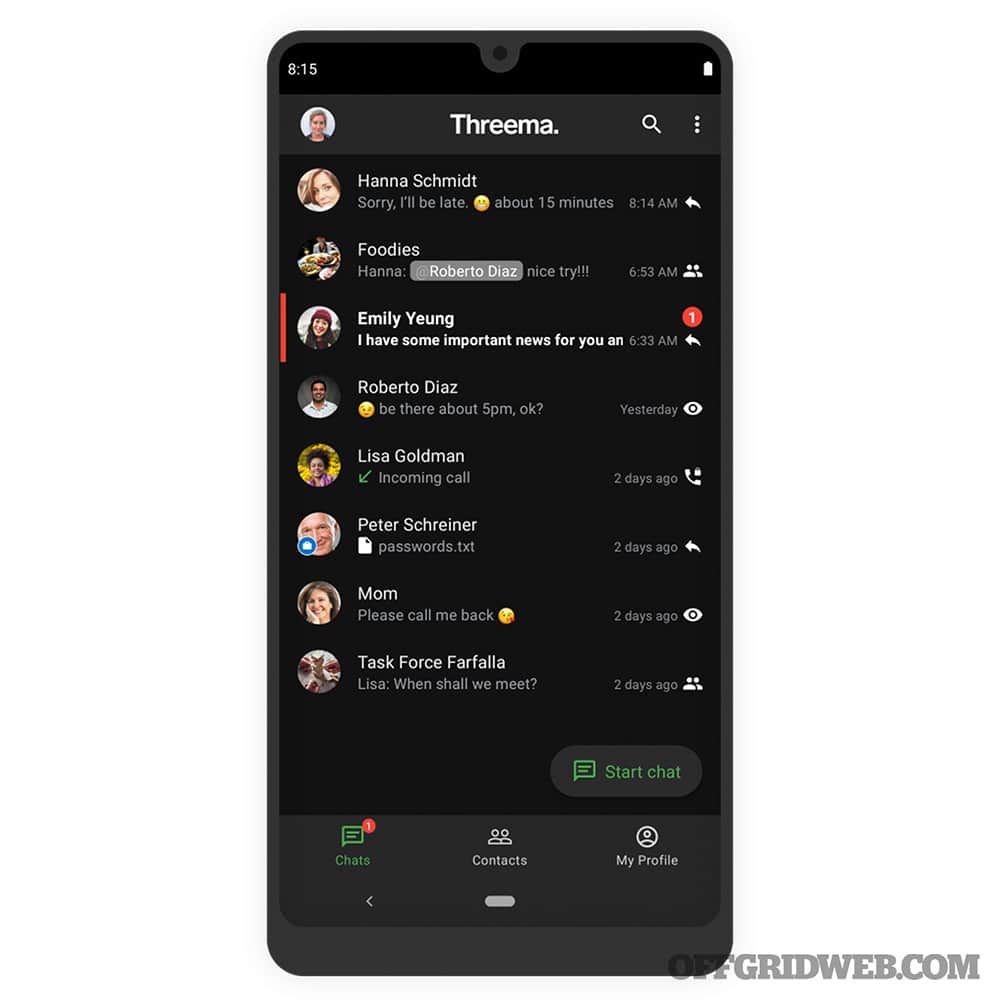
Above: Swiss-based Threema supports everything Signal does, while addressing some of the privacy issues associated with Signal’s use of phone numbers. However, it’s a commercial product rather than a project maintained by a nonprofit organization.
Threema was recently popularized in The Terminal List and provides similar features to Signal, but with some of the privacy concerns addressed. Unlike Signal, Threema isn’t free. You need to purchase a license that costs 4.99 in your choice of currency (USD, CHF, EUR). Licenses are not transferrable between platforms, which means that if you have both Android and iOS, and also want to use it on a desktop you’re in for three licenses. The license can be bought directly through Threema, or via the platform’s official app store (e.g, Google Play).
A price of $4.99 isn’t a lot (compared to the current price of a gallon of gas), but it does provide an additional hurdle that I think is slowing adoption. Of course, Threema is a for-profit company, unlike Signal or Keybase. Threema is available for corporate and government customers and is approved for use by the Swiss military. This means there’s a different business model.
One of Threema’s claims to fame is the decoupling of the phone number from the user ID. A new “Threema ID” is generated when the client is registered, and this is the identity of the user. If one takes steps, such as purchasing a Visa gift card with cash and using that to register Threema directly, rather than through the App Store, this can help provide an additional layer of anonymity that Signal does not.
The Threema source code is open source and has been subjected to multiple audits. They also have a detailed paper describing how the security functionality of the system works, all of which speaks in their favor.
All in all, the major debit against Threema is the cost, which may cause some people to balk at it. It’s also less well known than Signal, so getting people to adopt it and easily start integrating into their daily lives is going to be a bigger lift. And remember, if you don’t have anyone else to talk to, then your communications tool doesn’t really matter. I expect that the name recognition from the Amazon Prime release of their Terminal List adaptation will see this begin to change.
What to Avoid
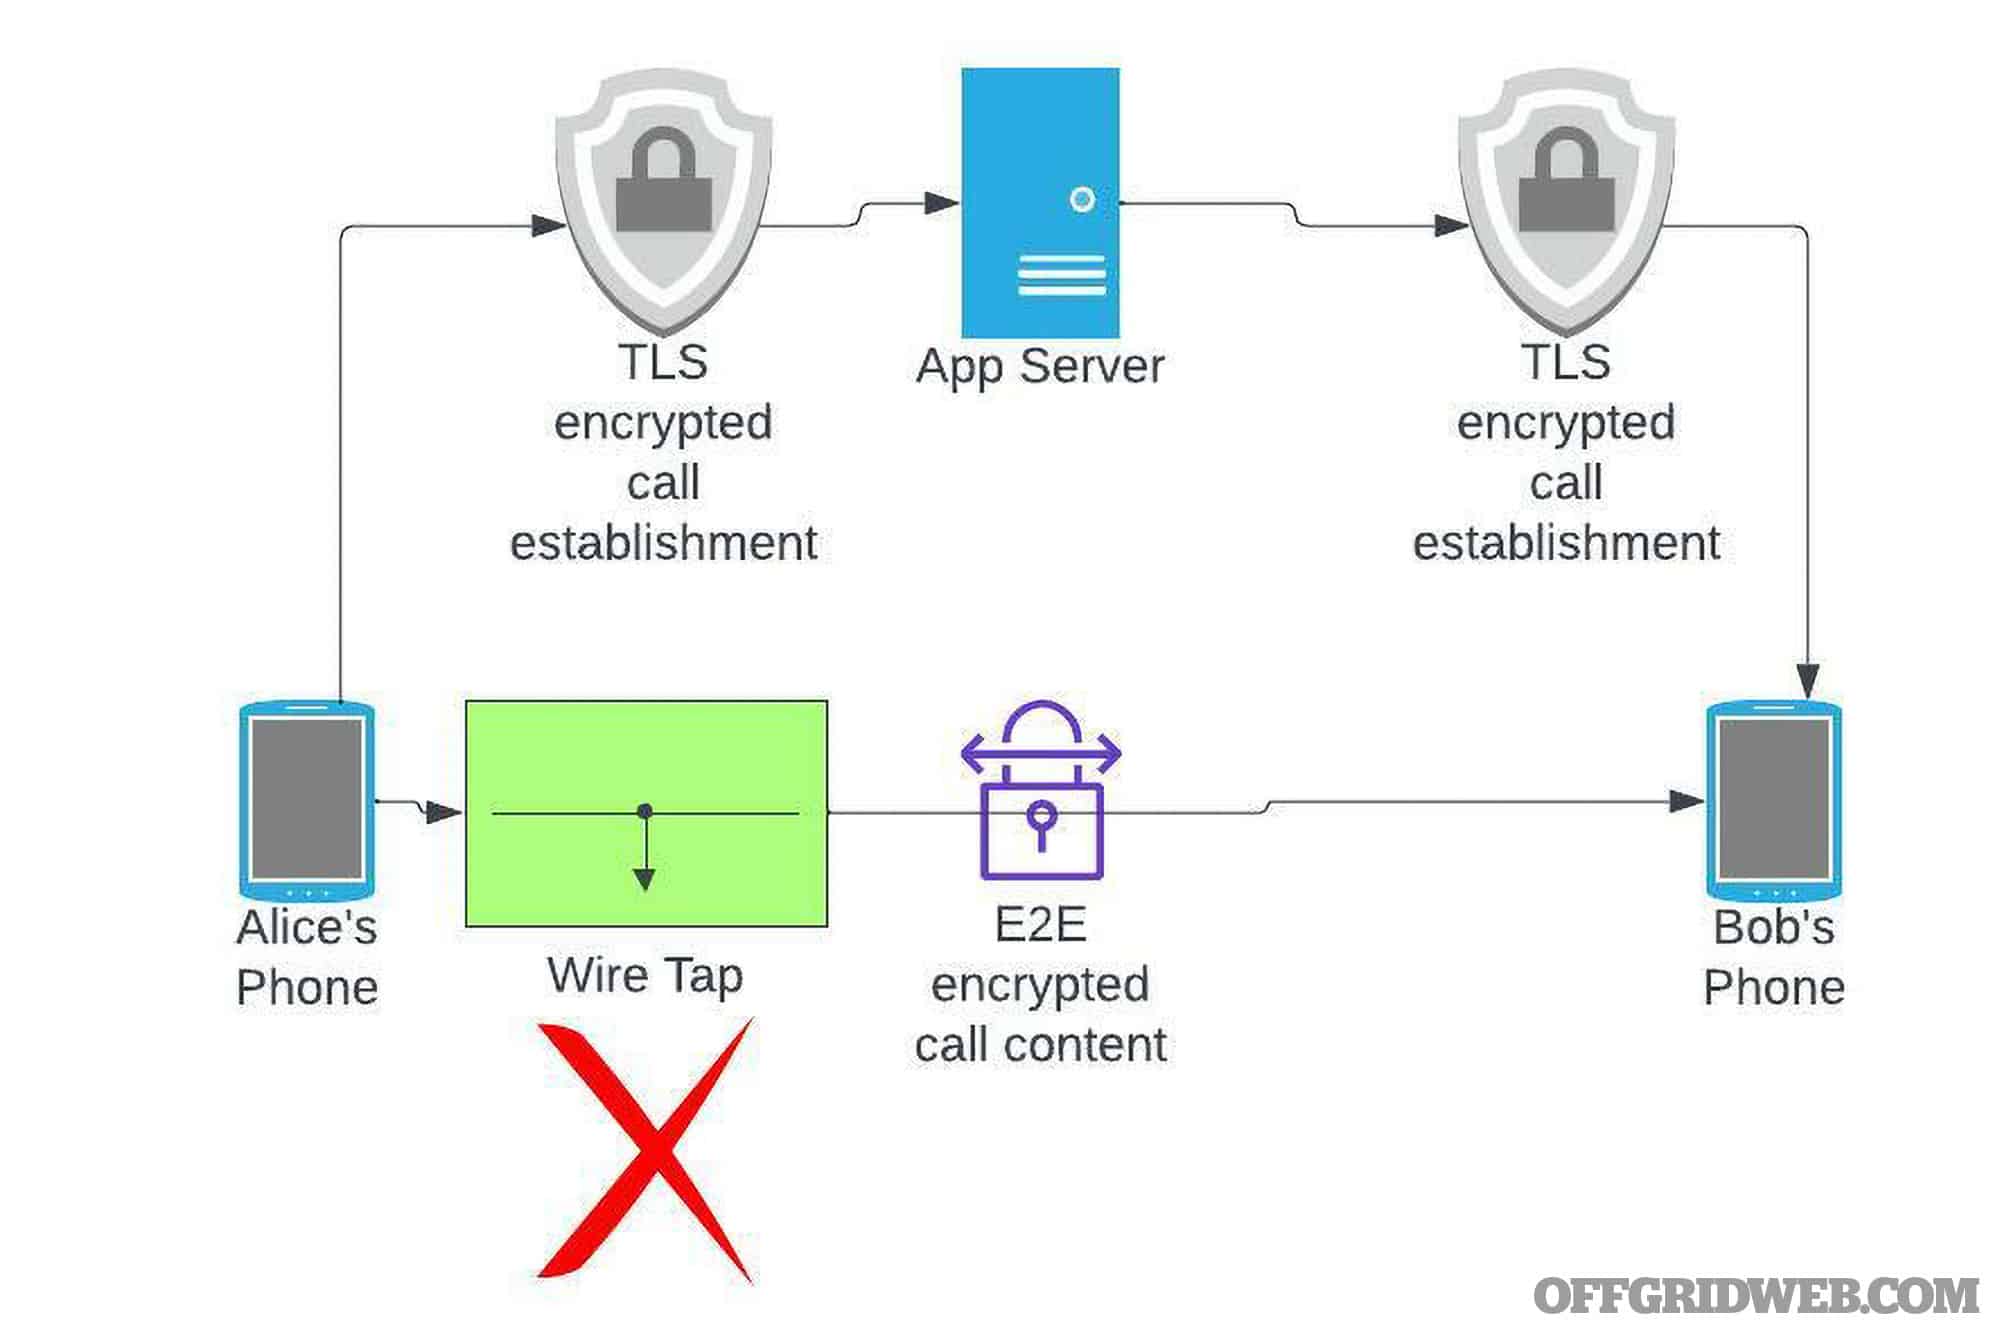
Above: It’s common for apps to use a server for call establishment and registration of users, while sending actual call content directly between peers. When using end-to-end encryption, Alice and Bob are secure from attempts to eavesdrop on their conversation. A wiretap will only record encrypted data and the attacker would have to have knowledge of the key to read the data. When everything goes through the server, then neither an attacker nor the server operator can read the call content — only the endpoints.
SMS and Platform-specific Apps
SMS (Short Message System) is your basic text messages. These are not at all secure, are entirely visible to the carrier, and should have no expectation of privacy. This should be well understood by most people in the world at this point.
The commercial response to this initially were systems like BBM (BlackBerry Messenger) and then iMessage. Both of these provide a lot more security than SMS but have several flaws. First, they’re platform dependent. You could only exchange “secure” messages with other BlackBerry or iPhone users. Secondly, these tools weren’t designed with end-to-end encryption from the start. BBM is dead, but iMessage continues to exist as the default messaging/SMS app for iPhone users.
To avoid issues around the iCloud ecosystem (ask Hunter Biden for more information on this), it’s best to avoid using iMessage.
Apps Owned by Hostile “Big Tech” Organizations
WhatsApp was hugely popular when it was released. It provided a great way for people all over the world to exchange pretty well-protected messages with each other without having to worry about international text or call charges. It was a game changer. Heck, WhatsApp has even adopted the Signal protocol to secure end-to-end encryption, so from a network perspective, WhatsApp and Signal have the same protections.
However, in 2020/2021, we started seeing lots of complaints (some valid, some less so) regarding the behavior of WhatsApp, which is now owned by Facebook/Meta. Allegations of censorship from the app itself, plans to install content filters to look for “child exploitation material” (because perverts are often used to justify draconian attacks on free speech), etc. all drew major criticism. Many WhatsApp users fled to Signal.
Similarly, Telegram, which has become popular for providing both encrypted and unencrypted chat services, including open groups, became popular as platforms like Twitter and Facebook became censoring content heavily during the COVID-19 pandemic and the 2020 election. However, Telegram, like many other platforms, bowed to pressure after the January 6, 2021, incident at the U.S. Capitol and began purging accounts and groups that were disfavored politically.
Control of the endpoint software by entities willing to enforce a political ideology that’s anti-freedom means that, ultimately, that software isn’t trustworthy. Platforms that provide centralized, insecure chat forums, while handy for quickly organizing groups of strangers by sharing a link to join, can quickly be taken away and no information shared or posted to those platforms is private in any way.
Conclusion

There are many options out there for applications that claim to provide secure or encrypted communications. Not all are created equal. Open source, well-vetted, systems that provide detailed explanations of their inner workings are always going to be preferred to closed-source apps beholden to big-tech oligarchs who don’t value your individual freedoms. Fortunately, applications like Signal, Keybase, and Threema exist that provide that peace of mind. Personally, most of my non-email communication goes through either Signal or Keybase and I push everyone that I communicate with regularly to adopt Signal. Ultimately, which one(s) works best for you is going to depend on who you’re trying to communicate with and for what purpose.