In This Article
The concept of a 9mm AR is nothing new. In the early 1980s, Colt began developing 9mm prototypes based on this platform, the earliest of which was an open-bolt submachine gun that fed from a modified Uzi magazine. In subsequent prototypes, the design switched to a closed-bolt direct blowback system — this would carry through to Colt’s first production version, the 10.5-inch-barreled R0635 SMG. Since then, direct blowback has become the industry standard for 9mm ARs, with a few notable exceptions (for example, the radial-delayed CMMG Banshee featured in Concealment Issue 16 and the roller-delayed JP-5 we reviewed in RECOIL Issue 57). If we’re being generous, we’ll just call direct blowback simple. Otherwise, we might call it downright crude. Either way, rather than relying on a mechanical delay mechanism to slow down the bolt, it relies on the mass of the bolt and buffer system. This translates to a recoil impulse that can feel a bit jarring despite the pistol caliber — it’s noticeably more harsh than a 5.56mm AR. Thankfully, there are ways to mitigate this. We built a 9mm AR pistol using components from the Aero Precision EPC (Enhanced Pistol Caliber) line, and then modified it using aftermarket parts. The end result is a smooth-shooting, compact weapon that can be used for a variety of tasks, from competition to defense.
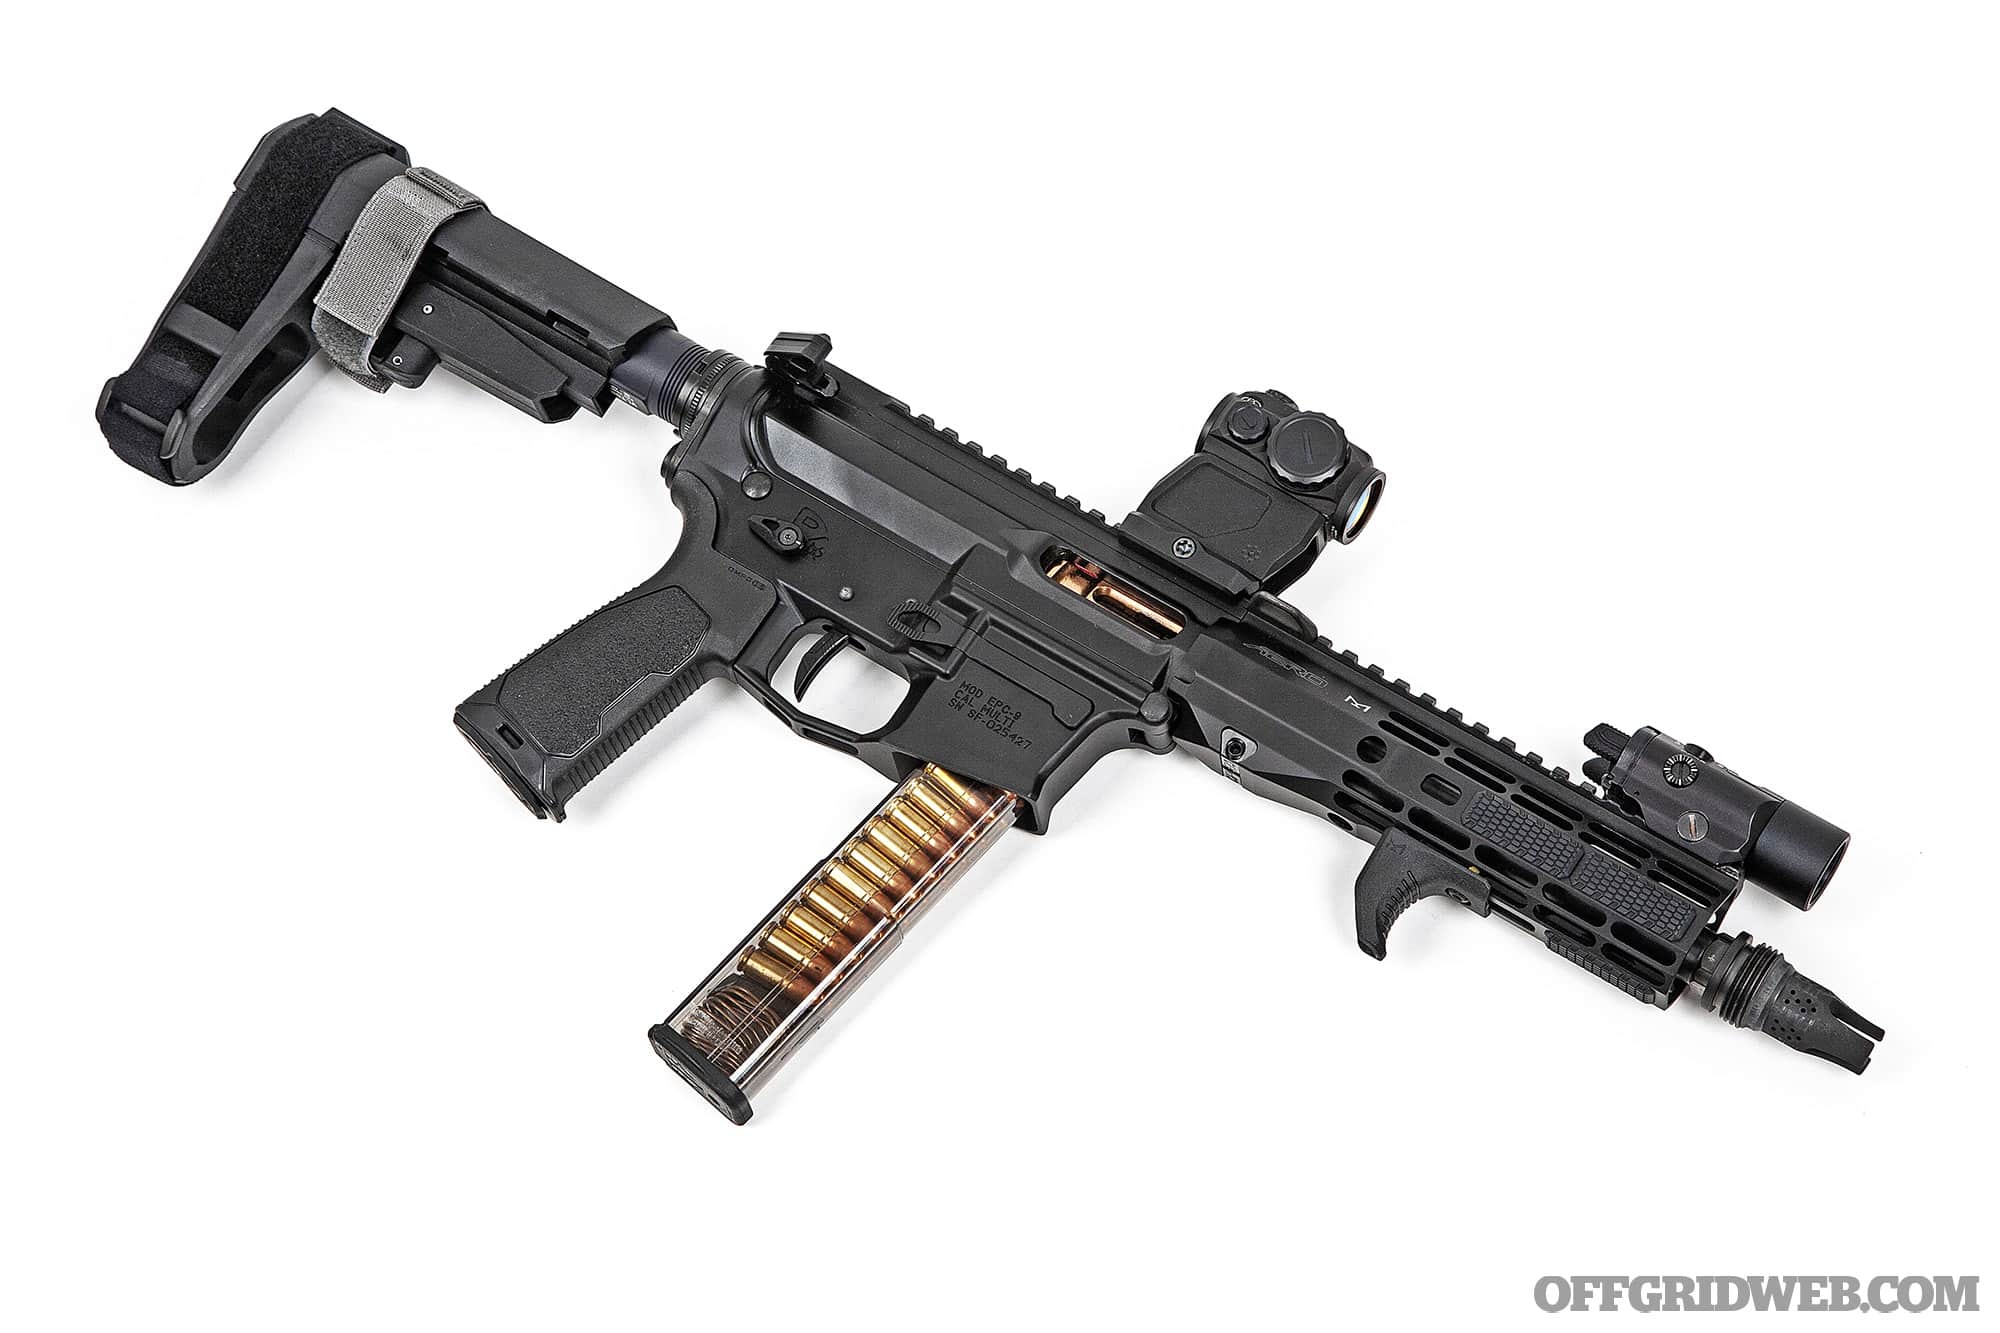
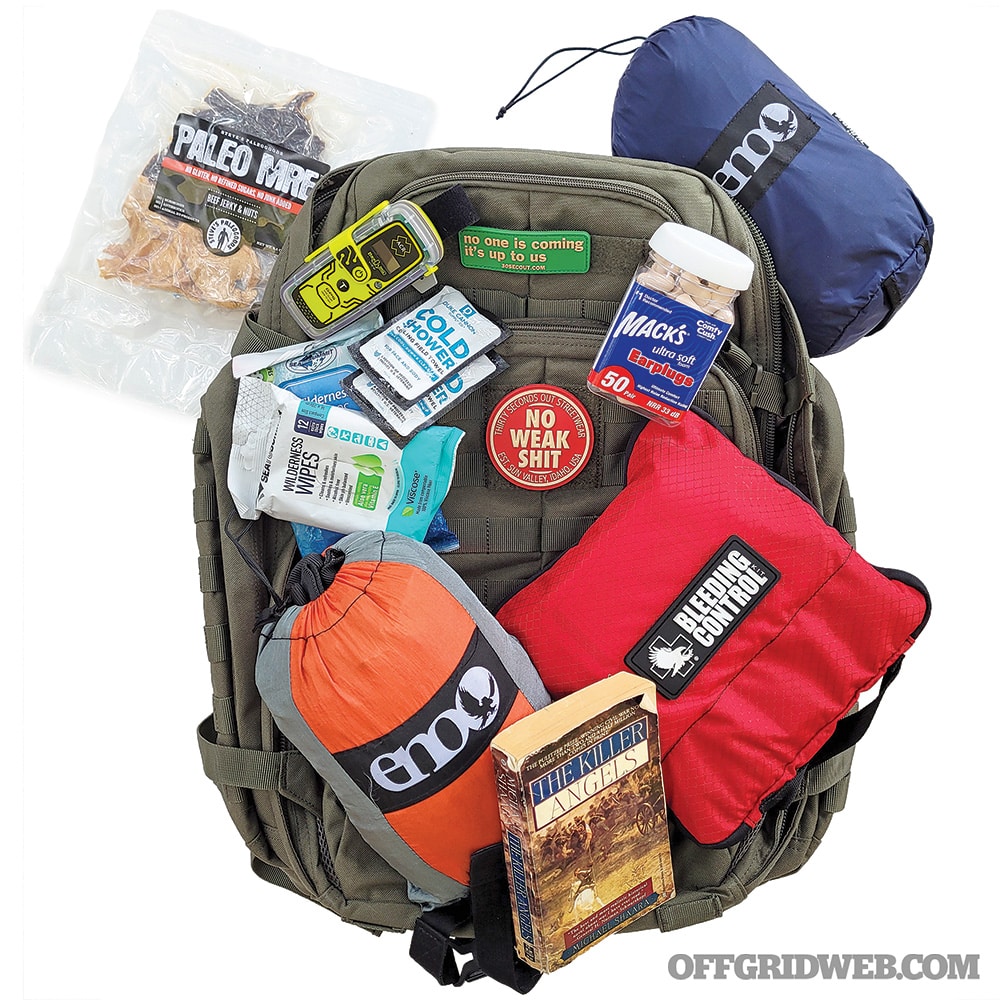
Above: With the brace compressed and the JK Armament suppressor removed, this EPC-9 can fit into a small backpack with ease.
Editor’s Note: This article originally appeared in Issue 29 of our sister publication Concealment magazine. | Photos by Nate Gerhart and Patrick McCarthy
Aero Precision EPC-9 Review
The EPC line is Aero Precision’s take on an optimized pistol-caliber AR and it consists of mix-and-match uppers, lowers, and builder kits, rather than complete carbines or pistols. At time of publication, it’s only available in 9mm/.40S&W, but a 10mm/.45ACP variant is in the works. Yes, both versions accept Glock mags.
Much like Aero’s popular M4E1 rifle-caliber receivers, the EPC receivers are machined from 7075-T6 forged aluminum, with an enlarged trigger guard and flared magwell. A last-round bolt hold-open mechanism — a feature many 9mm ARs lack — is built-in. The bolt catch and takedown pin channel are both threaded for ease of assembly, and there’s a tensioning set screw to ensure a tight fit between the upper and lower. An extended mag release is also pre-installed.
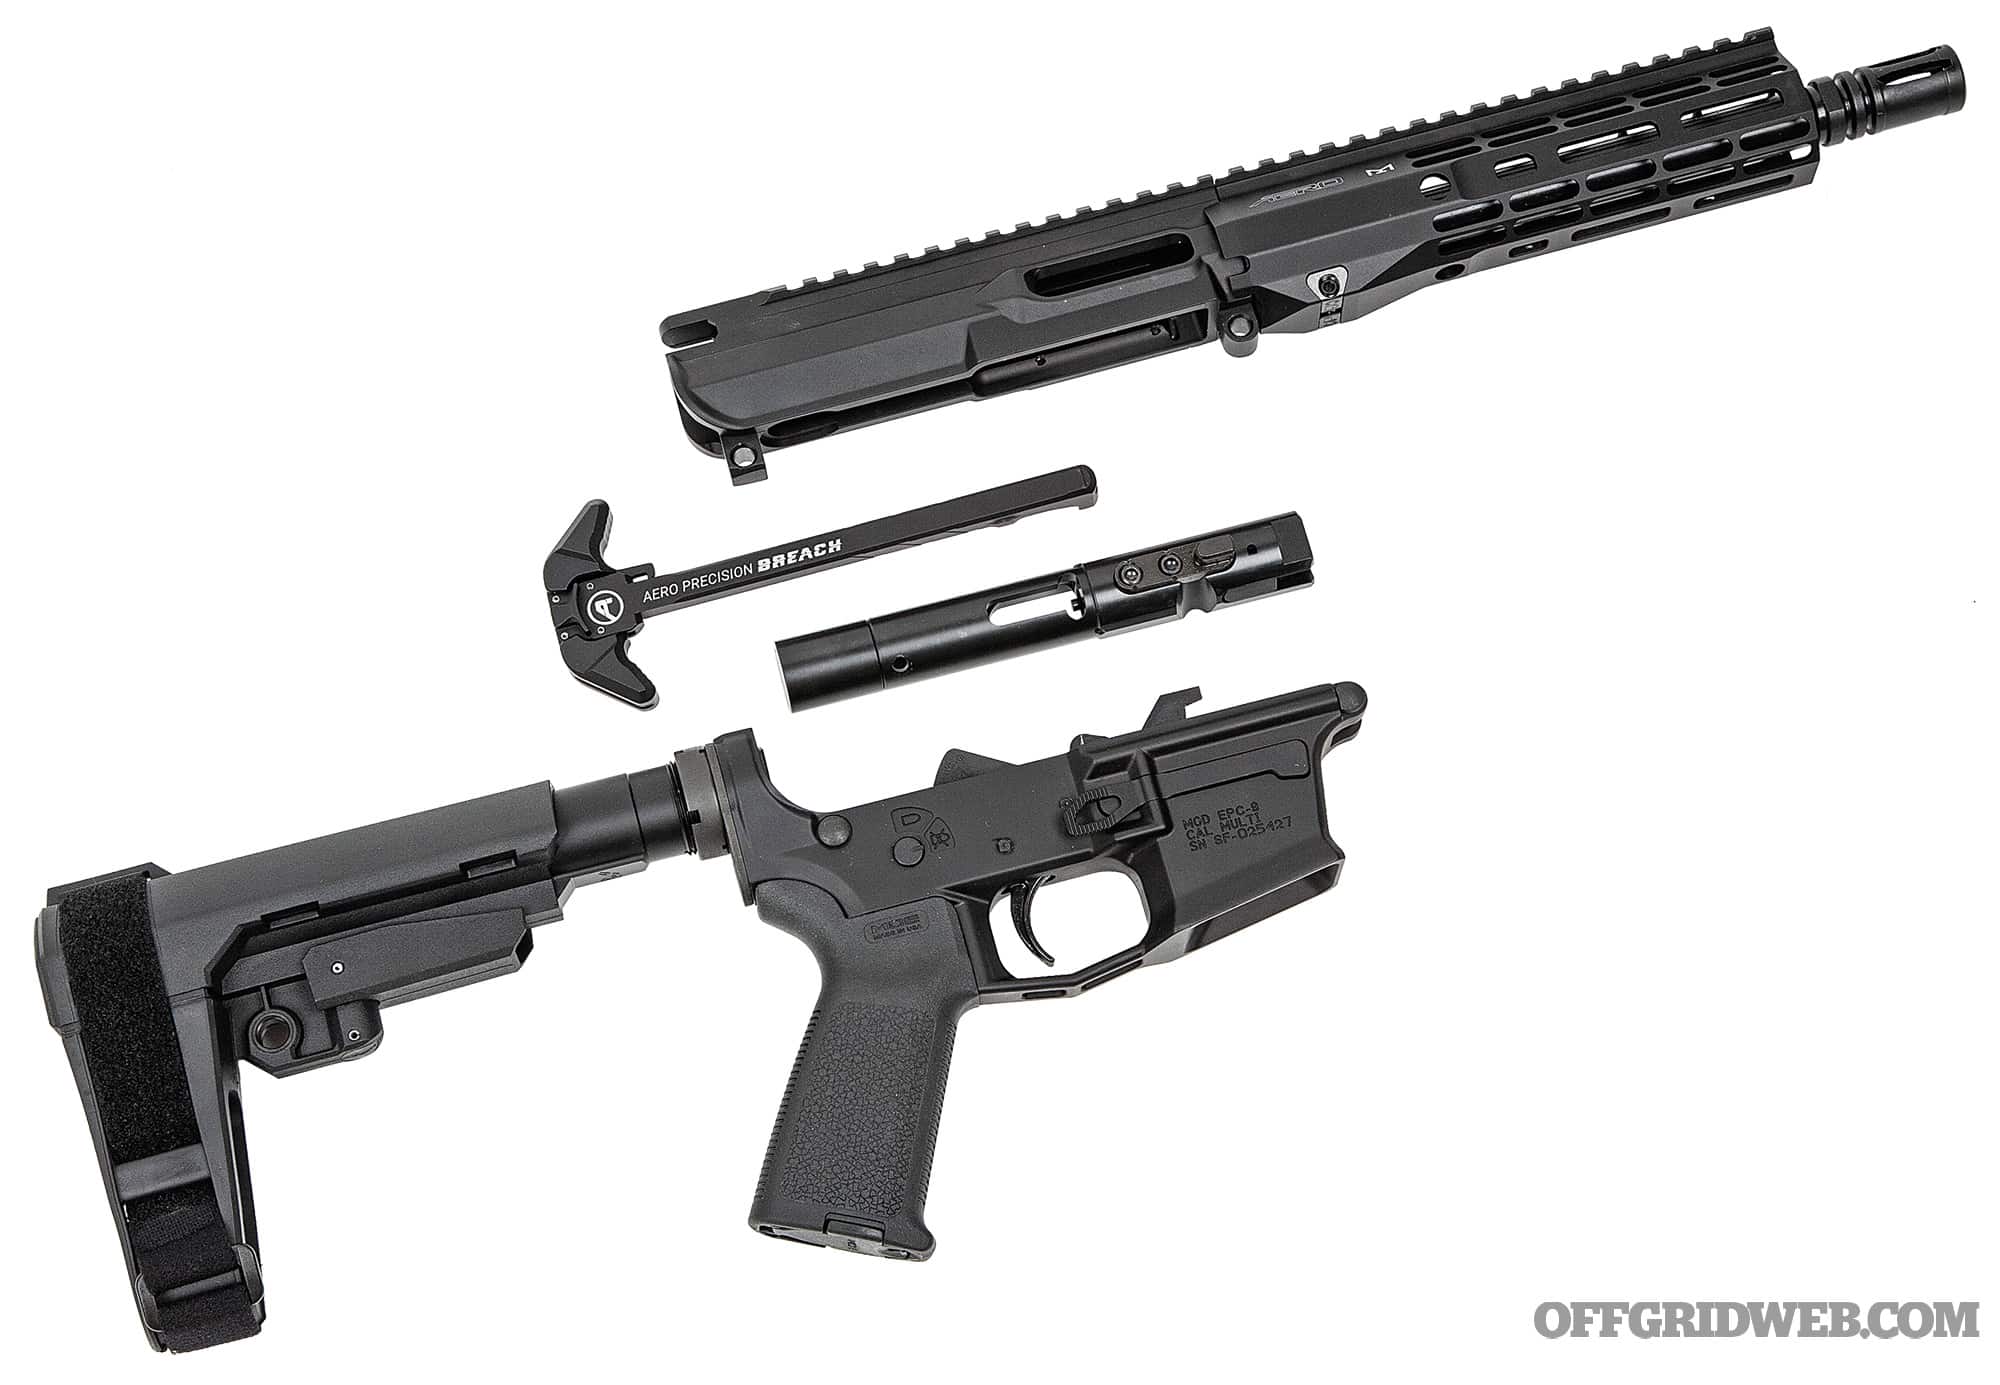
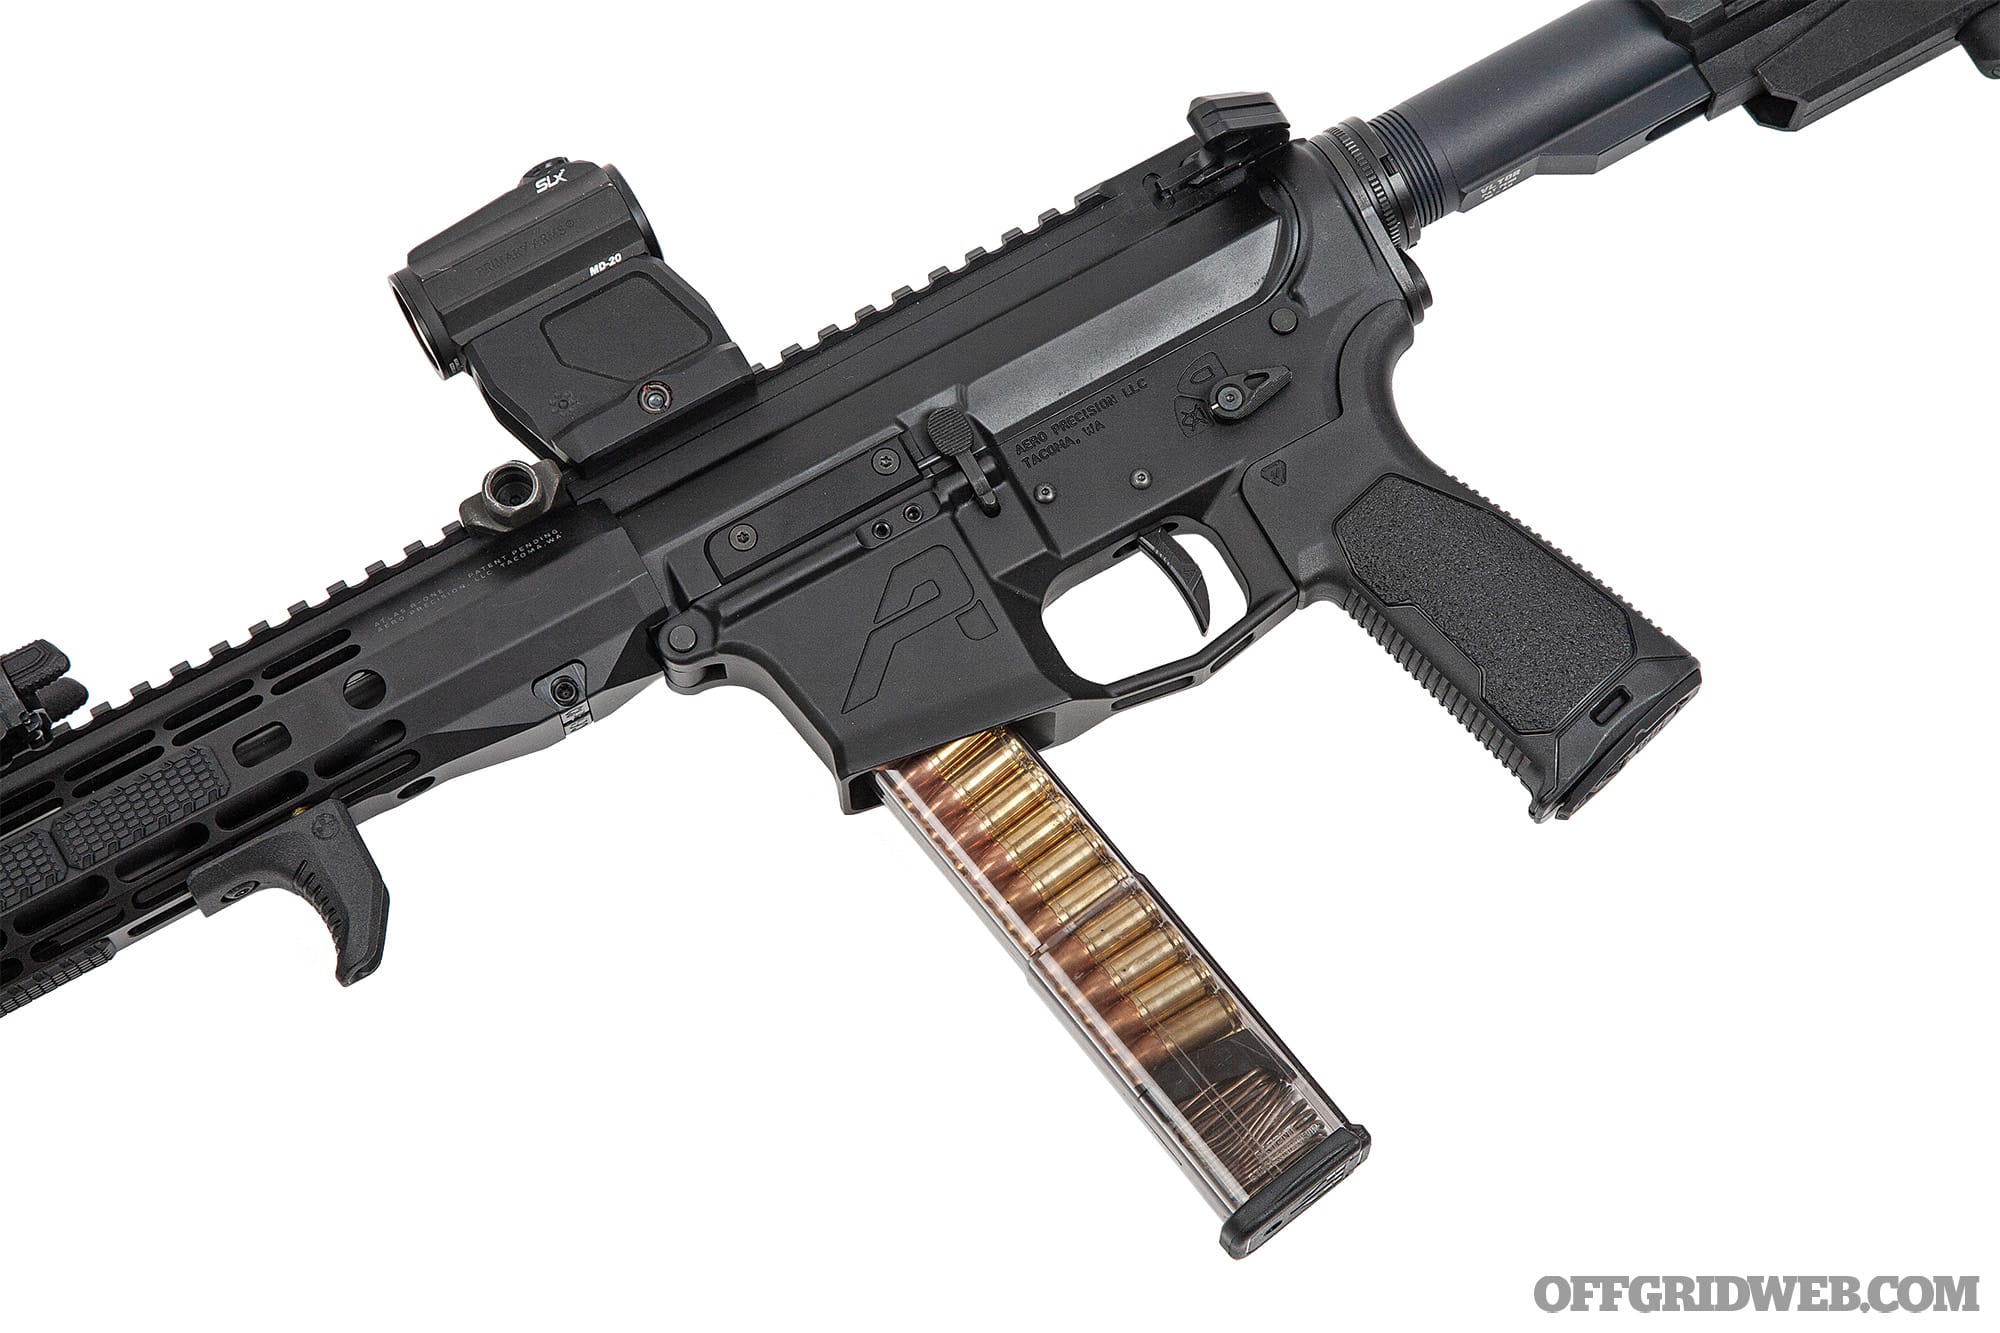
Above: Aero Precision sells EPC-9 lowers with various stocks and braces, and uppers ranging from 5.5 to 16 inches with several handguard styles. We ordered an EPC-9 pistol lower and complete upper, then added this black nitride BCG and charging handle to finish it off.
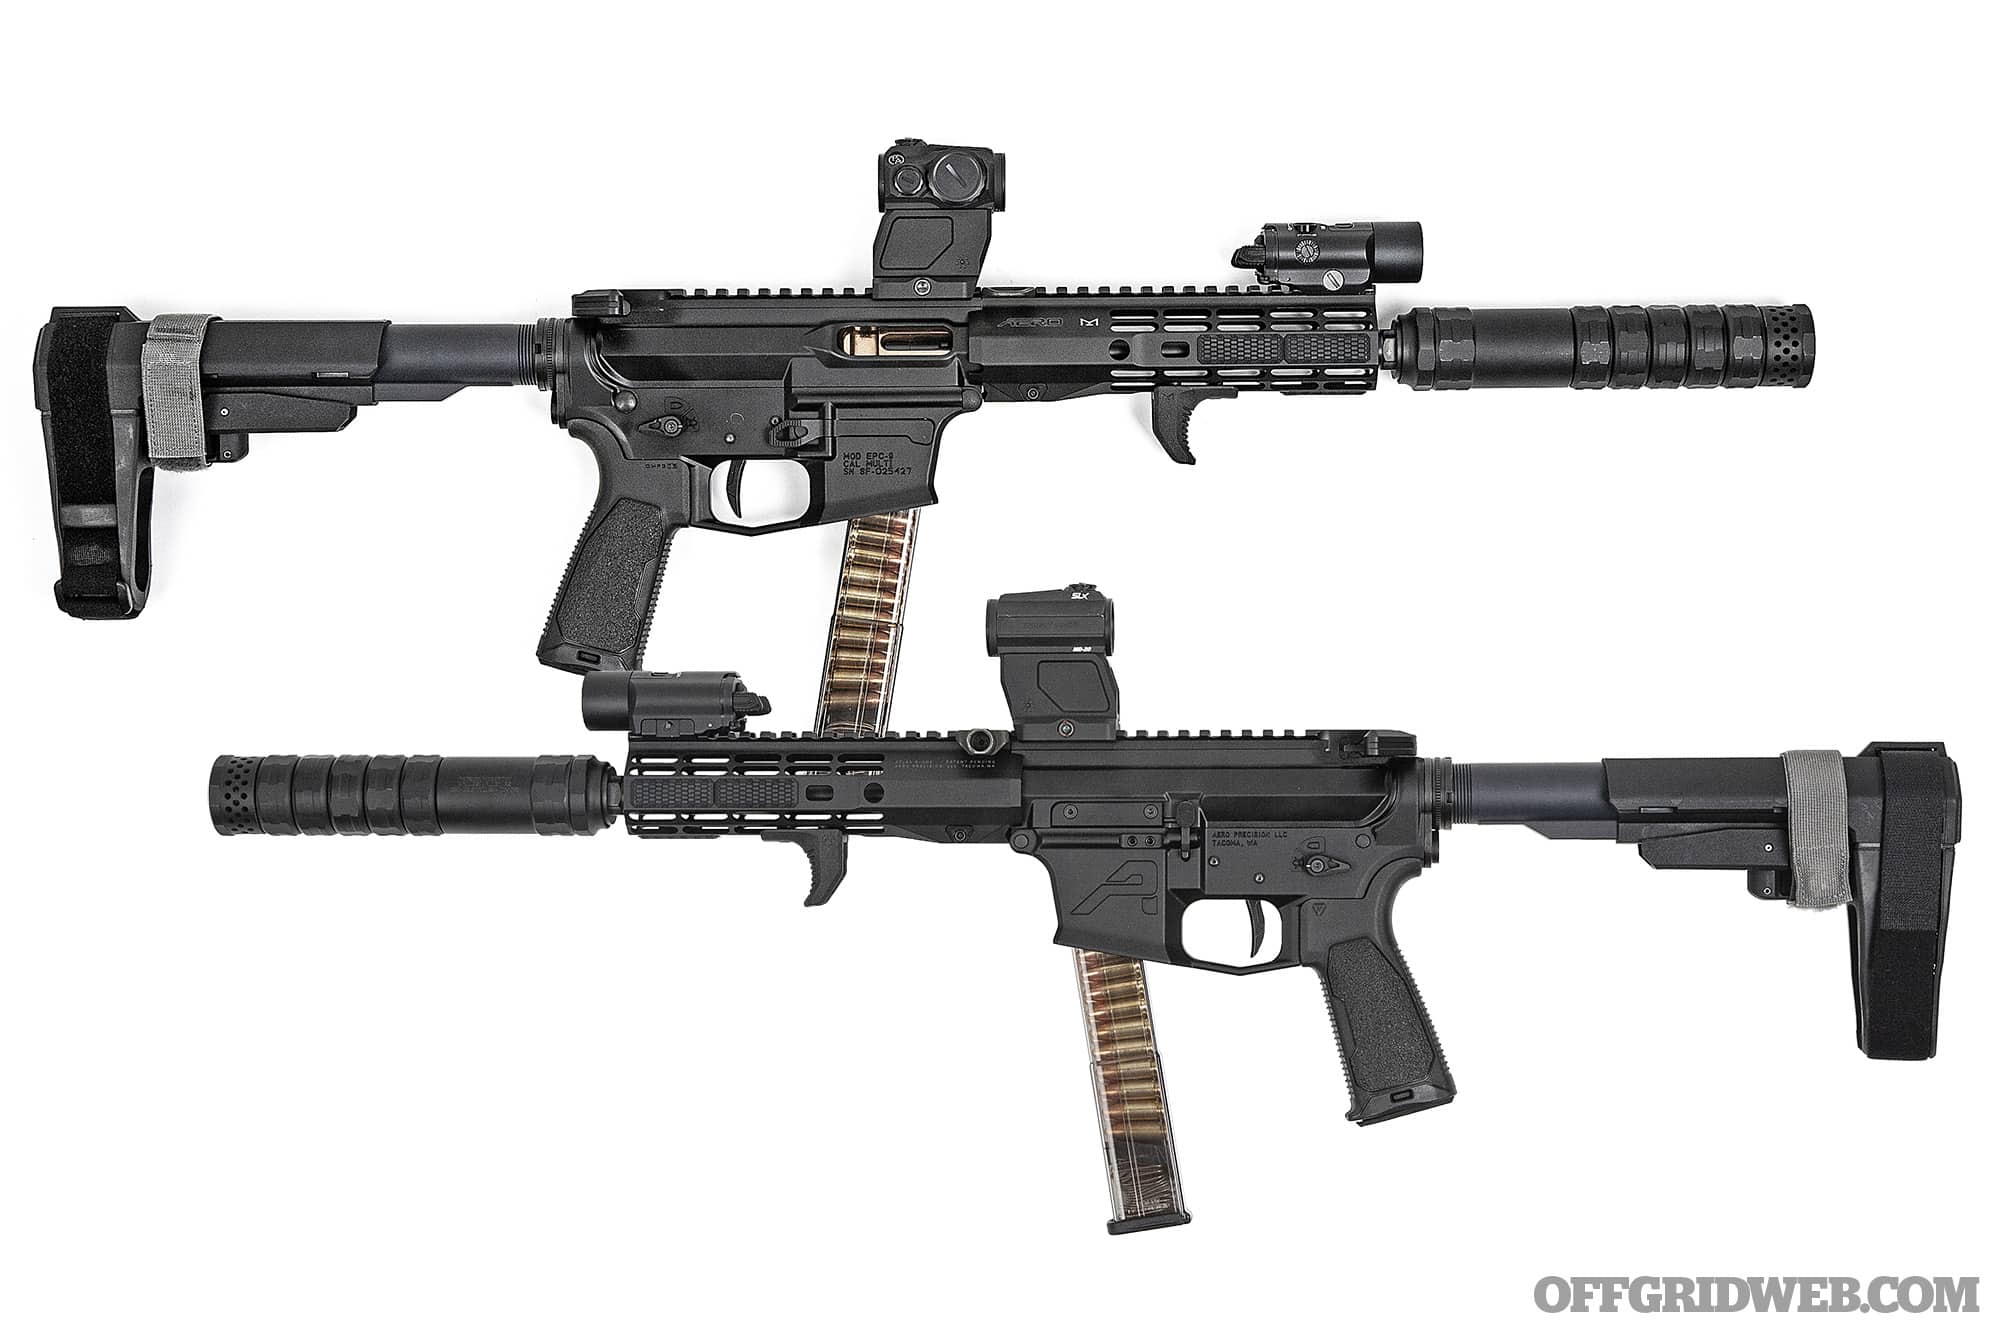
We started our build with an EPC-9 complete pistol lower with SBA3 brace. This includes a Mil-spec trigger and selector, Magpul MOE grip, EPC 7.7-ounce buffer, and Aero M5 .308 carbine spring. Aero notes that special hardened trigger pins are installed to withstand the “high demands of blowback AR platforms.” We paired it with an EPC-9 8.3-inch complete upper equipped with Aero’s Atlas R-ONE 7.3-inch M-LOK handguard. To complete the setup, we picked up a nitride-finished 9mm bolt carrier group and a Breach ambidextrous charging handle, both from Aero. Total MSRP for these items was $1,095, and they were assembled into a functional AR pistol seconds after unboxing.
Initial Impressions
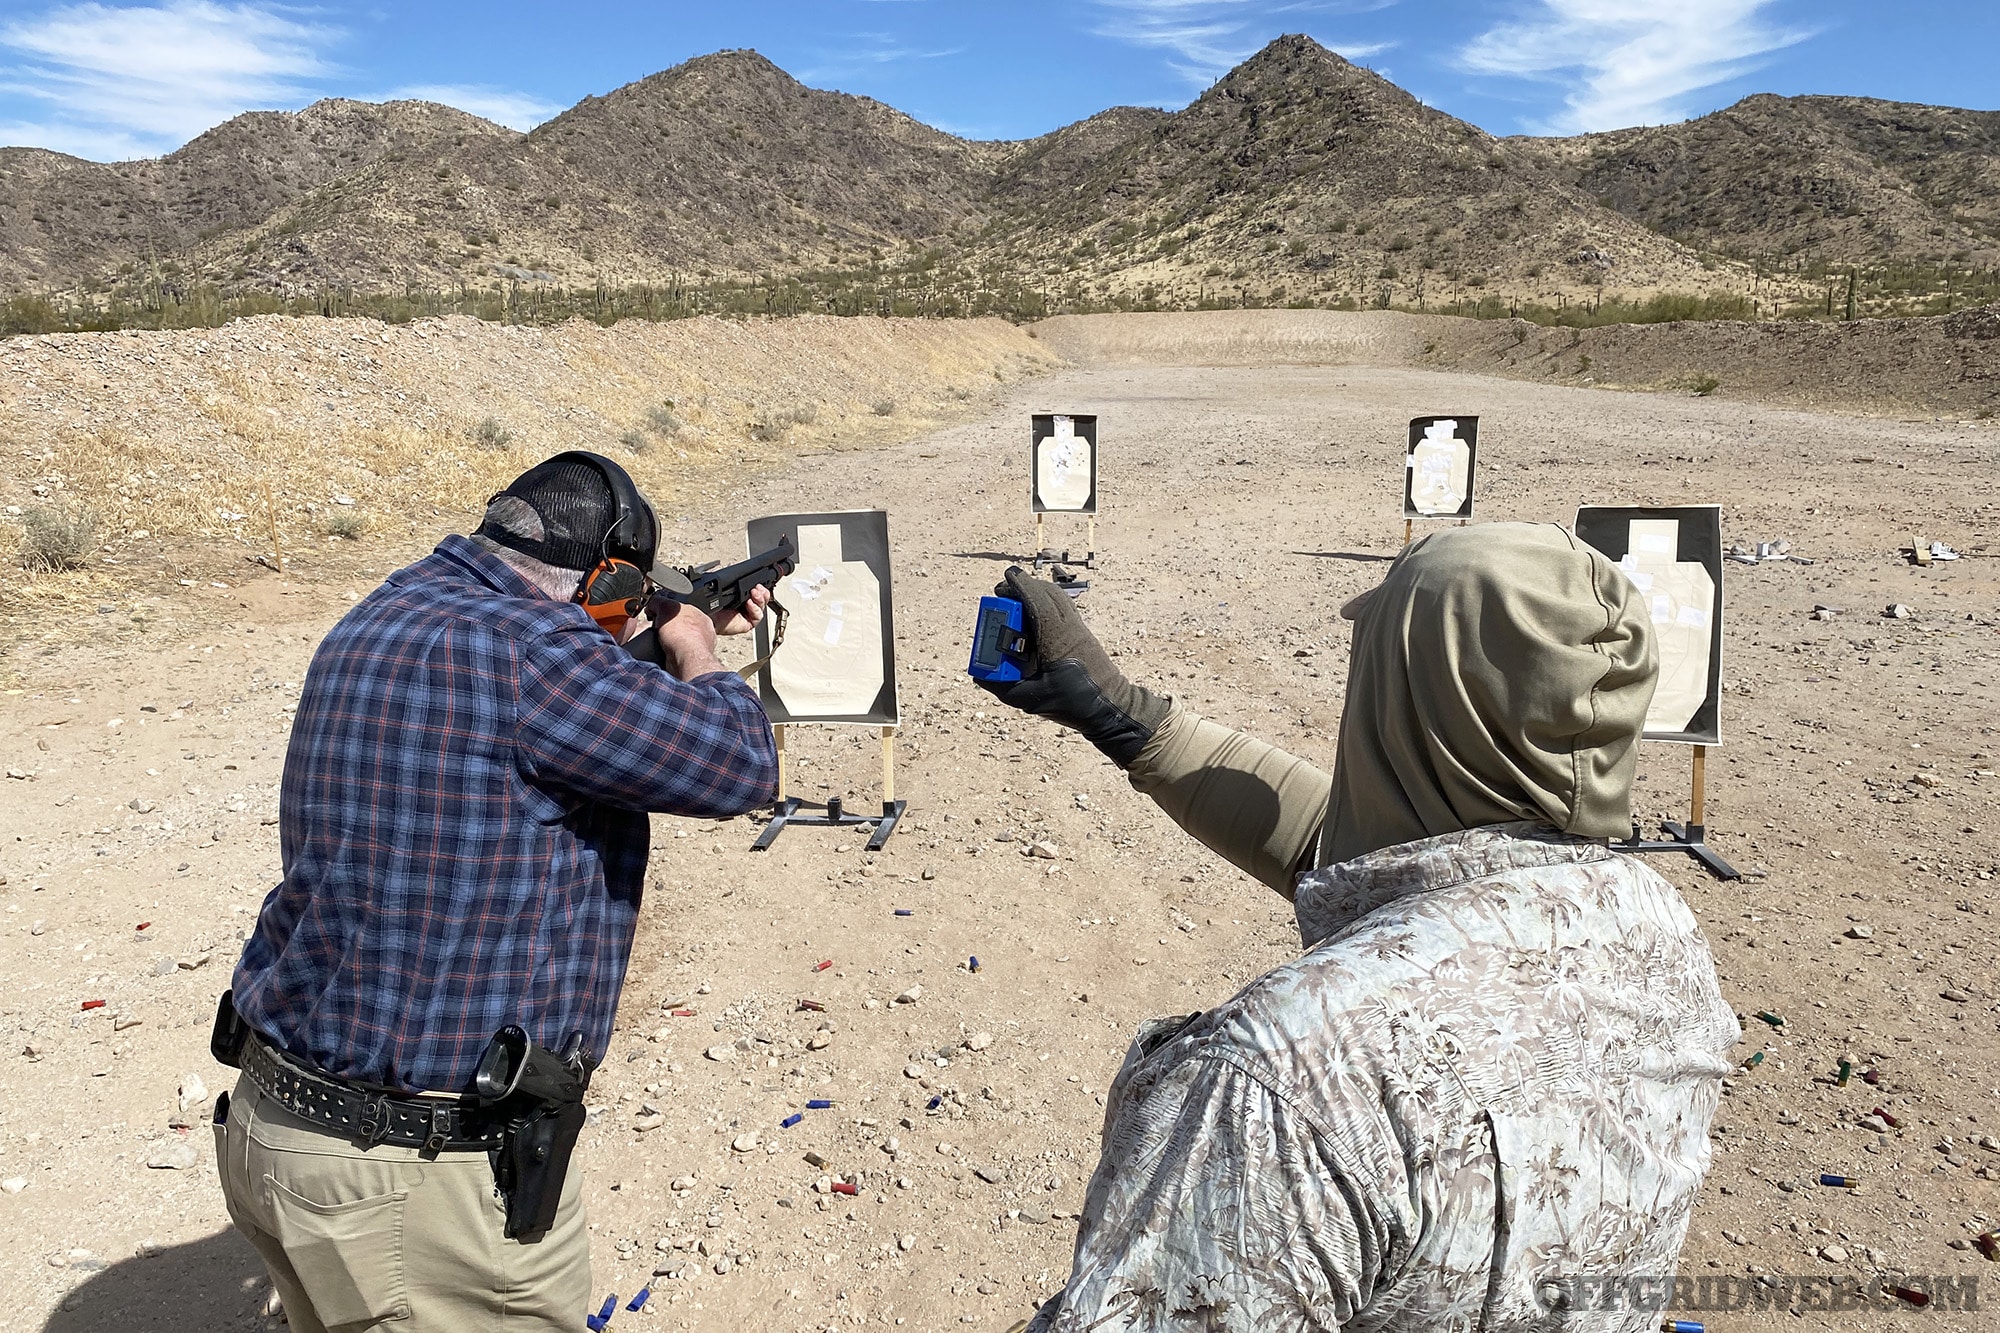
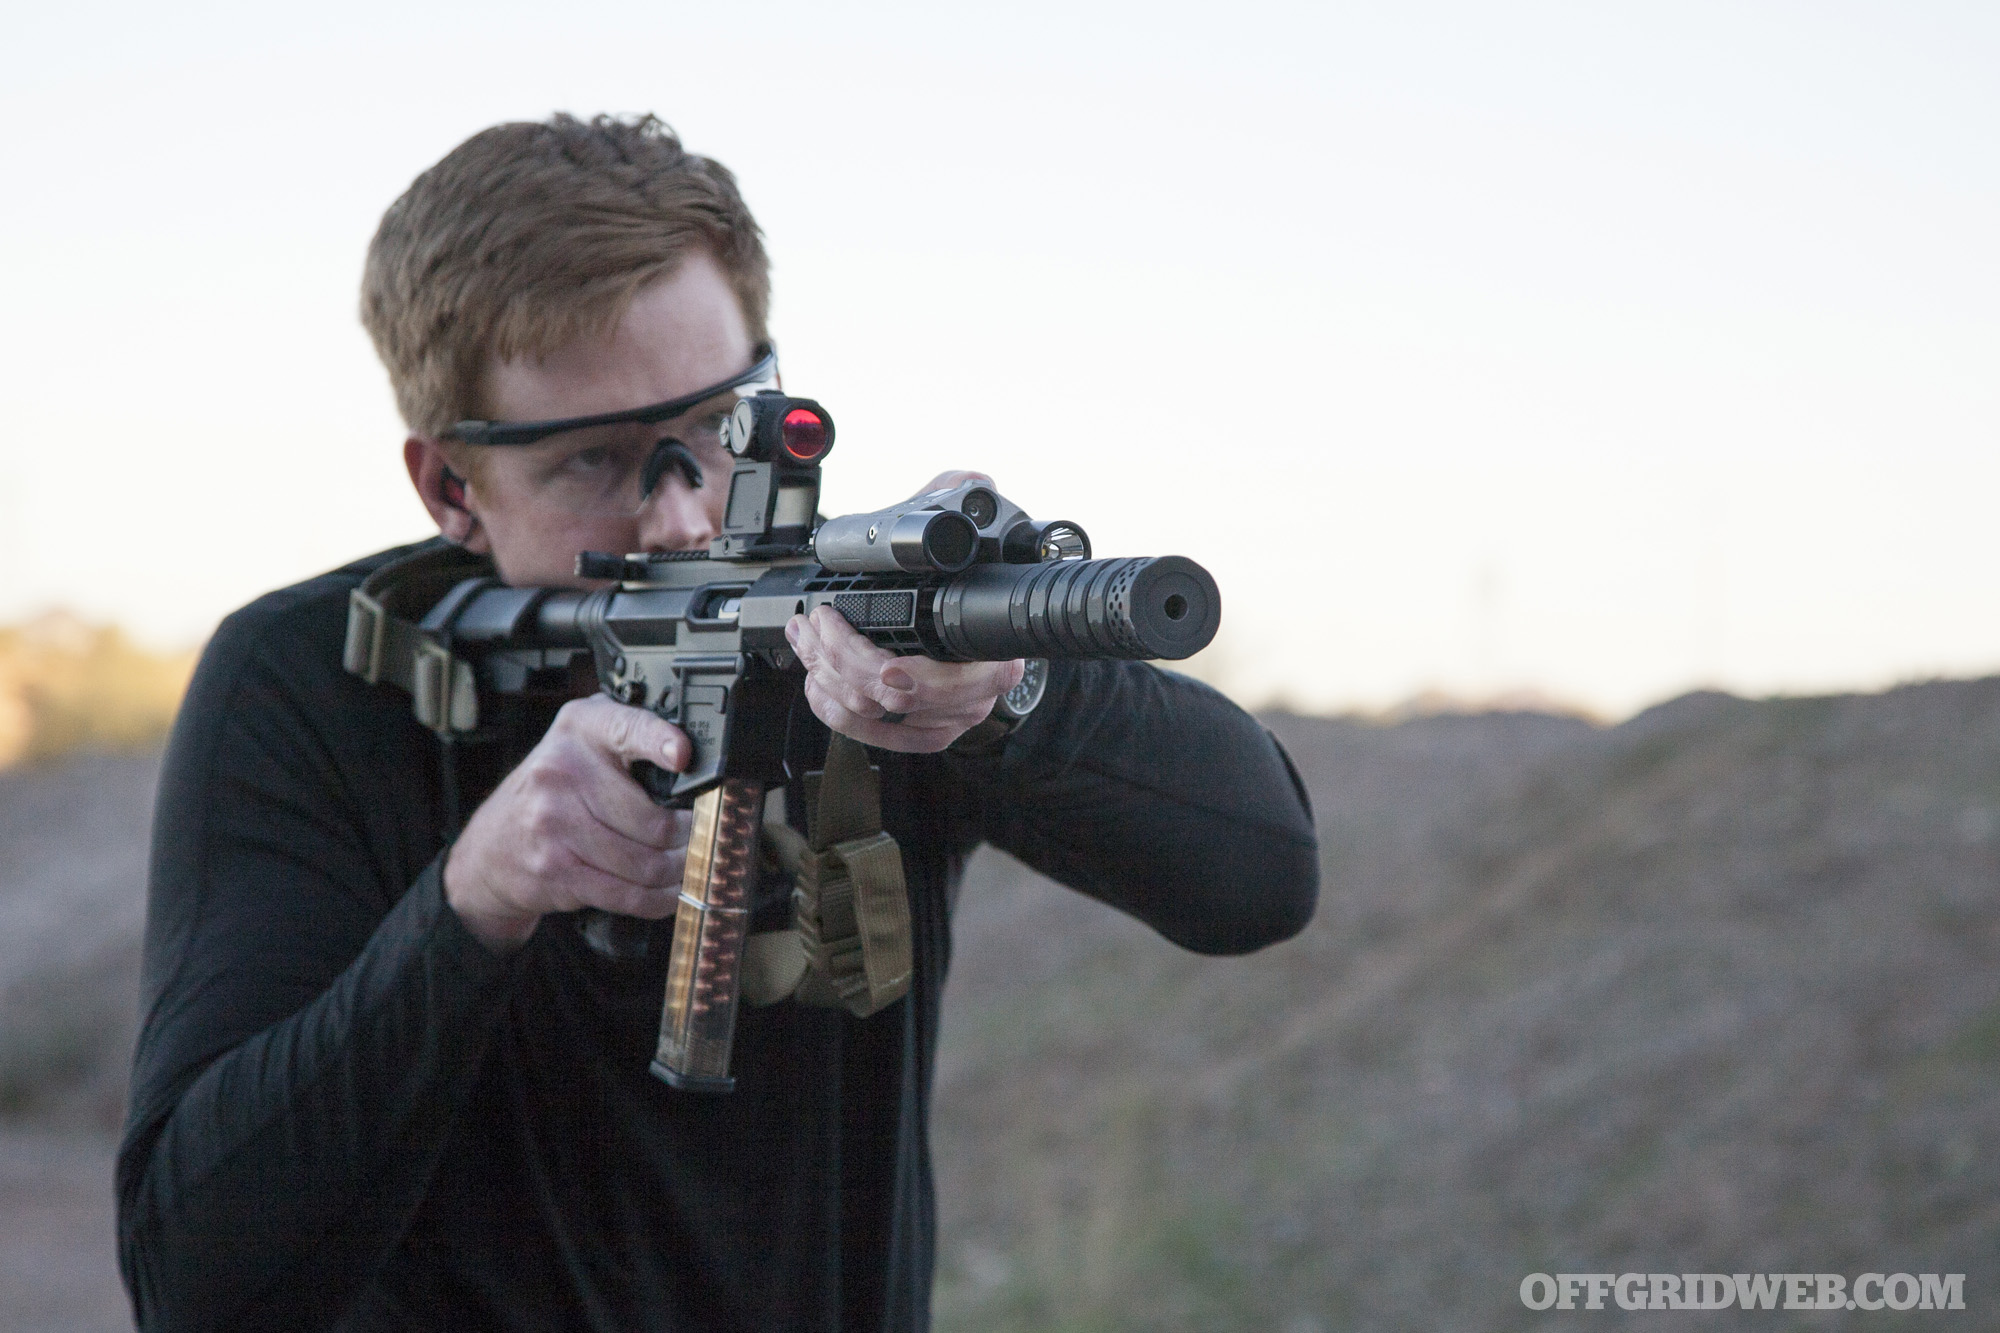
To test the EPC-9 pistol in standard form we loaded up some 30-round Glock mags from GunMag Warehouse, mounted a Primary Arms MD-20 SLx red dot on an Arisaka Defense riser, and headed to the range. Aero’s modifications to the 9mm blowback AR formula — namely the heavier 7.7-ounce buffer and stronger .308 buffer spring — create a weapon that’s definitely softer-shooting than an old-school 9mm carbine with 5.5-ounce buffer. The 8.3-inch barrel makes this pistol light and easy to maneuver, and it’s small enough to fit into a backpack. Reloads were fluid thanks to the bolt hold-open feature, easy-to-reach mag release, and flared magwell.
However, as is often the case with these projects, we began wondering if there were more improvements to be had with aftermarket parts. Before long, we were shopping around, and down the rabbit hole we went.
Modifications
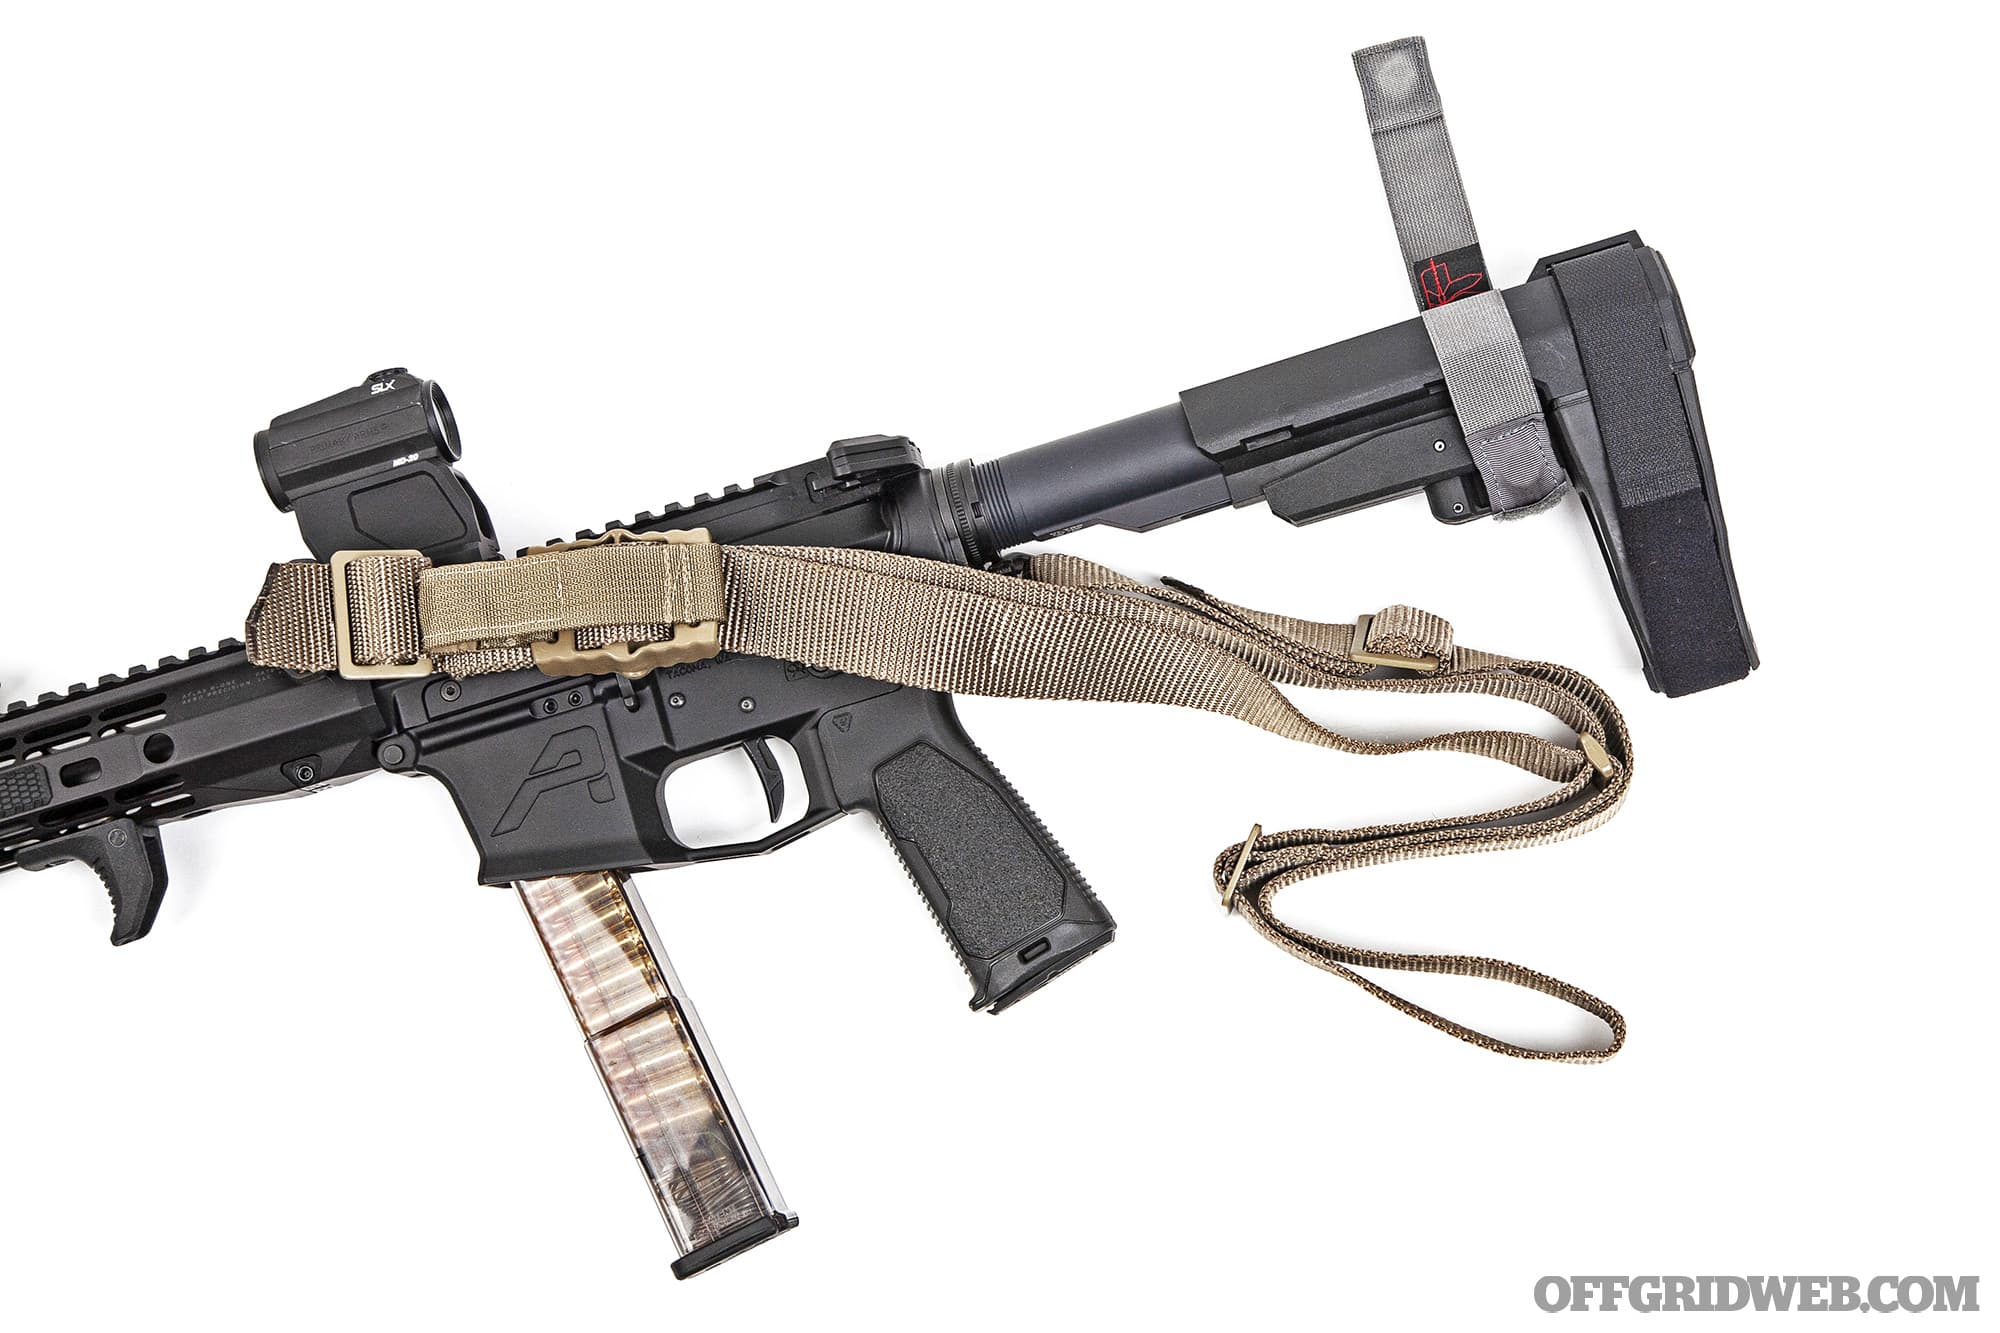
Above: When the Arbor Arms sling isn’t in use, the excess slack can be stowed neatly against the brace using this magnetic Haley Strategic Sentry Strap.
The first focal point was reduction of felt recoil, since the Aero EPC buffer system helps but doesn’t completely overcome the punchy direct-blowback recoil. For this, we turned to a buffer system we’ve used in many of our rifle-caliber ARs over the years: the VLTOR A5. The A5 uses a buffer and tube that’s ¾-inch longer than a standard carbine system, as well as a rifle-length spring. It allows the buffer — and therefore the heavy 9mm BCG — to slow down more gradually. The A5 SP-PCC kit we picked up is designed specifically for pistol-caliber applications. In addition to the extra travel, its A5SH2 stainless buffer is slightly heavier than the EPC buffer at 8 ounces. Shooters who want to fine-tune the recoil impulse more can try an A5SH3 (8.8 ounces) or A5SH4 (9.6 ounces).
While we were at it, we swapped the nitride BCG to a RedMohawk 3.0 Copperhead 9mm BCG from Iron City Rifleworks. It’s coated in a slick copper PVD finish with an extremely low coefficient of friction for easier cleaning, and it uses a standard AR-15 extractor. If copper isn’t your style, variants of this BCG are also offered in black, tungsten gray, and gold finishes.
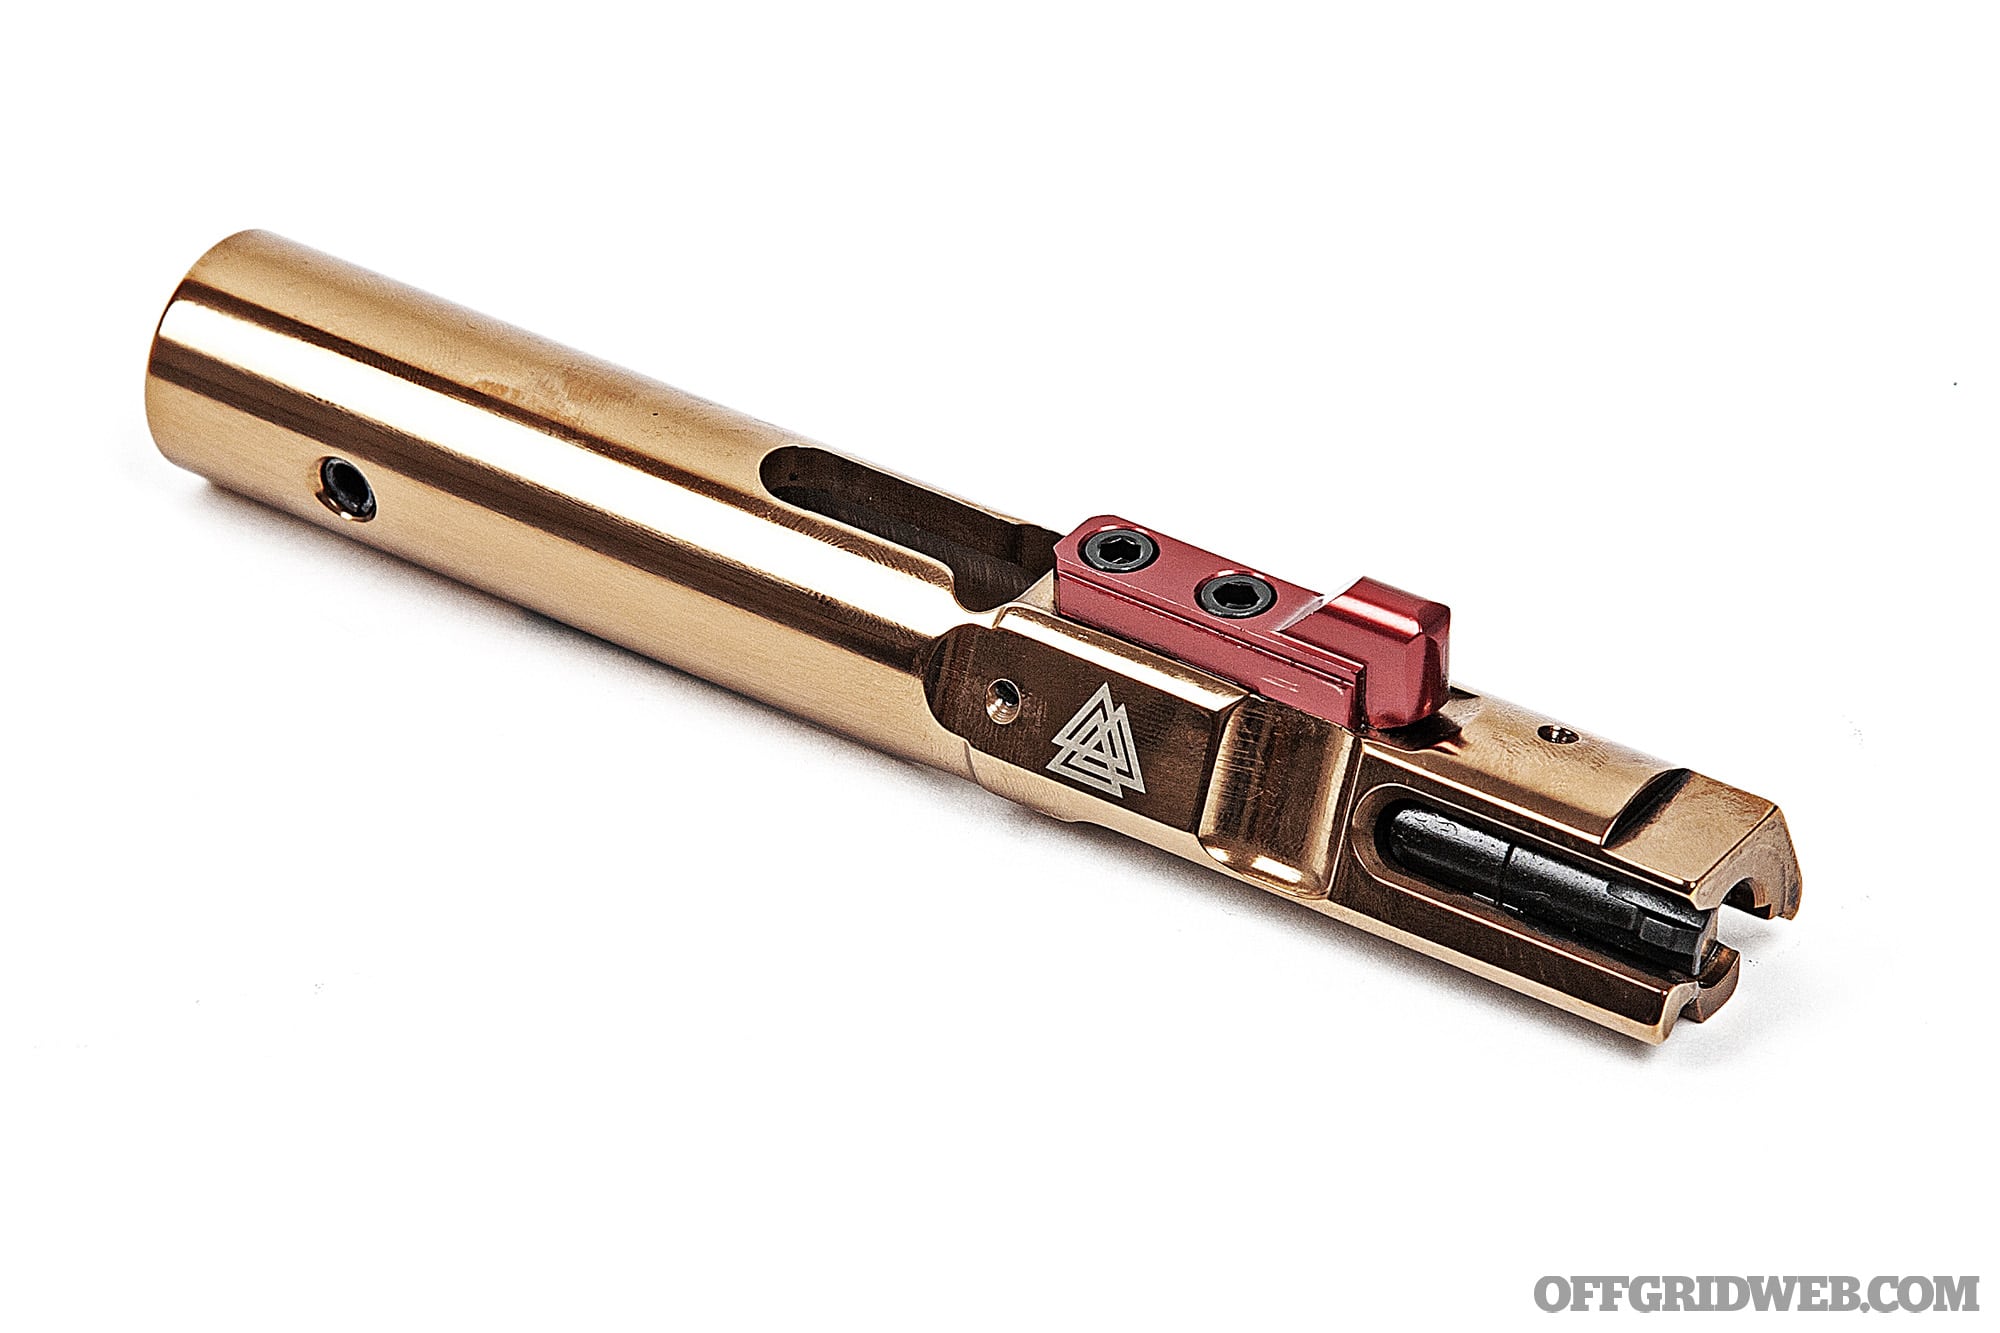
Above: It’s not hard to see why Iron City Rifleworks calls this BCG the RedMohawk. On this Copperhead edition, the carrier is finished in a high-gloss, copper-colored PVD coating.
We replaced the Mil-spec trigger with a RISE Armament Blitz drop-in unit, which features a 3-pound pull, crisp break, and fast reset. It uses springs rather than set screws for tension against the included anti-walk pins and is suitable for PCC applications (Aero Precision even sells it directly as an EPC upgrade). We also installed a Strike Industries 60-degree selector switch and more-upright 15-degree pistol grip on the lower.
Above: The RISE Armament Blitz trigger blade has a faint curvature and chamfered edges we found to be very comfortable. It’s also lightning-fast with a short reset.
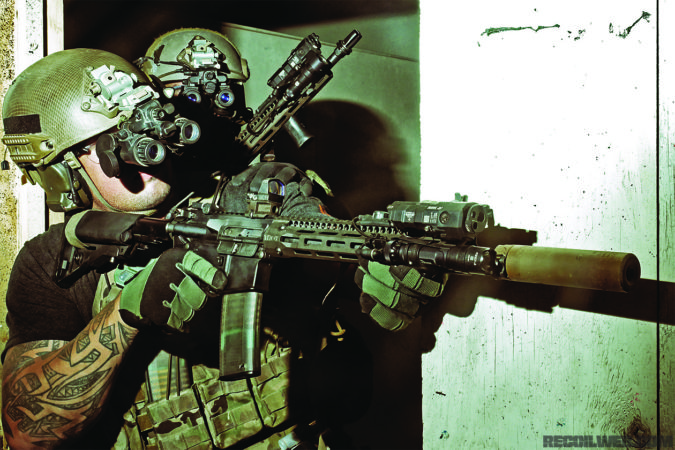
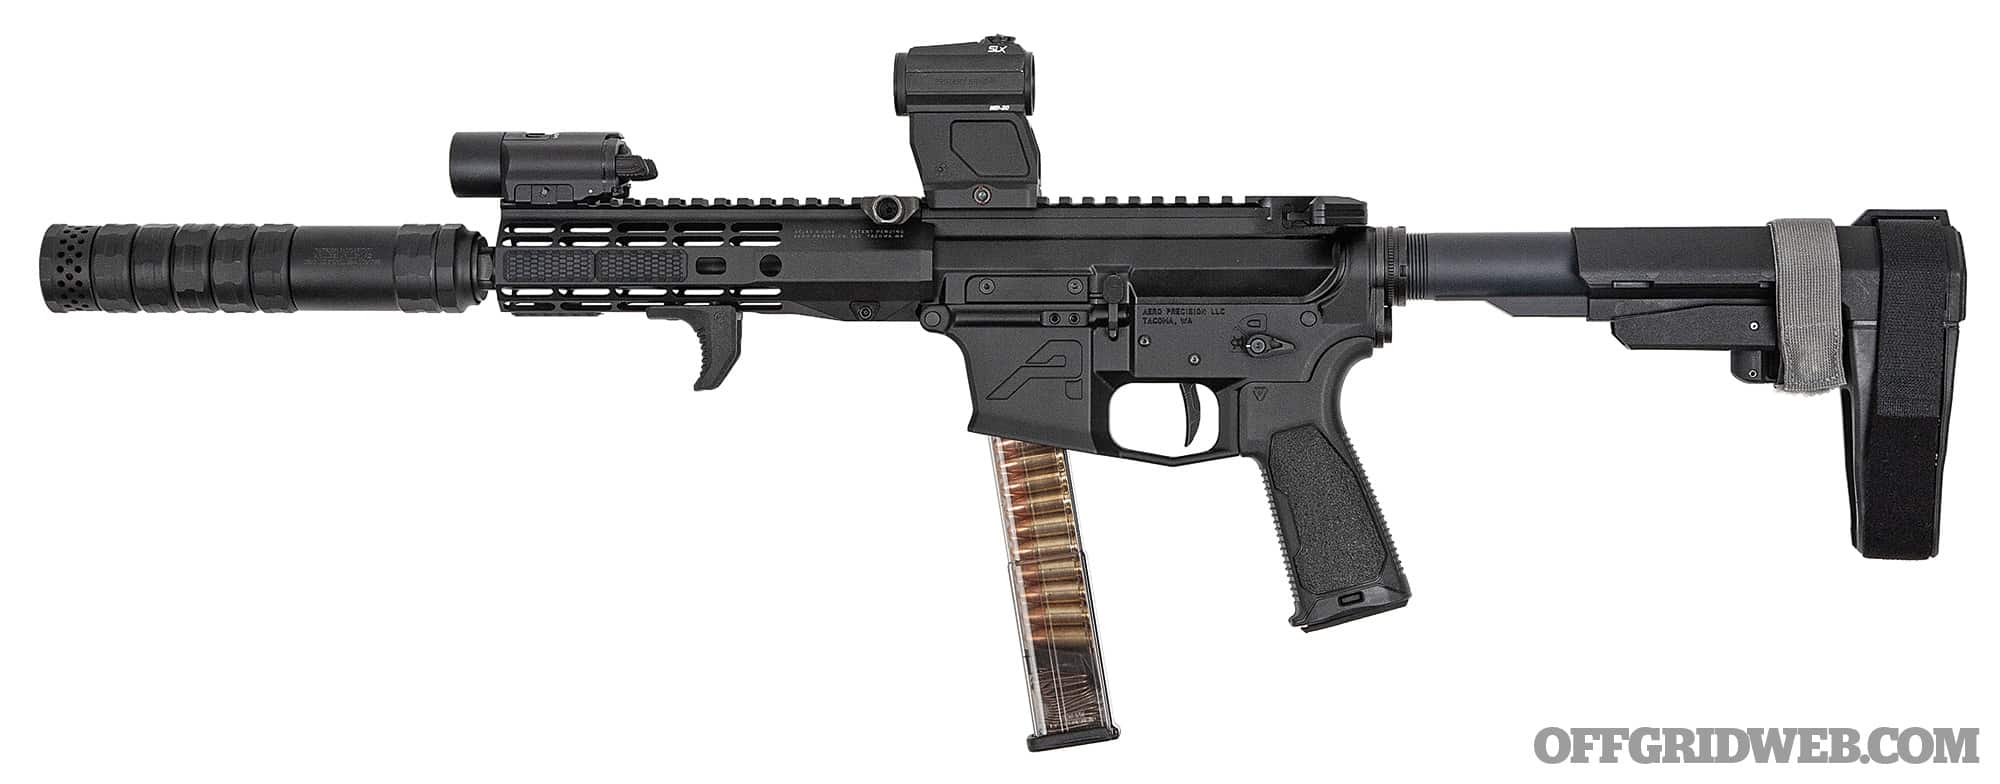
As for the upper, the handguard is clad in textured M-LOK rail covers from Strike Industries and a Magpul hand stop. We stuck with the optic setup and charging handle mentioned previously but added a compact Streamlight TLR-VIR II unit that toggles from a white light to an infrared laser and illuminator for shooting under night vision. It also features a prototype TLR-1 Paddle Shifter switch from Emissary Development. When we installed a sling loop into the built-in front QD socket, we noticed it interfered with a full grip around the handguard, so we opted to attach our Arbor Arms Dual-Adjust sling to the top rail via a Strike Industries Ambush sling mount. The other end of the sling is attached to a PWS Ratchet Lock end plate, which also eliminates the need to stake a castle nut after installing the A5 buffer tube.
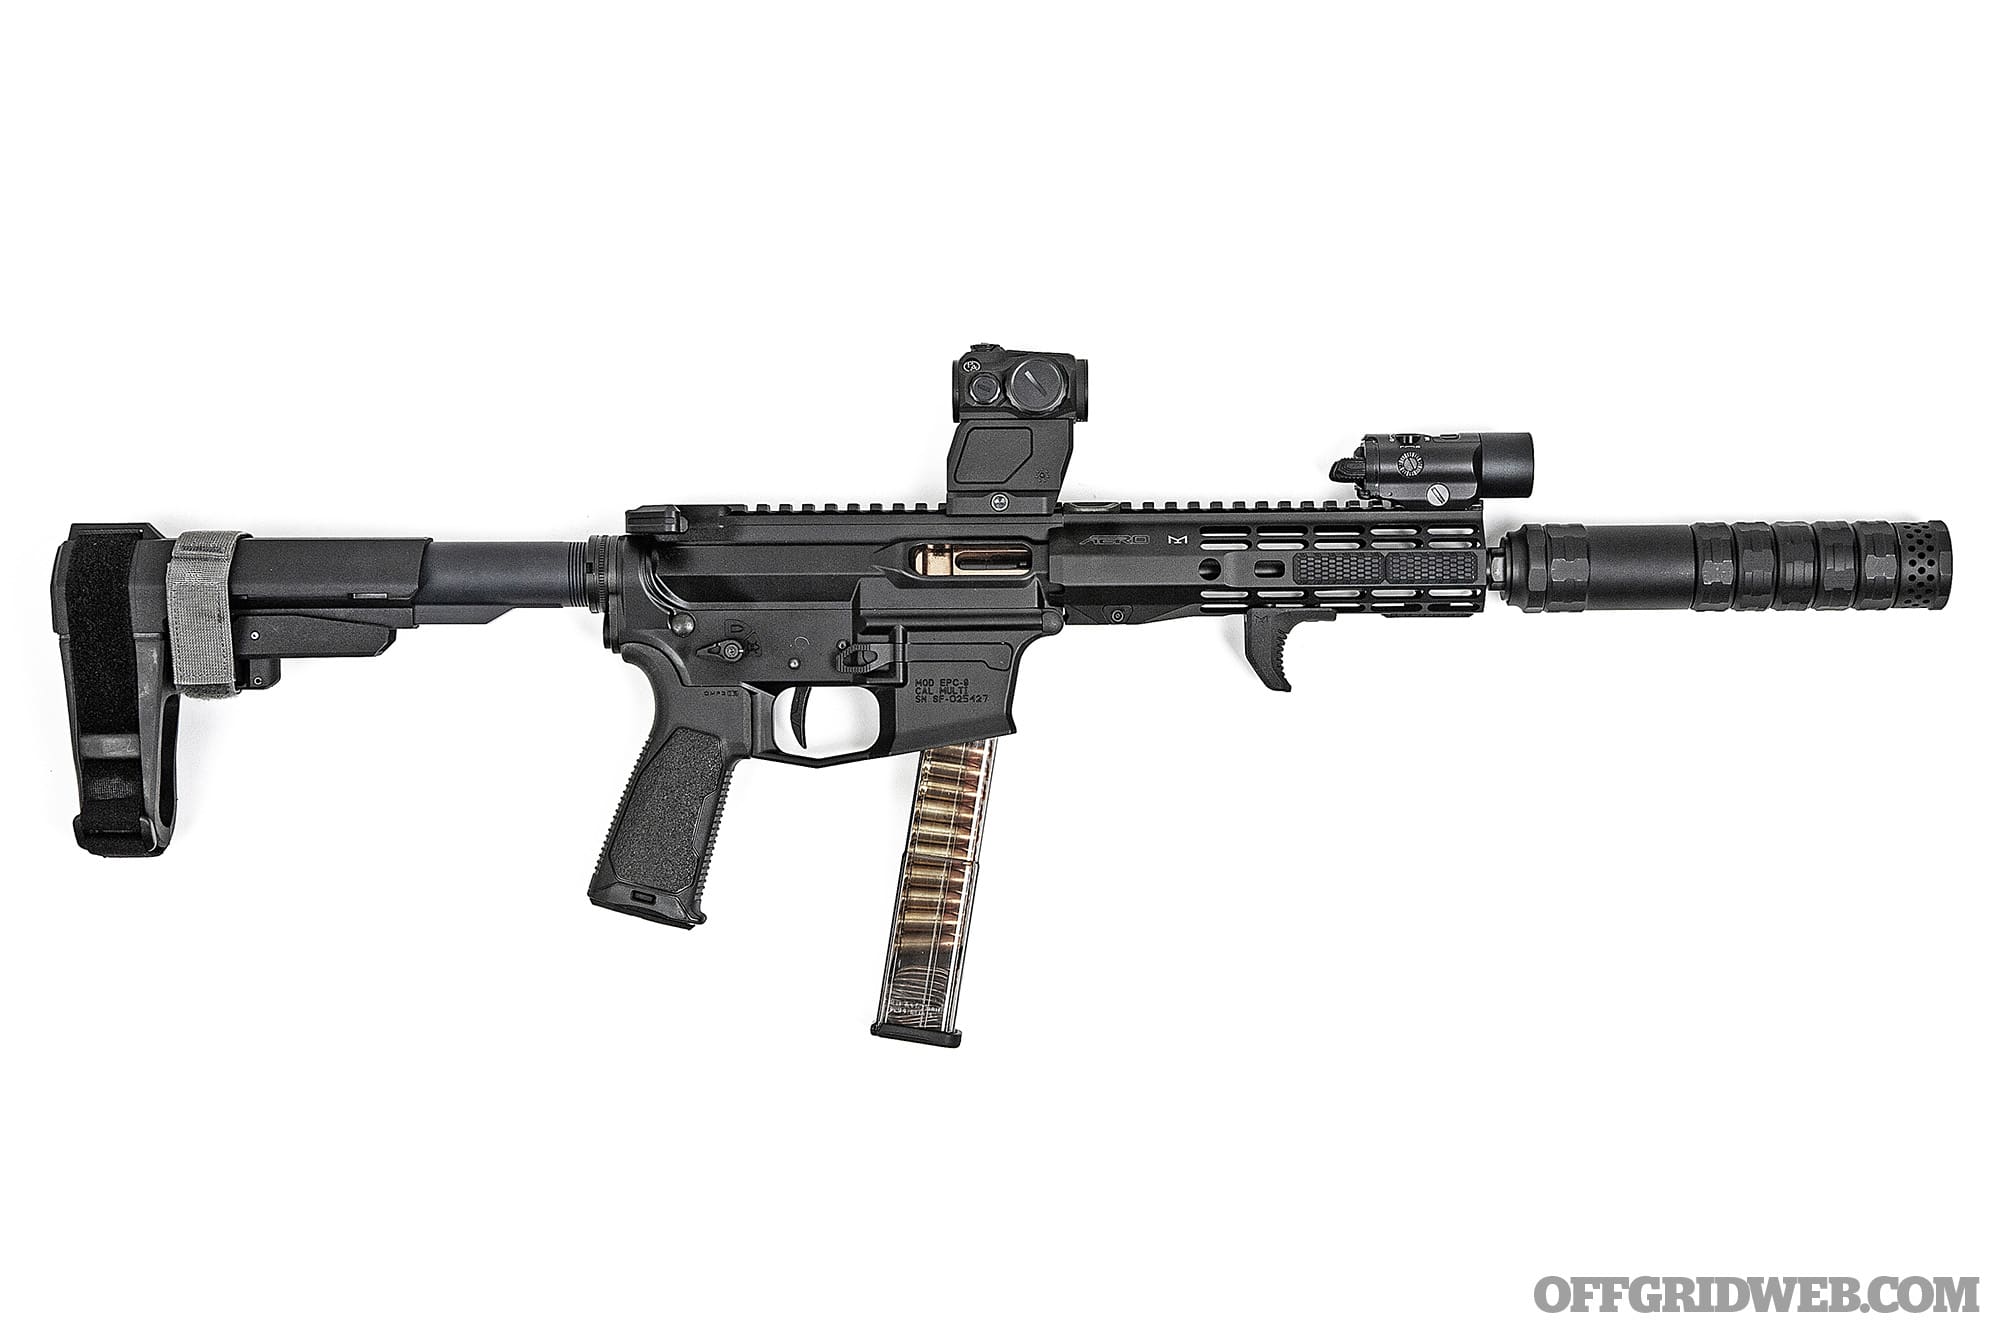
The final element of this build is a JK Armament suppressor built with five baffles and a “strainer” compensator endcap. It threads onto a War Eagle 9mm comp/flash hider, attached to the 1/2×28 threads on the Aero Precision barrel.
On the Range
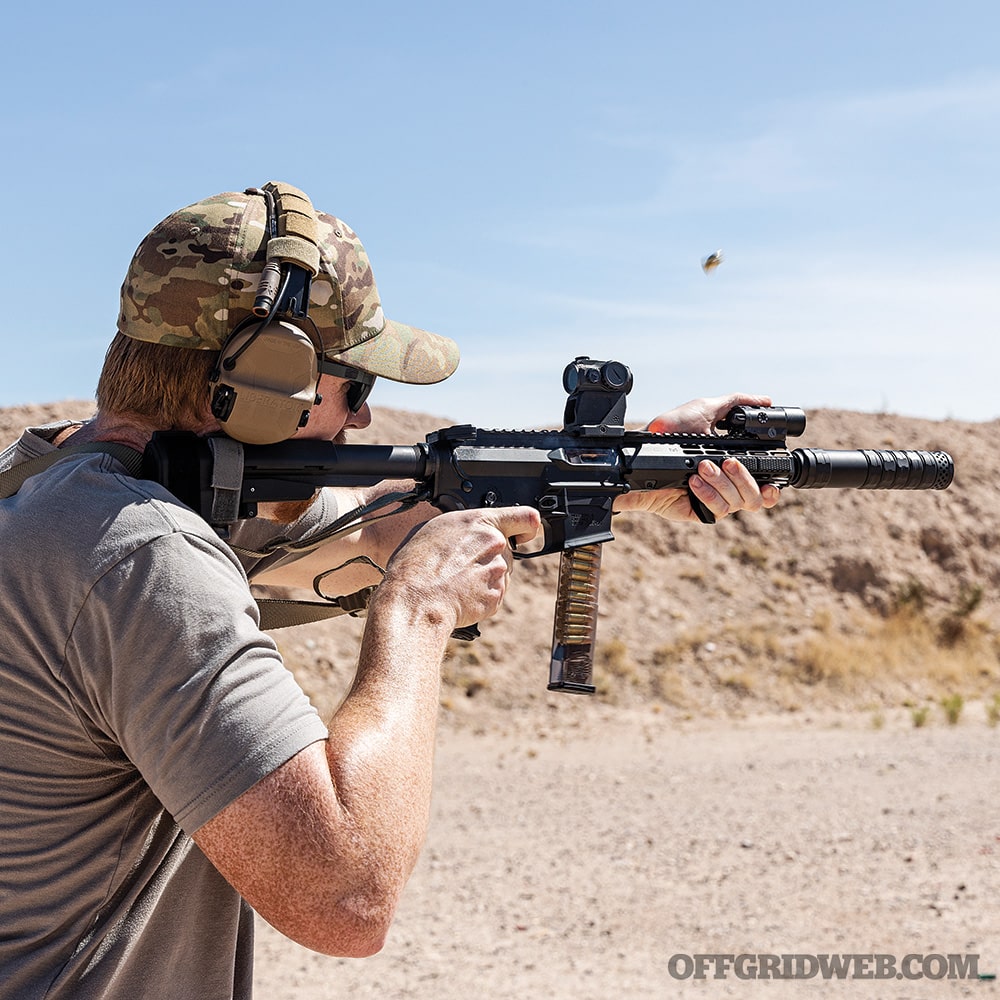
With all these parts installed, we returned to the range to check the results. The A5 buffer system provided a noticeable improvement to felt recoil, changing the impulse from an abrupt thwack to a softer push. Granted, this direct blowback recoil is still nowhere near the buttery smoothness of a gas-operated gun like a SIG MPX, and no amount of aftermarket parts is going to change that. However, it’s close enough to shoot quickly and comfortably. Plus, it maintains the familiar manual of arms and accessory compatibility of an AR-pattern firearm. The Blitz drop-in trigger is also quite good, with none of the slack and vagueness that’s present in many 9mm SMGs and PDWs. This is a big advantage of a 9mm AR — trigger options are plentiful, easy to install, and well-suited to semi-auto precision.
The reduced-angle pistol grip and handguard add-ons provide improved control, and of course, the suppressor makes shooting much more enjoyable all-around. With the suppressor removed, the War Eagle comp doesn’t make much difference in felt recoil — 9mm muzzle devices rarely do — but it dissipates muzzle flash and acts as a convenient mount for the suppressor. Combined with the tall optic mount and IR light/laser, this EPC-9 build is excellent for active or passive aiming under night vision as well.
Above: We previously used the EPC as a test bench for our review of the Phantom Hill Design CTF-1 infrared laser/illuminator.
Aero Precision EPC Build Sheet
Aero Precision EPC-9 Pistol Complete Lower with SBA3 Brace $430
Aero Precision EPC-9 8.3-inch Complete Upper with Atlas R-ONE 7.30-inch Handguard $415
Aero Precision BREACH Ambi Charging Handle $80
Iron City Rifleworks RedMohawk 3.0 Copperhead BCG $280
JK Armament War Eagle 9mm Comp and 155 Suppressor $962
RISE Armament Blitz Trigger $199
VLTOR Weapon Systems SP-PCC A5 Buffer Kit and RE-A5 Receiver Extension $127
Primary Weapons Systems Ratchet Lock Castle Nut and Endplate $40
Strike Industries AR Enhanced Pistol Grip, Flip Switch, Ambush Sling Mount, QD Sling Loops, and M-LOK Covers $153
Magpul M-LOK Hand Stop $25
Primary Arms SLx MD-20 Gen II Red Dot Sight $150
Arisaka Defense 1.93-inch Aimpoint Micro Mount $109
Streamlight TLR-VIR II $600
Arbor Arms Dual-Adjust Carbine Sling $60
Haley Strategic / NeoMag Sentry Strap $40
ETS Gen 2 32rd Glock Mag $22
As Shown $3,692
SOURCES
- Aero Precision aeroprecisionusa.com
- Arbor Arms arborarmsusa.com
- Arisaka Defense arisakadefense.com
- Emissary Development emissarydevelopment.com
- GunMag Warehouse gunmagwarehouse.com
- Haley Strategic haleystrategic.com
- Iron City Rifleworks ironcityrifleworks.com
- JK Armament jkarmament.com
- Magpul magpul.com
- Primary Arms primaryarms.com
- Primary Weapons Systems primaryweapons.com
- RISE Armament risearmament.com
- Streamlight streamlight.com
- Strike Industries strikeindustries.com
- VLTOR Weapon Systems vltor.com