In This Article
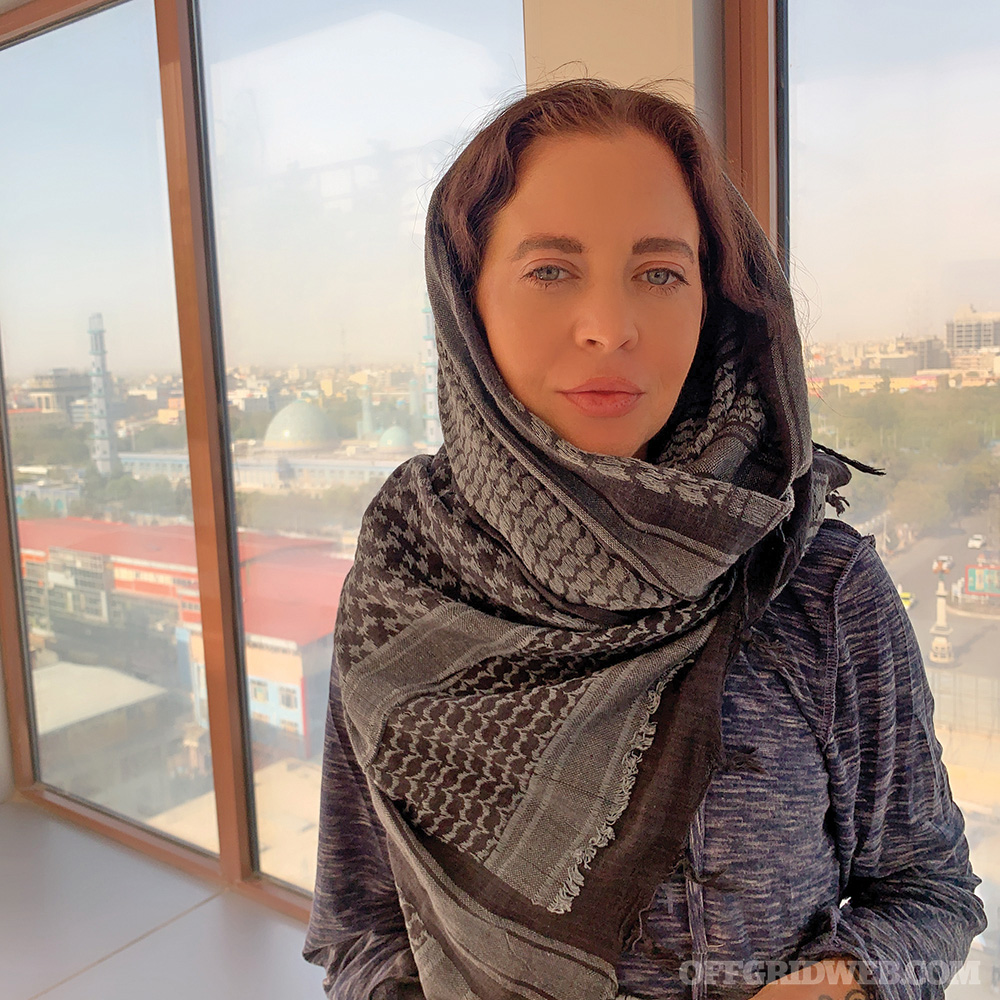
In the twilight of an Afghan summer, Mazar-e-Sharif brimmed with life and tenacity. On the surface, one could not have predicted that the city of half a million people and center of anti-Taliban resistance was surrounded by bloodshed and bombs, just days away from falling into the hands of a draconian insurgency led by mountain militiamen.
Observing the lives of the ordinary people, I wandered through the crowded streets and overcrowded bazaars. I sat beneath the chinar trees of the famed Blue Mosque — an oasis in the midst of chaos. I marveled at the men delicately reconstructing the sea-blue tiles of the ancient mosque. I photographed youthful faces dancing as they blended concoctions of ice cream and watched Indian soap operas in a basement kebab café as darkness fell.
Prologue
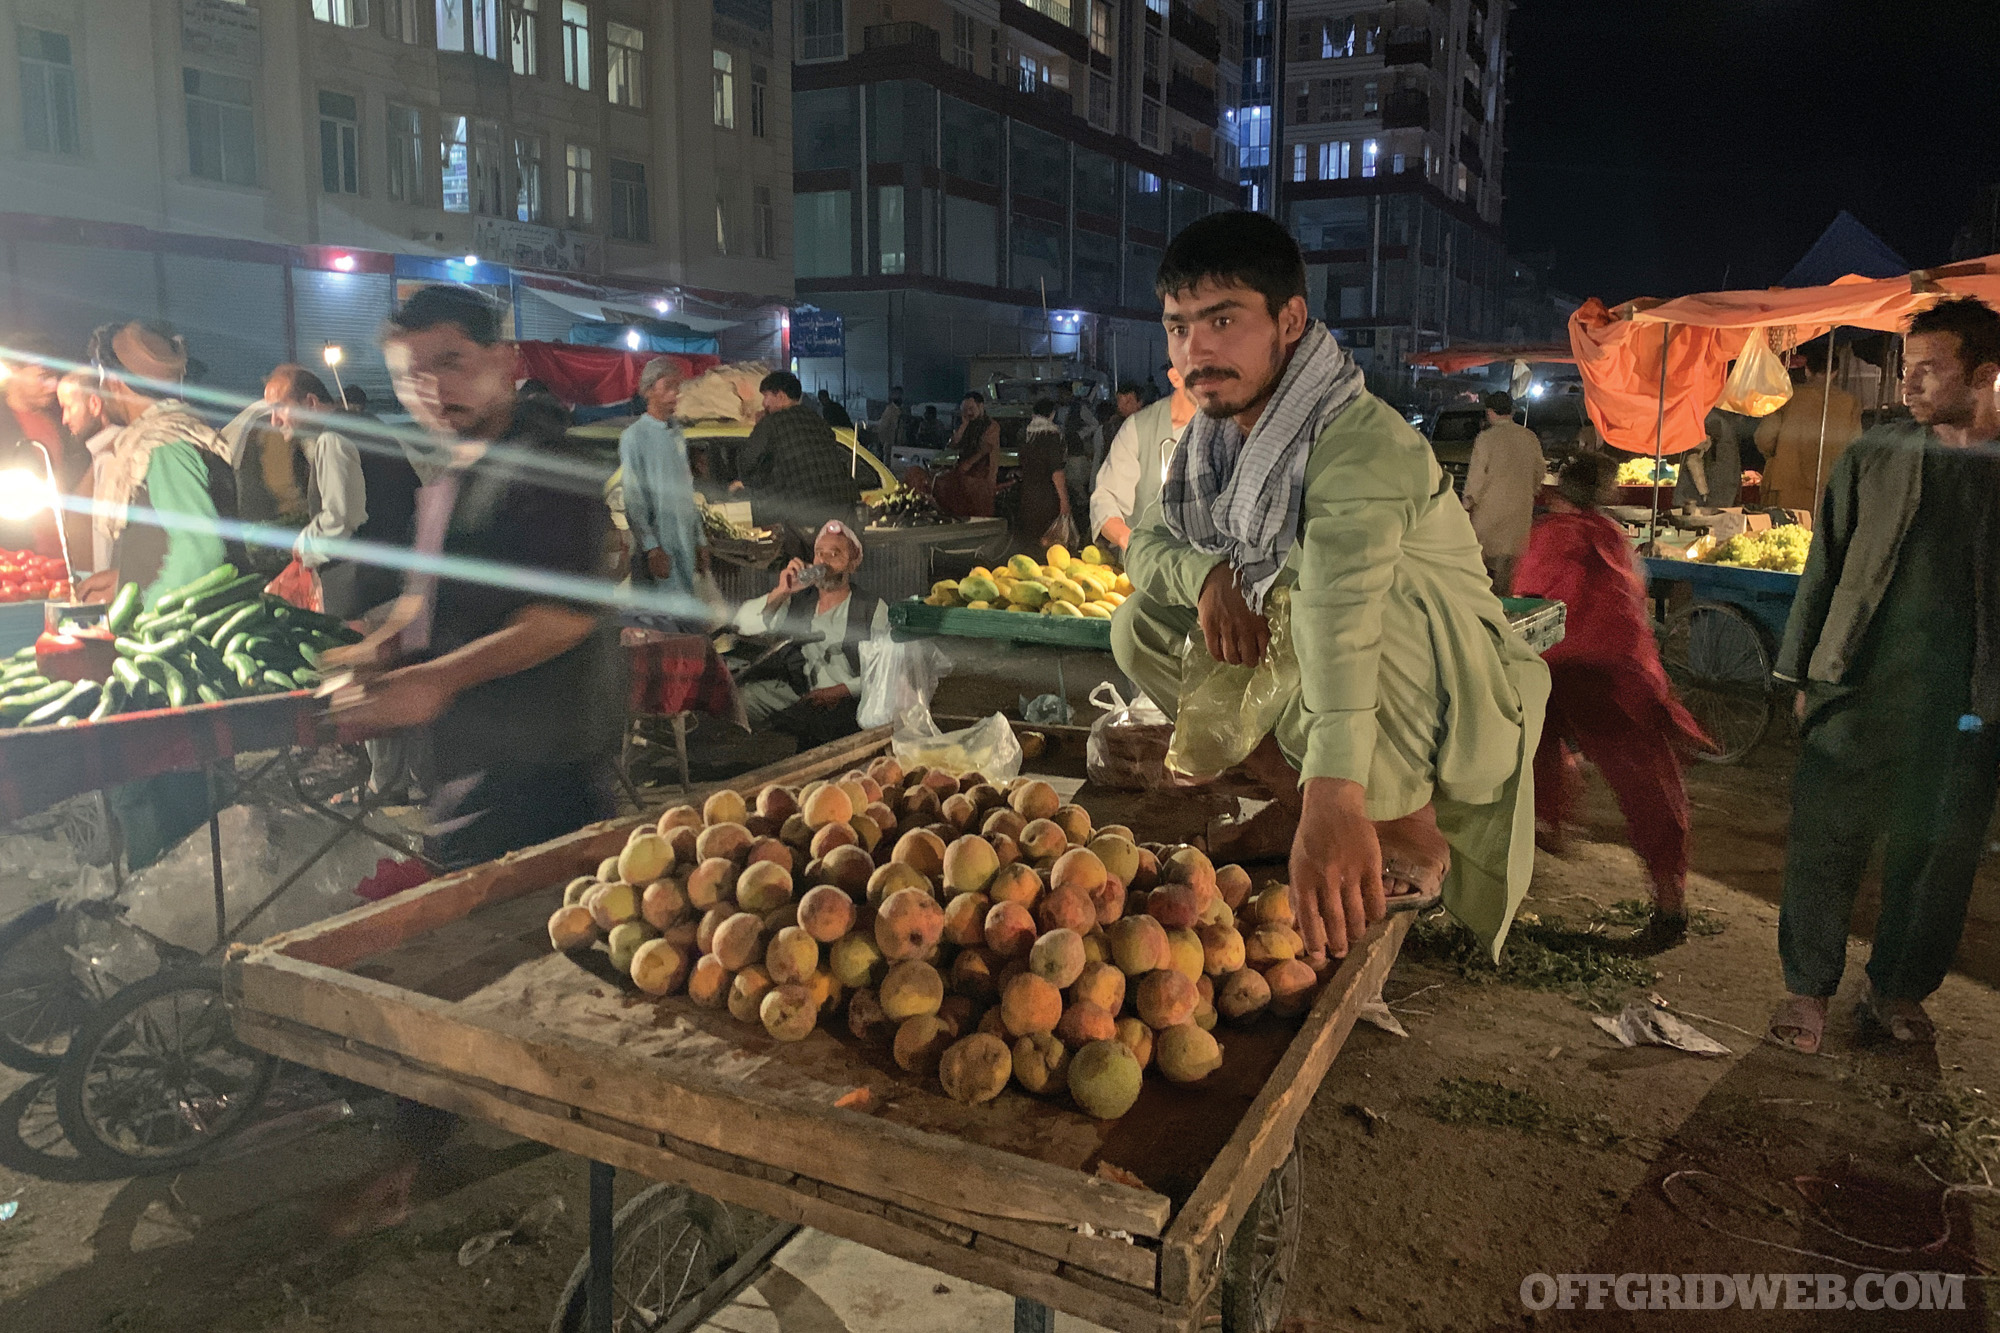
Above: Mazar street markets the night before the fall.
In the middle of August, my photographer Jake Simkin and I were on a flight from Kabul, some two weeks before the United States was due to abandon the skies of Afghanistan after almost two decades of war. The notorious and deeply controversial warlord — whom I had met more than two years earlier in his Ankara, Turkey, mansion — had returned to the Afghan battlefield to fight against the outfit he helped the U.S. usurp in the wake of September 11, 2001.
A few days earlier, I sipped tea and discussed strategy with his sharply dressed advisory team in their Kabul headquarters. Likewise, I took meticulous notes as I spoke with representatives of Ahmad Shah Massoud’s office and exchanged texts with allied commanders loyal to Atta Mohammad Noor and Ismail Khan.
Those who led the newly dubbed “public uprising forces” emphasized the universal message that we have the voluntary fighting force, the will, and the skill, but we don’t have the U.S.-backed central government’s air support and arsenal or the capabilities to repel the enemy once and for all.
The Last Stand
Two decades ago, it was precisely this mishmash of dedicated fighters — aided by an angry and determined USA — that brought the Taliban to its knees. It’s only this time, when the Taliban was winning momentum — storming villages, towns, and cities across the blood-spattered nation that week — that weapons and air support didn’t appear. Despite having sun-weathered crinkles on their baby faces, many of the Afghan soldiers refused to give up.
Above: A photo of the author reporting during the fall.
“We will not stop fighting; we will fight until the end,” Safidullah Mohammadi, a 27-year-old Afghan Special Forces commander, assured me from his eerily quiet base on Mazar’s fringes in the early hours of Saturday morning.
Safidullah promised me over and over that Mazar would never fall. They had sacrificed too many limbs and lives to ever surrender. A short distance from where those men were supposed to be fighting together with Dostum’s fighters, the “public uprising forces” were set to launch a hail of bullets that would send the Taliban tumbling back. However, there was no sound.
“My men have promised me that they will fight. We have to fight — we don’t have another choice,” Safidullah continued, lighting a cigarette and staring into a kind of misty gray nothingness. Although the commandos were the best of the best Afghanistan had to offer — the most trained and treasured — they were burned out to the core. The number of these soldiers was only about 4,000, but they carried the brunt of the bloody battle. I was most haunted by what Safidullah told me about the internal divisions within the regular ranks of the military.
“People are defecting to the Taliban. People want to be on the winning team,” Safidullah explained. “But this is the time we must stand together. This is something we can do — but we need air support.”
Jake and I stayed with the young man, who seemed to carry the weight of the world on his shoulders, as it seemed he wanted to hold on to what is Western and what he has grown to love, for just a little longer.
Premonitions
“Safi,” as we called him, promised to take us out onto the bitter frontlines with the first rays of morning light, when the fighting is usually at its fiercest. As it was already past 2 a.m., he promised to message me in just a few hours. The hope held out, but by morning prayers that Saturday morning, something sinister had crept into the blissful bubble of Mazar. For no apparent reason, I woke up with a pounding headache and a flood of tears. As my grandmother always told me, the body never lies. It knows things I don’t.
His call didn’t come. Despite my best efforts, my meeting with the tenacious commando — and Marshal Dostum — never happened.
“I want to get out from Mazar. The situation is not good. I wish to get out,” whispered Khalil, a shopkeeper who sells soft drinks and thin cigarettes from dusk to dawn each day. “I will go anywhere where there is peace and not war. The war here will continue, and people will be killed.”
He told me over and over that it was only a matter of time before the city he had spent 30 years in would crumble and the freedoms his countrymen fought for would be lost before him. Still, I couldn’t have imagined that such a moment was just several hours away.
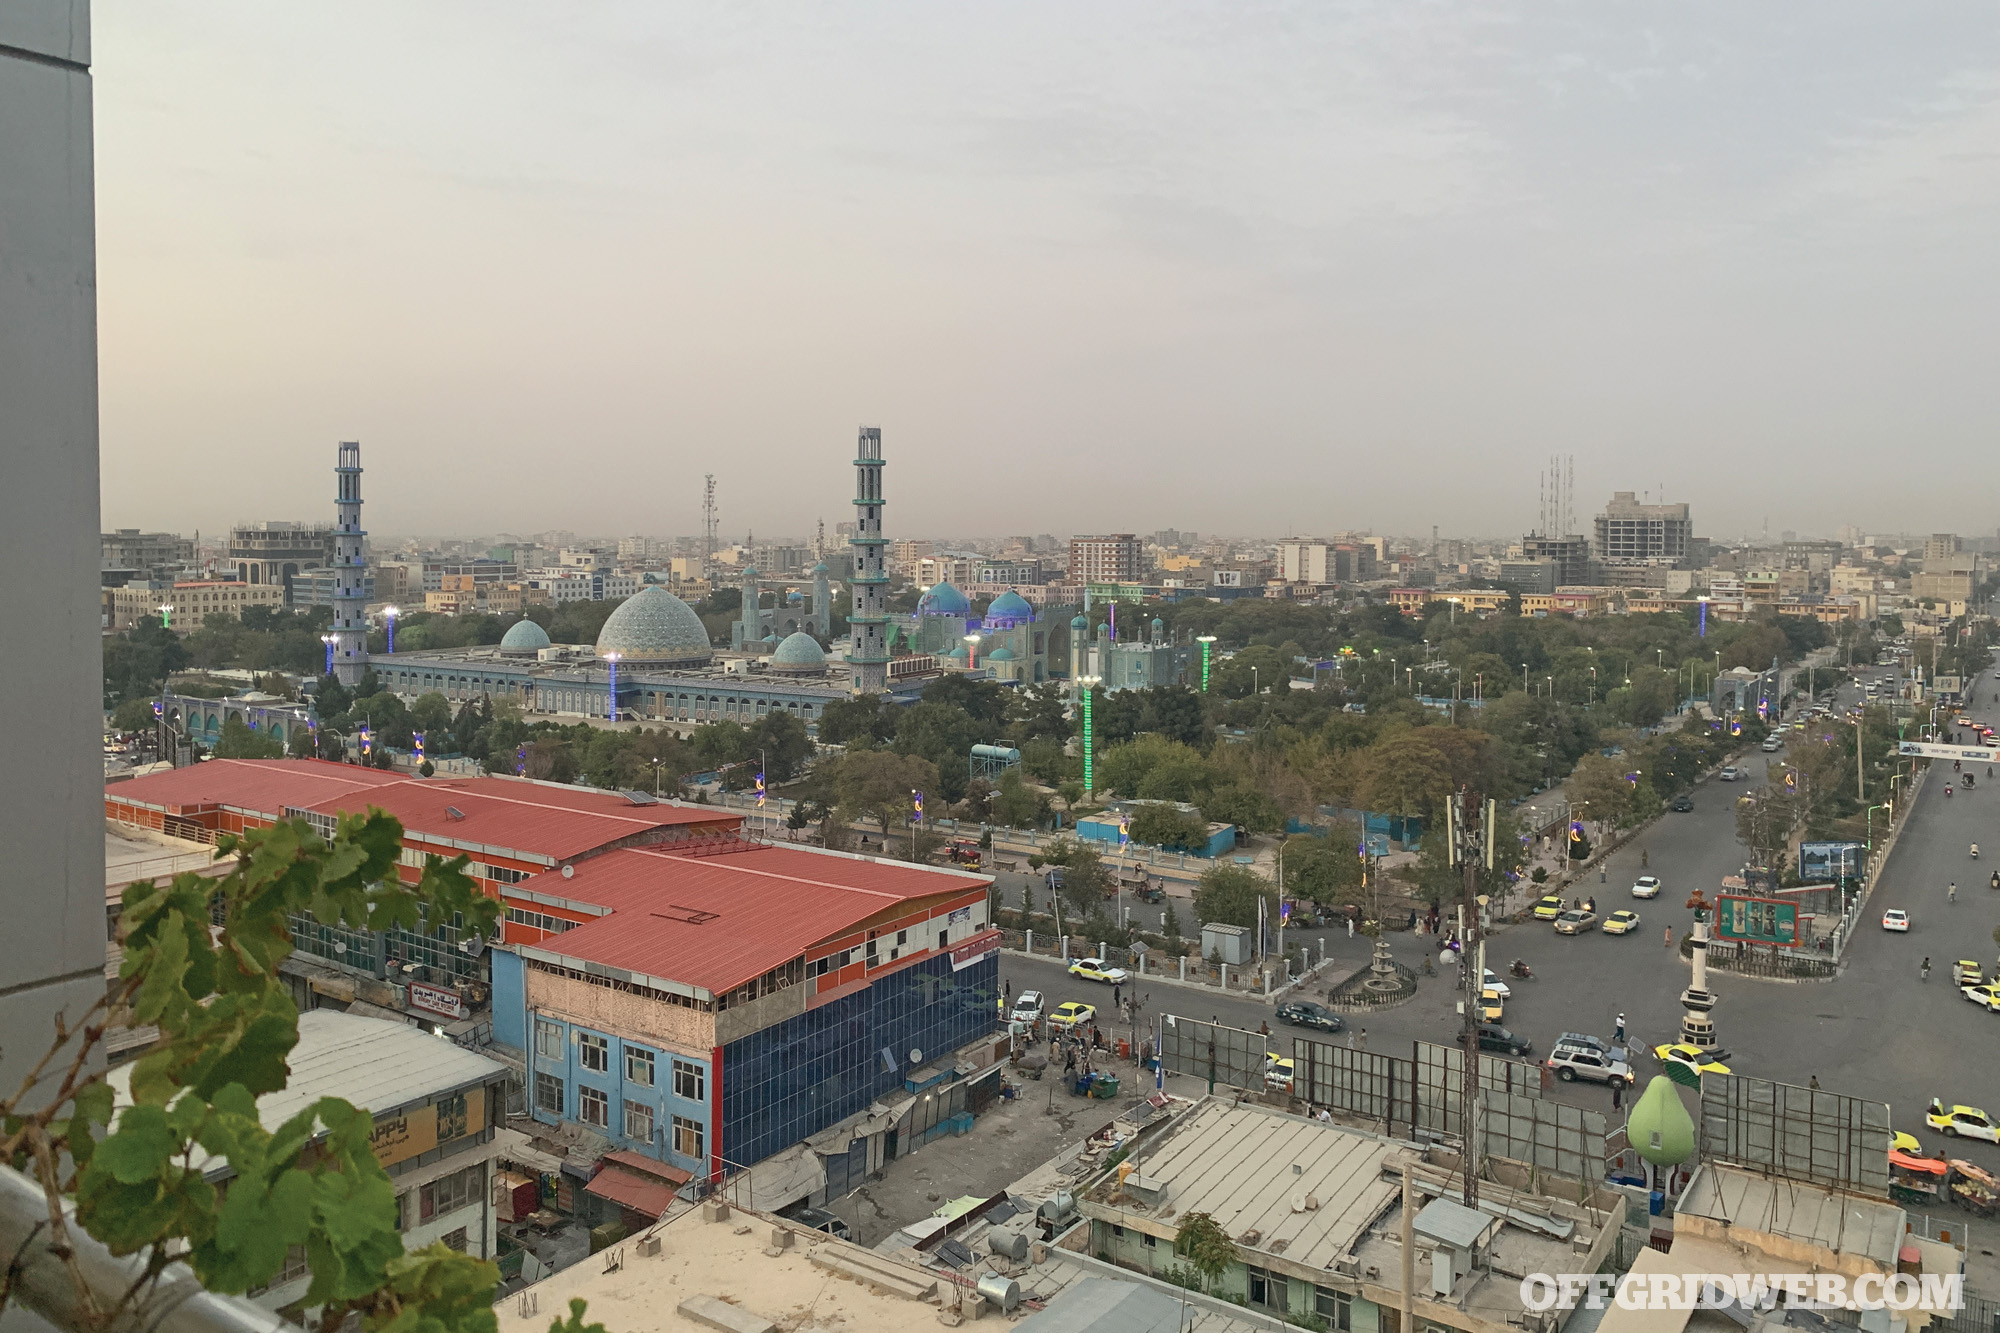
Above: Streets of Mazar from our hotel rooftop.
In a nearby market stall, Khalil’s friend Shamsula, 36, agrees that life here is simply “not good.”
“We were happy with America. But if the Taliban comes, we must go from Mazar,” a fellow shopkeeper, Shamsul said, his eyes wide with worry. “Only there is nowhere to go.”
Both Safidullah and Dostum’s representatives have suddenly stopped responding to my texts. I had no idea the battles near the ancient city’s edge were getting closer to me. Taliban officers were cutting deals for the Afghan Army senior ranks to run away, leaving the rank-and-file to either fight and die, or surrender their U.S.-issued weapons and flee for their dignity.
Afghan officials assured me that Mazar would hold for at least a few days more, if not a few weeks. The earliest flight back to Kabul was not for another two-and-half days, and each official assured me that it wouldn’t fall in that time.
As the hours stretched into the midday, a metaphorical gloom settled over the oddly empty city with mostly closed shops and little foot traffic. The only patches of life were outside of banks, where hundreds of people snaked around corners and waited to withdraw everything they had in hopes of fleeing to the apparent safety of Kabul.
It was as if locals knew what Kabul’s top intelligence officials didn’t and what the media hadn’t yet reported. I attempted to contact several translators to work with me that day, but they had all left.
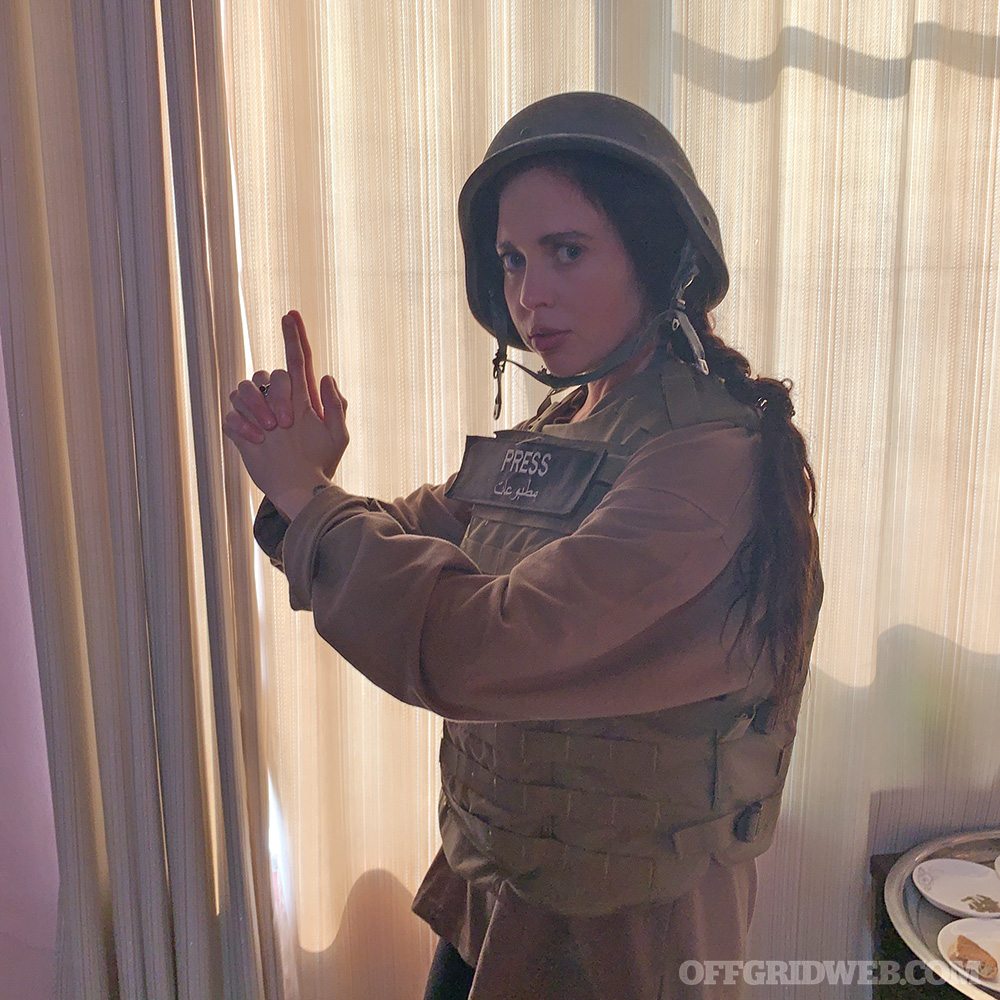
Above: Messing around with our press body armor to keep spirits up and pass time while confined in the hotel room.
“We Are Surrounded”
As the Taliban edged closer to the city, whimpering families fled their homes in surrounding villages on foot or inside tiny rickshaws. Hami, a friend of a friend, eventually came to meet my photographer Jake and me, and we hopped in a cab to interview families foraging in this area. Only nobody wanted to talk, their eyes weeping and their bodies slumping in disbelief.
We traversed the dusty main artery toward where the Afghan military line was supposed to be, but there were no checkpoints and no sign of the army American taxpayers had spent billions and trillions of dollars to train. As the skies became quiet, no air force appeared in the distance as backup, and no sirens rushed to save the war wounded. The cab driver, who had not yet spoken, suddenly slammed on the brakes. He was scared, he admitted. He didn’t want to go any further.
“The Taliban breached the first of the three front lines,” my interpreter Hami said to me energetically. “They are coming to Mazar. We are surrounded.” He was beaming strangely, as if to protect my nerves. Or his own.
That afternoon, I hid away writing in my hotel room, watching the pink skies fade to darkness, perhaps in a trance of denial. Maybe we all hoped Mazar — the hardened fighter’s stoic bulwark — would prevail.
Jake and I were both stunned by the black and ghostly city enveloping us when we stepped out for our ritualistic hookah and yogurt and kebabs early that night. The basement kebab café was open, but the Indian soap operas were turned off. We were the only guests.

Above: With Afghan commandos before Mazar fell.
Though neither of us could shake a sense of unease piercing the suffocating air, we talked aimlessly about stories, photos, publications, and memories. We talked aimlessly until the innate anxiety that prickles your skin and shivers your spine became too much to tolerate.
“Let’s go,” Jake eventually said, cutting me off mid-sentence. “It’s just that spidery sense …”
We hurried along the cracked pavements toward our quiet hotel poised on a dark street without light, pavements that most nights bustled with fruit sellers and musicians and observers. A handful of exhaust-spewing motorcycles ripped through. They felt different, carrying men who wore turbans like crowns with kohl-rimmed eyes and leathered cheeks who all appeared far from home. Gunshots bounced into the starless night.
We headed straight for the hotel’s top-floor entertainment room to observe the ebon world below. Several friends and associates messaged me asking if I was still in Mazar as news was trickling in that the city had fallen to the Taliban. Two minutes later, my phone flashed with a message that my commercial flight back to Kabul had been canceled.
In my decade-long career as a war reporter, having covered suicide bombings and massacres, dug up mass graves, and walked knowingly through minefields, I finally realized what Shamsula must have felt: There was nowhere to go.
“Please, Miss, move away from the window,” a tiny hotel staffer said in a trembling voice as gunfire cracked endlessly through the streets. “Mazar has fallen, and we don’t know what will happen.”
In disbelief, I wondered over and over again how my calculations of the situation could have been so wrong. I had no idea how the Taliban would react to foreigners, journalists, or women. It was unclear how we would escape the stifling building, or if the Taliban were going door-to-door to kill in the streets, as many press reports had suggested.
A Night of Celebration
As the night wore on, the roar of old motorcycles — the Taliban-like mode of entry — grew as celebratory gunfire gained momentum. Hundreds of fighters gathered in prayer and victory for their latest conquest as the Nasheed, a simple Islamic song with only vocals, was chanted through the speakers.
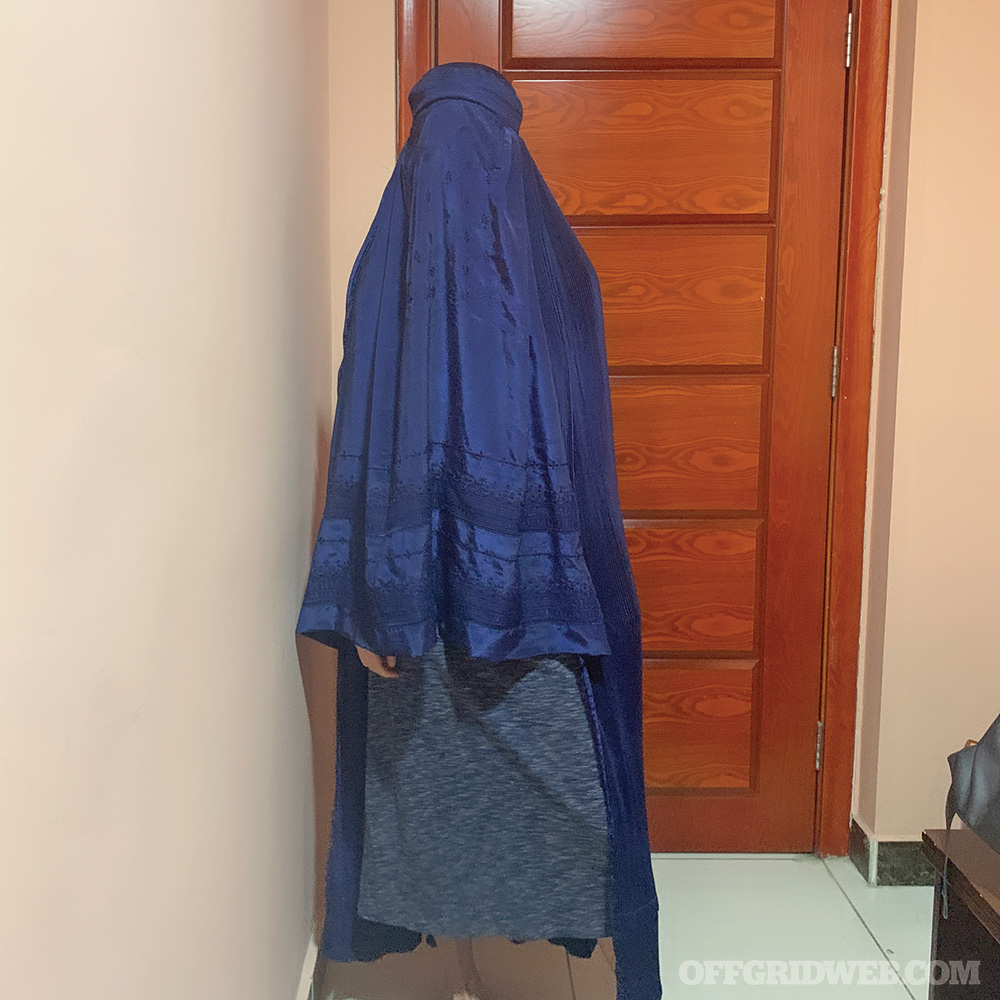
Above: Buying a burka in the days after Mazar fell to the Taliban.
Our floor had a blast-proof door, which we immediately locked, giving me the sense of security I needed. I texted friends who were in military or rescue and recovery missions as I knelt on the floor in Jake’s room, not wanting to be alone amid all the uncertainty. Eventually, a member of the U.S. military in Kabul called to say they’d try to send an extraction team at first light. Jake and I spent hours taking rooftop measurements, sending coordinates and the infamous “proof-of-life” photos. It made sense to me that the longer we waited, the more difficult it would be to escape safely.
To get us through the restless night, the sweet hotel workers brought us tea and trays of nuts and sweets. My family in Australia began sending me frantic messages.
The guards said they convinced the Taliban the place was empty. Every time they returned, there were more of them. How long could the guards keep them out? “Are you still in Mazar? We have heard it has just fallen,” my panicked father wrote. “I’m fine,” I wrote back quickly. “I’m close but in a safe spot,” I lied. I knew my fib could only last so long, but at that moment, I needed to remain calm and level-headed as I unraveled the delicate process of getting out.
Sunrise
The muezzin mourned through the mosque speakers, signaling the first call to prayer. As the sun rose over the quiet streets, climbing high into the Sunday sky, my heart sank as I realized it would be too late for a rooftop departure once the Taliban had woken up. The vibrant city of color had been plunged into something akin to a prehistoric era overnight.
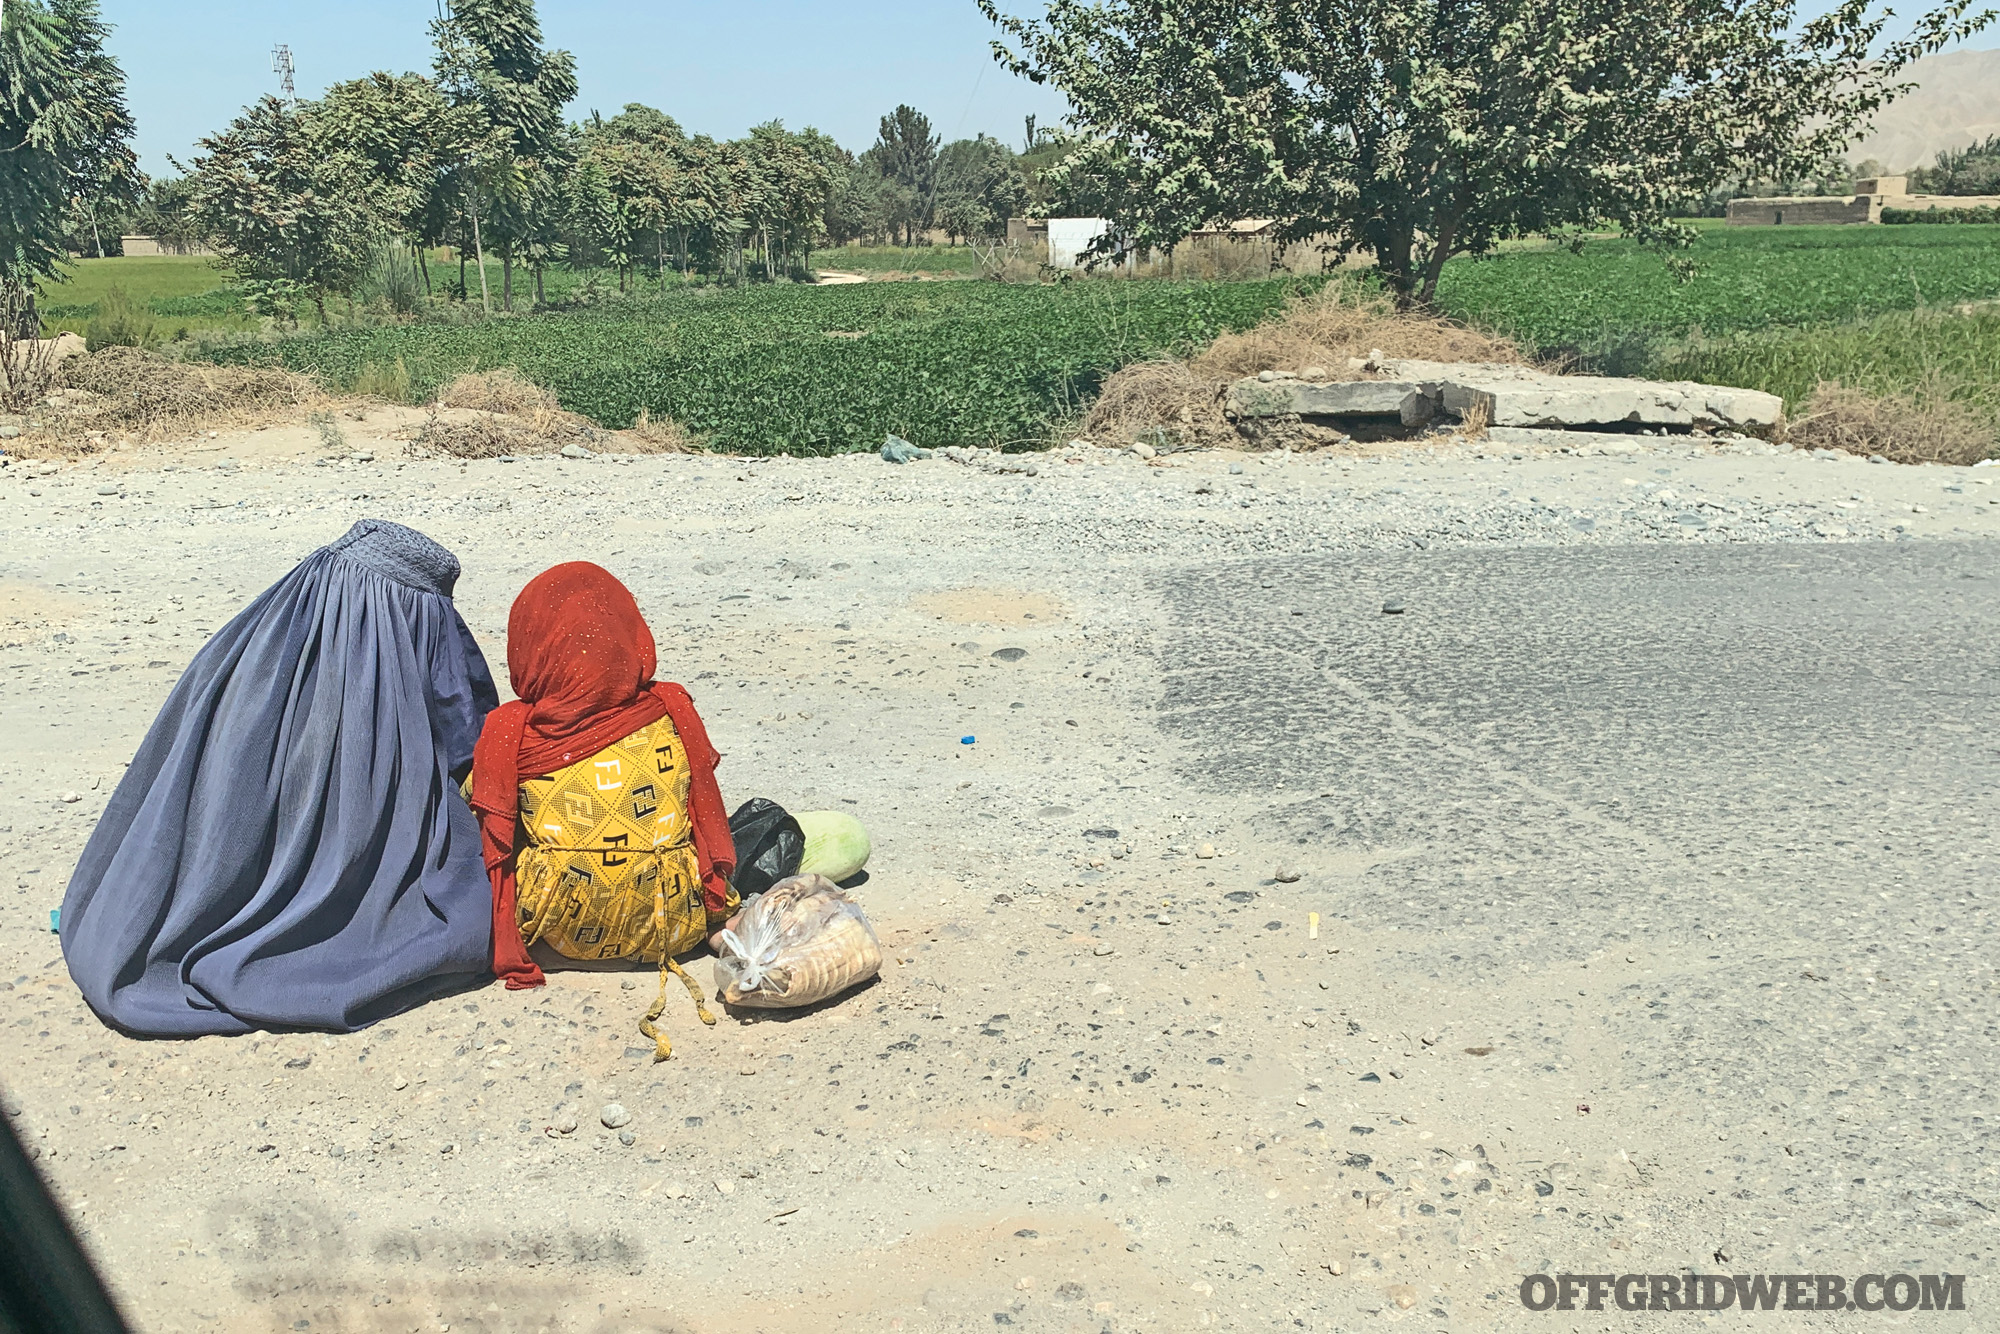
Only a few people lingered in the streets below, and it would take days to spot a burka. When I did, the layers of undulating blue trotted subserviently behind two males. The shops were shuttered, and the speakers in town broadcast messages in Pashto. It appeared to be something of a medieval movie set. There are a few faces pushing carts down the open roads, mostly Taliban fighters with long flowing hair and always armed patrolling on foot.
Above: Taking proof-of-life photographs for USG in Kabul.
Despite the fact that there were no signs that the former insurgents were hunting door-to-door, the guards outside threw away their weapons and took off their camouflaged security uniforms after telling us the Taliban had tried to break in multiple times through the night. The guards said they convinced them the place was empty. Every time they returned, there were more of them. How long could the guards keep them out? My heart plummets to my feet as I read that the insurgents are at the gates of Kabul.
Late that morning, reports flashed across my screen that the Talibs — officially deemed the Islamic Emirate of Afghanistan — had reached the gates of Kabul, the Afghanistan capital 300 miles away. Within hours, Ashraf Ghani fled and the insurgency swept through the entire 38-million-person country.
Jake and I both knew resources would be needed elsewhere as a nightmare unfolded inside Kabul’s Hamid Karzai International Airport (HKIA). I reached out to a few friends with backgrounds in international security and rescue missions for advice. Within hours, my information was passed on within WhatsApp groups. The phone is constantly ringing with people offering advice and asking for passport copies and geographical locations. However well-intentioned they may be, I quickly realize that most of the strangers calling me have little current knowledge of Afghanistan and can do little to help.
In a time when many Americans, especially those who served in the bloodstained country, felt frustrated and helpless, their desire to play a positive role was not lost on me. Nevertheless, Jake and I had some serious work to do. Much talk had been followed by little action. I’m not one to put my fate solely in the hands of others. Being a war correspondent teaches you one thing: You have to take responsibility for your own stories, your logistics, and your schedule, and nobody can save you from the firestorm but you. I had reached a tipping point, and enough was enough.
An Uncomfortable Choice
“I think the only way out is to talk to the Taliban,” I told my State Department point-of-contact in Kabul. To my surprise, he did not argue and suggested the issue could potentially be discussed during the ongoing Doha talks, where the U.S. and Taliban brokered a “peace deal” months earlier.
However, I heard nothing more about it, and several days passed. Jake and I remained in touch with U.S. officials, one of whom warned we could be trapped in Mazar for weeks. We sent more measurements and more information. I tied red scarves to the windows as a visual alert so drones would know we were alive.
Above: Escorted to Uzbekistan consulate by Taliban elders who picked us up from our hotel.
Food began to run out in the kitchen, and Taliban gathered on the unswept streets outside. The talk of rescue dwindled. “The only way out is to talk to the Taliban,” I assert once again, this time to Jake, who agreed. “Or we hire a driver and take the risk of driving 12 hours back to the capital.” Both strategies, however, had wrinkles.
First, while Jake had a limited grasp of Dari, the Persian dialect spoken by most Afghans, its usefulness dissipated given that the Taliban — a primarily Pashtun movement — almost exclusively speaks Pashtun. Second, we had very little money. My credit card stopped working, and Jake had left his wallet at our base home in Kabul. Third, all the fixers (intermediaries journalists use to interpret and set up meetings while working in a foreign country) had fled to Kabul or gone into hiding.
“The Taliban are Going to Take You”
One Afghan friend, who lives in Southern California, called me and offered to drive us to Kabul for $200, which we could pay when we got back. In the midst of packing our belongings and “press” marked body armor back into the suitcases, I received a phone call from an unknown number. A soft voice on the other end identified themselves as an assistant to a Mazar businessman. Jake and I were told to be ready in the lobby in less than an hour, as they were taking us to the Uzbekistan consulate, one of the few still functioning in this devastated city.
Confusion engulfed me. Where did this person come from, and why did they have so much information about me? “The Taliban are going to take you,” he said heartily. Perplexed, Jake and I dragged our belongings to the lobby. My anxiety was eased when I received a message from a U.S. diplomat in a neighboring country to verify the caller and that Uzbekistan had agreed to open their border so that Jake and myself could enter. It all transpired at dizzying speed.
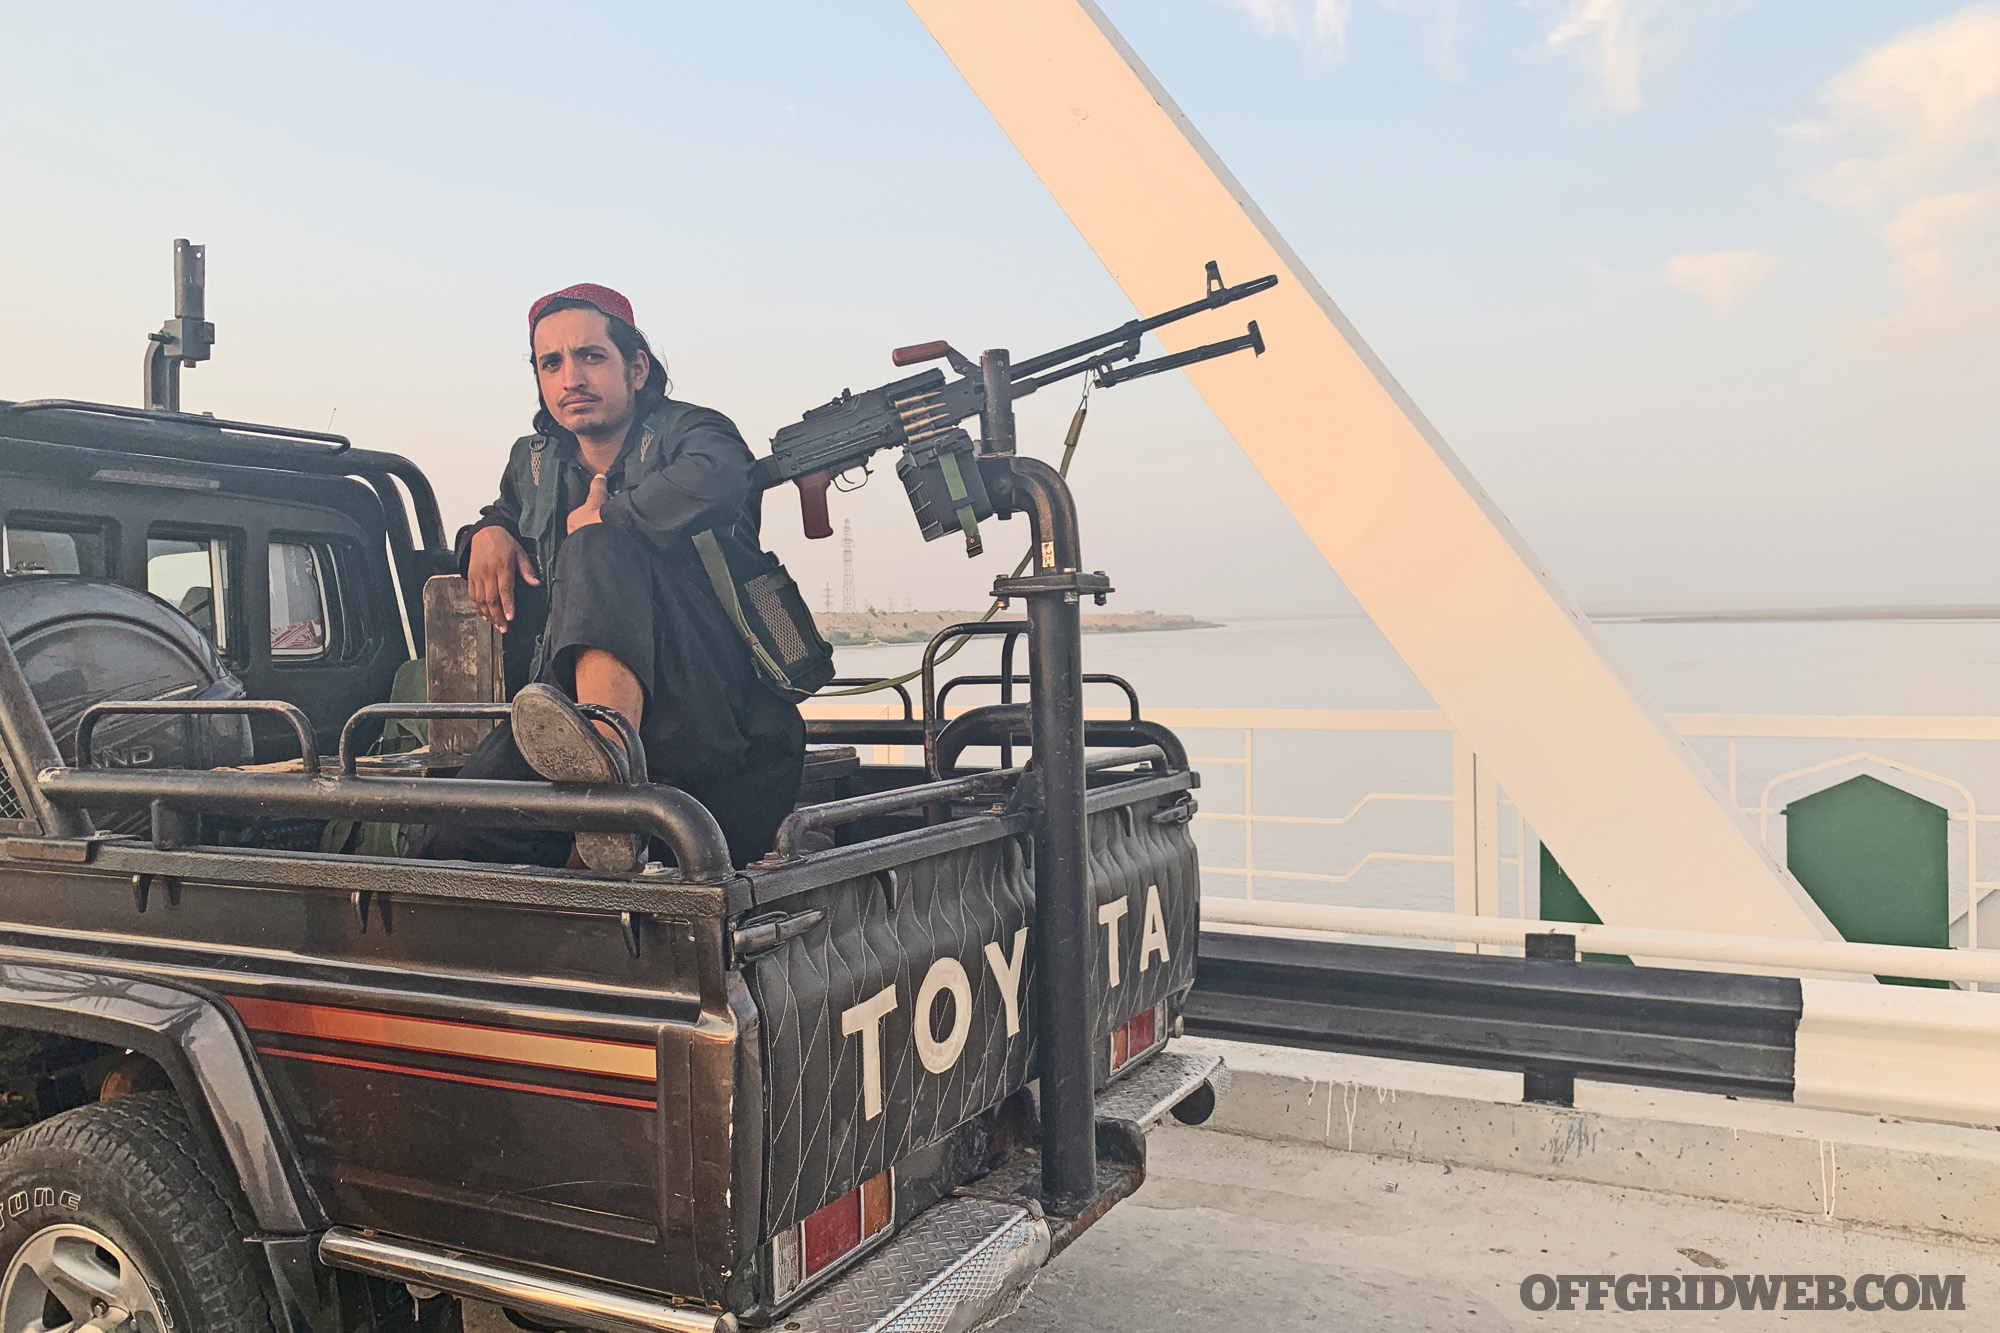
Above: Escorted to “Friendship Bridge” that borders Afghanistan and Uzbekistan by young Taliban fighters.
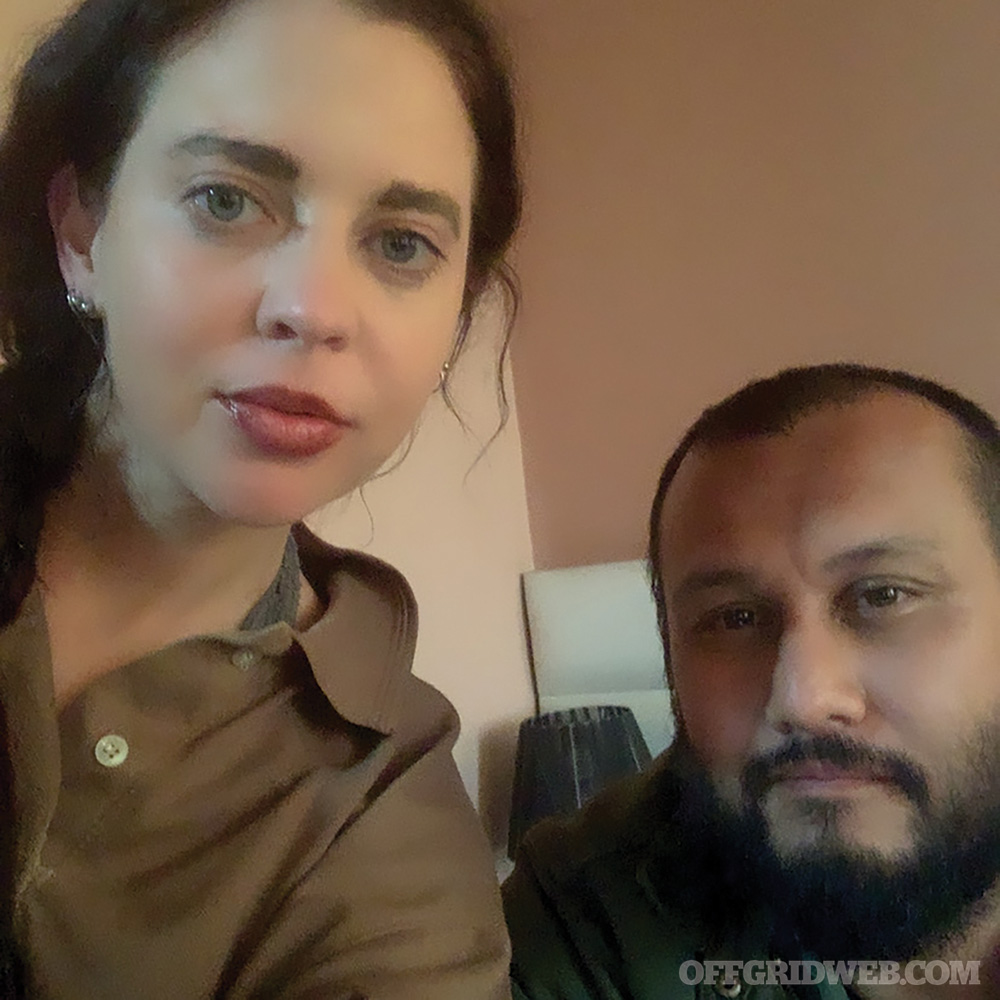
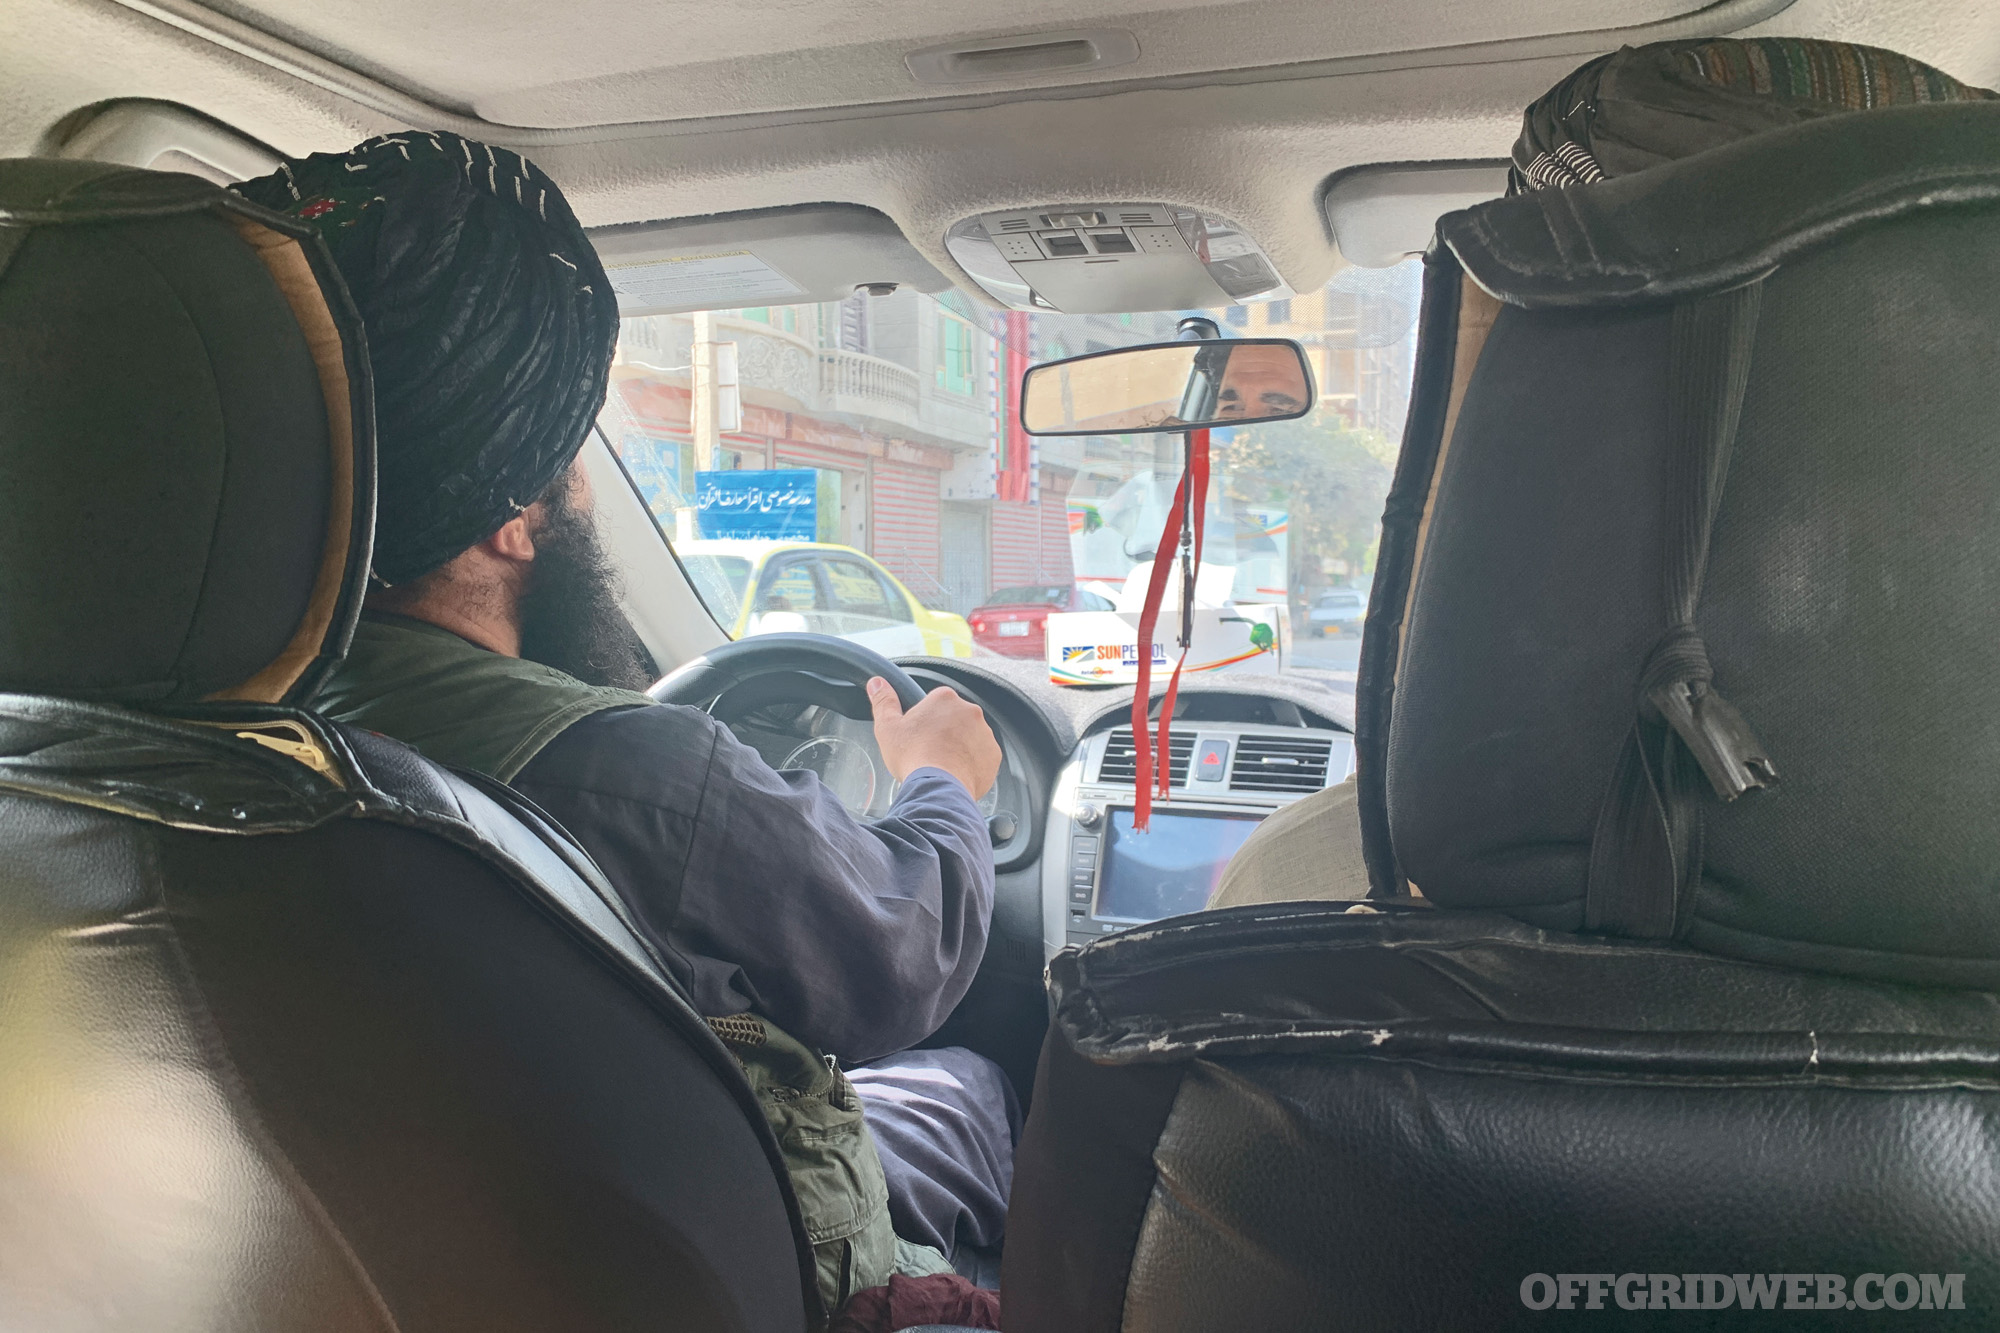
Two Taliban elders arrived at the underground basement of our hotel. With a deep breath and a silent prayer to no one in particular, we climbed into the back of an old Toyota Corolla. “Welcome,” a man with shallow wrinkles and a long gray-speckled beard says with seemingly genuine enthusiasm. “We welcome you to our country.”
Jake and I were upfront about our roles as journalists, and I asked for permission to conduct an on-the-record interview. In a quest to paint the picture of a country at peace under the guise of a reformed Islamic government, the Taliban top brass appeared to be putting their best foot forward. “You are welcome to stay as long as you like,” the driver conjectured.
The two elders cheerfully answered my questions about their interpretation of Islamic Law as we weaved our way through the streets of the sand-blown city. “If you steal, you should have your hand chopped off,” the Taliban driver chorused nonchalantly. “If you murder, you will be hung. If you cheat, you will be stoned.”
Saying Goodbye
We were dropped off by the Taliban at the Uzbekistan consulate, where we waited patiently for a few more hours, unsure as to what exactly was happening. Later that afternoon, we are summoned into consulate vehicles. As we head to the Uzbekistan border, a small truck crowded with young Taliban fighters escorts us past abandoned U.S. Humvees, wielding weapons while taking selfies. They attempt to appear menacing with their small beards and roughened expressions, but they strike me as something akin to terrible Hollywood extras, too thin and far from home.
I turned back to take in the beautiful, bleeding Afghanistan. “I’m not ready to say goodbye,” I told Jake tearfully. It had been five days since the Taliban takeover, and the writer inside me burned with curiosity, with guilt, with the need to know more. Begrudgingly, we cross the border into Uzbekistan — a world removed from his embattled neighbor.
“You war reporters,” one U.S. military contractor states over dinner in Tashkent, Uzbekistan, “you are a different breed.”
Above: Returning to Afghanistan on a long road trip back to Kabul.
Indeed, there is something profoundly twisted about plotting to get back into a place where everybody who lives there is trying breathlessly to escape. For days, Jake and I sit listlessly in the comfort of bordering Uzbekistan and Tajikistan. Then, as the last American evacuation flight flew over Kabul skies, we repacked our small suitcases and returned. Just because the West leaves a troubled nation behind doesn’t mean that we war correspondents must do so too.
An Ongoing Catastrophe
Over the next three months, I traveled to almost every province of Afghanistan — a luxury not previously afforded to most Afghans and foreigners alike, given that the Taliban insurgent controlled nearly every major land artery. I sat with devastated Afghans, desperate to escape. I sat with the poor, the rundown, those too tired and too apolitical to care about anything but surviving another day.
I also sat with America’s long-standing enemies — the Taliban and even ISIS-K — trying to piece together why they do the evils they do. We can turn a blind eye and paint the other side of a war as one-dimensional beings, but if we don’t understand all sides of a war, it will never end.

Above: With Taliban on Friendship Bridge.
It is too simplistic to say that the Taliban has not changed since its first terrifying reign from 1996 until 2001, when U.S. forces usurped them after the September 11 attacks. However, social media and the desire to be “recognized” by the international community have meant that they have so far withheld the harshest Sharia punishments, have not yet deployed military police, and have not enforced the burka on the street. The truth is, we don’t know whether this will be implemented in the near future.
Yet what pained me the most throughout these months was how frighteningly fast the economy crashed, and a humanitarian catastrophe unfurled. On that sultry Sunday afternoon of August 15, 2021, when the Taliban seized power, Washington immediately froze $9.4 billion in assets, and the World Bank and International Monetary Fund (IMF) followed suit. A new, but equally brutal, war is now raging in the nation.
“There is no medicine. There is no food. There is no salary,” Dr. Noorulhaq Yousufzai, associate professor of pediatrics, who has worked at the public children’s hospital for 28 years, laments from an unheated basement office. “We have 360 beds, but we have more than 500 patients a day. And if we do not have the right medicine left, a child will die.”