James Madison once sagely conveyed, “If men were angels, no government would be necessary.” Had Madison ever driven a car on a gridlocked freeway he’d likely have concluded the same about the necessity of this article. Neither men nor women are angels. When behind the wheel of a 4,000-pound rolling ego-inflator, they sometimes become quite the opposite.
According to a 2019 survey of Americans by The Zebra, an insurance comparison website, 82 percent of respondents admitted to having road rage or driving aggressively at least once in the last year. Further, 42 percent claimed they yelled or cursed at fellow drivers. Thirty-eight percent indicated they used obscene gestures toward others on the road. That’s a lot of anger, but unless these signs of frustration escalate, they’re relatively harmless. Our primary concern is what happens when yelling and honking goes too far.
The 2019 survey also reports that 7 percent of respondents got out of their vehicle to verbally confront a fellow driver. Six percent threw objects. Another 6 percent got into a physical fight. Astonishingly, 5 percent admitted to intentionally ramming a car, and another 5 percent admitted to forcing someone off the road.
In 2006, 80 fatal crashes were directly related to road rage incidents. In 2015, that number exploded to 467. That’s a 500 percent increase in less than a decade. In 2016, the National Highway Traffic Safety Administration reported that the U.S. averaged at least one deadly road-rage-related incident per day.
Extreme forms of road rage are still rare, but have the potential to be incredibly dangerous, which is why they need to be within our spectrum of preparedness. Road rage can easily be confused with aggressive driving, but the two are distinct, both contextually and legally. Aggressive driving can simply be the a-hole not letting you merge or someone speeding past you at 90 mph. Road rage differs, especially as the law is concerned, because it demonstrates violent intent toward another.
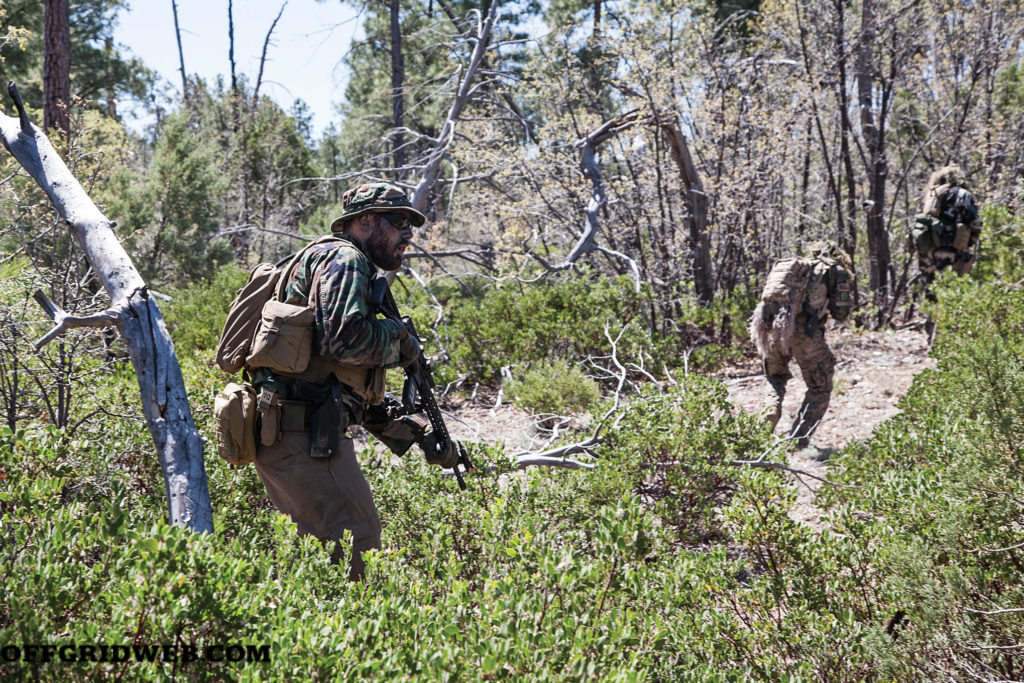
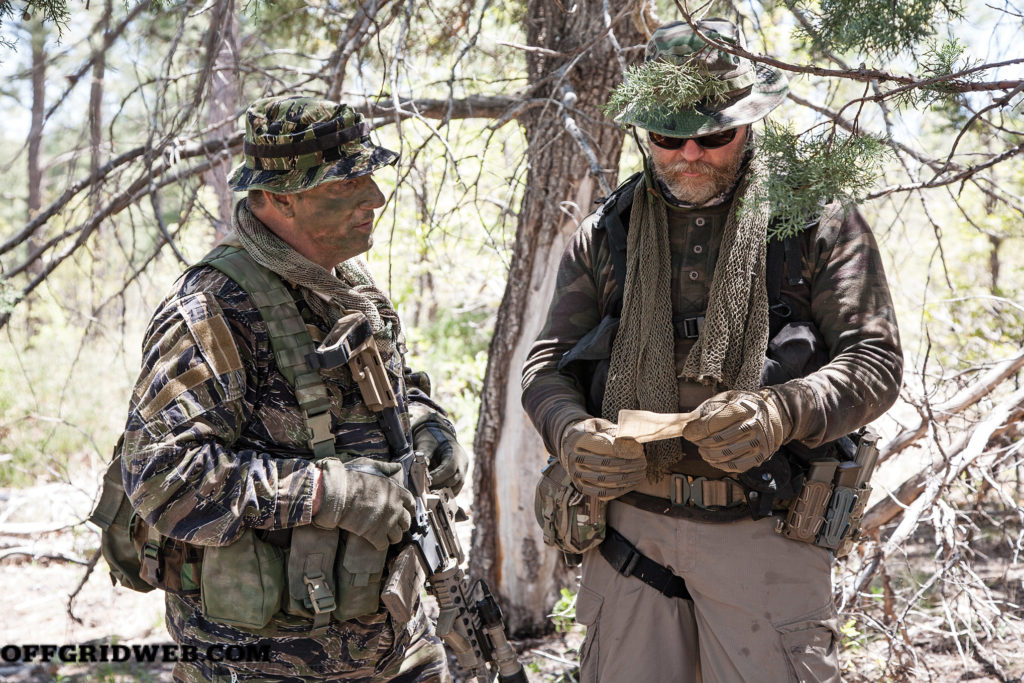
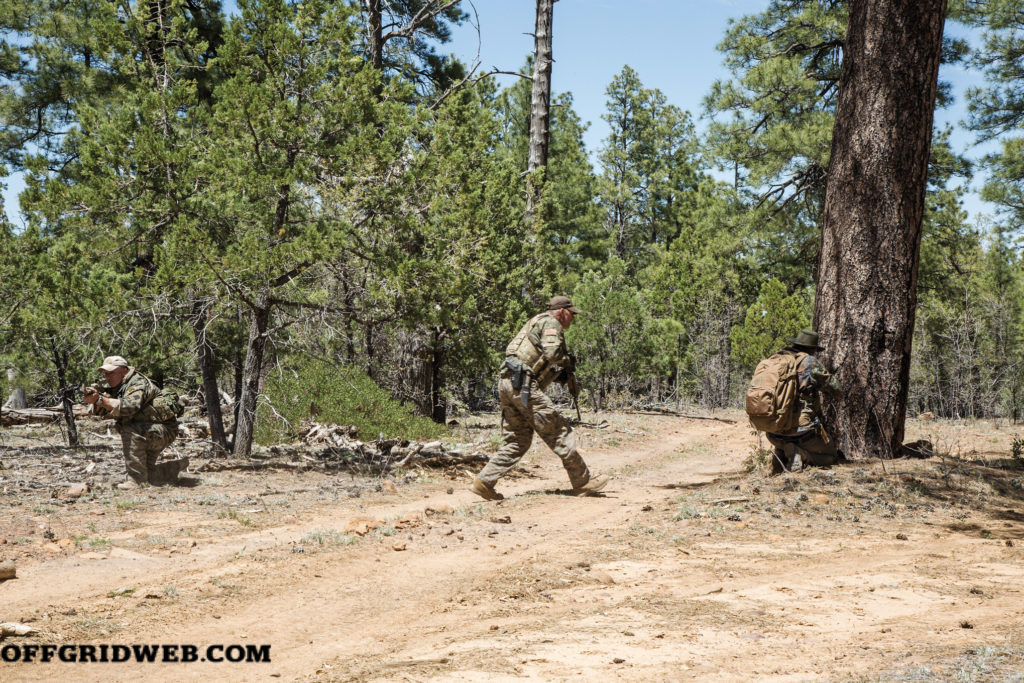
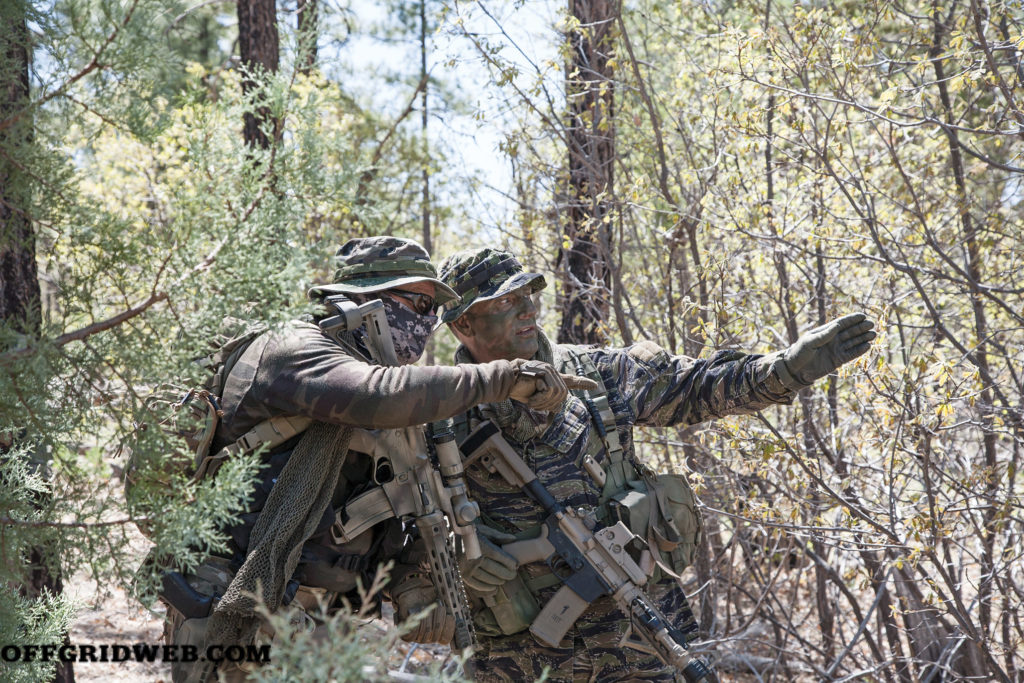
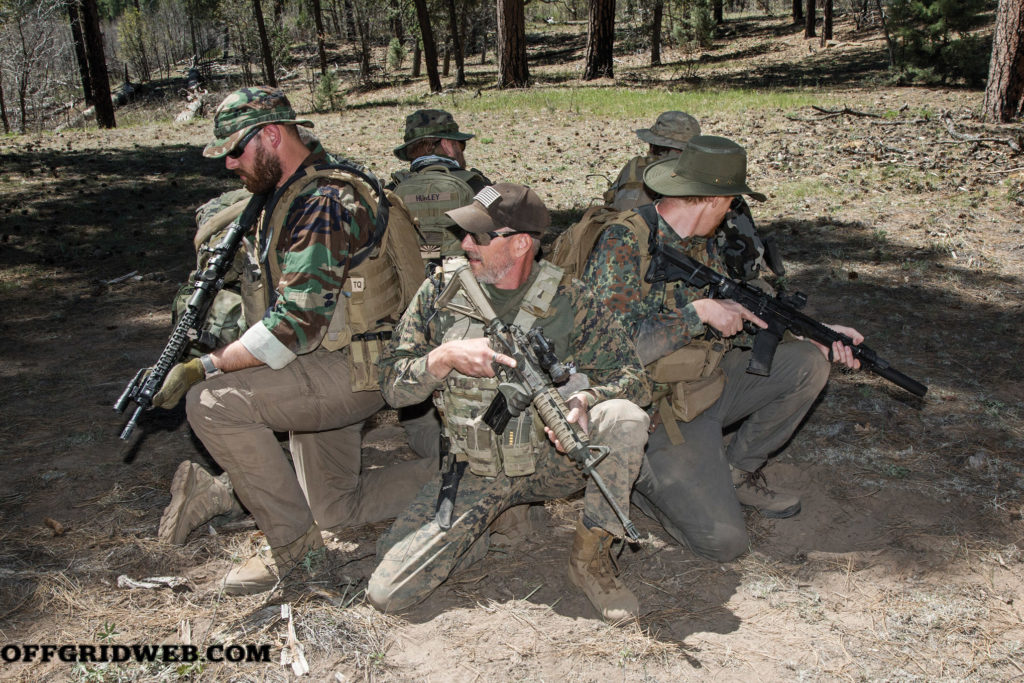
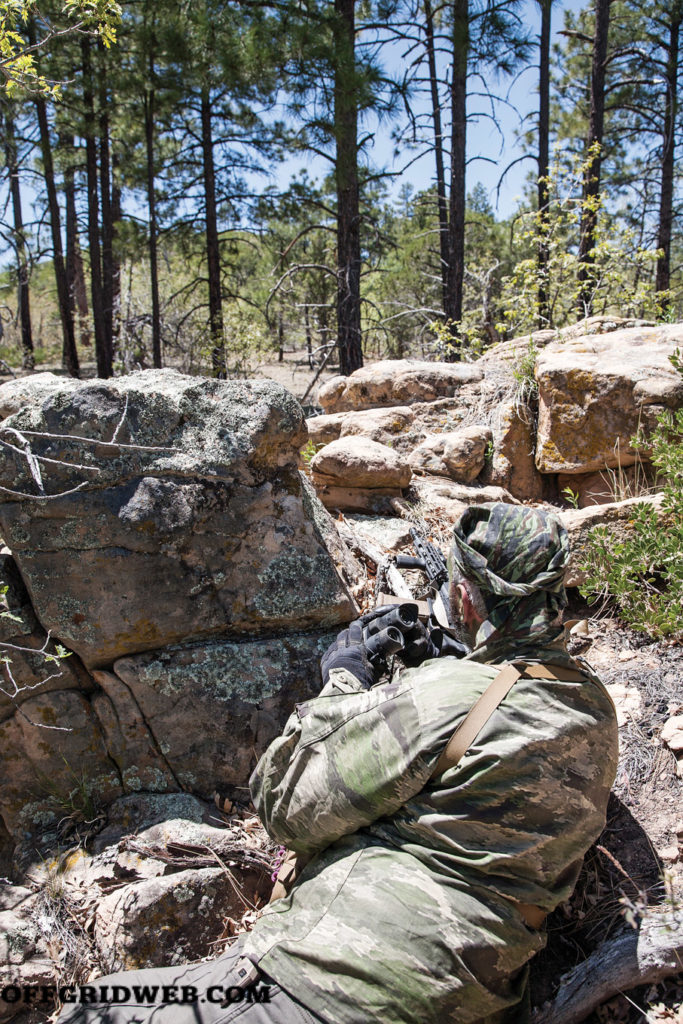
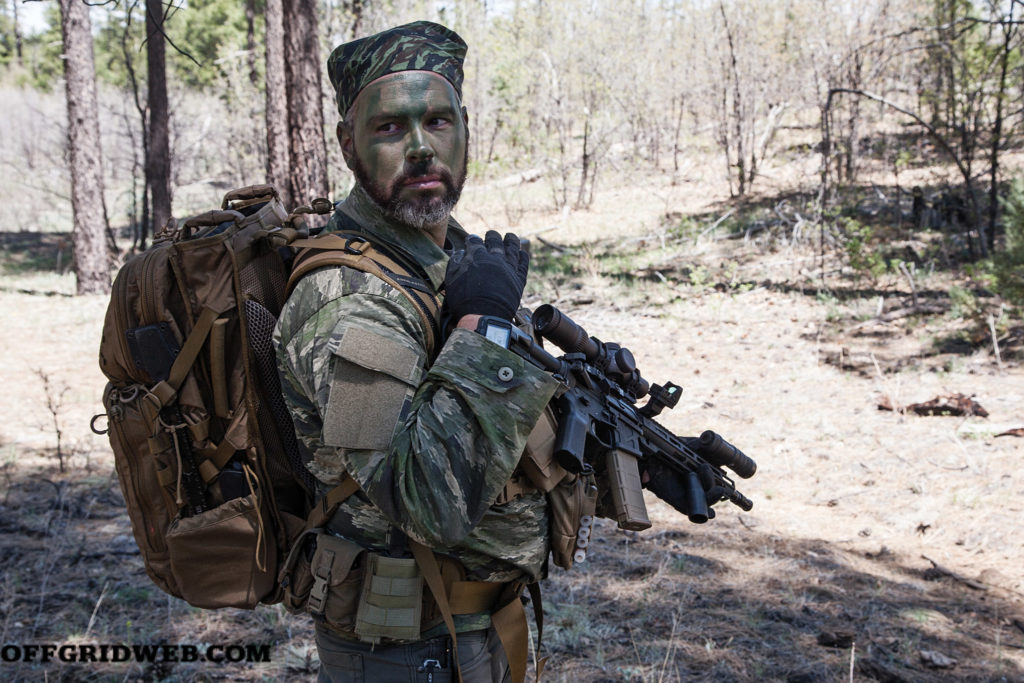
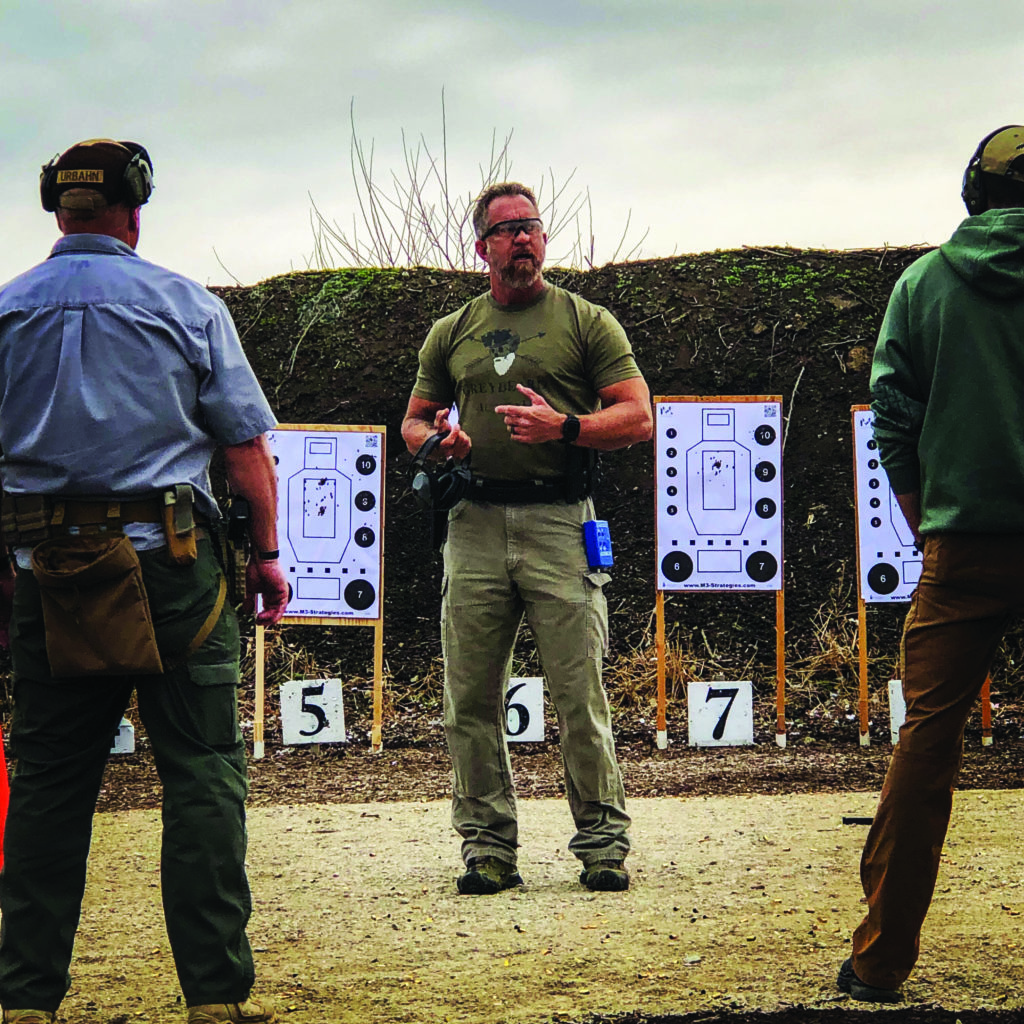
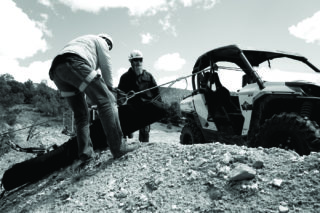
You might have experienced it yourself or know someone who has. We put our panelists in a potential road rage situation to see how they’d react. Security specialist Mel Ward has been involved in at least half a dozen incidents with several involving drivers exiting their vehicles. Off-road driving instructor Muggs McCoy has leveraged his military and law enforcement background to teach students tactical mobility in a variety of dangerous situations.
We know road rage happens, and we know what it is. Let’s look at a few ways to deal with it, lest that deranged person start seeing red and decide you need to be the recipient of their anger because you were in the wrong place at the wrong time.
The Scenario:
Situation type: Road Rage, Pursuit
Your Crew: You, your spouse, and your children
Location: North Carolina, I-95 Northbound headed toward Virginia
Season: Summer
Weather: 93 degrees F, but feels like 108 degrees F
The Setup:
Buckling the last of your children into their car seats, you and your spouse begin a 250-mile journey to Virginia to visit some Civil War battlefields. Things are serene as green countryside whips past your windows, the young ones playing on tablets while your teenagers argue about teenager things. Leaving behind farms and fields, you make your way onto a major artery of the East Coast and start the trip in earnest, looking forward to exploring some of the nation’s history.
The Complication: As you merge onto I-95 Northbound, you notice the pickup truck driver next to you in the left-hand lane is irate and gesturing at you wildly to pull over. Clearly, he feels your merge forced him out of the right-hand lane and into the left lane in an unexpected fashion. Having signaled and merged at highway speed, you tell yourself this guy probably just wasn’t paying attention and was simply surprised. Everyone on the road these days has their heads buried in their phones and only seem to occasionally acknowledge the road conditions around them. This guy will just have to deal with it. You accelerate to put some distance between yourself and the angry driver and ask your wife where the closest Starbucks is.
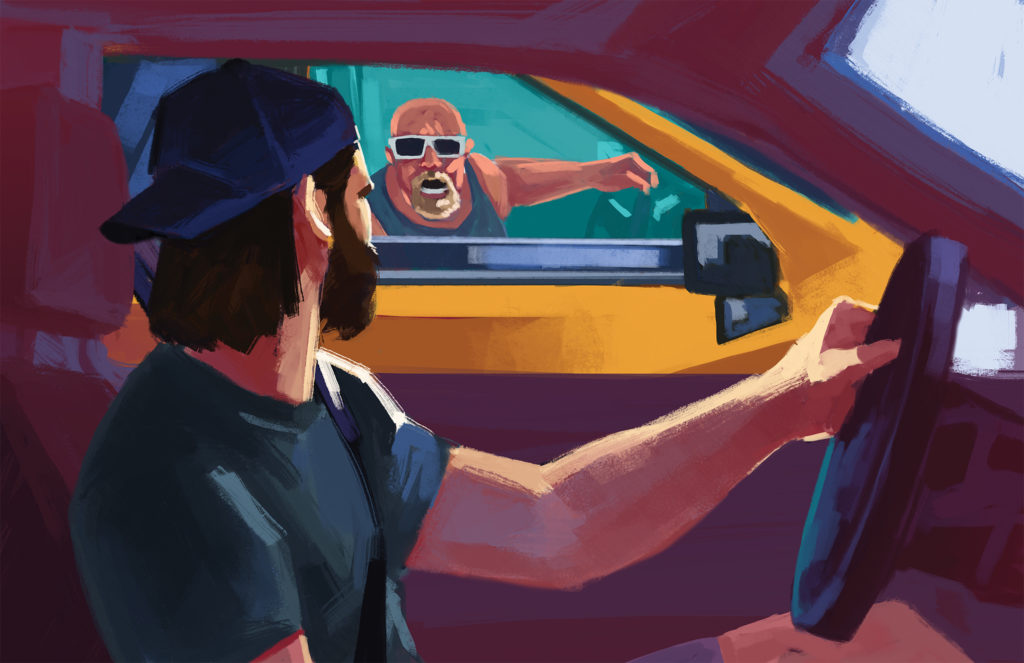
Suddenly the pickup is back, this time 6 inches from your driver’s side door as he veers at you repeatedly, trying to force you to the shoulder. He’s so close you can see the veins in his neck bulging above the tattered collar of his dingy T-shirt. This isn’t a little guy. He’s big. He’s pissed. And he’s not willing to let this perceived infraction go. What do you do? Pull over and talk to him? Have your wife call the police while dodging his Mad Max routine? What can you do to get out of this spot without anyone getting hurt?
No matter what, do not pull over and do not get out of the car. Ensure your doors are locked if they aren’t already, and have a passenger call 9-1-1. This is just for starters. I drive for a living in parts of the world where the only difference between this scenario and mine is if this happened at work, I know the guy wants to hurt me. In the U.S., I’m only reasonably certain he wants to hurt me. For me, this means there’s no difference, so I treat them the same.
Maintain highway speed. Don’t try to lose the guy by flooring it, and don’t change lanes like the Fast & Furious. I wouldn’t recommend slowing down either. This might reduce the chance of a high-speed accident, but this could also allow the guy to get in front of you, cut you off, and force you to stop. We don’t want to stop.
Your spouse needs to give the police an exact location and heading: “We’re northbound on I-95 passing Exit 88.” They also need to give a solid vehicle description and tag: “White GMC pickup. Plate number 123XYZ.” Give them any additional requested information, but make sure you use the words “road rage” as that’s a legal term and immediately sets the context of the situation. If possible, have a passenger record the entire episode on their phone to present evidence of your actions as well as his. If you have a dashcam — particularly one that’s rear-facing — that’s additional documentation you can use (see Issue 18 of our sister magazine CONCEALMENT for an overview of dashcams and their features).
At work, I absolutely will not stop no matter what, unless the vehicle is disabled. I’d do the same thing in the States. Some might suggest driving to a public place — if he’s in pursuit and follows you there and you stop, you’re going to have a confrontation, and you’re not driving an armored sedan like I am. We solve this problem by not having that confrontation.
I’d stay on the highway and not exit. If you exit, or decide to head to a gas station, or the police station, or anywhere off the highway, you’re going to first come to a stop sign, red light, or encounter local traffic or something else that’ll bring you to a stop before your intended destination.
If the guy is really serious, he’s going to get out the moment you’re forced to stop and approach your door. I’ve seen it happen at work, and I’ve seen it stateside. If this happens, all that’s between your family and this enraged behemoth is some thin auto glass. You’re too vulnerable in this scenario, so do what you can to avoid it.
By staying on the highway, this guy will literally have to commit to ramming you off the road. He might try. But he also might not be willing to bang up his truck. If you can persist long enough, he also might cool off a bit and give up. Further, there’s a good chance every other vehicle in the vicinity is witnessing this and also calling 9-1-1 on your behalf, so be sure to stay cool and drive defensively.
You need to stay focused on the road. Use your peripheral to track this dude in your battle computer, but also have your spouse or passengers give you updates on what he’s doing. By focusing on the road you’ll have better command of your vehicle and environment, and you’ll be able to avoid getting into the usual back-and-forth, “F you!” “No! F YOU!” in these types of situations. You’re way better off ignoring this guy — aside from what he’s doing with his vehicle — because you won’t be feeding his rage-furnace with whatever hand gestures you come up with.
Preparation
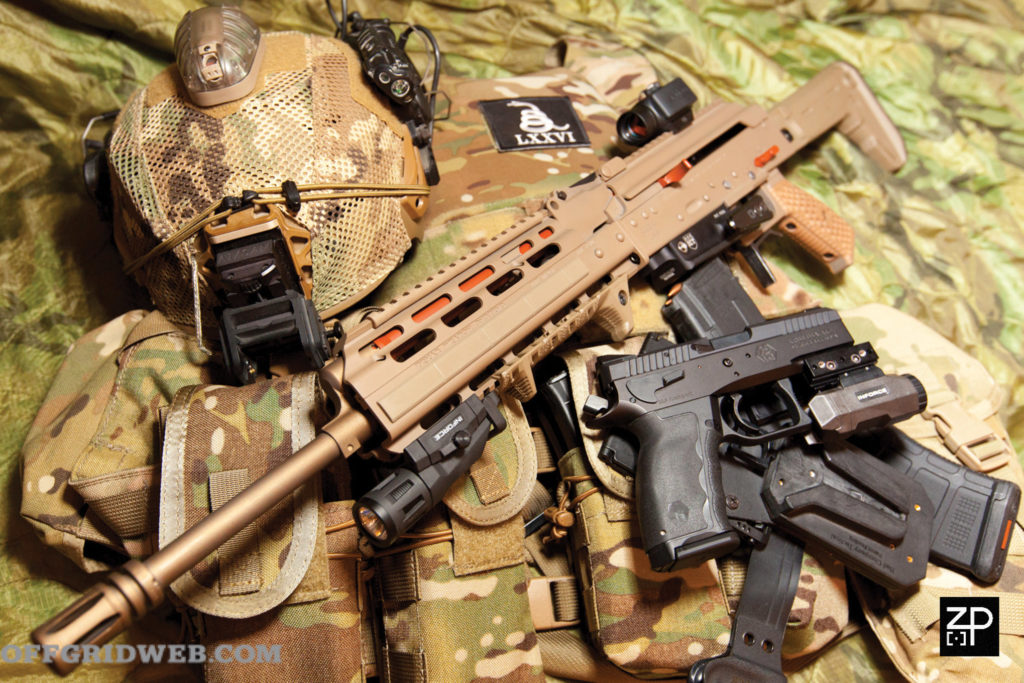
You need to have a firearm and have with you whatever permits are required by your state, as well as those of any state you’re passing through. Also, be aware that certain counties or cities you travel through could have further restrictions governing the possession and concealment of firearms in a motor vehicle that differ from the state. Study up before you travel.
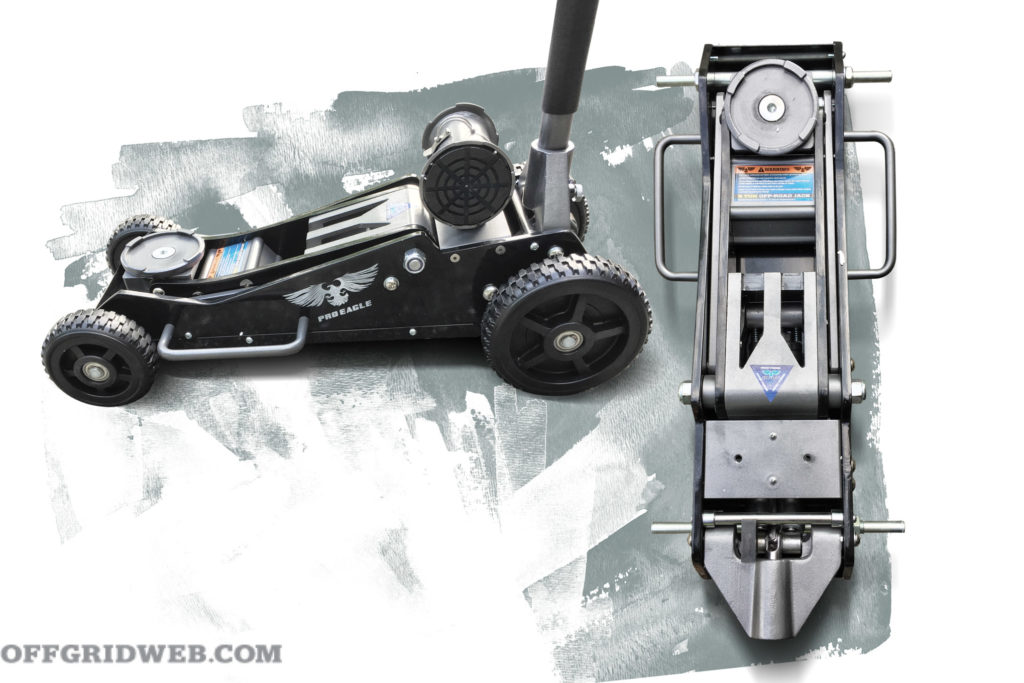
Have a trauma kit — not just a first-aid kit — accessible inside the vehicle’s interior, not in the trunk. I’m talking about at least four C-A-T tourniquets (For the Updated List of CoTCCC Approved Tourniquets, read here) , six rolls of Kerlix gauze, and four or more occlusive dressings. You’ll also want several packets of a hemostatic agent, four rolls of ACE wrap bandages, and four trauma dressings.
The most vulnerable parts of your vehicle are the windows and windshields. Short of paying big bucks for “bulletproof” glass, it’s possible to harden these weak areas by using a product like Scotchshield from 3M. You’ll need to do some research in your area, but an automotive center or window tint shop can install this for you. Basically, it’s a window tint that helps keep the auto glass together even when shattered. I’ve seen demonstration videos online of a treated window taking several hits from a rock before weakening to the point where access to the vehicle’s interior is possible.
Crisis
What if we’re forced off the road or otherwise come to a stop due to traffic or something unforeseen?
Well, this is going to suck, because your vehicle isn’t a rolling saferoom like mine is at work. Make sure your doors are locked, and don’t get out. We want everyone to stay inside the vehicle and only “crack seal” in the direst of circumstances. By staying locked inside, you’re forcing the aggressor to make an overt attempt at entry, which, stateside, is another legal and physical threshold this guy has to cross. If he’s not willing to smash your windows, all he can do is yell at you through the glass until the cops arrive or the road ahead clears enough to let you continue leaving him in the dust.
If he does try to come through that window by smashing it, then I shouldn’t need to tell you what to do. You need to protect yourself and your family. If that guy reaches through the window, or opens an unlocked door and starts grabbing people, it’s game on. If you’ve prepared, it’ll also be game over for the aggressor. Defend yourself and your family and re-notify 9-1-1 that you’ve engaged in self-defense against a violent aggressor who attempted to break into your vehicle and request police and emergency medical services.

I’d continue to cover the aggressor from inside the vehicle until the police arrive unless it becomes absolutely necessary to exit. If you do need to exit the vehicle, ensure the aggressor is down, he’s alone, and the scene is safe to do so. Check your mirrors and have your passengers scan 360 degrees for any additional threats. You’ve made it this far. You don’t want to hop out of your seat and get hit by another car or be engaged by a passenger riding with the aggressor you never saw.
If you do get out, it’s up to you to render aid to the attacker. I wouldn’t. If he’s wounded, it’s possible he attacks you again while you’re trying to help him. Again, this is why I recommend staying in the vehicle. You can articulate all this to the police when they arrive: You stayed inside your vehicle the entire time while the threat consistently came after you and your family. You did everything you could to avoid him by never leaving your vehicle until you had to, or until the police on scene told you to.
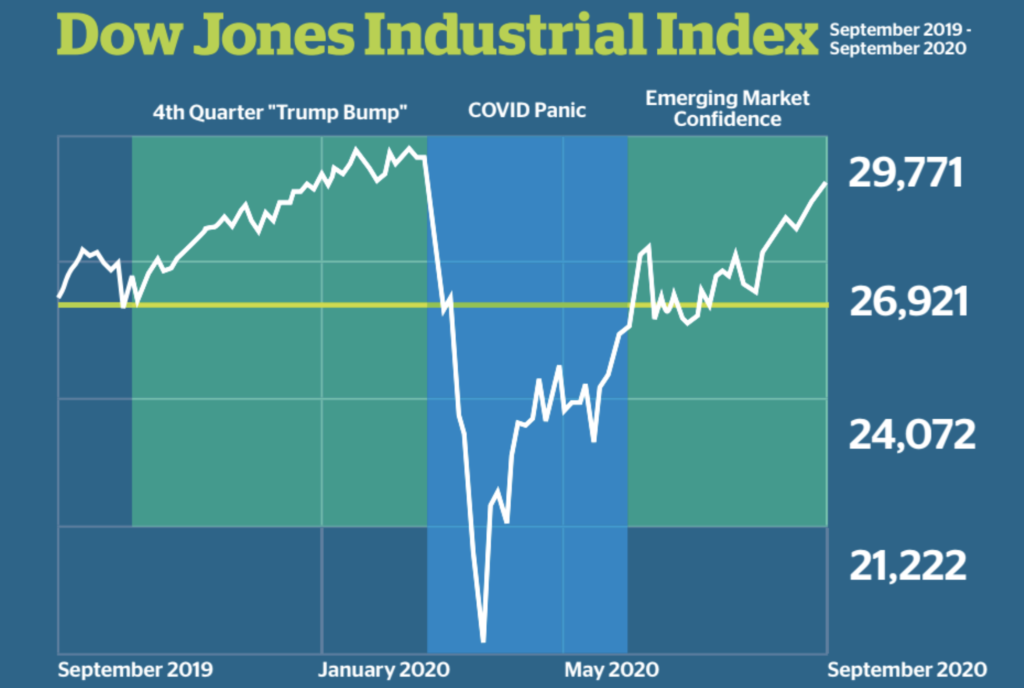
2020 has been quite the year. Wildfires, locust swarms, economic crisis, earthquakes, murder hornets, social unrest, hurricanes … oh yeah, and a global pandemic. Needless to say, it’s been a very taxing year on our mental health. It seems each day brings a new cellphone video of someone losing their mind over an innocuous situation. Mental strain from culminating events seems to have pushed many past their limit. Something as simple as driving your car can quickly turn into a life-or-death situation when patience gets tested and emotion takes over. Road rage often has more to do with anger management than criminal intent. Knowing how to act and react will provide the greatest opportunity to keep you and your family safe.
Preparation
Many assume they have little control when a road-rage incident occurs — after all, you’re in a metal deathtrap traveling 75 mph down the highway. But let’s back up and take a look at what we can manage. First, you’re in control of your own and your family’s training and preparation. Before I even get into the car that day, I know I’ve already performed mental exercises with my family. Mental exercises involve working through various scenarios of “What If” to help our brains make quick decisions during a real conflict. The last thing I want is to freeze when faced with a threat. Discussing options of various forms of fight or flight with my family gives me confidence they, too, will act. These exercises can be practiced alone or with your family at any time. I typically use road trips or dinnertime to discuss scenarios with my family. It’s important to note — how I react to a situation is often very different than how my spouse or child reacts. When discussing options, I always take into consideration their training and physical capabilities. Like most things, the decisions we make are situation dependent.
I also carry basic items on myself and in my car that support my needs for various circumstances and conditions. I have a knife and a pistol on my person as part of my everyday carry; in my vehicle, I have pepper spray and a collapsible baton. Now, these are only to be used in specific, immediate threat of life, last-option cases. However, just knowing I have worst-case scenario protection accessible allows me to process the force continuum scale in a methodical way. Again, mental exercises are imperative in these situations in order to keep your family safe while also staying within the rules of law.
Above all else, I’m in control of myself. If I’m calm, then I know my family will remain calm. If I remain level-headed, I’ll find openings to de-escalate the conflict. If I can de-escalate the conflict, everyone remains safe.
On Site
Now in the vehicle, there are things you can do to set yourself up for success to avoid conflict. One of the easiest ways to avoid confrontations is to prevent an encounter. Don’t be a distracted driver by texting, flipping through Yelp, or talking on the phone. There are many safety features one can enable to ensure you keep your eyes on the road and your hands on the steering wheel. For example, connect your phone to Bluetooth in the car; use a GPS on your dashboard or through your vehicle’s display screen; make it a family policy that the passenger is the only one to fiddle with music, maps, or answer phone calls. I use an auxiliary cable to connect my phone to the car so I can make or take phone calls through the stereo. My wife is responsible for both navigation and restaurant selection. My job as the driver is to get myself and family from point A to point B in a safe manner. That’s it. This means I drive defensively — I look out for other drivers who aren’t paying attention and predict what they could potentially do (e.g. drift in my lane, run a stoplight, rear-end me at an intersection). I keep a safe following distance, stay out of drivers’ blind spots, and give myself time to react to others’ mistakes.
If I’m an undistracted driver, I can observe when a situation is escalating. Initial warning signs of road rage include indications of impatience: darting back and forth between lanes, inching around vehicles, using the shoulder illegally, etc. Usually, this is followed by drivers throwing their hands in the air, pounding the steering wheel in frustration, tailgating, horn honking, and the prize-winning display of the middle finger.
This behavior is most often found in heavy traffic. Commutes with impatient people are a recipe for road rage. If possible, I adjust my schedule around stressful times such as rush-hour traffic, the start and finish of three-day weekends, or events that bring masses of people together on the road. If I cannot avoid traffic, I ensure I provide myself plenty of time to get to my final destination and listen to something that makes the trip enjoyable. Part of being a defensive driver isn’t overreacting if I get cut off or must yield to another driver’s stupidity. Remember, this isn’t an ego contest; nothing good will come out of losing your temper.
Crisis
No road rage behaviors should be ignored. You must keep an eye on dangerous, erratic drivers so you can be prepared to react. That doesn’t mean make matters worse by escalating the tension with your own poor behavior. Rather, attempt to distance yourself from the driver either by slowing down or changing lanes. Don’t speed up. Don’t turn a dangerous situation into a worse one by breaking the speed limit and “challenging” your threat to give chase.
In this particular road-rage situation, the moment the guy veers his pickup at my vehicle, I’m asking my wife to call 9-1-1 on my phone and use hers to find the closest police or fire station. Since my phone is connected through my vehicle, I can keep both hands on the wheel, keep my eyes between the road and threat, and still voice to the police what’s occurring. They can either provide me directions from there or dispatch an officer to my location. Meanwhile, my wife will be looking for a safe, preferably official place to navigate me to. Exiting the highway will either deter the driver from pursuing me, or enable him to follow me to a location where everyone can safely hash things out. My job at this point is to keep my vehicle under control. I’d slow down; I’d be careful of overcorrecting as I avoid his attempts to force me off the road. This repeated action of staying slow and steady hopefully will de-escalate the driver and make him feel like he “won” the confrontation. Yet the entire time, I’m on the phone with the police, letting them know on record what’s occurring and where I’m located. No matter how this conflict ends or how the driver shares his perception of your wrongdoing when police arrive, I want to make sure my voice is on record as the defensive driver attempting to de-escalate.
That being said, if he’s able to veer me onto the shoulder before the police arrive, I have a few options. If we’re both stopped on the side of the road, I’m going to take advantage of my greatest asset — my vehicle. My car has four metal sides, four tires, and a roof for protection. This means I can stay safely in my vehicle, doors locked, windows rolled up, on the phone with the police waiting for an officer to arrive. The man could exit his truck and scream all he wants — as long as I don’t meet him toe-to-toe, the only damage is my traumatized family. However, this opens the possibility of him directing a weapon at me, my car, or my family. It’s higher risk because there are many unknowns.
Another option: Once we both stop, and he exits his truck, I’m going to back up and drive away. Since I maintained control of my vehicle the entire time, I know it’s still in good working order. My goal is to delay long enough for the police to reach us or create enough space for me to safely exit the highway. Getting out of the car to confront this man when I have an opportunity to stay in and drive away is a huge mistake for multiple reasons. One, because I’m a concealed carry instructor and holder, I know any use of deadly force when I had other options (i.e. driving away) doesn’t meet the threshold of the use of force continuum. Two, depending on what’s said in our exchange, or what this man perceives I did that prompted his aggressive behavior, my claim as an “innocent party” could come into question. Additionally, talking to an irate and dangerous man will do nothing to de-escalate the situation. More likely, the conflict will lead to a fistfight or use of weapons. I’m taking an unnecessary risk to myself and my family facing him person-to-person. Using my vehicle to my advantage will help me control the situation and keep everyone safe.
Road rage involves a lot of ego. Surviving road rage involves controlling your own. It’s safe to say, road rage incidents are more likely caused by uncontrolled temper than criminal intent. Anything you can do to de-escalate the situation will benefit all parties involved. As a responsible citizen of the world, focusing on what you can control, preparing yourself and your family for possible conflict, and keeping a cool head throughout all situations will enable you to survive emotional events.
Conclusion
You can see how ugly this scenario can get. This is why you shouldn’t get off the highway or out of the vehicle unless absolutely forced to do so. All of the road rage incidents I’ve personally been involved with either resulted in the aggressor eventually losing interest, or one of the two parties remaining inside the vehicle and the other being unwilling to smash the windshield to further the engagement.
If you get caught up in the emotion of the incident, whether it’s the one described above or another take on it, and go toe-to-toe with some yahoo on the side of the road, who is looking after your family? Is the guy alone or does he have three other guys in the truck with him? Does a third-party decide to pull over and try to intervene, and now you’re throwing hands with two guys instead of one? Where’s your spouse again? What are the kids doing? How complicit are you going to look on the video recorded by a bystander who showed up halfway through the confrontation?
Prepare for best and worst-case scenarios, but call the police, keep moving, and do everything you can to stay in the car and avoid the confrontation.
About the Authors
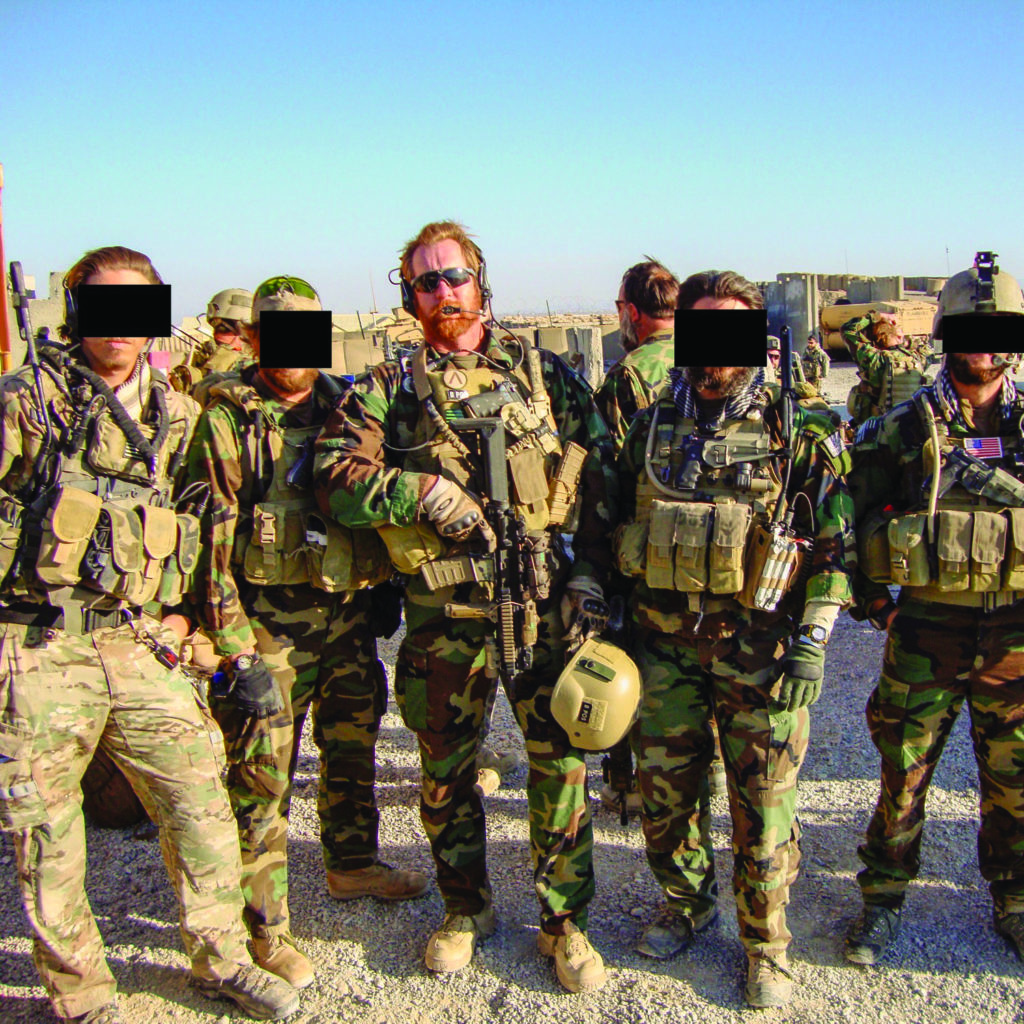
 “Muggs” McCoy is the owner of Team TORN (Technical Off Road Navigation) and is a retired, 24-year veteran of the military. With 18 years in special operations, Muggs’ professional experience spans a broad range of technical and tactical skills essential for training the nation’s elite forces. Throughout his career, he has trained hundreds of members of the special operations community in tactical mobility, as well as developed and utilized mobility tactics, training, and procedures in both Iraq and Afghanistan. Muggs began motorcycle and UTV racing during his military career, culminating in the country’s longest off-road race: Vegas to Reno. He’s also a reserve deputy sheriff, splitting his time serving his community and teaching defensive tactics and techniques. He’s a CCW instructor, USCCA & NRA instructor.
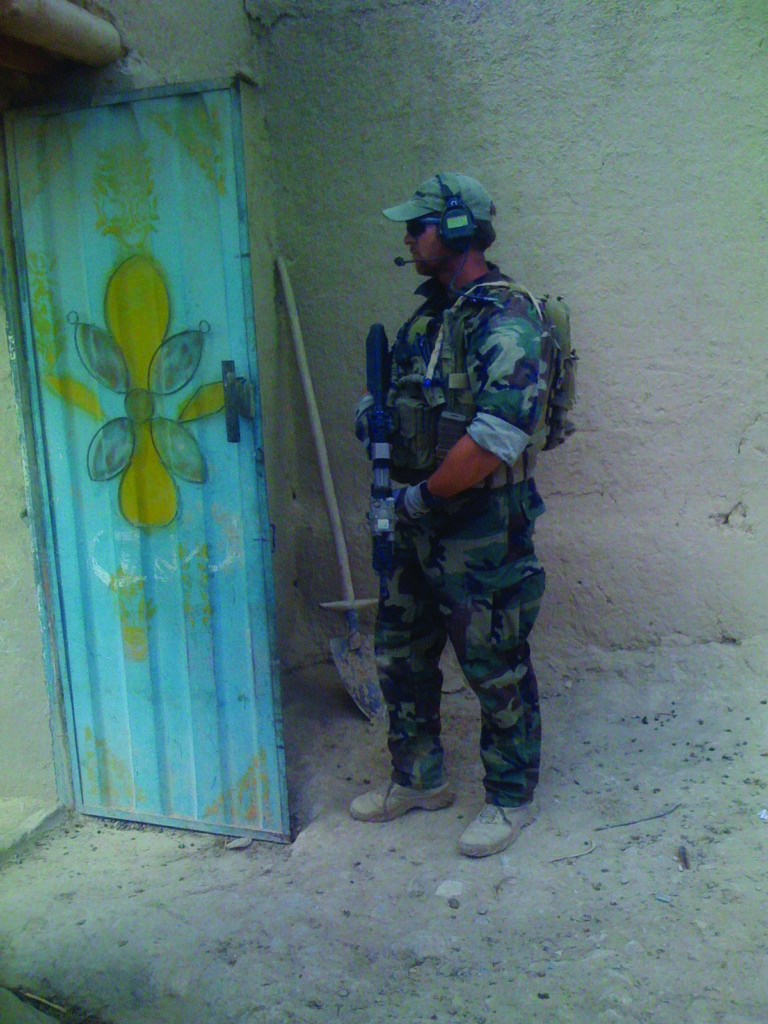
Mel Ward is a husband, father, and combat veteran. He served in Afghanistan and Iraq with 2nd Ranger Battalion, 75th Ranger Regiment. Over the last 15 years, he has worked in the security industry. He’s an advocate of preparedness and believes self-reliance isn’t an option, but a duty.
Read More Scenarios from OFFGRID

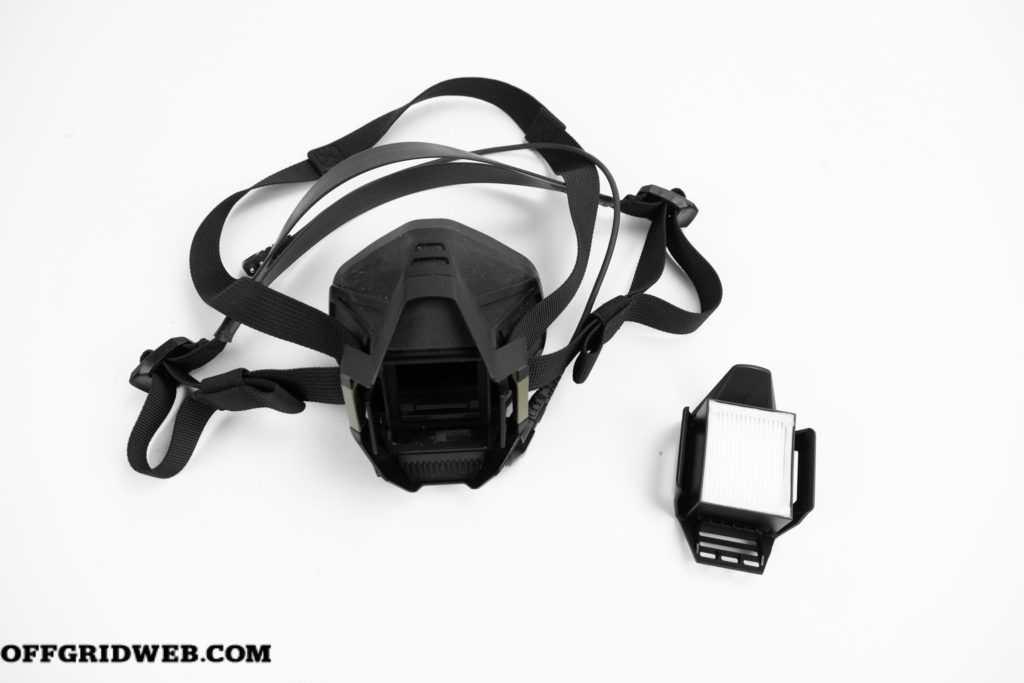
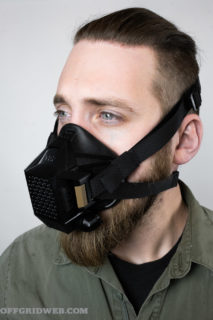
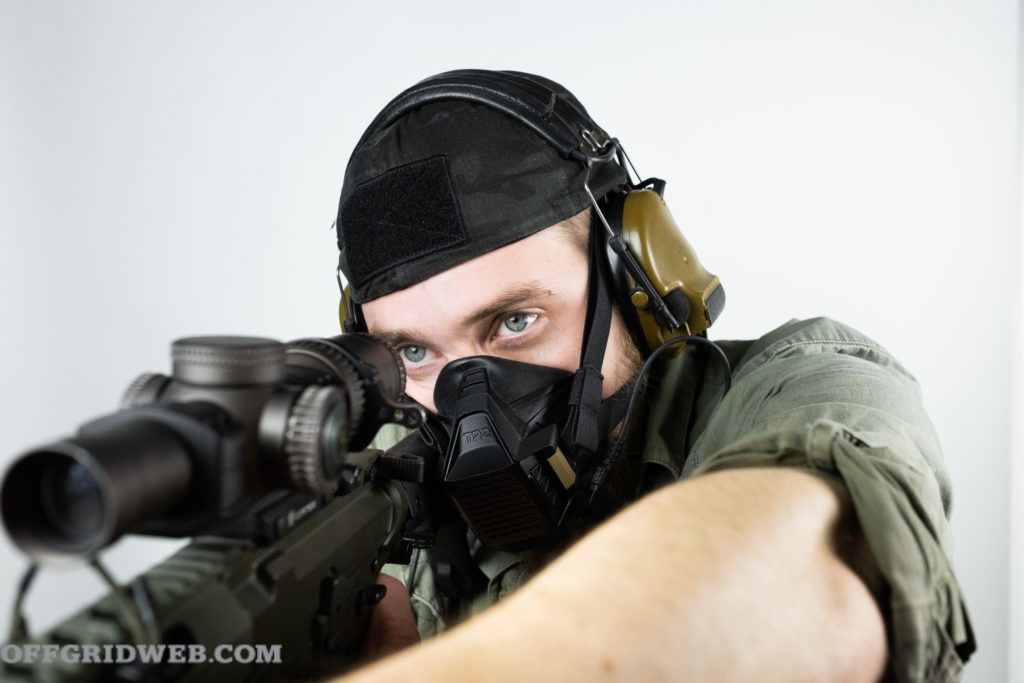
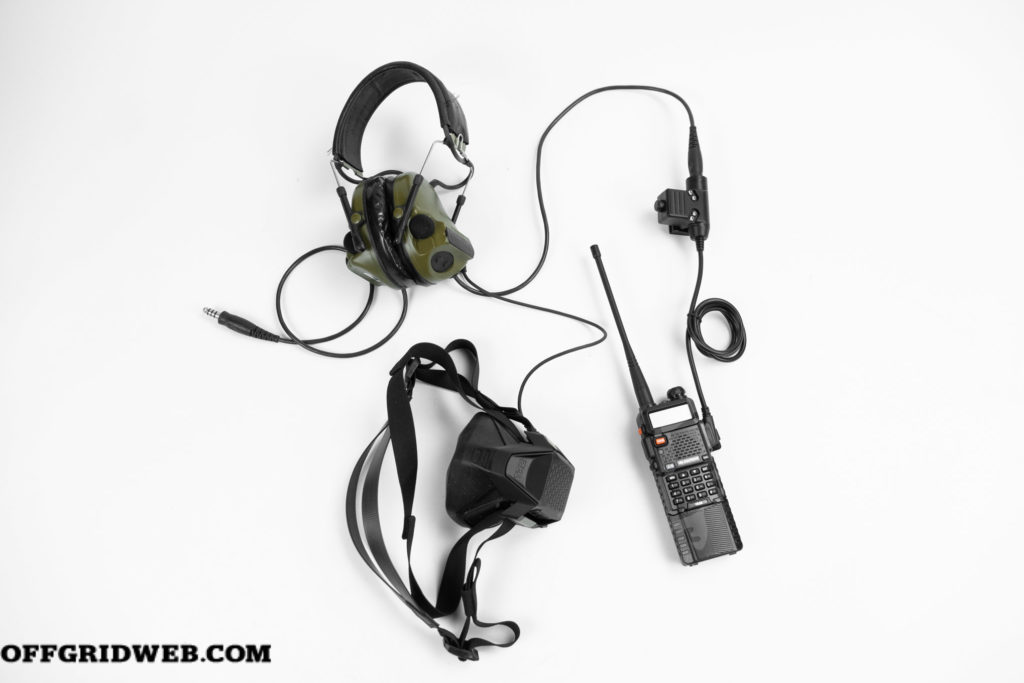
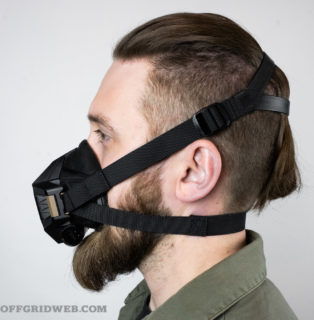 The mask remains secure even through dynamic movement, and setting the proper tension takes only a few tries to become natural. Once this is done, it’s design begins to shine. When shouldering a rifle, the mask may bump up against the stock, moreso with a loose cheek weld, but it doesn’t impede the shooter from a normal shooting posture. The combination of right-handed shooter, Law Tactical Folding Stock Adapter, and a fully collapsed stock created the closest thing a possible problem, as the front of the respirator would occasionally hit the adapter hinge. Though it should be known that we were deliberately looking for ways to create issues when shooting with the mask on.