Photos by Mark Saint
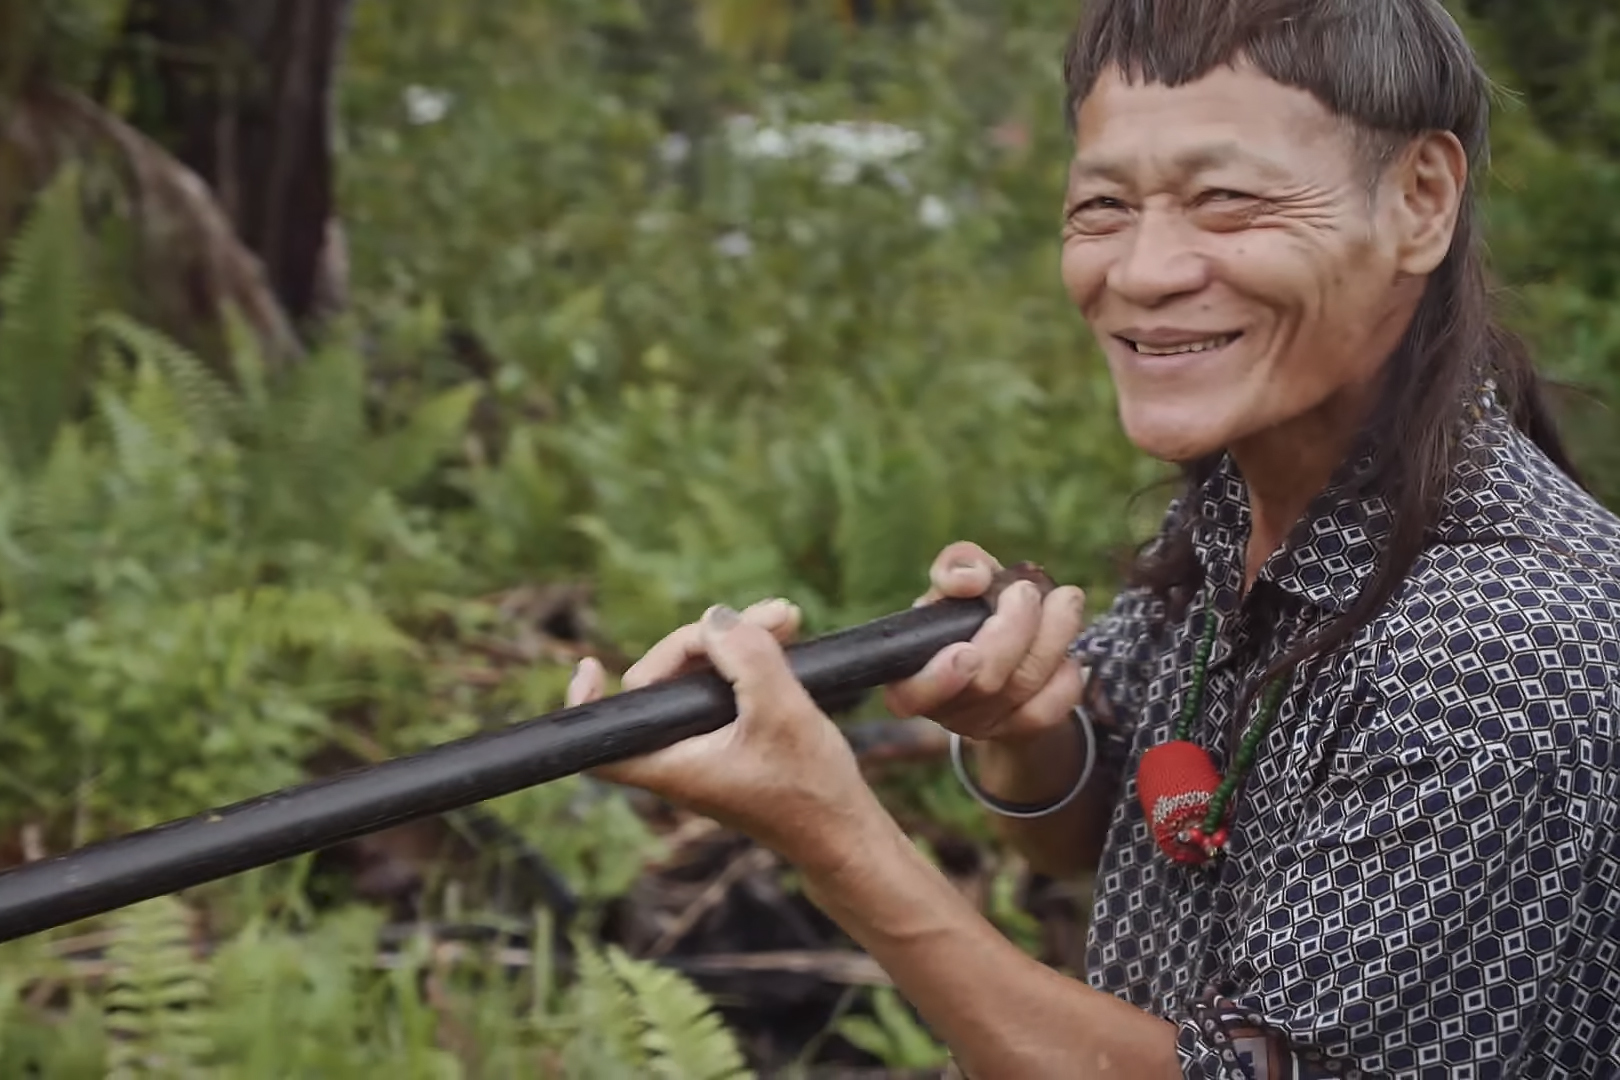
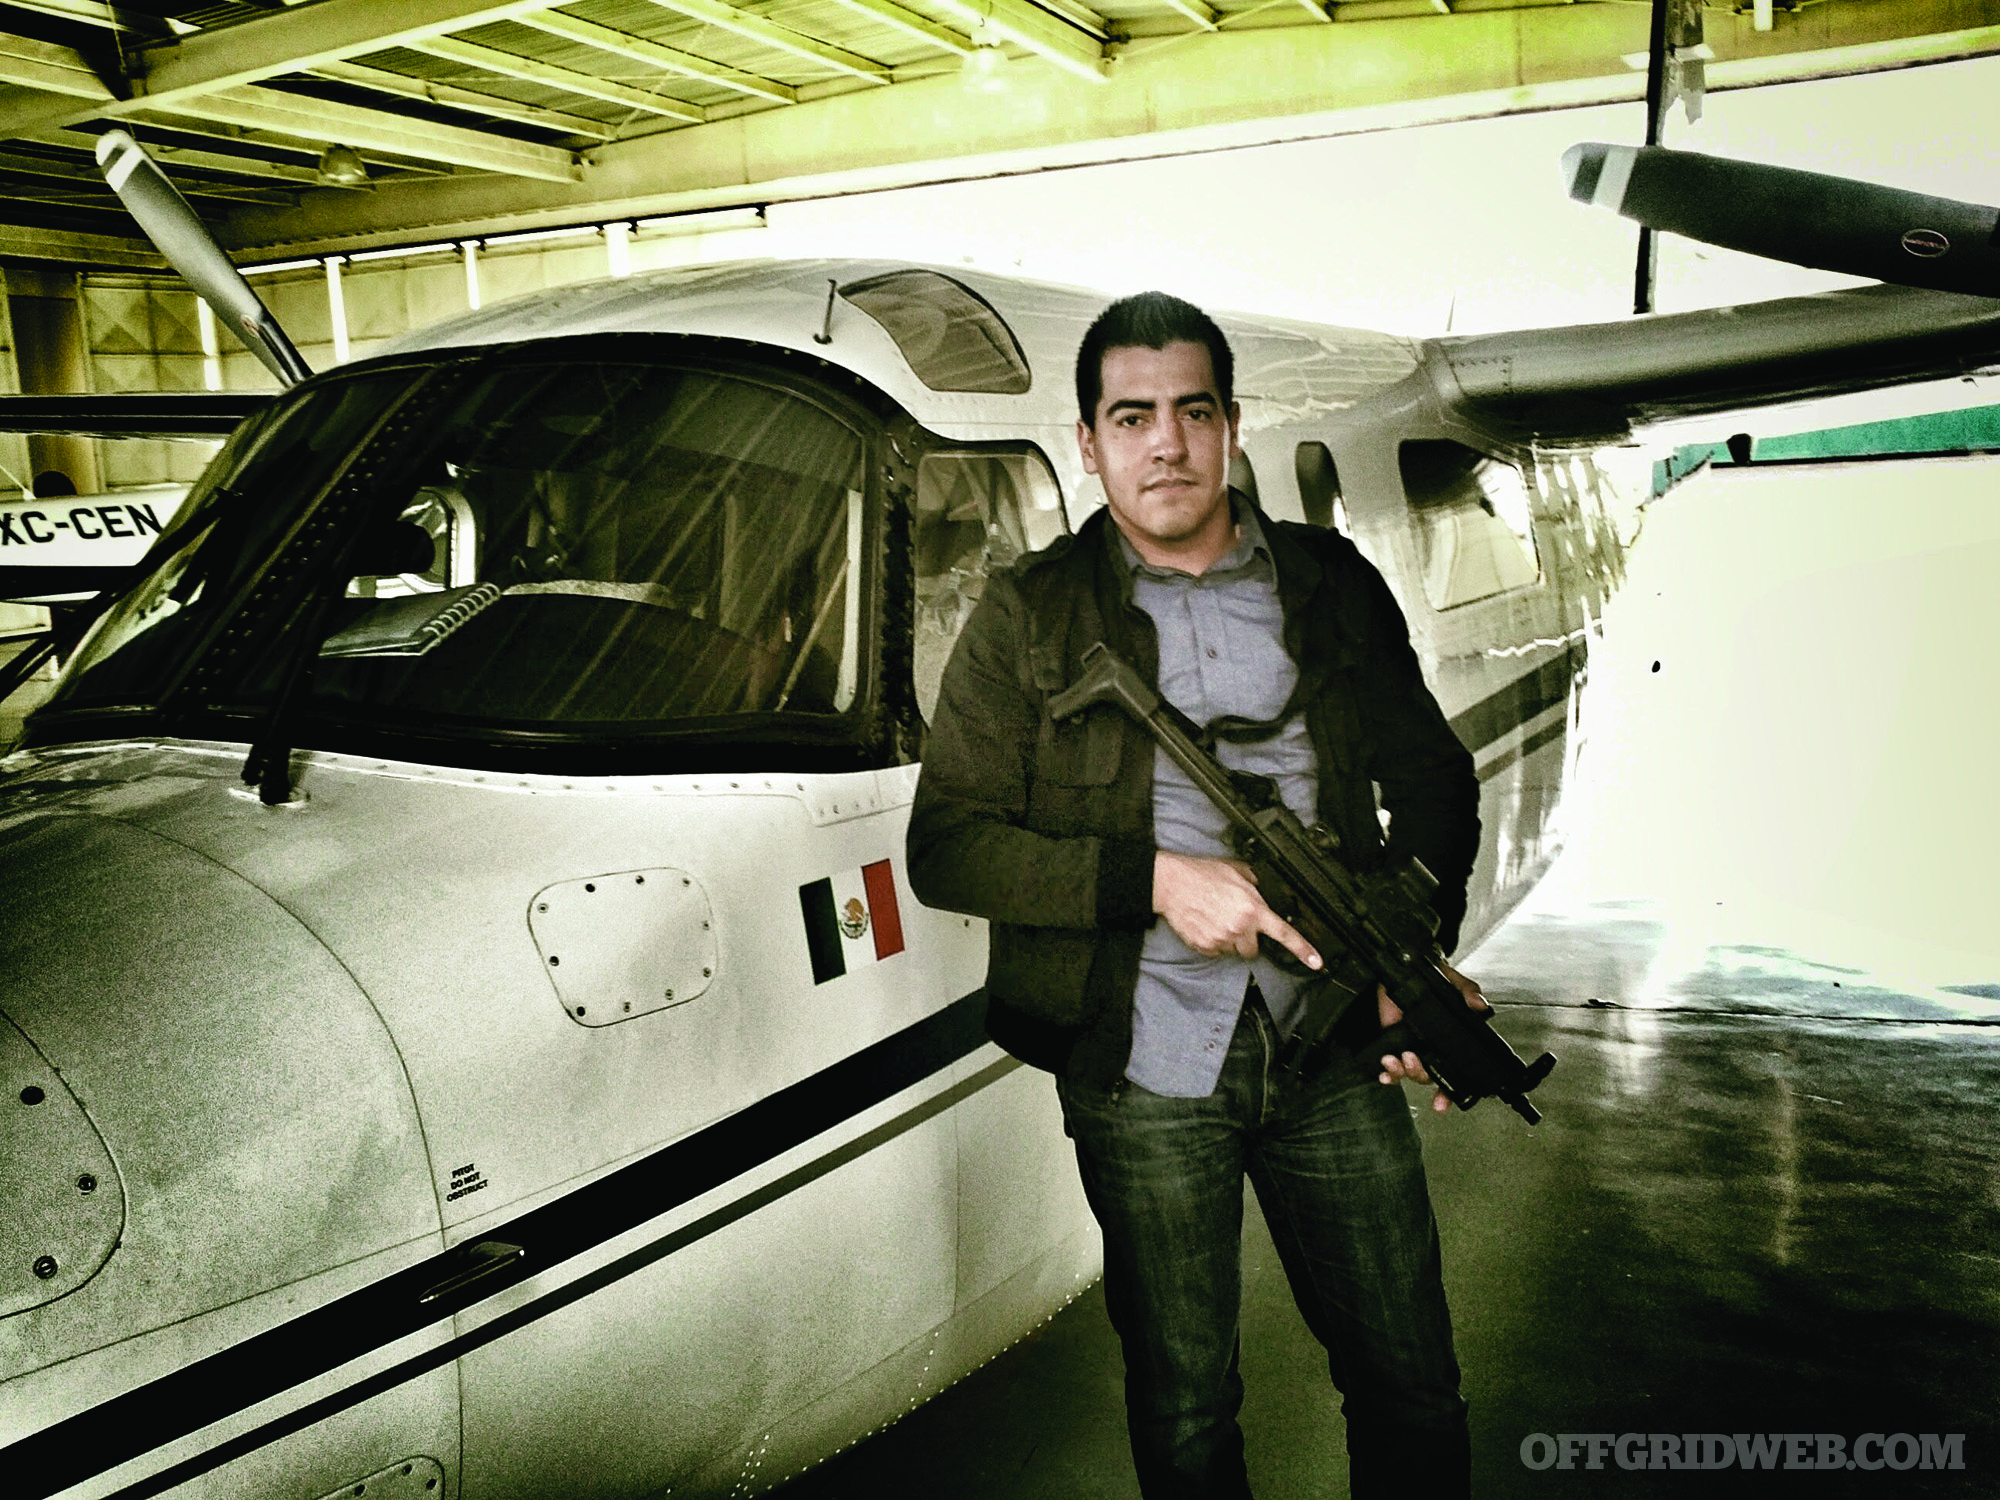
At first glance, it’d be easy to overlook Ed Calderon as a survival instructor. He doesn’t walk around in bare feet, have a lumberjack beard, or spend copious amounts of time talking to a camera from inside a tent. But the skills that one can learn from Ed’s Manifesto aren’t meant for long-term prosperity in harsh weather conditions. They’re meant to ensure survival in its most immediate and primal context — the continuance of one’s existence in the face of imminent physical danger and threat of imprisonment.
Many survivalists consider the forces of nature to be their ultimate foe, but the brutality of other human beings may pose a far greater threat. Abduction by criminals is one of the most dangerous situations that any of us could possibly face. Mr. Calderon is more experienced than most when it comes to this subject matter. He spent years working in Mexican law enforcement, where he regularly encountered the results of a nationwide epidemic of kidnapping-for-profit.
In an article published by the Latin Times, Mexico experienced a 245-percent increase in kidnapping between 2003 and 2013. To put hard numbers on that, in 2003, an average of 34 people were released from kidnaps each month. In 2009, that number was up to 96 per month. By 2013 it was 1,162 per month. We spent several hours with Ed, wherein he shed some harsh light on the reality of cartel activity, philosophy, and the lessons he learned which he now passes on to civilians, law enforcement agencies, and military units around the country.
Our Interview with Ed Calderon
RECOIL OFFGRID: Can you tell us a little bit about your childhood and where you grew up?
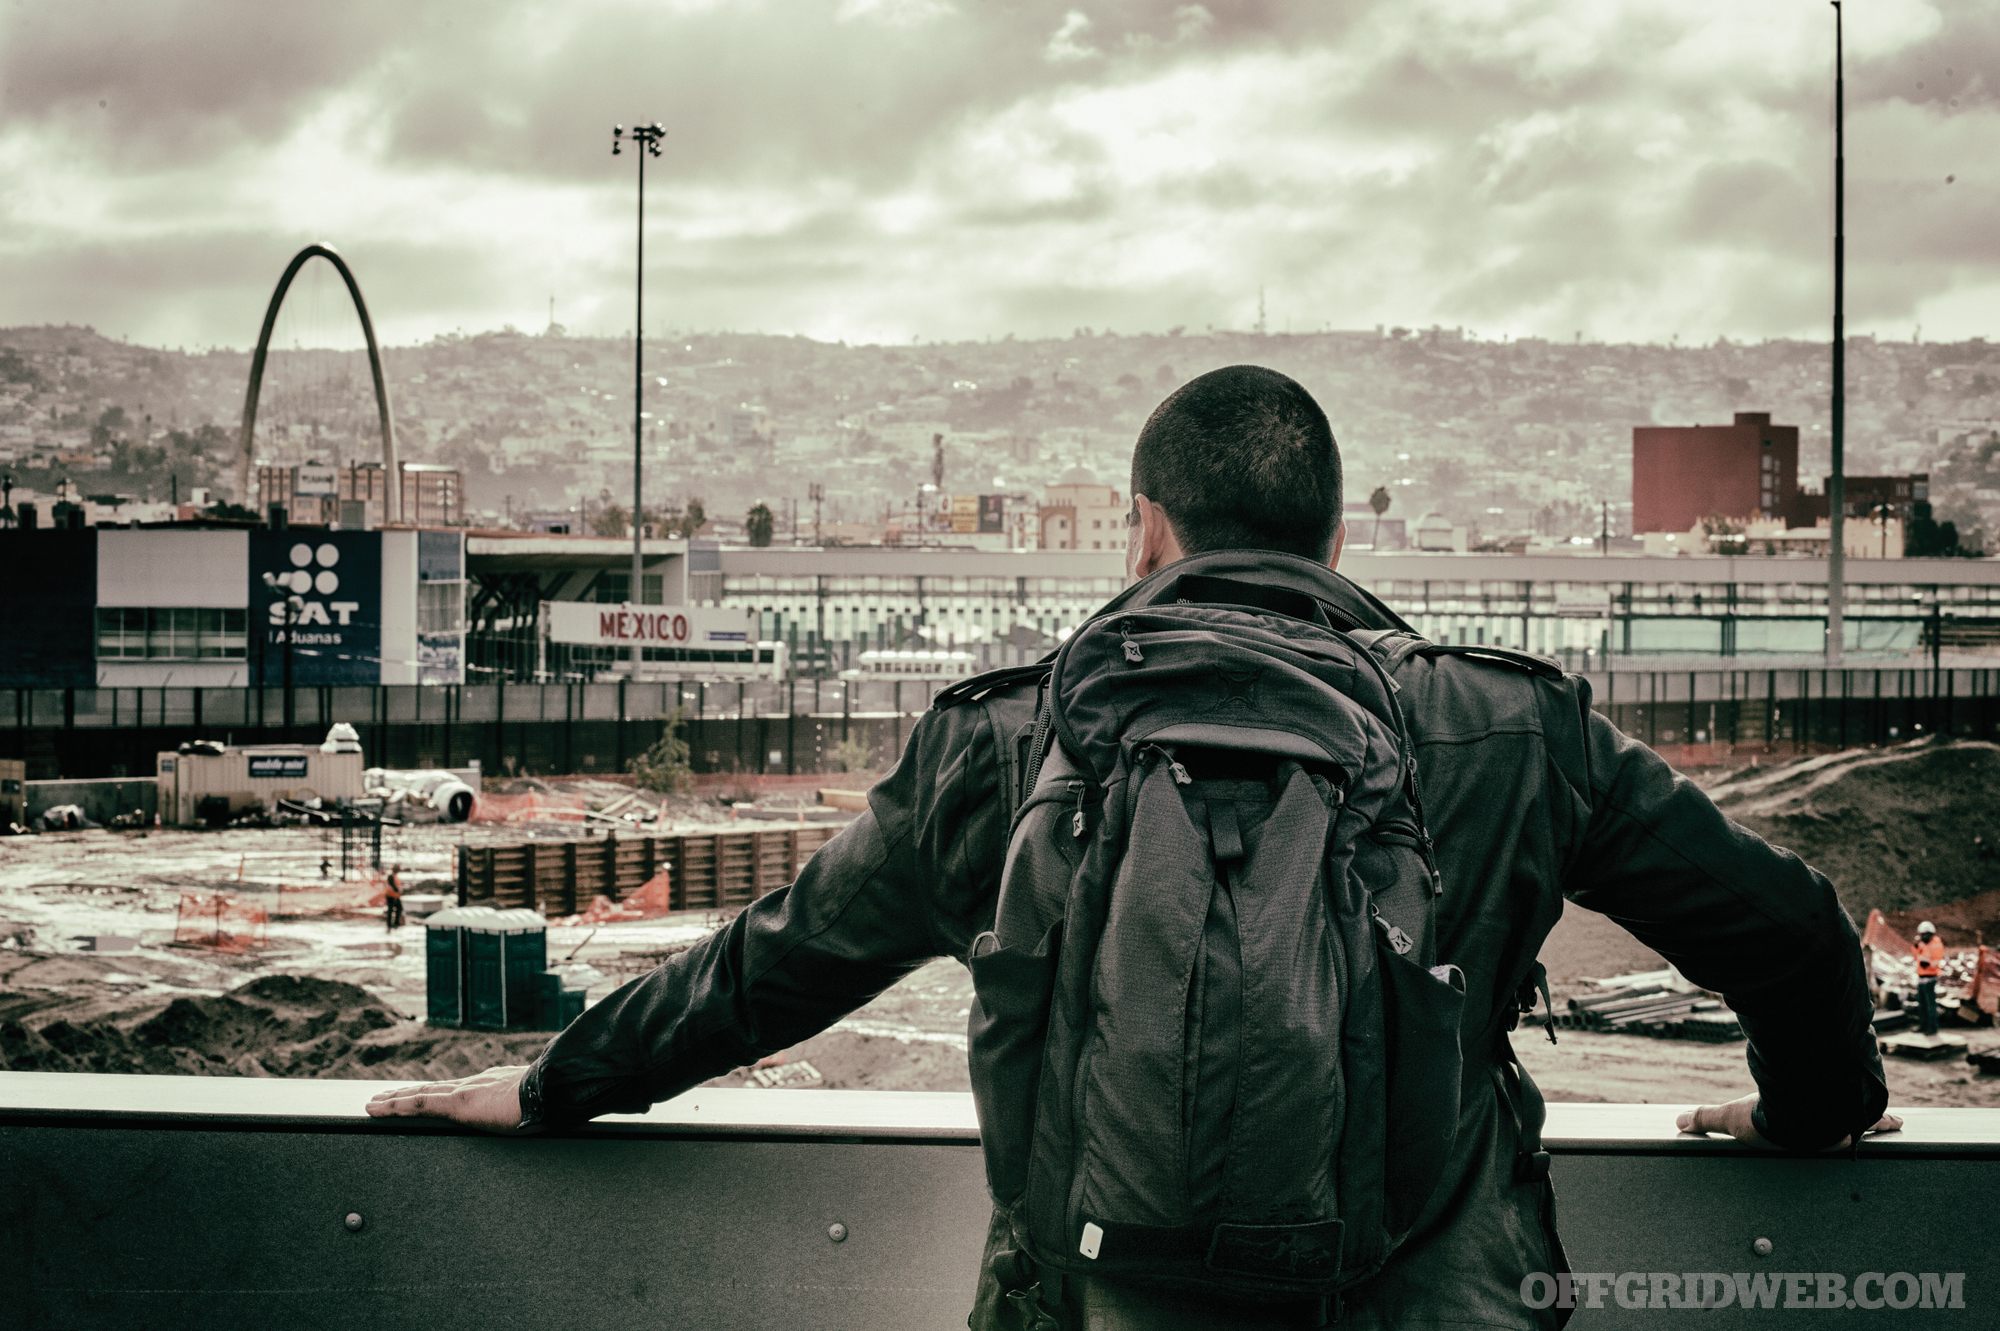
Ed Calderon: I was born and raised in Tijuana. I witnessed my first cartel hit when I was 12. My mom and I were at a gas station when four guys came out of a car and approached the owner. They asked him a bunch of questions about who he was. There was some back and forth between the owner and the cartel guys, then they shot him point blank in the face. My mom grew up in violent places as well, and knew well enough to hide me behind the engine block.
How did this affect you going forward?
EC: Culturally speaking, my main influences growing up were all American. Most of my friends were American, I watched American television, and held American values. My mom was very much the same way, and I got most of my values from her. Originally, I never had any interest in law enforcement. But I was in my second year of medical school when Sept. 11 happened and put most of our [Mexican] economy in the tank. I was looking for work and saw an ad in the paper promising a career for young, unmarried people who had stalled out in university. It was vaguely worded, but I knew it was some kind of law enforcement. That’s how I got started.
What can you tell us about your military/law enforcement experience?
EC: I worked directly for the Mexican government. I went through a selection process targeting young unmarried individuals between 21 and 35. The selection lasted four months, and was incredibly physically intensive. It was designed specifically to weed out potential double agents from the cartels. In addition to the physical training, every candidate underwent a full FBI background check and polygraph, financials investigation, and home visits. Being trustworthy was vital.
After all this, we were placed into a regional police academy in Northern Mexico — initial training here was very much like military boot camp. The people in charge of the training were primarily military officers and former Mexican Special Operations soldiers. One of them was Colonel Leyzaola. There’s a documentary about him called The Bravest Man in Mexico. They’d shave our heads with a razor and make us do marching practice for hours in the sun. Many of us would develop blisters on our heads from being out so long. We weren’t soldiers, but the training was highly militaristic.
After the first four months, it became more academic, and we learned all the core functions of law enforcement. Firearms training was cursory. We shot 50 rounds through our Beretta 92FS pistols, about 20 rounds of shotgun, and two mags or so through our AR and G3 rifles. Once we left training and got to the field we were issued Glocks with no holster and one spare magazine, plus soft body armor, which didn’t do any good against the rifles carried by cartel fighters.
In the field, we were formed into an operations group that included members of my unit, military special operations, and various branches of Mexican police. Our primary duties included anti-kidnapping and counter-narcotics missions, including eradication of drug growing and production facilities. We also conducted investigations and executed high-risk warrants. But in many ways our work was primarily preventive. We spent a lot of time looking for clandestine transport hubs throughout the peninsula. Sometimes we set up observation posts in an area of known cartel activity. But we also followed up on local police reports and tips. In terms of movement, we had some access to aircraft, but primarily used vehicles to patrol.
Were there any particular crime scenes or experiences that left the biggest impression on you?
EC: There were several. One was having some of my work colleagues be abducted. They went out as a pair, and were picked up by fake federal police officers. They were found dead several hours later. One of them came up through the unit with me, all the way back to the academy. It taught me that we were “on” 24/7, with no ability to just relax after hours. It instilled a fear that to this day is in the back of my mind: It’s easy for somebody to just come take you.
During this time, the cartels had declared open season on our unit. Anybody who could come in with our credentials would be given a reward. Lieutenant Colonel Leyzaola took this as a compliment. He had a lot of us stay at the military barracks, and it caused us to change tactics from law enforcement methods to counter-insurgency methods. It really allowed us to bring the fight back to the cartel. This was right around the time of Felipe Calderon’s [no relation] “call to arms.”
Finally, there were several times that we would hit a house or cartel facility and find background check notes and personal information about members of our unit, pictures of our houses and license plate numbers, and other personal information. There were also Santa Muerte (holy death) altars with pictures of our guys.
How does the occult play into cartel operations?
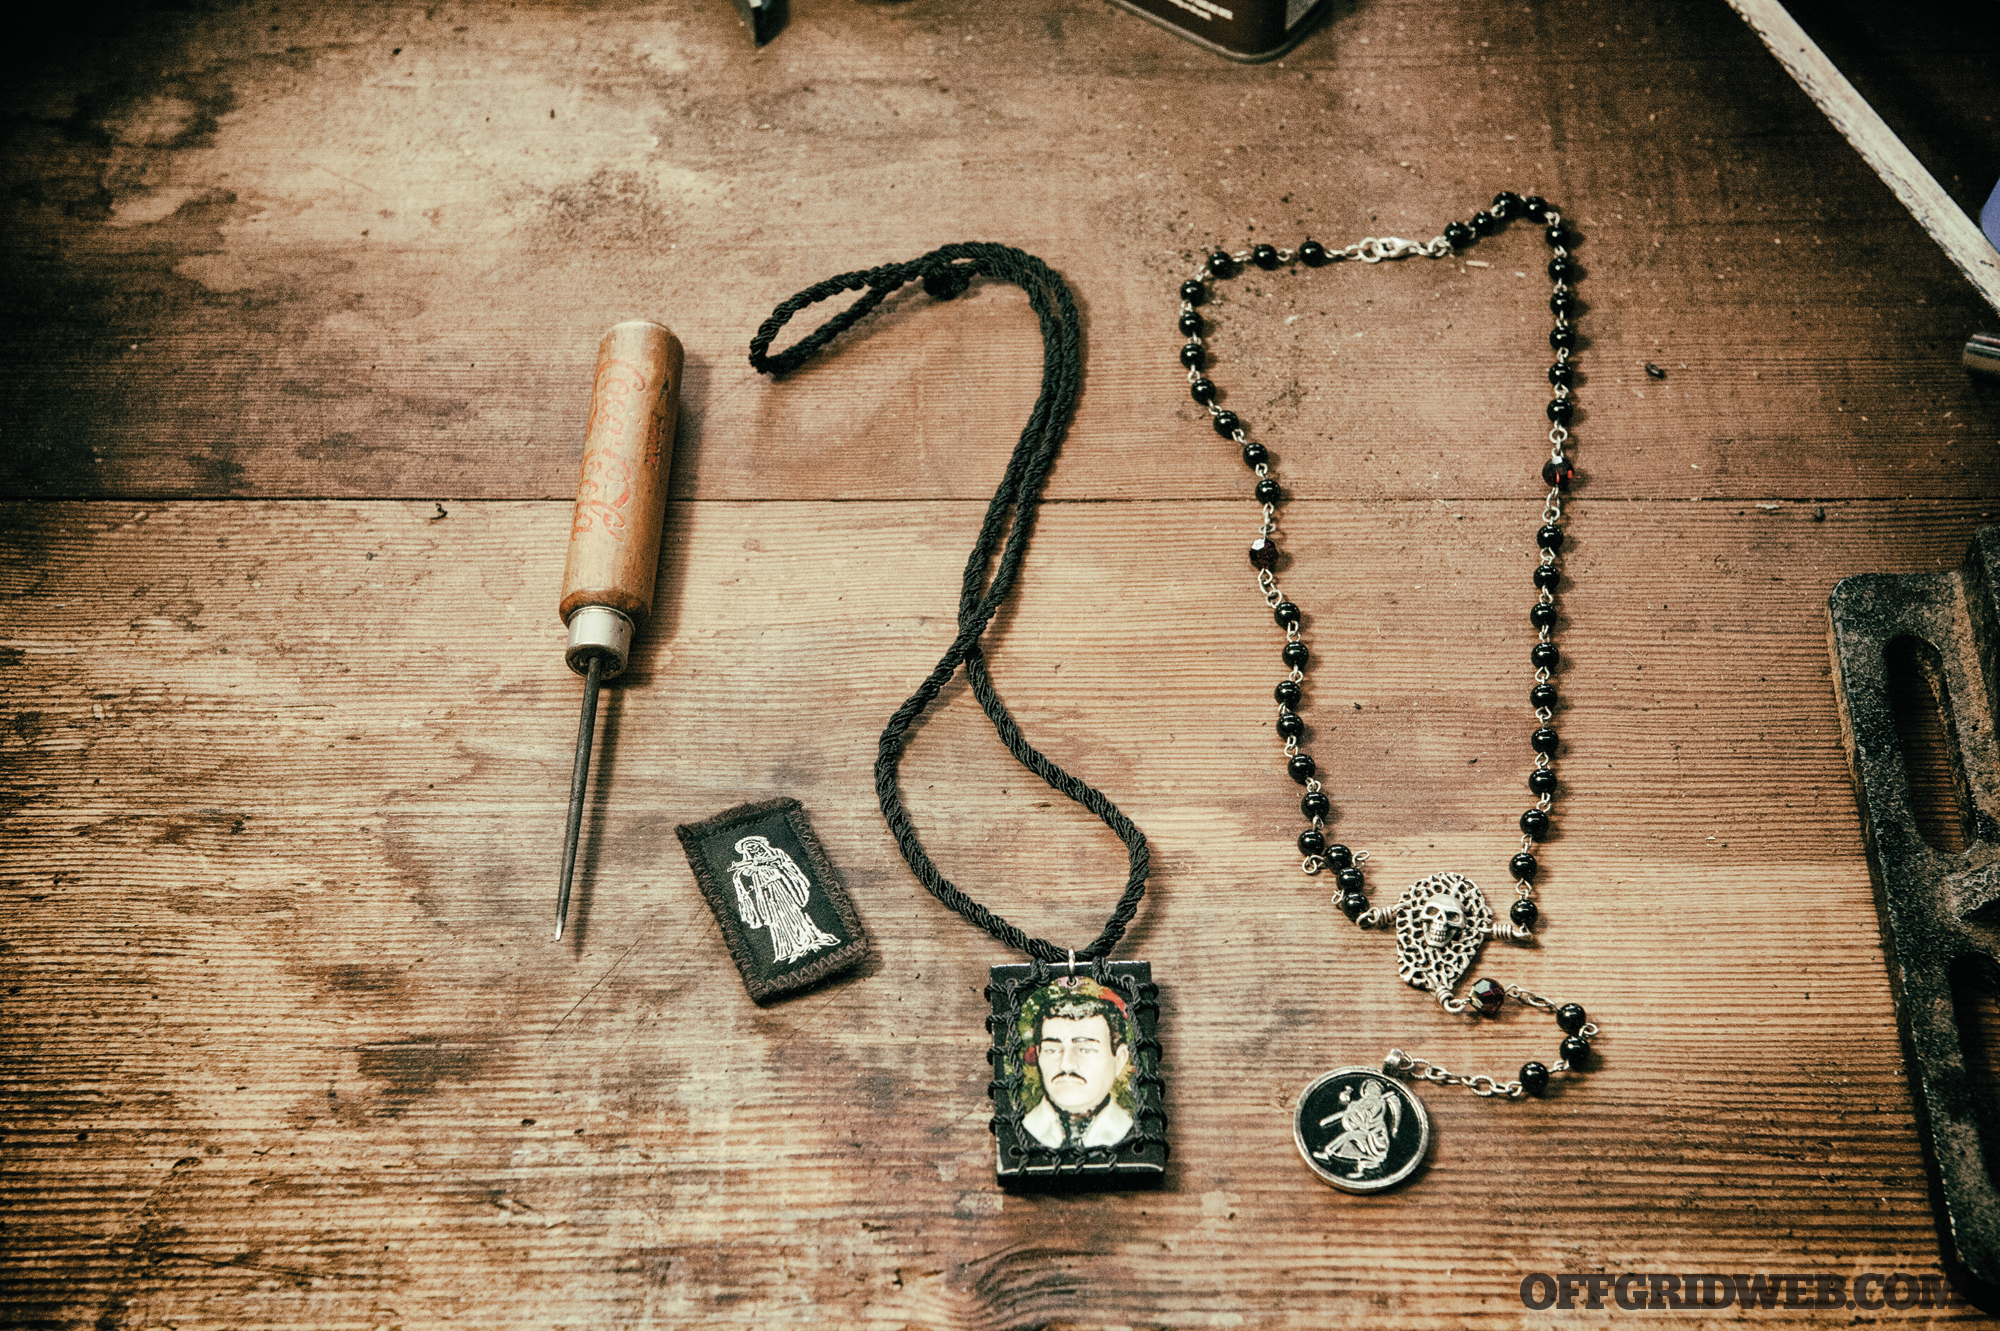
EC: Colonel Leyzaola used to say, “The hand that steals will always hide. The hand that gives thanks will always show itself.” What this meant was that cartel business operations are always very clandestine, but charity and public works were very high profile. They regularly did things like upgrading churches, paying for burials, and throwing lavish quinciñeras in neighborhoods where kids don’t even wear shoes. There’s a lot of faith involved in some of these groups. They often used Santa Muerte altars. Some in the cartels think this belief gives them an edge, or karma, in the execution of their mission. It’s sort of an attempt to bribe their way into heaven, or at least into success. There are a couple of patrons that cartel members looked to for this kind of extra boost.
One was Santa Muerte (“The Holy Death”), an old-school Aztec religious deity. Santa Muerte is an underworld goddess who, through the years, was influenced by European religions, Freemasons, and even [famous English occultist] Aleister Crowley. She’s often seen as a “last ditch” saint to pray to. If praying to other saints doesn’t work, you pray to Santa Muerte.
Cartel members and police officers would go to the Santa Muerte priestess to get protection rosaries made. These are a promise to protect them as long as they pay her — either in silver, because she doesn’t take gold, or blood. For the latter, hit men or cops would have to acknowledge that certain kills were done in sacrifice. There are rumors about how these particular kills were marked. For example, certain bodies would be found handcuffed in the front or left facedown, but it was all hearsay. But belief in Santa Muerte is widespread, and not just within the cartels, either. Soldiers, policemen, and politicians are all part of it, but their affiliation is often hidden from the public. The military has standing orders to destroy any shrines or altars that are found during missions.
The other occult deity is Malverde — a more regional, Sinaloa-based patron saint of drug traffickers. He’s depicted as a young guy, well dressed with a moustache, sort of like a Mexican Robin Hood (much like El Chapo is viewed now). There’s a shrine to Malverde in Sinaloa where senior cartel members leave offerings and thank you letters.
Do you think the media tends to ignore or falsify information about cartels and the drug war? If so, what aren’t they covering that people need to know about?
EC: One thing I don’t see much coverage on is the fact that the cartels are already here. They’ve been having kids in the U.S. that are now coming of age in places like Chicago and California, where most people wouldn’t think actually have significant cartel presence. Much of what they do is aimed at the immigrant network, so it doesn’t get reported. For example, cartel members will dress as ICE agents to carry out abductions.
Also, we refuse to acknowledge that the drug war, as a whole, is essentially a lost cause. Many Americans think we can just throw money at the problem, and this has yet to prove effective. Many of the resources that the American people put into Mexico don’t go where people think it should. The U.S. and its people should look more carefully at exactly where their money is going. Viewing the drug war as a foreign problem is dangerous because it blinds people to the operations that the cartels are conducting openly on U.S. soil.
Do you think legalizing drugs would help eliminate or drastically reduce the problems we’re seeing on both sides of the border? If so, how?
EC: I don’t see how. The cartels are diversified. Some of the bigger ones make money through laundering, shell corporations, and property holdings on both sides of the border. They pay for people’s college degrees, immigration processes, human trafficking, sex trafficking, stolen vehicle and chop-shop rackets, and gun-running. They move meth precursors (ingredients) from China. There’s extortion, abduction, and protection schemes. Even if you legalized drugs tomorrow they’d simply focus on the other parts of their businesses. The problem is more systemic, rooted in the political and cultural system. When I was on the job in Mexico, I destroyed acres and acres of marijuana fields and you guys [U.S. government] paid for the gas, the rifles, the uniforms. Then I traveled to Colorado and walked into a dispensary, and it really left me with a sense of futility and wasted efforts.
How many of the kidnappings that take place in Mexico and in the U.S. are directly connected to the cartels?
EC: In my opinion, probably around 80 percent is cartel related in Mexico. The rest would be interpersonal violence or sexual predators whose crimes are specifically disguised or carried out in a way to make them look like cartel activity. I believe Mexico actually has one of the largest active serial killer populations in Latin America.
There are always rumors of organ harvesting for black market sale in Mexico. From what I’ve heard, and my sources, some of that does happen. But there are also some isolated stories of more occult-related organ harvesting, including for rituals or even for cannibalistic consumption.
Walk us through what you think a typical kidnapping scenario would look like — or is there such a thing as a typical scenario?
EC: There is a wide variance in terms of how a target is selected and how surveillance is conducted. The environment has a large impact on this — do the abductors have police/military support? Is the kidnapper a former lover or a family member? I start my material preparing for the point of abduction. There’ll usually be some sort of observational period, this could be anywhere from a few minutes to a week or more, where the kidnappers are establishing patterns of life, looking for an optimal opportunity for physical abduction. There’s a process of figuring this out, which can be widely different depending on the victim selection.
But you do usually see some type of restraint, whether it’s physical, chemical, or psychological. Usually there’s a team.
The larger, more professional operations include a security ring to block roads, chase vehicles, and lead vehicles. It usually takes three to four people to pull somebody into a van or vehicle. Kidnappers dressing as military or local police is also very common. There are ways to spot this — for example, someone might be dressed as a soldier, but not carrying the issued weapon of the local military.
Initial searches are typically very cursory. They’re worried about being seen, so they bring the victim to some place they can control, like a vehicle or pre-set room. They’re betting on you being scared and overwhelmed and not knowledgeable on how these things go down. During the initial search, things can get missed.
Then there’s initial transport phase. At this point they’re worried about 1) maintaining control of the victim, and 2) if they were spotted by authorities or bystanders. This is a good time to consider making a run for it, accessing tools, or trying to fight. They may move you to a temporary holding site like a parking lot, for a vehicle switch or to wait and see if they were followed or noticed. At this point they’ll likely perform a more in-depth search of the victim.

Victims may be incapacitated. After this, you get moved to a long-term holding site. At this point you’re typically down to your underwear and most of your equipment will be gone. The long-term holding site will likely have bars on the doors and windows, tarp or plastic sheeting on the ground, windows covered with aluminum foil, or makeshift cages. There’ll be equipment for long-term bondage — locks, chains, handcuffs, etc. That’s when you know you’re in for the long haul. If you’re lucky, you’ll get a latrine bucket.
The plastic covering is put on the ground for two reasons: first for cleanliness, because it’s easier to change out, and second, it makes noise. There’s no way to move around quietly on a plastic sheet. I’ve never seen or heard that part discussed publicly.
How do kidnapping scenarios and motives differ from country to country?
EC: In execution, there are differences down to what they use to tie you up, how you’re held, the amount of torture inflicted, and what the life expectancy is for somebody getting abducted. Motivation is also key; religious and ideological versus an organized criminal enterprise. Specific environmental factors such as police or military support for the kidnappers will also be different from place to place.
What are the public’s biggest misconceptions about how kidnappings are carried out?
EC: One of the biggest misconceptions is that people believe they’ll be immediately thoroughly searched and everything on them will be taken away. There’s actually a lot of opportunity to conceal tools, even past the abduction.
People also believe they’ll never be able to overcome the numbers. But there are lots of cases of people getting away by either spotting the indicators before the abduction or even jumping out of an abduction vehicle after breaking restraints. Training and equipment helps, but mindset is probably the most important factor. Don’t give in to the kidnappers’ illusion that they’re in complete control, and you are helpless to fight back.
What factors make someone a target for kidnapping?
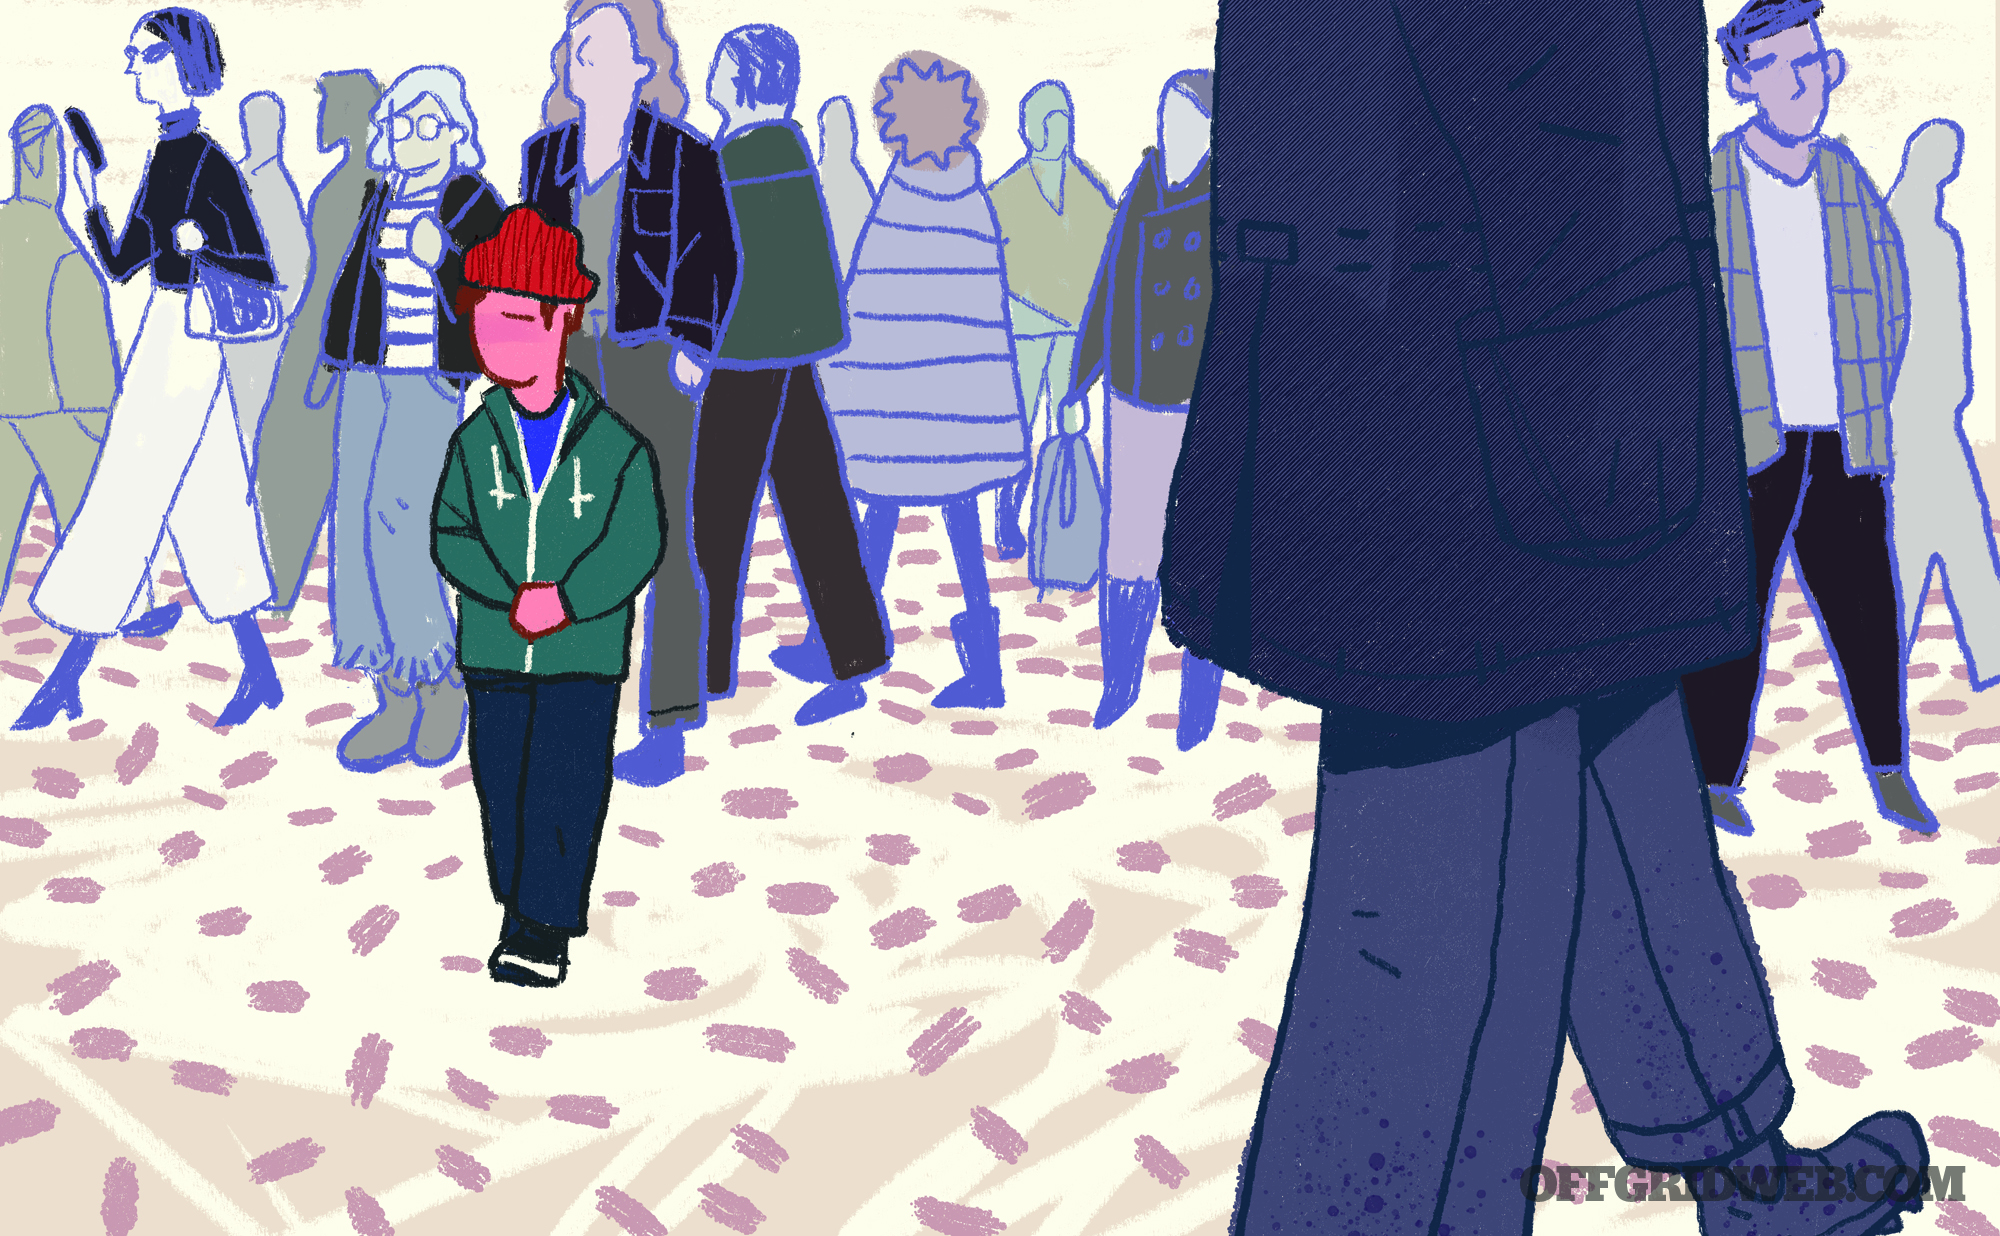
EC: Signs of wealth, demonstrated by their possessions. Their social media, either through demonstration of wealth and status or establishing patterns of life and real-time locations. It’s an open window into your daily life that can be very easily used to target you. If the abduction is ideologically motivated, expressions of your nationality based on clothing, language, attitude, body language, etc., can also be a factor.
What is the usual M.O. of the kidnappers?
EC: Nowadays it’s very common for kidnappers to use social media to select and research targets. They may use your routine to help set up surveillance. They typically choose younger, fitter, military-aged males for actual abduction teams. Targets are almost always searched before they’re bound.
What’s the usual outcome for the victims if the kidnappers’ demands aren’t met?
EC: Death is usually the immediate outcome. Body disposal in Mexico occurs on an industrial level, and you will likely never be found. They’re very professional when it comes to body disposal. Caustic sodas, pig farms, and mass graves are all over the place, and the forensic science isn’t at the level where you will be identified post-mortem.
You talk a lot on your site about understanding the perspective of a criminal or abductor. What do you think the average person should know about that?
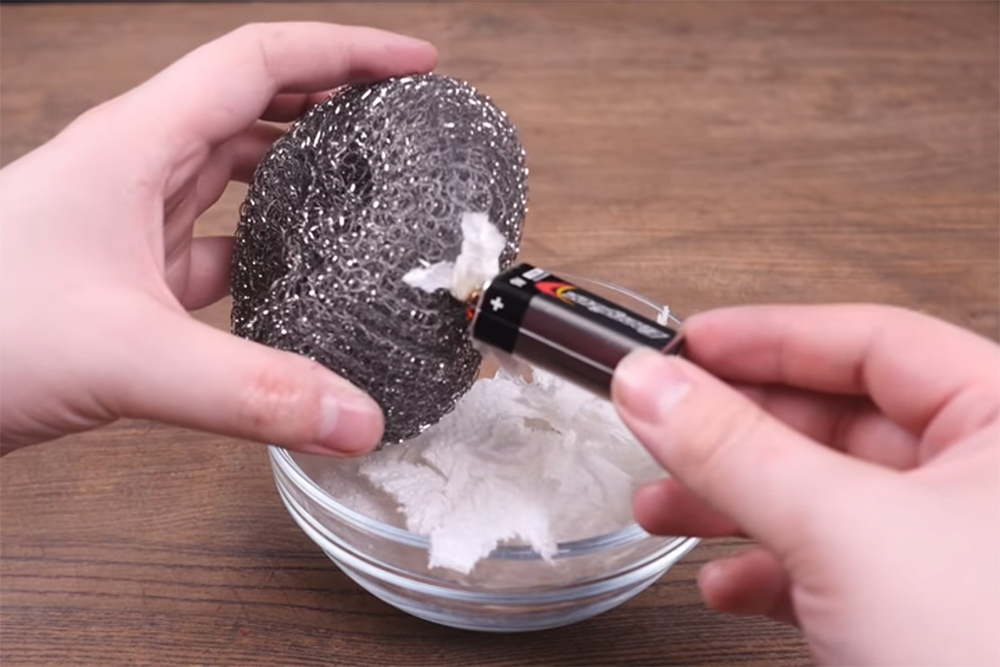
EC: They don’t have everything they need, and therefore they learn how to improvise. Criminals won’t go on the Internet to order their equipment. People assume a lot about capabilities, but creativity is something that gets underestimated when assessing criminals.
What’s the biggest lesson children should be taught about potential abductions?
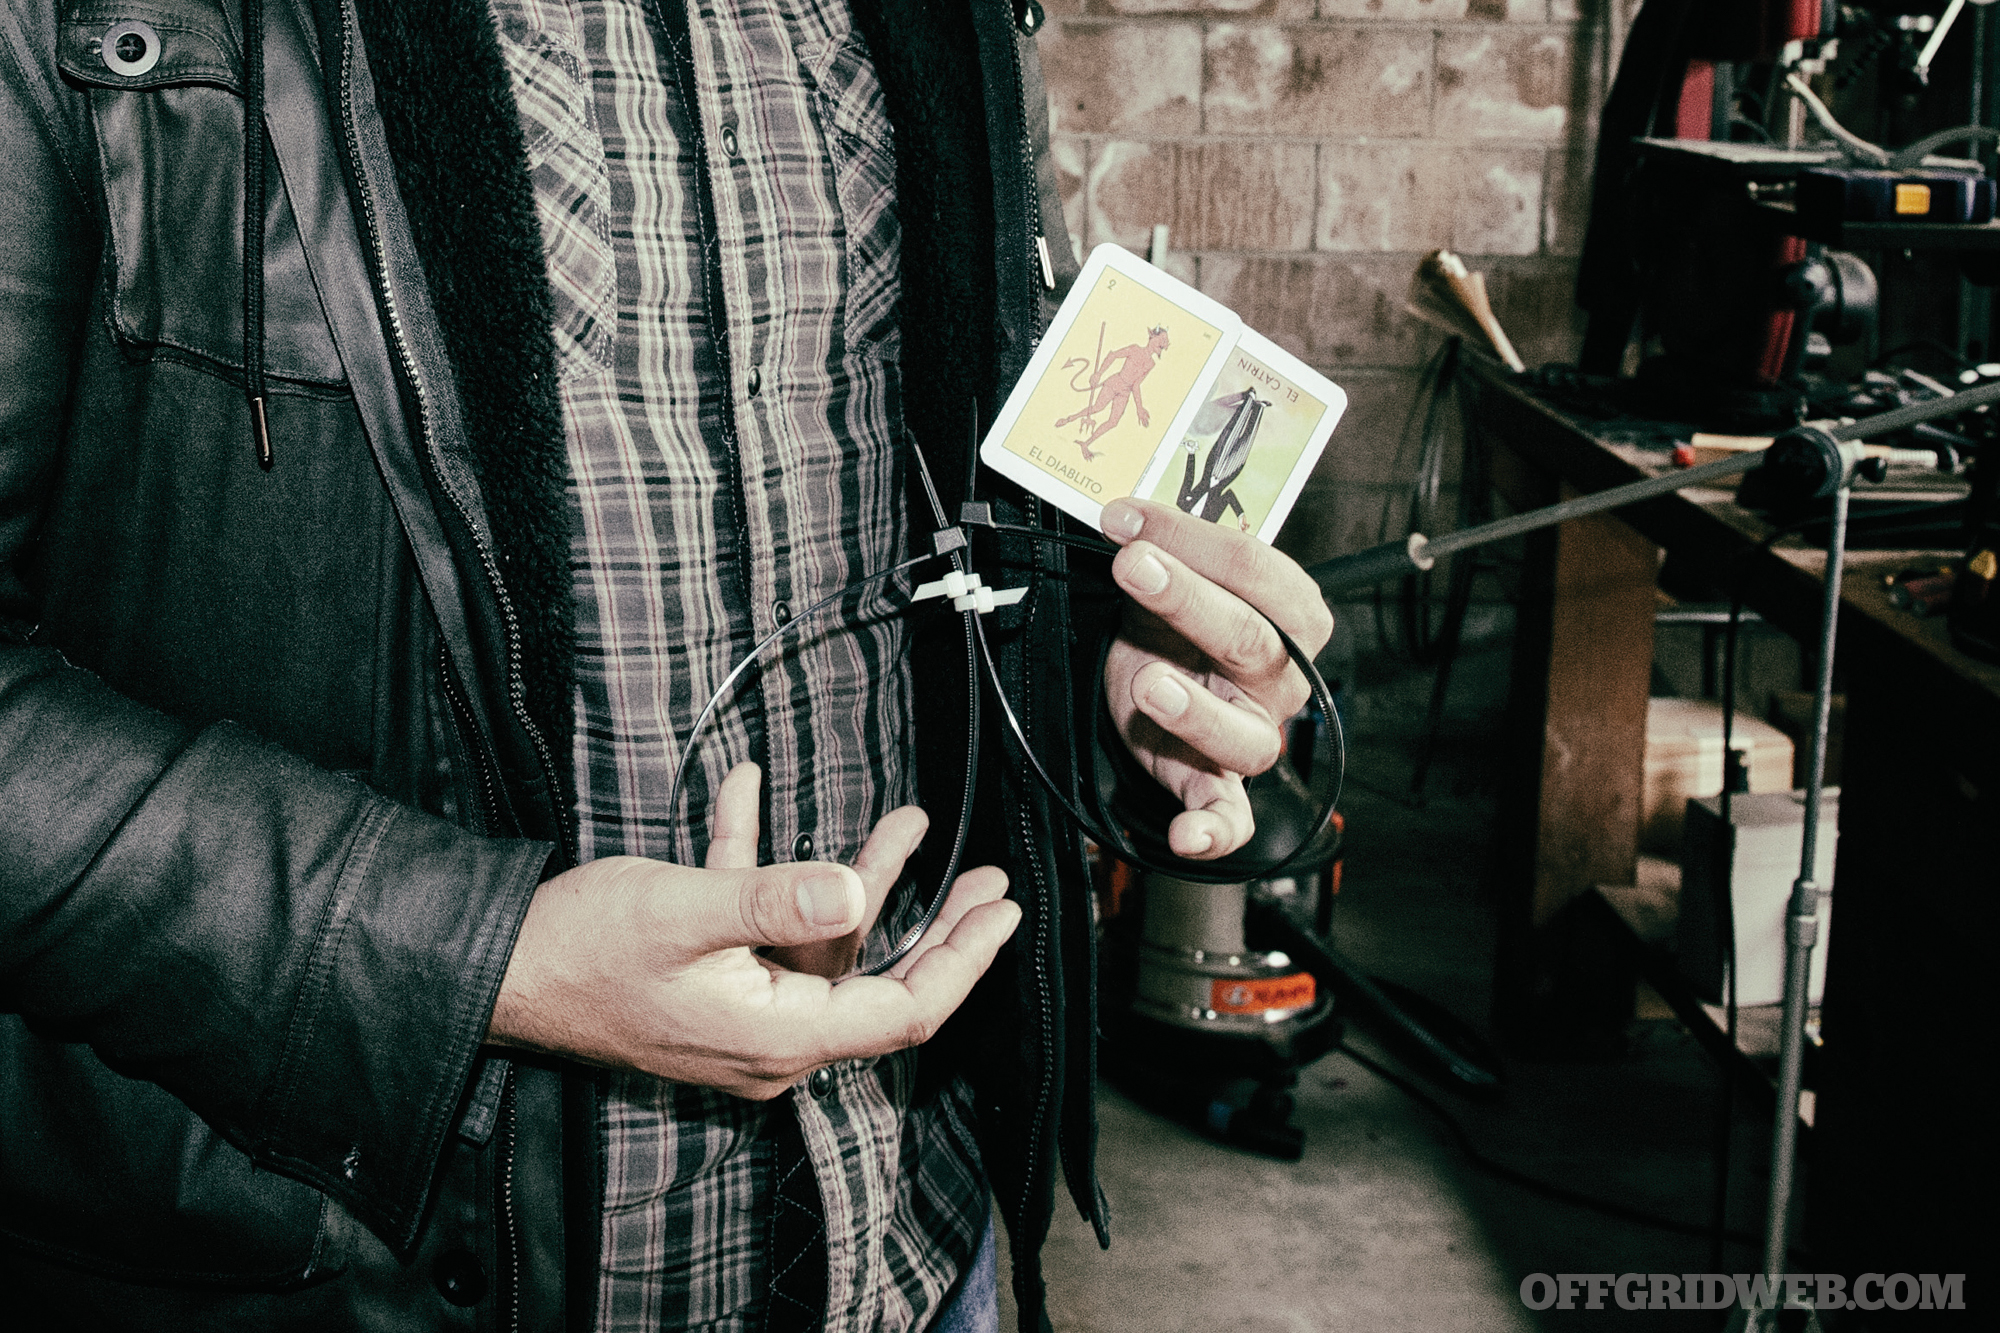
EC: The value of resisting somebody trying to grab onto you. A karate class or self-defense class isn’t enough. Any sort of preparation of that nature has to include the parents. People should know that kids playing hide and seek are learning a survival skill. Being able to incorporate a play element doesn’t demean or devalue the training. It may actually help them absorb the information. Even with my students, I like to make a game of teaching them situational awareness. I have them pass a card off on each other, without the receiving student knowing the card is on them. The loser may or may not have to sing karaoke.
Include your kids in any kind of training, like firearms or survival, so they can get experience at a young age. There’s no such thing as an R-rated abduction story for kids. They need to know what the boogeyman looks like. It’s not gonna be a guy in a trench coat offering a lollipop. Evil has many faces, and they’re usually pretty charming. It’s not about fear mongering, they just need to be aware that those things are real. Let them know the options, including breaking somebody’s grasp. Above all, I think situational awareness is the most valuable, and easily teachable skill for children.
Tell us about the types of courses you teach.
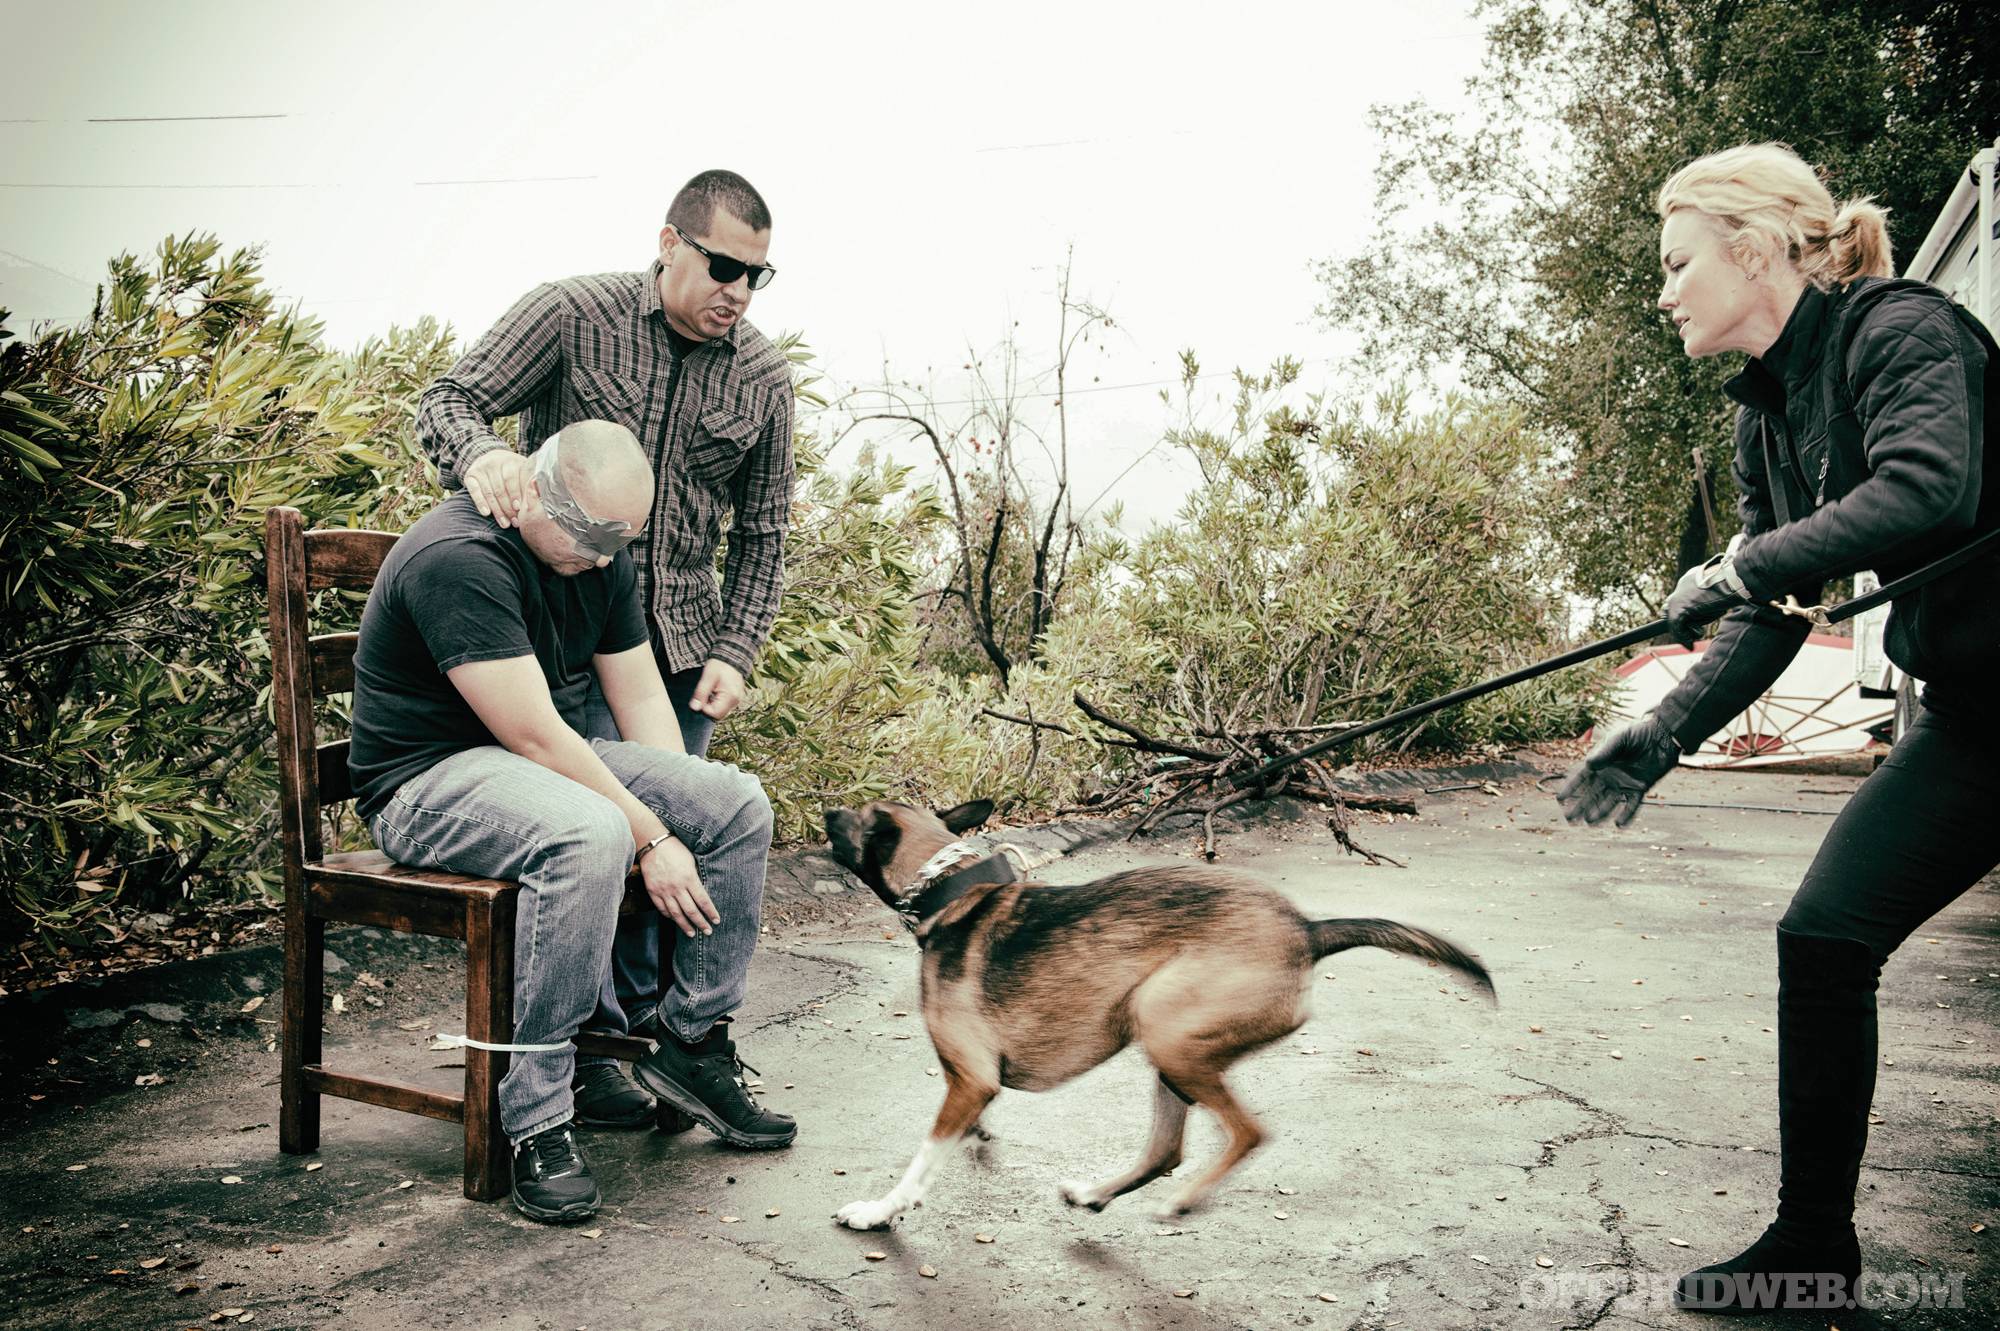
EC: I teach two types of courses, one mainly focused on counter-custody or trying to escape any kind of irregular custody. Much of the experience I draw on for counter-custody was simply based on what I witnessed in the field, as opposed to any specific training I received. Also, just speaking to the Mexican populous and finding out how everyday people prepare themselves for possible abduction. Being abducted was a daily worry for our guys. We looked for specific training in this skillset, and it was incredibly difficult to find. So we reverse-engineered based off the tactics of the cartels. But the courses I teach aren’t specific to cartel abductions. I draw from anecdotal stories and parallels to Middle Eastern and European threats as well.
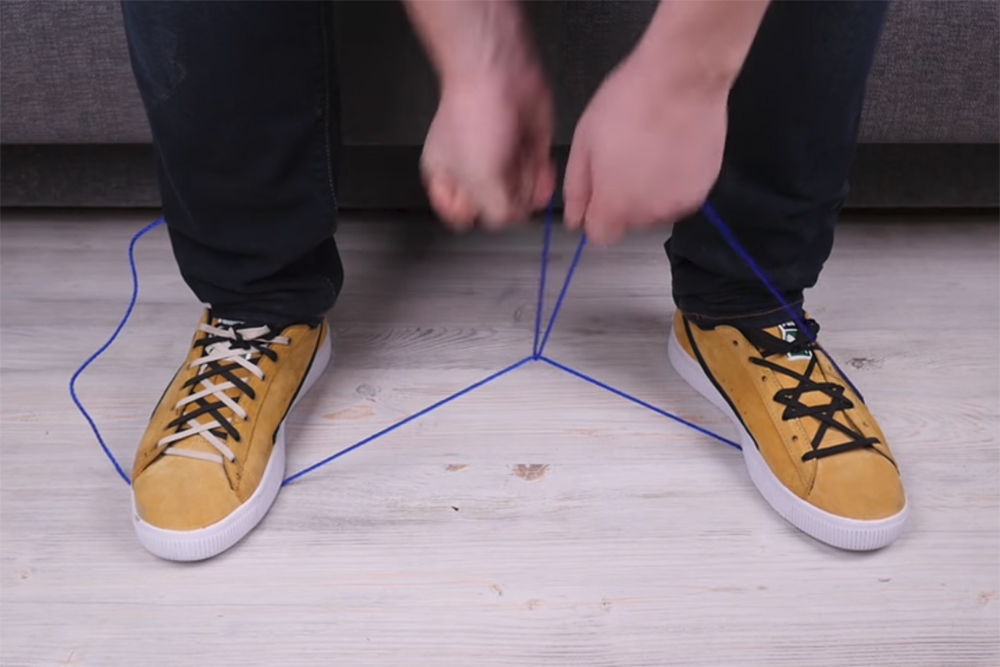
Much of it revolves around making yourself a harder target. But there’s also knowing what kinds of restraints are being used. Everyone focuses on zip ties and duct tape, but there are also psychological restraints, like telling somebody their loved ones will be harmed if they escape. Or restraint through mutilation, like cutting the bottoms of the feet, or injecting saline solution into the soles of the feet so you can’t run. There’s also chemical restraint through being drugged or placed under the influence of narcotics. I don’t see a lot of that information being taught, and I think it’s something people should be aware of. I really like taking the approach of having students use role play to self-assess their situation and their own level of preparedness to confront these kinds of threats.
There’s a big movement to be the “gray man.” I believe there are some limits to this theory. Instead of trying to be a chameleon, be a zebra. Create a narrative other than your real narrative and learn that. This will give you a camouflage regardless of where you are, instead of trying to blend into each individual environment.
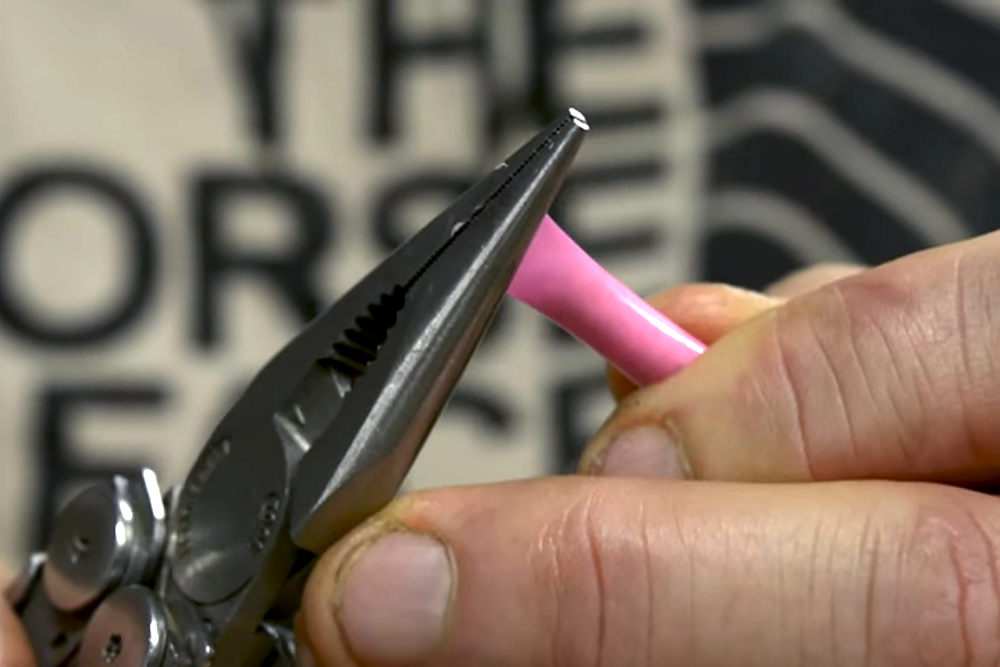
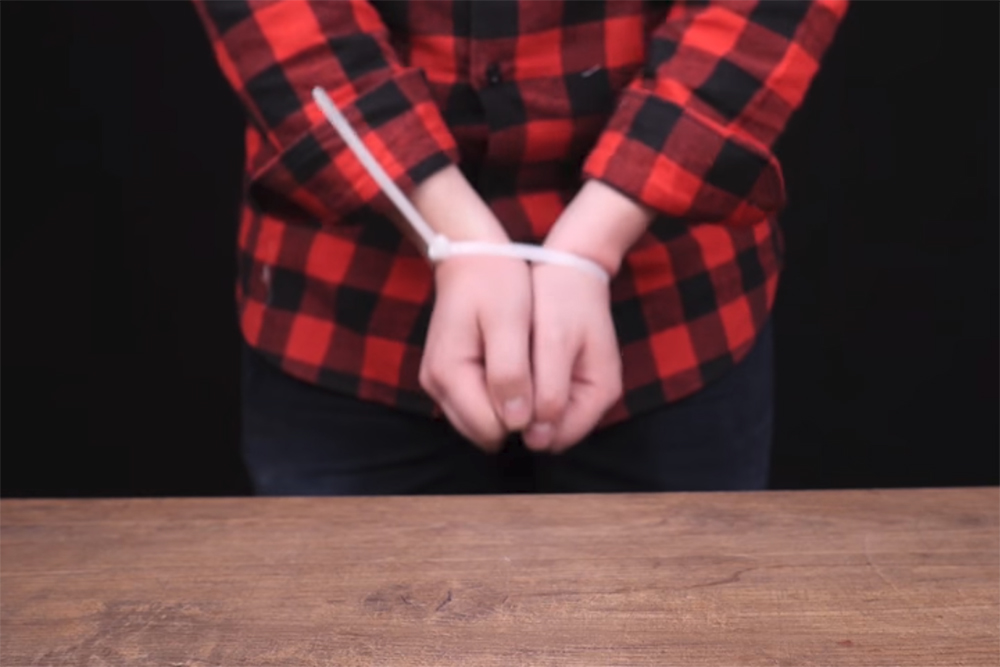
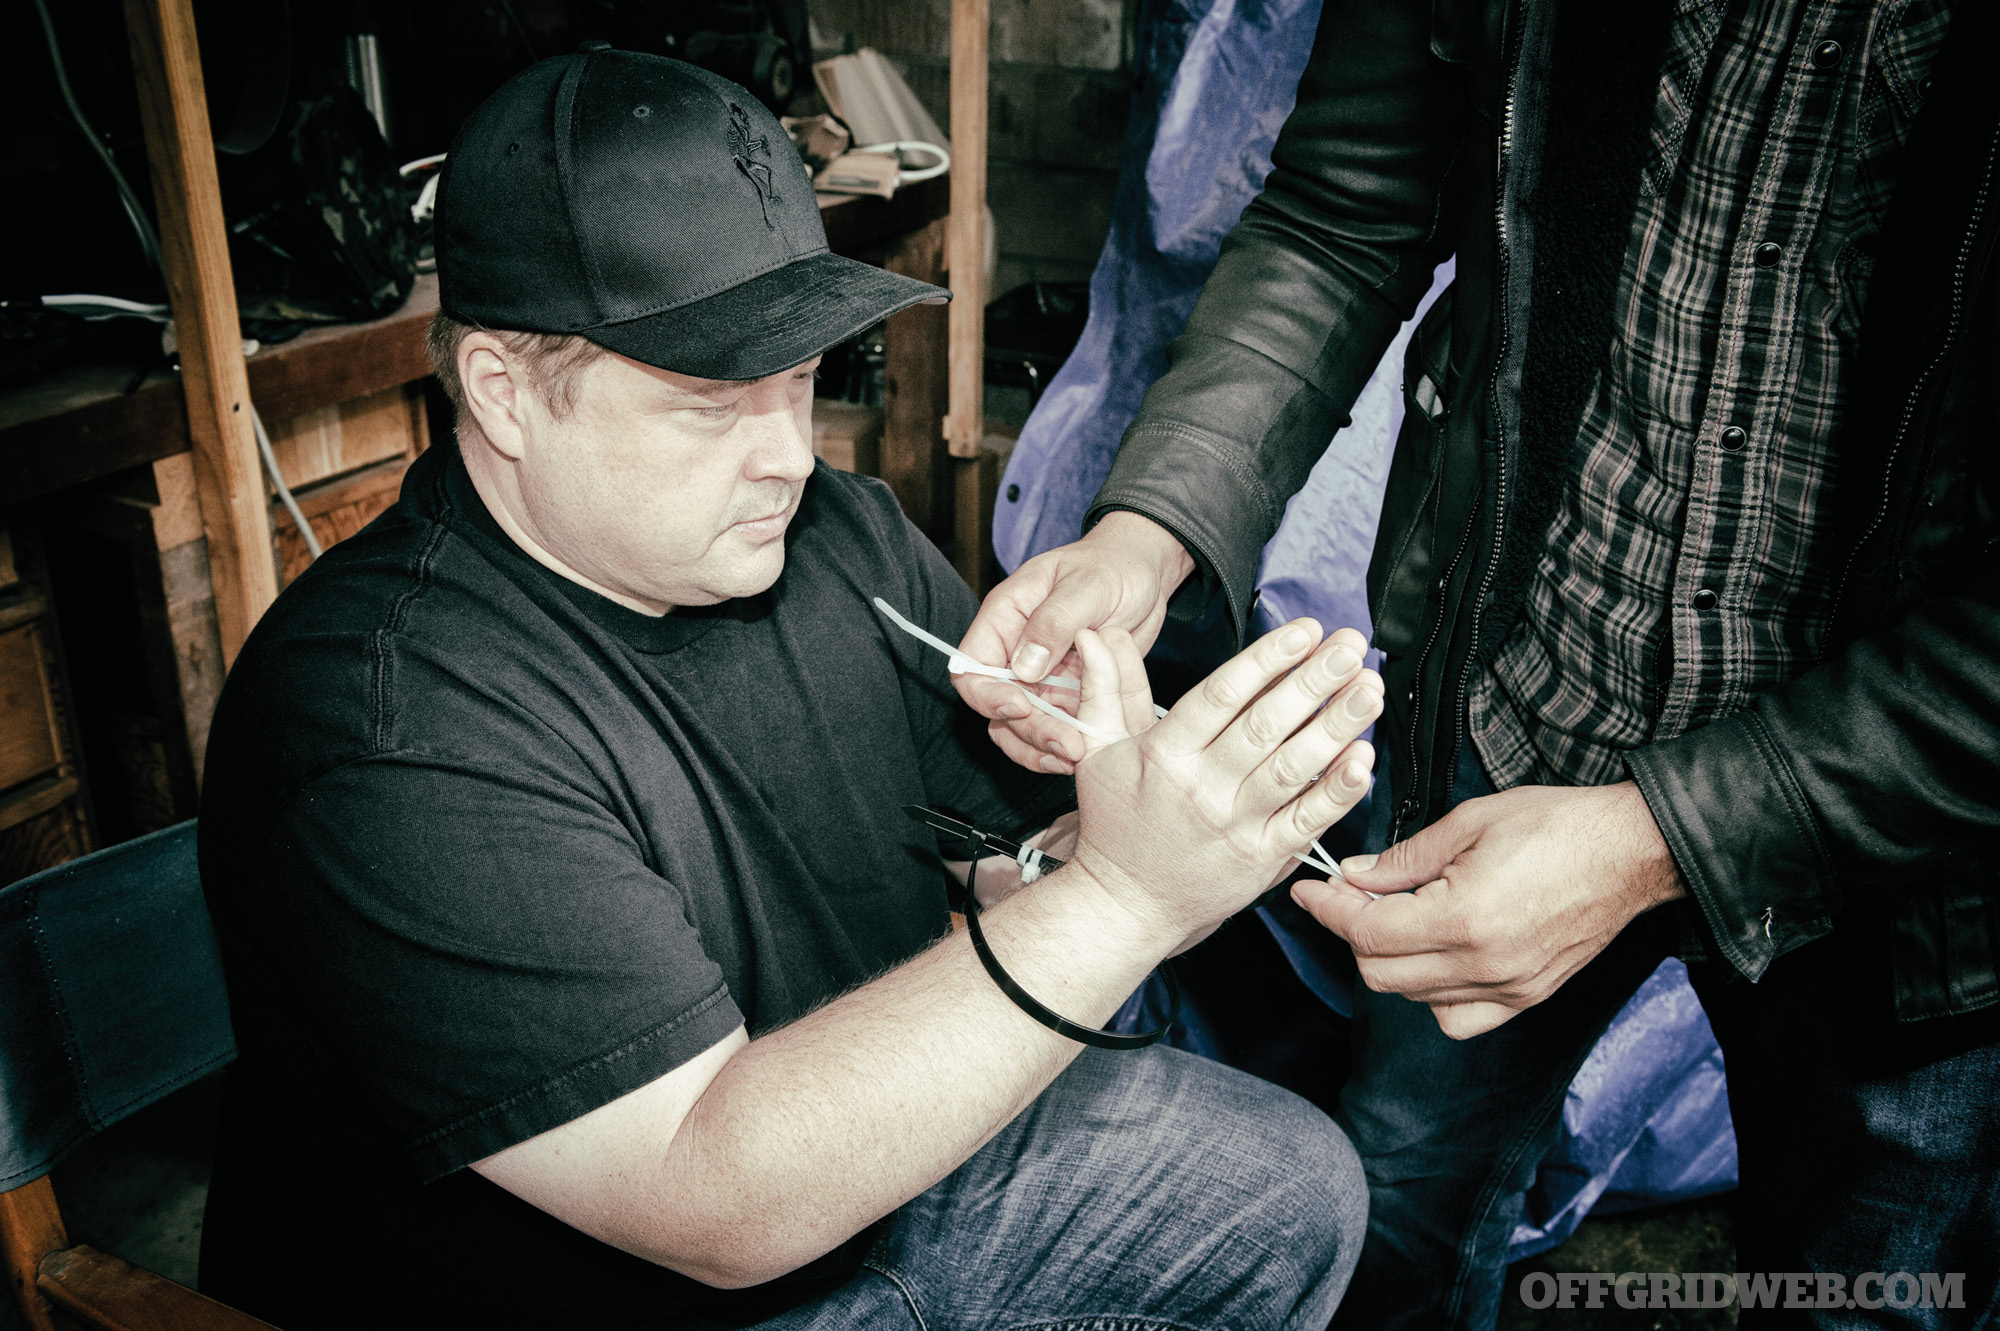
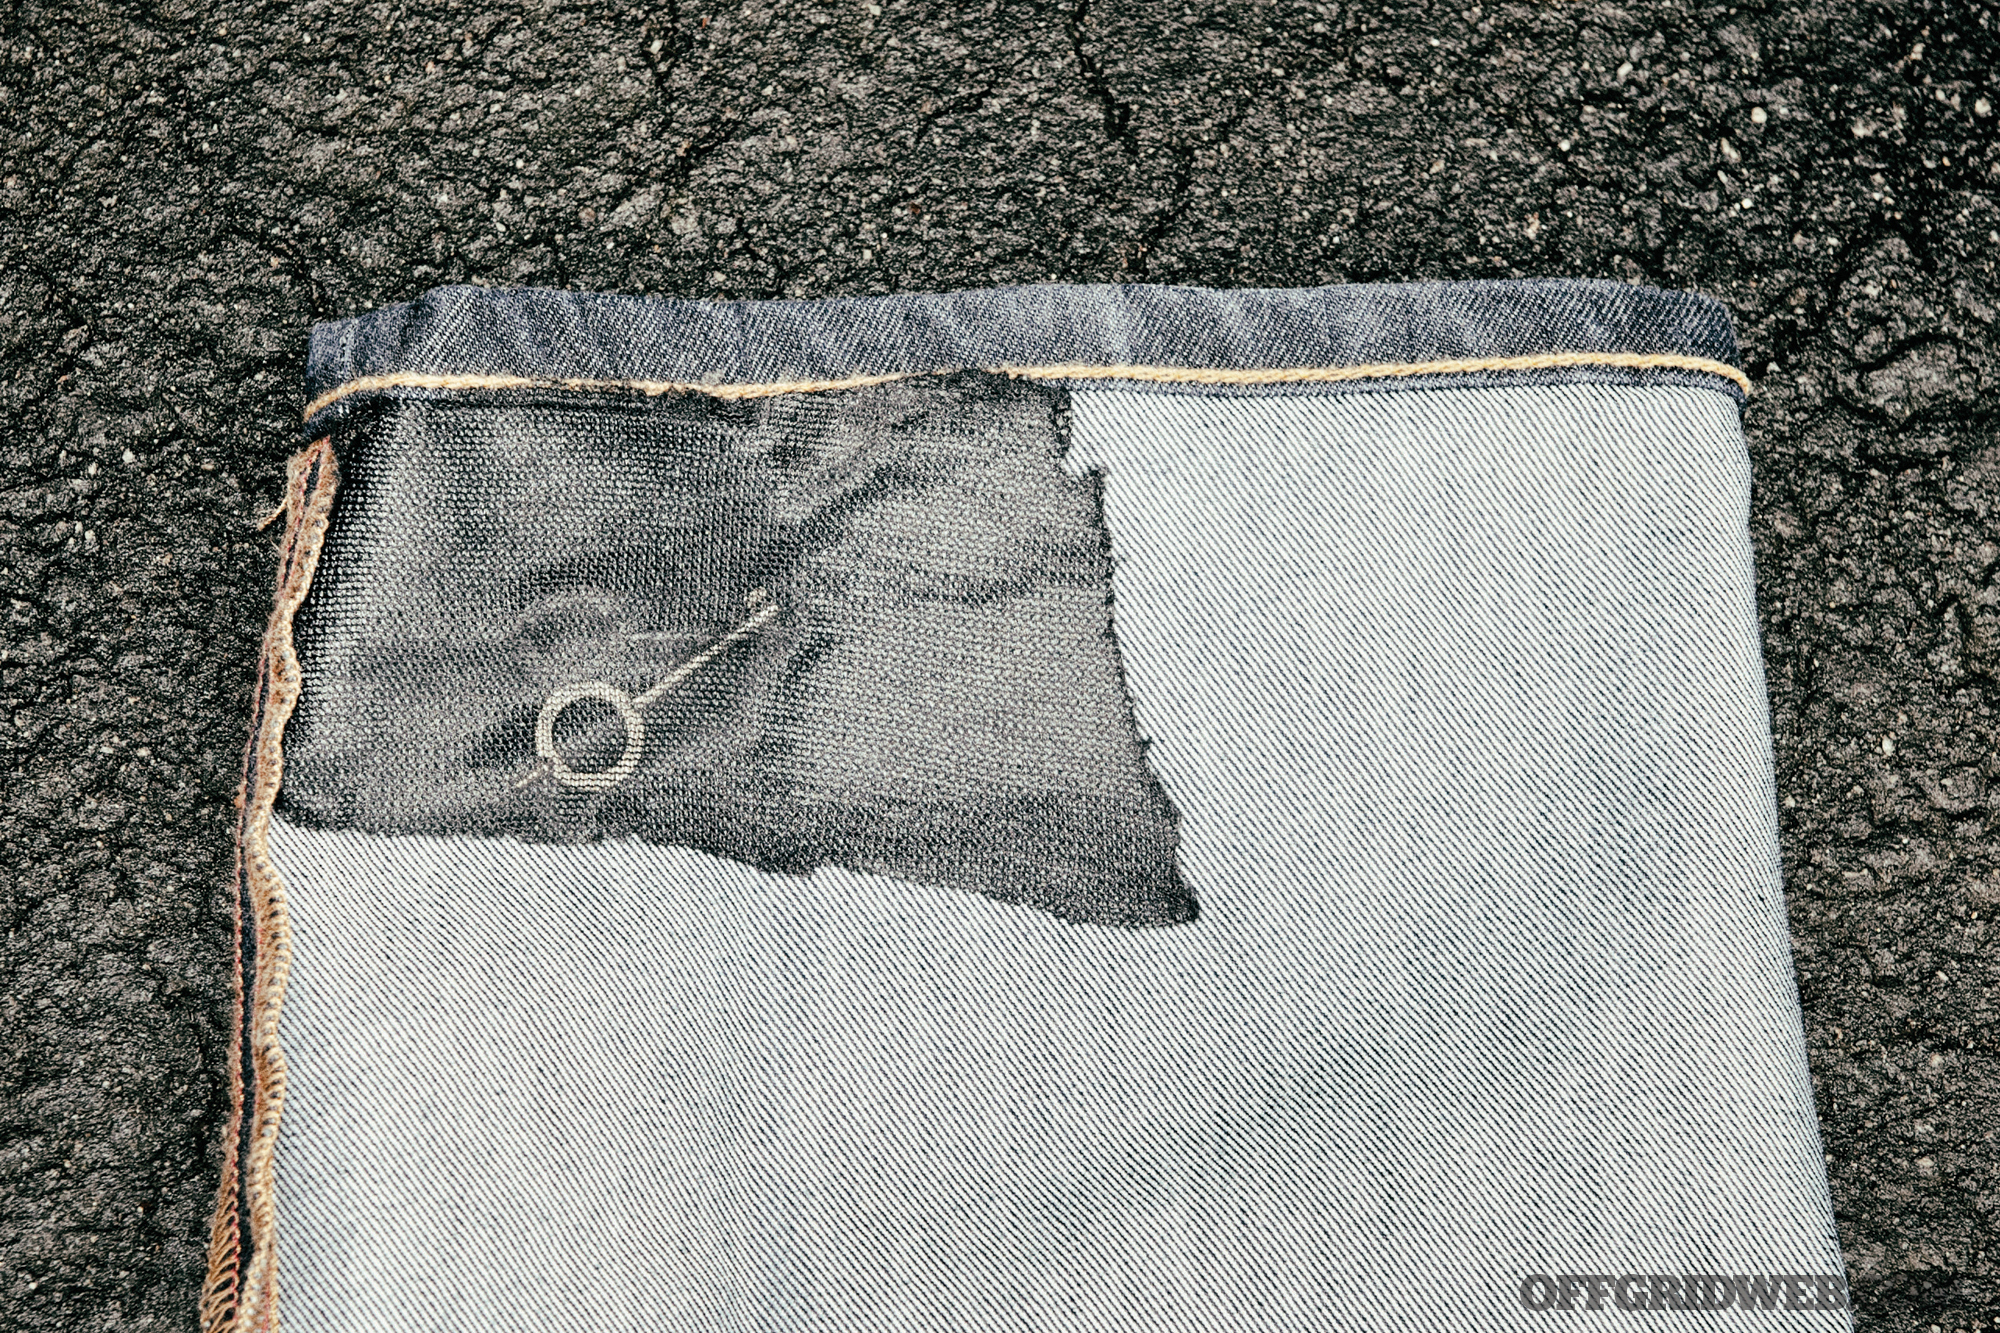
I also teach people how to hide things on their body. How to sew homemade pockets and weave cordage into their clothing. Most of these things I learned from the people we chased, not the people who trained us. It’s a very criminally based mindset, but it’s highly effective. Escape tools must be carried redundantly in case you’re bound in front or back. Criminals are looking at the same YouTube videos you are. They’re researching the same social media and Internet-based information you do. That black paracord survival bracelet isn’t fooling anyone. Example: They are counter-acting the “body break” zip tie technique by making angled cuts in the zip ties to slit your wrists when you put weight on them. They are “hardening” their abduction techniques to beat SERE-level training. Also duct-taping individual fingers to prevent access to tools.
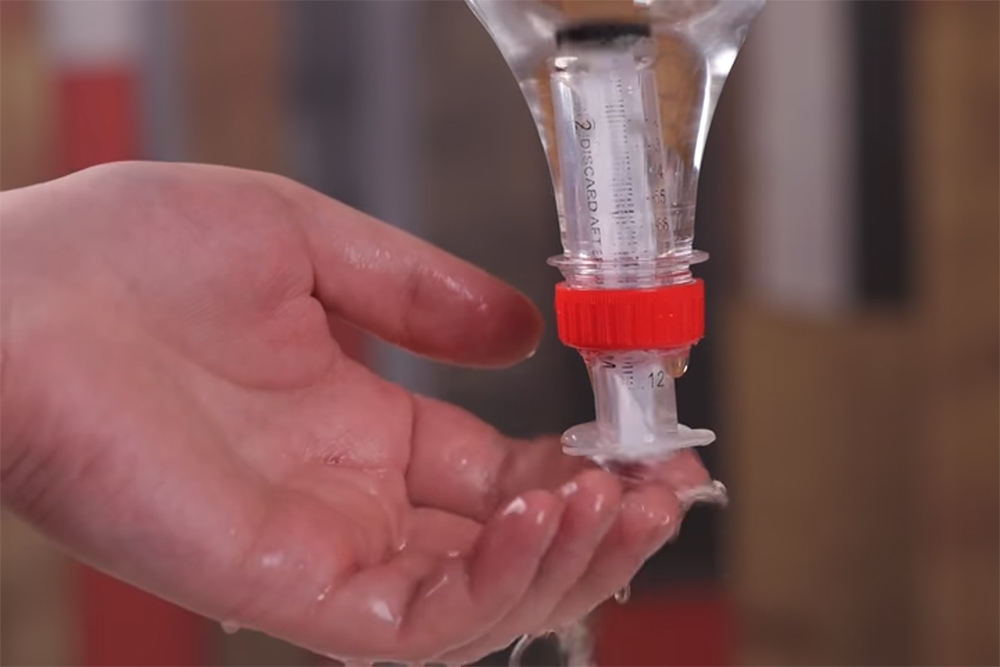
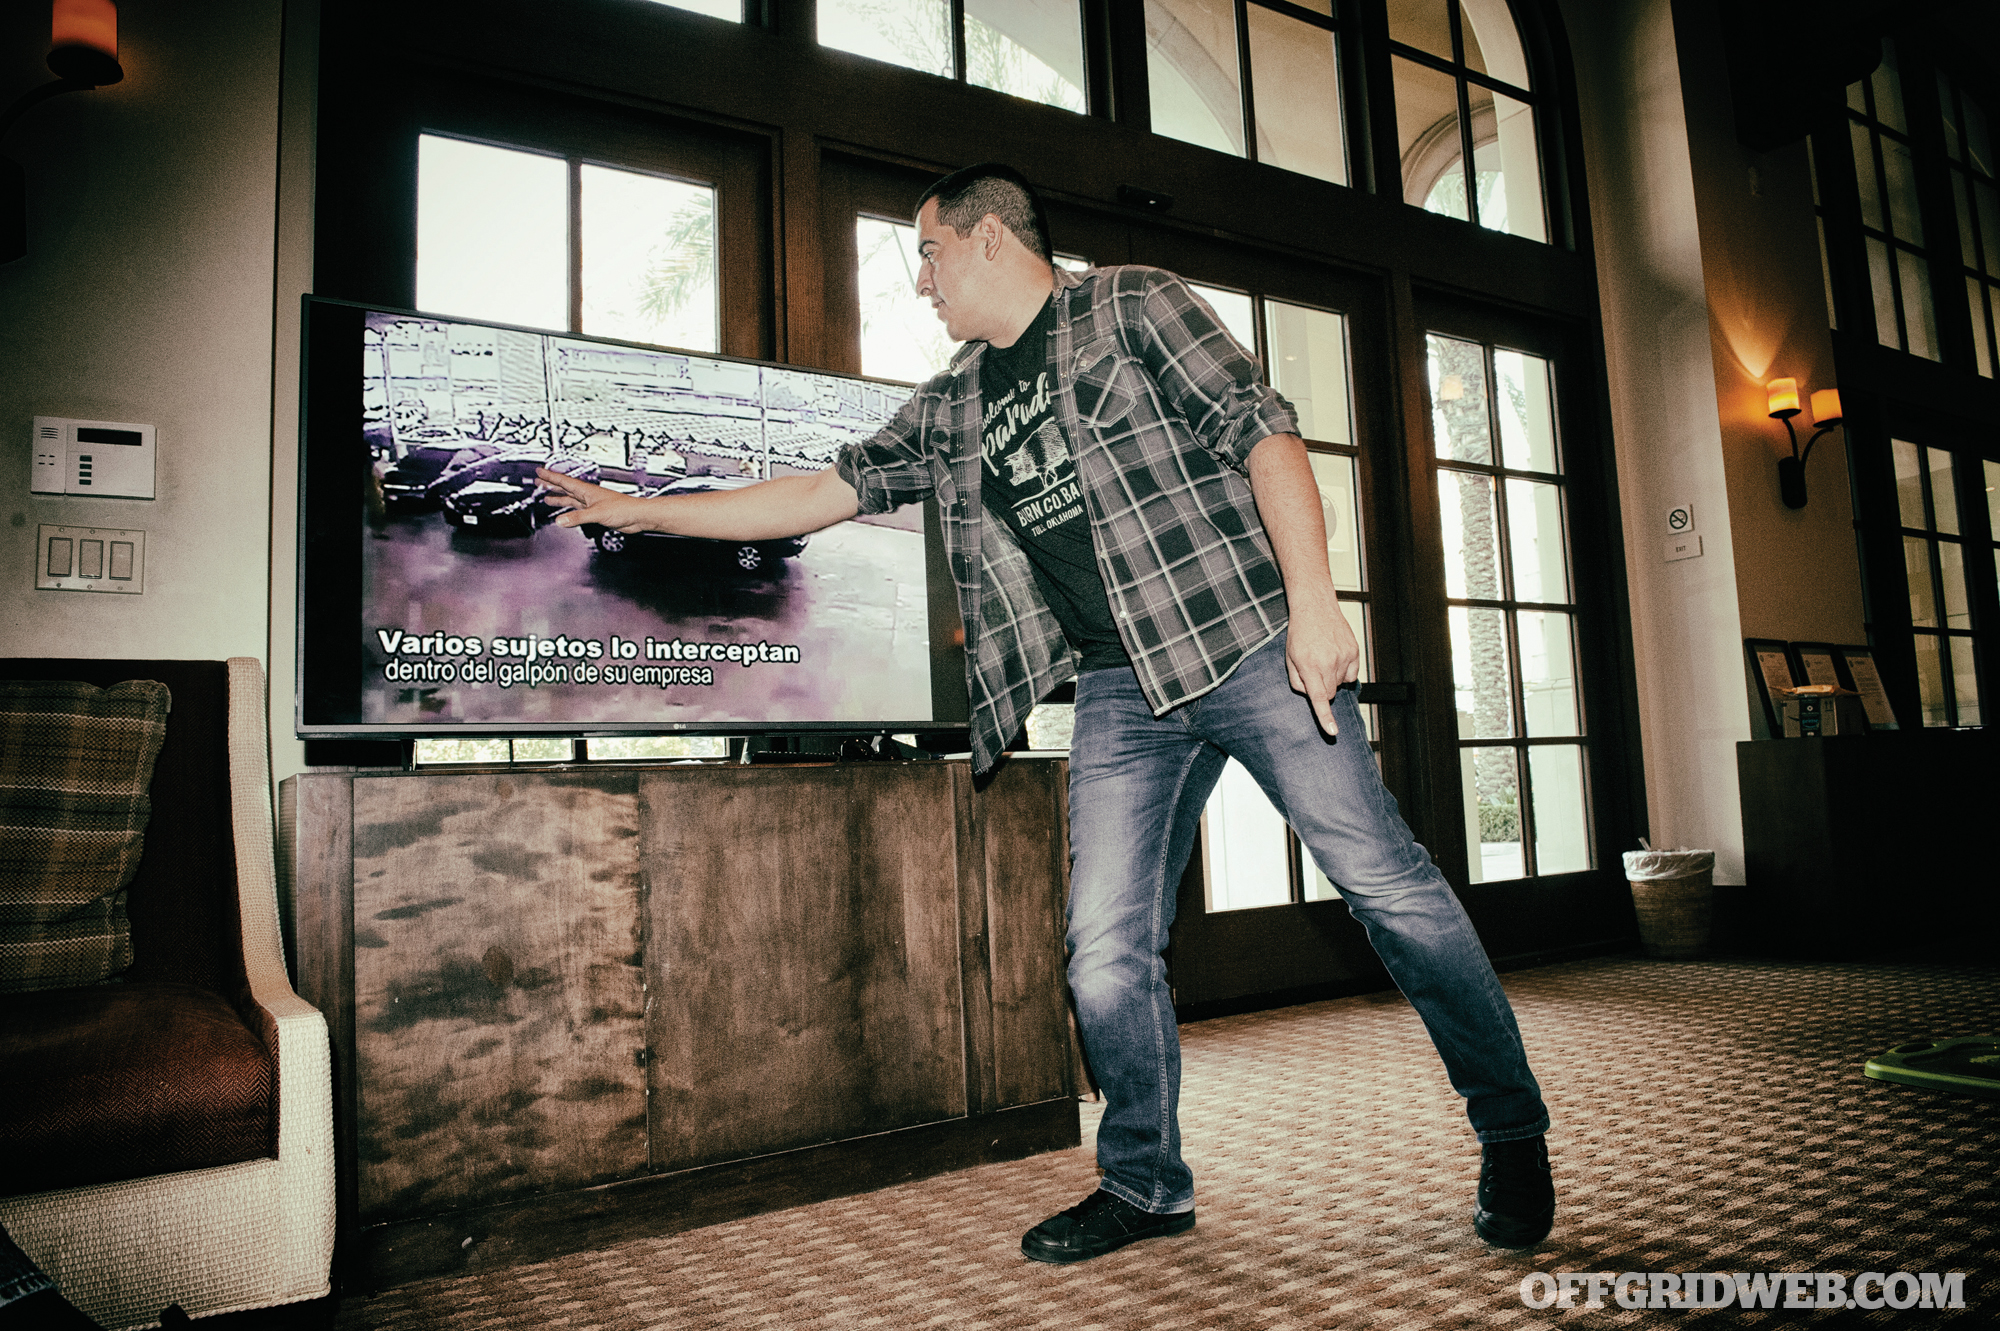
My students learn to prepare accordingly for their region before travelling there, and prepare for the kinds of threats you actually are going to encounter. How to weaponize everyday items. How to hide things on your body, and justify the things you’re hiding. How to source or procure items locally. In the end they must go through a full abduction scenario both as an abductor and as a victim. Each scenario is debriefed so that students can assess themselves going forward.
There are also my Weaponology classes, which are more focused on improvised weapons of both impact and pointy kind, and how to get them past inspection. I have students practice on organic media. Basically I show them how to use the worst, most evil street techniques that I’ve encountered in my career. I also teach how to negate weapons access for an attacker.
Then sometimes I’ll do small one-day classes on Mexican occult criminal practices and urban movement — the mental aspects to movement through a hostile urban area.
Speaking of weapons, what are the firearms laws like in Mexico? Do you think they’ve helped reduce crime or reduced the general public’s ability to defend themselves?
EC: Firearms laws in Mexico are very strict. There aren’t individual state laws in Mexico. There’s one blanket federal law. It limits calibers, where you can buy a firearm, how many you can have, and where you can use them. Basically, you can’t have anything outside of the parameters of the law. For example, a .380 Glock is legal to own, but you cannot carry it. If you belong to a shooting club, you can take it to the club and back. The only gun stores in Mexico are run by the Mexican military. But everyone has a gun in Mexico. The law is very strict, but only the law-abiding citizens follow it. The criminals are armed to the teeth. I think it’s one of the saddest things that the culture of disarming the citizens is still being pushed. Buybacks happen regularly and, usually, there’s a spike in break-ins and robberies in an area immediately after a successful buyback. So I don’t think these laws do anything to help anybody but the criminals.
What do you think most survivalists or TV survival shows overlook about real-life urban survivalism?
EC: Actually doing their research on the cultural dimensions of the region they’re moving into. I get a kick out of these guys wearing 5.11 clothes and bracelets and big bowie knives. I focus on “going local.” Religious iconography, slang, sports teams, how those things will get you into places you didn’t think you could get into, even without speaking the language. Cultural research is just not something you see many people focusing on. For example, what does being Catholic mean in Mexico? Does it mean they’ll have a good place for me to sleep? Does it mean I can hide out in a church? Or are those churches cartel-controlled?
Another great skill is how to barter — I can get into more places by bartering. Learn what is of value to the people around you. For example: SureFire flashlights get you into Mexican nightclubs. Even without knowing the culture, I know he’s a doorman at a nightclub, and light is important to him. What do people need/want in that area? Also, bribery. Knowing how to bribe somebody. Can you approach a police officer in a third-world country? How much does it take to get out of running a stop sign, or an accusation of DUI? It’s not the most exciting thing to learn about, but it has saved me in more situations than anything else. It can save you so much hassle if you just do your research beforehand and then talk to local people when you get there and “learn the flavor.” I guess urban survival in a grid-down situation may be different than urban survival as a traveler in a hostile foreign country. But bartering and bribery are universal.
What do you think is the one survival item people should never leave their house without?
EC: A knife. A knife can be a medical tool, a survival tool, it can make you other things, can help you make a fire. It can also be used as a weapon. Historically, it is the No. 1 anti-rape tool. Women in many cultures would always carry around a small knife. There are accounts of this across history, from Vikings to Japan to Indonesia. In Mexico, women carry knives a lot, specifically prostitutes. It’s part of the reason many edged weapons schools teach a lot of low-body targeting.
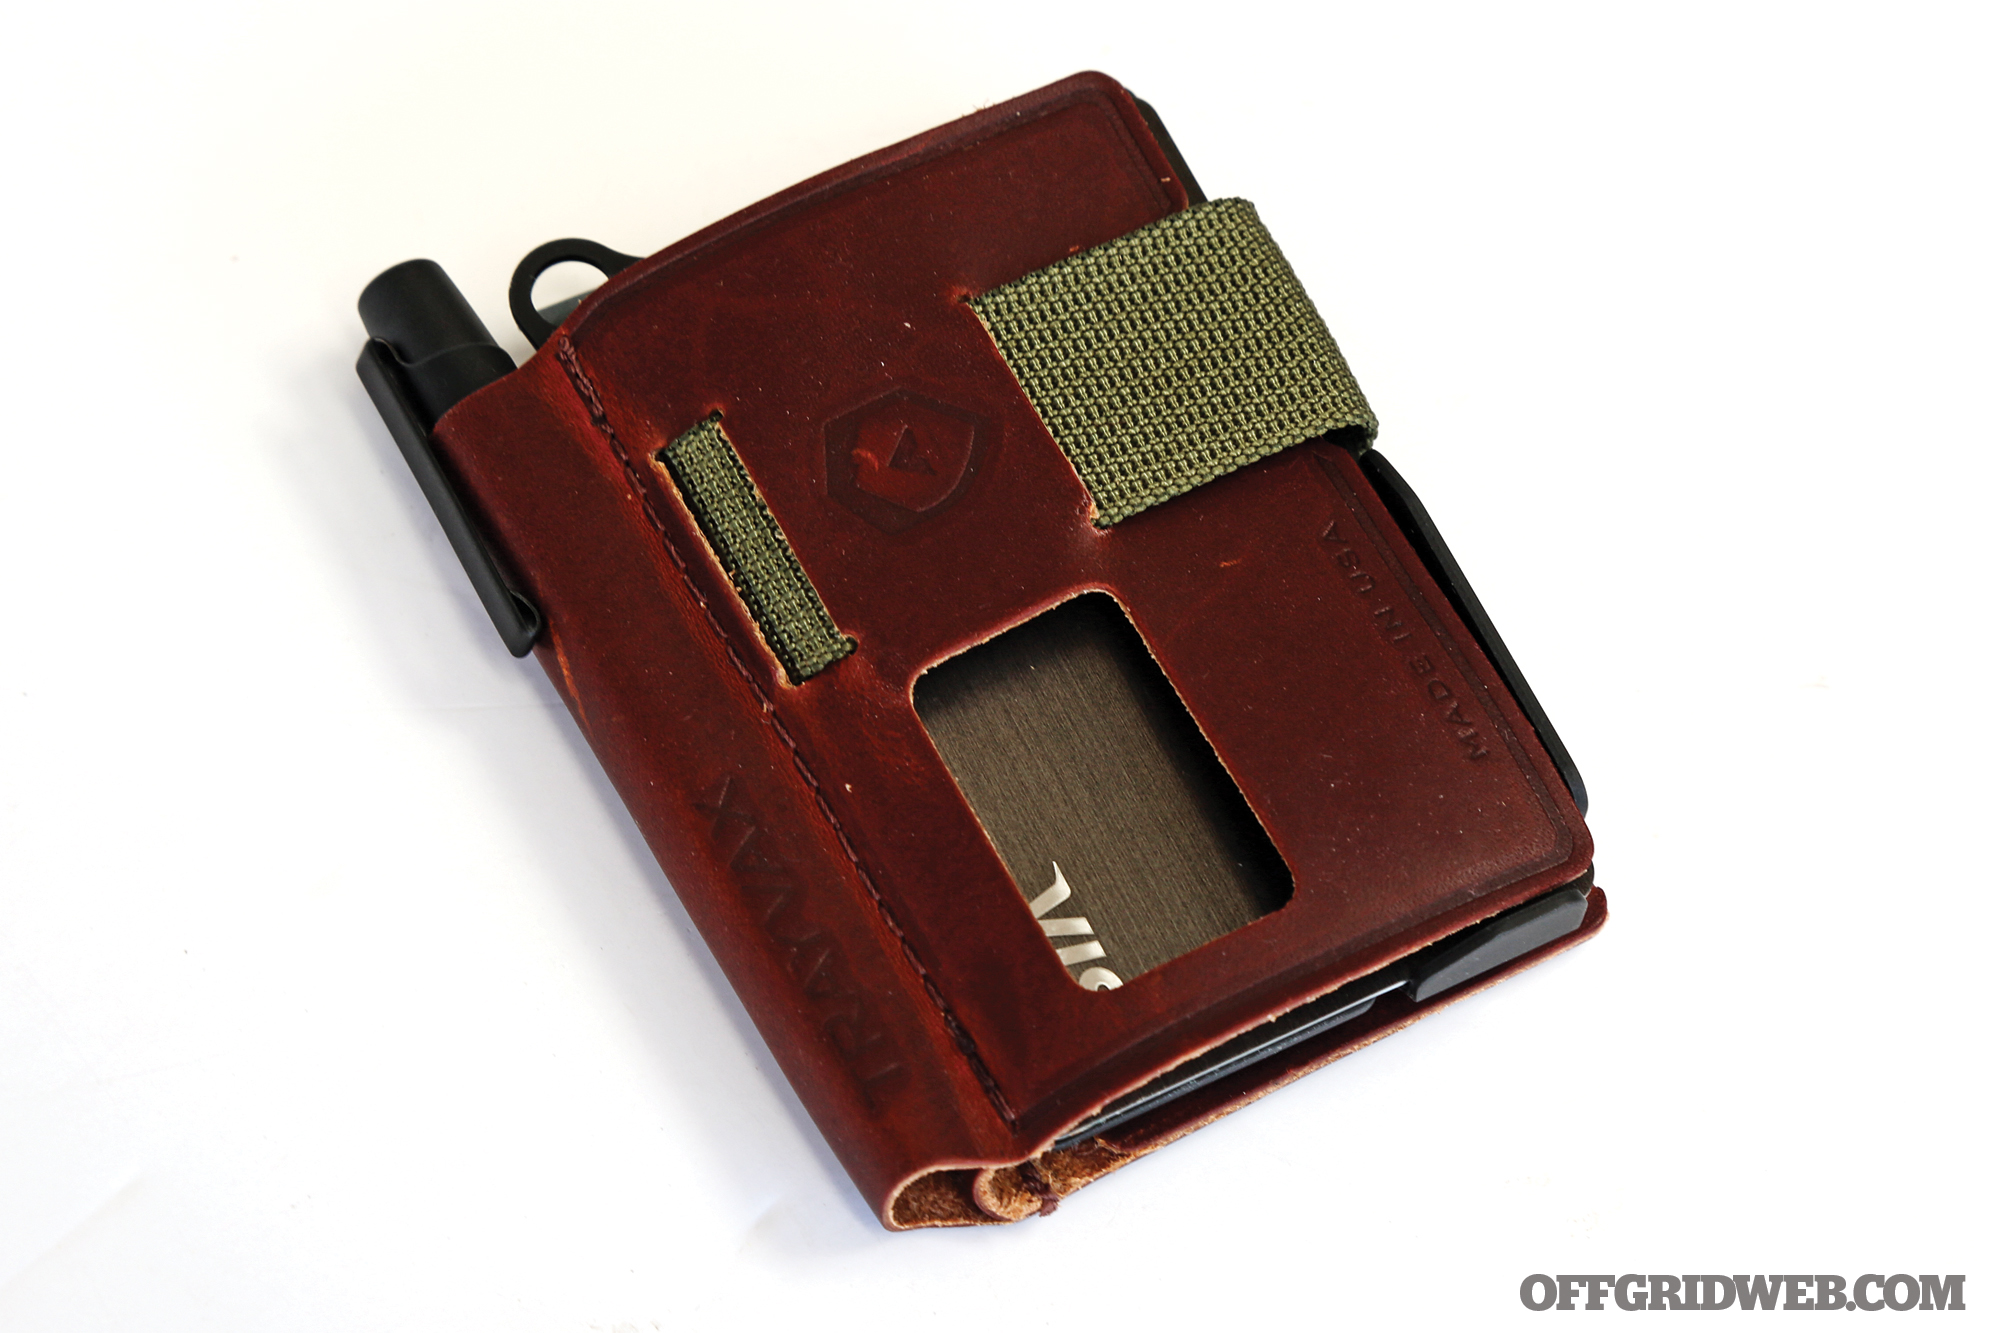
So what do you carry with you on a daily basis?
EC: A lighter, a roll of duct tape around that lighter, a small knife (usually a Victorinox fruit knife because it belongs everywhere). A set of titanium Bogota lock picks from SEREPICK. Kevlar cordage because it’s pretty strong and can be used to tie or to cut. It’s infused all over my body through my clothing. A tourniquet. Finally, I always carry a pack of cigarettes. I don’t smoke, but it helps make a lot of friends. Oh, I do carry a silver flask of tequila, for two reasons: because of its soothing alcohol goodness, but also because the alcohol content is so high as to be almost medical grade. This can make an excellent field-expedient disinfectant. It also works as a social lubricant, in the sense that taking a sip from a flask in public is a really reliable conversation starter and friend-maker.
About Ed Calderon
Age:
35
Hometown:
Tijuana, México
Required reading list for survivalists:
- The Book of Five Rings: A Classic Text on the Japanese Way of the Sword by Miyamoto Musashi
- Social Engineering: The Art of Human Hacking (2010) by Christopher Hadnagy
- The Liar The Cheat and The Thief: Deception and the Art of Sword by Maija Soderholm
- The Art of Deception: Controlling the Human Element of Security (2003) by Kevin D. Mitnick
- Black Box Thinking: Why Most People Never Learn from Their Mistakes — But Some Do (2015) by Matthew Syed
- The Cartel by Don Winslow
Last meal request:
Four New York steak tacos from Tacos El Gallo in Tijuana — trust me on this one.
Personal firearms:
H&K MP5 and Glock 19
Favorite quote:
Do not sleep under a roof. Carry no money or food. Go alone to places frightening to the common brand of men. Become a criminal of purpose. Be put in jail, and extricate yourself by your own wisdom. — Miyamoto Musashi
URL:
edsmanifesto.com
Ed’s EDC
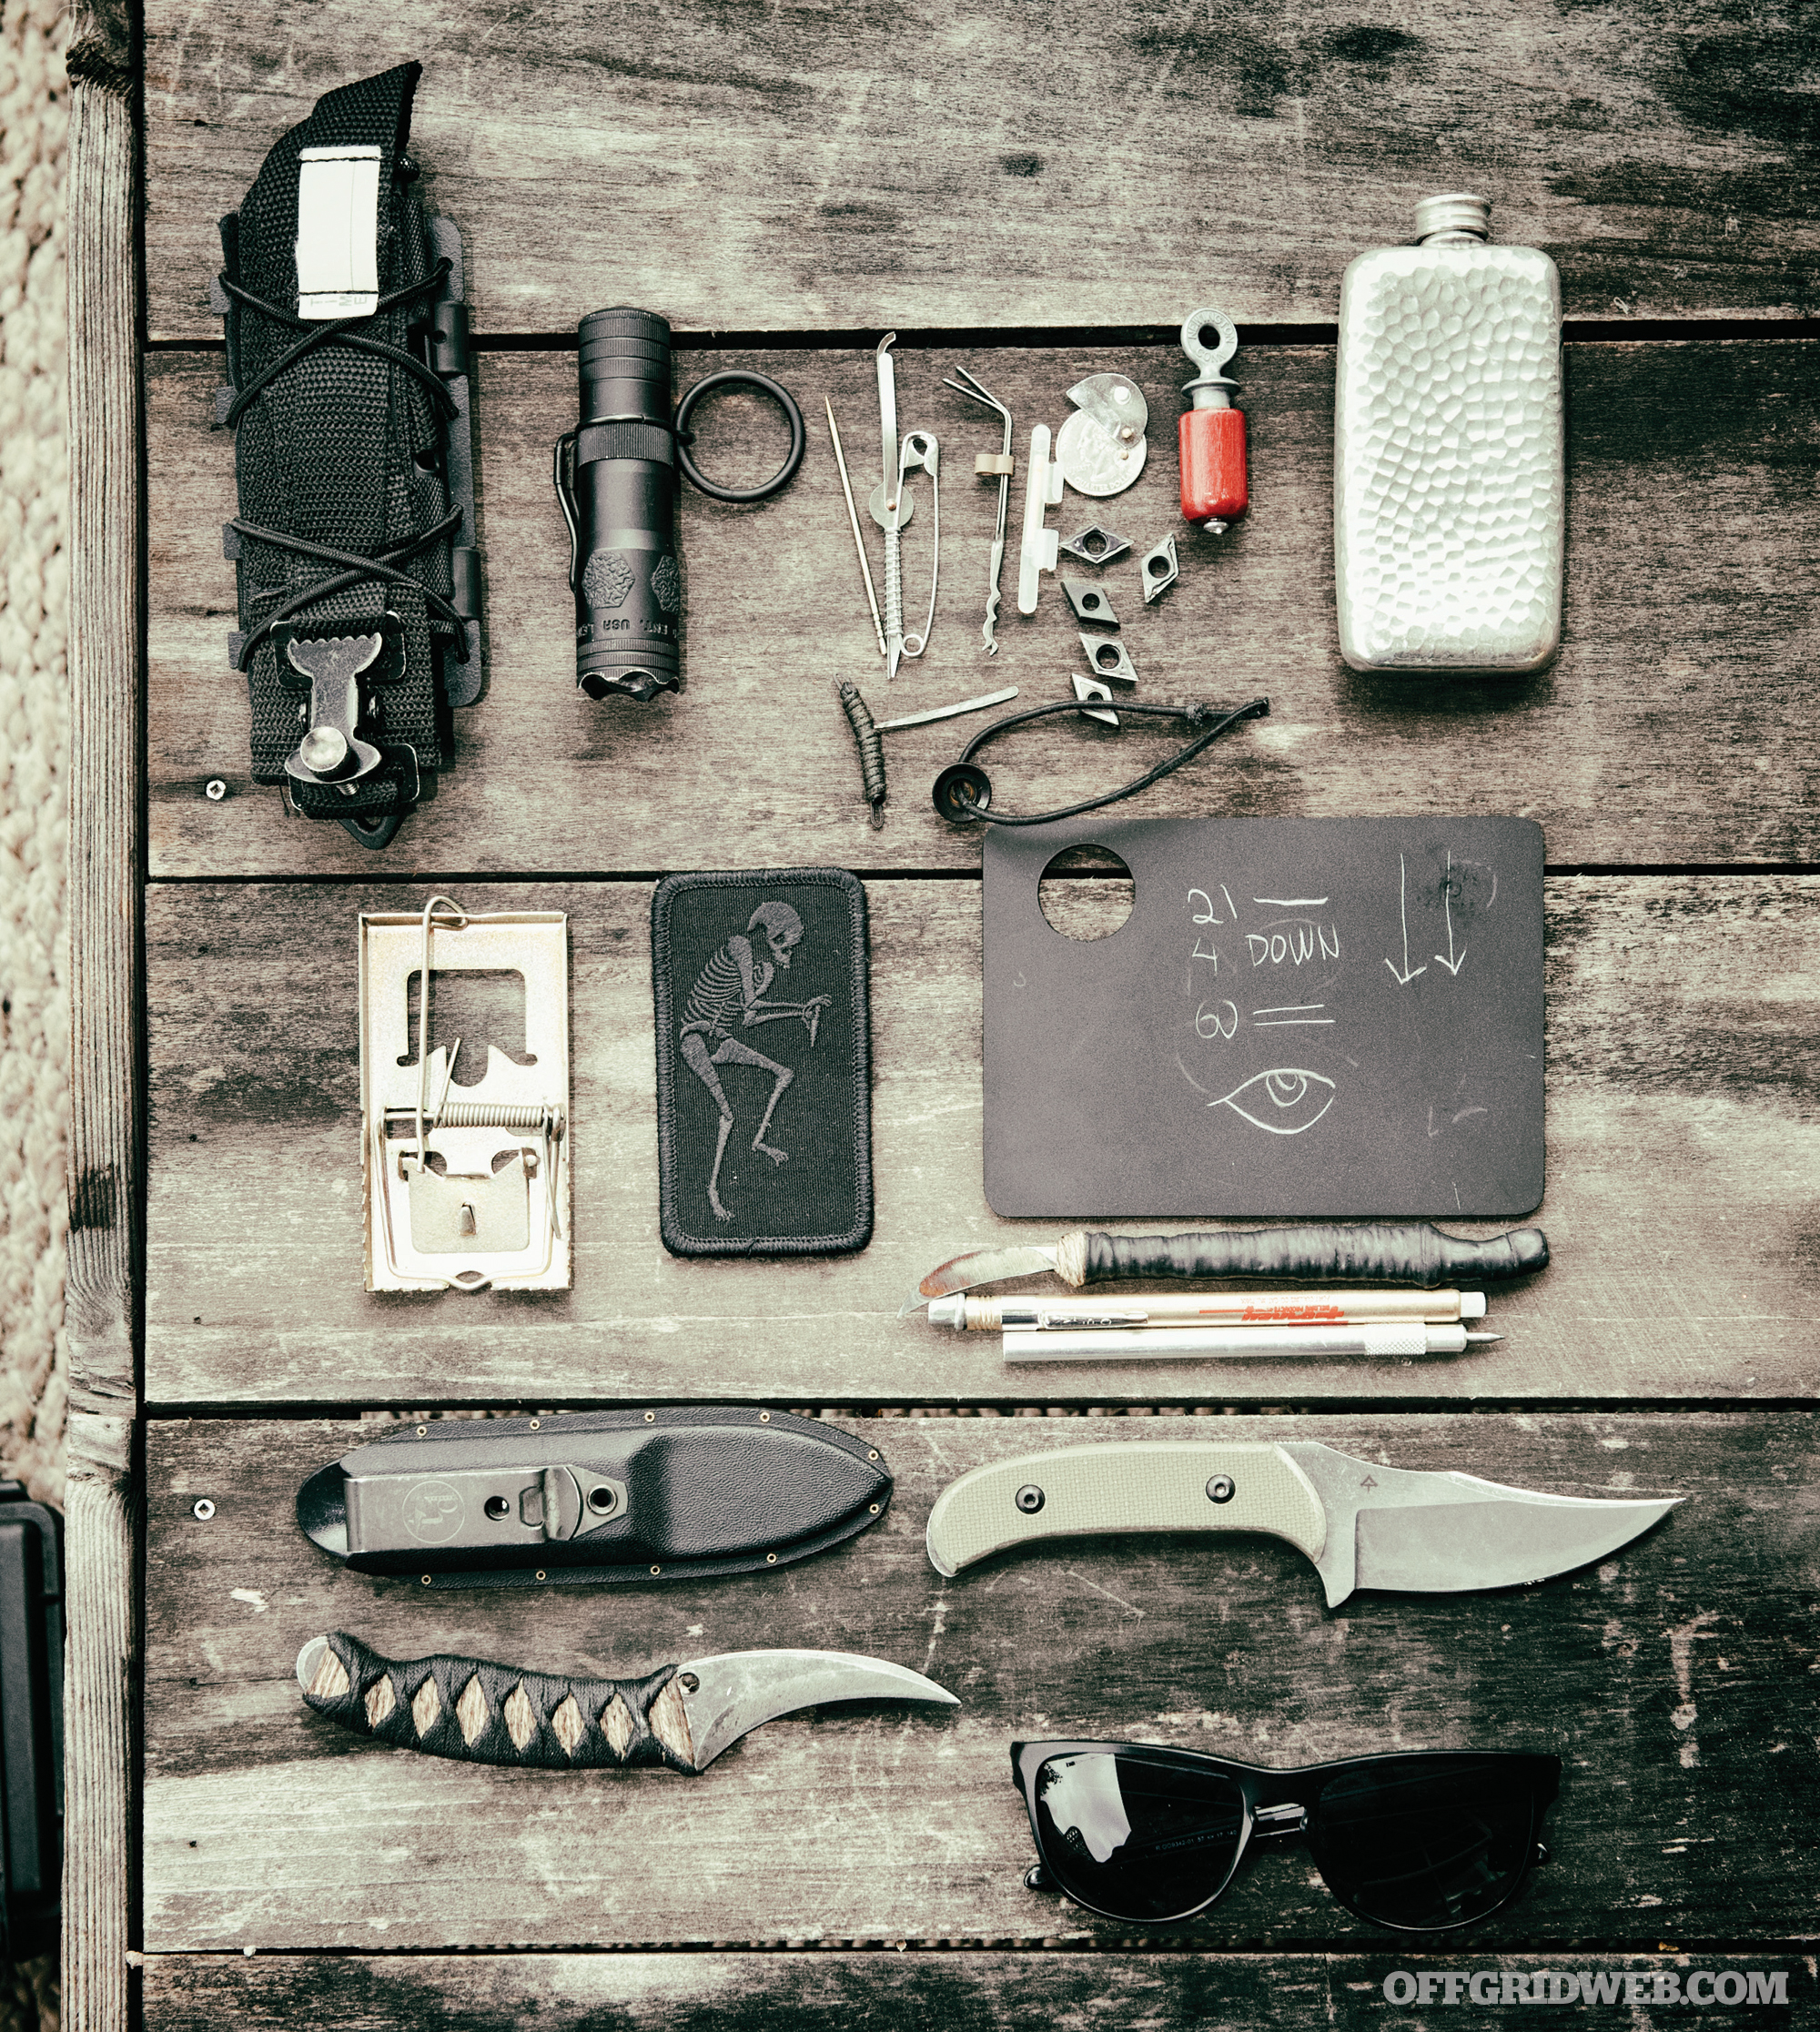
- PHLSTER Flat Pack Tourniquet Carrier
- LensLight flashlight
- Oscar Delta SAD Tool
- Oscar Delta Gulag Shim
- Oscar Delta Poorman’s Tablet
- SerePick Bogota lock picks
- SerePick ceramic razor, diamond wire, Advanced Handcuff Key, mini chemlight, pee lighter (these are concealed in some of the things in the picture)
- Tracker Dan Elvia knife
- Eric Kramer Voodoo knife
- Flask (gifted, no markings)
- Bird call (no markings)
- Metal rat traps (bought in Mexico City, no markings)
- Generic Scribe and soapstone marker
More From Issue 25
Don’t miss essential survival insights—sign up for Recoil Offgrid’s free newsletter today!
- Rural Refreshments: Drinking Water from Non-Tropical Plants
- Book Review: The Savage by Frank Bill
- Heat on Tap: Cauldryn Fyre Water Bottle Review
- Edible Plants & Their Dangerous Doppelgangers
- Stormproof Backpack Buyer’s Guide
- Improvised Evacuation Methods
- Pistol Caliber Compatibility: Ruger PC Carbine Review
- Mykel Hawke on Breaking the Language Barrier
- Emergency Communications: Make the Right Call
- Buried Treasure: How to Build a Survival Cache
- Victim Proof: Defending Against Sexual Assault & Abduction
- Survival Lessons From South of the Border
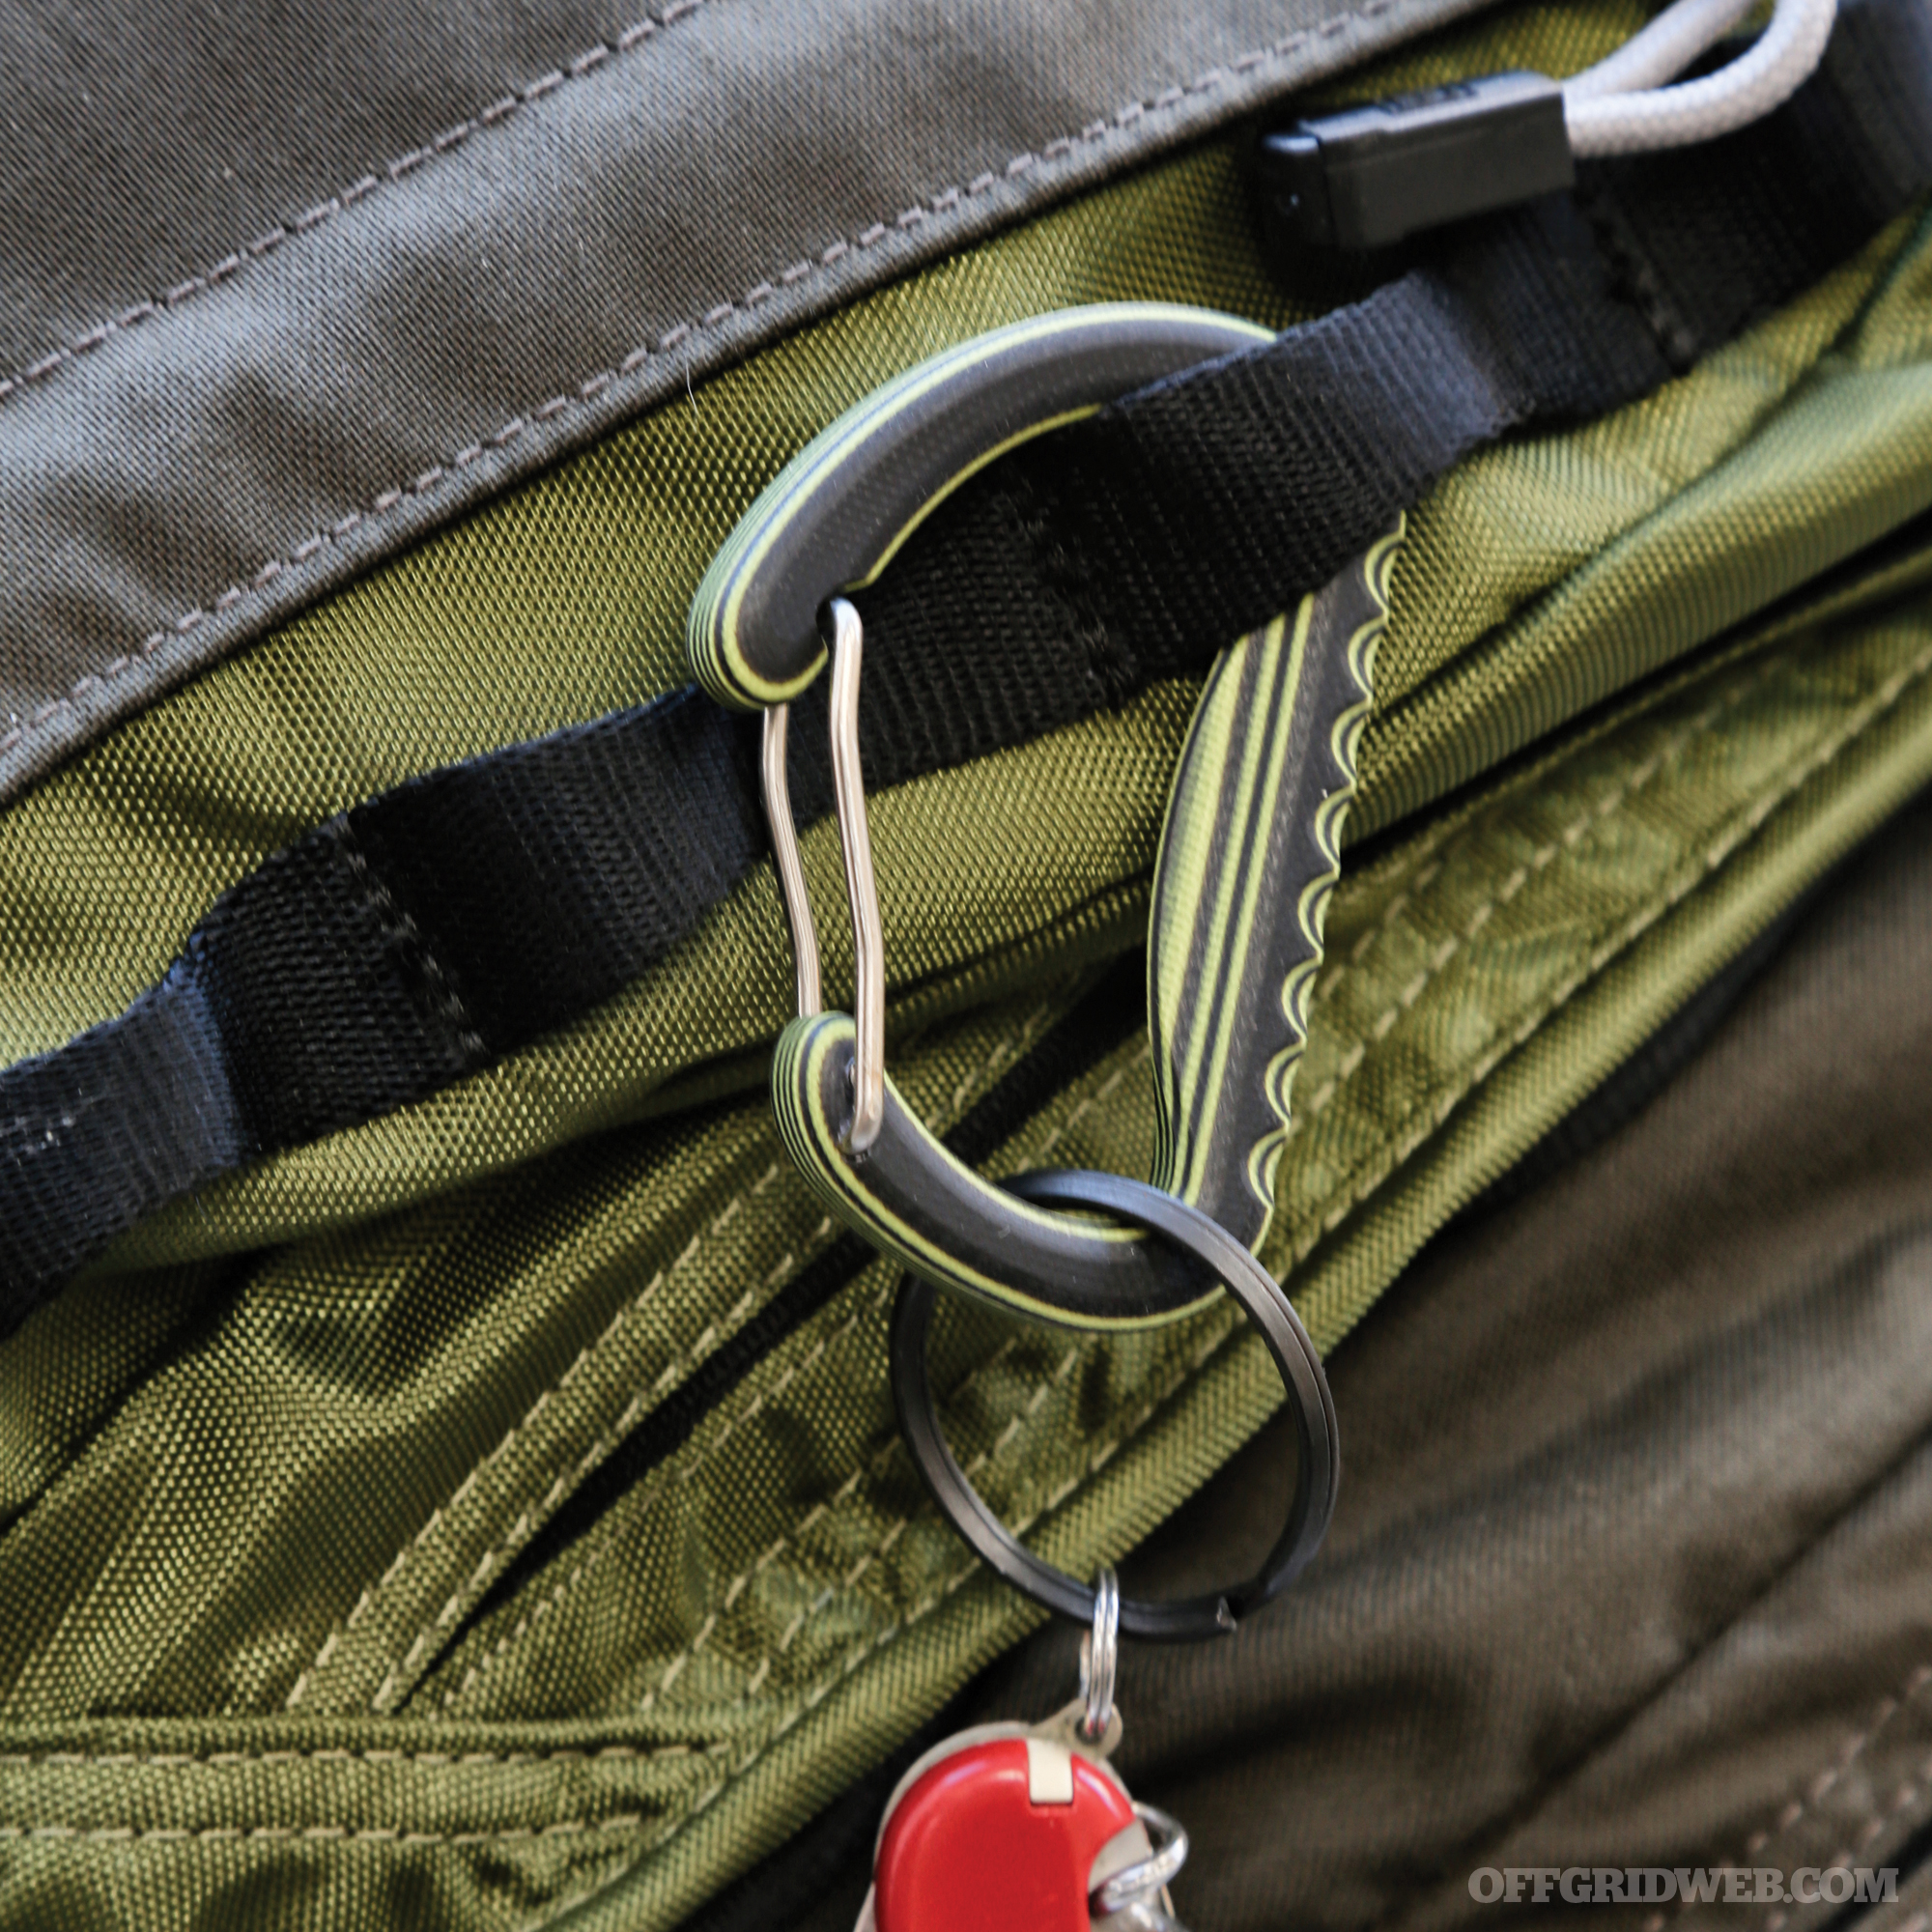
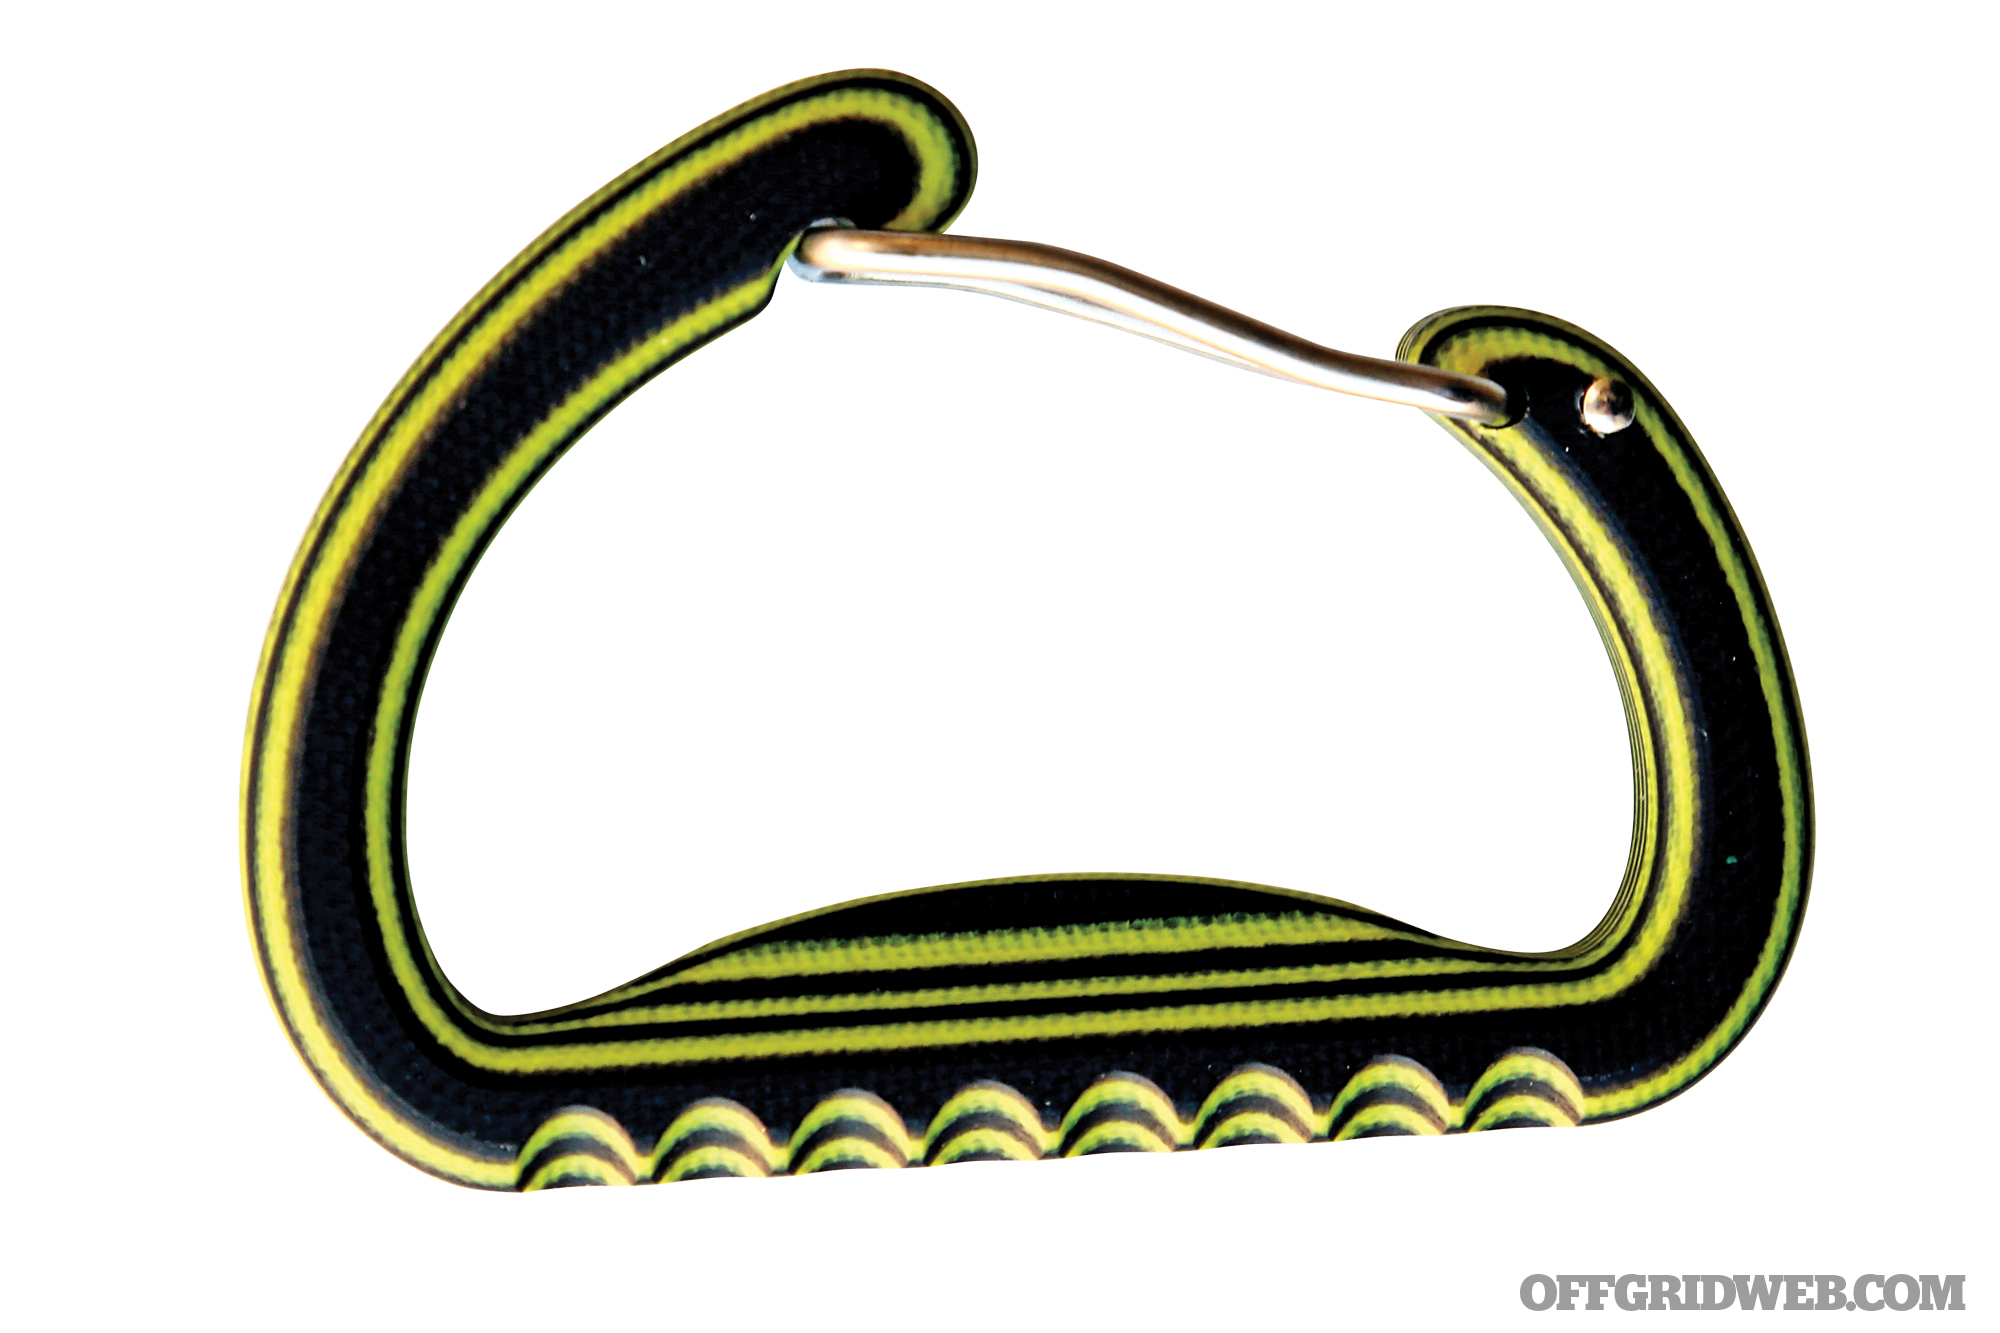
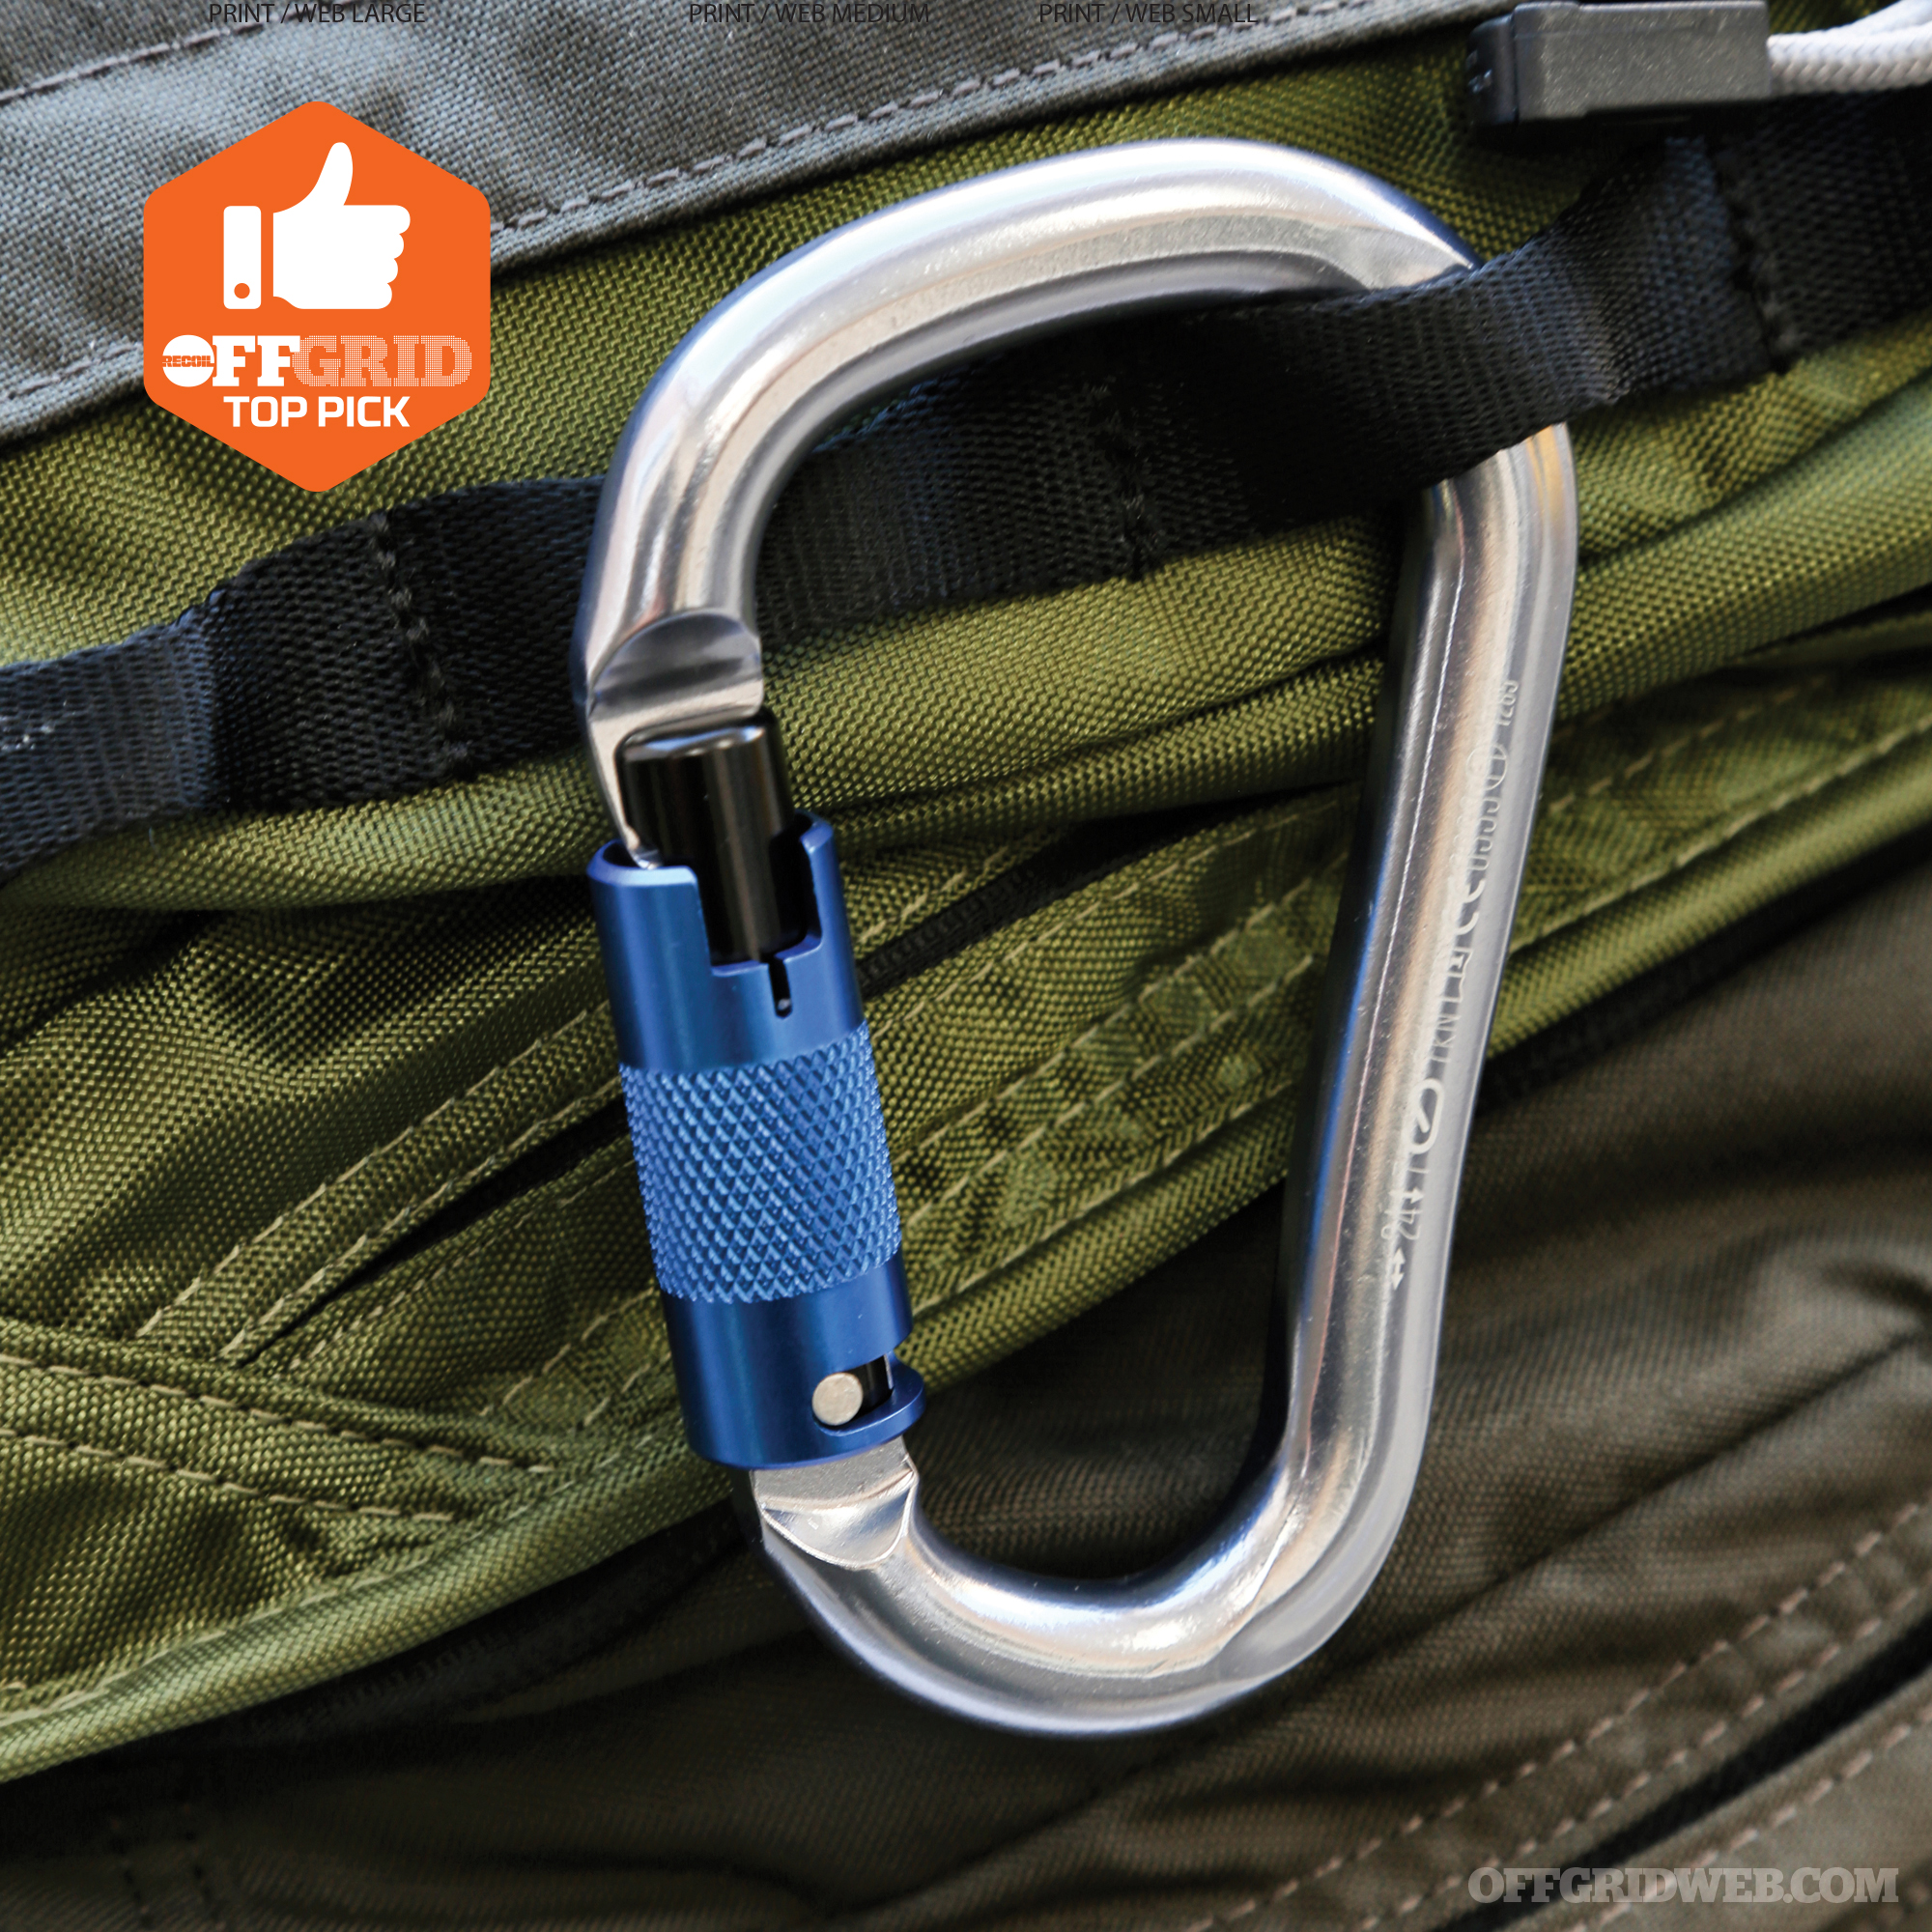
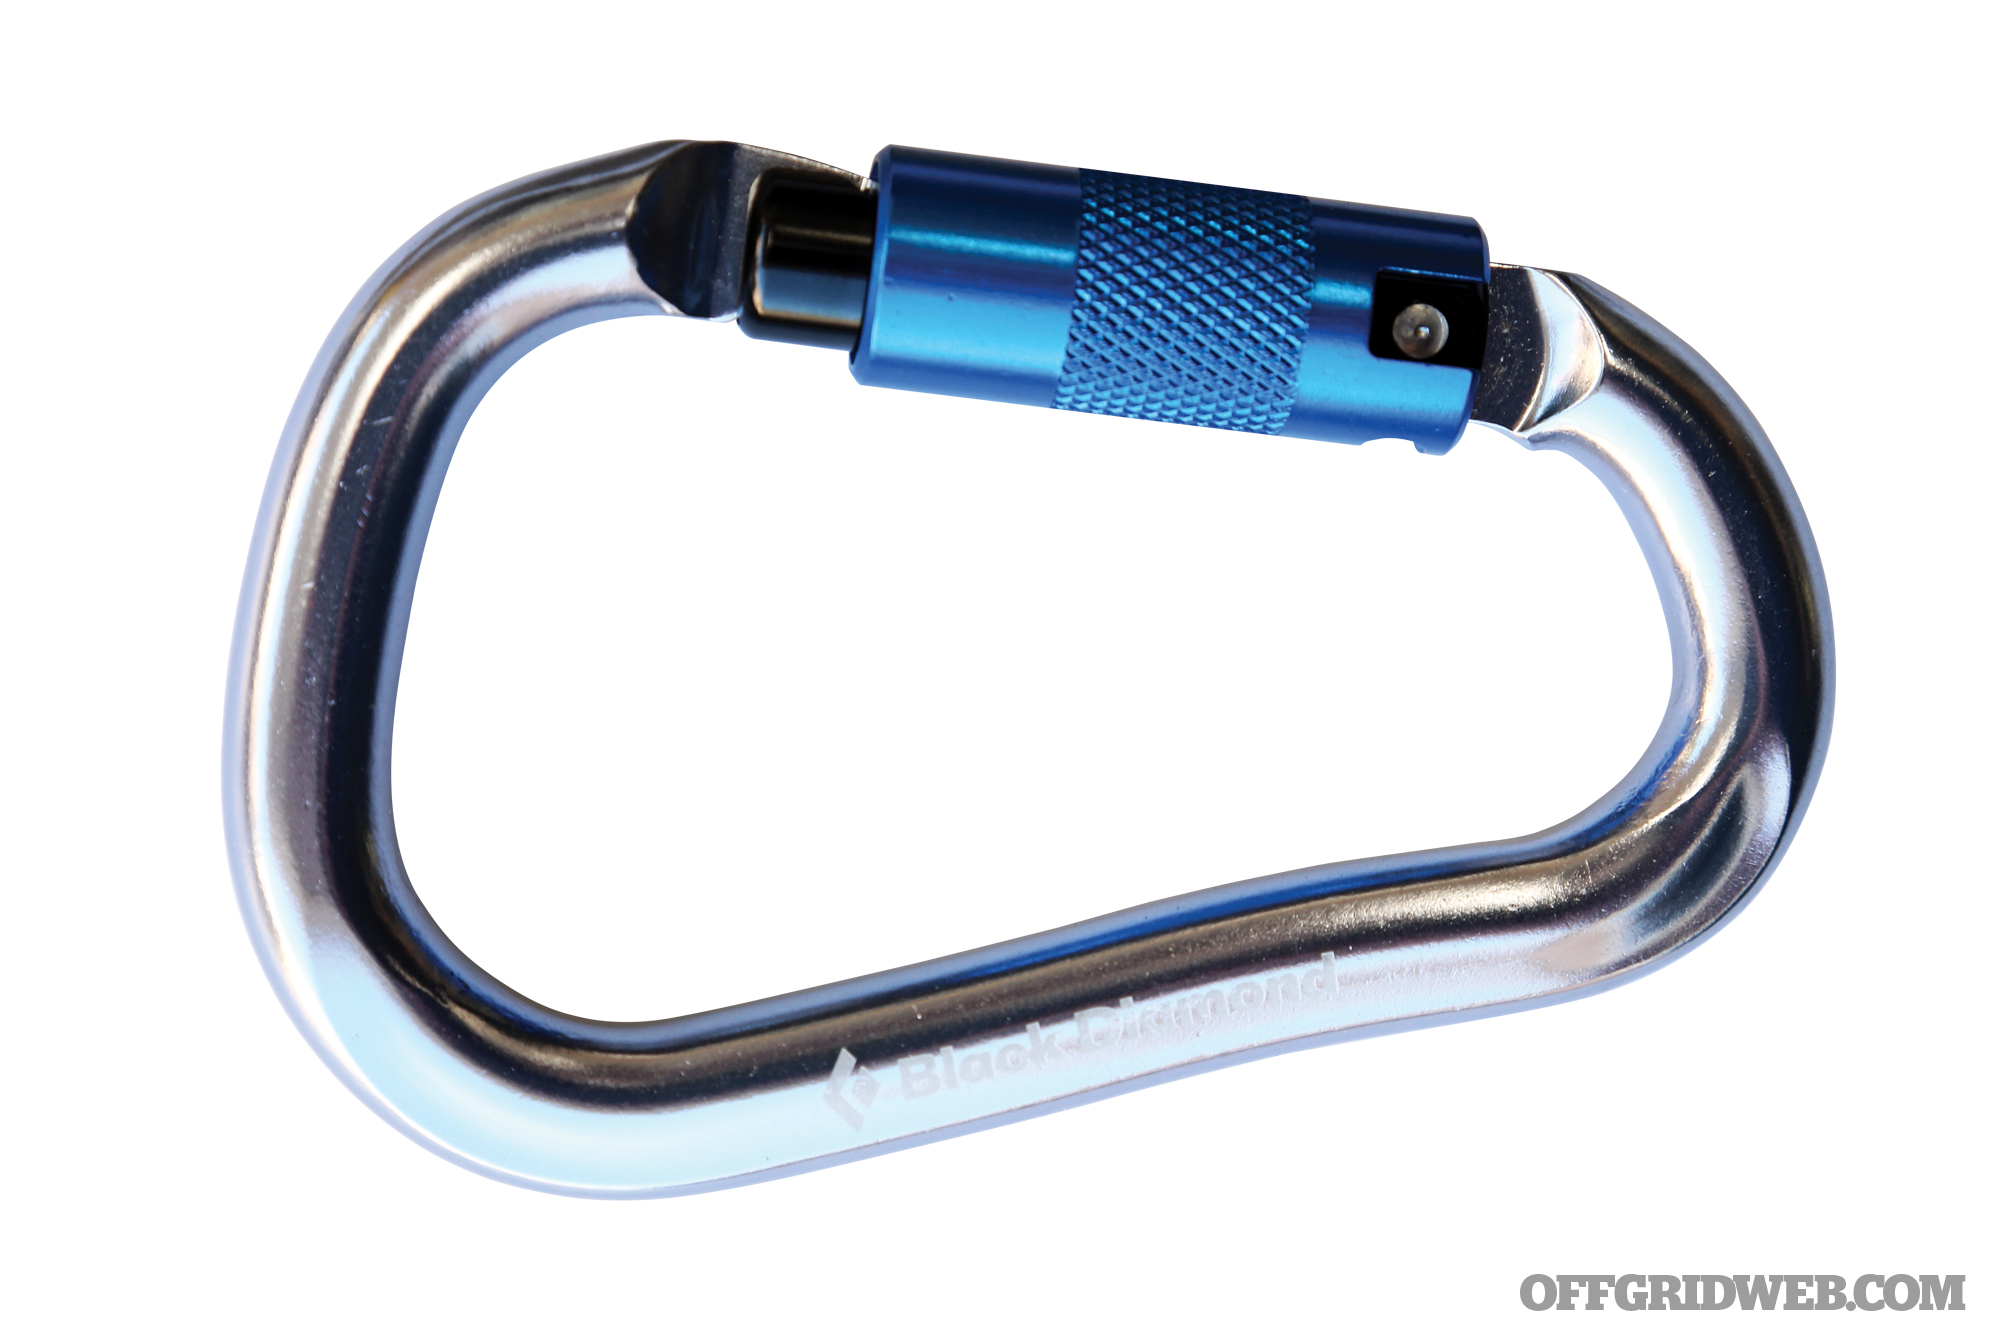
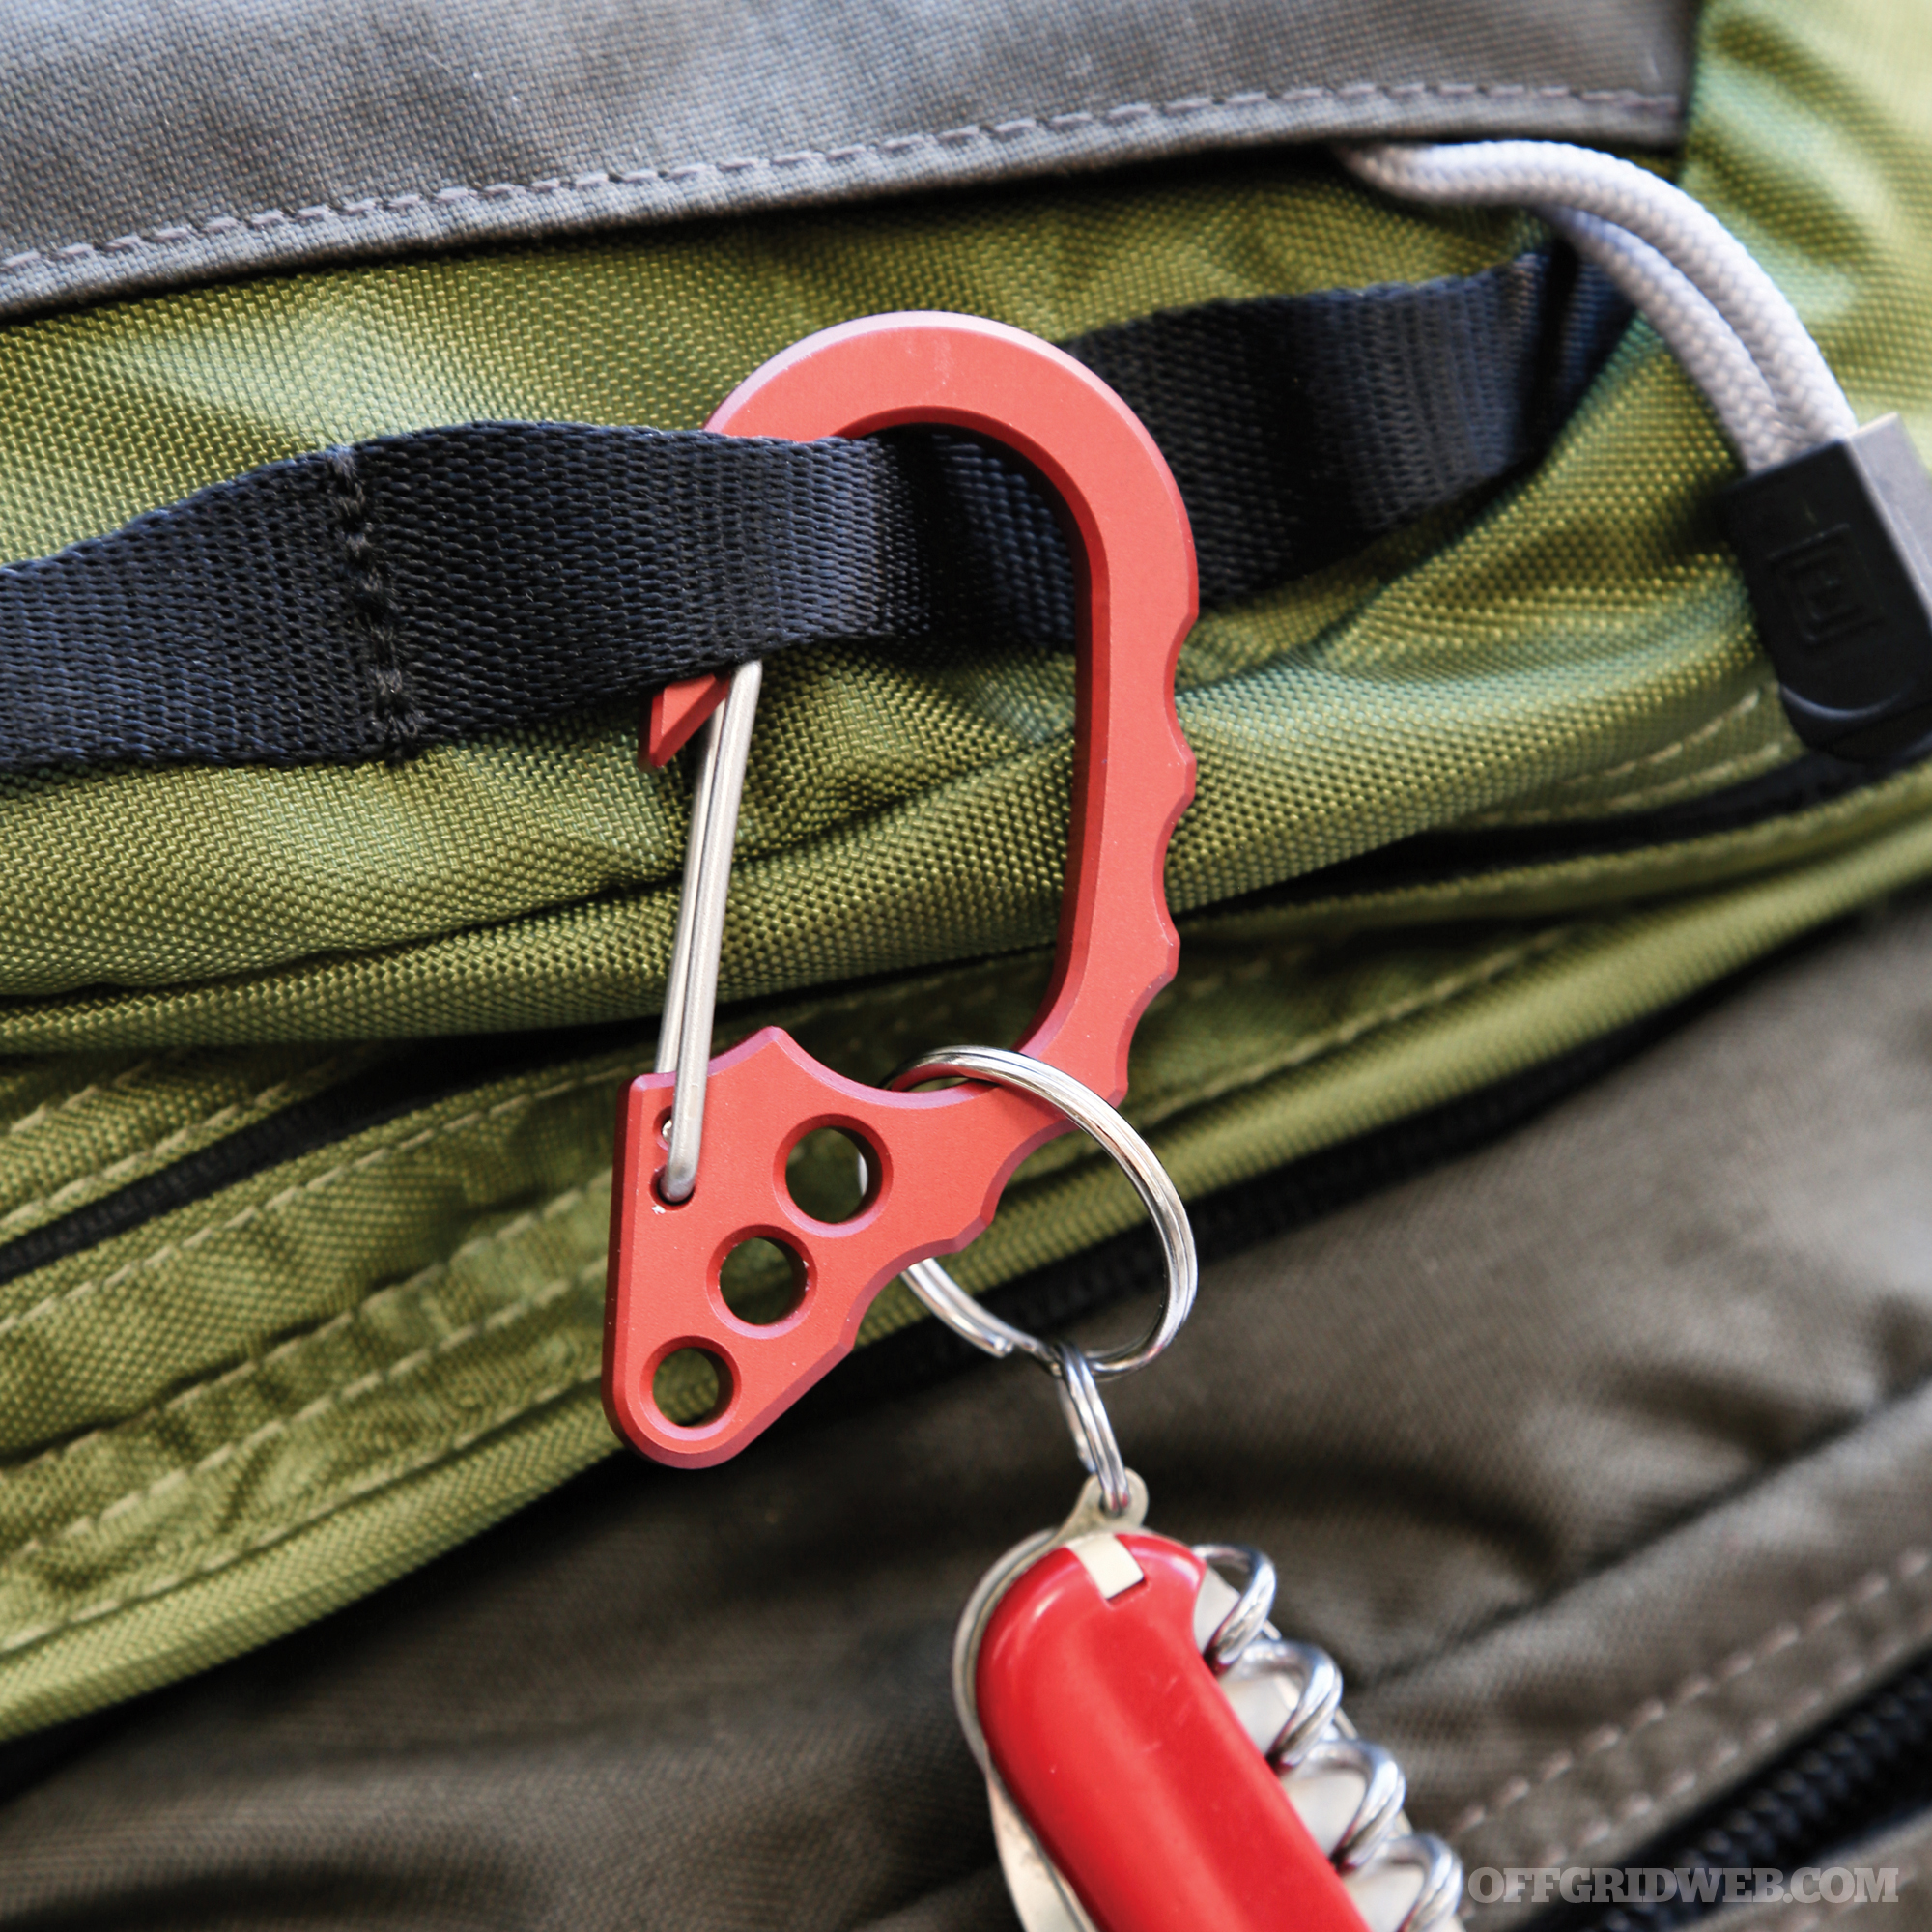
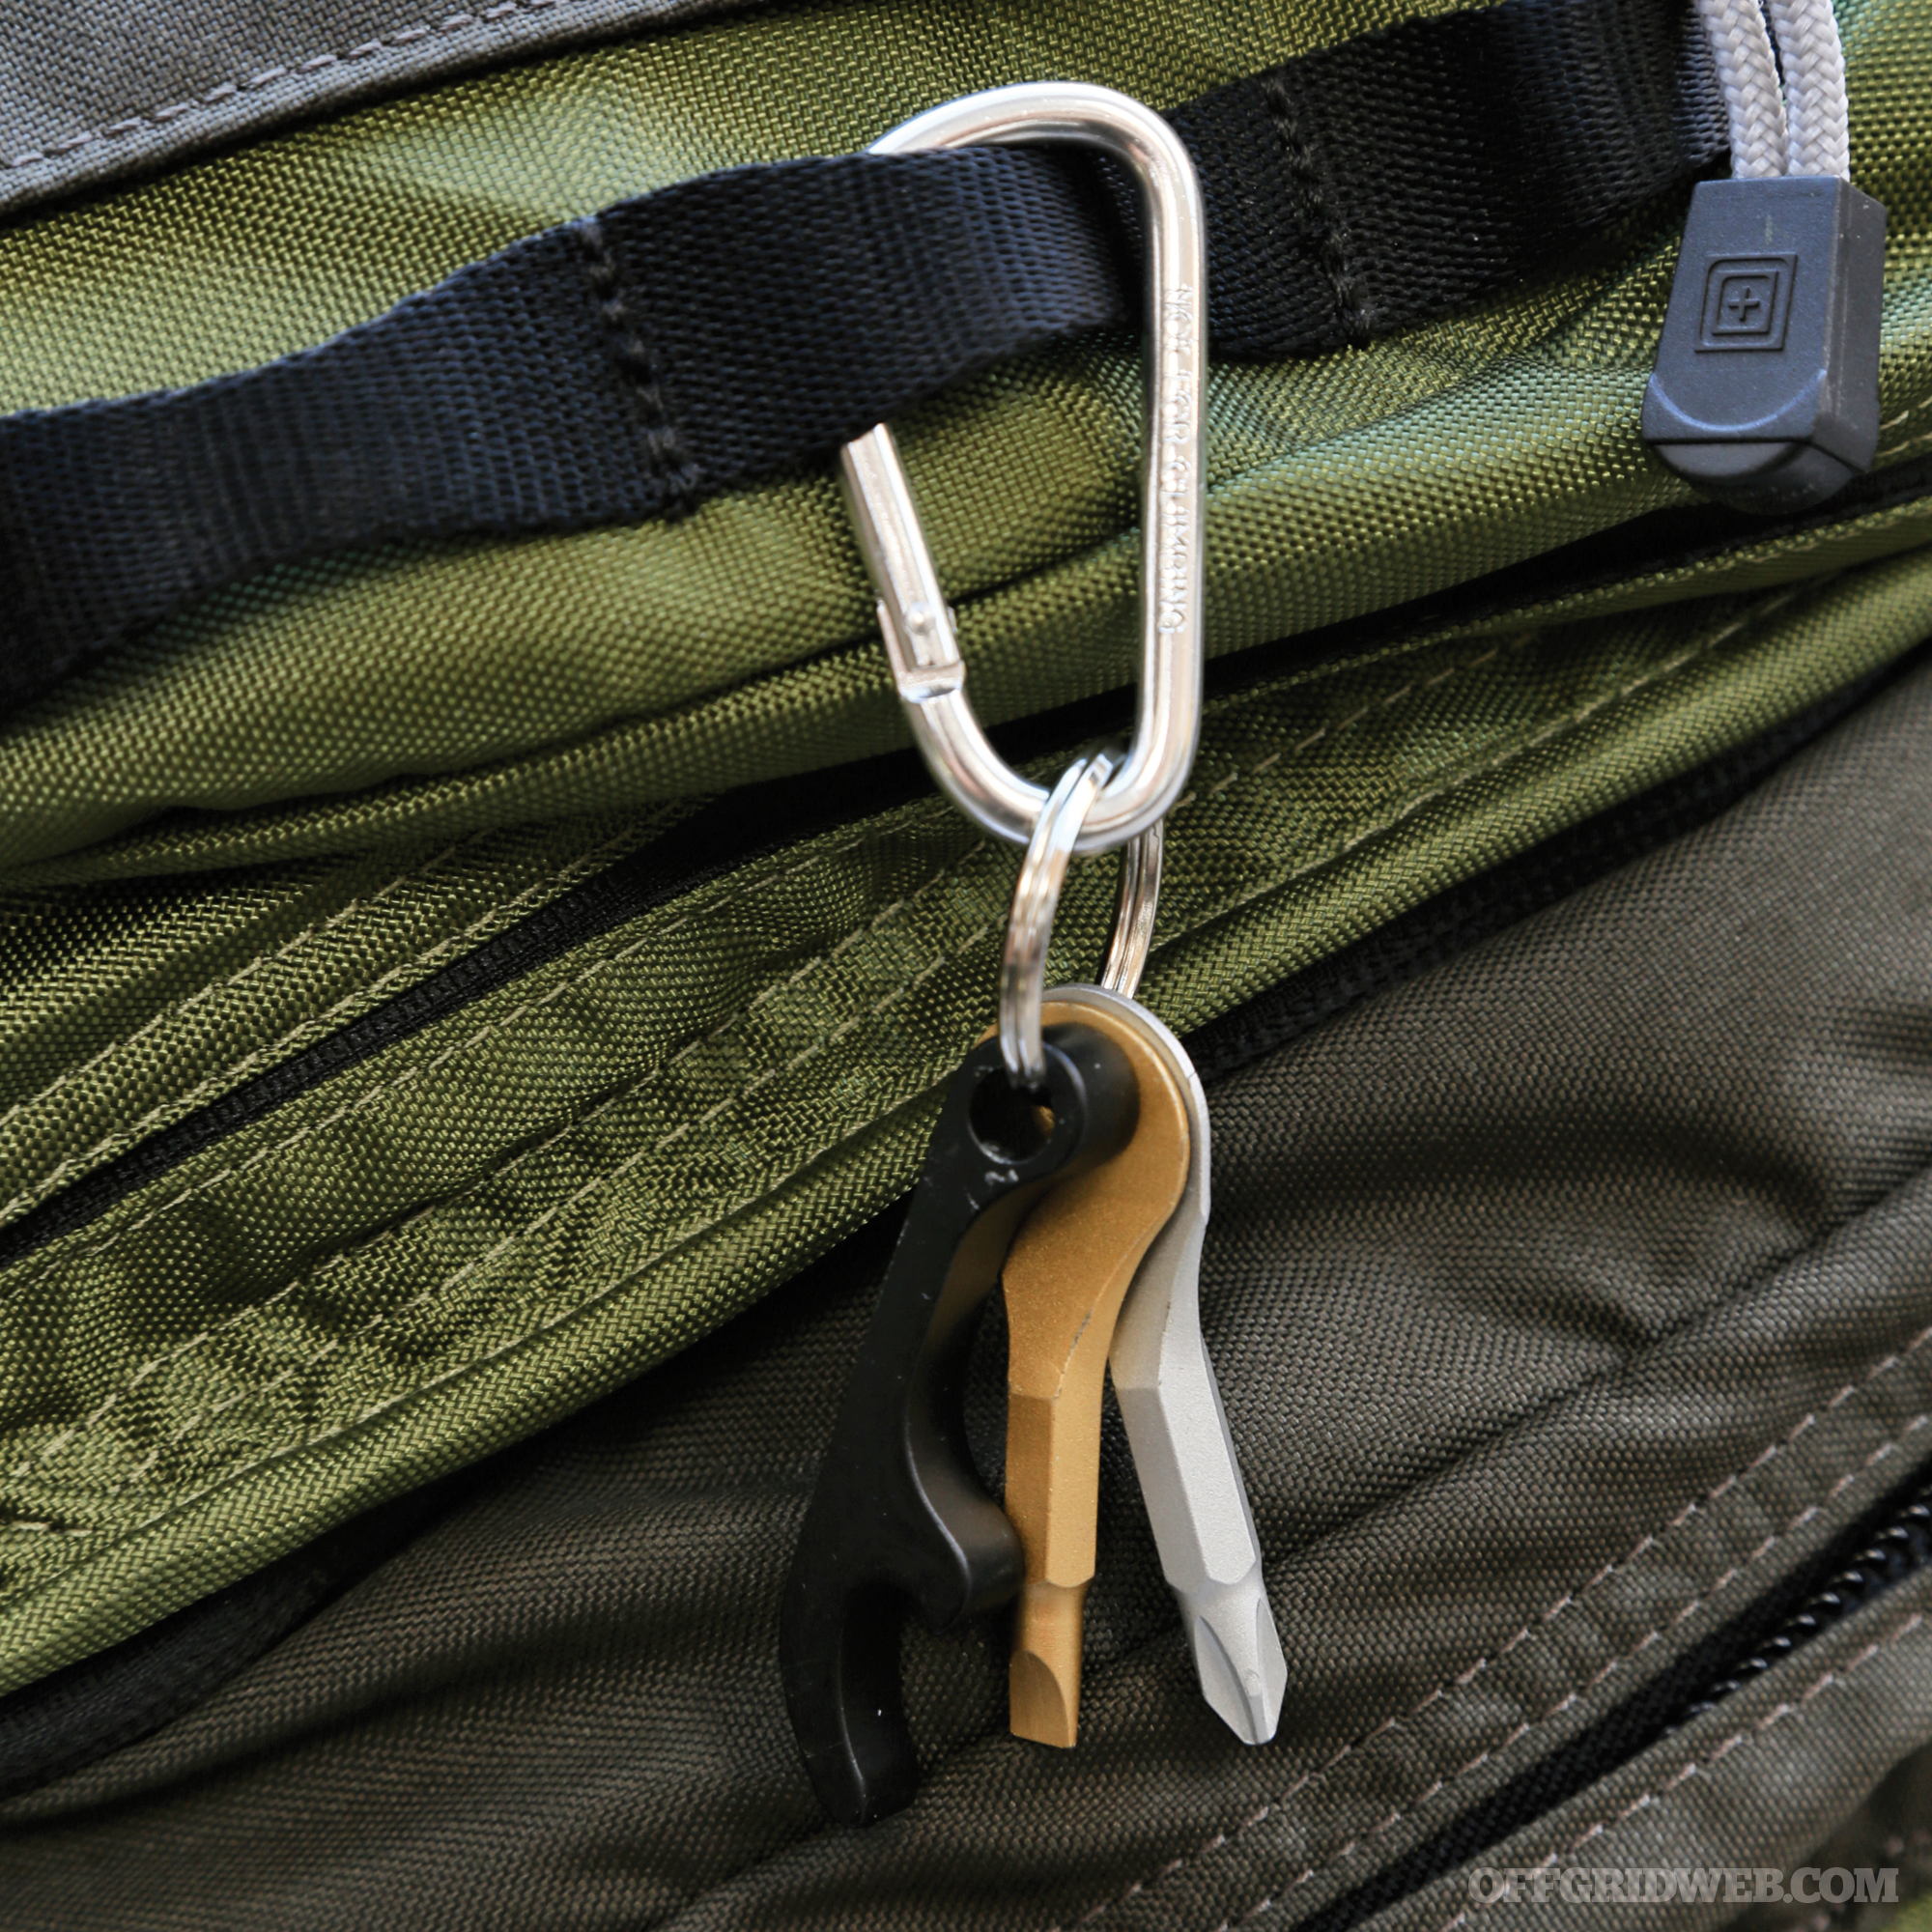
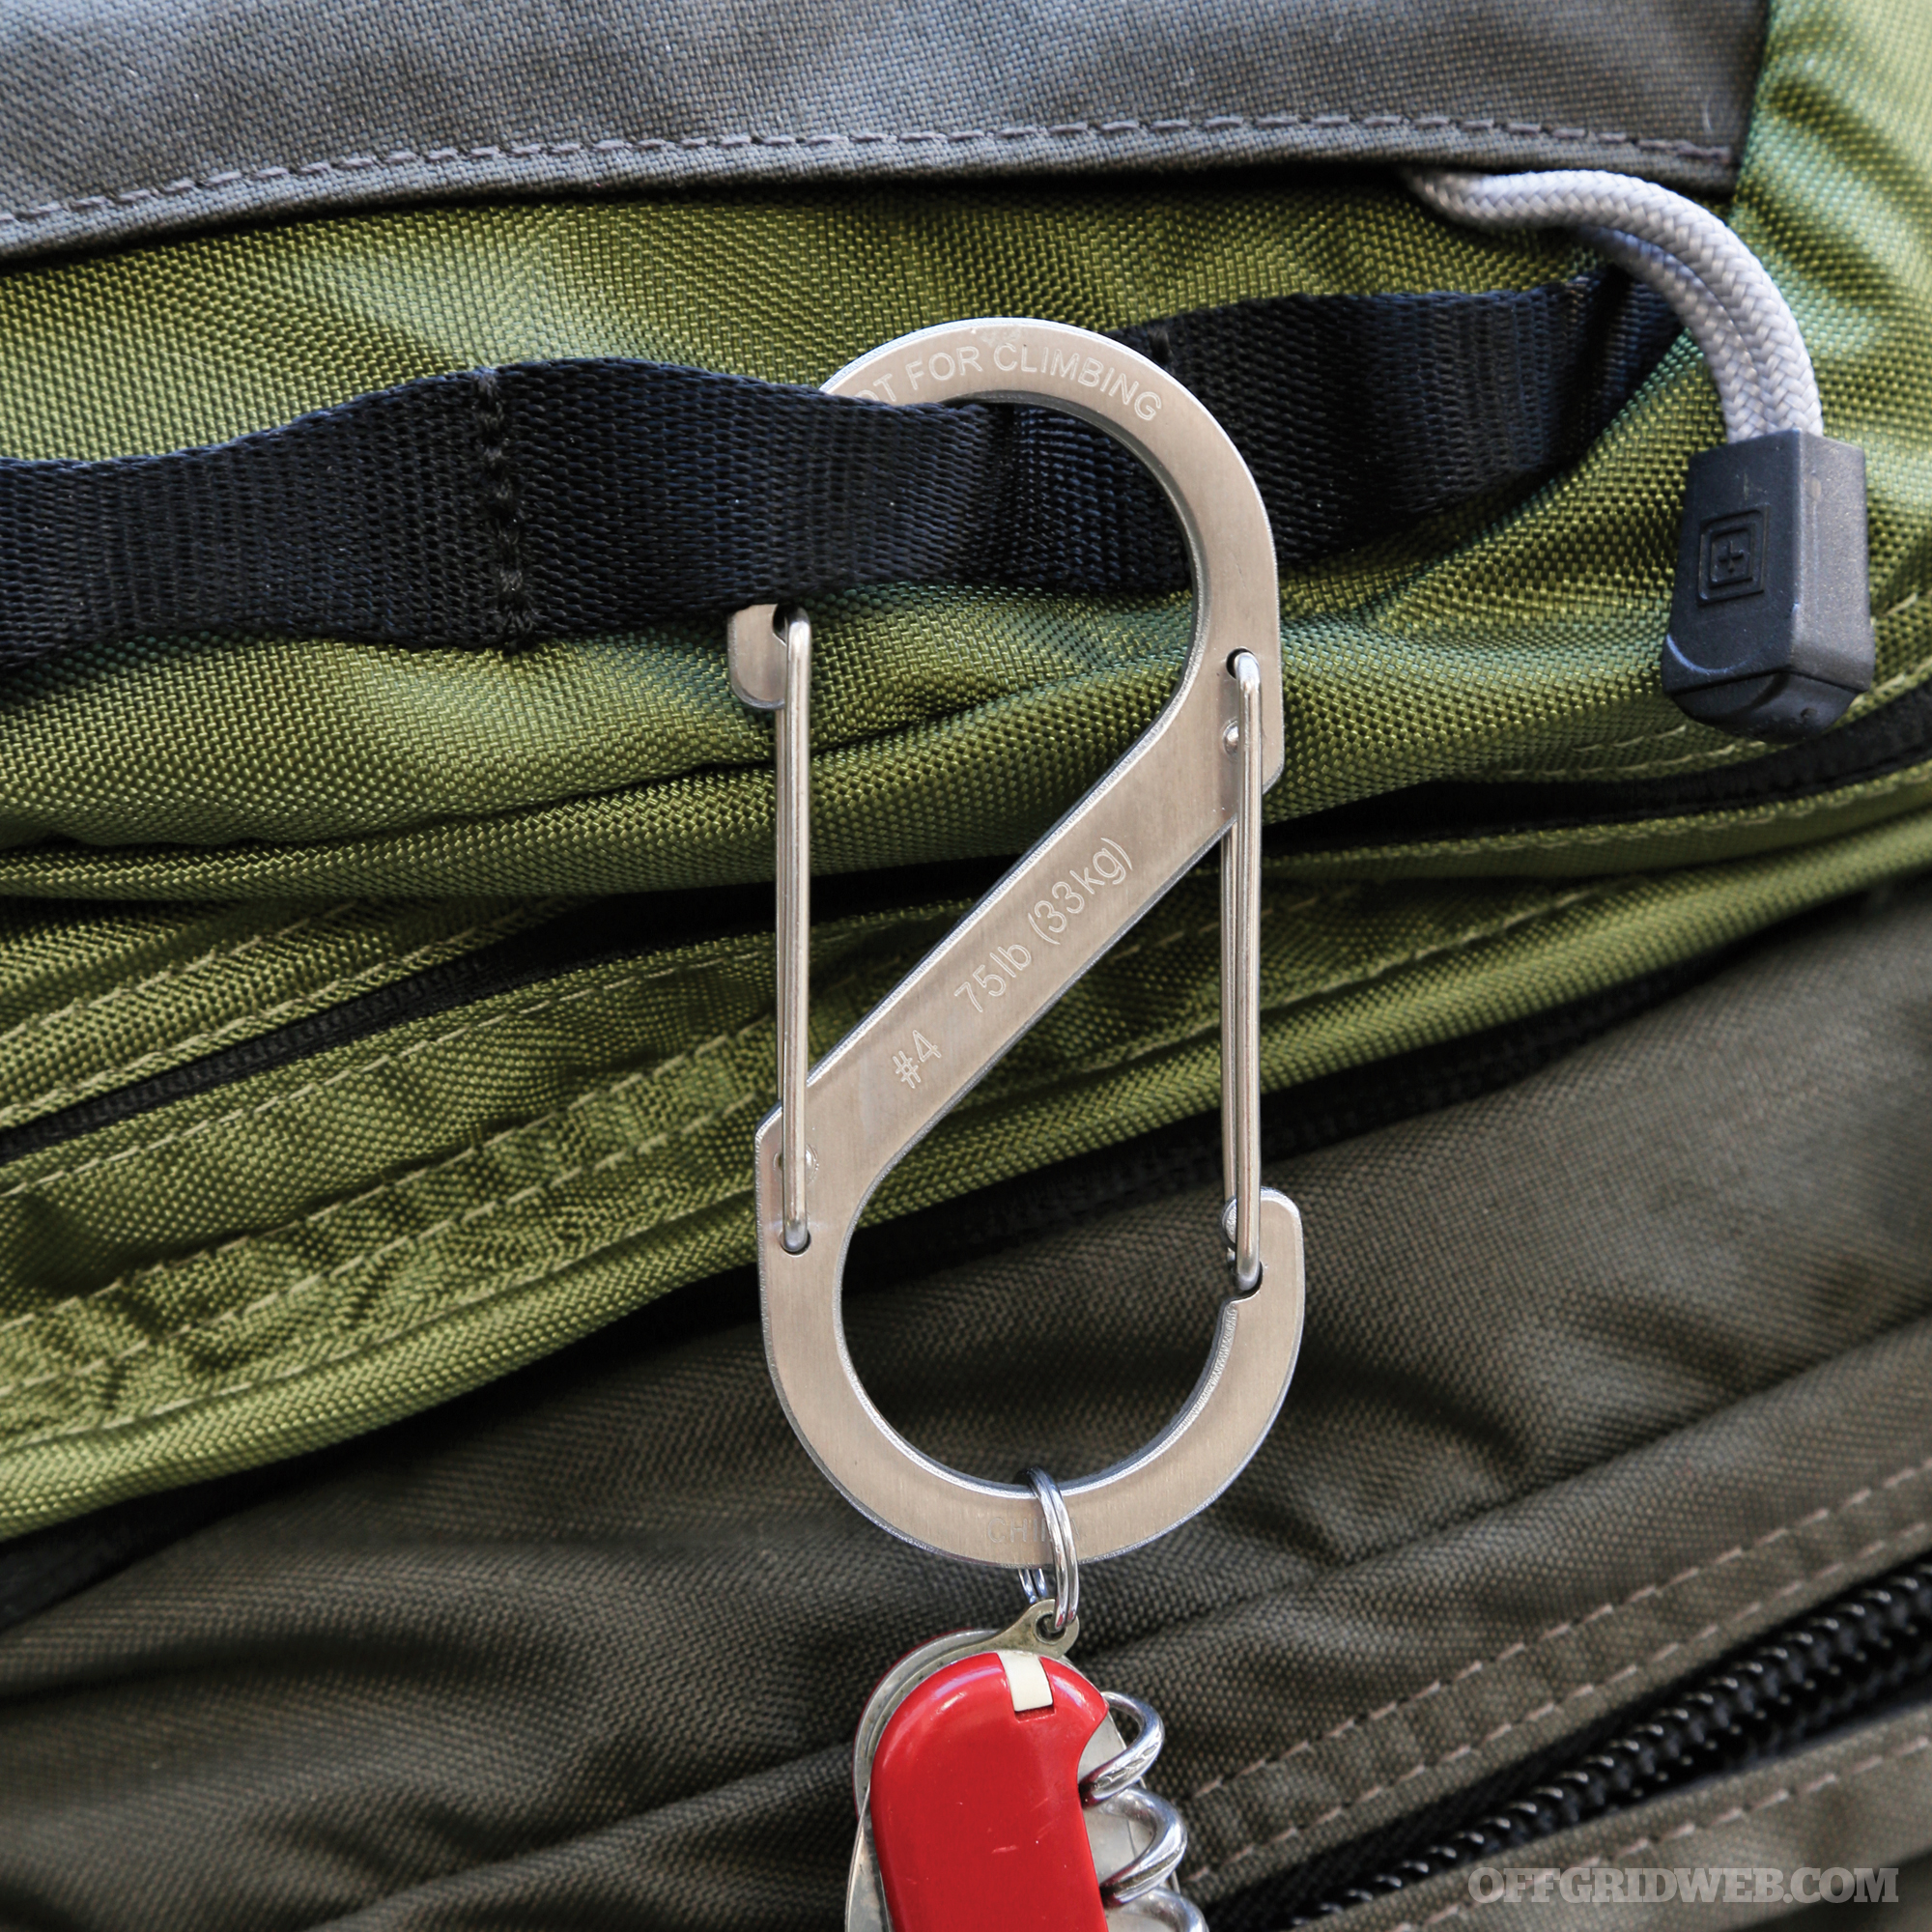
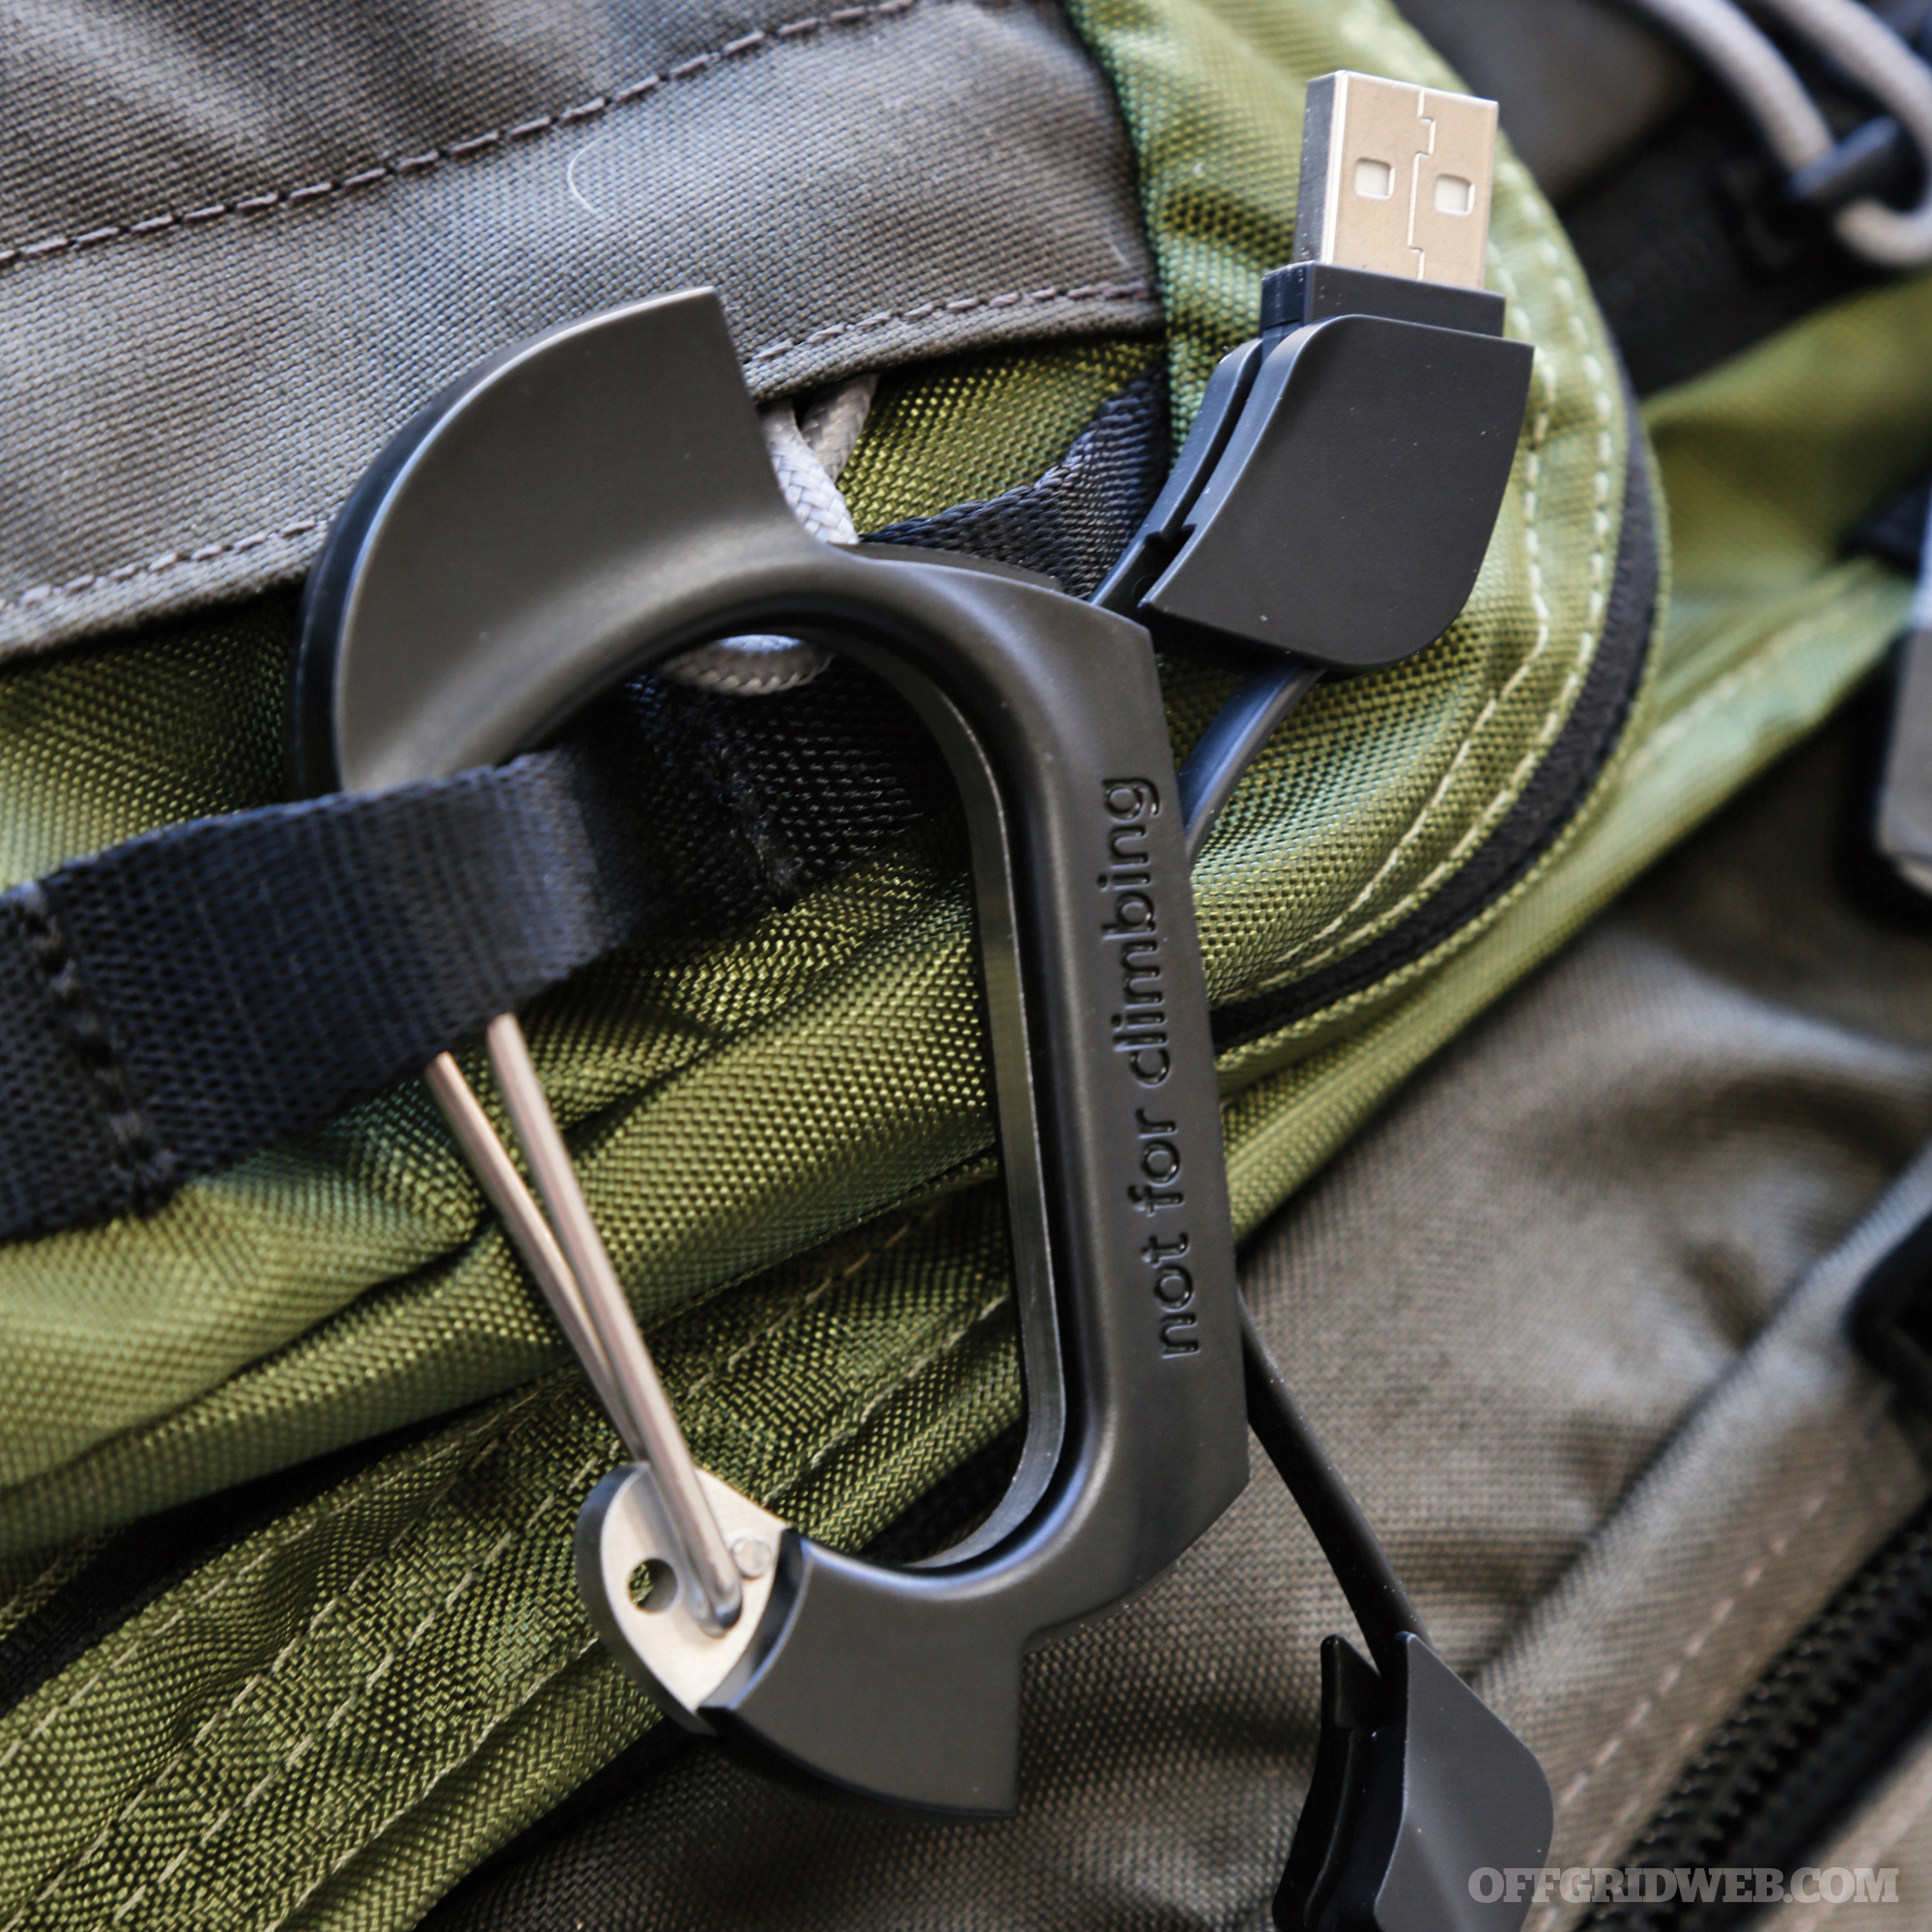
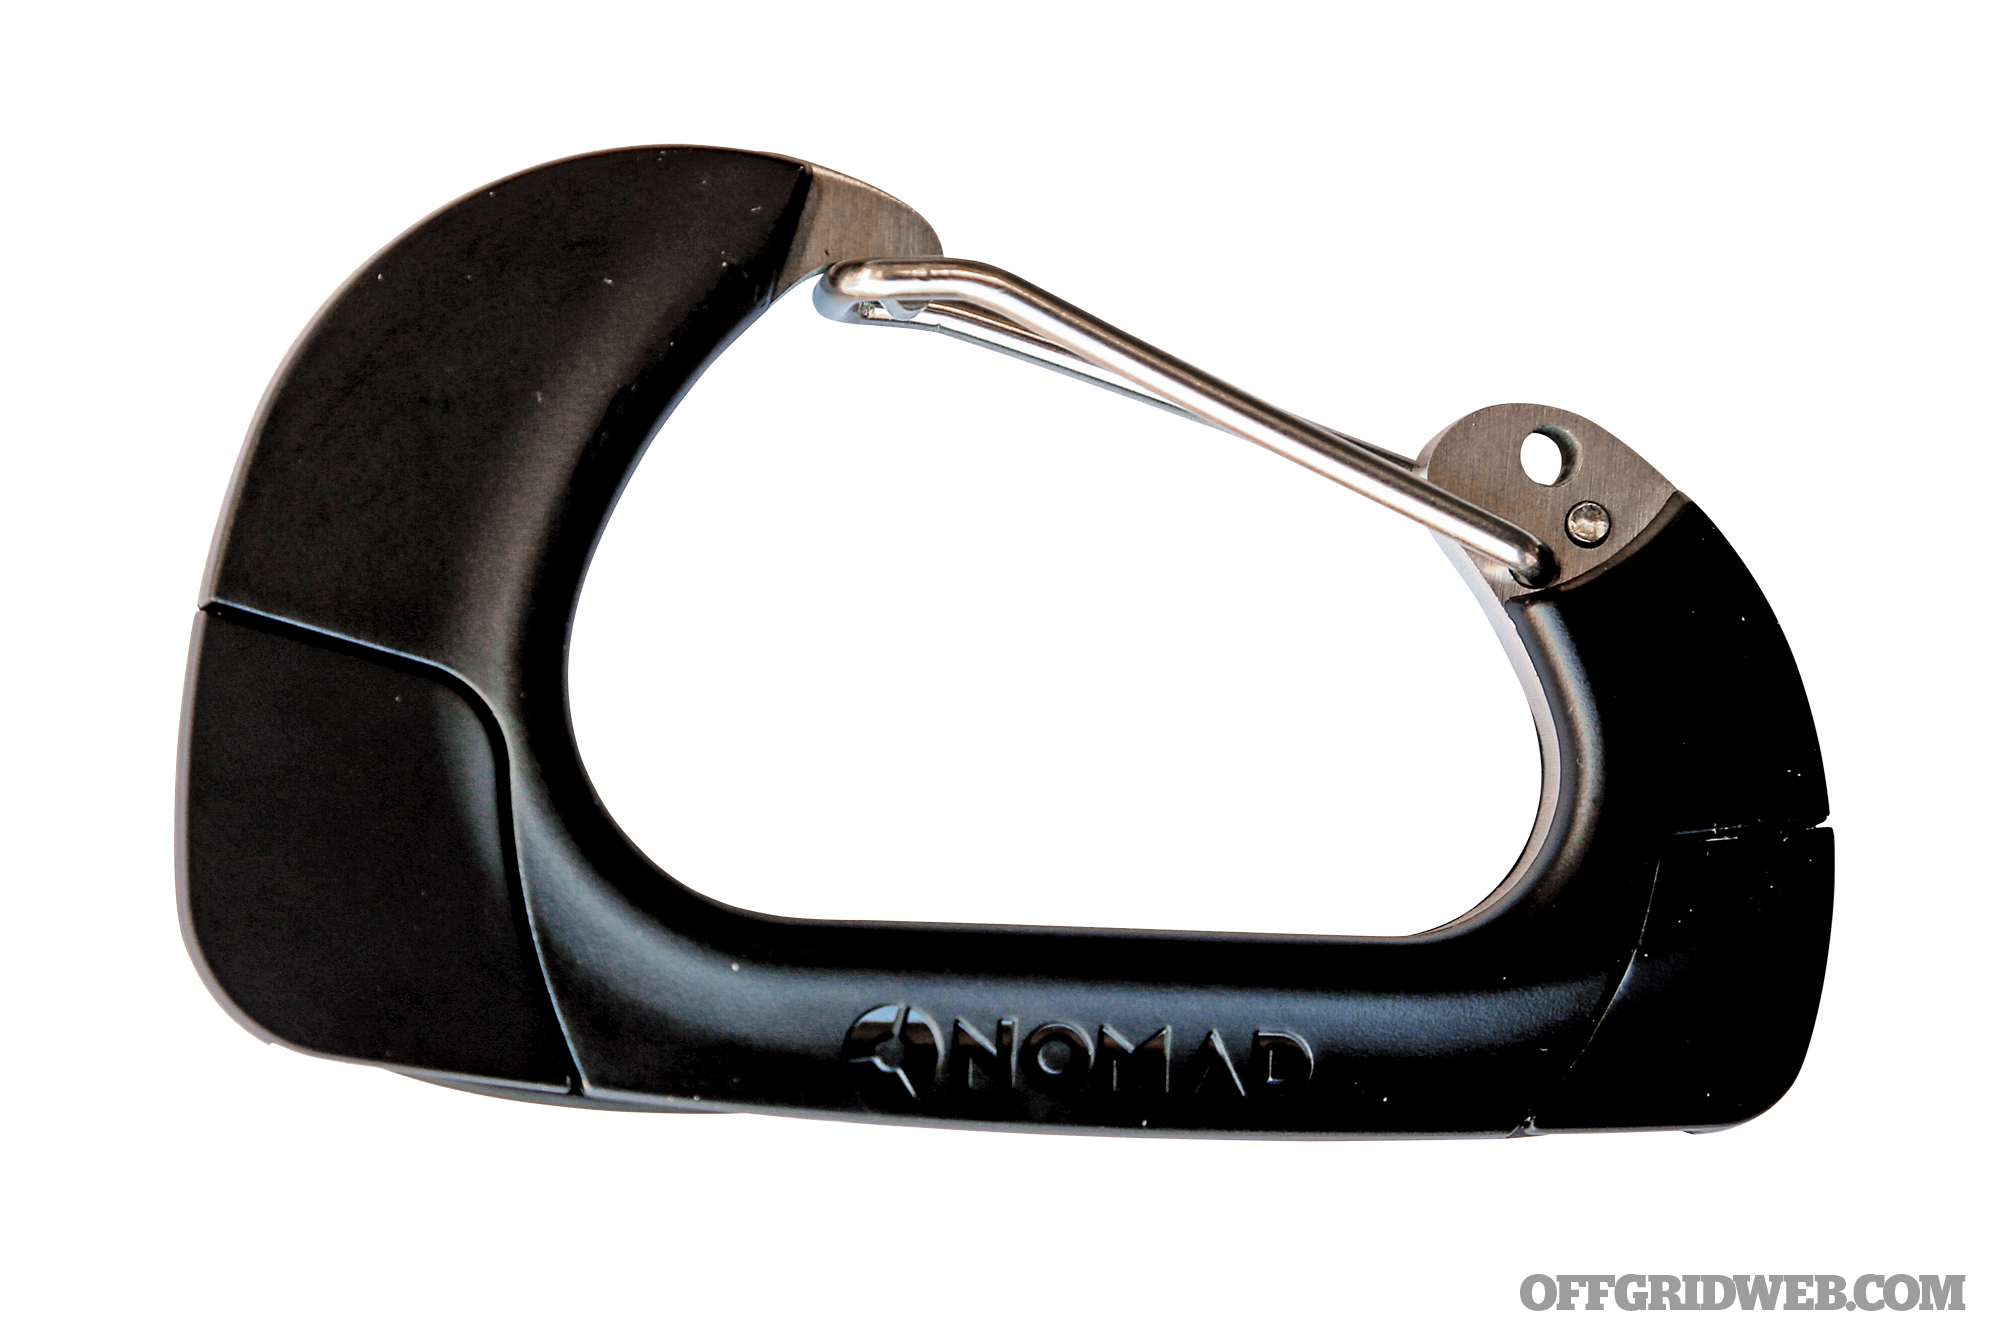
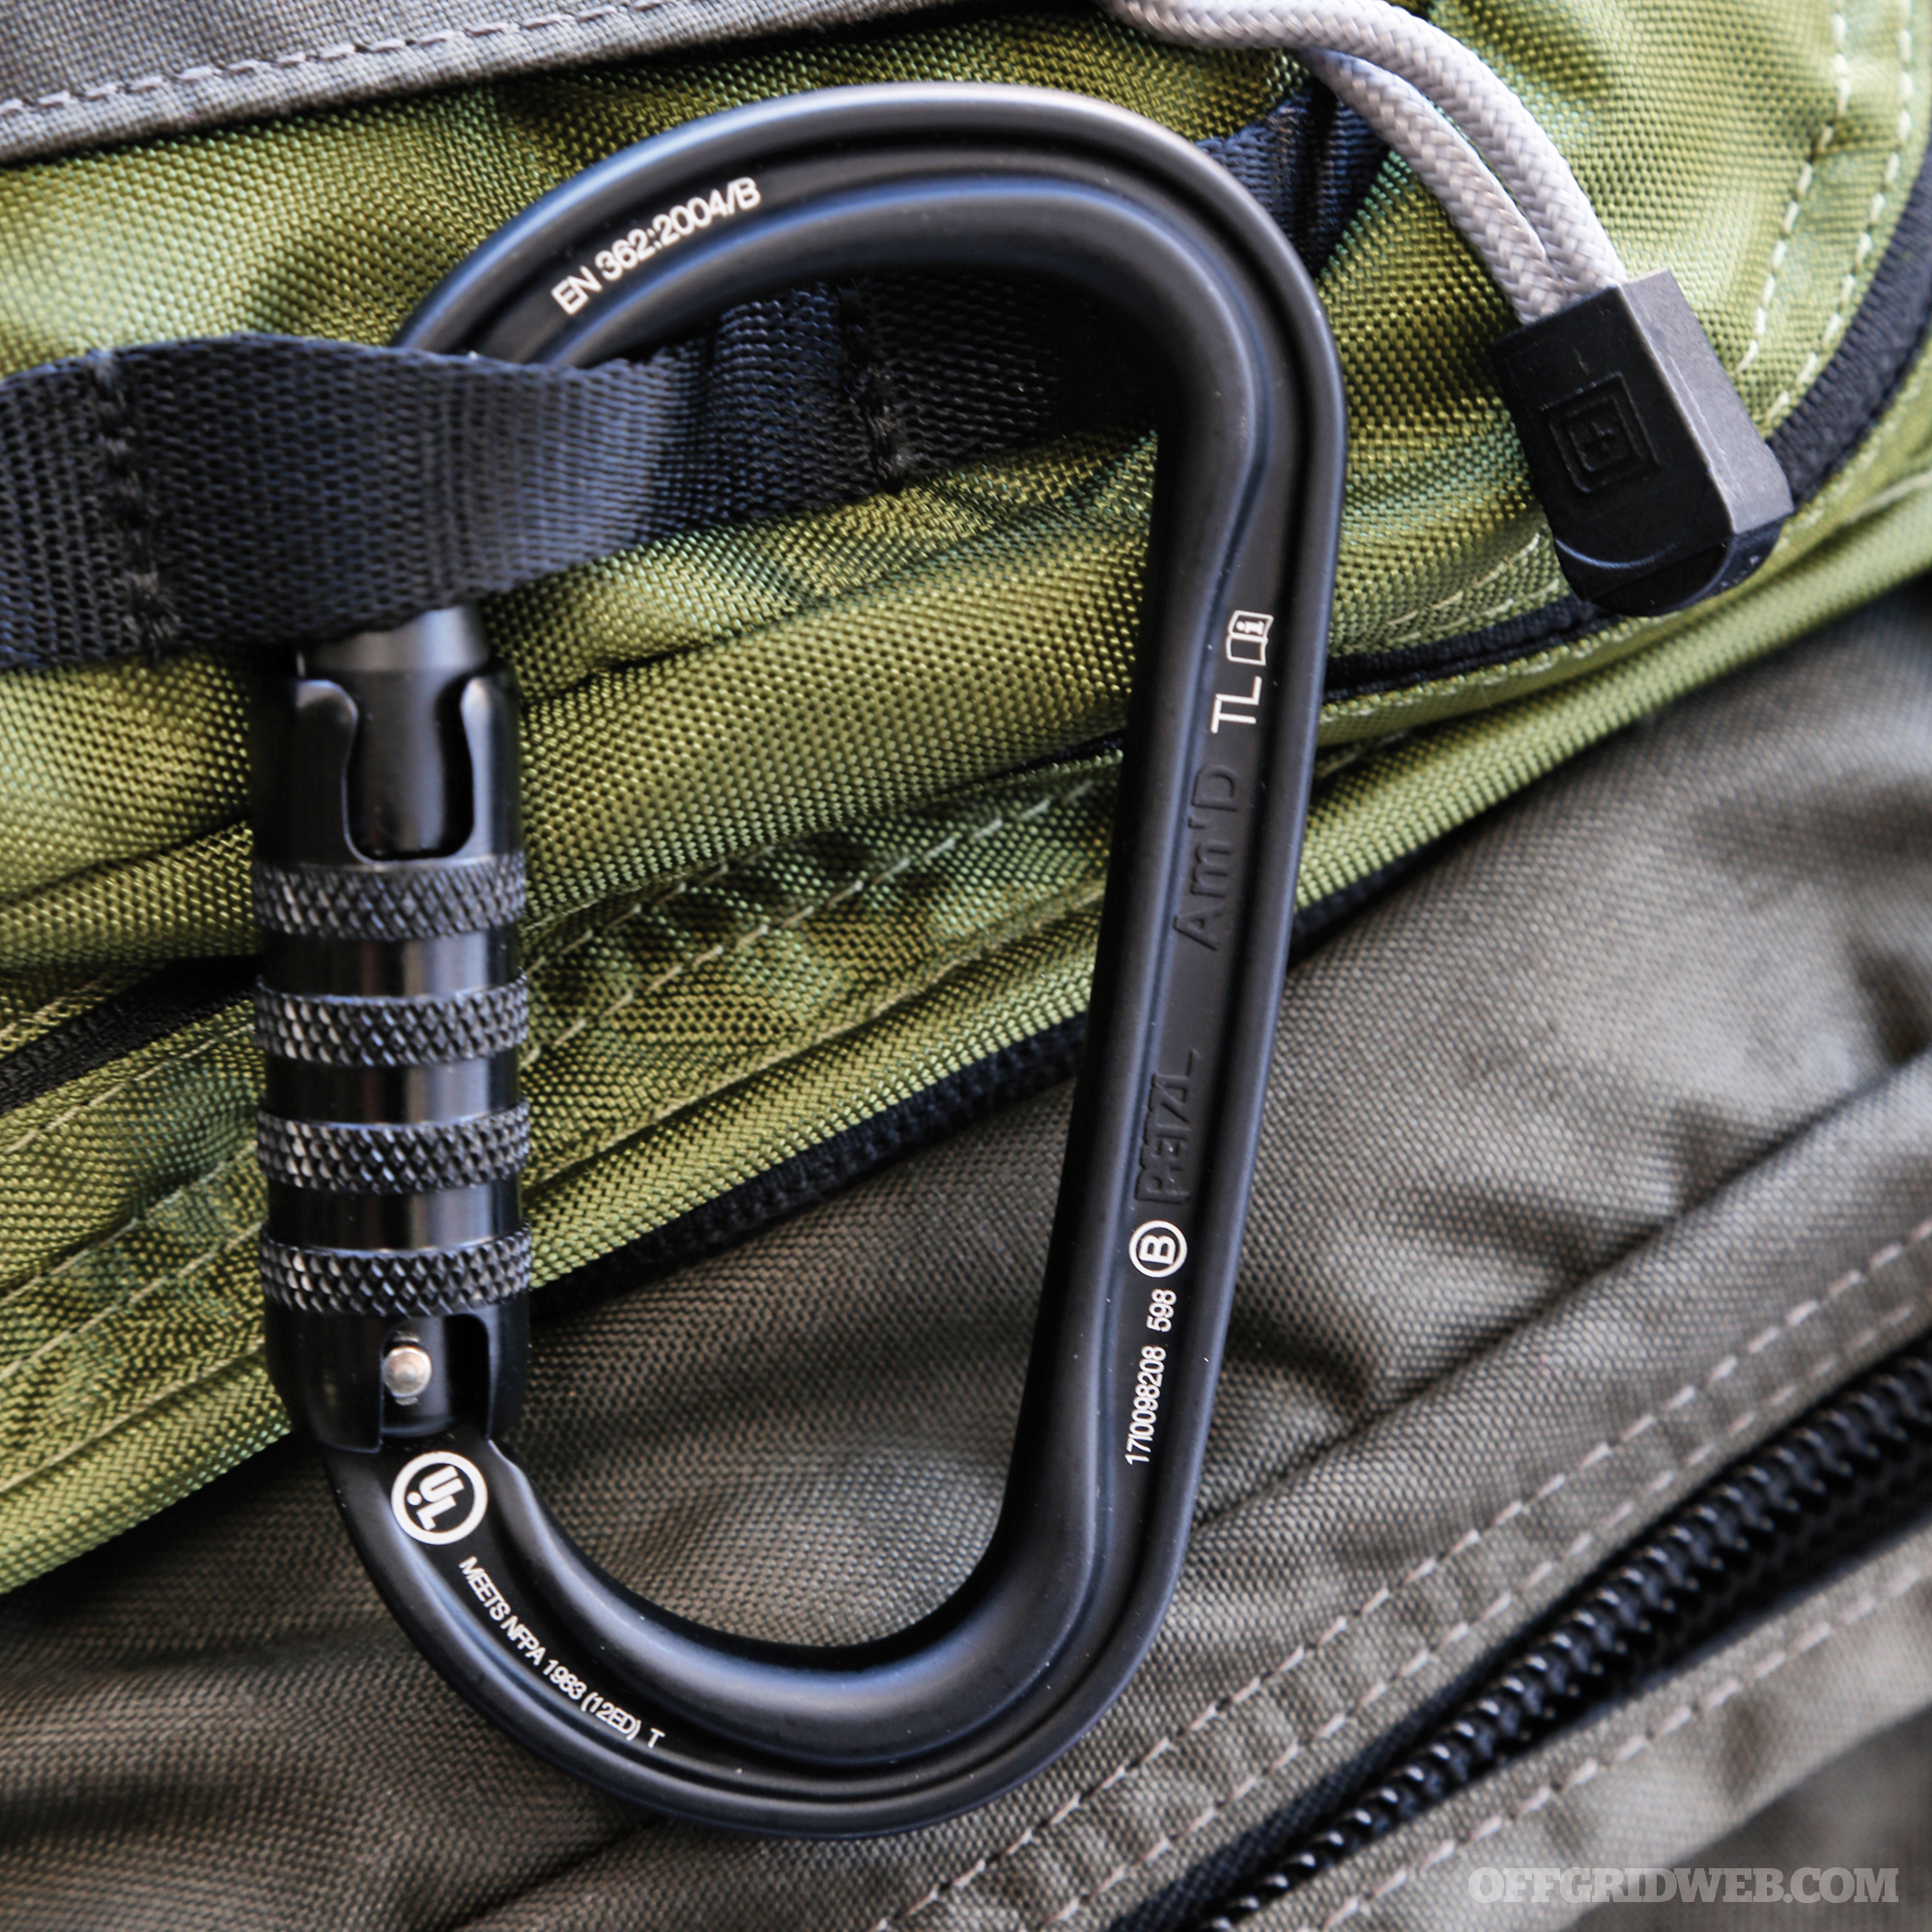
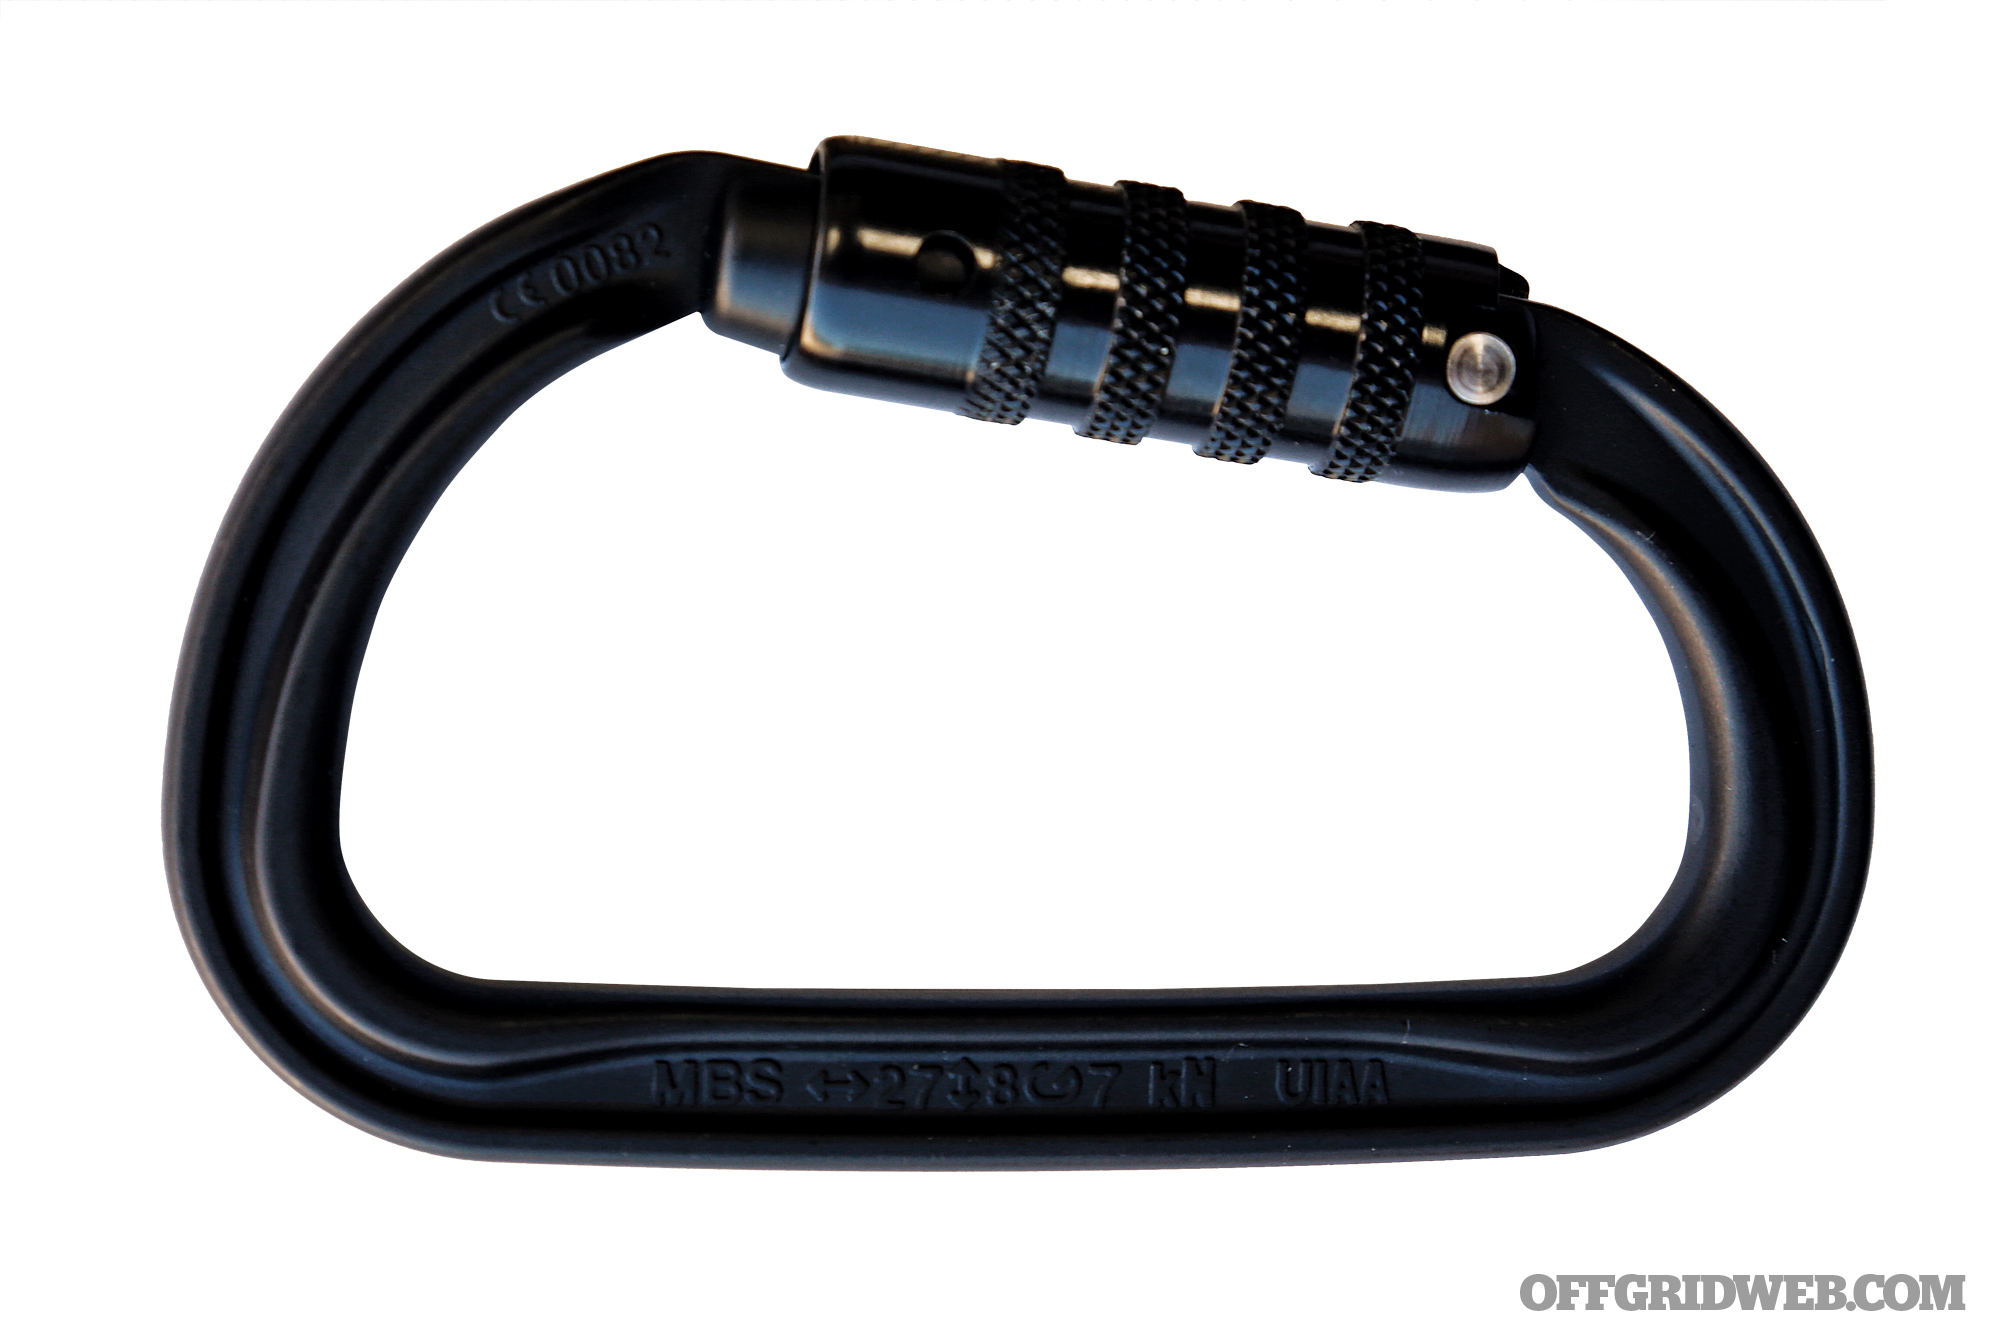
- Pocket Preps: EDC Carabiner Buyer’s Guide
- Issue 25 Gear Up
- What If Your Child Disappears While Traveling?
Read articles from the next issue of Recoil Offgrid: Issue 26
Read articles from the previous issue of Recoil Offgrid: Issue 24
Check out our other publications on the web: Recoil | Gun Digest | Blade | RecoilTV | RECOILtv (YouTube)
Editor’s Note: This article has been modified from its original version for the web.