In Issue 24 of our print magazine, we featured six pairs of boots fit for day hiking, emergency bug-out scenarios, or anything in between. That hiking boot buyer’s guide covered the sort of footwear that excels in a soggy forest or on a steep mountain path. However, they’re not the right tool for every job.
Hiking boots aren’t ideal for everyday use in urban environments, since they’re much heavier, more expensive, and less flexible than sneakers. And they’re far from subtle — you’re likely to get some odd looks if you wear mud-caked hiking boots to the mall, the grocery store, or the office. On the other hand, ordinary sneakers and running shoes don’t offer the sort of protection and grip you’d want during a SHTF situation.
The ideal everyday shoe provides a balance between the durability and performance of hiking footwear, and the comfort and flexibility of sneakers. In addition, it should fit the grayman mentality — in other words, it shouldn’t appear out of place in an urban setting. For this web-exclusive buyer’s guide, we collected six pairs of capable grayman shoes, and evaluated the merits of each from a survivalist’s viewpoint.
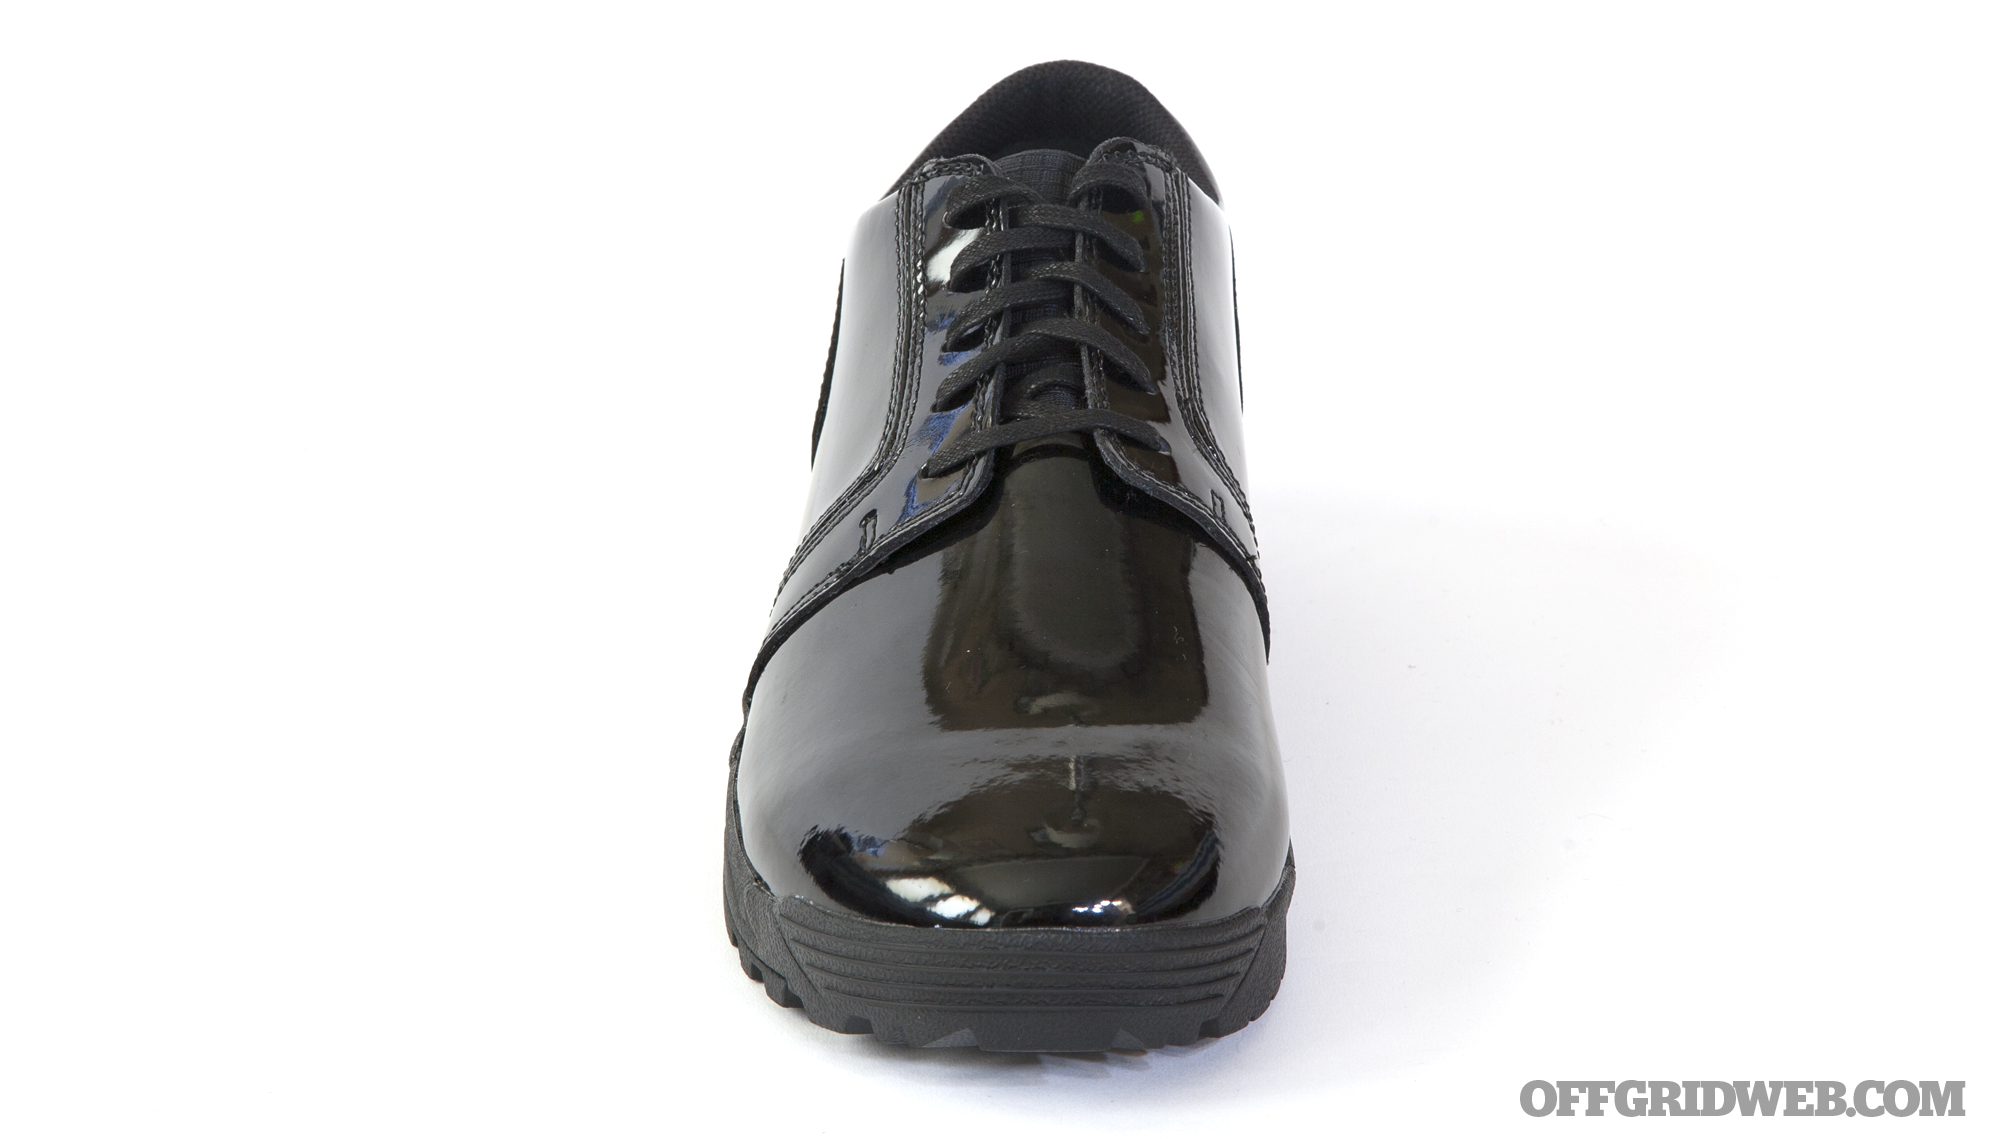
5.11 Pursuit Oxford
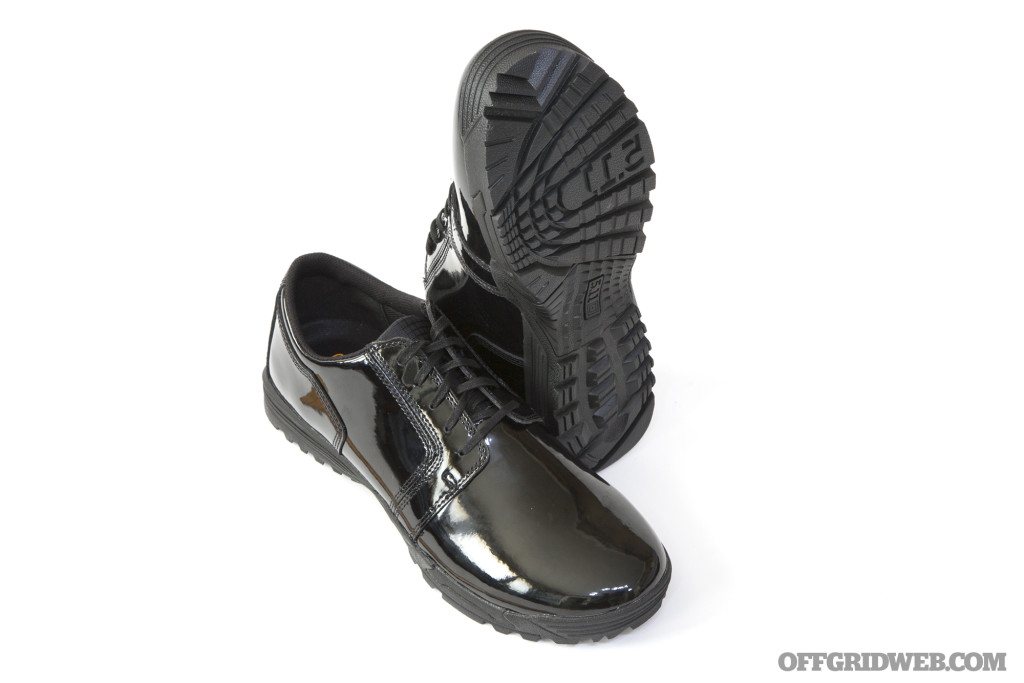
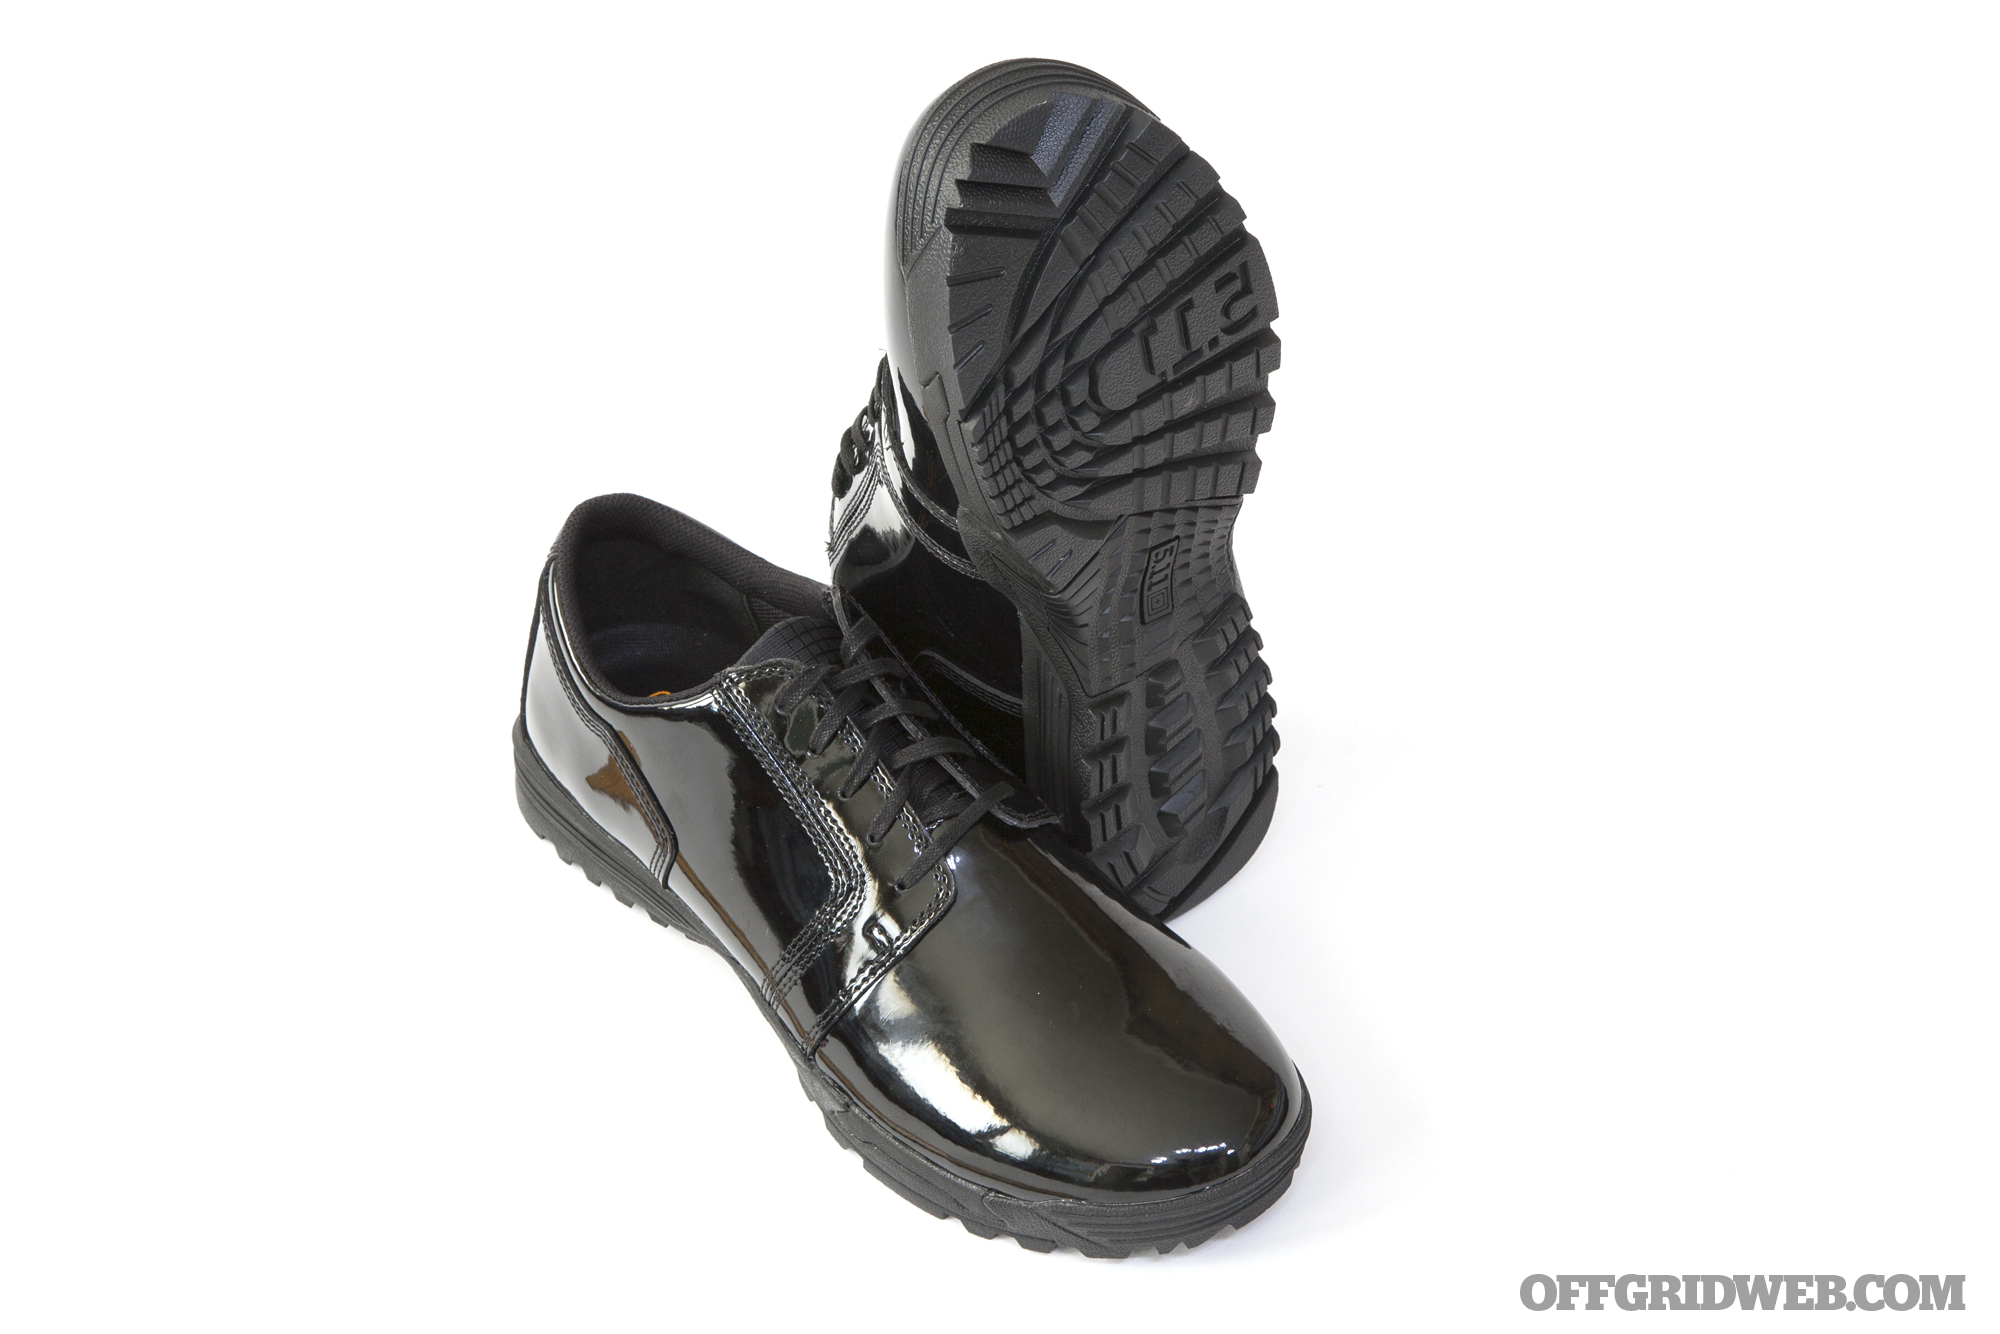
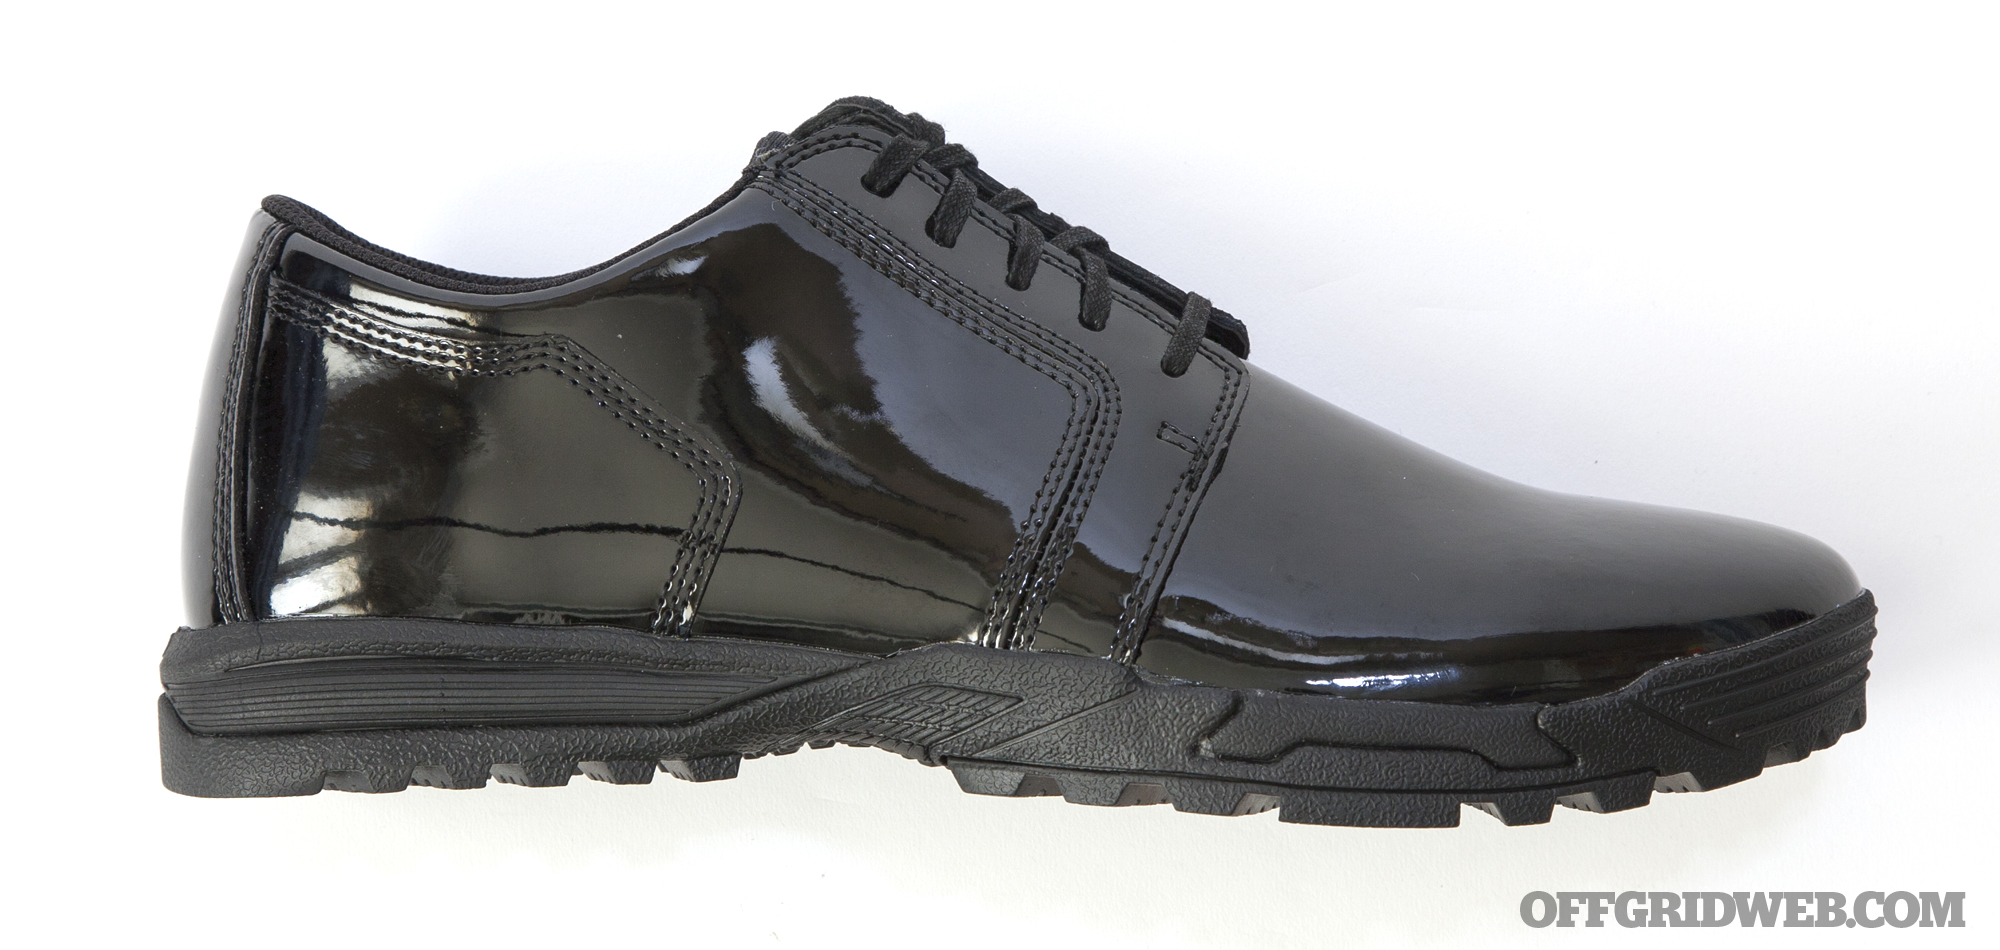
Traditional dress shoes are one of the ultimate expressions of form over function. They’re usually uncomfortable, inflexible, and offer about as much traction as a greased-up bar of soap. If your work or weekend activities require the dignified appearance of patent leather dress shoes, but you also want the performance of a cross-trainer, the 5.11 Pursuit Oxford is a great choice.
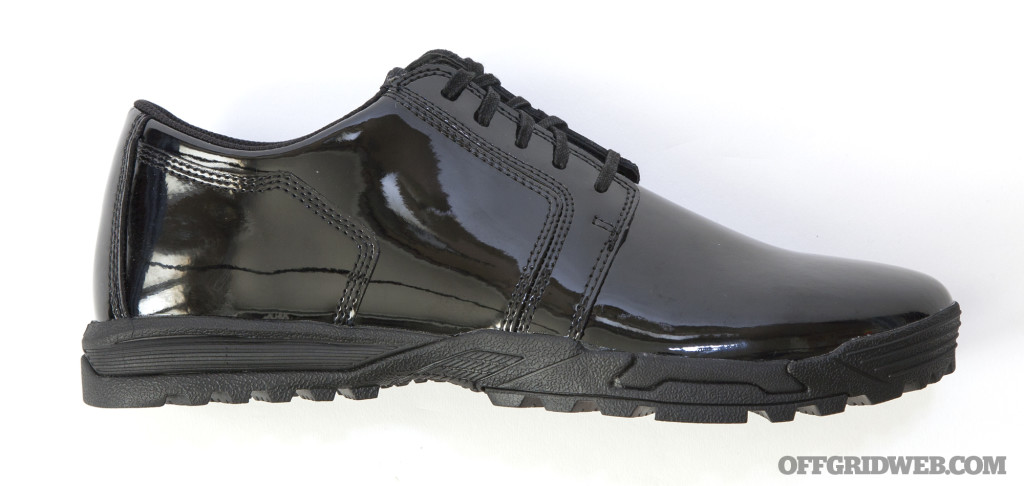
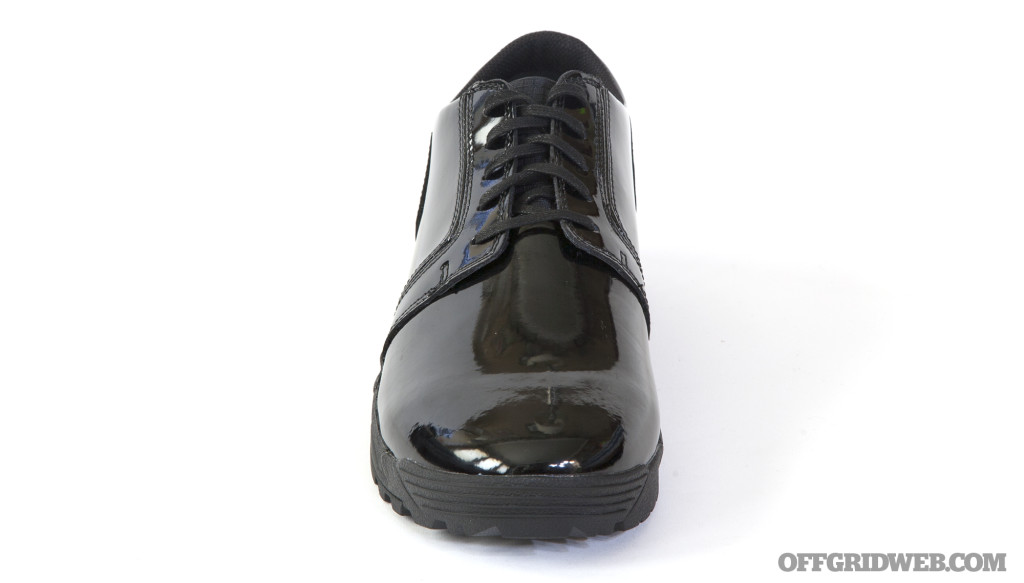
The polished finish of the Pursuit Oxford’s leather upper would fit right in at any black-tie affair, whether you’re on the job pulling security or getting dragged to some distant relative’s formal wedding. Either way, if you need to make a sudden run for it (or bust out some sick moves on the dance floor), the grippy tread lugs offer plenty of traction. The lightweight design also provides good agility.

The thick patent leather upper leads to some drawbacks, namely limited flexibility at the ball of the foot and poor breathability due to lack of ventilation. However, these are essentially unavoidable in order to maintain the smooth exterior appearance. Aside from these compromises, the Pursuit Oxford feels like a tough and capable sneaker. If you often find yourself attending formal events, this shoe is certainly a superior-performing alternative to ordinary dress shoes.
If black-tie events aren’t your thing, 5.11 Tactical also offers several casual variants of the Pursuit.
Pros
- Professional, dignified appearance
- Comfy enough for all-day use
- Available in various styles, including more casual lace-up, slip-on, and chukka boot variants
Cons
- Oxfords are only appropriate with formal outfits — not suitable for daily casual wear
- Aggressive outsole texture is more visible than we’d like for a true grayman shoe
Color: Black
Materials: High-shine patent leather upper, low-profile CMEVA midsole, full-rubber outsole
Sizes: 4 to 15, wide sizes also available
MSRP: $100
URL: www.511tactical.com
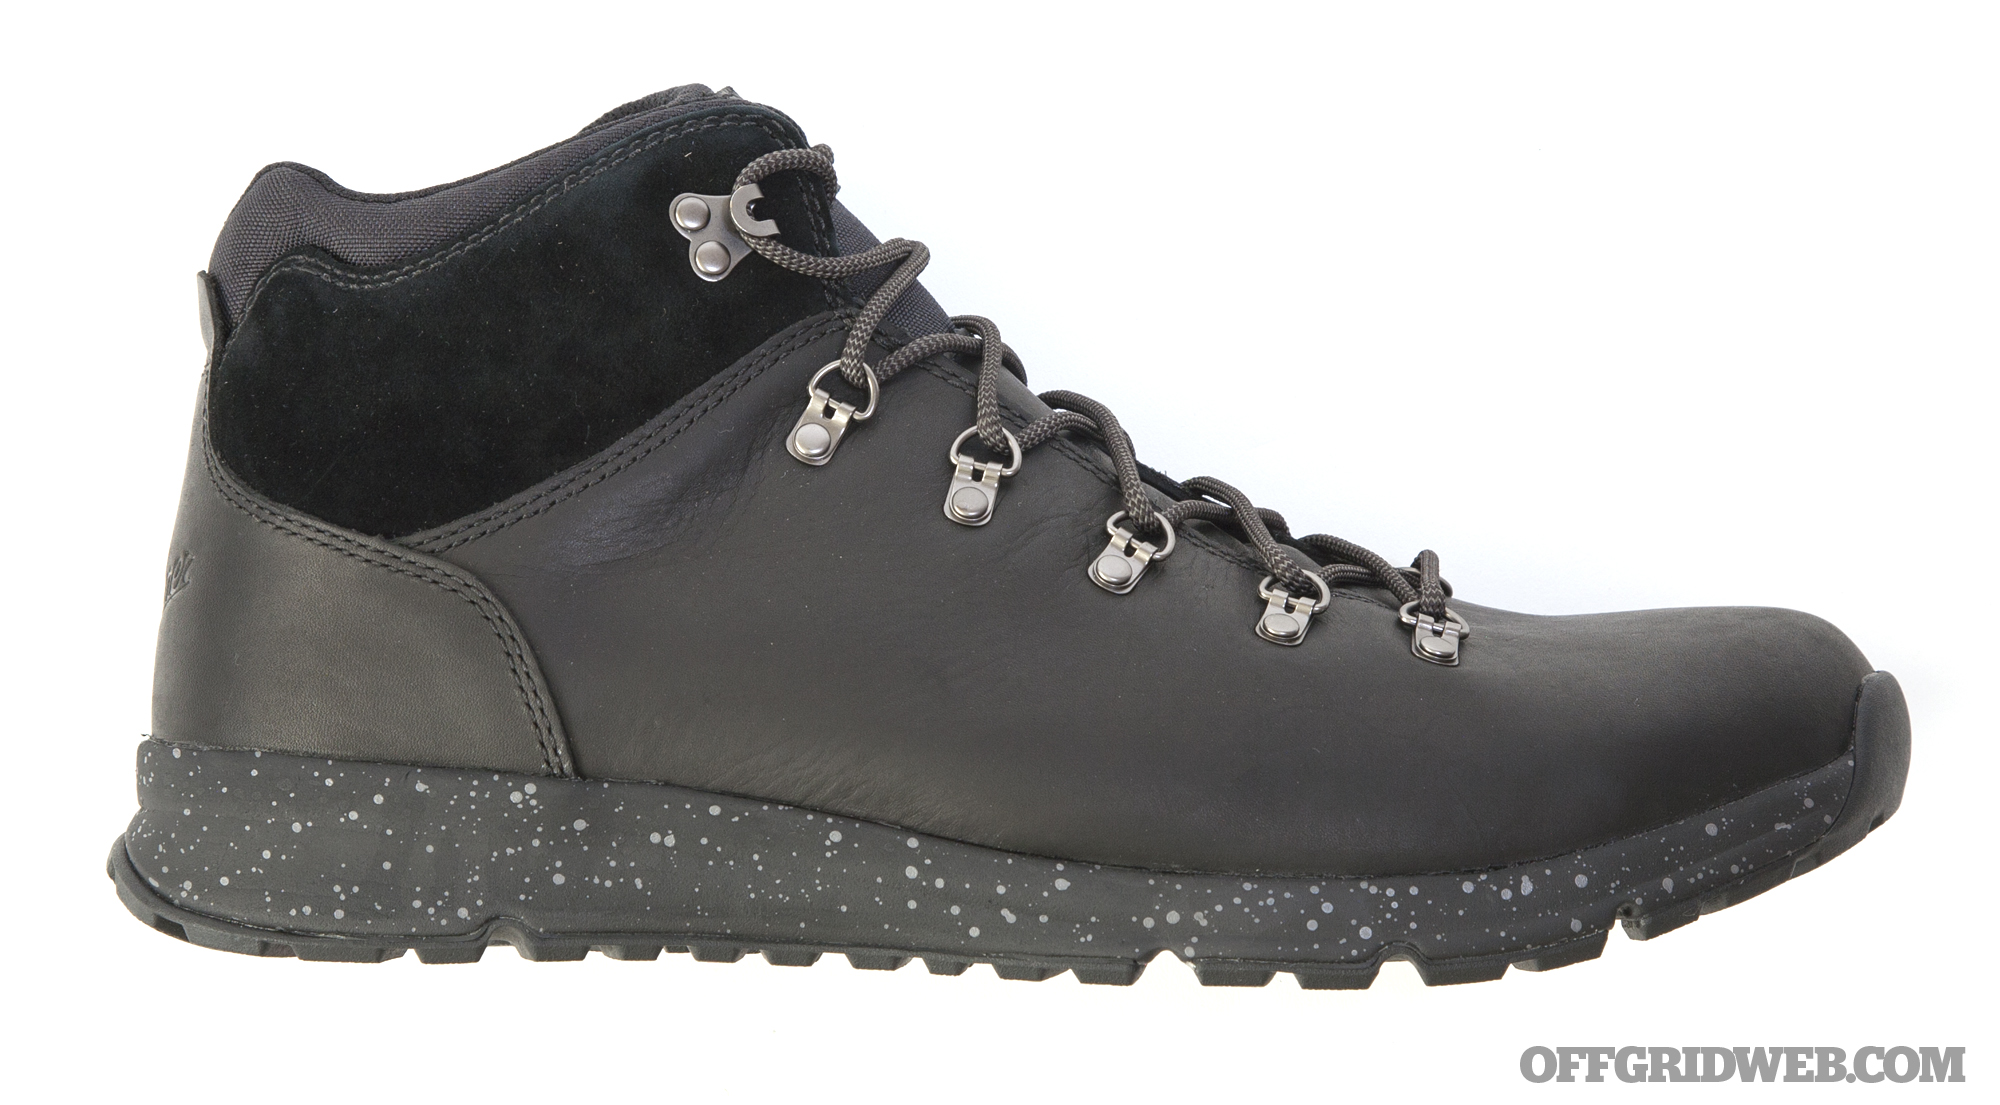
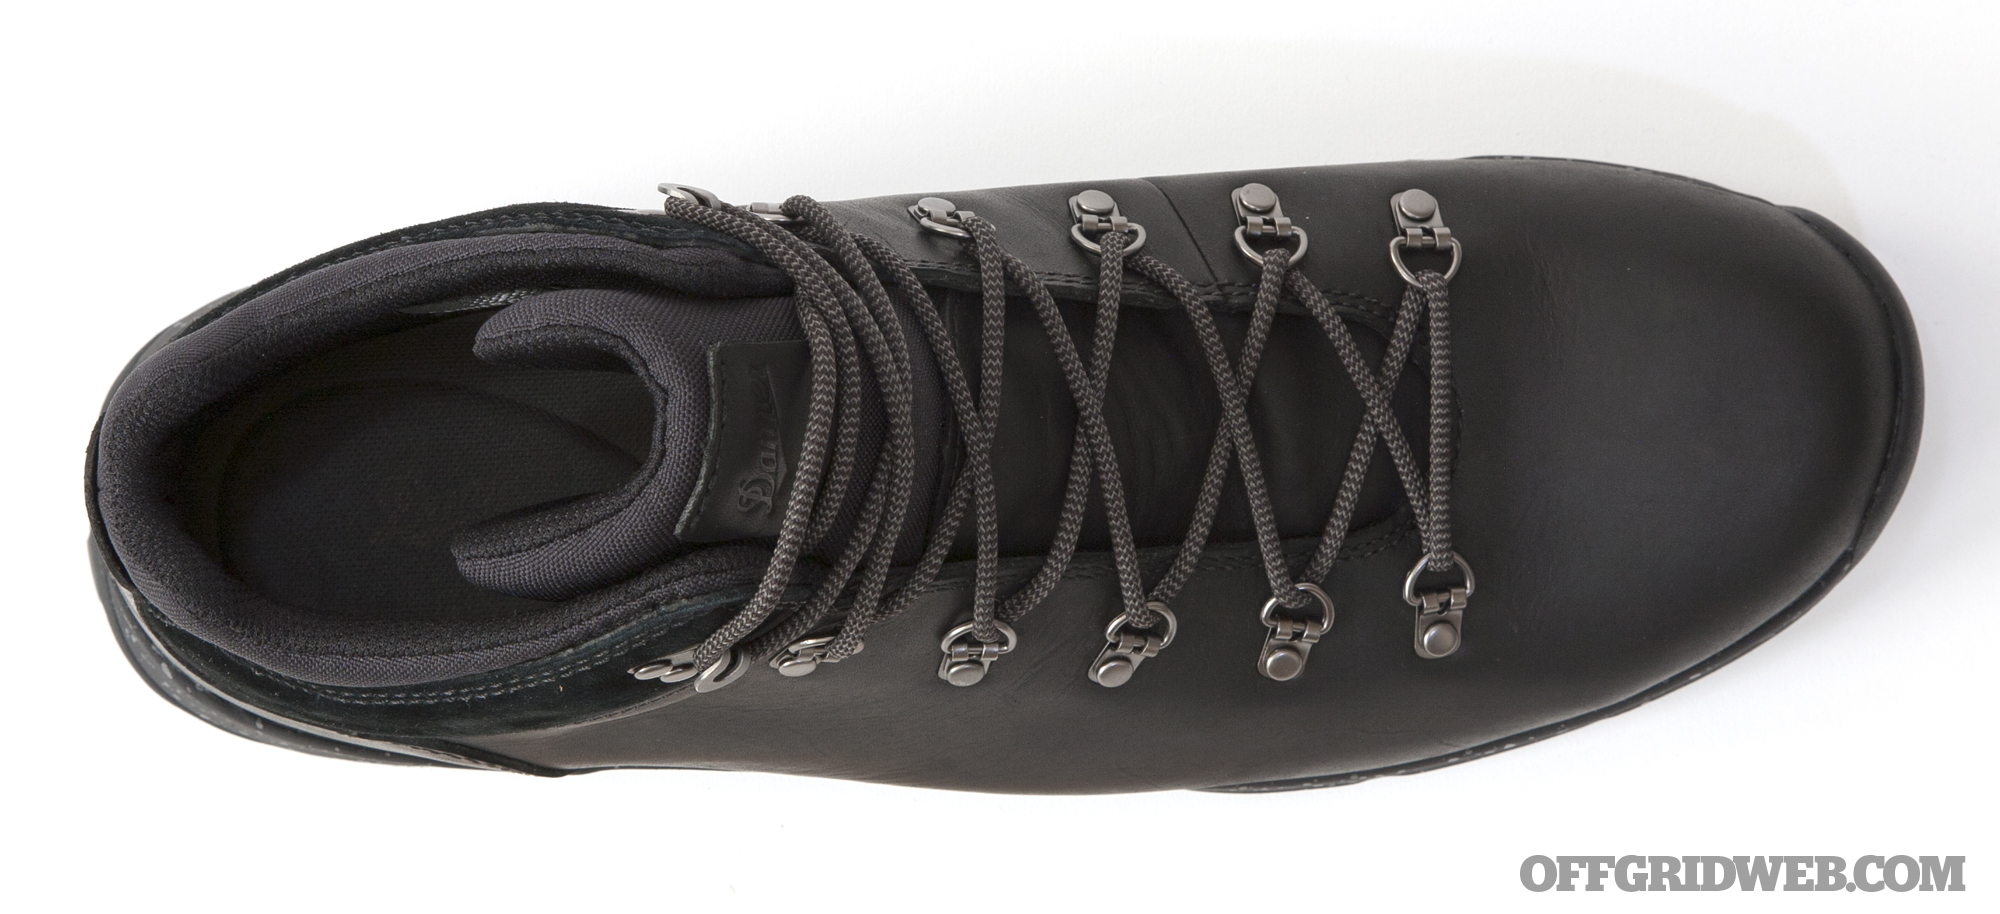
Danner Mountain 503
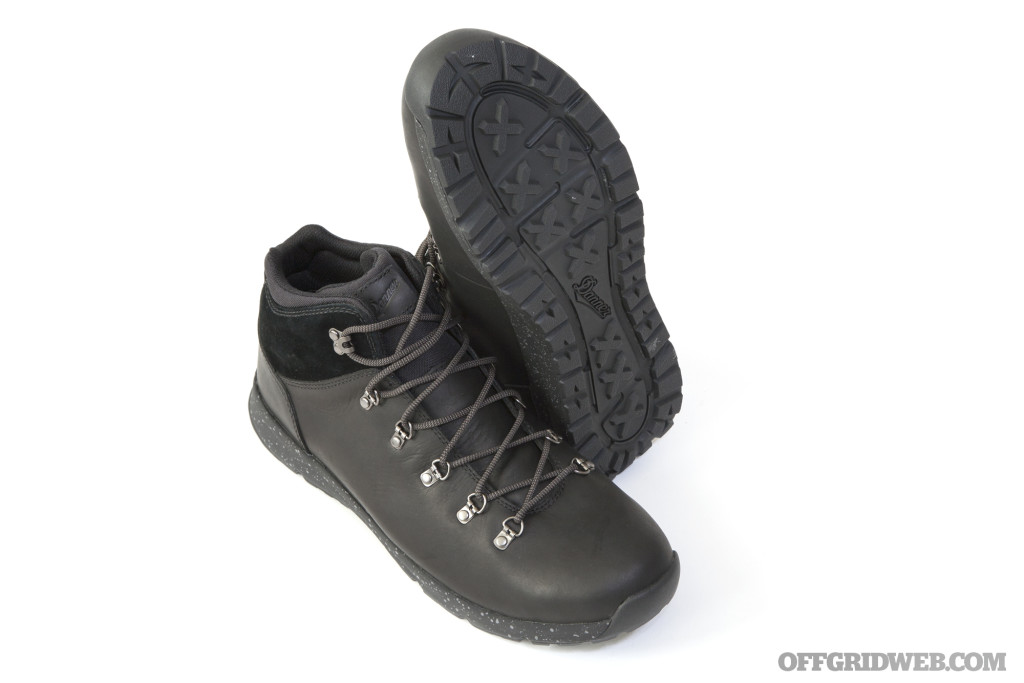
Danner calls this shoe a “mountain sneaker” — this term may sound like an oxymoron, since we wouldn’t want to be caught on a rugged mountain trail in most ordinary sneakers, but it’s an appropriate descriptor of the Mountain 503’s hybrid design. The leather and suede upper bears a resemblance to the company’s Mountain Light hiking boot, while its slim outsole is better-suited to urban or casual trail use.

These shoes feature a few advantages over traditional sneakers for daily wear. The Ortholite open-cell polyurethane footbed is soft, springy, and designed to circulate air beneath your feet. If you live in a region that gets a lot of rainfall, the Danner Dry waterproof liner will keep your feet from getting soaked. We also appreciated the slim, contoured rubber outsoles, which provide enough dexterity for jogging or driving a manual-transmission car.

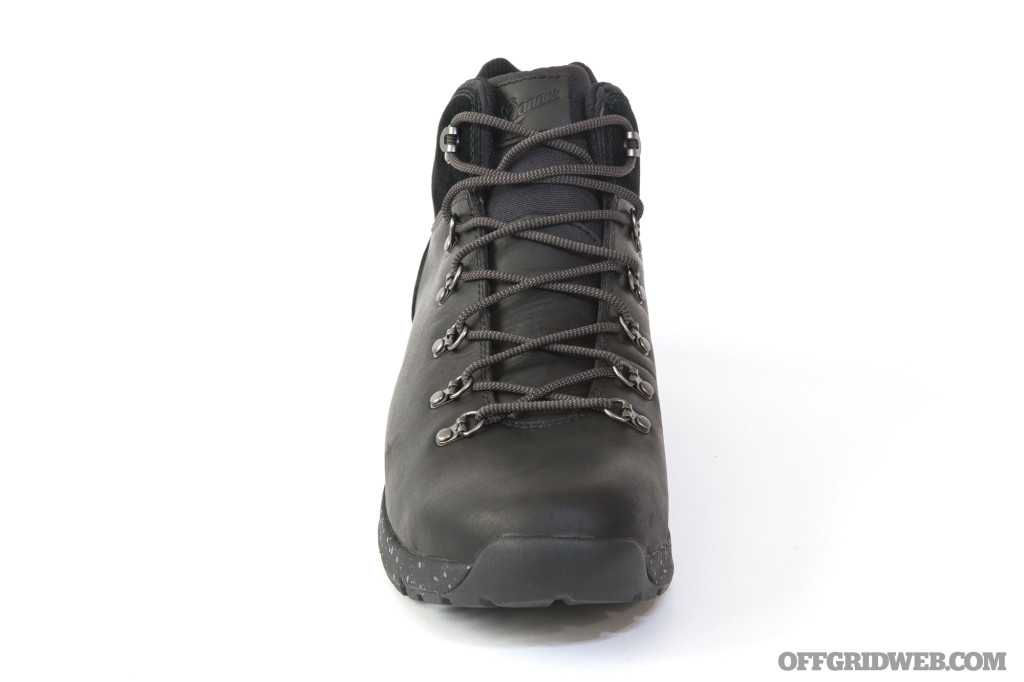
From a distance, the mid-top design of the Mountain 503 resembles that of many popular sneakers, but its distinctive D-ring lace eyelets are a clear departure from that style. While this may be a visible giveaway of the true capabilities of the shoe, we’d say it’s still subdued enough with the black leather upper. The other colorways bear a much stronger resemblance to hiking boots, with combinations of brown, green, and tan.
Pros
- Waterproof mid-top design provides good protection against inclement weather
- Contoured outsole offers great traction without conspicuous hiking-boot-style tread lugs
- Includes both durable round laces and casual flat laces
Cons
- Raised metal lace eyelets scream “hiking boot” and diminish the urban grayman appearance
- This subdued color fits urban environments, but the other brown leather colorways are far more likely to look out of place in the city
Colors: Jet Black, Barley, Brown/Khaki
Materials: Full-grain leather and suede upper, polyurethane midsole, full-rubber outsole
Sizes: 7 to 14
MSRP: $180
URL: www.danner.com
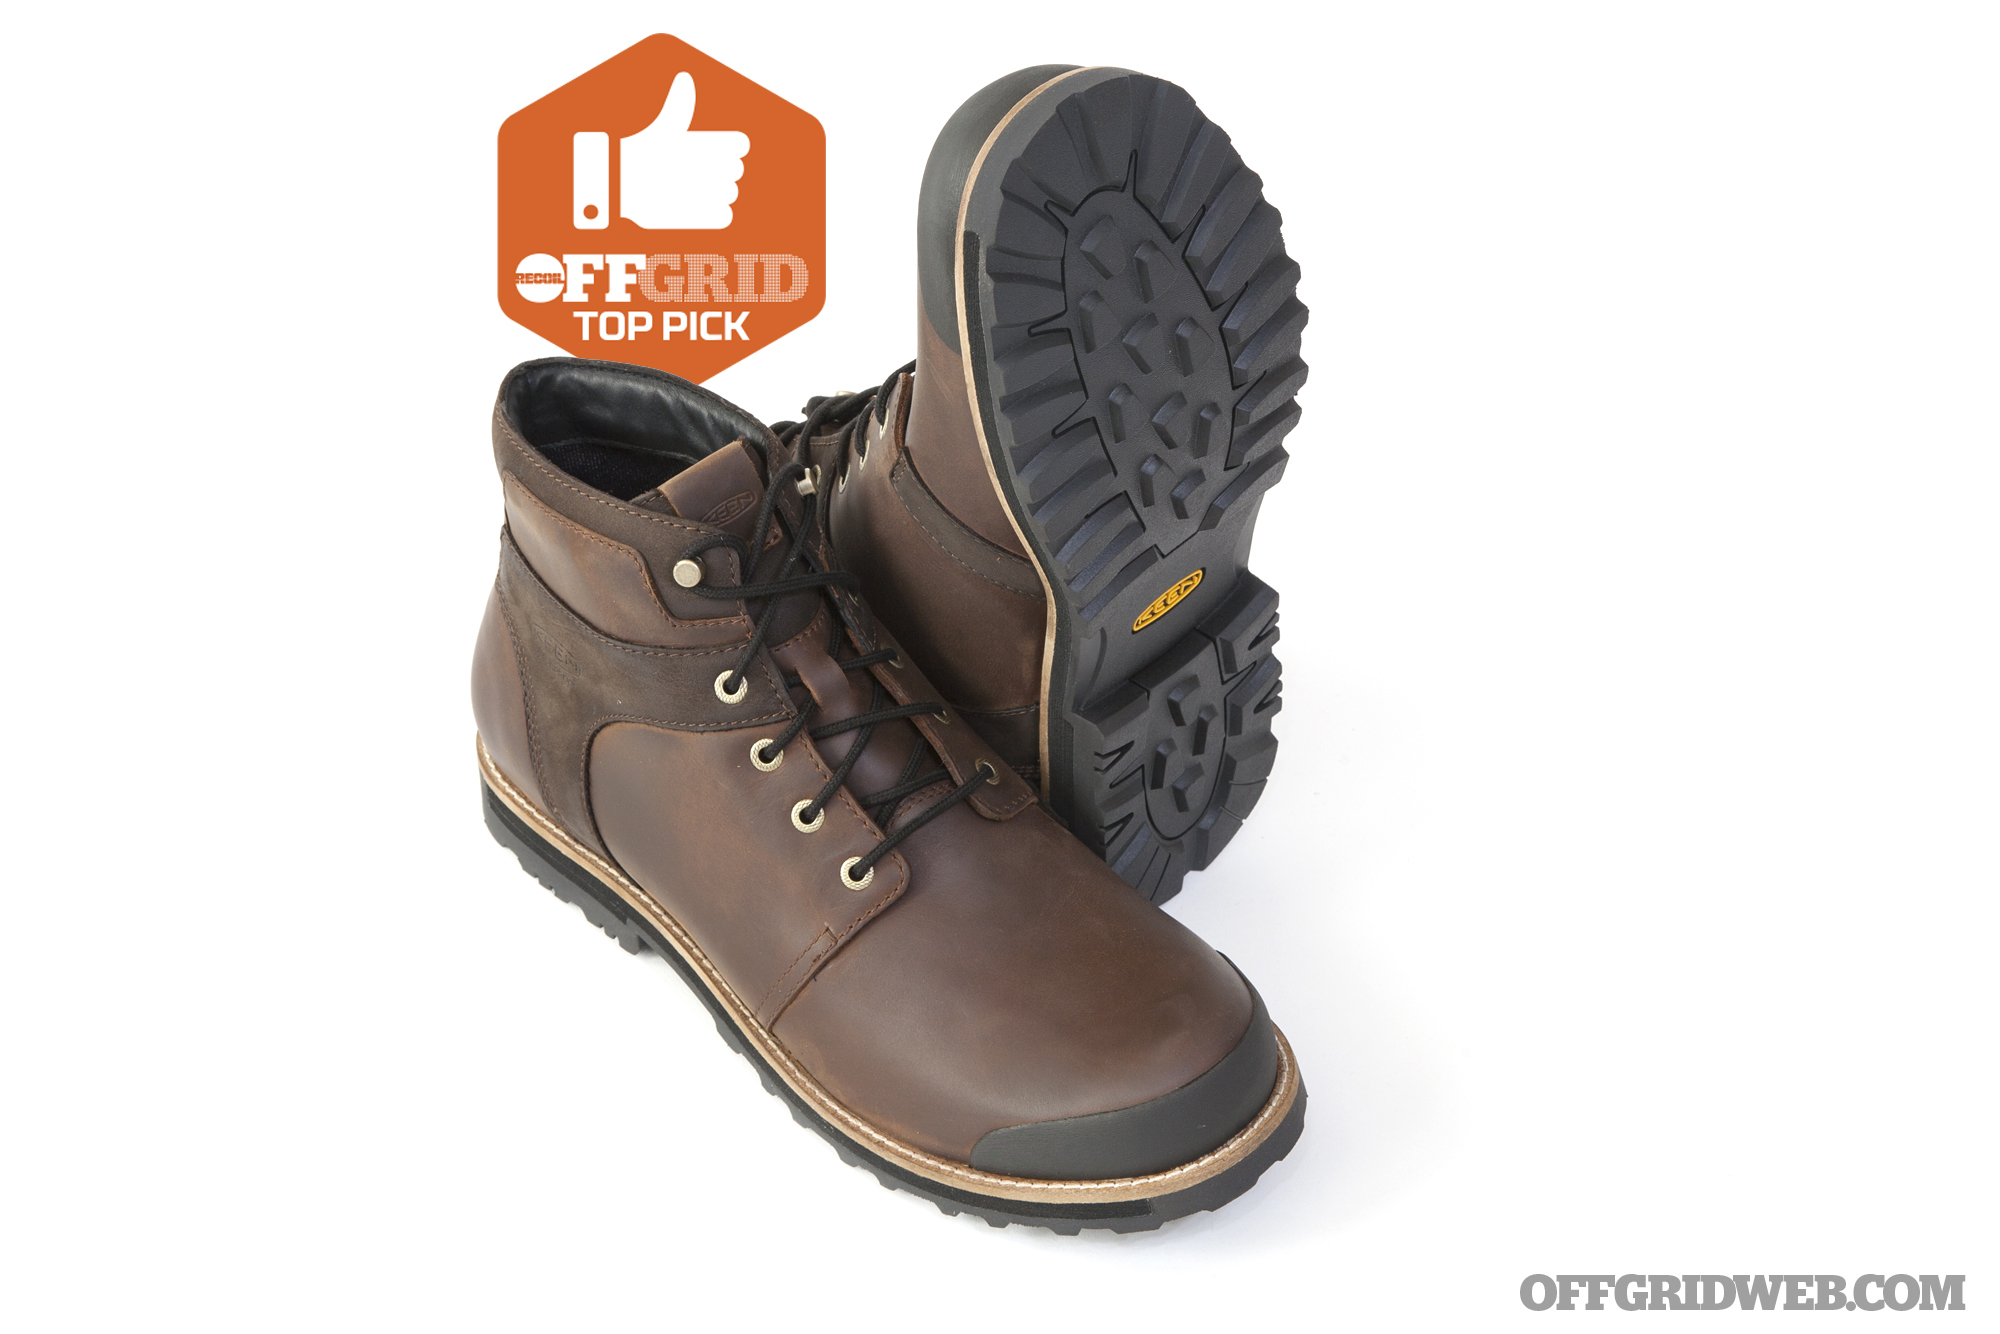
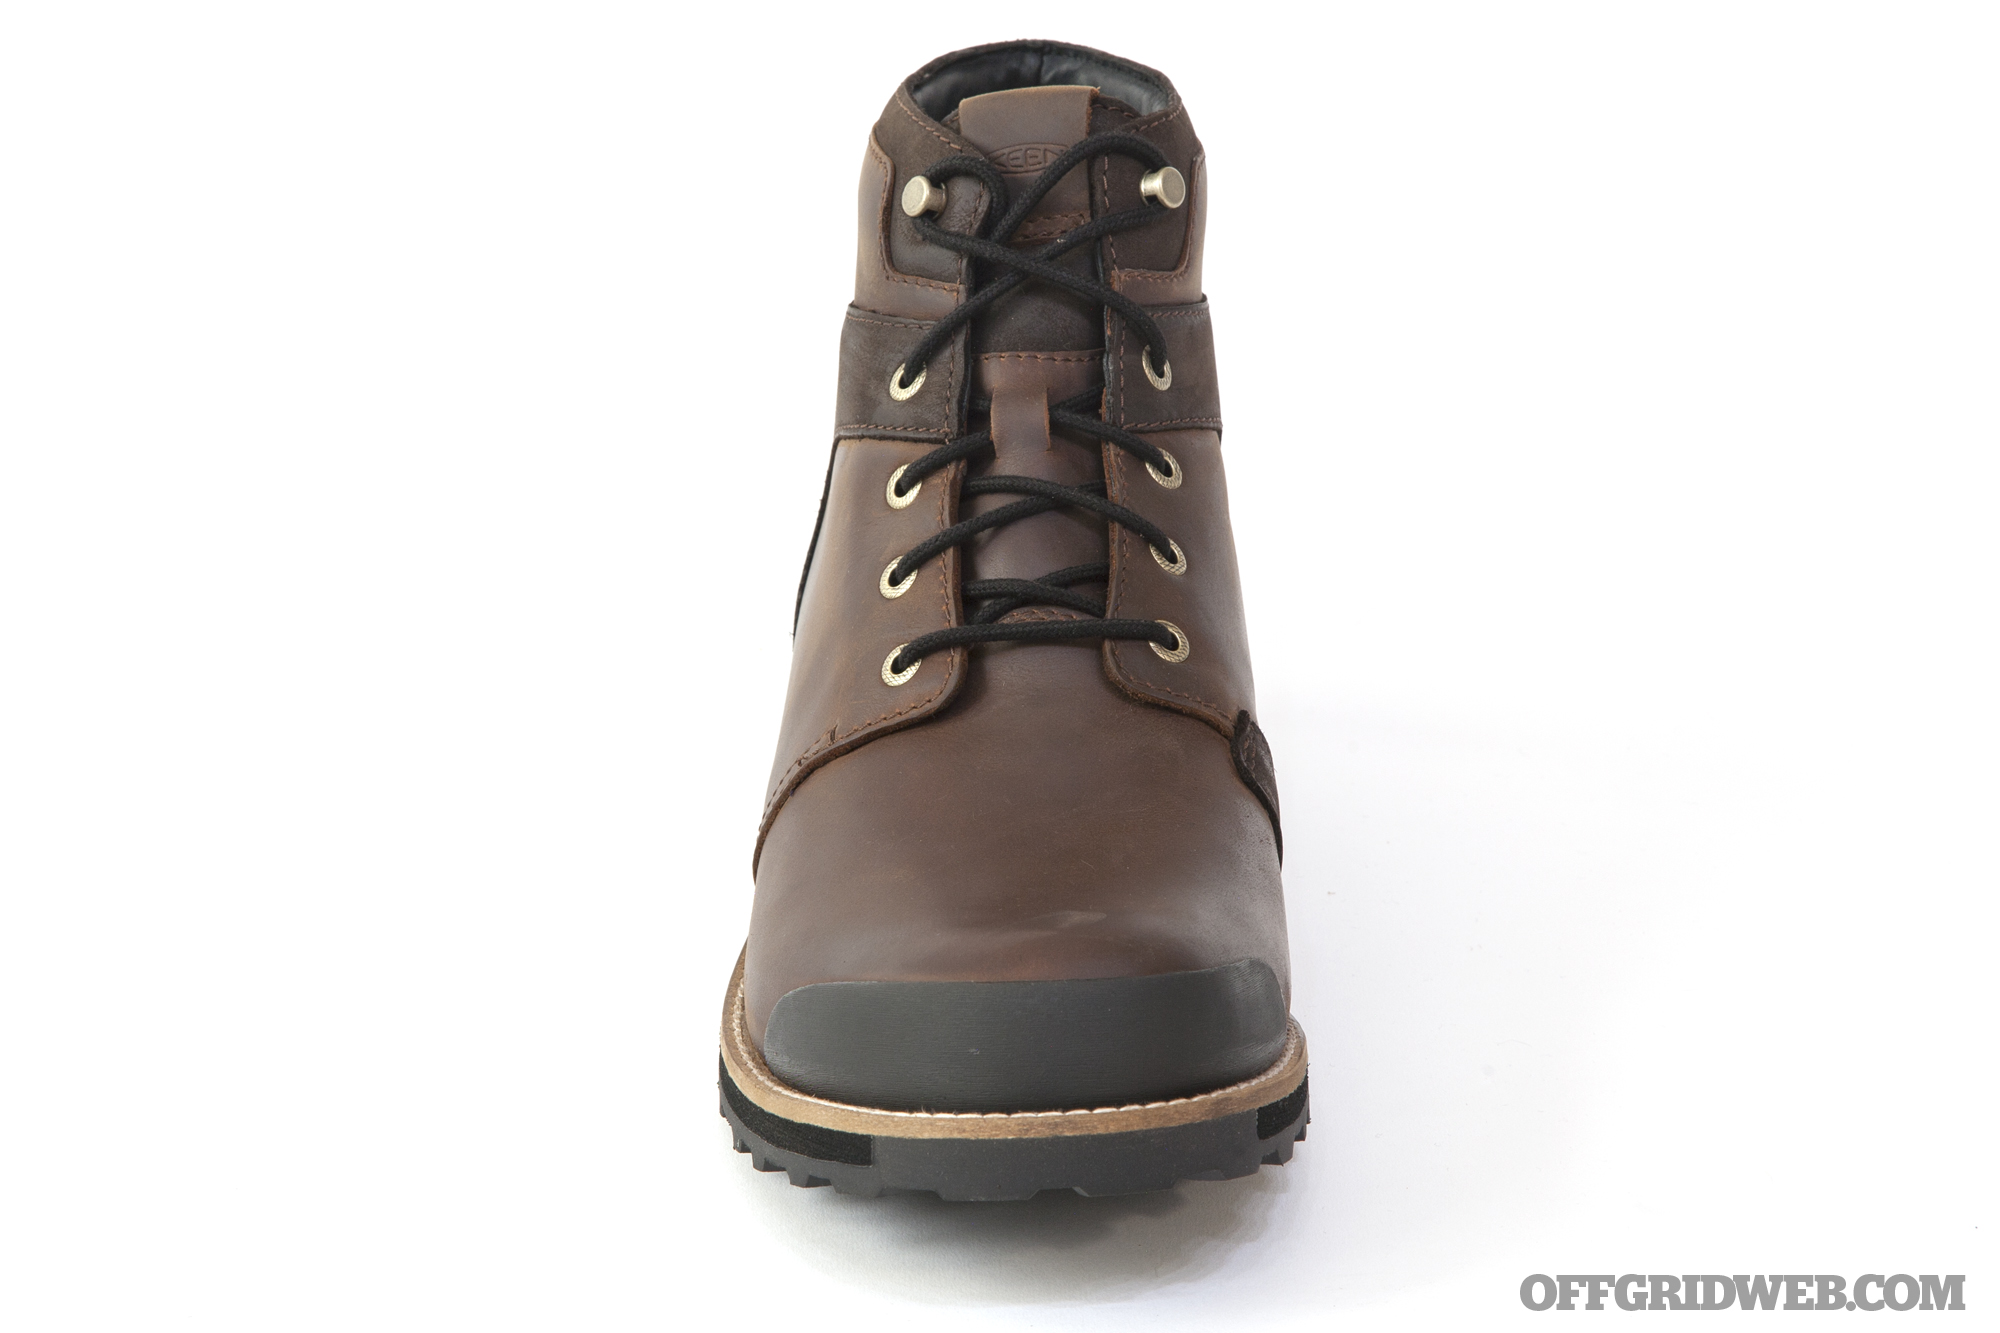
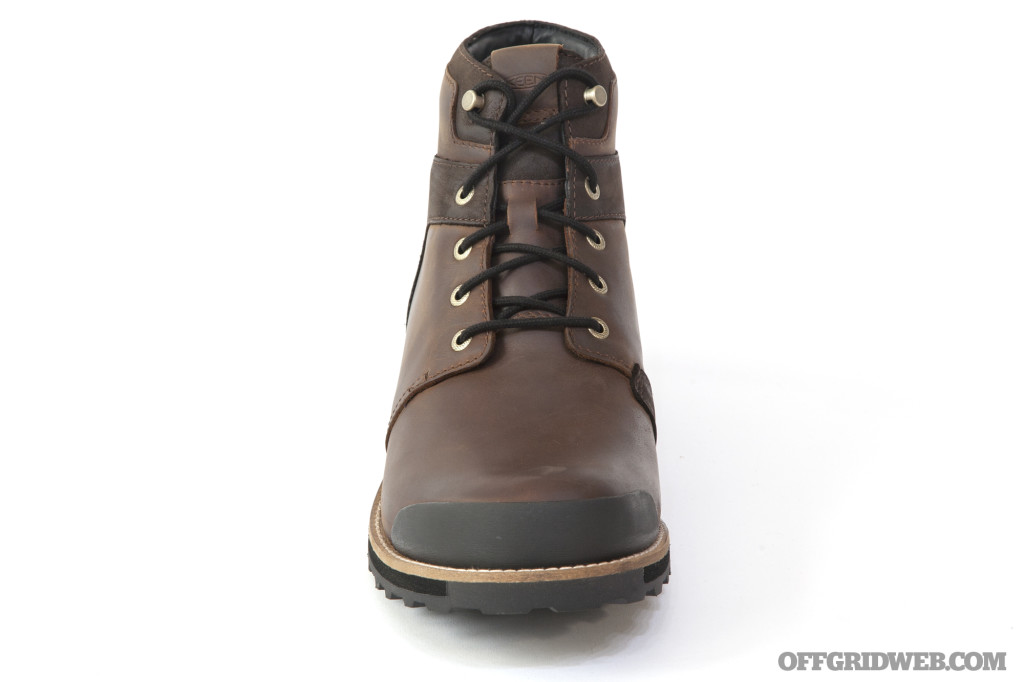
KEEN “The Rocker”

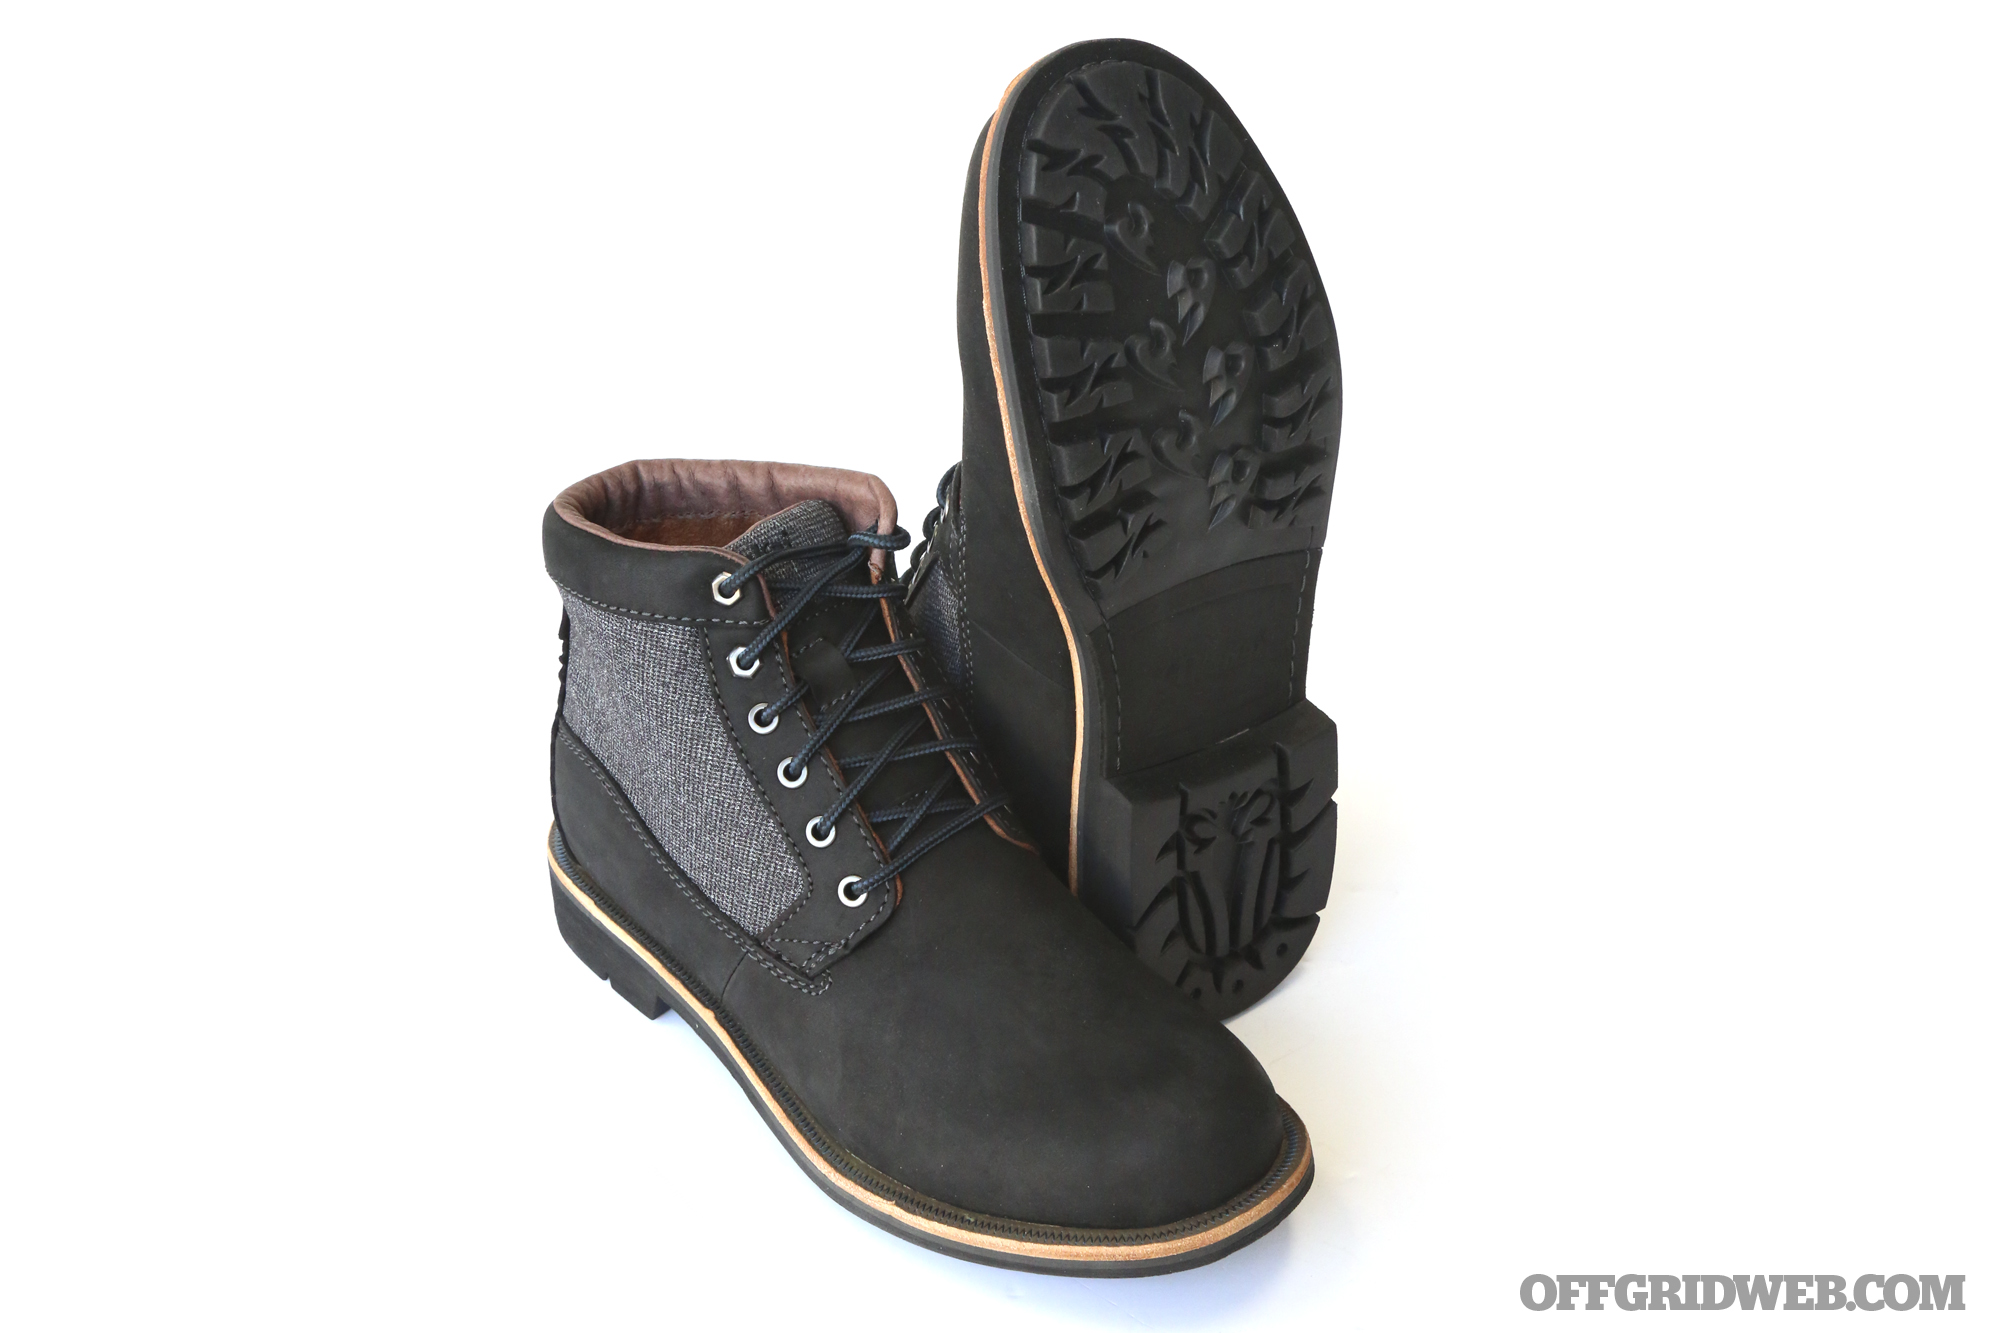
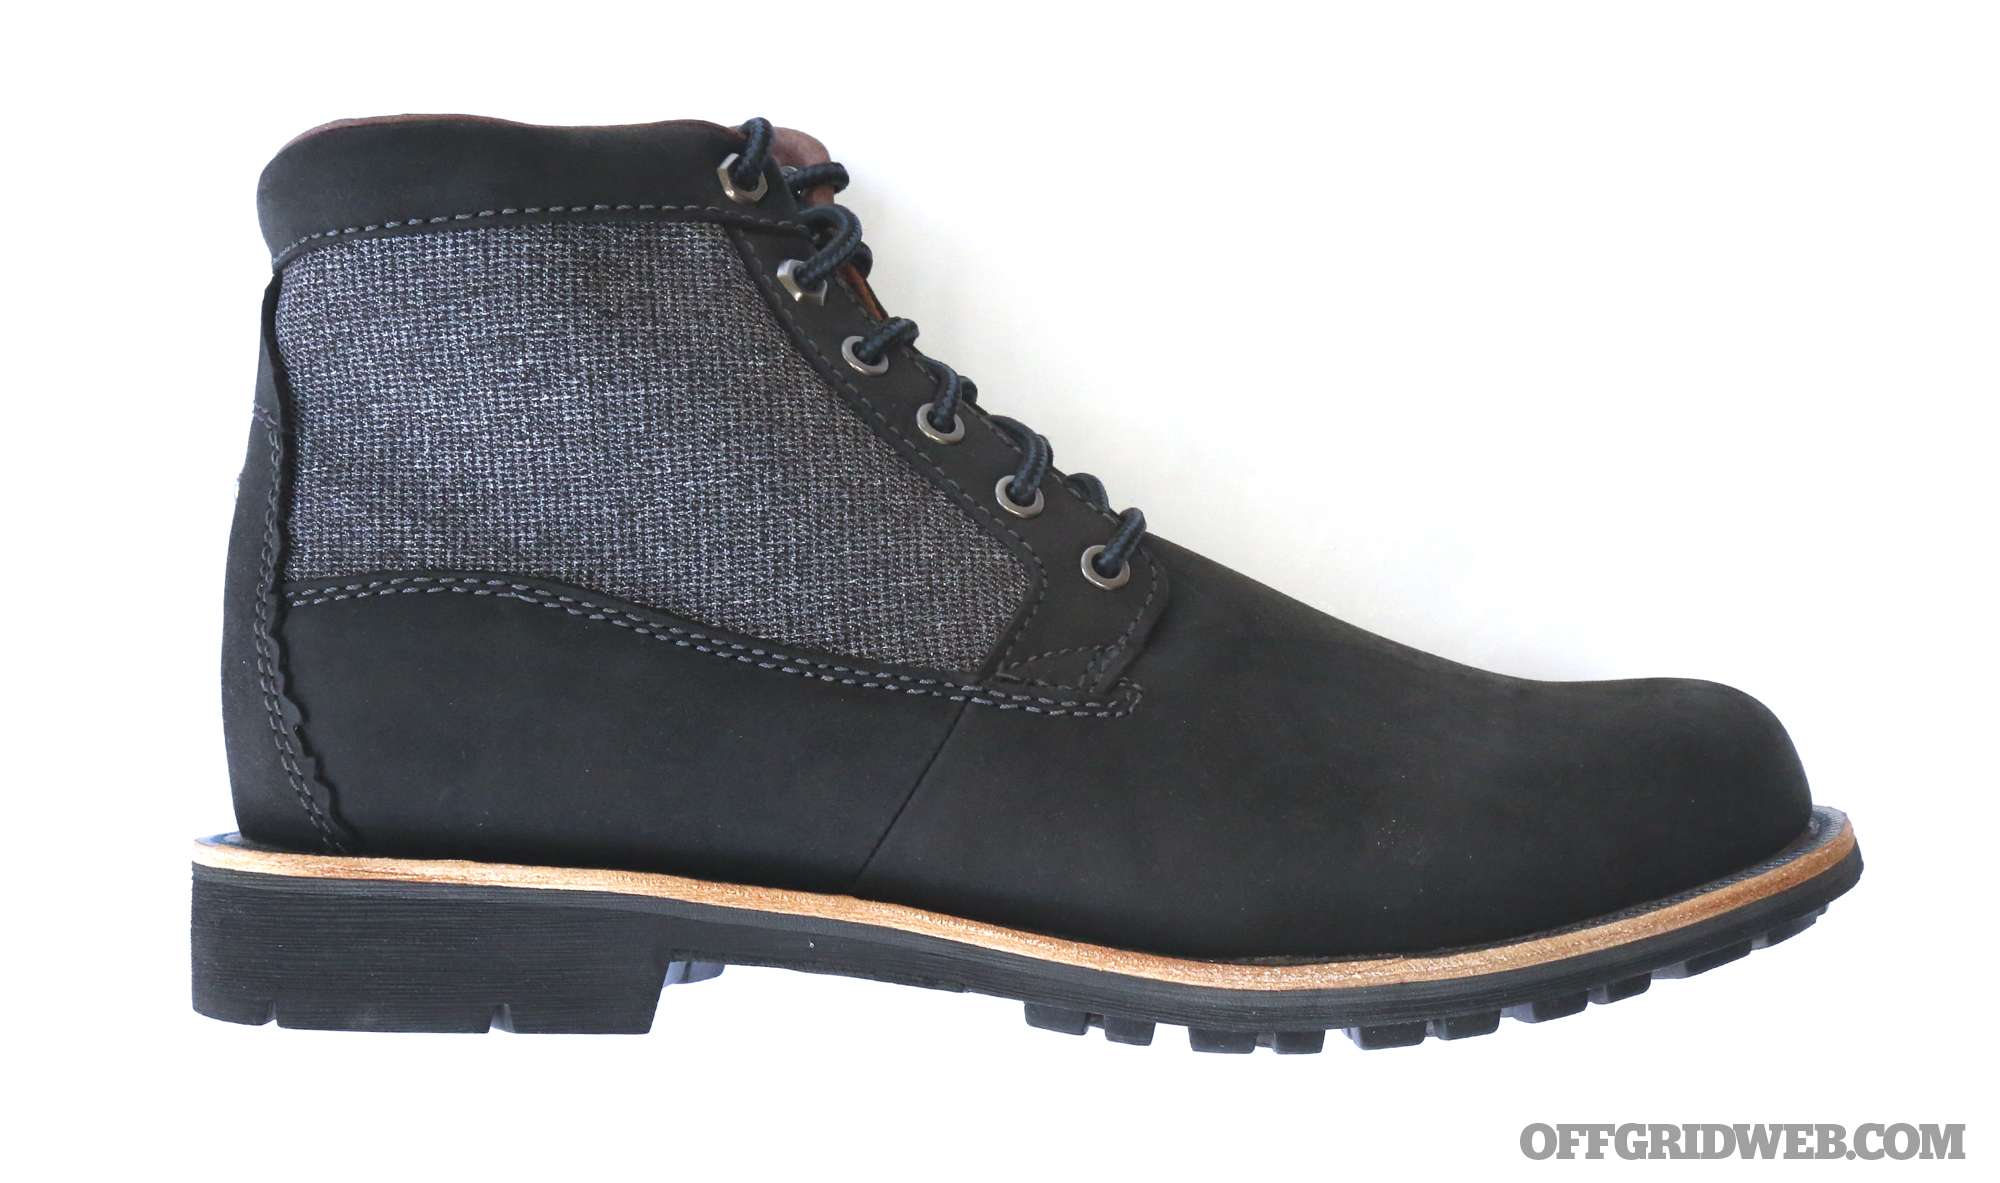
A good pair of casual boots offers far greater protection than appearance-oriented “lifestyle” boots, but isn’t as heavy or inflexible as a pair of dedicated work boots. The KEEN Rocker falls into this middle-ground position, making it a solid choice for everyday wear around town.
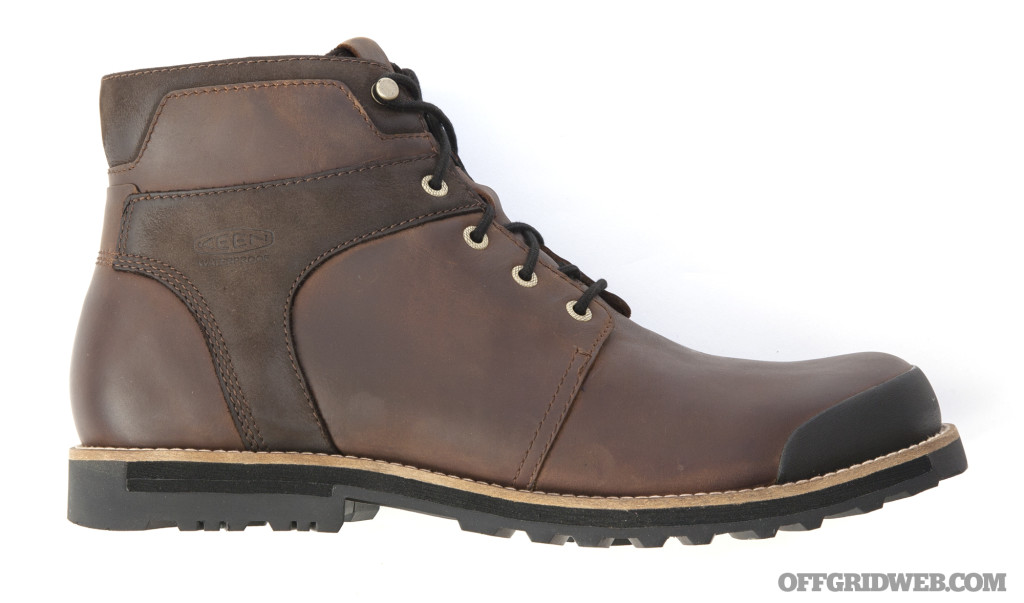
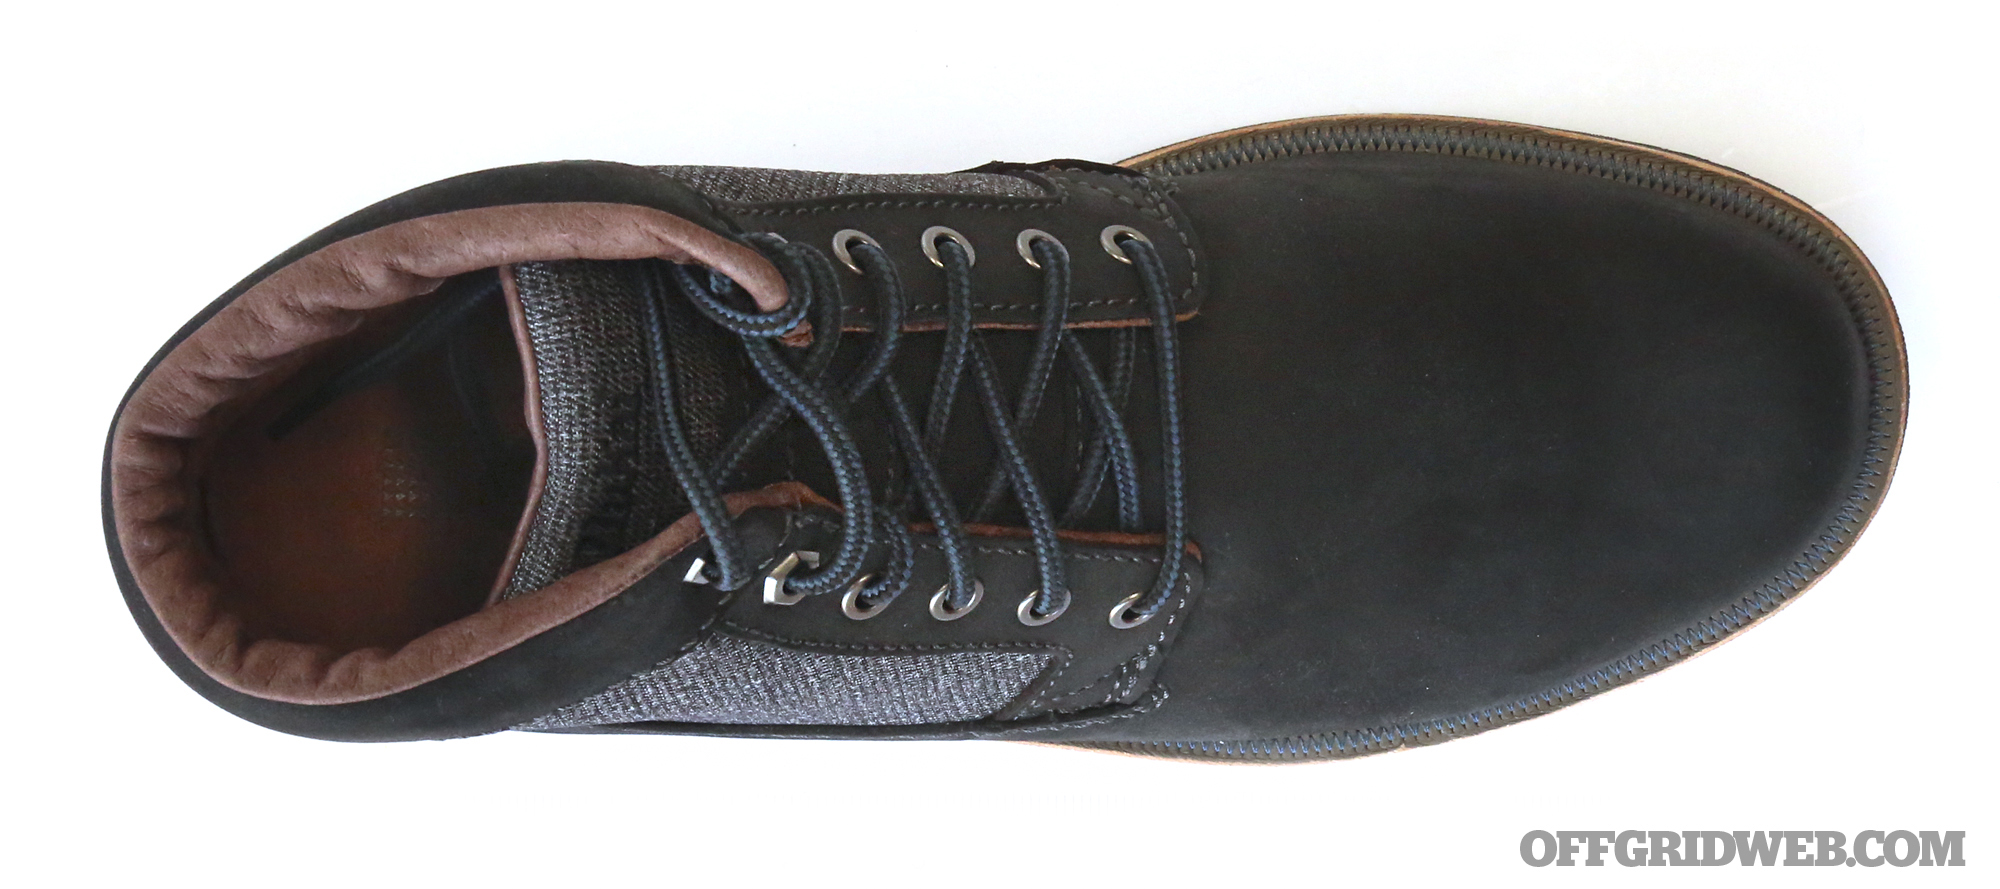
The Rocker is constructed from sturdy full-grain leather, with a rubber toe cap and sealed seams for waterproof protection. The subtle two-tone brown looks classy, and pairs nicely with blue jeans. Large tread blocks on the rubber outsole offer plenty of grip on wet pavement or loose dirt, but retain enough flexibility that you don’t feel weighed down. However, the Rocker leans more towards work wear than sneakers, so it emphasizes toughness over agility — you might go to the job site in these, but you wouldn’t go jogging in them.
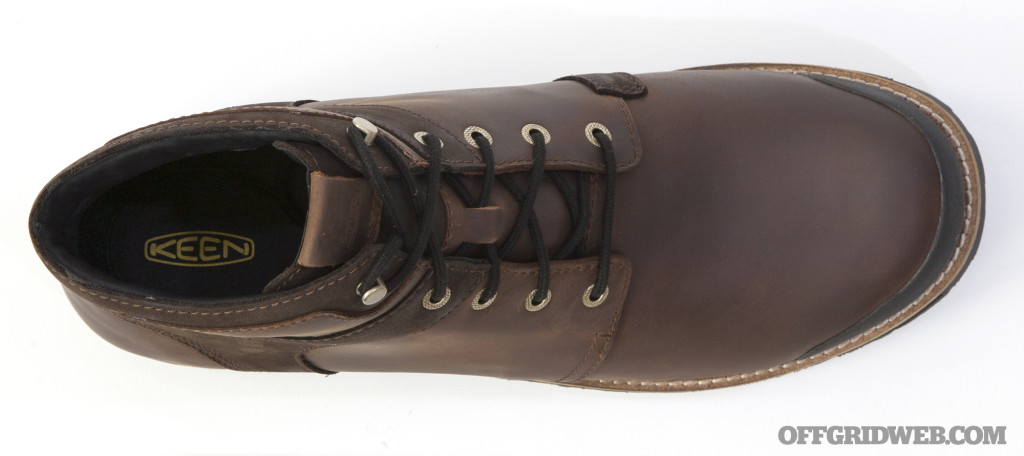
We found these boots extremely comfortable from the moment we put them on. The removable polyurethane footbed provides great arch support and cushioning, leading us to reach for these boots day after day as we headed outdoors. For this reason, we selected the Rocker boot as our RECOIL OFFGRID Top Pick for this grayman shoe buyer’s guide.
Pros
- Tough leather construction with waterproof seams and reinforcements in key wear areas
- Footbed provides outstanding comfort and very good arch support
- A durable middle ground between heavy-duty work boots and form-over-function lifestyle boots
Cons
- Hefty rubber soles aren’t ideal for running or high-speed agility
- Smooth, round laces tend to come undone unless tightly knotted
Colors: Big Ben/Eiffel, Black/Black
Materials: Full-grain leather upper, lightweight EVA midsole, non-marking rubber outsole
Sizes: 7 to 15
MSRP: $160
URL: www.keenfootwear.com
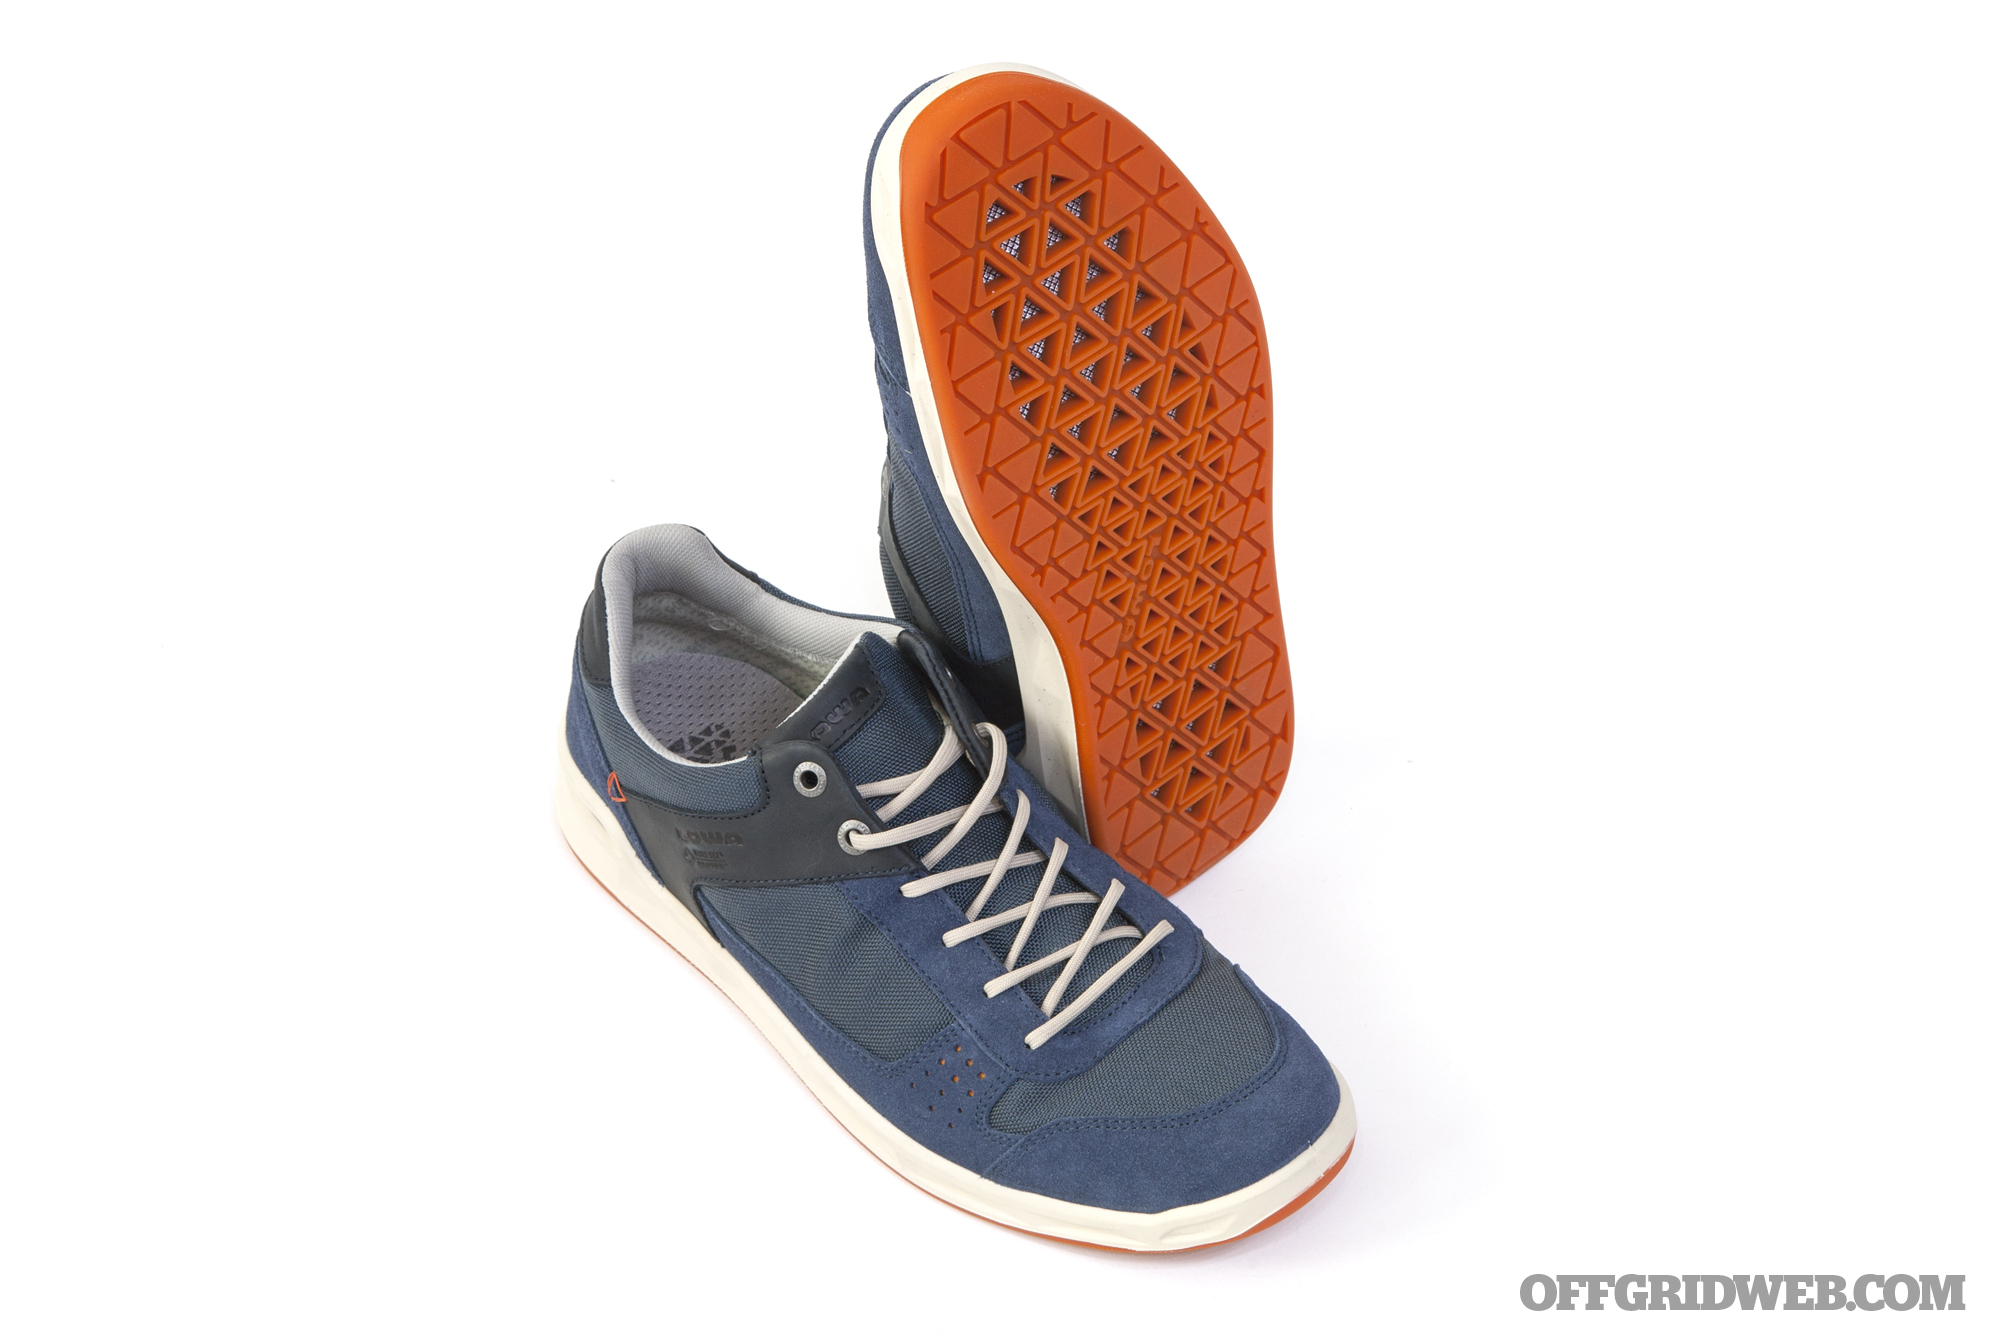
LOWA San Luis GTX Surround Lo

We once bought a pair of Puma sneakers meant for daily wear, but they didn’t last long. They had no arch support. The midsoles were practically nonexistent; we felt the impact on our heels with every step. And the outsoles were shredded after just six months despite using them only on pavement, carpet, and tile.
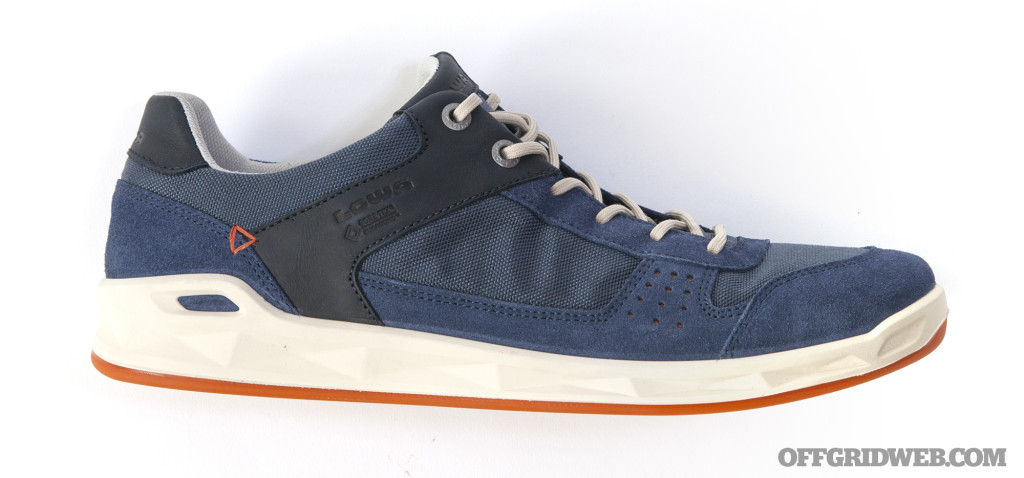
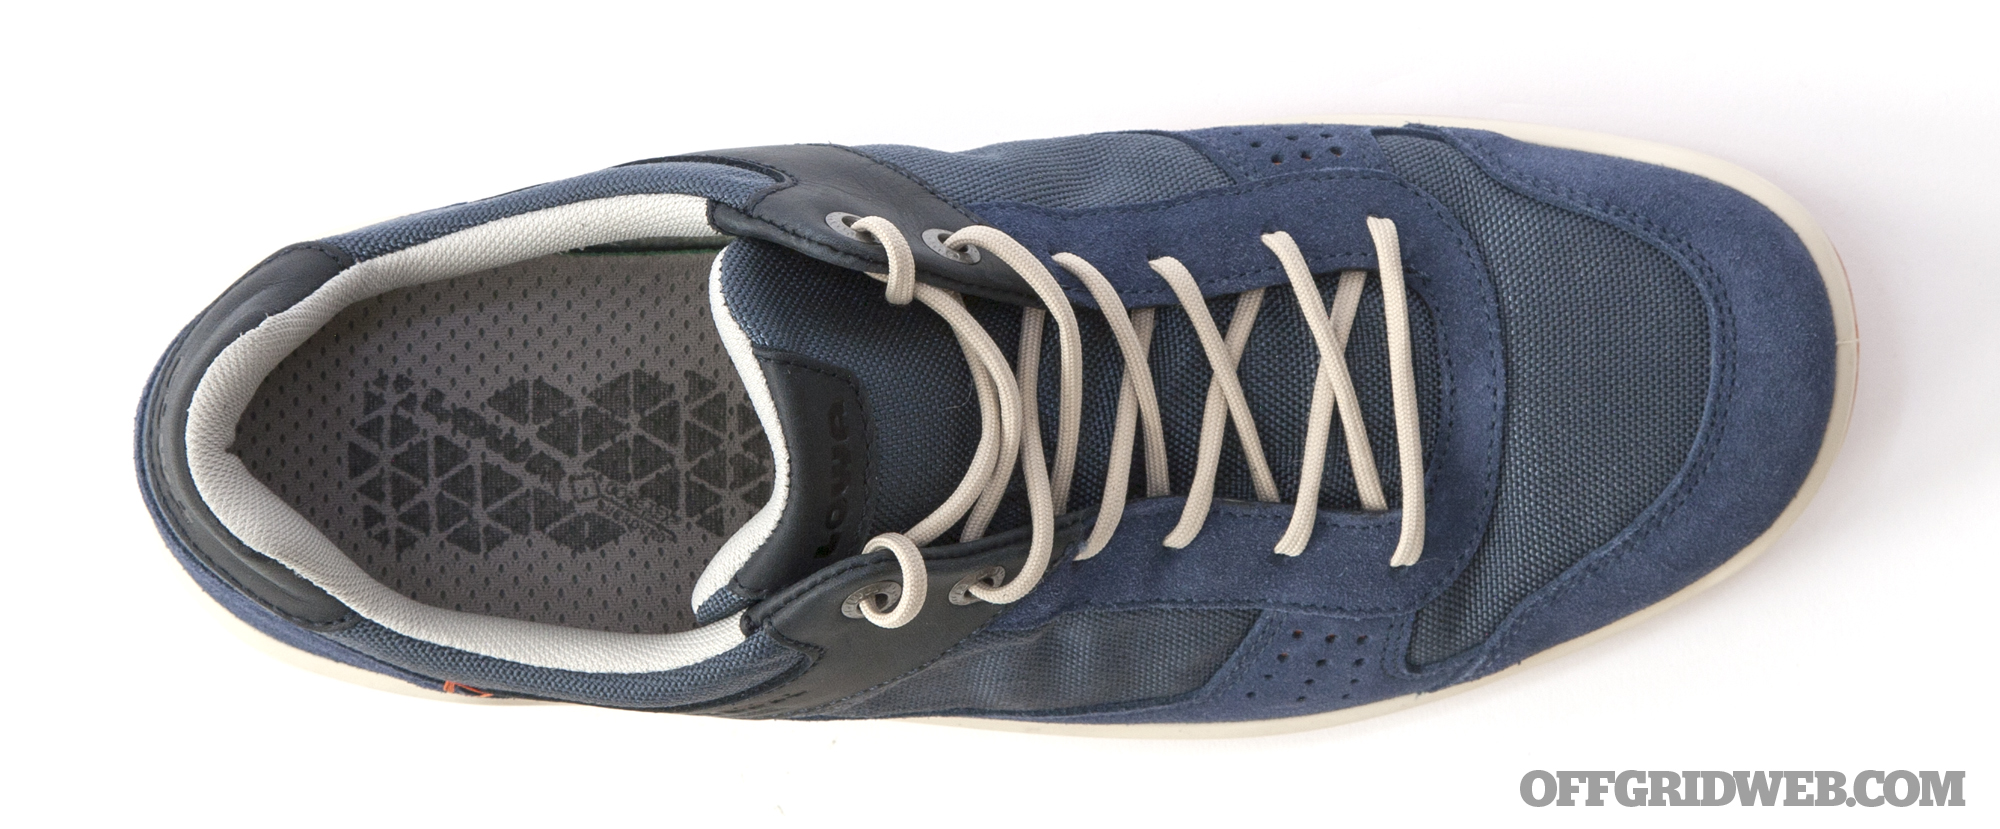
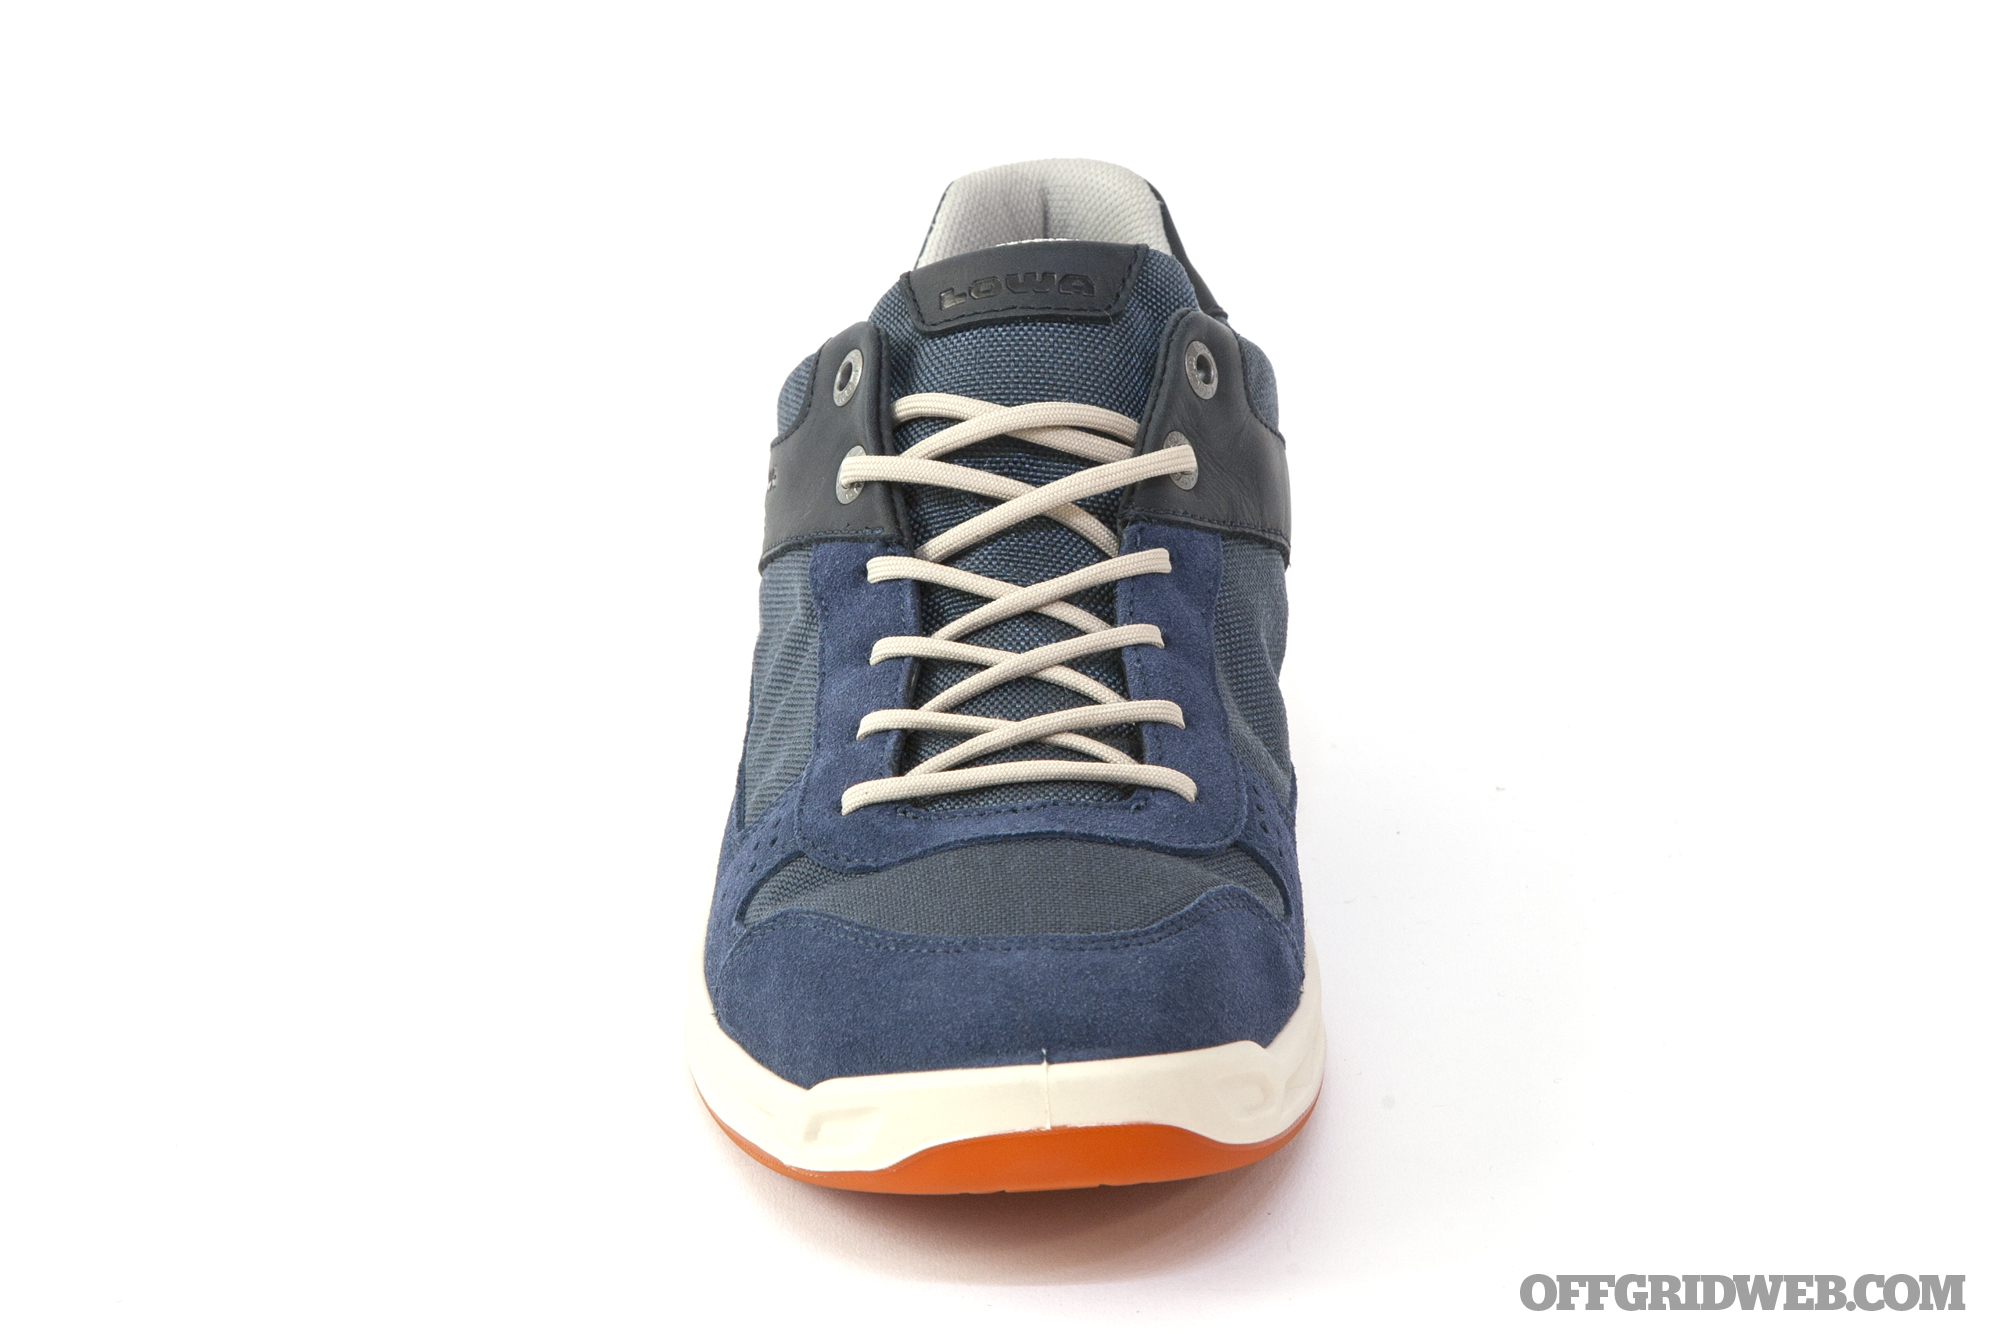
This is why we were eager to test the San Luis. It looks just as cool as casual shoes made by Puma, Reebok, or Adidas, but can withstand much more than just walking to the local pub. It offers superior stability and durability because it incorporates several technologies from LOWA’s high-quality hiking boots. For example, the Monowrap frame provides far more support (forward, backward, and laterally) than any casual shoe we’ve ever worn, yet it’s ridiculously lightweight thanks to the DynaPU outsole. Plus, the Gore-Tex Surround lining makes it waterproof.
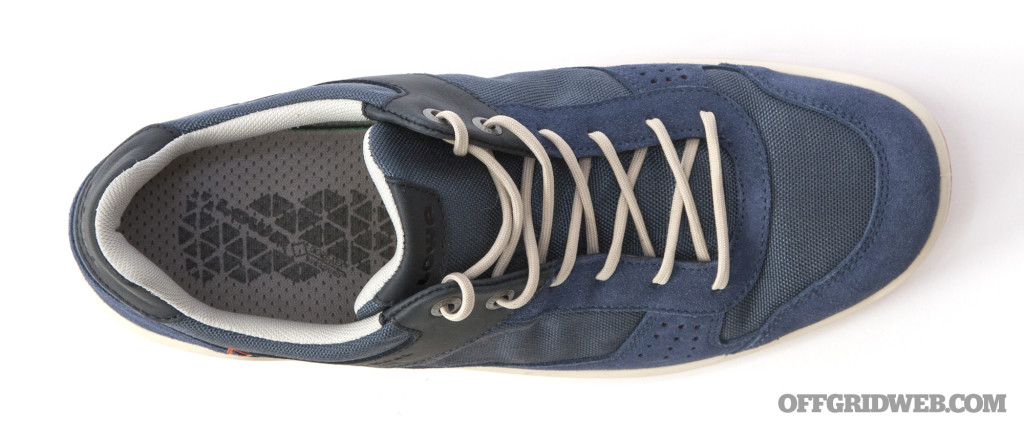
Whether you’re law enforcement working an undercover operation, a prepper needing footwear that will work well on asphalt and dirt, or interested in aesthetically pleasing shoes that’ll last longer than half a year, the San Luis might just be the kicks you’re looking for. Keep in mind it’s designed to be a warm-weather casual shoe and ideal for traveling. Still, it’ll shine for three seasons out of the year.

Pros
- Its subtle good looks fit in most urban settings without screaming “tacticool” or “I’m ready to bugout through the backwoods!”
- Excellent design, construction, and durability
- Lightweight with strong foot support
Cons
The midsoles are actually vented, which is great for staying cool in the summer. The tradeoff is less shock absorption compared to other LOWA footwear we’ve worn; this was evident when we performed sprint tests on dirt, grassy hills, and sidewalks.
Colors: Navy/Orange
Materials: Split grain leather and fabric upper, DynaPU midsole, DynaPU outsole
Sizes: 7.5 to 14, women’s sizes also available
MSRP: $200
URL: www.lowaboots.com
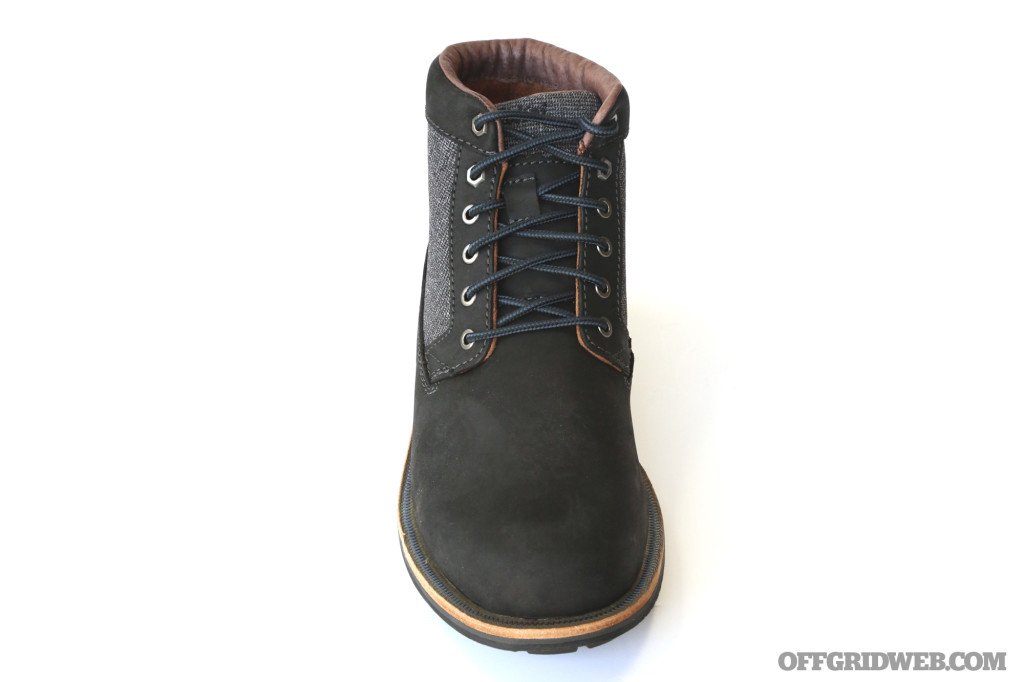
OluKai Hualalai

If the name didn’t give it away, OluKai is a Hawaii-inspired company that makes footwear for those who enjoy oceans, rivers, or lakes. Many of their shoes, boots, and sandals are waterproof or made with features that make it fun to get onto or off of the shore (such as insoles that can be removed to be dried or washed). Coincidentally, these watersports-friendly features also benefit the prepared individual who needs to haul ass at a moment’s notice and doesn’t have the time to change out of his everyday city attire.

Take for example the Hualalai. Its leather upper not only looks like a classy update of the traditional mid-cut work boot design but is also waterproof, providing protection from rain, sleet, and snow. (Note: it’s not a winter boot, so it doesn’t have much by way of insulation.) Its removable and anatomical insole is made of triple-layered, lightweight EVA with a soft microfiber cover. And the outsole is made of non-marking rubber prominent lug treads, which provide grip without adding excessive weight or affecting our gait.

Overall, the Hualalai is a versatile boot with performance around water in mind. You could dress it up with slacks and a collared shirt for work or dress it down with jeans and a T-shirt for play. And, most vital to this buyer’s guide, you could grab your go-bag and use these boots to get you to safety without fear of slipping or getting your feet soaked.
Pros
- Sturdy outsoles offer strong traction and could do some serious sh!tkicker damage in a self-defense situation.
- Leather upper is not only handsome and waterproof but will also stretch for a “just right” fit.
- Great balance of comfort, performance, and visual versatility
Cons
- We experienced some minor heel slippage when pivoting and sprinting
Colors: Black, Carob/Carob
Materials: Full-grain leather and fabric upper, EVA midsole, non-marking rubber outsole
Sizes: 8 to 14
MSRP: $190
URL: www.olukai.com
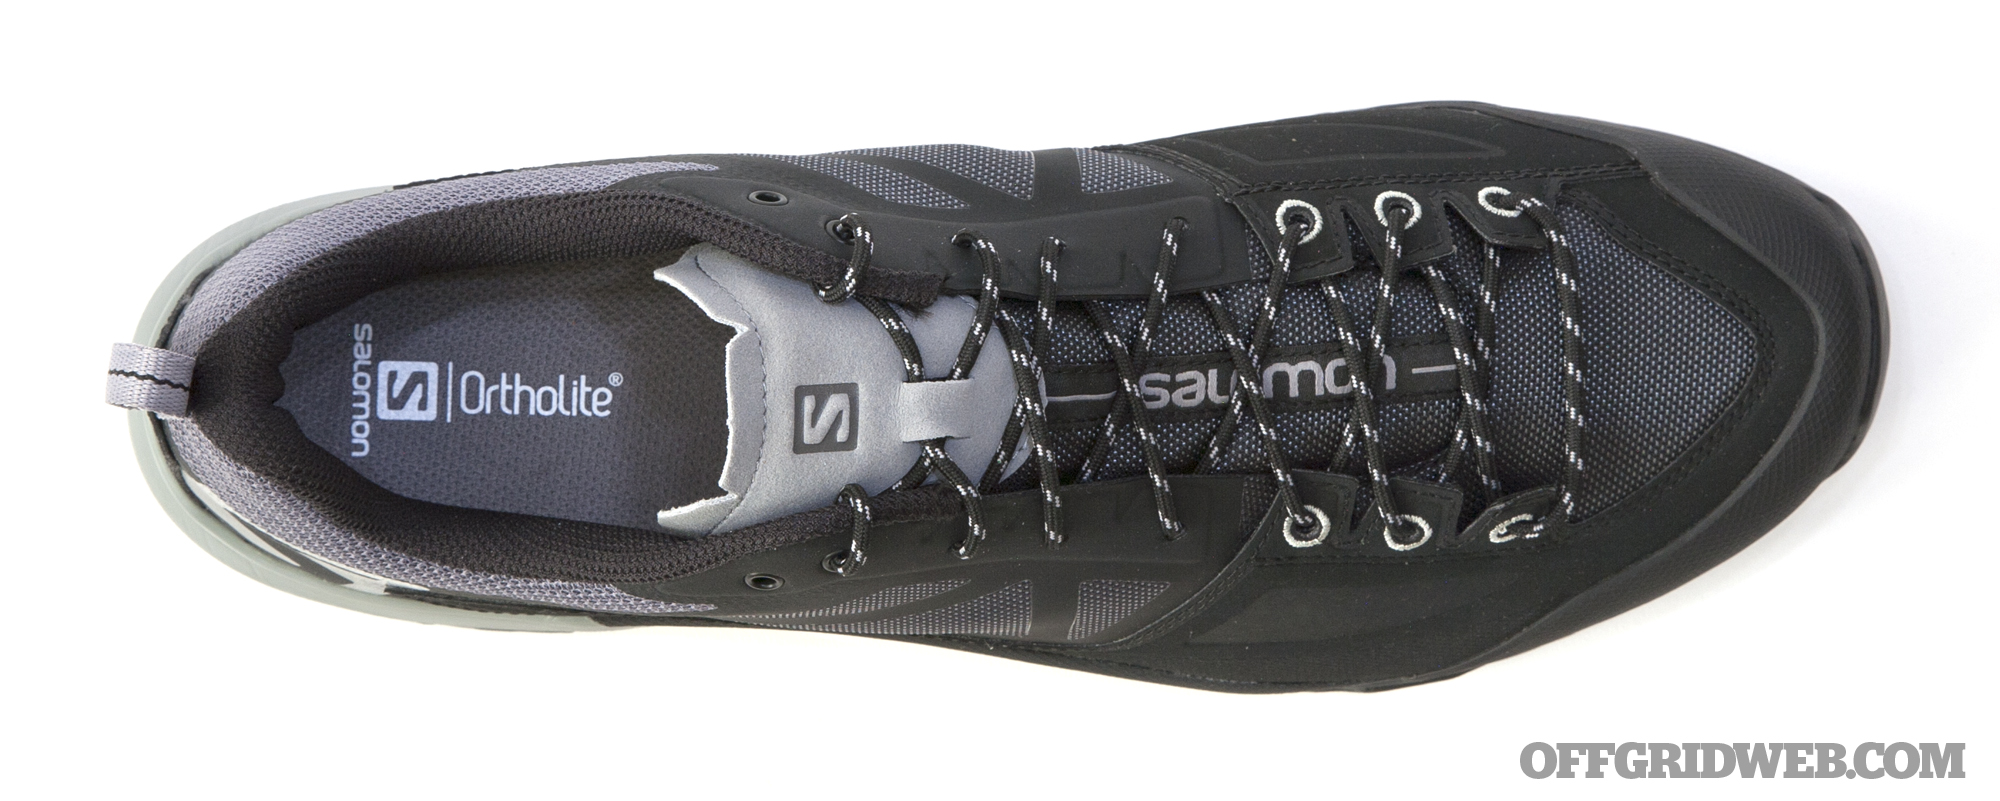
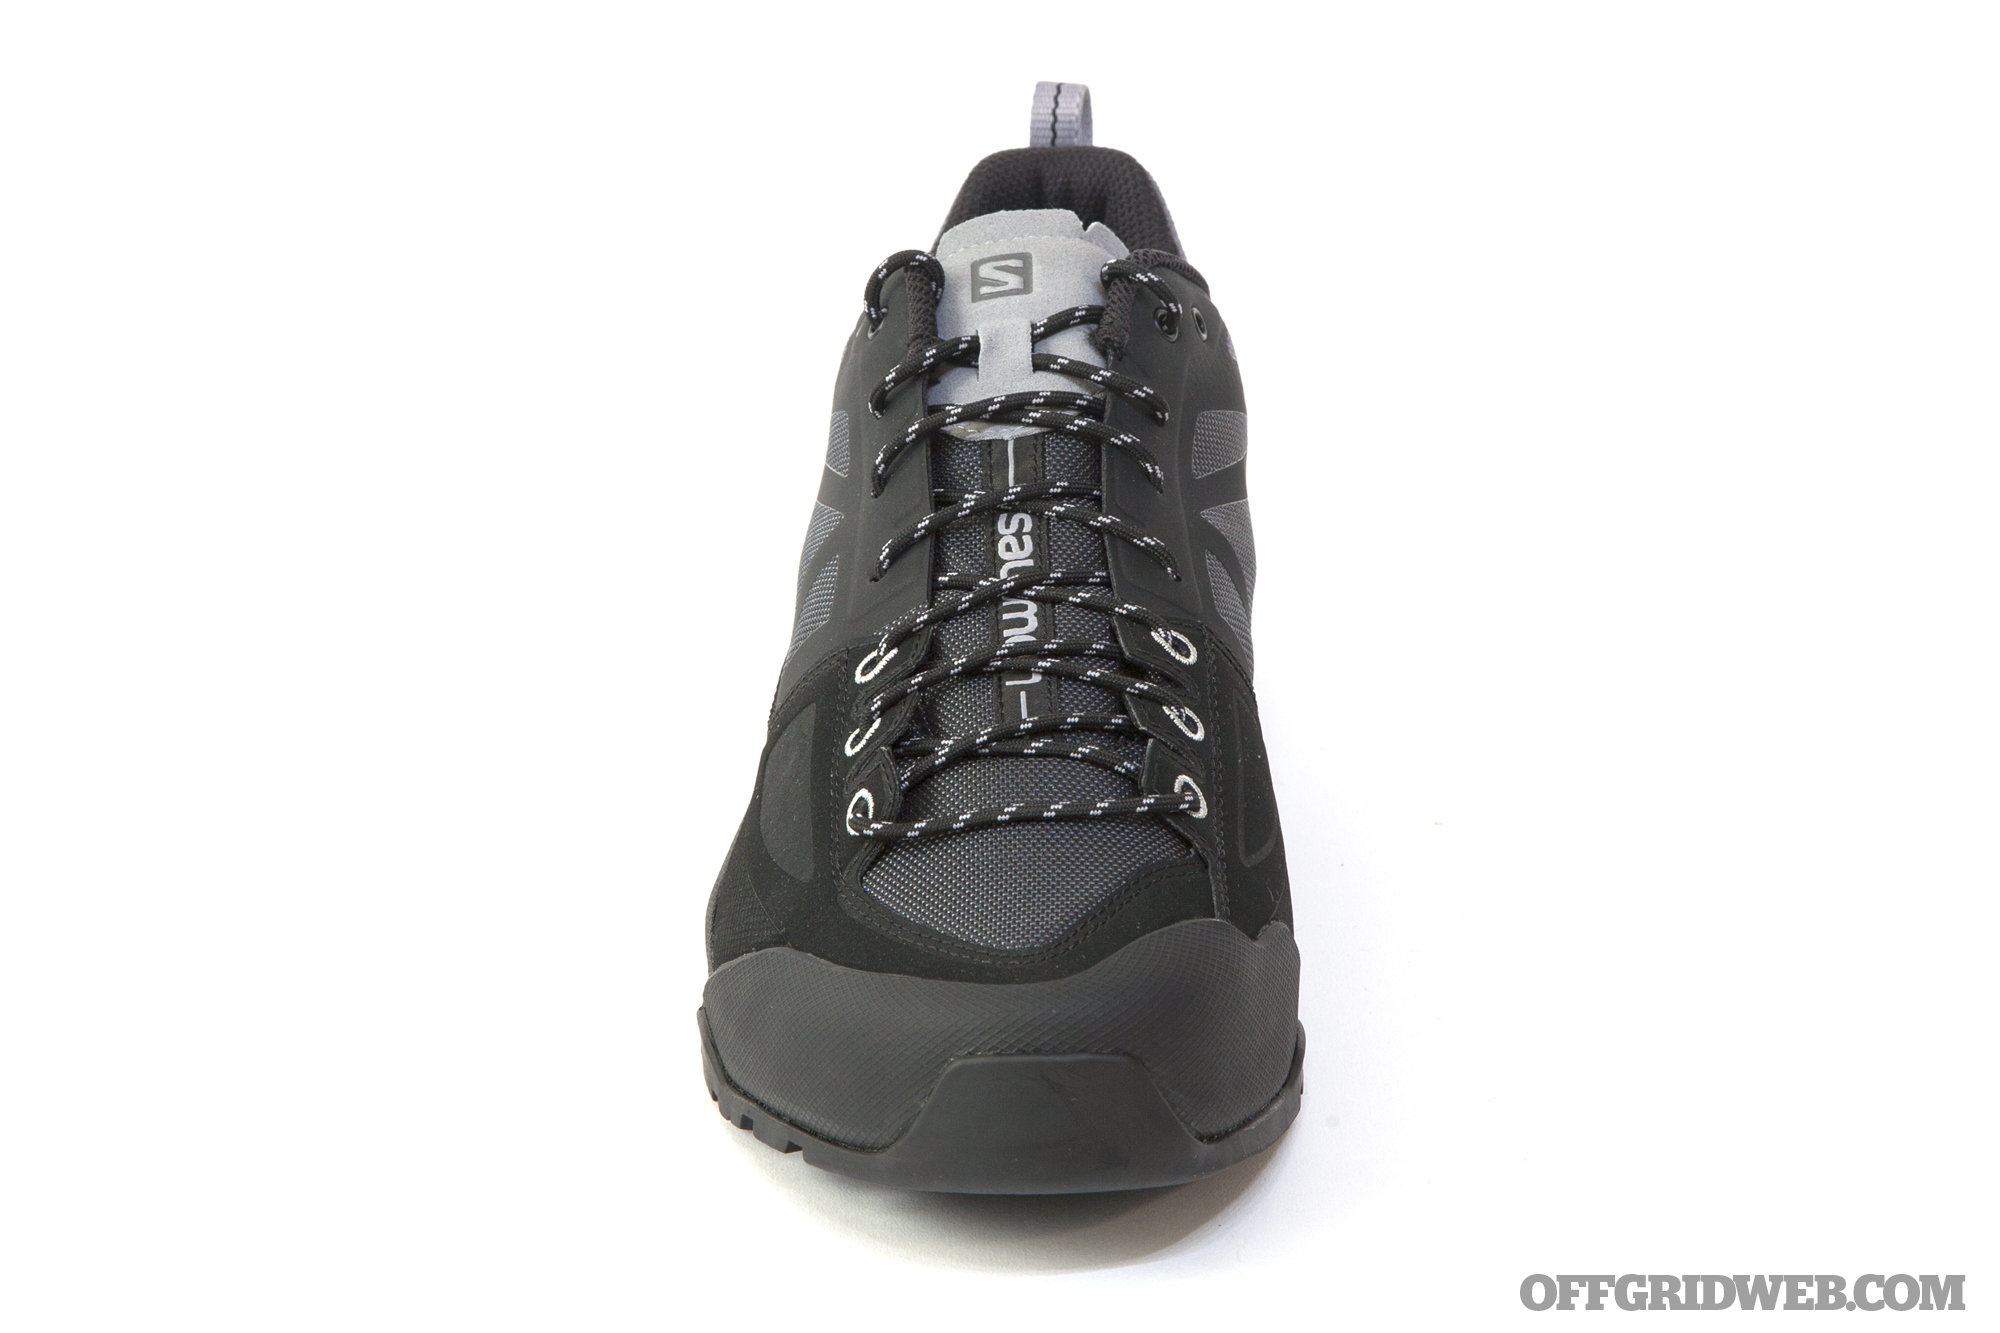
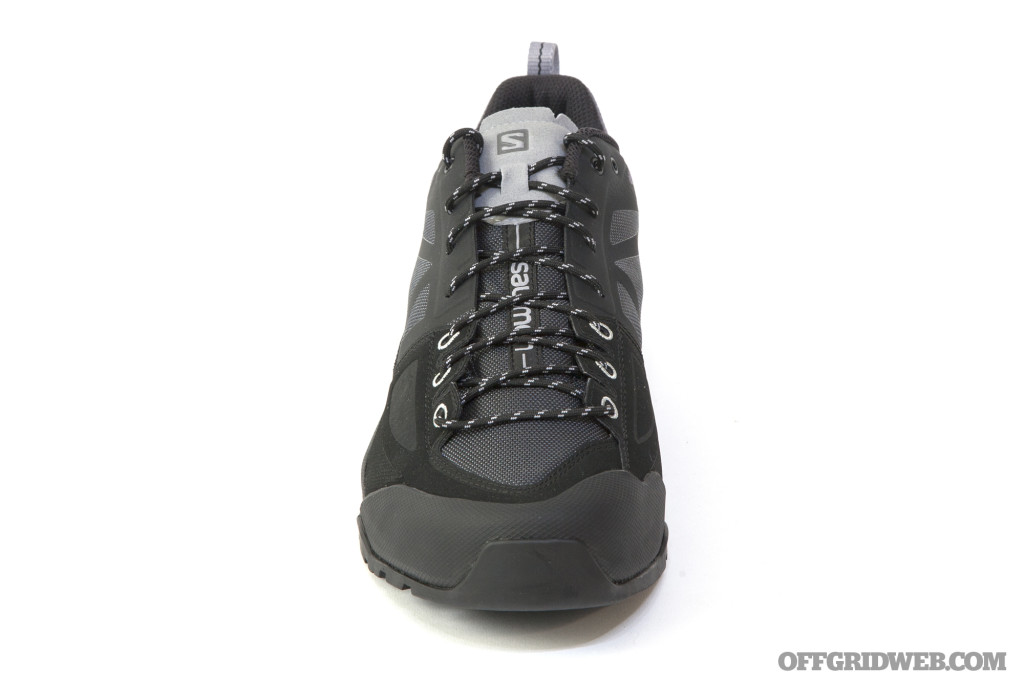
Salomon X Alp Spry

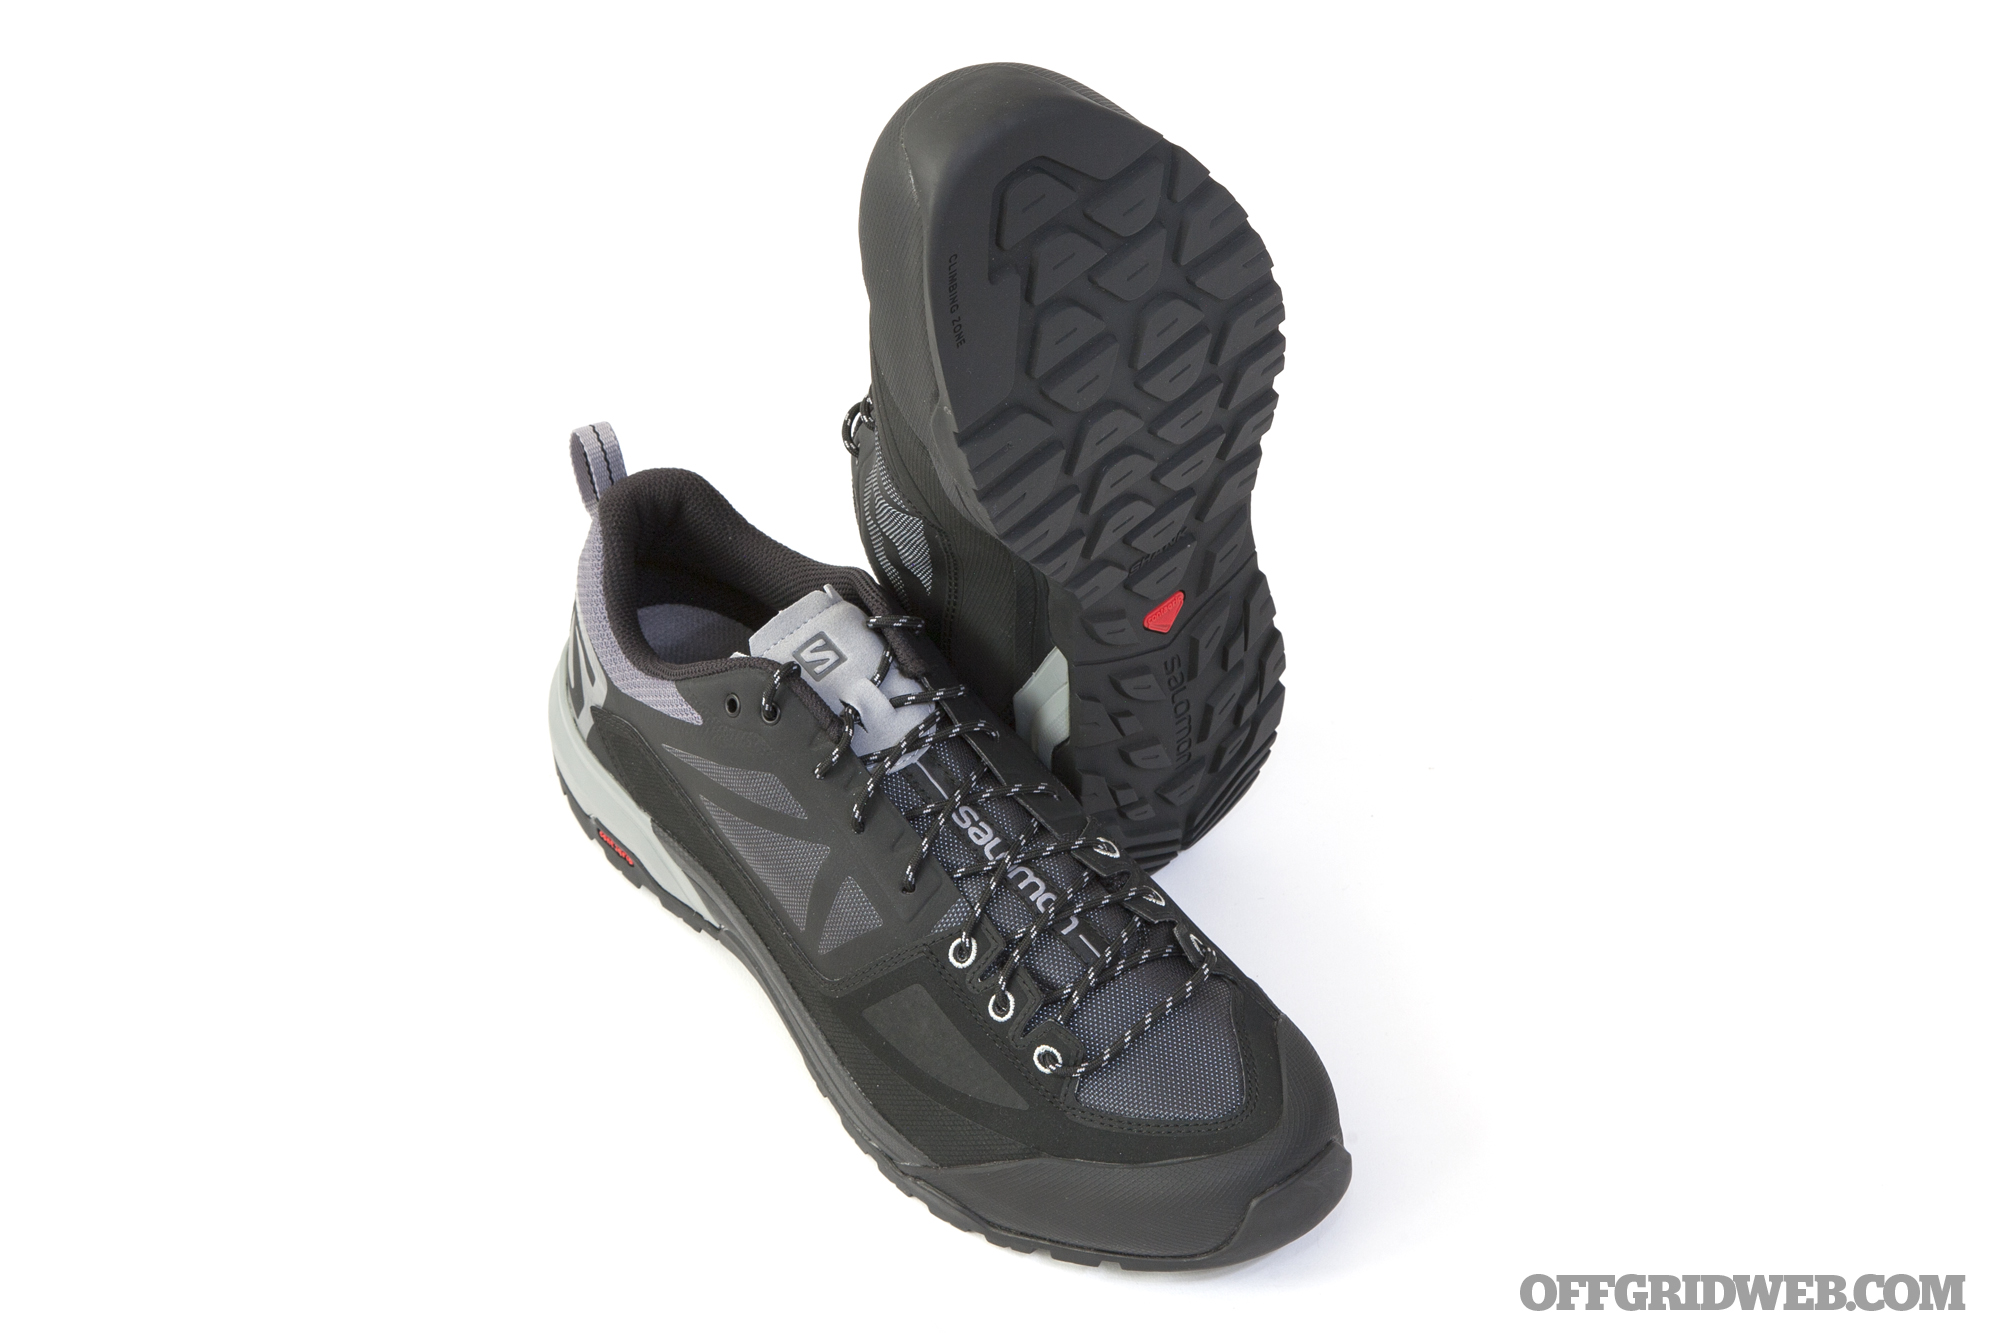
The first word that came to mind while wearing these was breathable. While beating them up in the hot Arizona sun, even with a black exterior they never made our feet feel like they were cooking. Weight is nice and light, like a track shoe, and cushioning is clearly evident. If you’re forced to run for extended distances, this would be a viable option to consider.
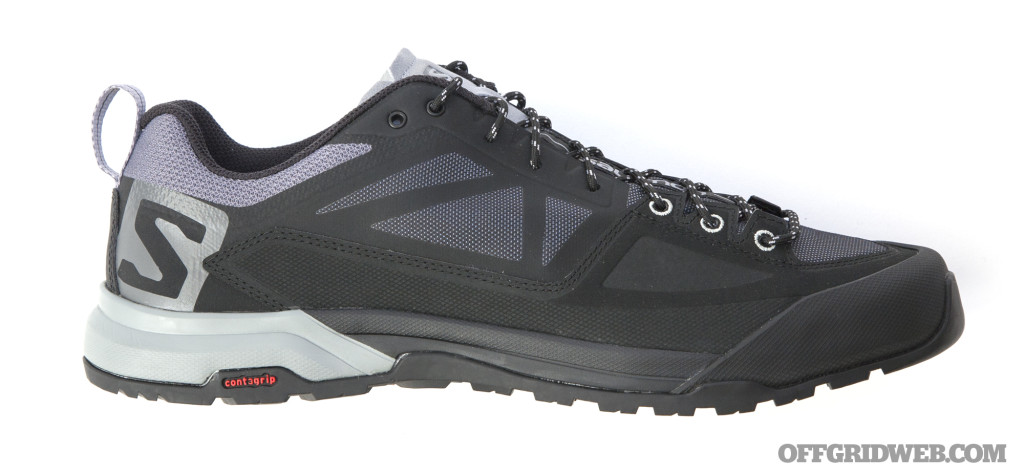
Water repellency was just OK, but the tradeoff is how well your feet are ventilated. We tried wearing these on wet pavement, only to find that it wouldn’t take much to slip and fall, so keep the sole’s limited grip texture in mind if it rains frequently in your area.
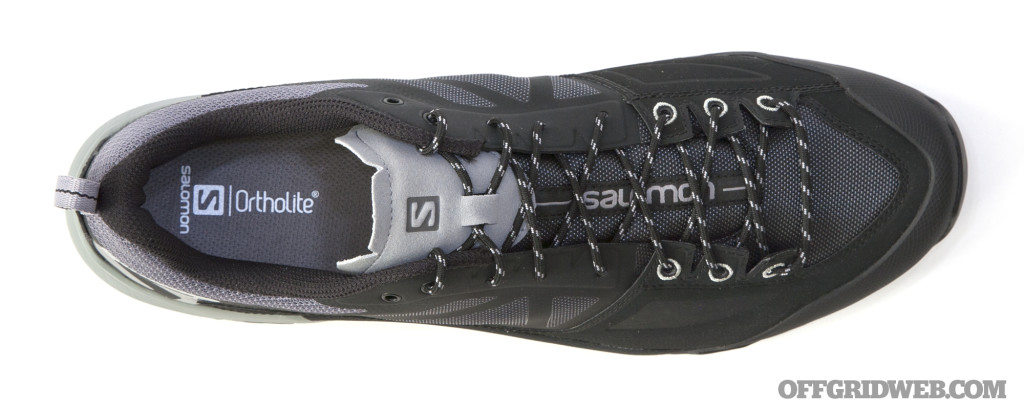
We aren’t sure why only some of the eyelets are reinforced while others are not. As the Spry name indicates, these shoes allow you to haul arse at a moment’s notice, but they’re still discreet enough to potentially double as office wear. This versatility is their greatest strength.
Pros
- Good value for the money
- Great ventilation for warm environments
- Innocuous enough for use at the office or in other urban environments
Cons
- If you don’t want loud colors, black is your only option
- Shouldn’t be your first choice if you’re going through muddy, wet, or rocky conditions. Sole is slippery on wet pavement.
Colors: Magnet/Black/Monument, Mallard Blue/Reflecting Pond/Scarlet Ibis, Castor Gray/Beluga/Lime Punch
Materials: Textile and seamless Sensifit synthetic upper, EVA midsole with molded shank, Premium Wet Traction Contagrip outsole
Sizes: 7 to 13
MSRP: $130
URL: www.salomon.com